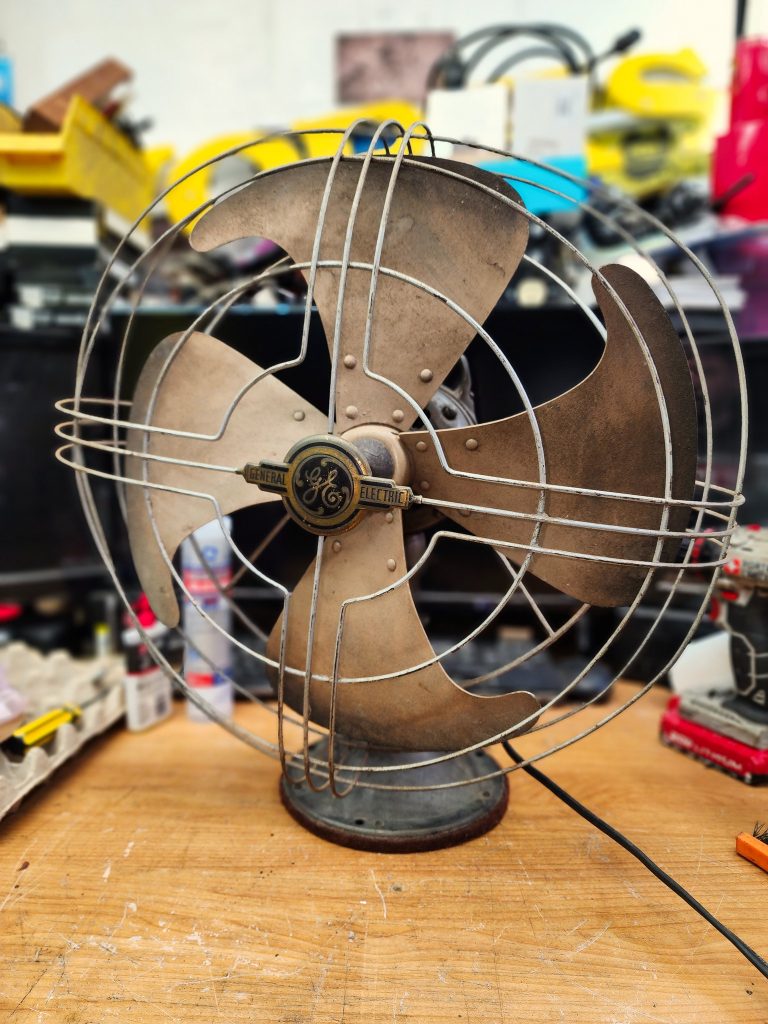
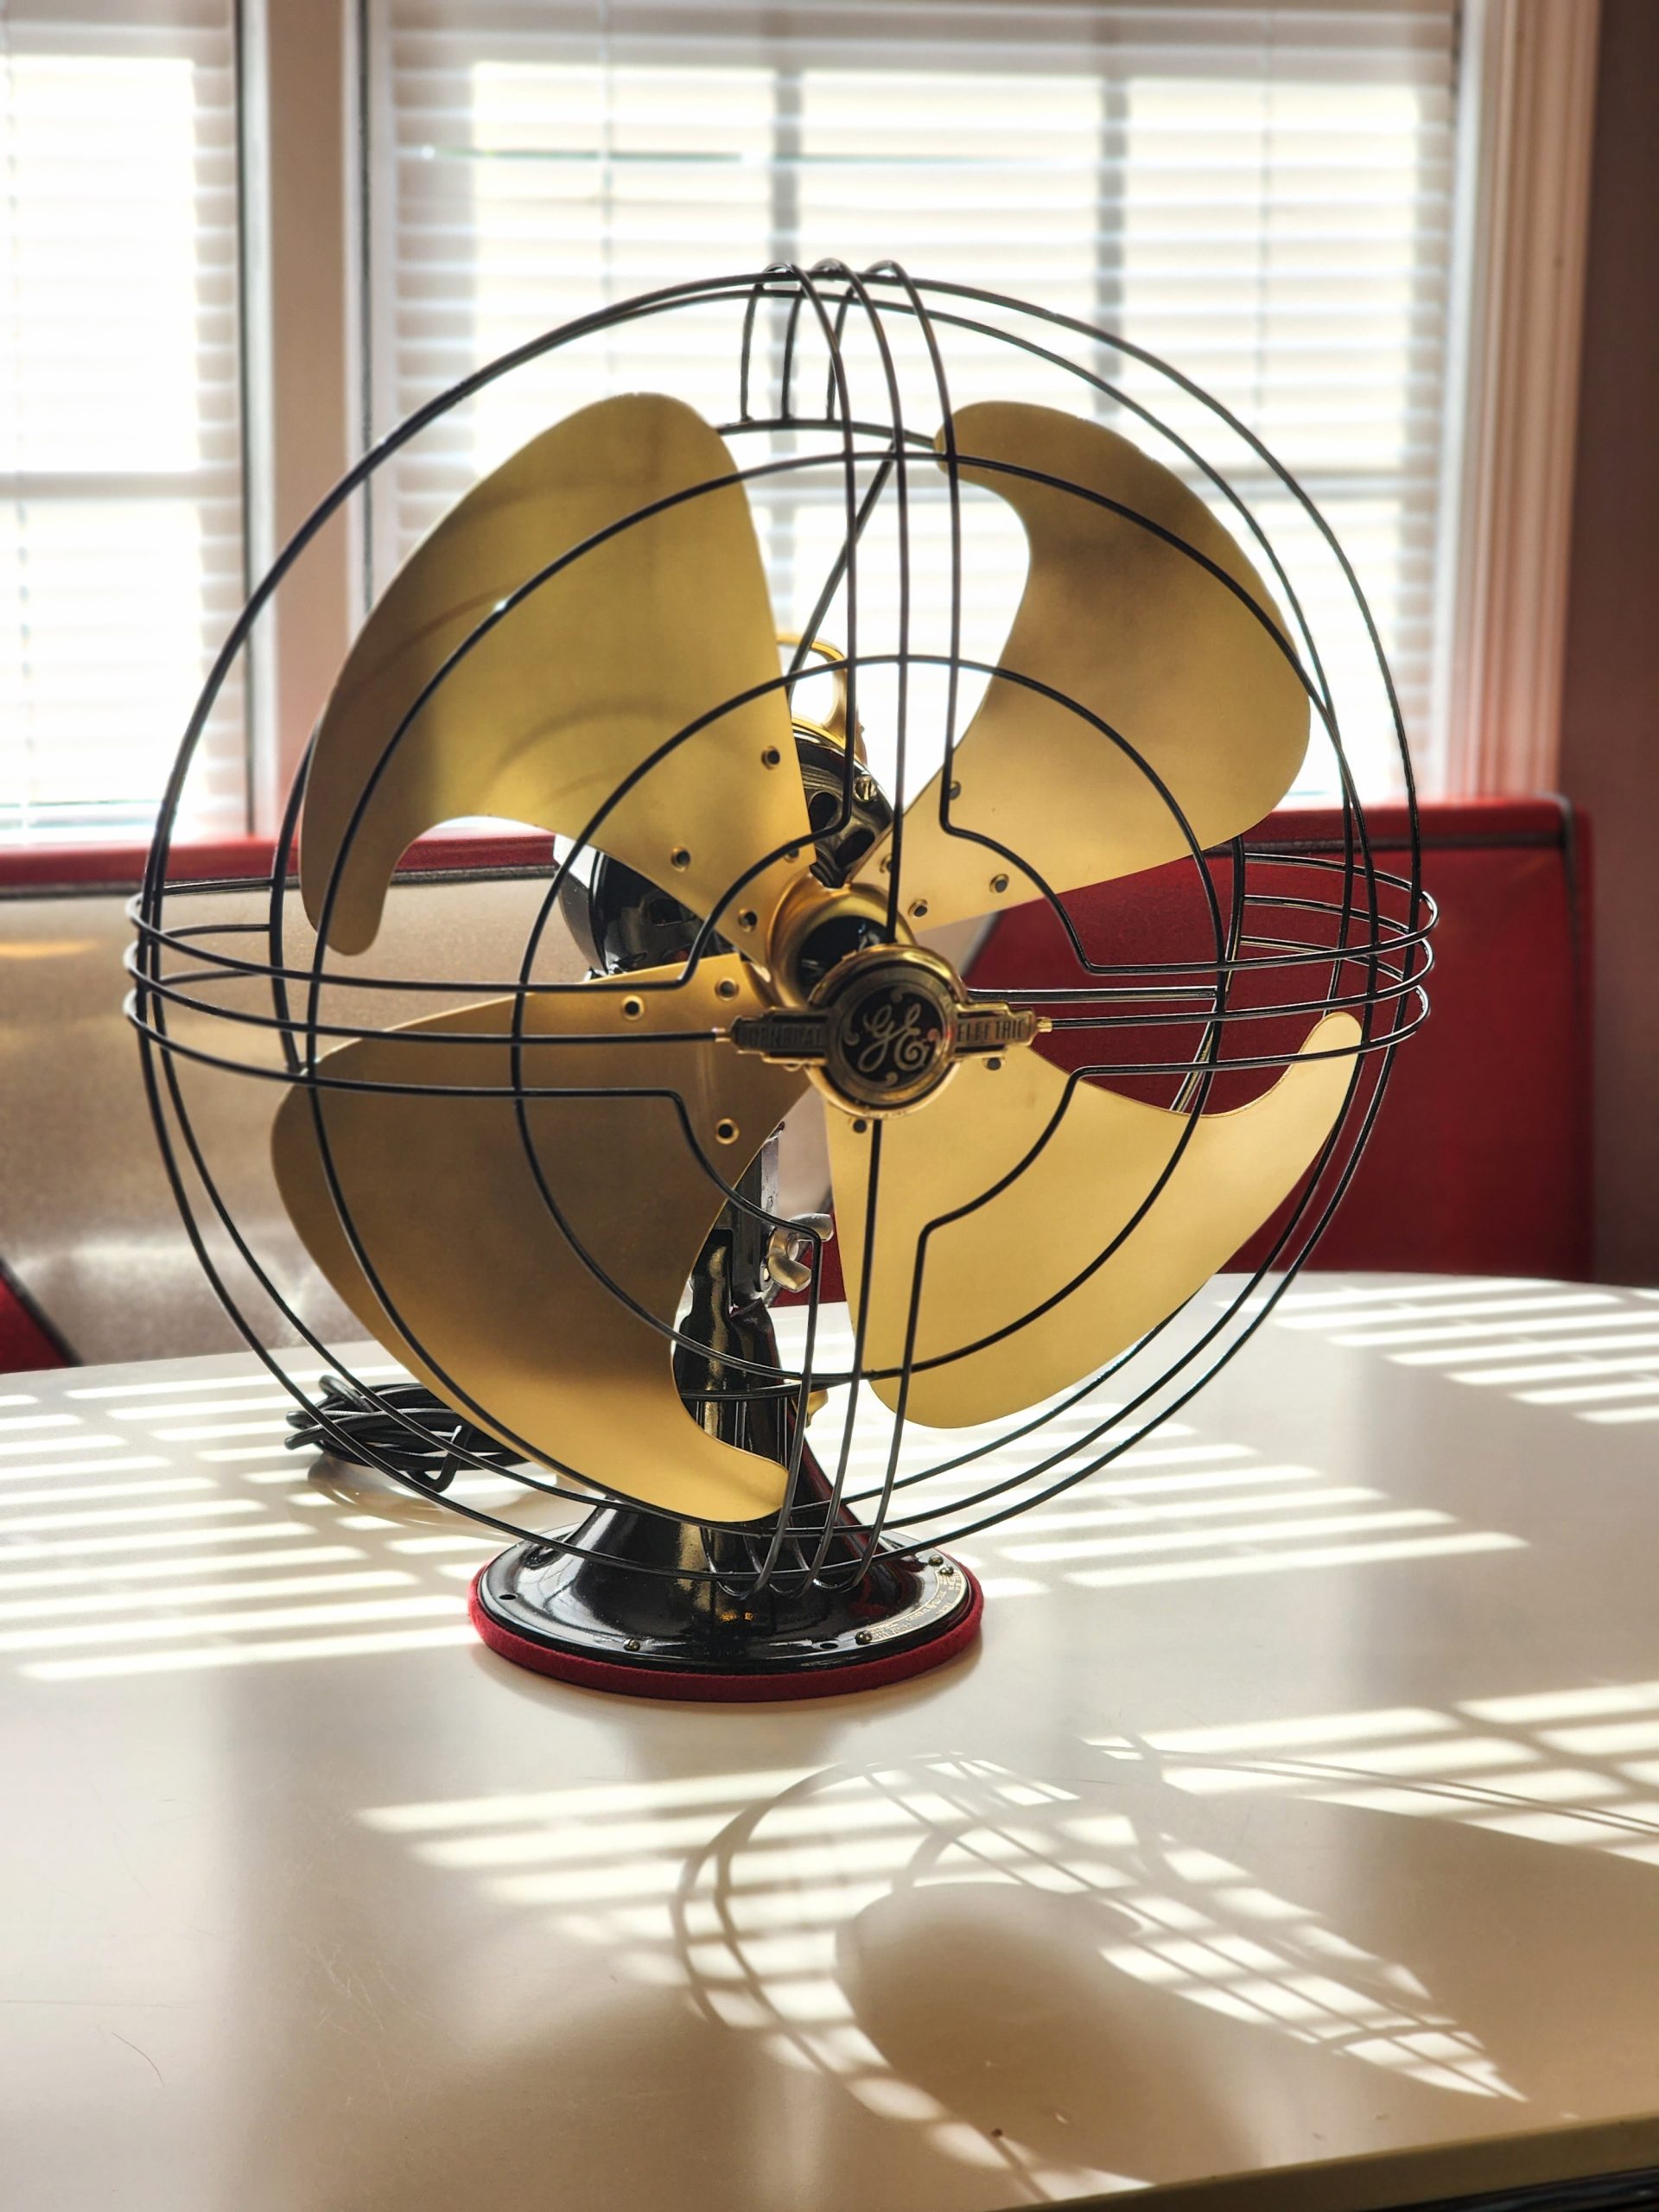
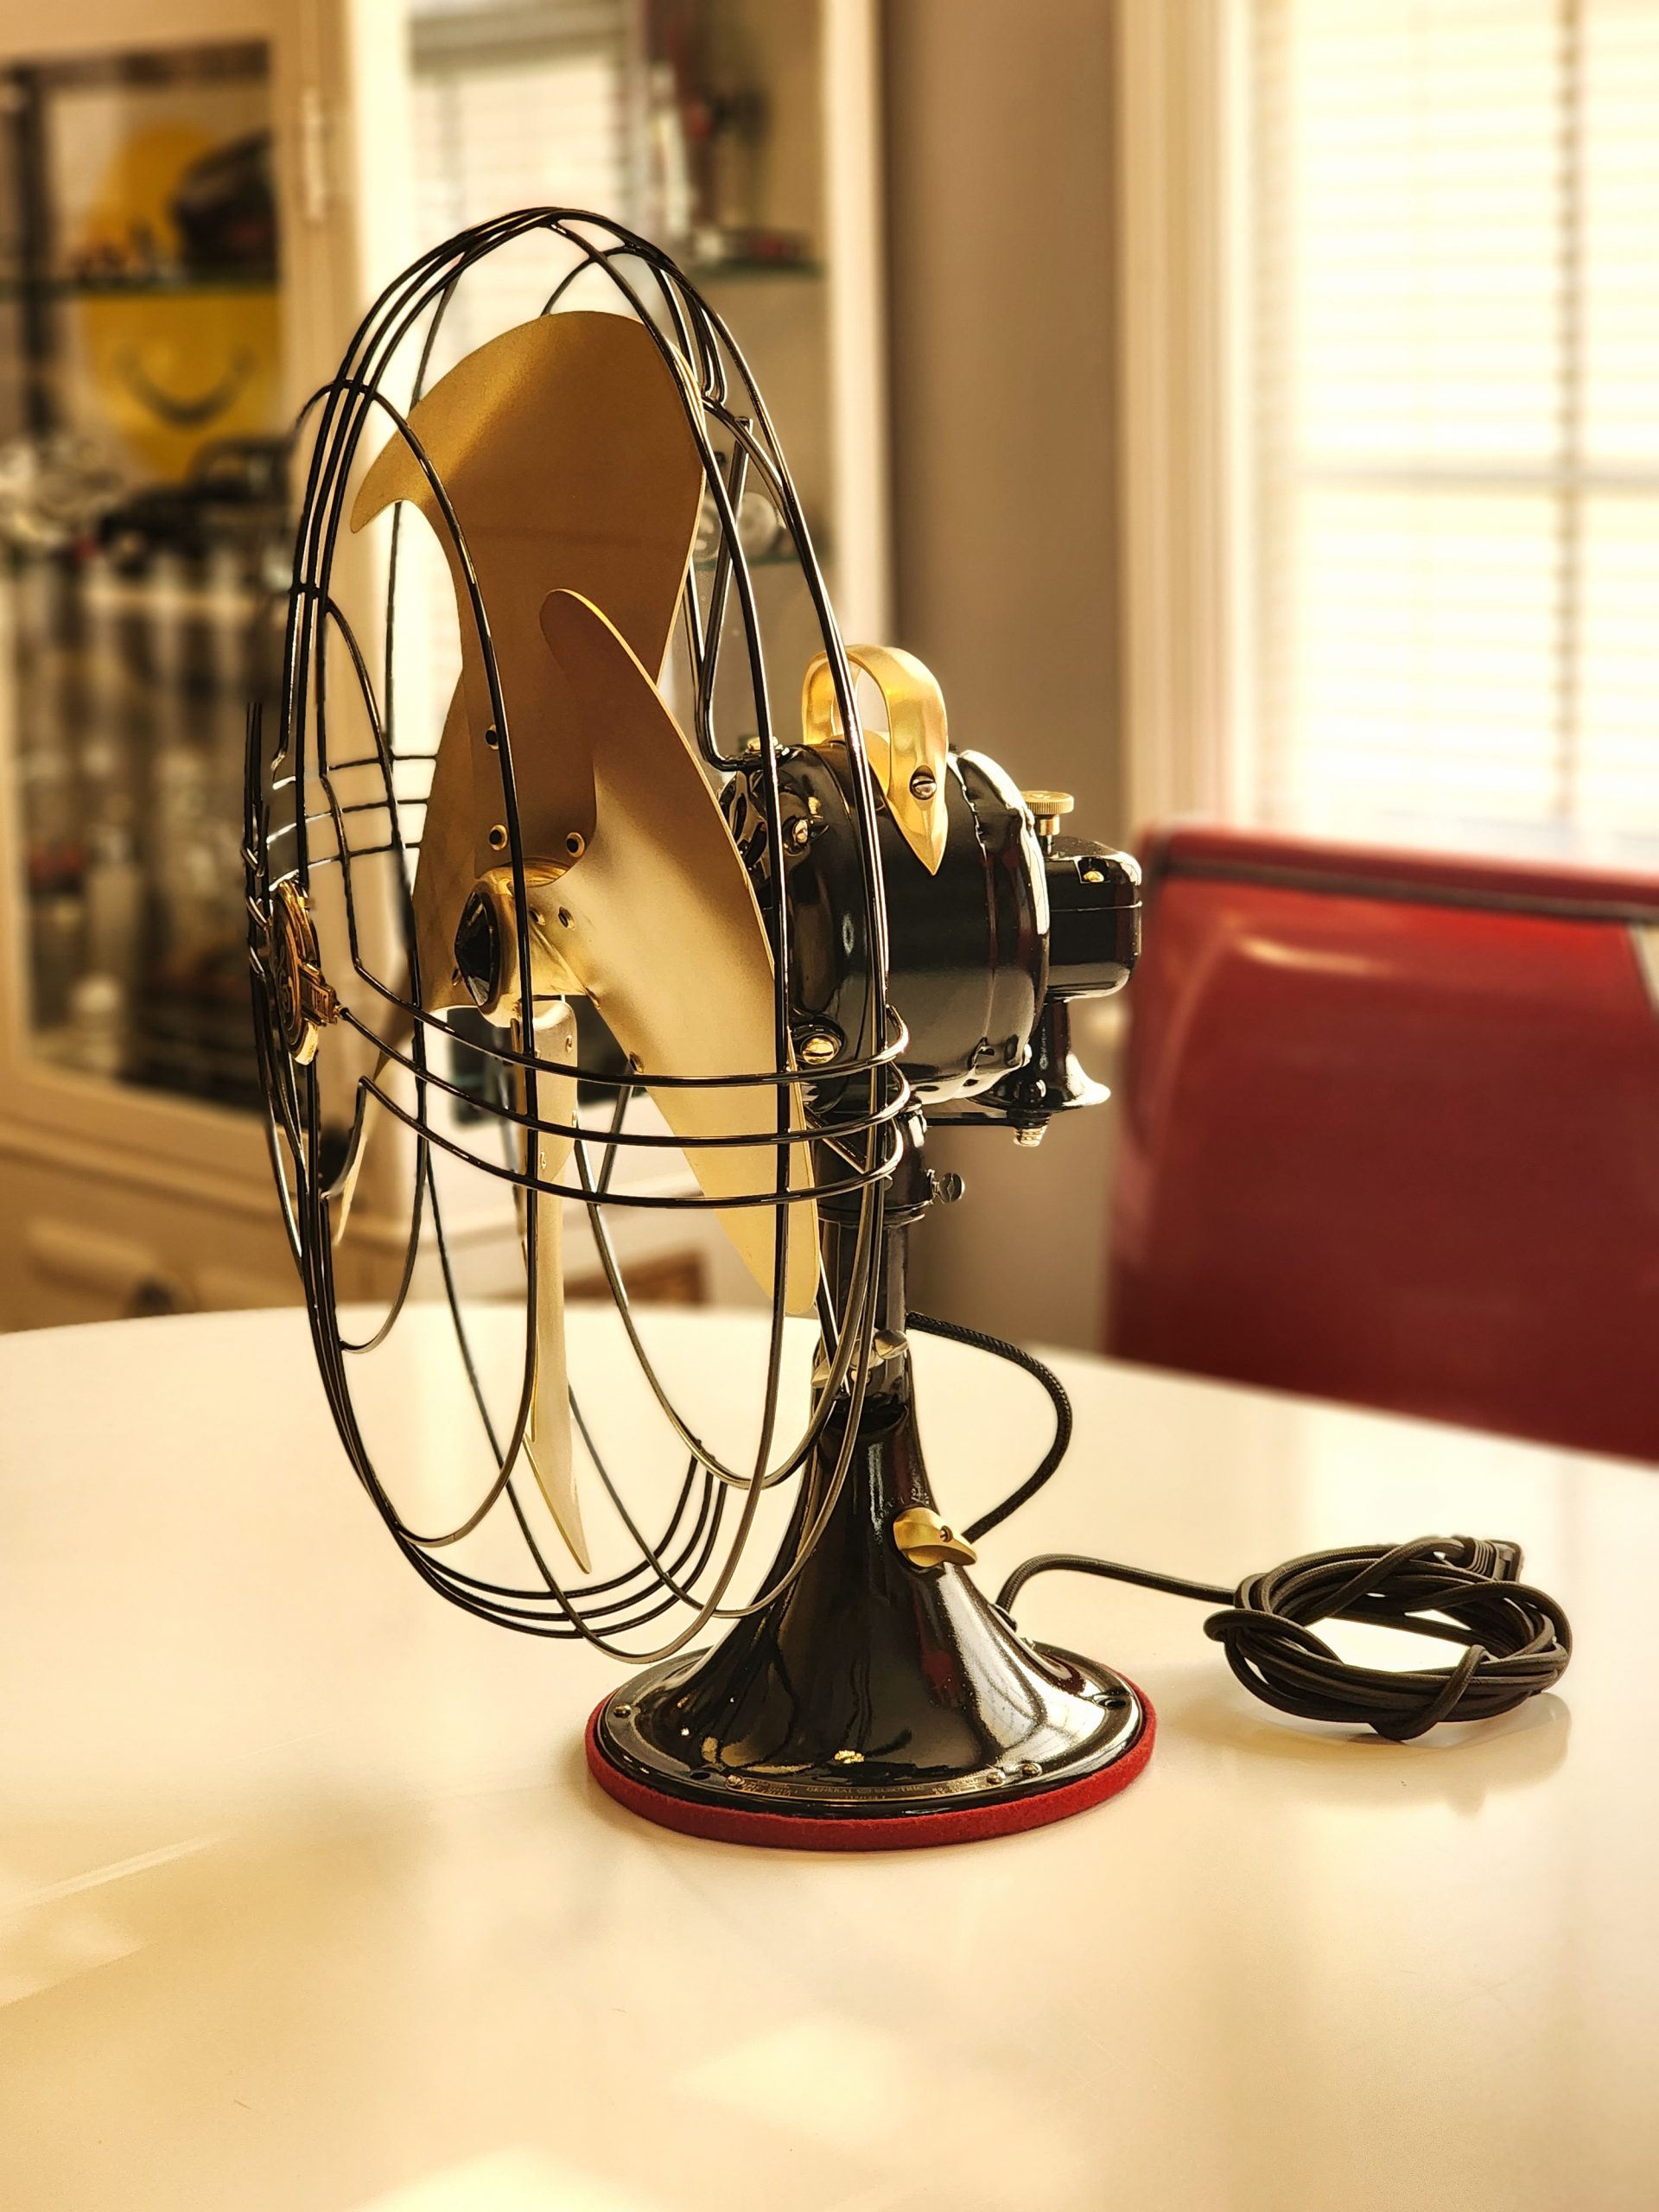
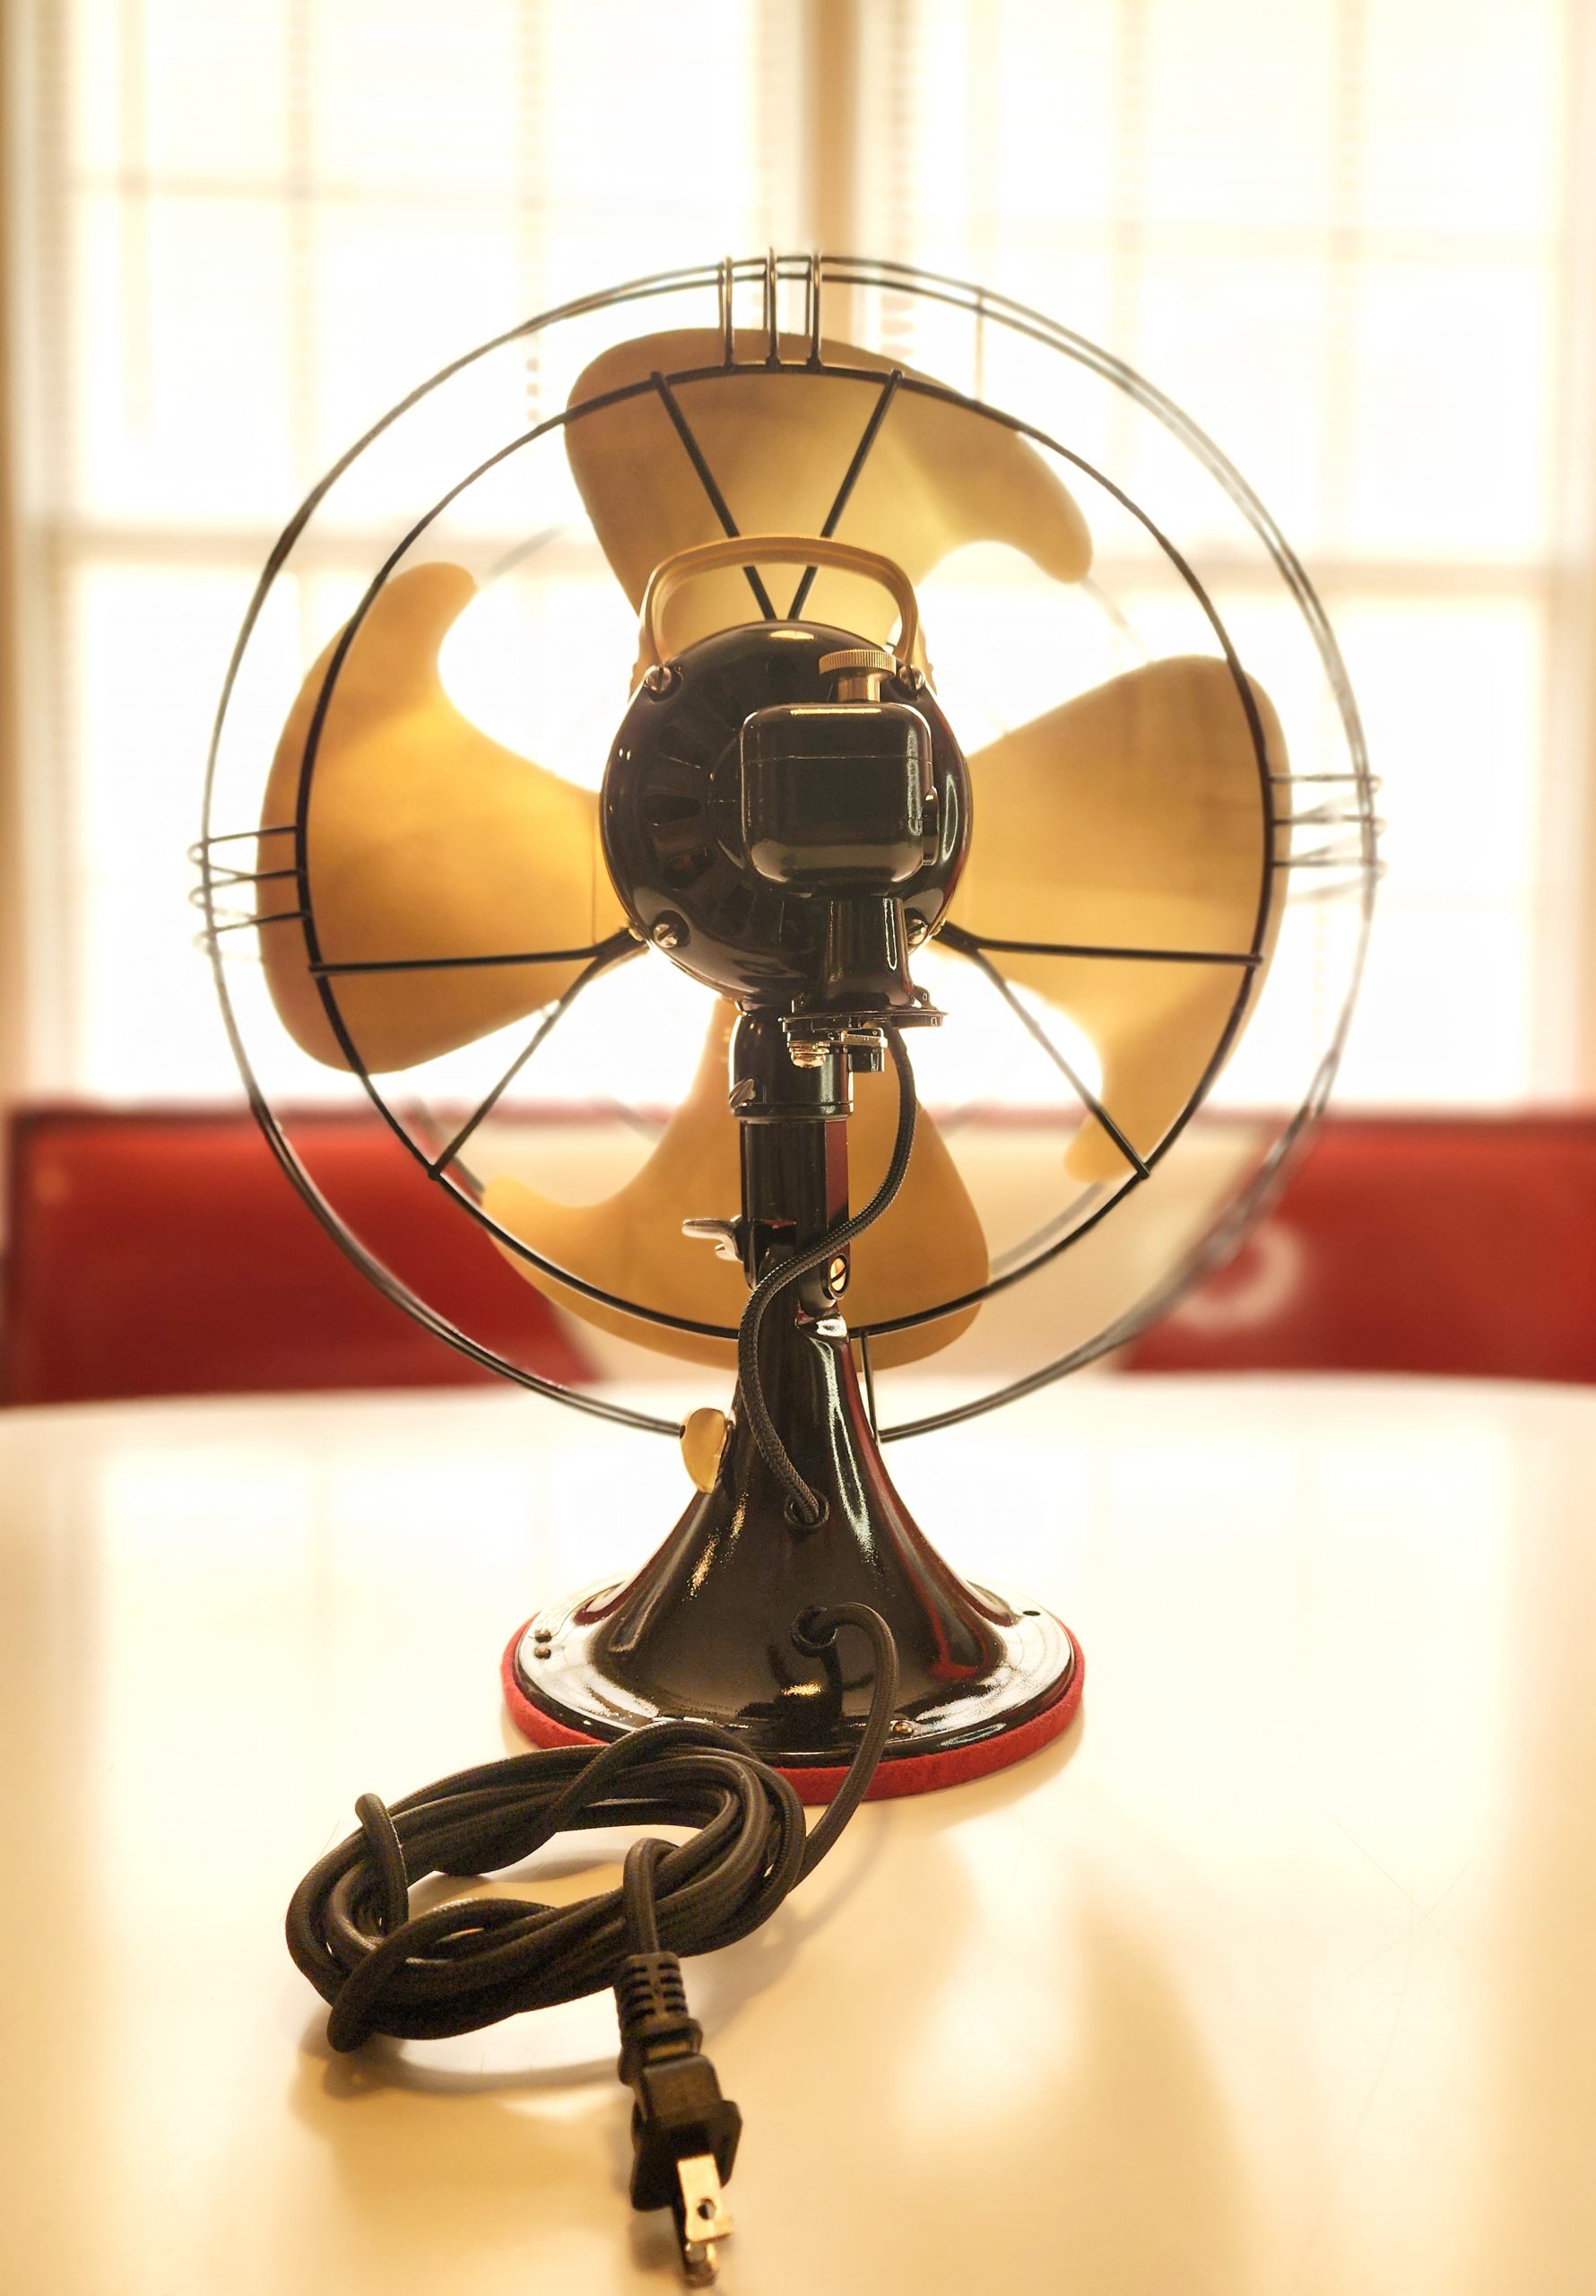
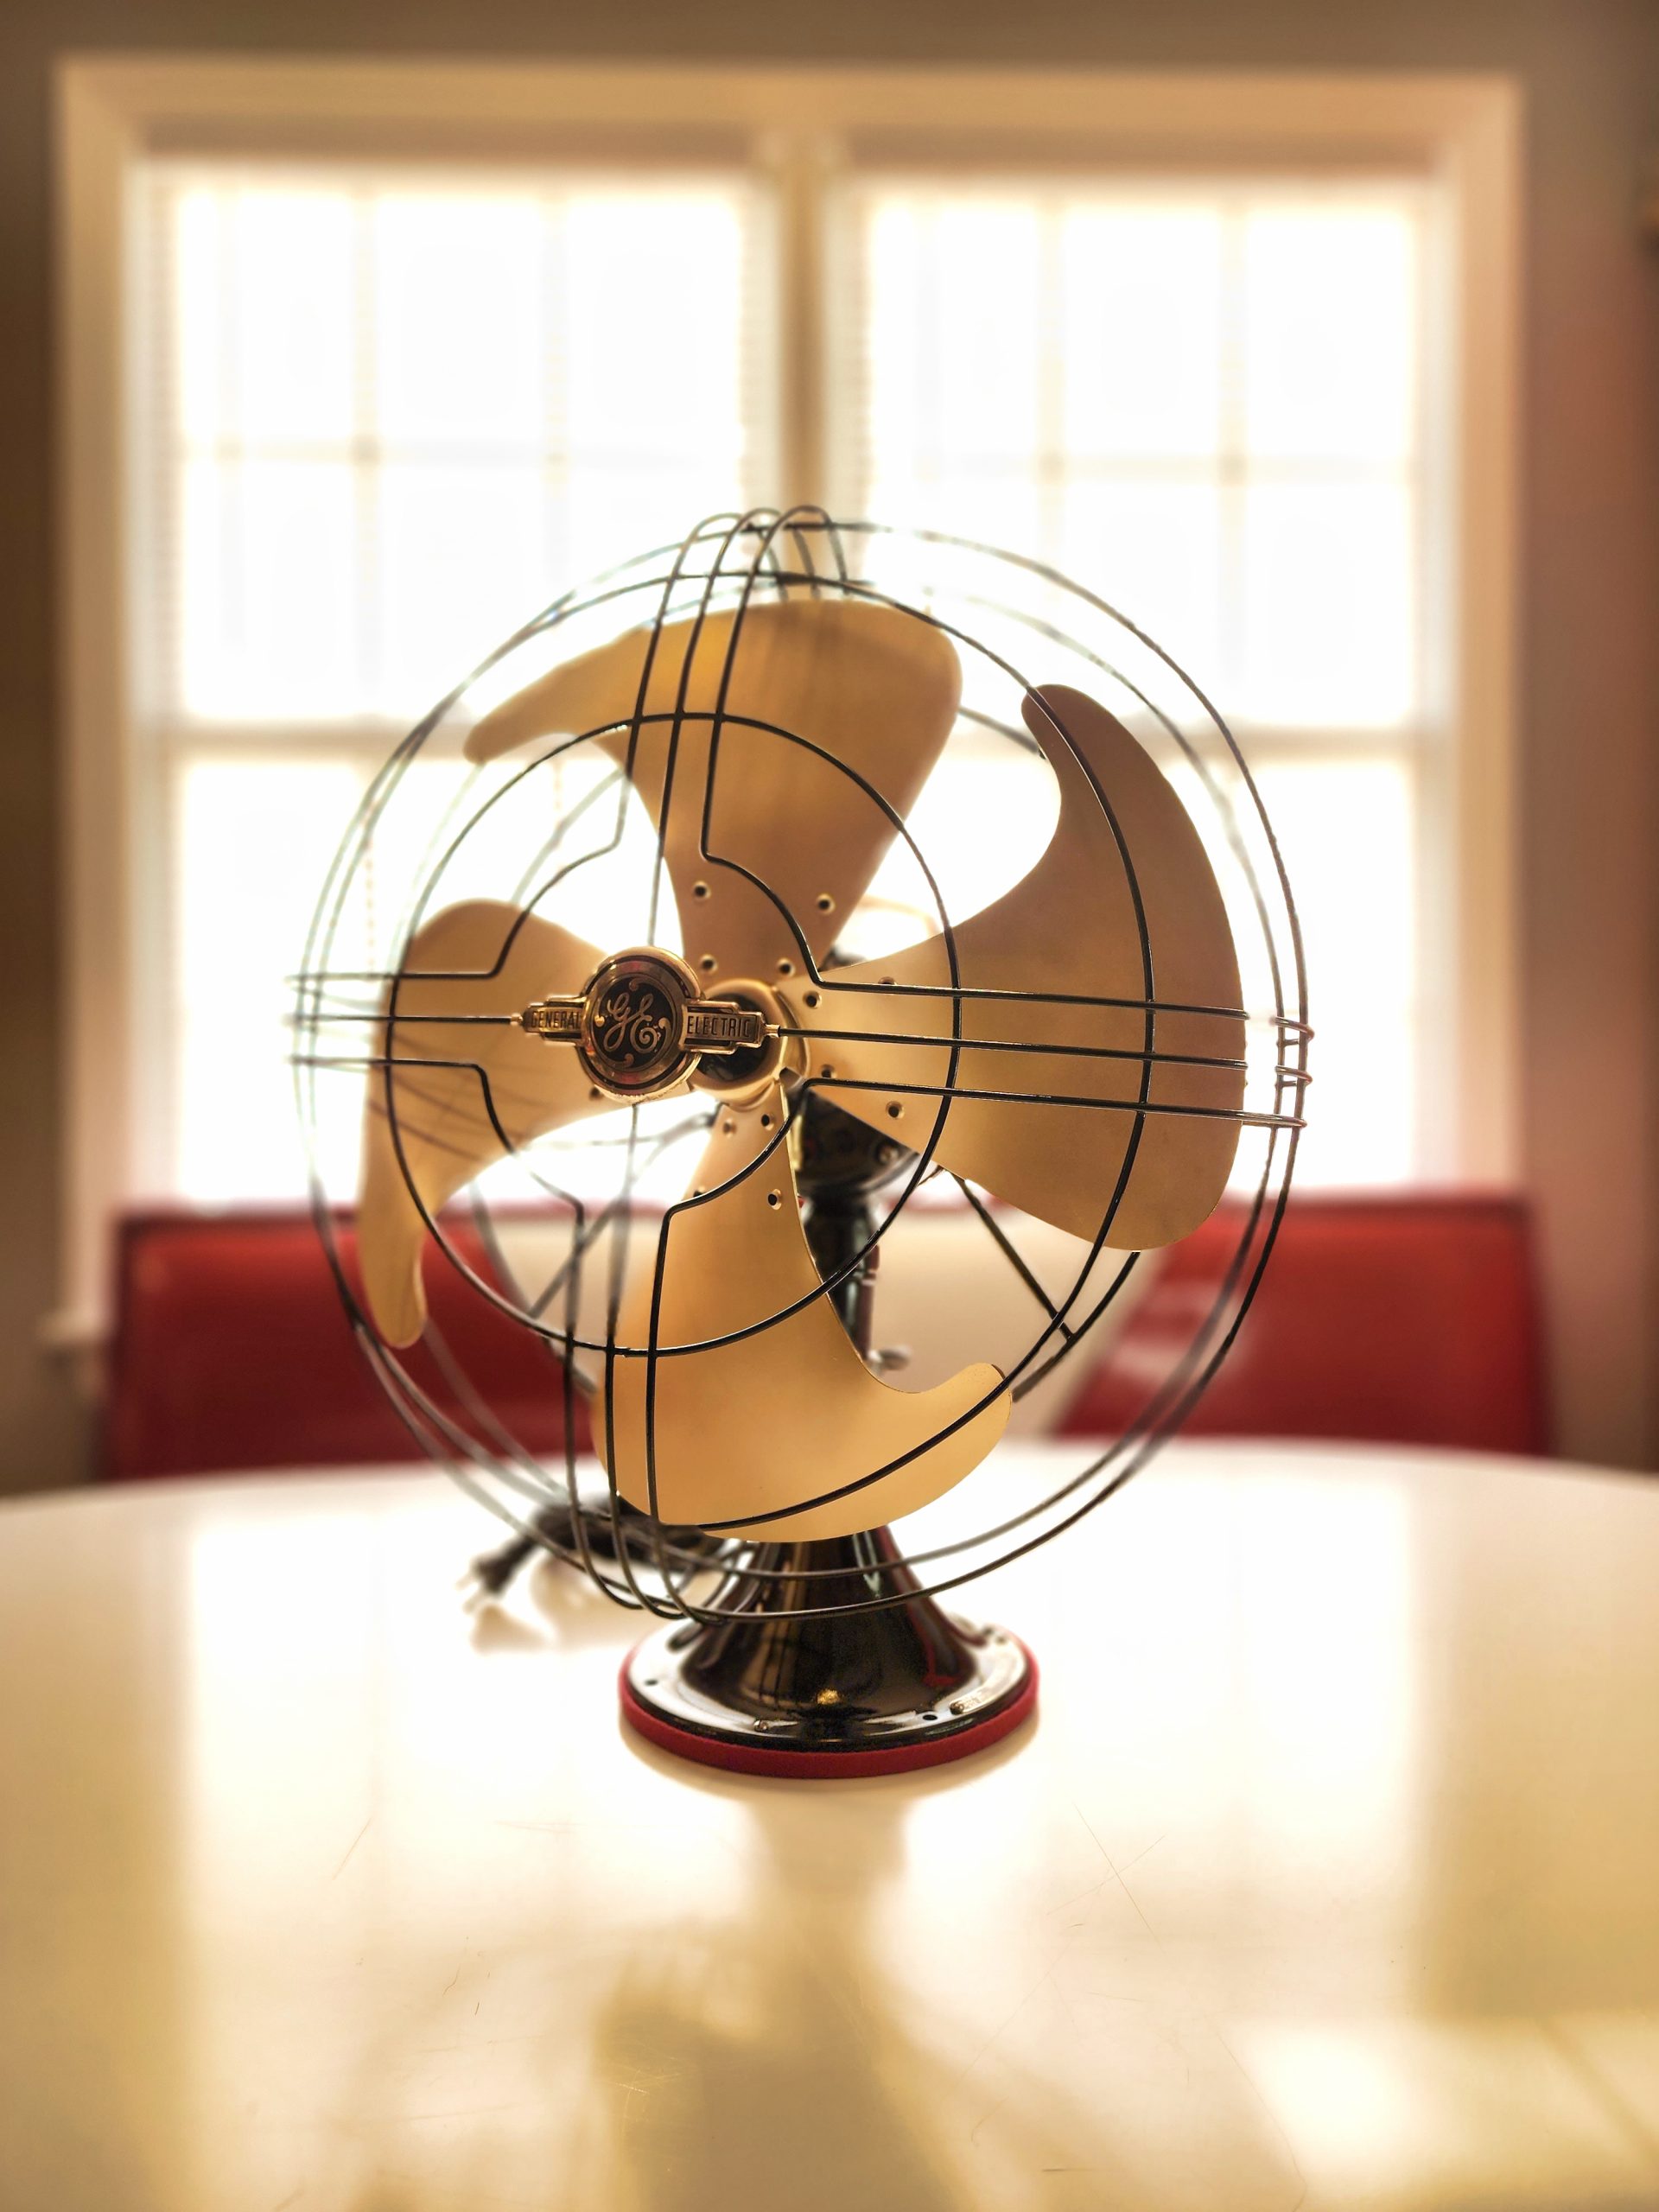
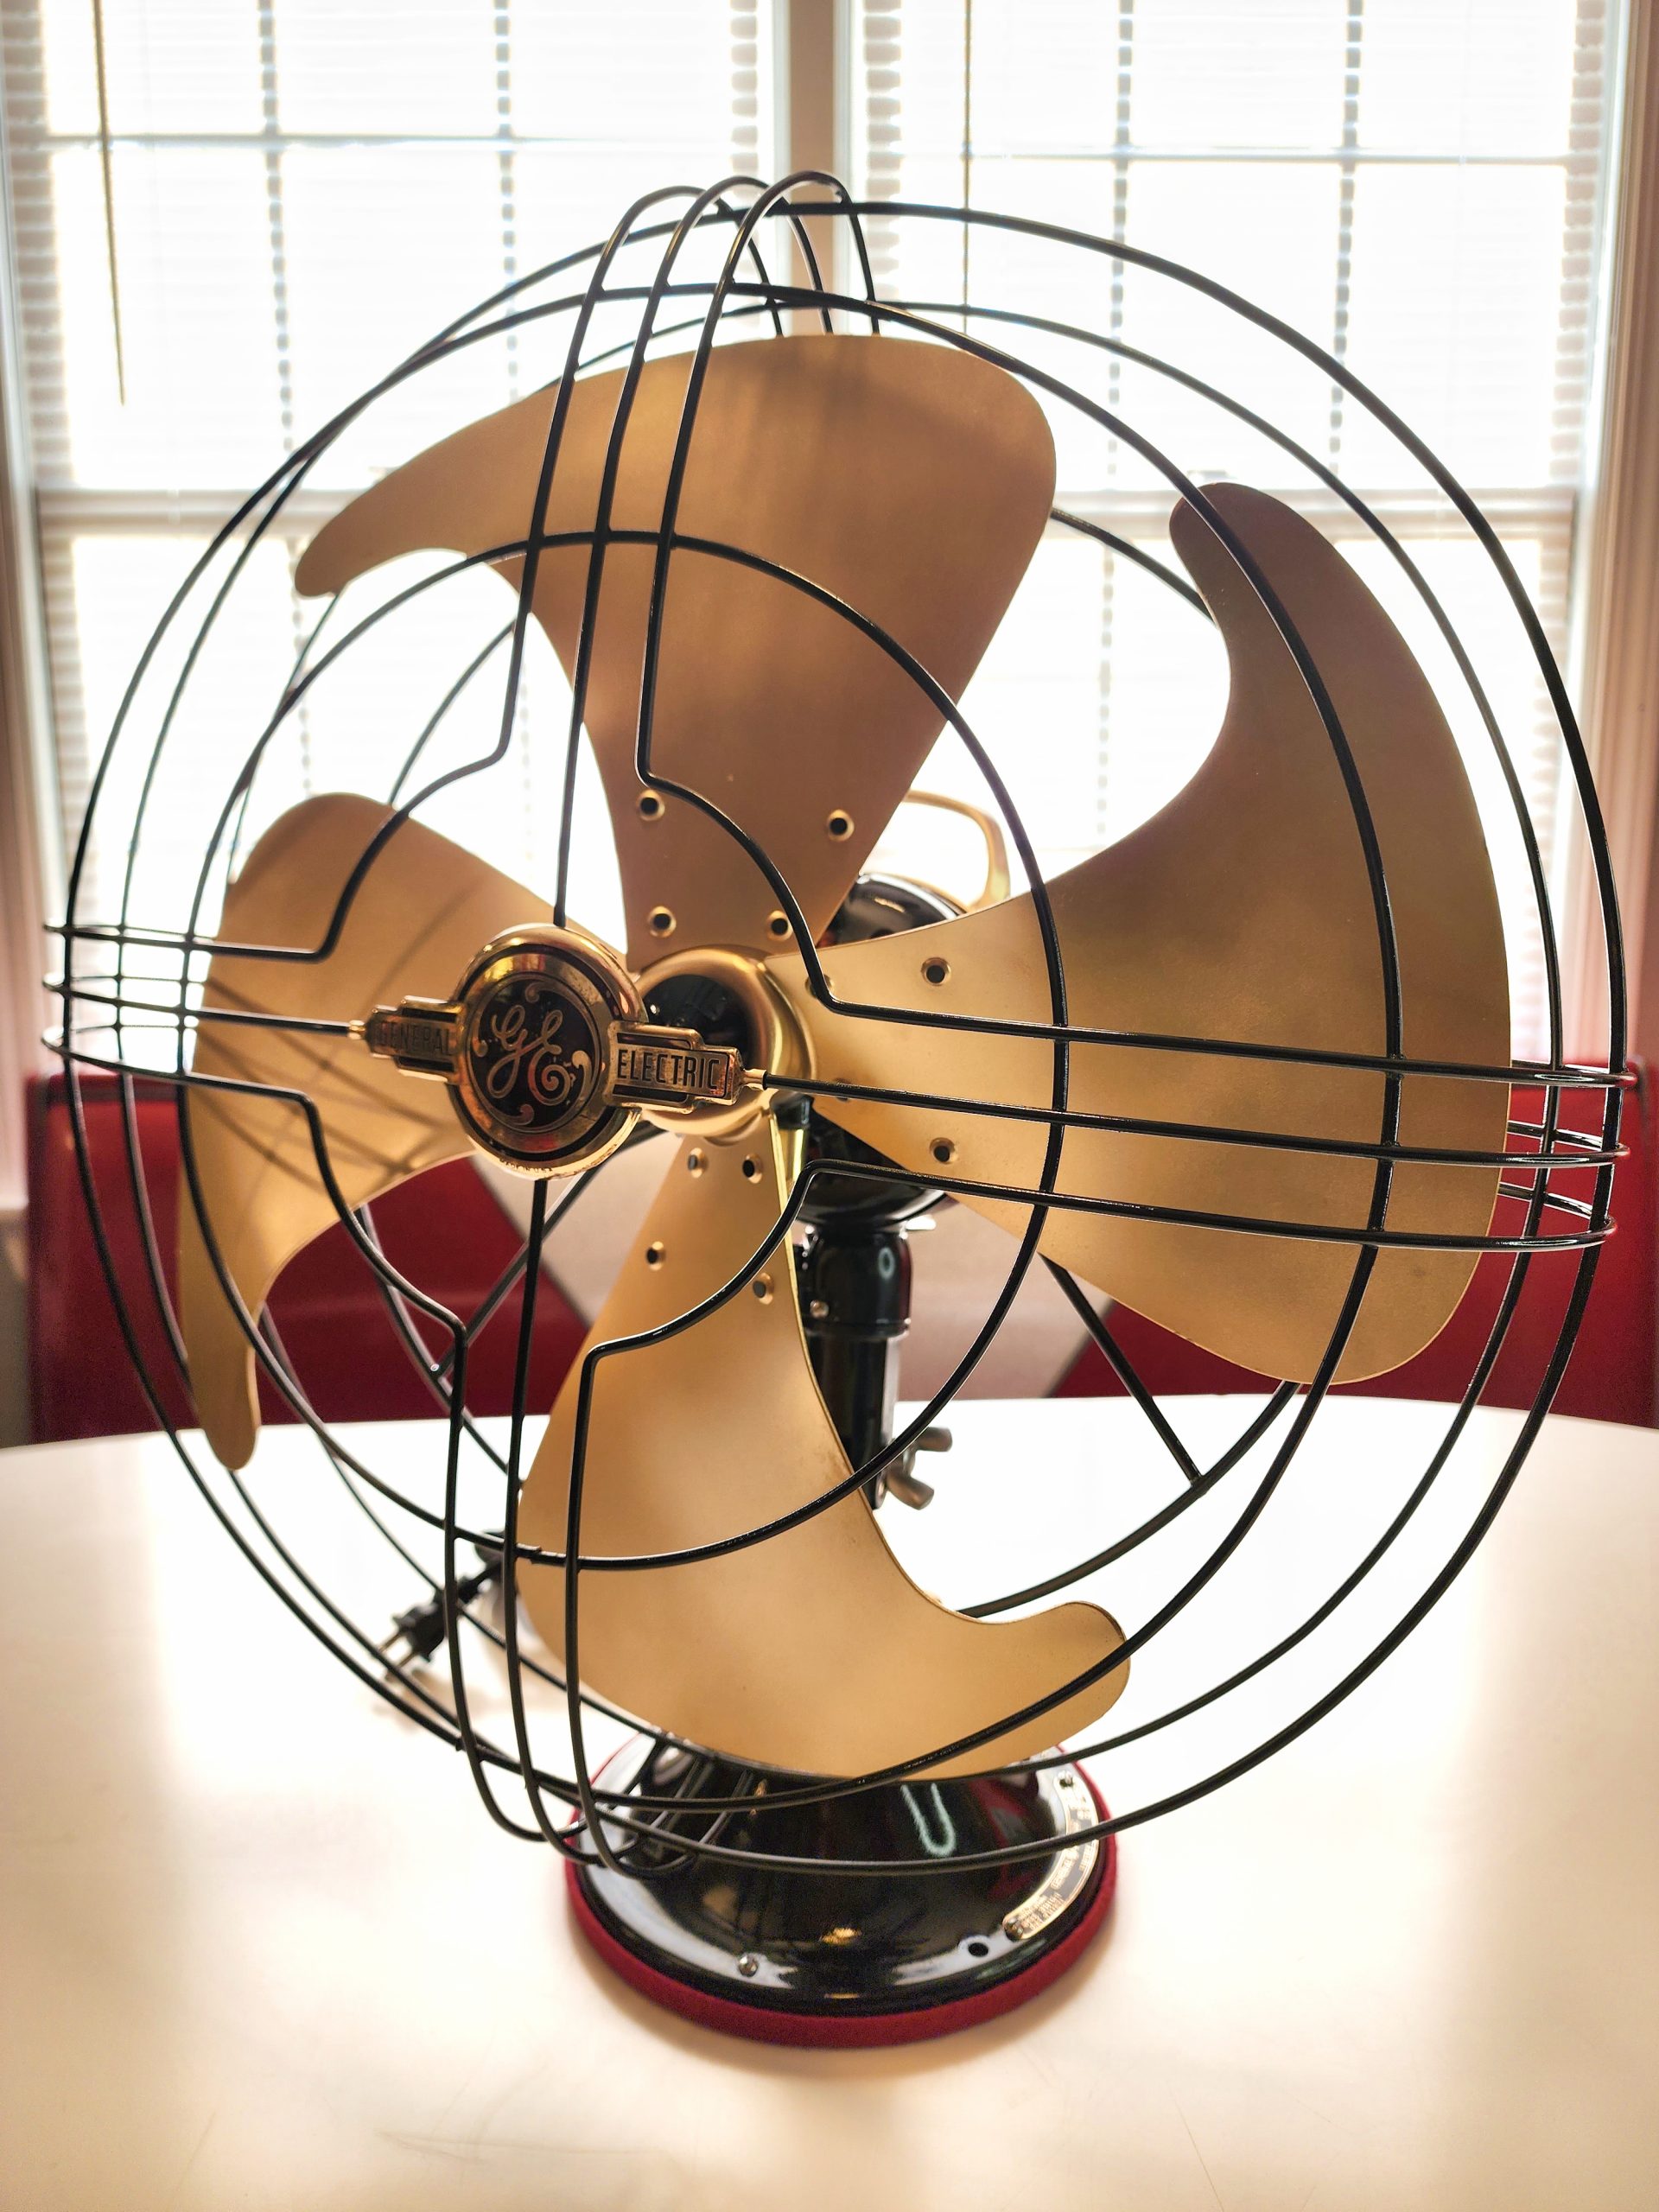
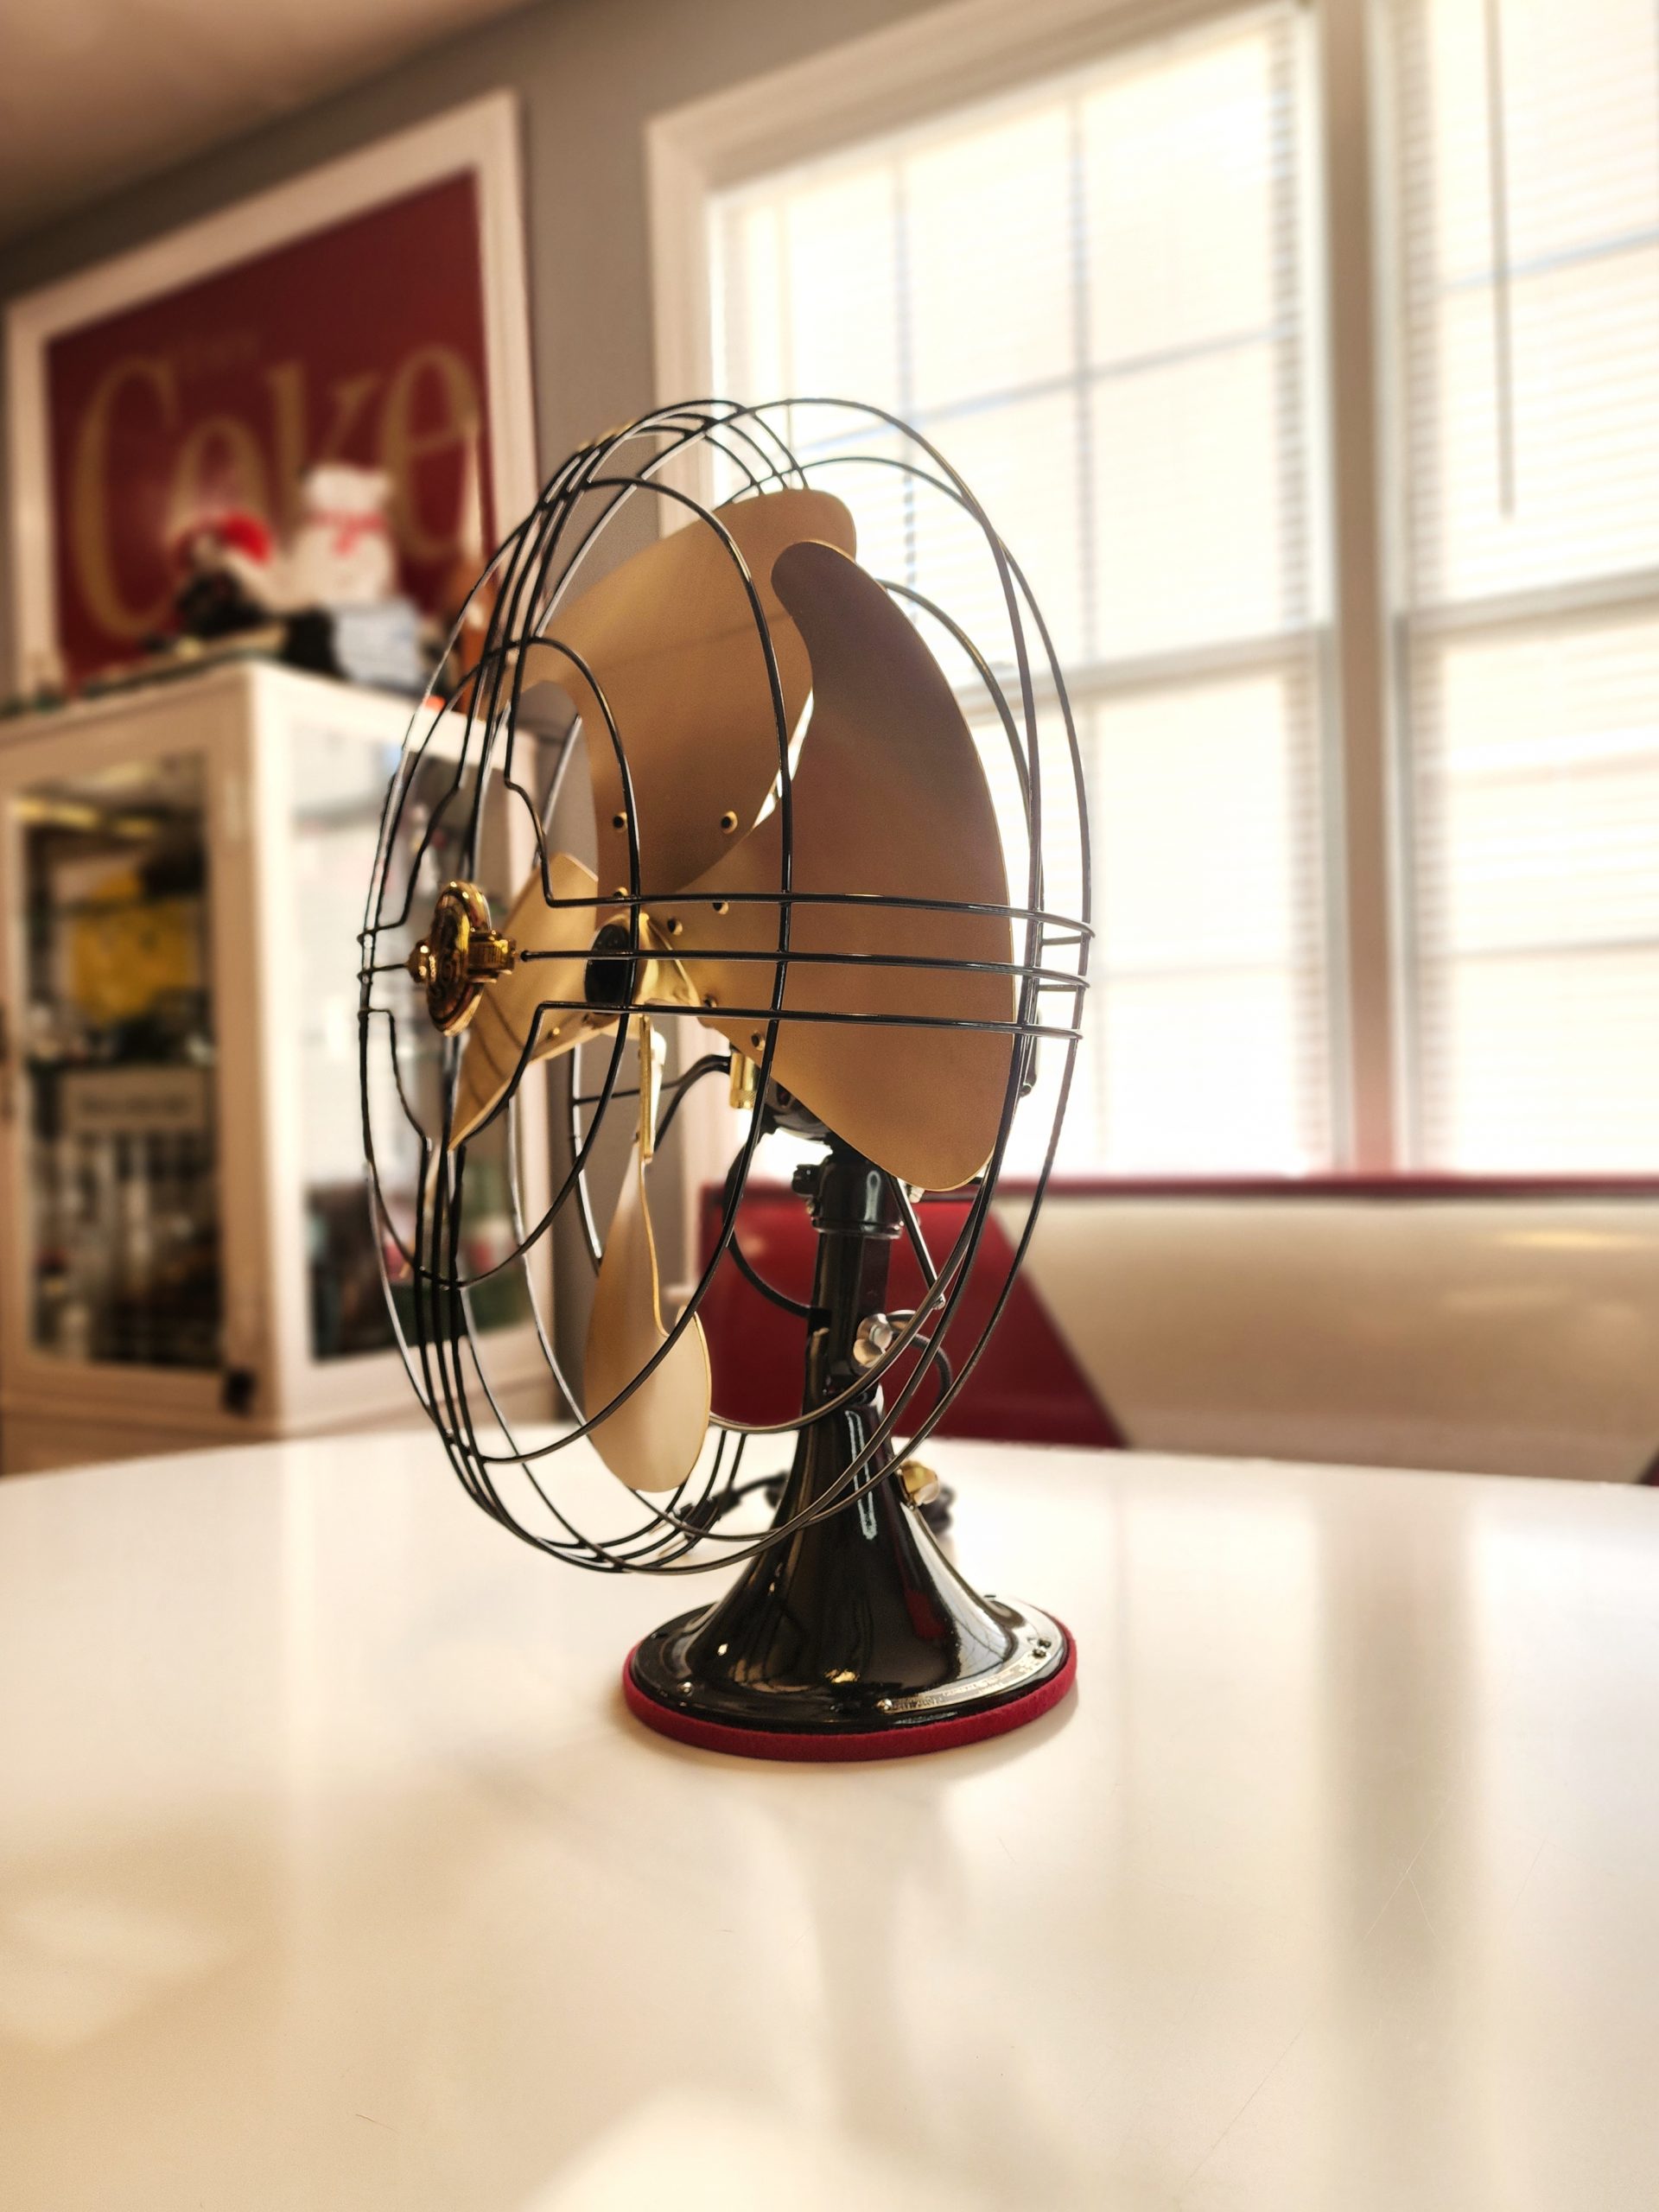
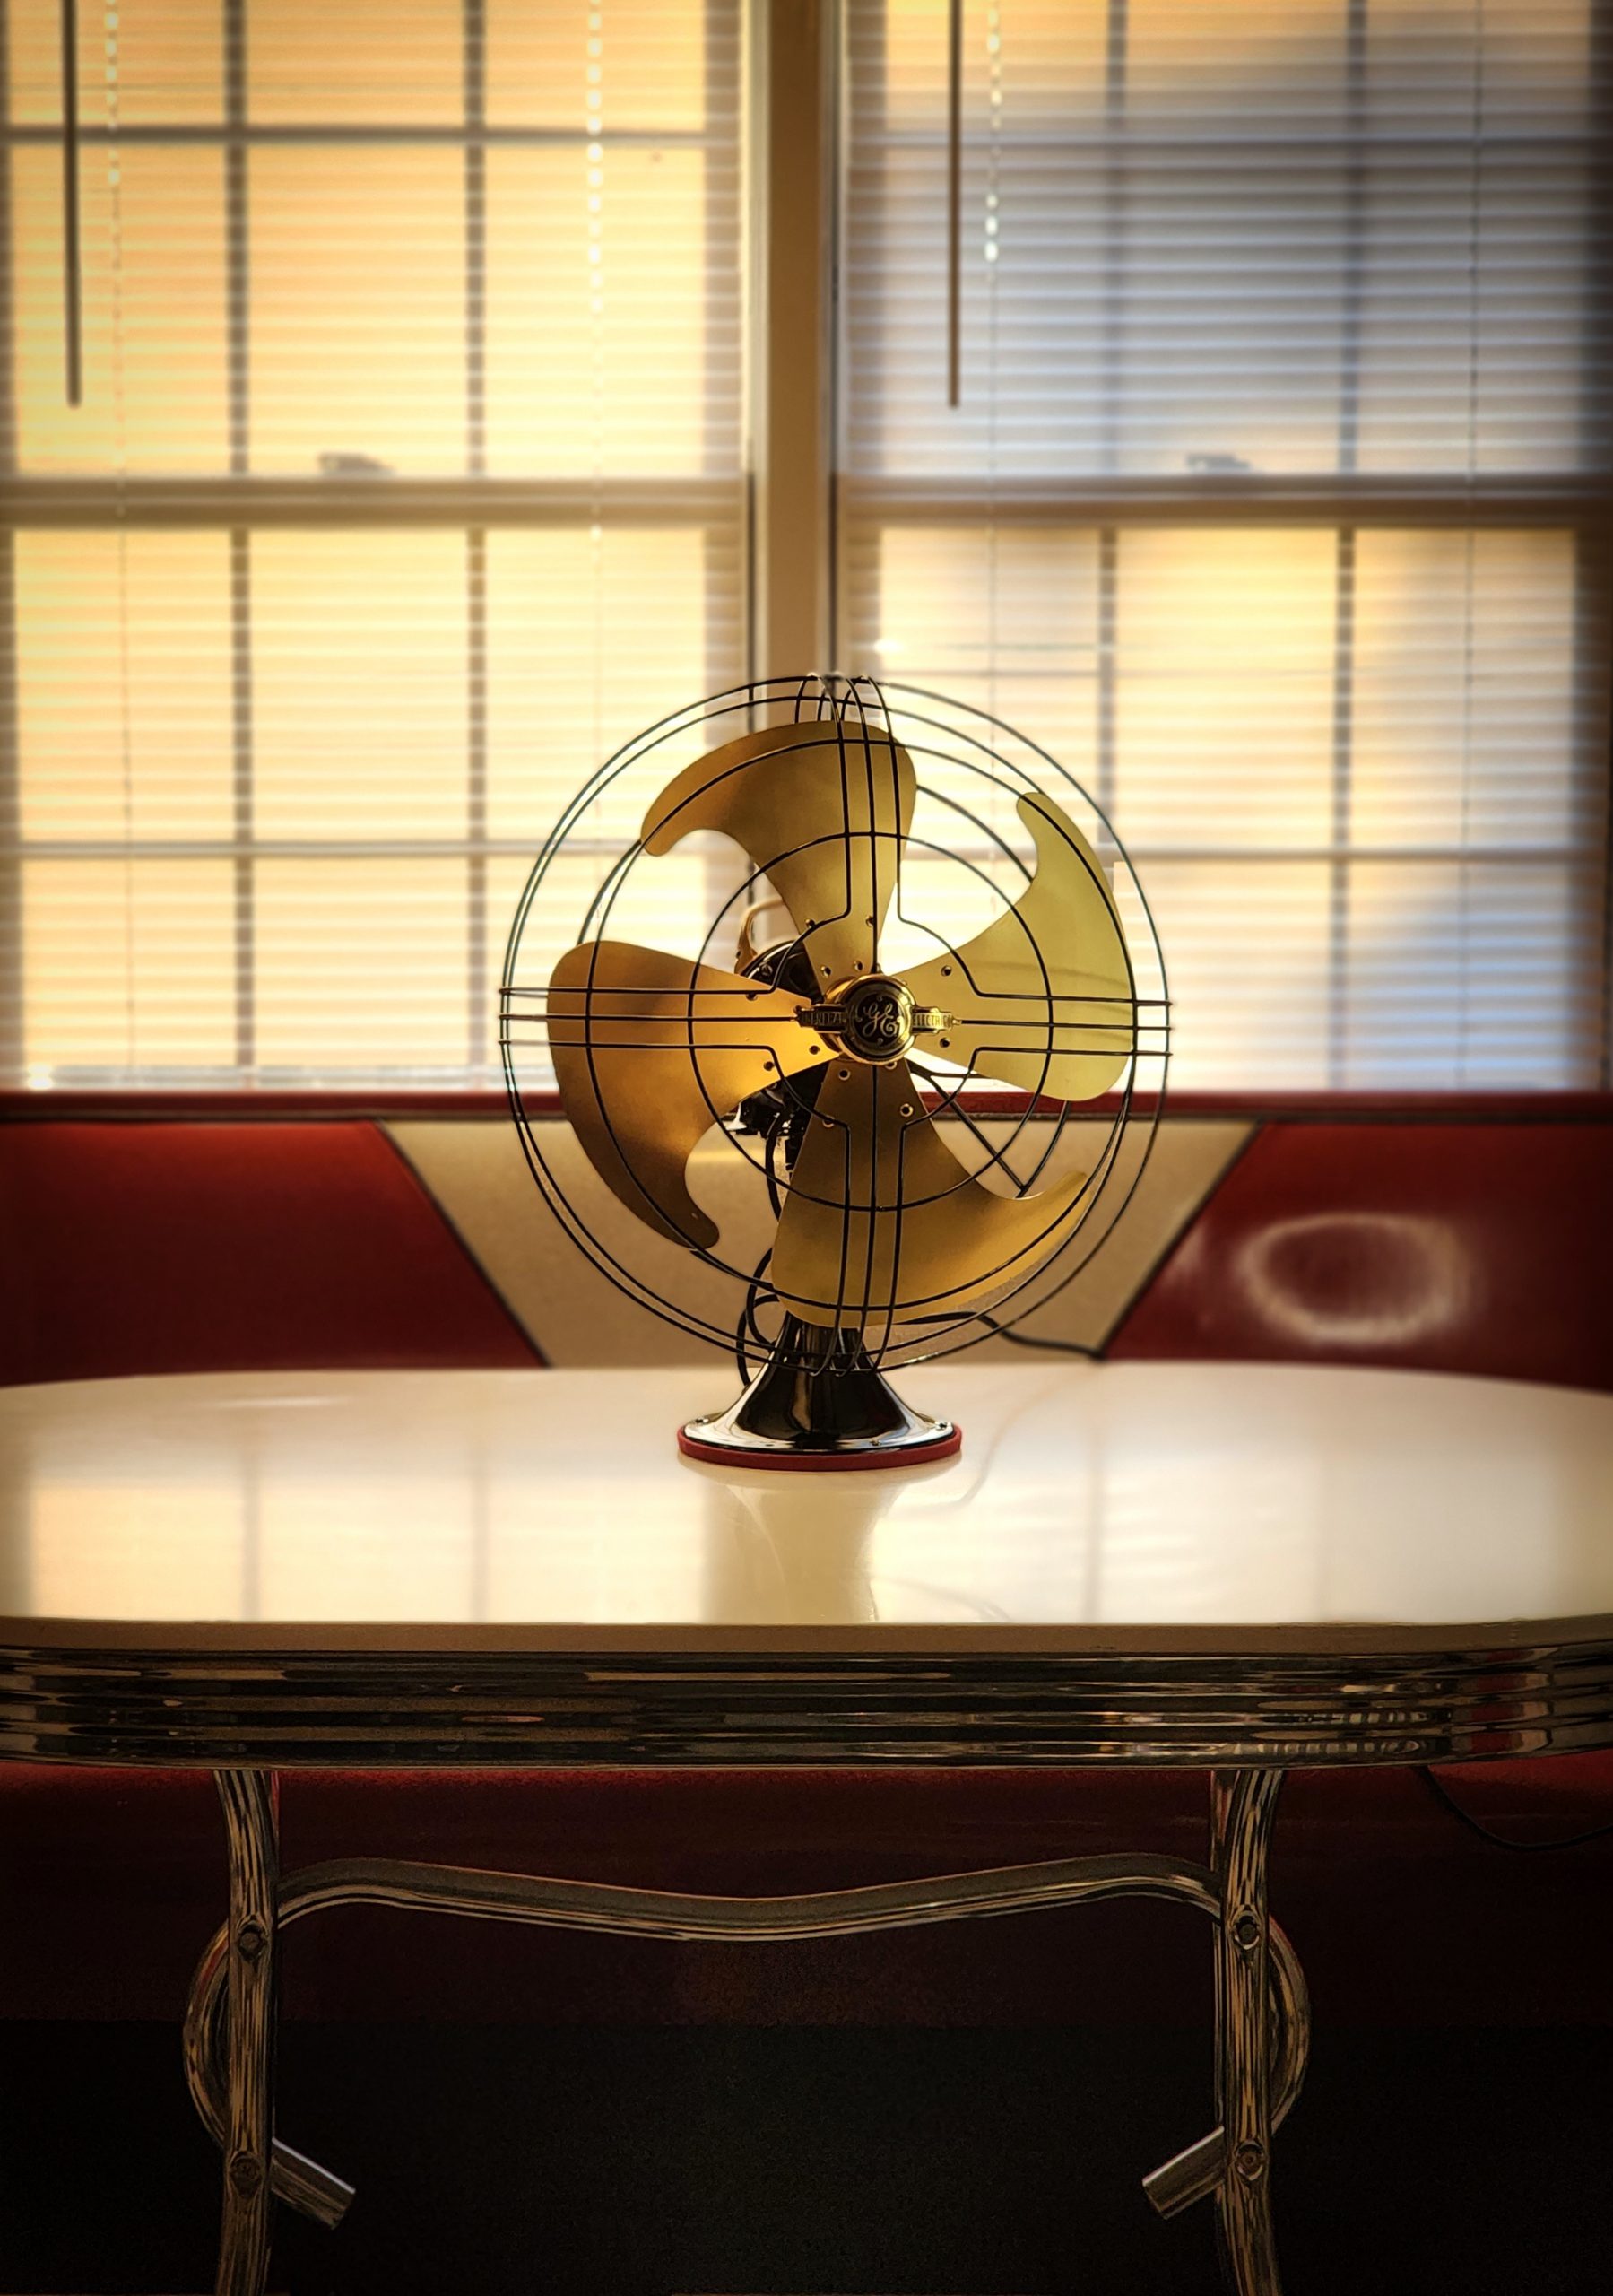
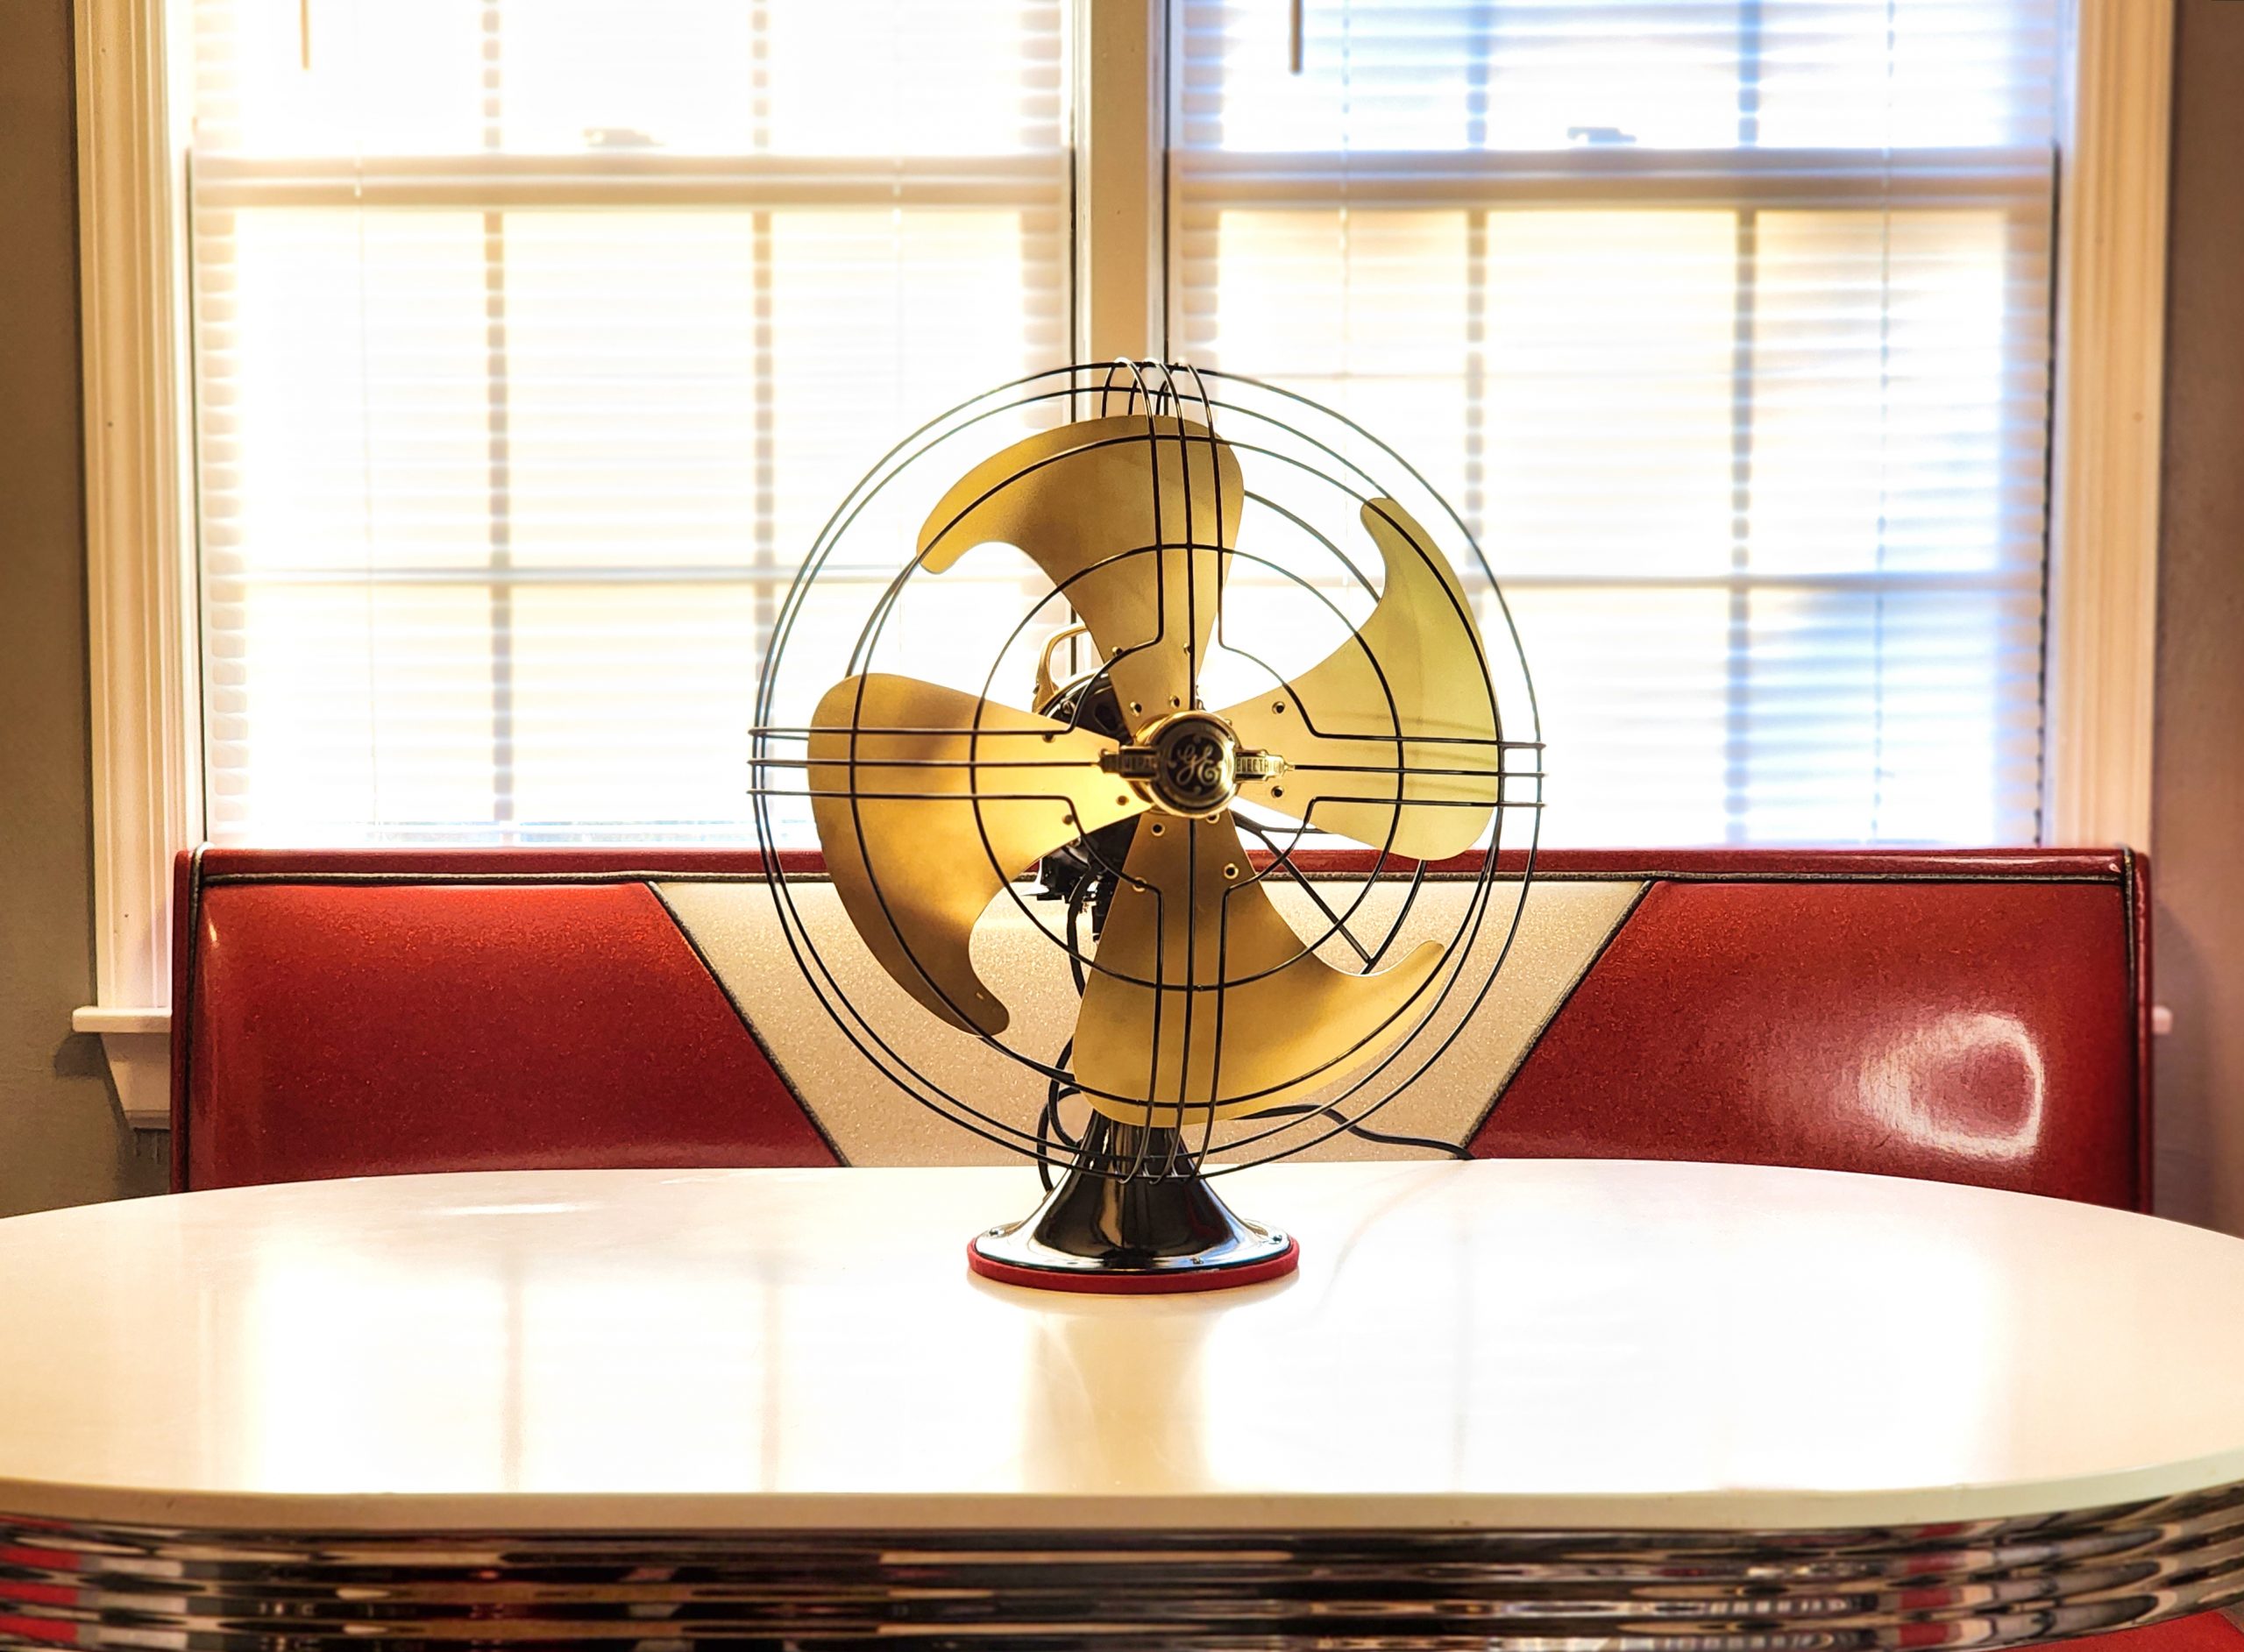
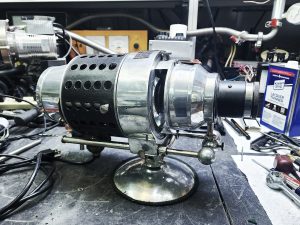
I could not pass up a chance to get one of these art deco fans from the 40’s This one was in rough shape but all there! This was the deluxe 3 speed model! The metal cage was crushed in on the top and pushed back so it had to have fallen over at some point. After some time bending it a bit I was able to get it clear of the blades to do some testing of it.
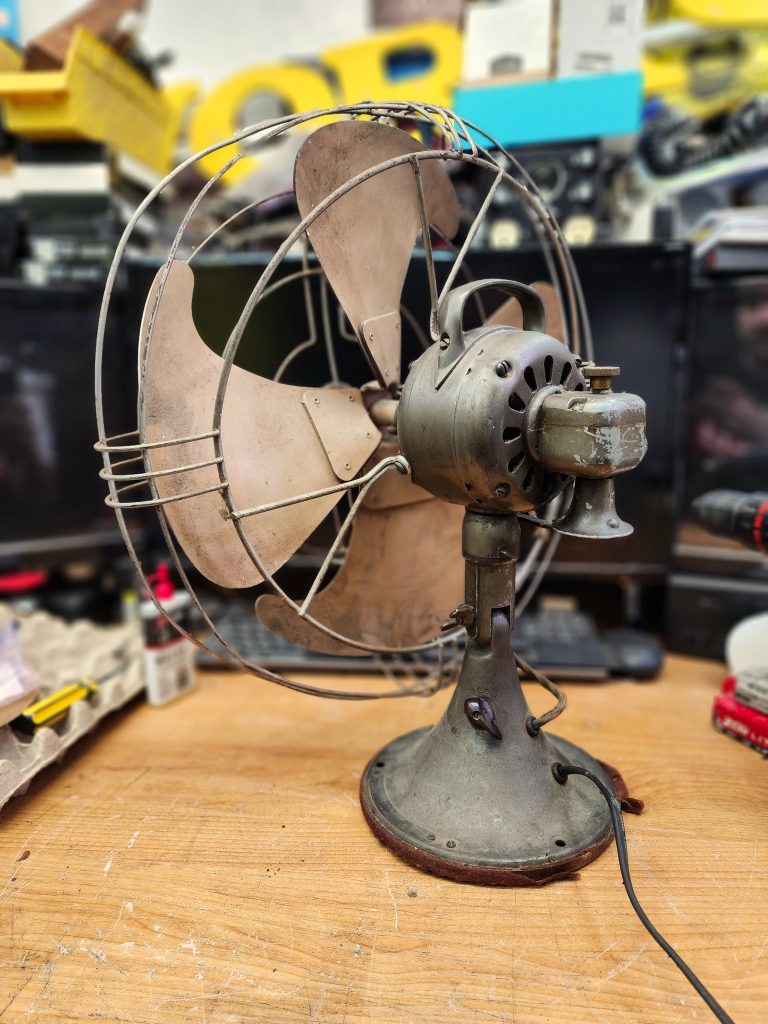
Well hot damn, all features work! Now the crazy part, tear it all apart and start blasting down to bare metal!
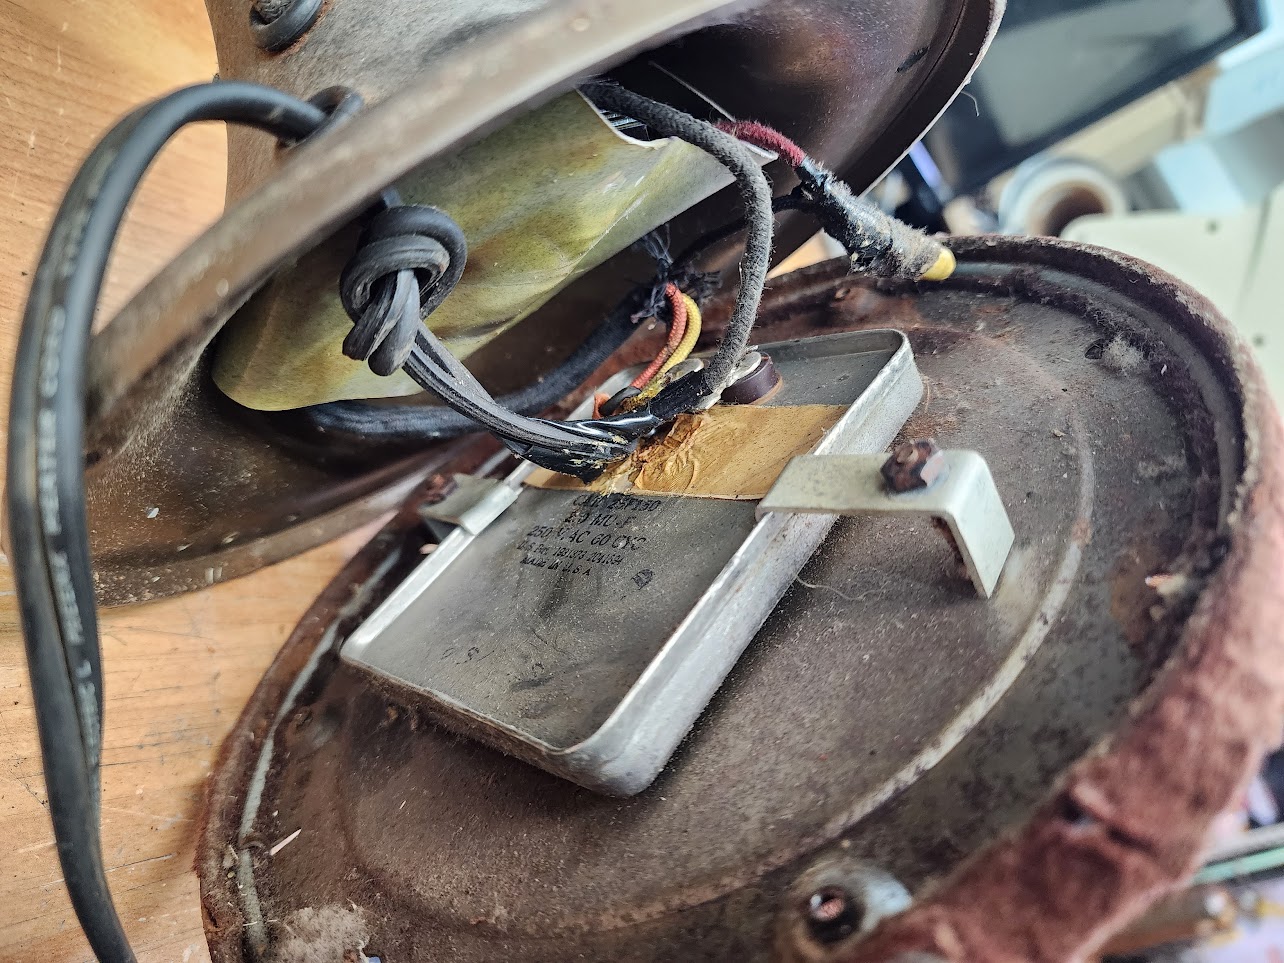
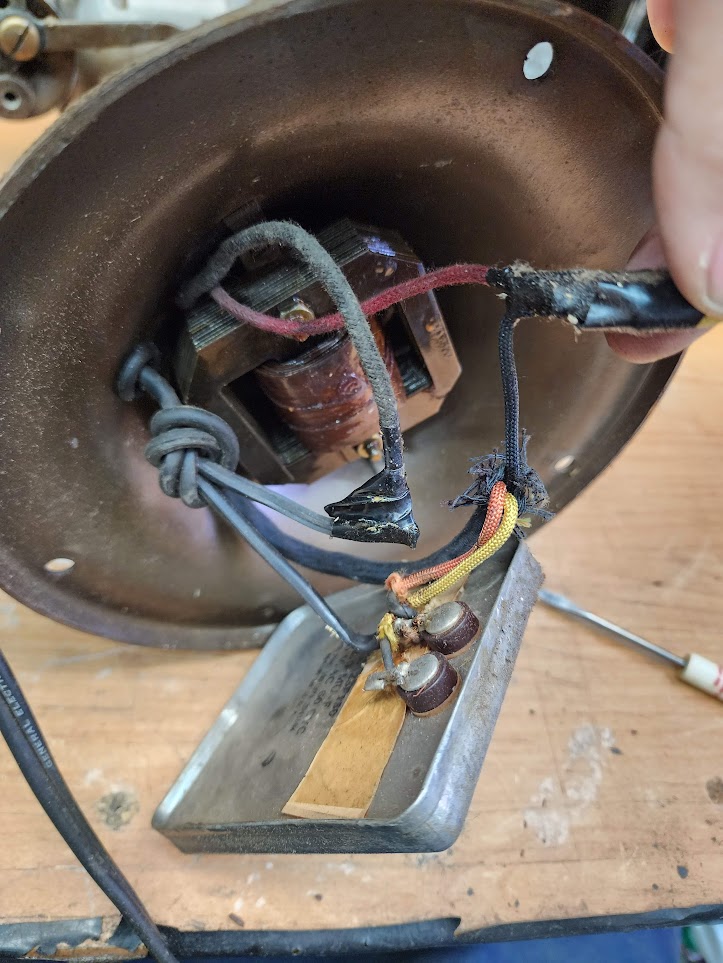
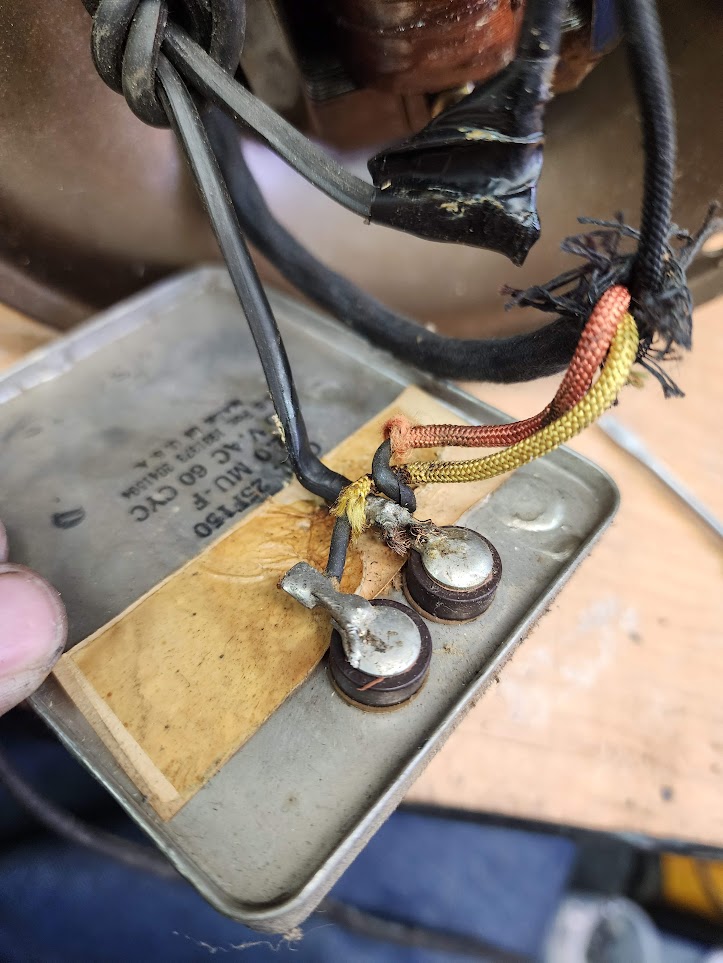

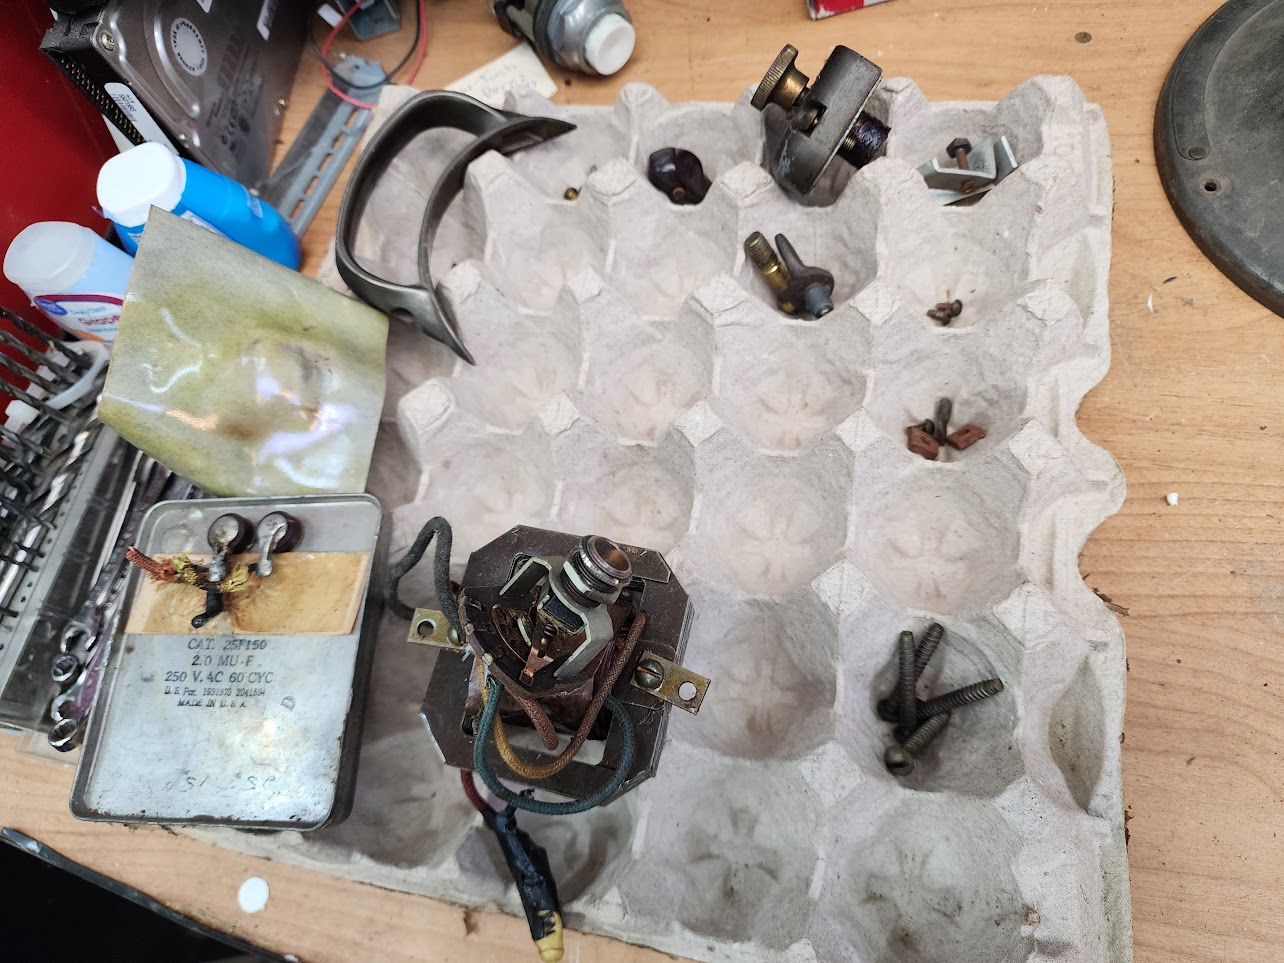
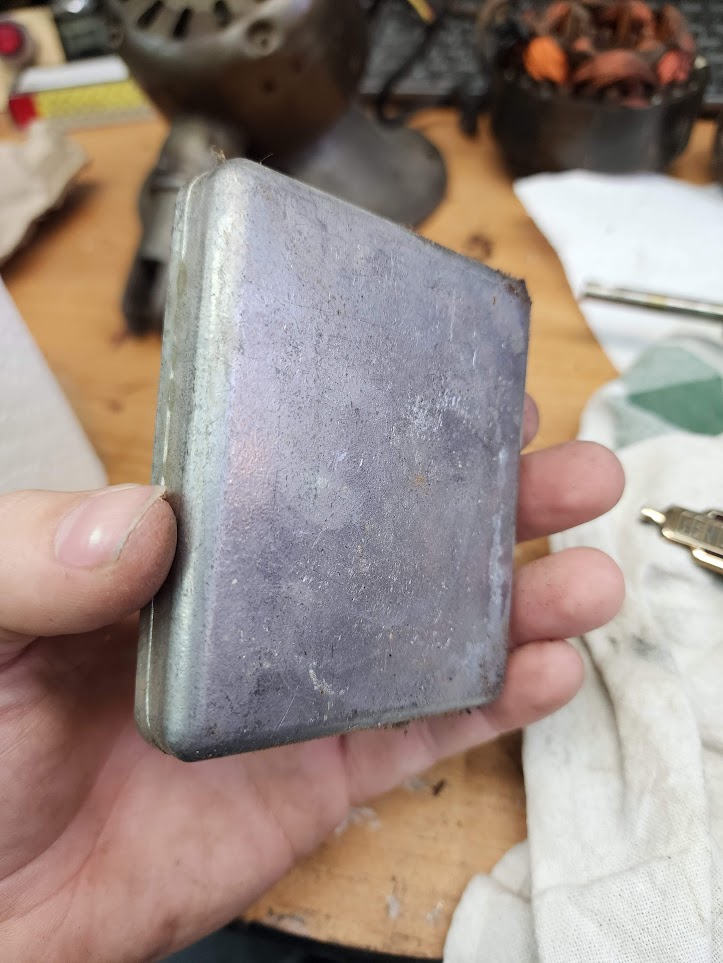
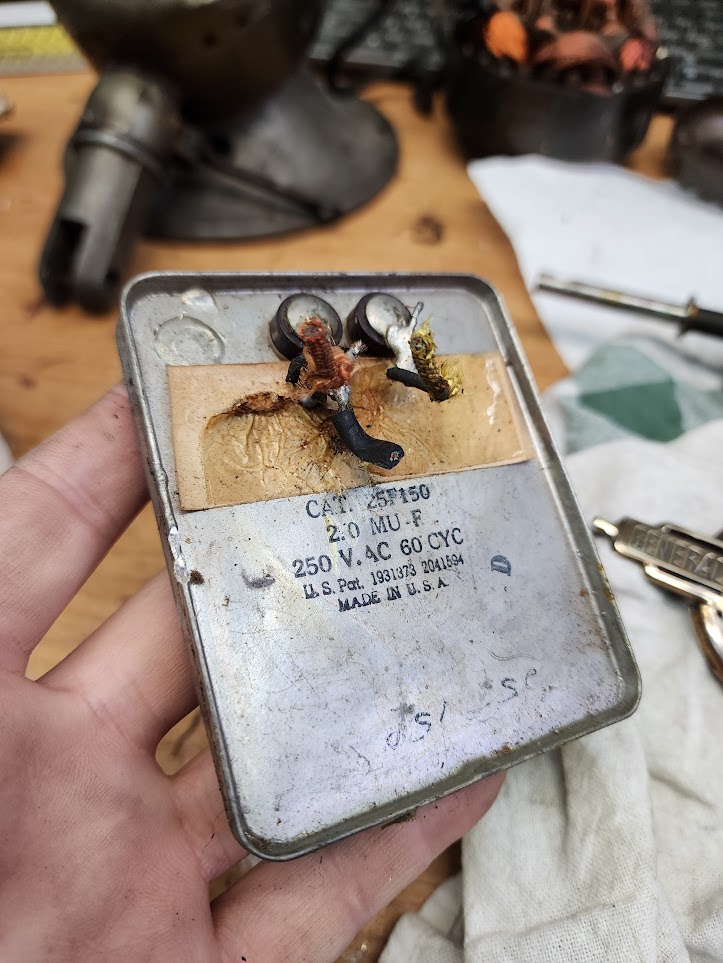
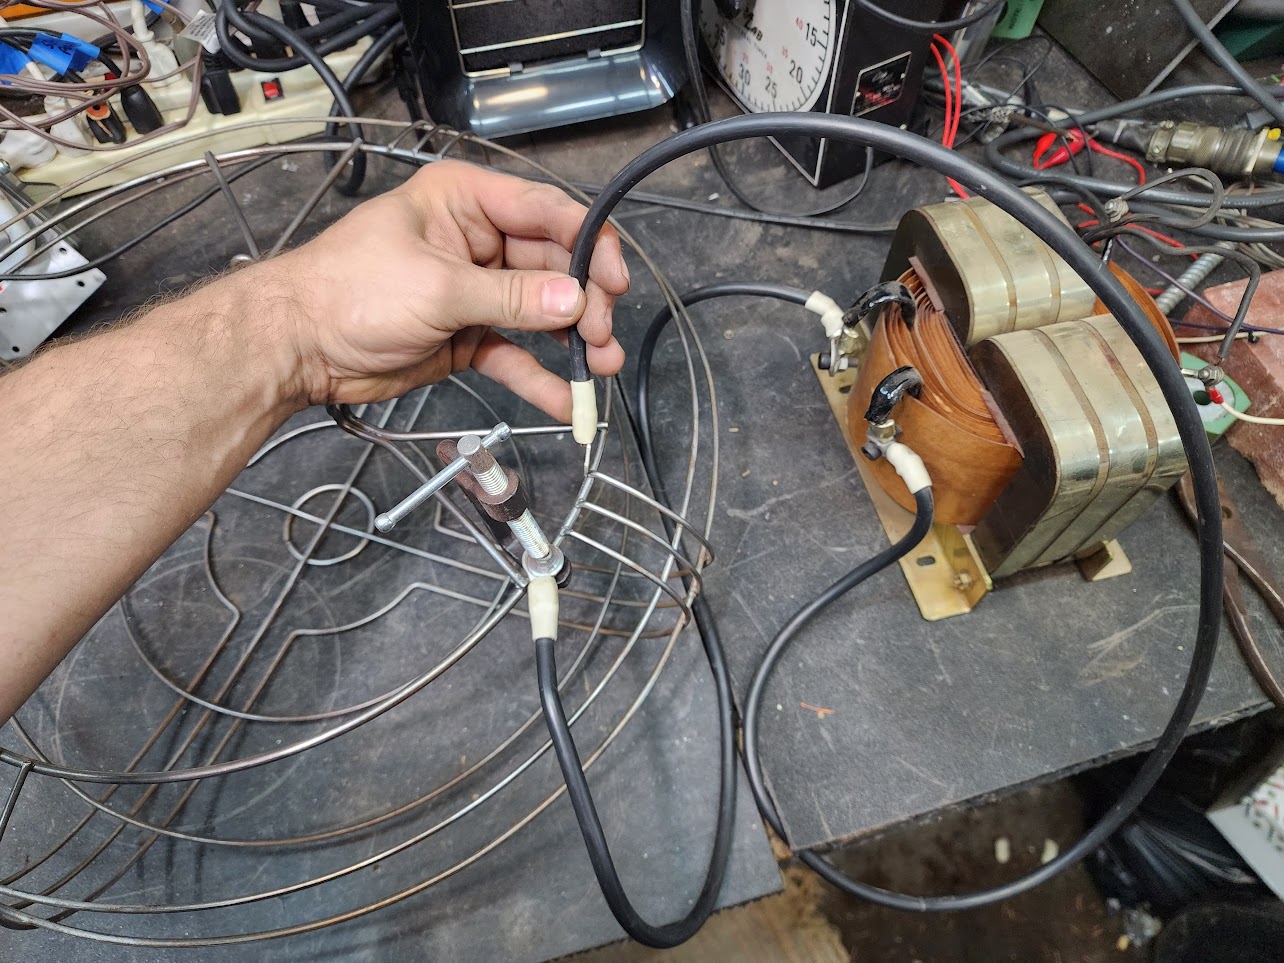
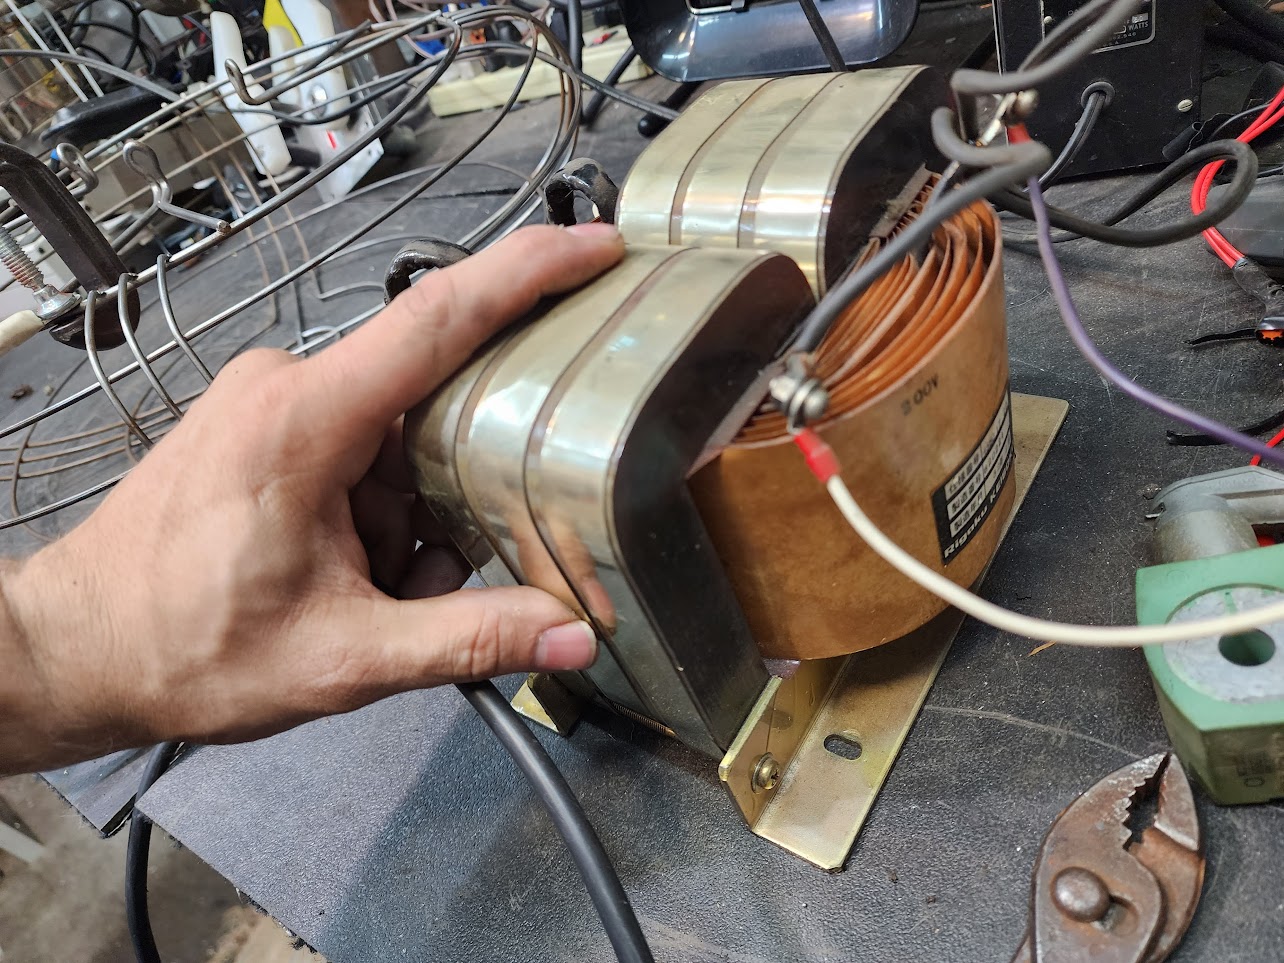
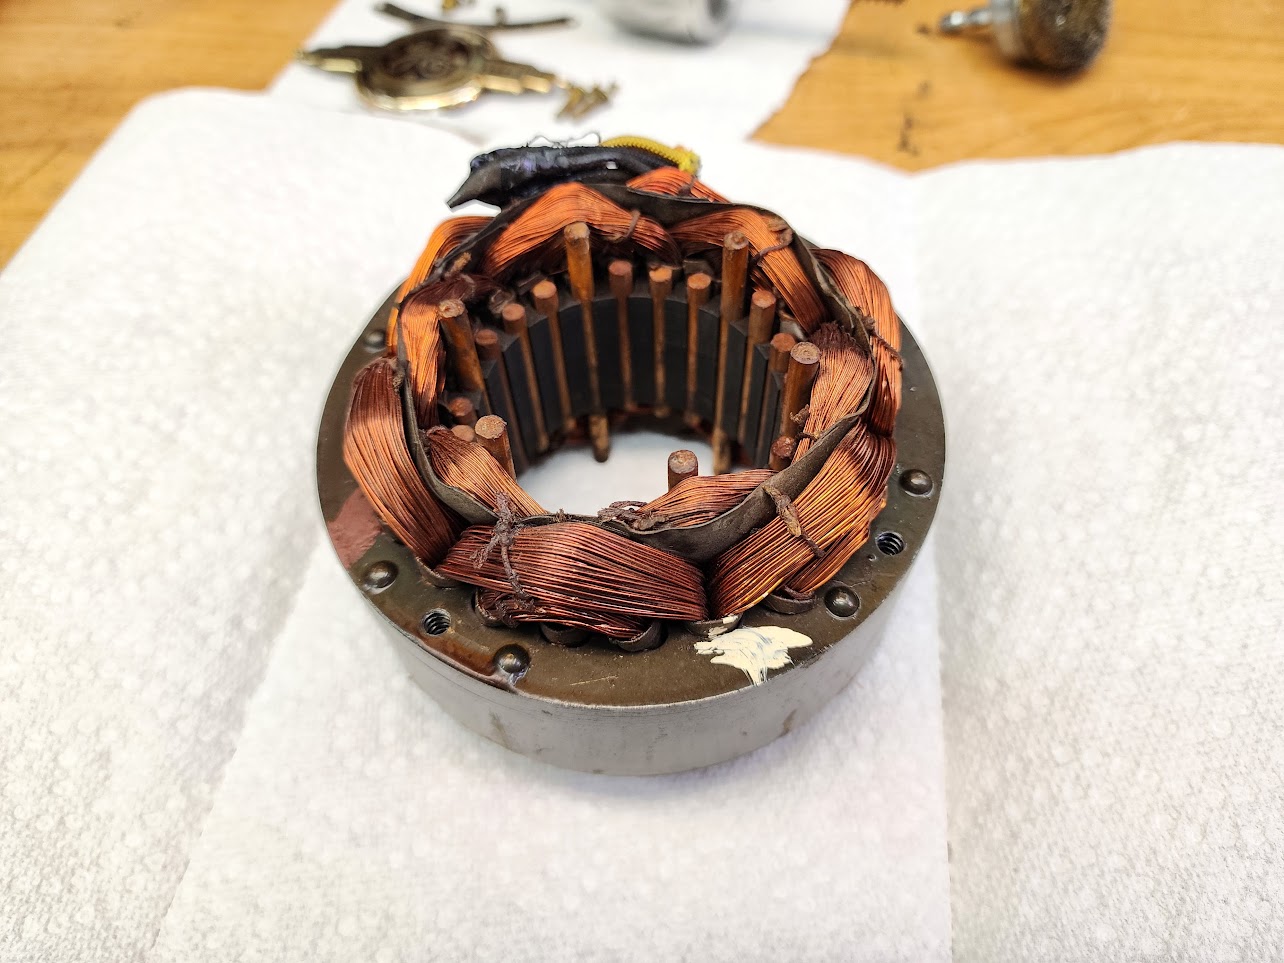
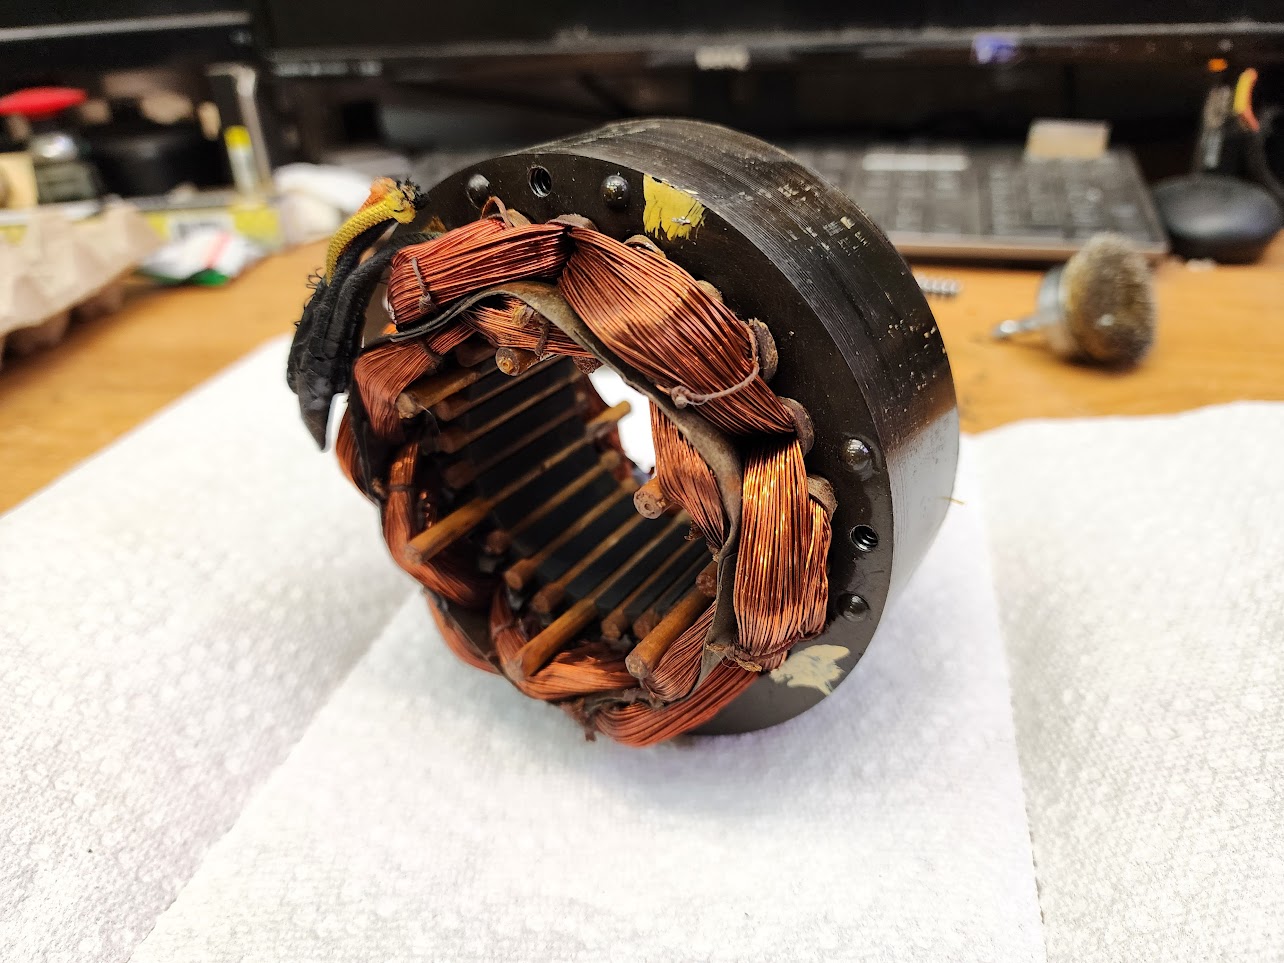
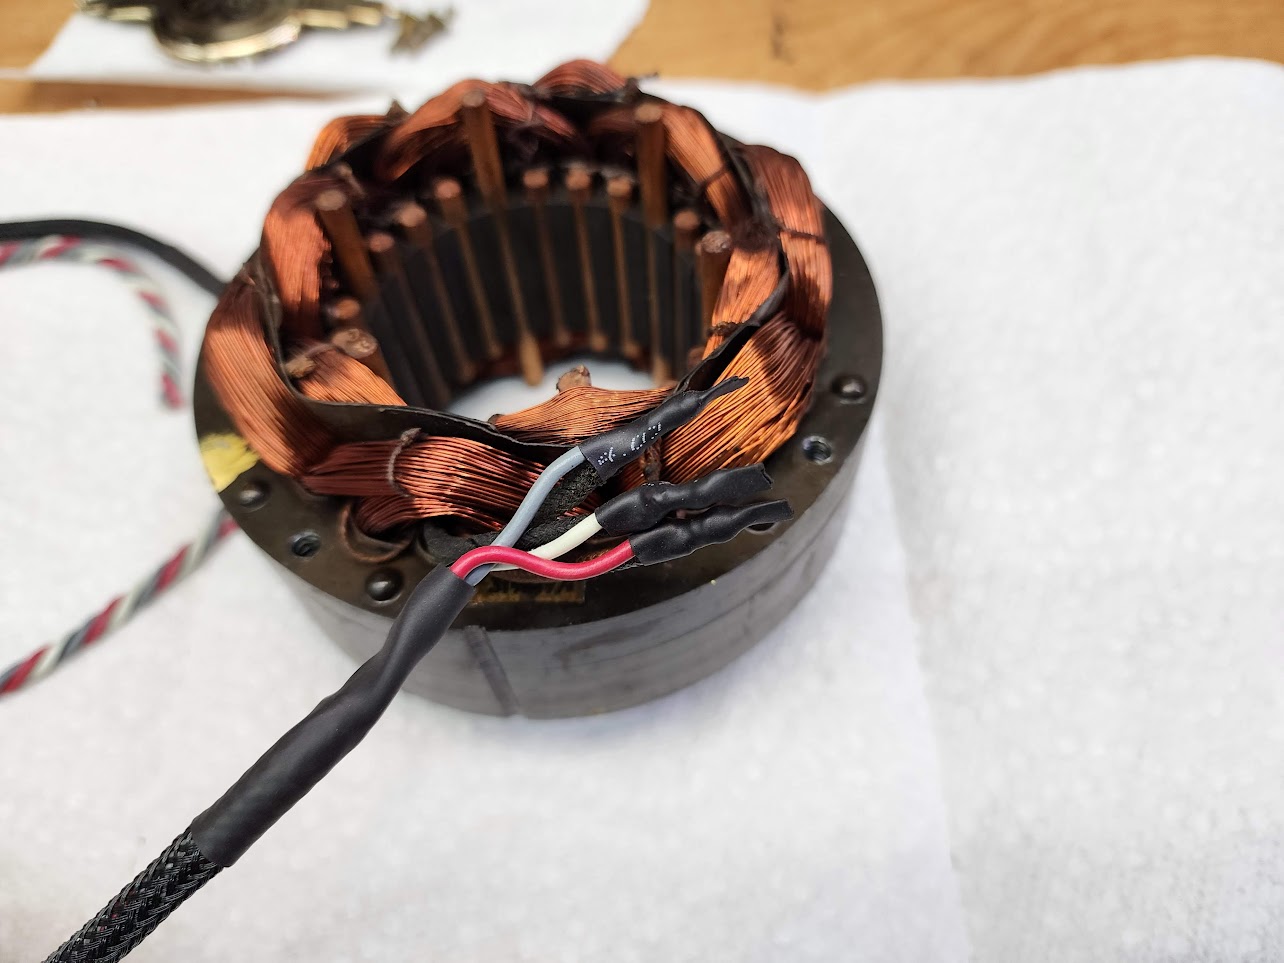
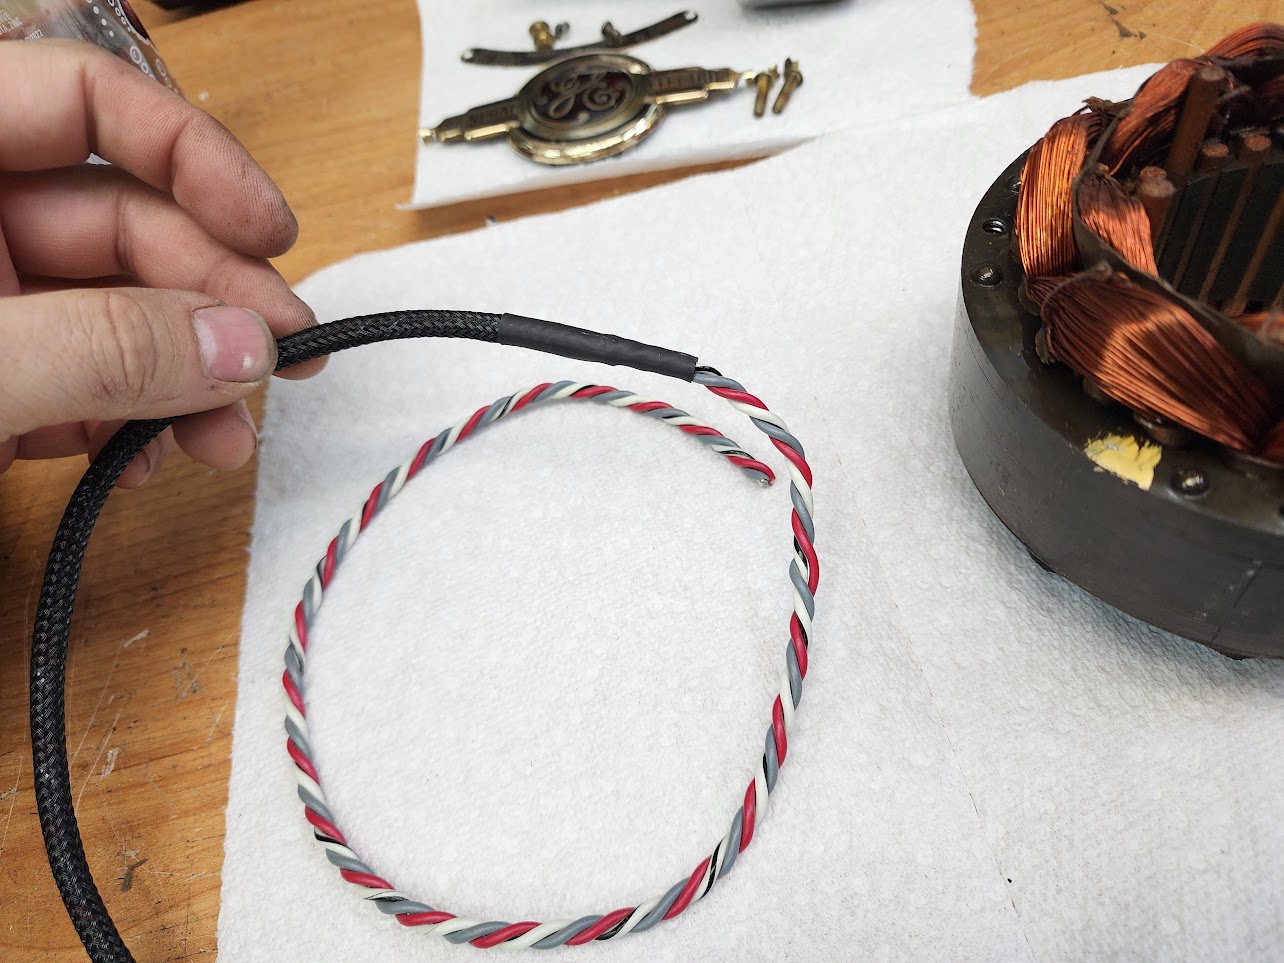
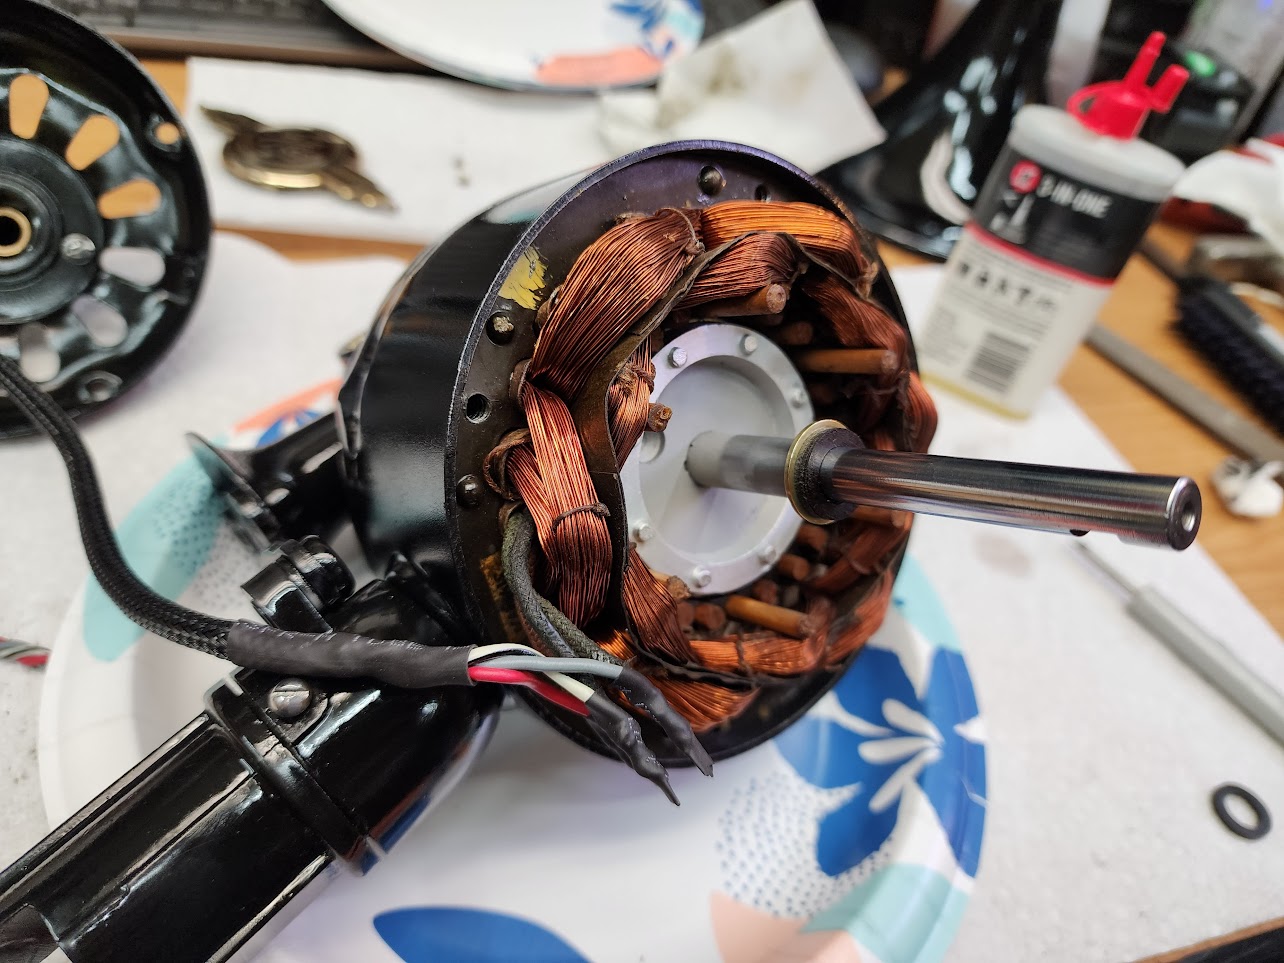
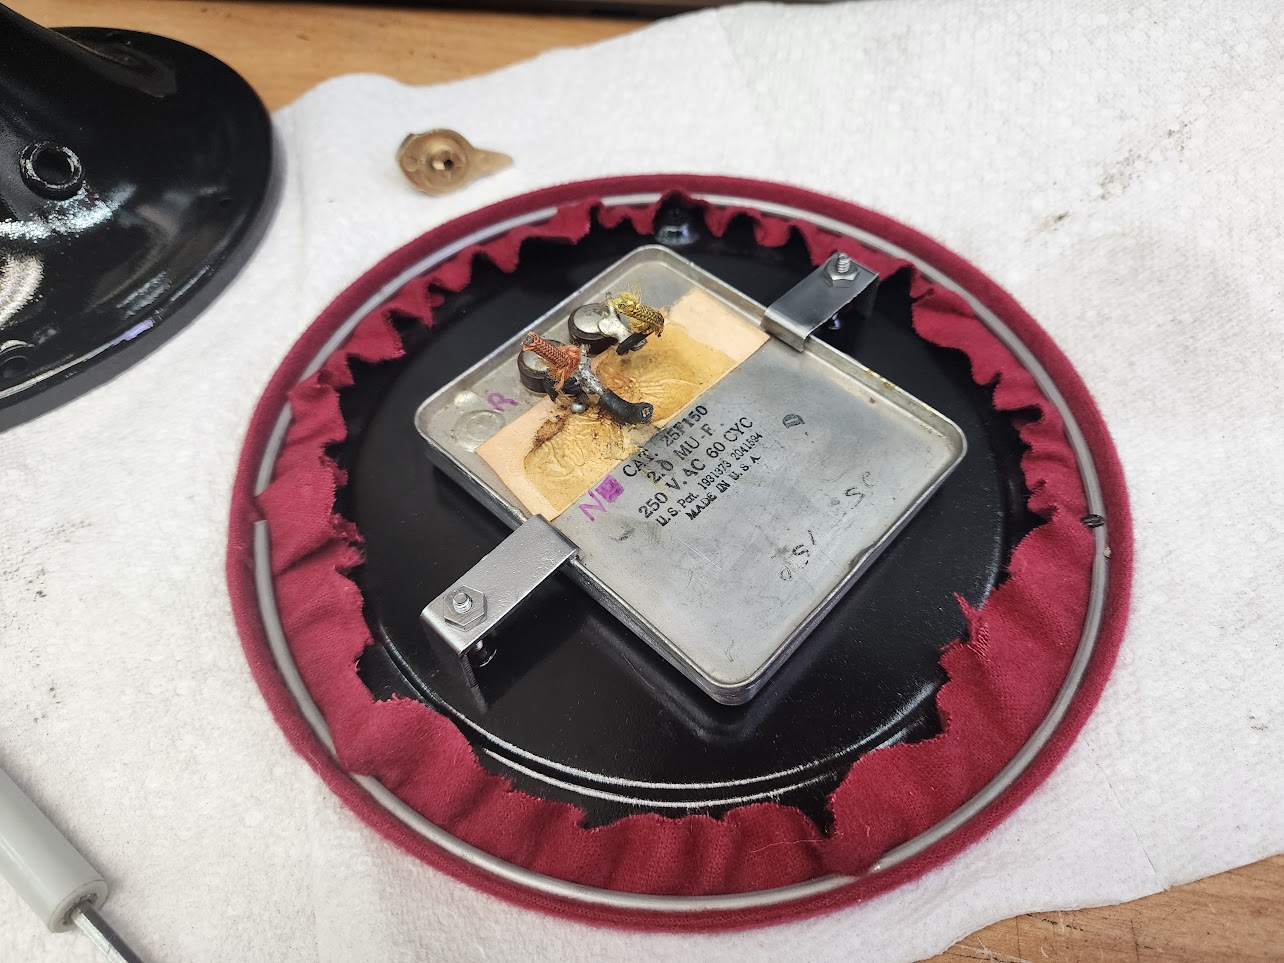
Took every wire off and documented where it was connected, for it will be an adventure to get it all back correctly if not! The flat capacitor was a fun find!
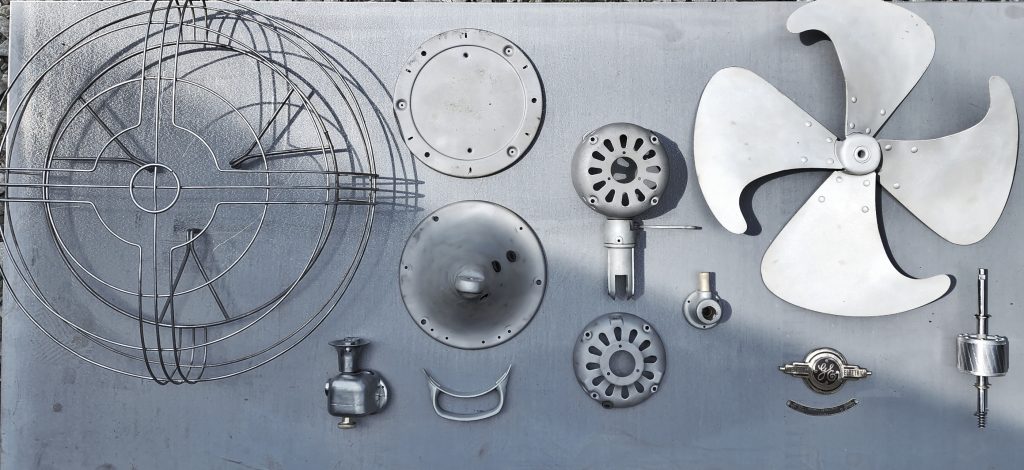
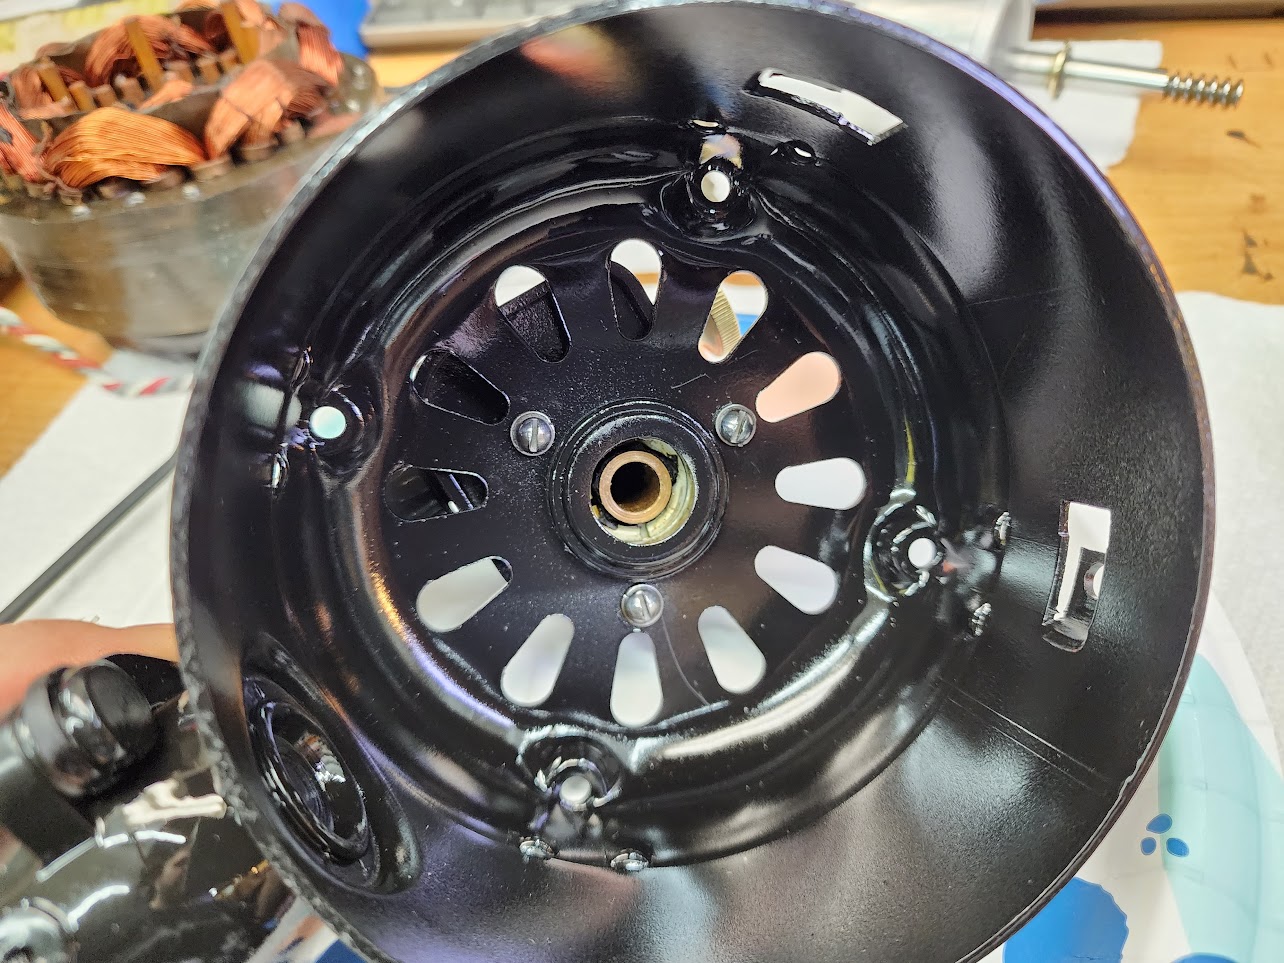
Spent the better part of a day working the metal cage to get it back to round and square, also got all the metal parts down to bare metal!
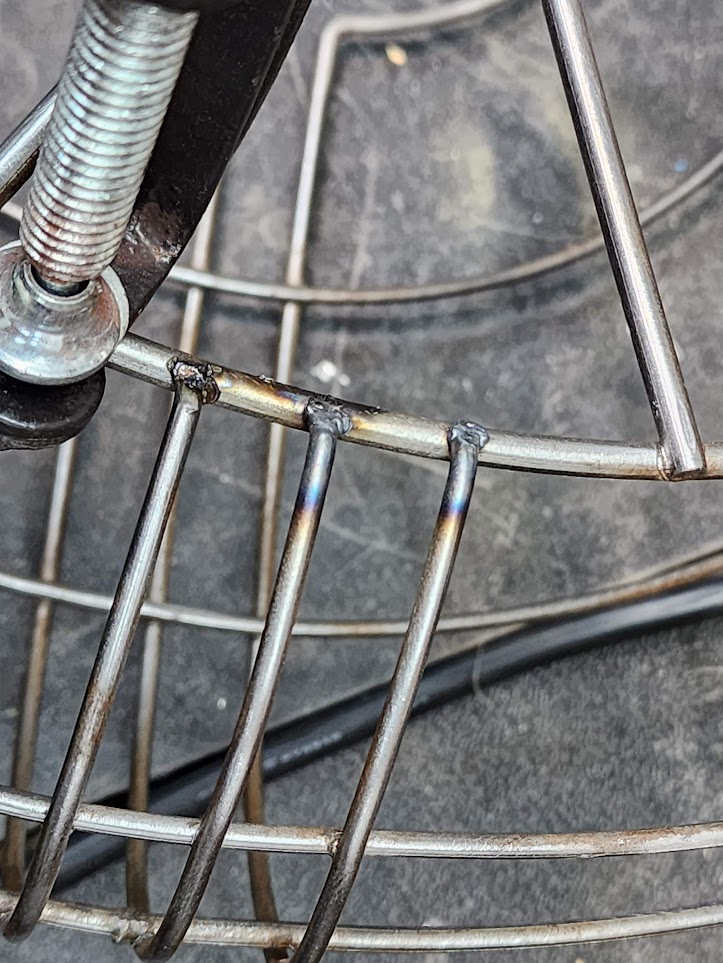
The Cage being so bad, as I was trying to bring it back some of the spot welds snapped, so had to build up a quick custom sport welder, it worked well!
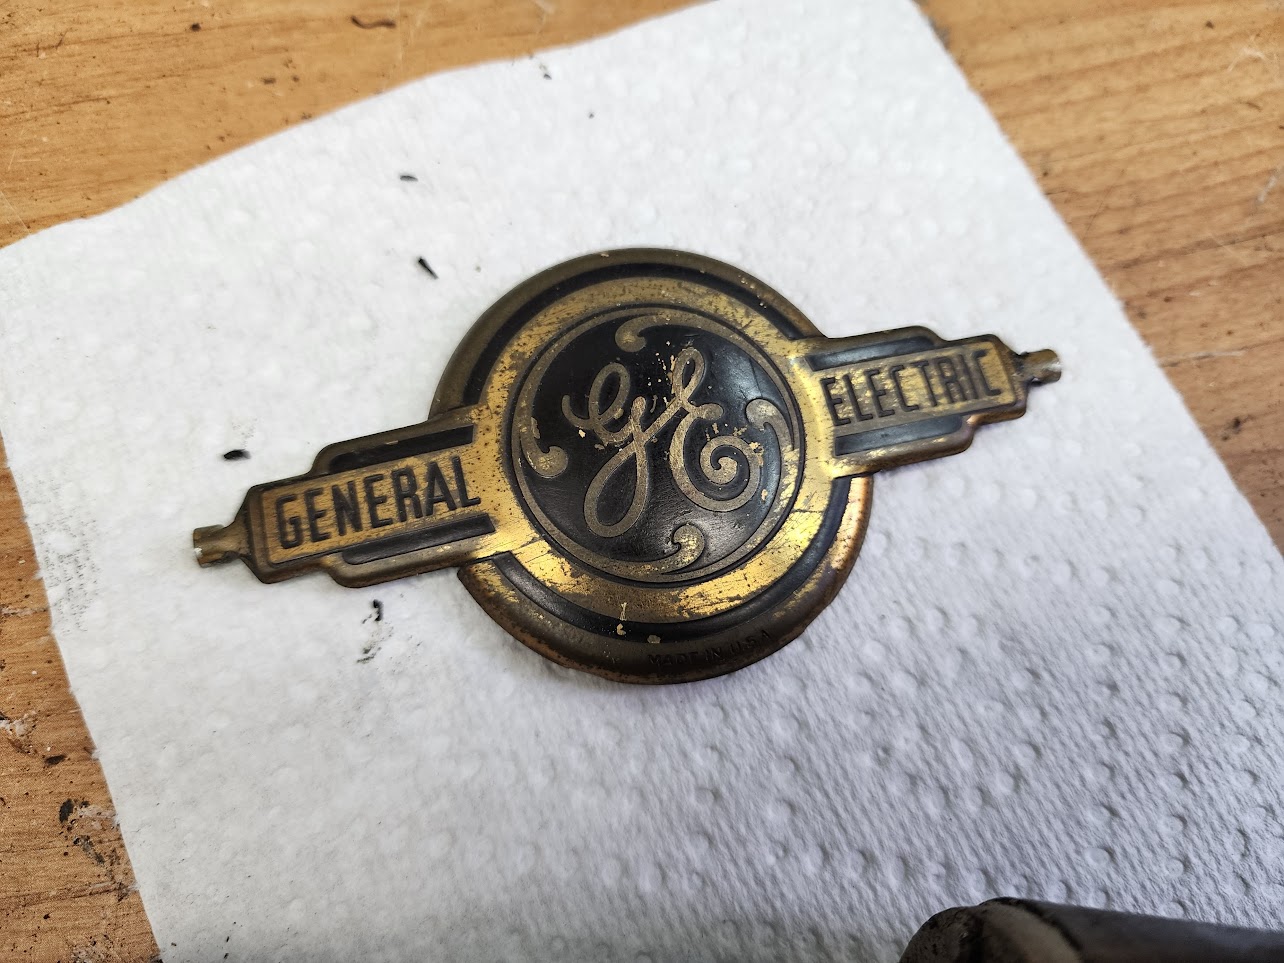
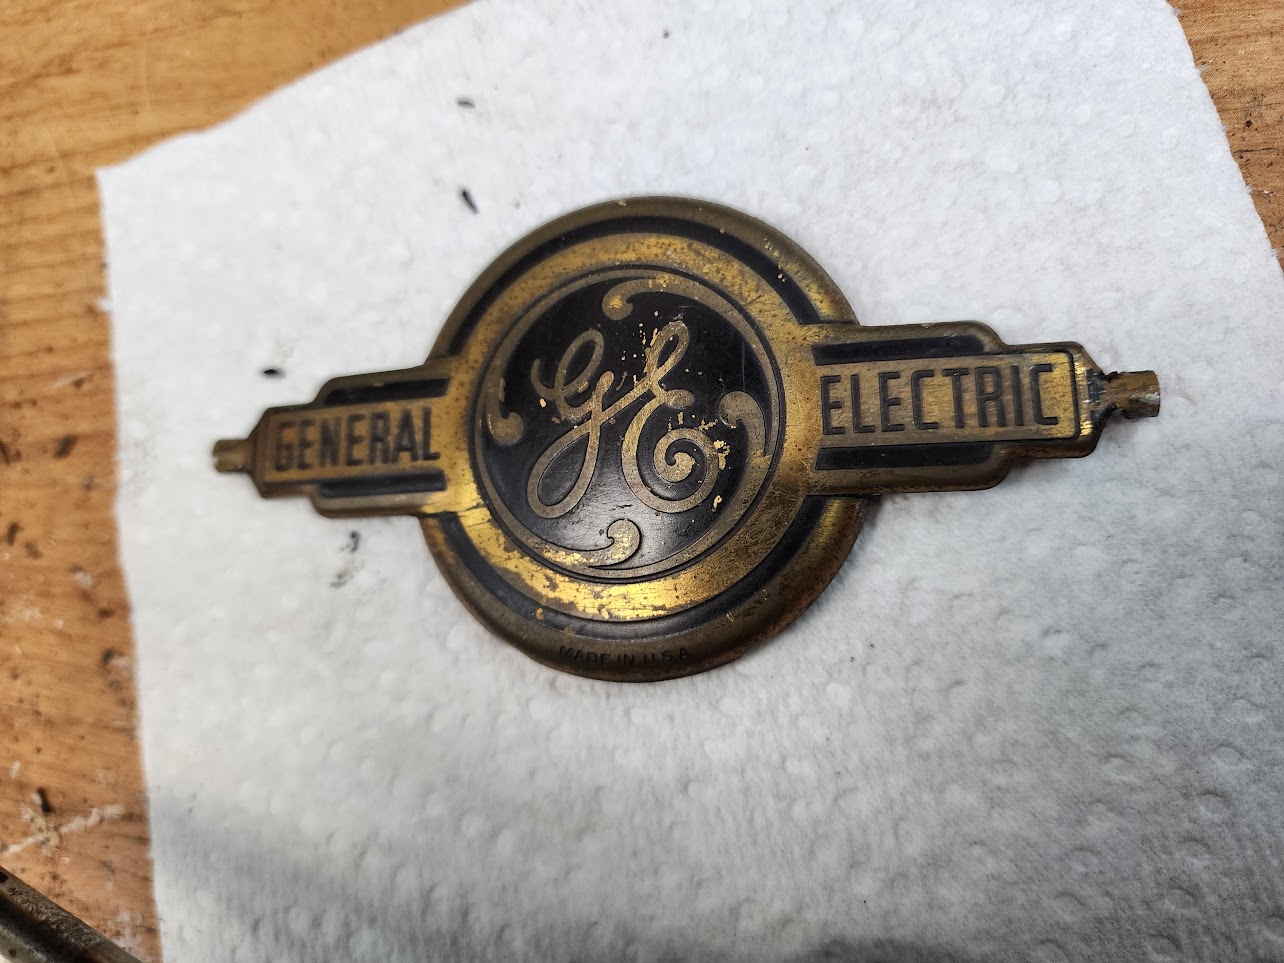
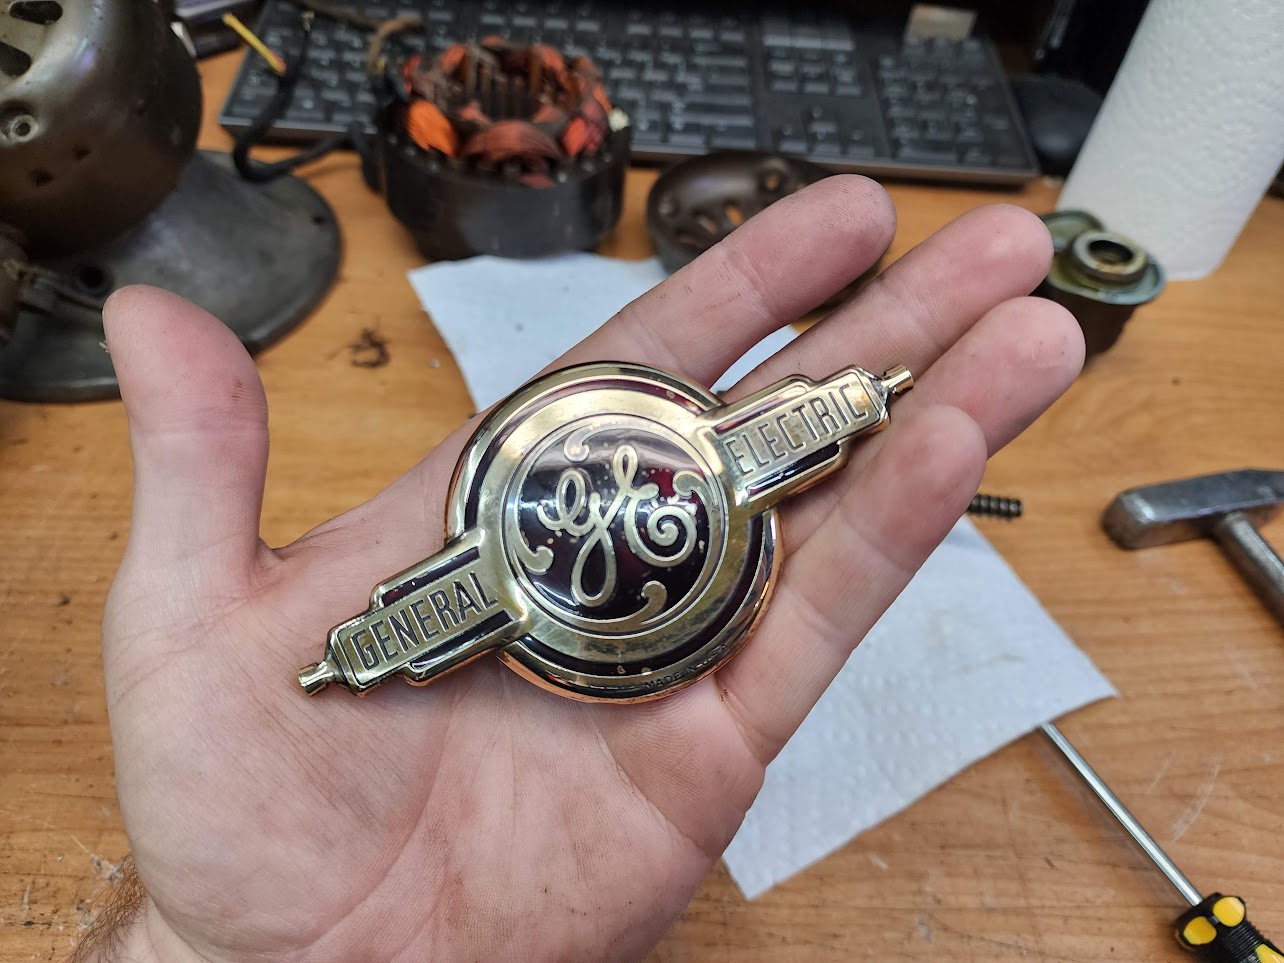
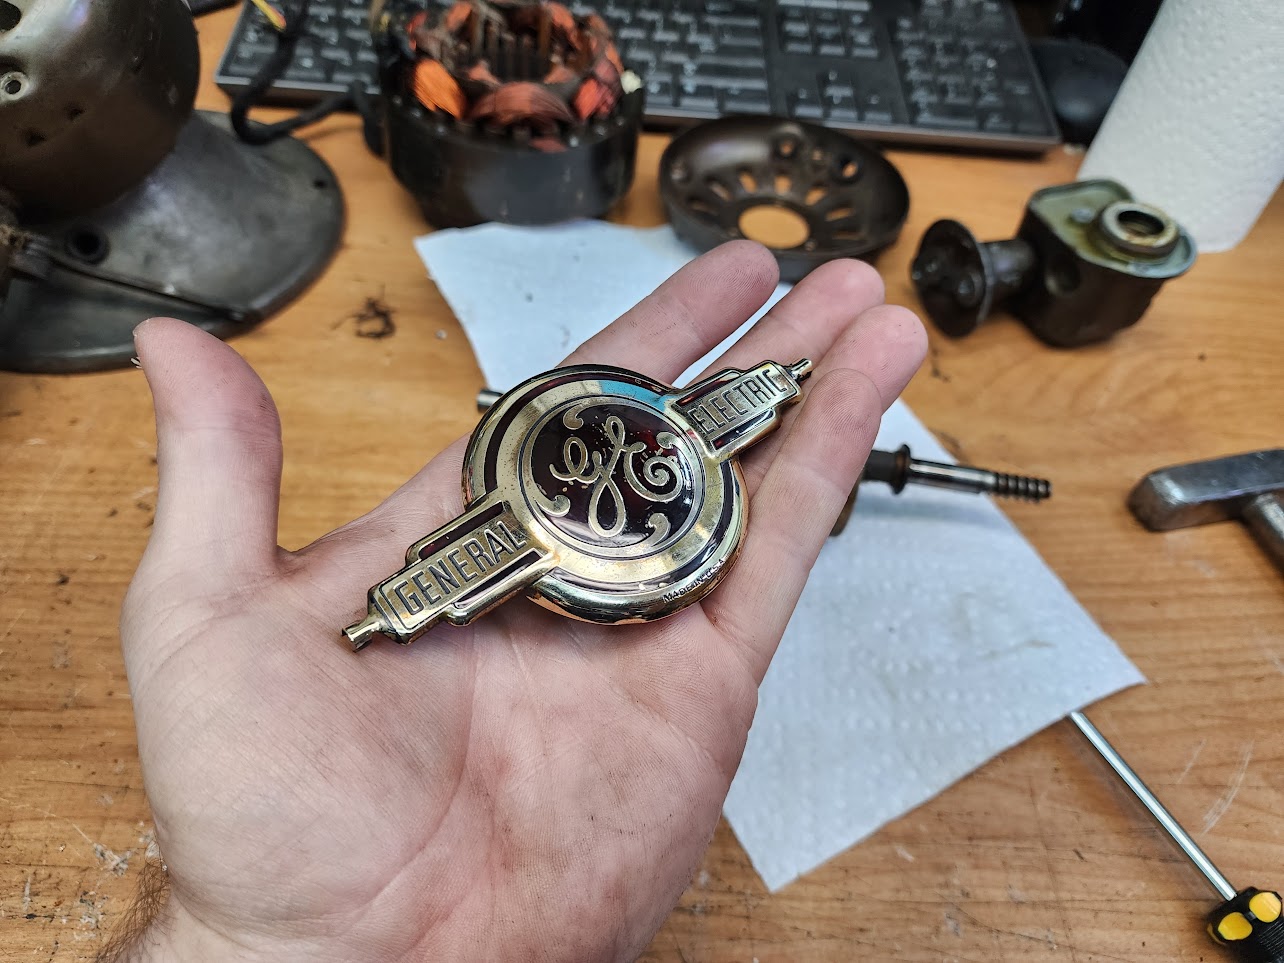
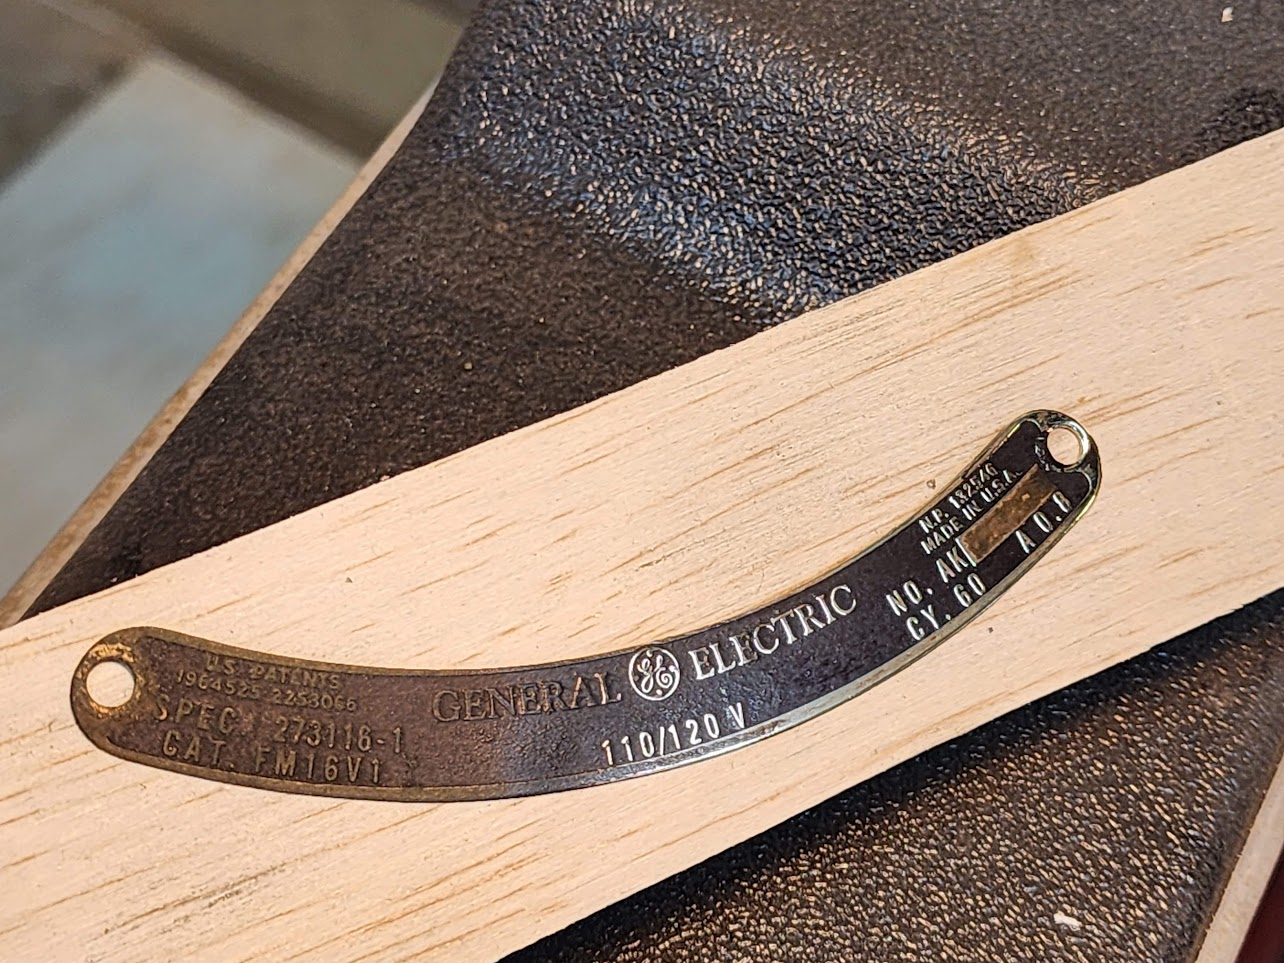
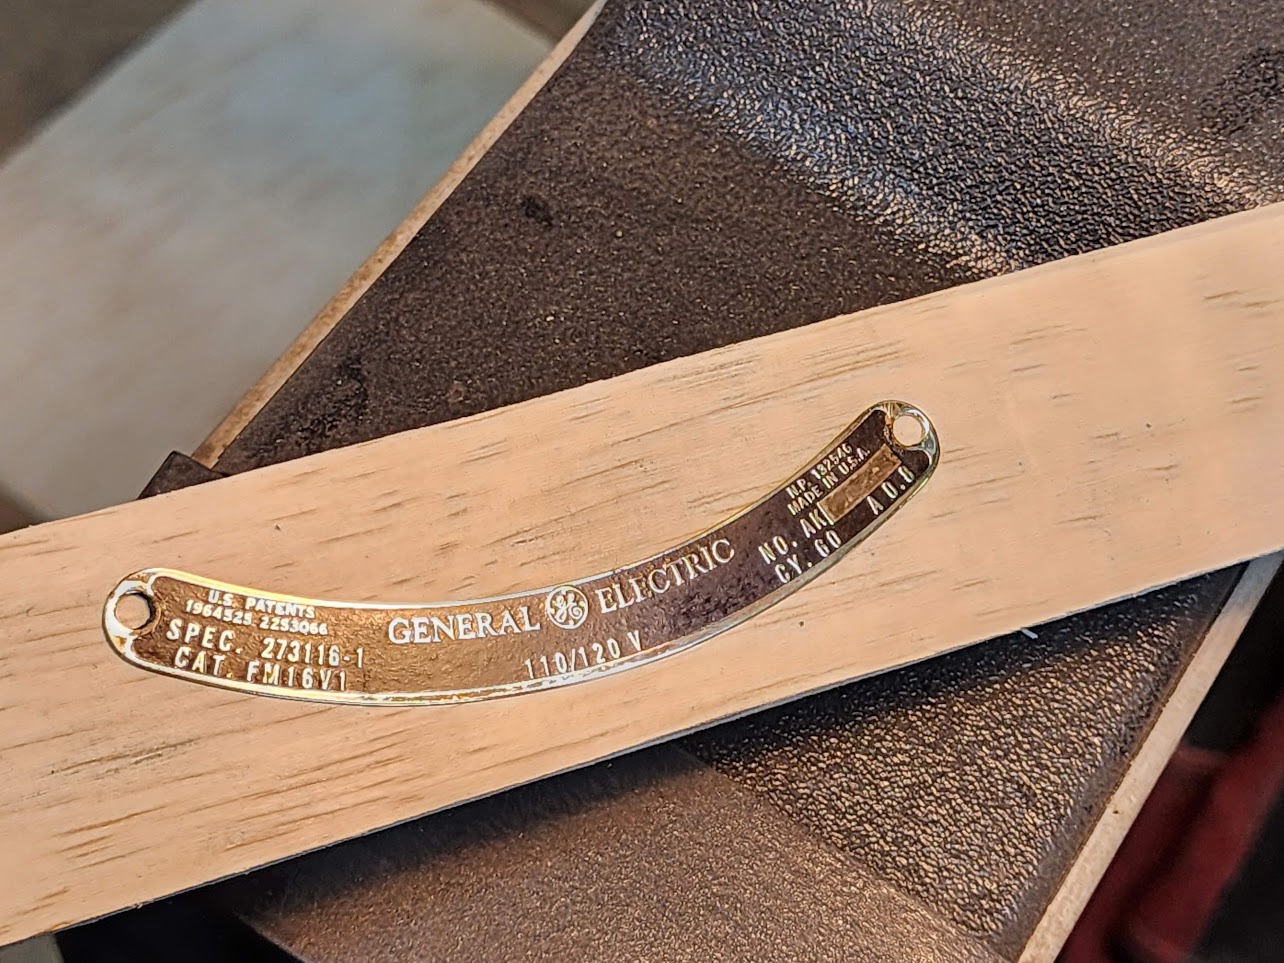
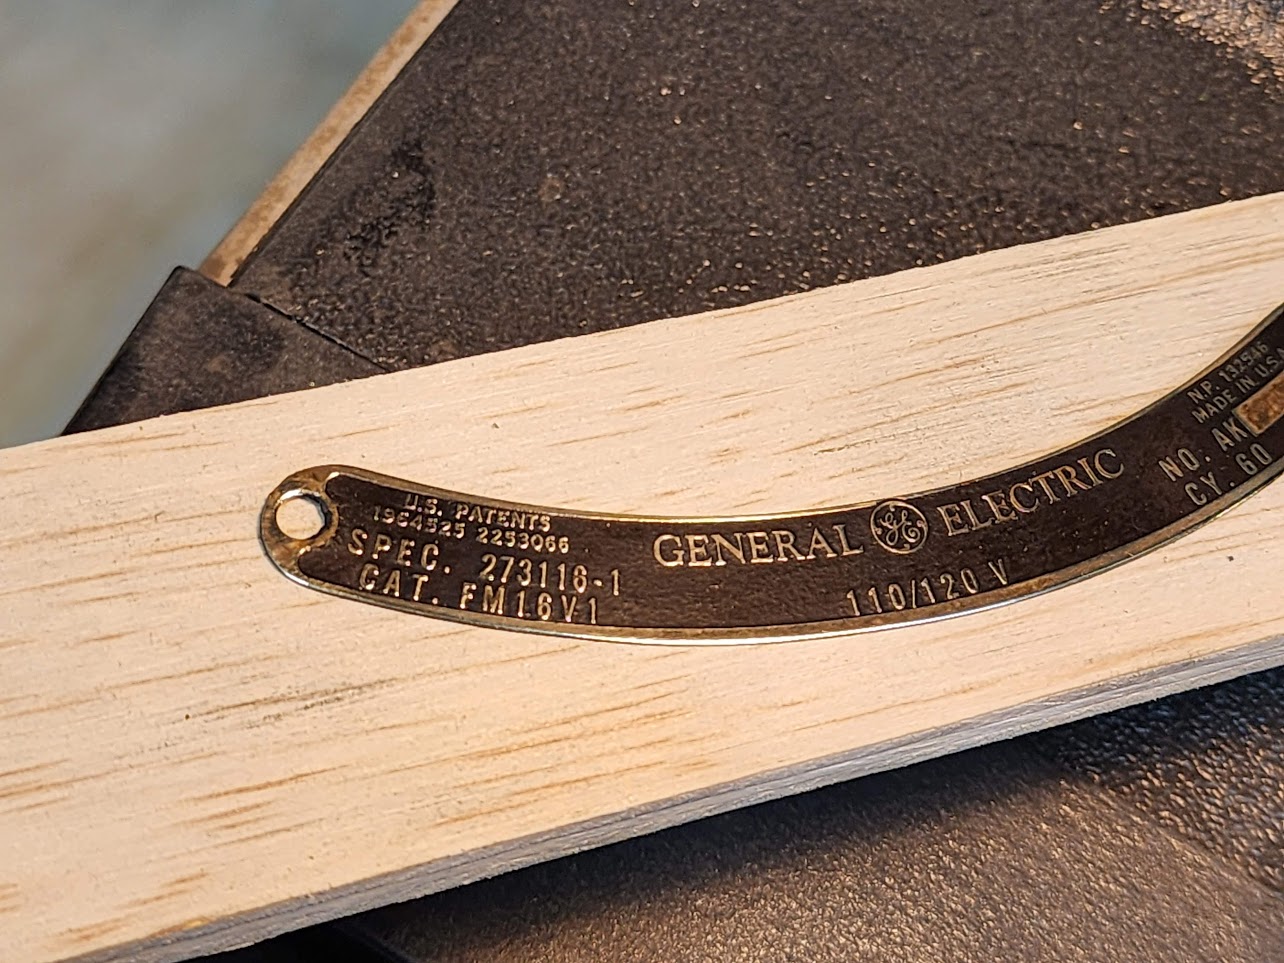
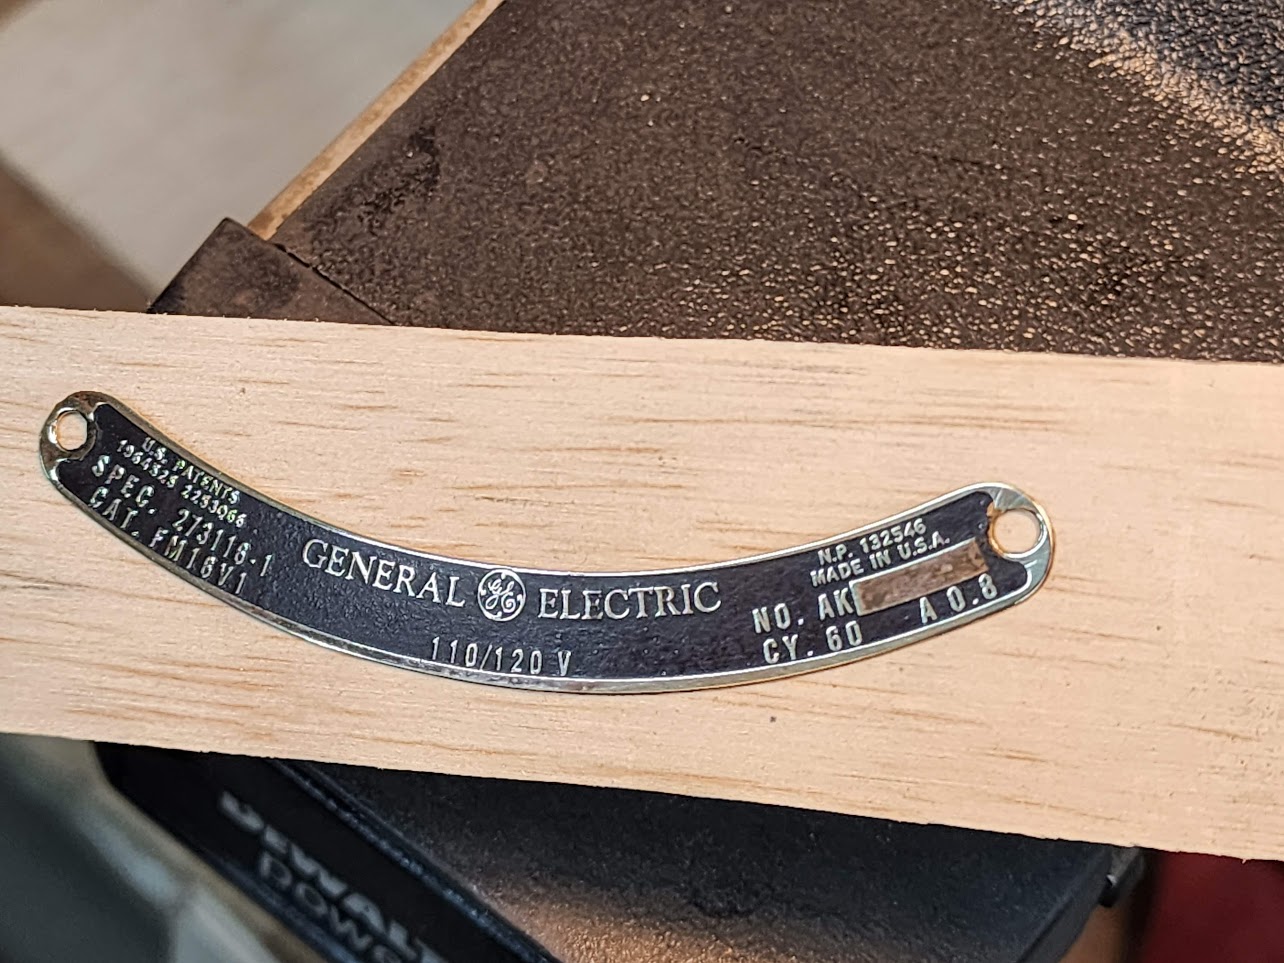
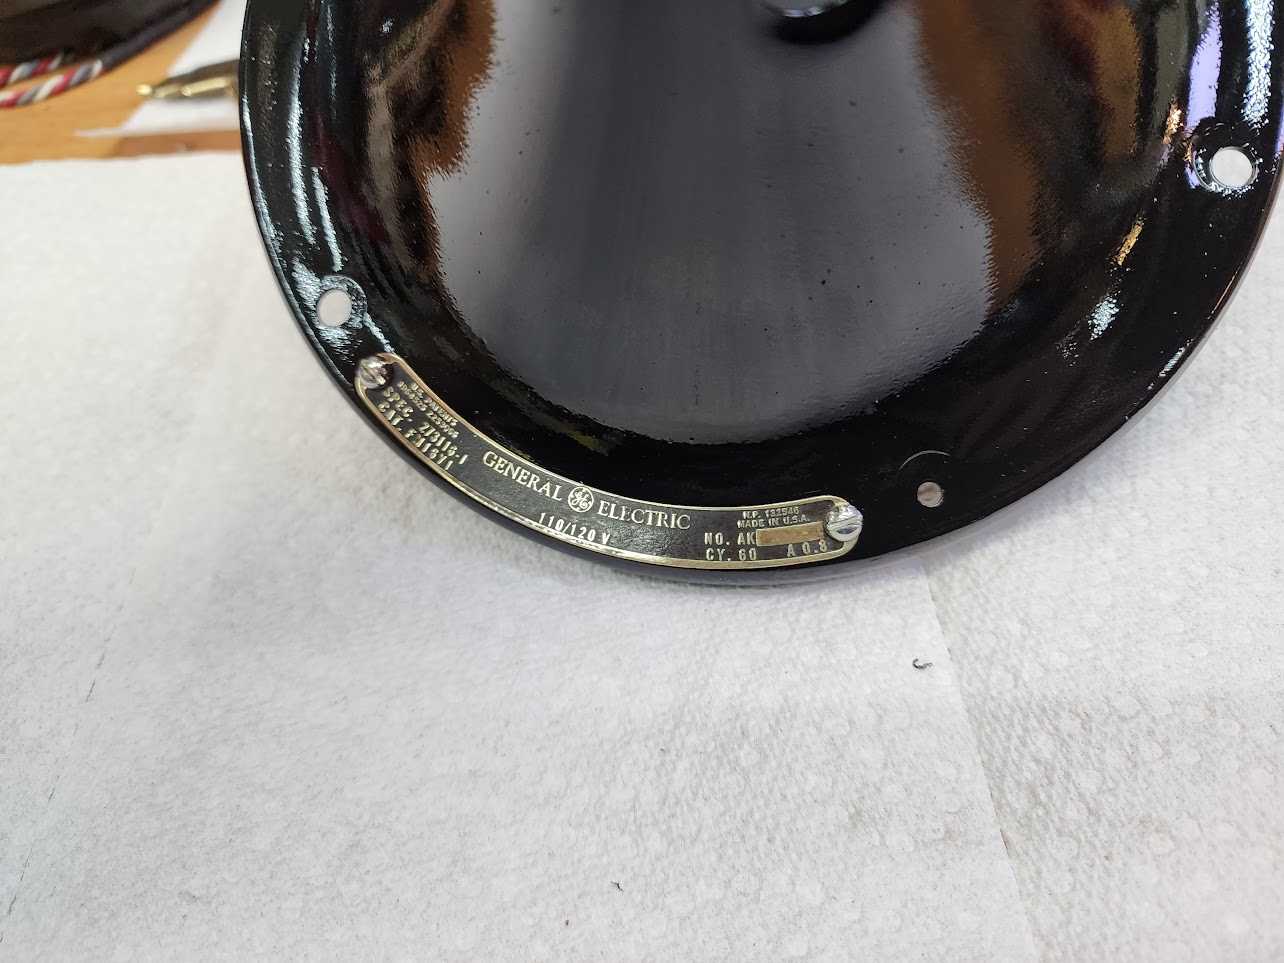
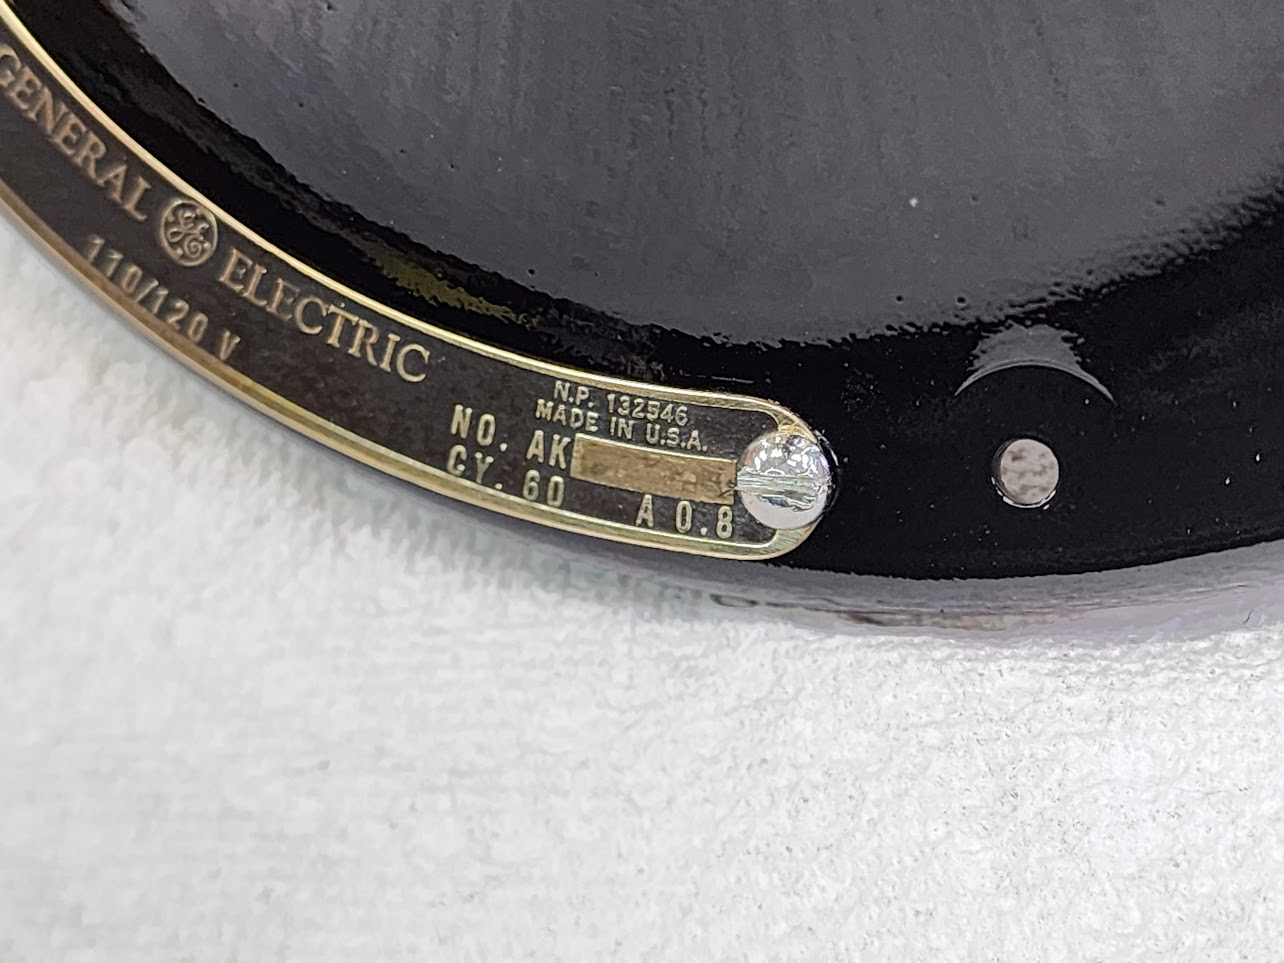
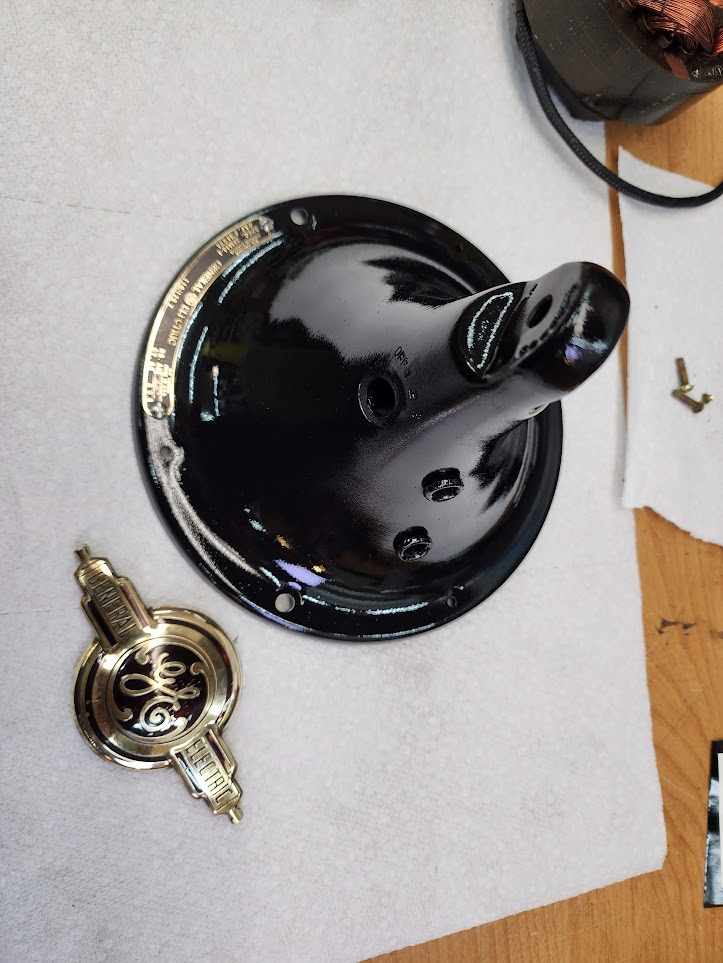
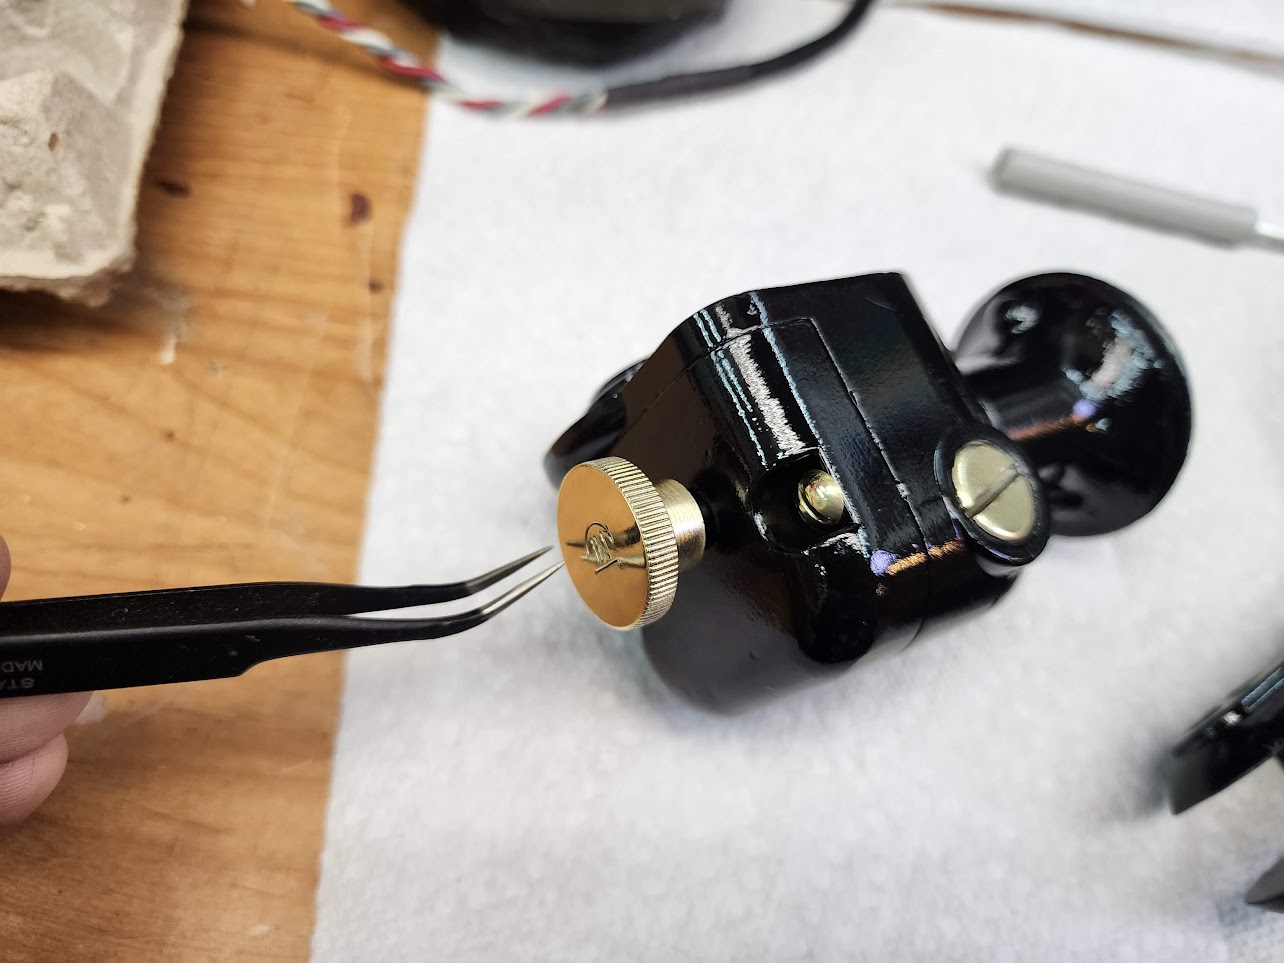
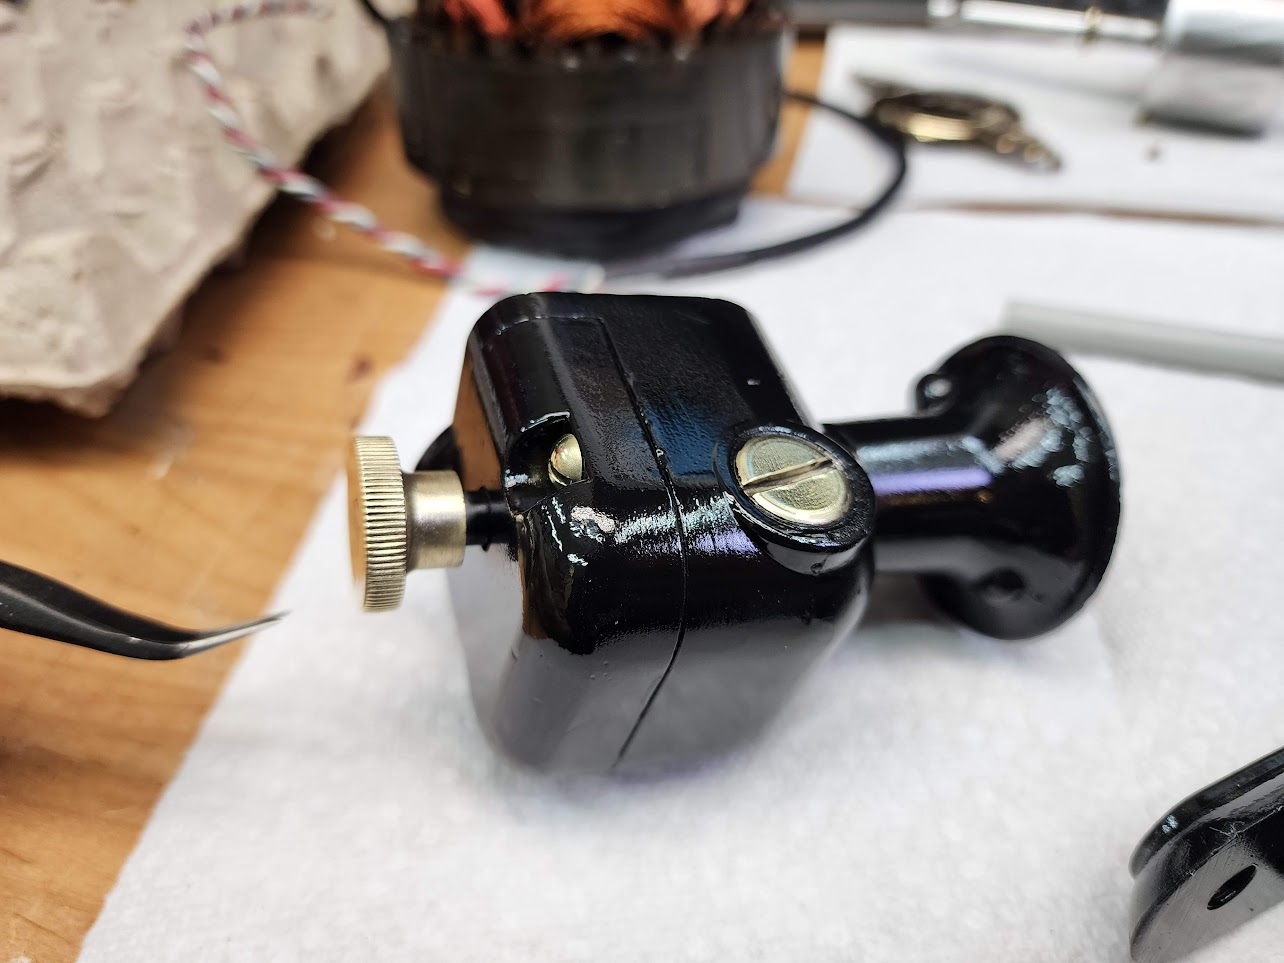
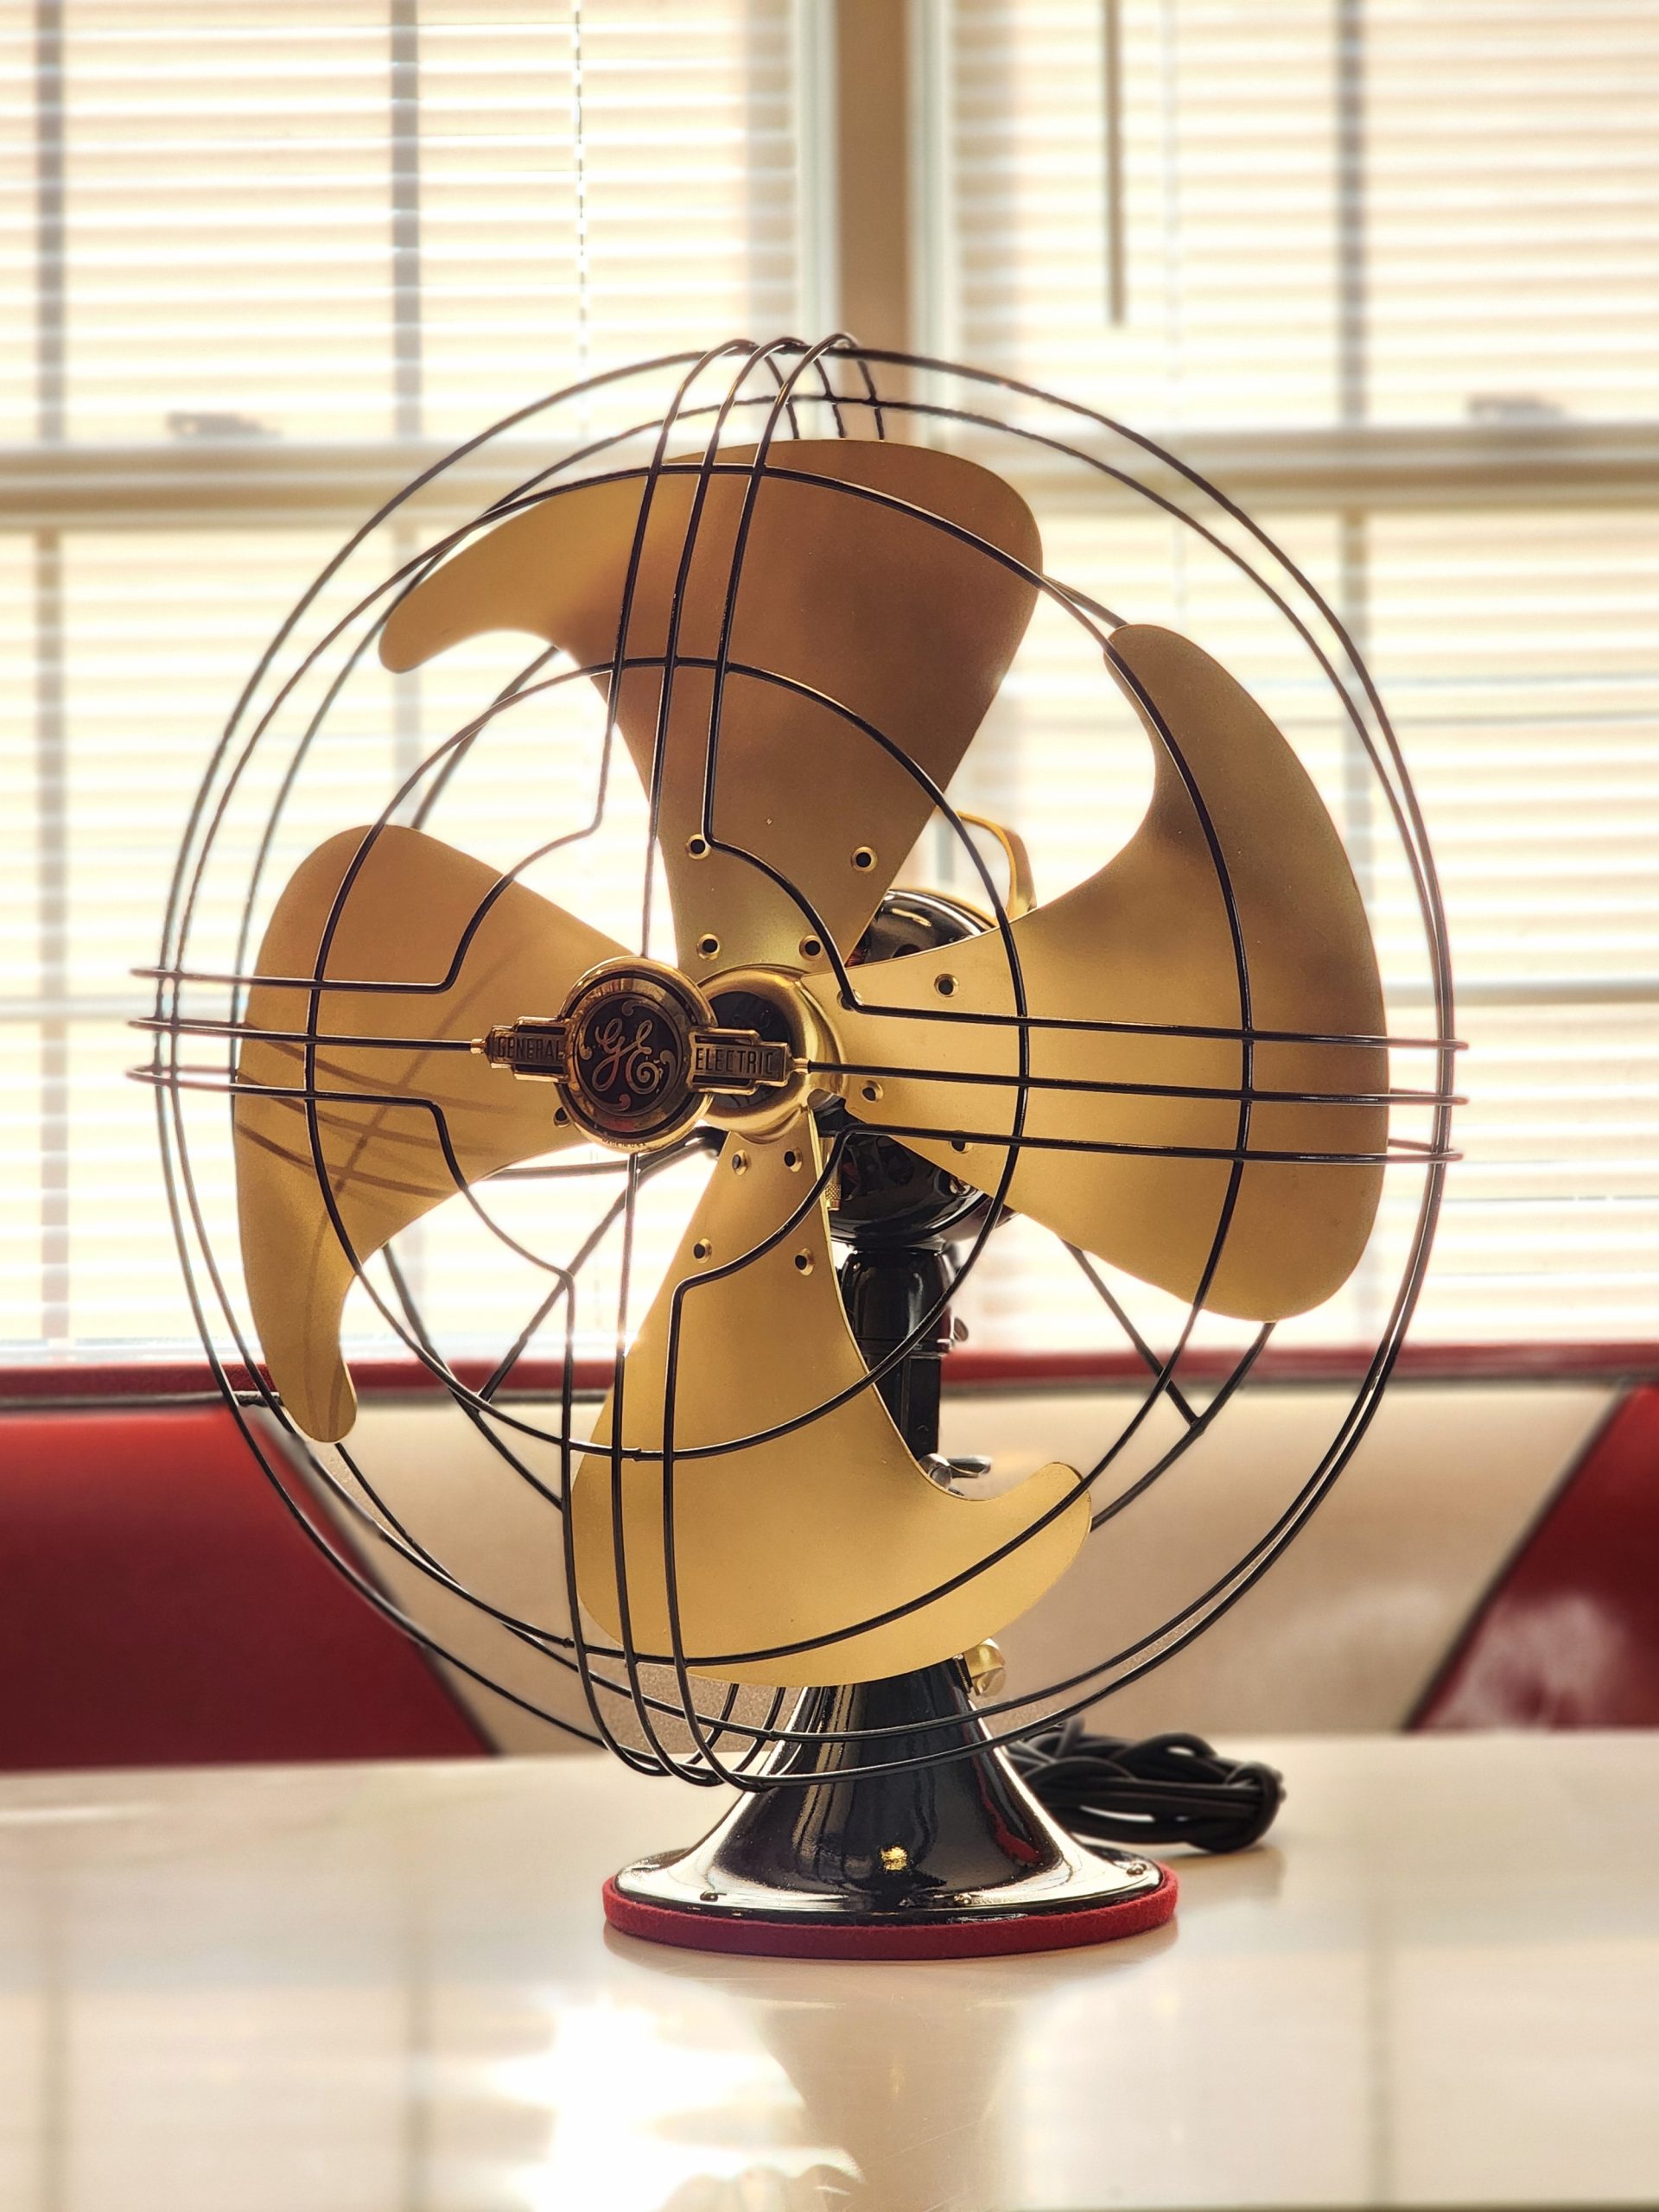
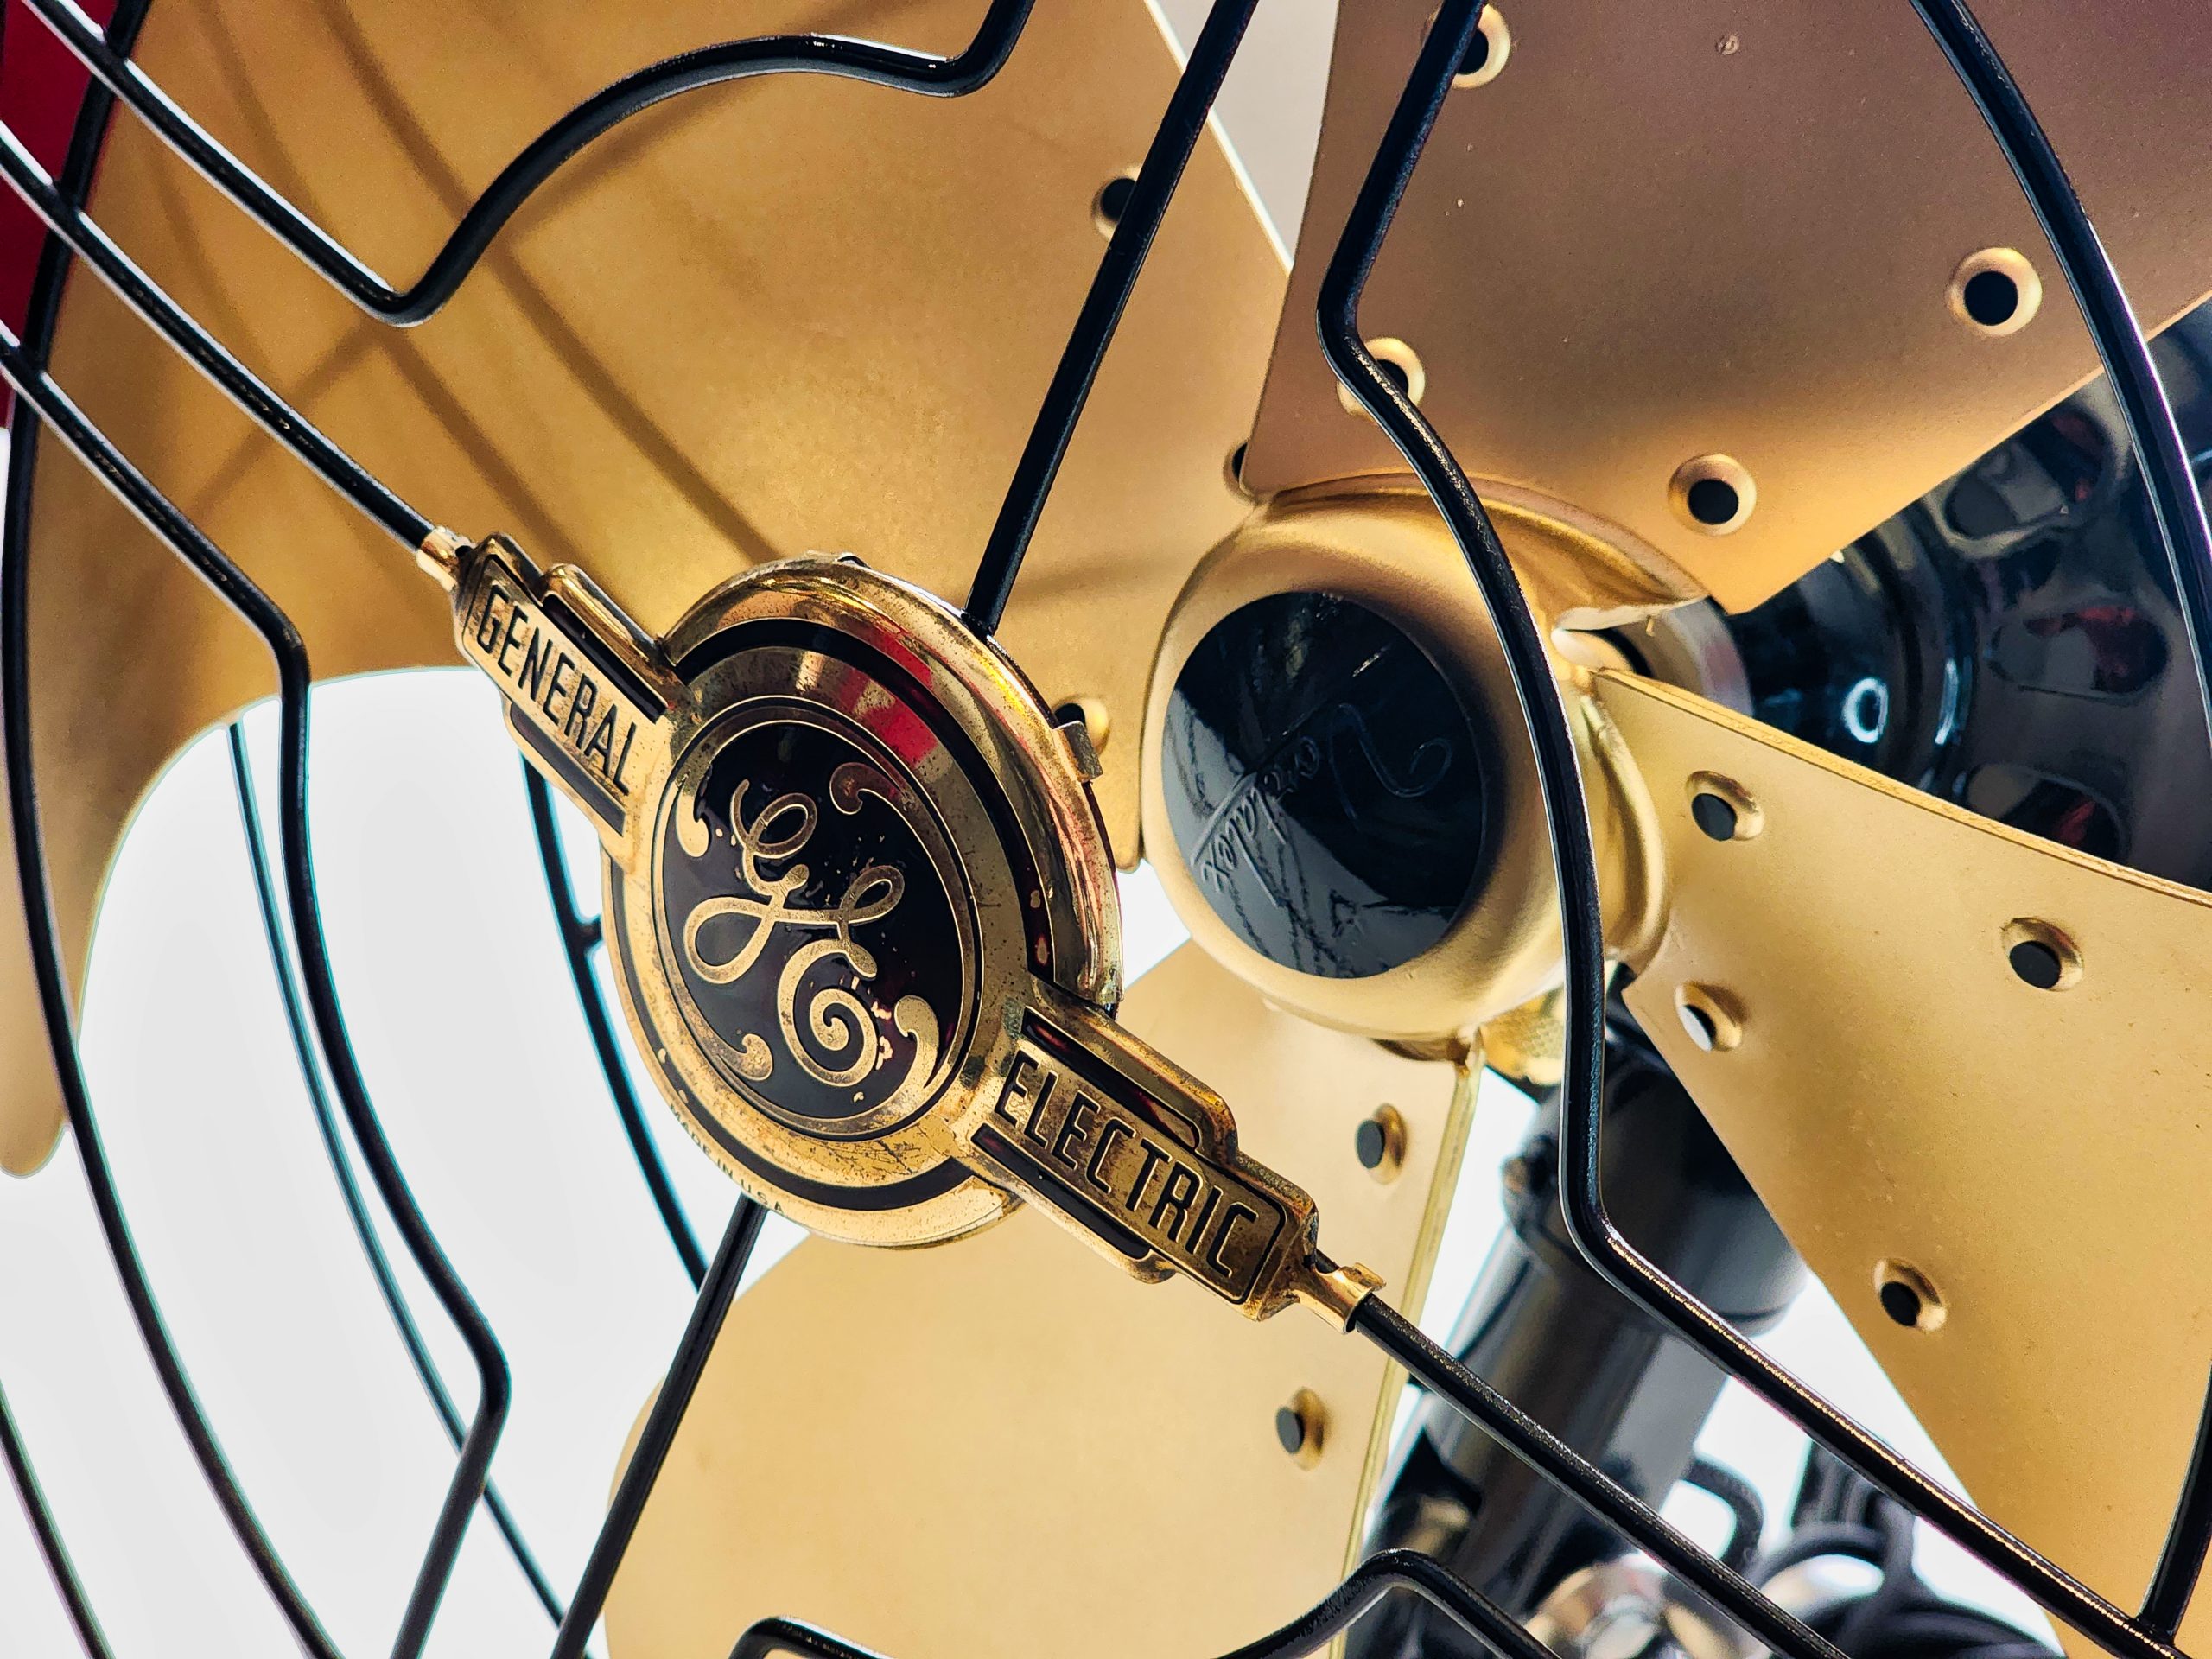
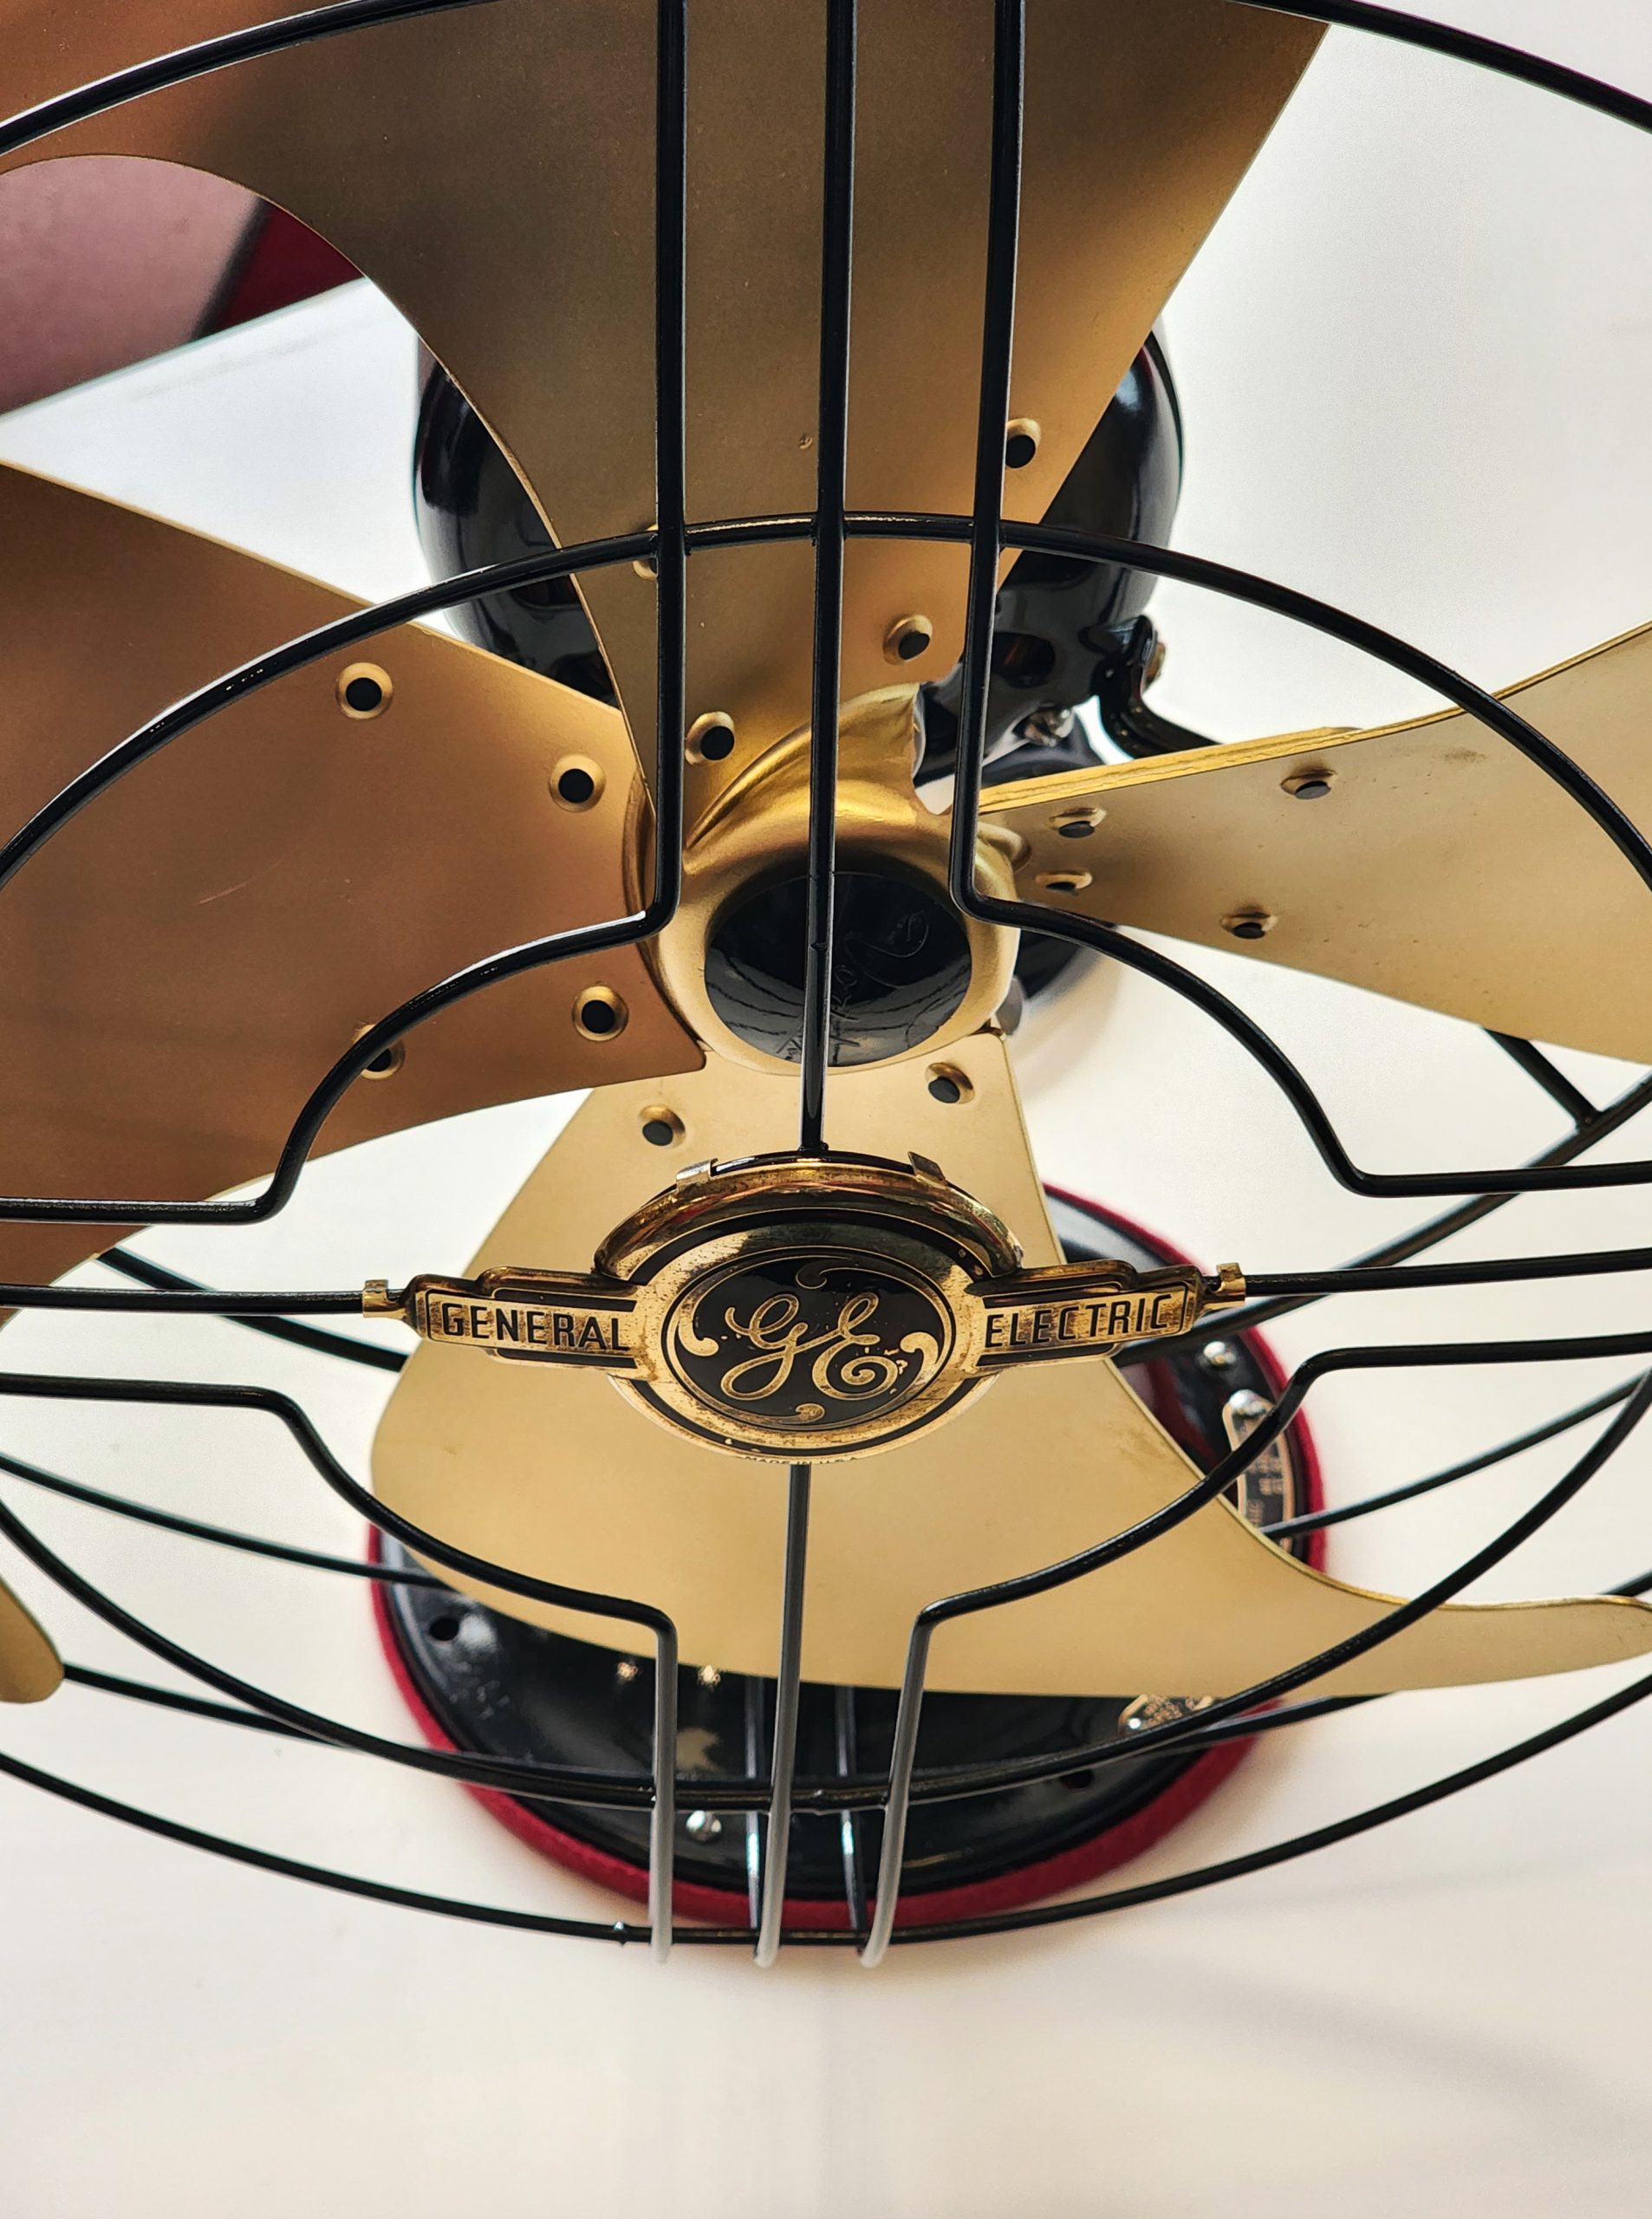
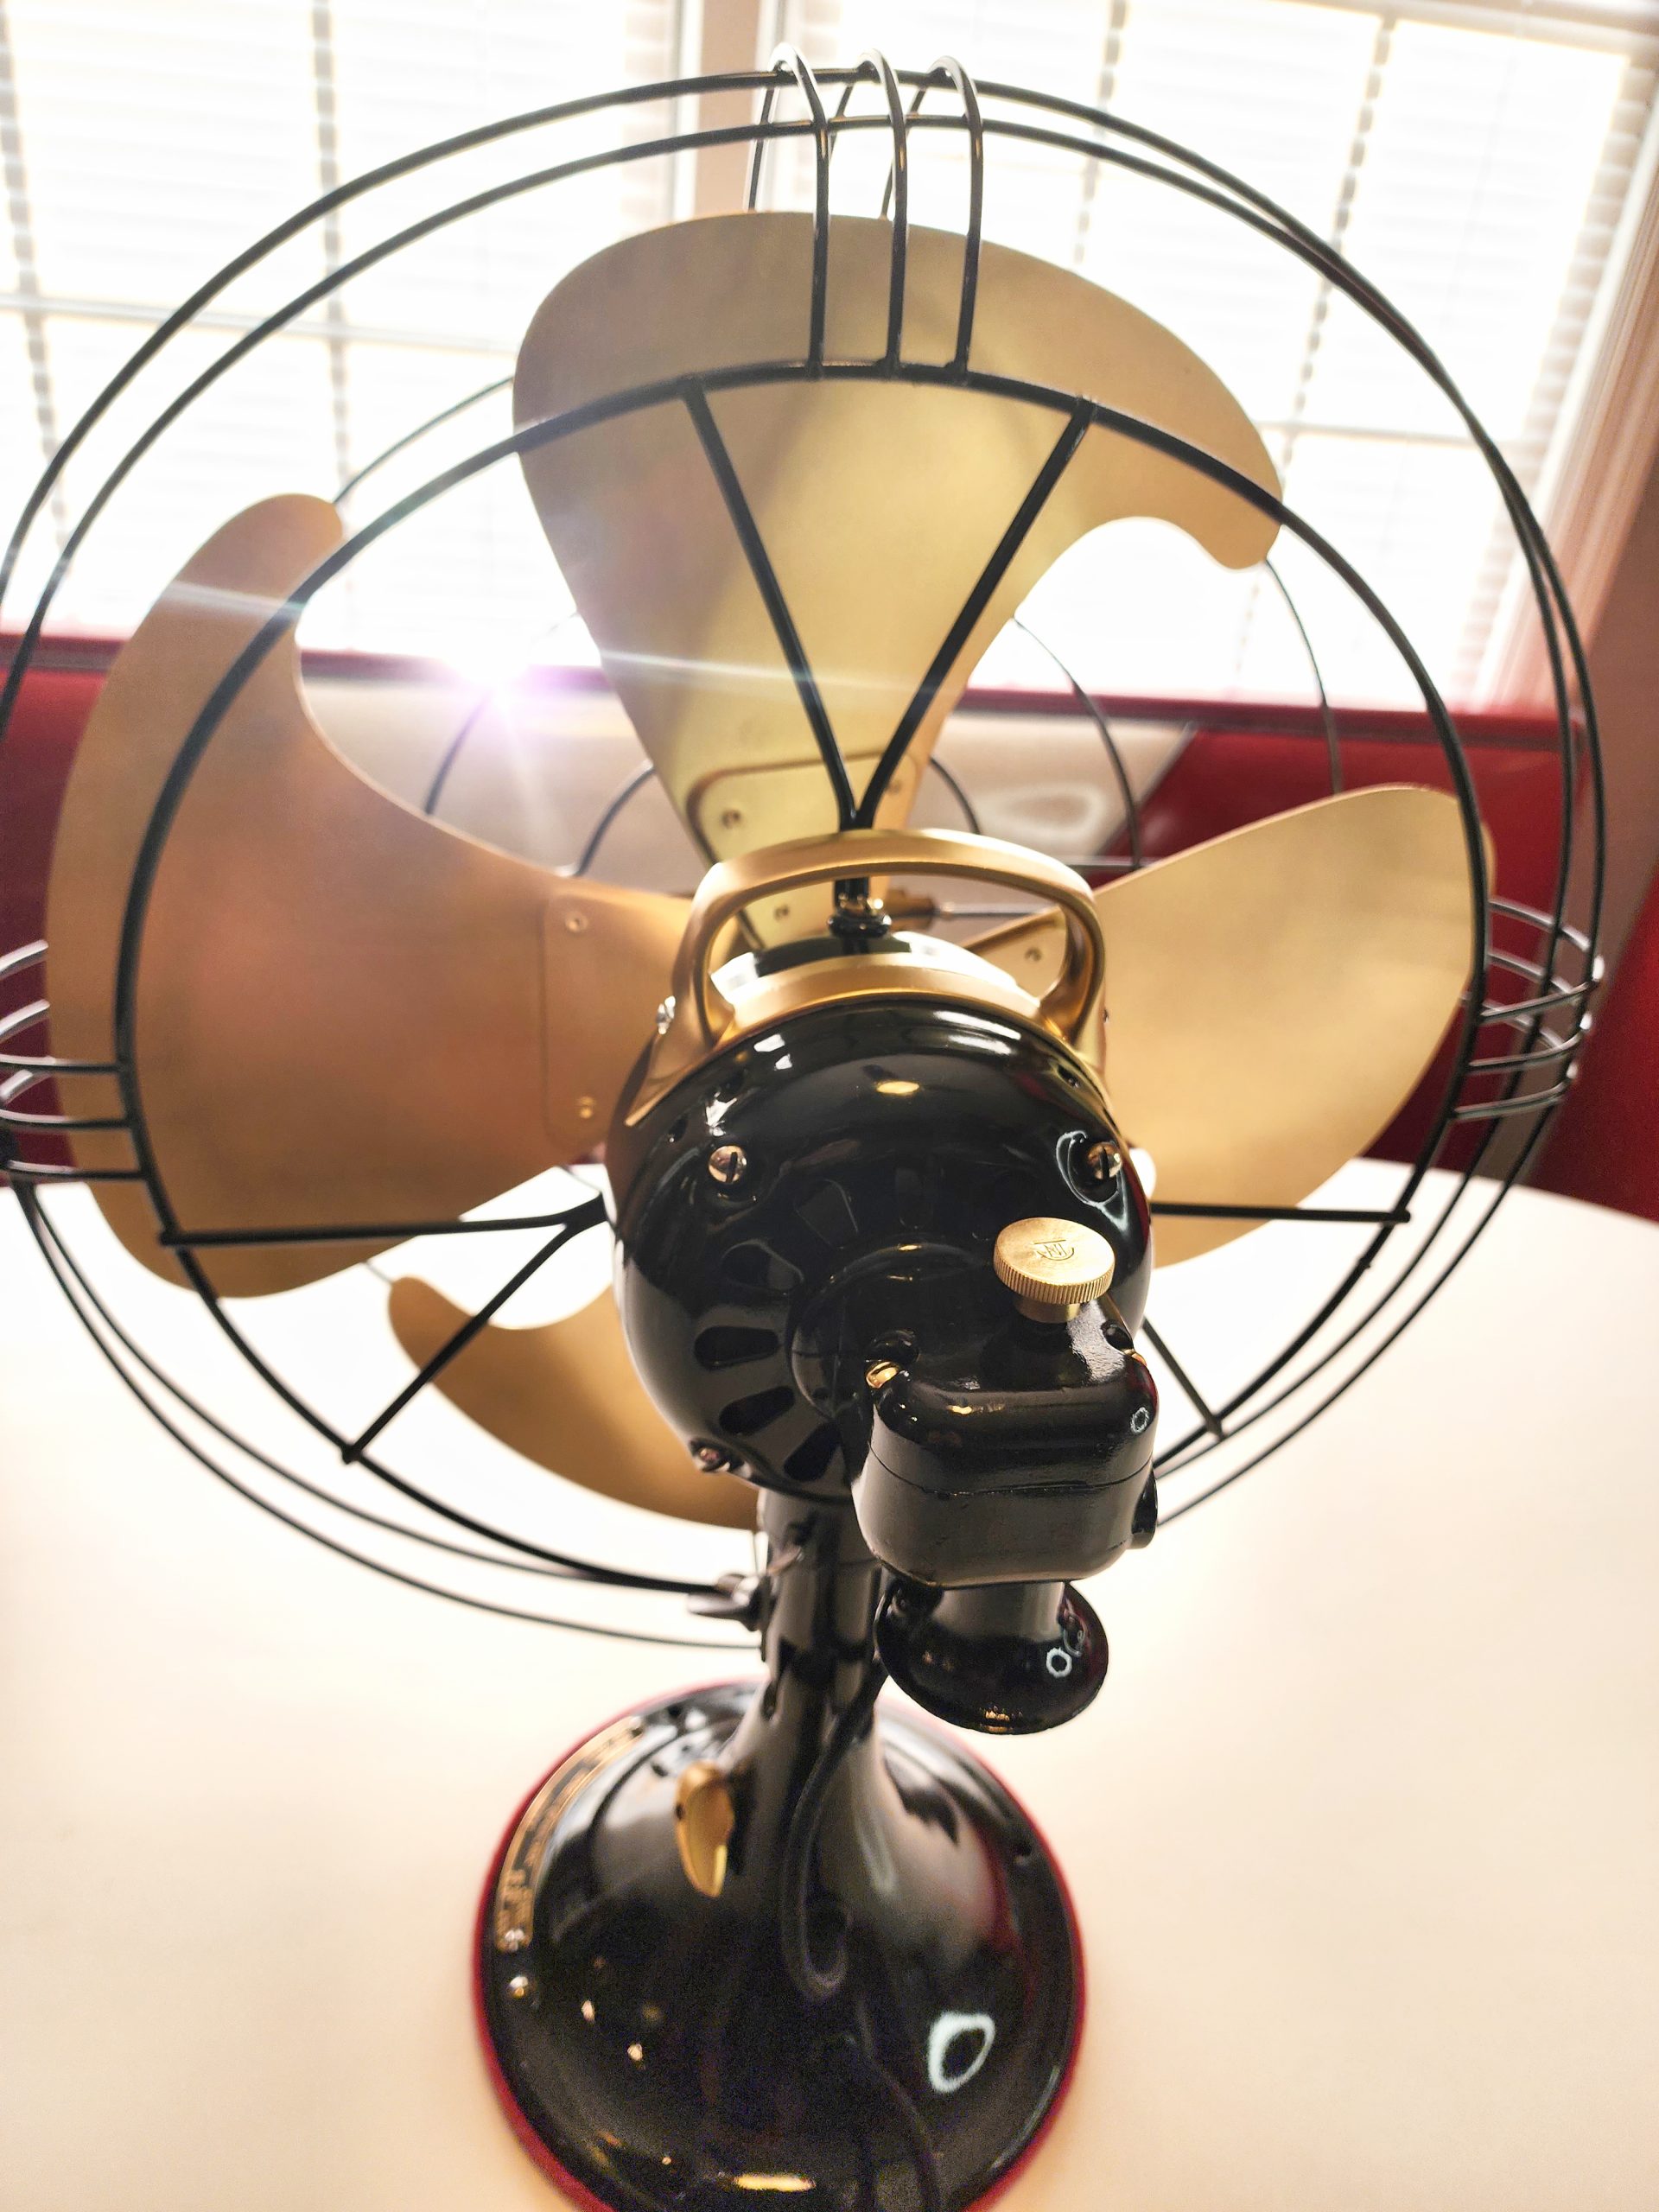
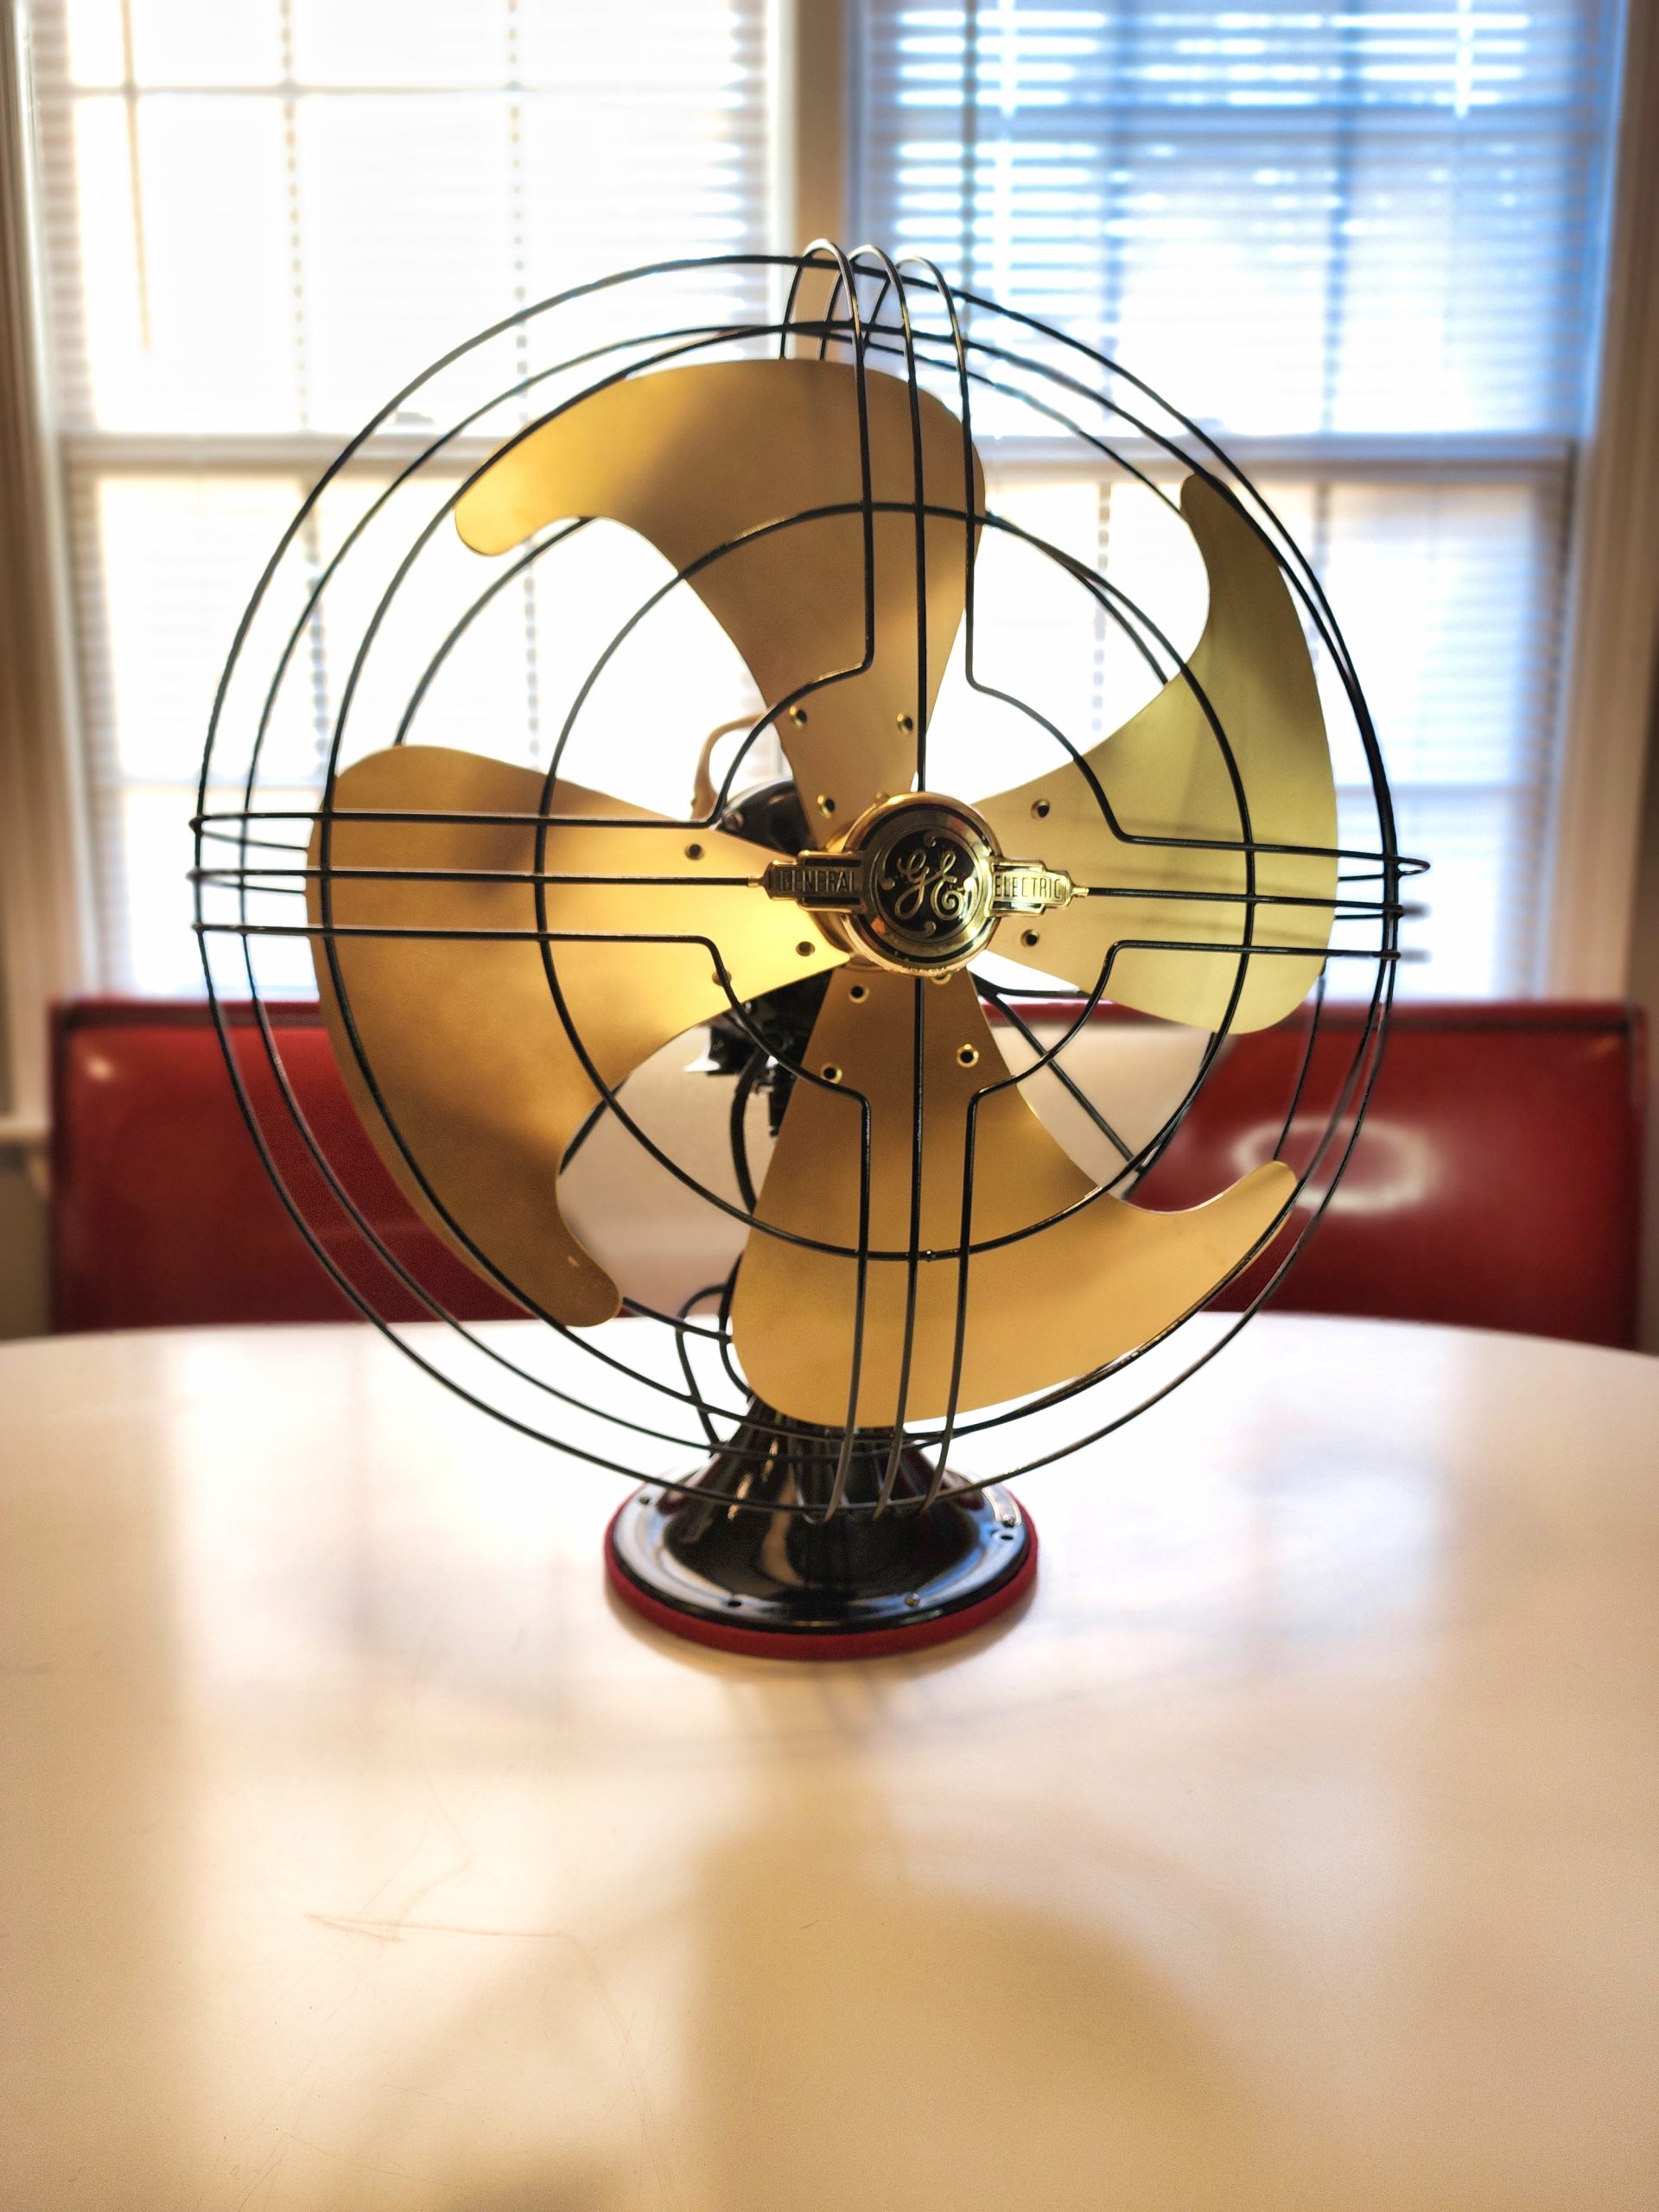
Next step was to get the brass name plates cleaned up, this was a very slow tedious hand process of polishing bit by bit.
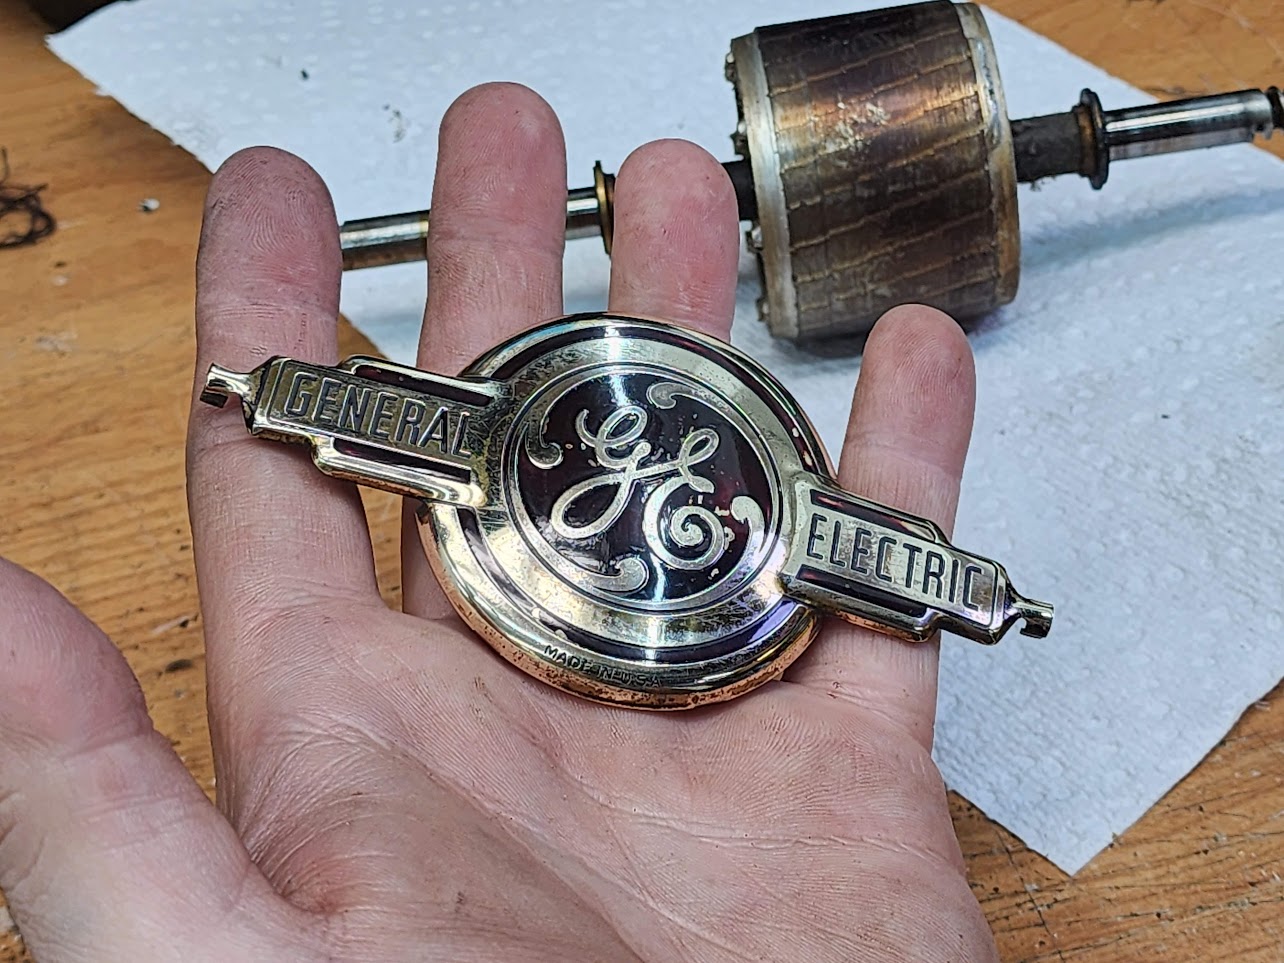
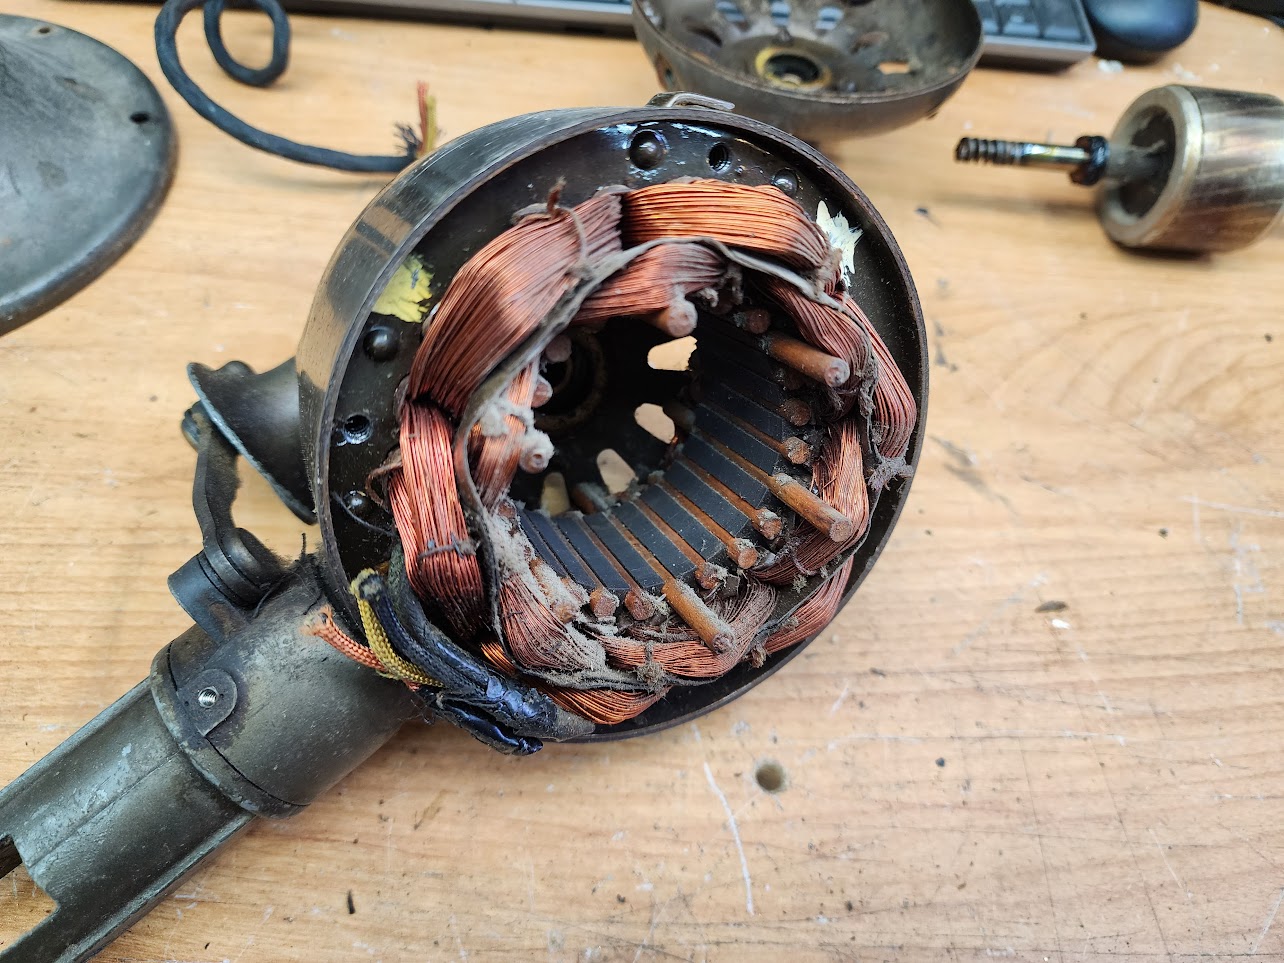
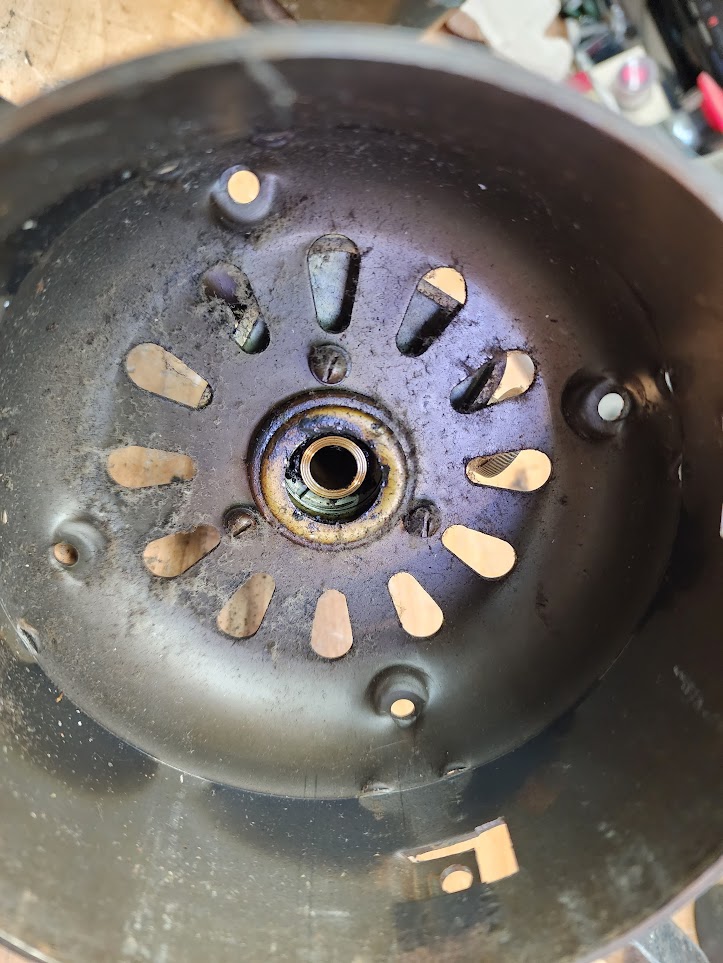
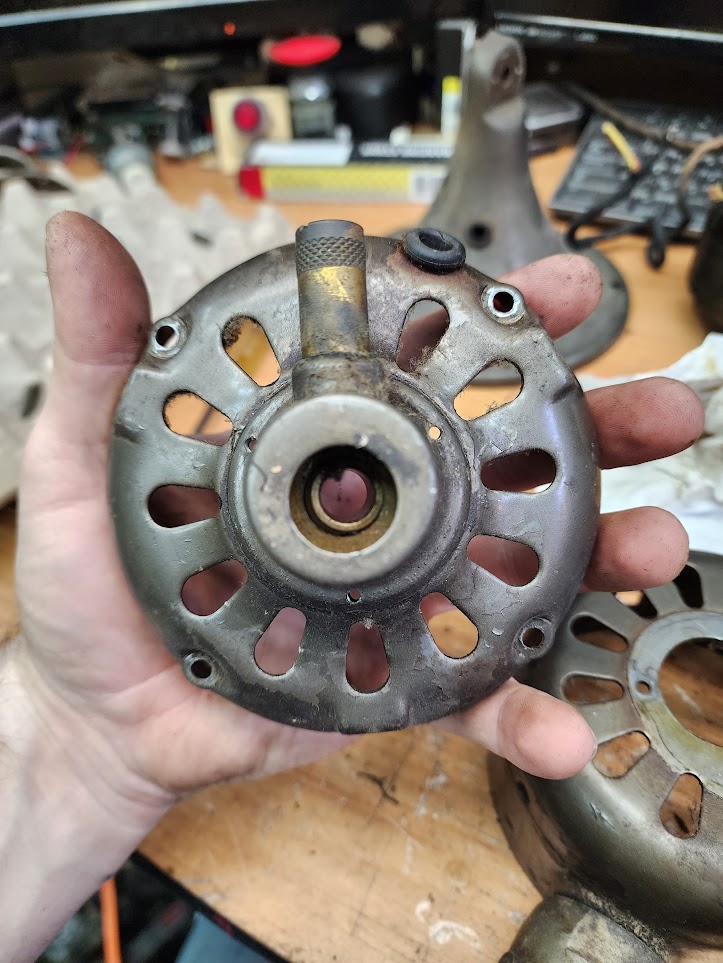
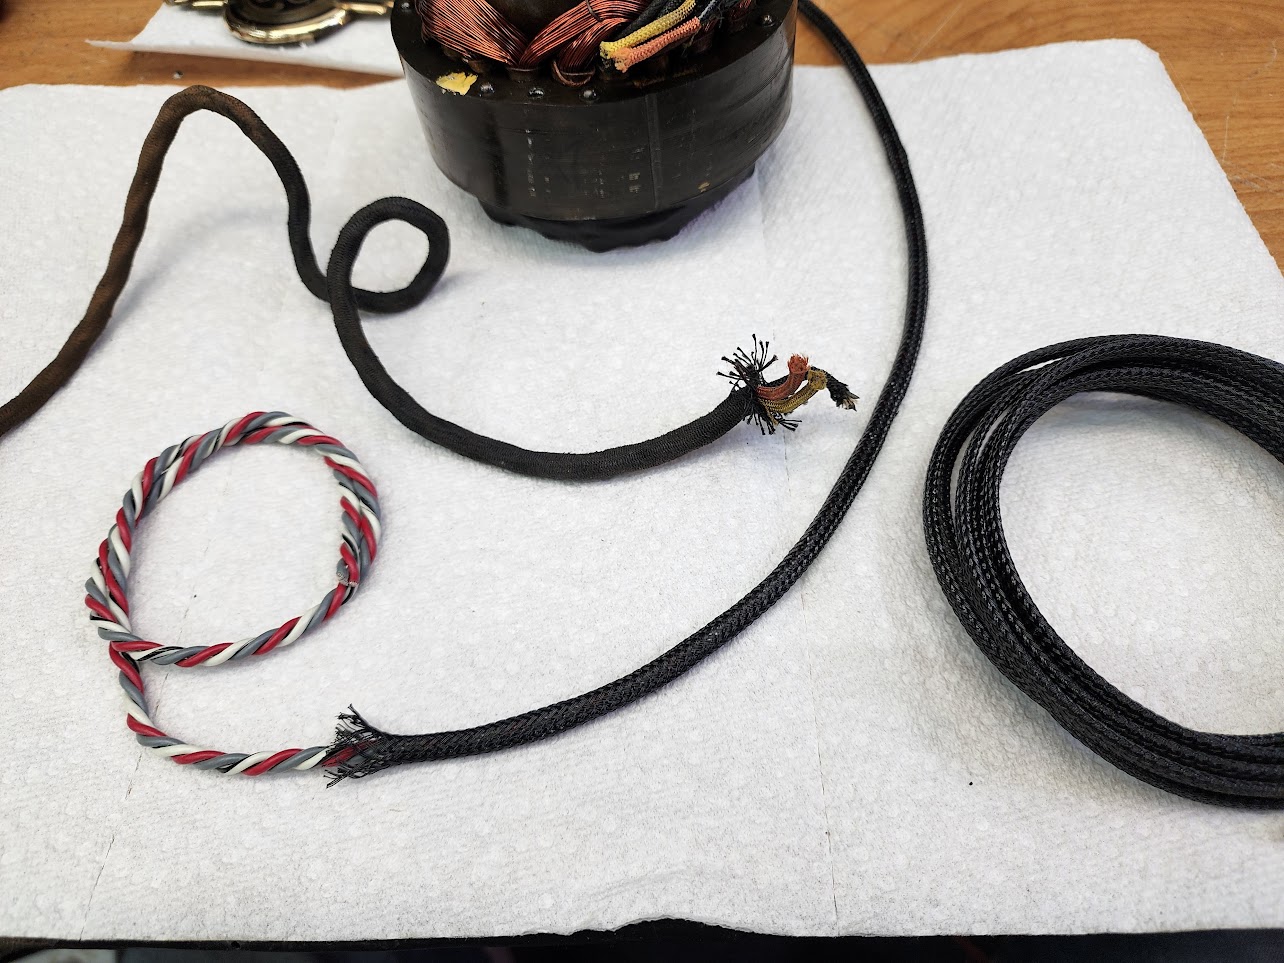
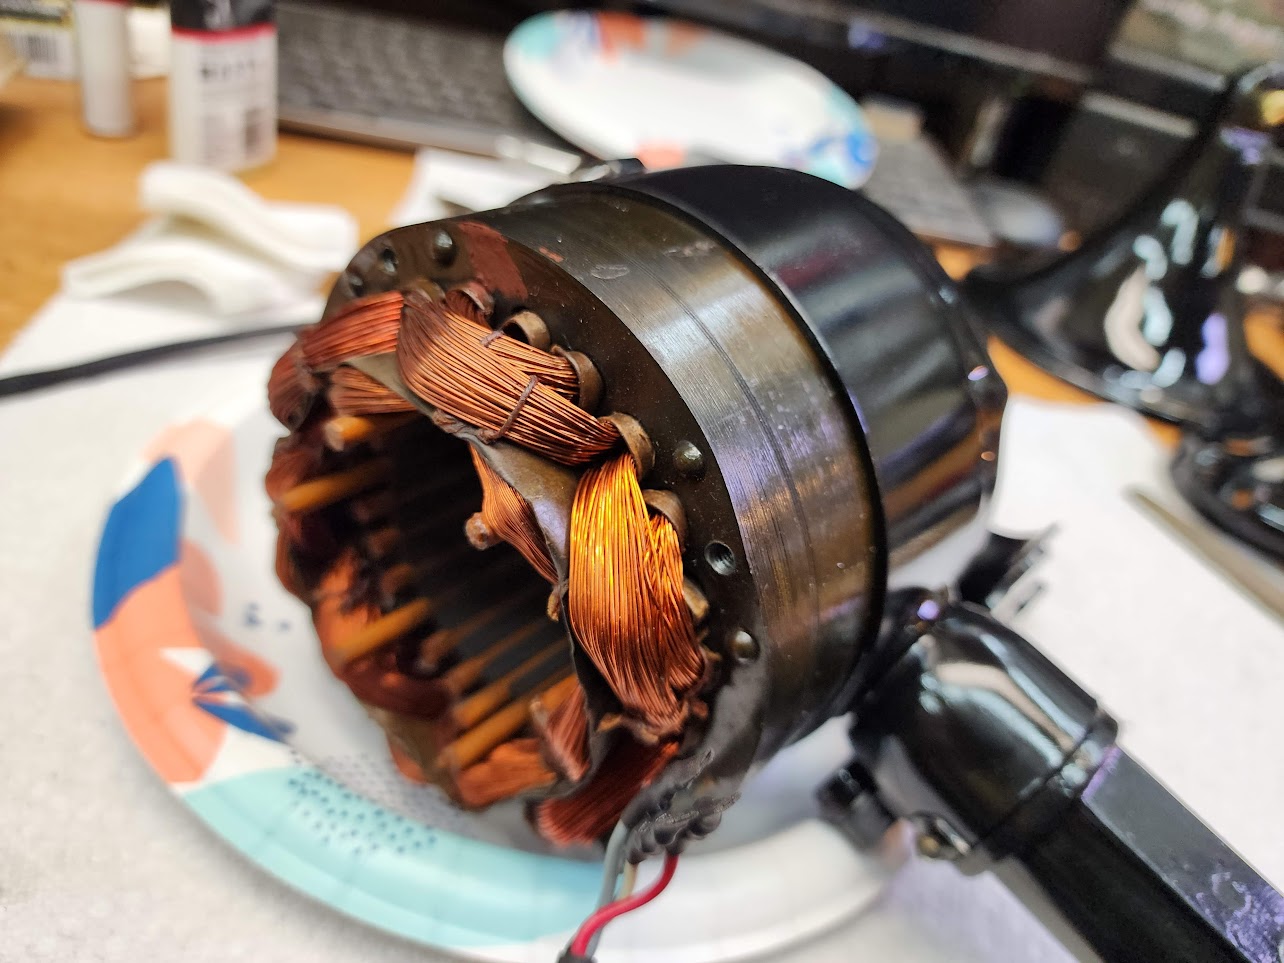
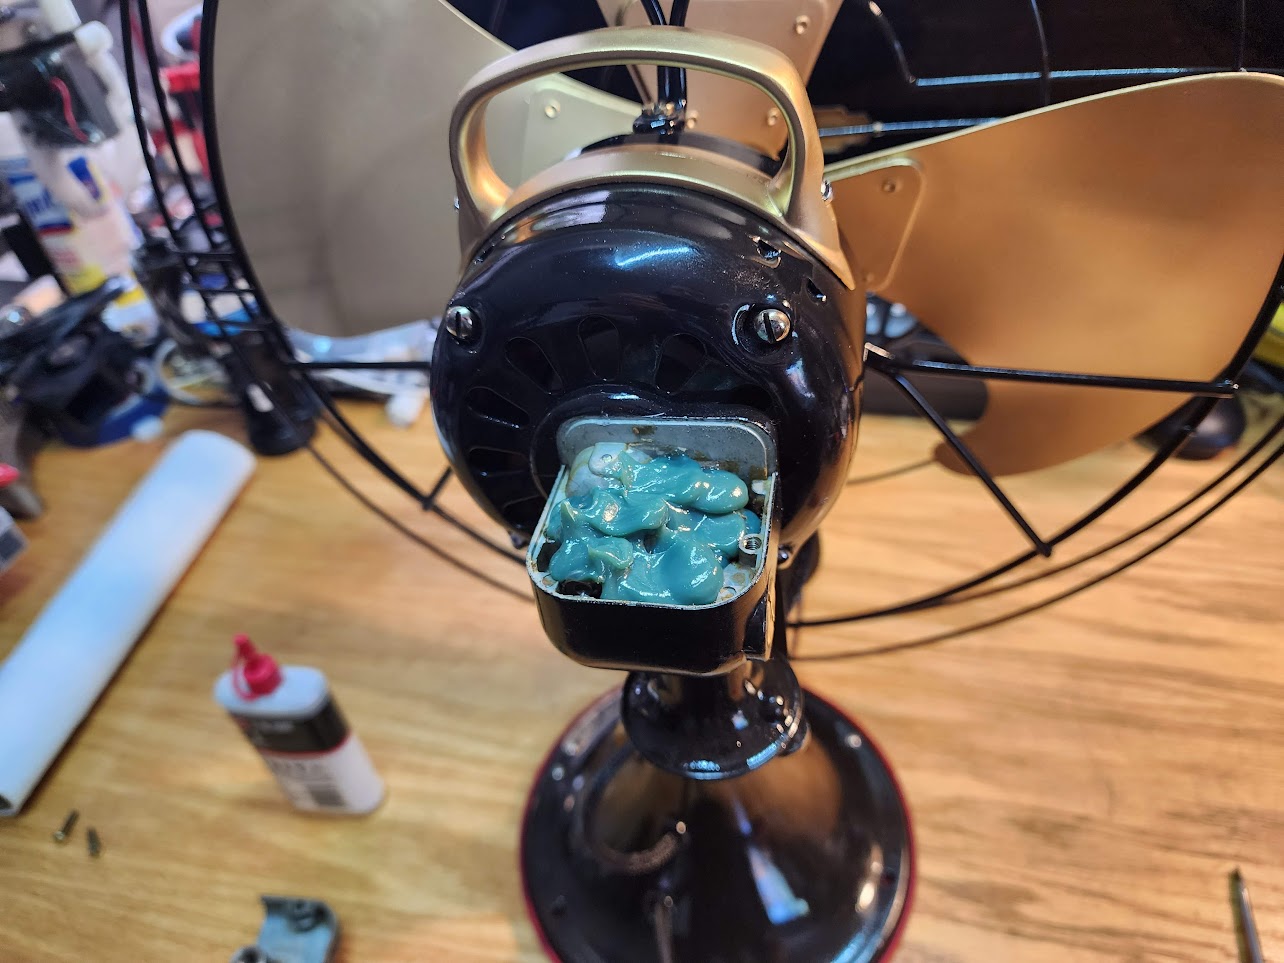
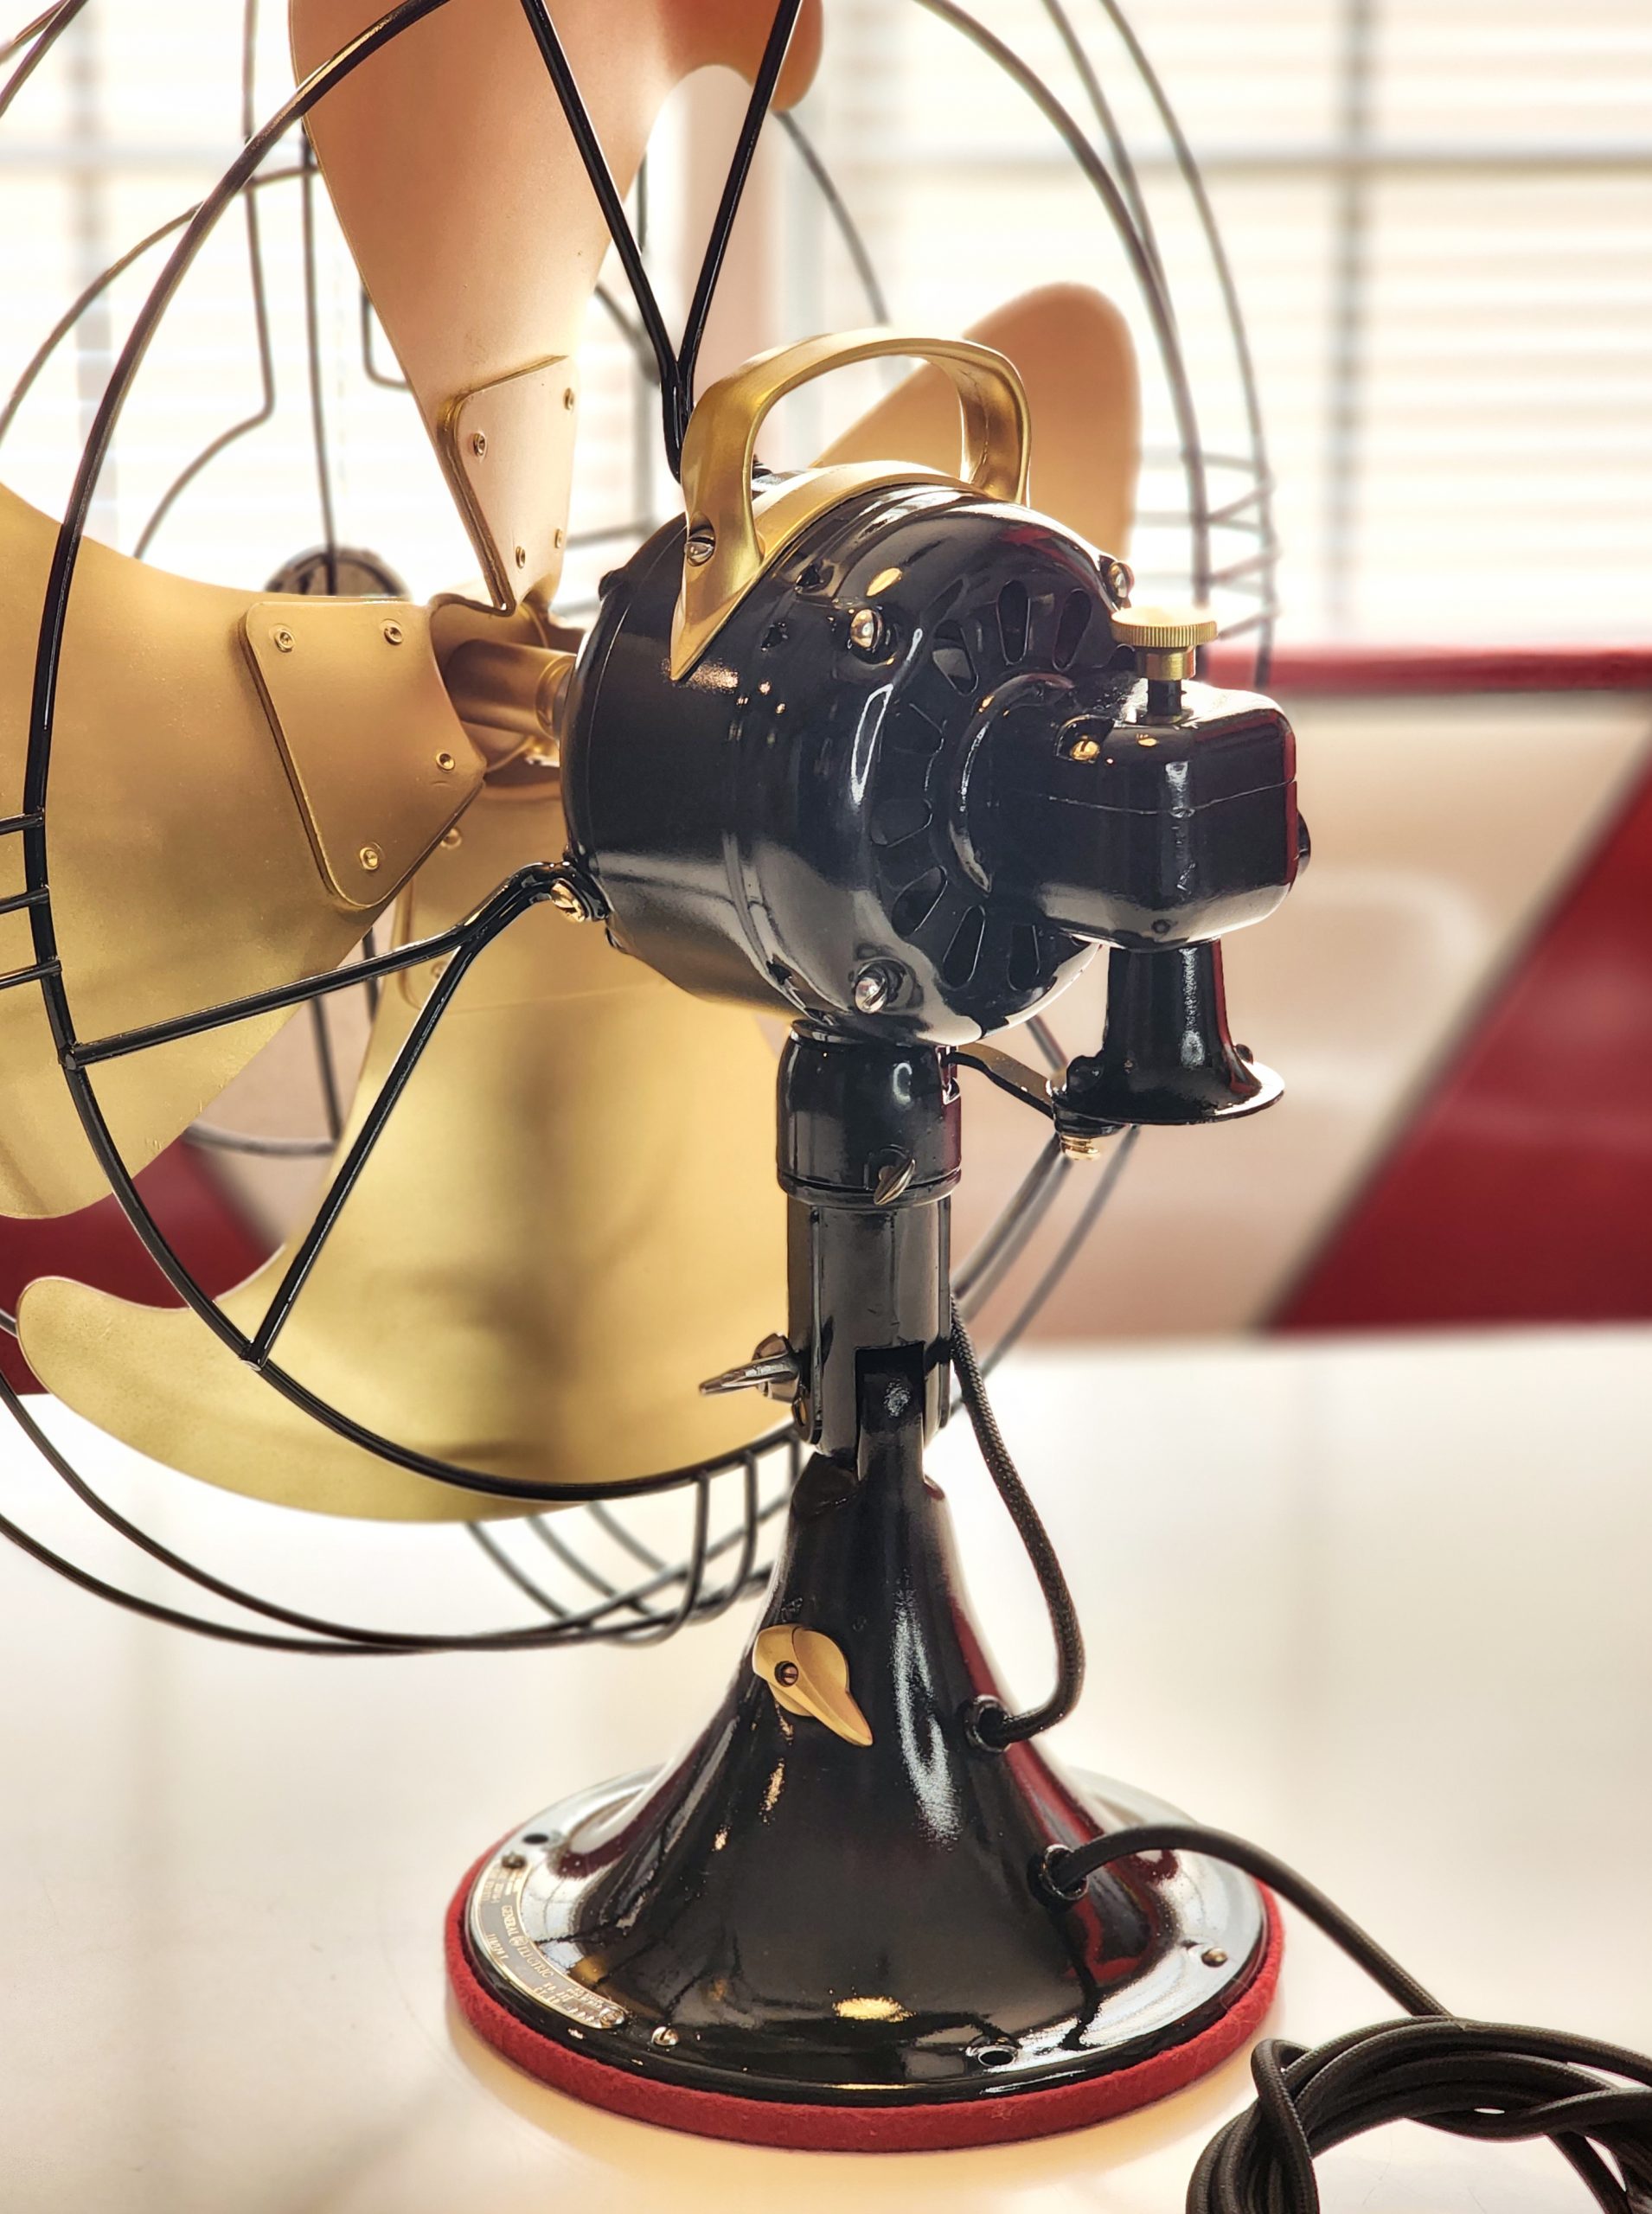
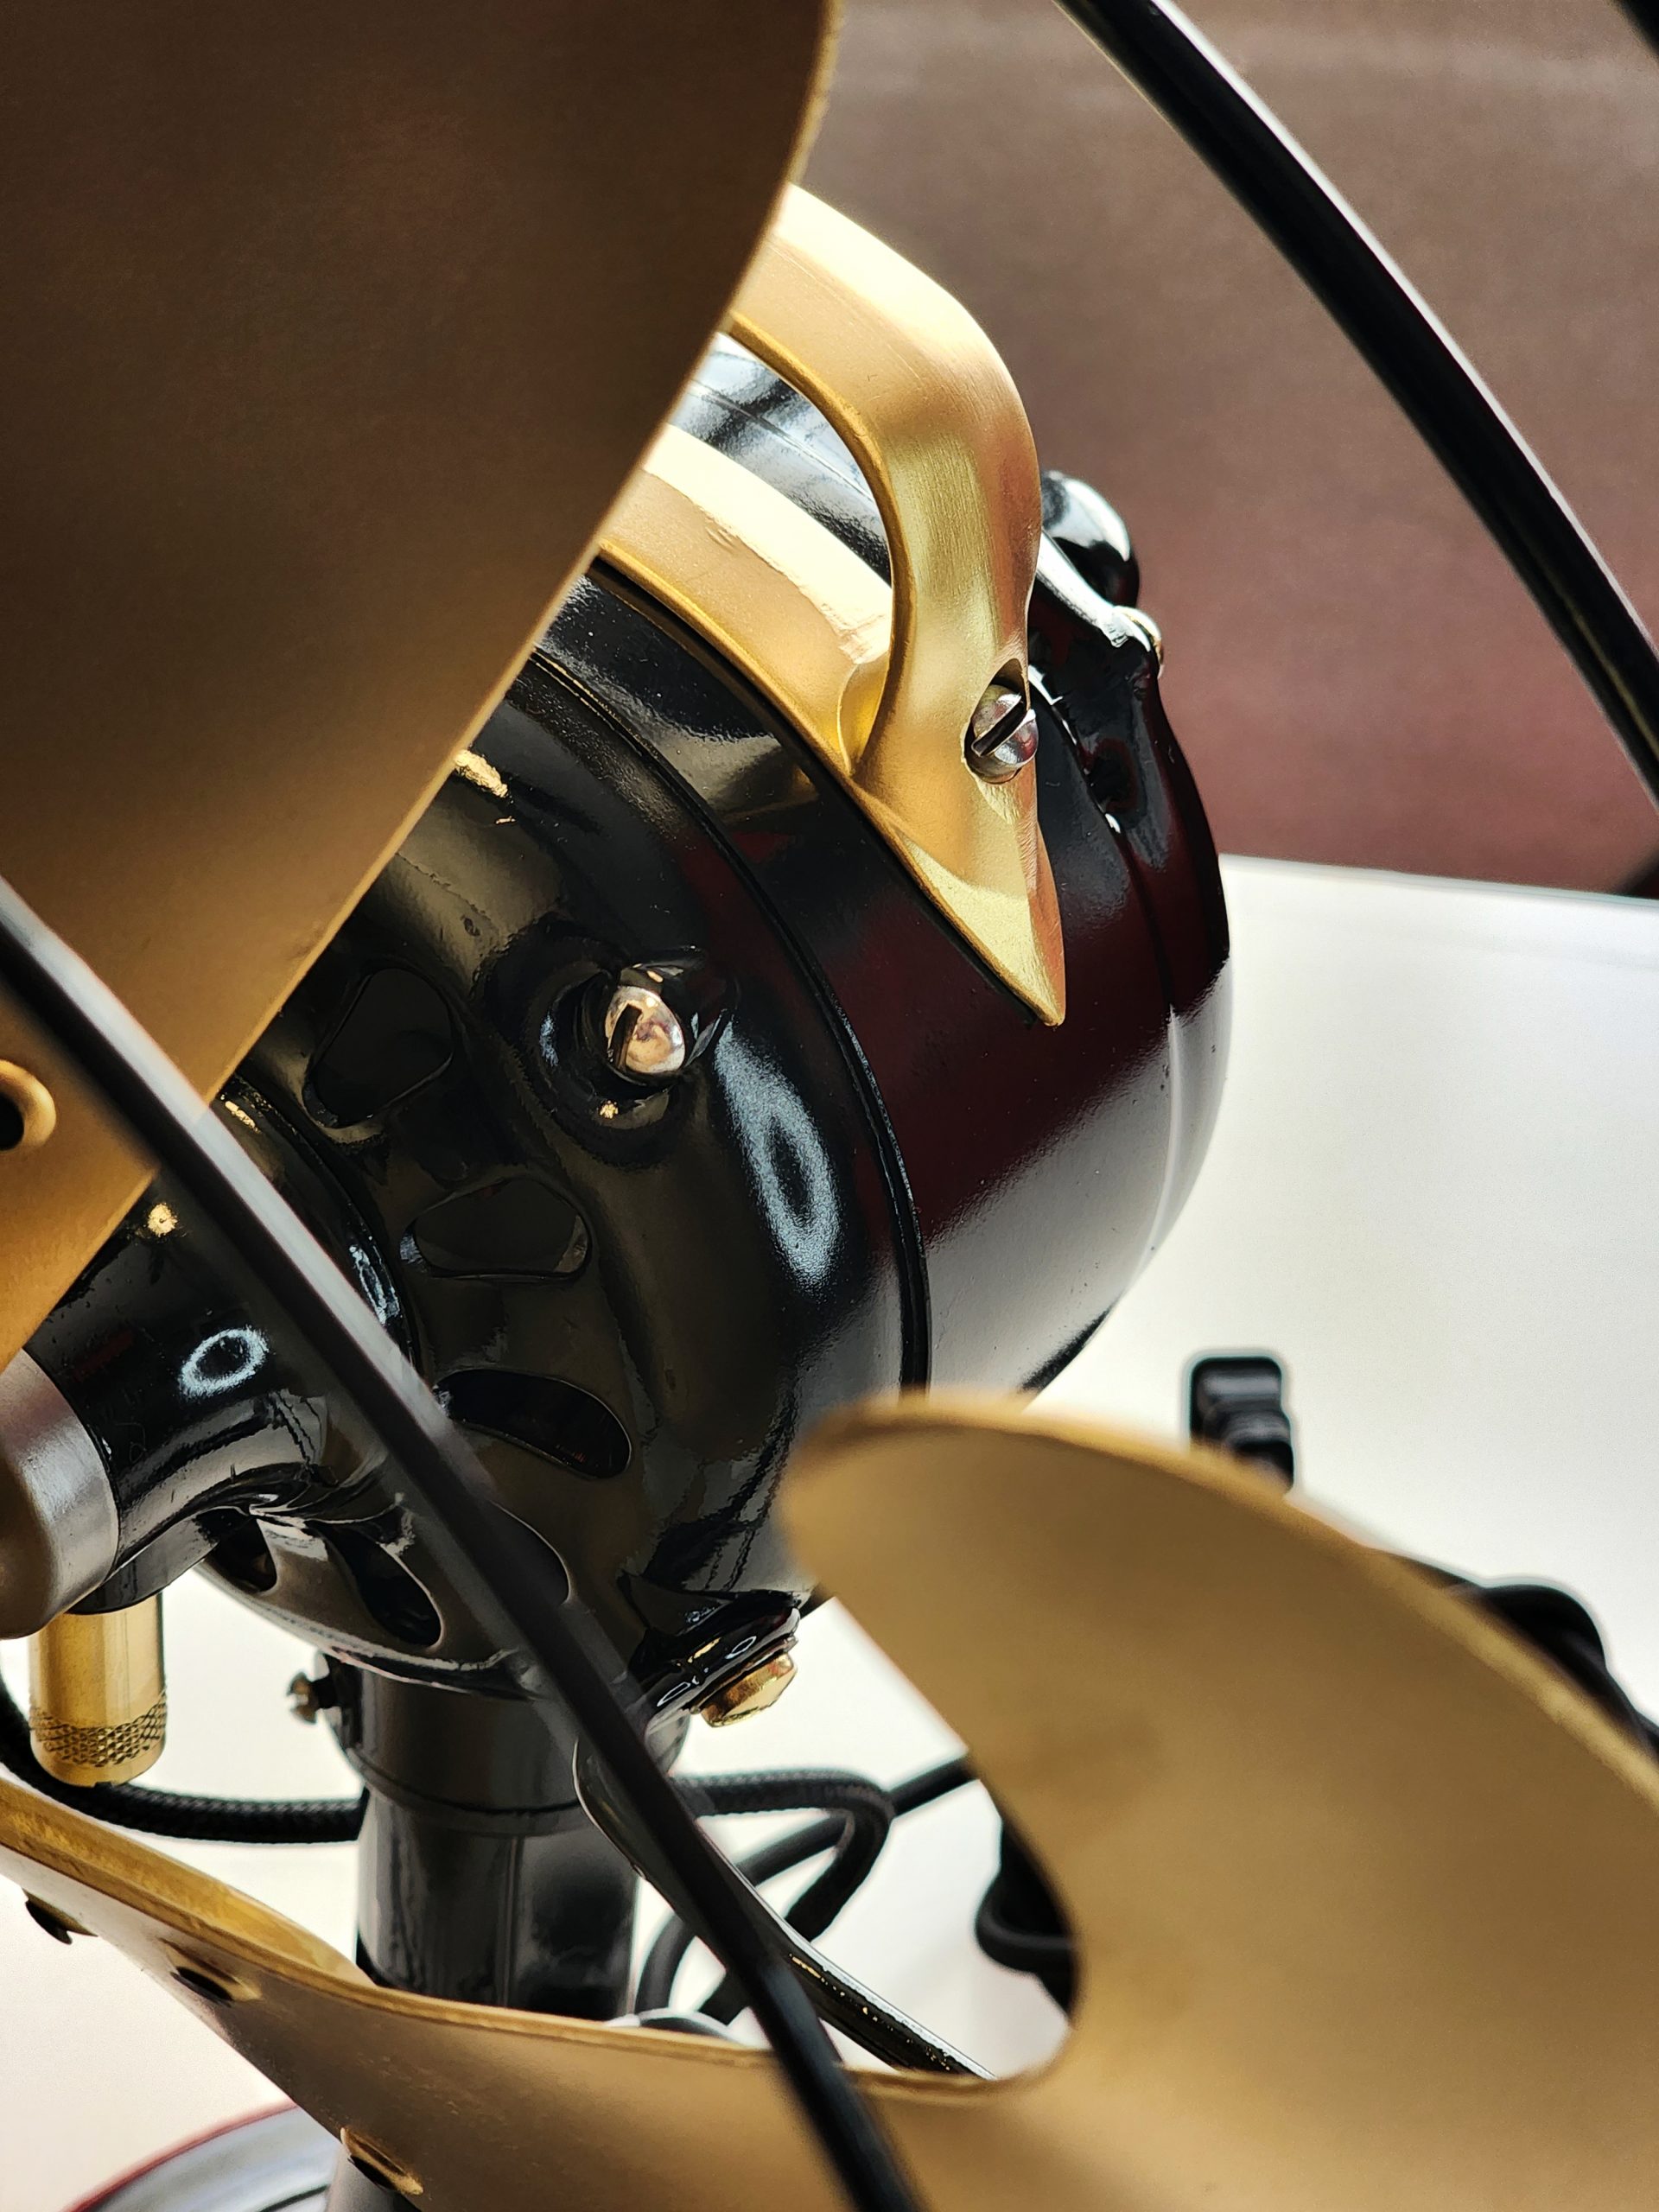
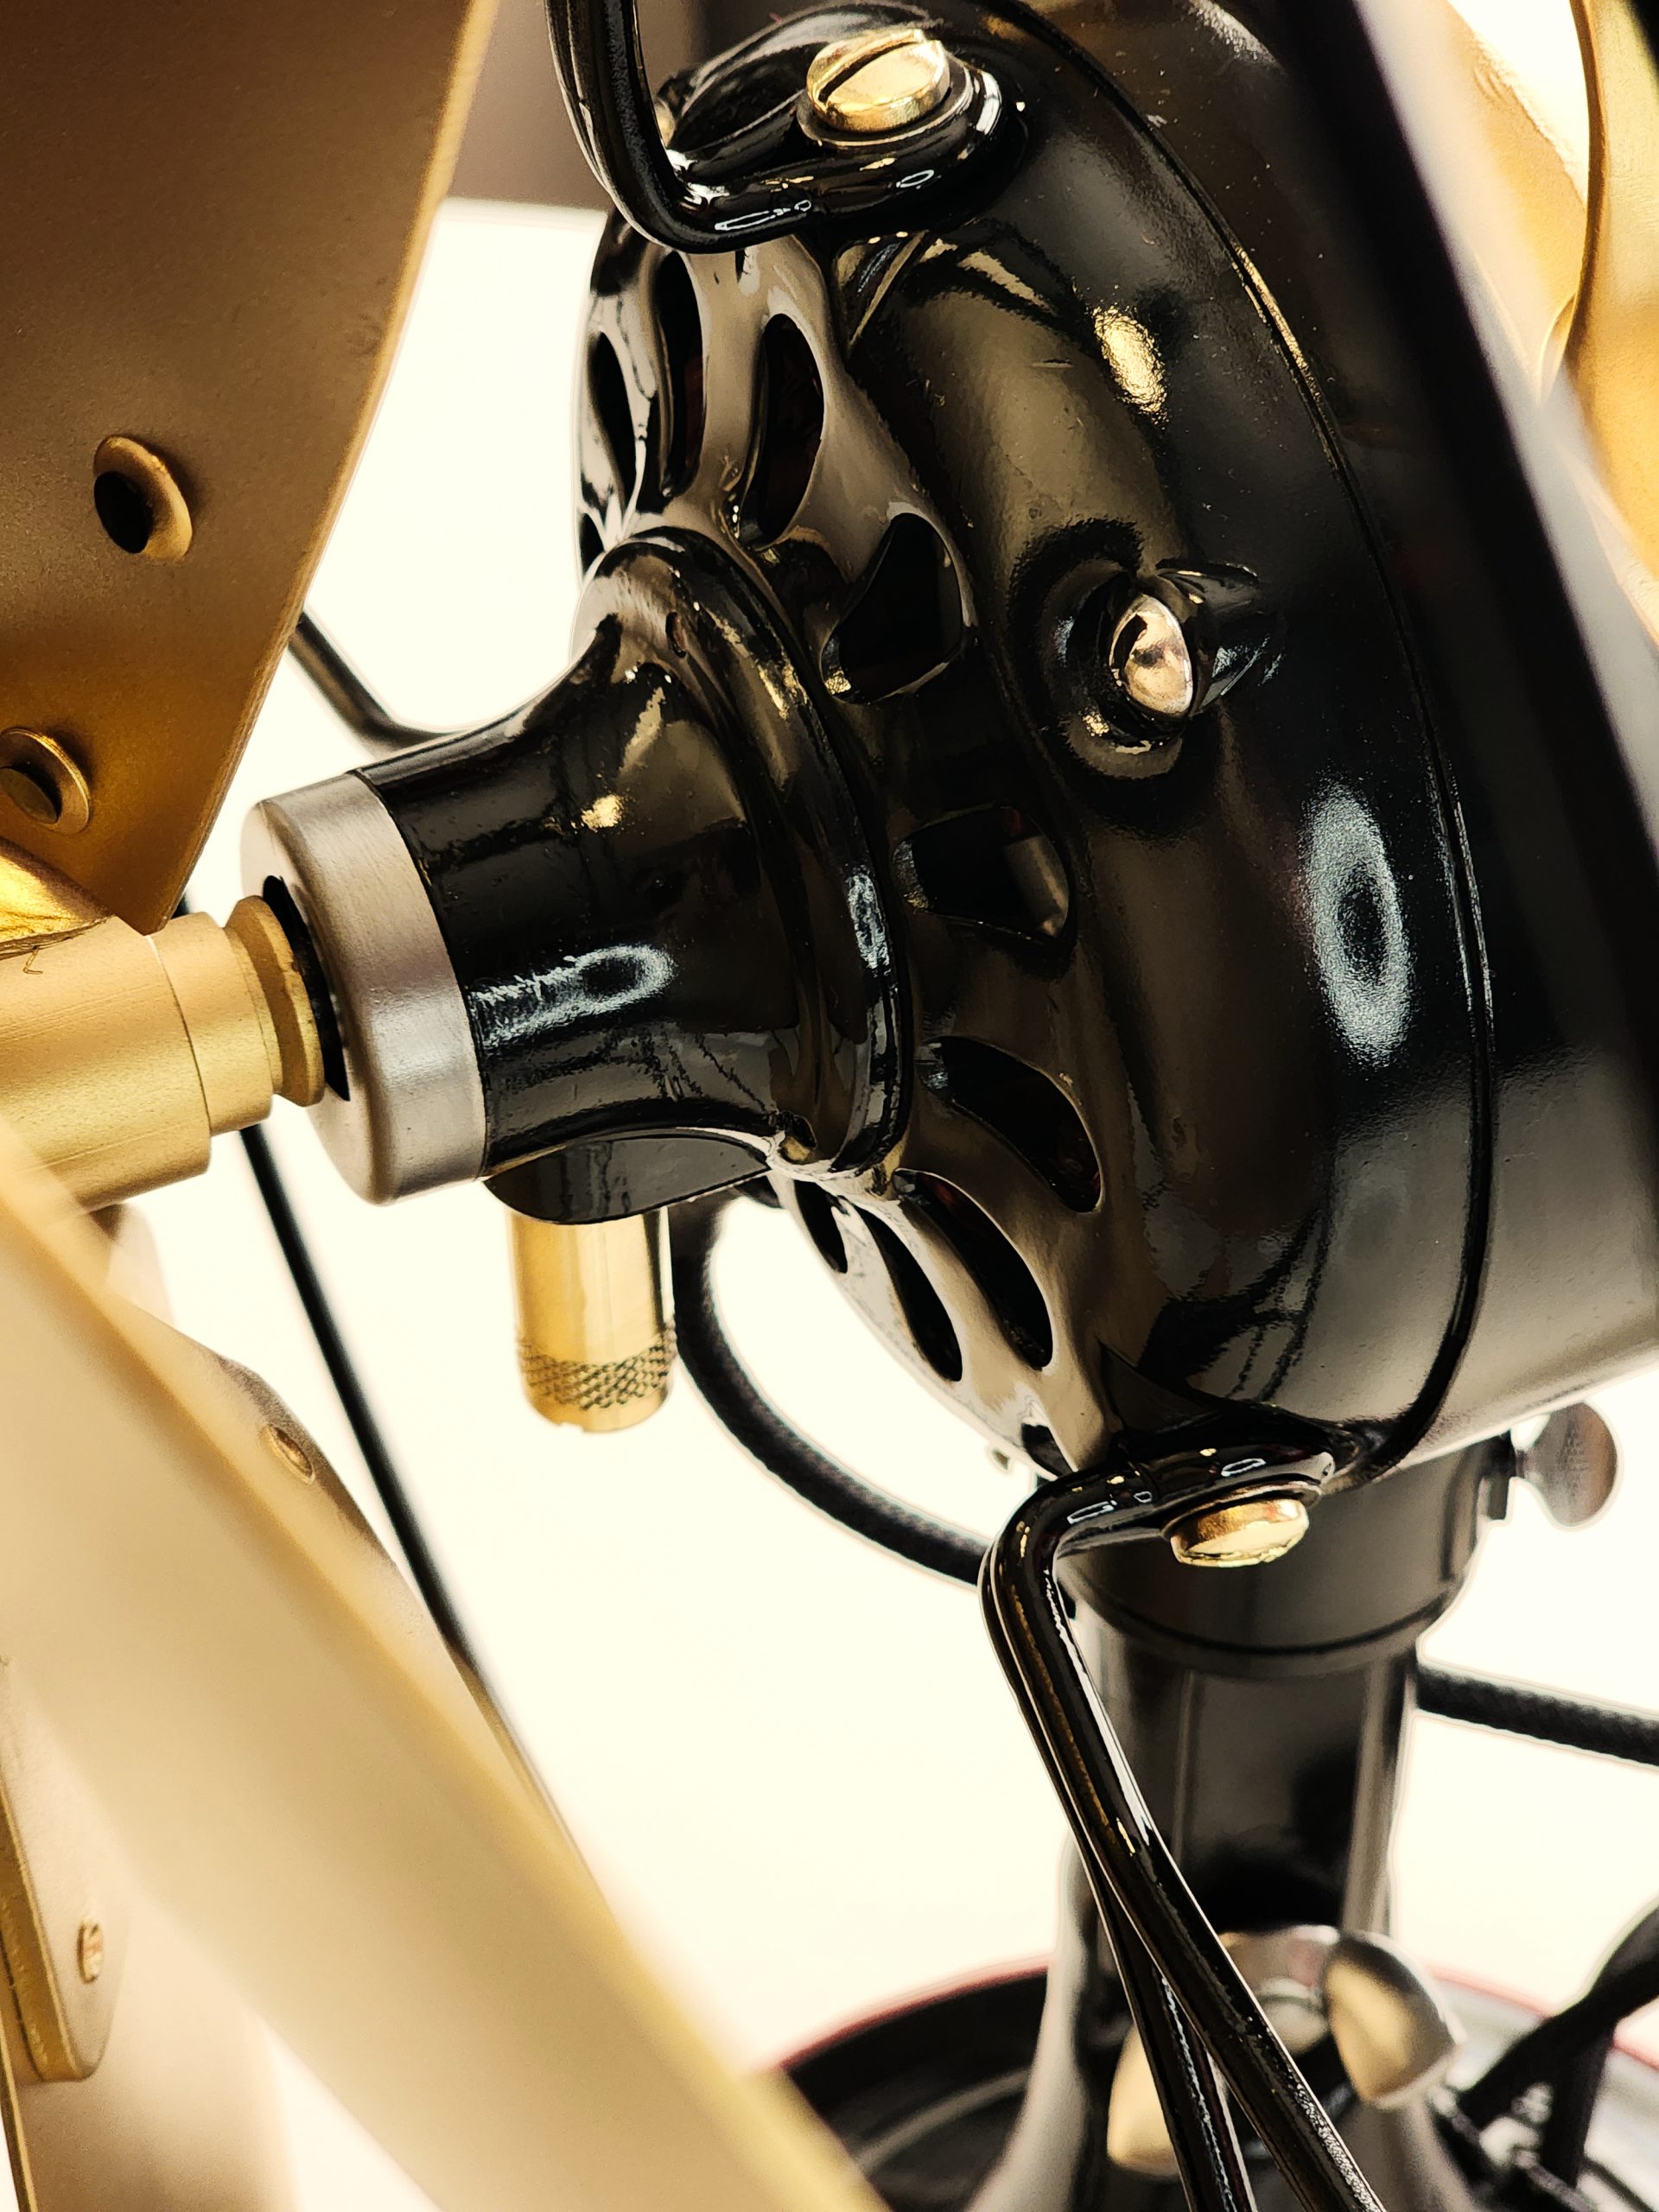
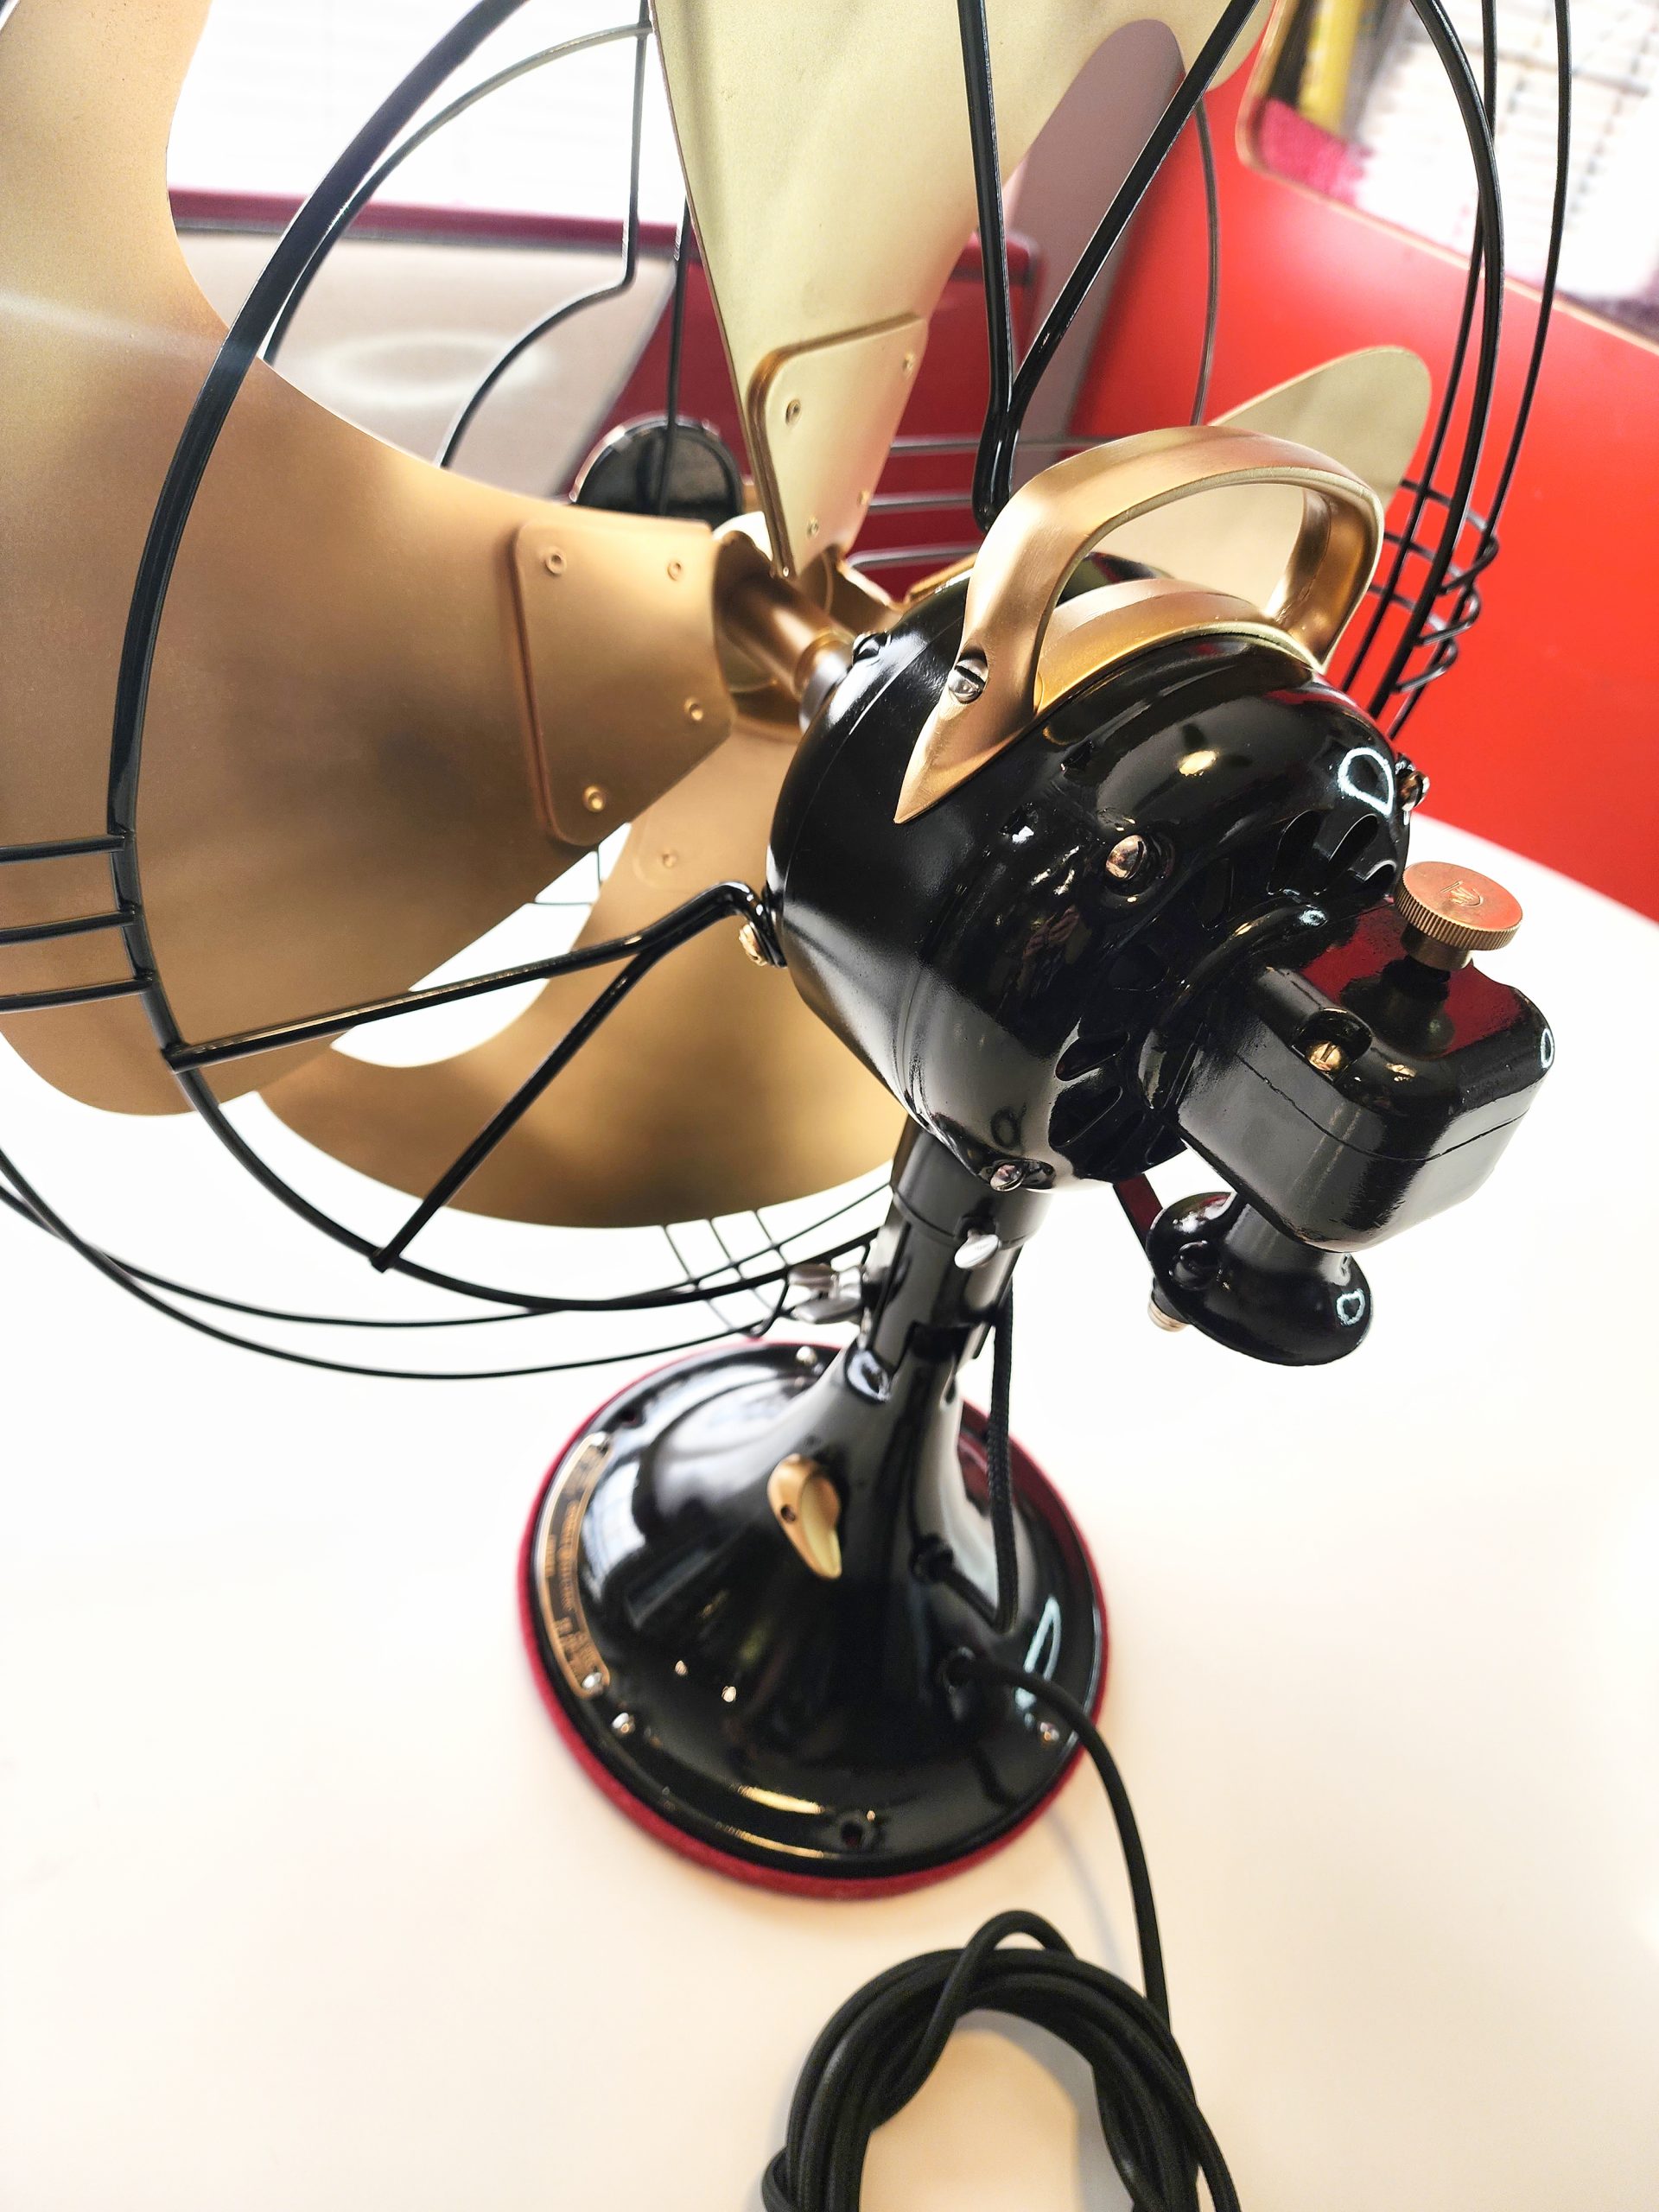
Next step was to re work and clean the motor, as well as build up a new wire harness with a black nylon woven sheeth.

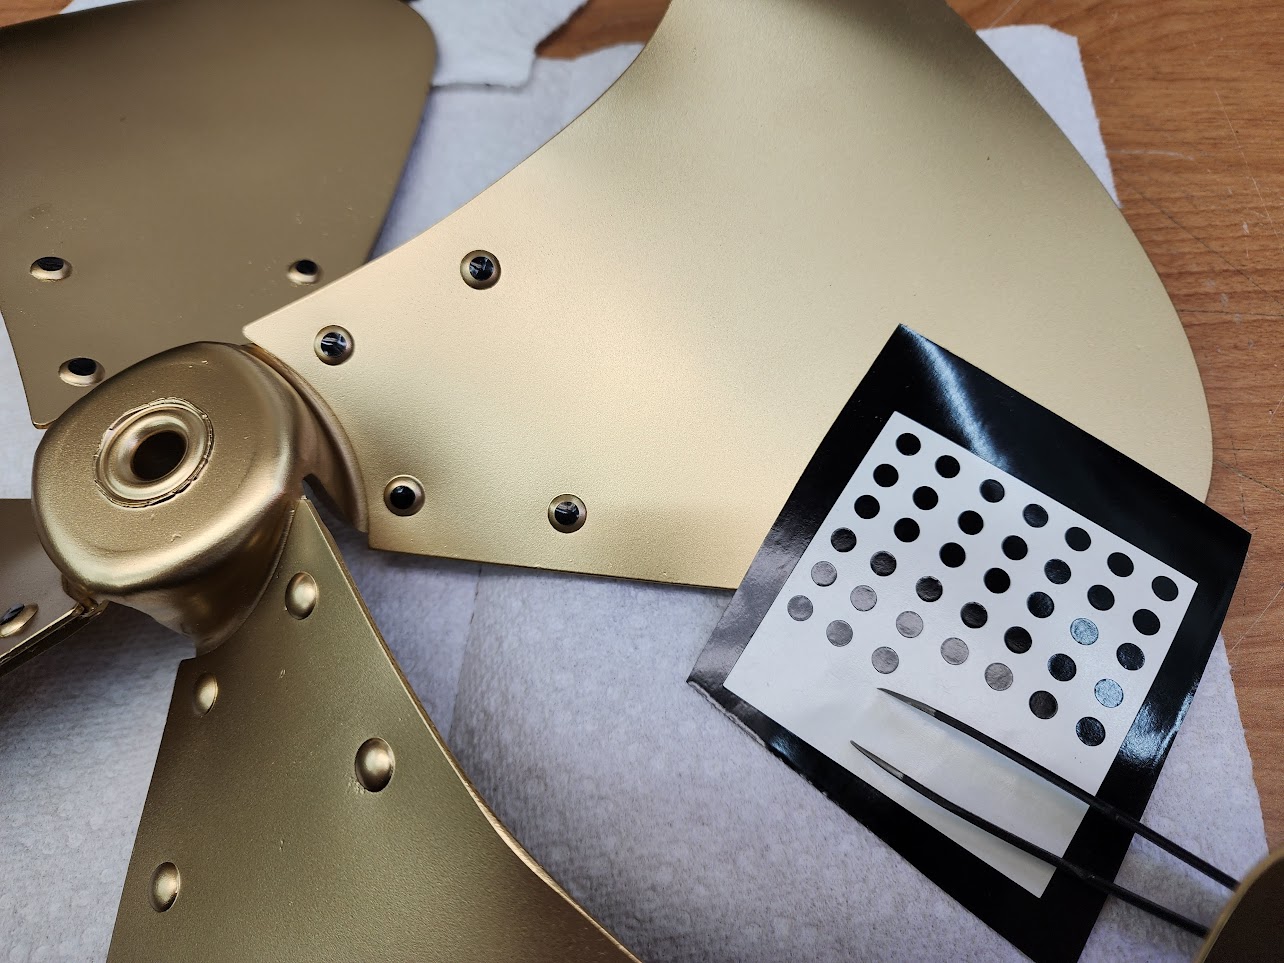
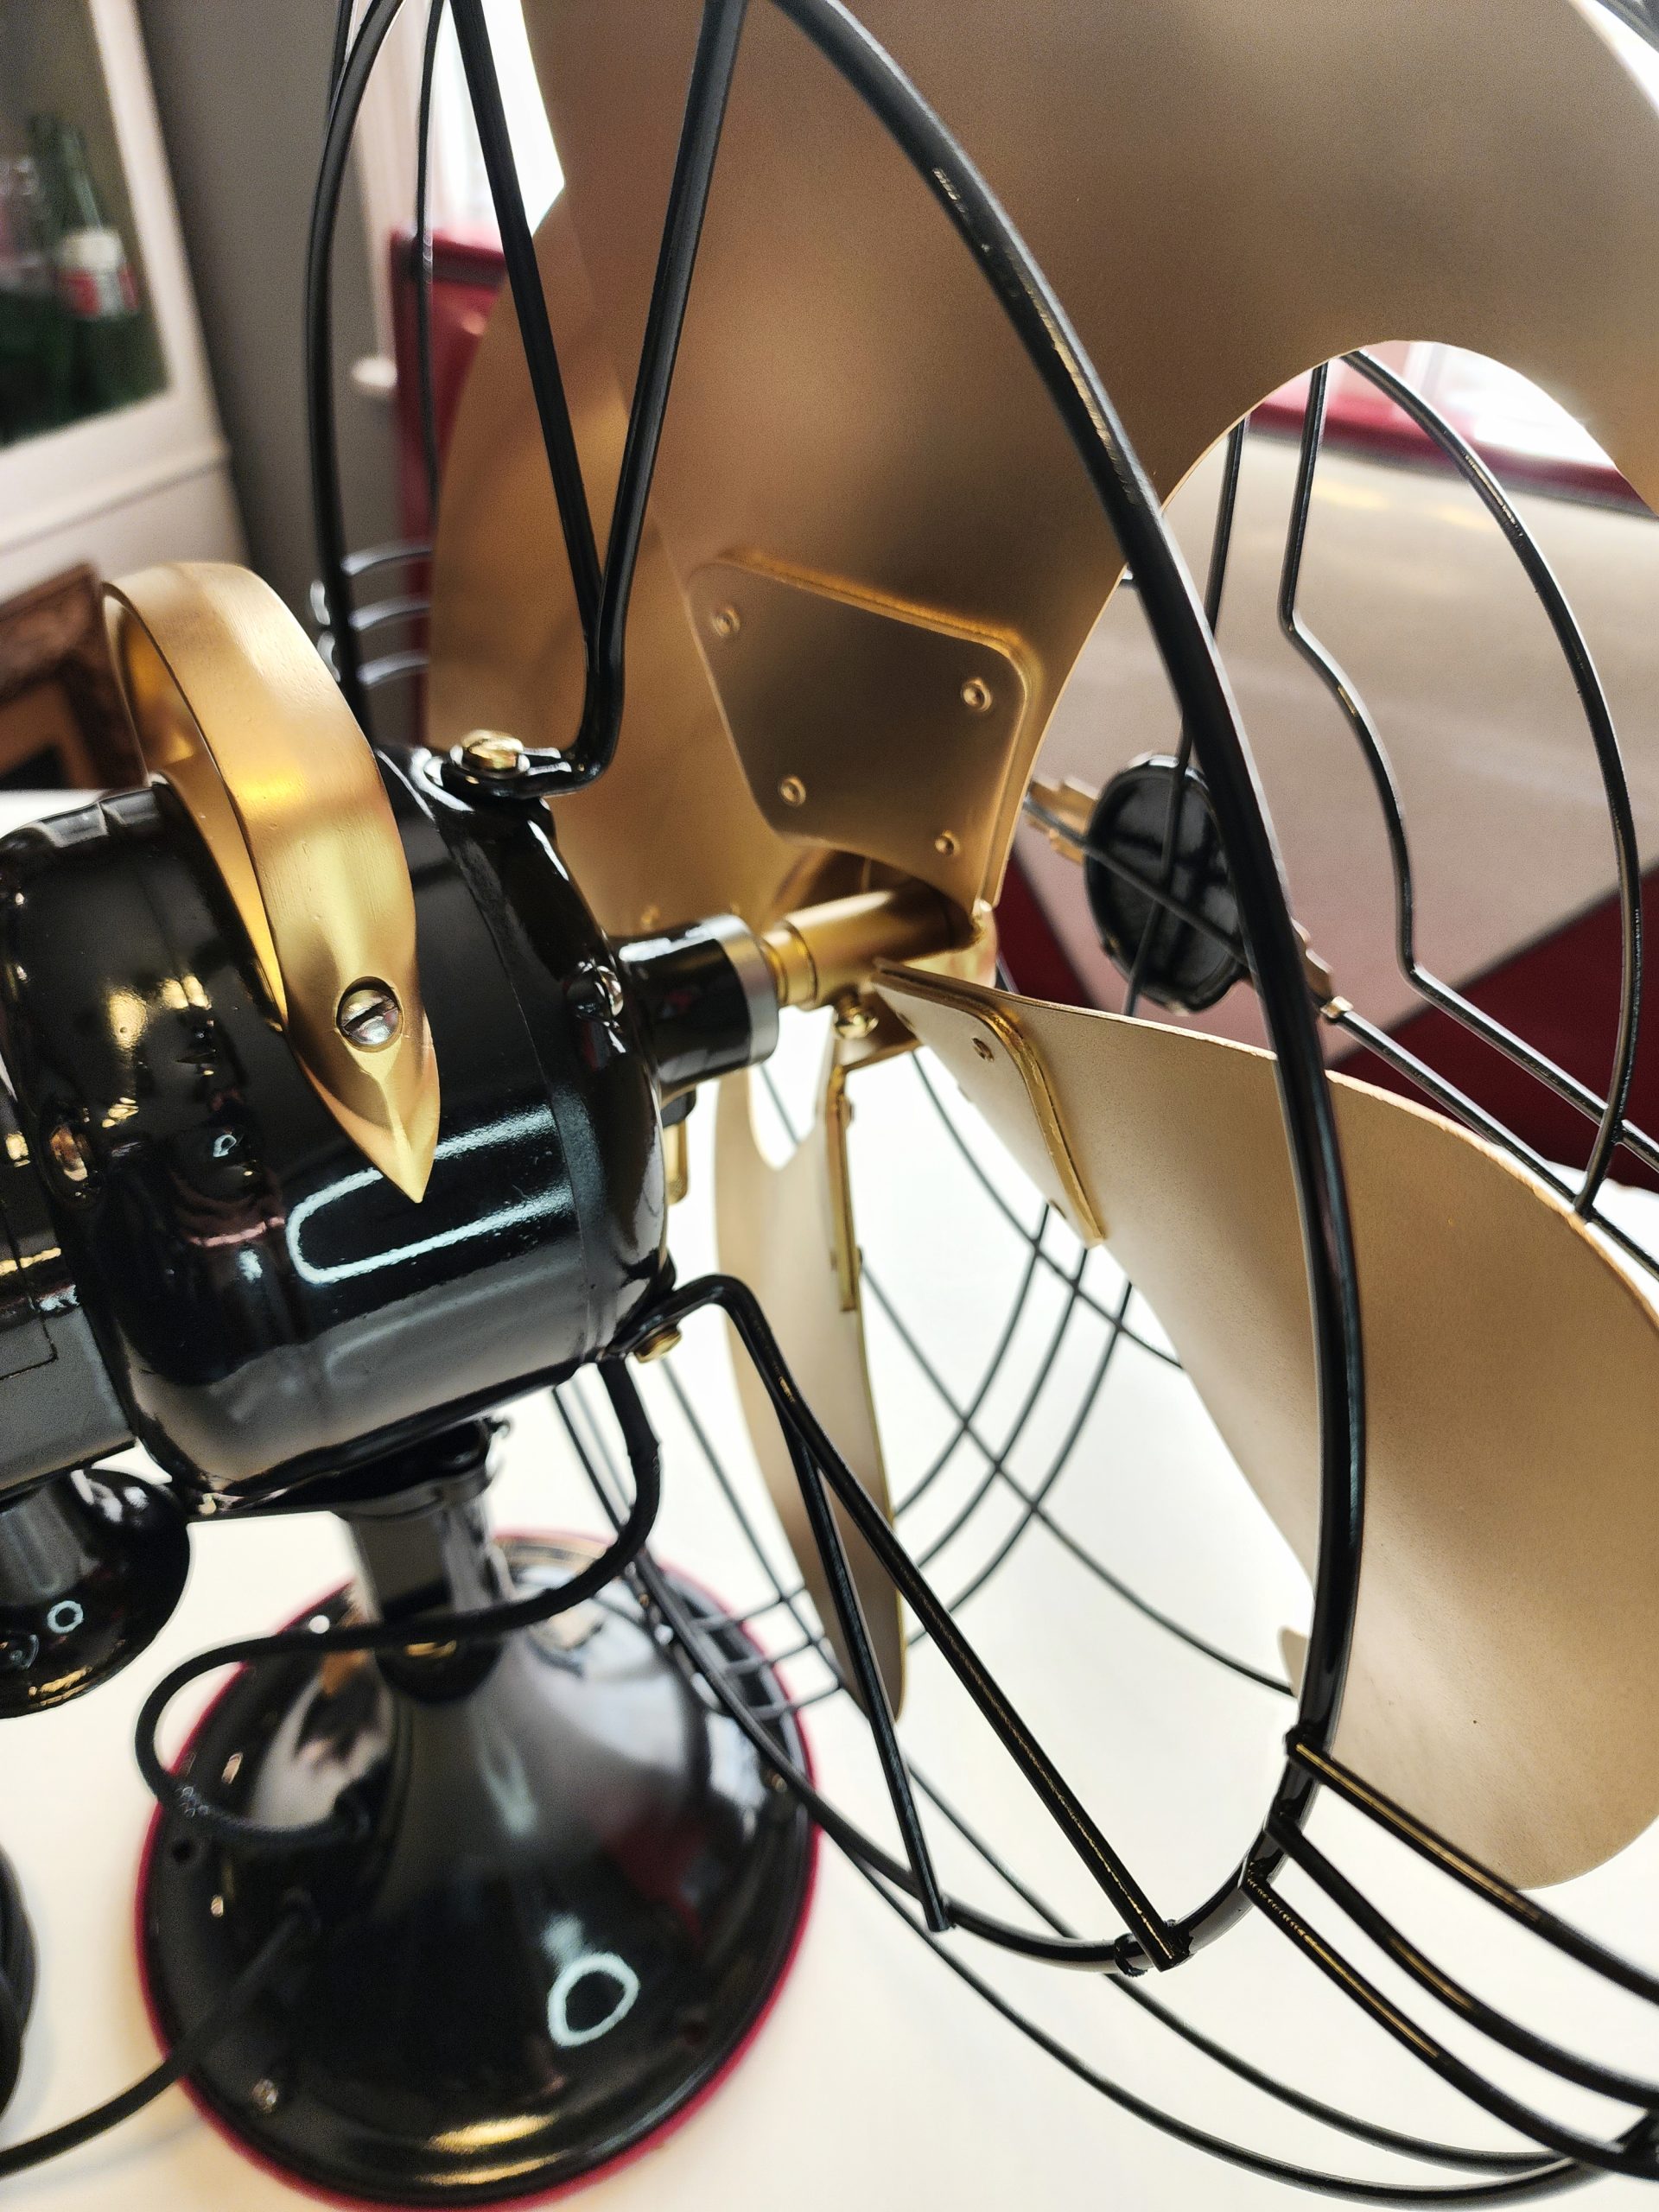
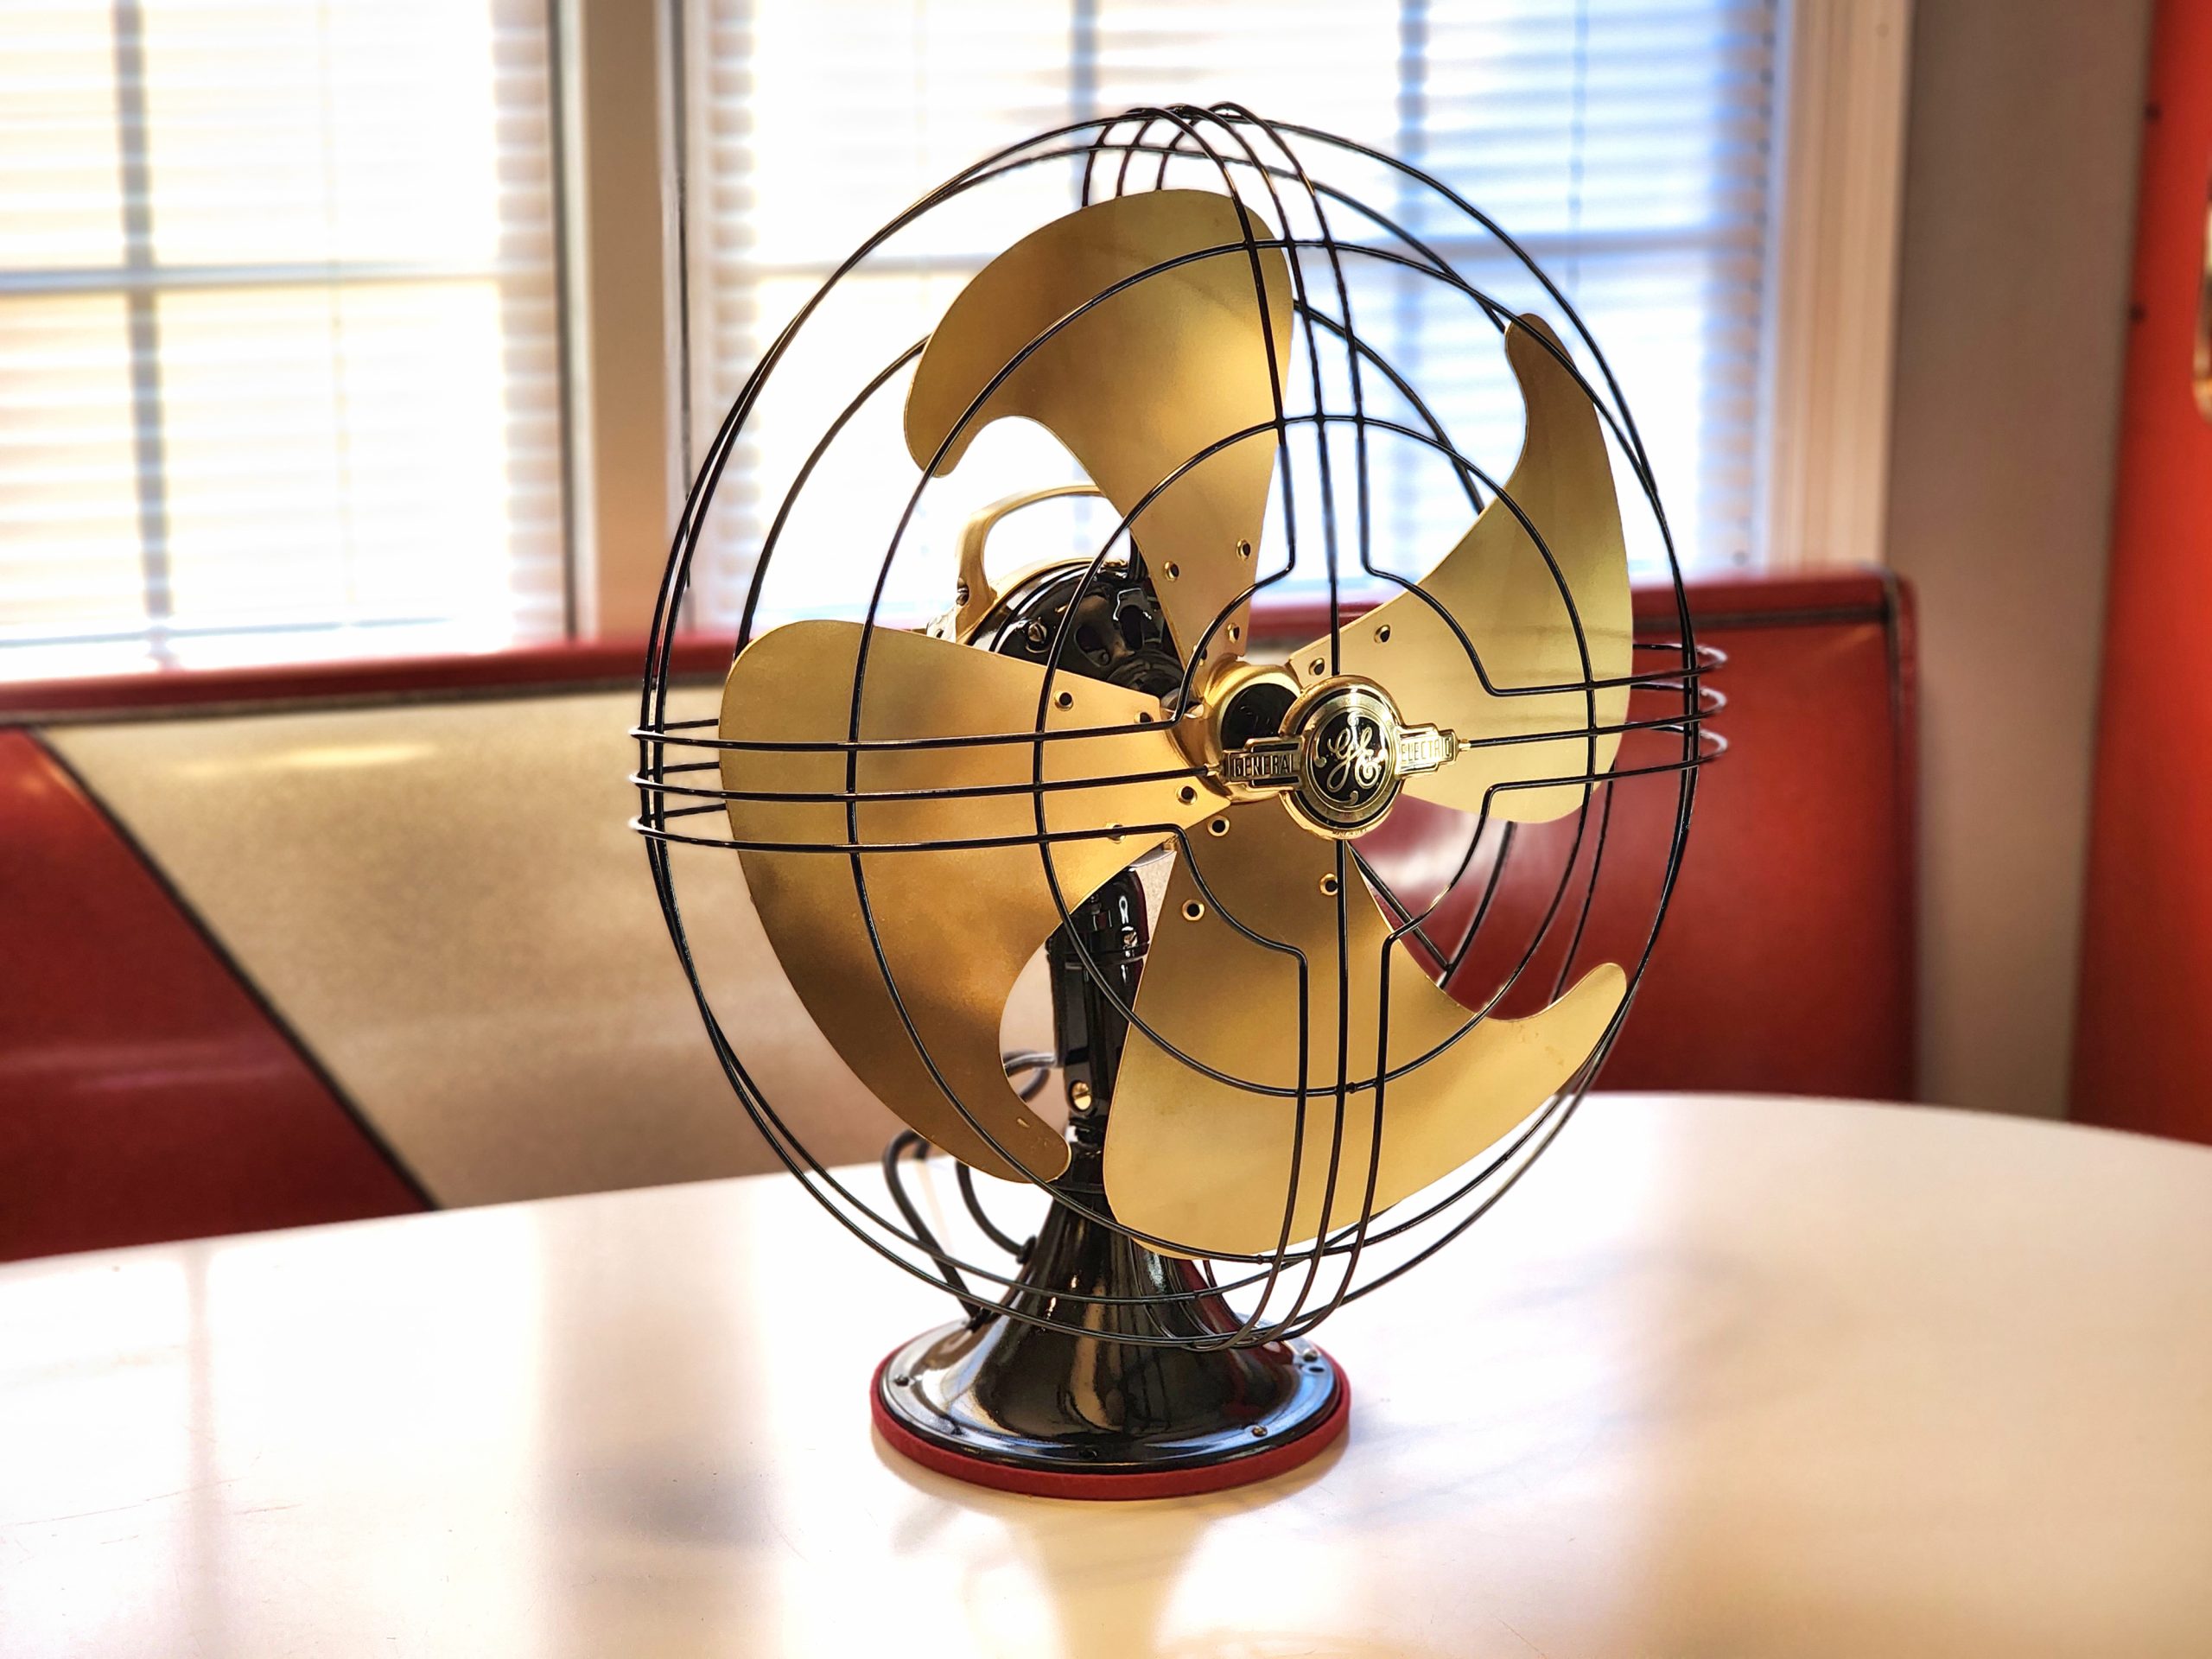
For the Fan blade, I custom cut some black Vinyl dots for the rivits.

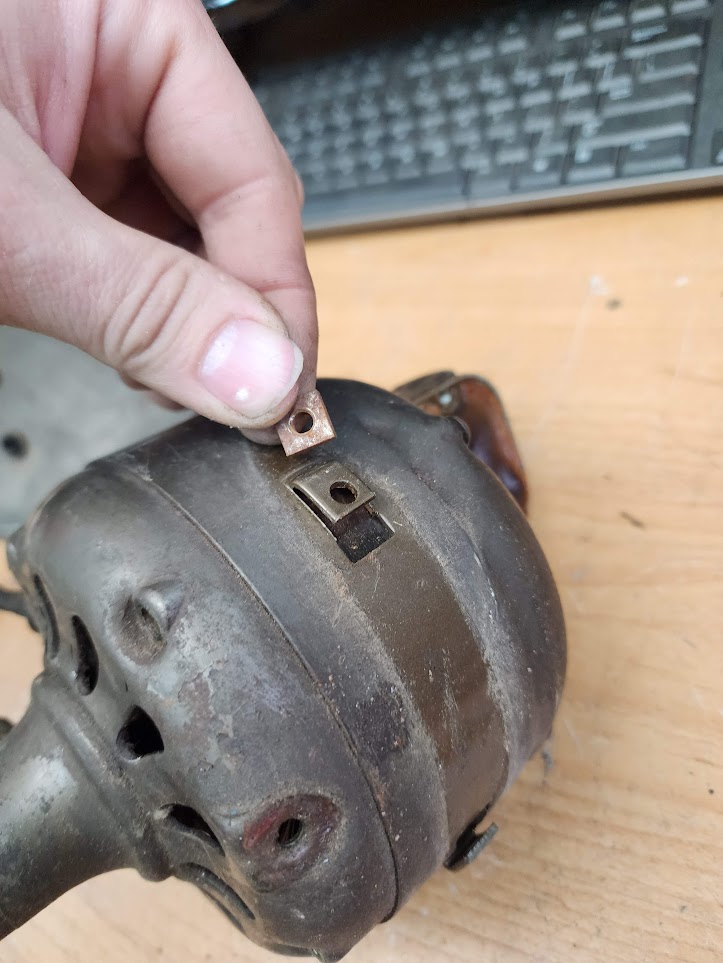
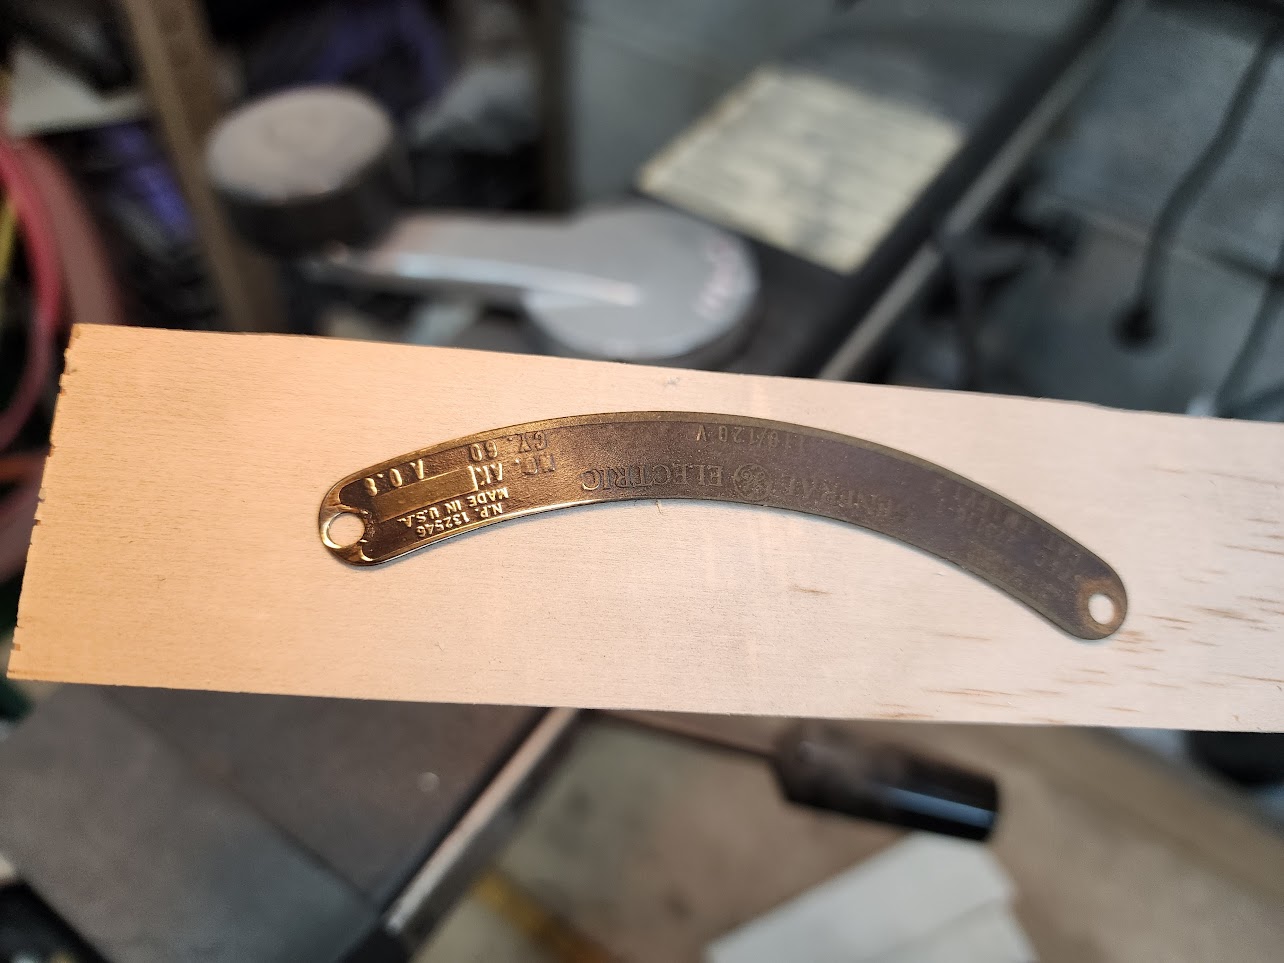
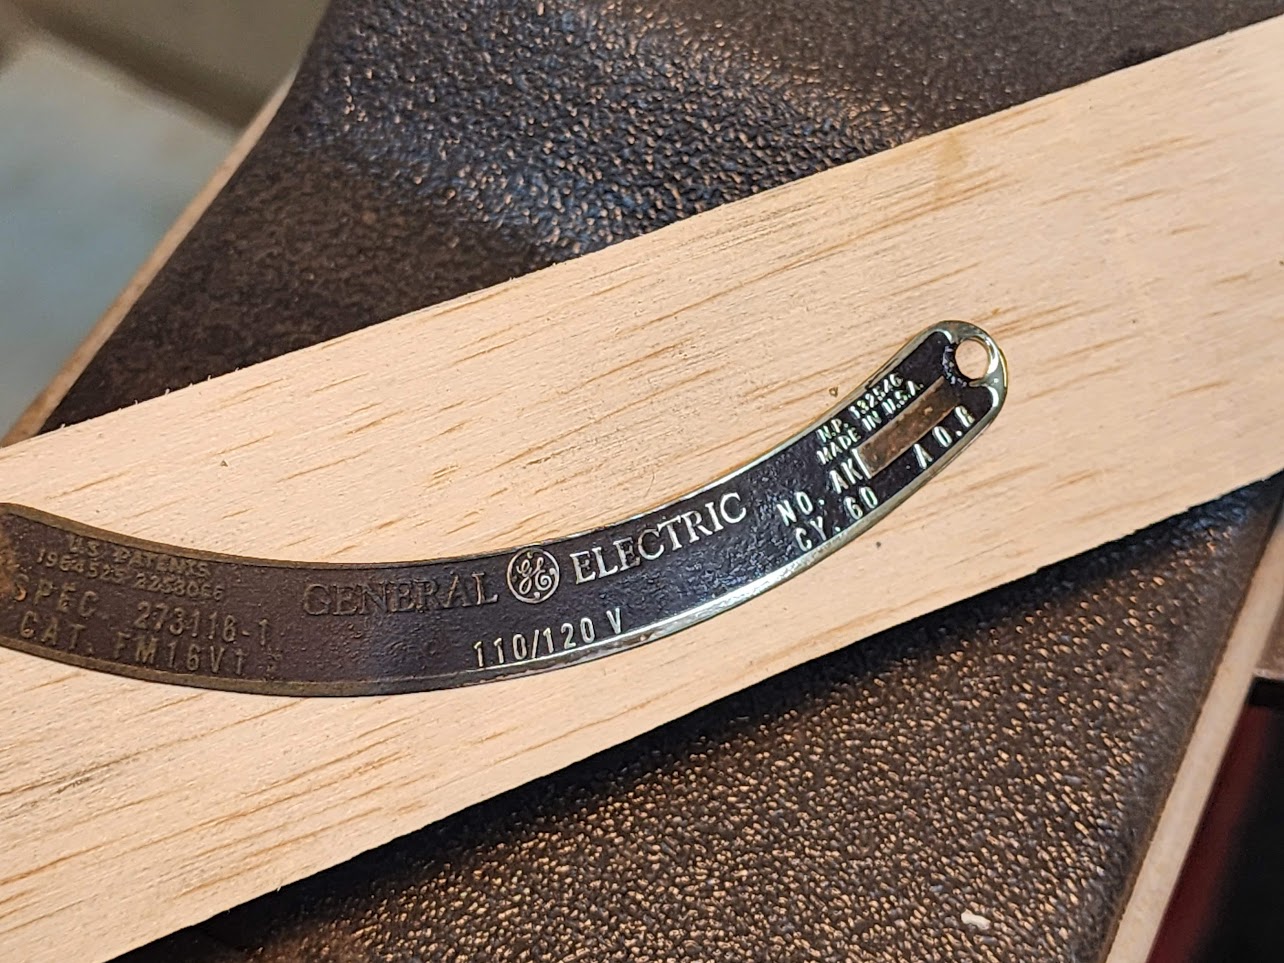
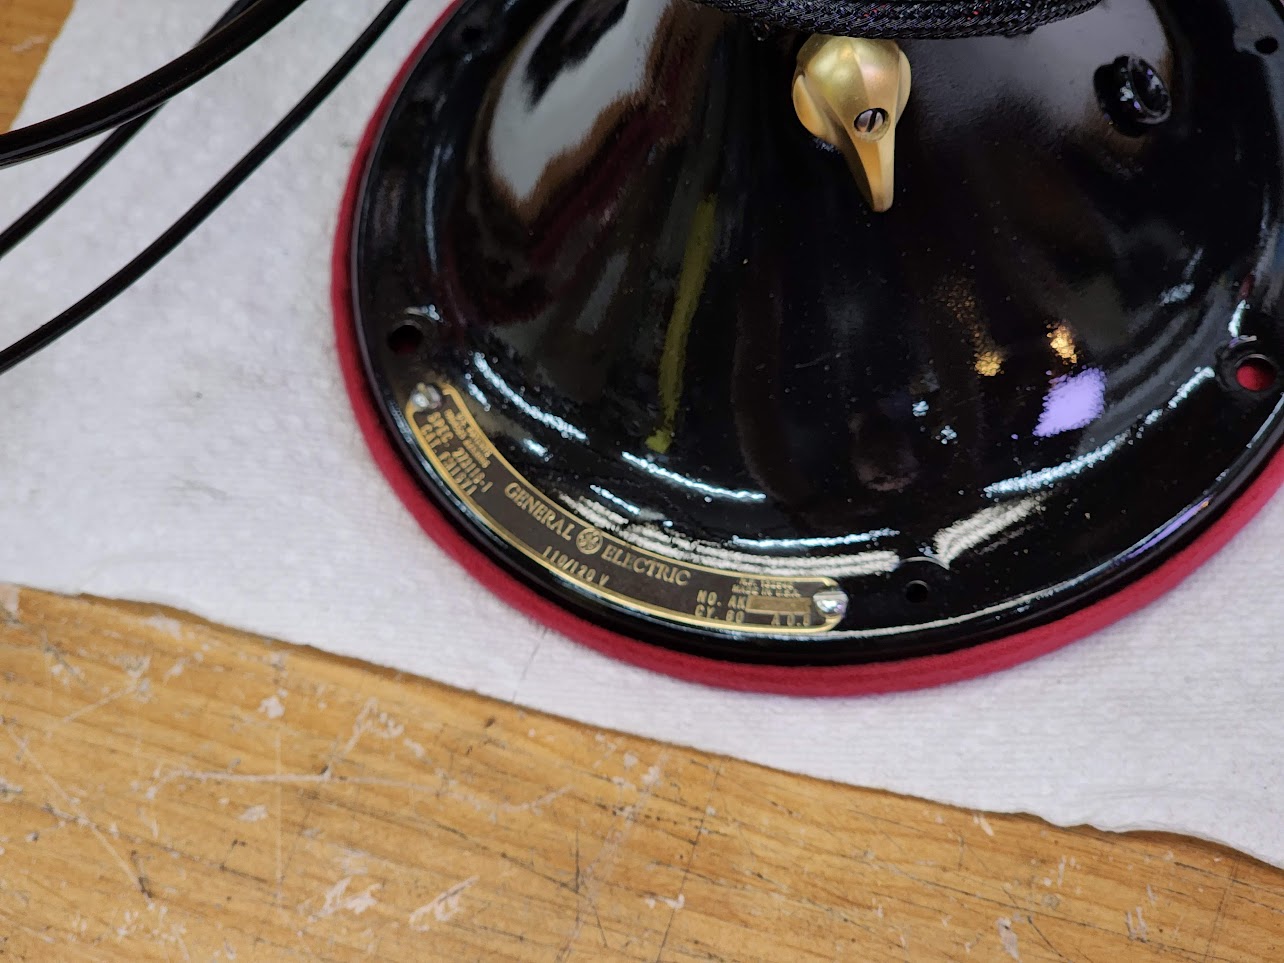
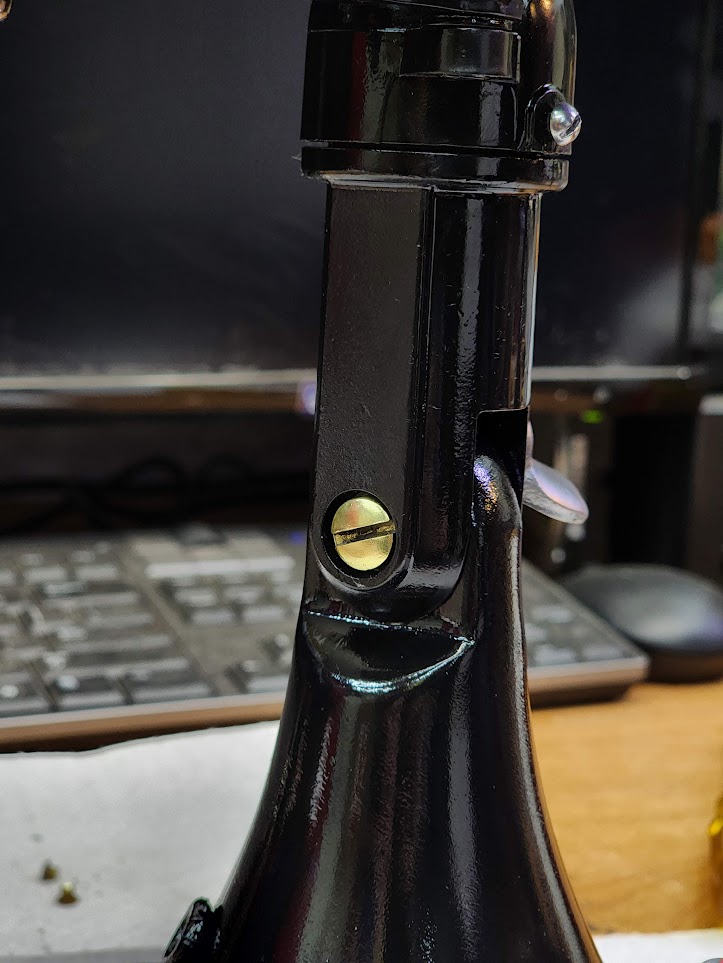
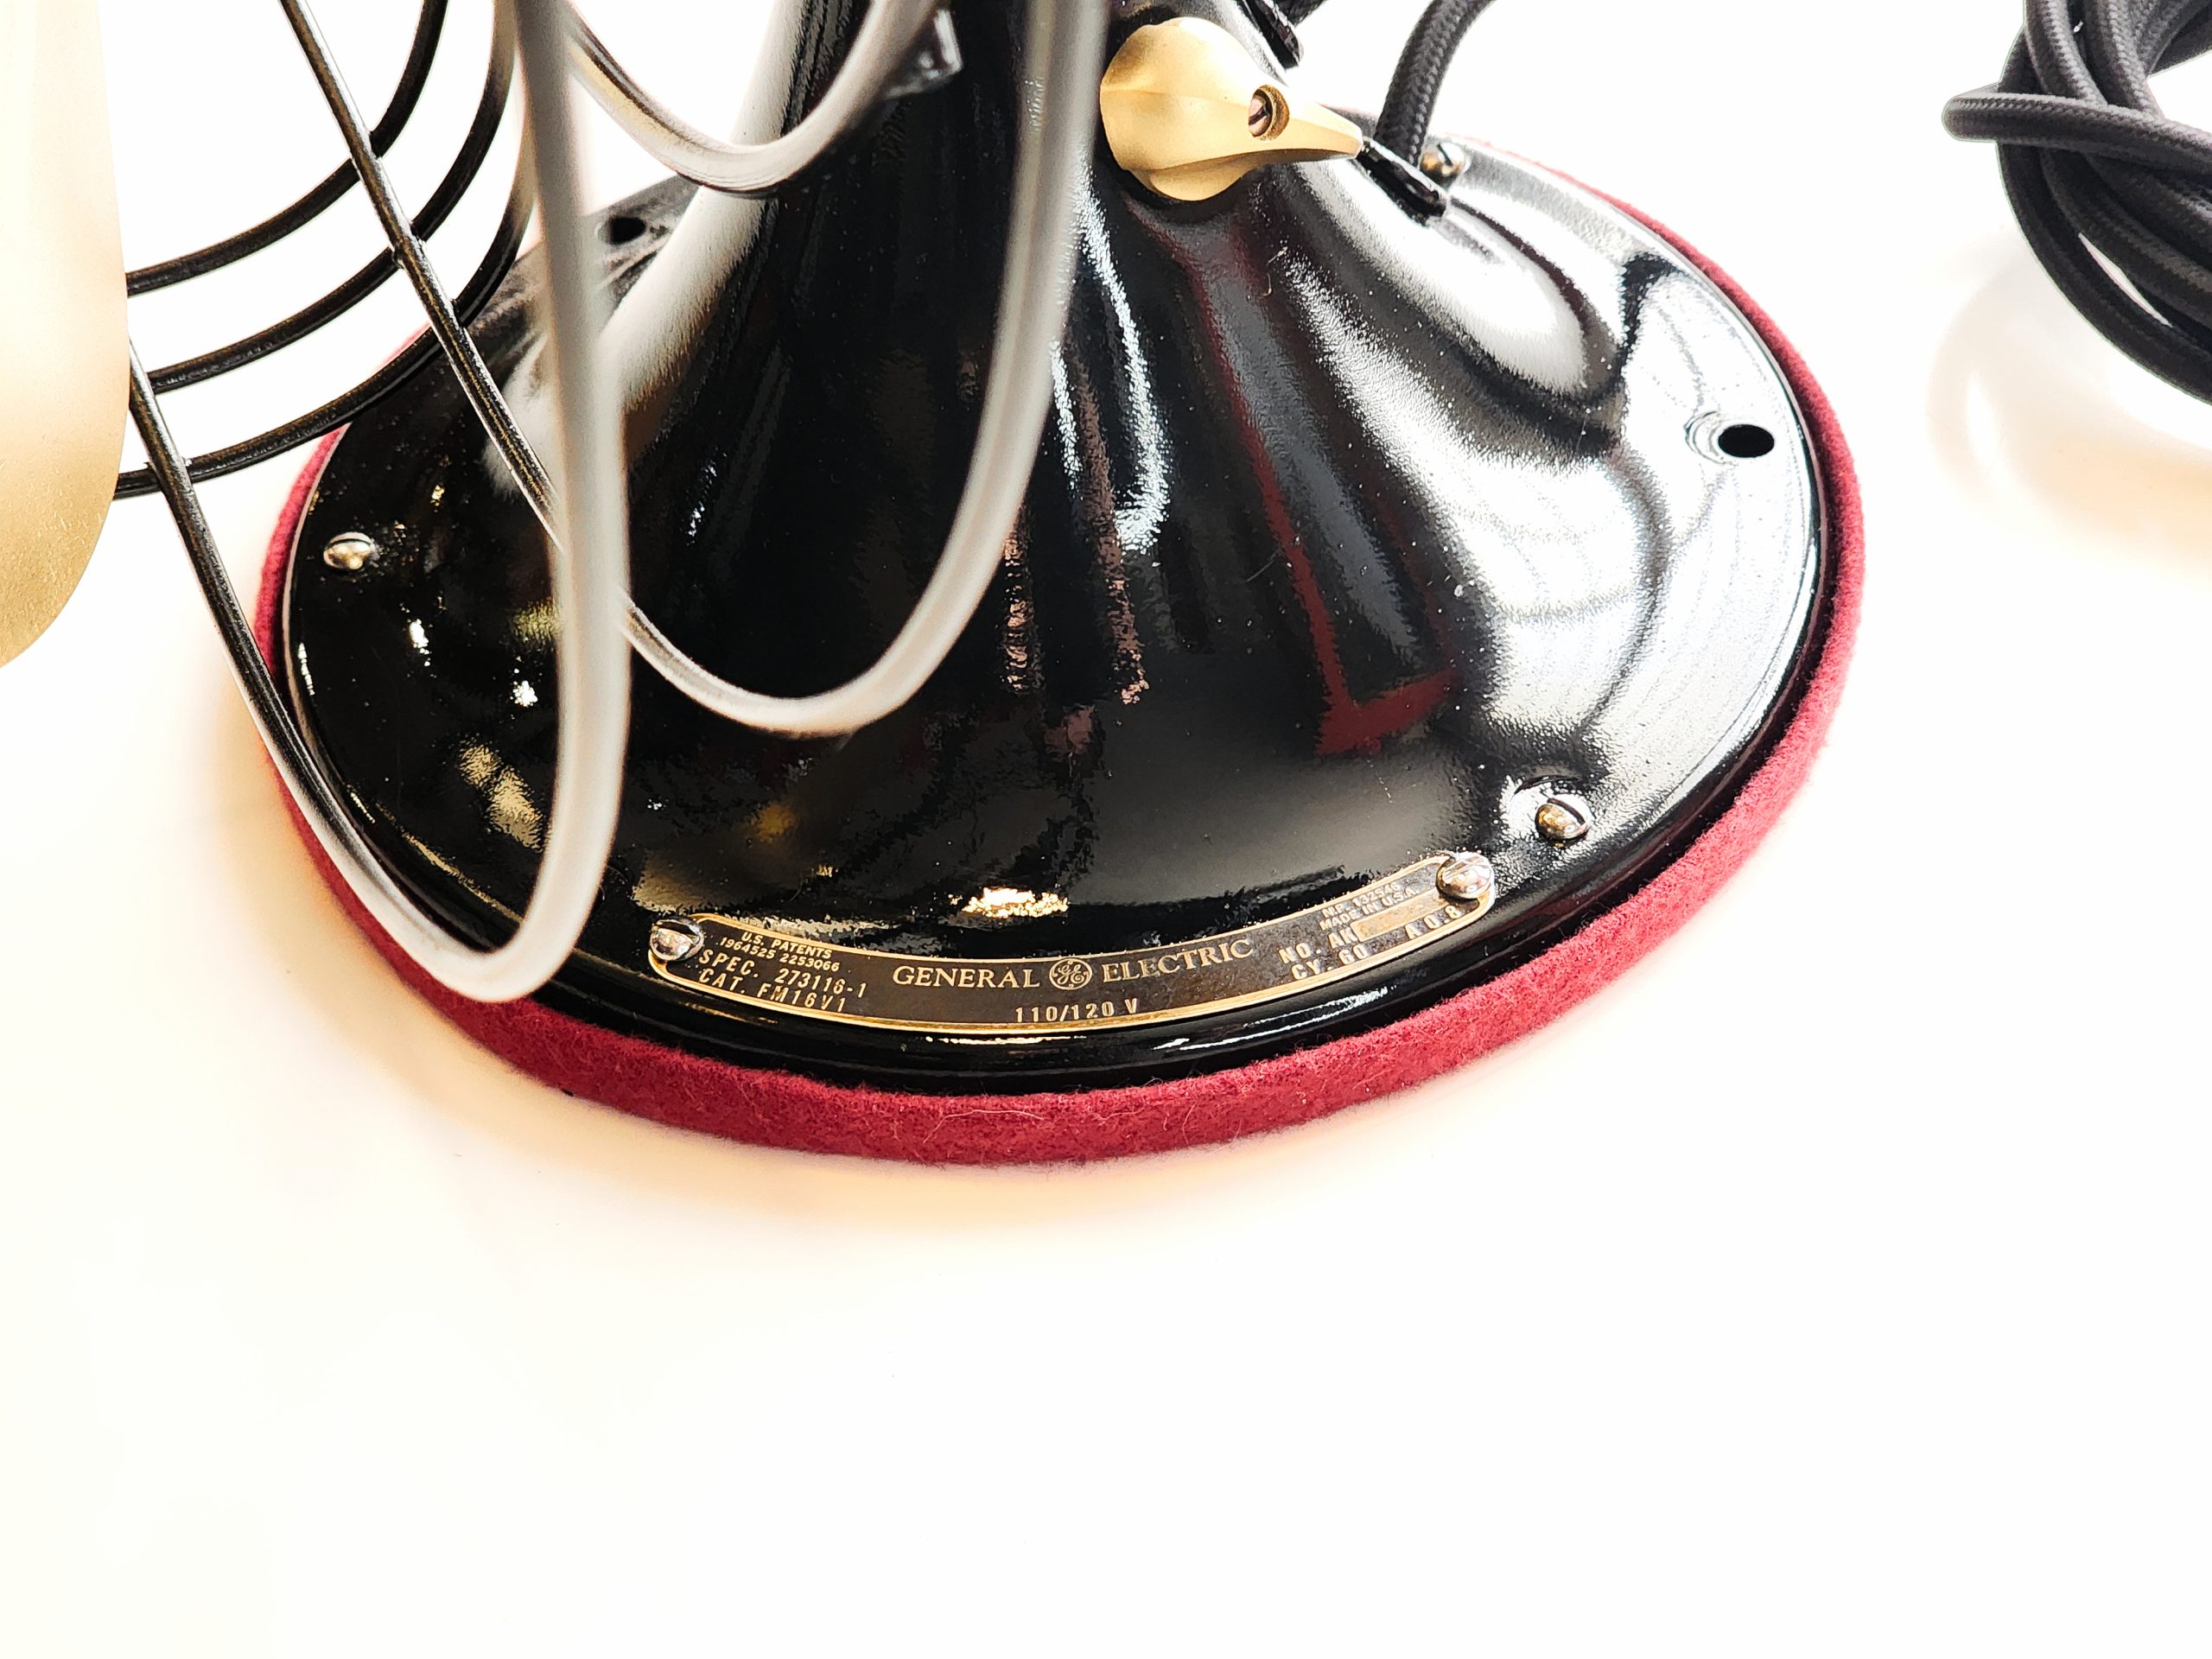
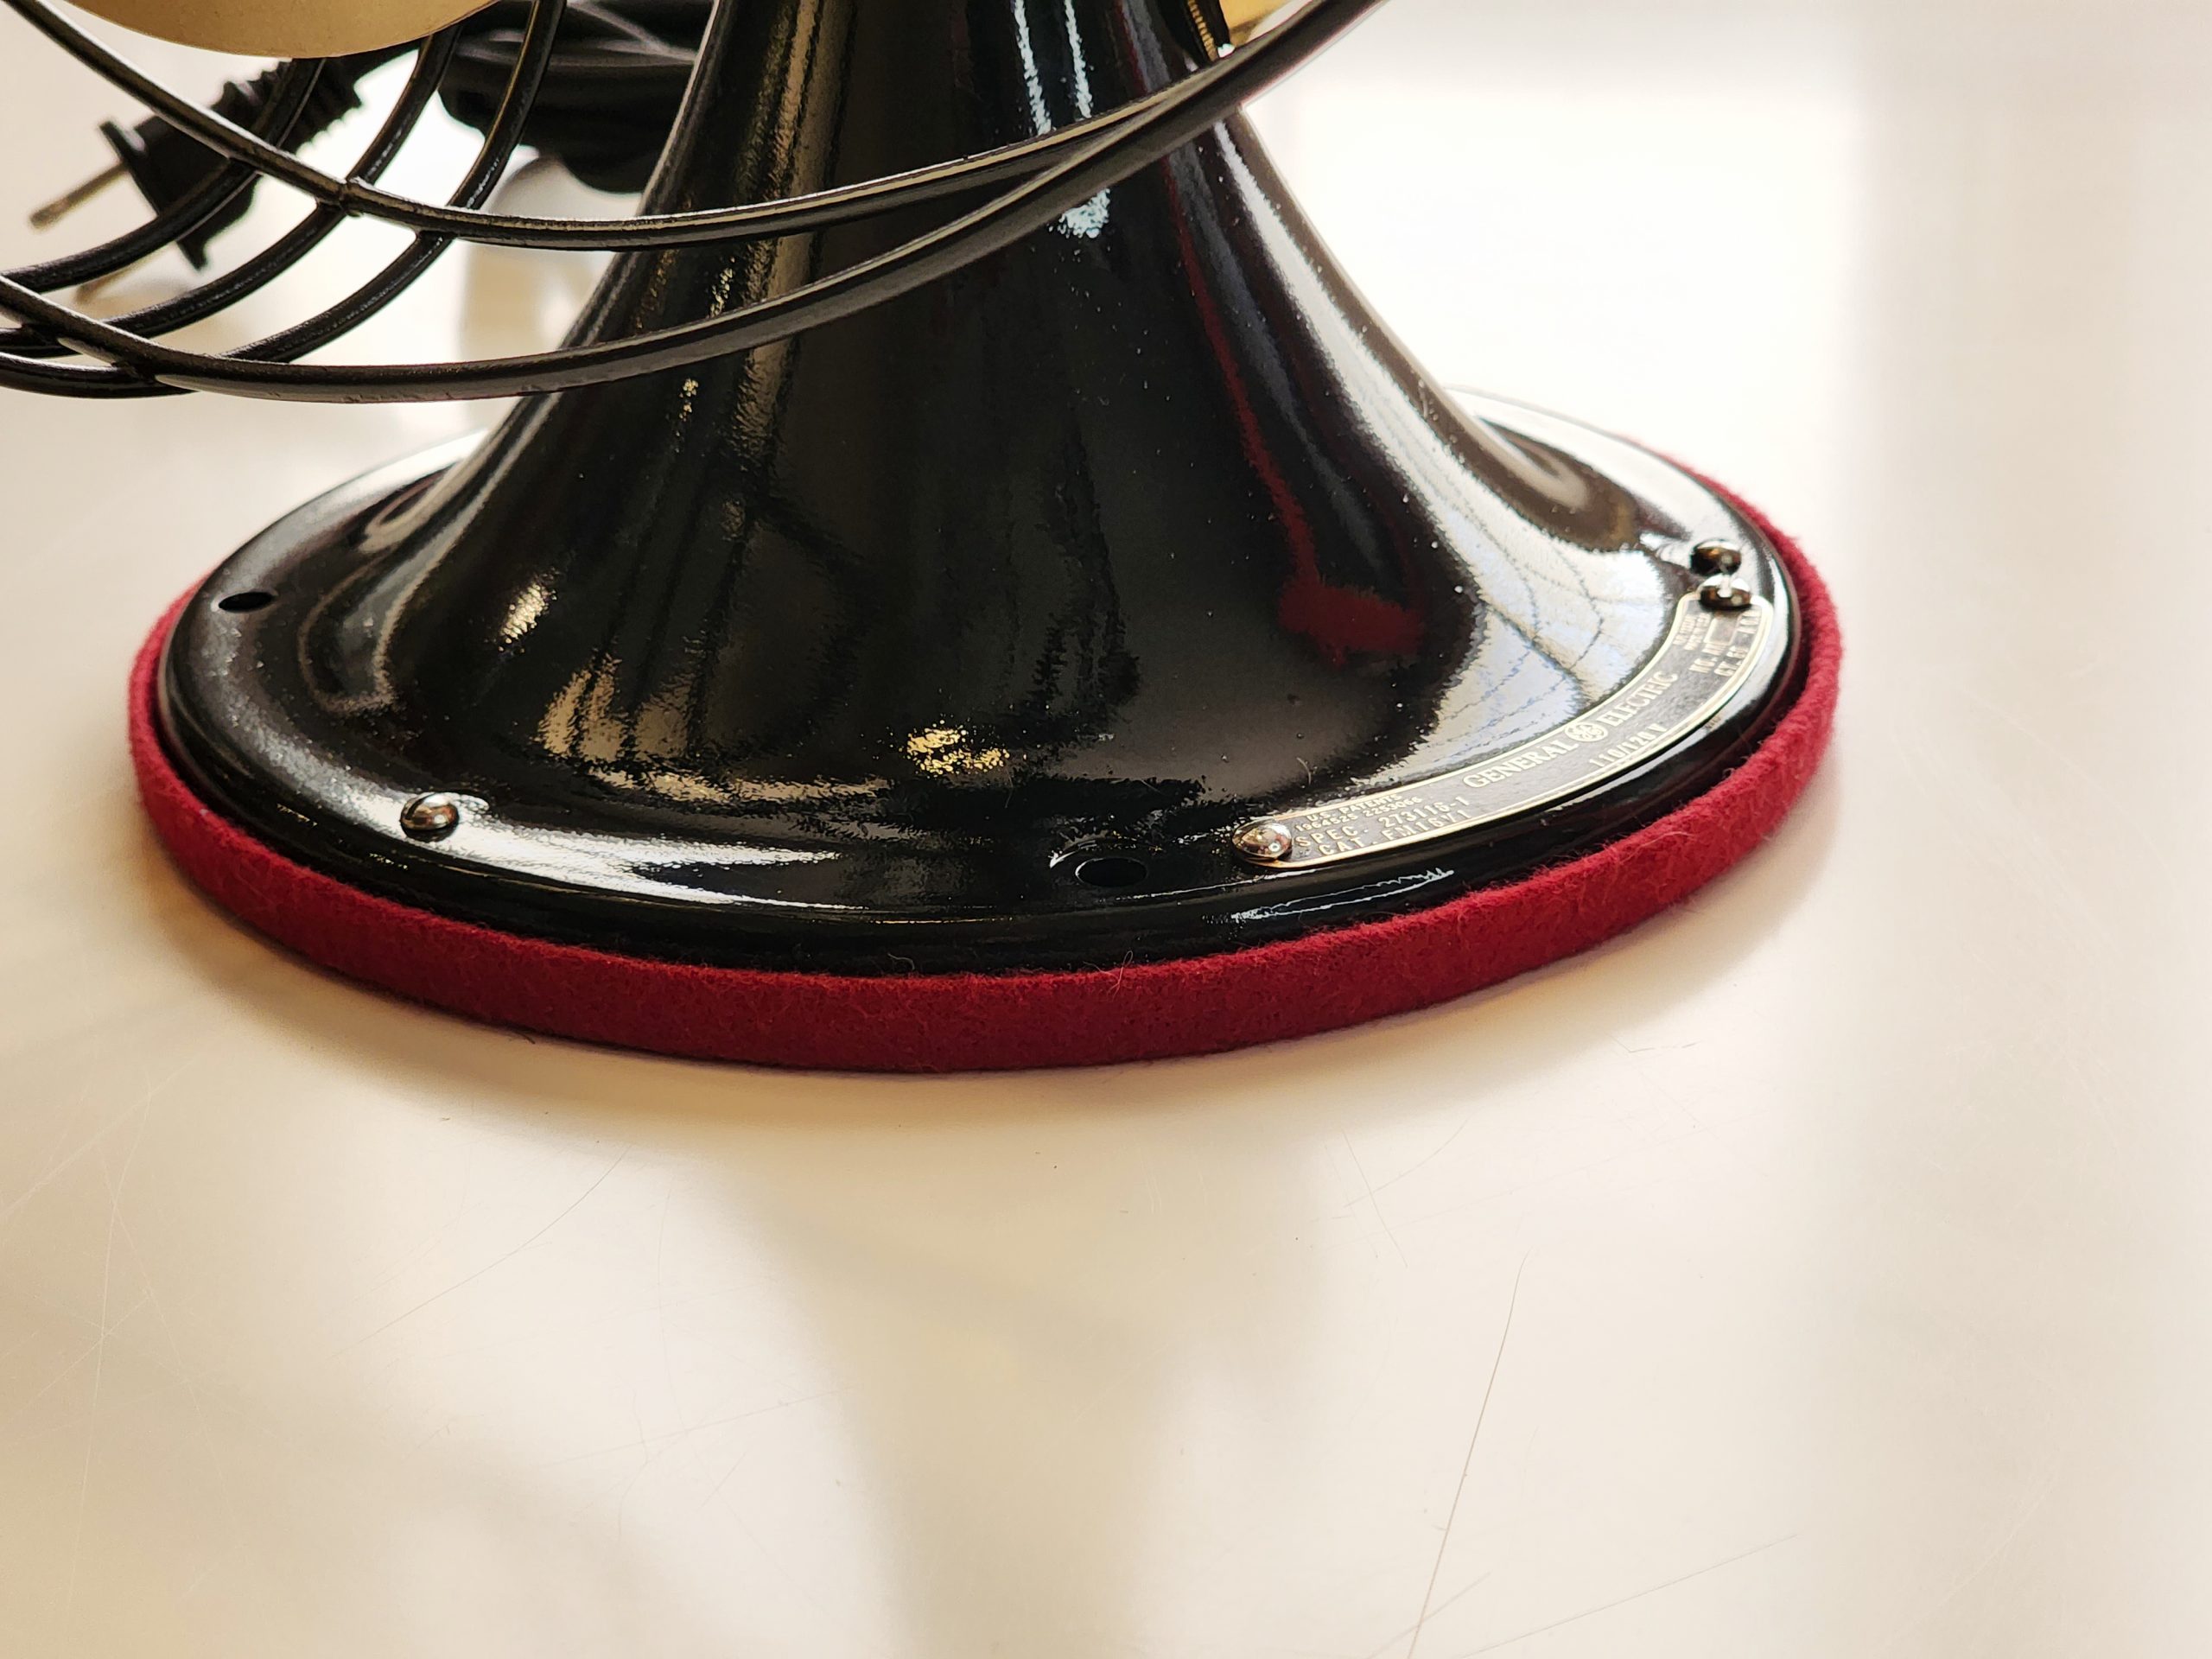
The original serial tag was riveted on, I had to drill those out to clean it. I found some vintage screws to hold it back on and look proper.
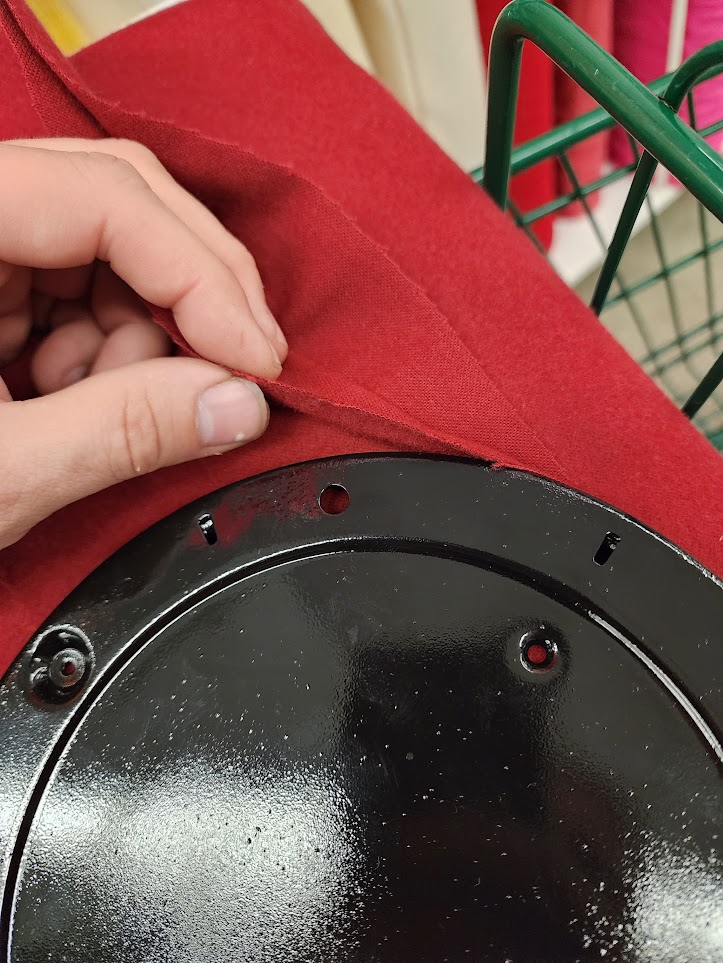
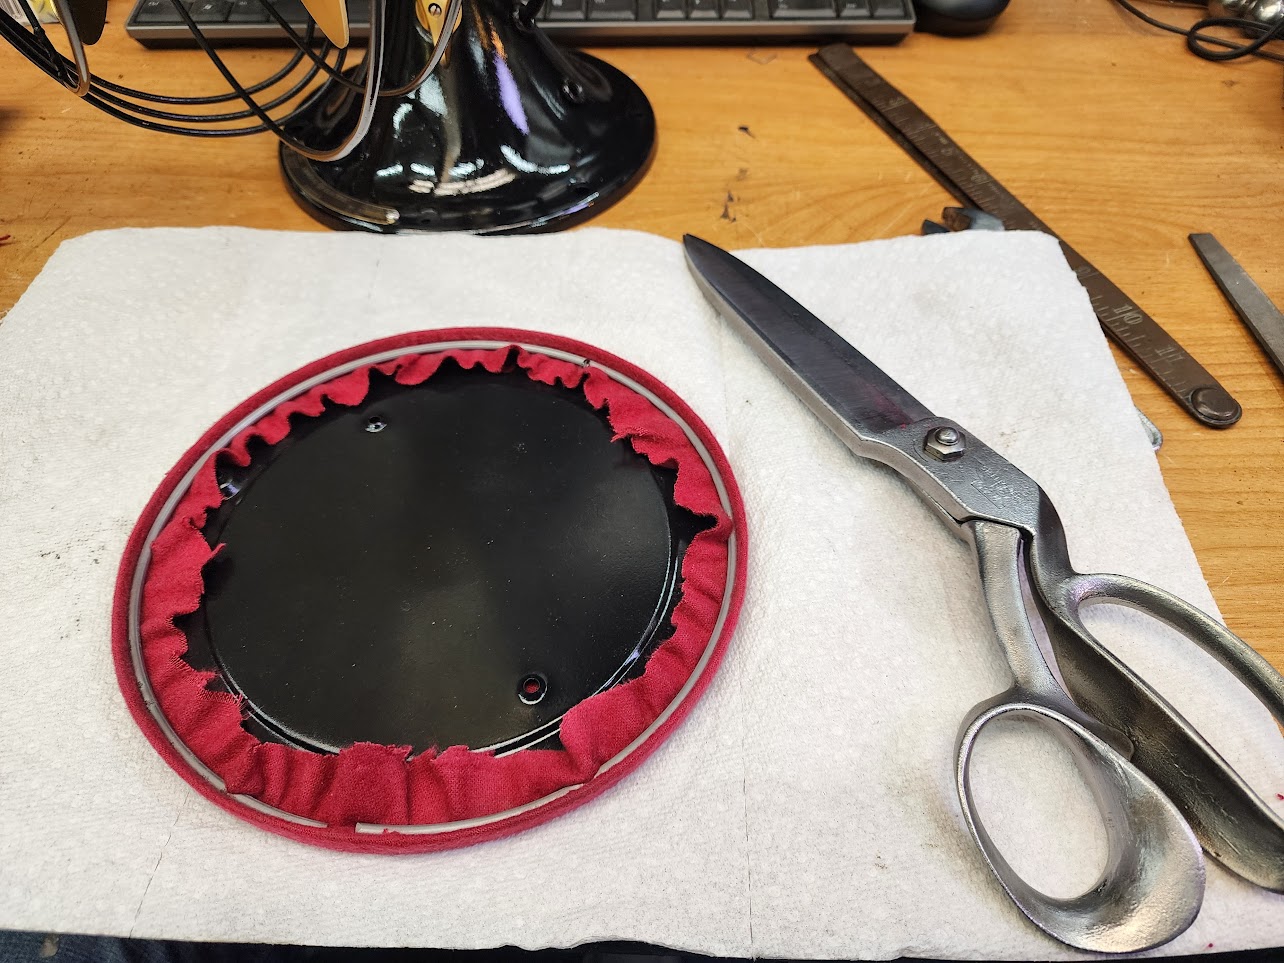
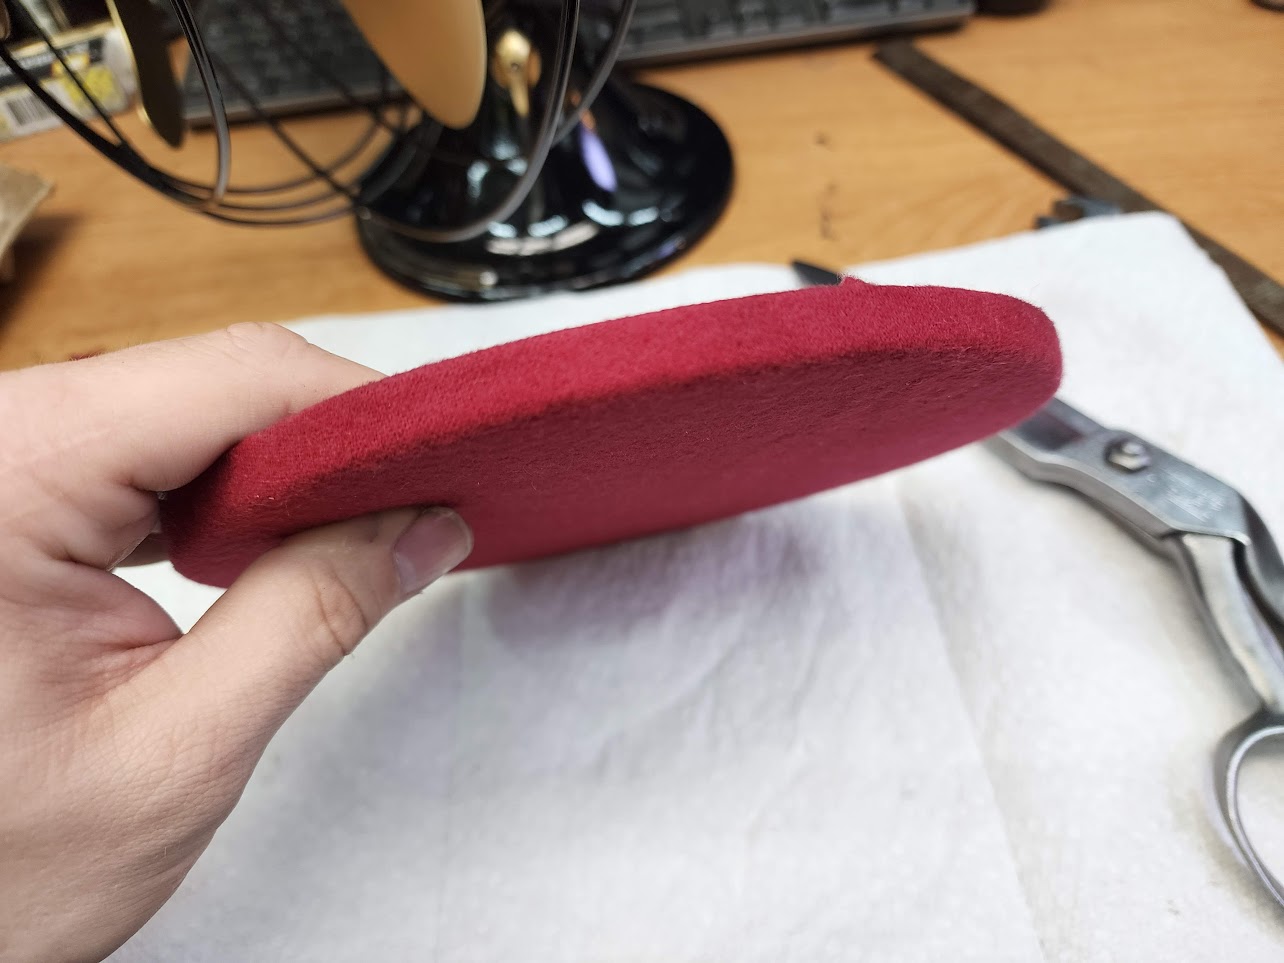
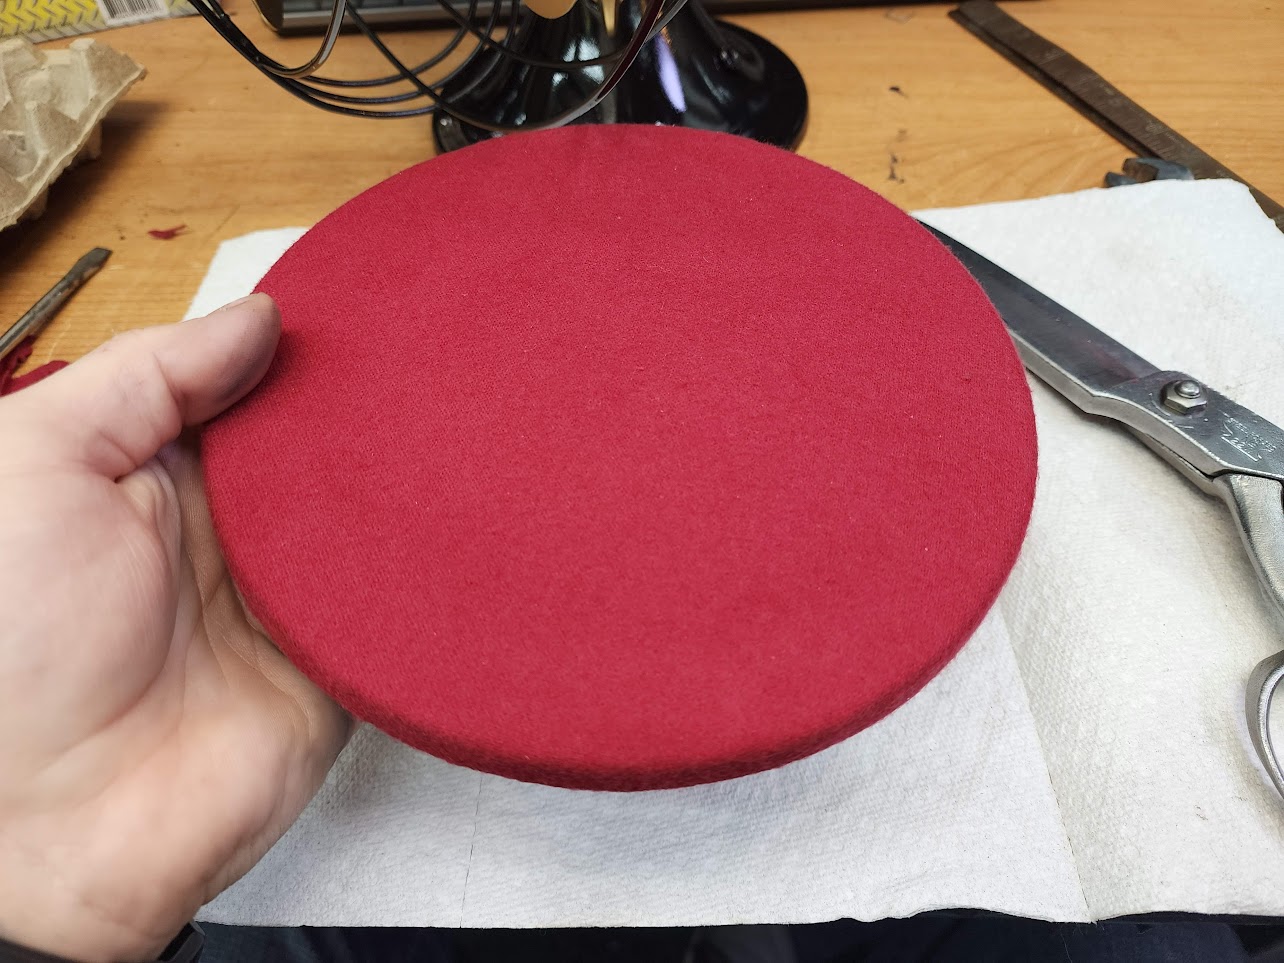
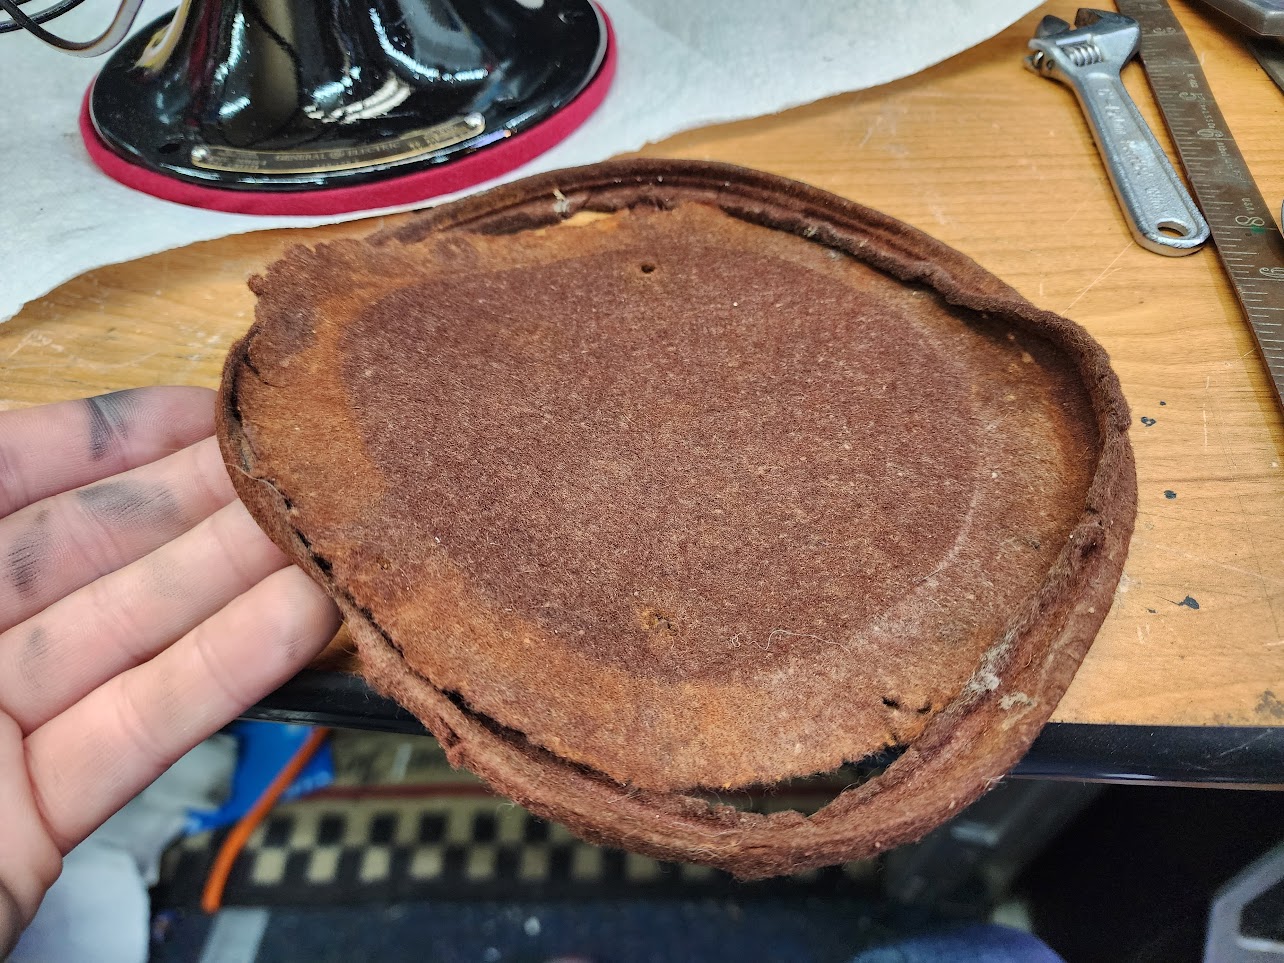
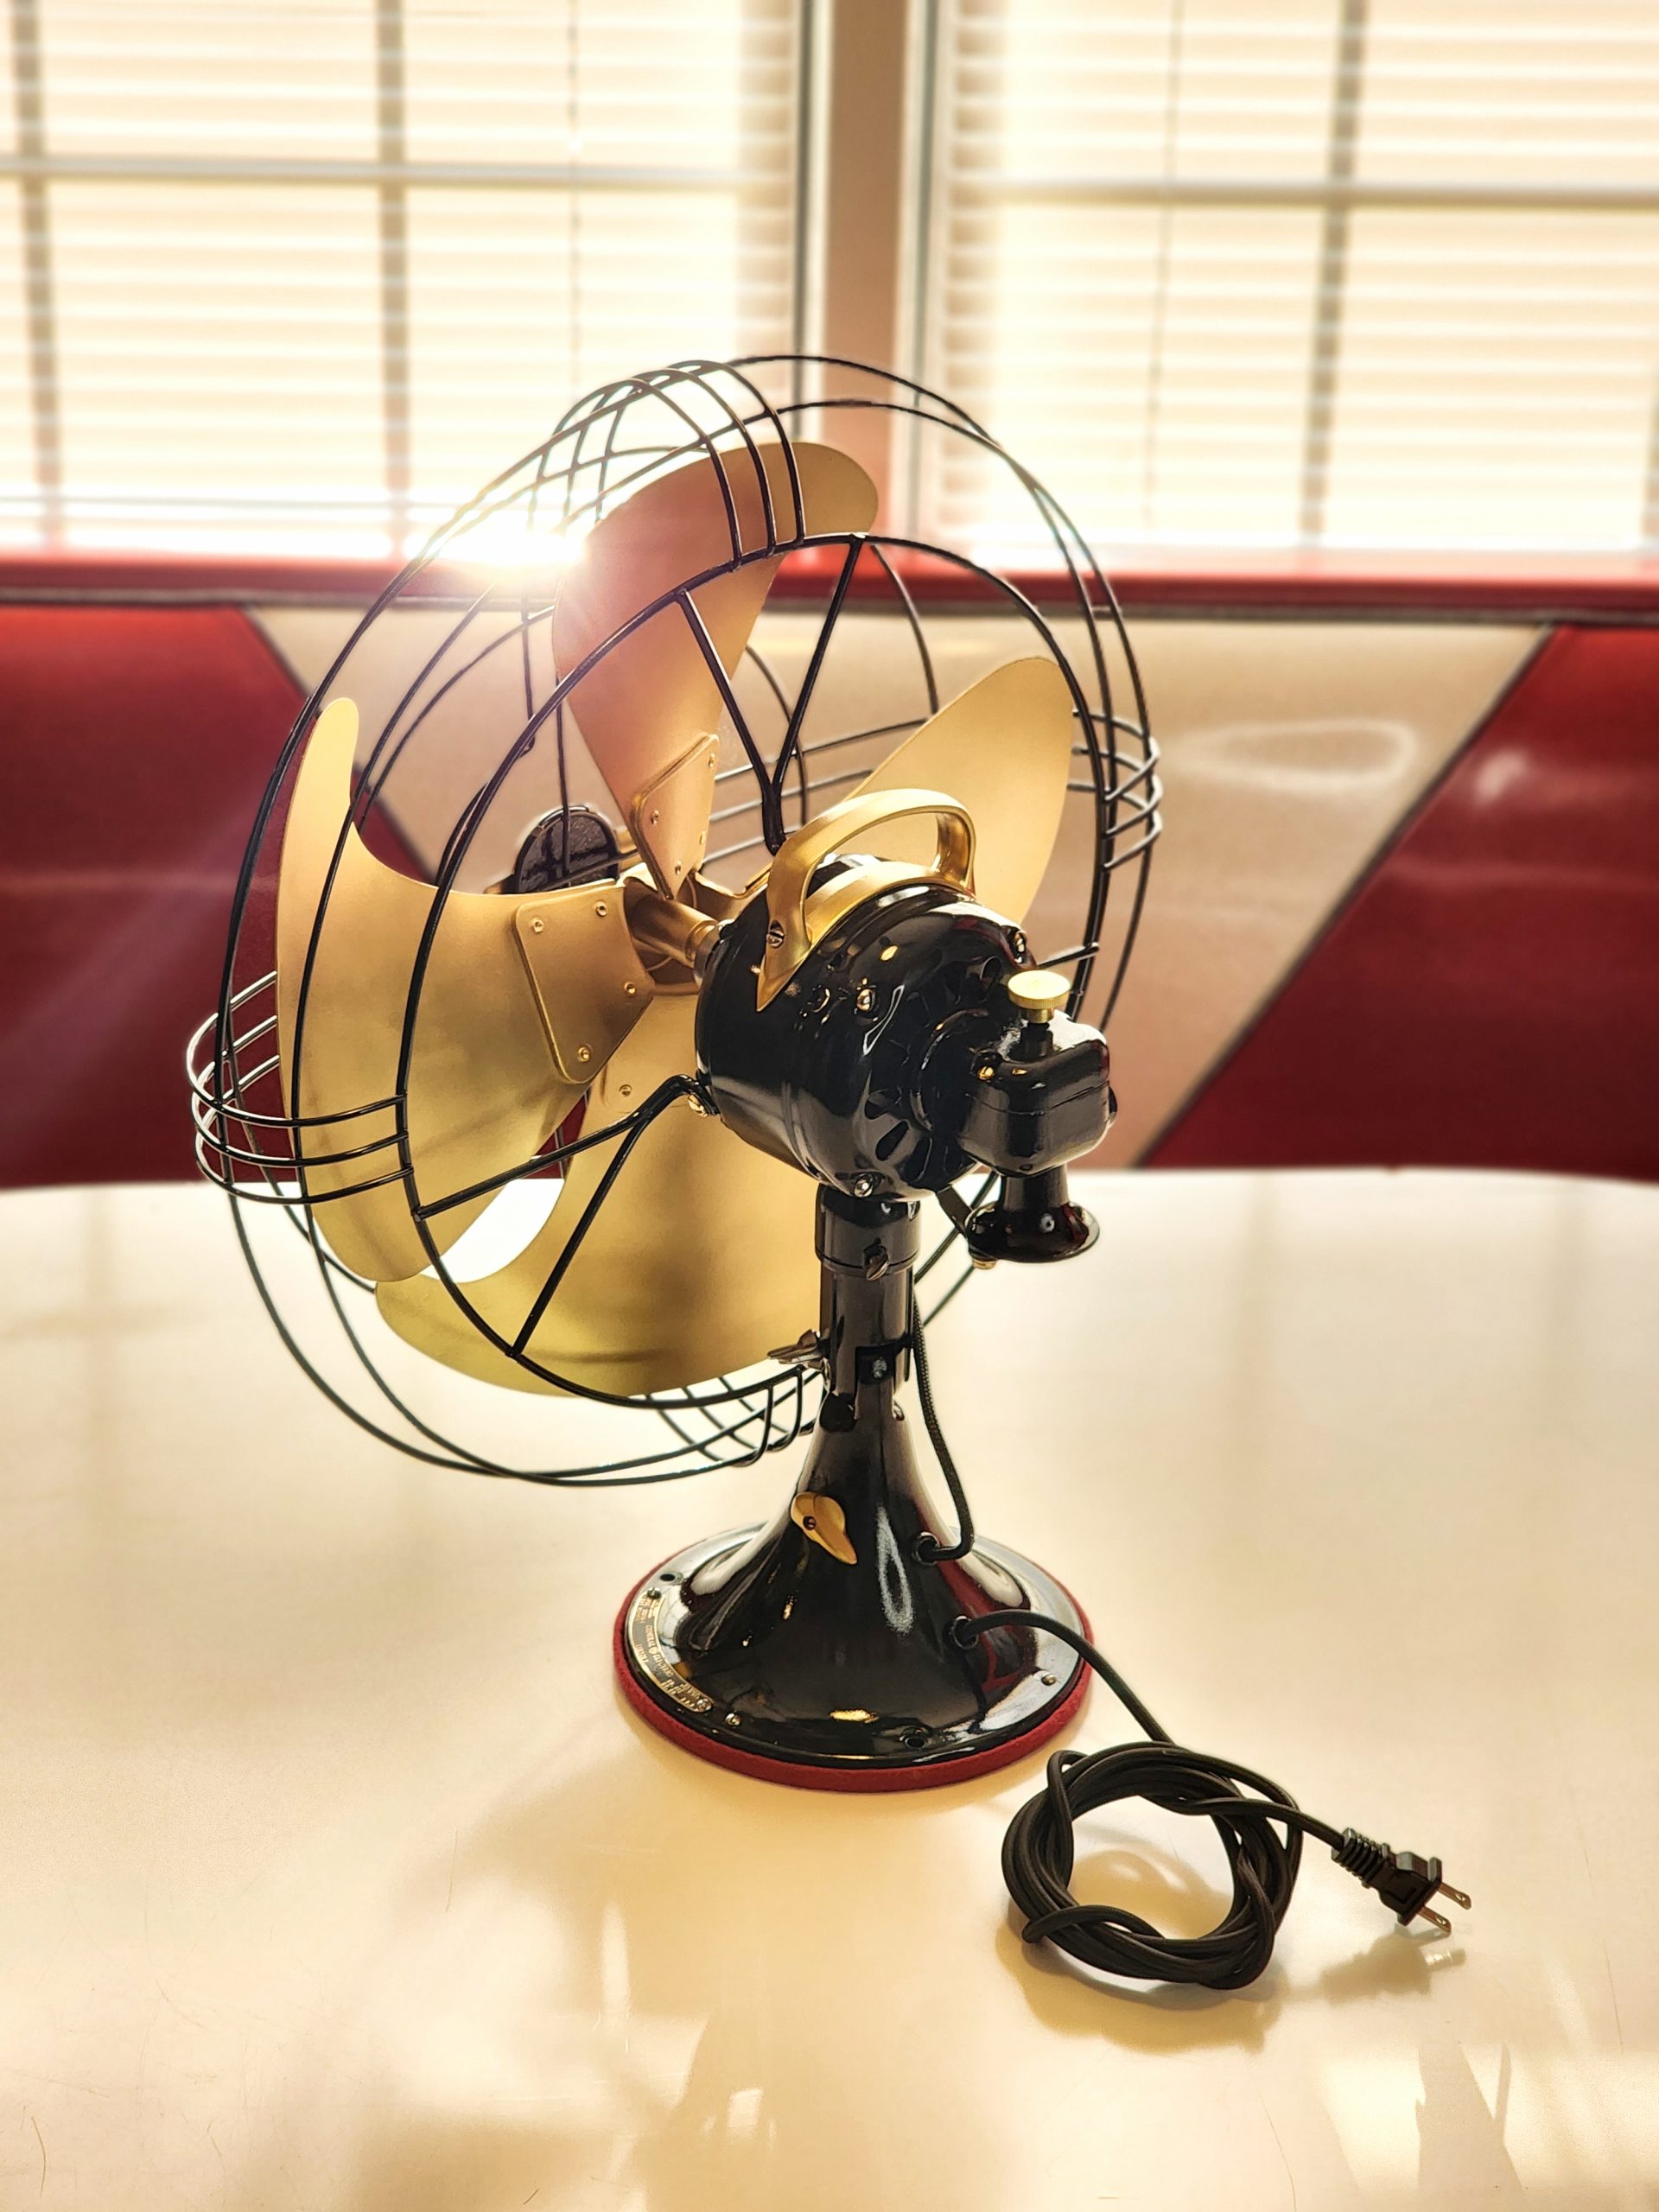
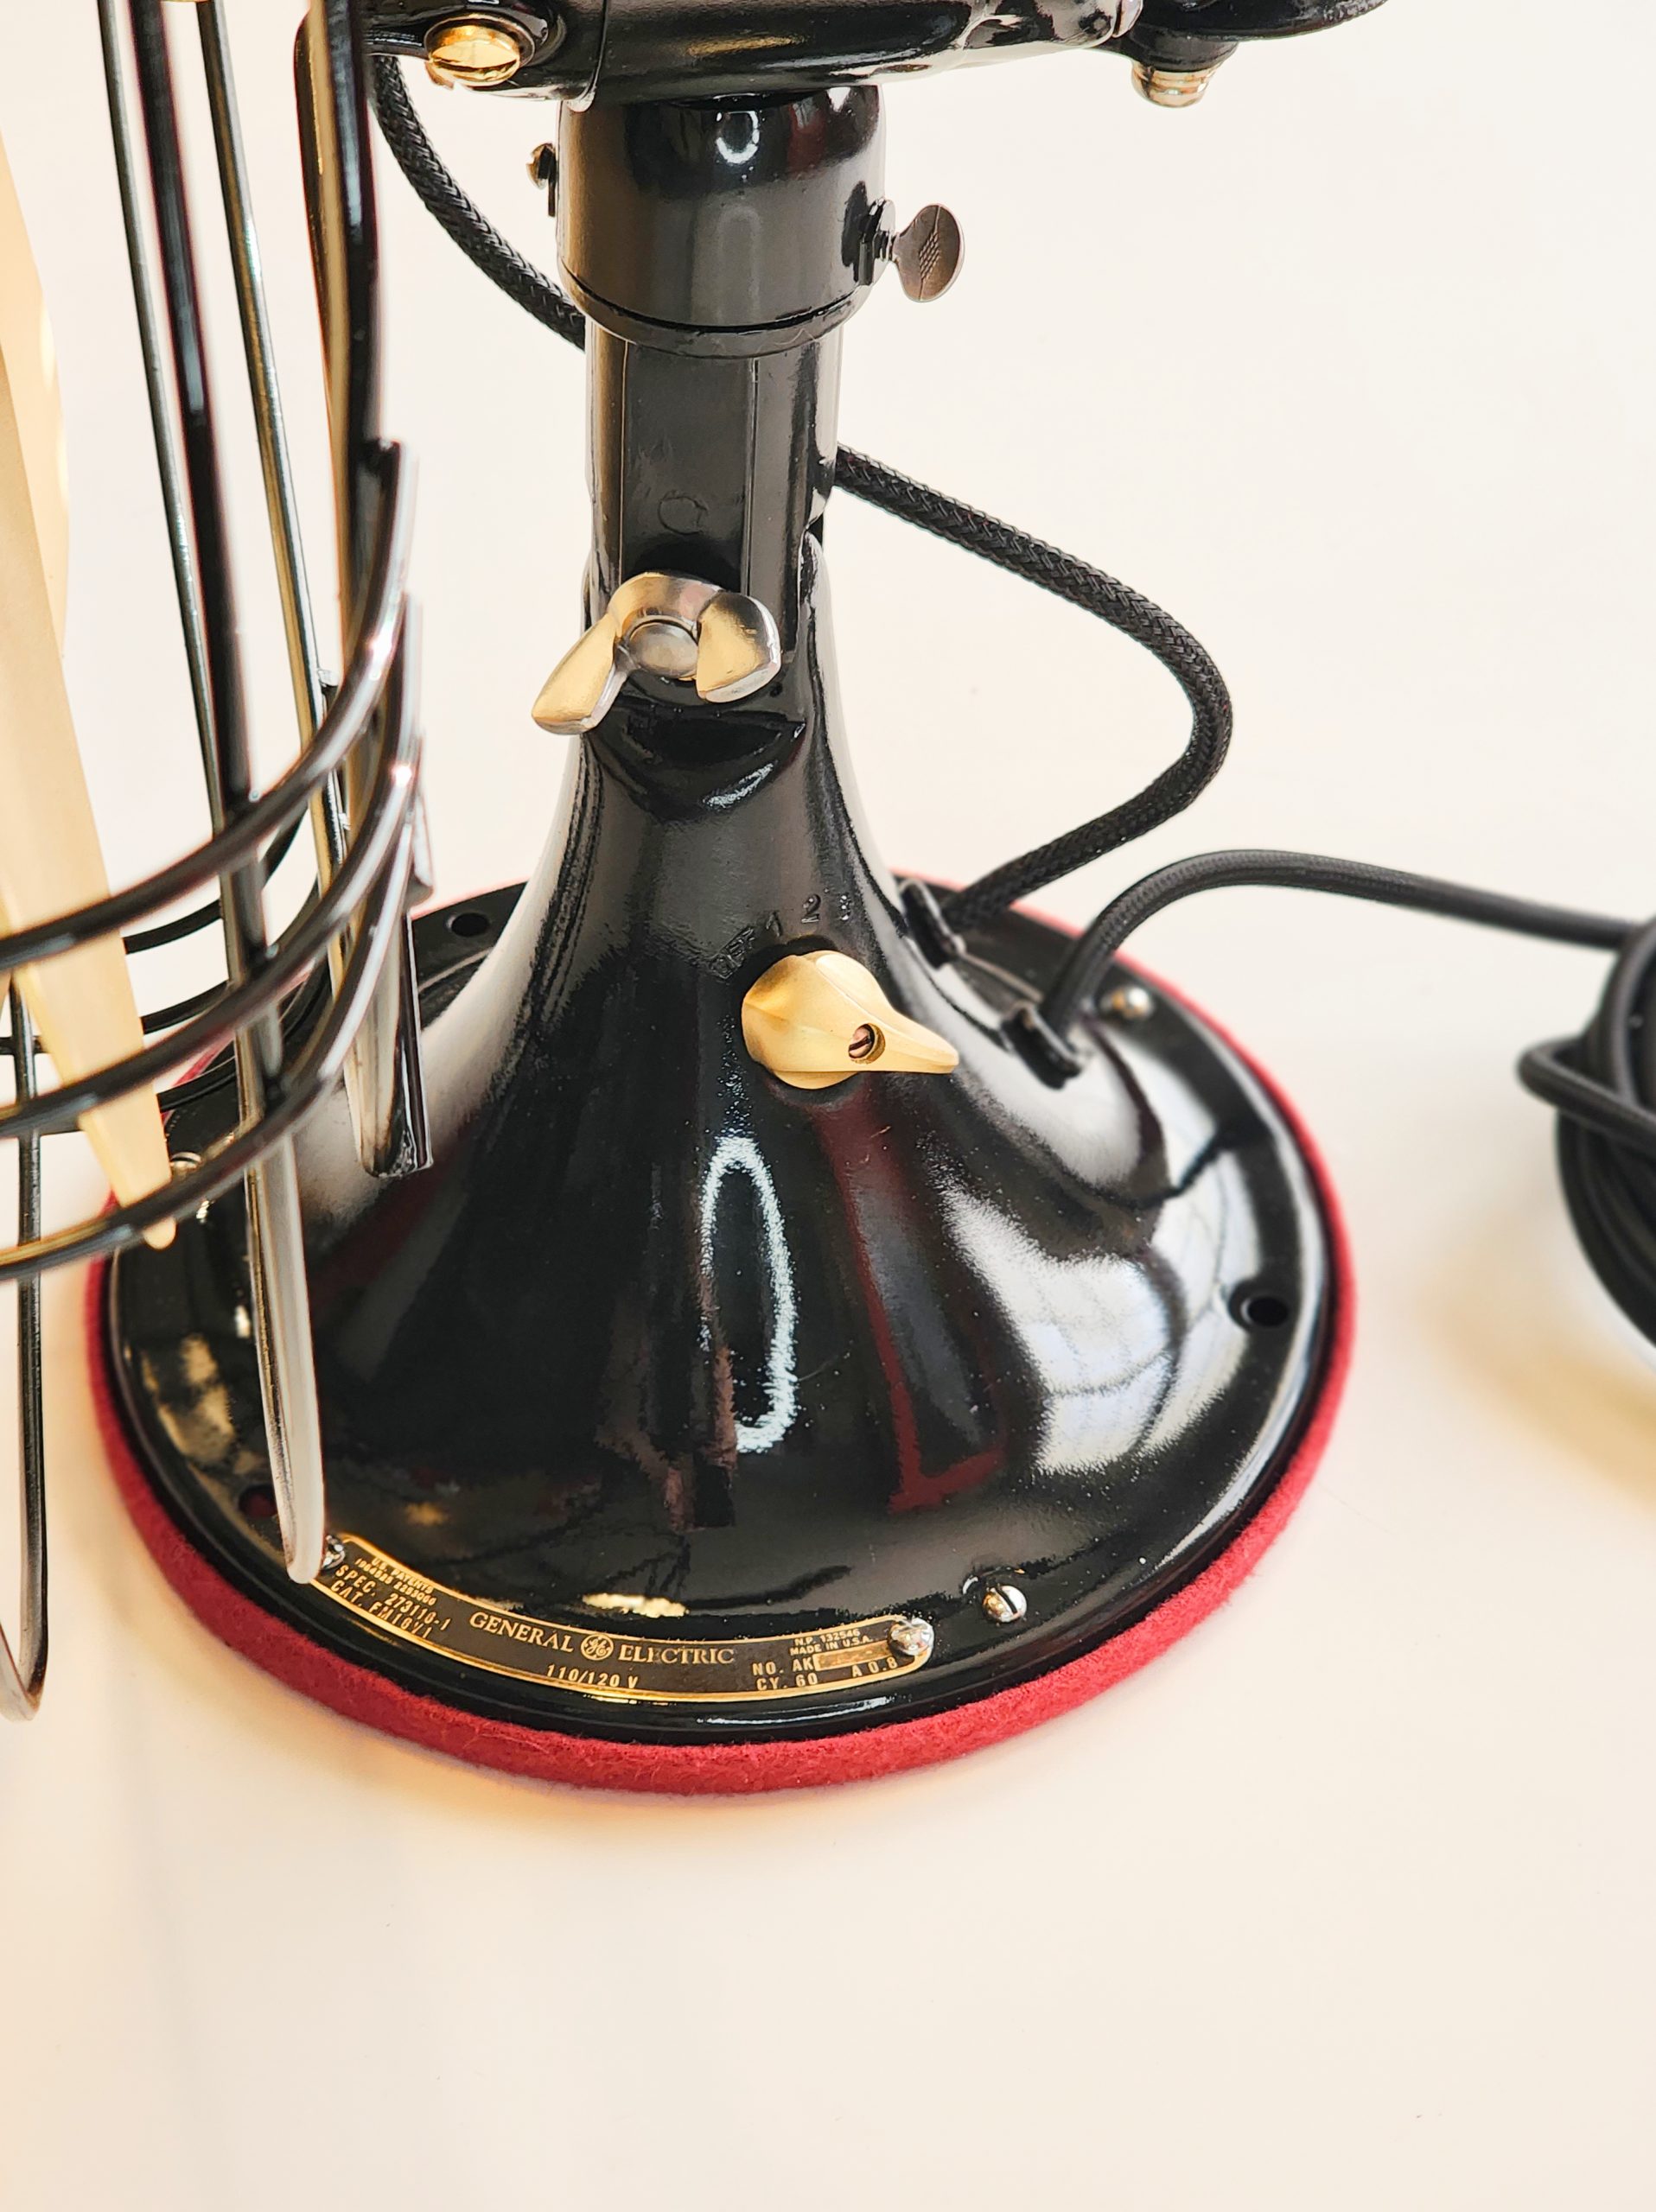
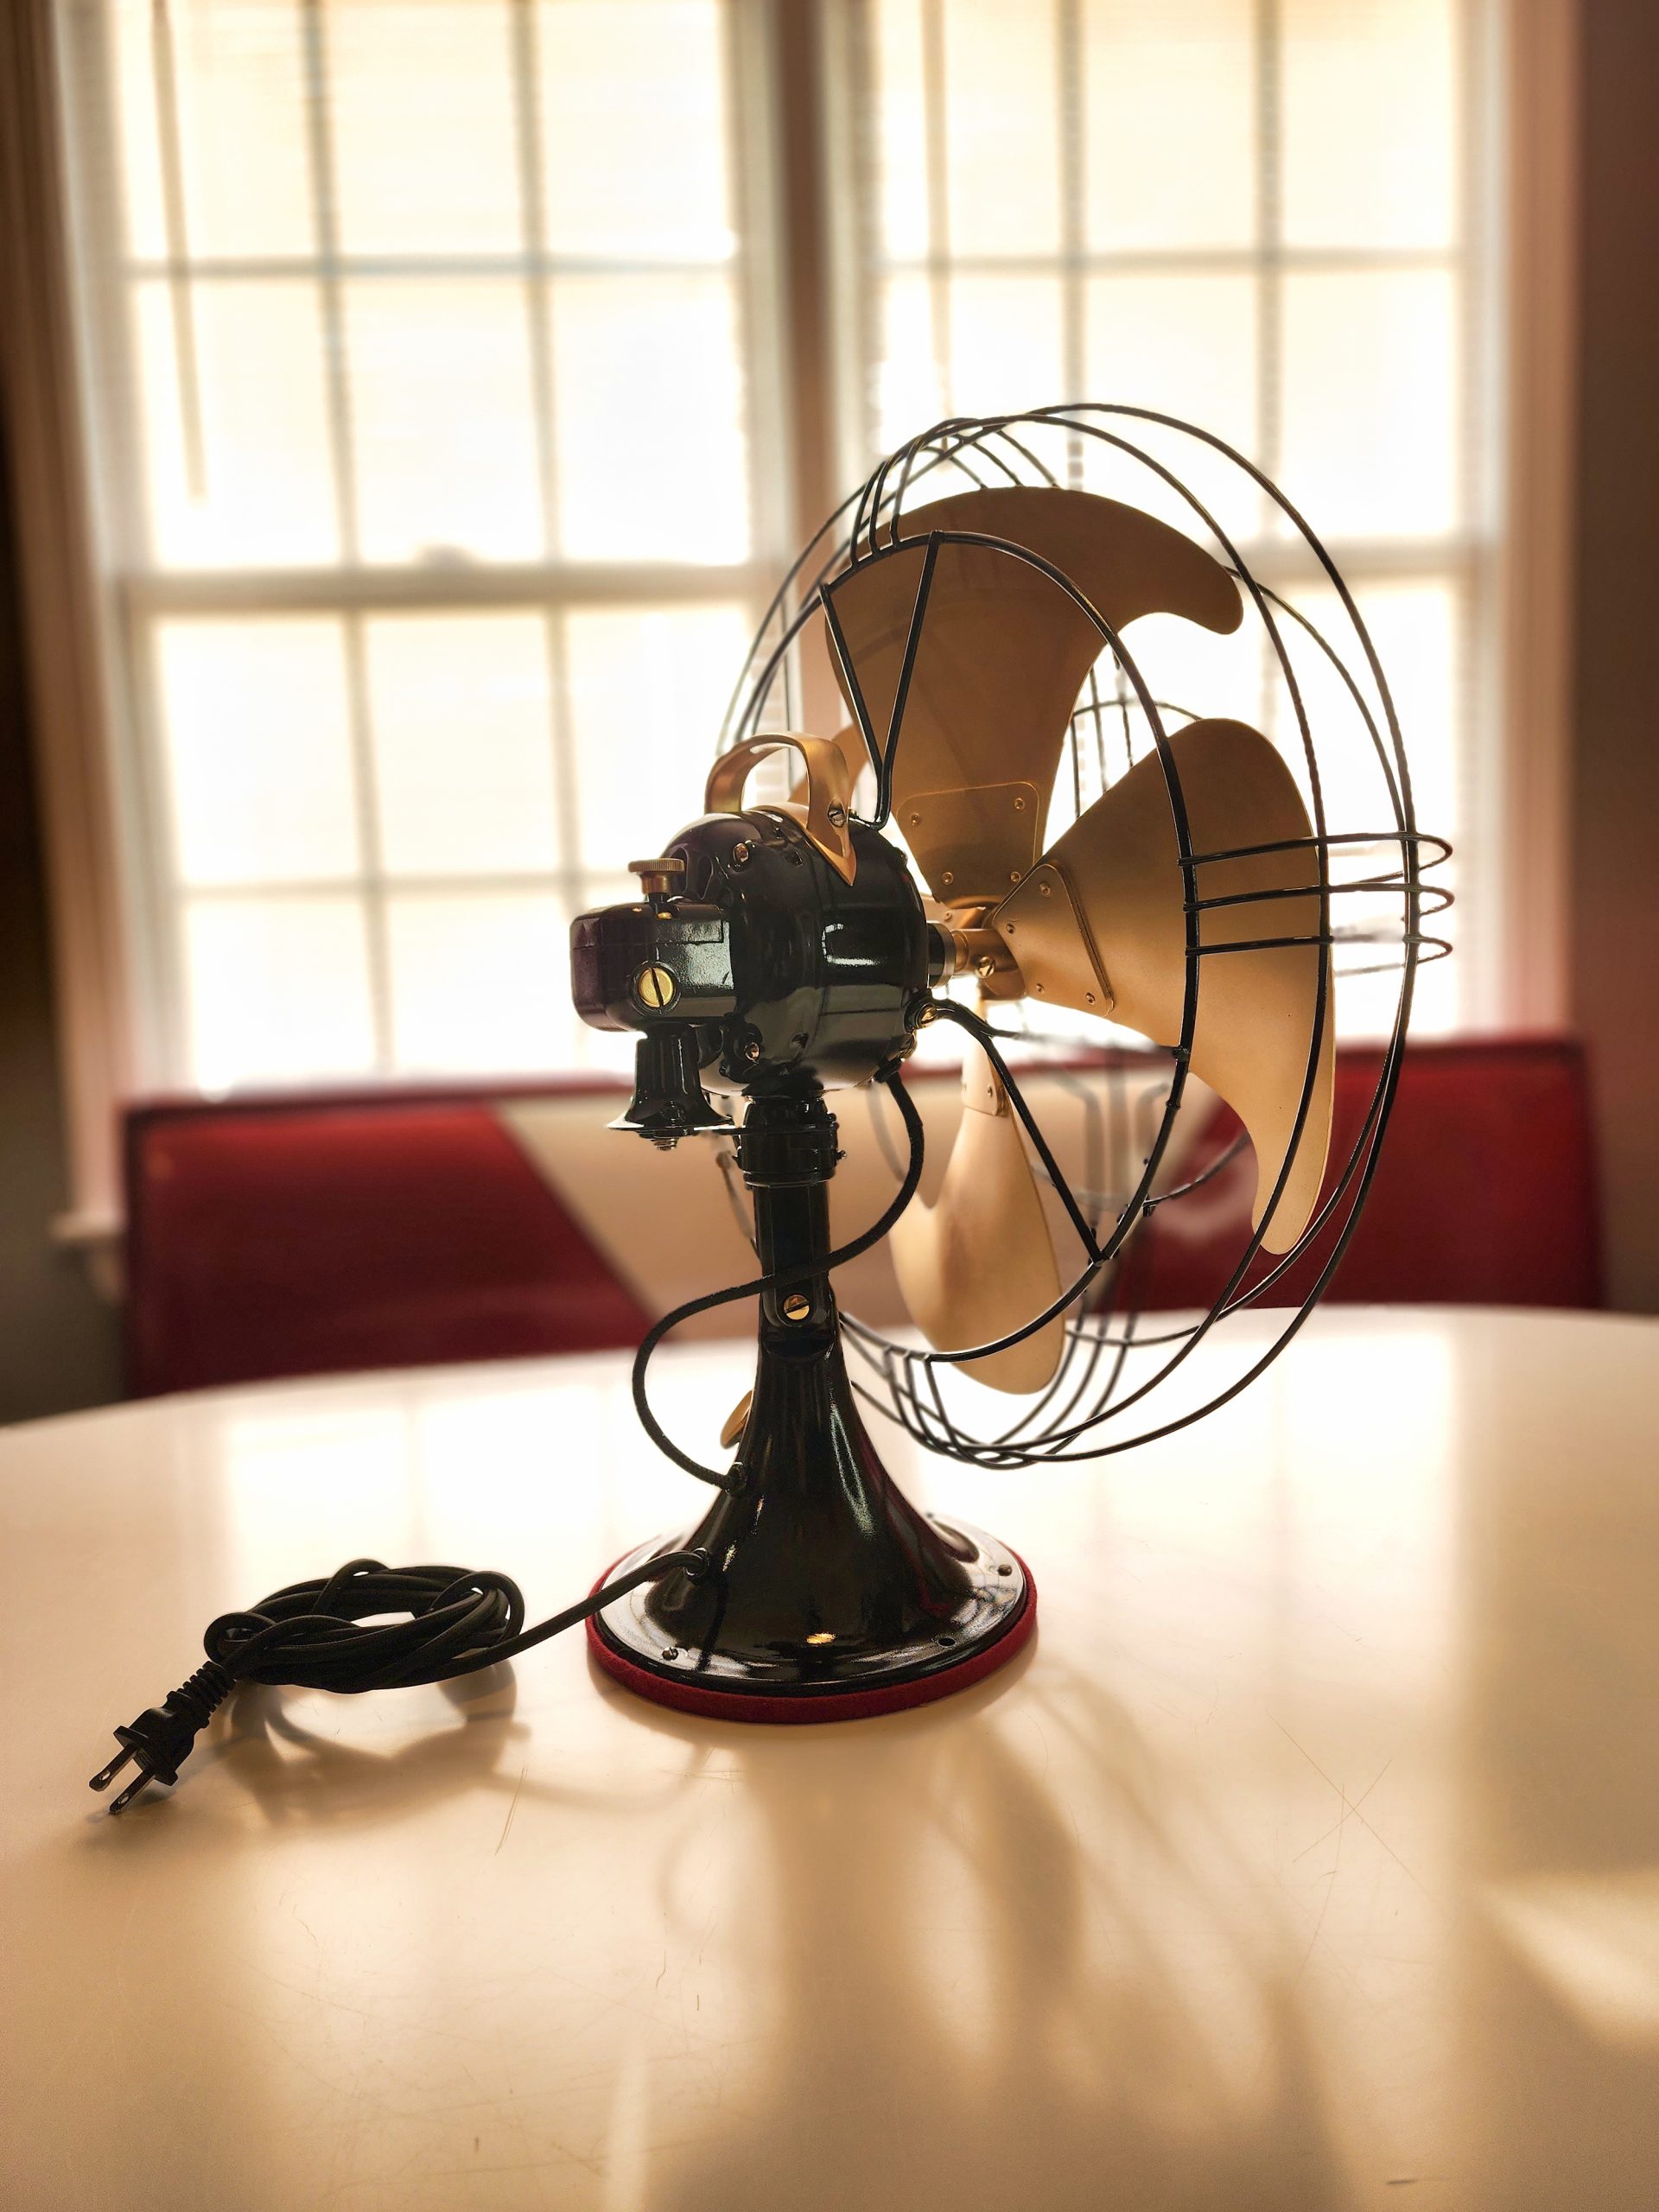
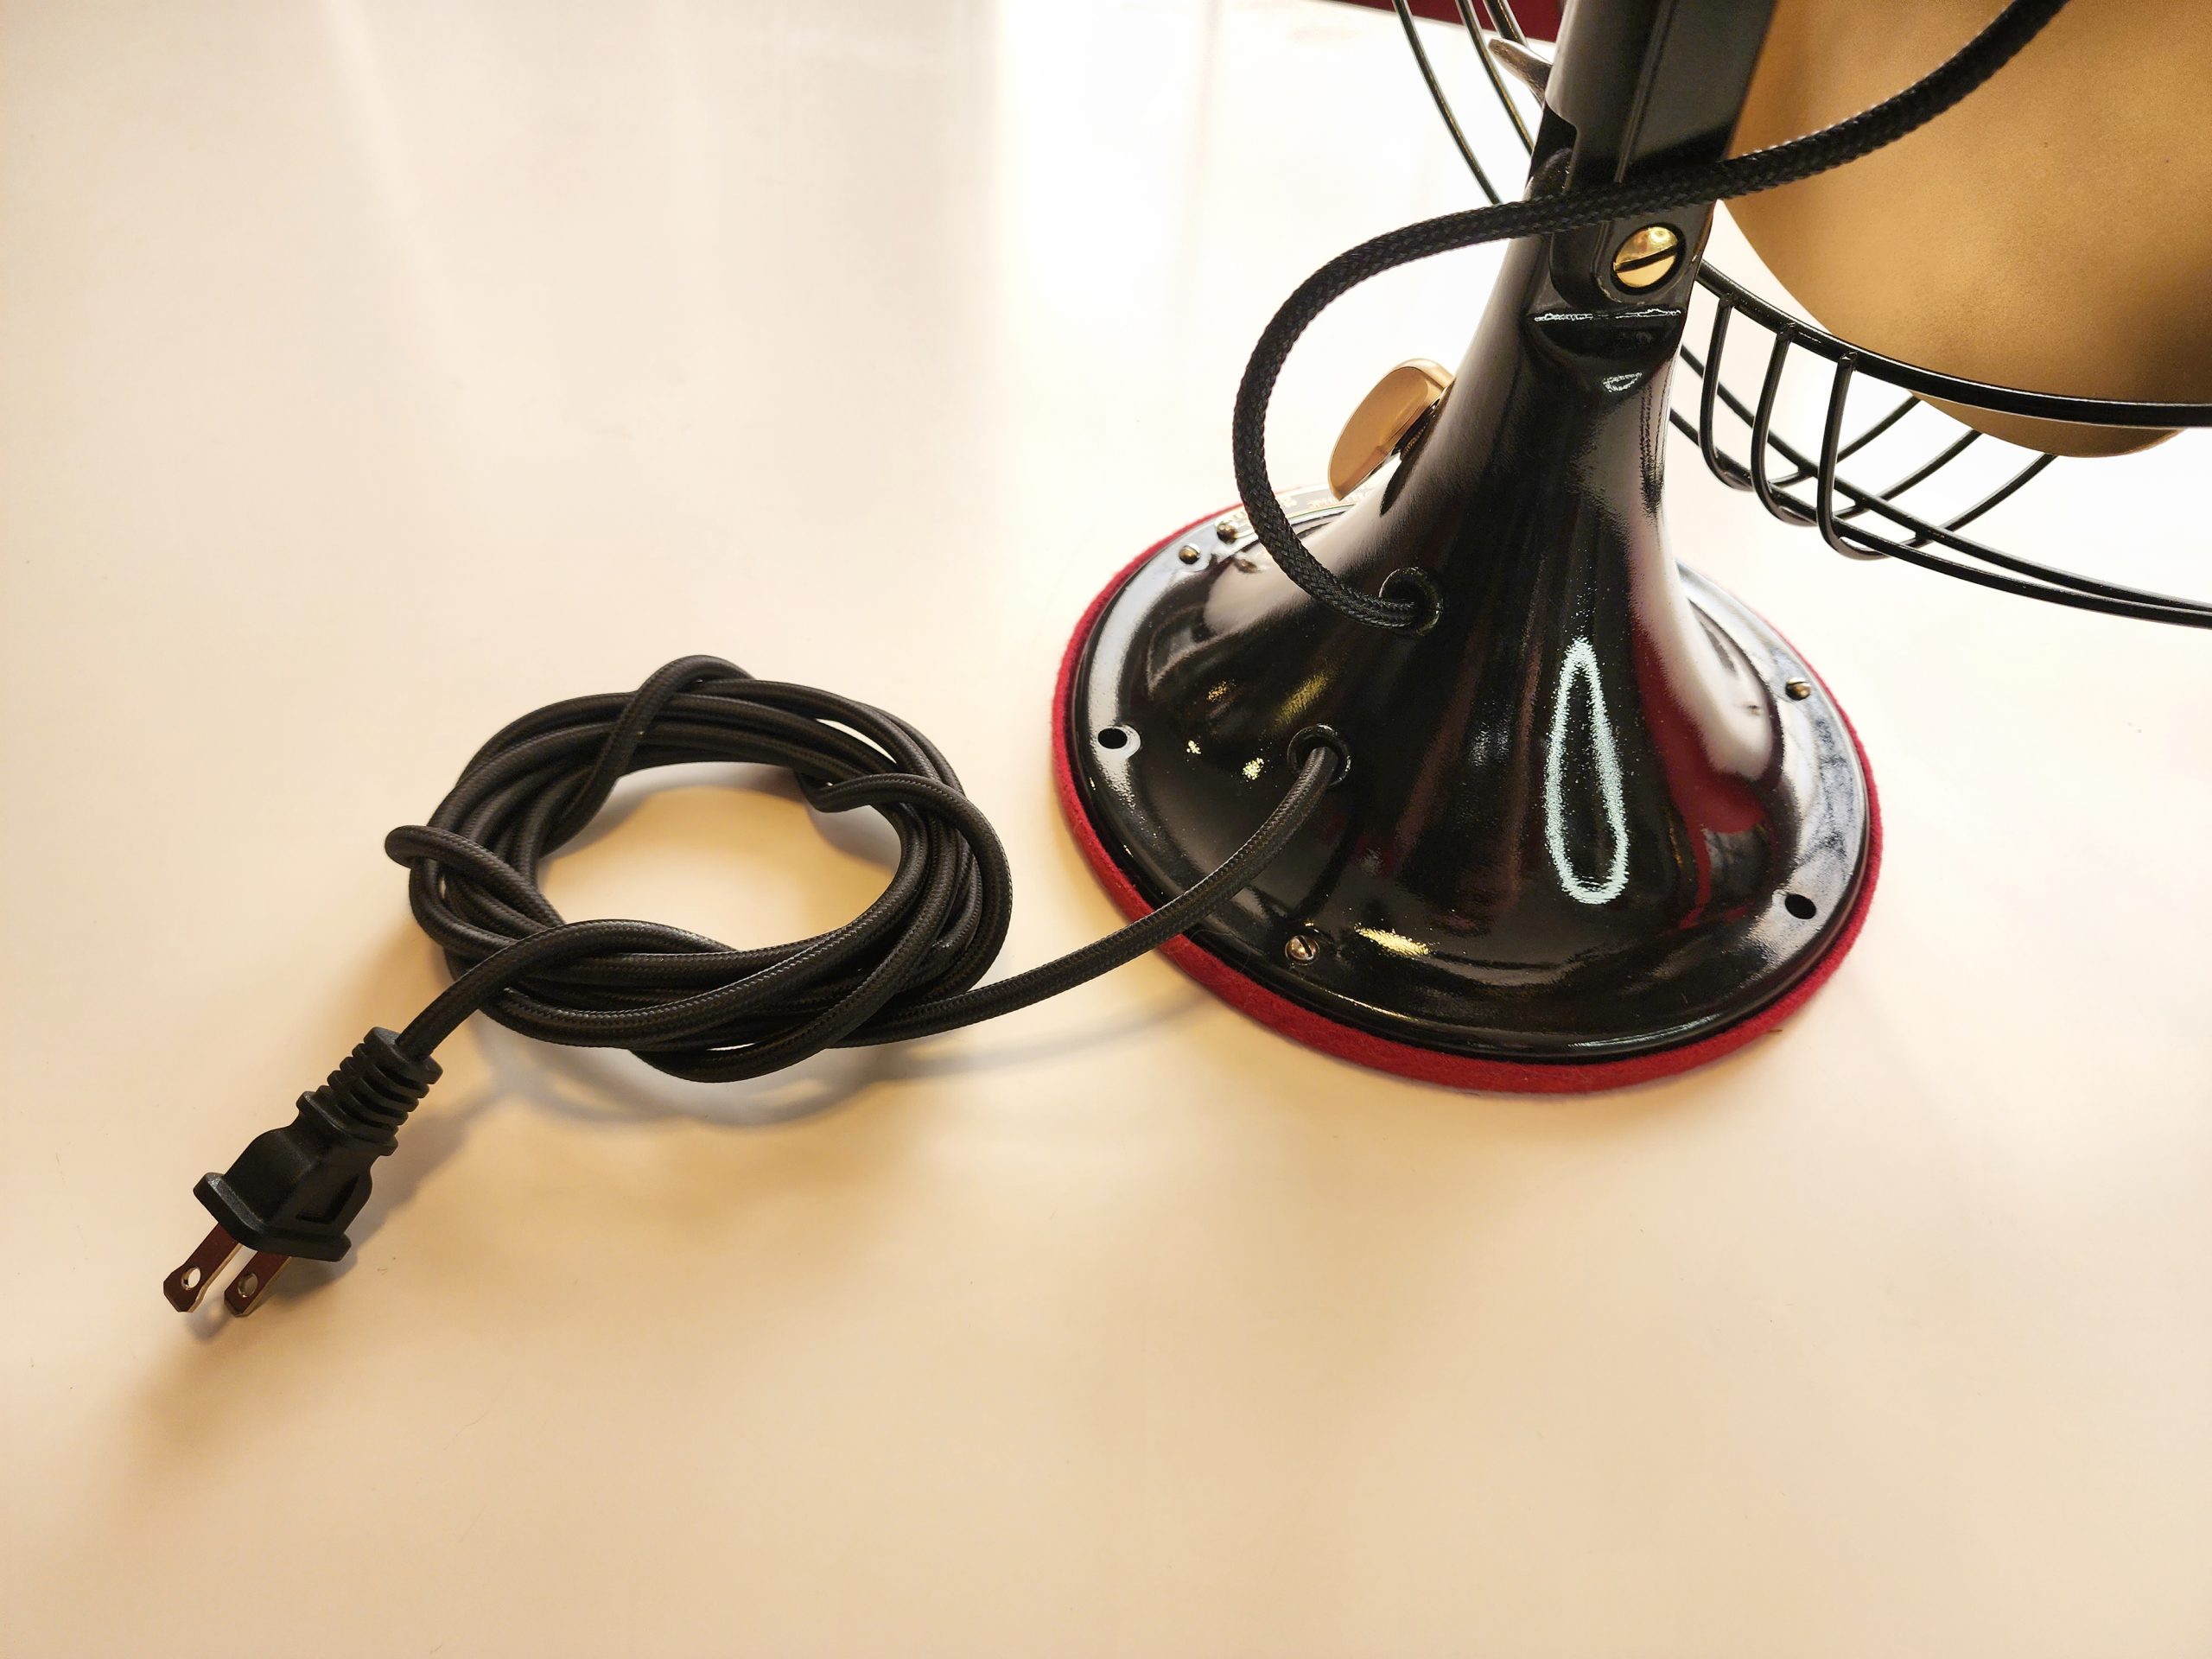
Next step was to replace the old crumbling felt that was on the base, so off to the fabric store with the base plate to find the perfect material. I went with a dark red, it was a gamble, but wow does it look perfect!
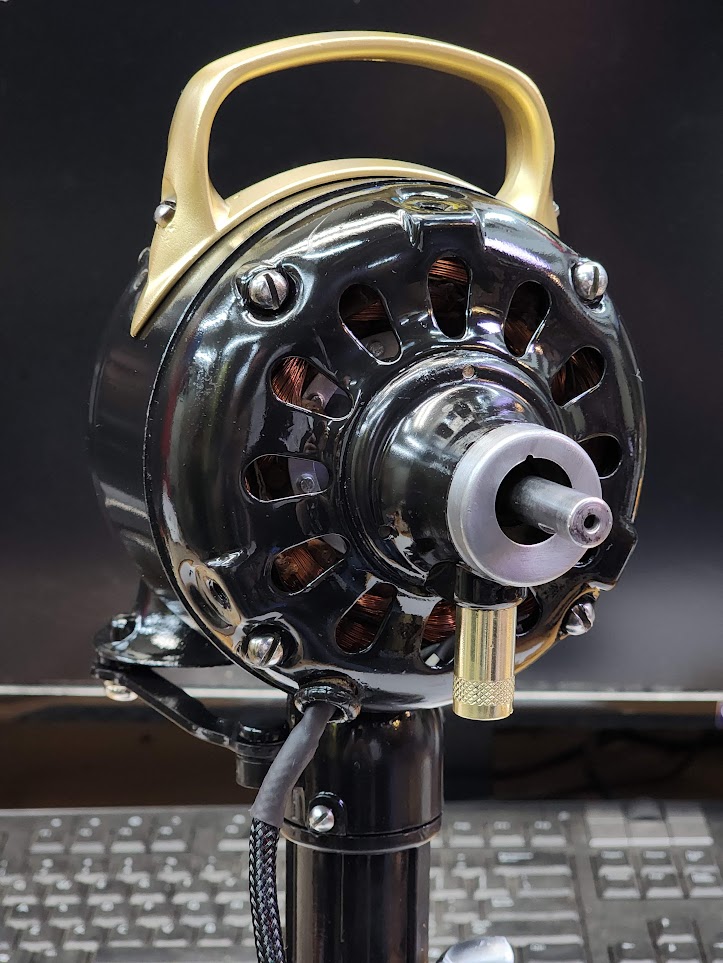
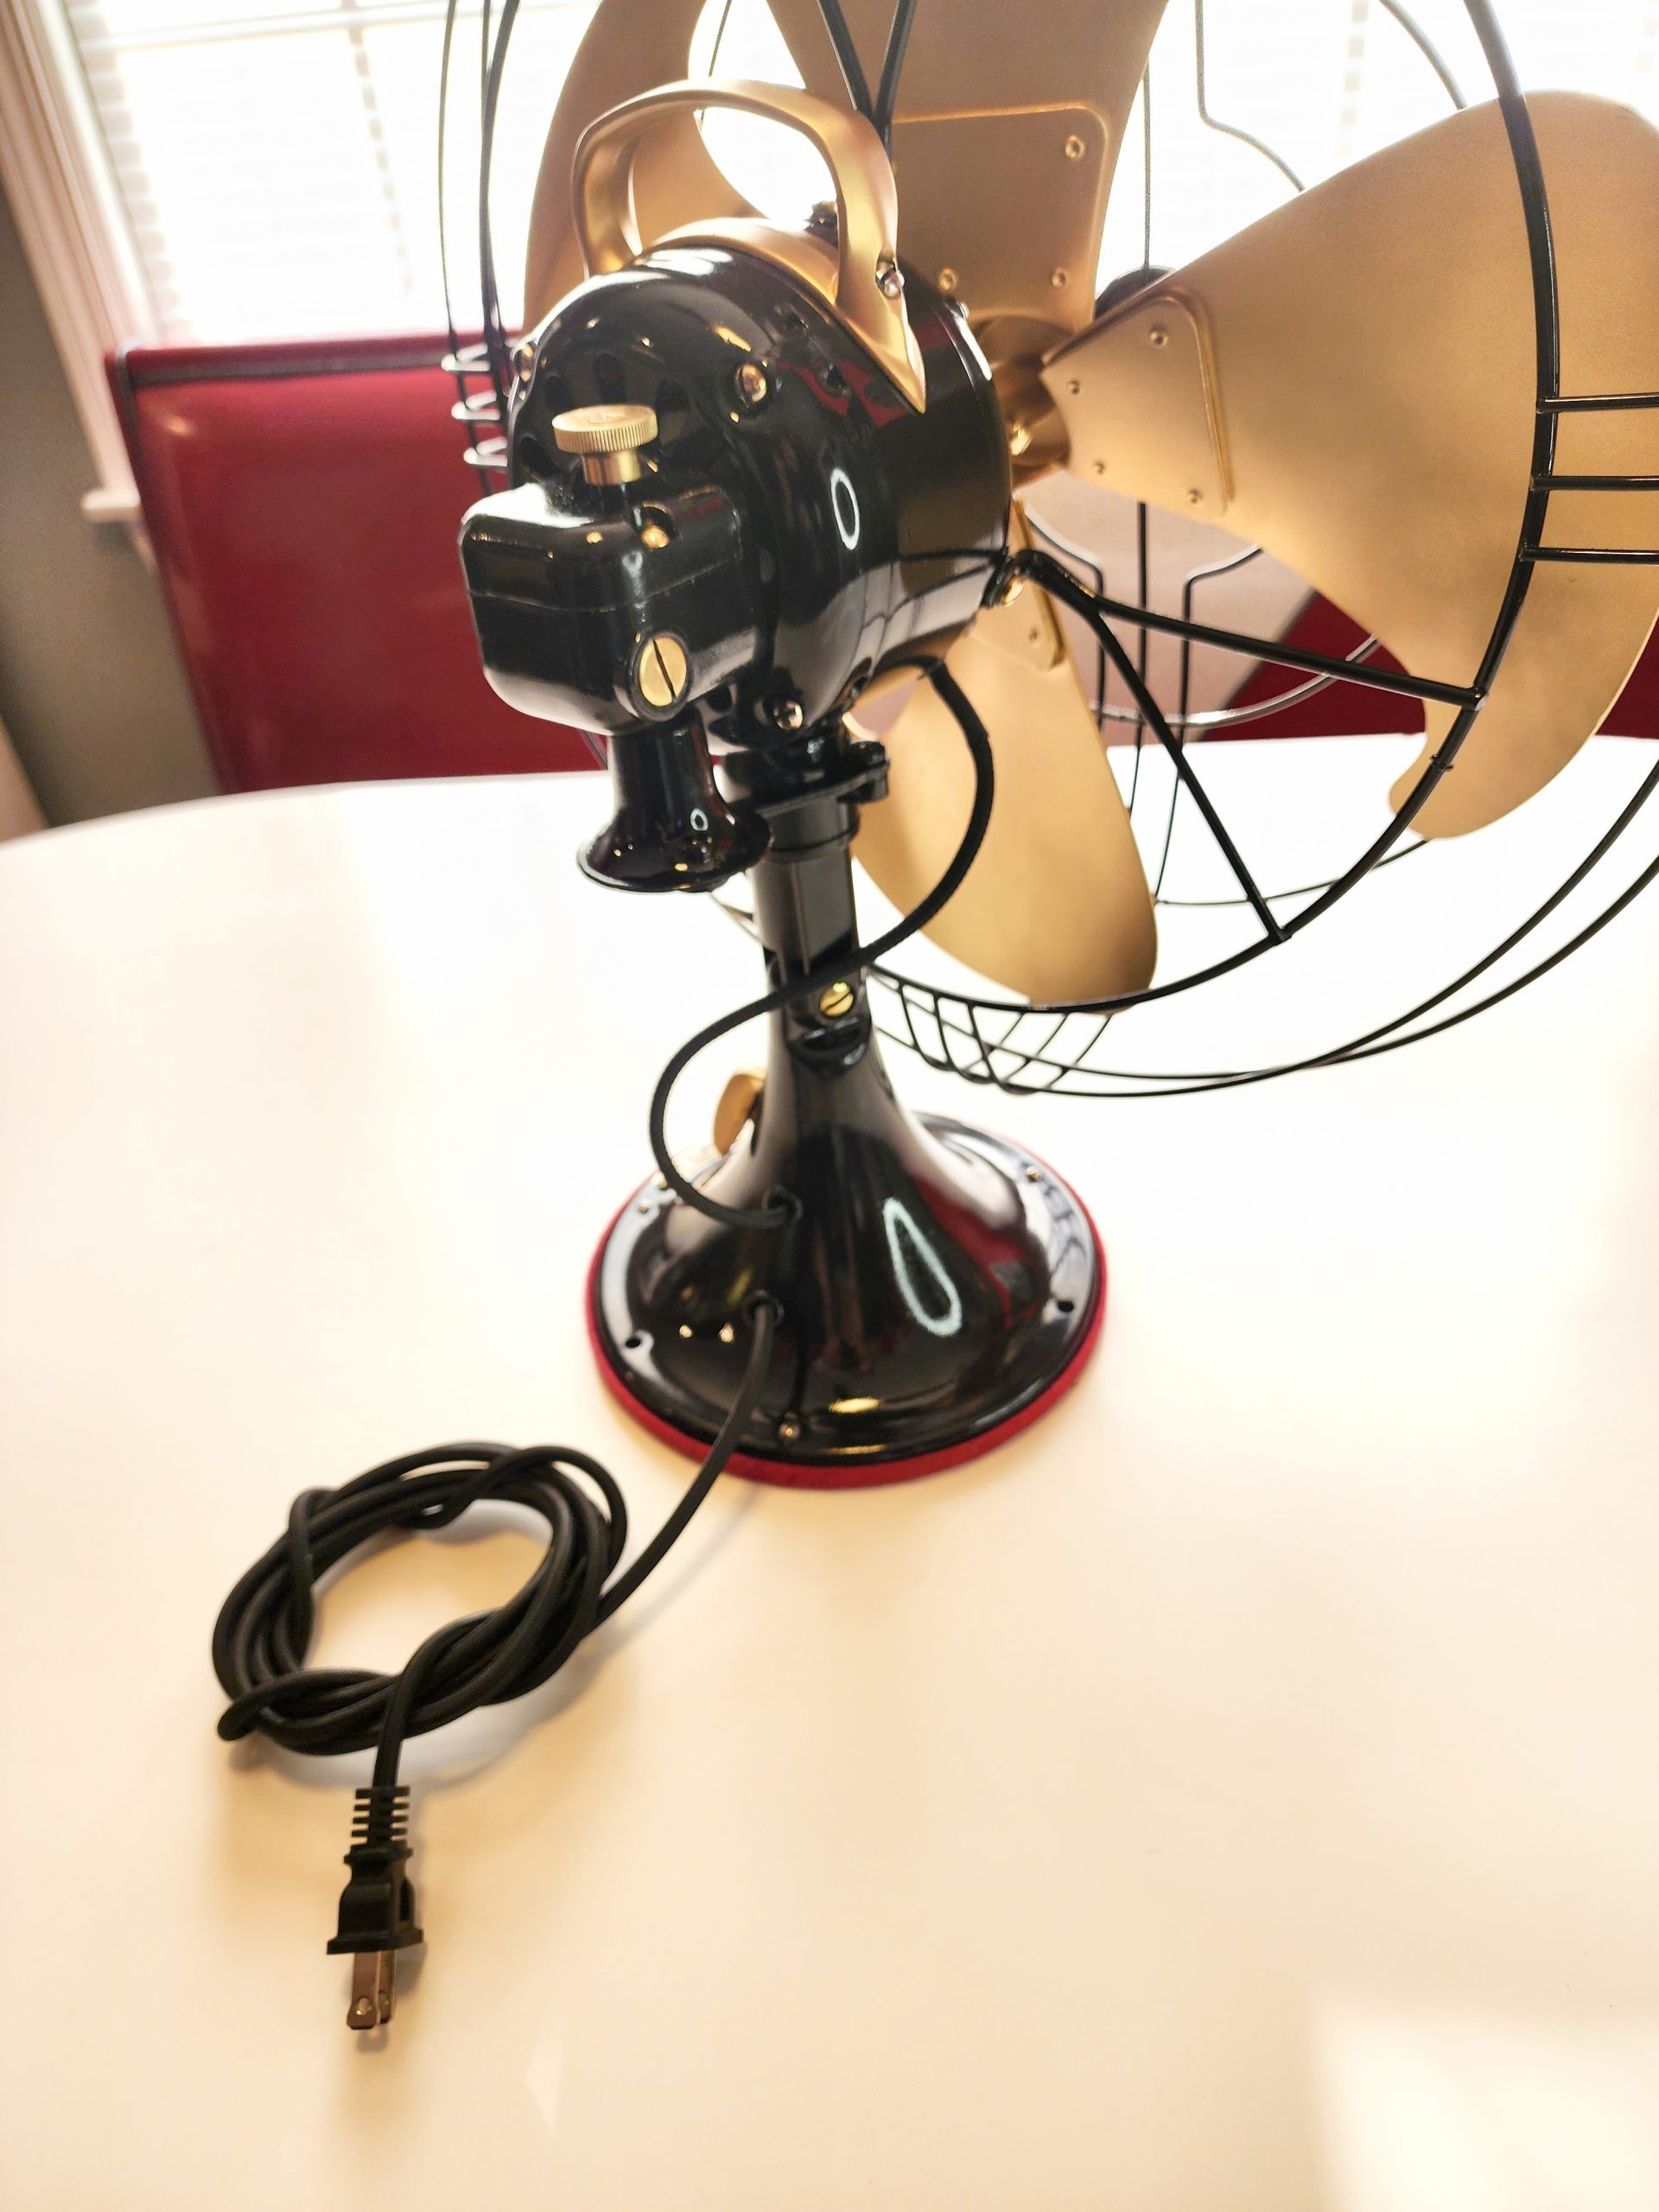
Time to start assembly!
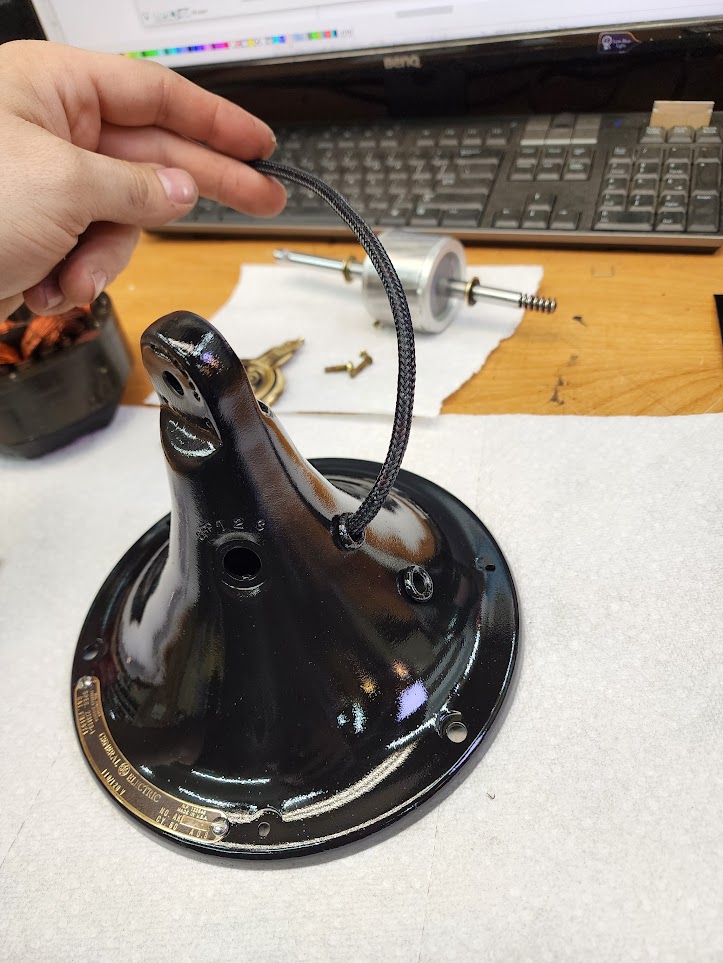
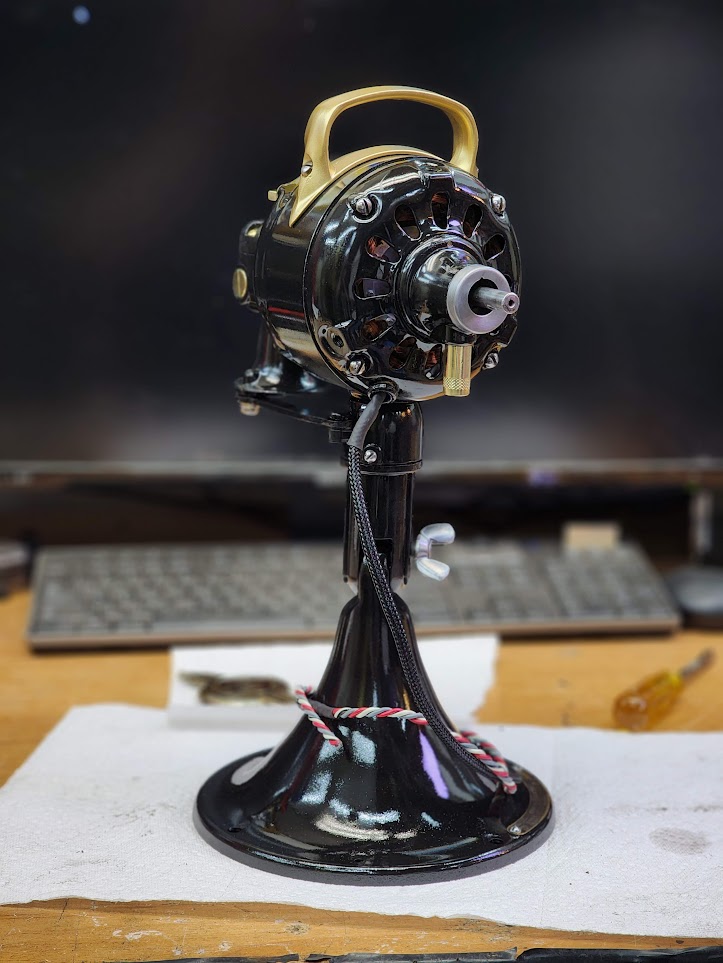
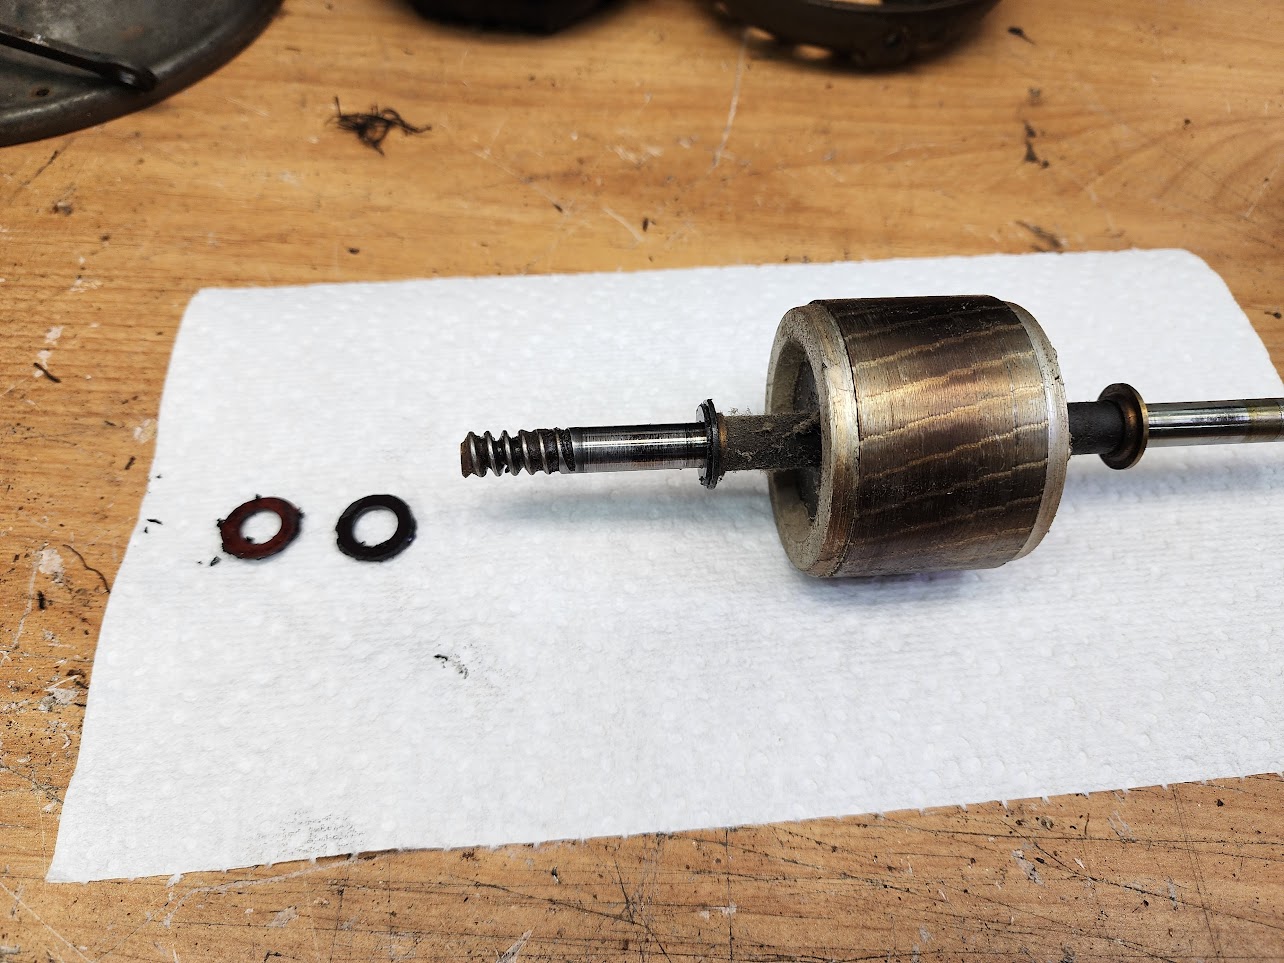
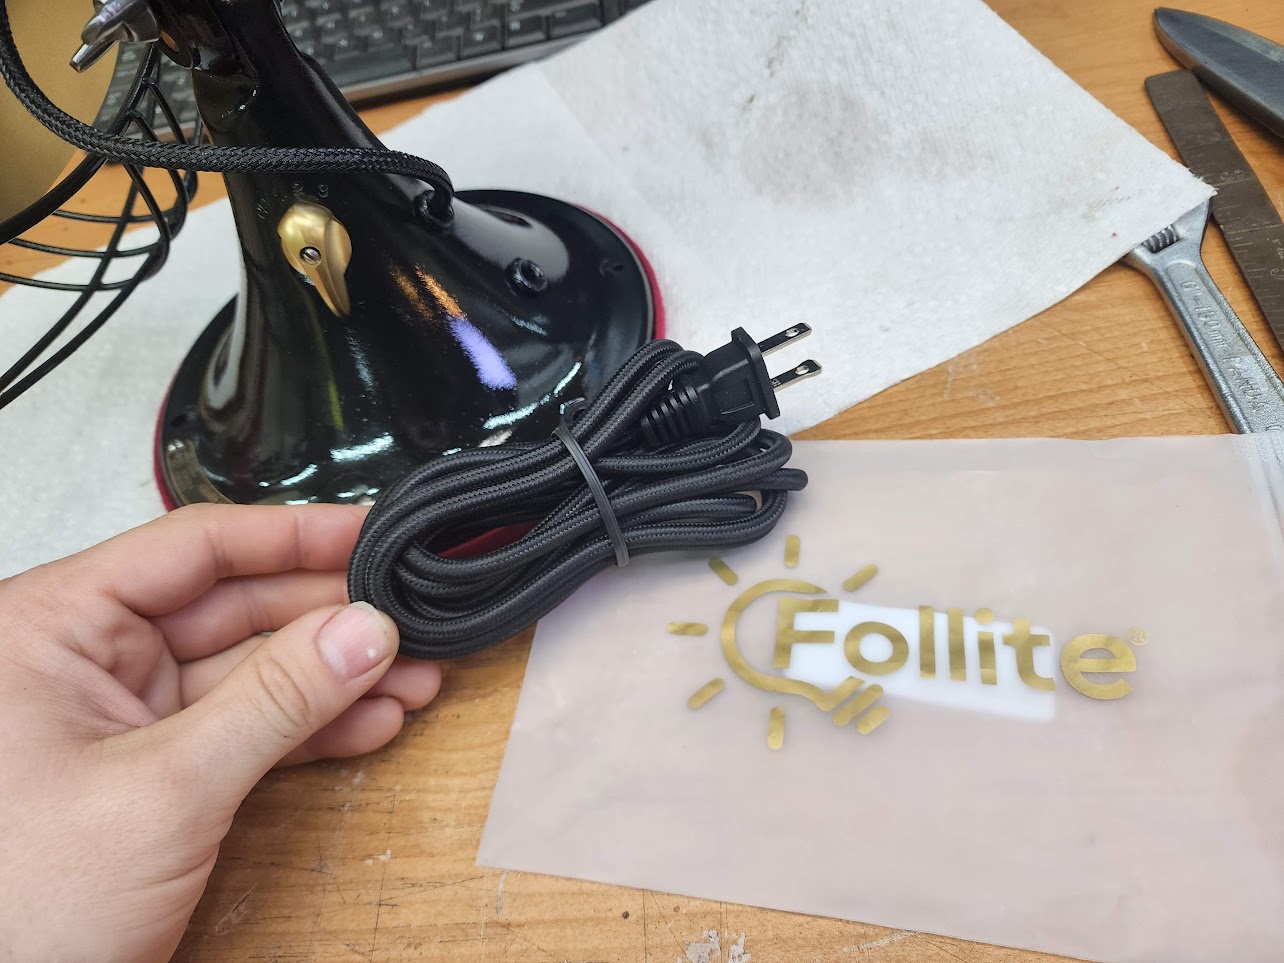
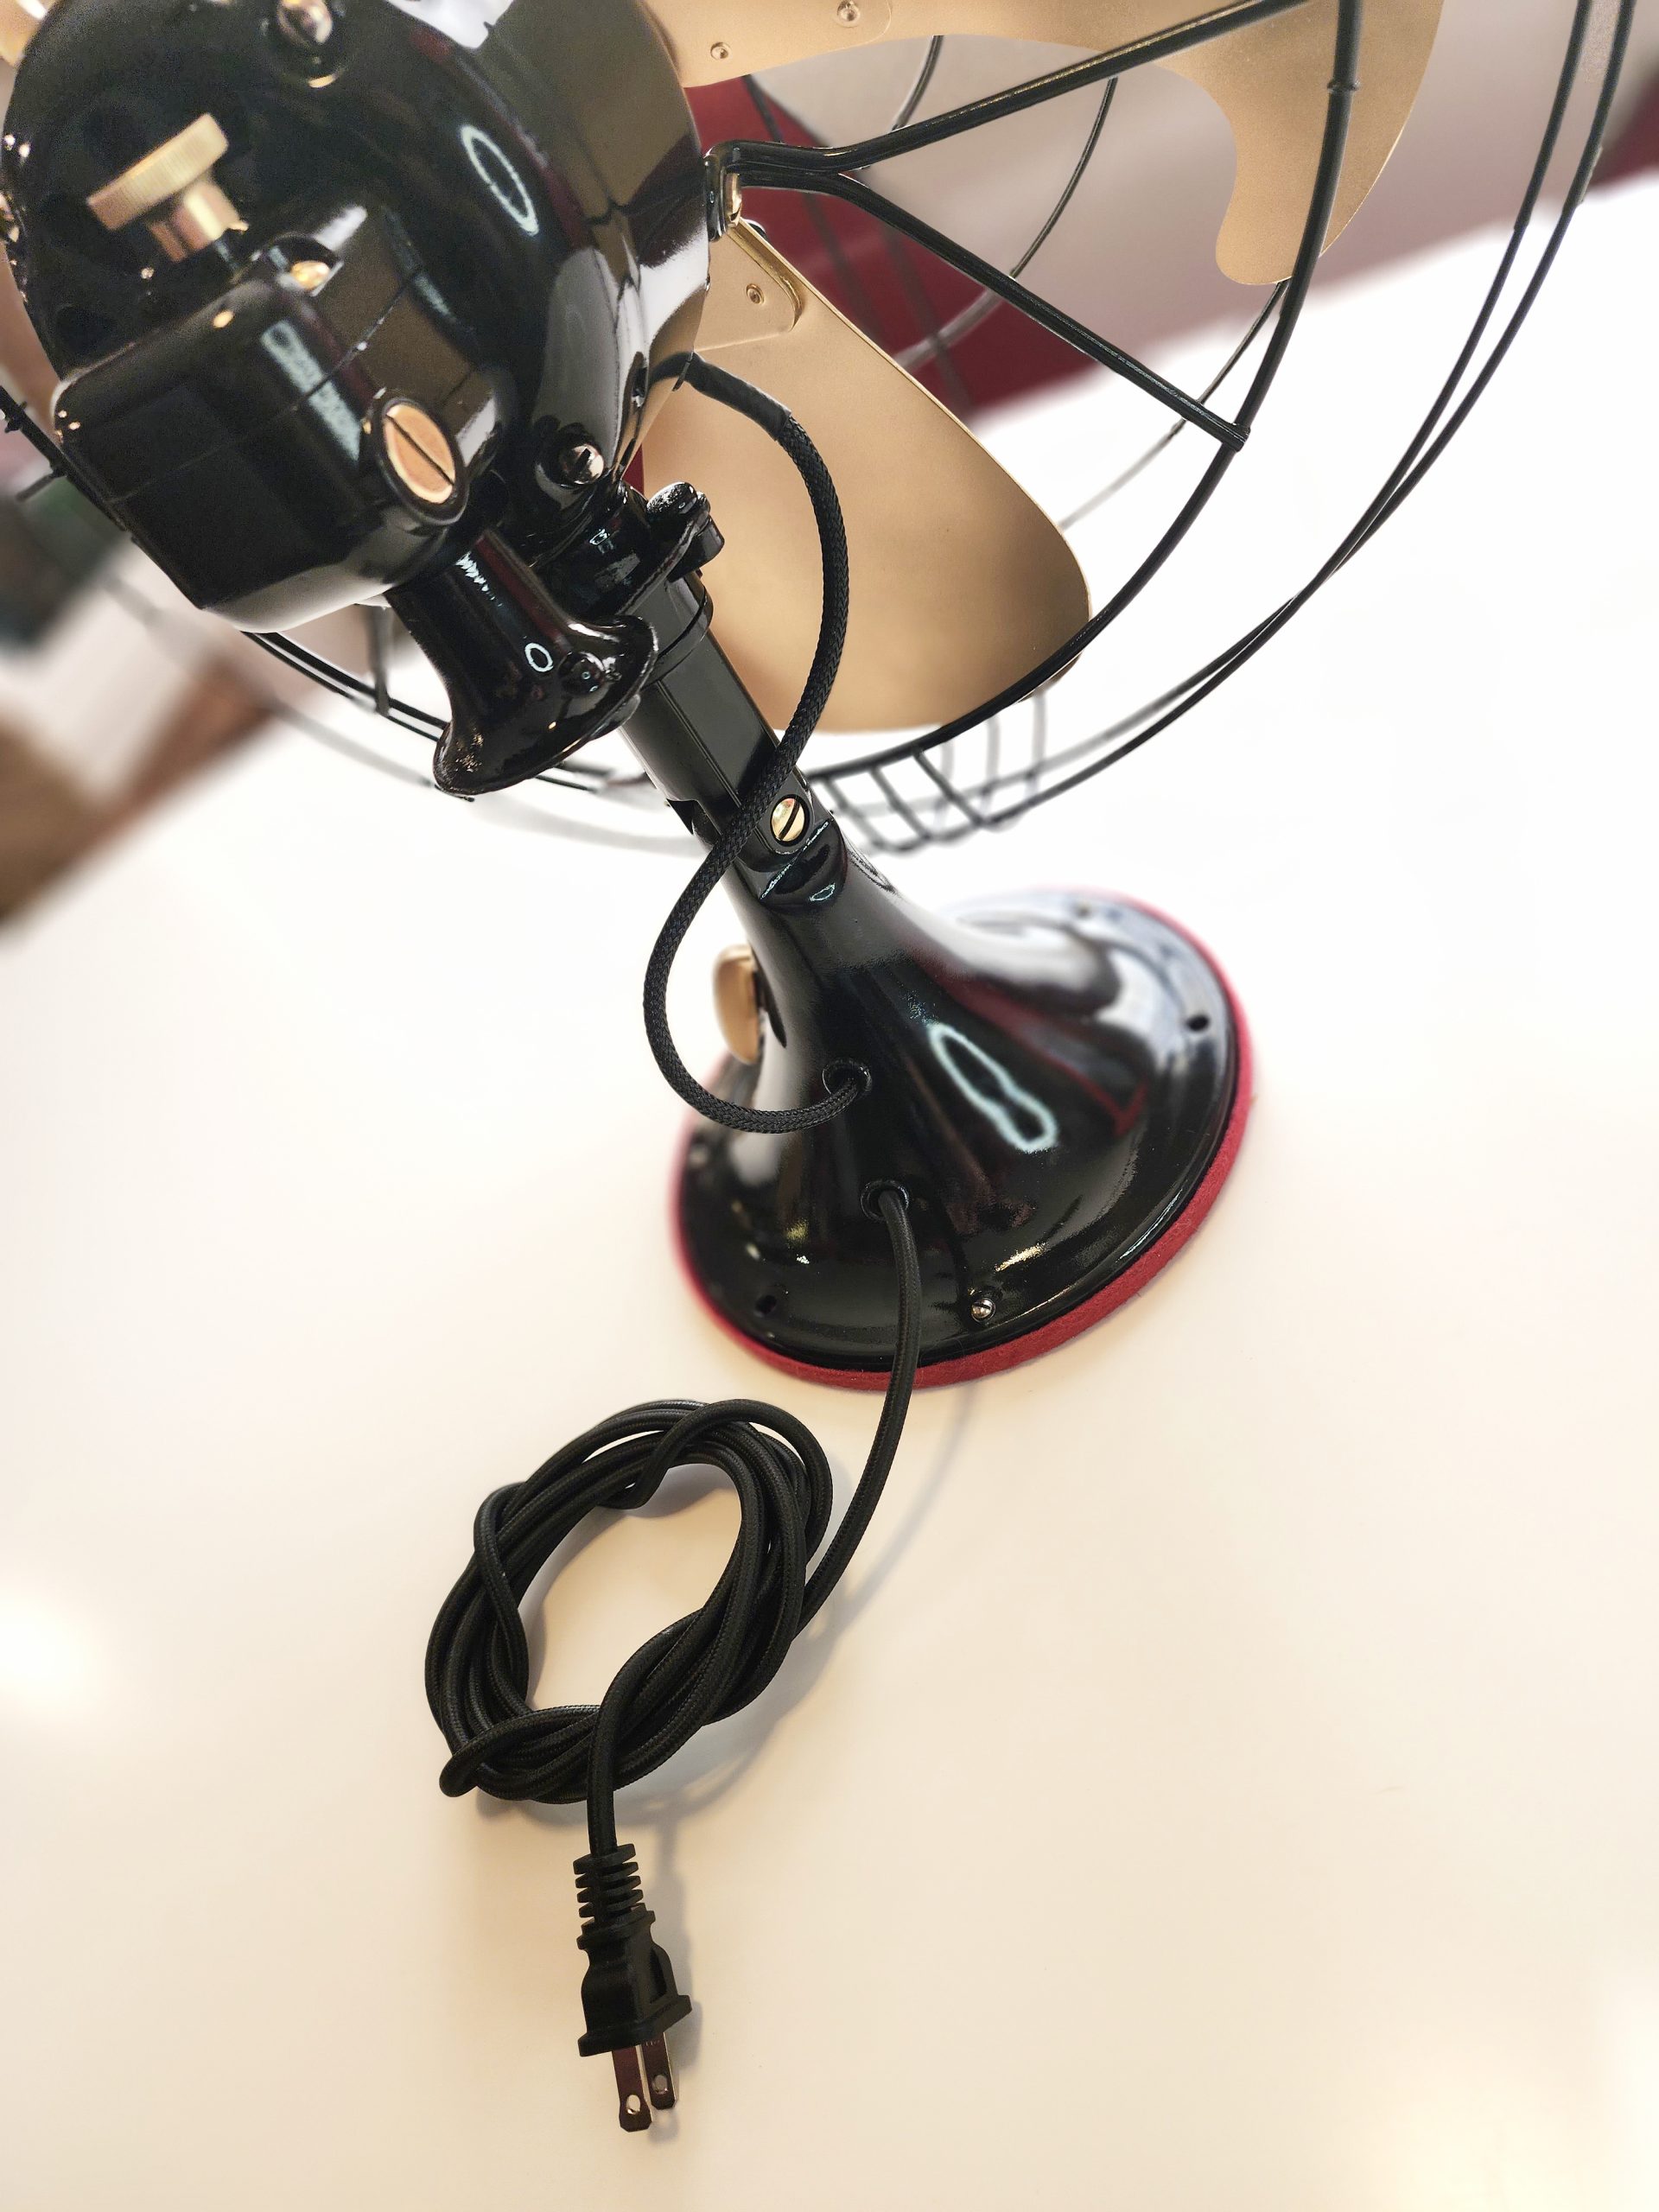
I found a new version of a cloth covered power cord, it is a perfect fit and feel for the fan, and fits the harness I made as well. Also some fresh grease for the gearbox!
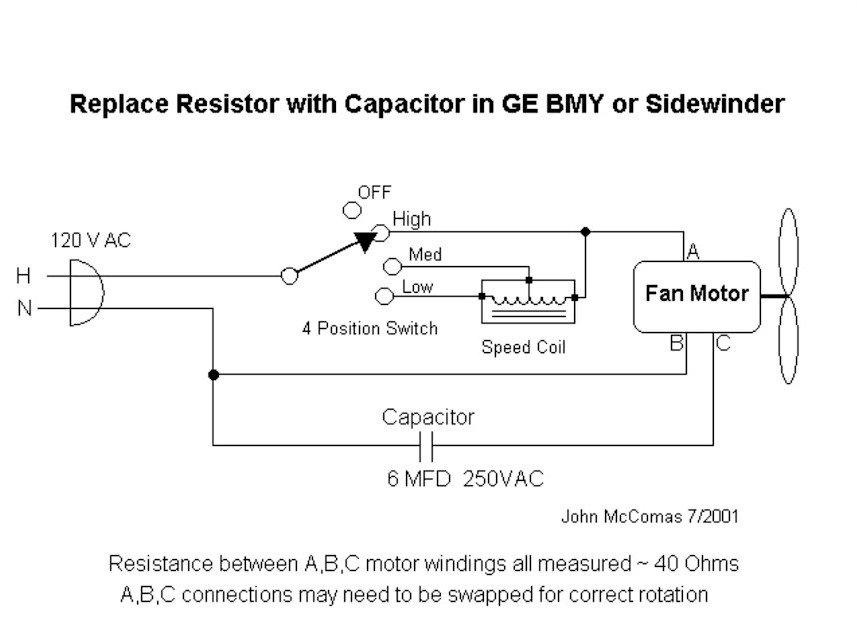
Found this schematic online that was very helpful!
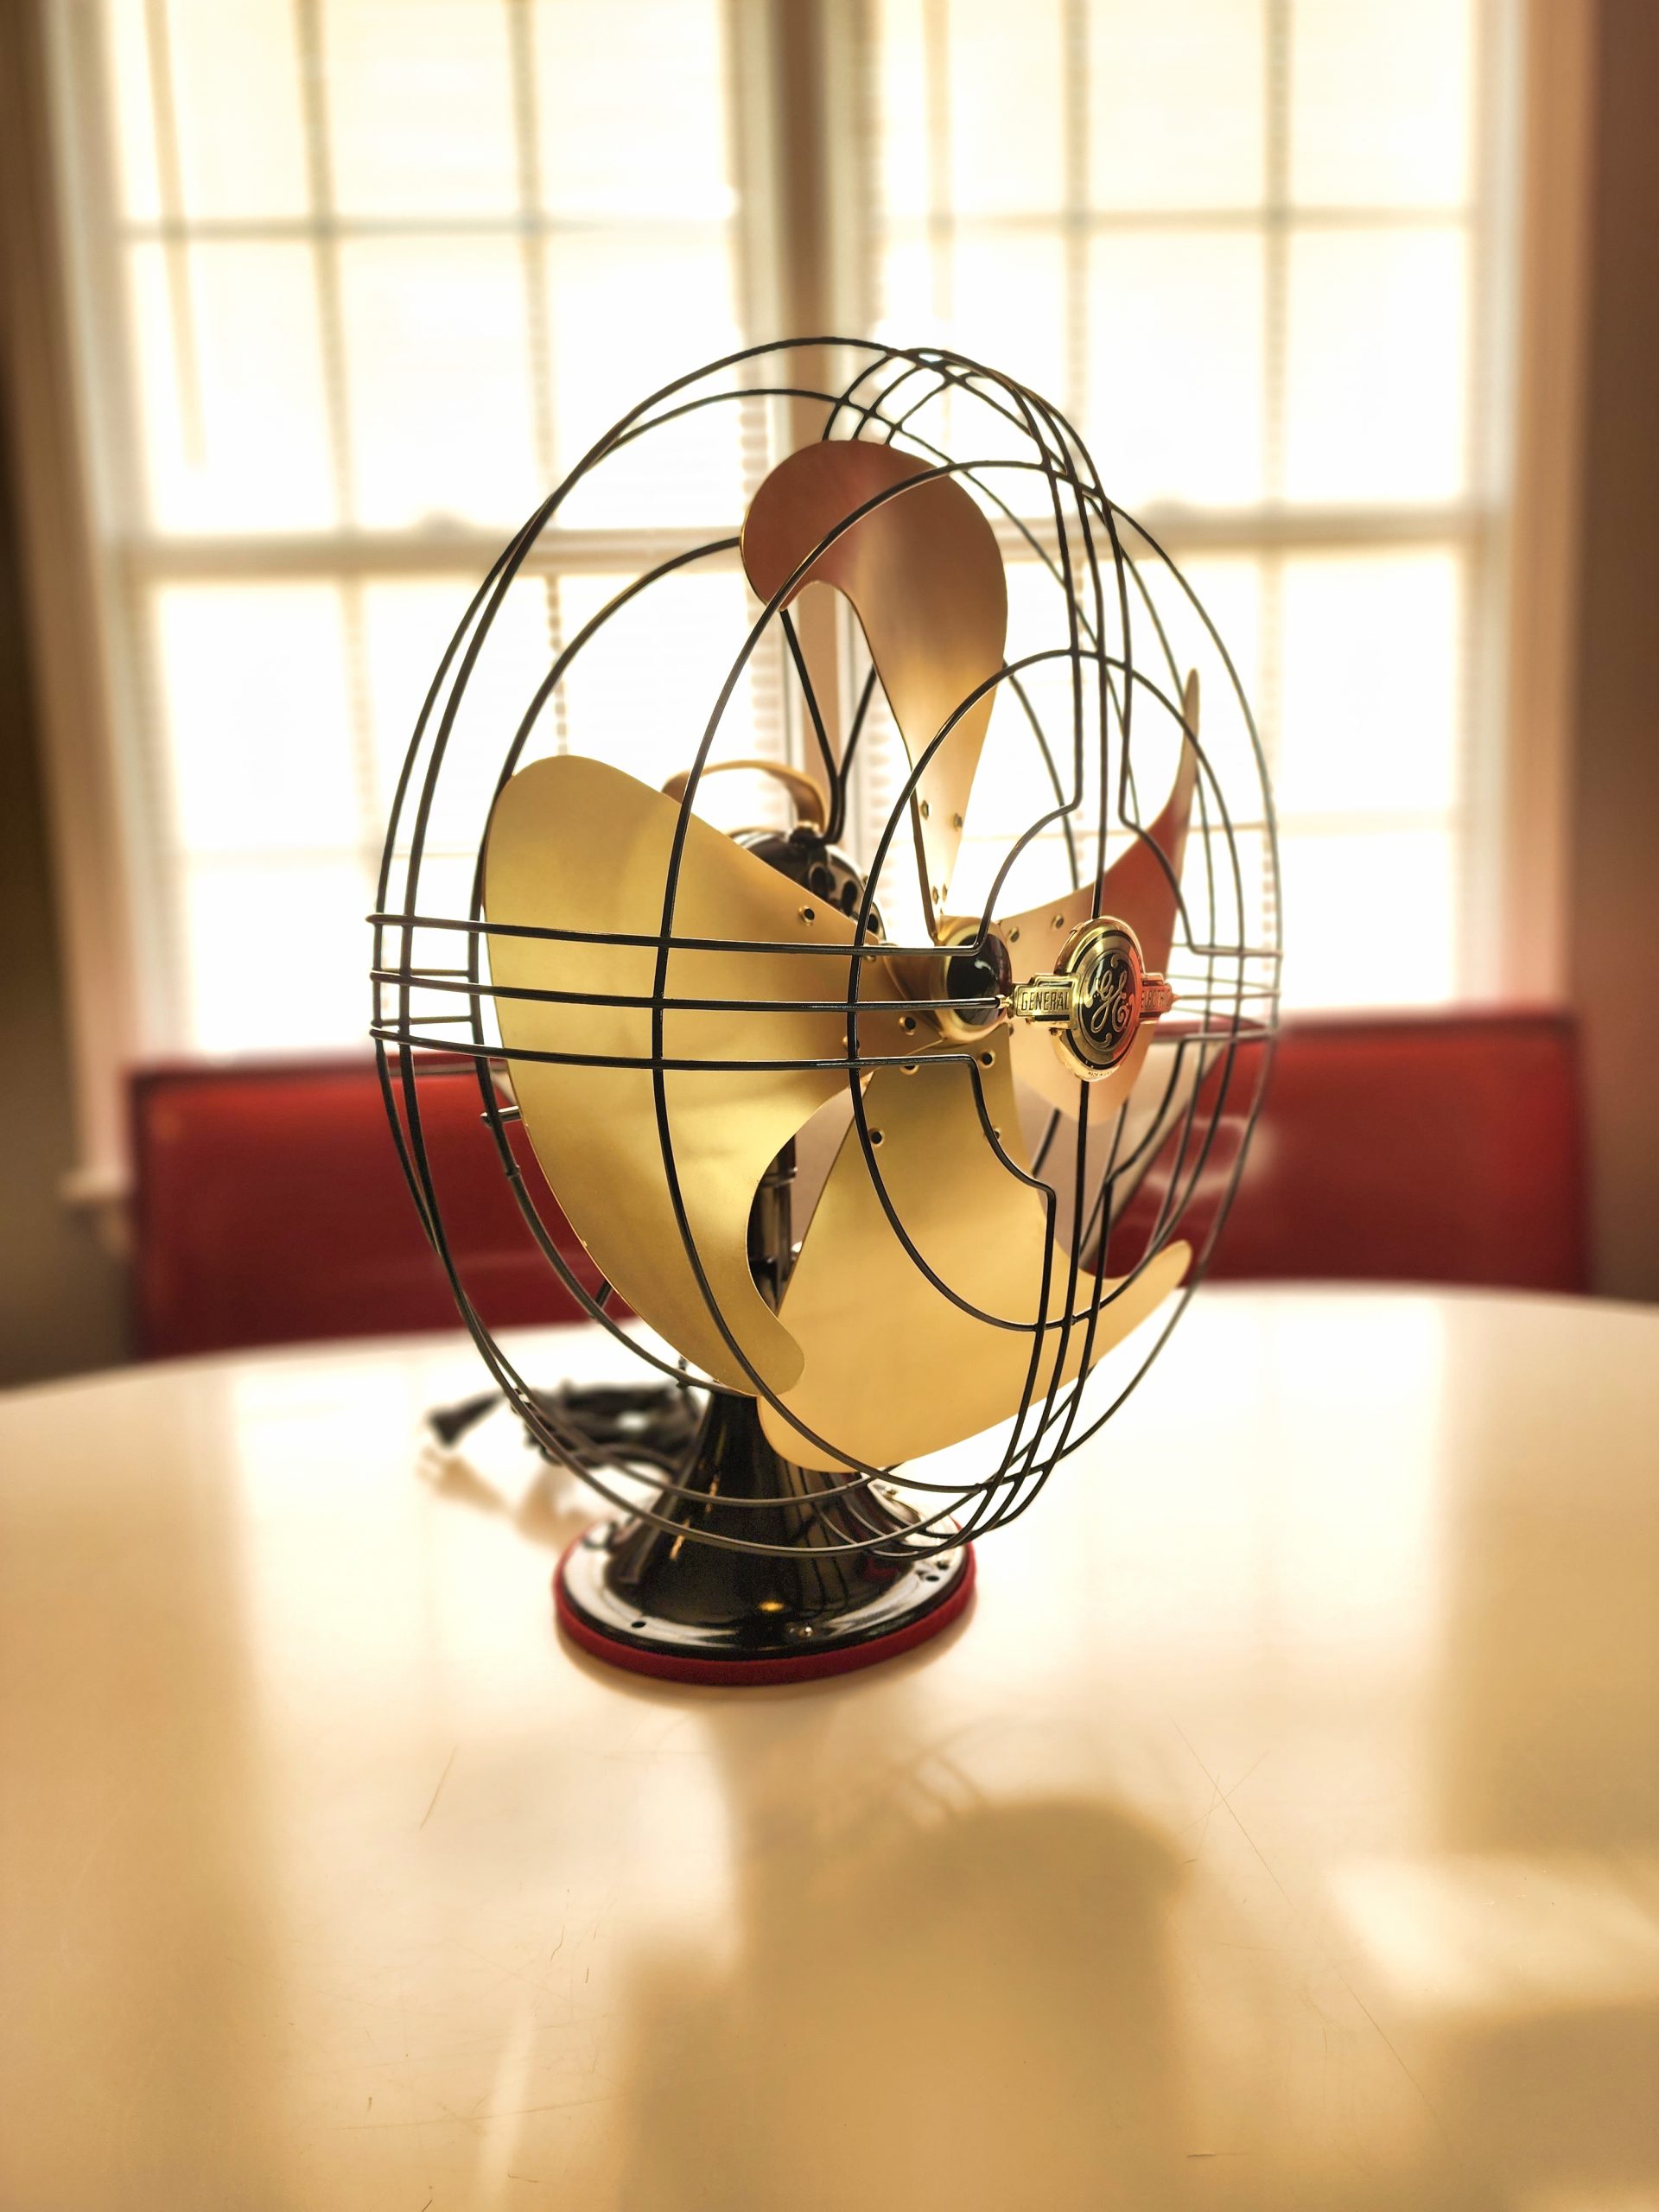
Now to cross my fingers and my toes, and hope after all of this it still works and powers on!

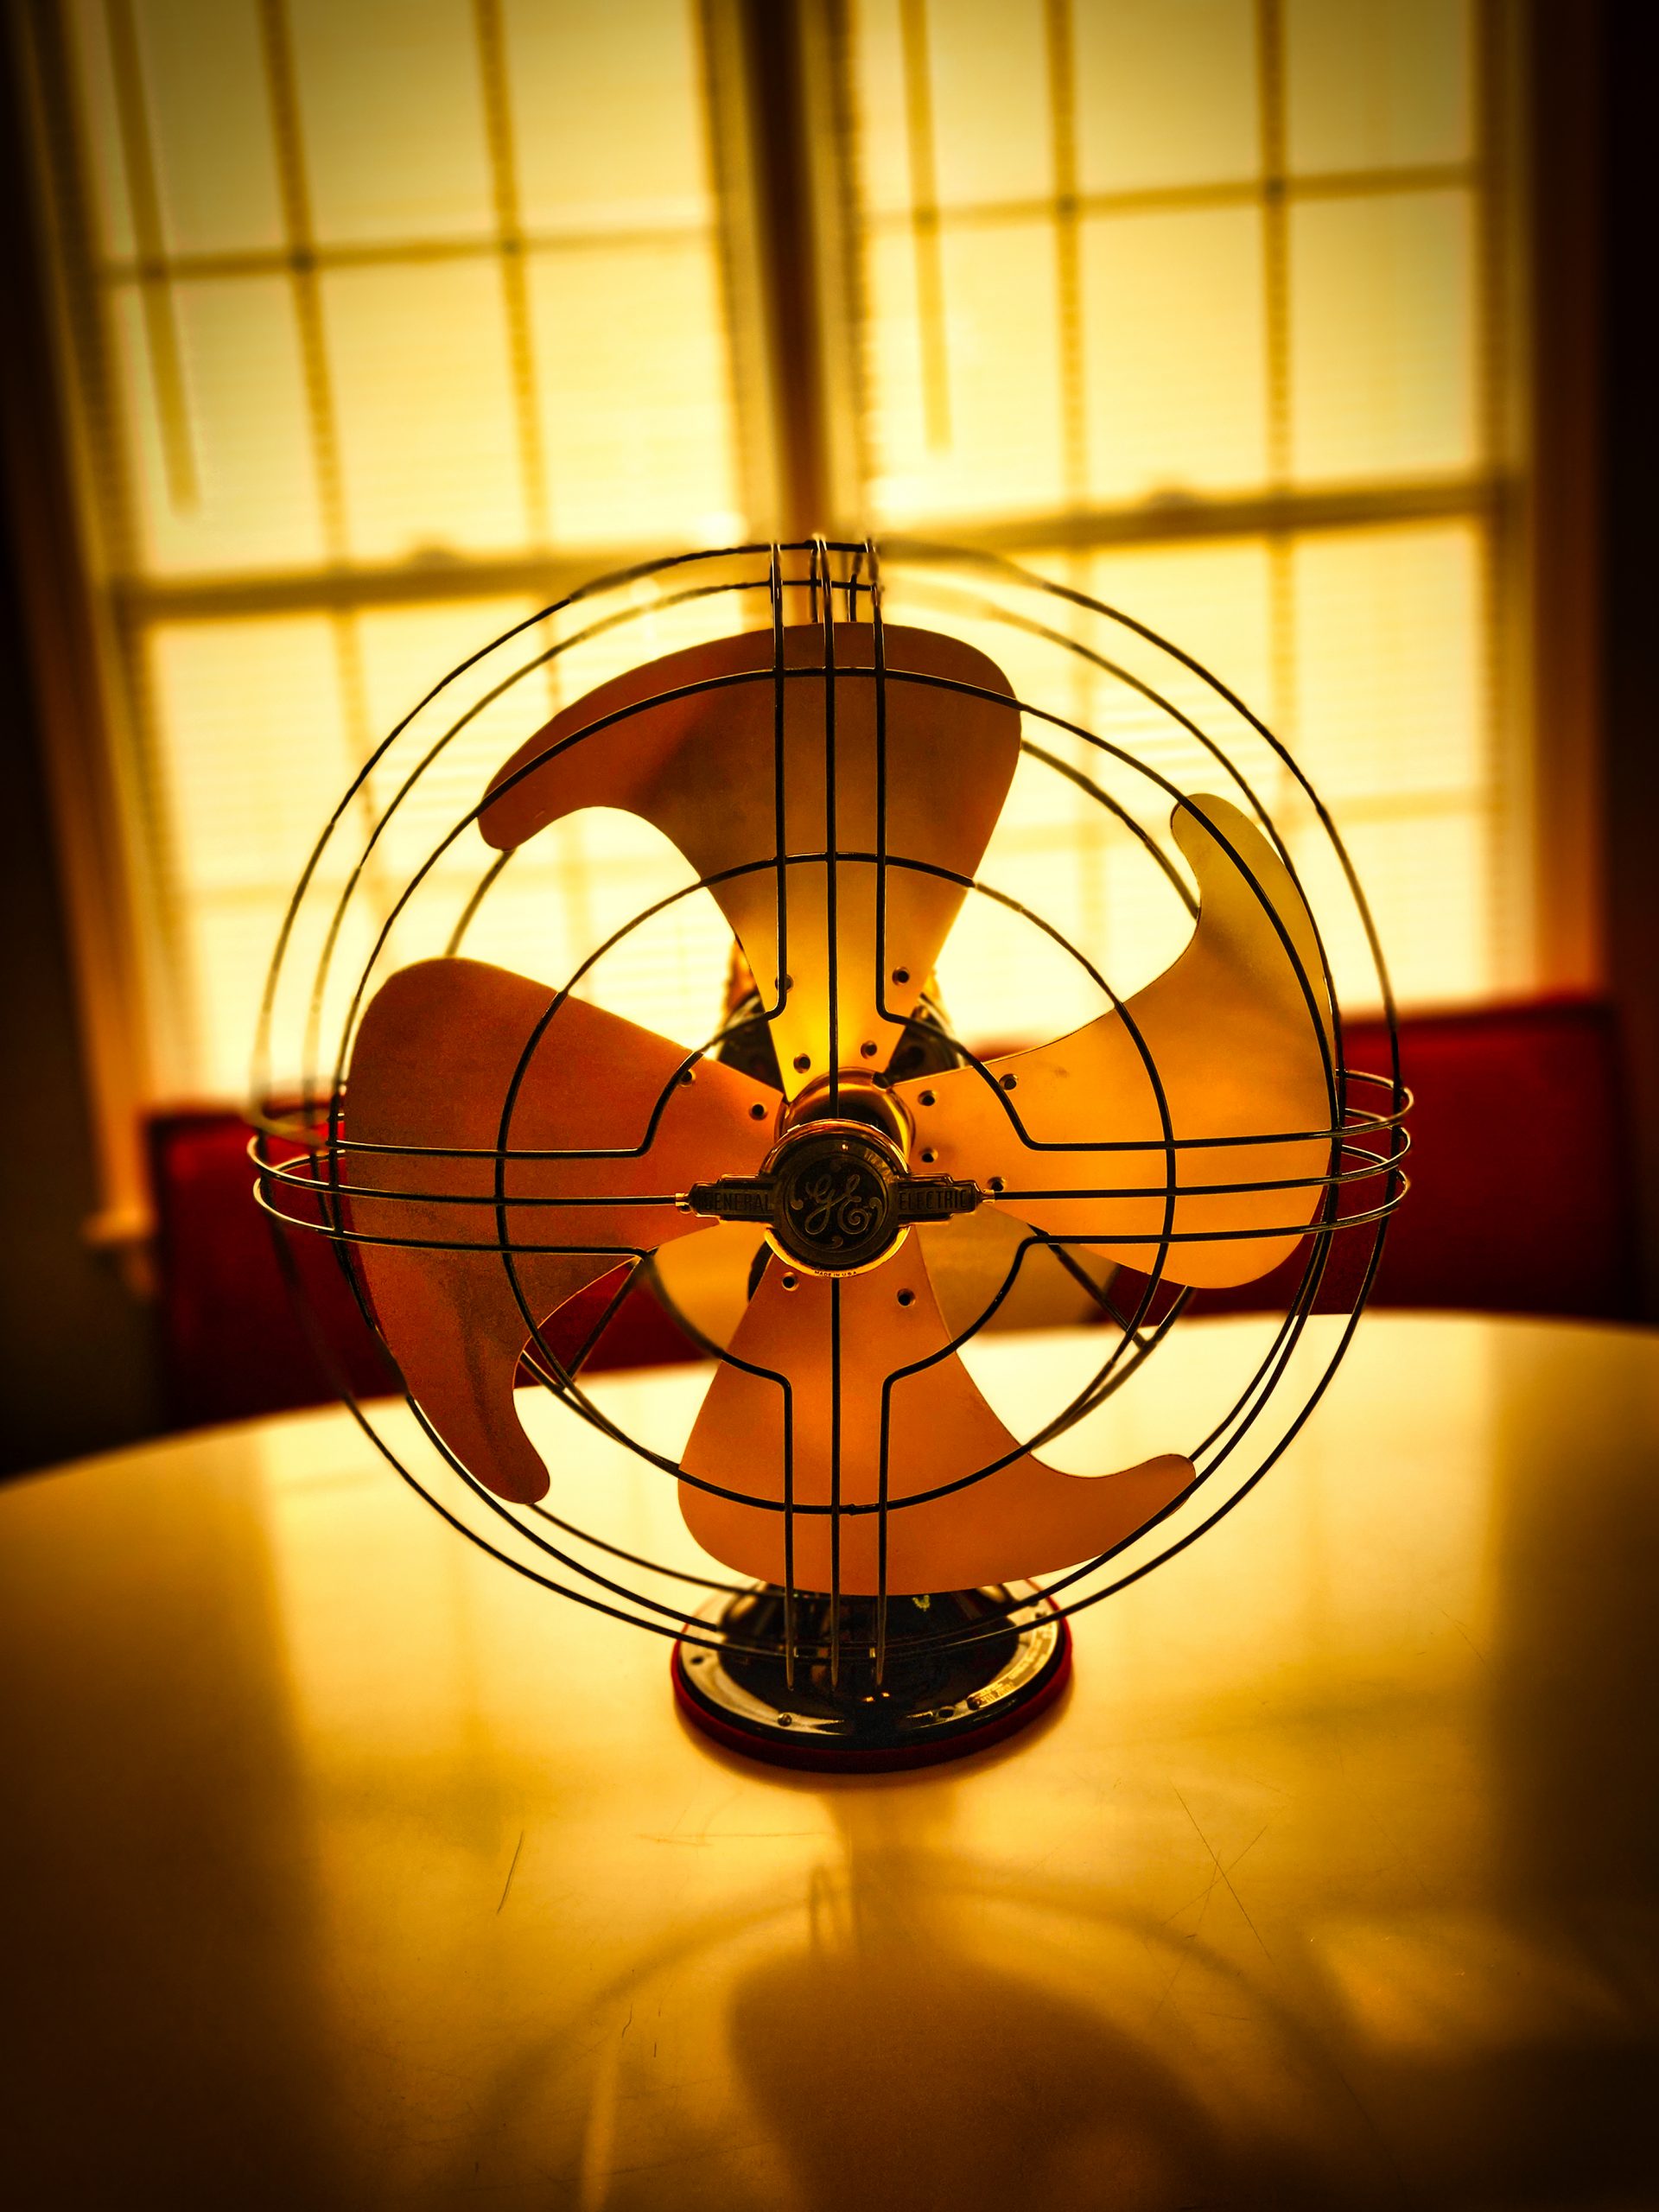
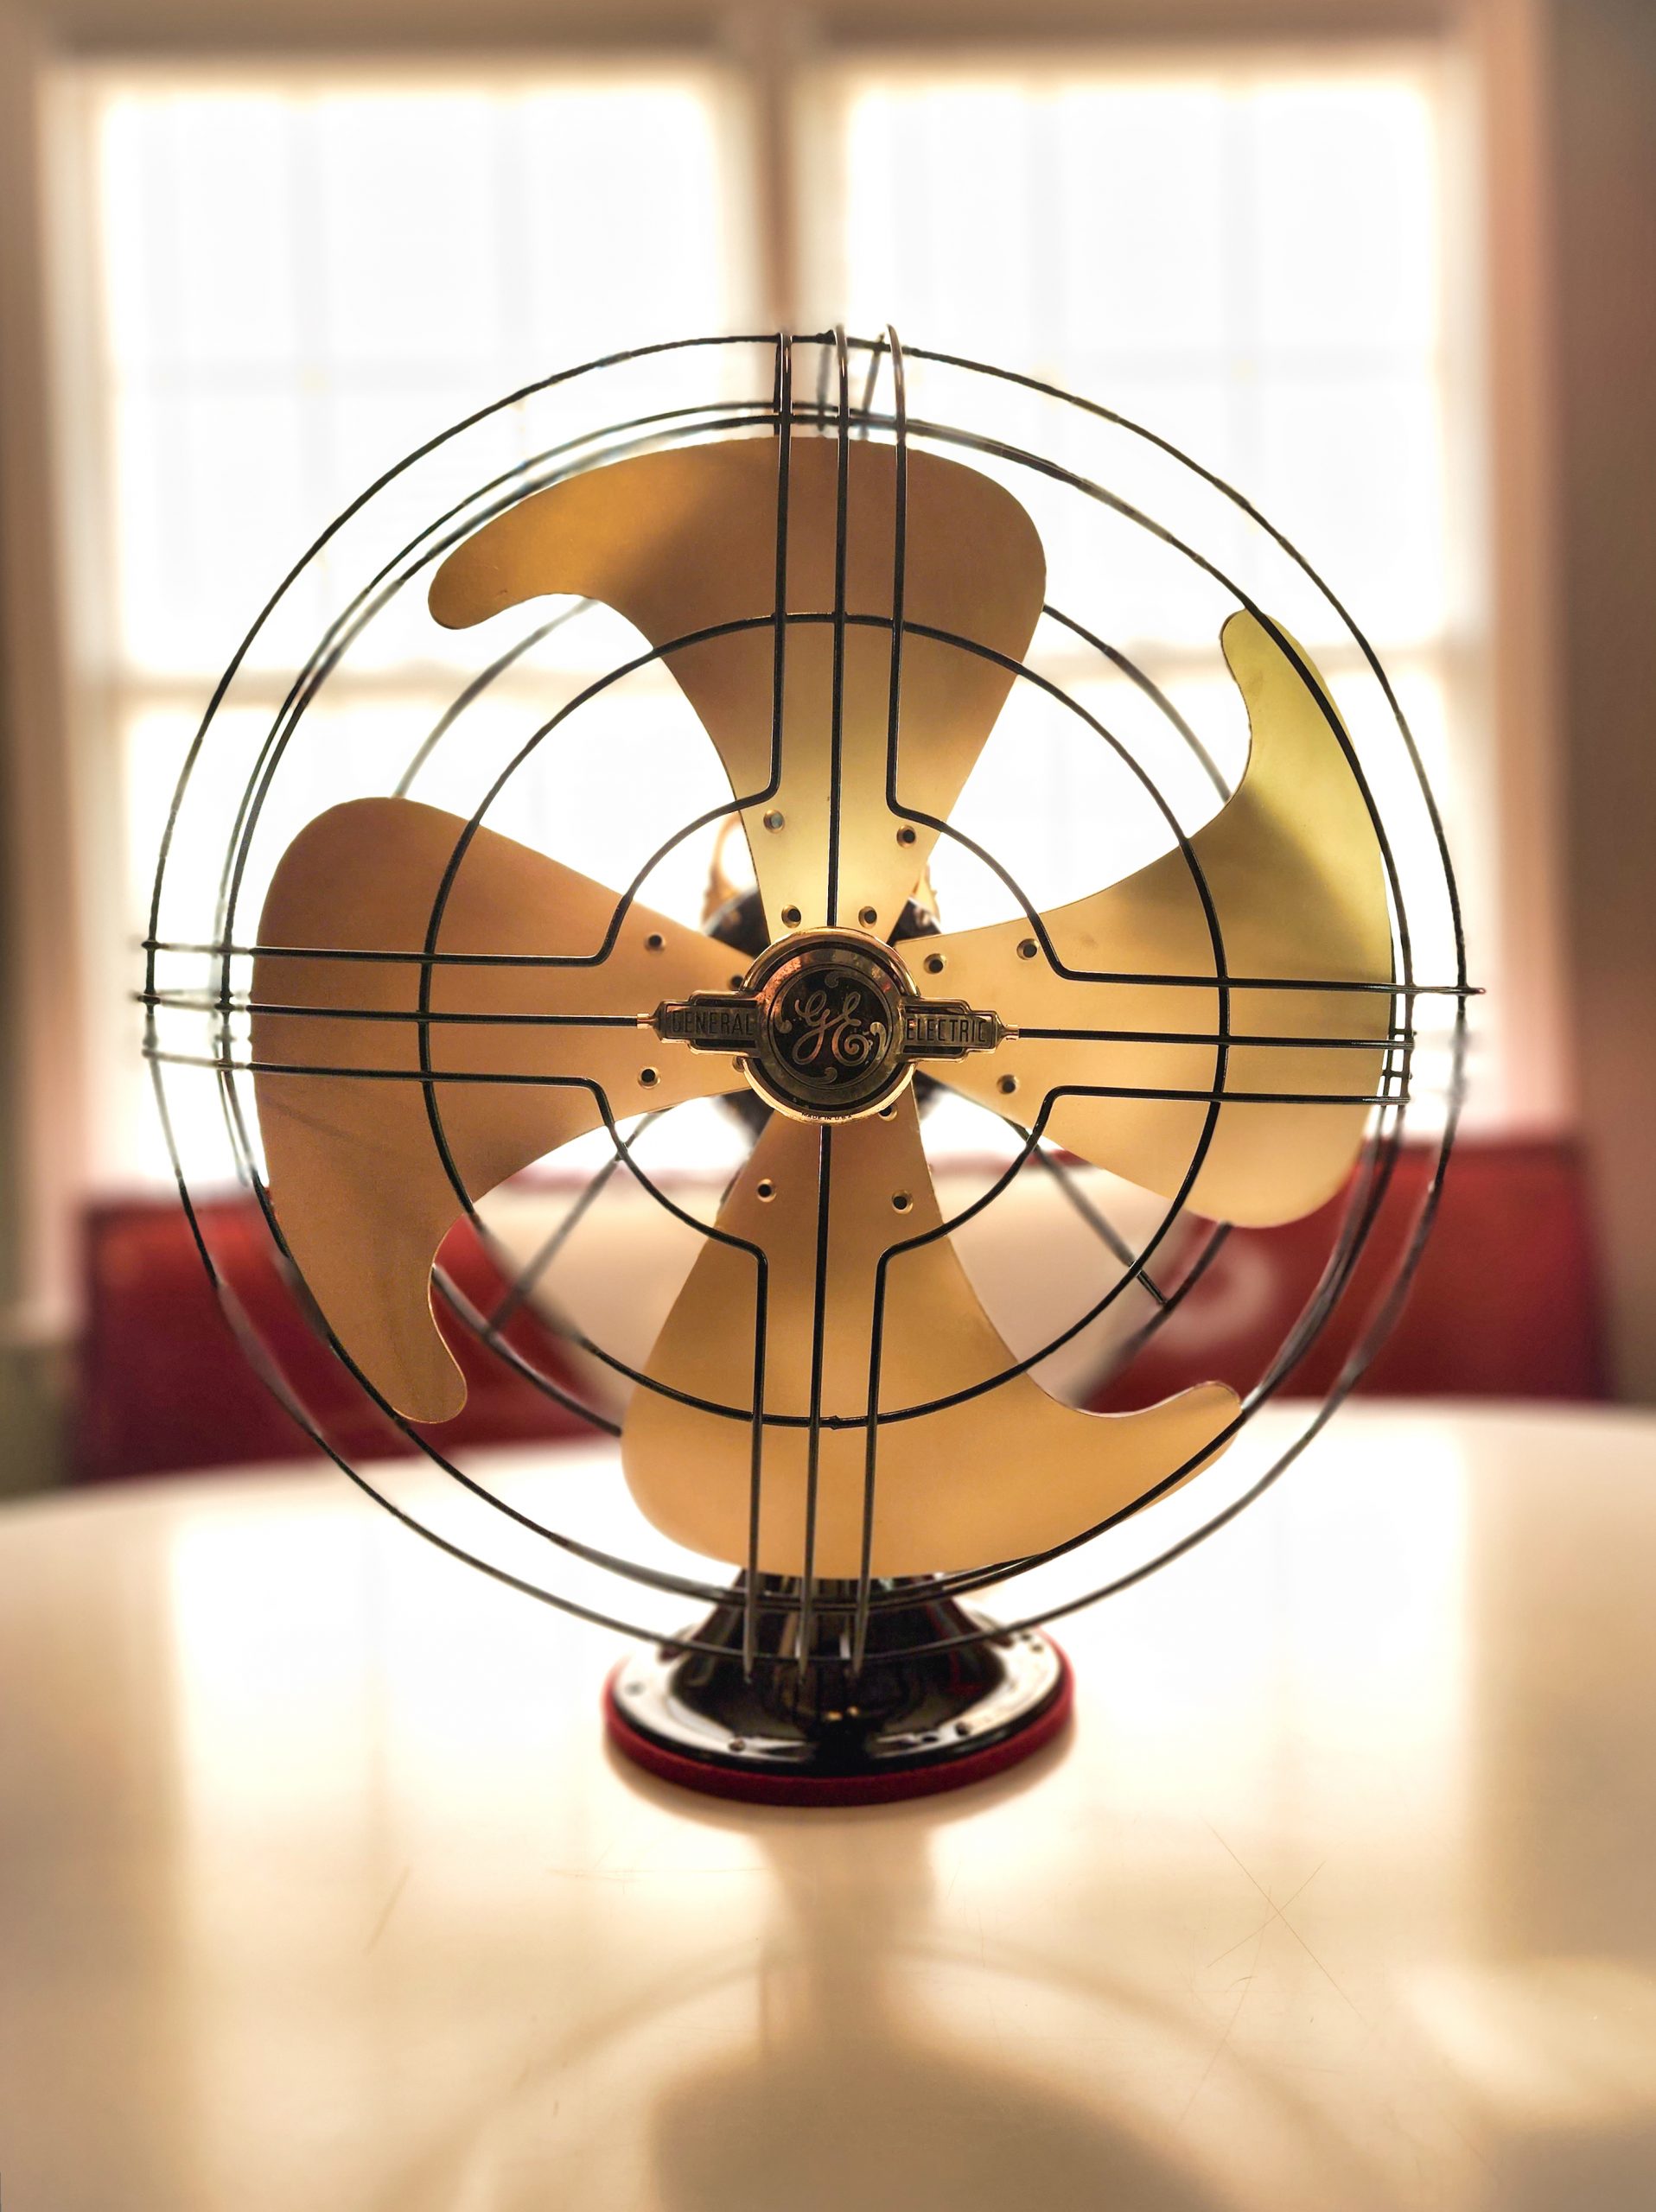
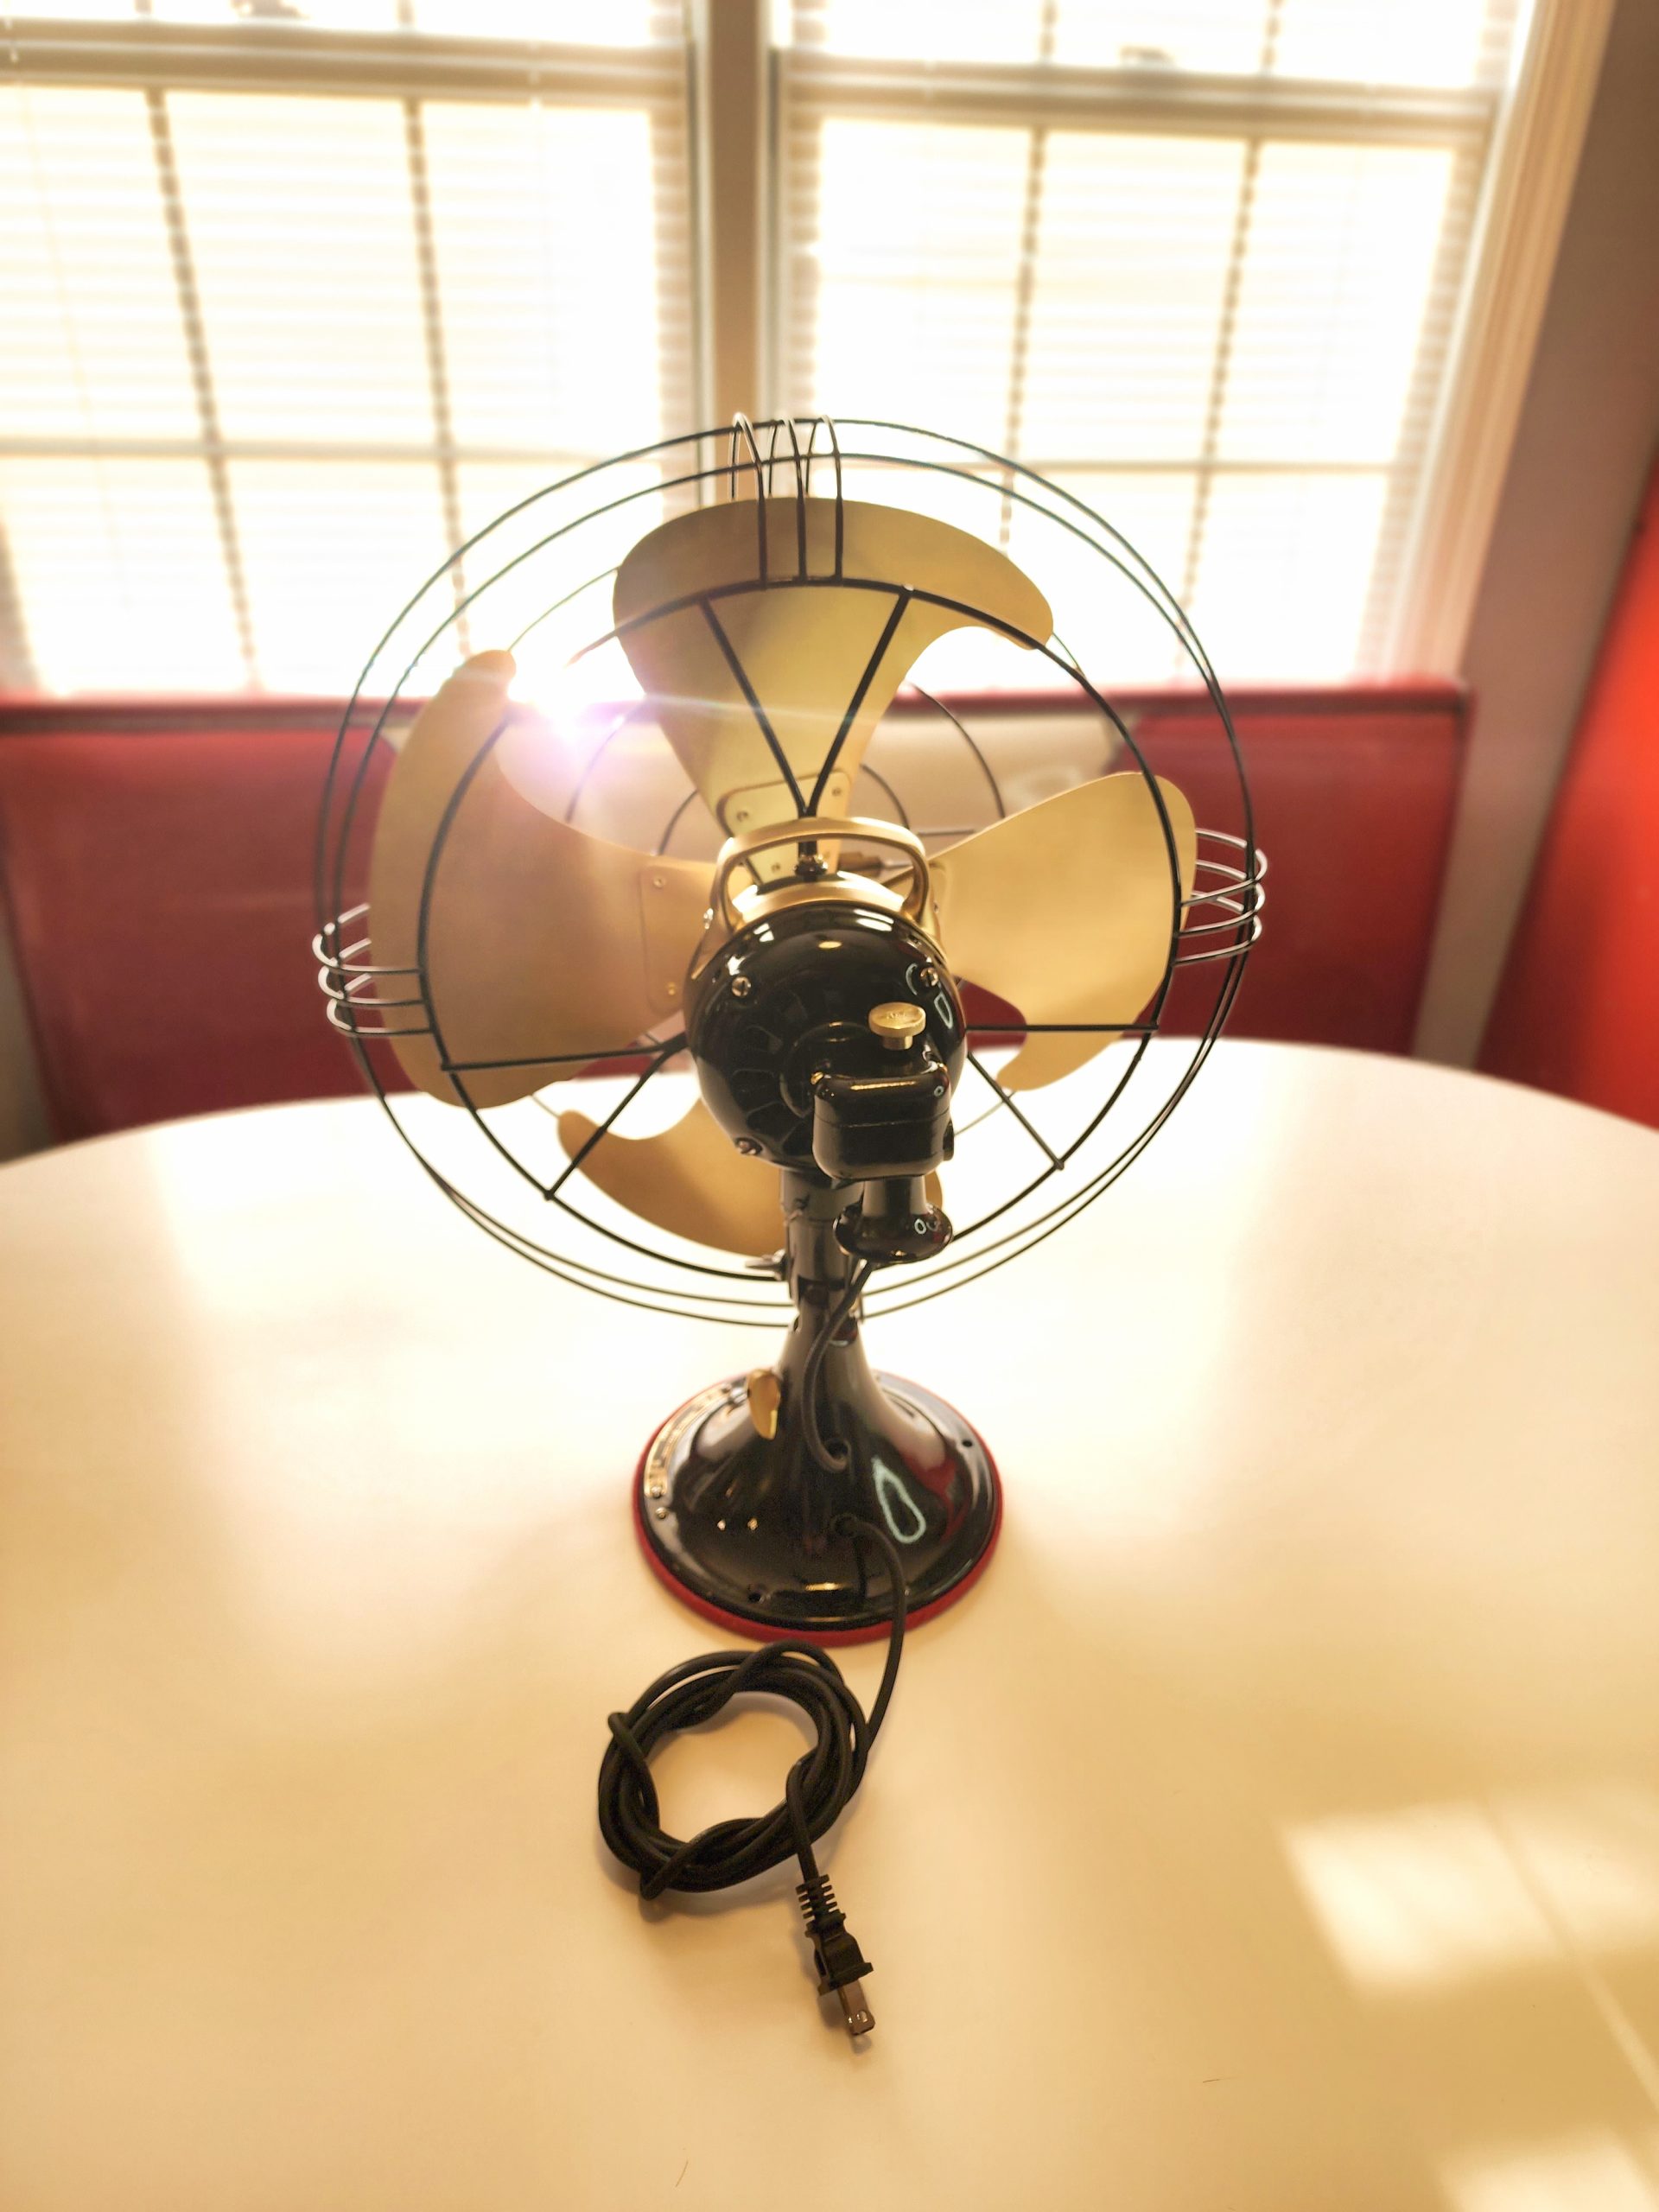

Here is a video with no talking, just the fan running on low speed!
Here is the final walkthrough of the restoration!

My son rescued this model, GE fan (12”) from
a dumpster and I’ve just started tear down for restoration. Looks like yours is the 16” model – very similar but no capacitor.
I’d planned on going black with polished blades but yours is gorgeous! Could you tell me the brand/shade of the gold paint you used?
Alan,
My apologies for the delay on the response I was out for holiday. I was able to track down the paint I used for the fan blades! It is from ACE hardware Part number #17011 Link ( https://www.acehardware.com/departments/paint-and-supplies/spray-paint/metallic/17011 ) Some of the fans used a resistor in place of the capacitor in the circuit. Good luck with your project! They clean up well! And thank you for the kind words!
I came here to find out how that fan wired up but mine is not quite that old. The motor on this one has eight wires with no capacitor or transformer. I guess I should have taken pictures.
Phil,
That is a tricky one, I do not know of a multi wire fan like mine without a cap, that would either mean it is a universal motor ( has carbon brushes ) or a shaded pole motor. Both of these motors may not be best for a larger fan, so I may not be correct here! Does this diagram help at all? ( For a different brand fan ) https://www.fancollectors.org/info/mccomas/Emer_24666.jpg
Very impressive work. I have the exact fan that I’m partially restoring for a friend. Could you please tell me where you got the power cords and the grommets for them. Thanks for the help.
Thank you! Sadly the cord I purchased on Amazon is no longer available, this one is somewhat close.
https://a.co/d/6jZFuBd
But, if you search for fabric power cord on Amazon there are lots of options!
https://www.amazon.com/s?k=fabric+power+cord
As for the grommets, I used ones I had in stock, but my kit is similar to this.
https://a.co/d/1nylfob
Hope this helps get you started! And best of luck on your restoration, they are great fans!
Wait a moment! I found my cord they just updated the listing.
https://a.co/d/2VhWync
Many colors to choose frome!
Great, thanks for the quick reply. This is my first restore and clearly you have experience in these, could you tell me if I should use maybe like a spray lacquer over the parts when I’m done. I not doing a strip down like you did I’m just cleaning it up and keeping the patina, etc. The person that I’m doing it for wants to use it on her porch in South Florida so I need to do some type of protective coating to keep it from deteriorating anymore. You have any suggestions. Again, thanks for the help.
Chris,
If your 1947 fan has an original oil-based paint finish, you’ll want a clear coat that adheres well to oil-based surfaces and provides long-term protection. Here are my sugestions:
1. Oil-Based Clear Coats (Best Choice)
Rust-Oleum Clear Protective Enamel – Designed for metal, durable, and available in gloss, semi-gloss, and matte.
Minwax Helmsman Spar Urethane (Oil-Based) – Adds UV protection and moisture resistance.
2. Synthetic Lacquers (Not Water-Based)
Watco Lacquer Clear Wood Finish (for metals as well) – Dries fast but might need light scuffing for adhesion.
Key Considerations:
Test First – Apply a small amount in an inconspicuous area to check for compatibility.
Prep Surface – Clean with mineral spirits and lightly scuff with fine sandpaper (320-400 grit) if needed for adhesion. ( sanding may not be needed if you want to keep the patina like you said. )
Avoid Water-Based Polyurethane – It may not adhere well to oil-based paint.
That should help it hold up well for many years to come, and keep the original finish well protected.
Best of luck on your project, I bet your friend will love it!
Thank you for the great information. I appreciate it.