This tool restoration started out thanks to my other restorations, I was helping an old friend clear out his fathers old tools, and this drill press was sitting there, was slatted to go to another person who claimed it, but to my luck they never came to get it! So they said want another project to restore? I was there next day with my trailer to pick it up!
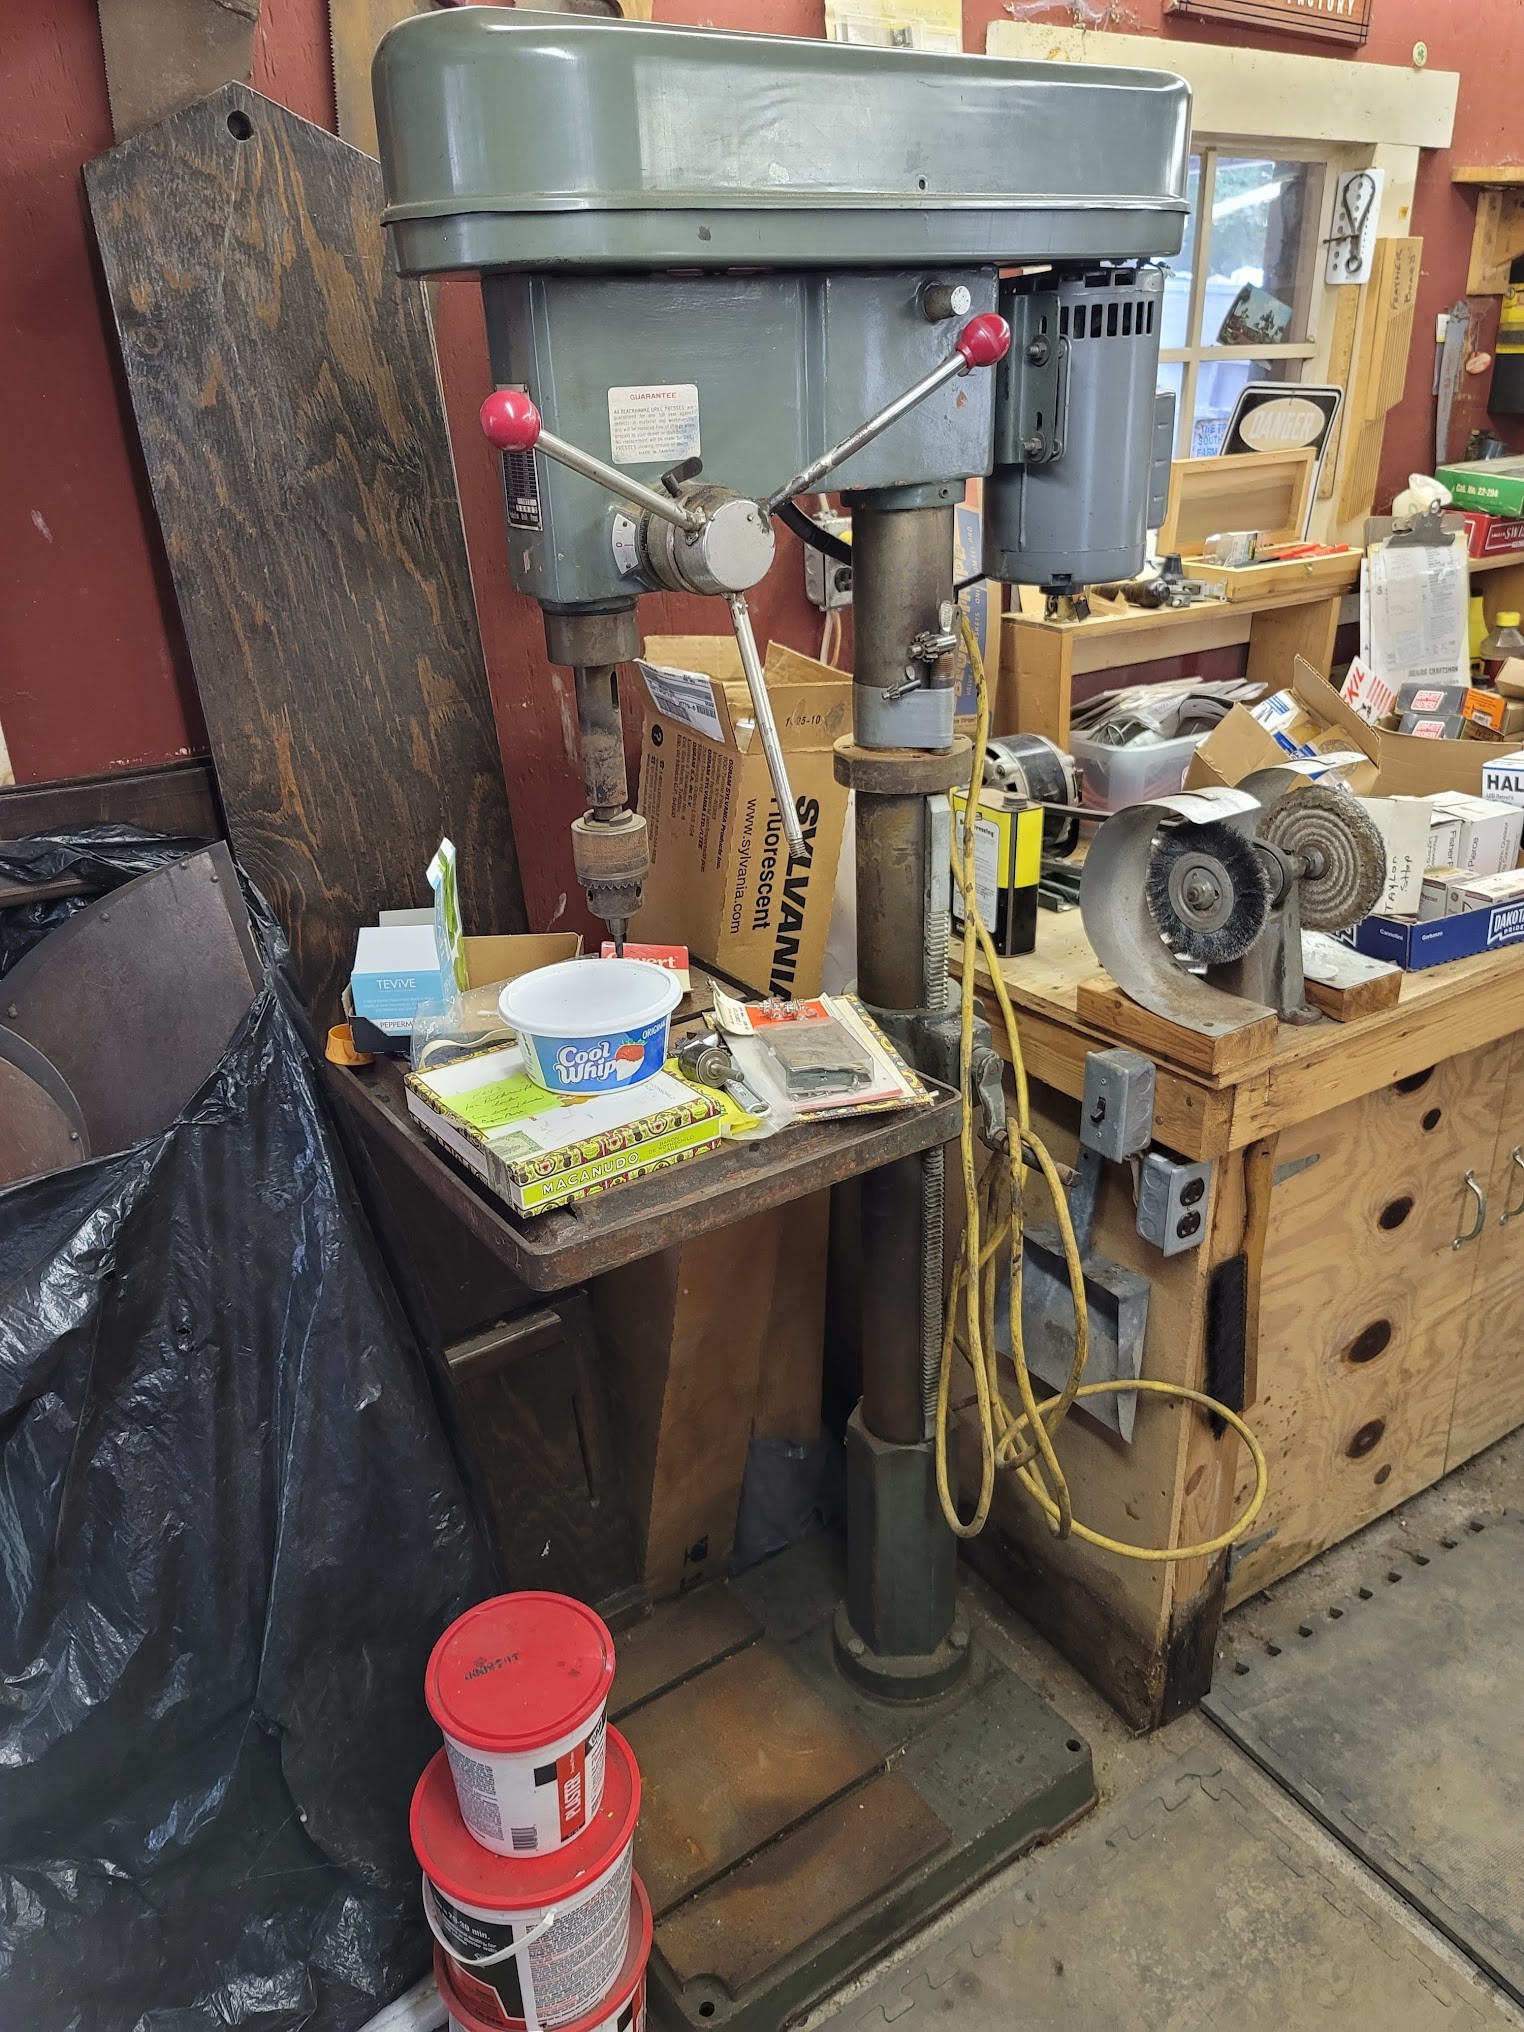
I do not have many pictures of it before hand, but here it was sitting in the shop when we started the cleanout.
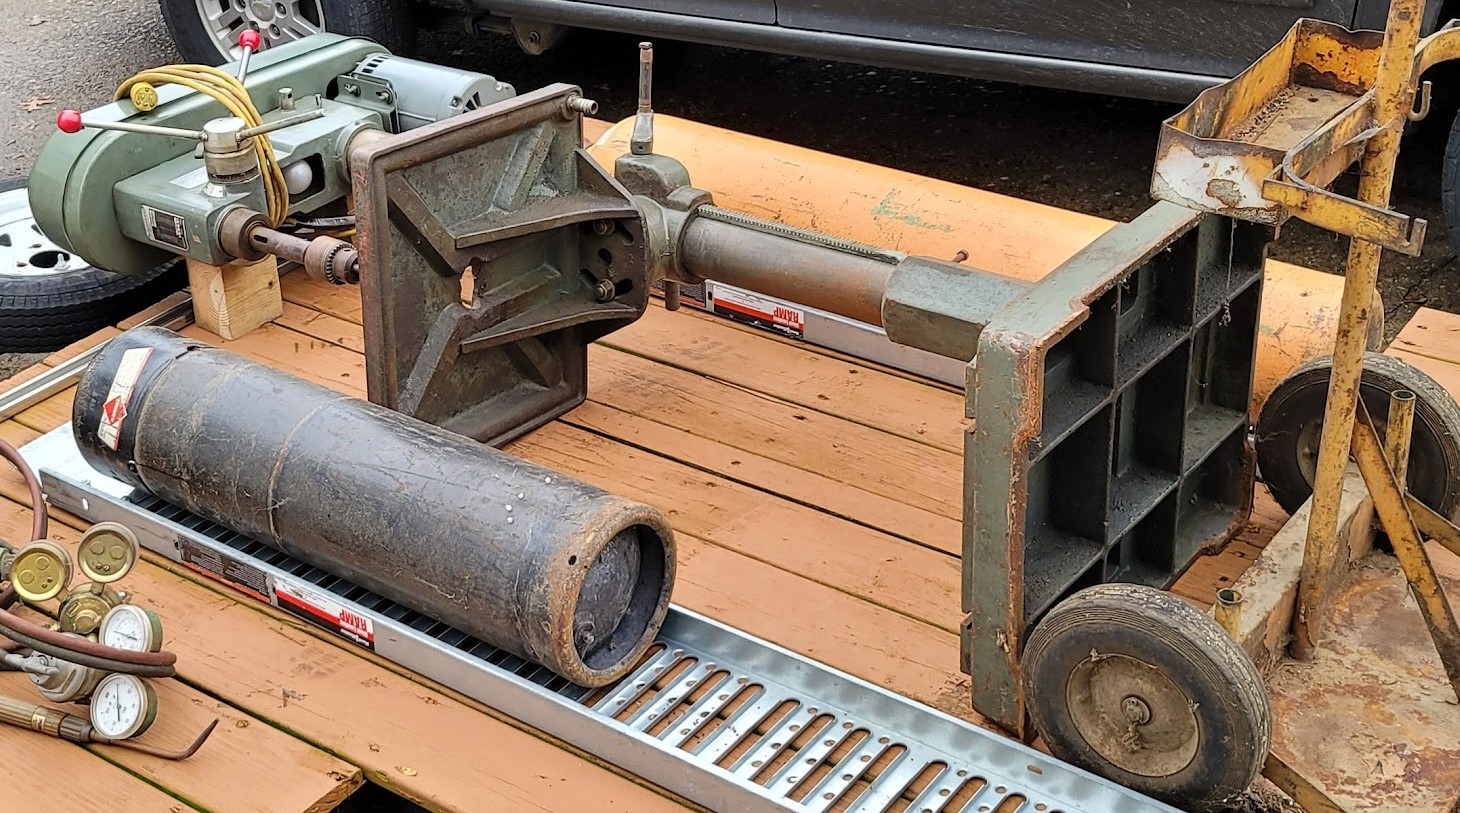
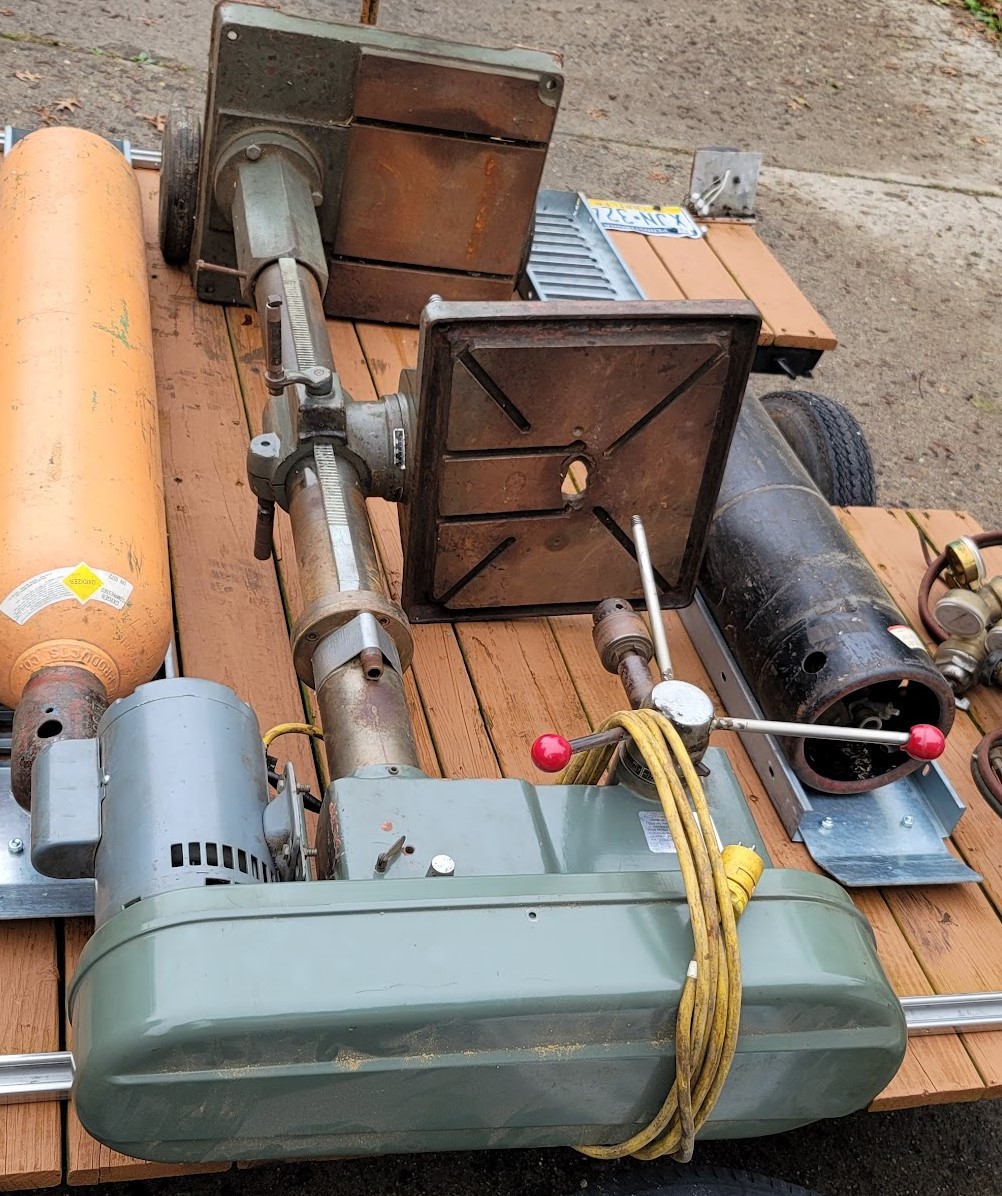

Getting it back to the lab was not ideal, did not have much time to plan or prep, I could not find an easy way to pull the head for transport, so stuck some blocks under the head to keep it supported, it was a short drive so was not too much stress on it.
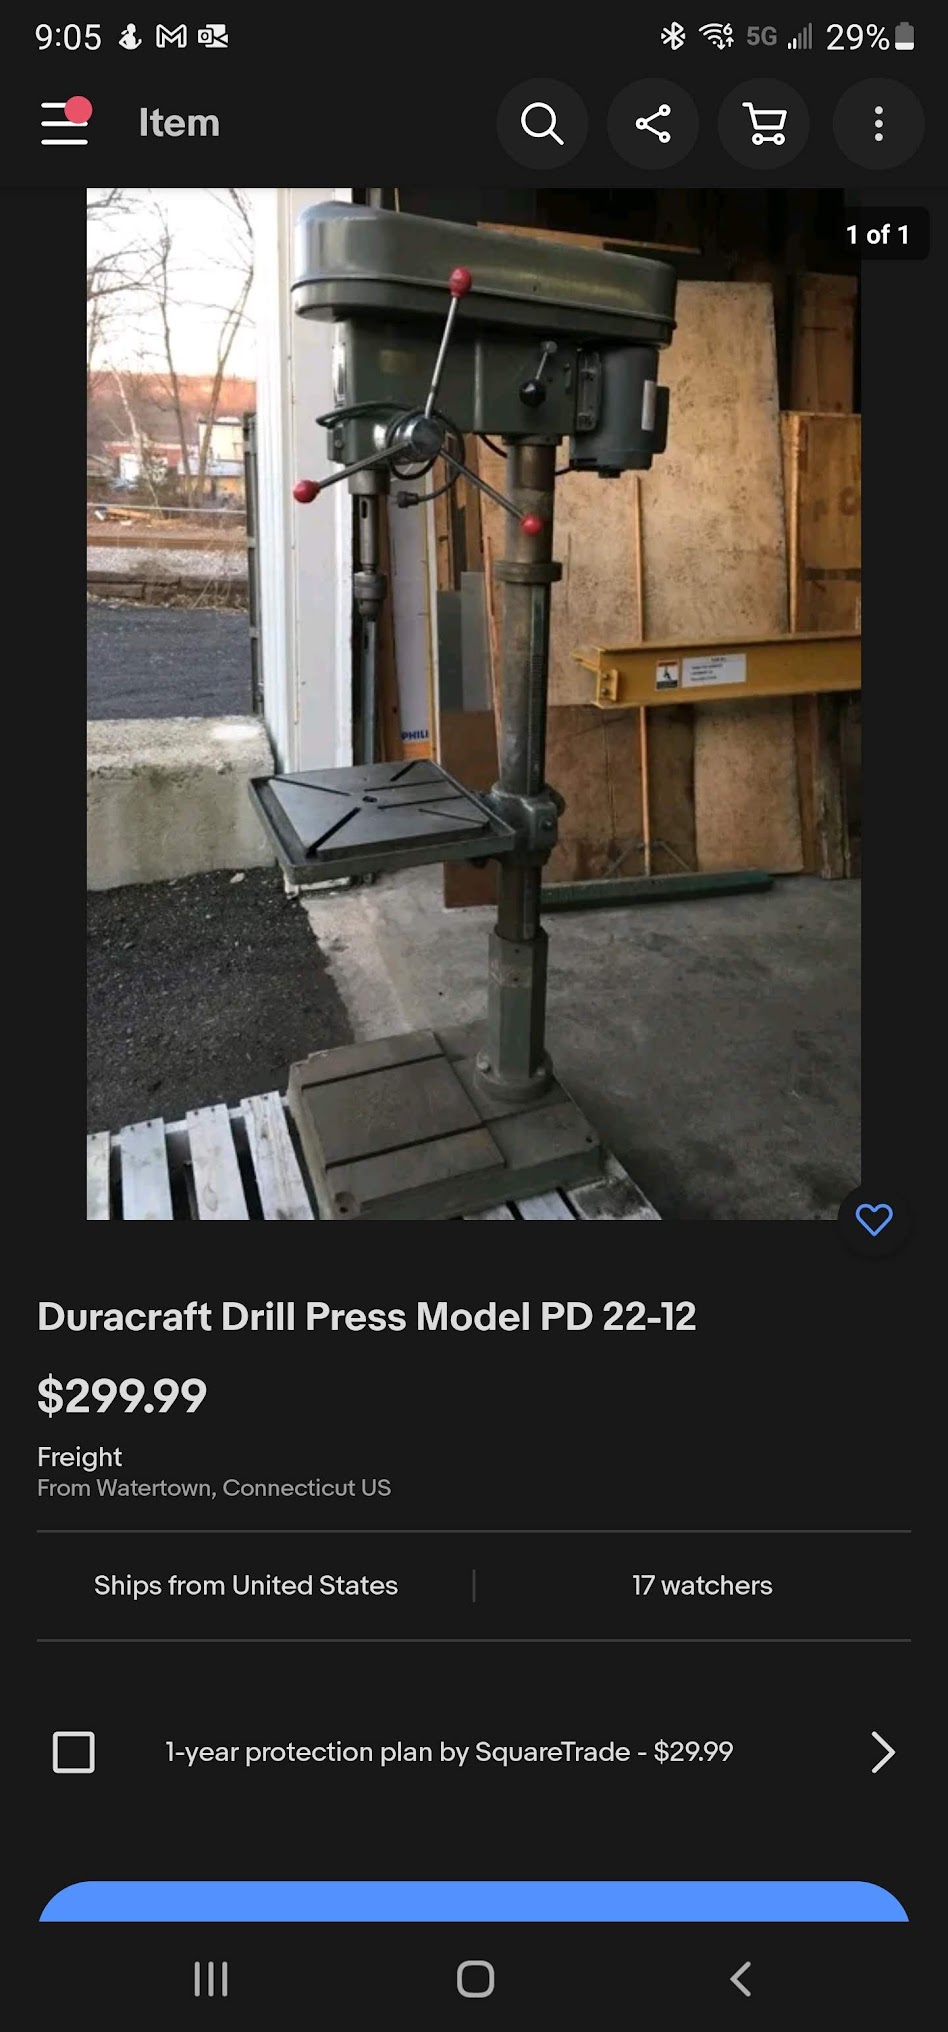
Looking up info on it was tough, the ‘e’ on the end of Blackhawke means it is a a knockoff from Taiwan lol was sold under many house names, so not able to find any manuals or info, just this.
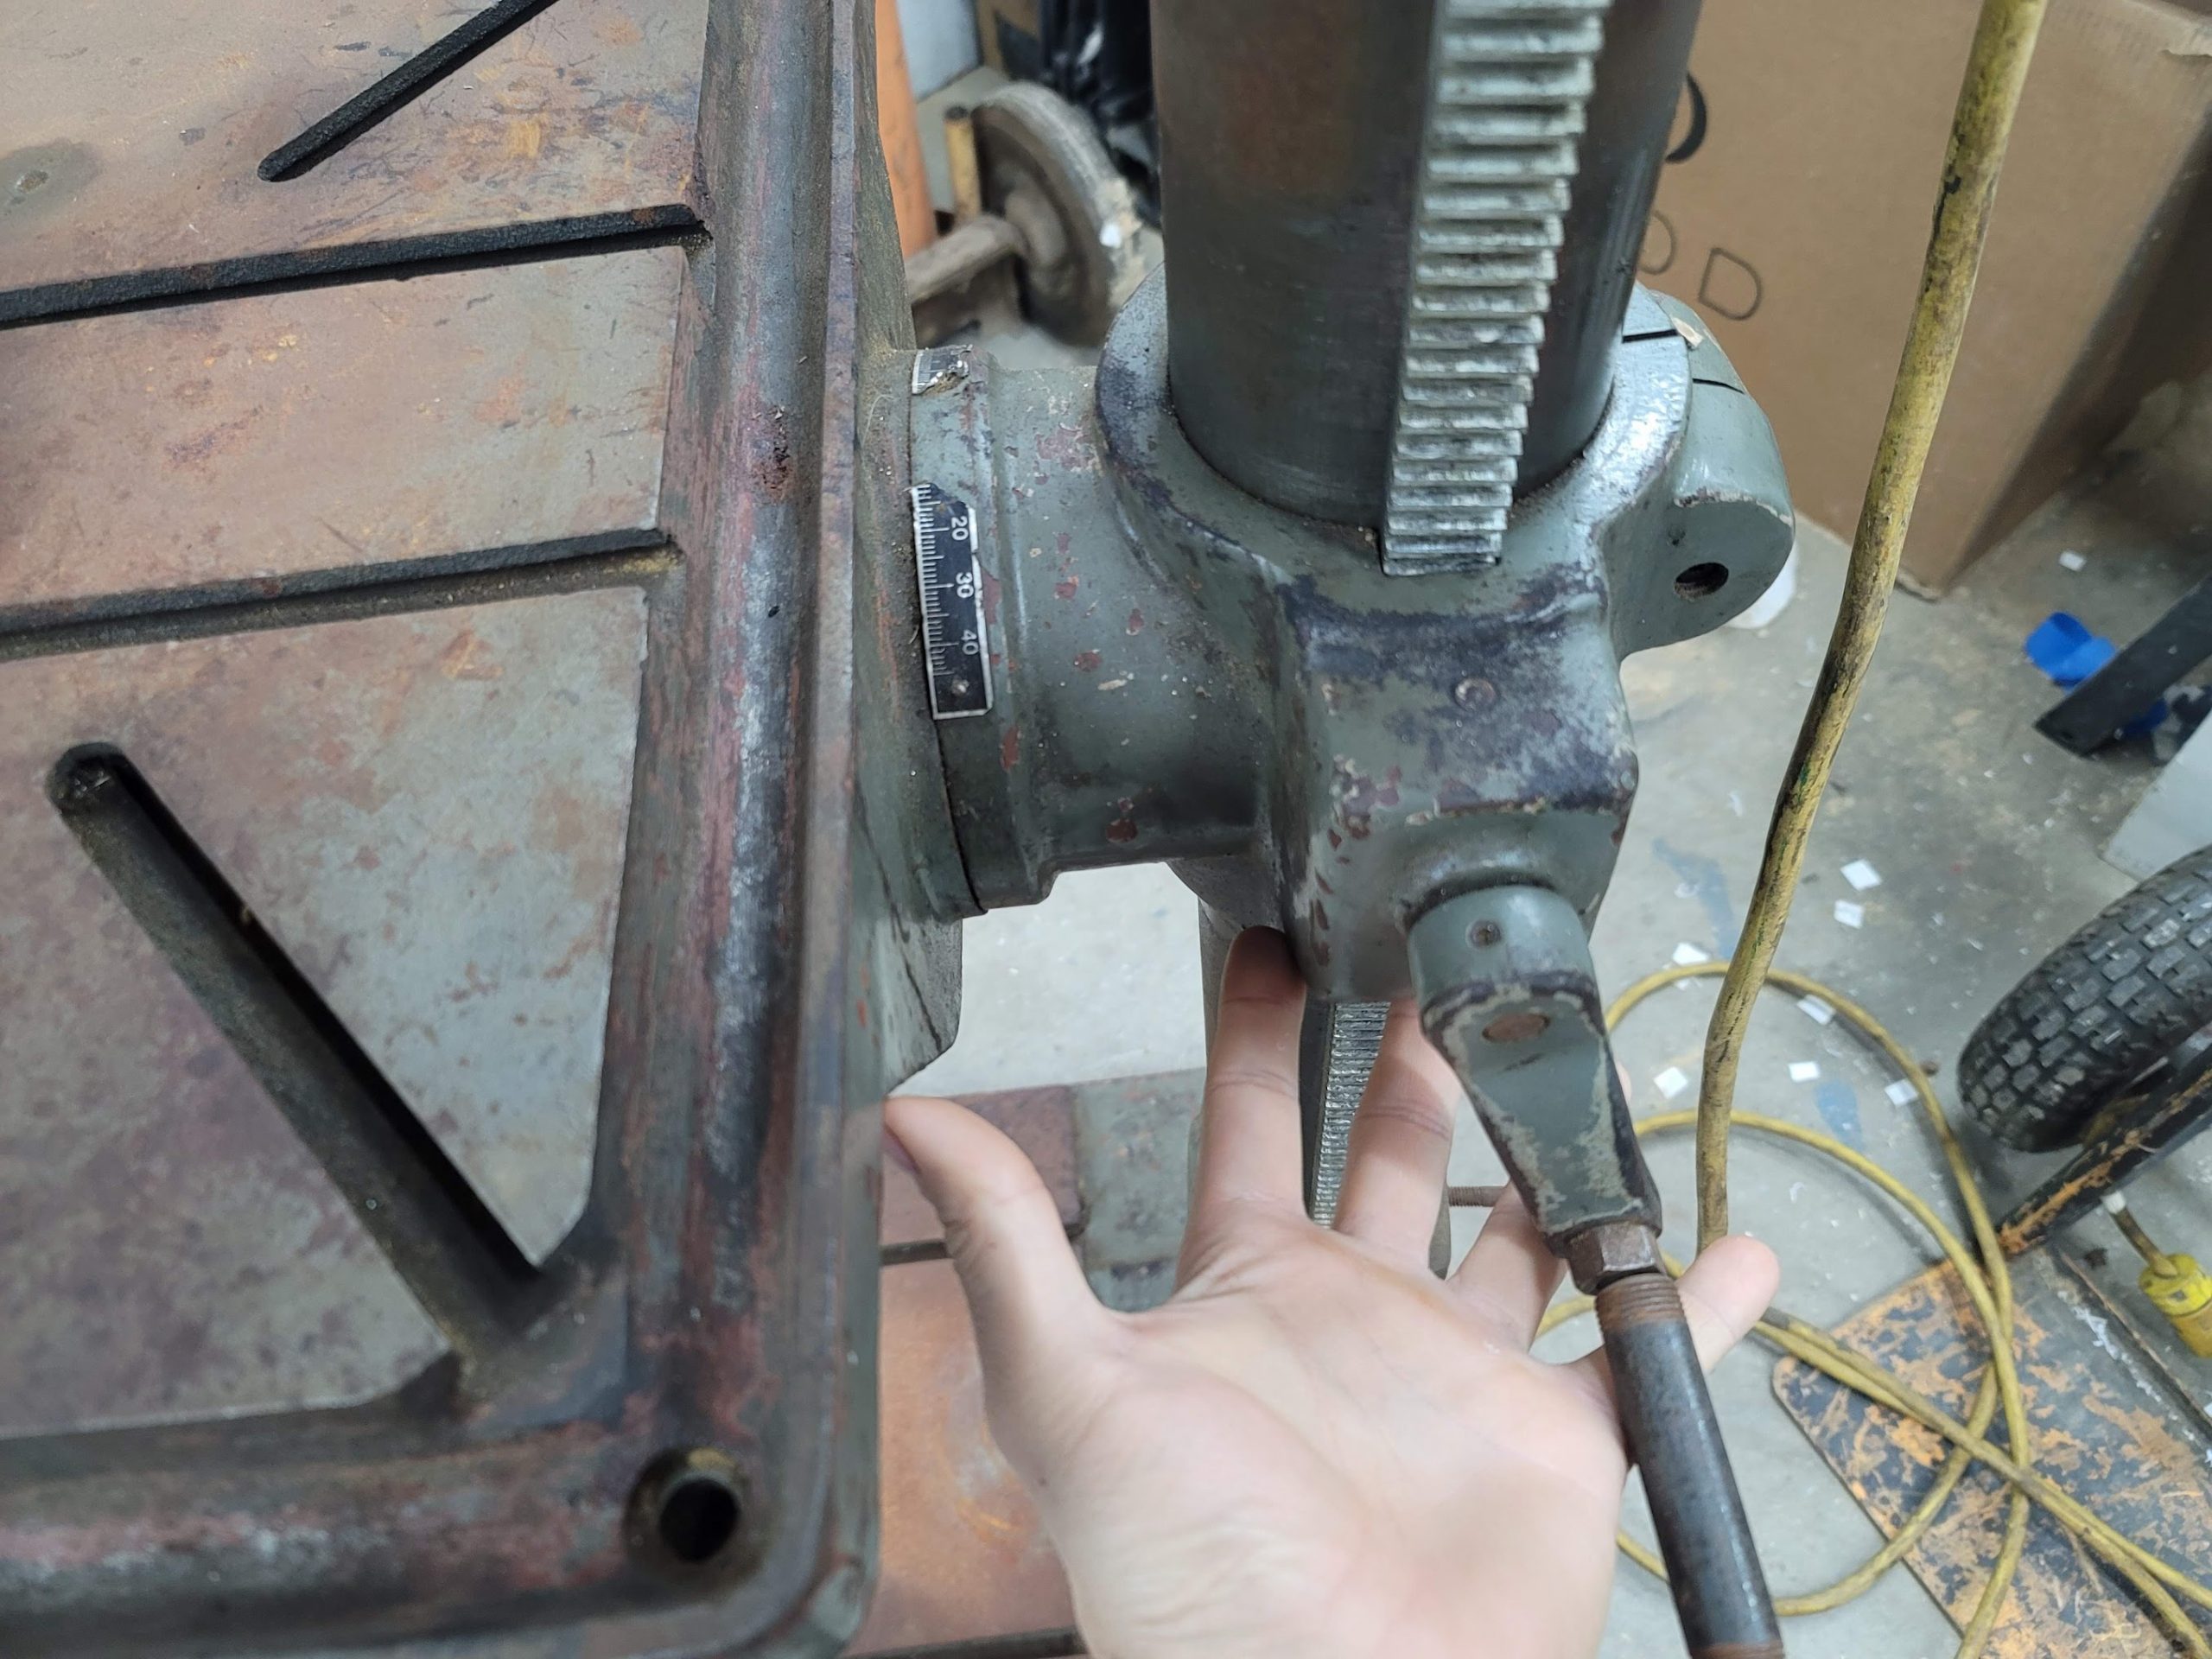
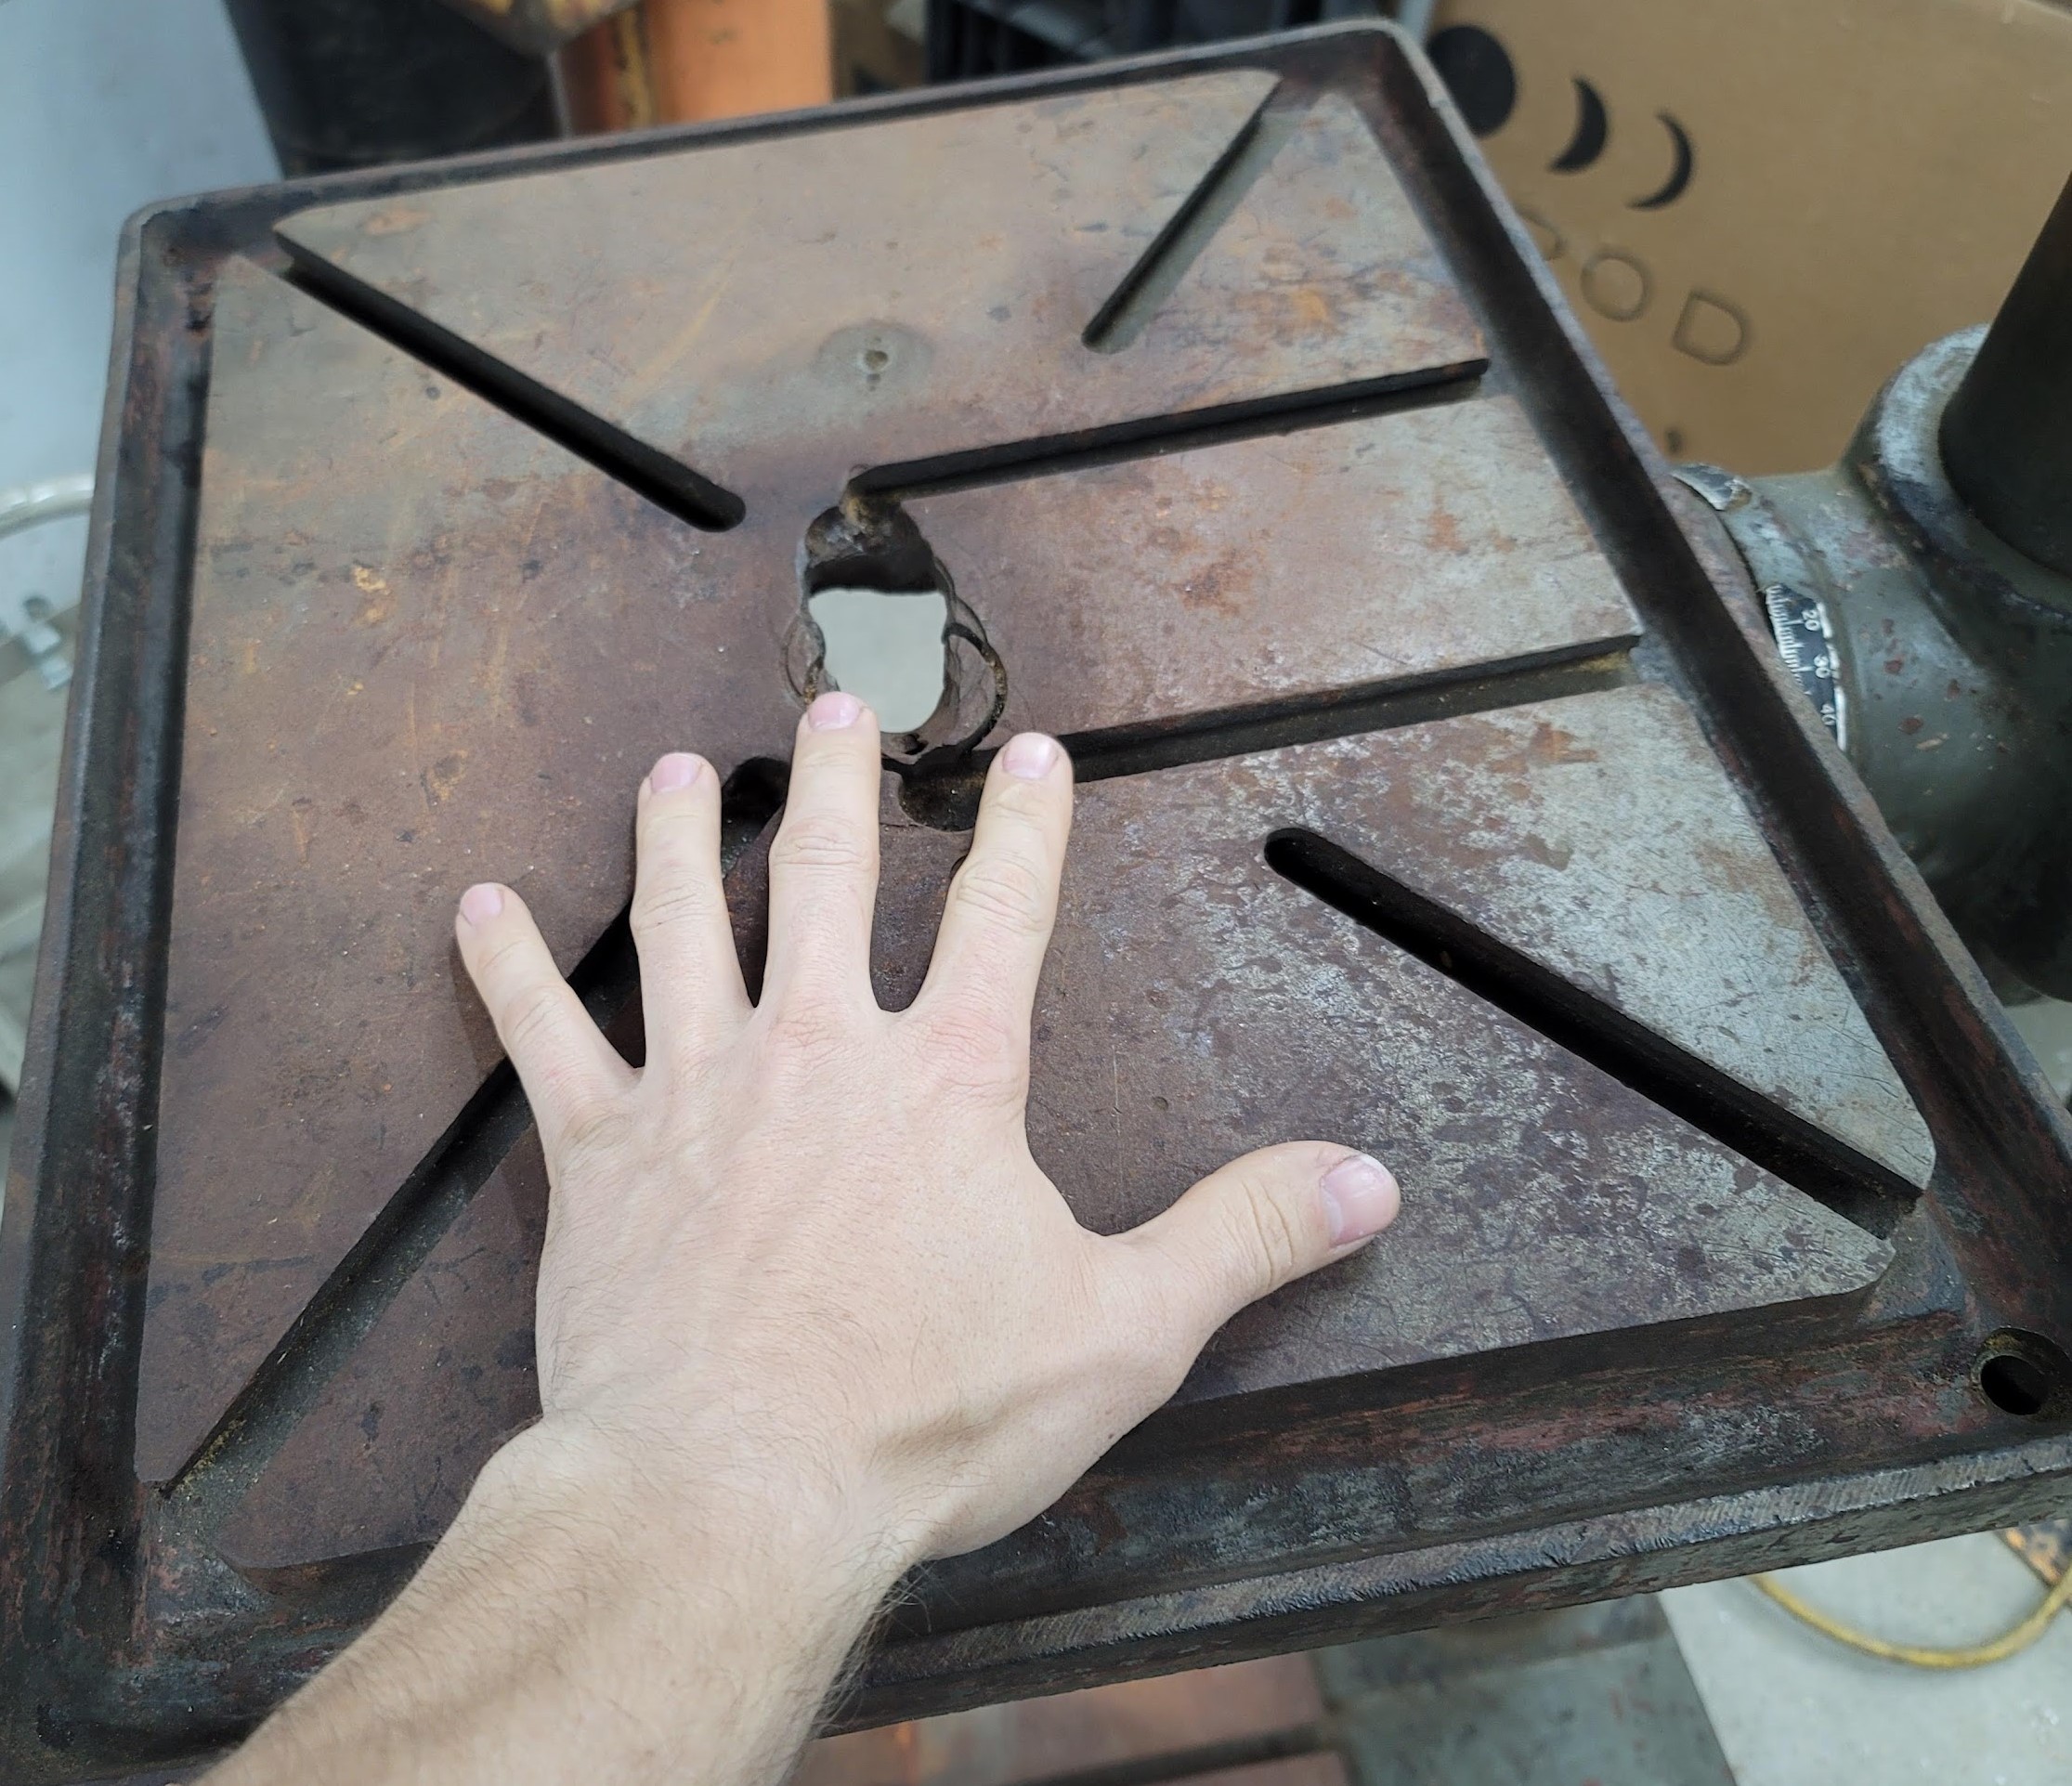
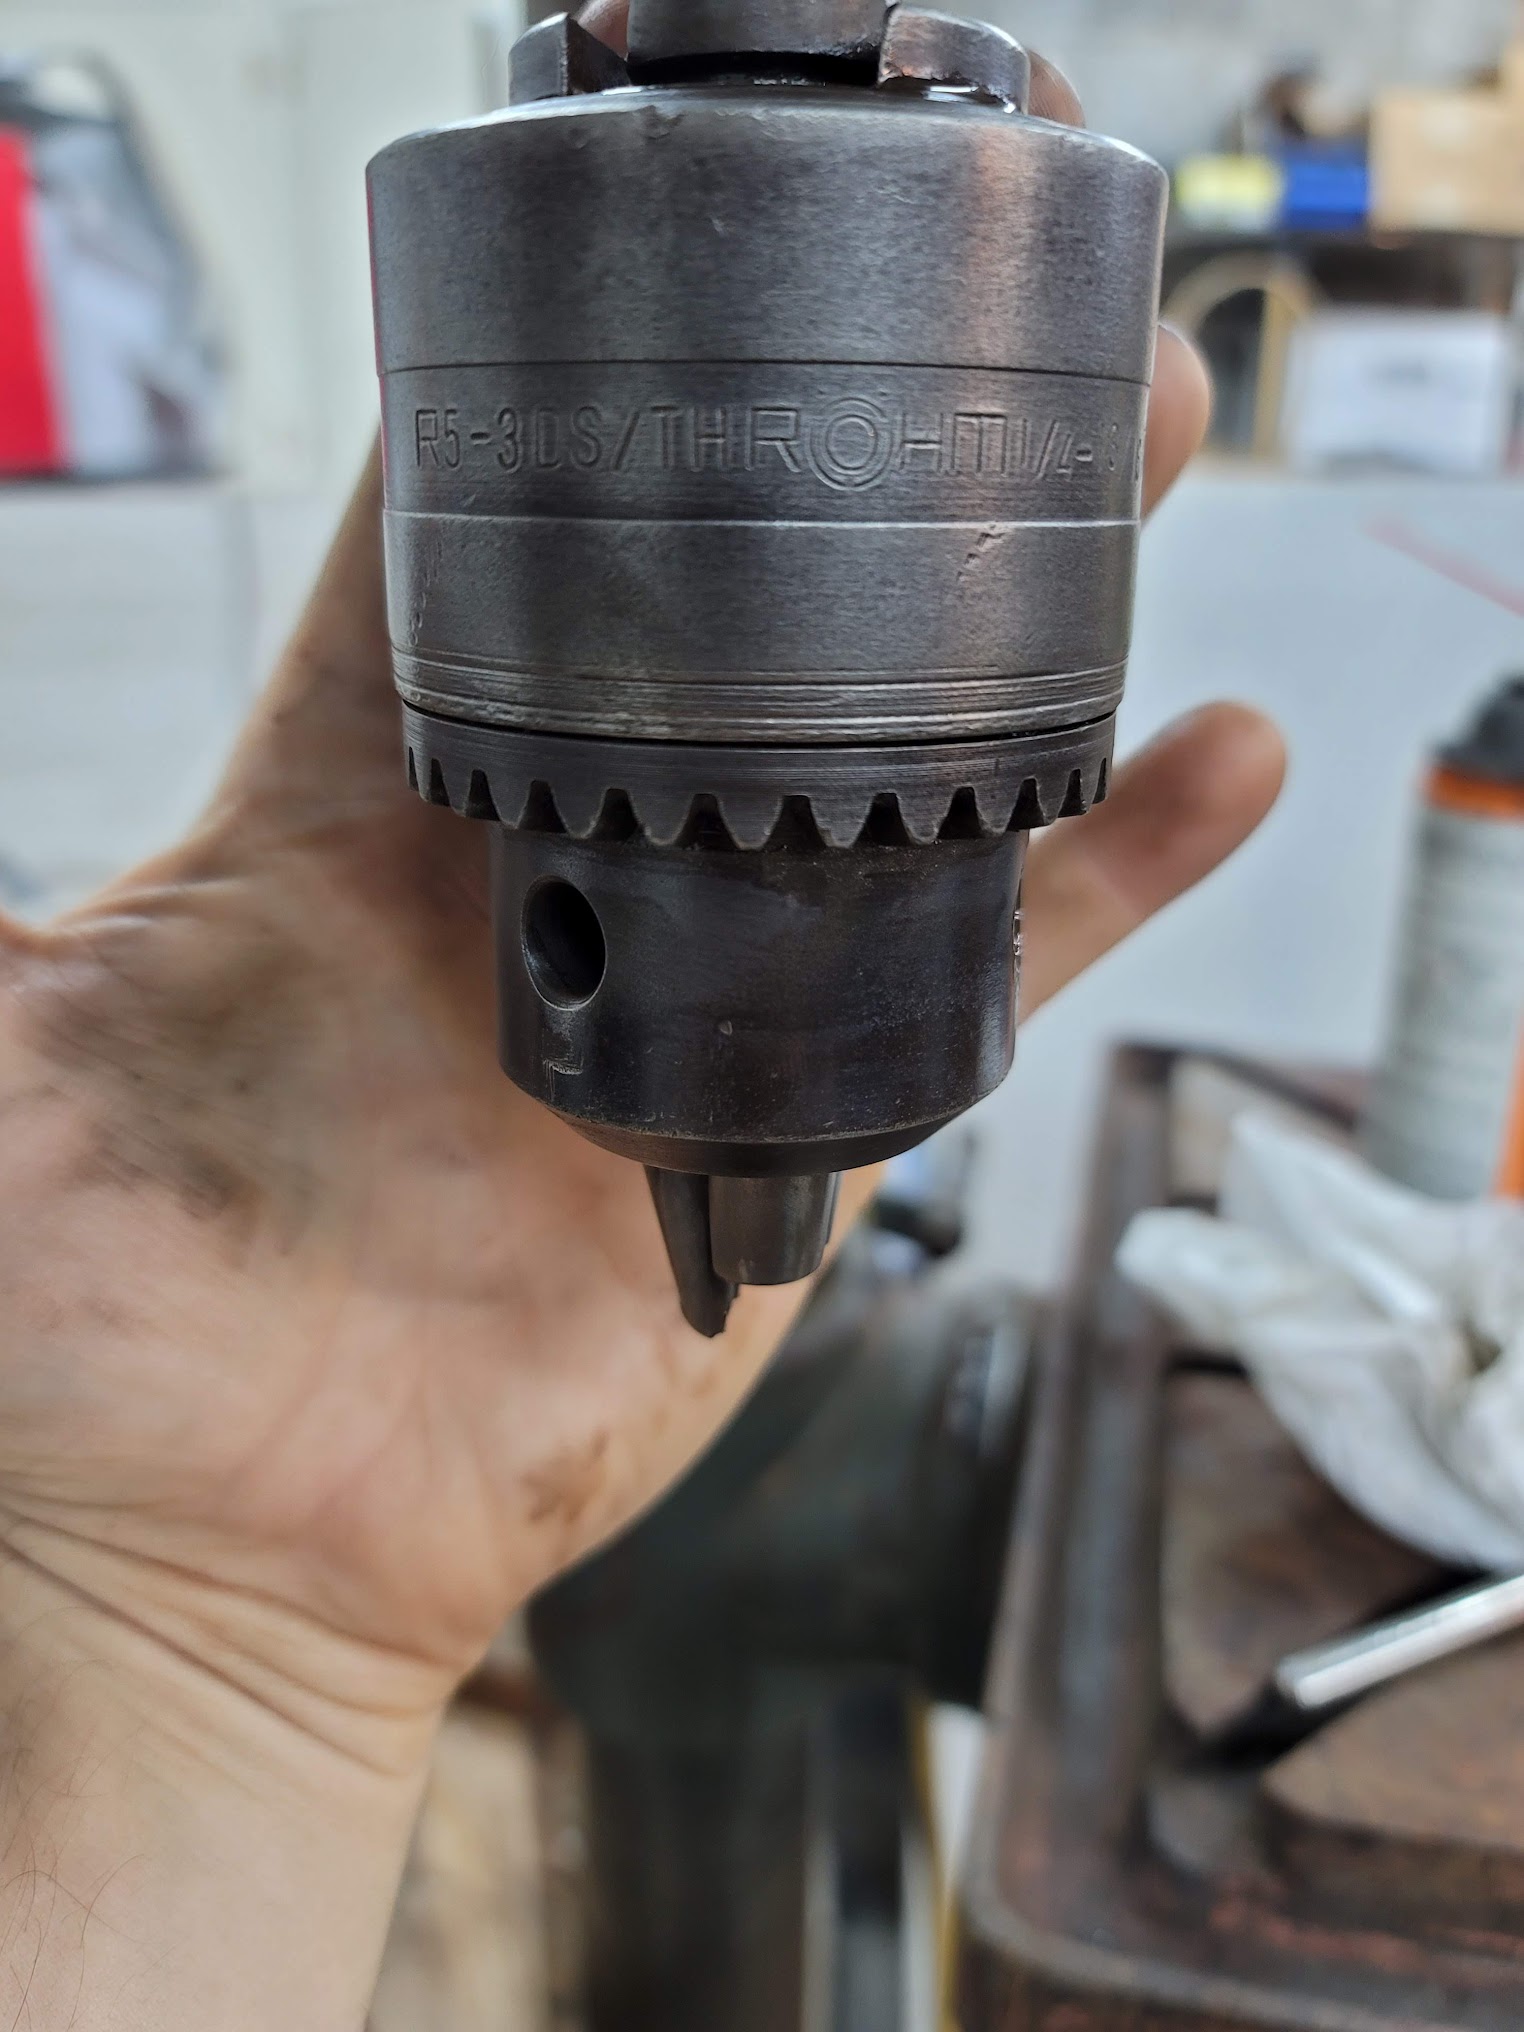
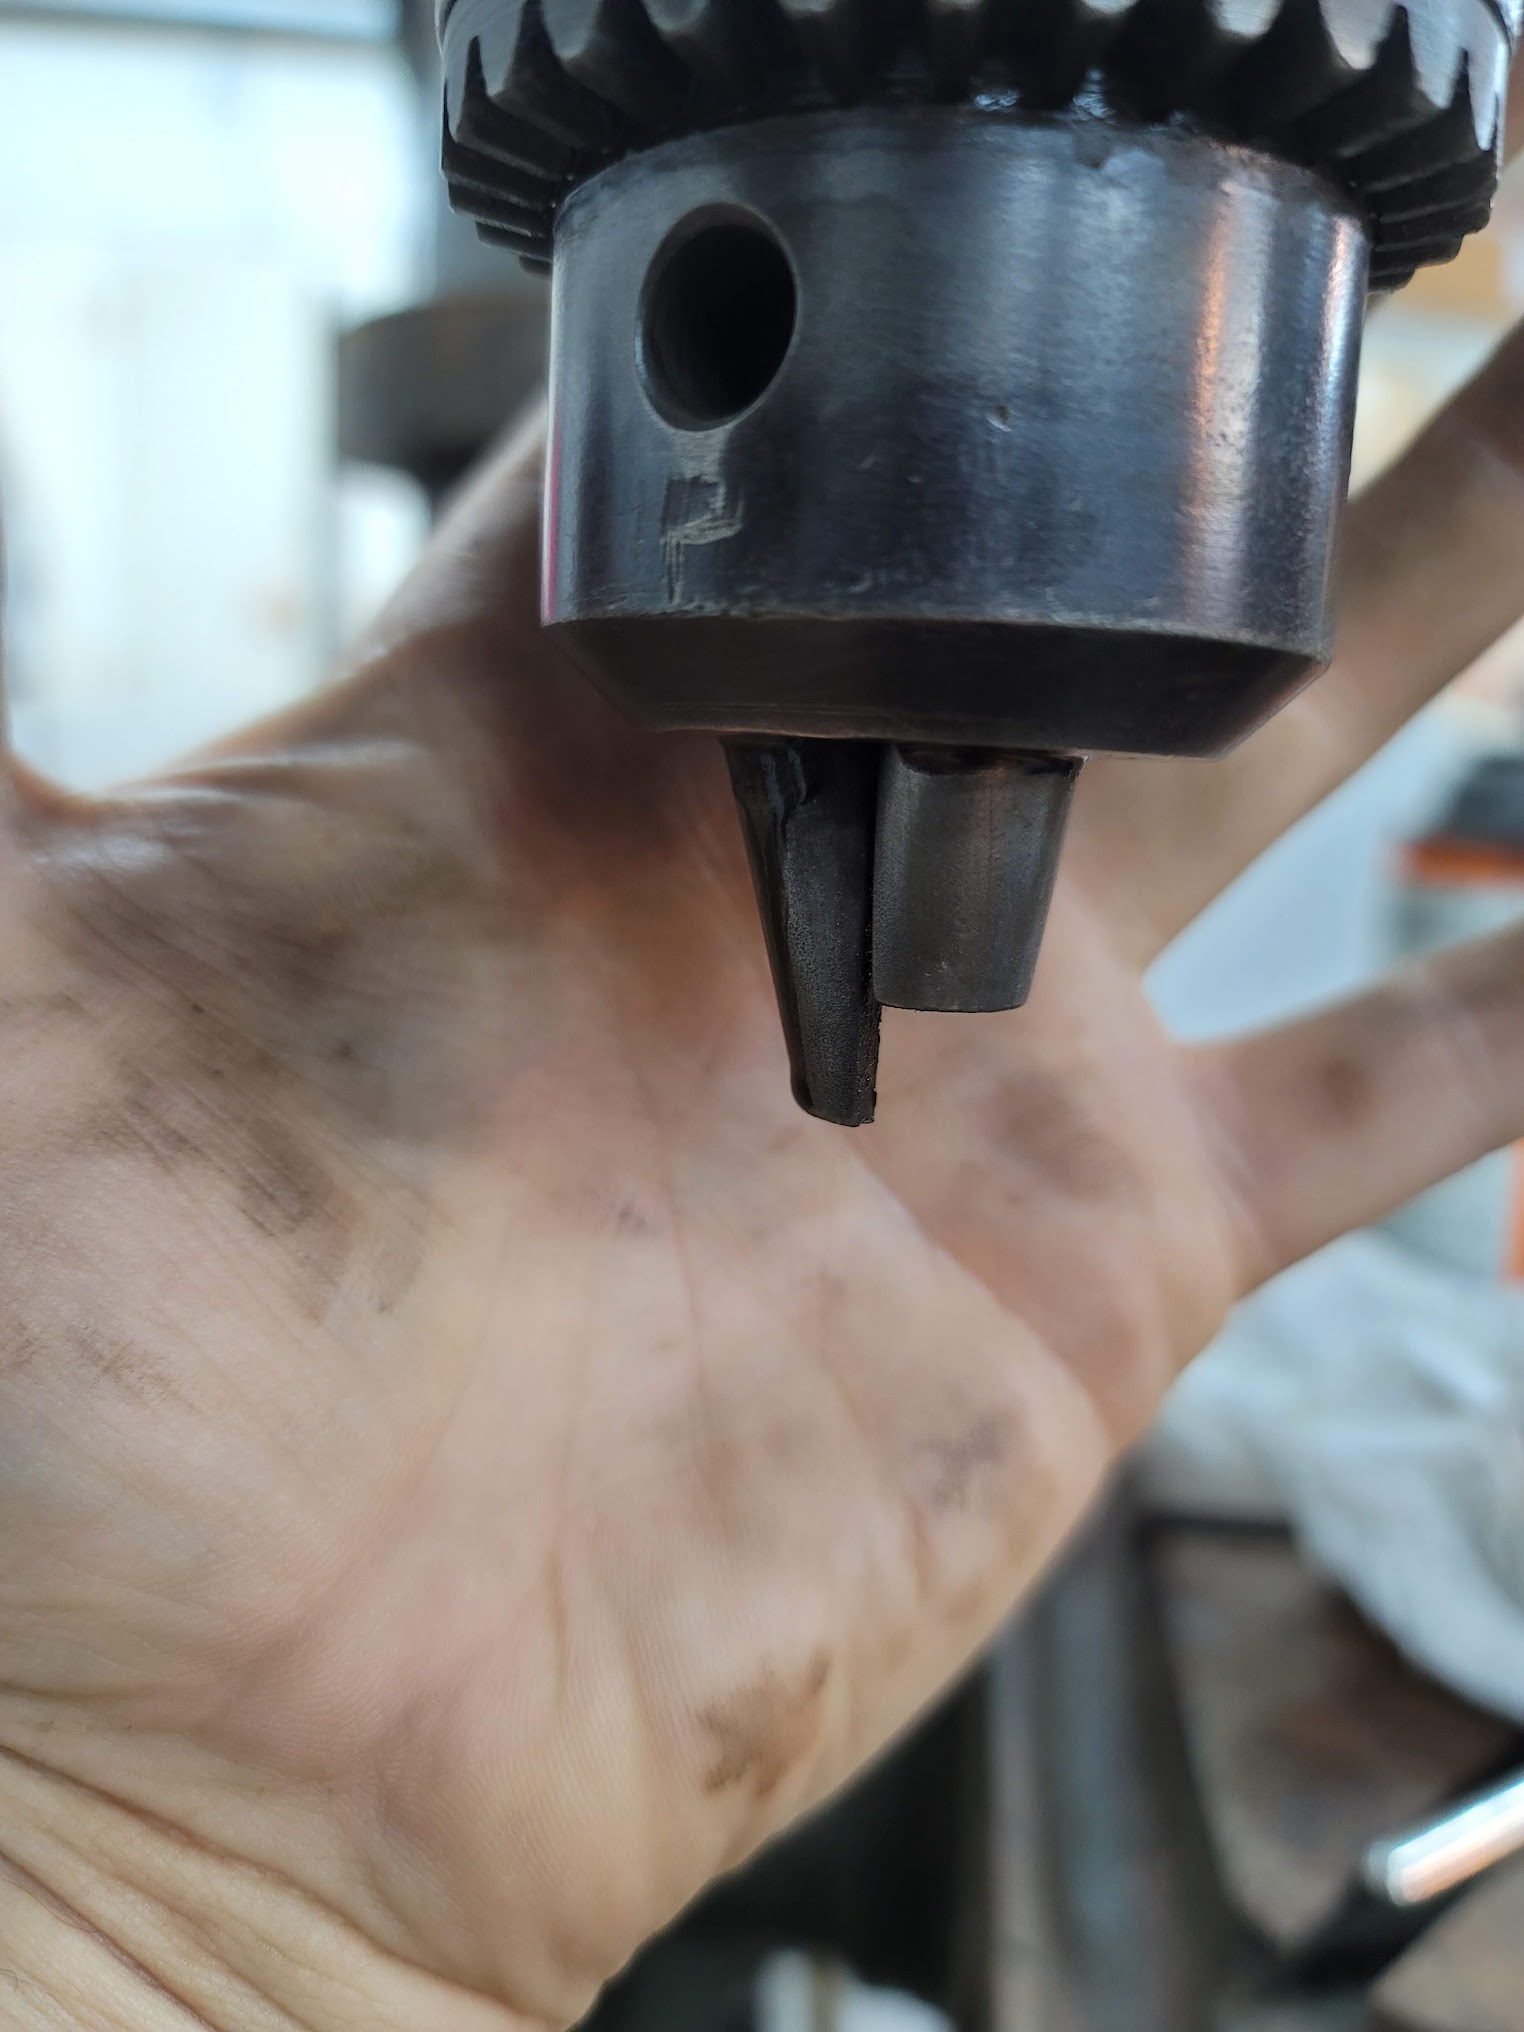
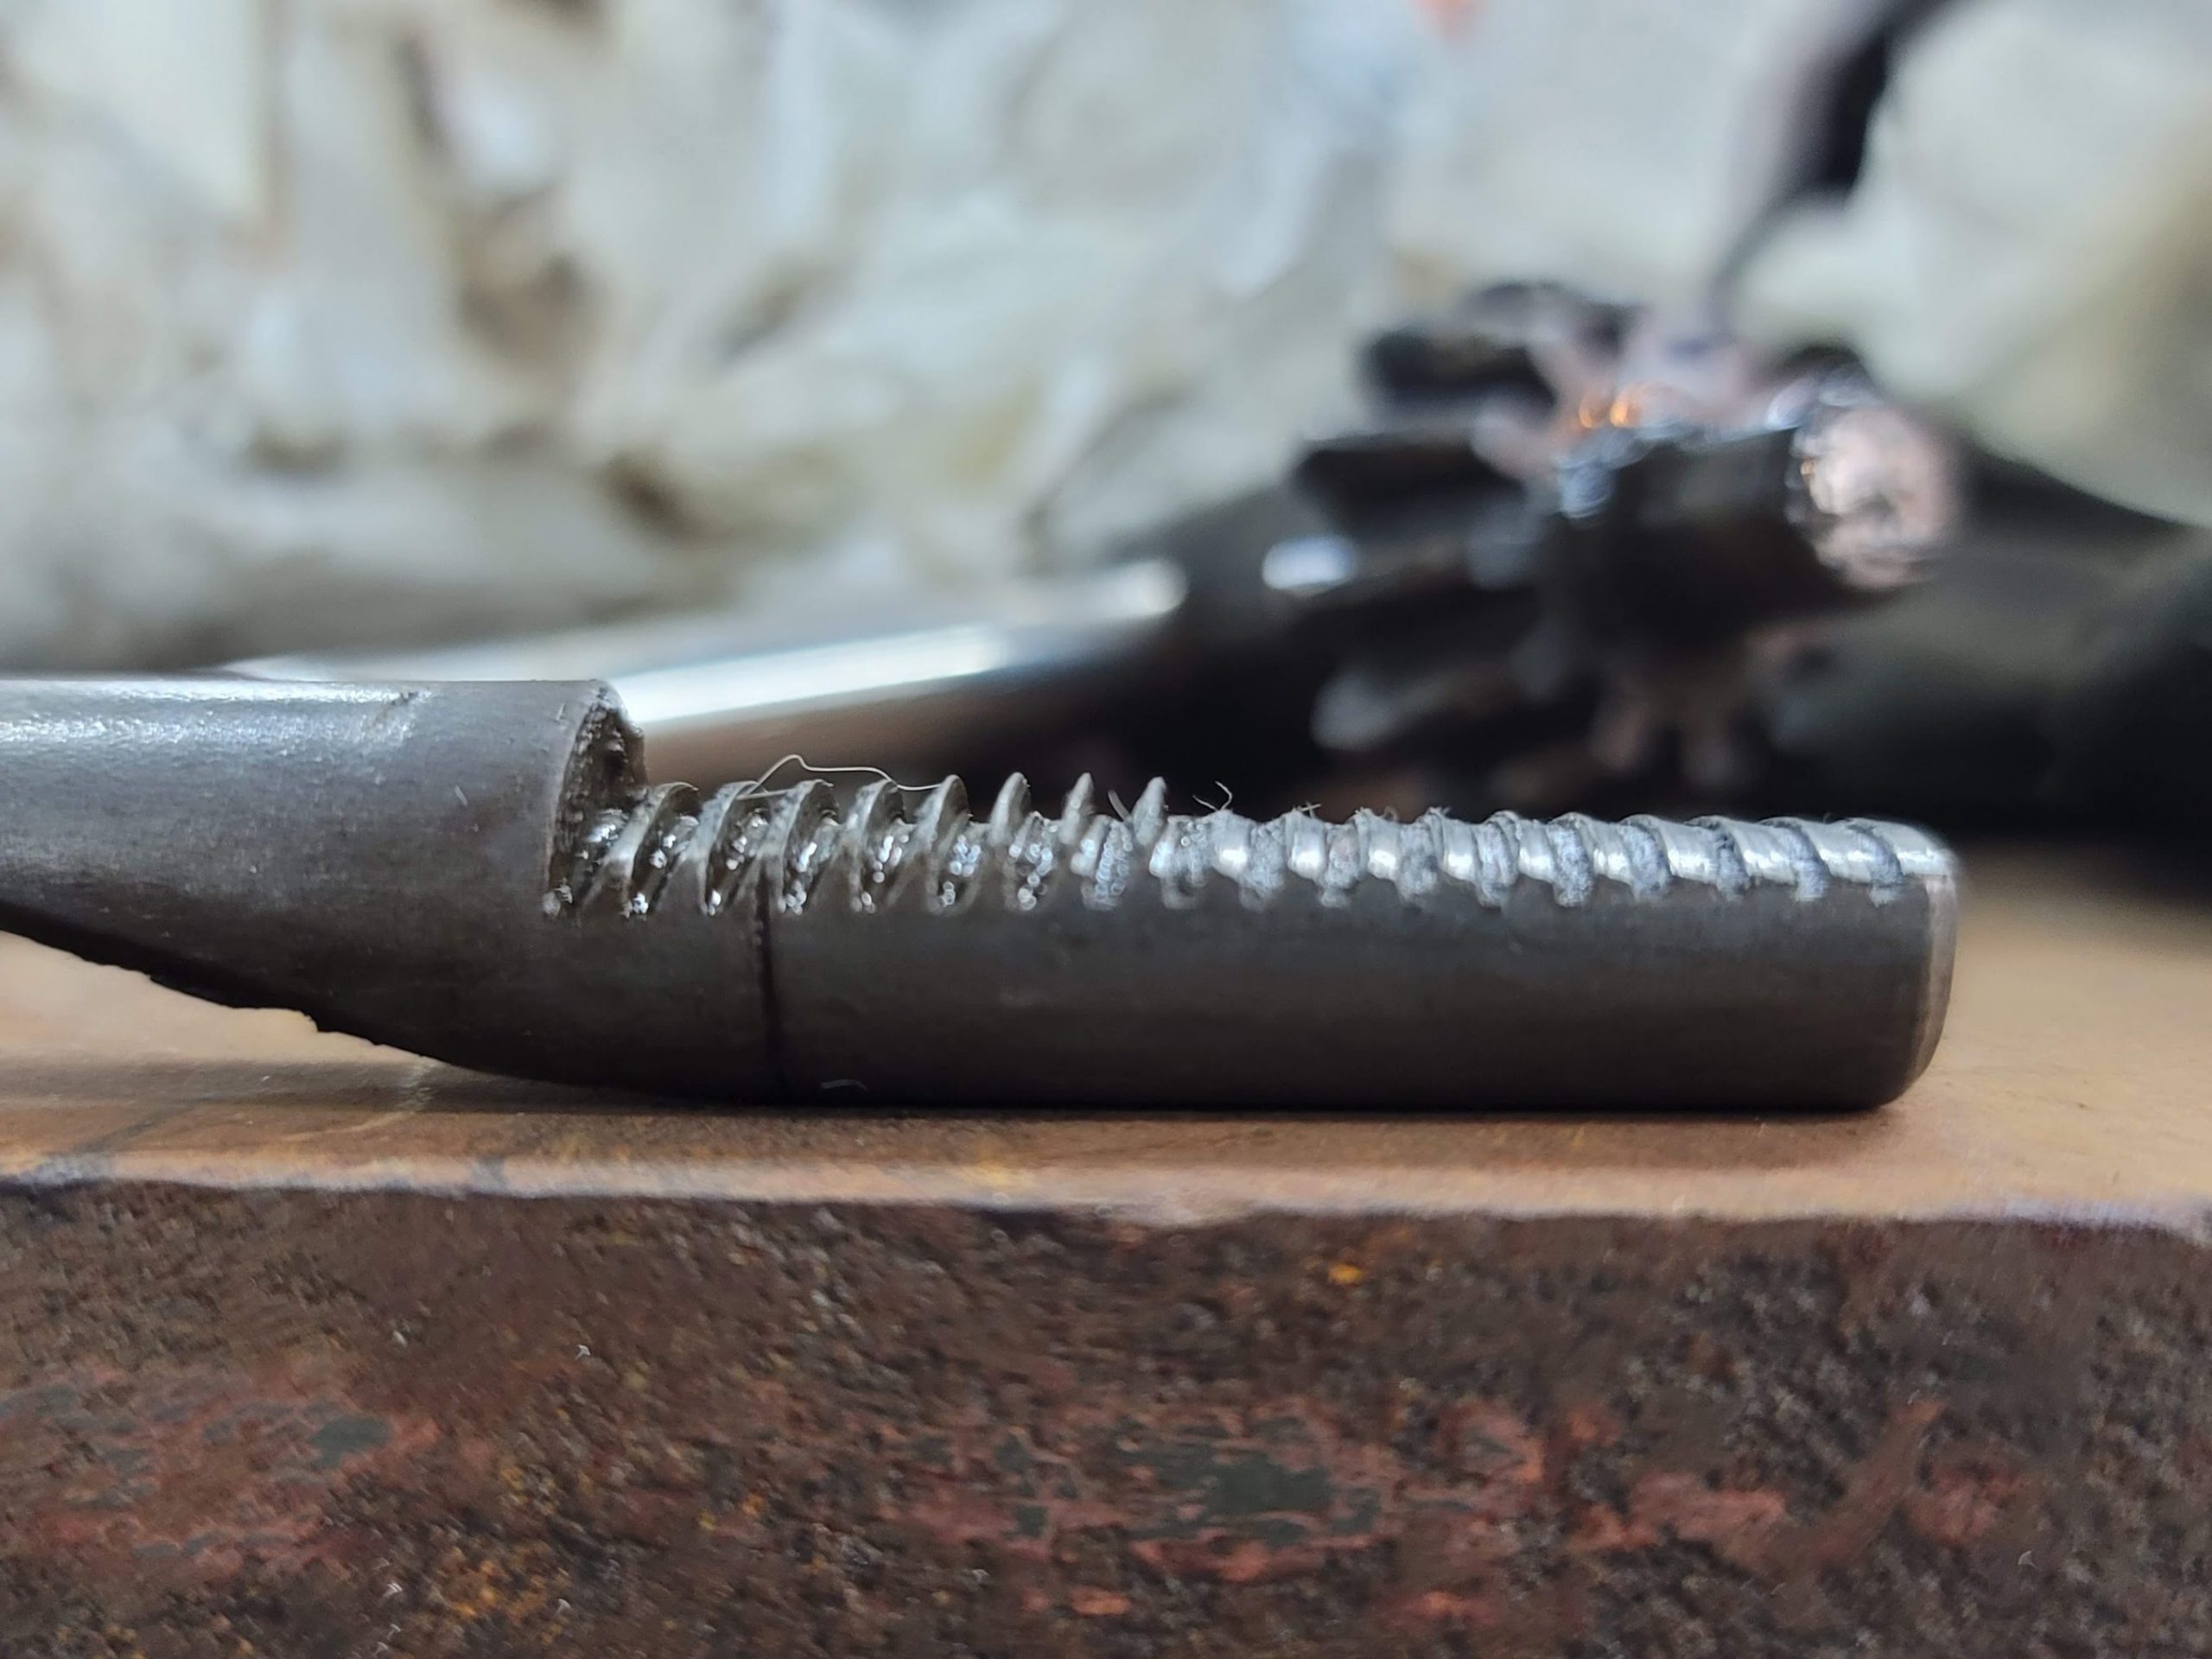
Sadly the Chuck that it came with was rough, one of the teeth was mostly stripped, so would get jammed up. The chuck had the supports on top that tells me it was once on a large hammer drill, so that makes sense why it had so much wear.
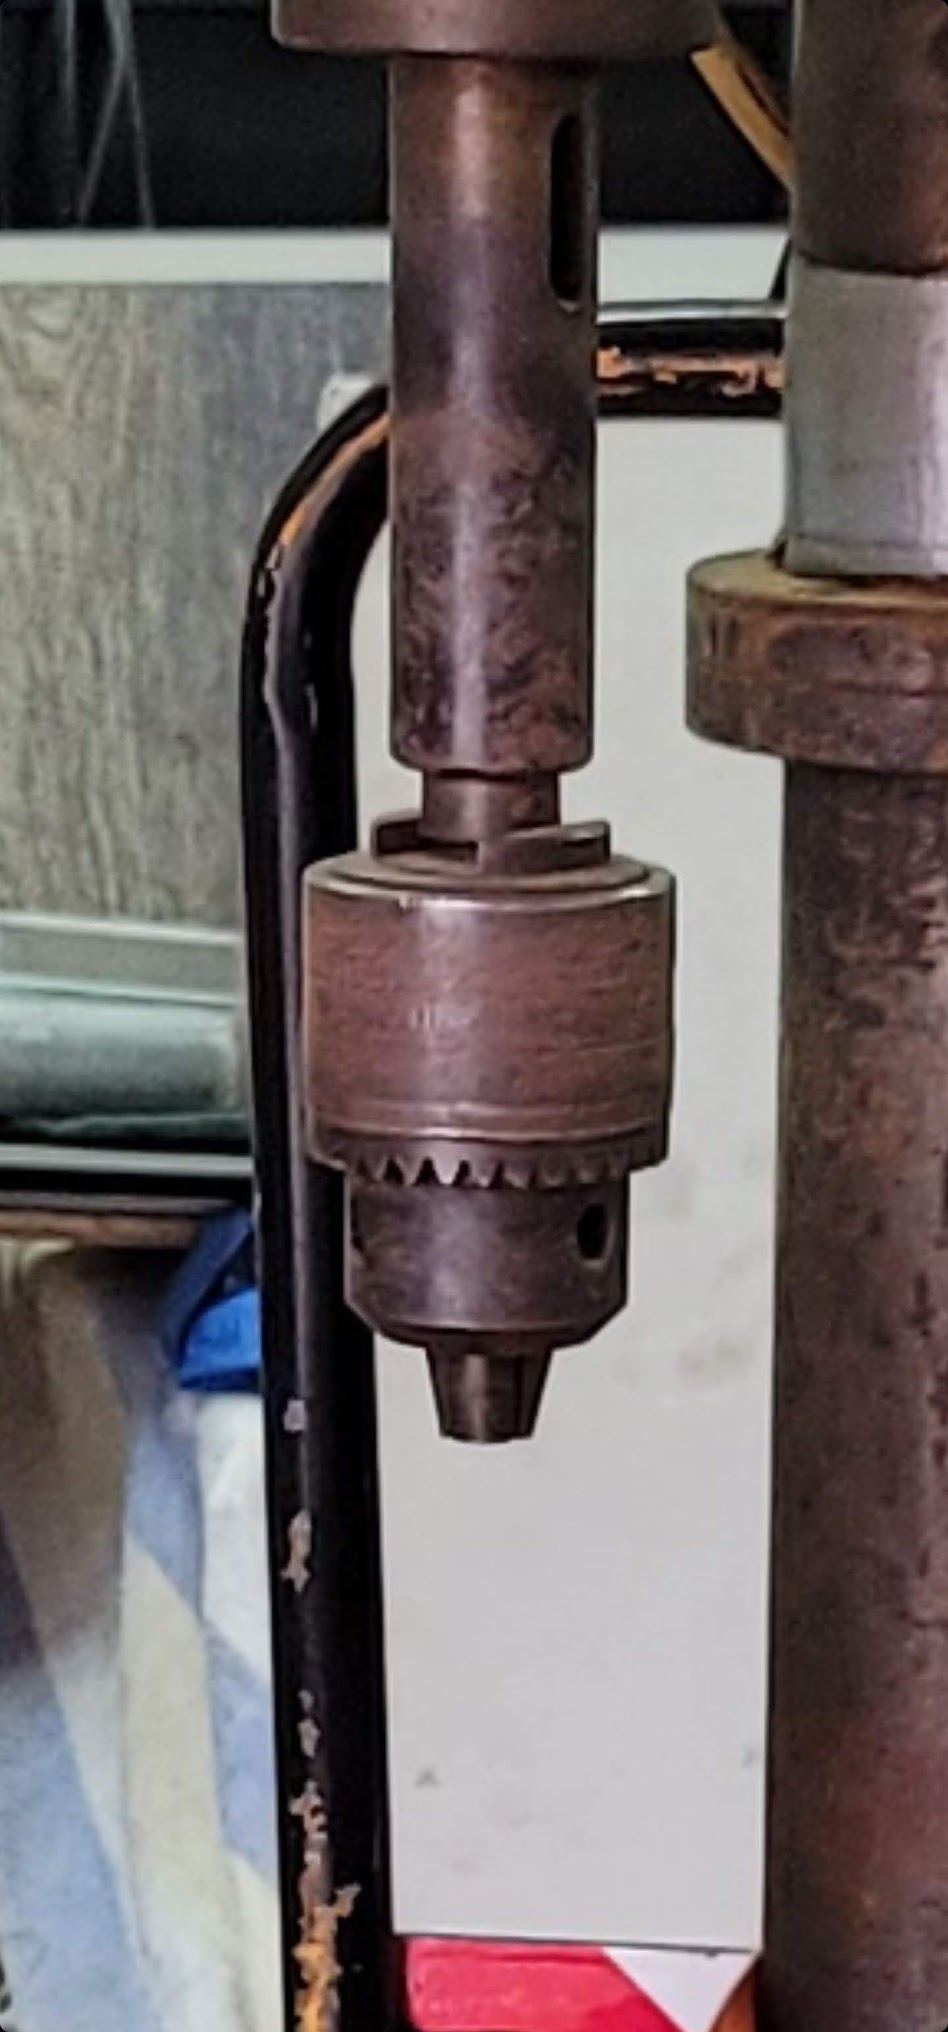
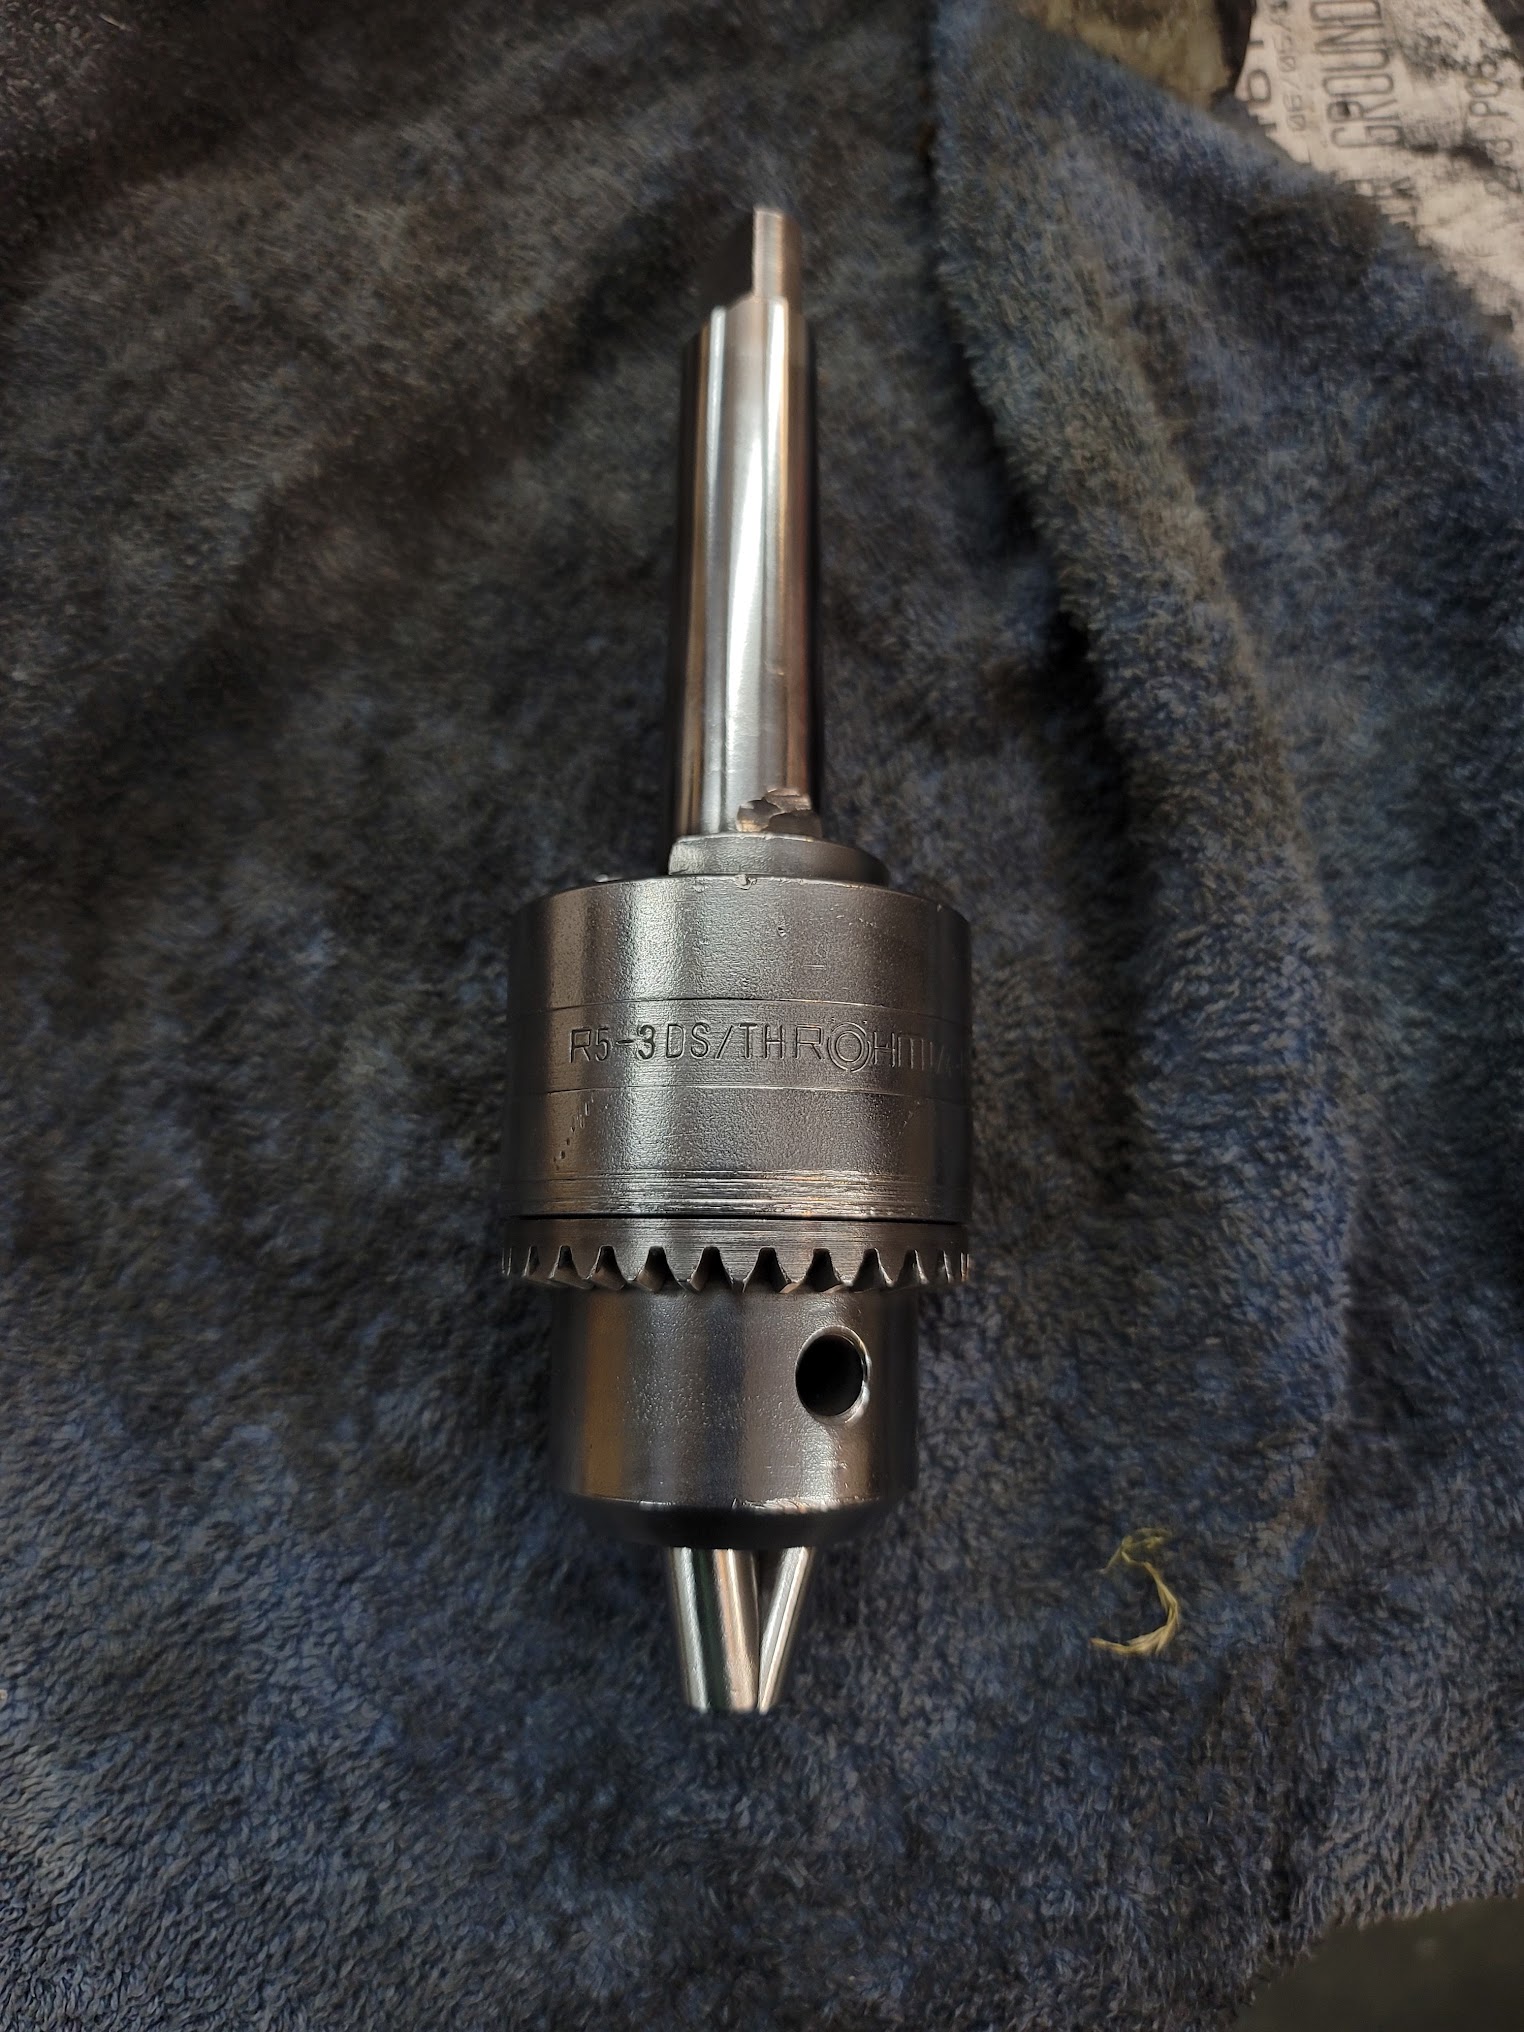
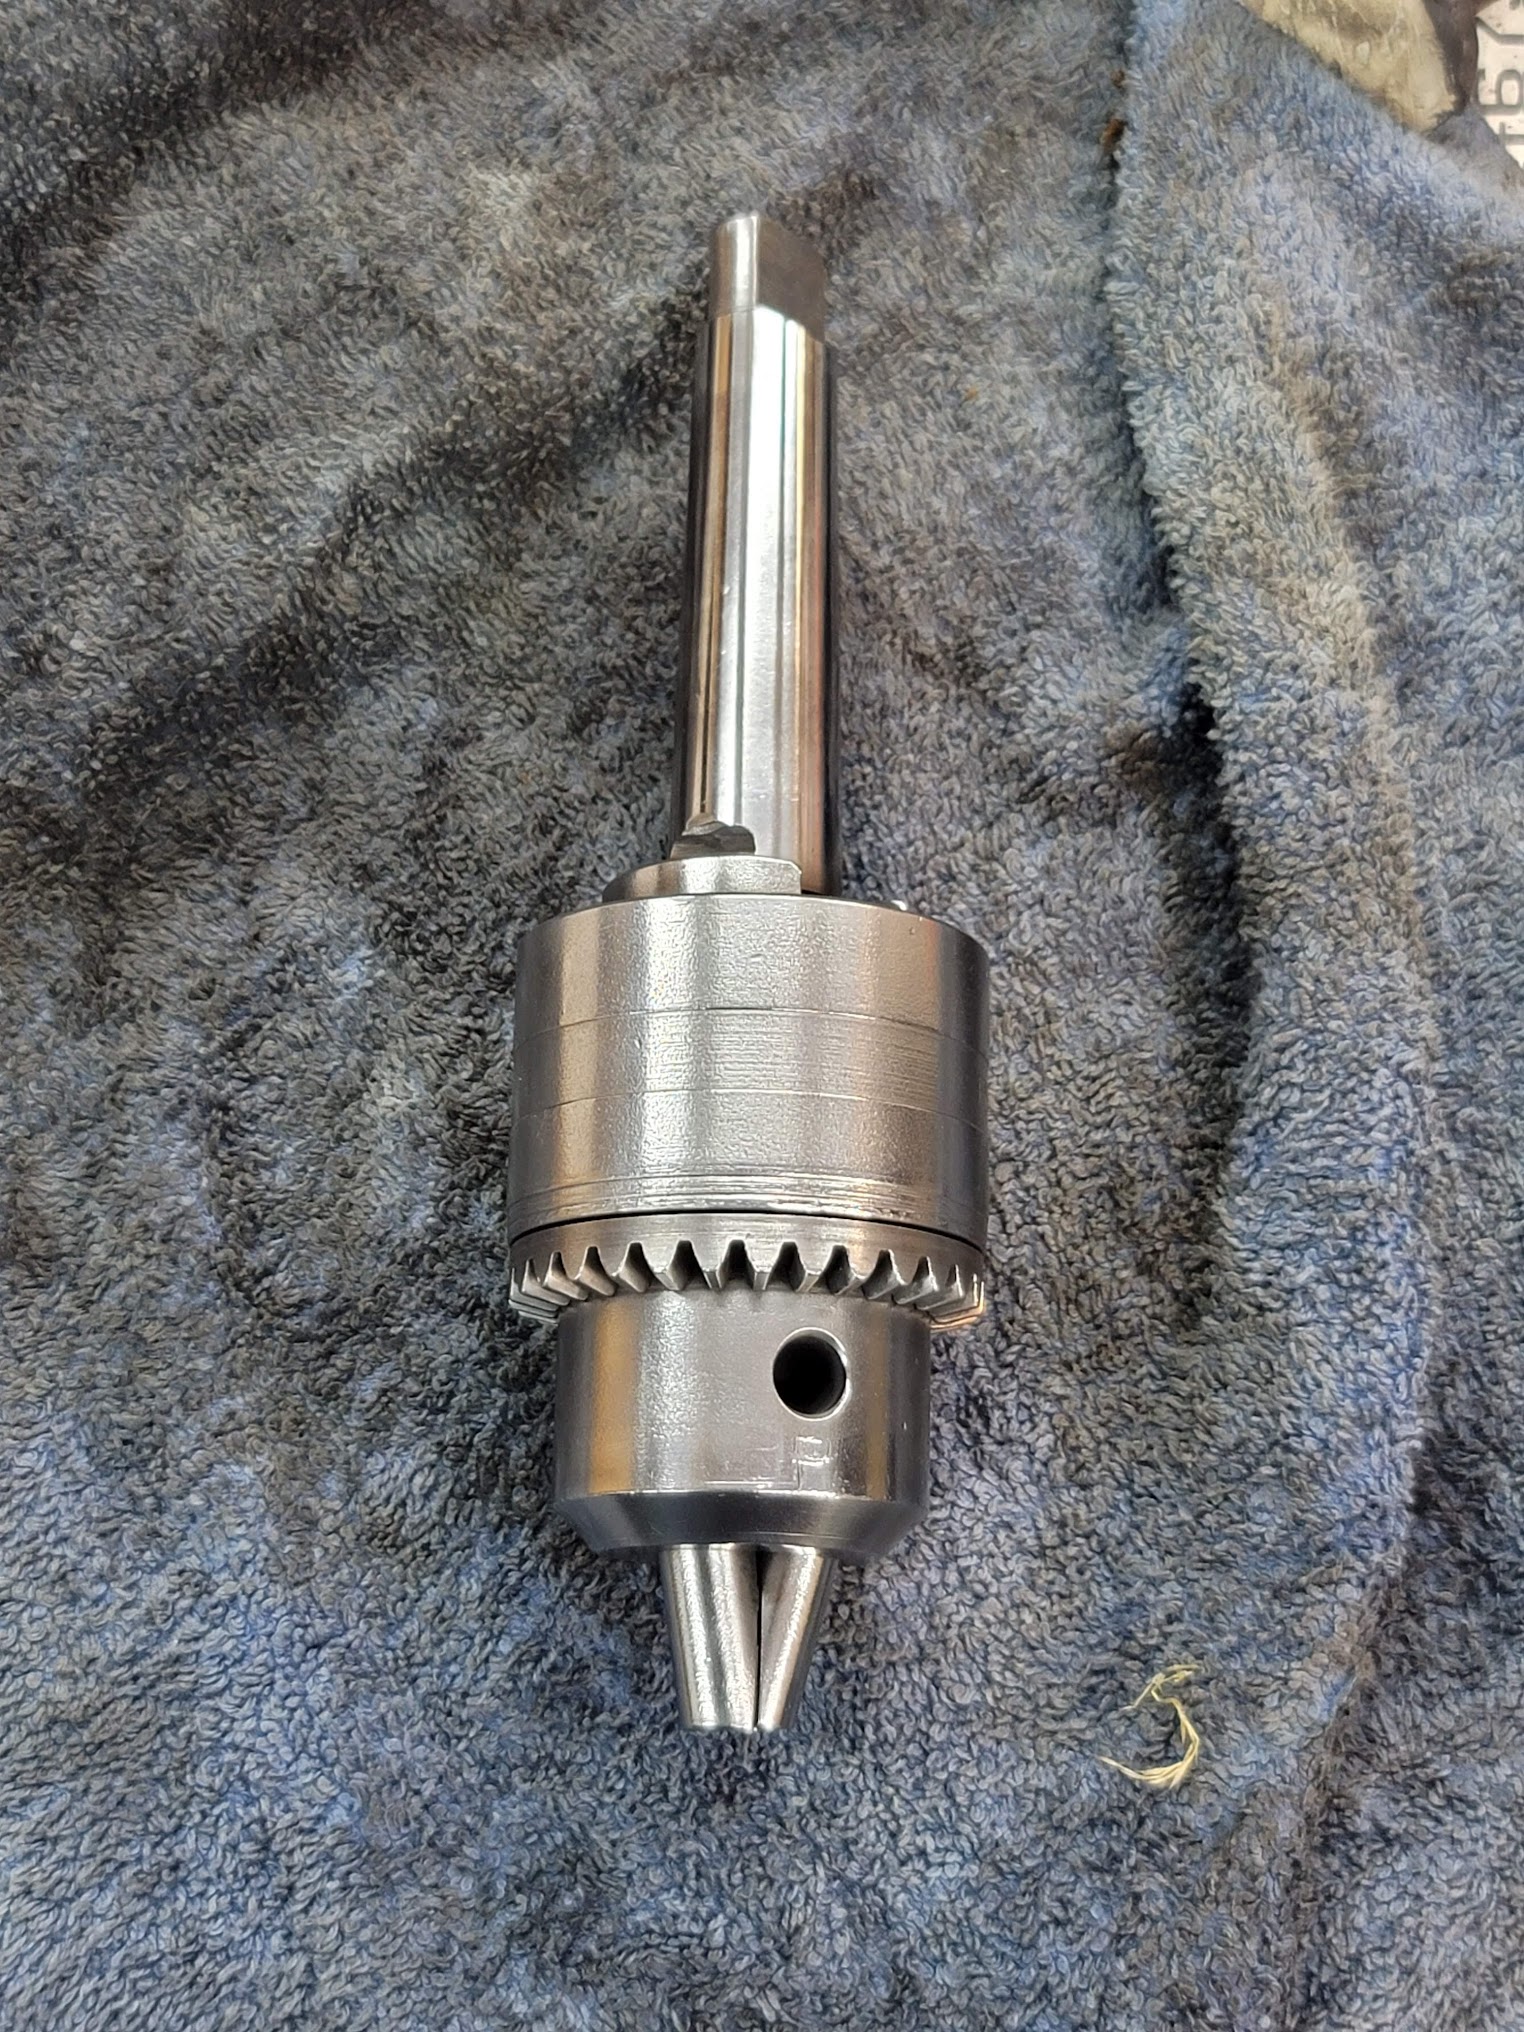
I cleaned up the old chuck anyway, makes for a nice paperweight!
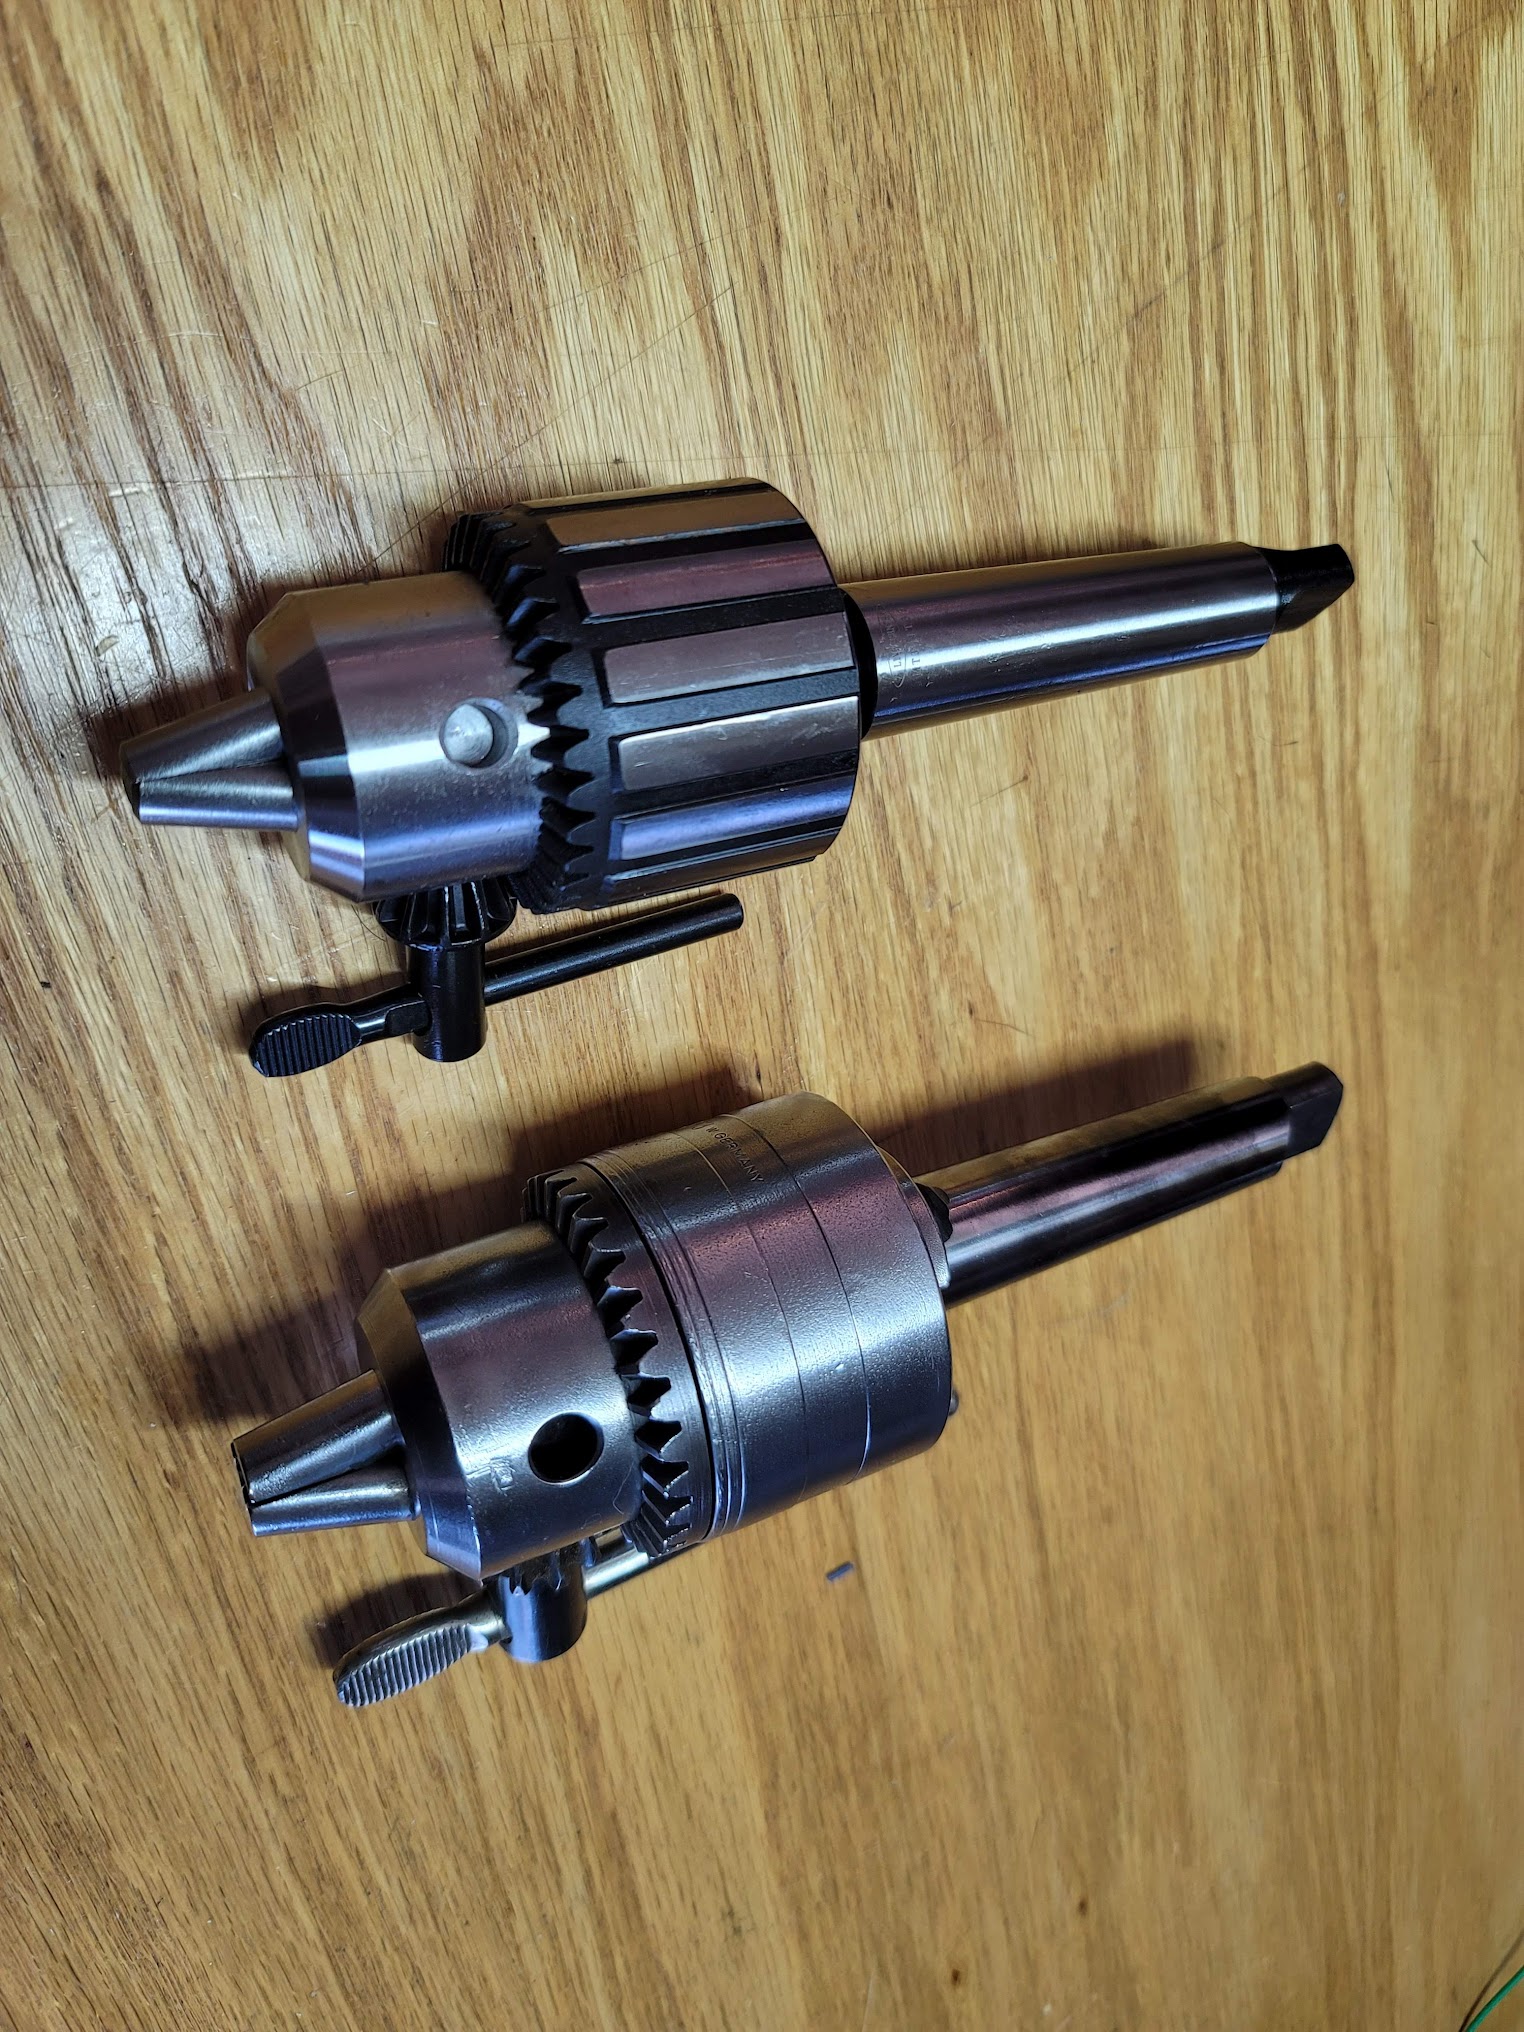

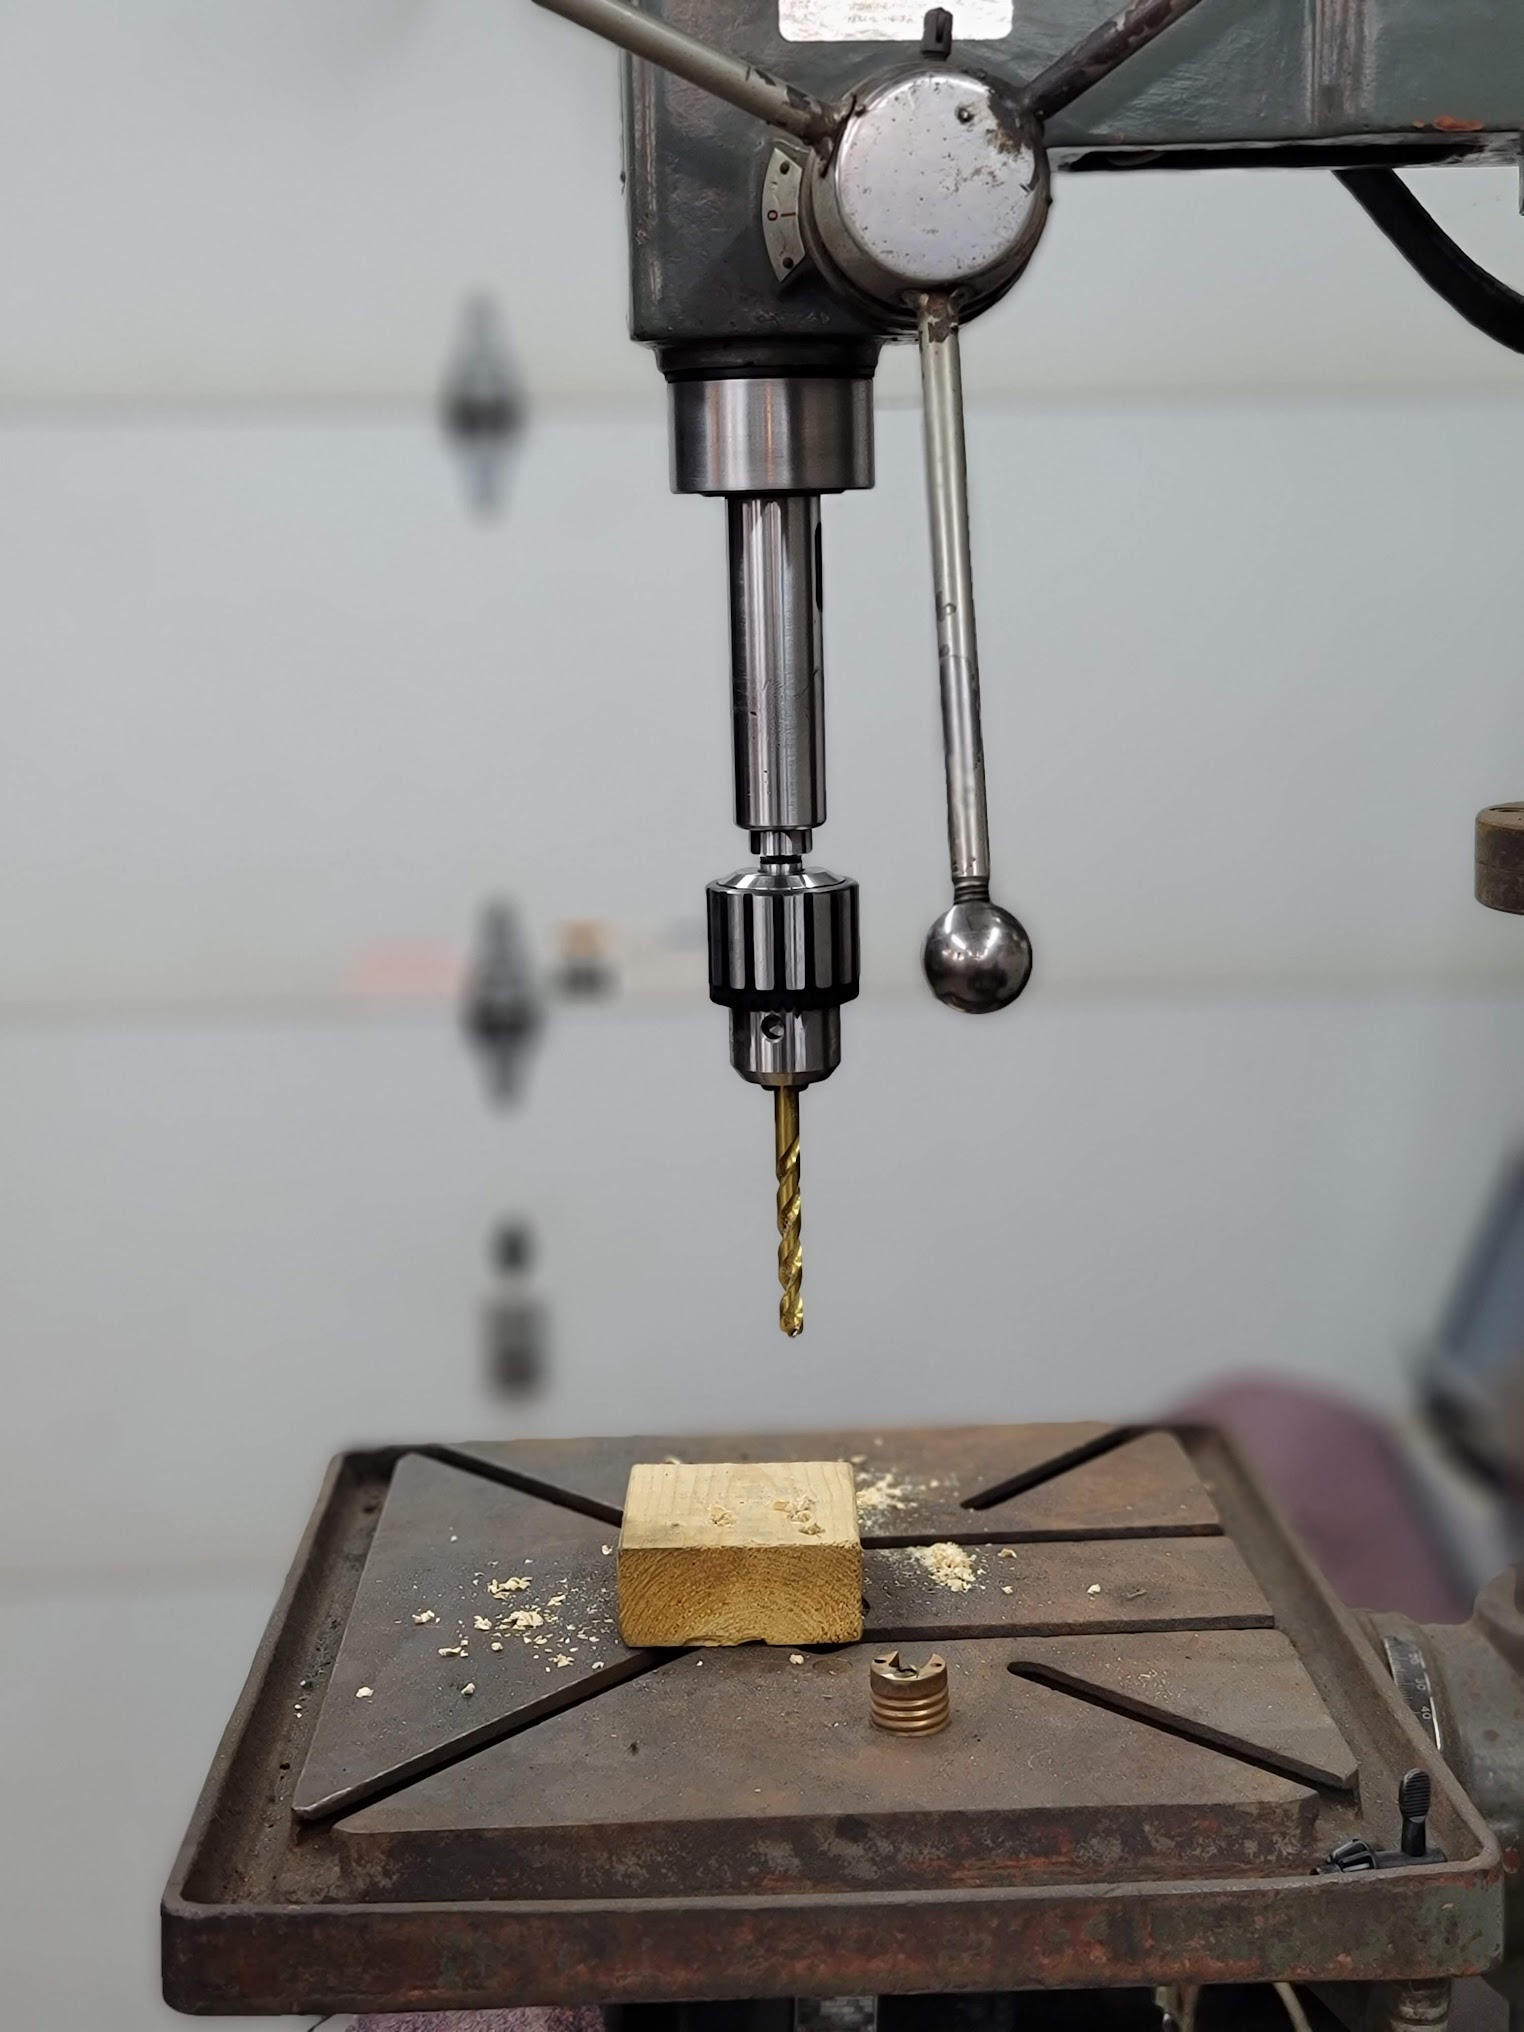
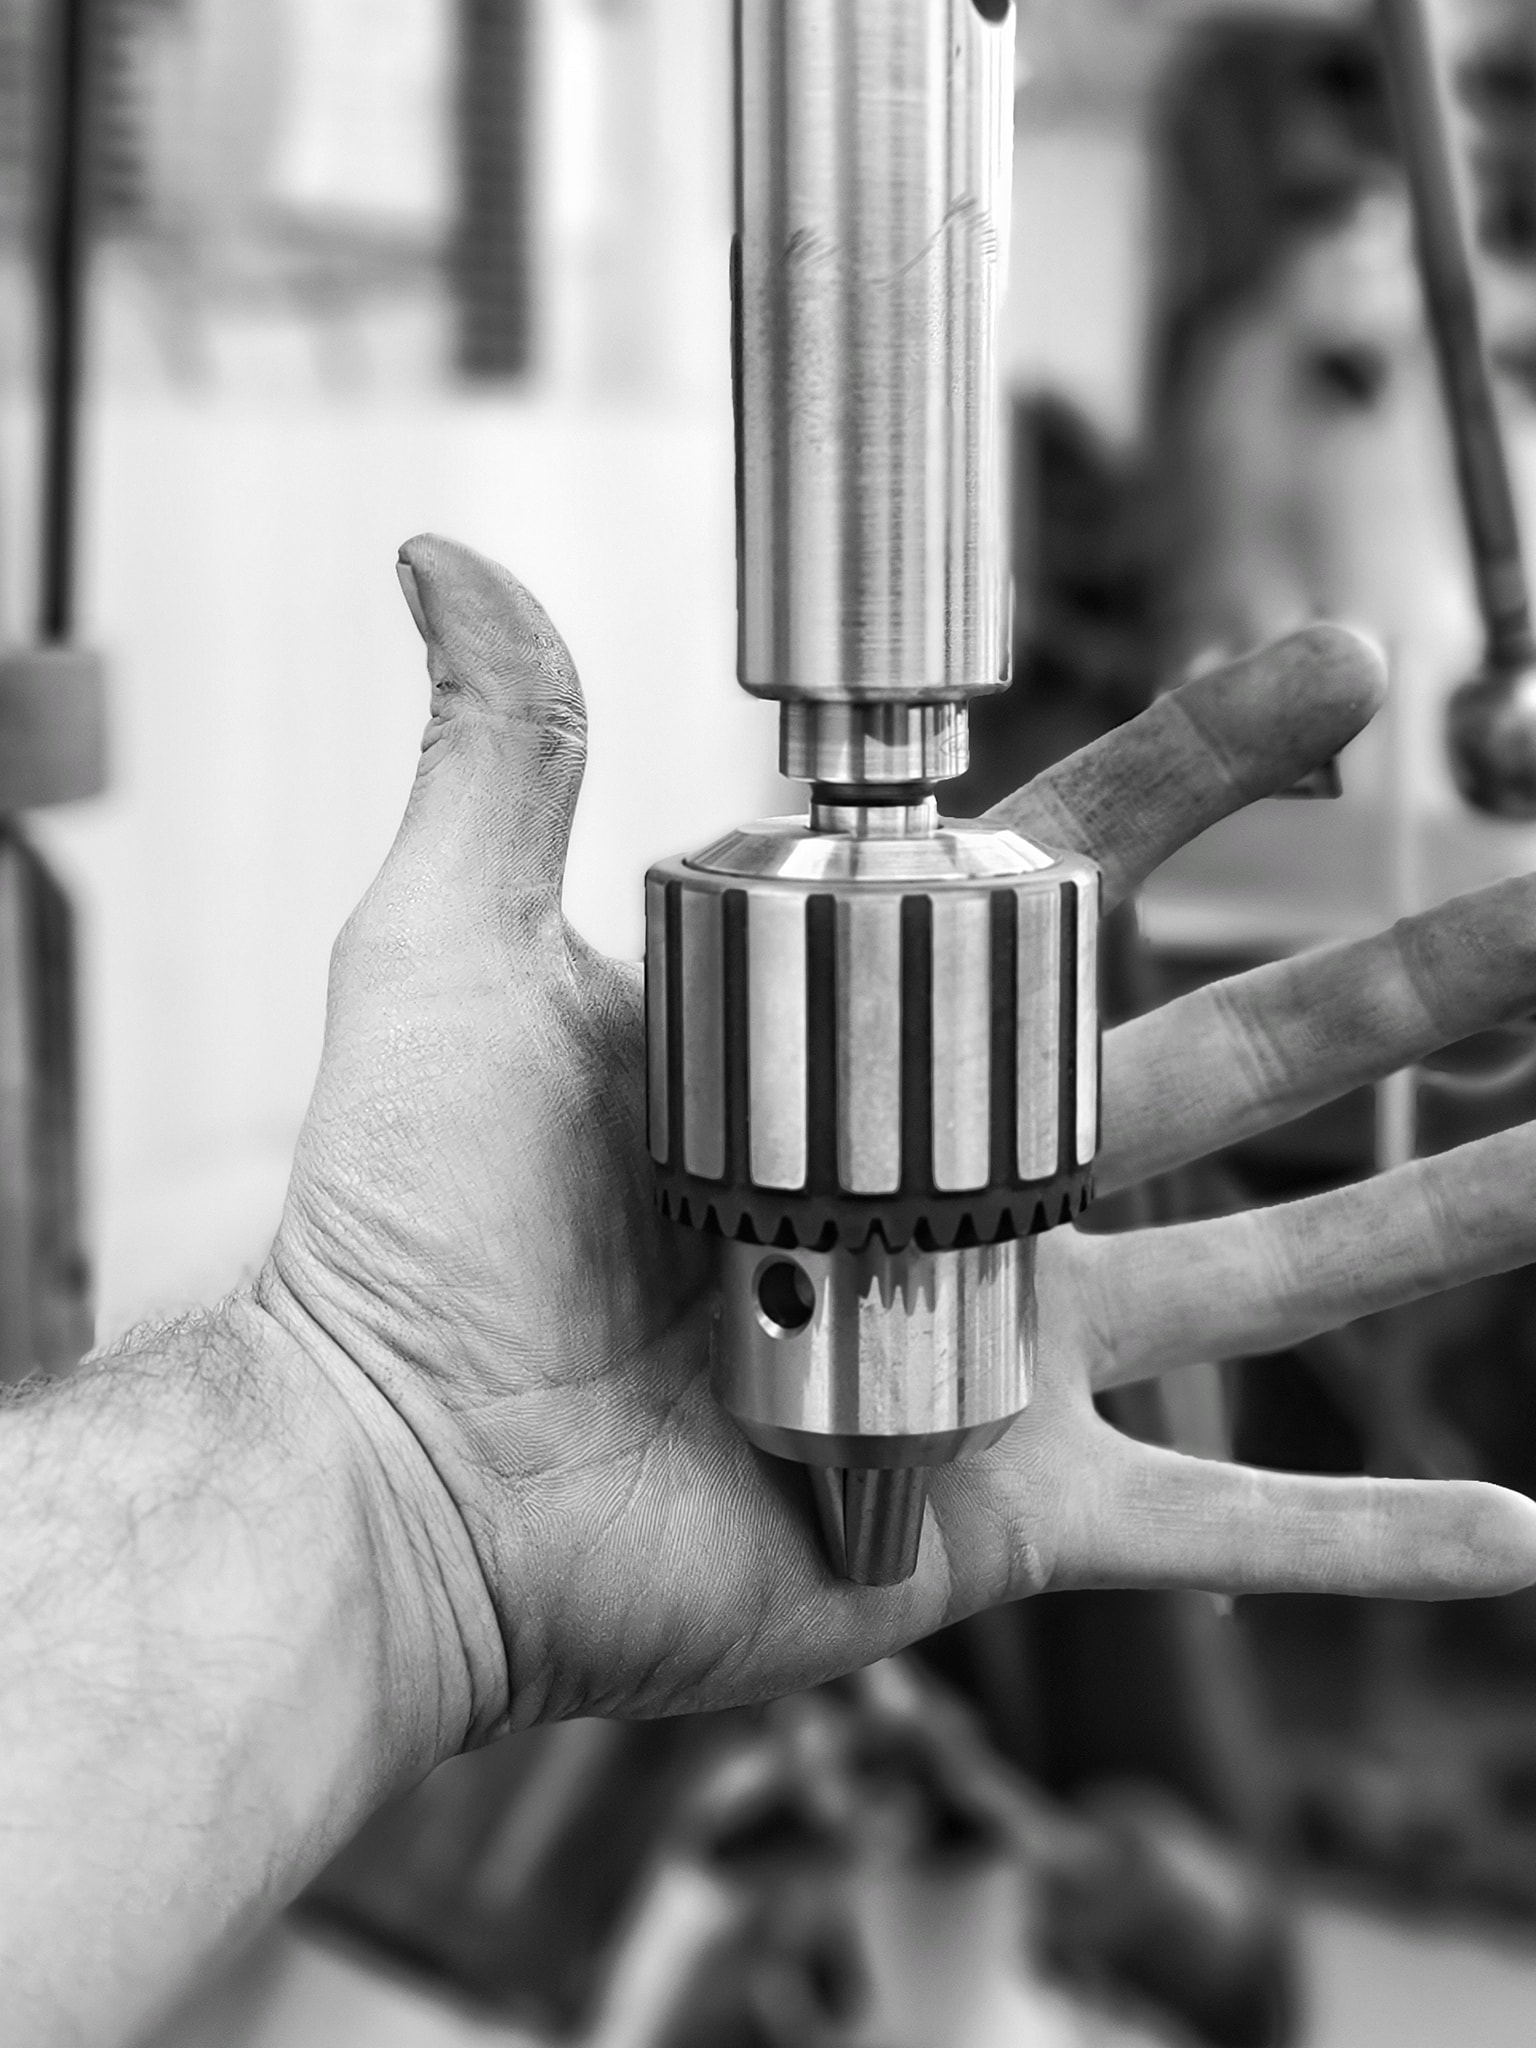
Picked up a new cheap Chinese chuck just to see if the press was worth saving. If good will get a good name brand one soon. Now to start cleaning things up, you can see I started with the quill first. Cleaned up pretty good.
Runout on the cheap chuck was shocking, about 0.001″
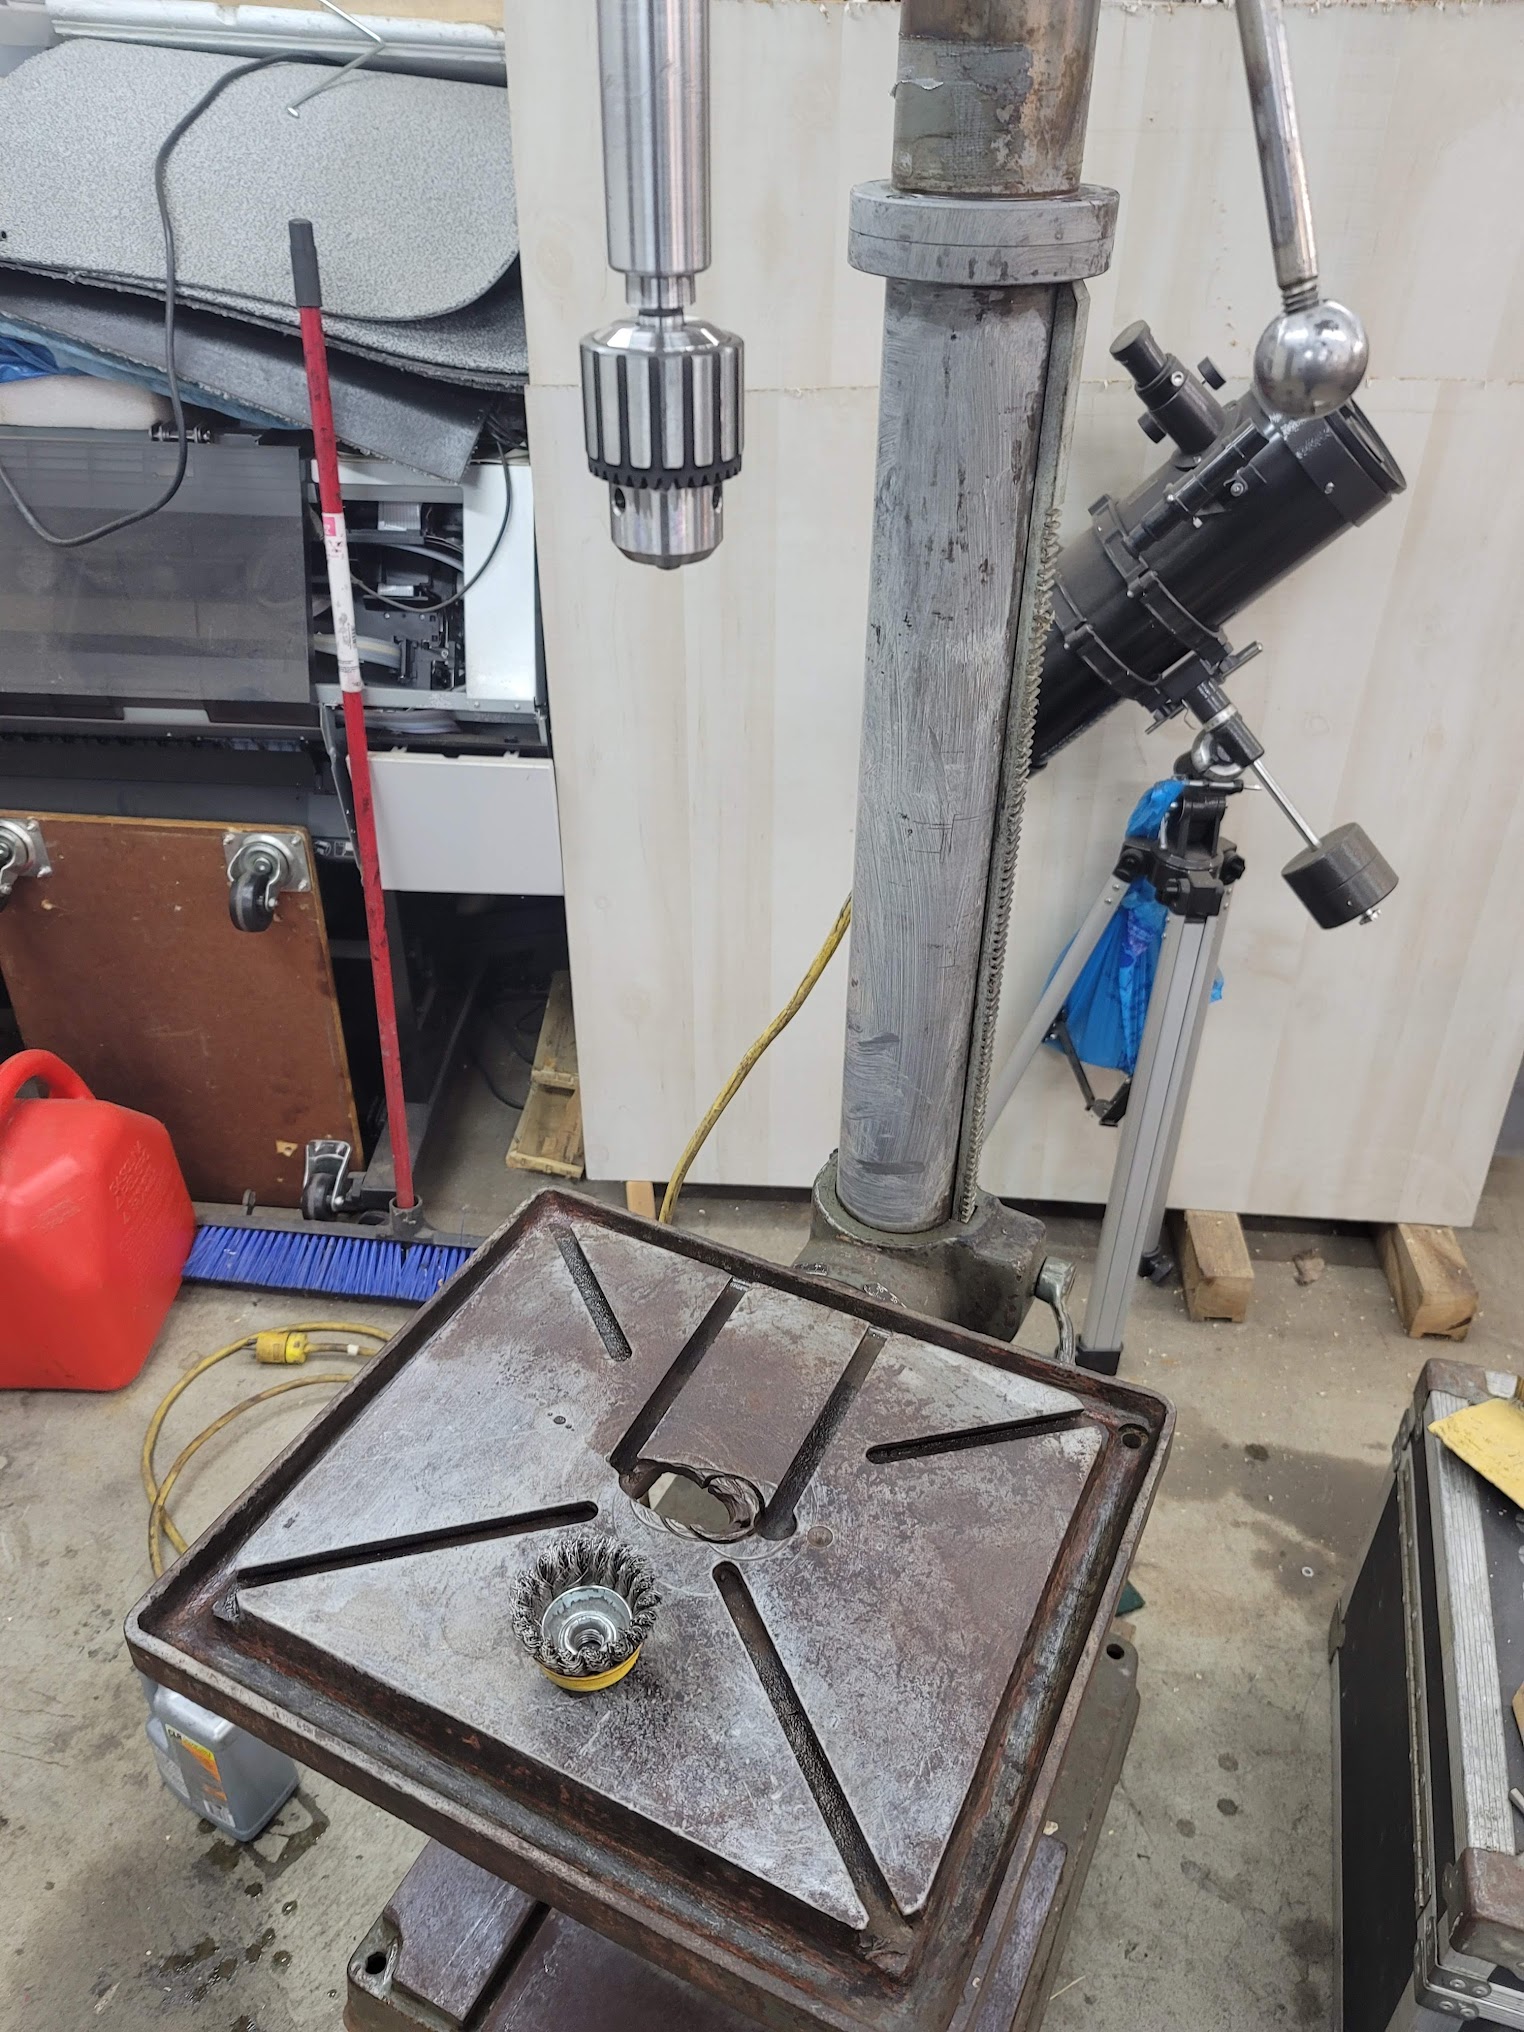
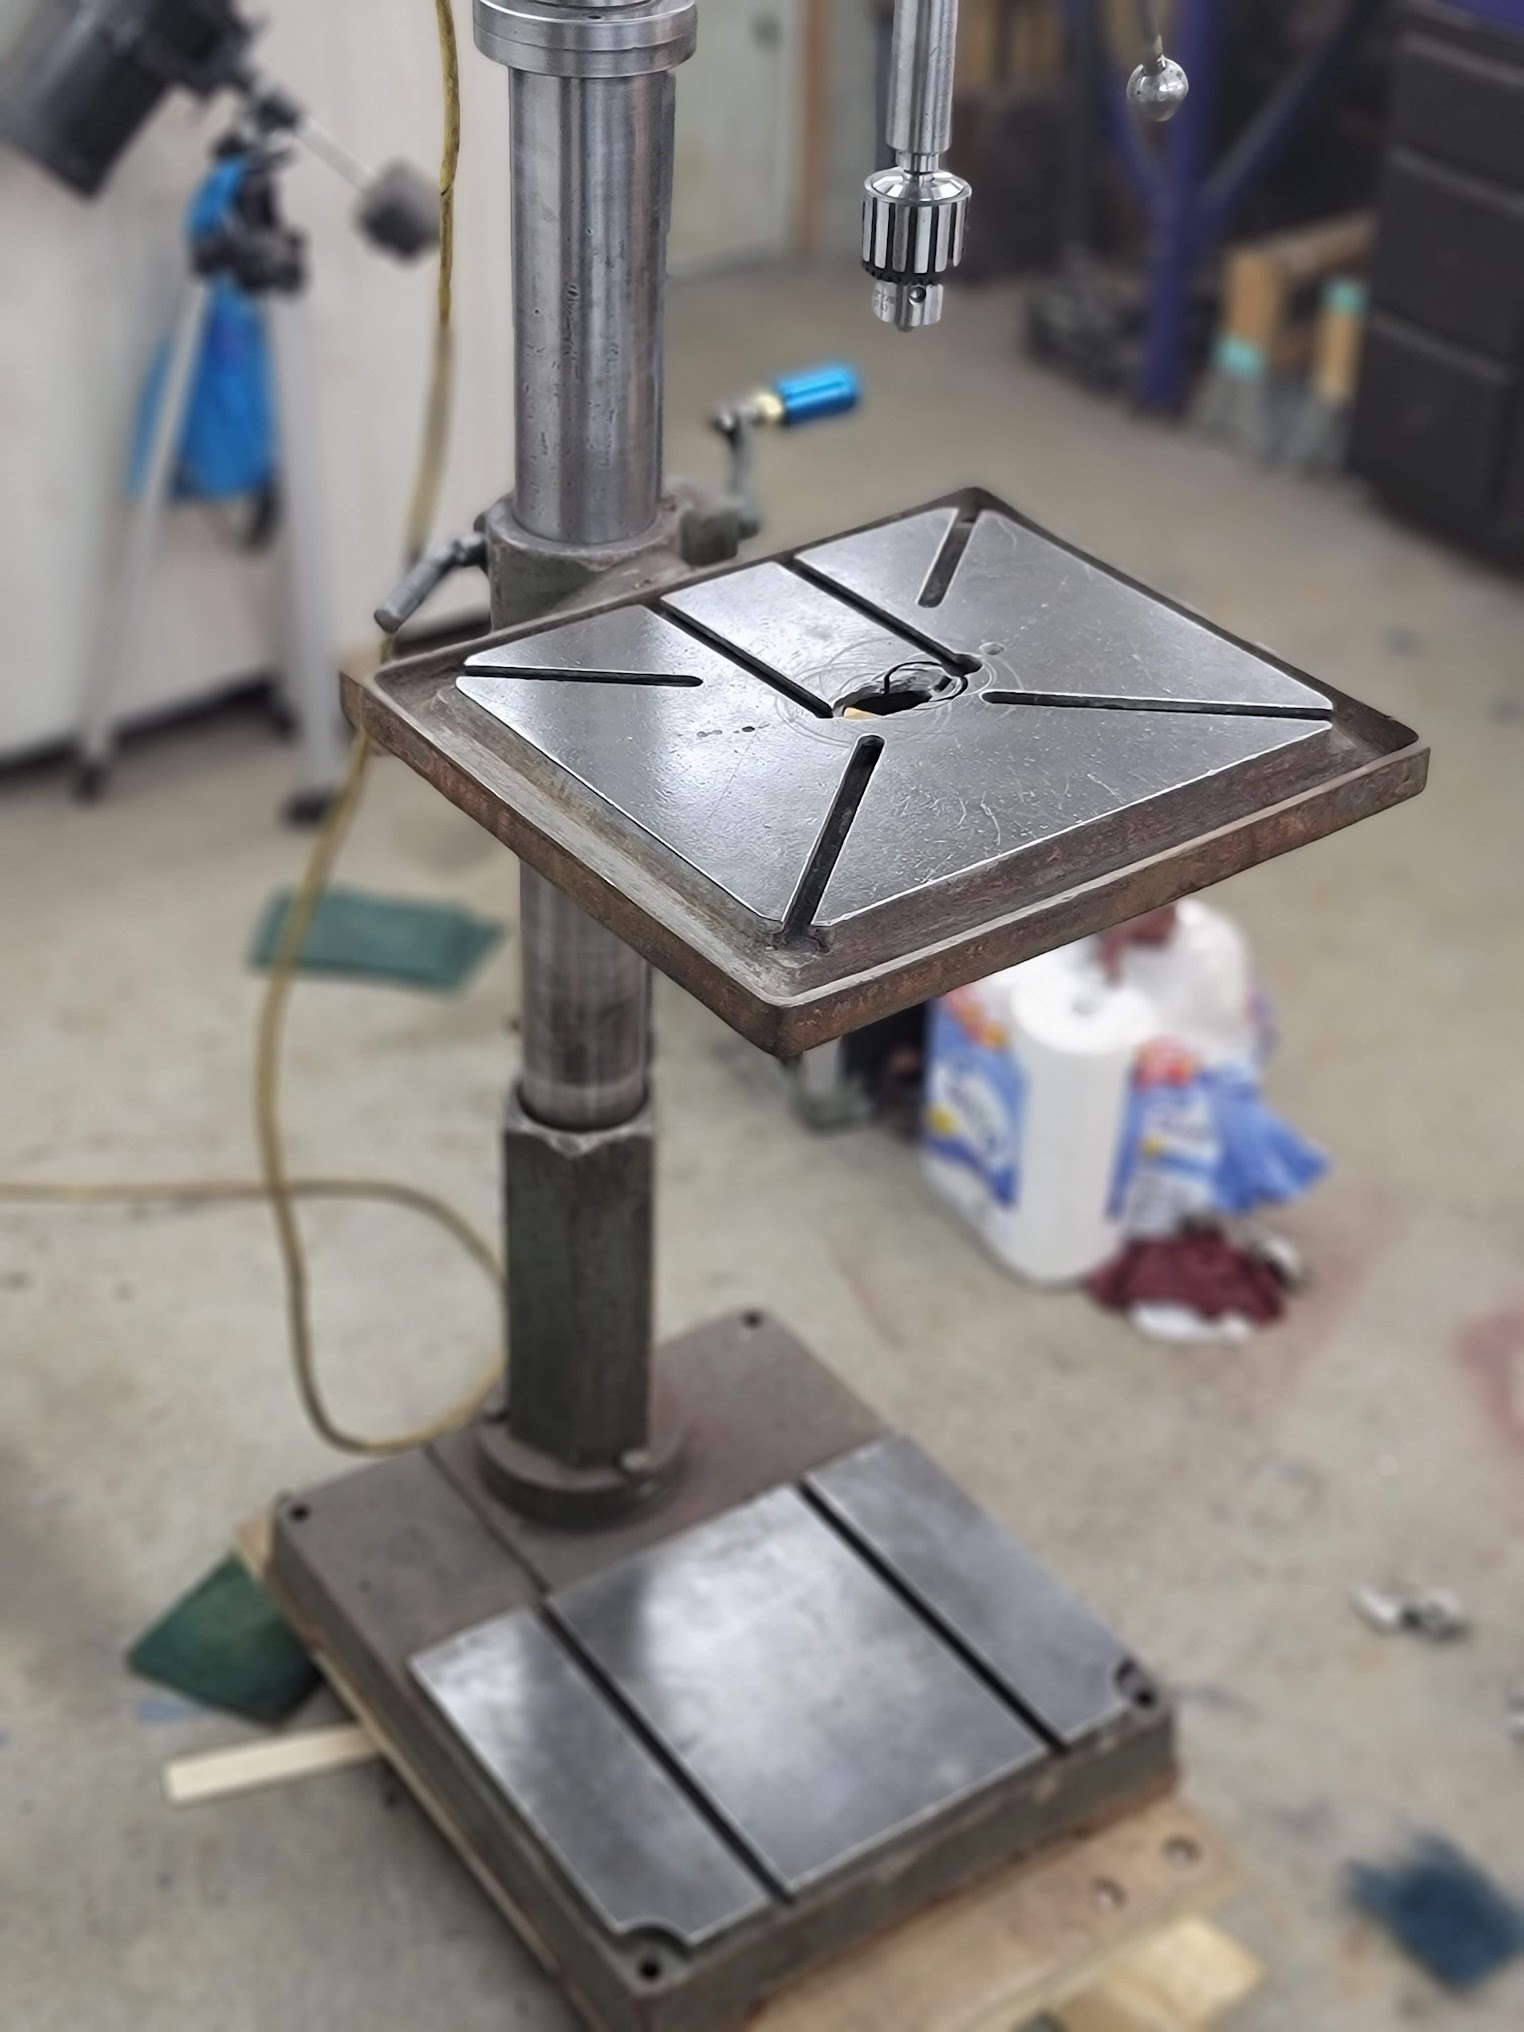
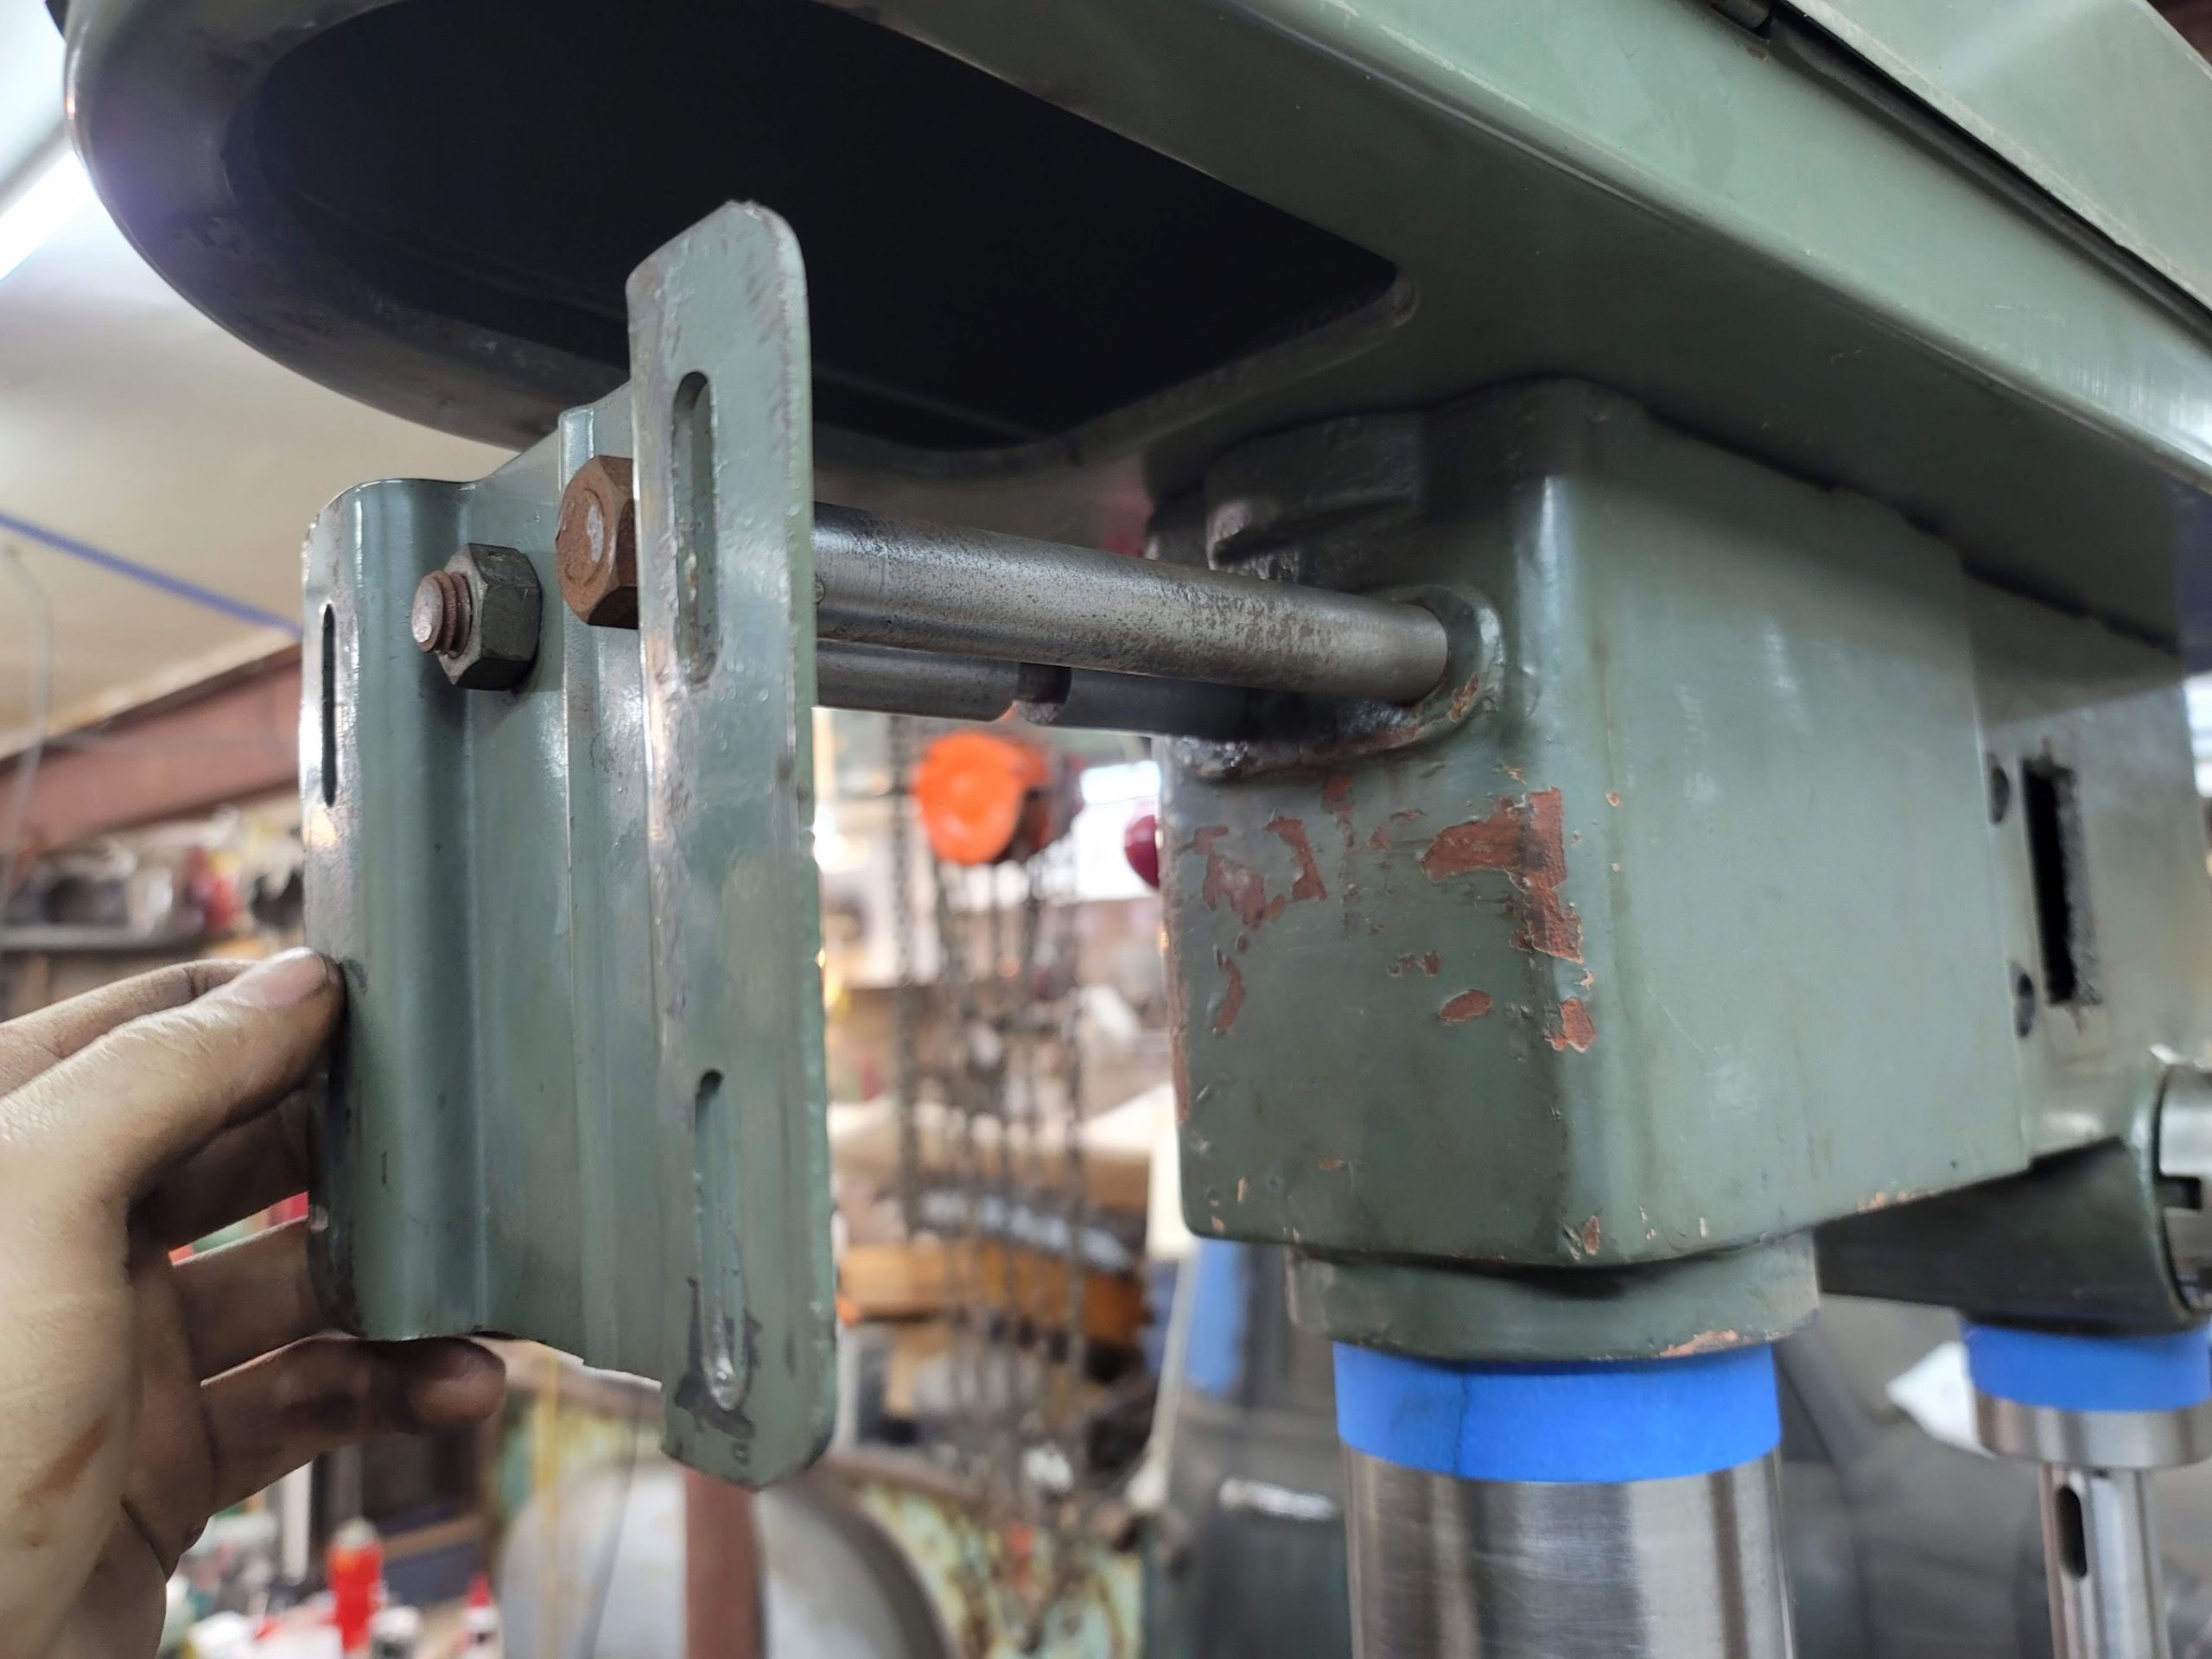

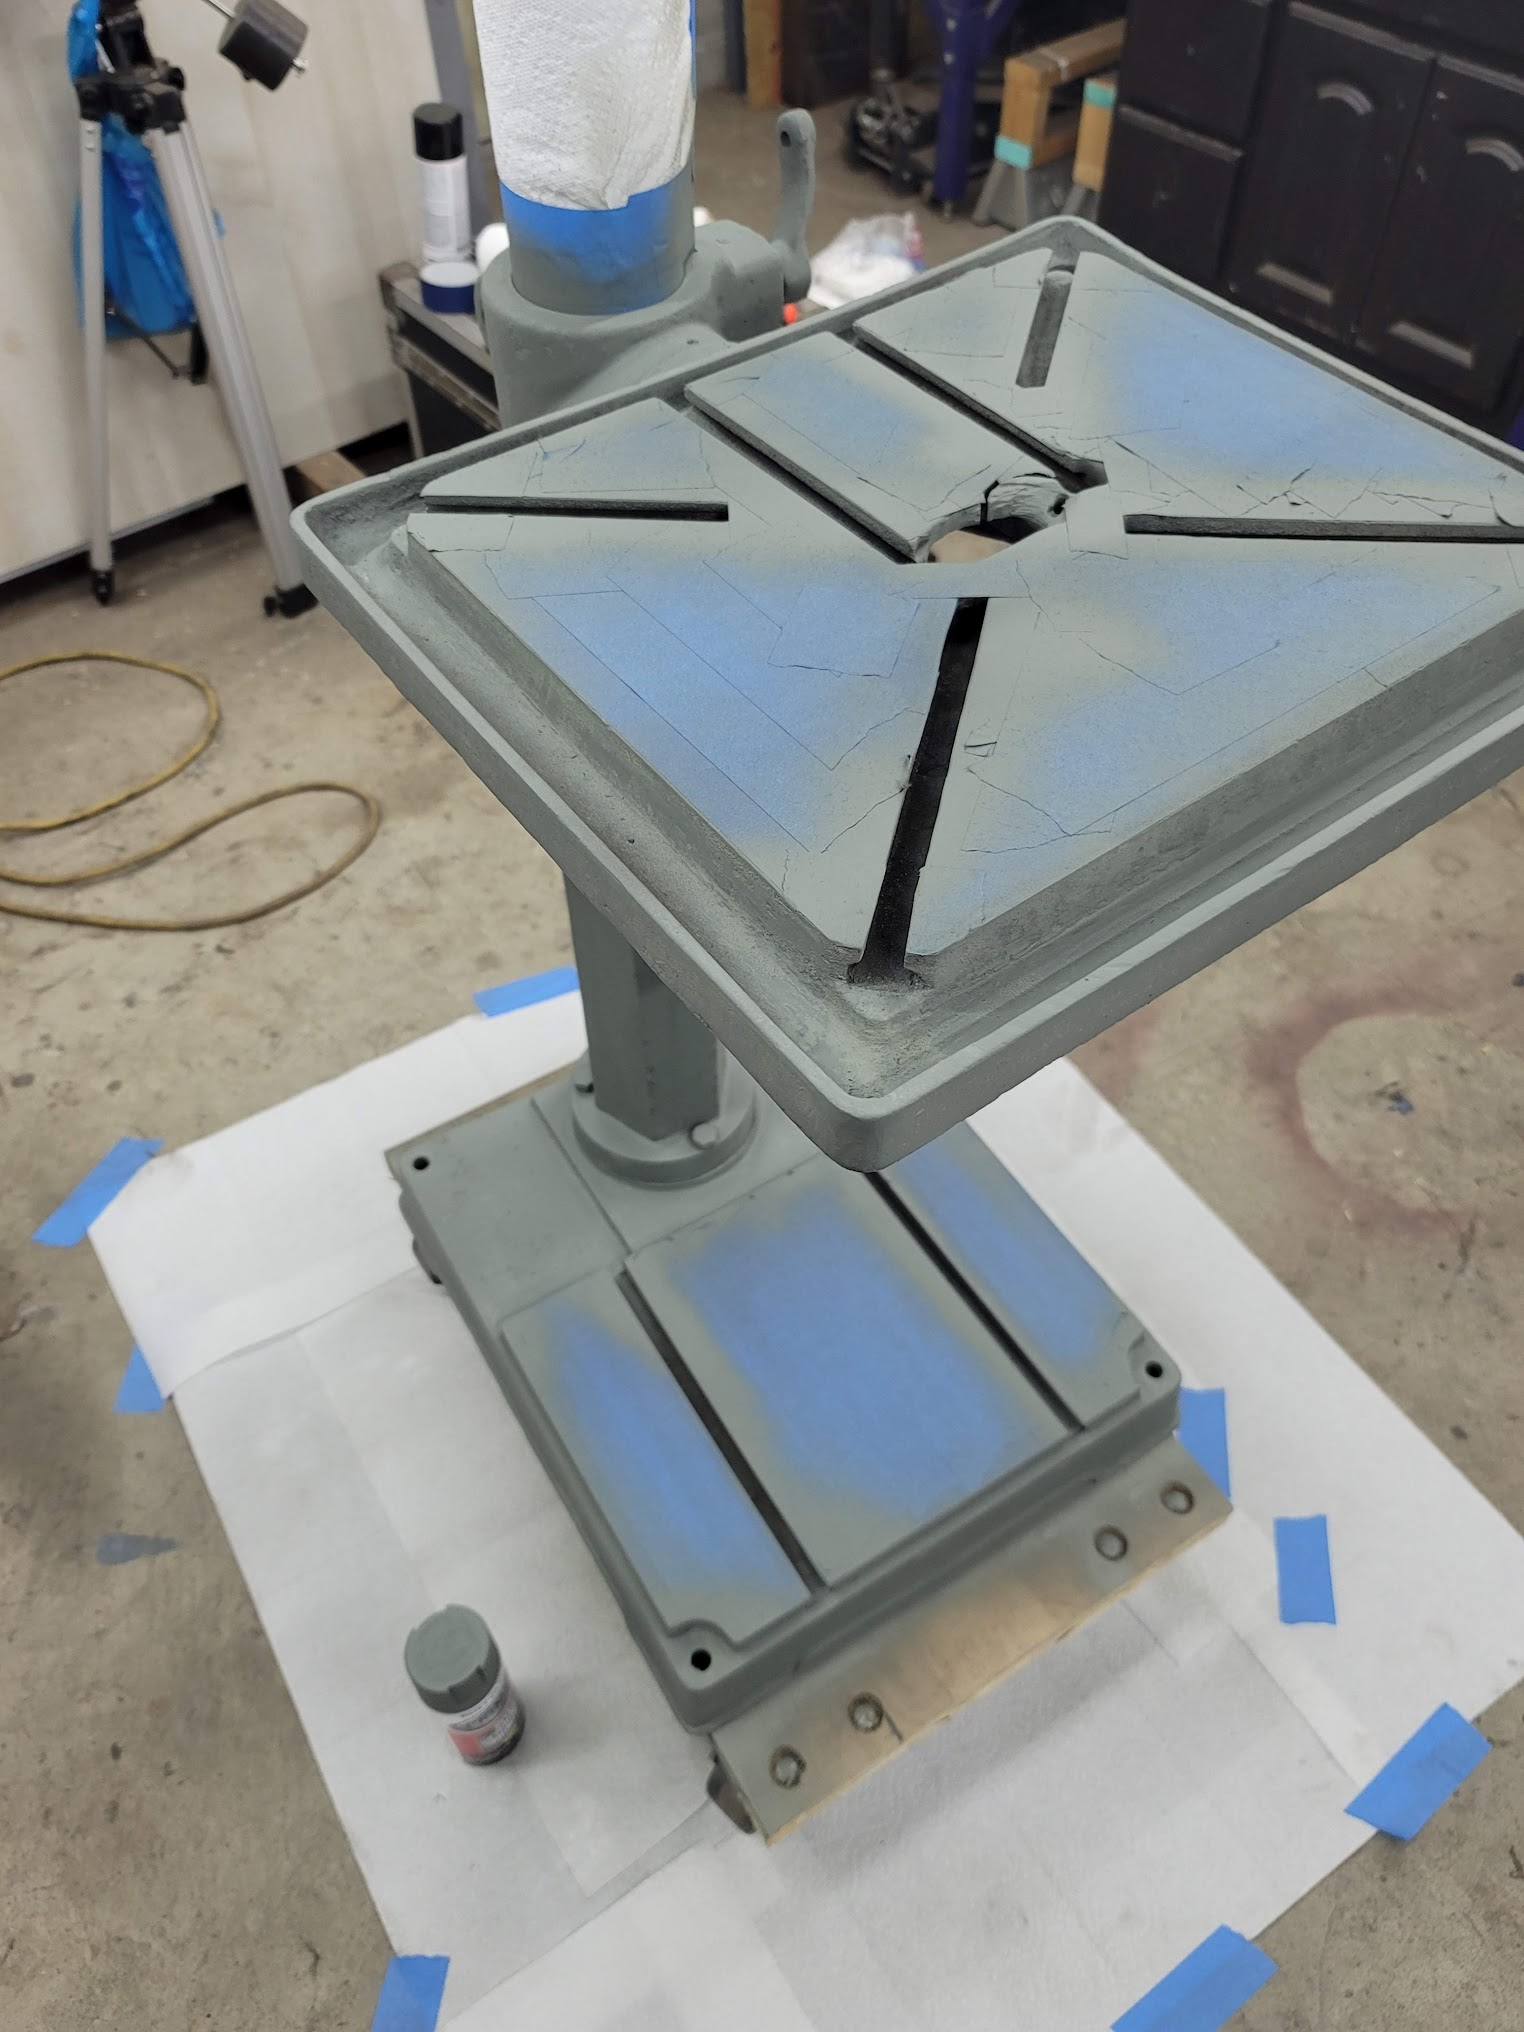
Used some Navel Jelly to help dissolve the rust. Than lots of time with a wire wheel, the upright had to be sanded completely by hand. ( Can still feel that in the shoulders ha! ) The motor tensioner was frozen solid, took some taps with a hammer and some PB blaster to free it up, and got it out! I could not clean up the shafts and grease it up.
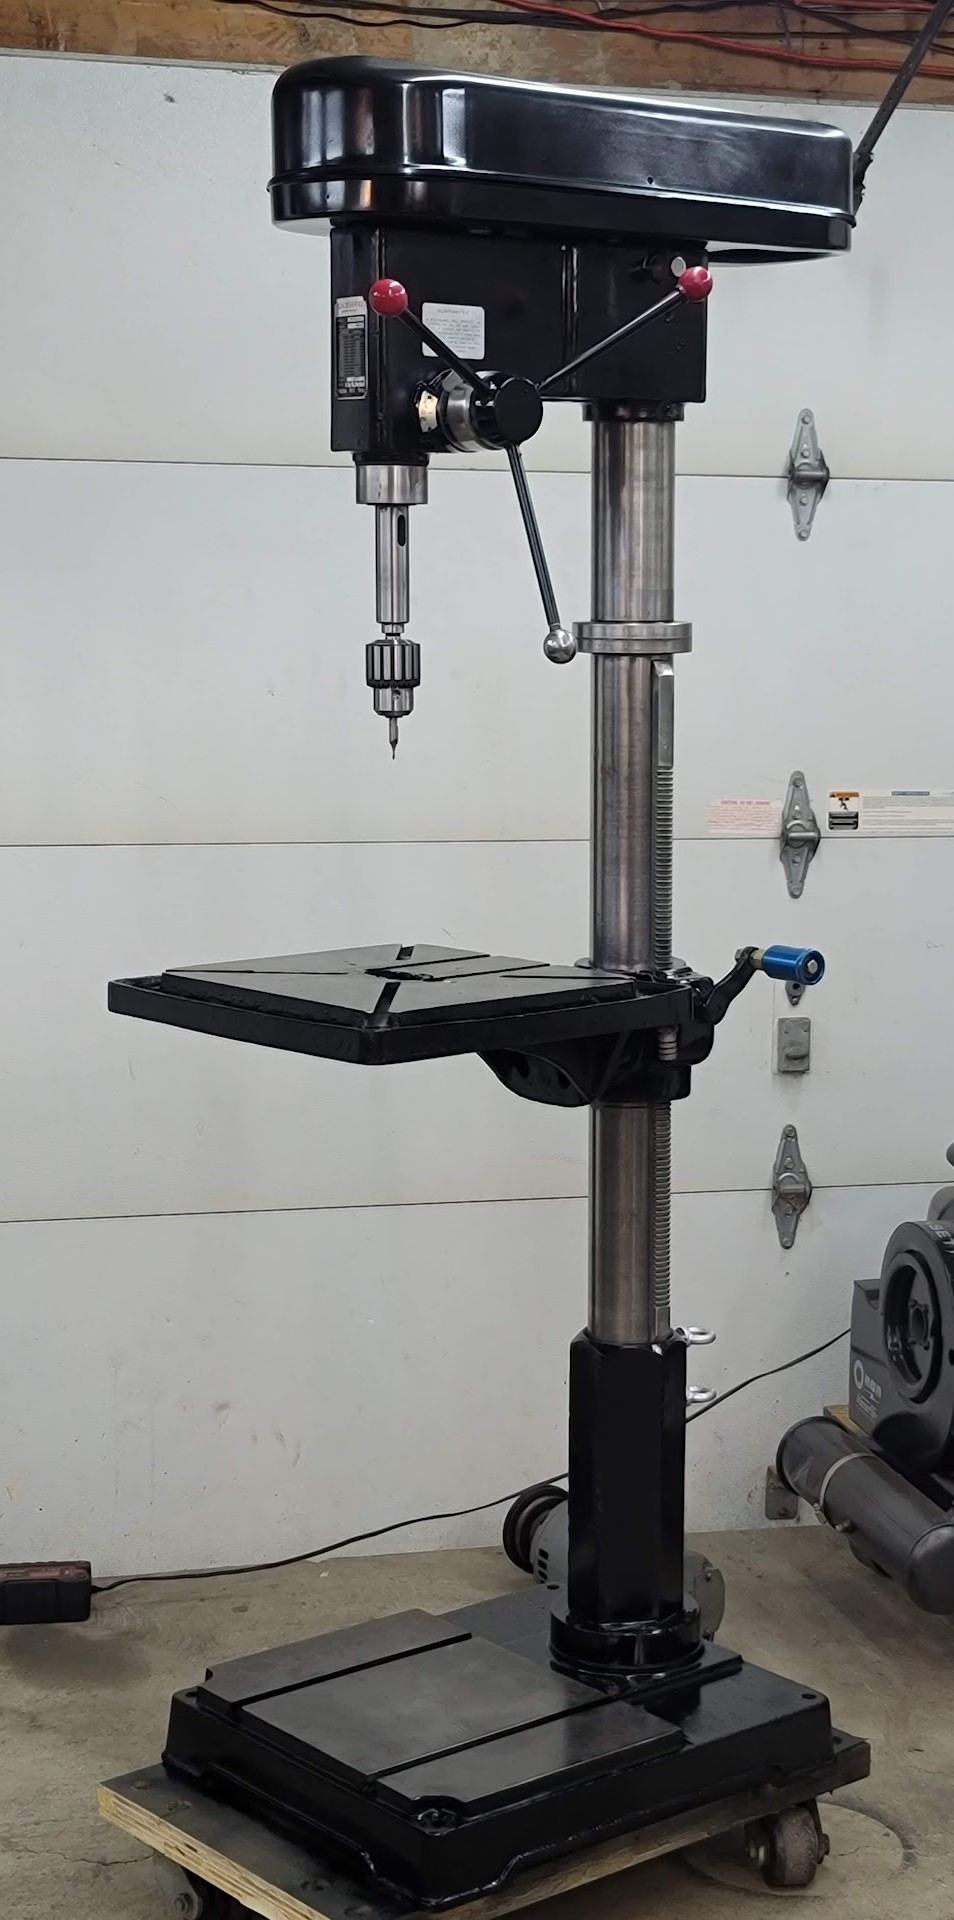
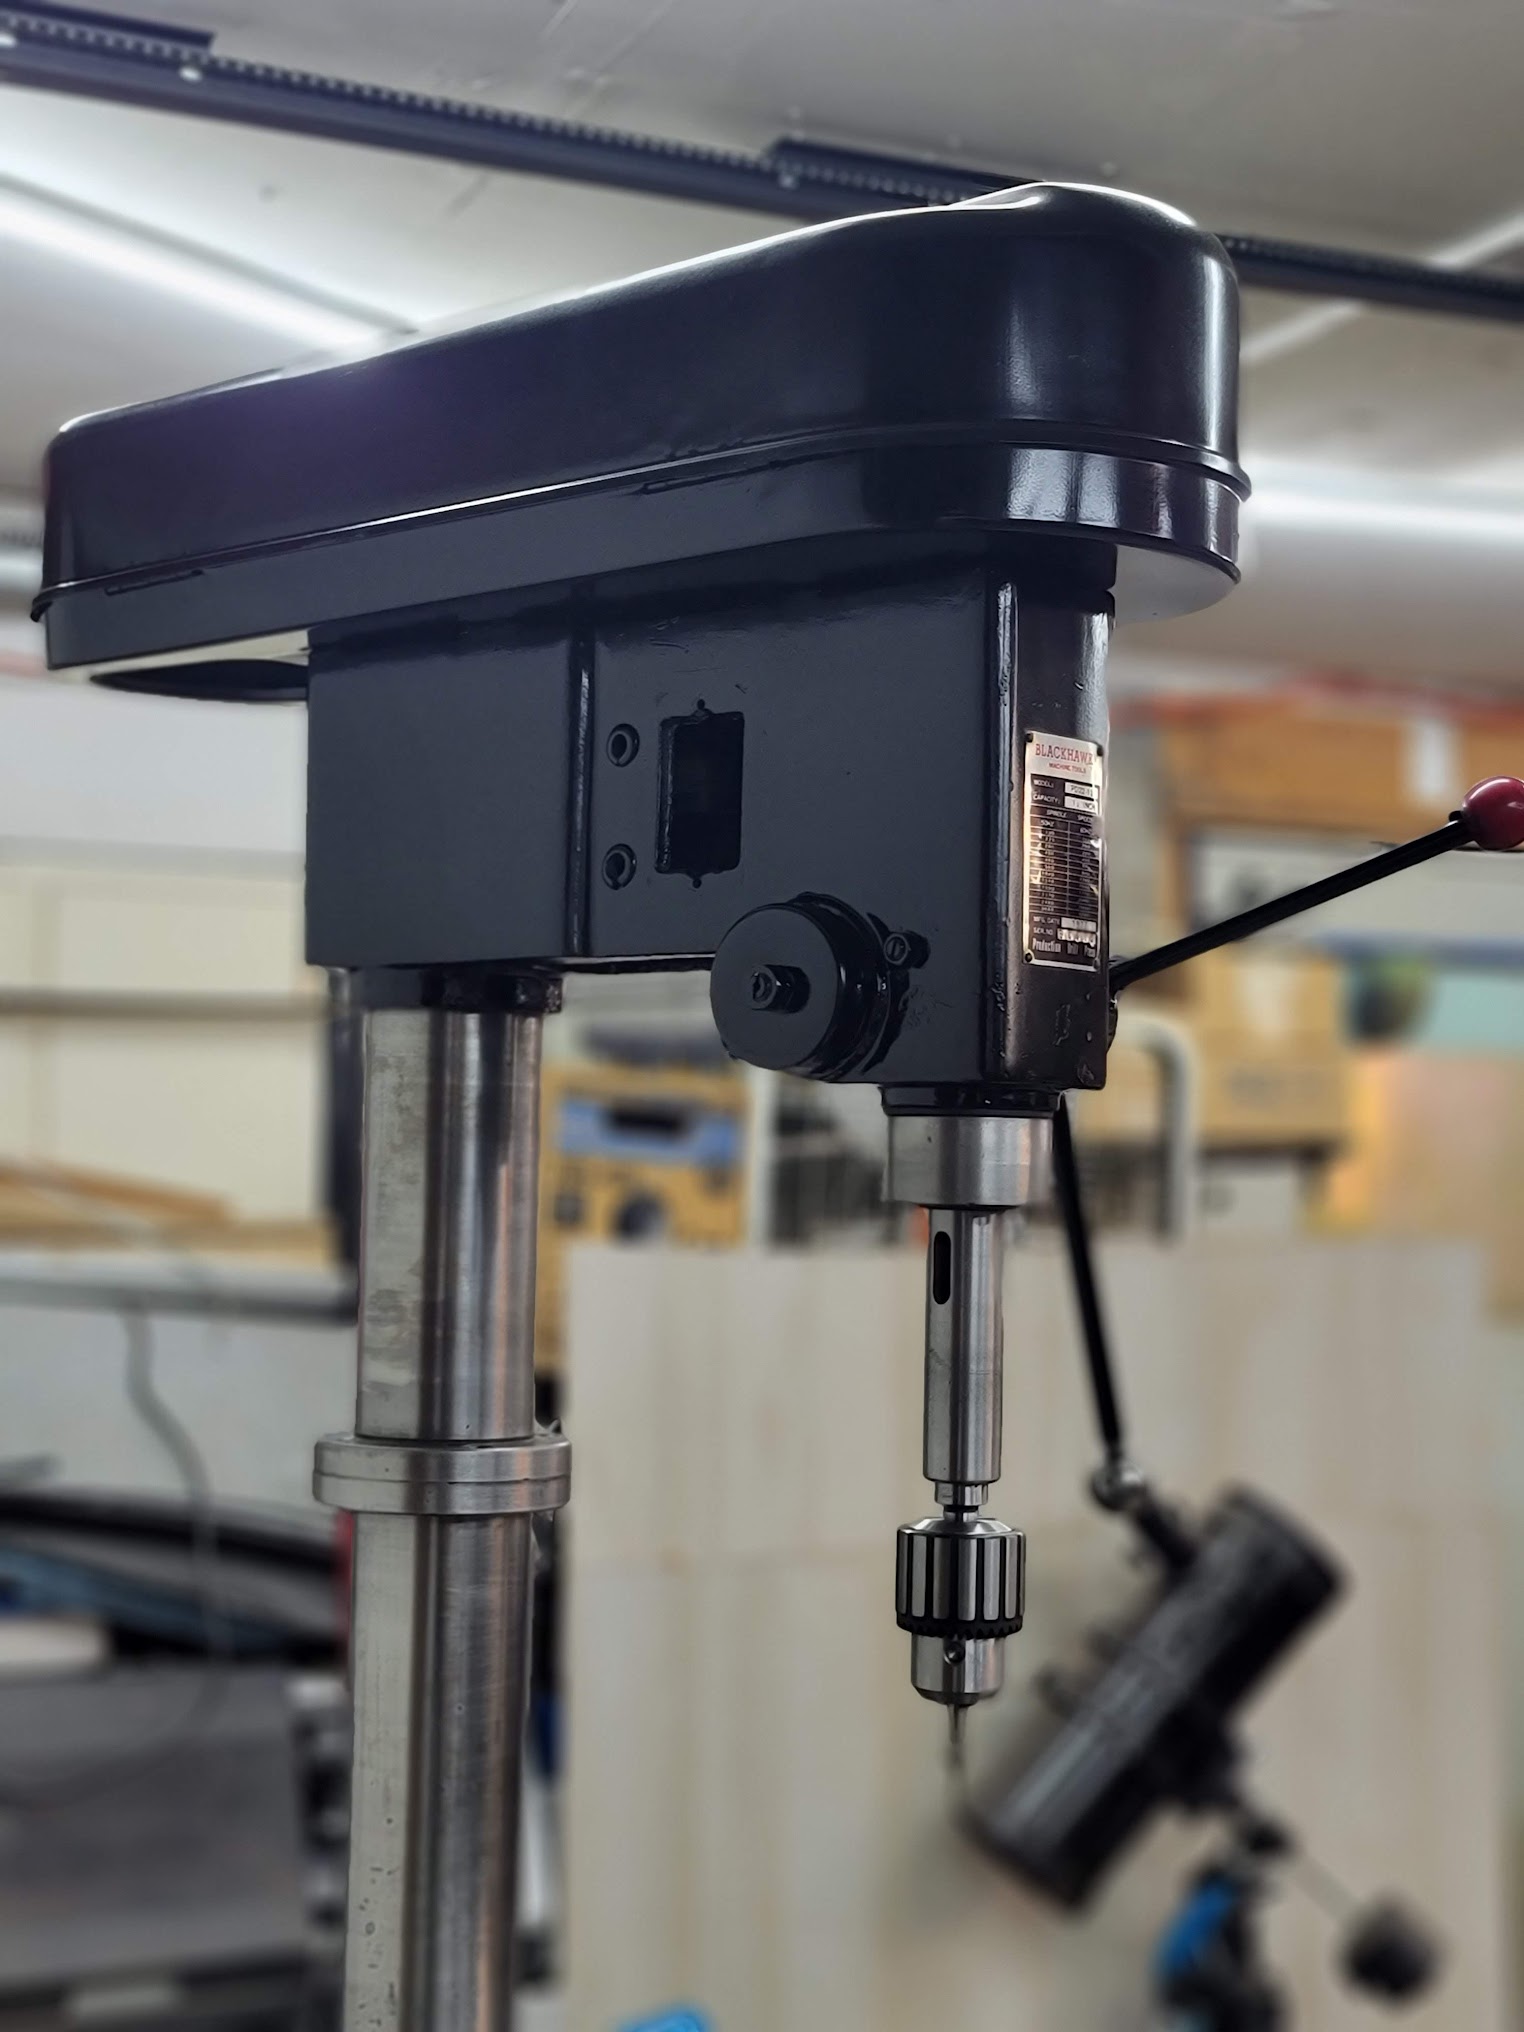
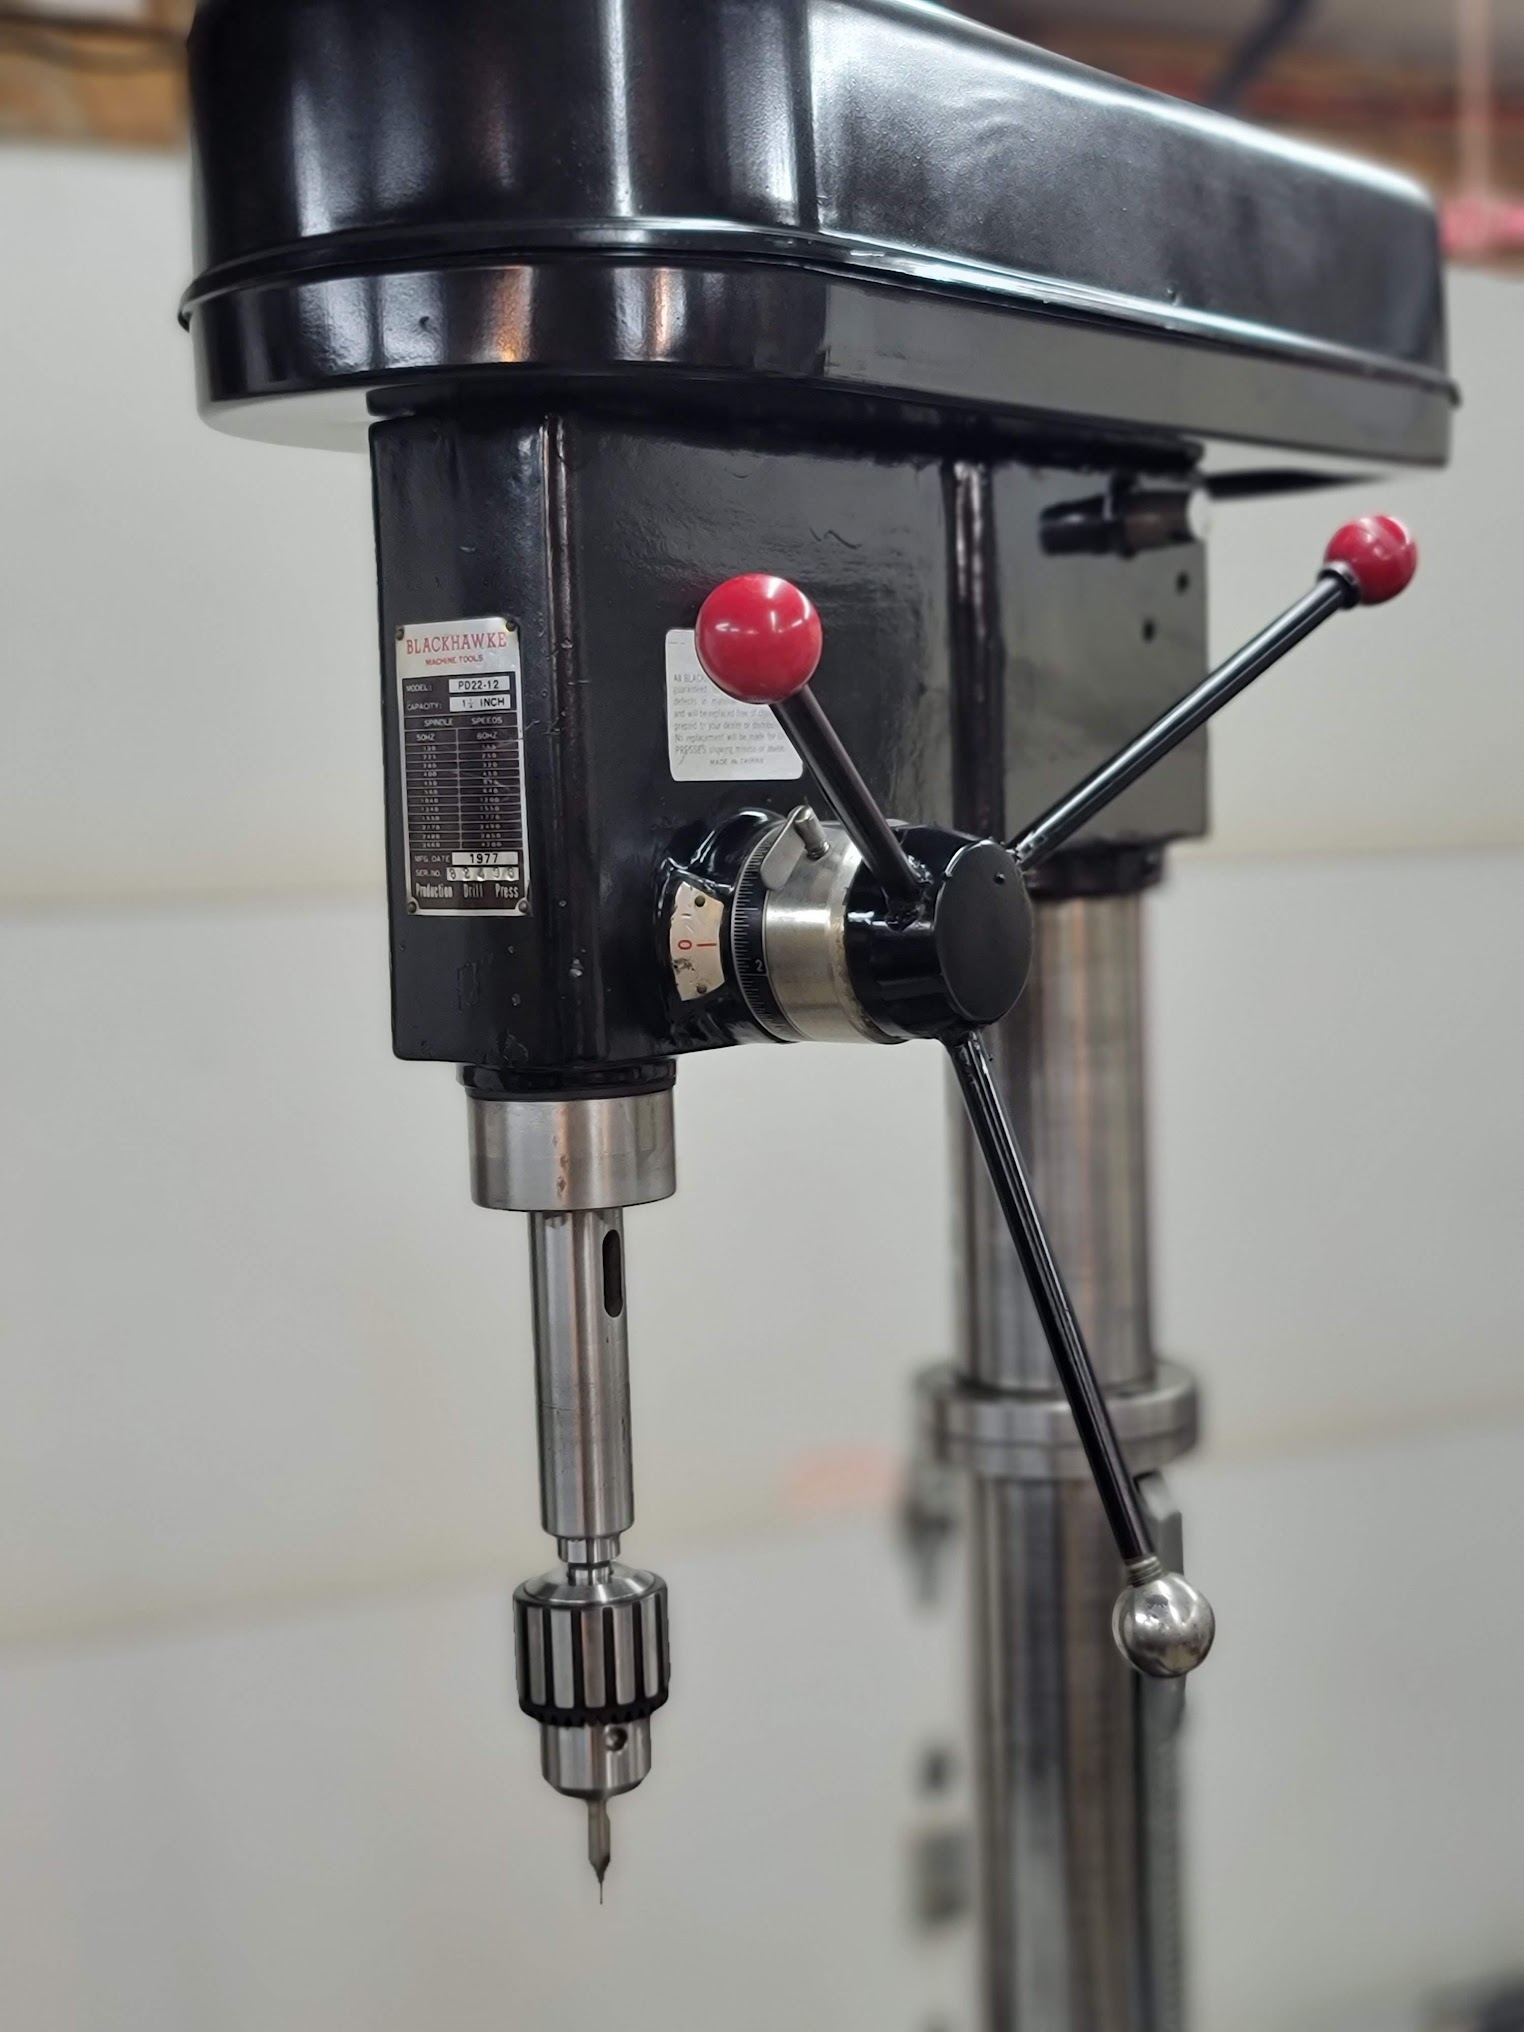
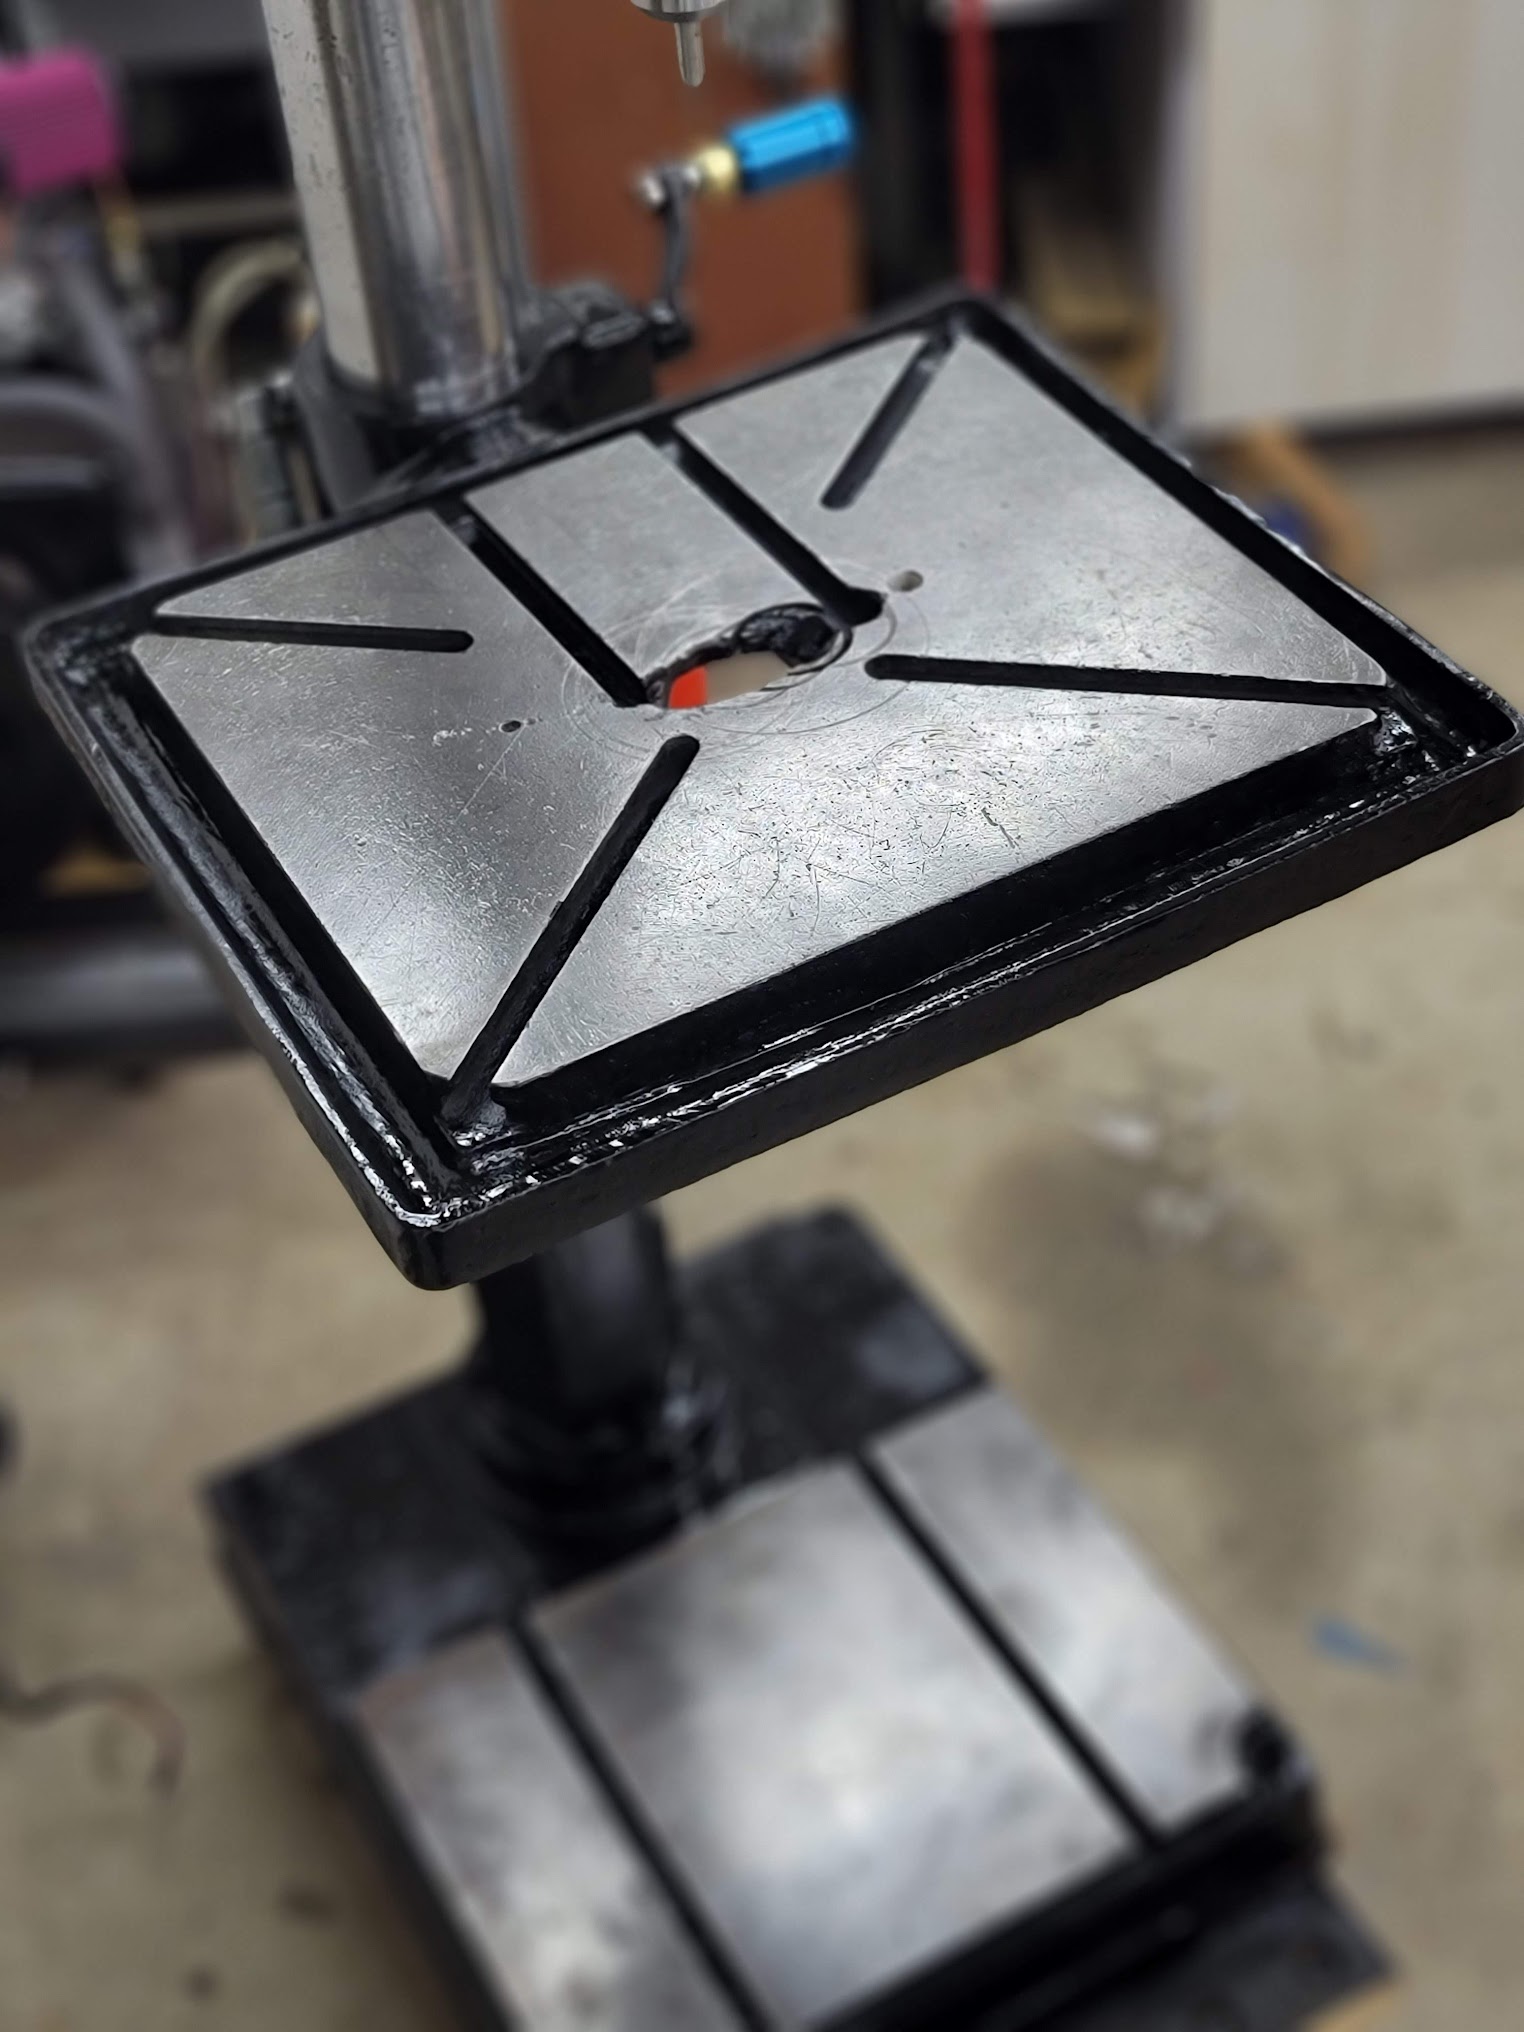
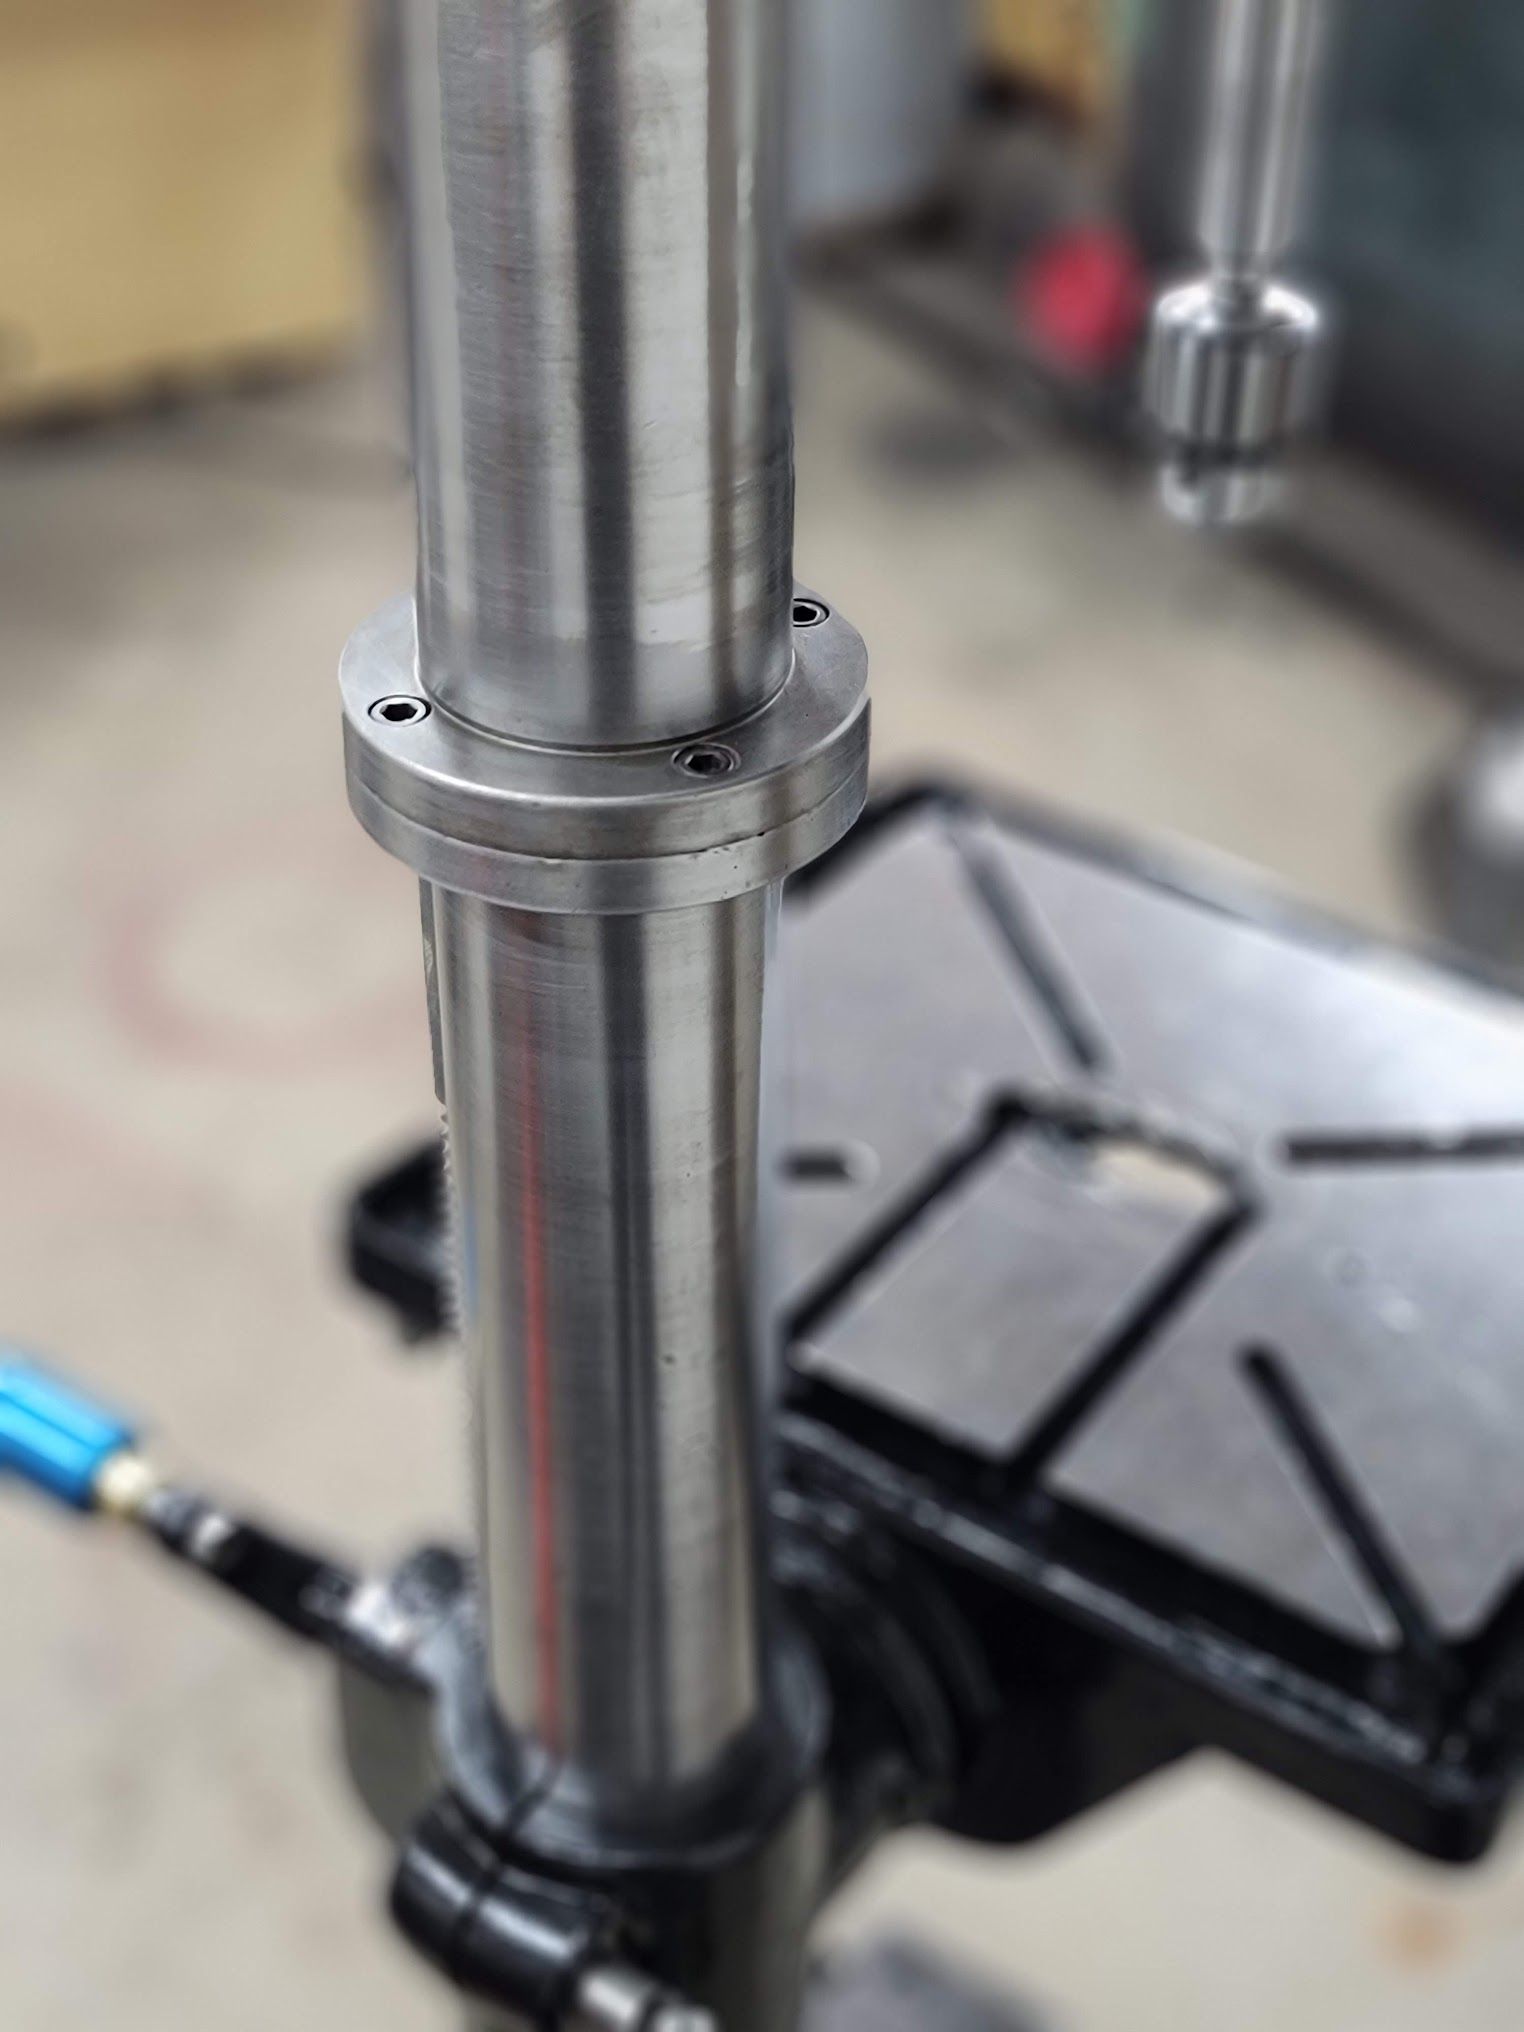
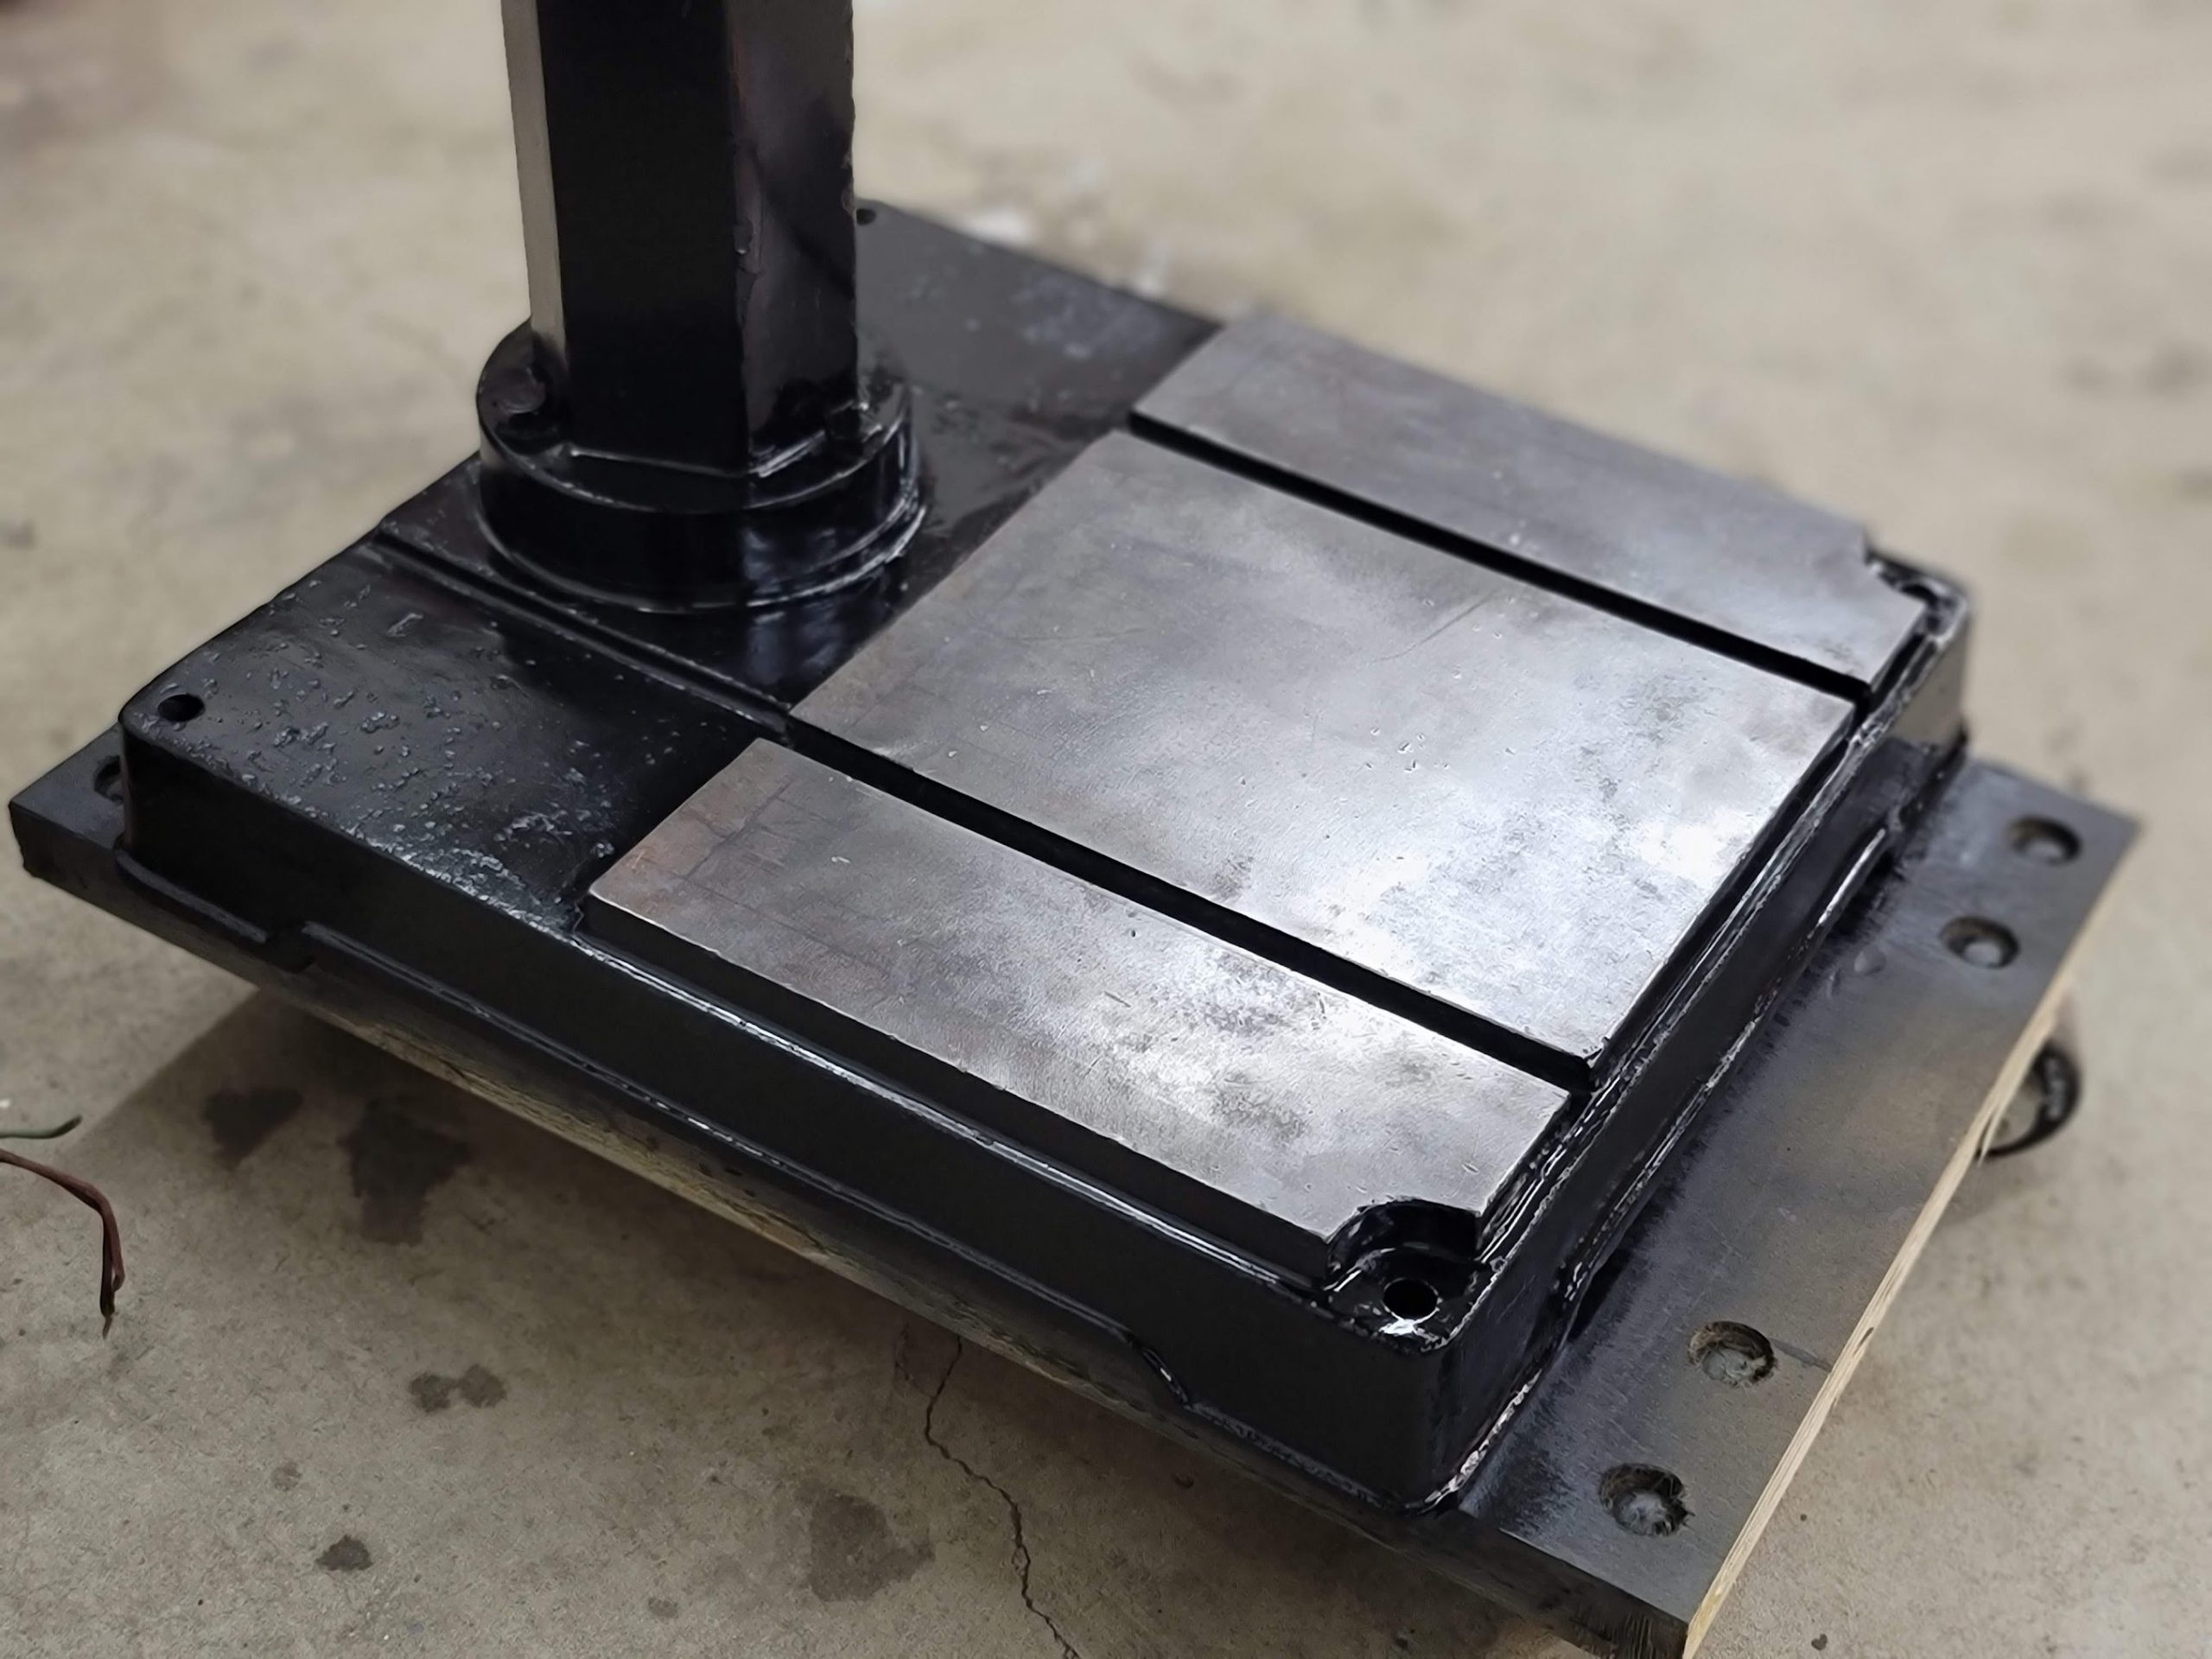
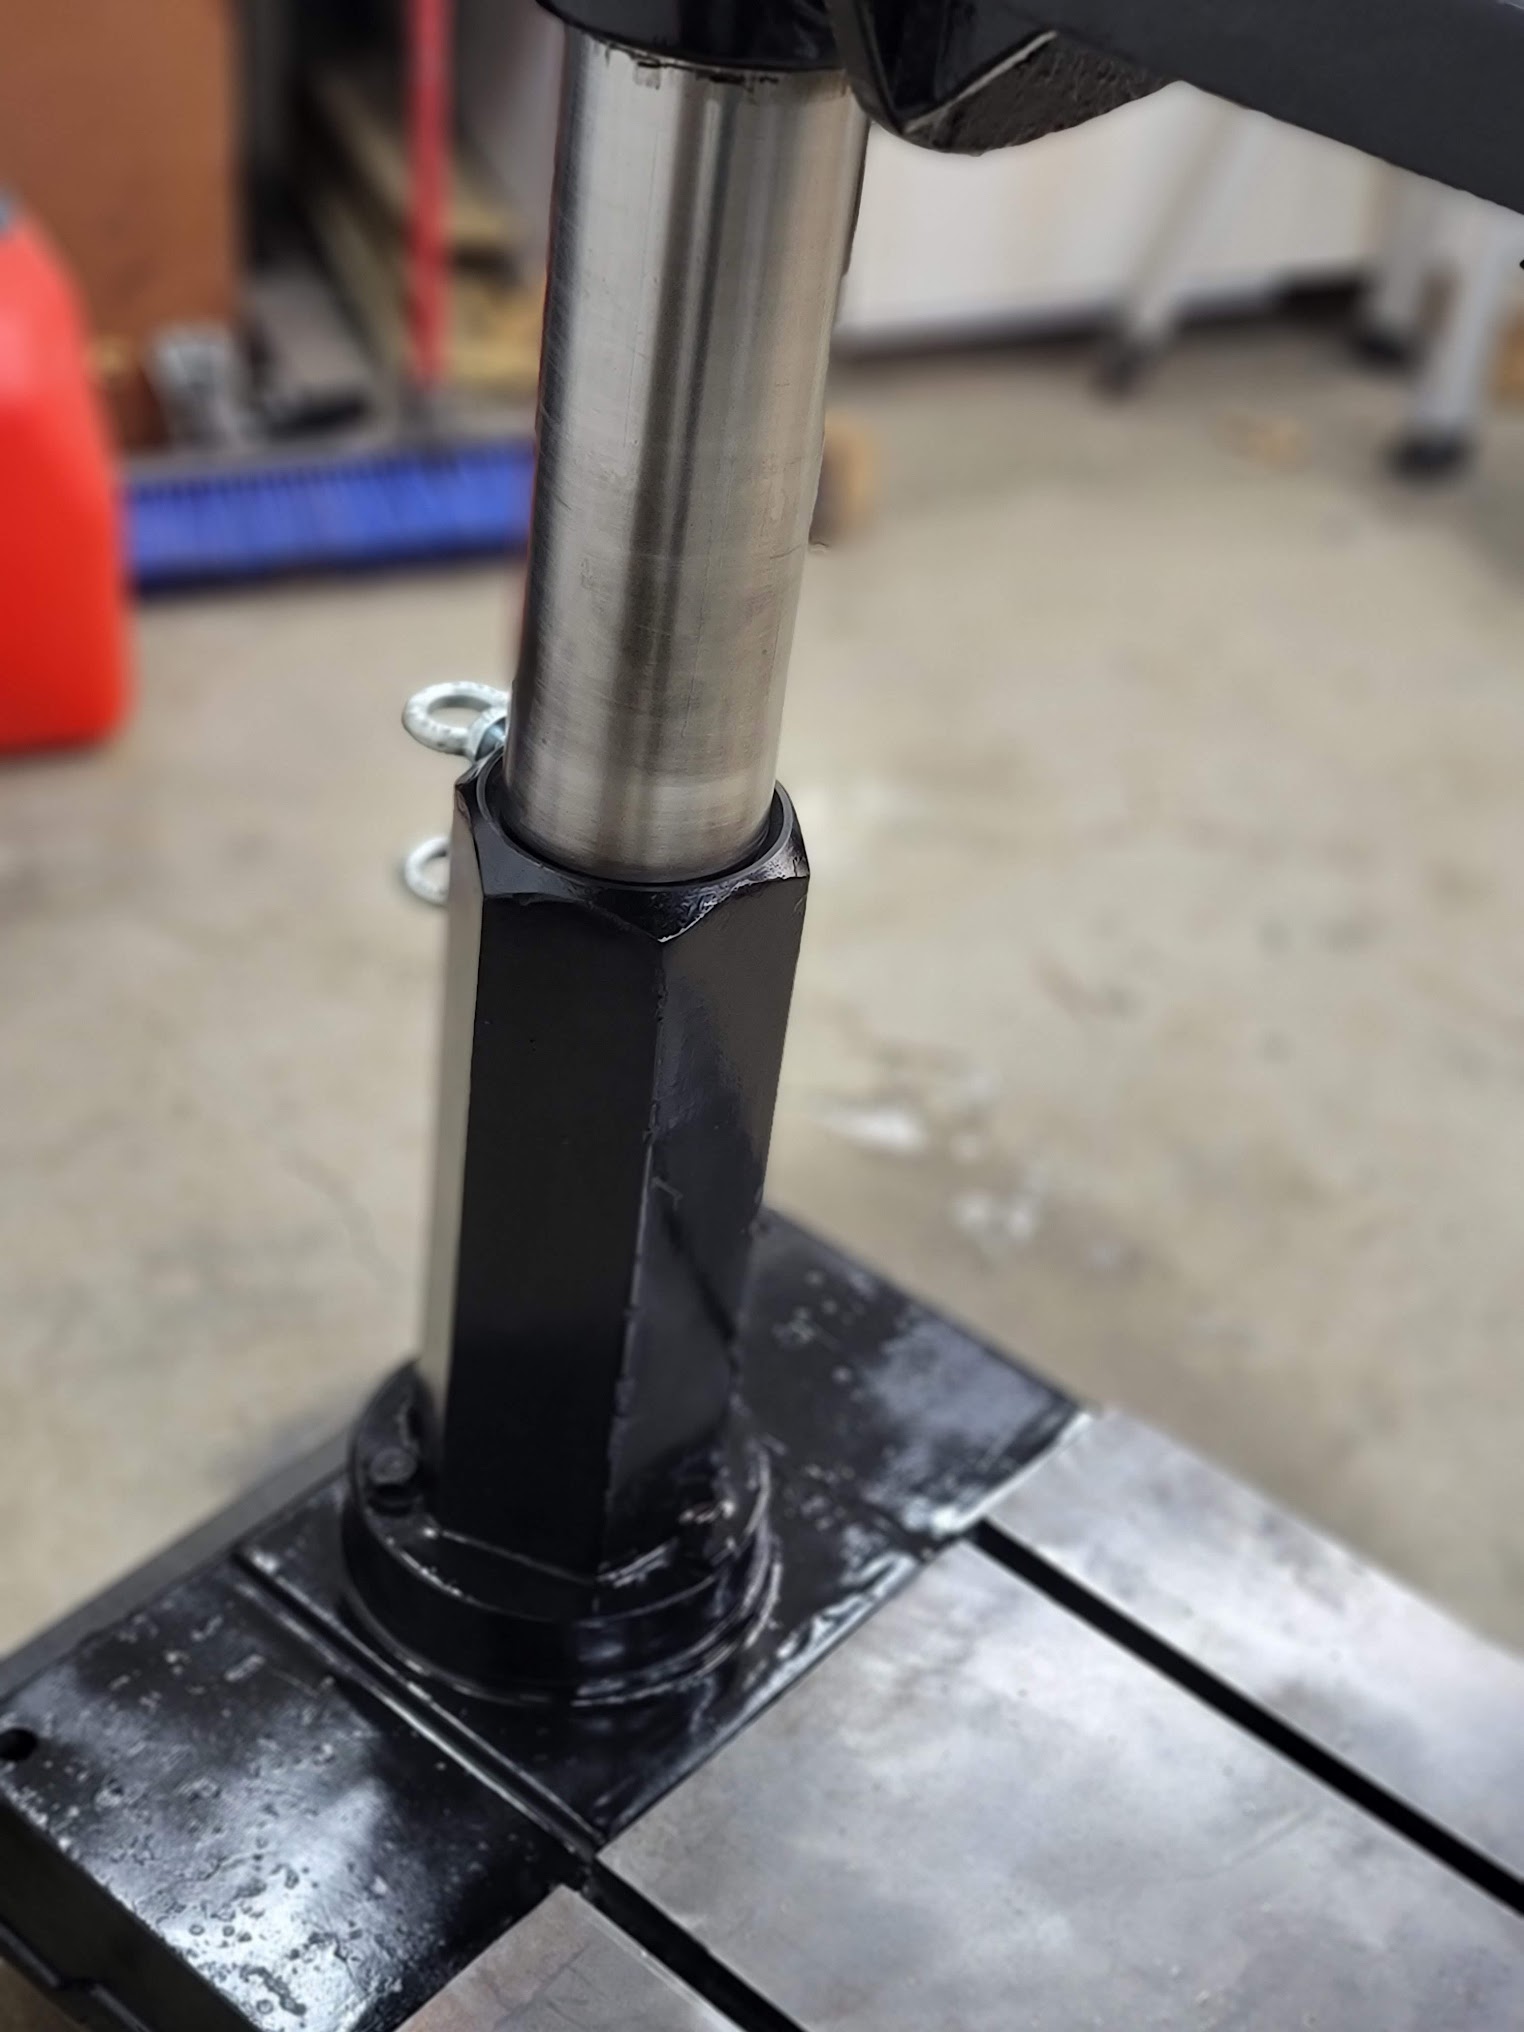
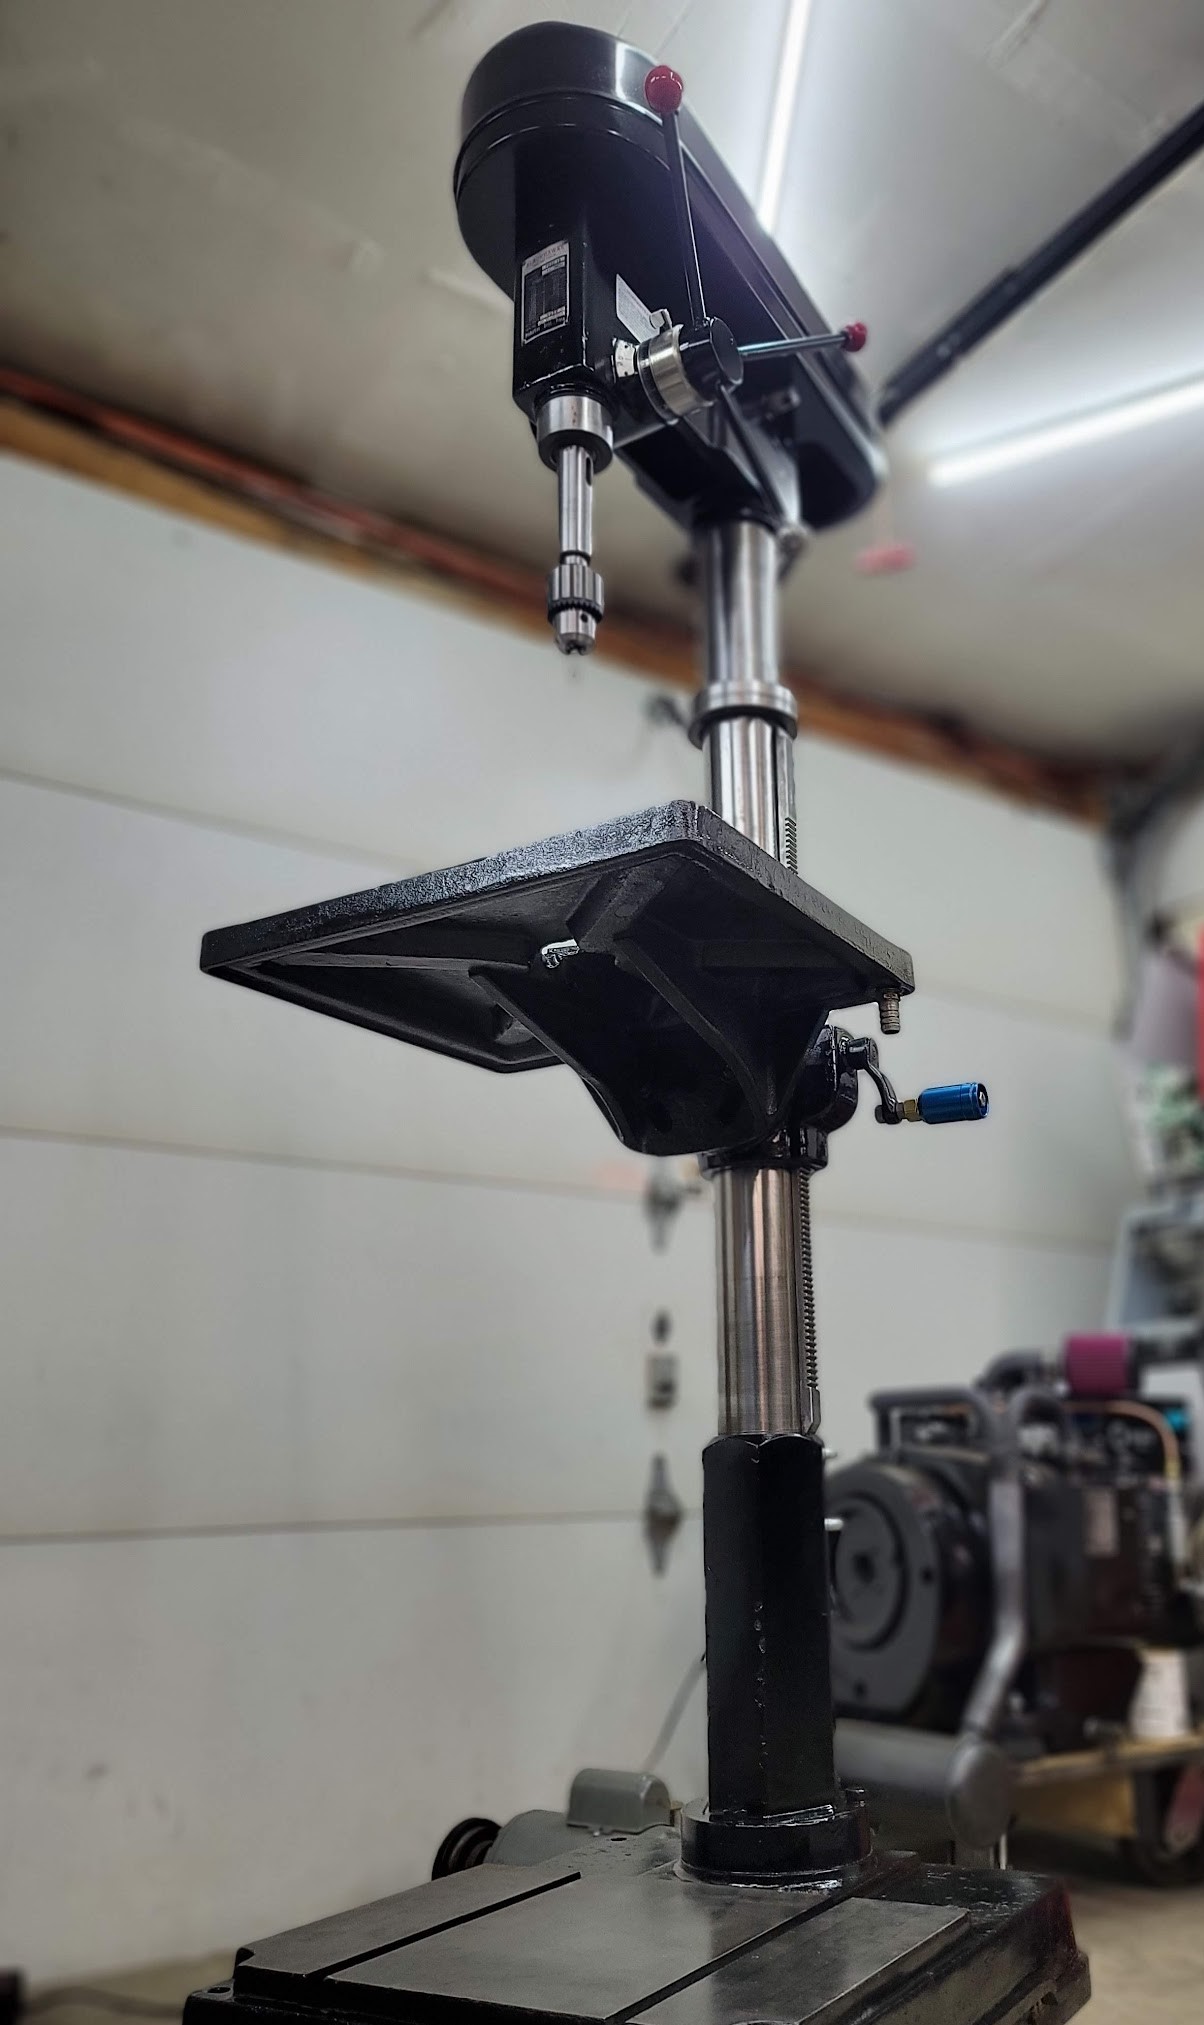
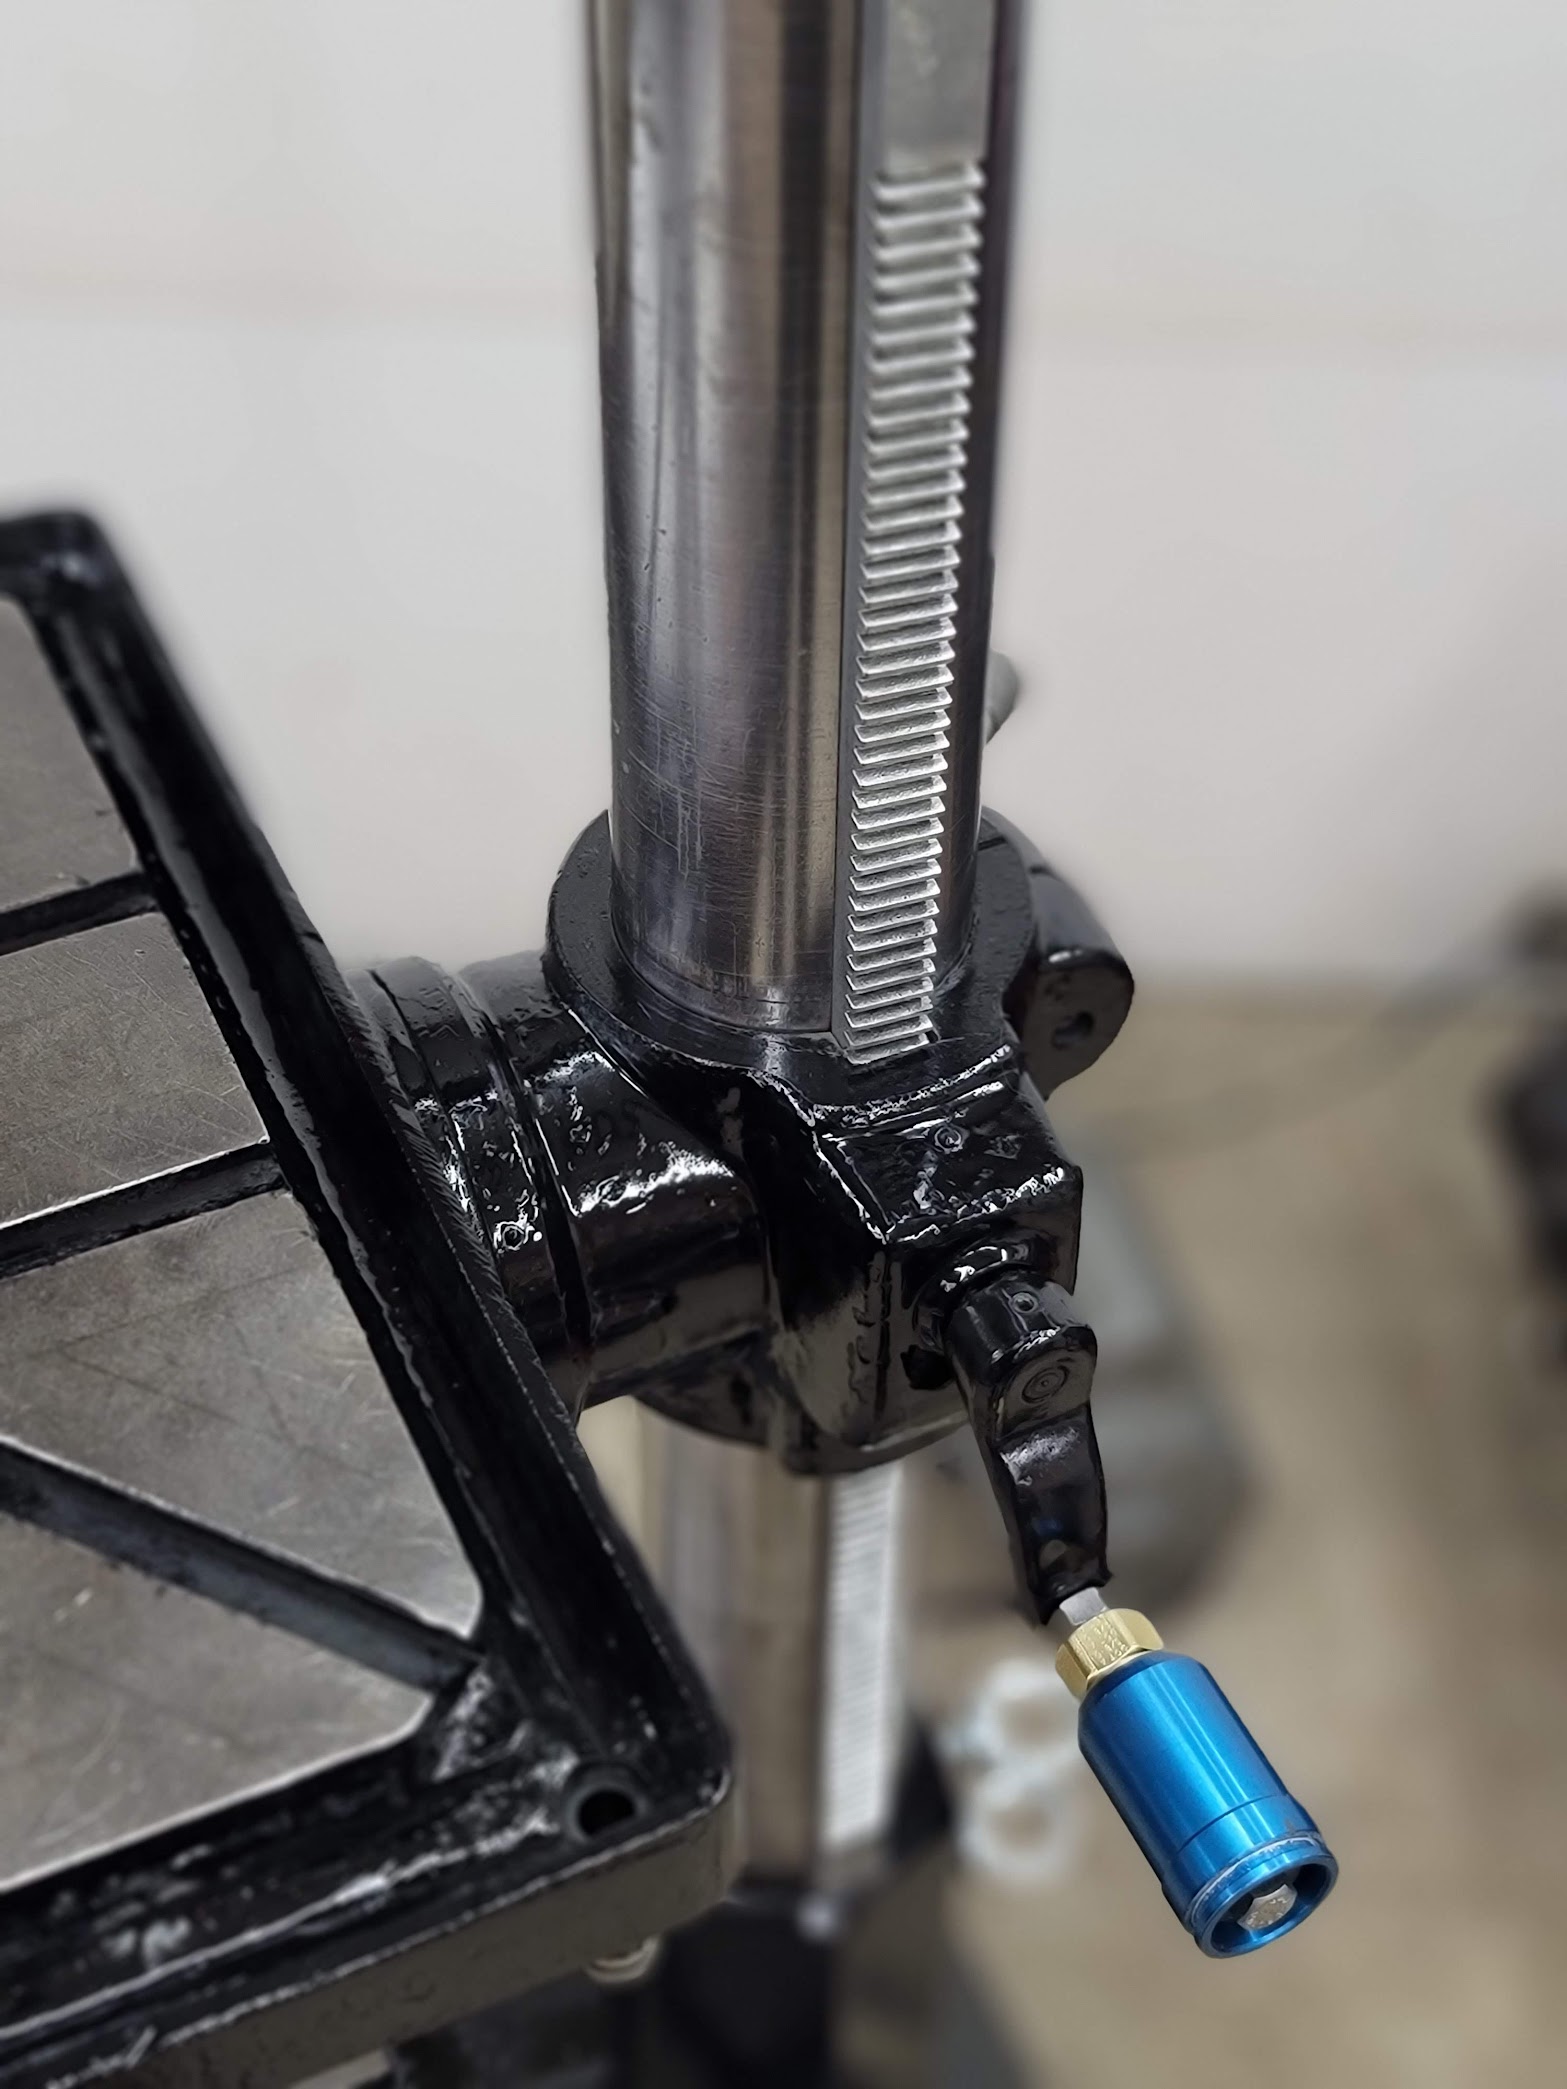
Turned out pretty good so far! Next step is to clean up the motor, but first, I needed a new table crank handle, so more on that next,
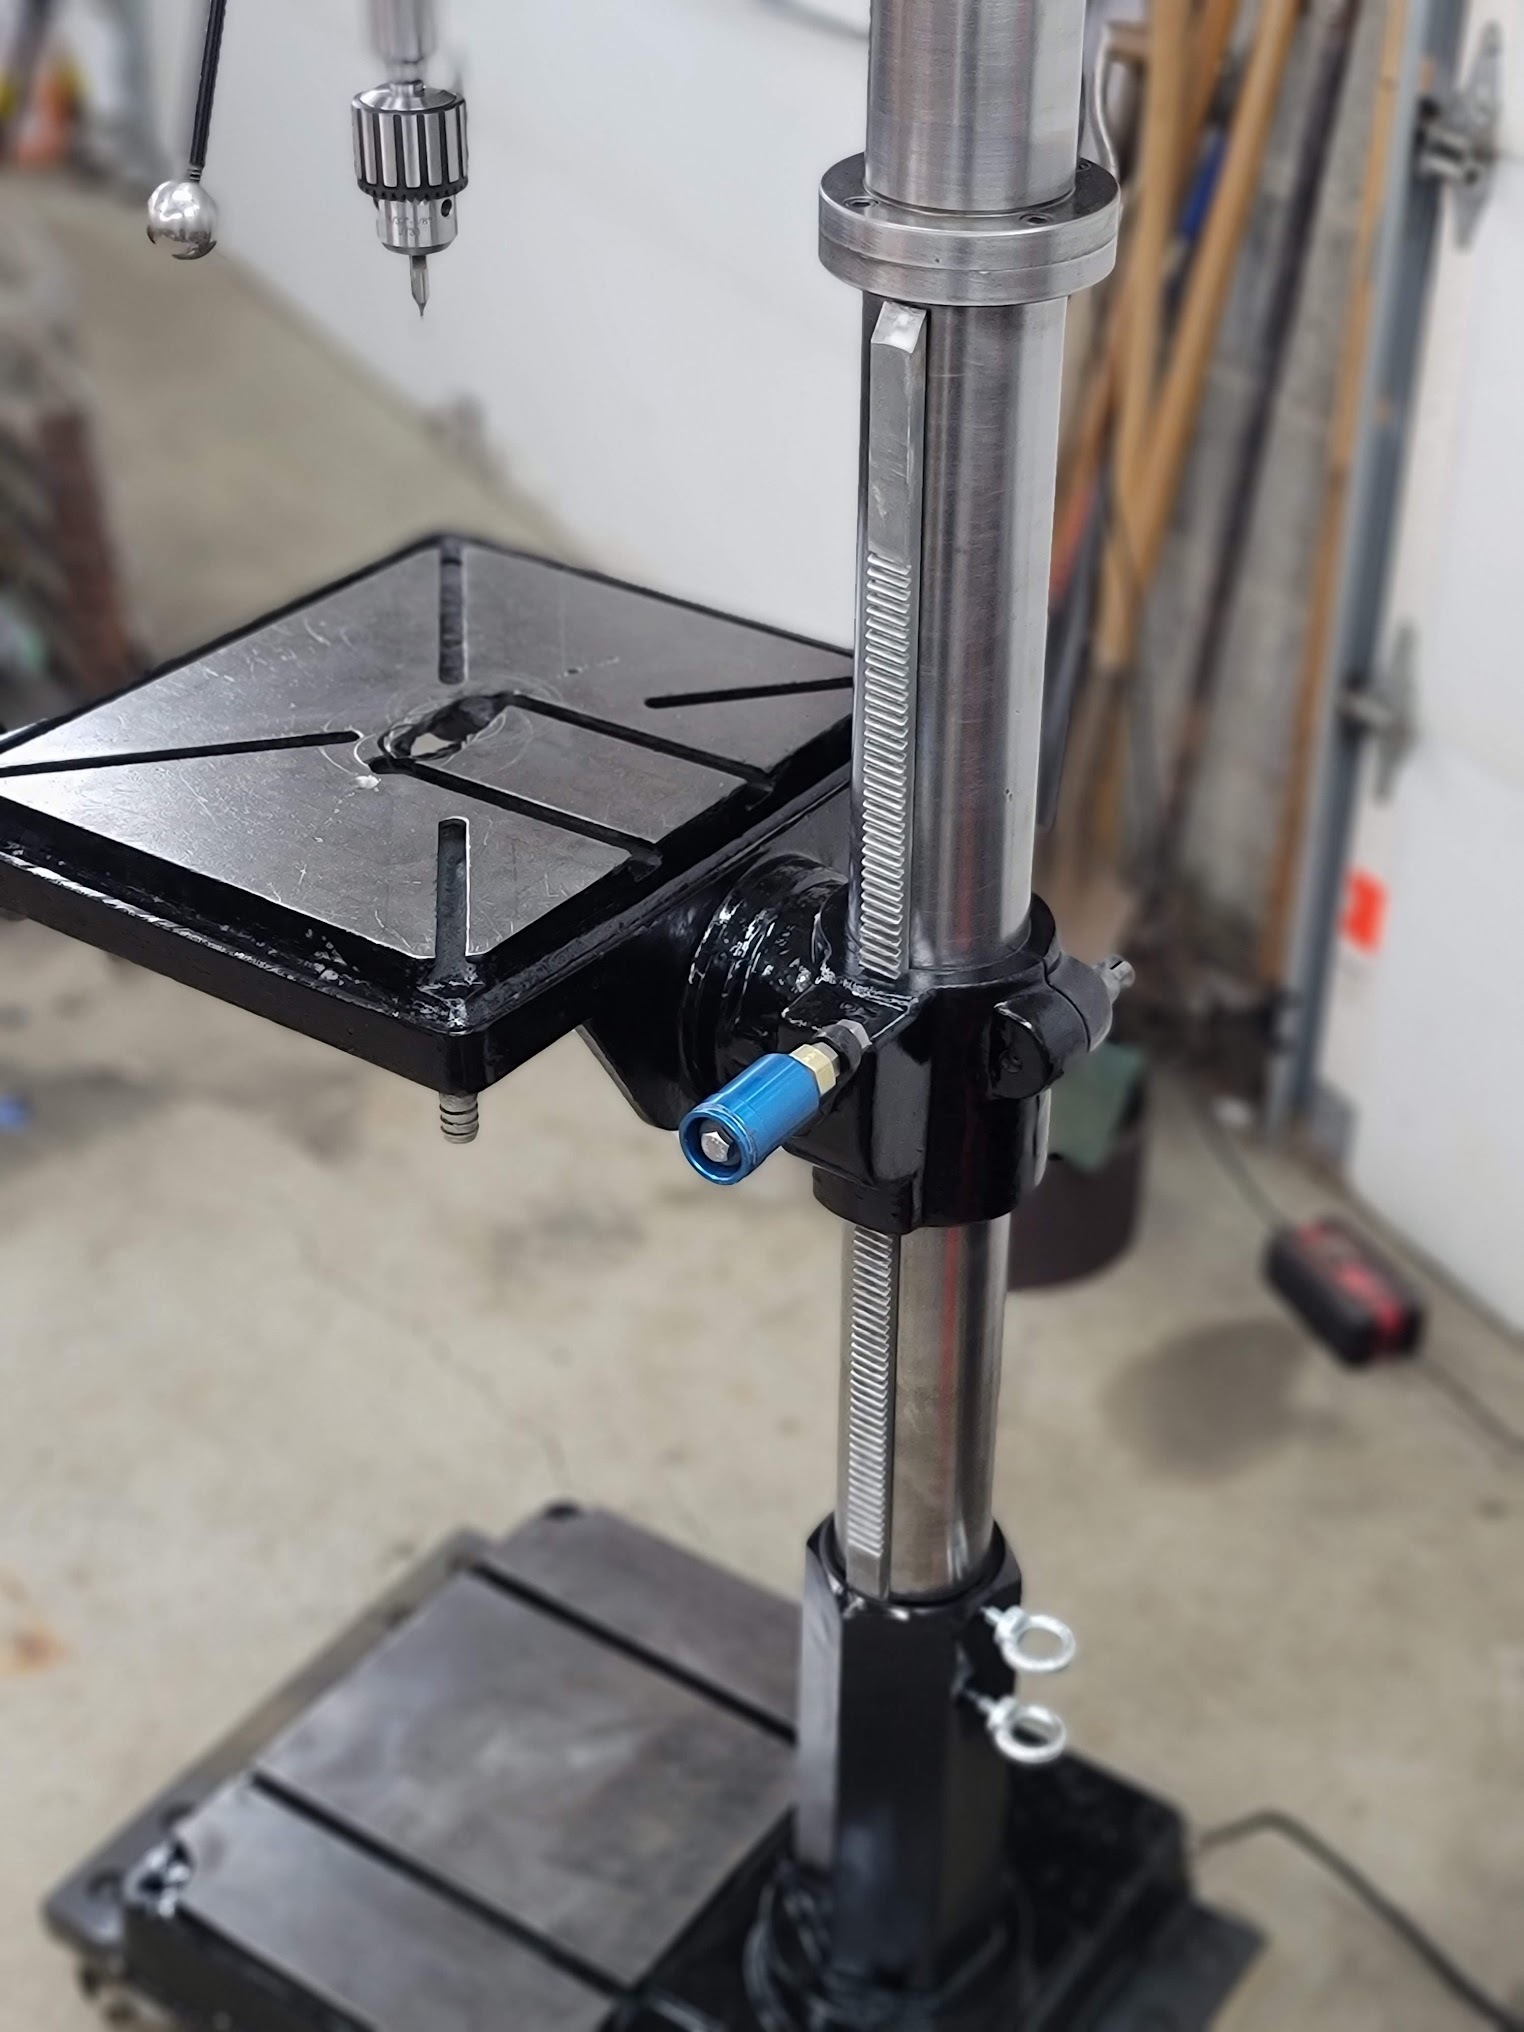
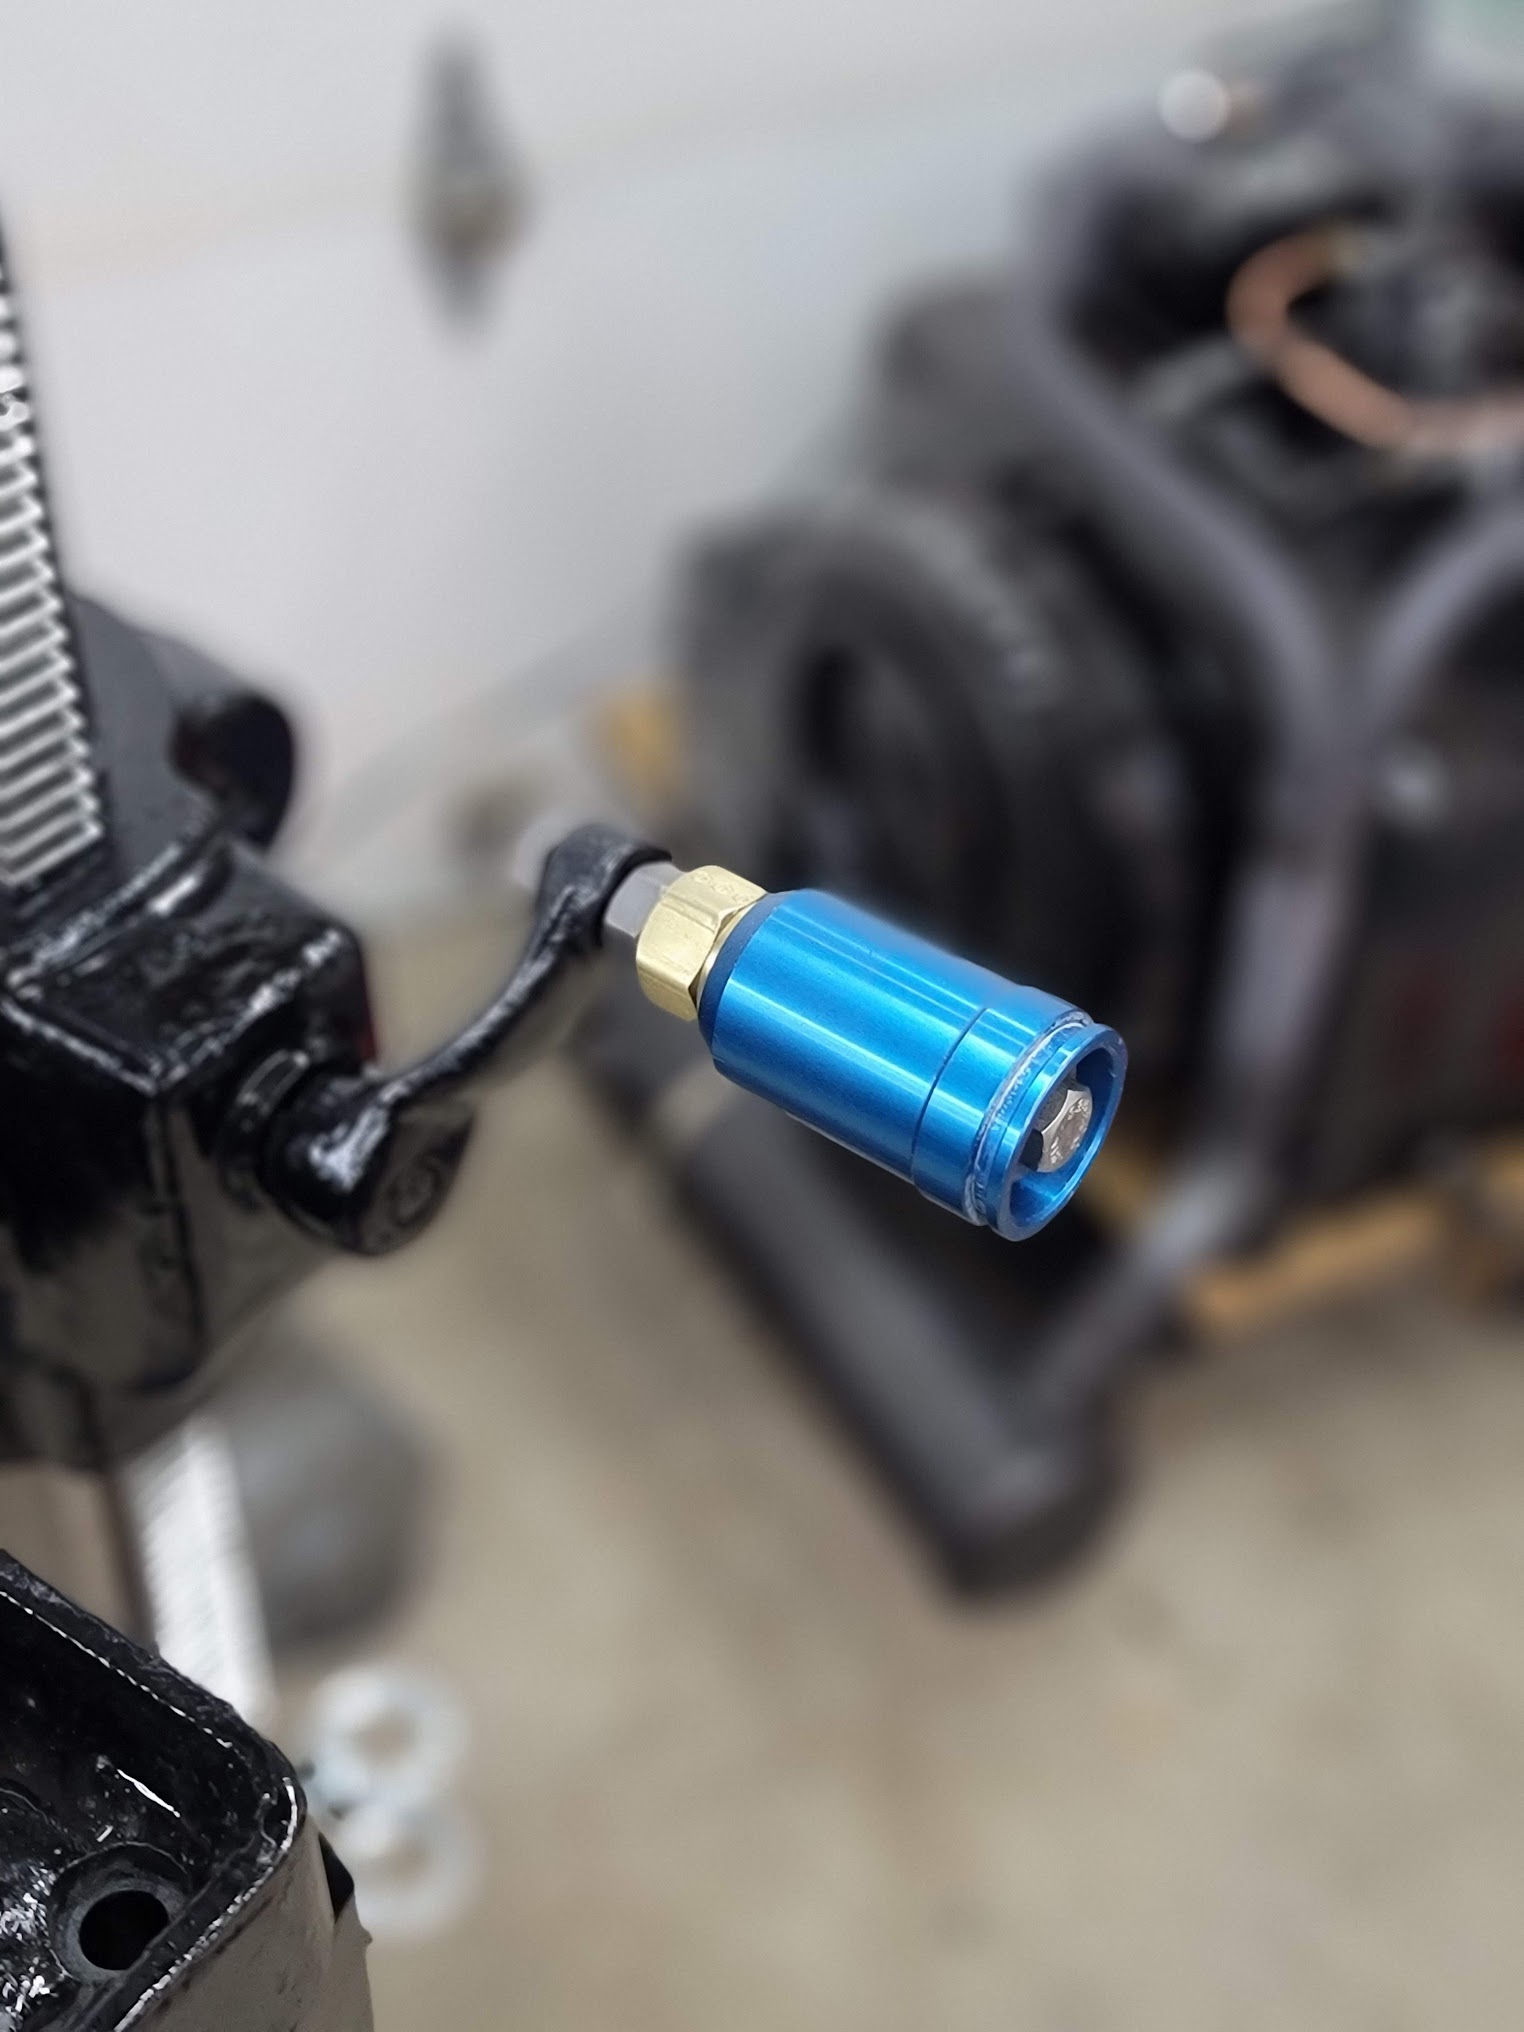
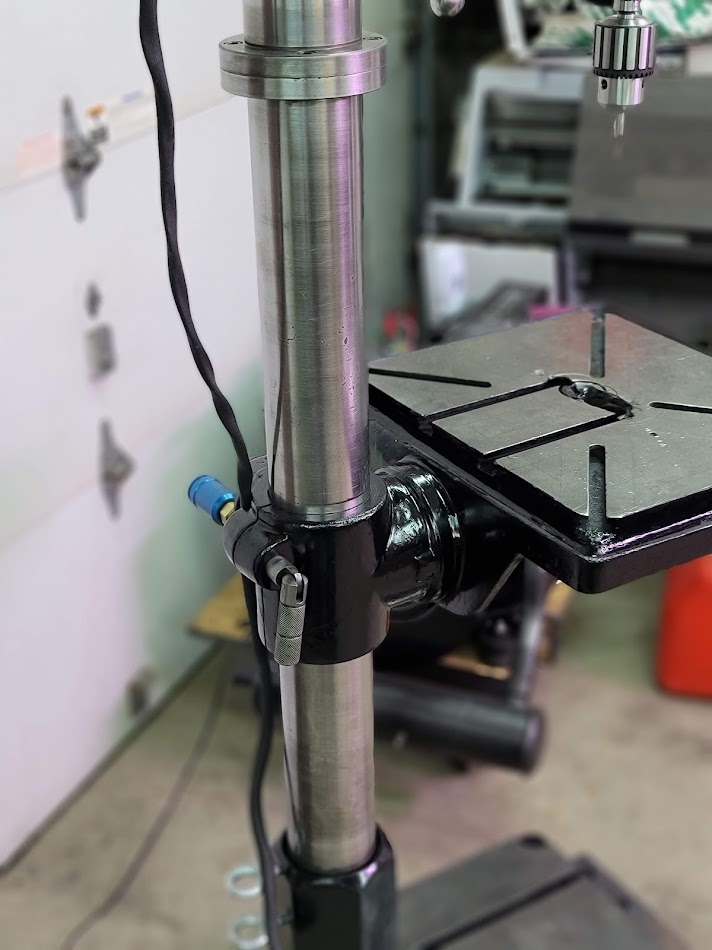
Used the fill valve from a Liquid oxygen tank and a few plumbing fittings, to make a rotating handle for the crank, works great!
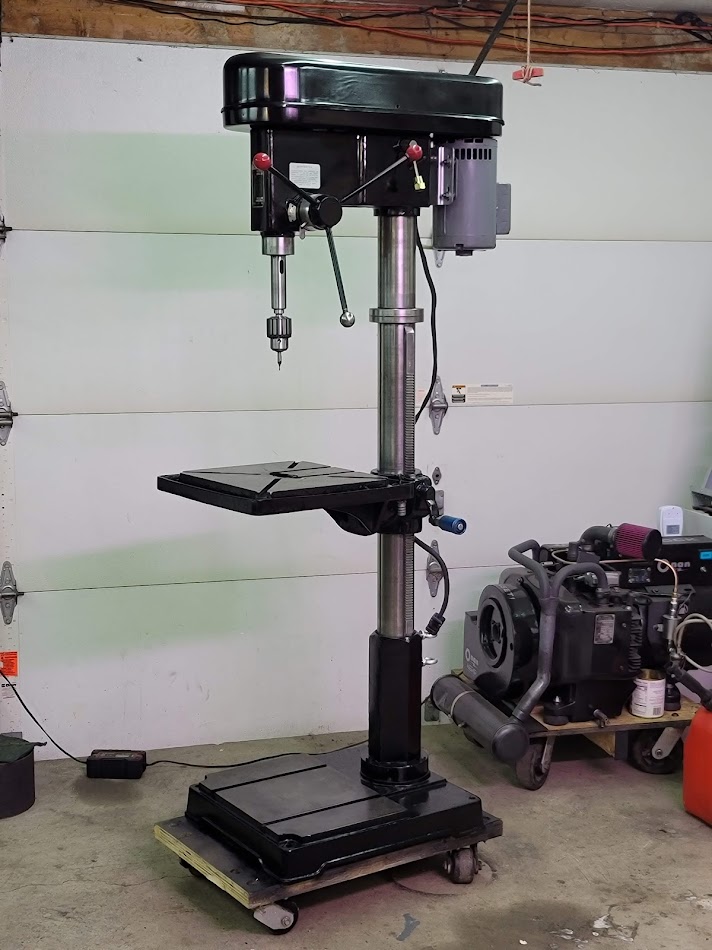
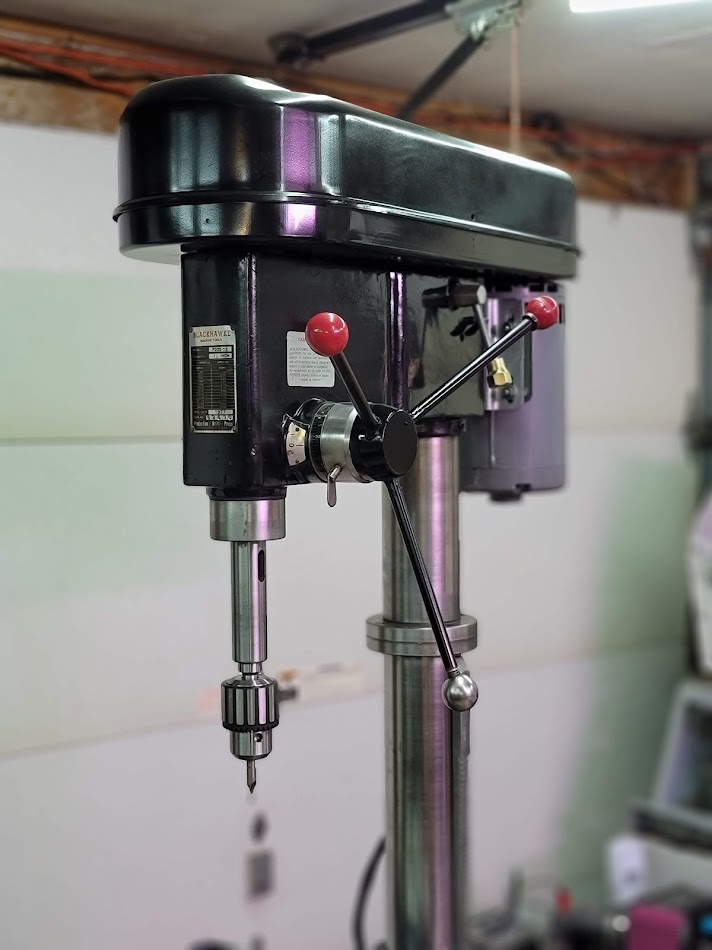
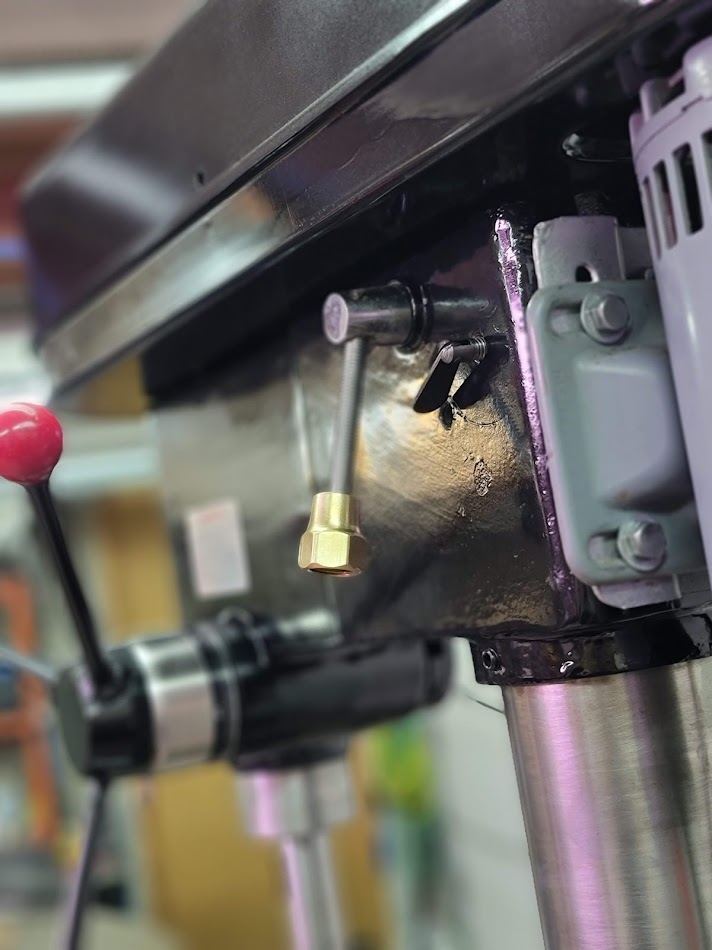
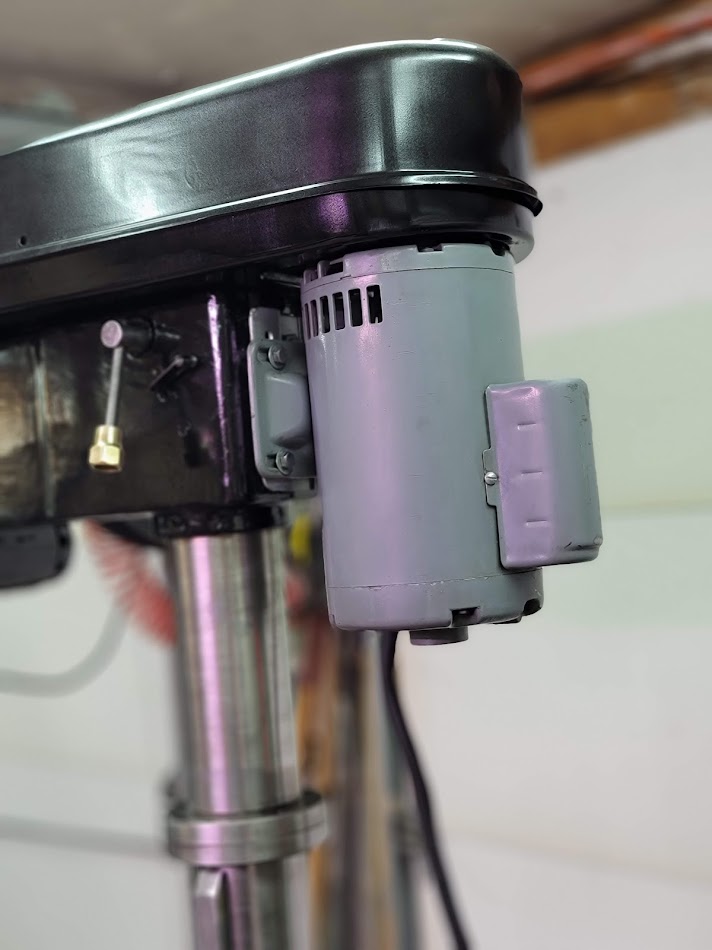
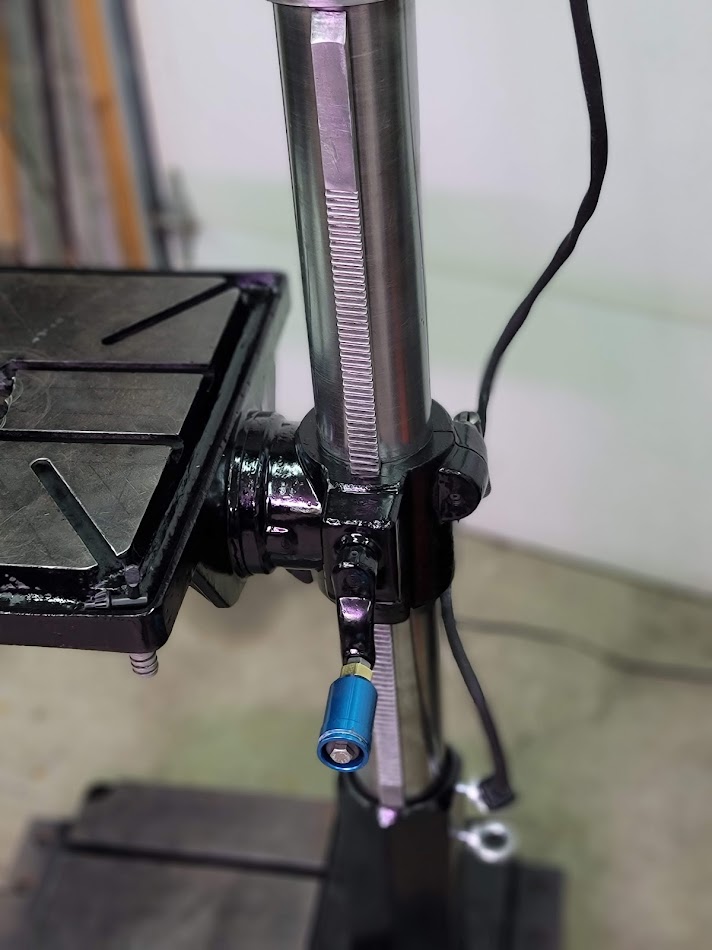
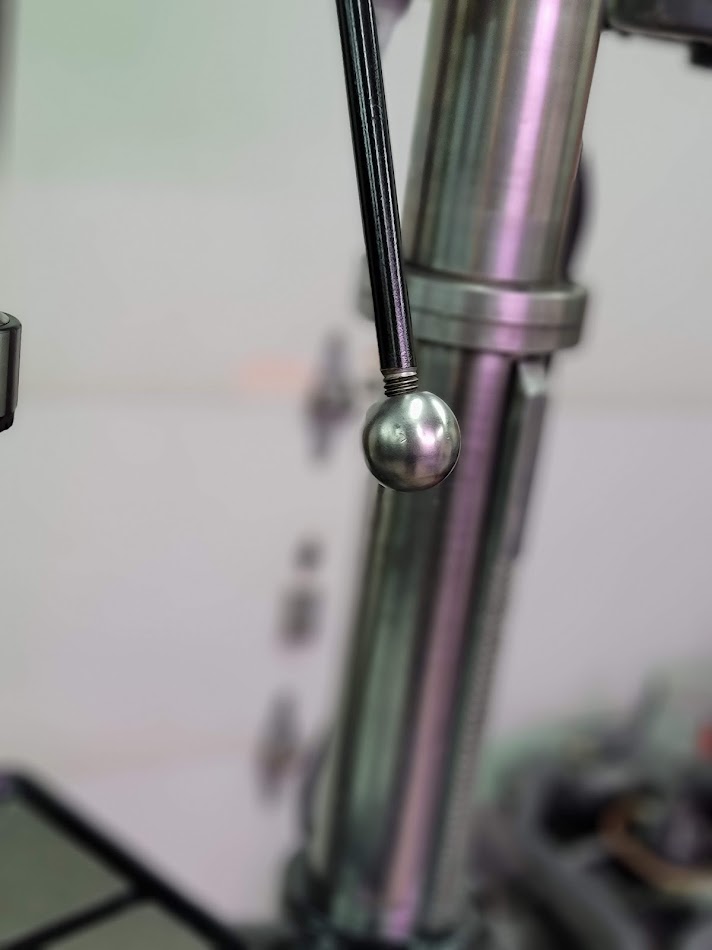
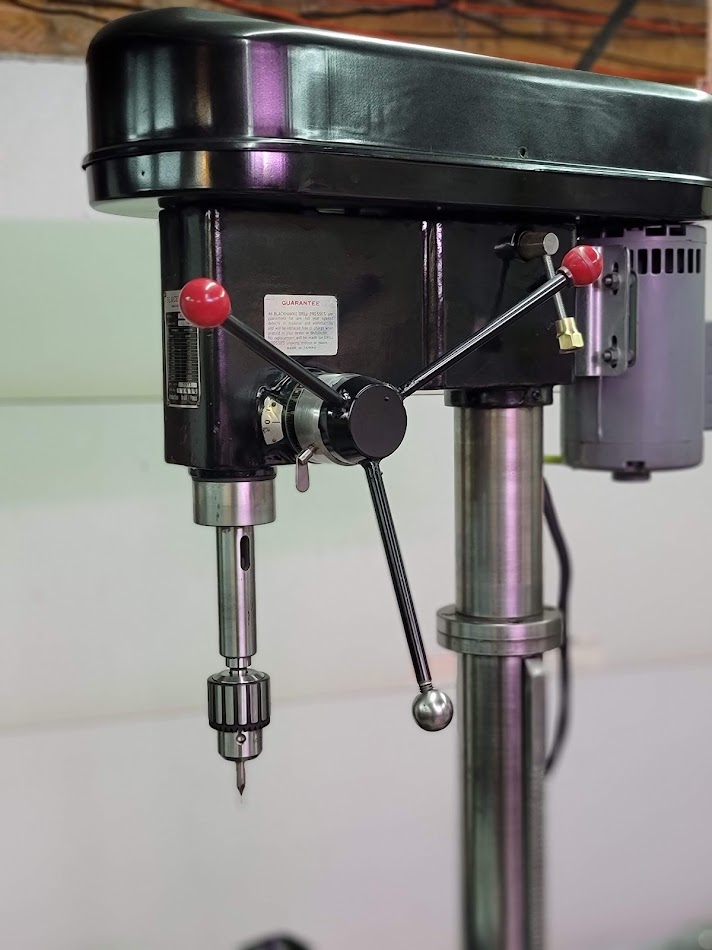
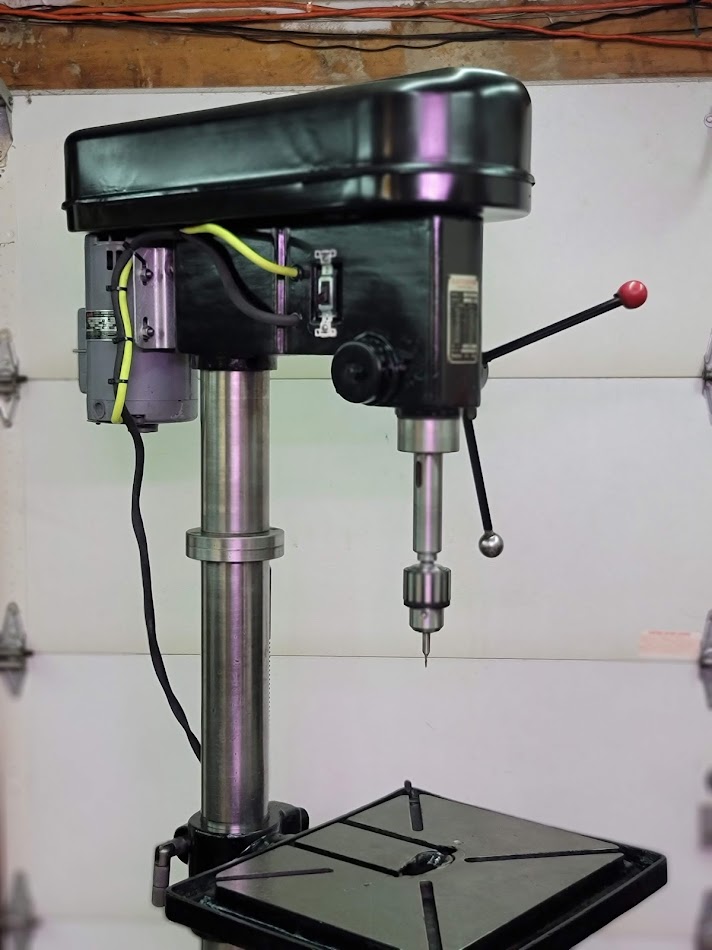
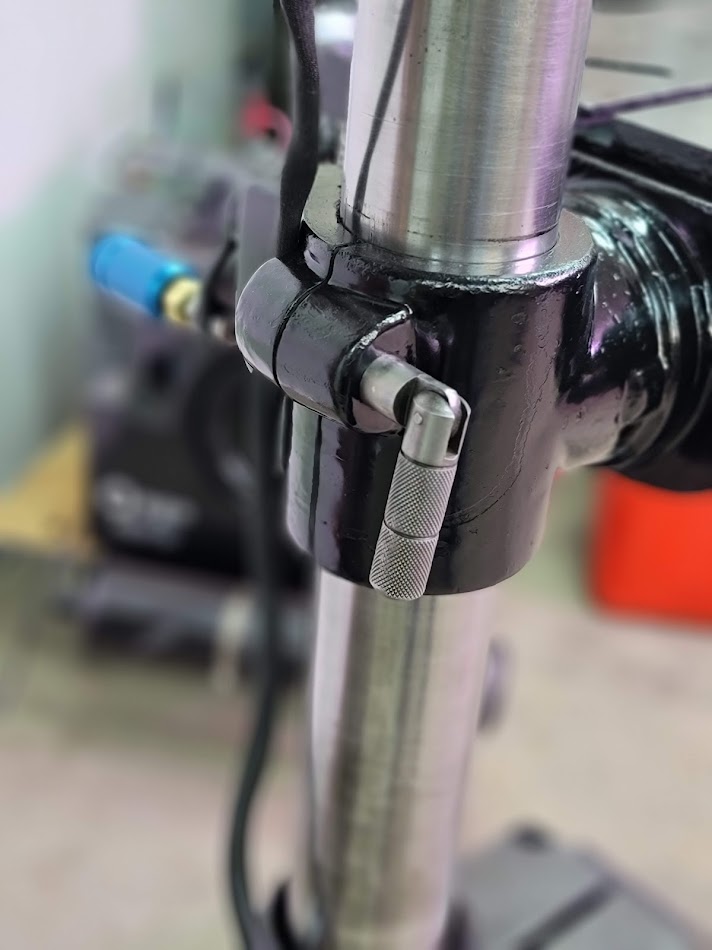
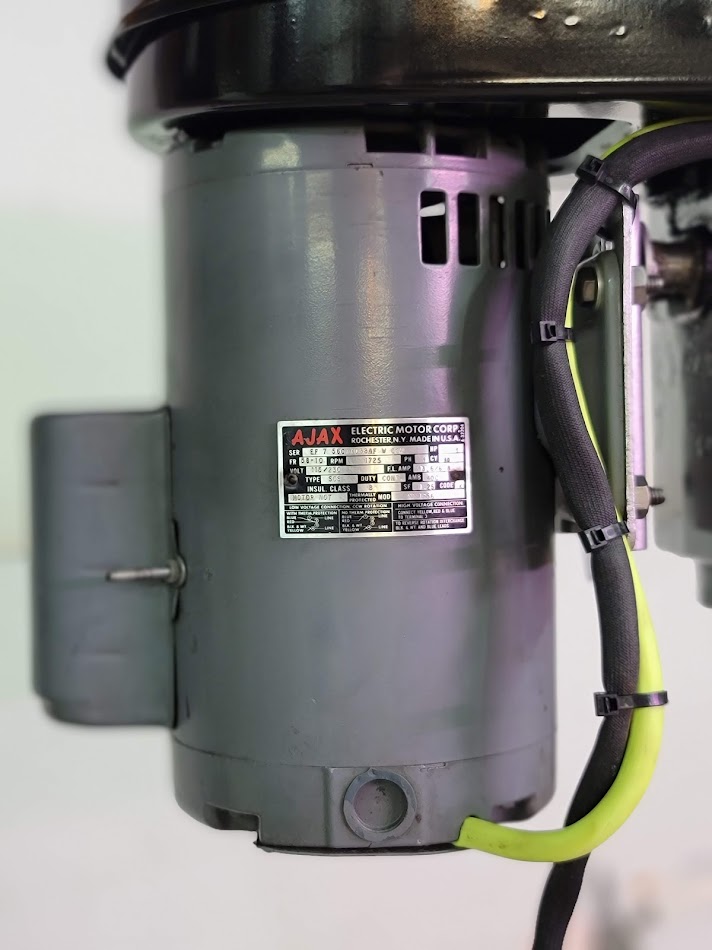
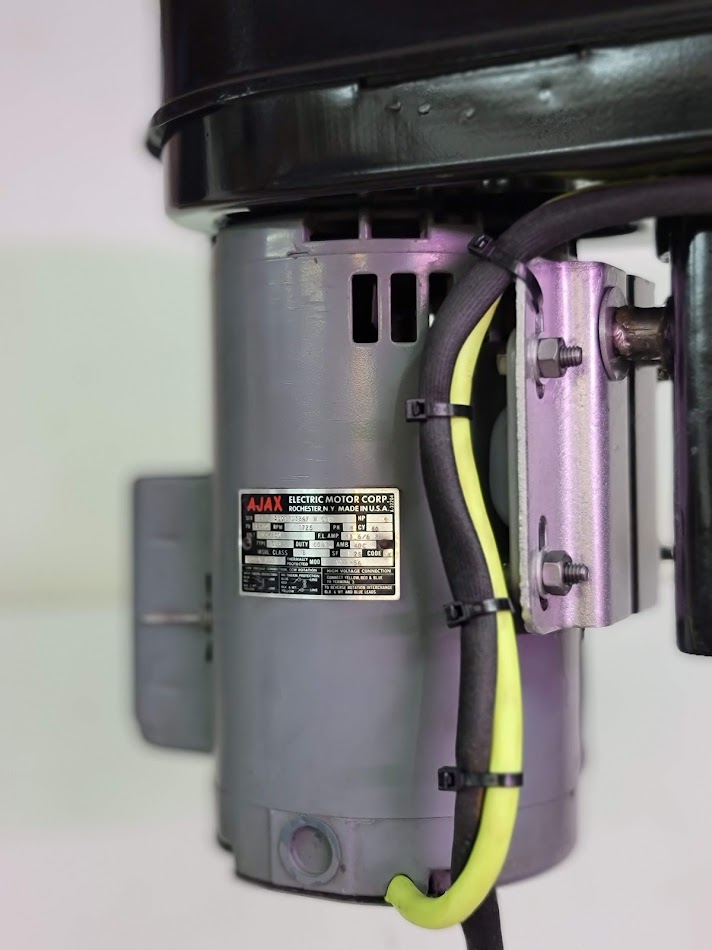
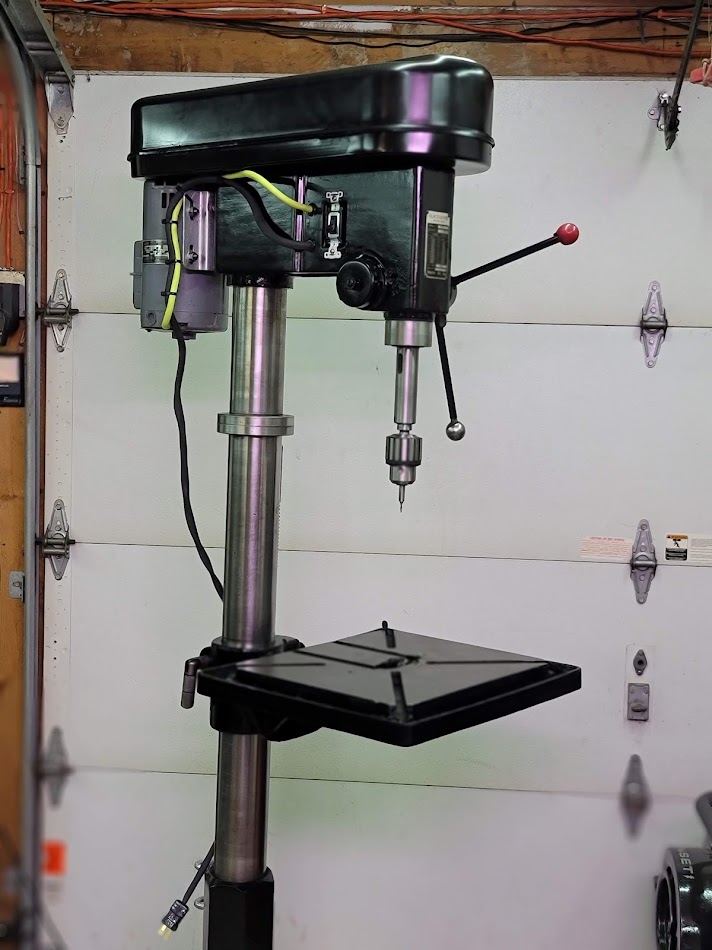
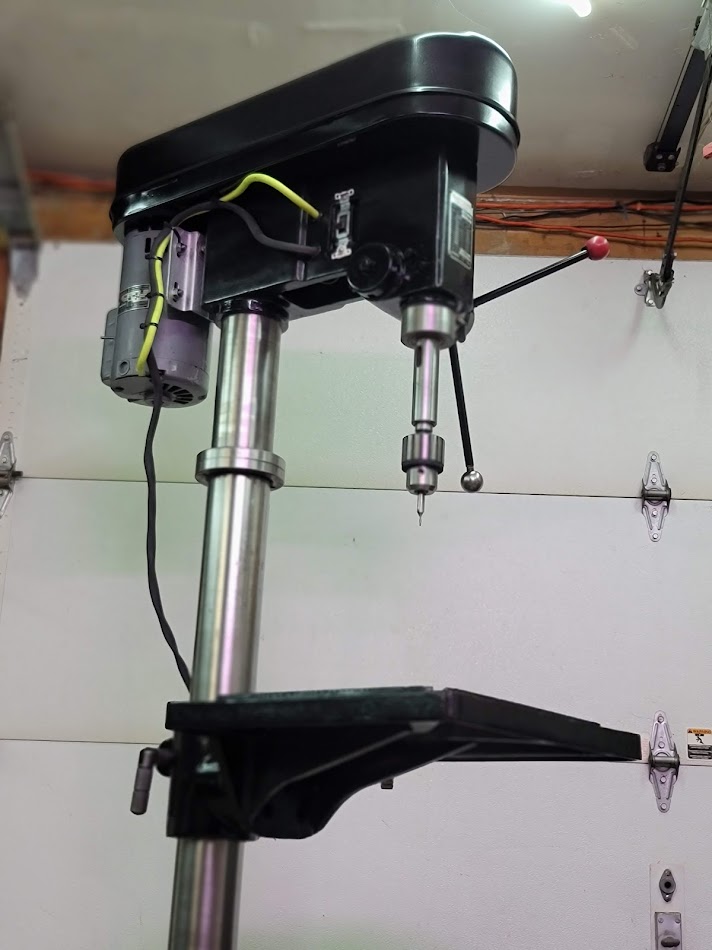
Pulled all the old wires out, and cleaned up the old motor, and mounted it up with new hardware, found a chuck of super bright neon green wire for the motor, and had to make a new crank handle for the motor tensioner, will make something more permeant soon. The power cord is a high temp fabric wrapped 12 Awg wire for a high power lamp housing, funny fit for this is the worlds only high temp ratted drill press, I had lots of old High temp engine paint left over from the generator, so used that on the press, looks nice!
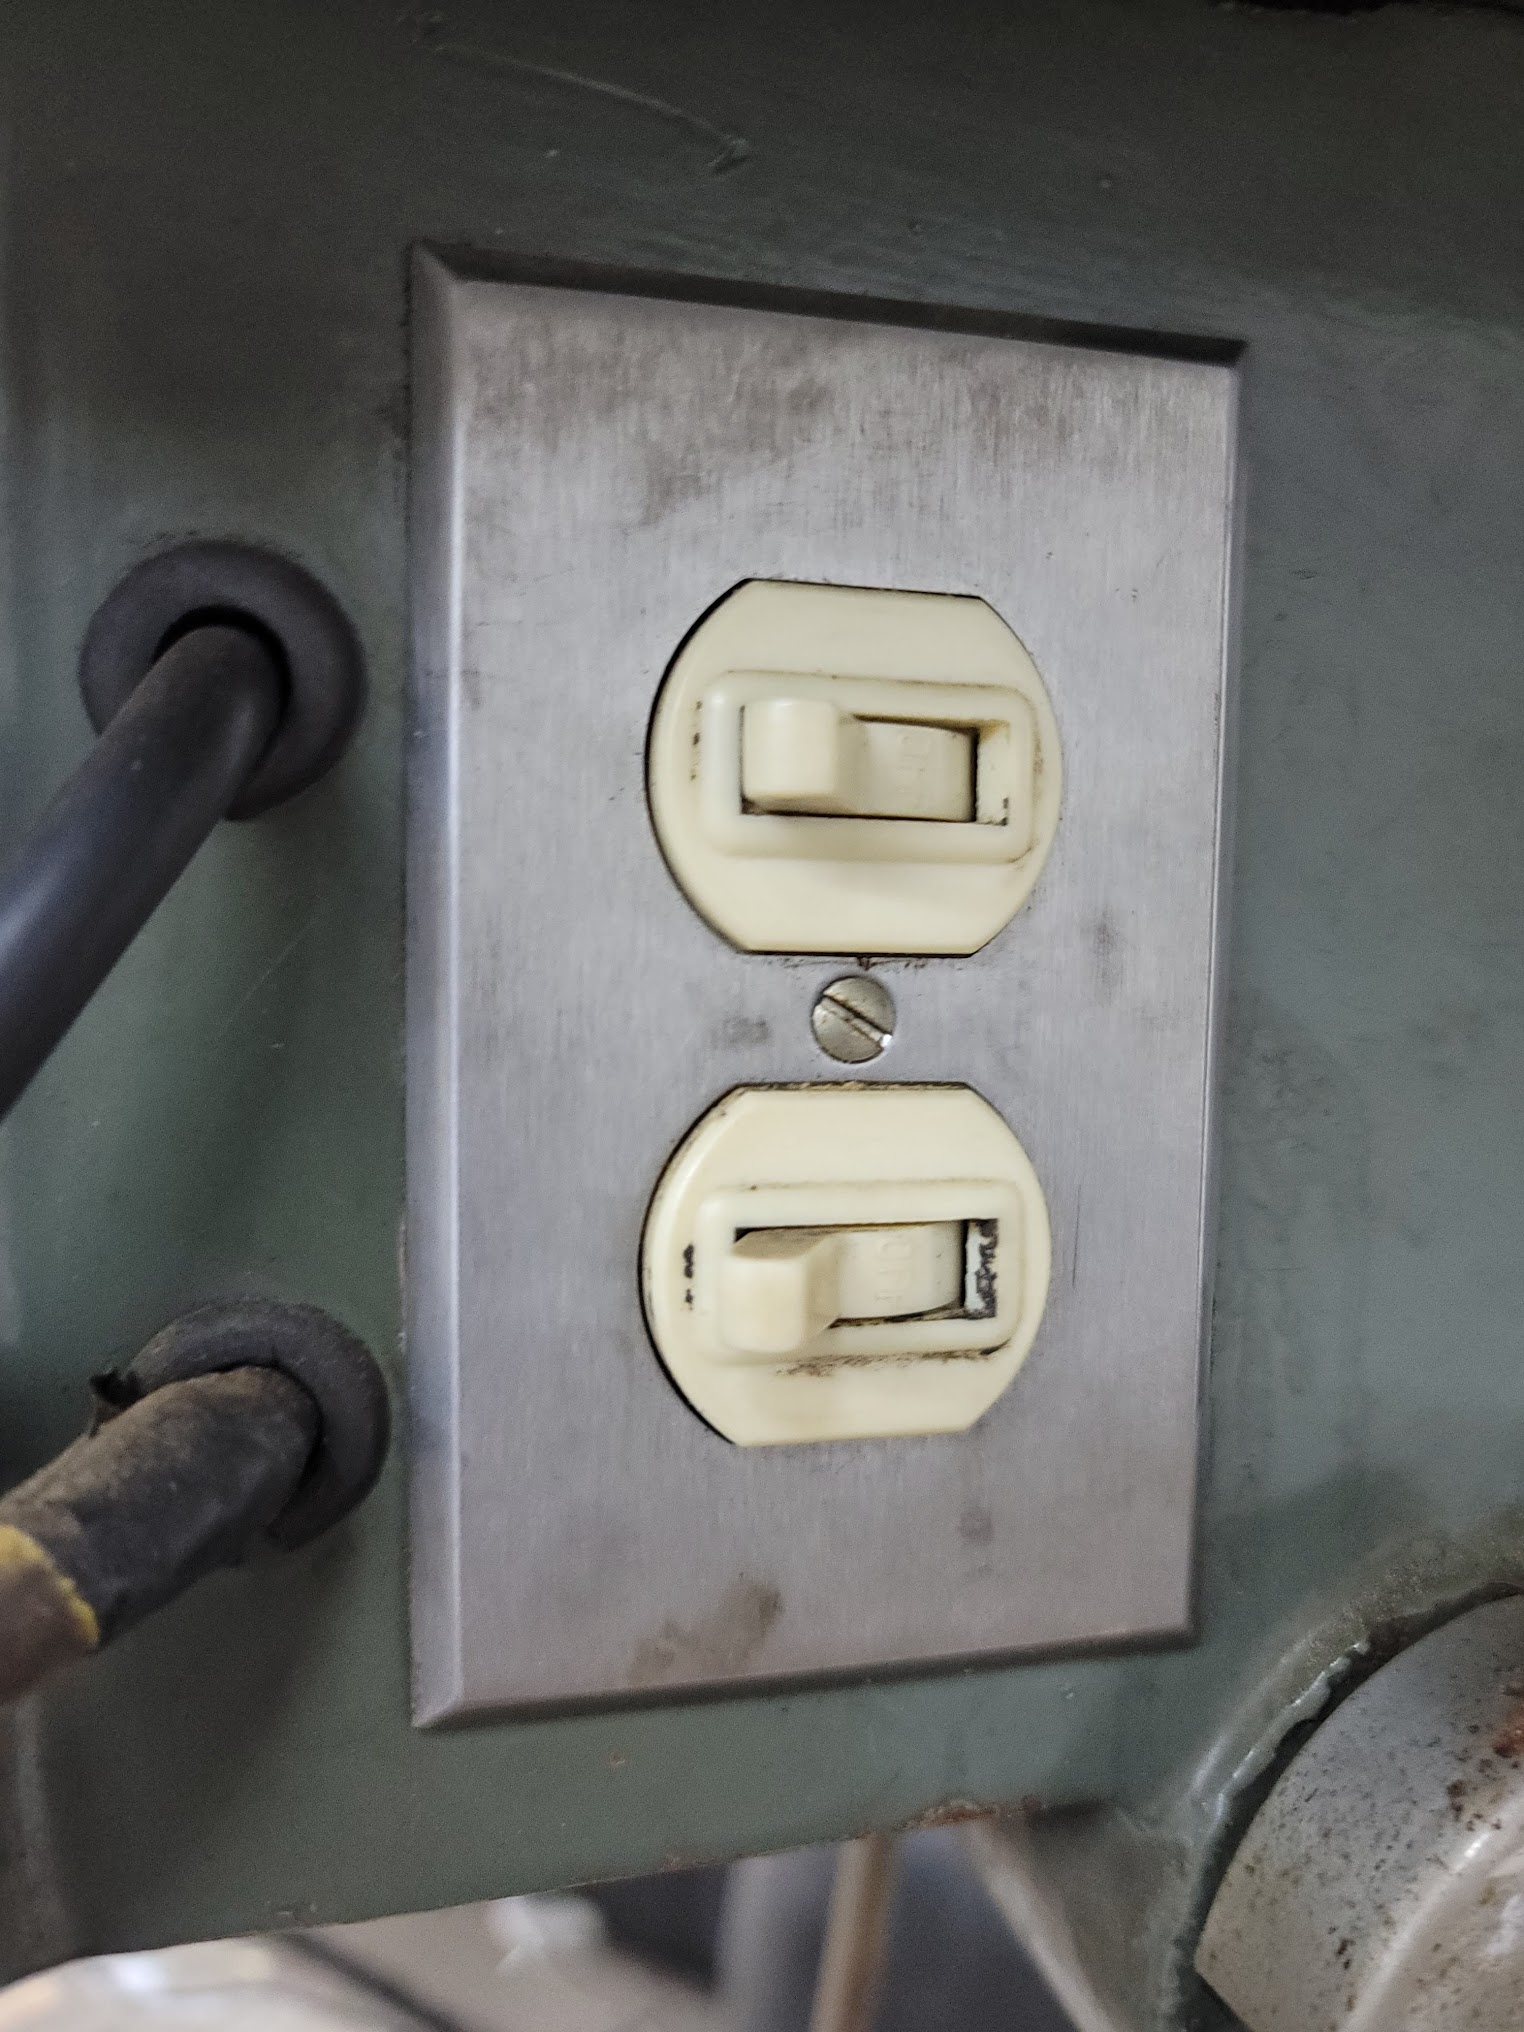
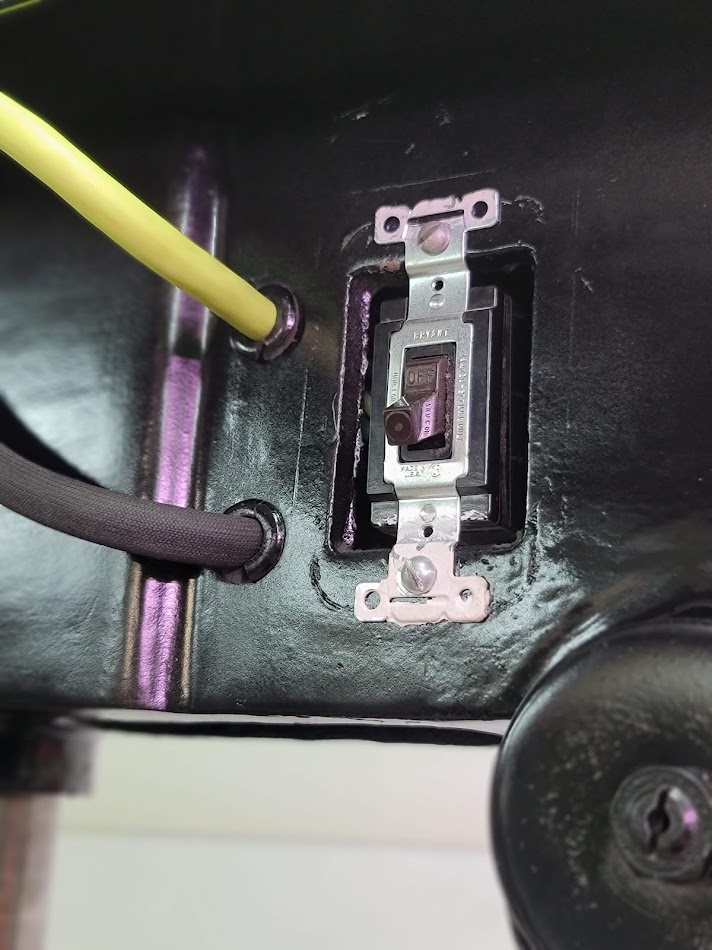
The power switch was upgraded to a 20 amp high power commercial switch, just waiting on the new metal cover to arrive and get it installed.
The lab now has 3 Drill press’ one of each size class now ha!

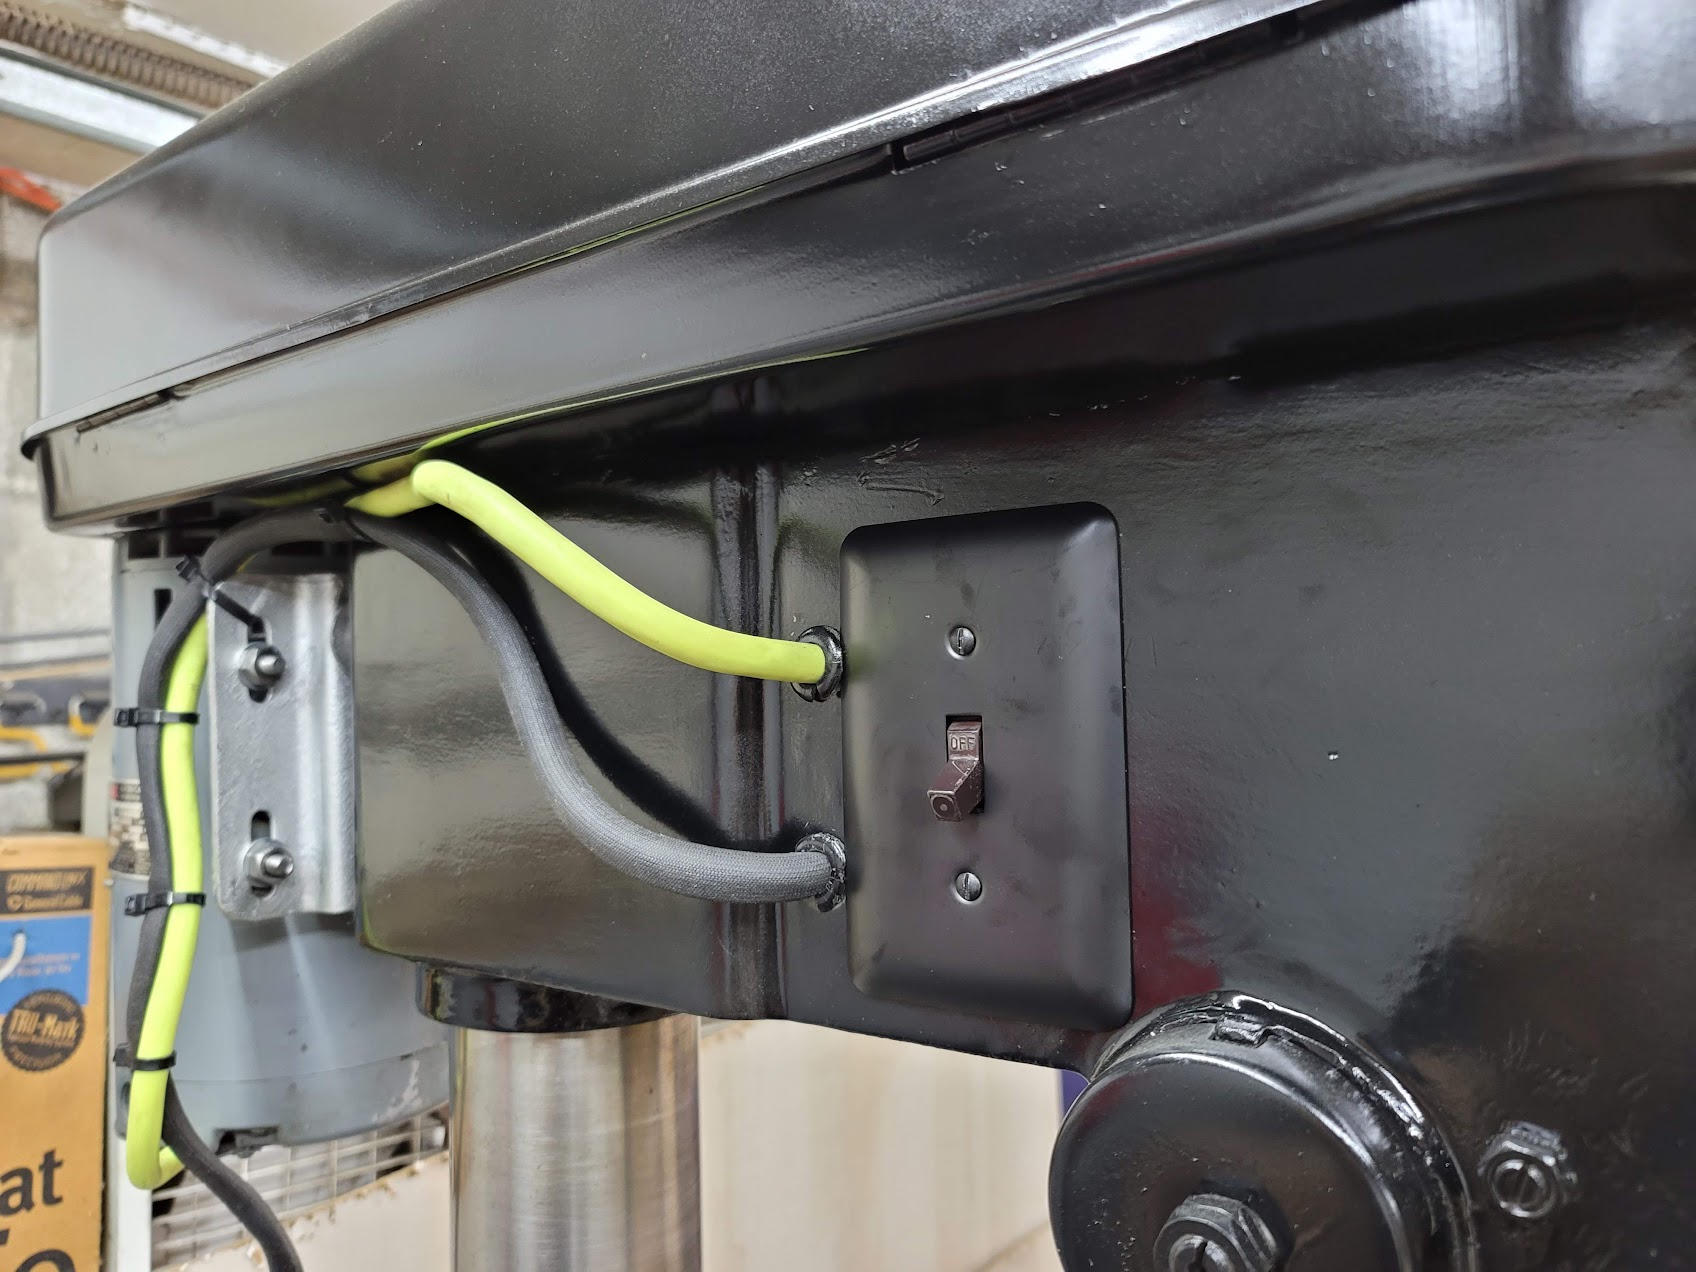
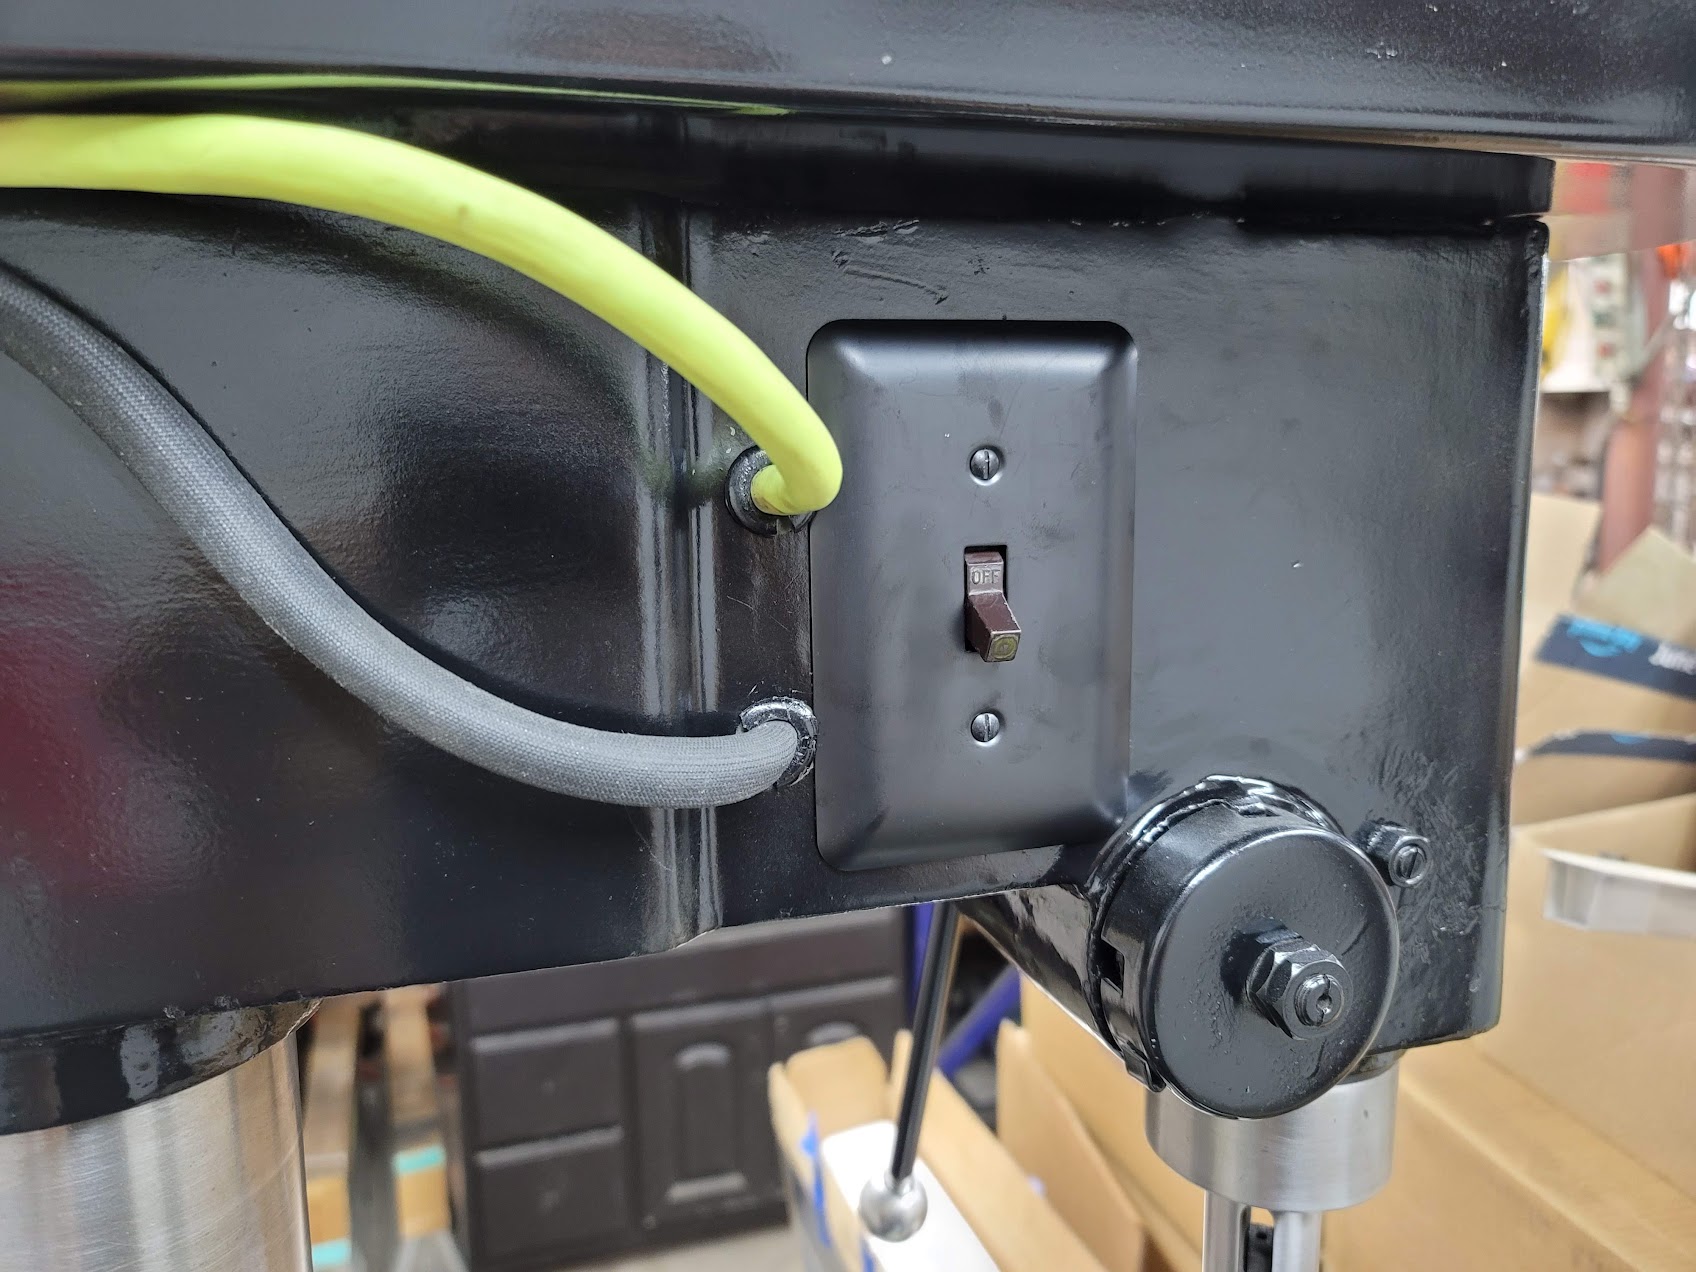
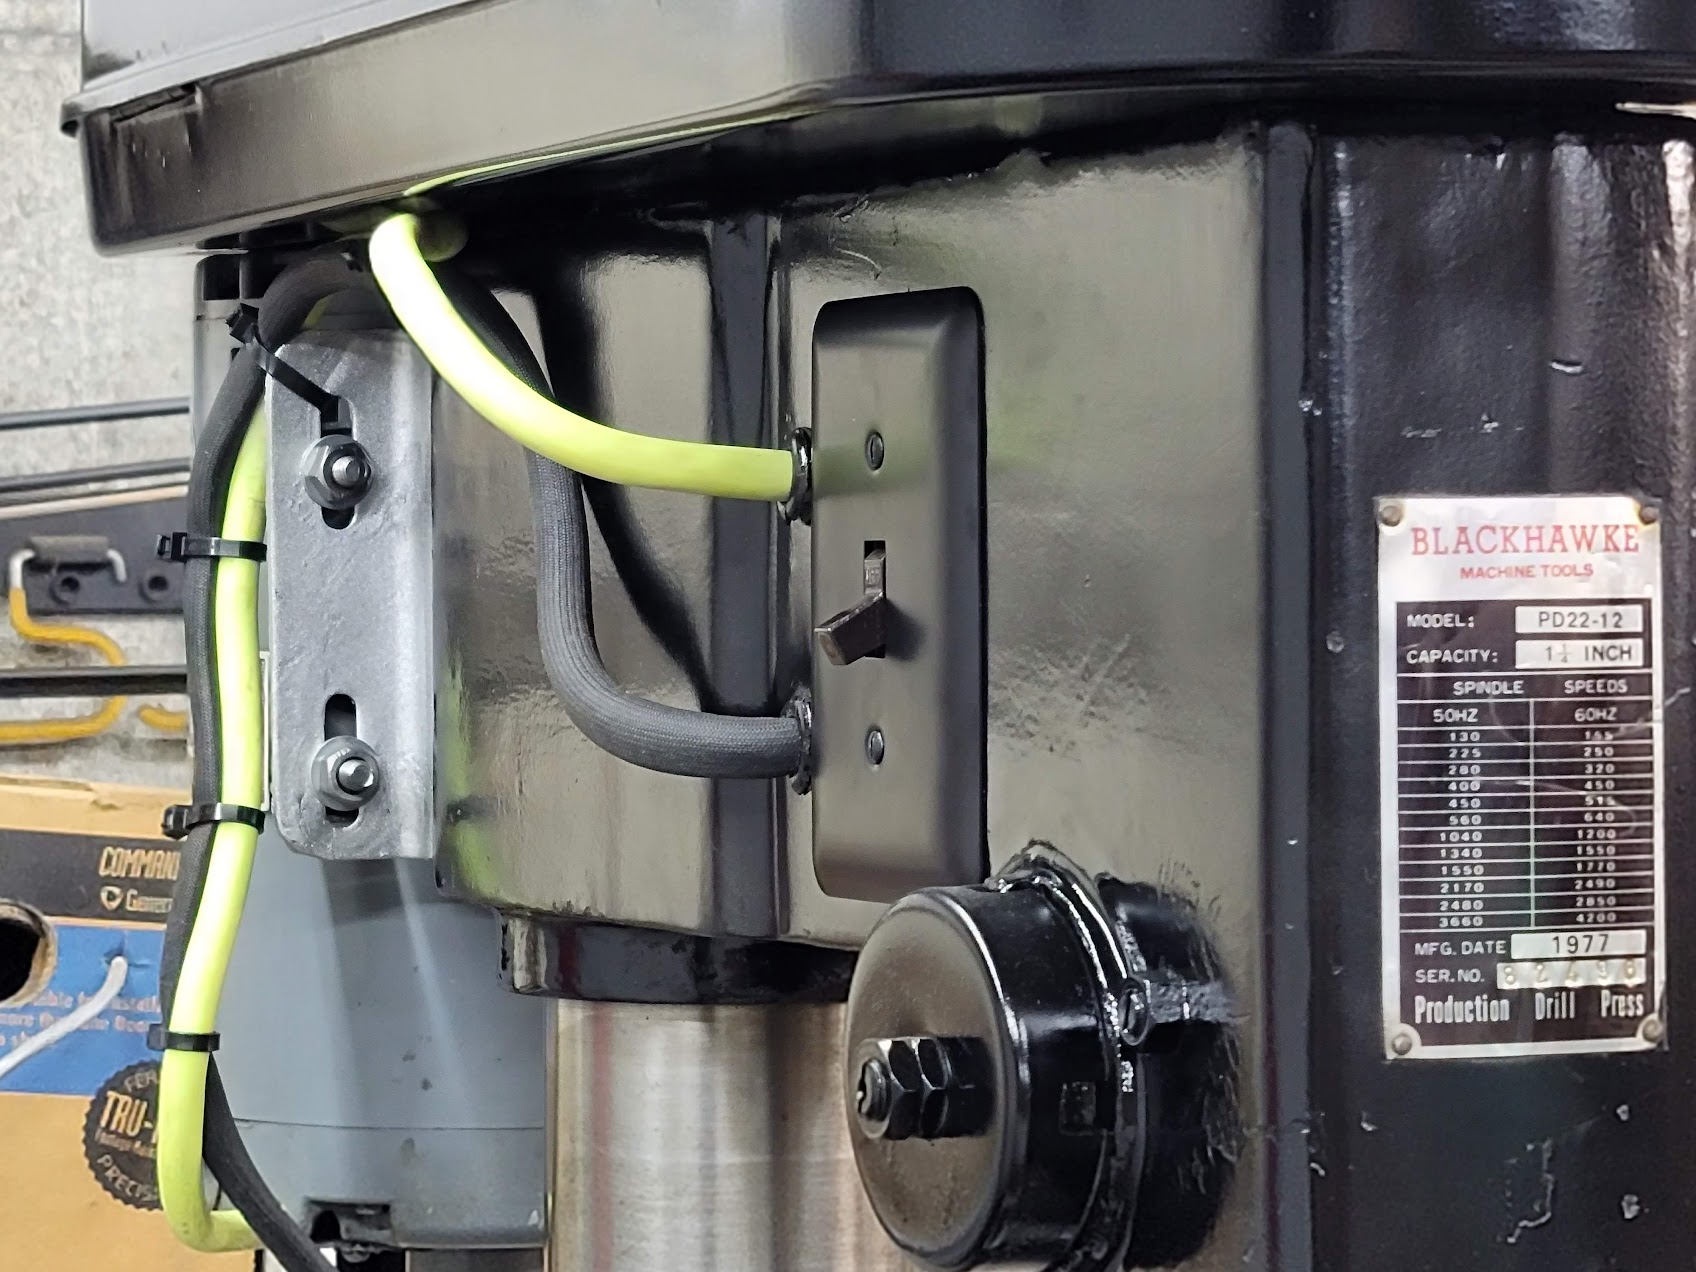
UPDATE: Fond a nice black all metal switch cover for the new high current industrial switch. Looks stock!
I will say this project is now complete!
Hello,
I like your drill press restoration, turned out very nice. I have the same machine and am looking for info on selecting the correct drive belts. Do you happen to know what length of belts you have on there? Any info you can share will be greatly appreciated!
Thanks,
Vance Ackerman
Vance,
Thanks for the kind words! My apologies on the delay of my response, I went to the lab and opened up the press to measure the belts for you! Here is all the information I was able to gather.
Actual measurements:
QUILL SIDE BELT:
39.5″ long (Outside)
0.5″ Width (Outside)
0.31″ Depth
0.24″ Width (Inside)
MODEL: 4L390 FHP
https://www.amazon.com/BESTORQ-A37-4L390-Rubber-Wrapped/dp/B002HAYXMM/
———————
MOTOR SIDE BELT:
29.5″ long (Outside)
0.5″ Width (Outside)
0.31″ Depth
0.24″ Width (Inside)
MODEL: 4L290
https://www.amazon.com/BESTORQ-A27-4L290-Rubber-Wrapped/dp/B00IMEMX6A/
I included links to a close match I was able to find online.
Any questions let me know! Best of luck with your project!