This page will be the Engine build for the 51 Truck I am building. More on that project here:
https://www.djdlabs.com/1951-chevy-truck/
This engine started as a donation to the lab from a family member, it was sitting in the corner of his shop. He had pulled it to make room for a modern GTO driveline into his old 1976 Lemans.
One long road trip to go pick up the engine, the price was right!
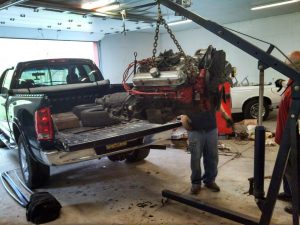
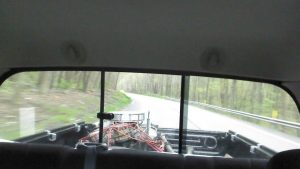
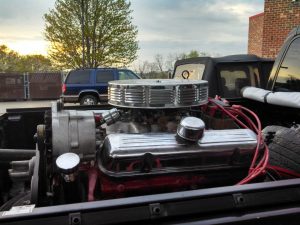
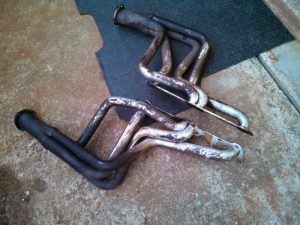
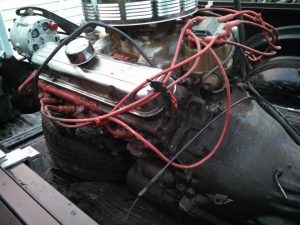
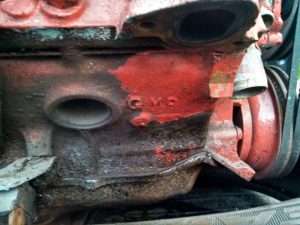
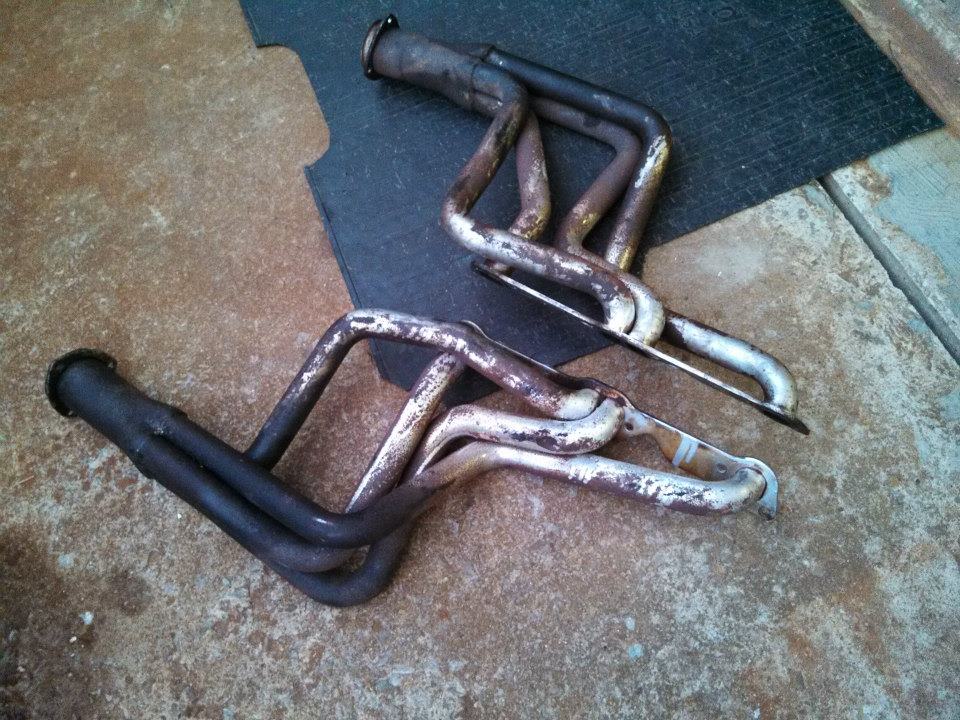
Here is what it looked like when we picked it up, was a 1967 Pontiac 326. That was about all that we knew at the time, it had what looked like a Turbo 350 on it. It came with long tube headers, and some older upgraded parts. More on that soon.
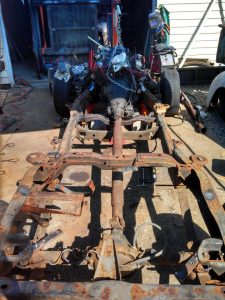
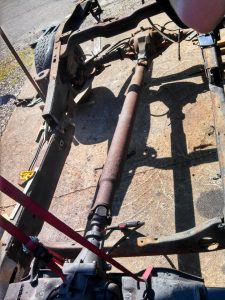
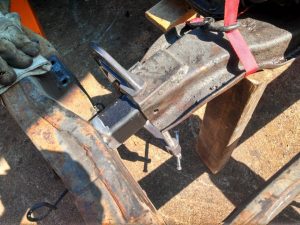
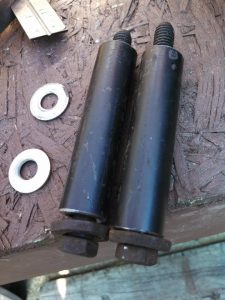
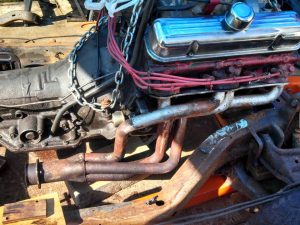
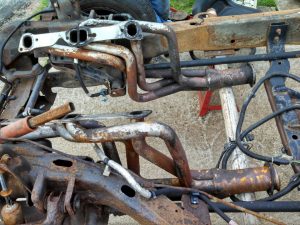
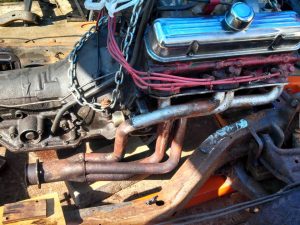
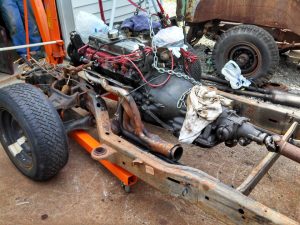
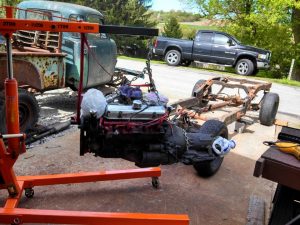
Made up some custom mounts to fit in into the 2003 34X4 S10 quad cab chassis. Snug fit for such a massive block. The best part, the stock 2003 S10 driveshaft slid right into the 1967 Pontiac trans, have to love GM never changing anything!
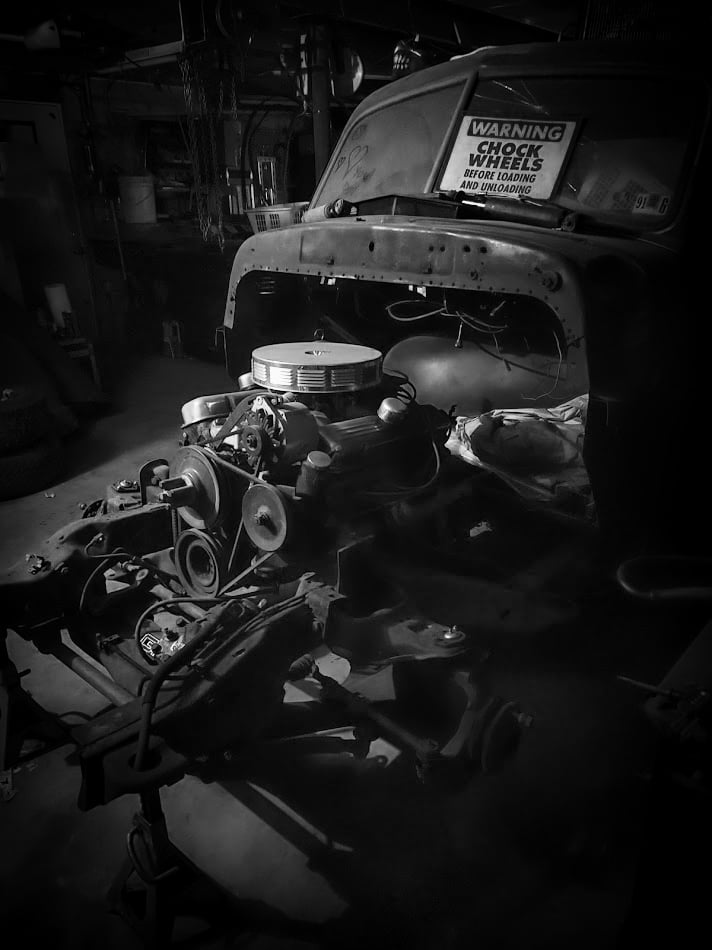
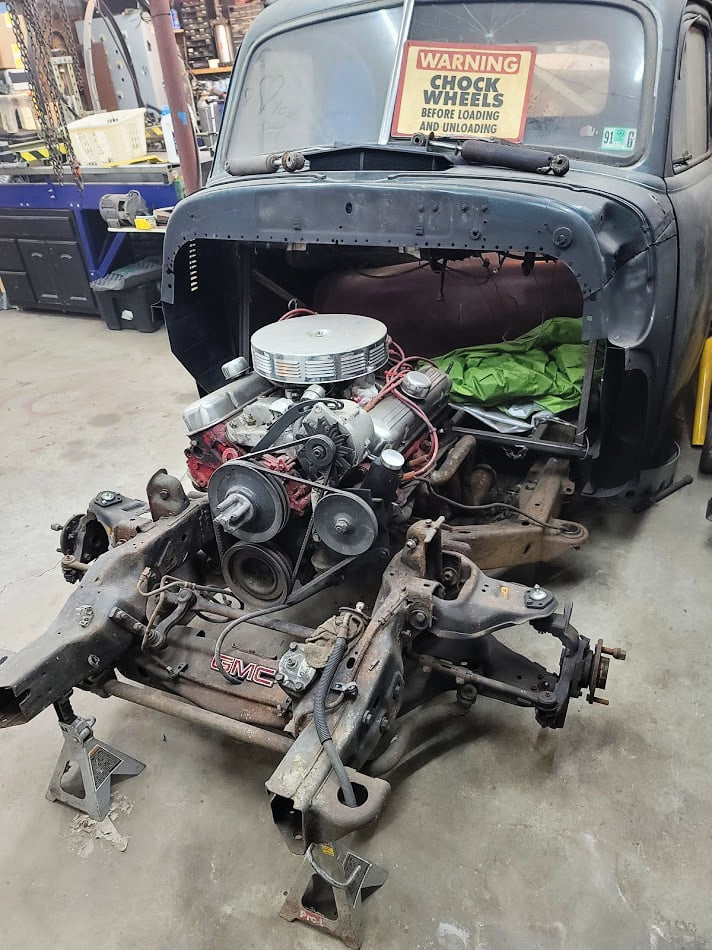
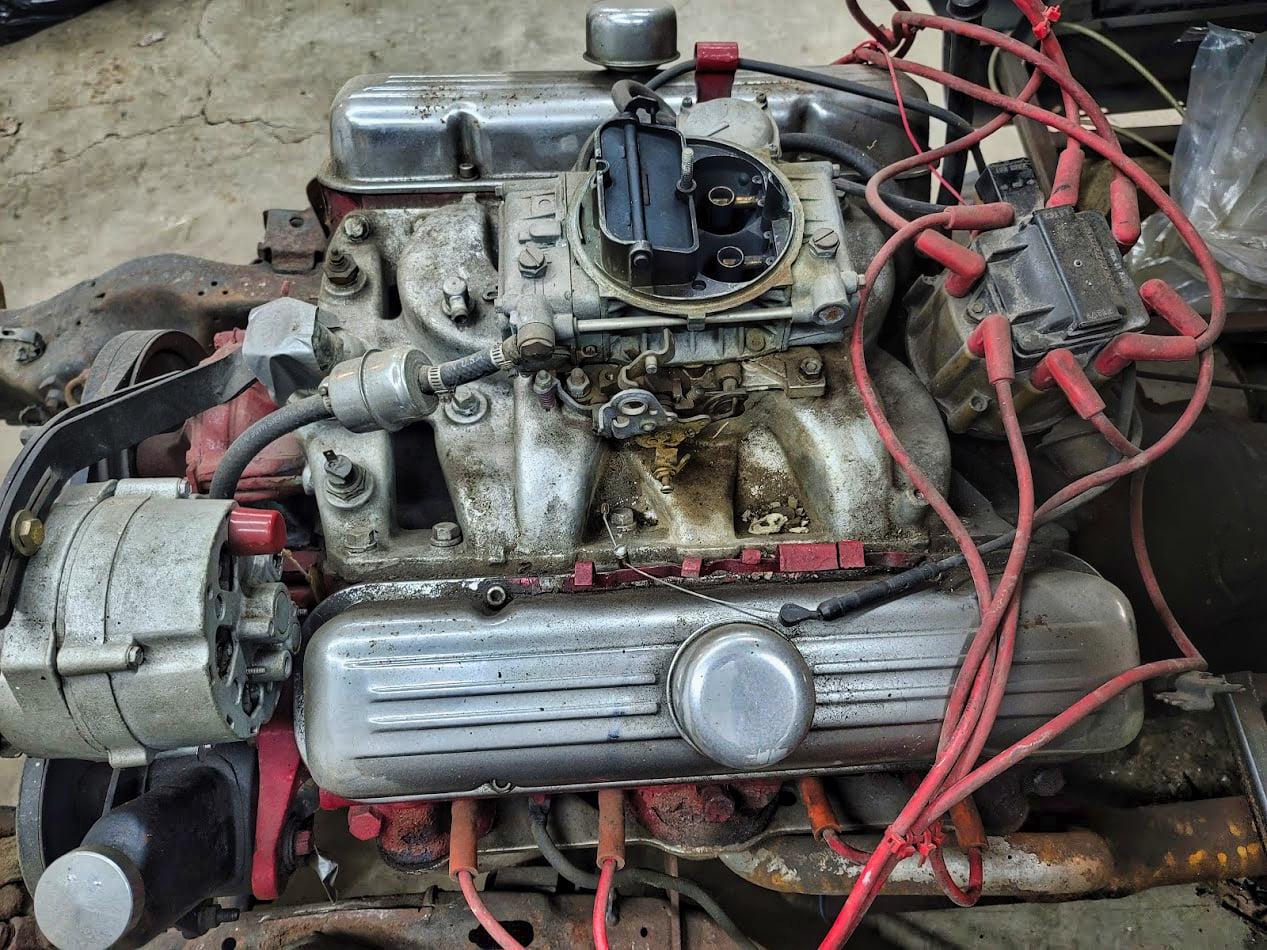
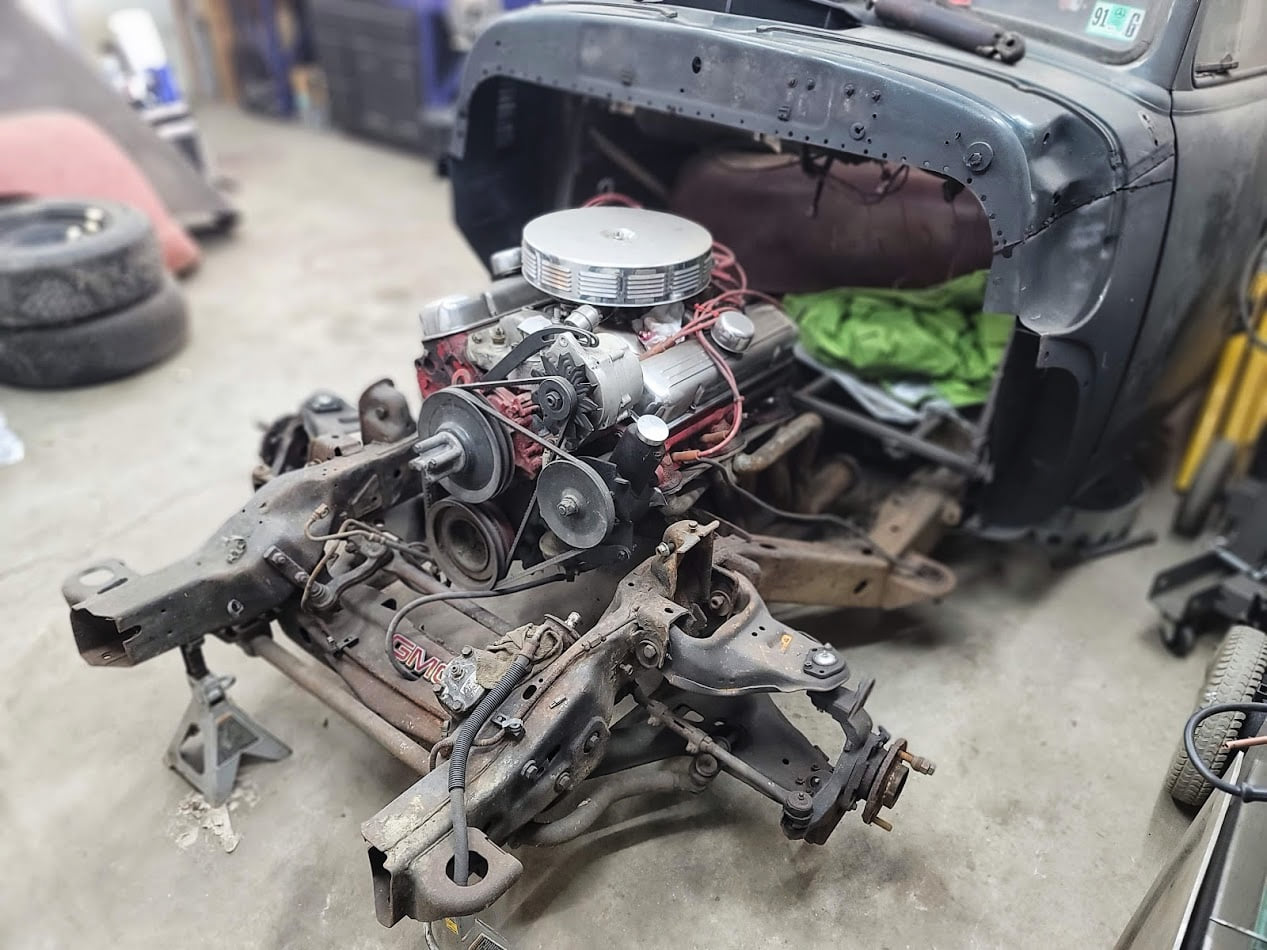
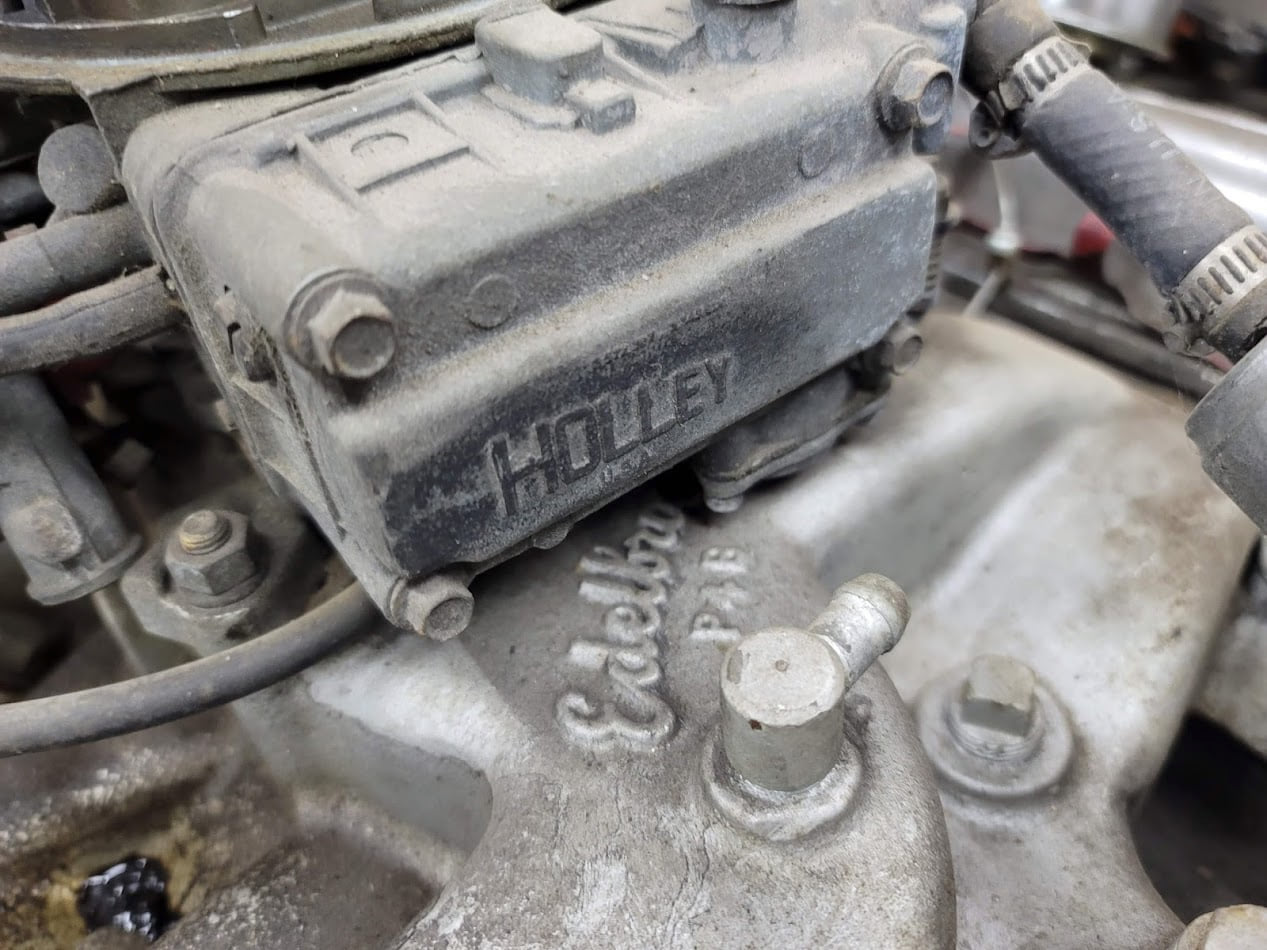
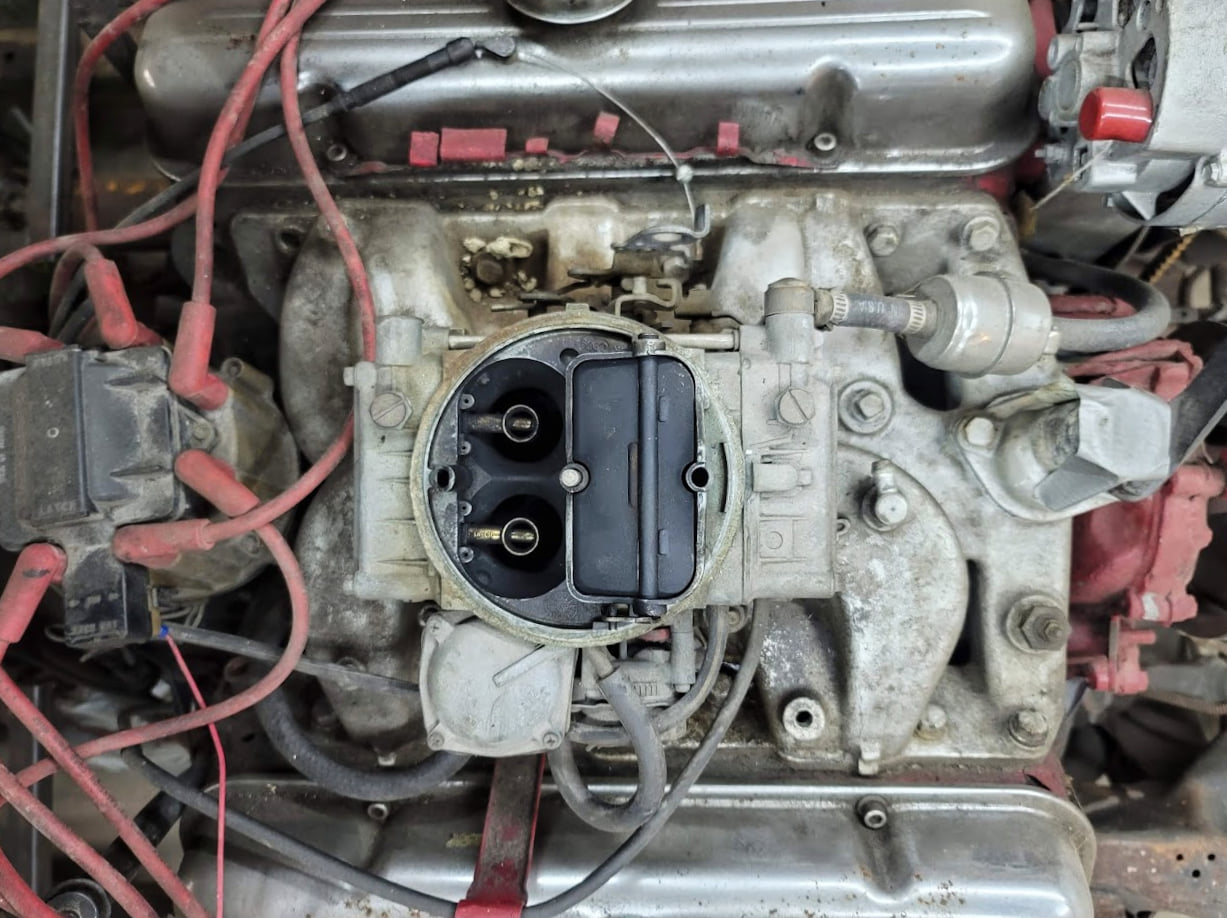
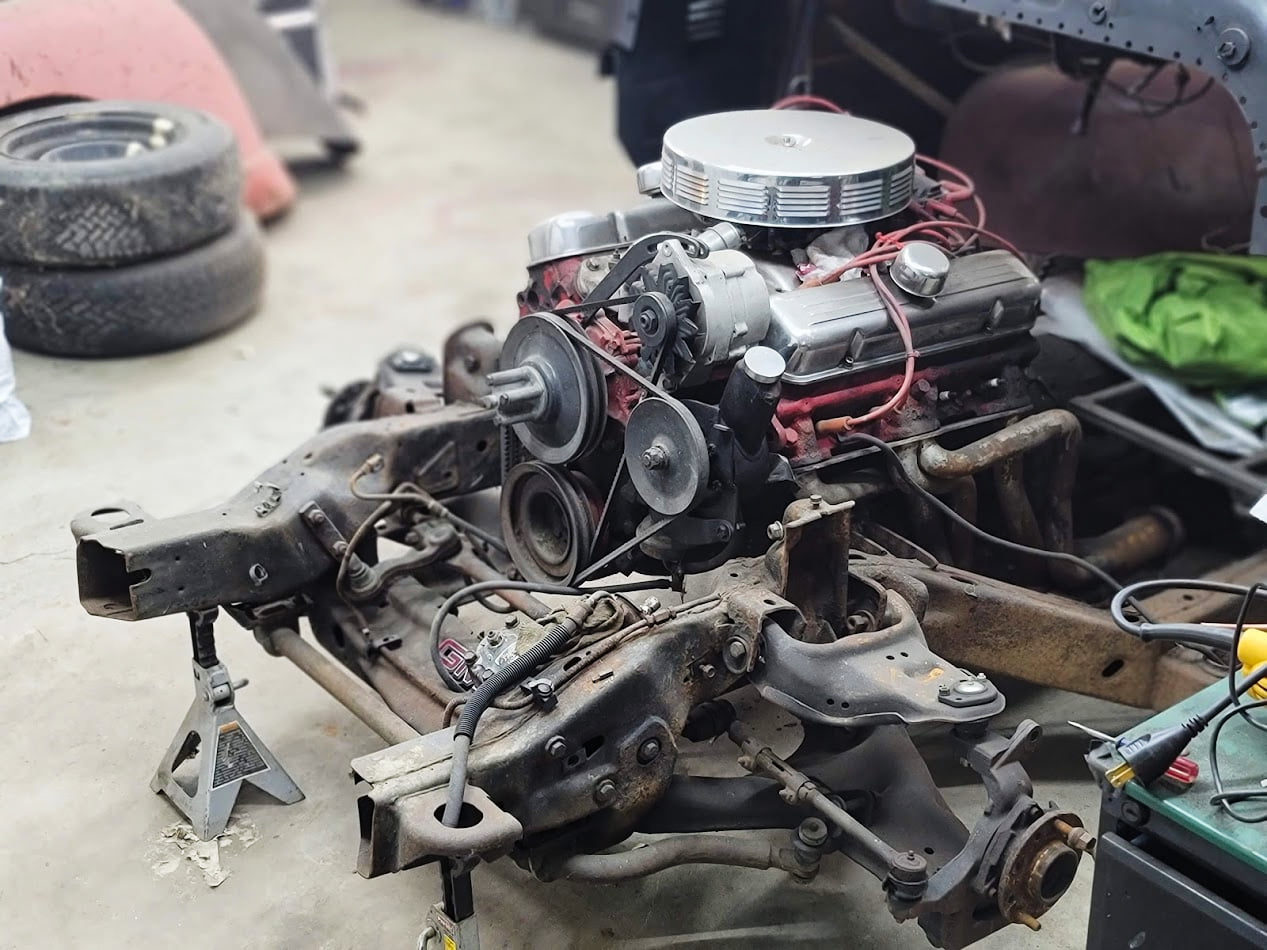
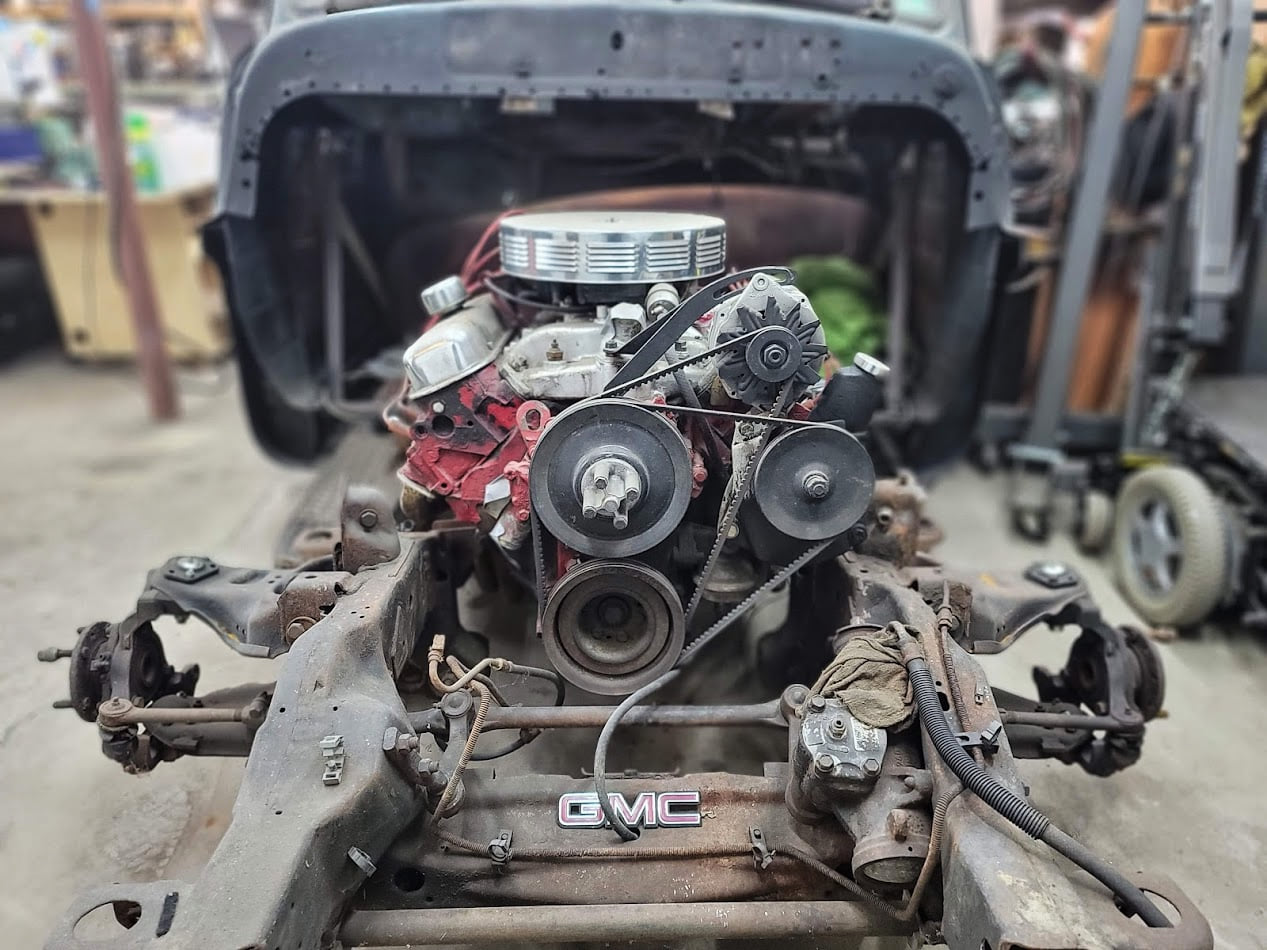
Now fast forward 8 years, Life issues got in the way, this is what was uncovered, to start again.
First part of the project was to test fire the engine, I had no idea if it would run, or if it even worked. After a few hours figuring out the firing order and reverse distributor rotation.. Nice one Pontiac, I was able to get it fired up and running. Right after this video, I went to start it again, and the starter was dead. All these years and it gave me just enough time to be able to fire it up and make sure it worked and nothing sounded bad. I now knew it was worth the time and money to dig into it and restore it!
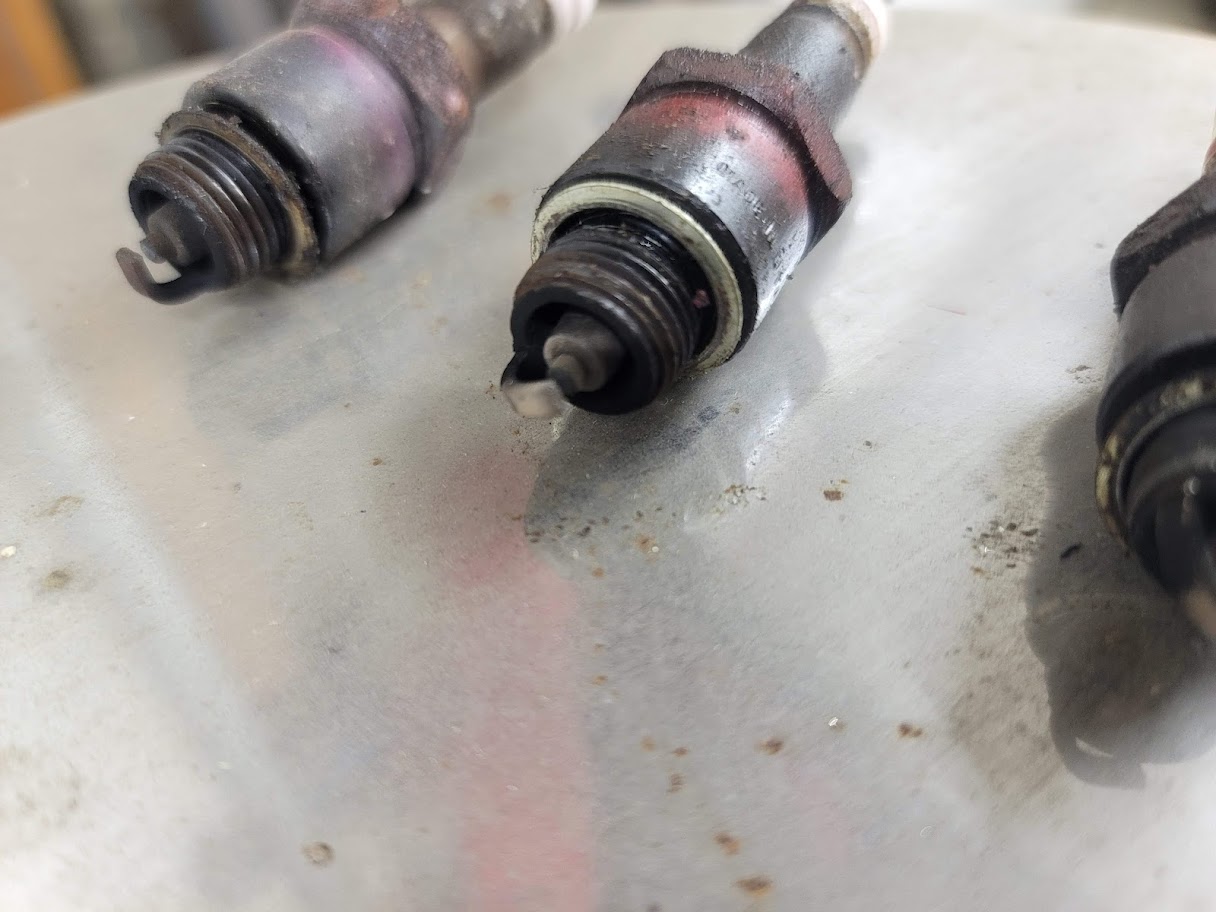
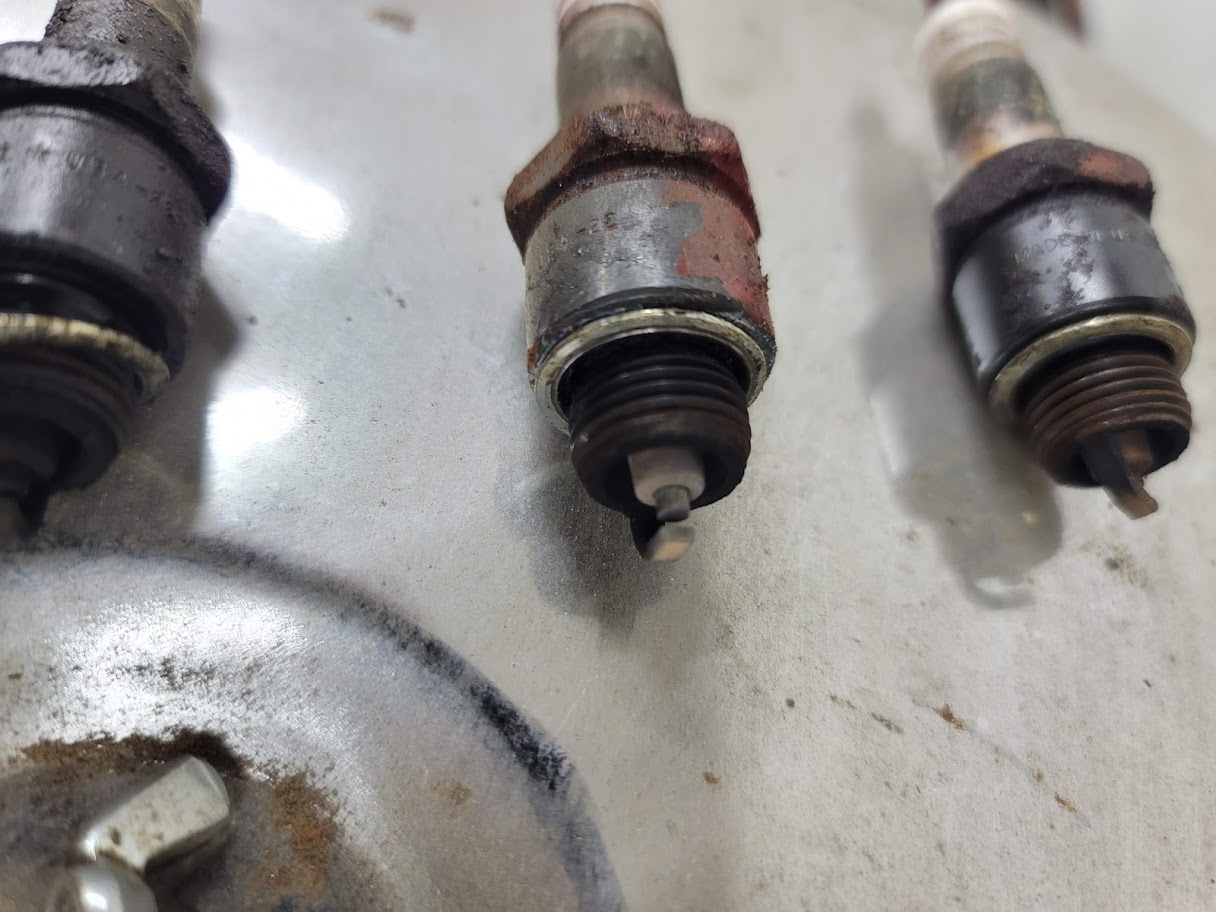

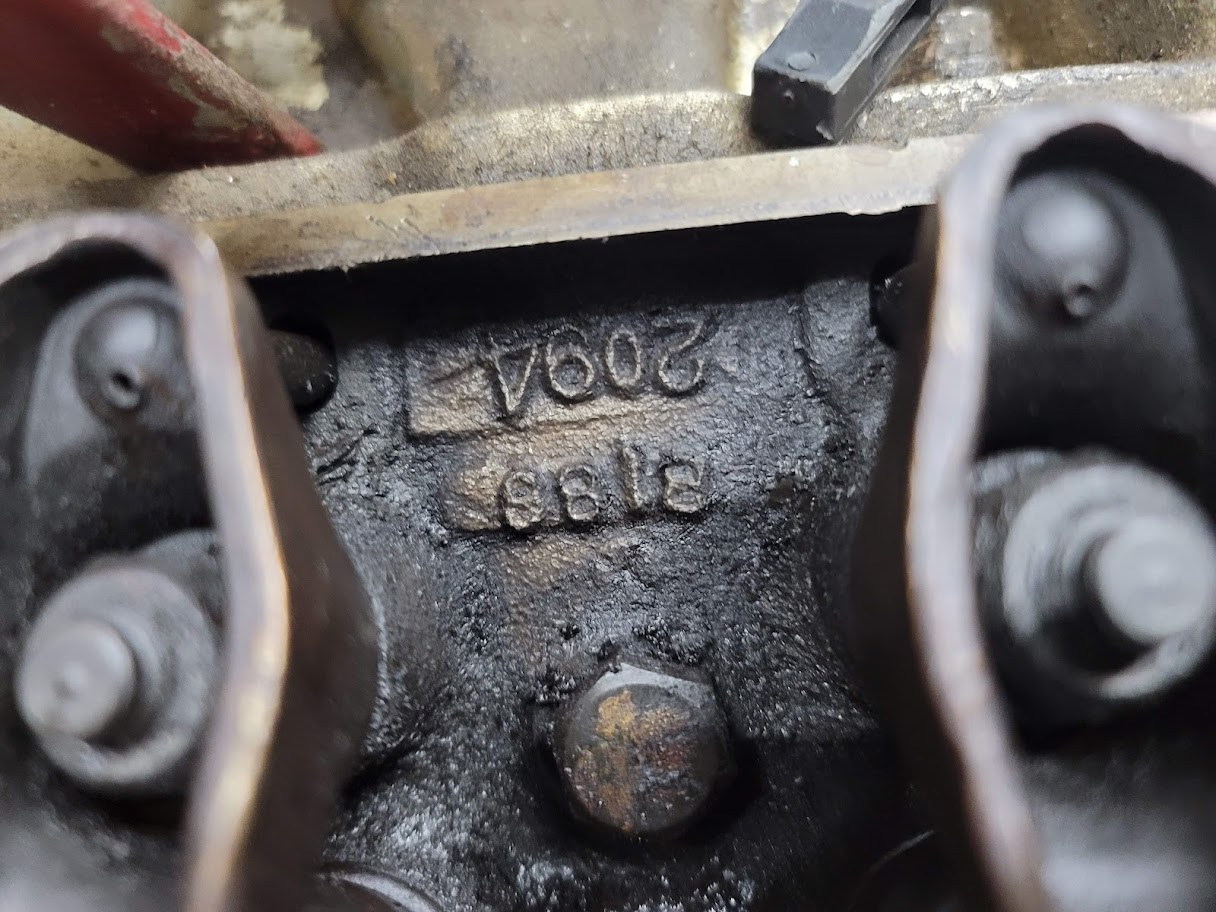
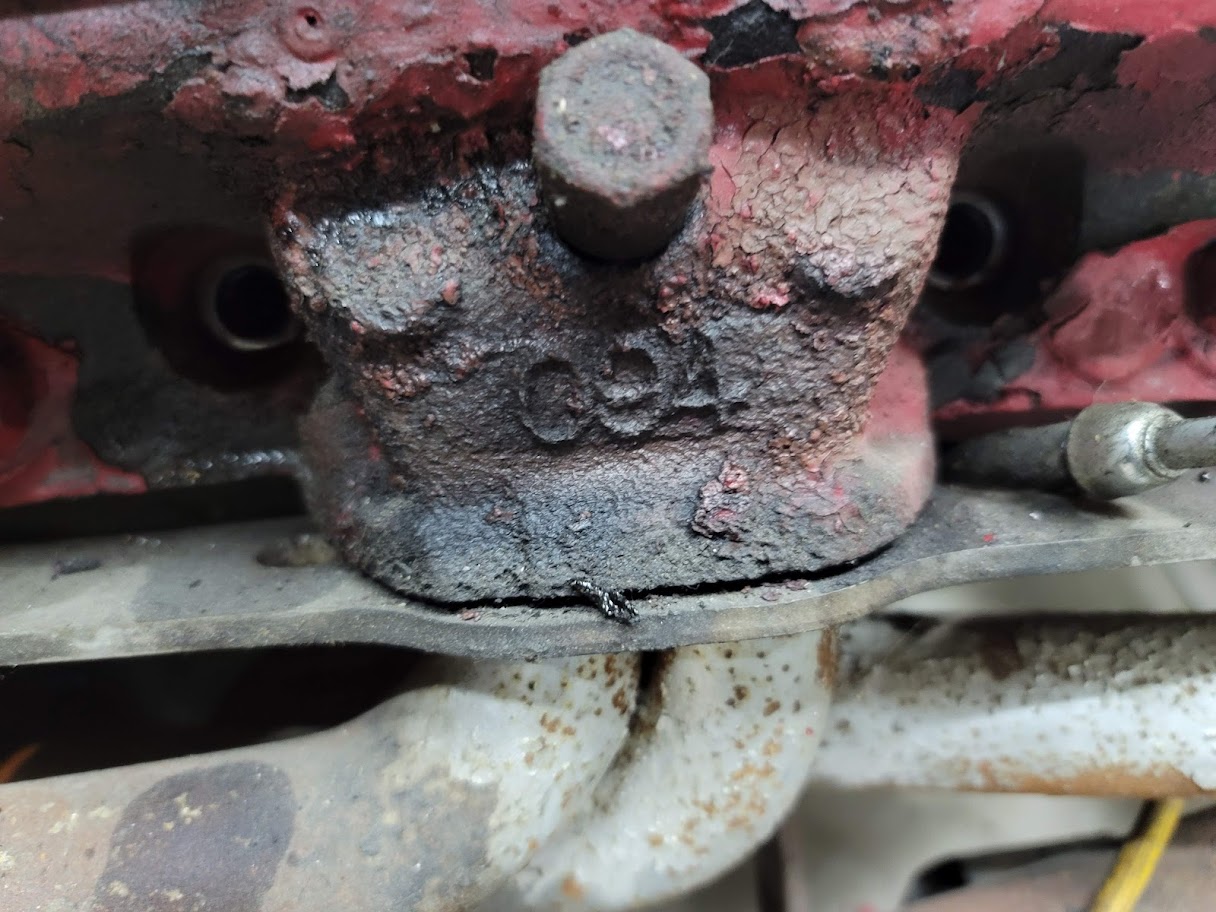
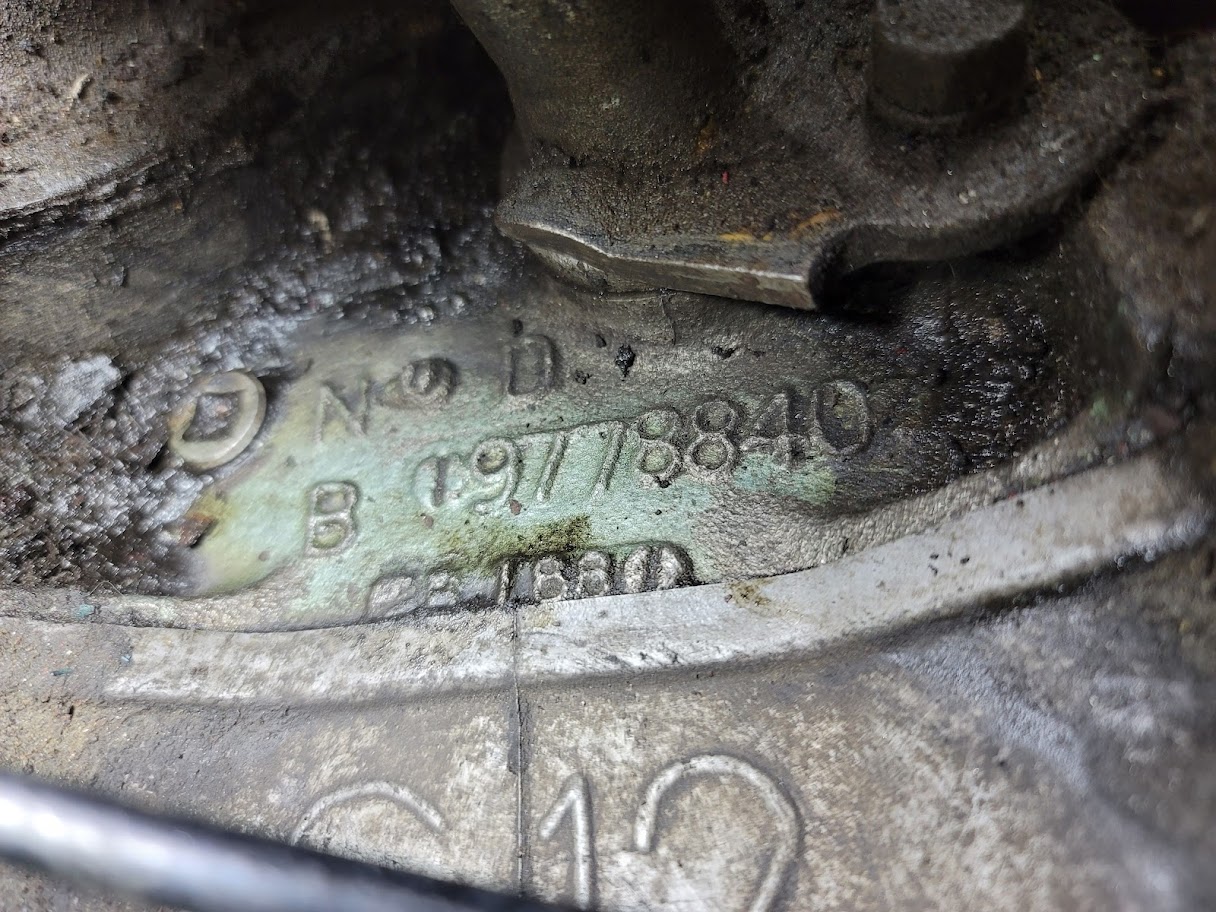

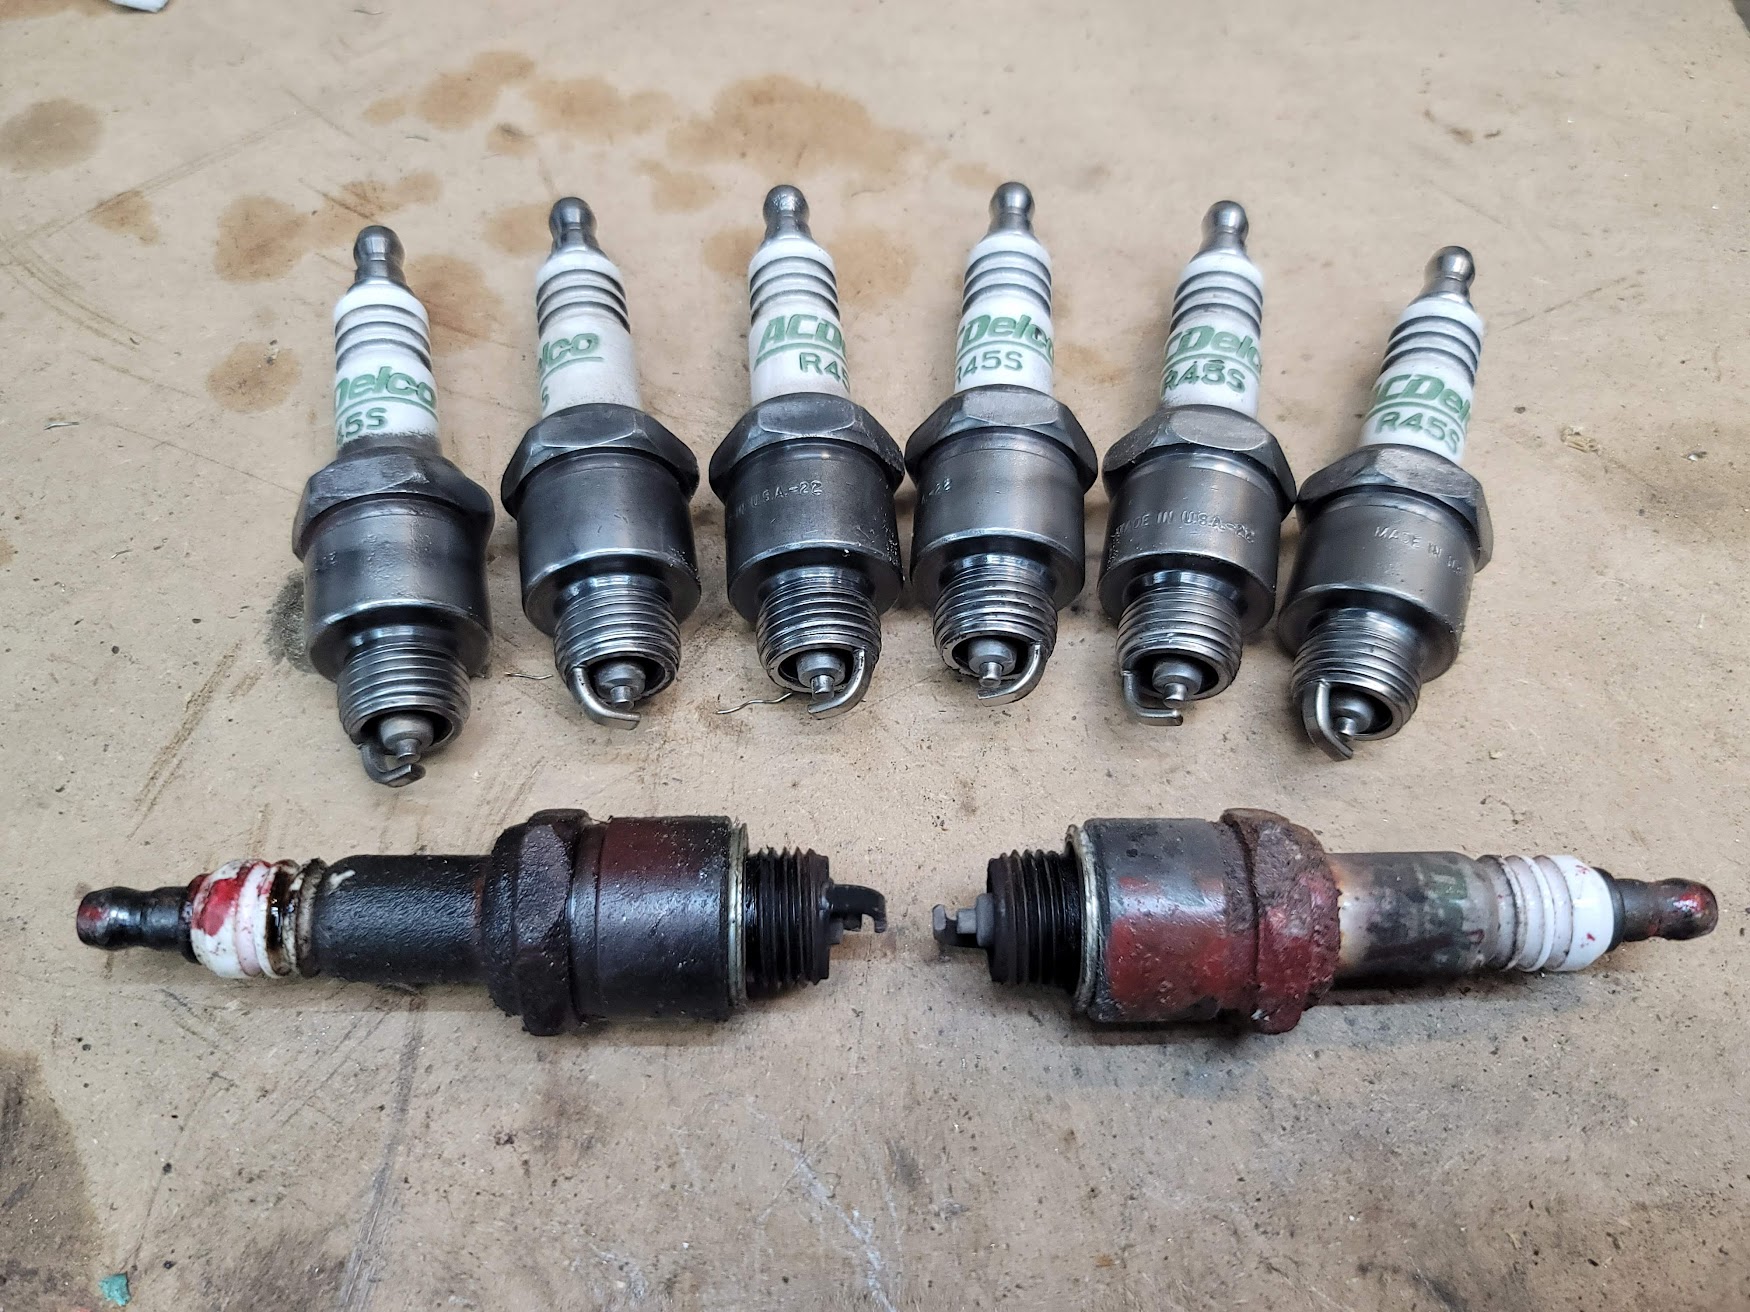
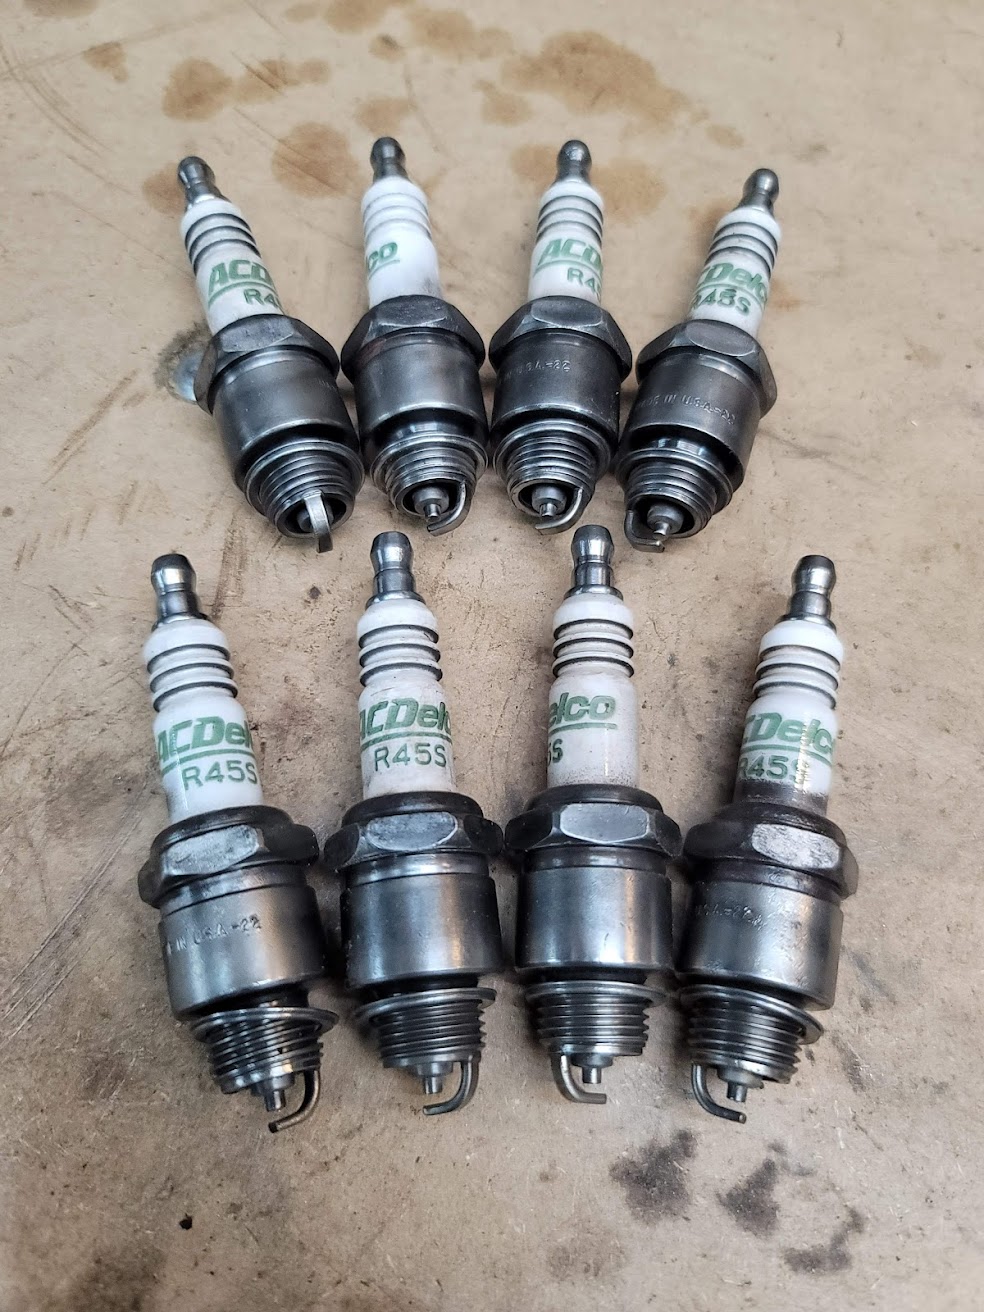
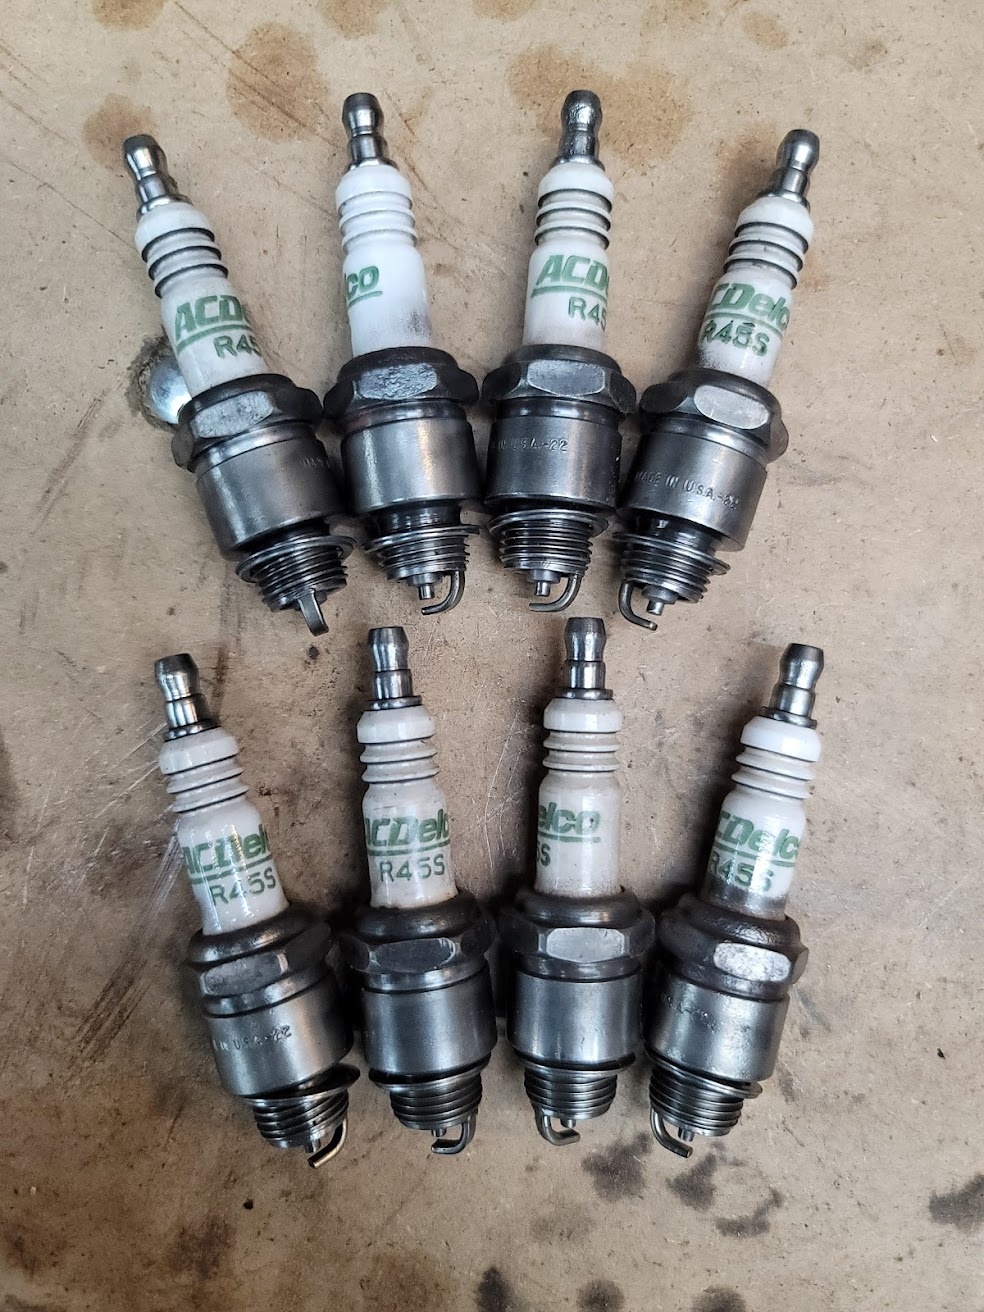
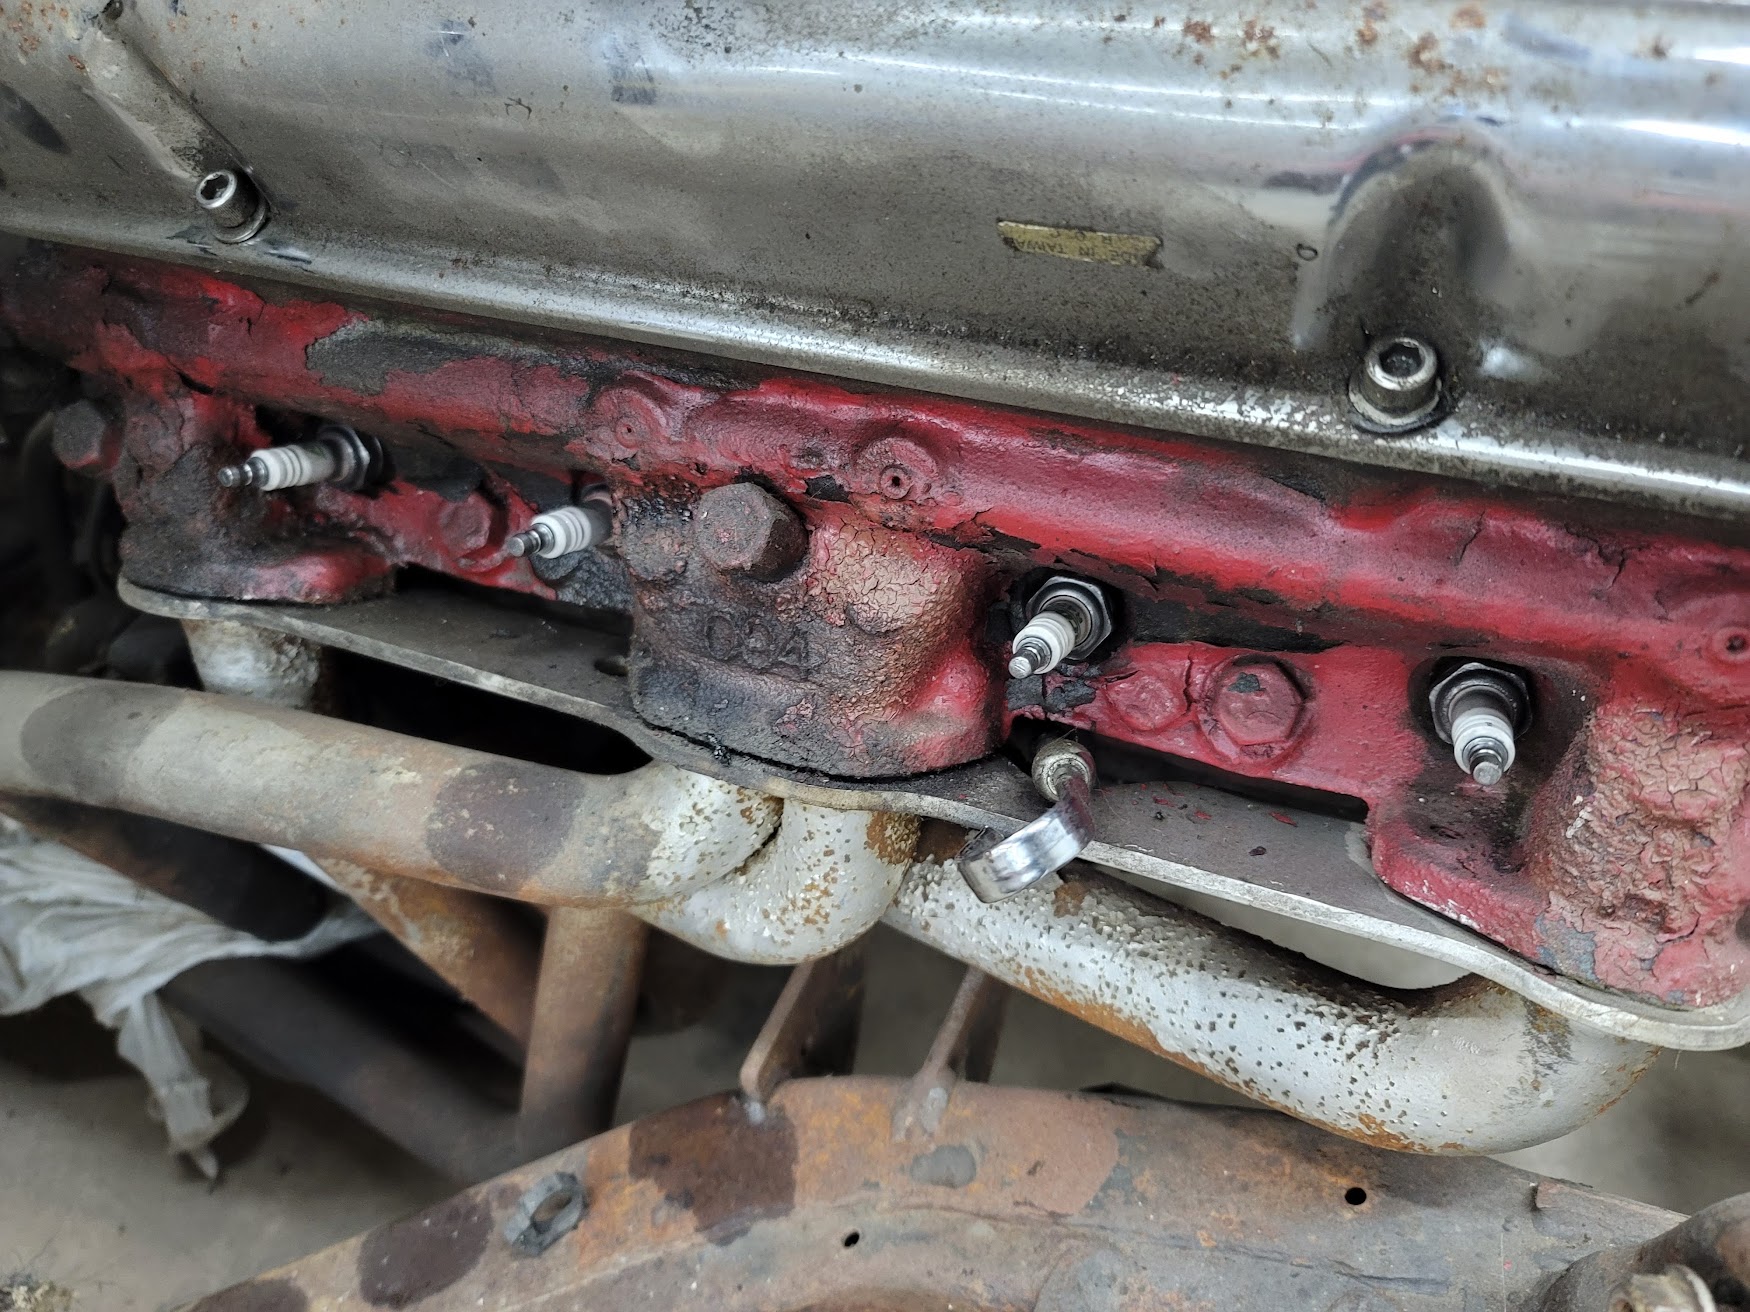
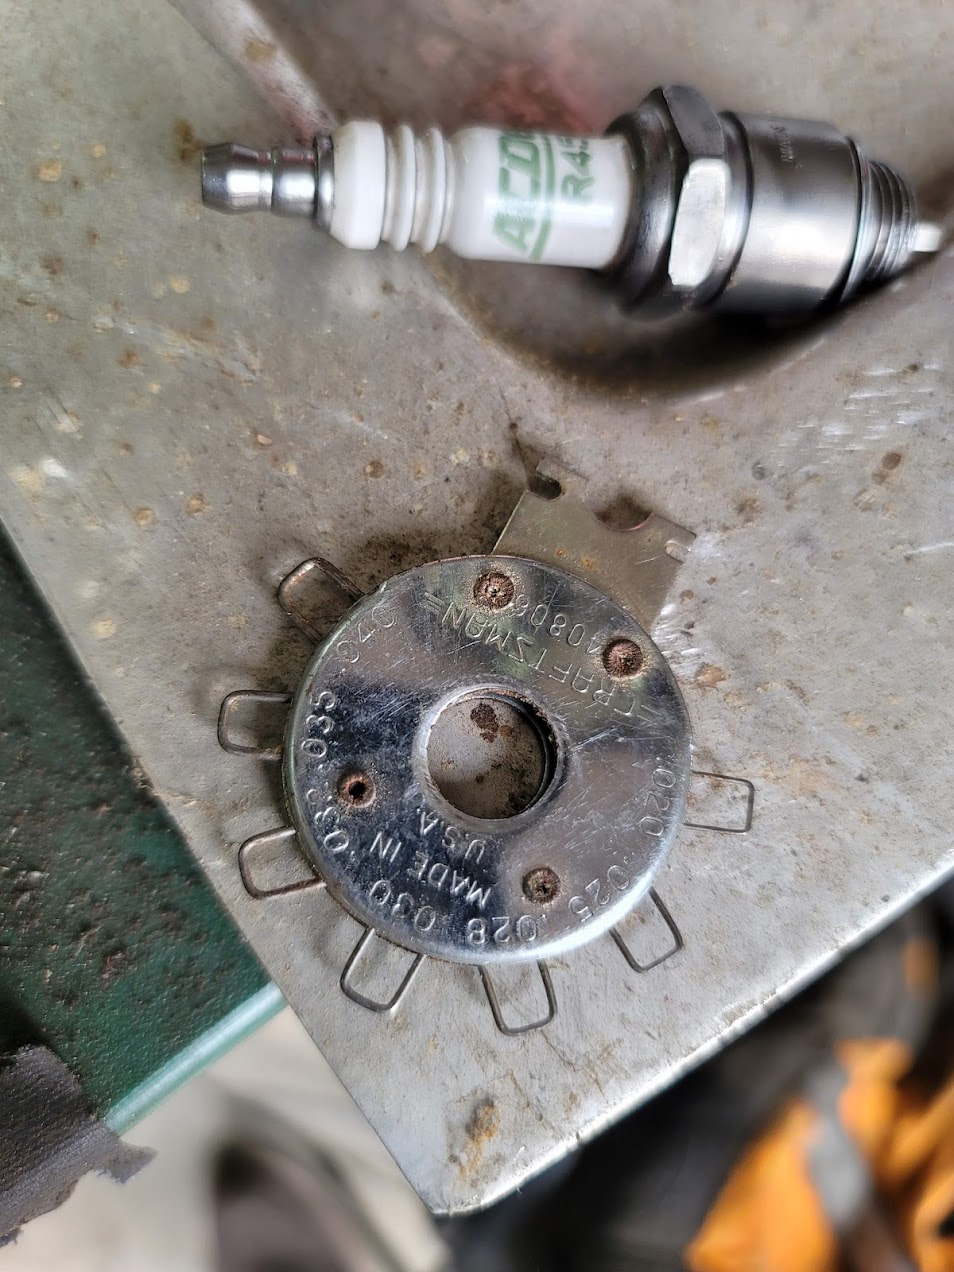
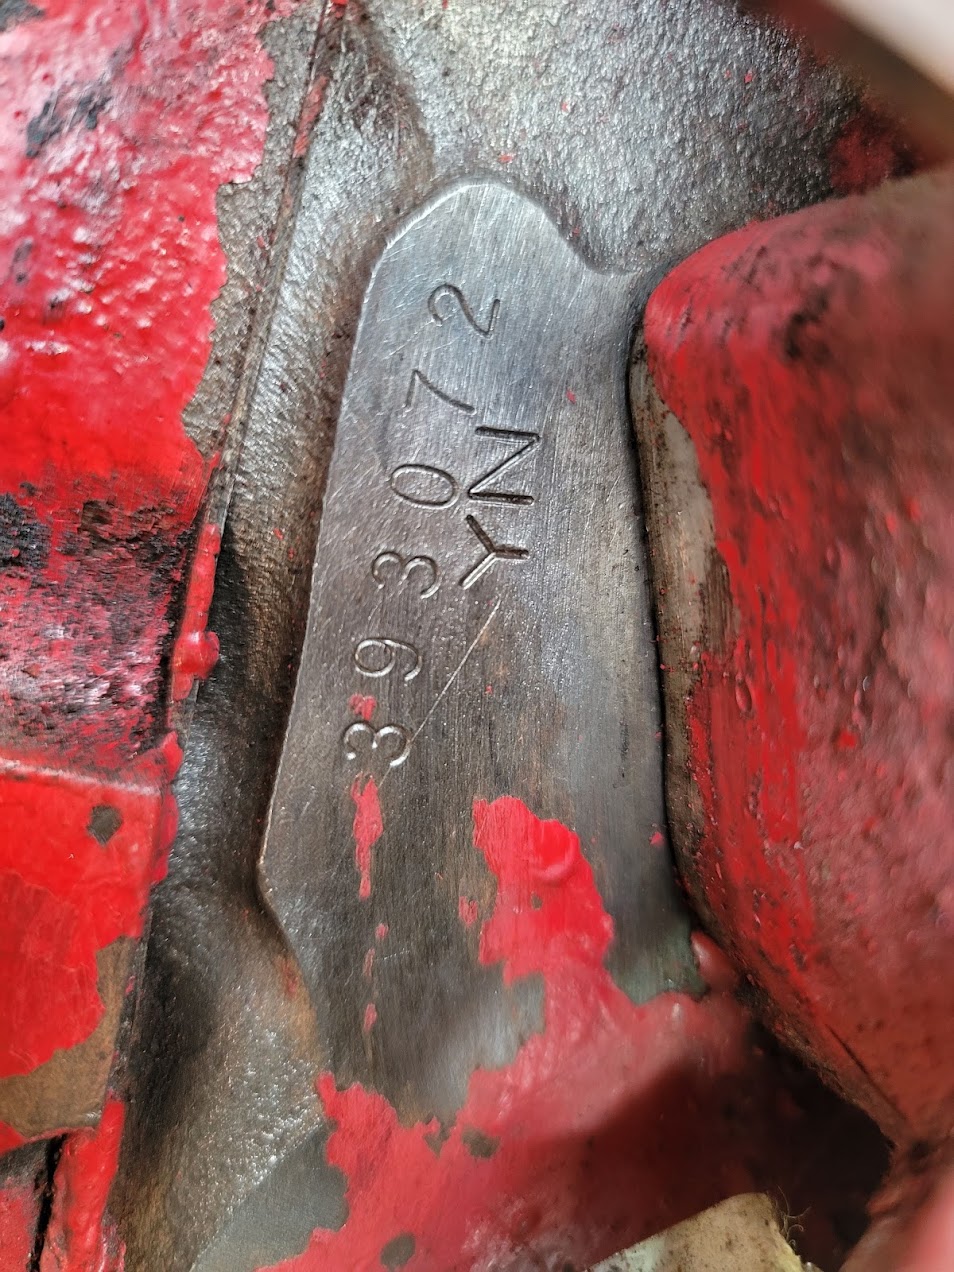
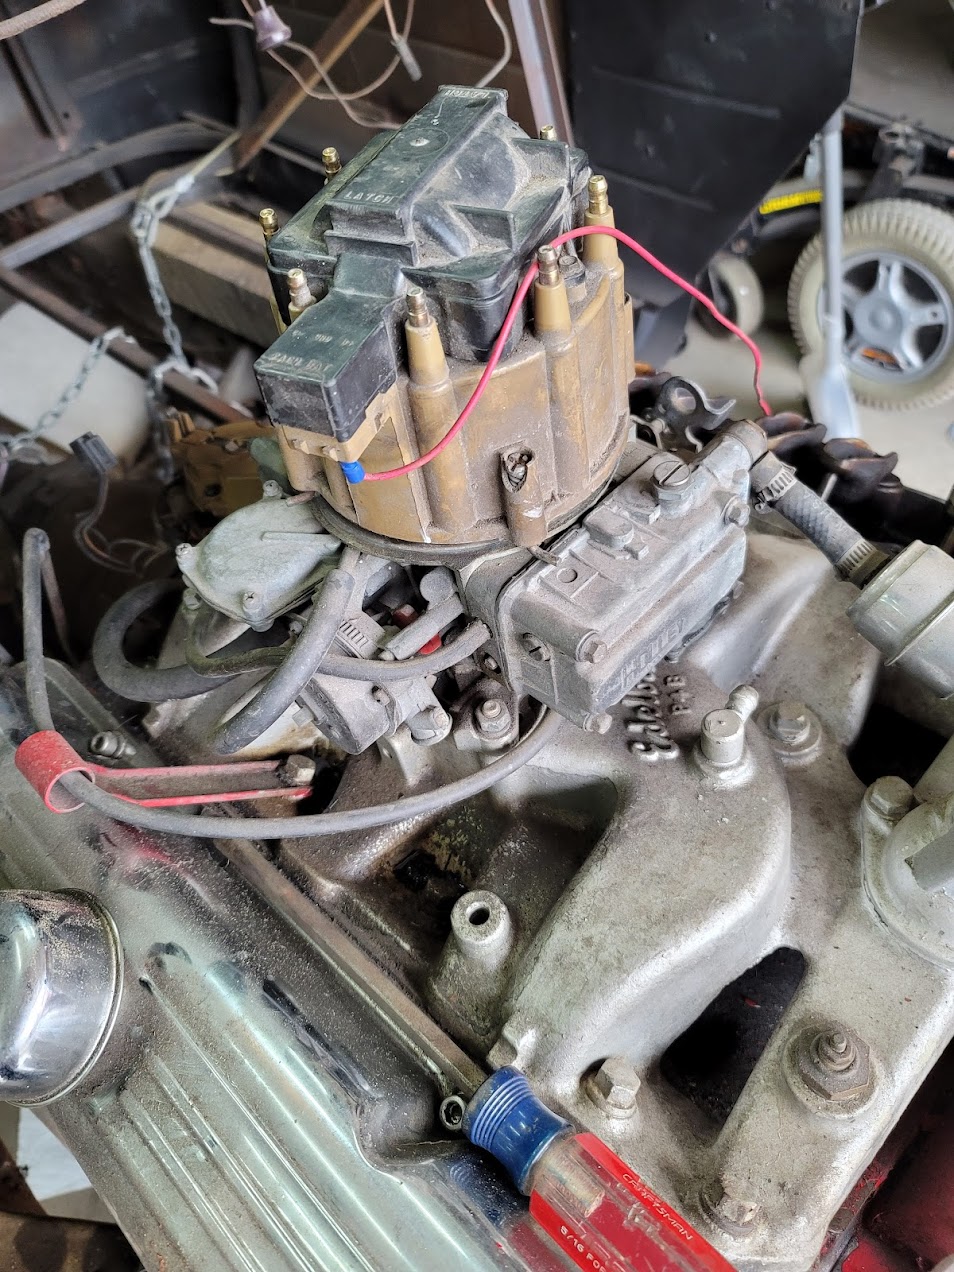
Pulled all the plugs and cleaned them up for the test fire, as well as had to set timing and clean cap and rotor. The old GM HEI still worked! The holly carb was pretty clogged up though, Will be going EFI so not worried about that. Also pulled some block numbers to learn more about it…
Block date range: 1965-1966
Build date: October 8th 1966
Car Year: 1966
Engine: 326 Cu.In.
HP Rating: 250HP
Head # 094
Valve Size: 1.92/1.66
Compression ratio: 9.2:1
The trans looks to be a 2003 B&M aftermarket transmission and torque converter. From what I can gather from previous owner the engine has less than 70K miles.
If any of you are Pontiac guys would love to hear your input!
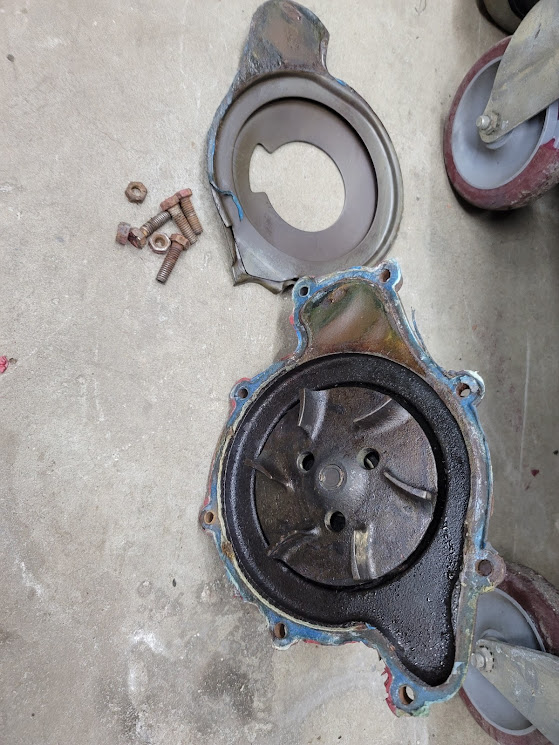
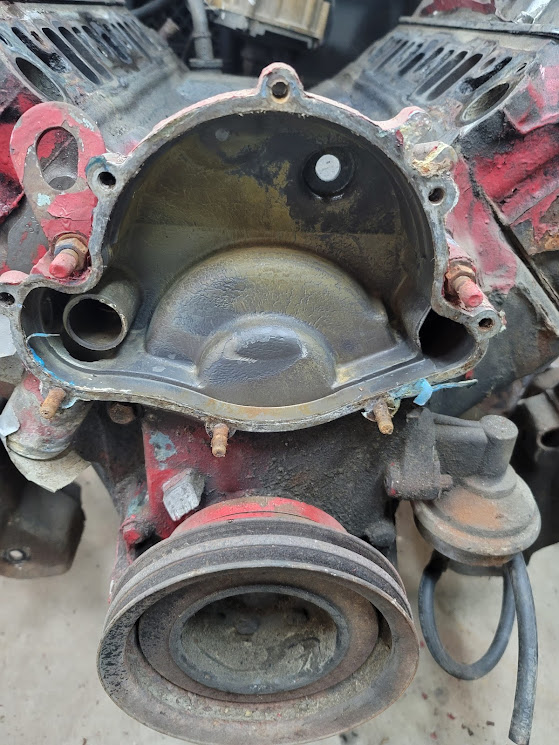
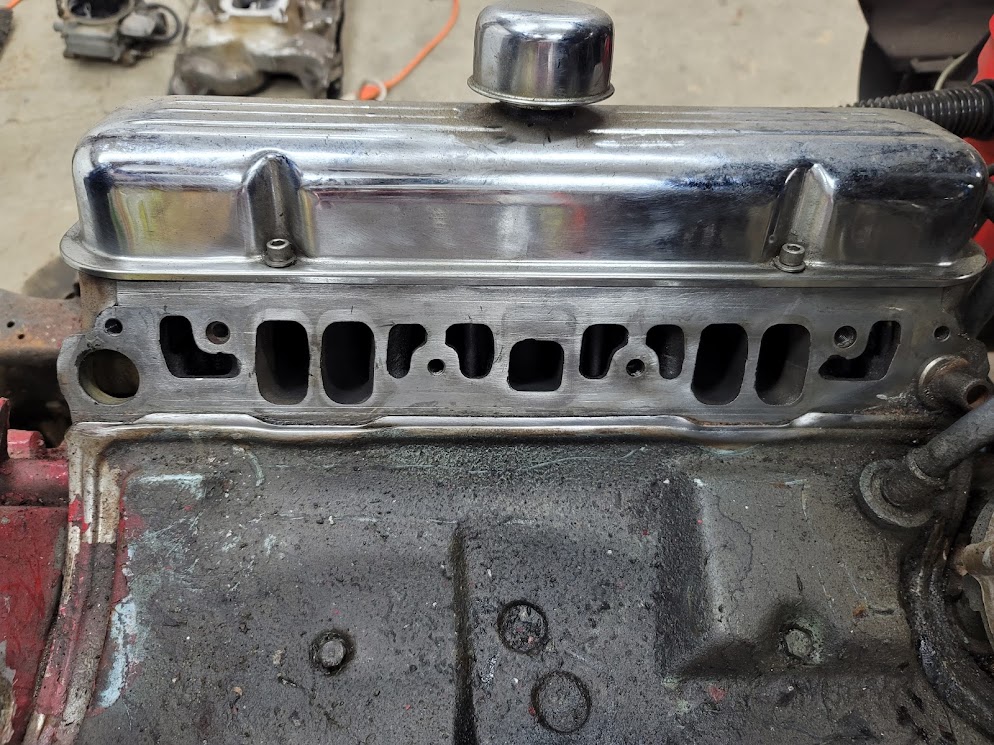
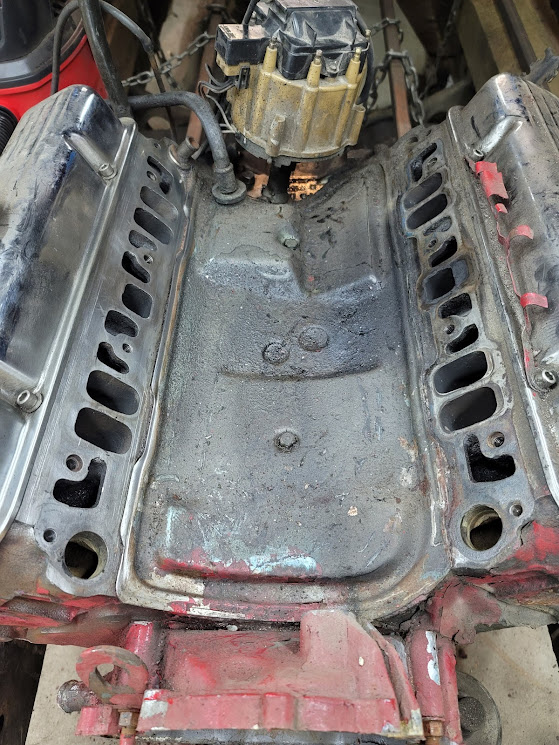
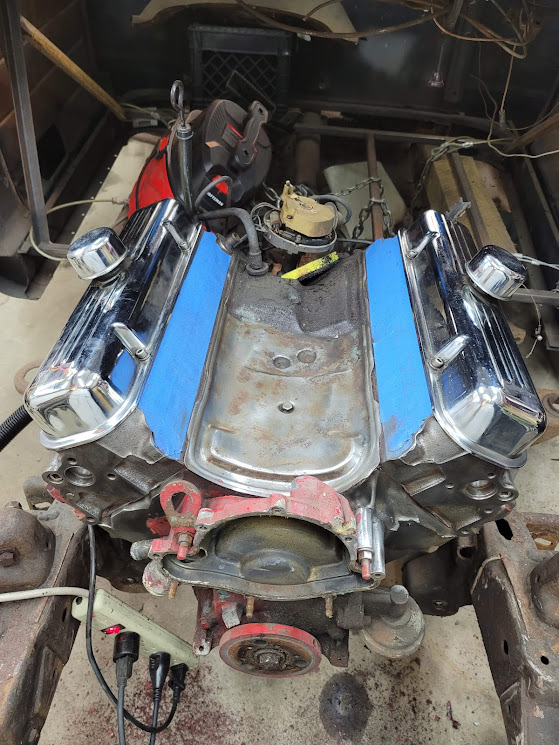
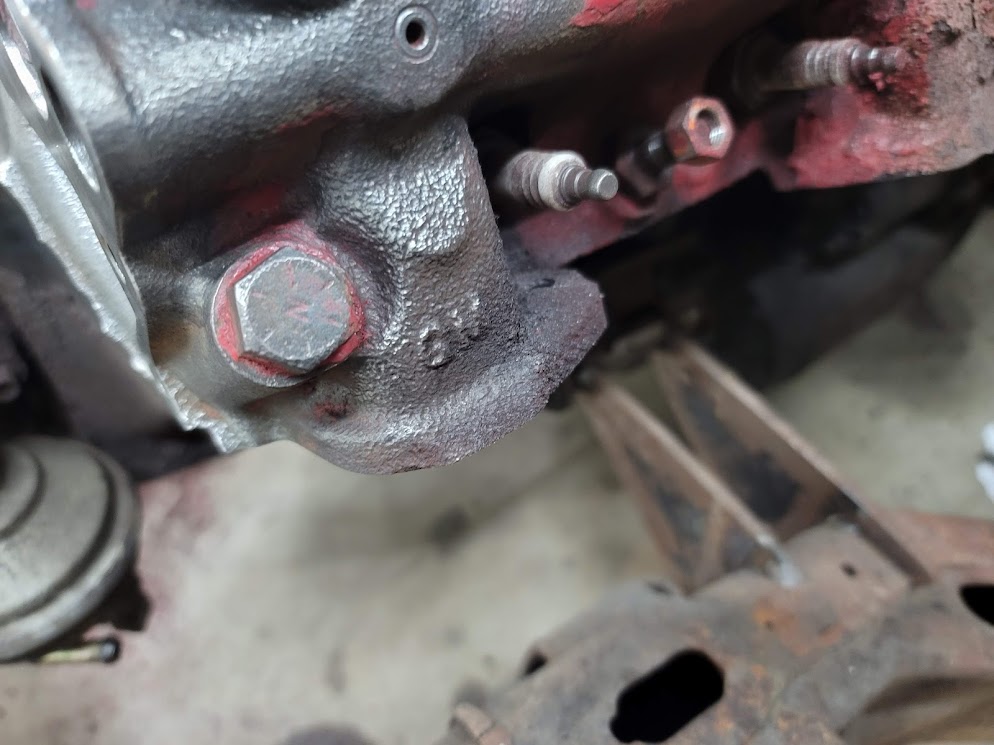
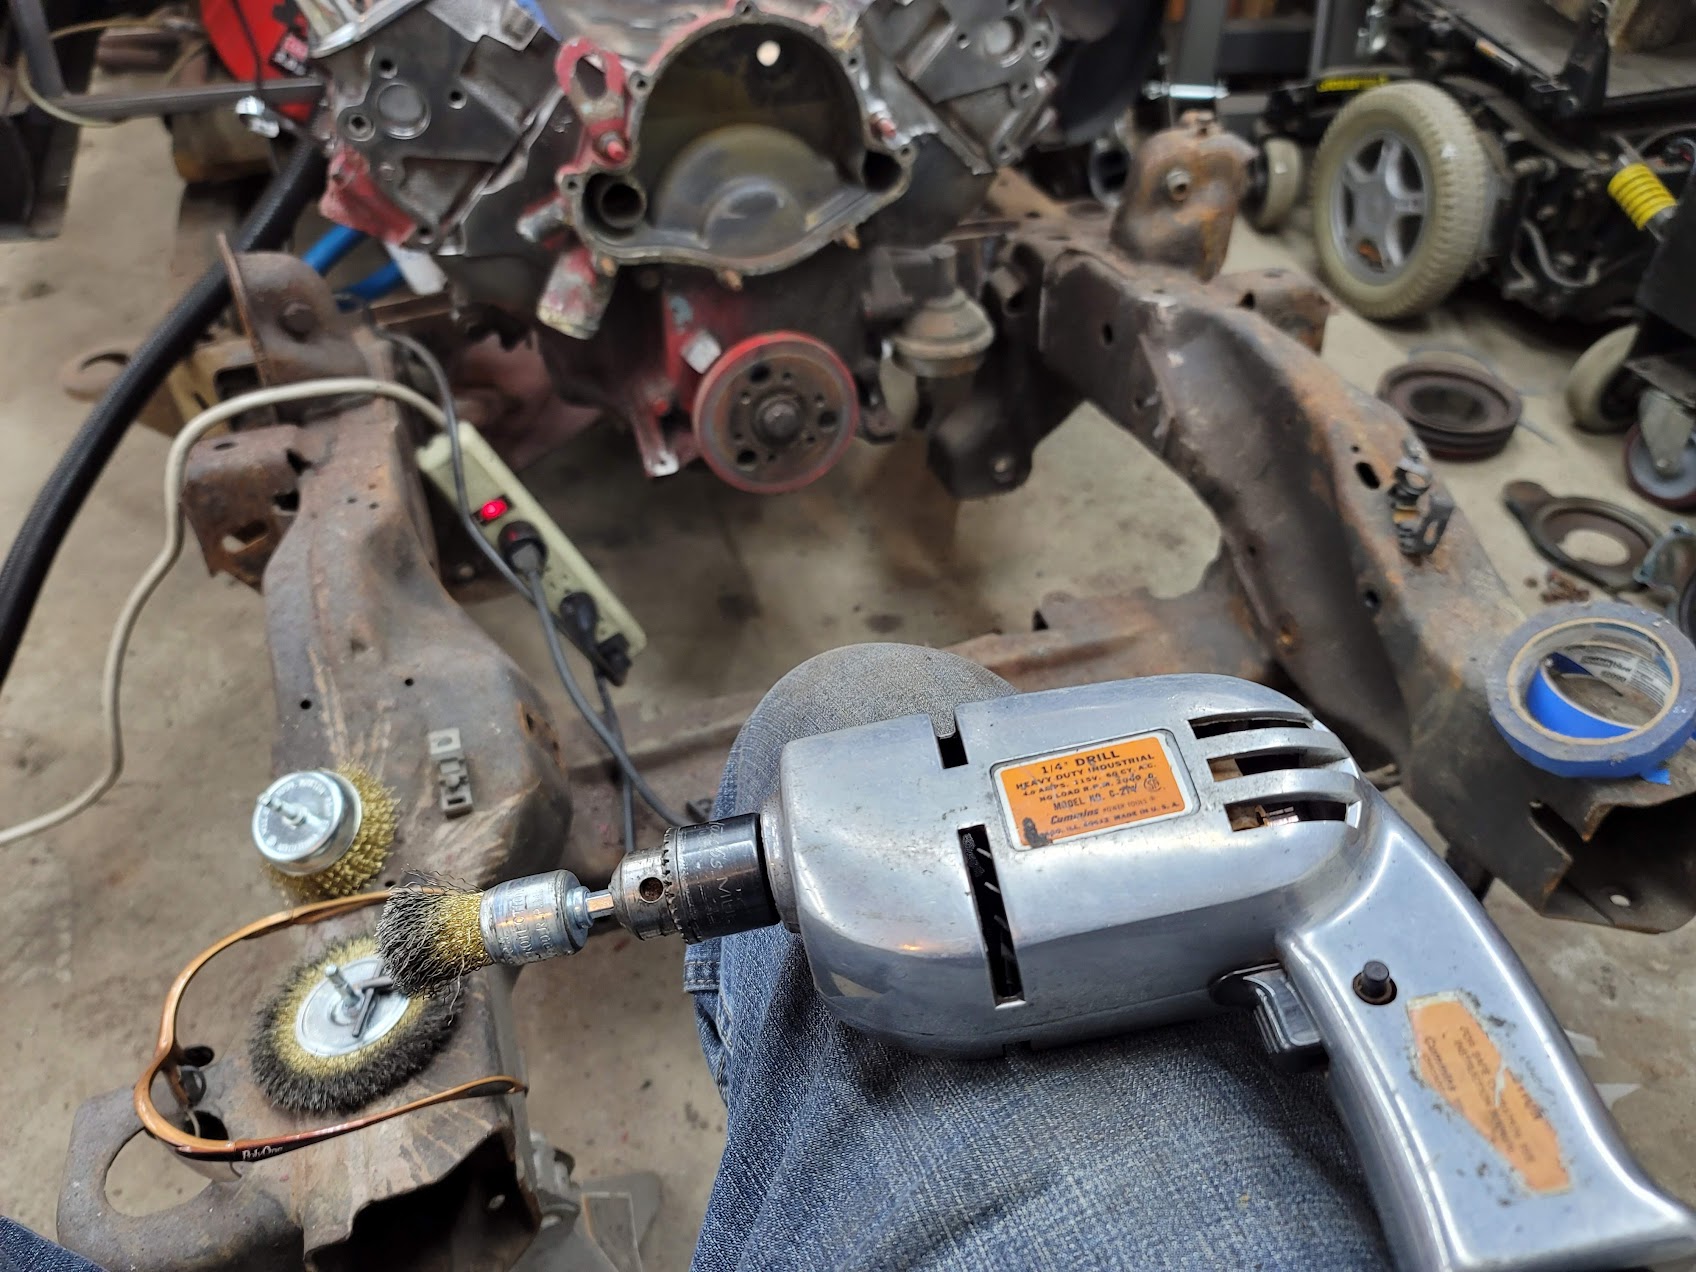
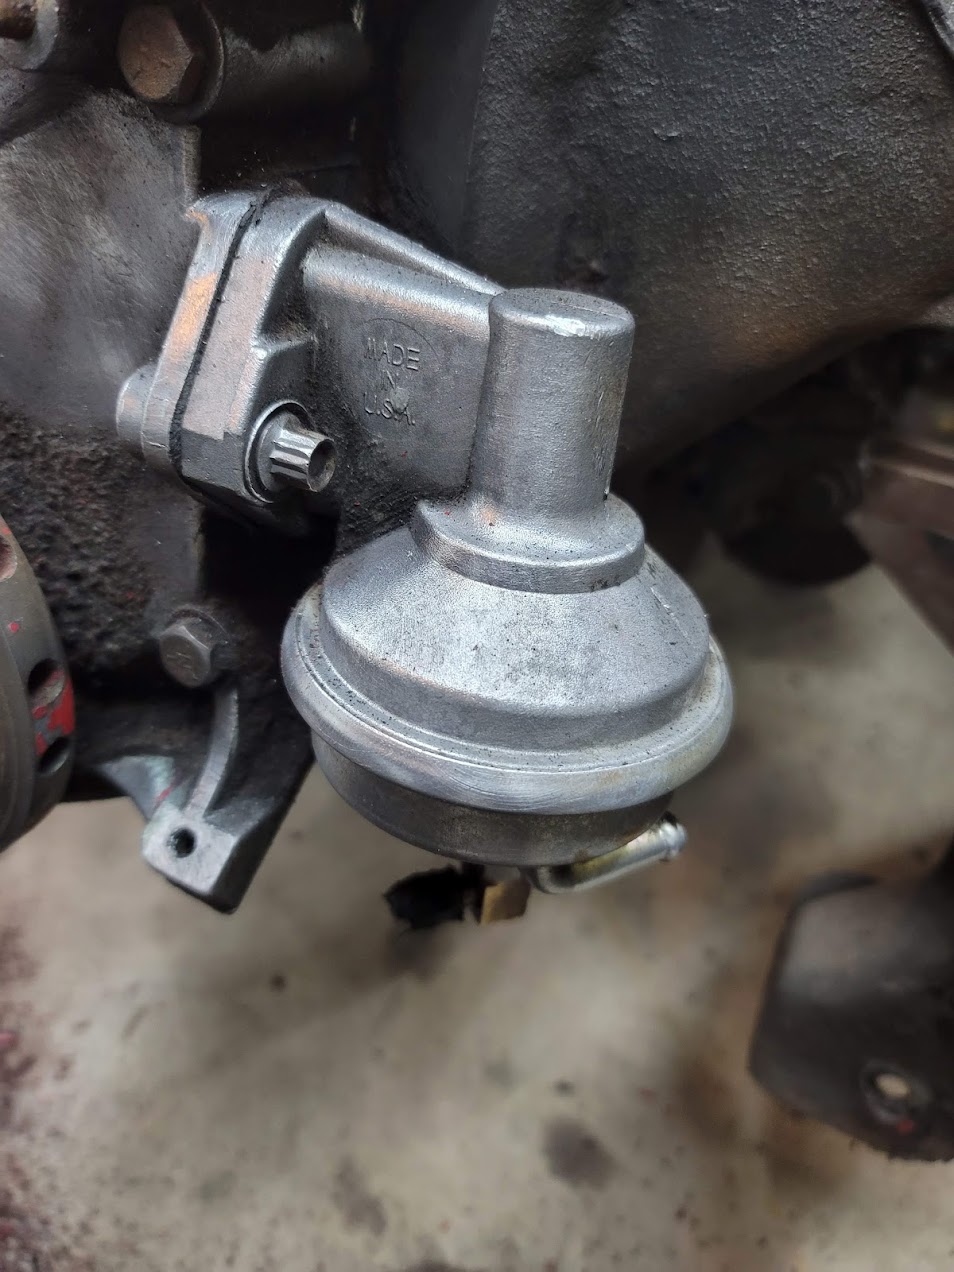
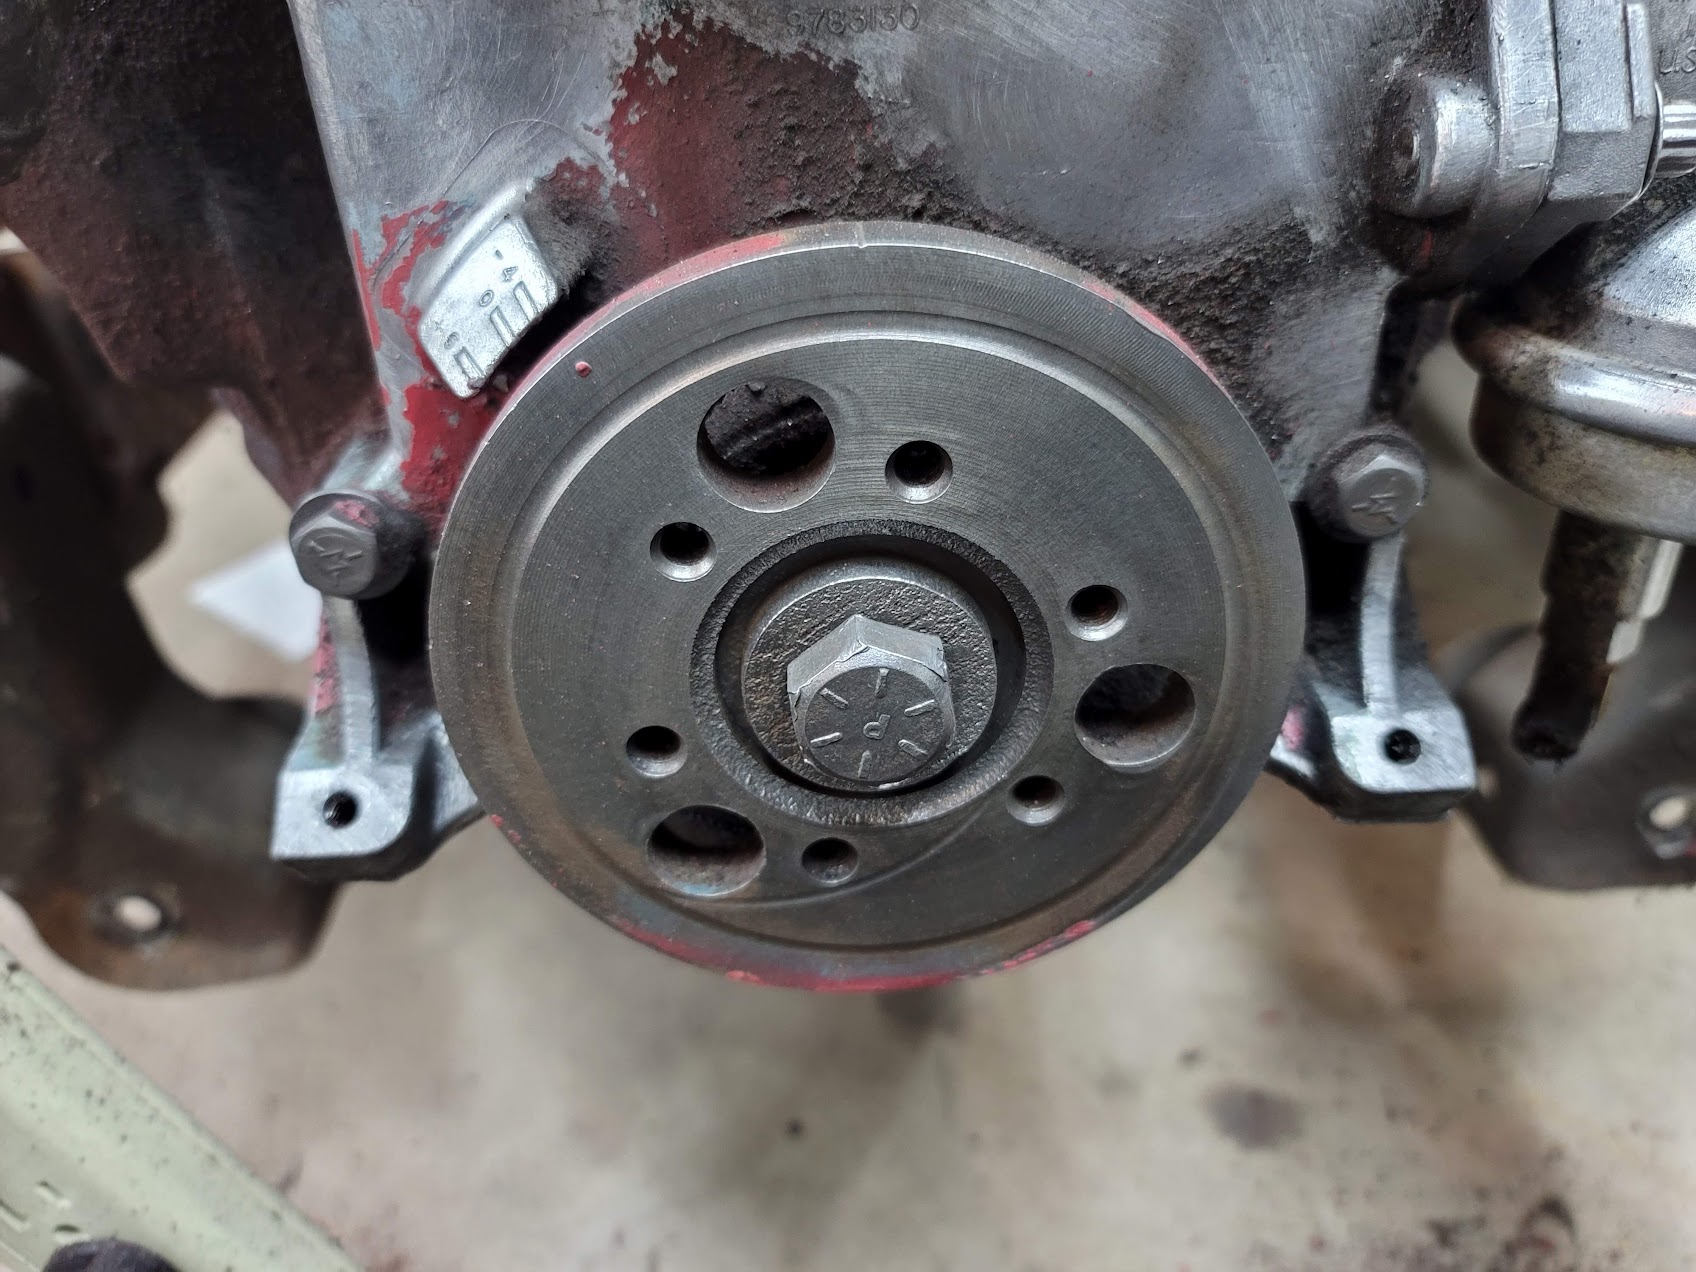
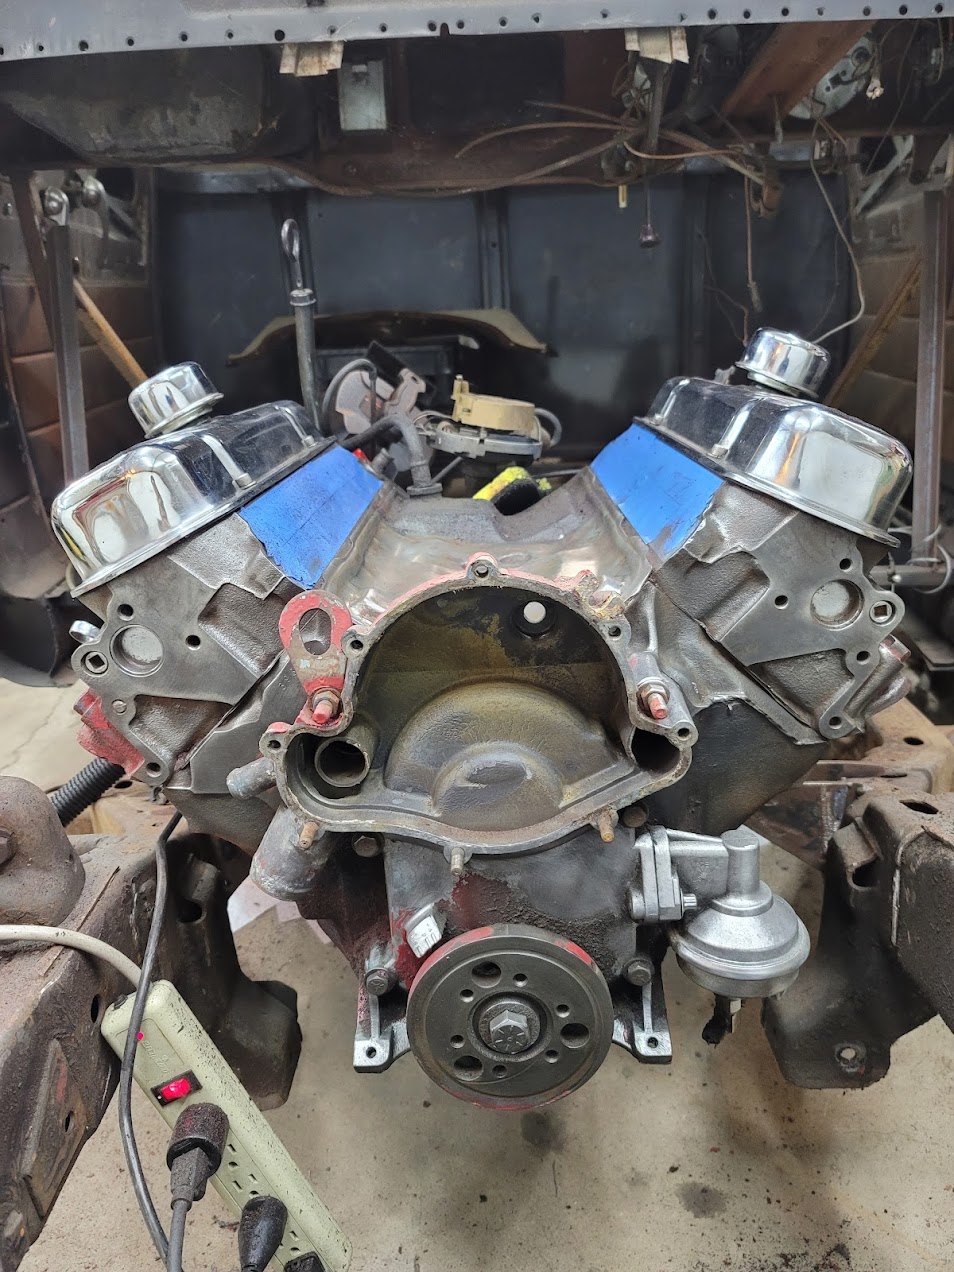

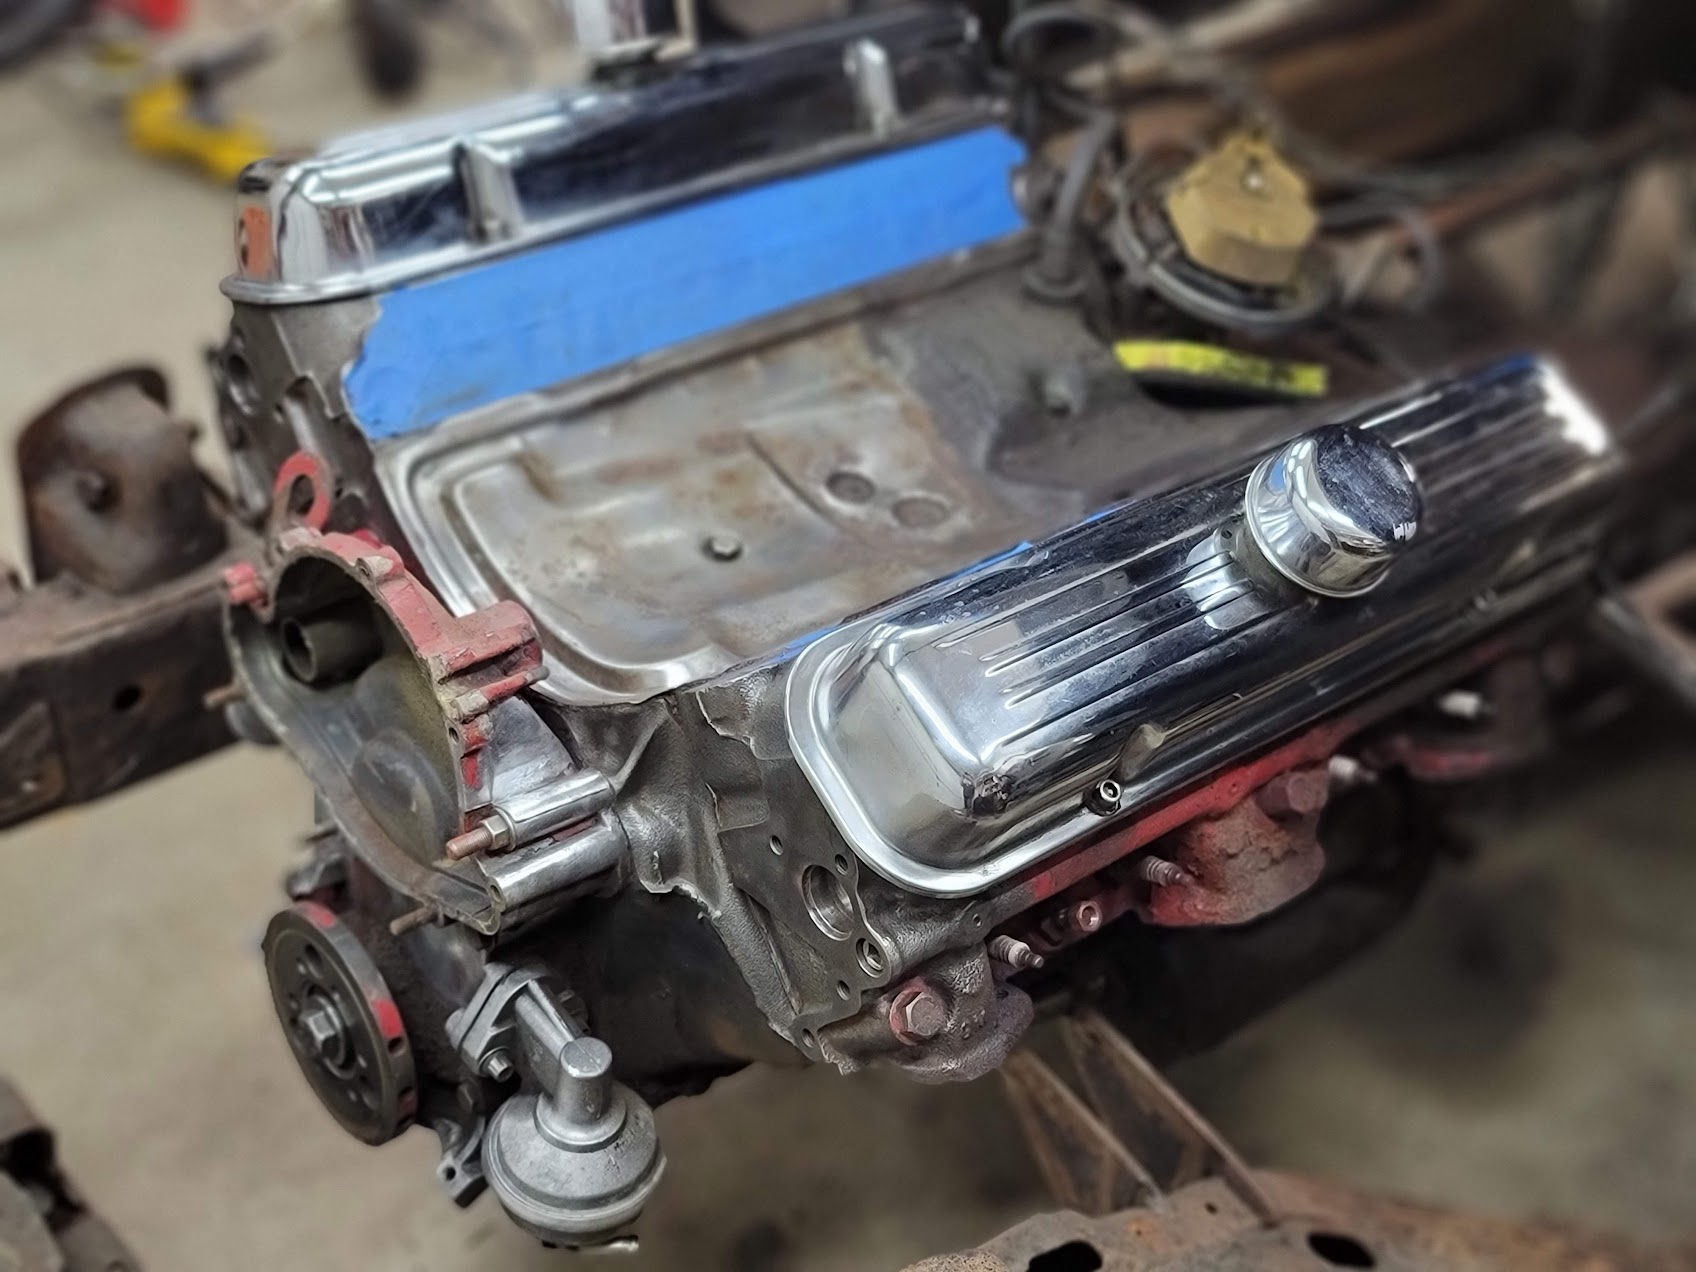
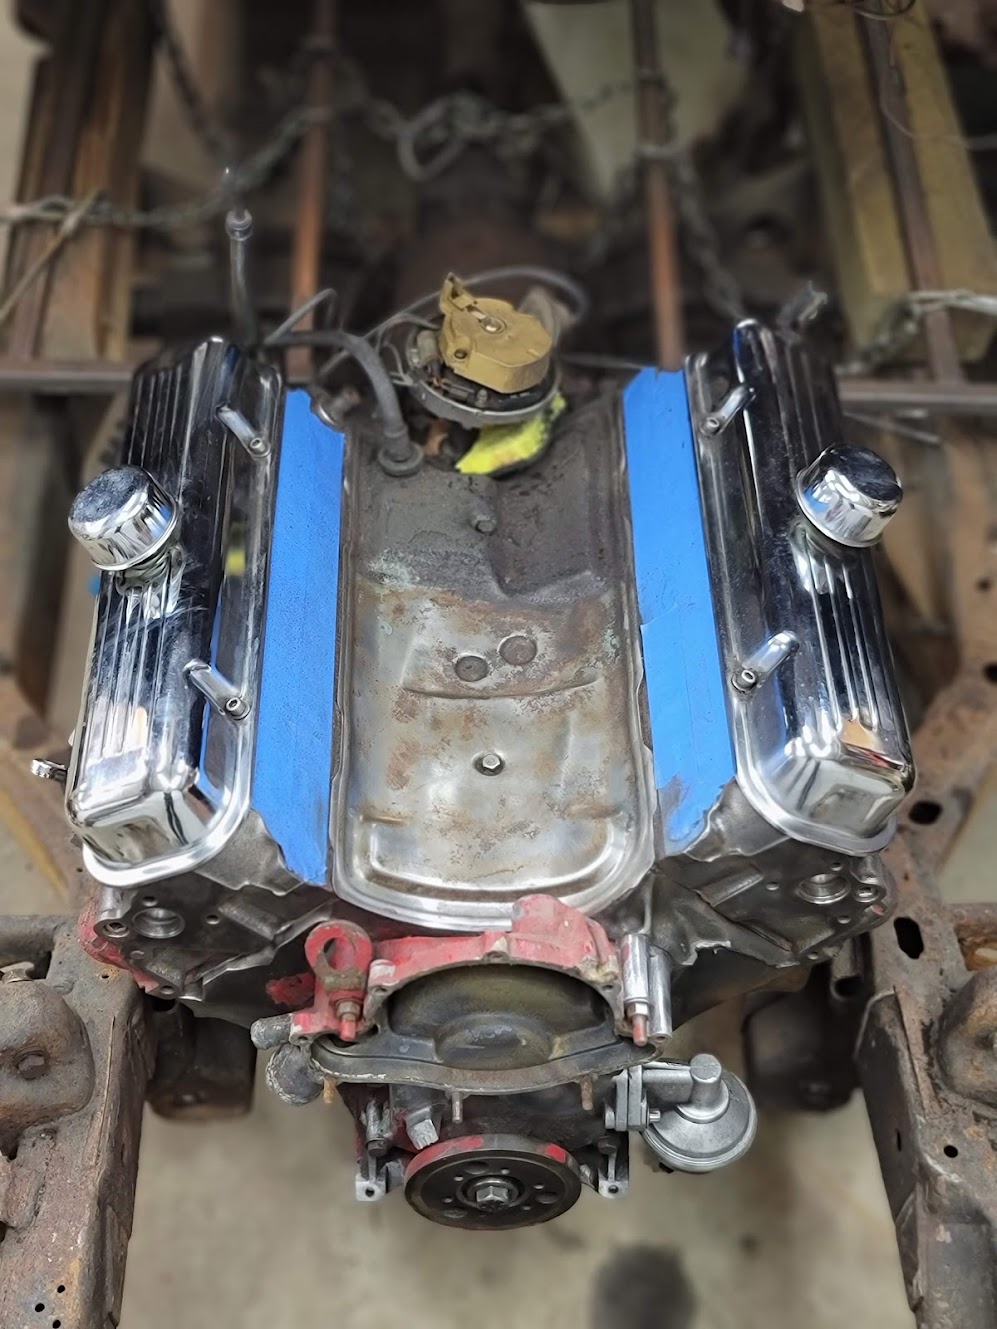
Started to pull the intake and see what condition things where in, when I pulled the water pump I found it surprisingly clean inside. This is a good sign. Also started cleaning a bit of the front of the block to see what condition the old iron was in. It too also looked good. Time to pull it and put it on a stand!
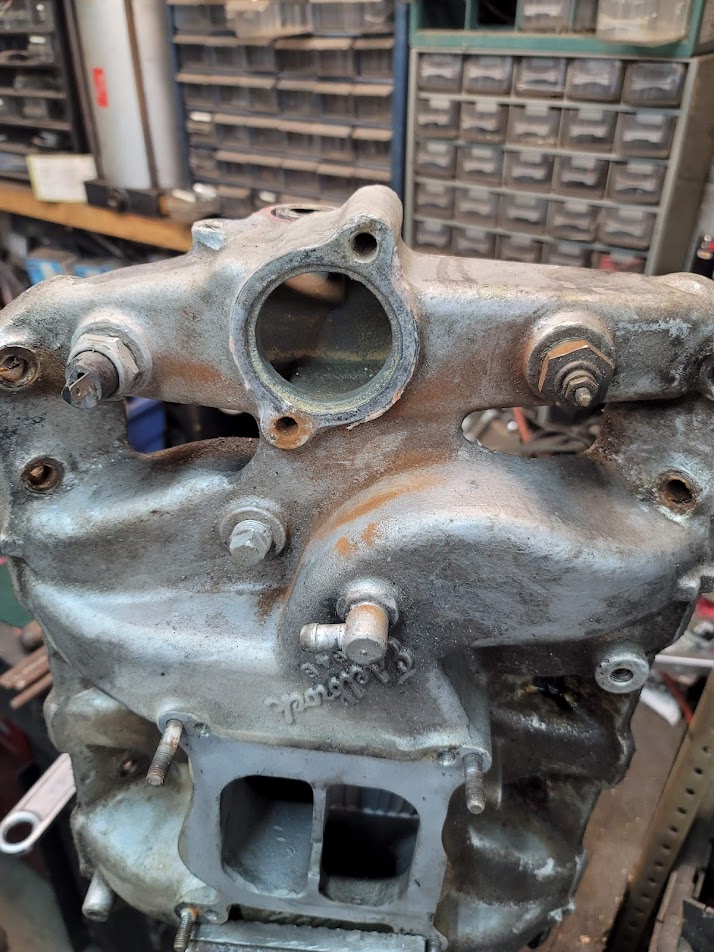

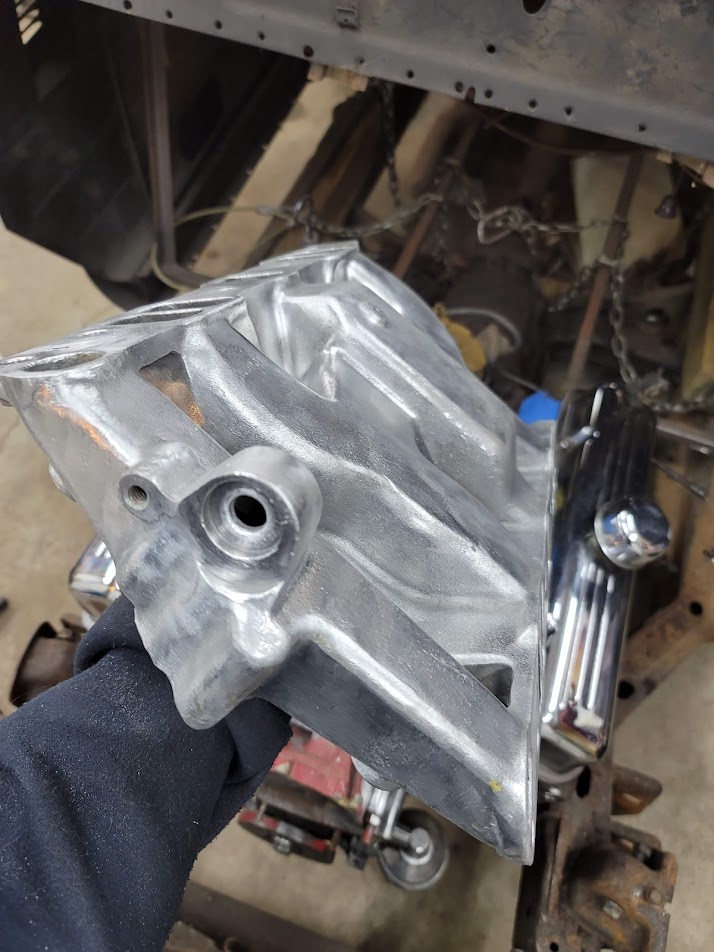

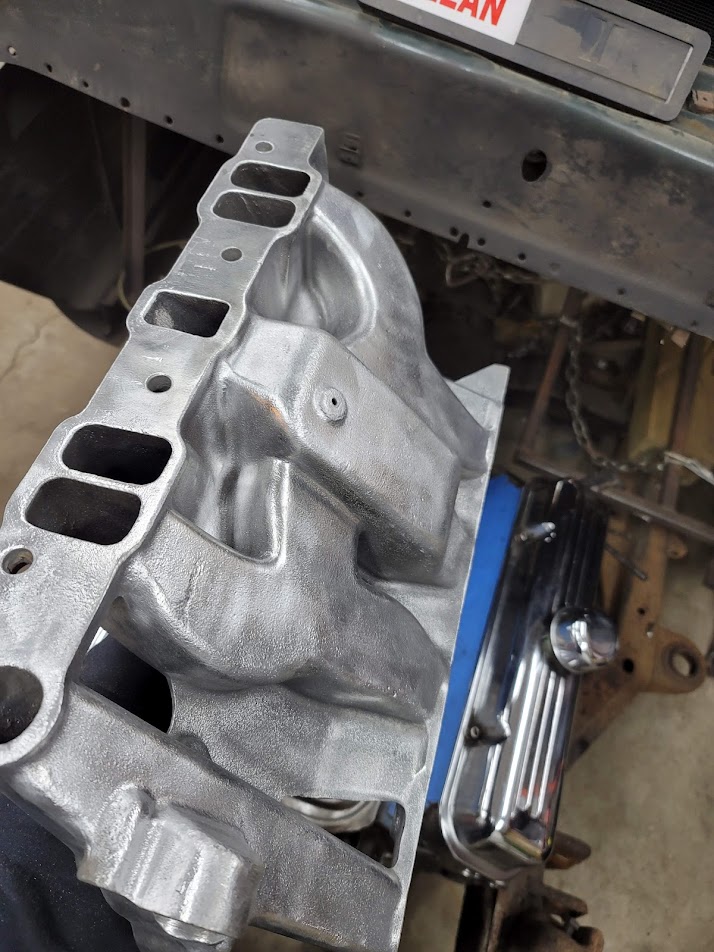
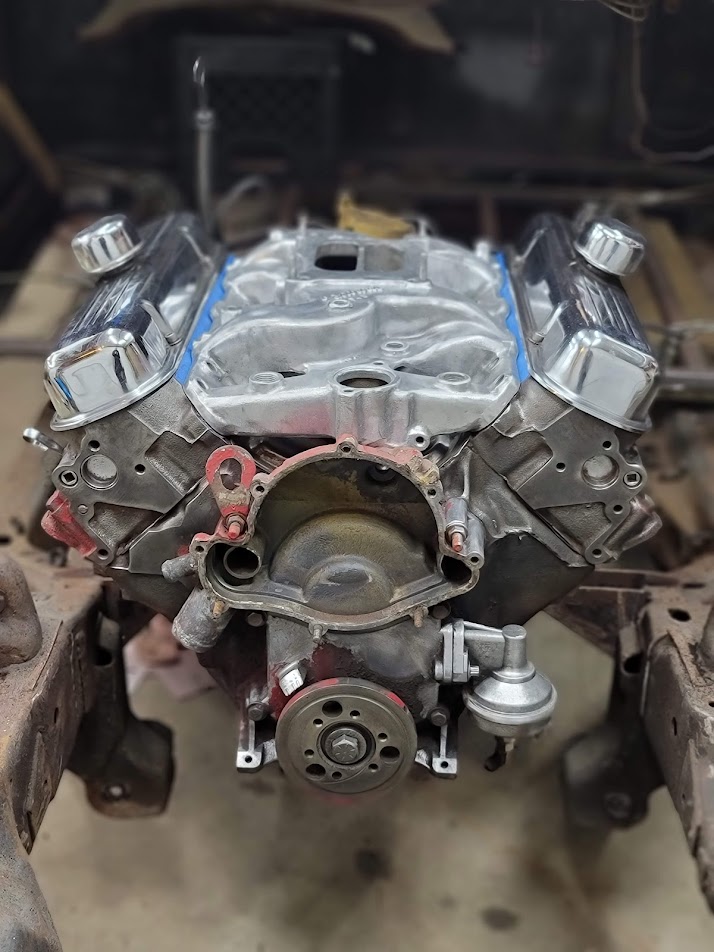

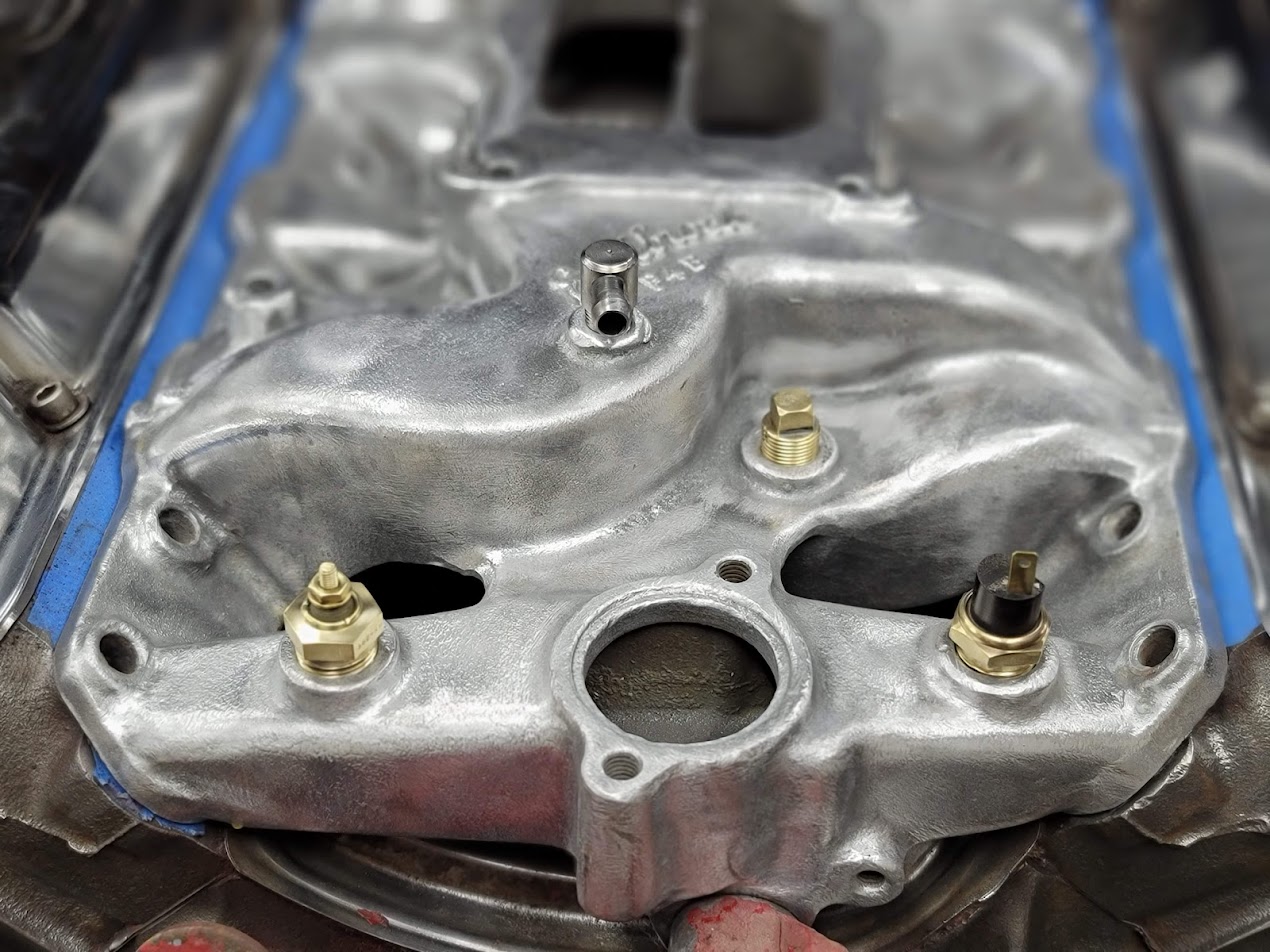
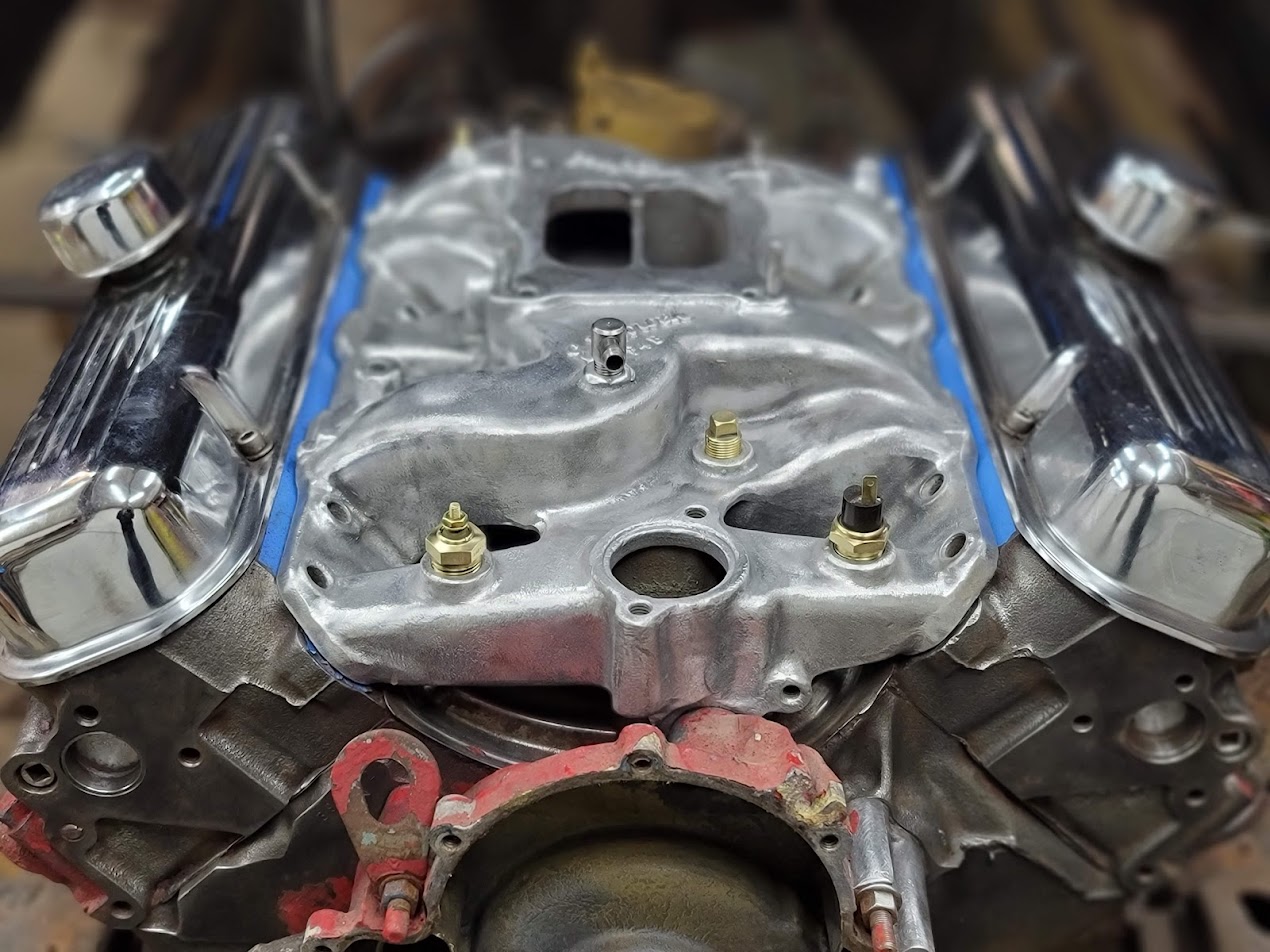
A few long days and a ton of hard work, to clean up the old intake, an old P4B intake. ( Stands for Pontiac 4 barrel ) About same flow as old iron stock unit, but much lighter and less heat soak. It cleaned up nice.
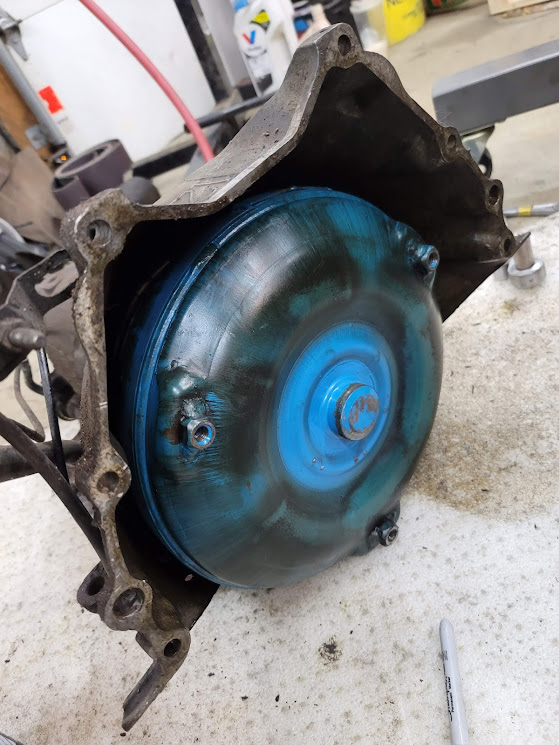
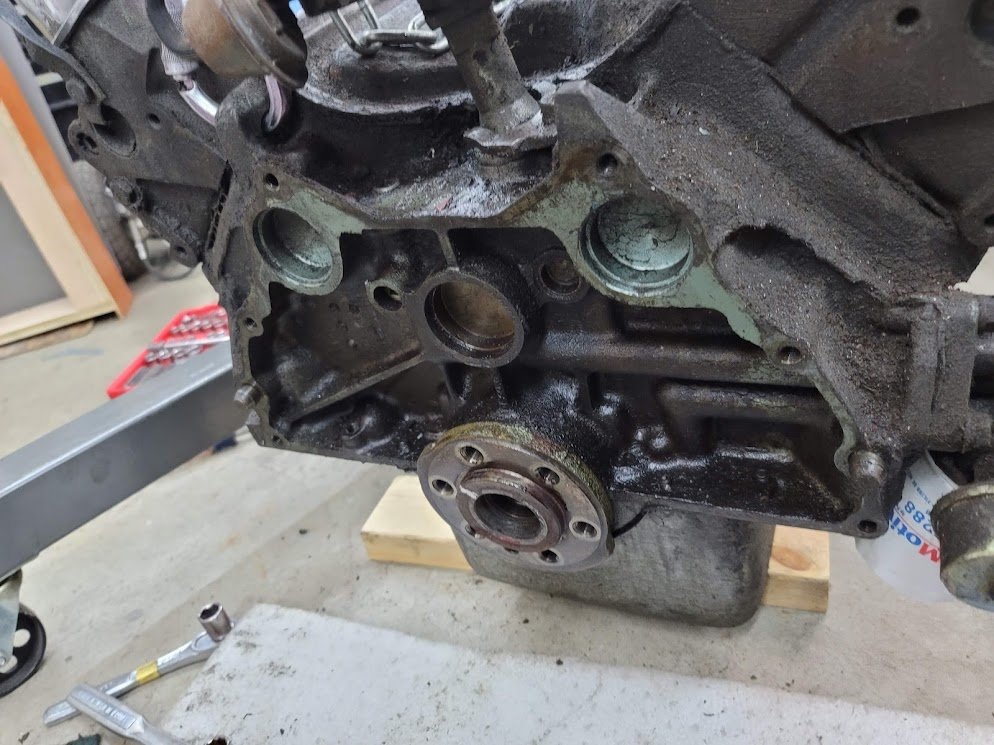
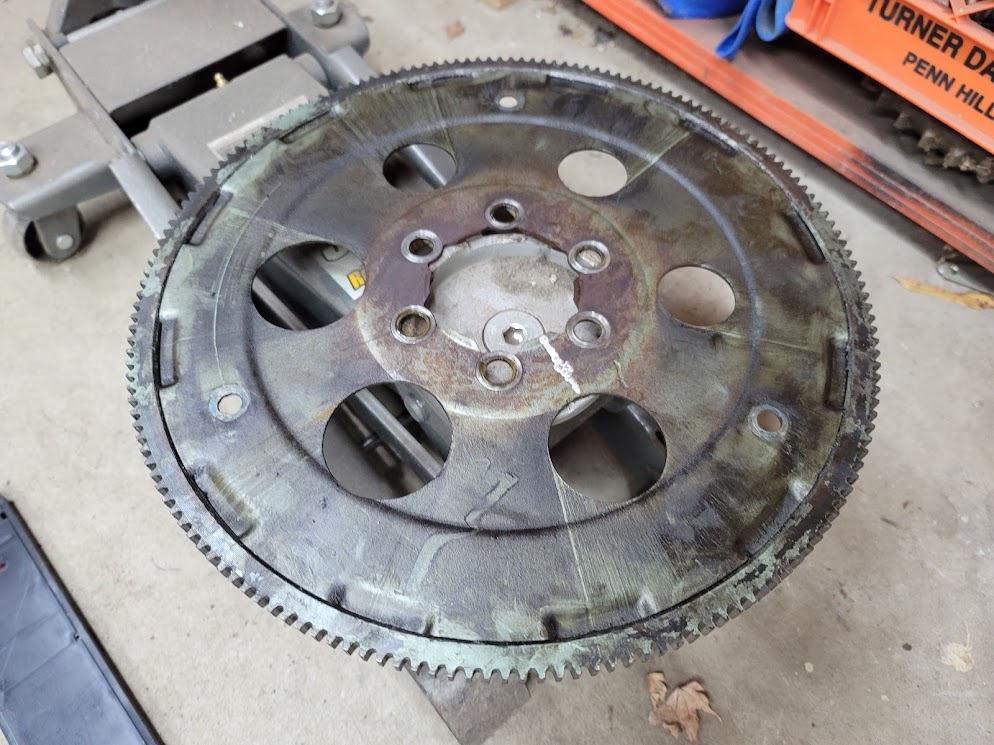

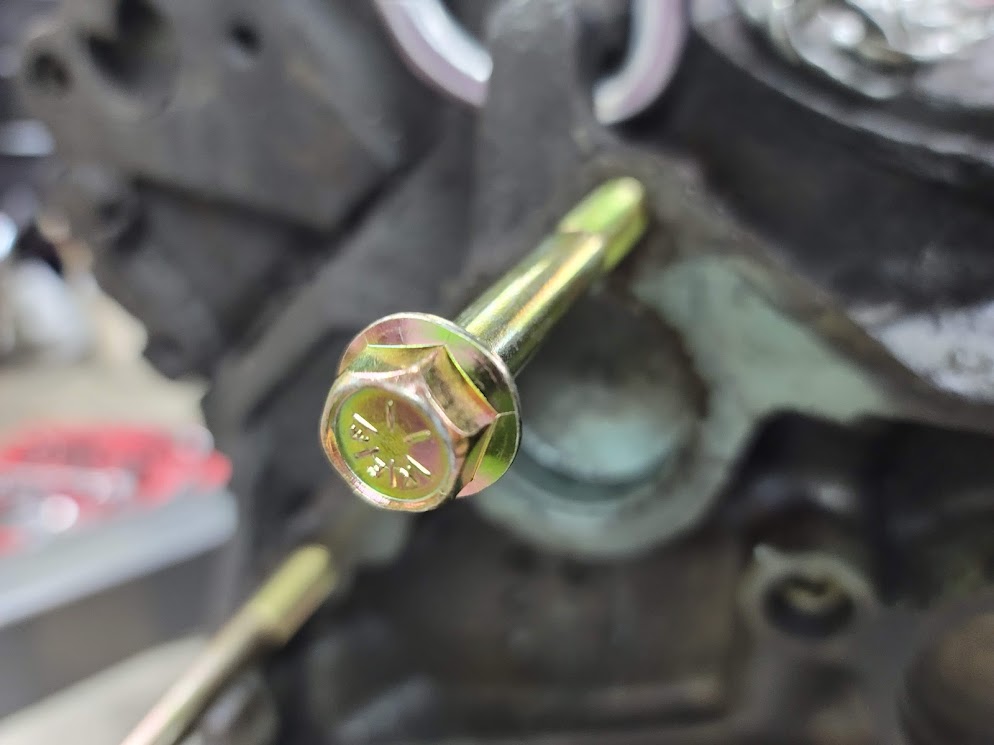
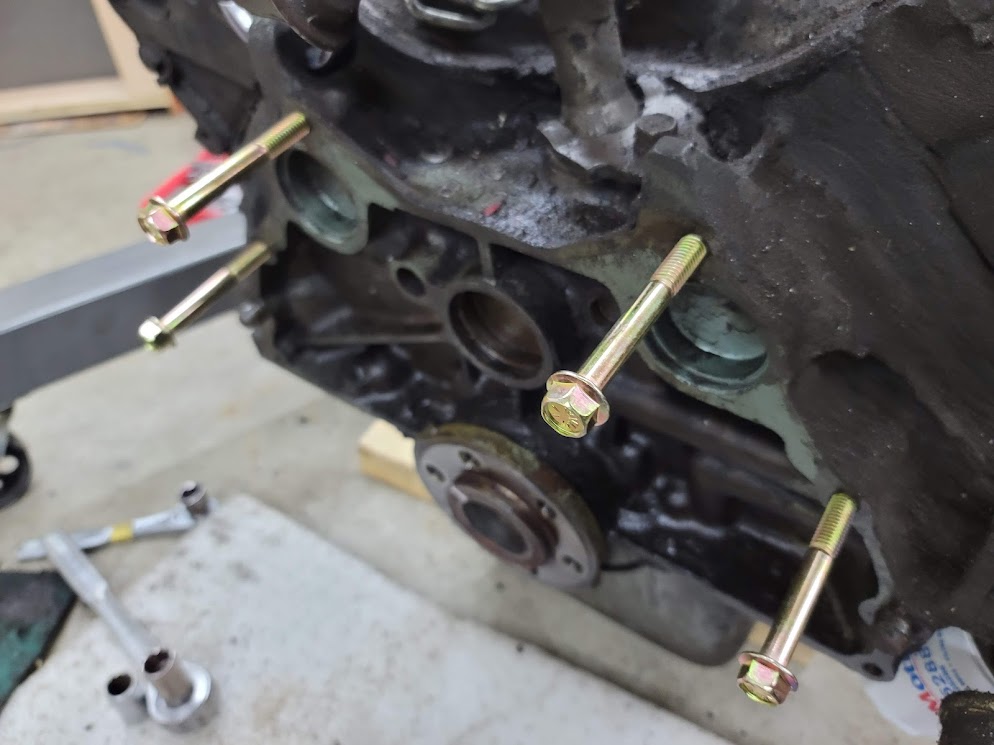

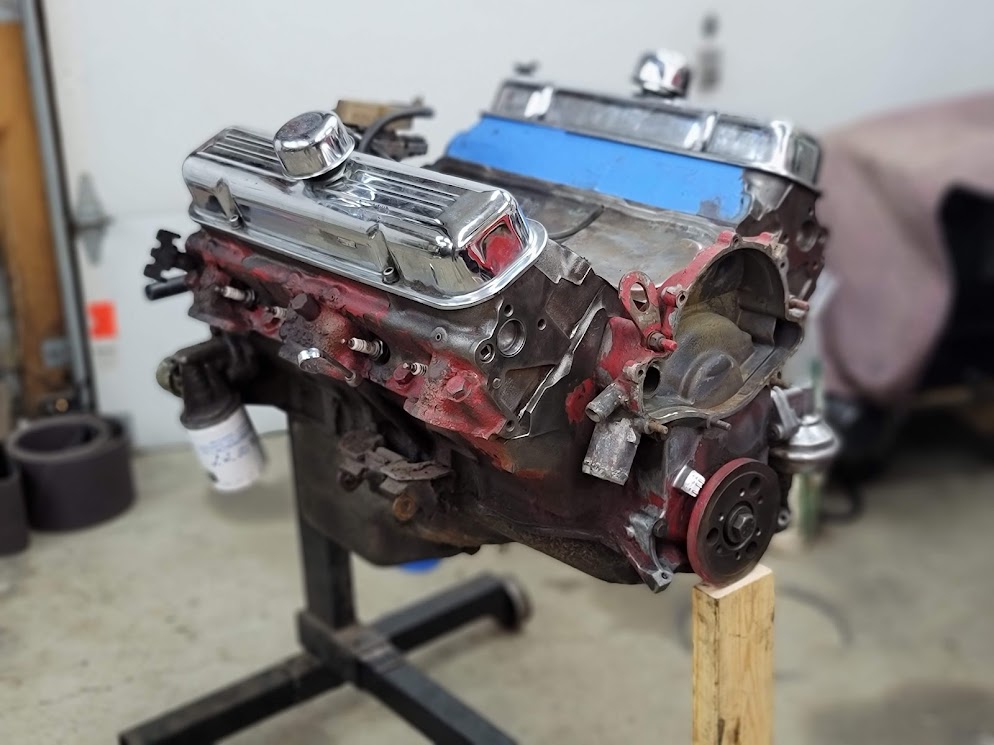
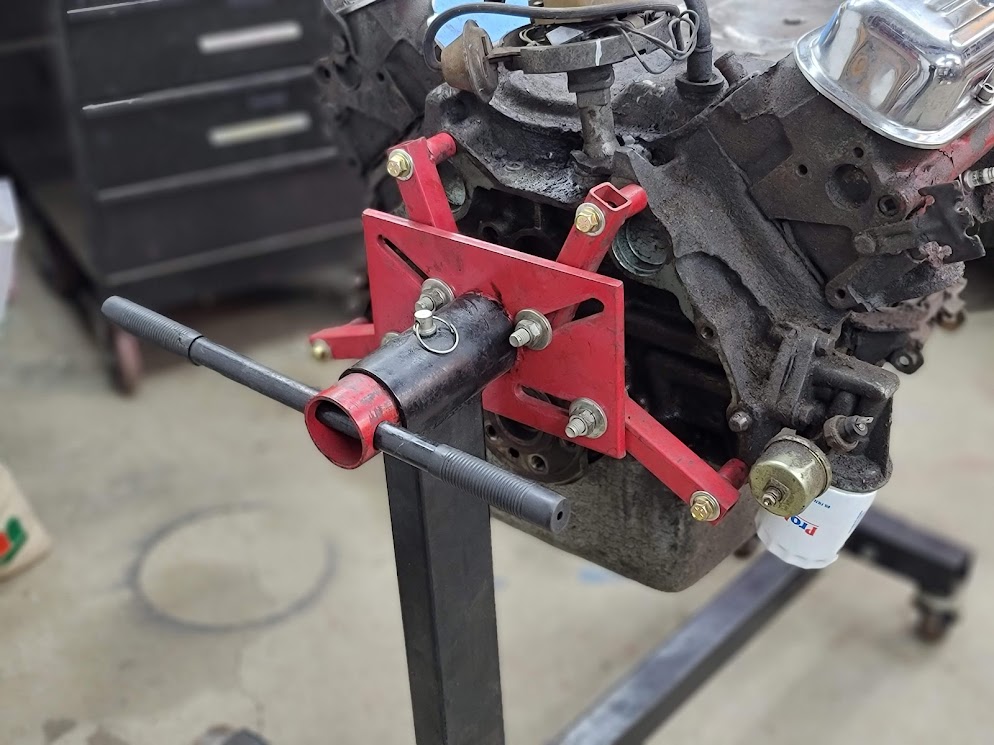
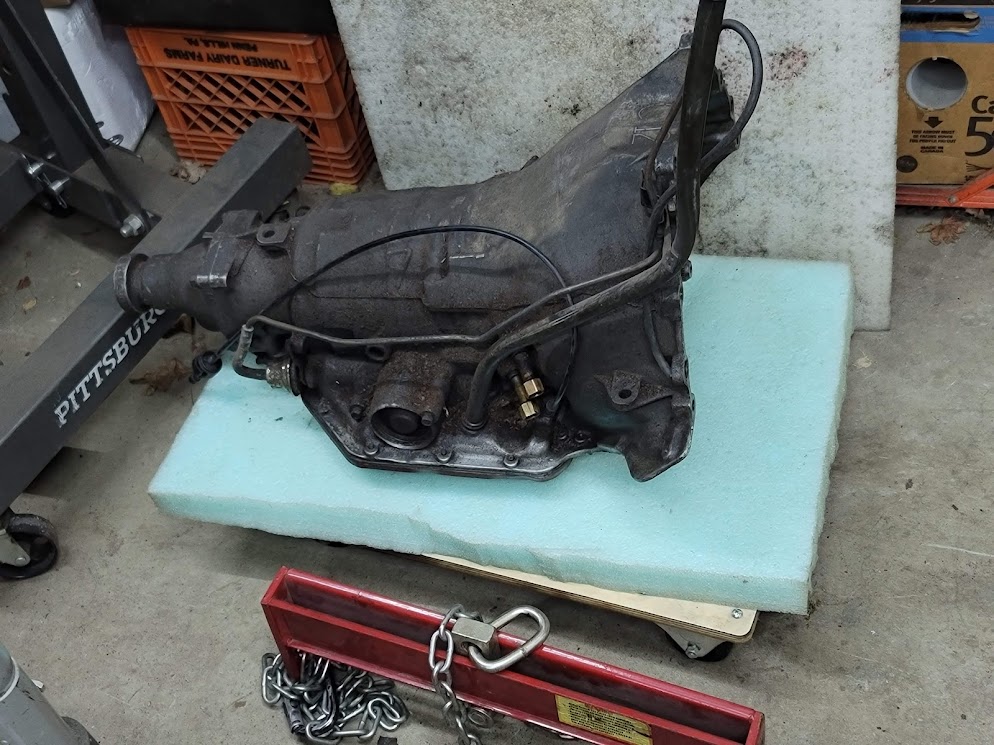
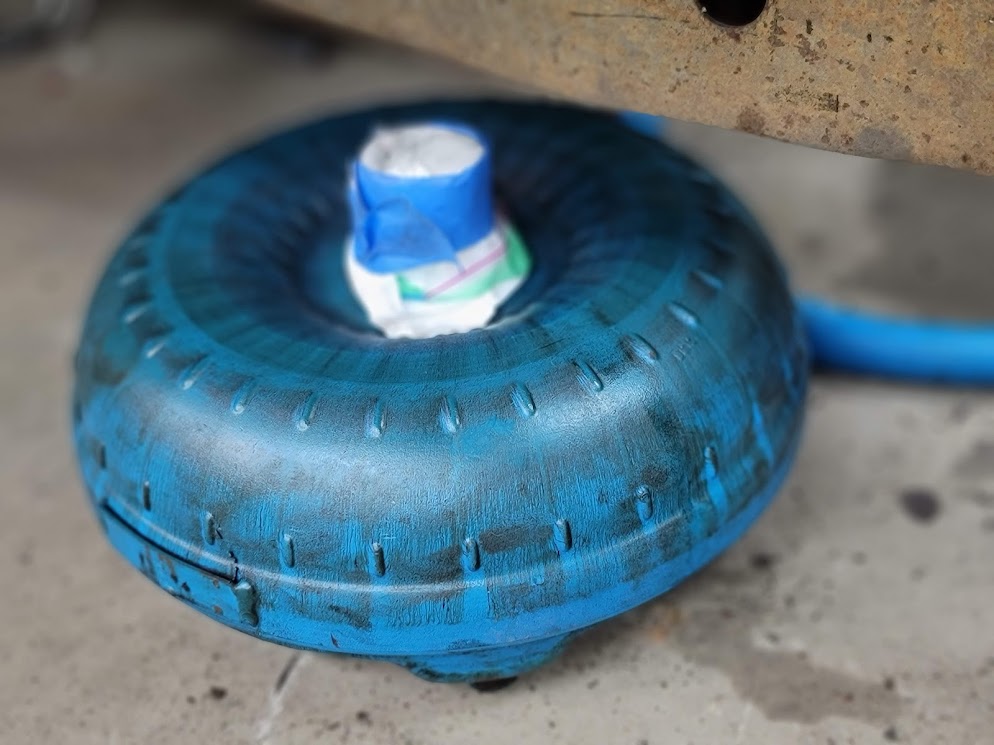

Got it pulled, and trans off, and onto a stand! Man this is one heavy motor, every bit of 650lbs. The Pontiac had the same size block for there small, to large displacements, it is larger than a Chevy Small block, bot smaller than a Chevy Big block, if that helps you with size.
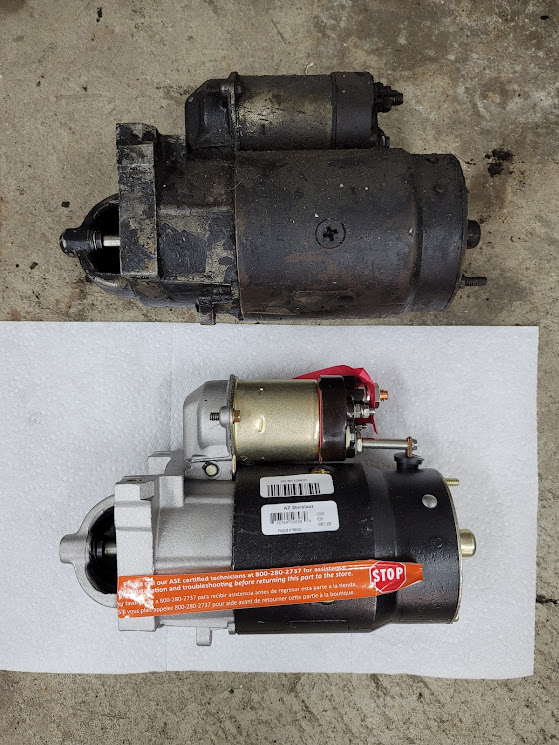
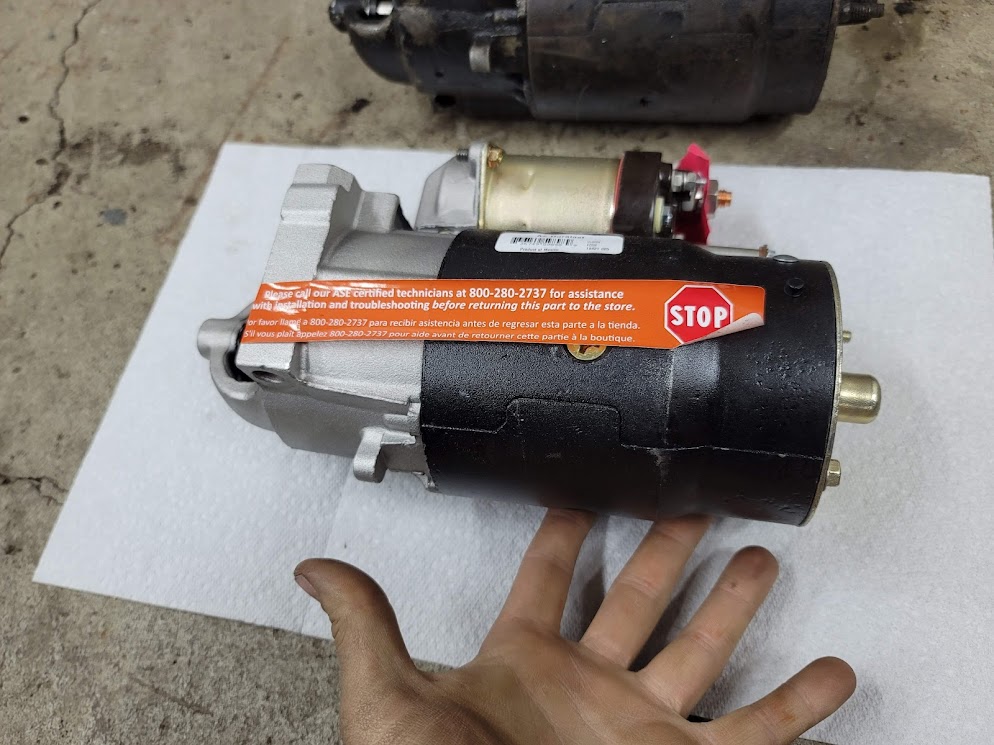
Hard to find a starter for a 1967 Lemans lol, Only one in town! Thing is the size of a 2 liter of coke, and the weight of a small child ha!
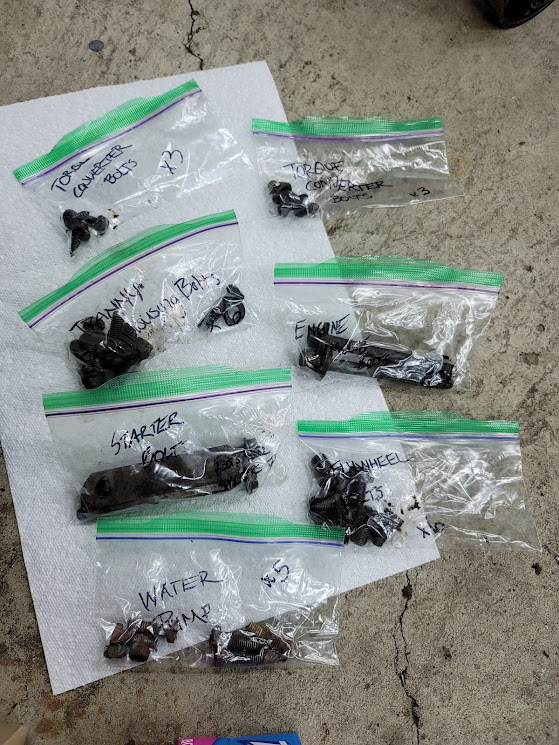
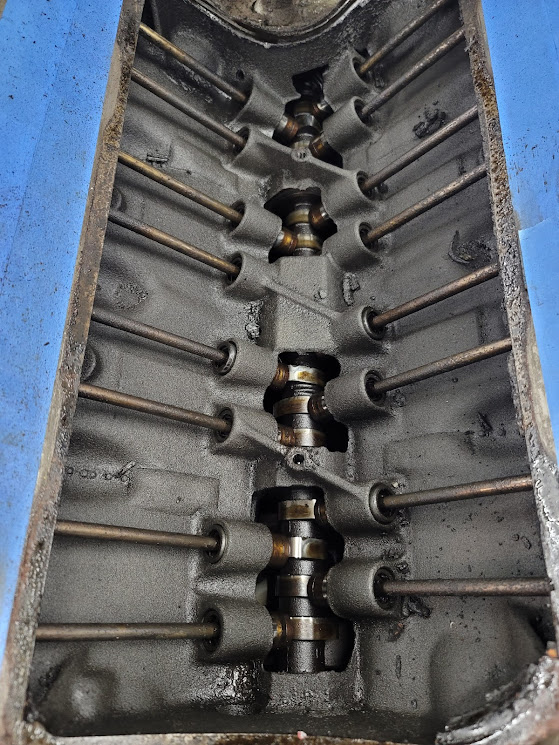
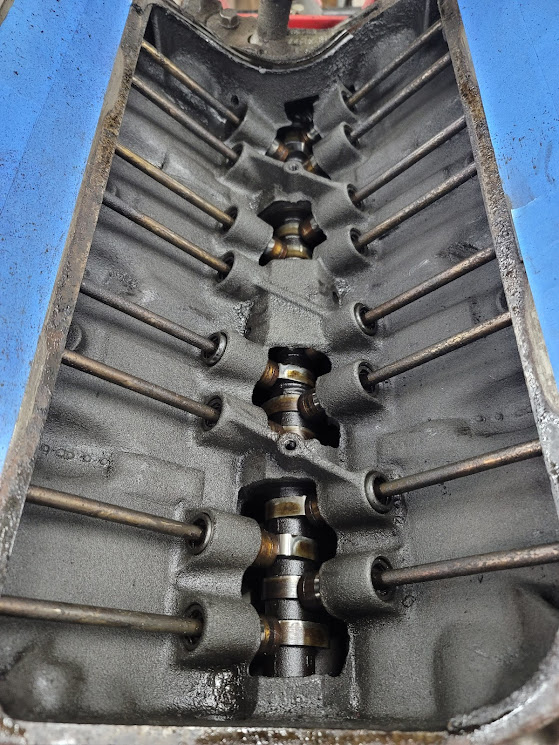
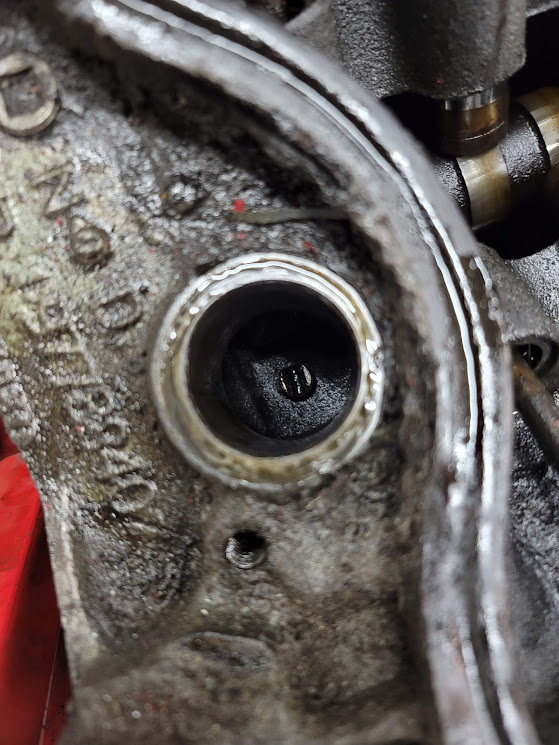
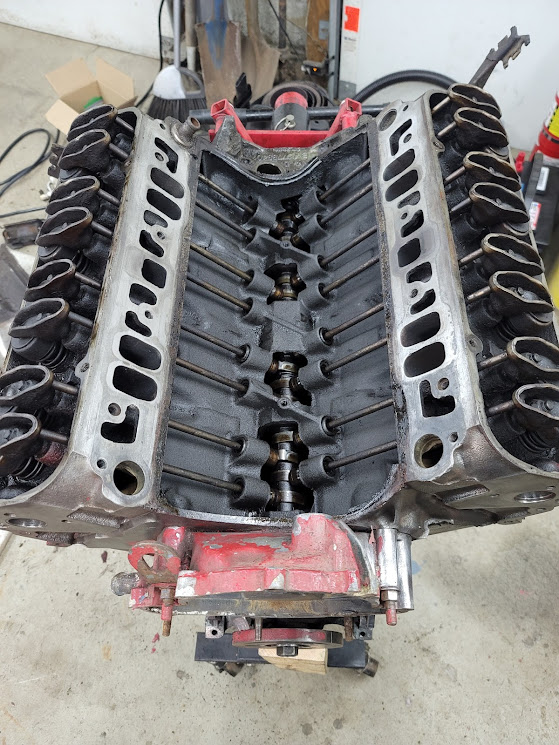
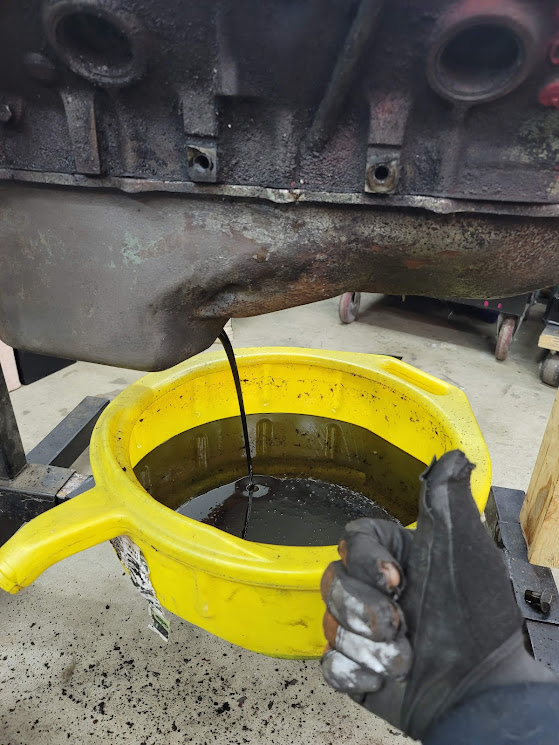
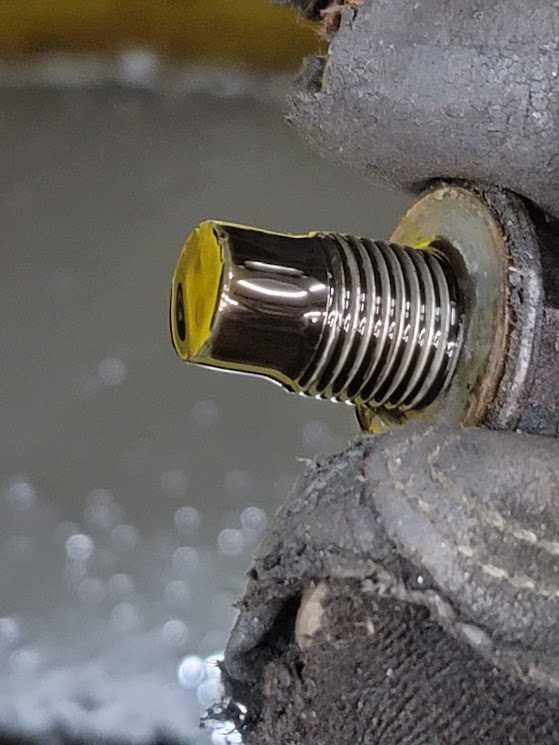
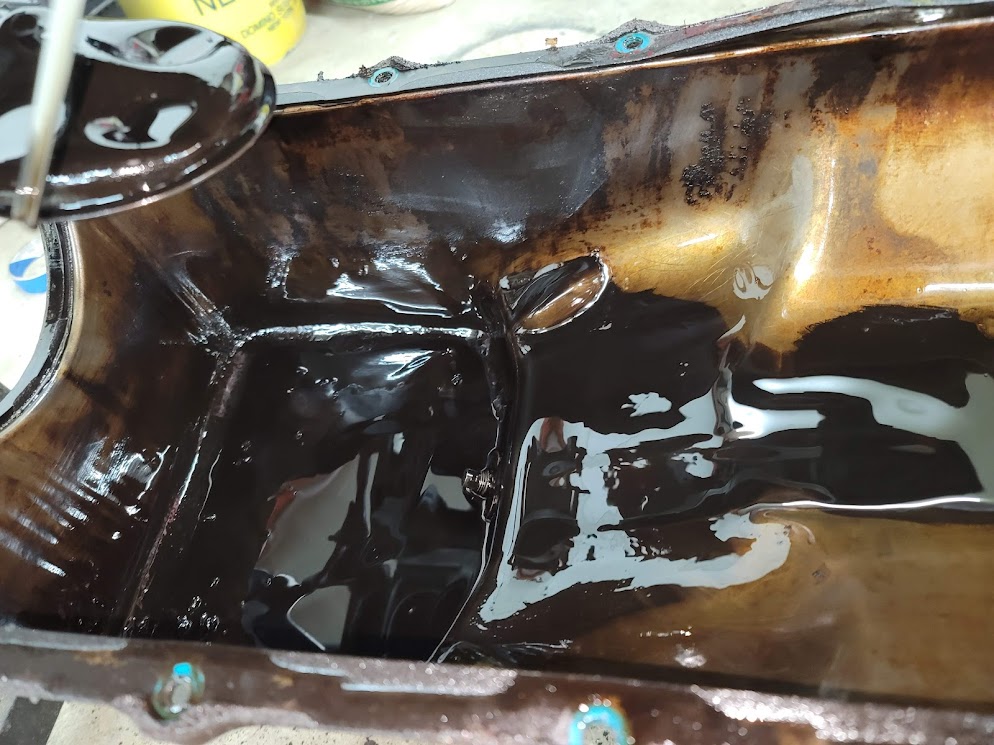
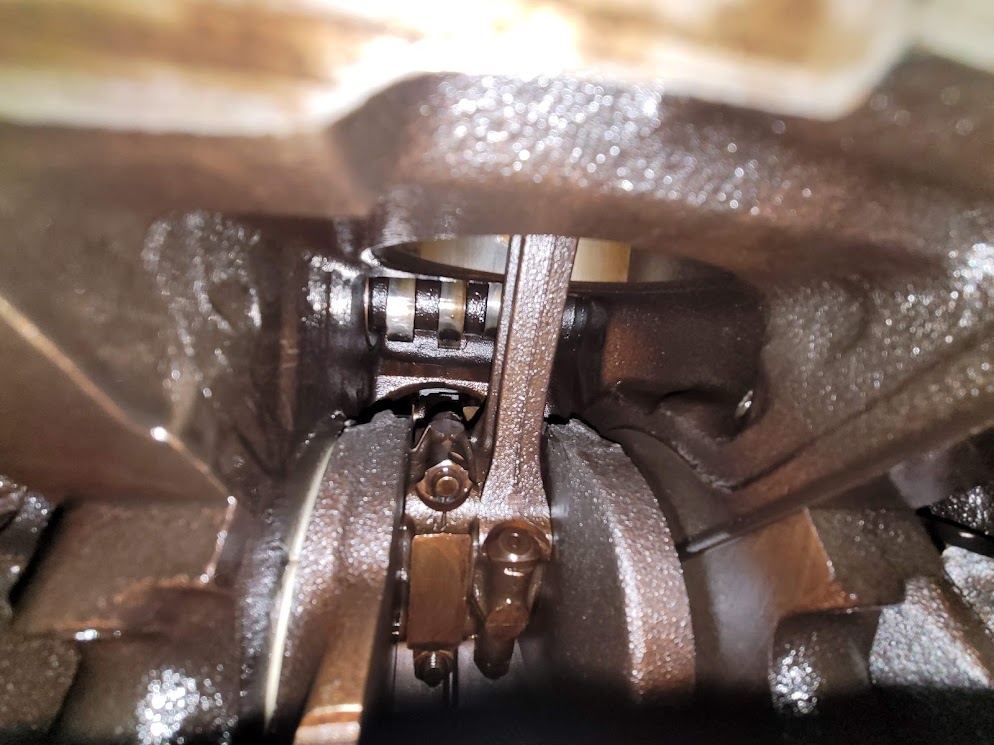
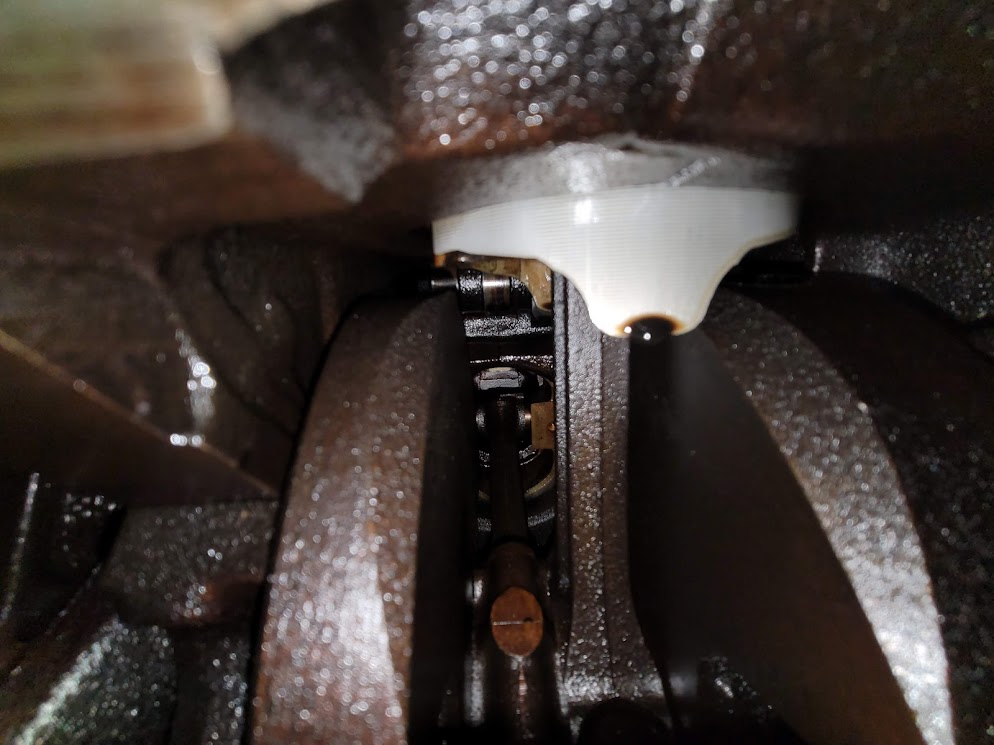
Time to Pull parts and bag and tag every bolt and bracket. Although coated in old oil, everything looked good and no metal glitter in the oil!
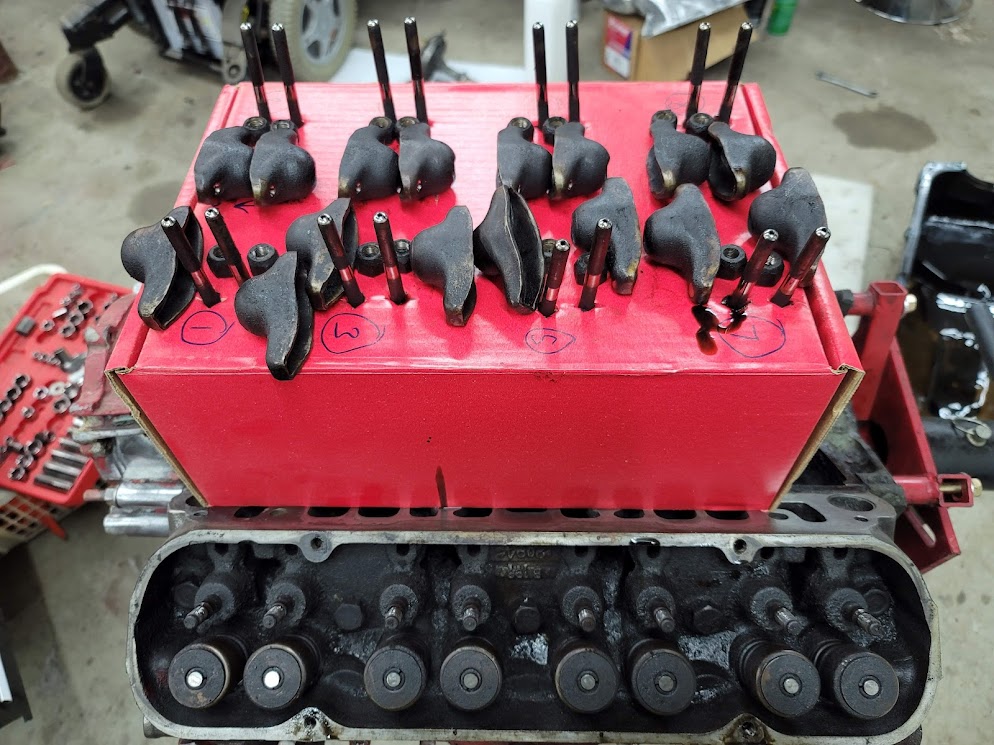
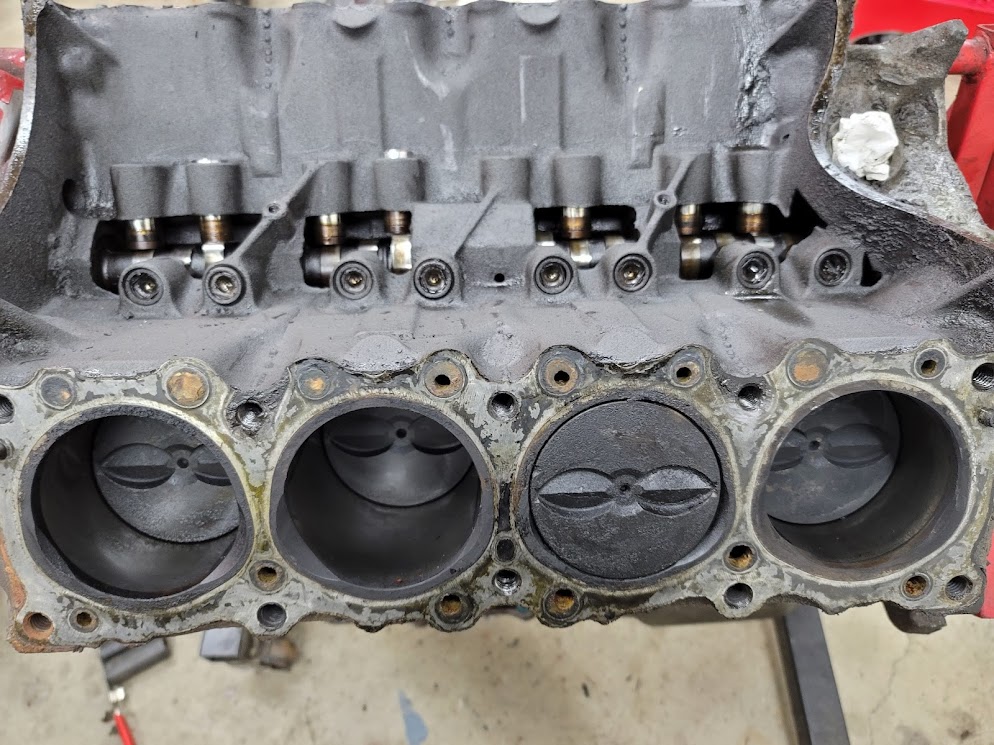
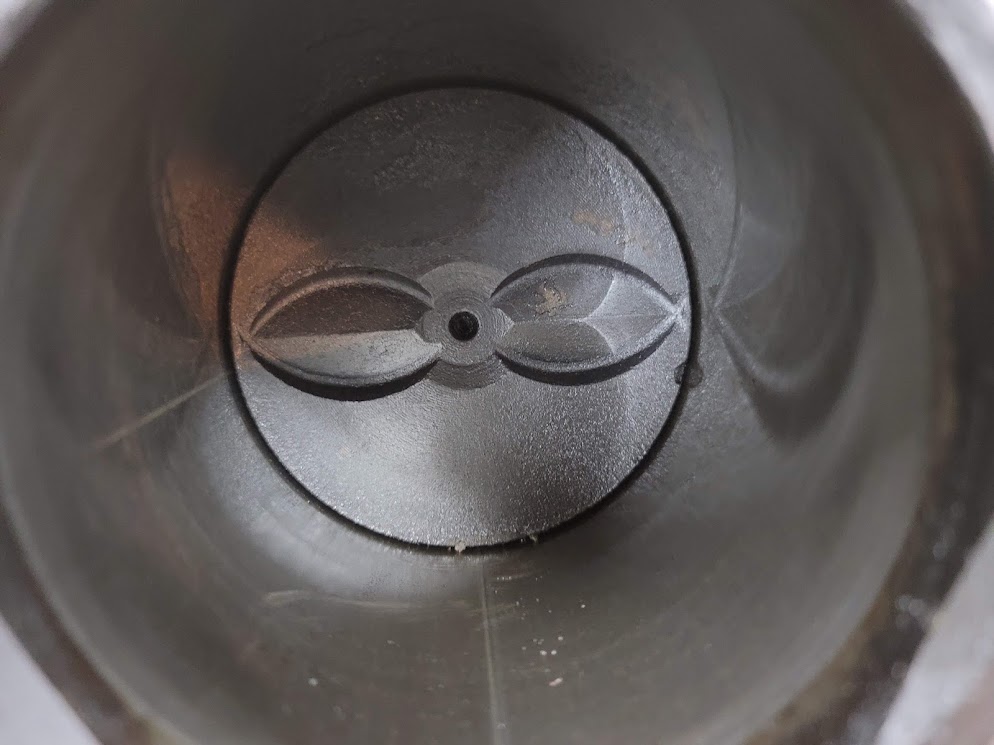
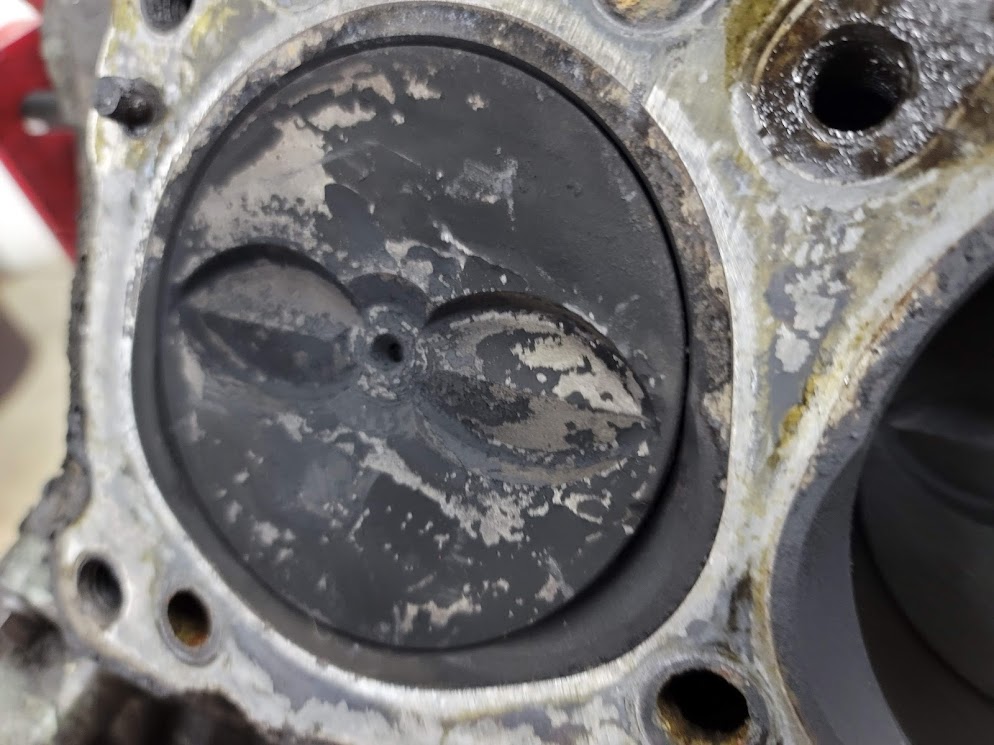
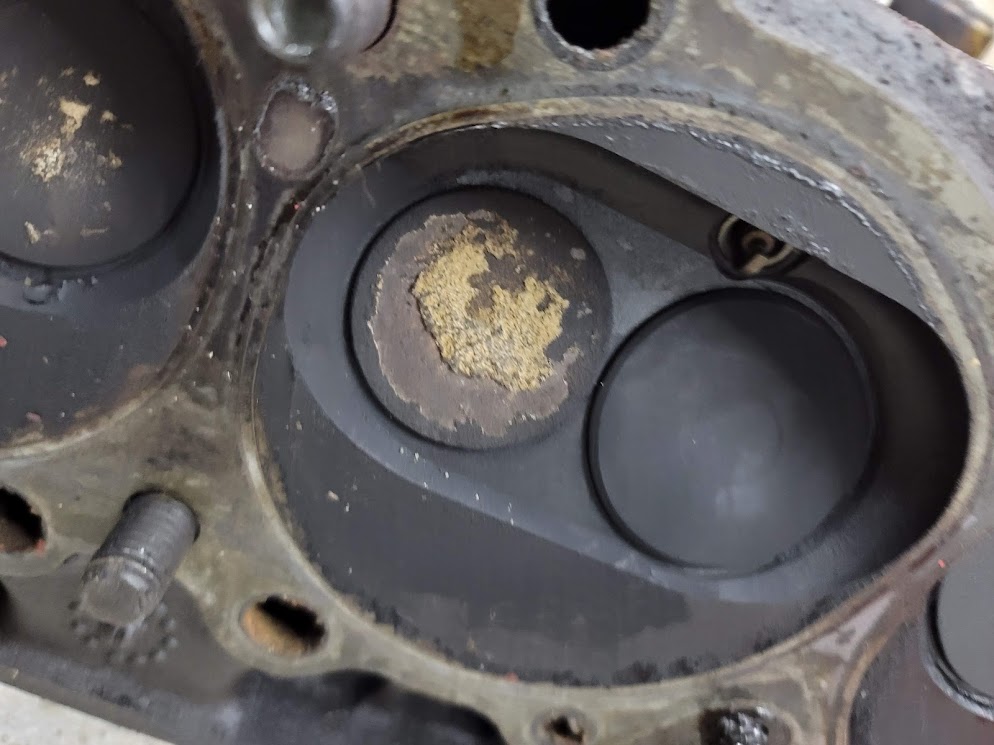
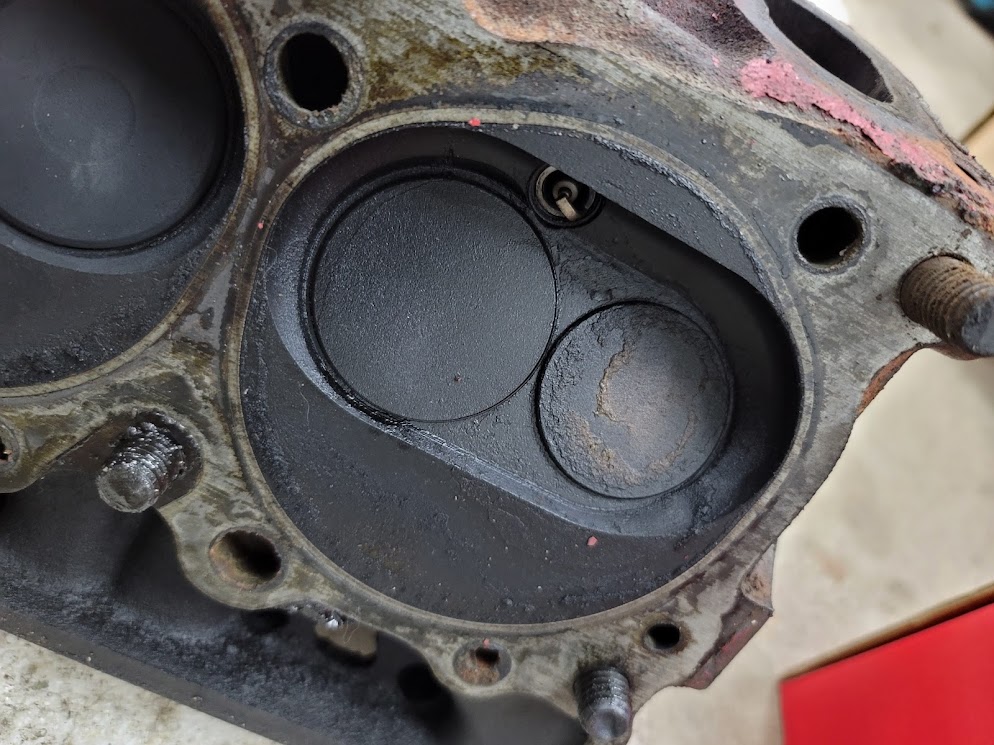
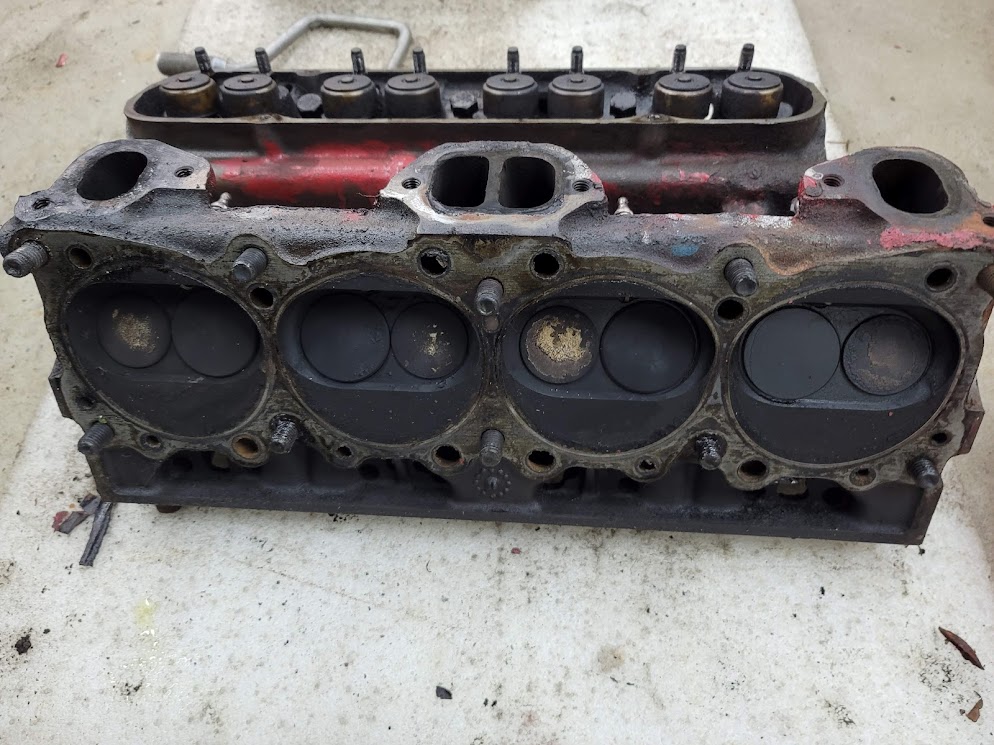
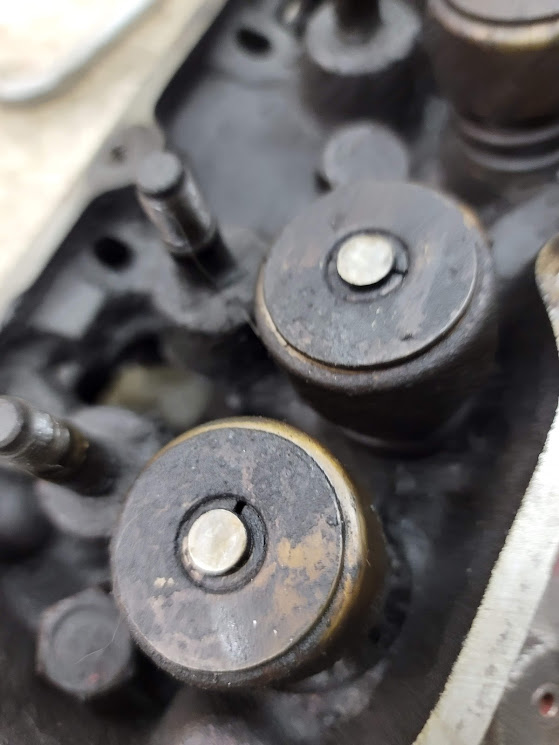
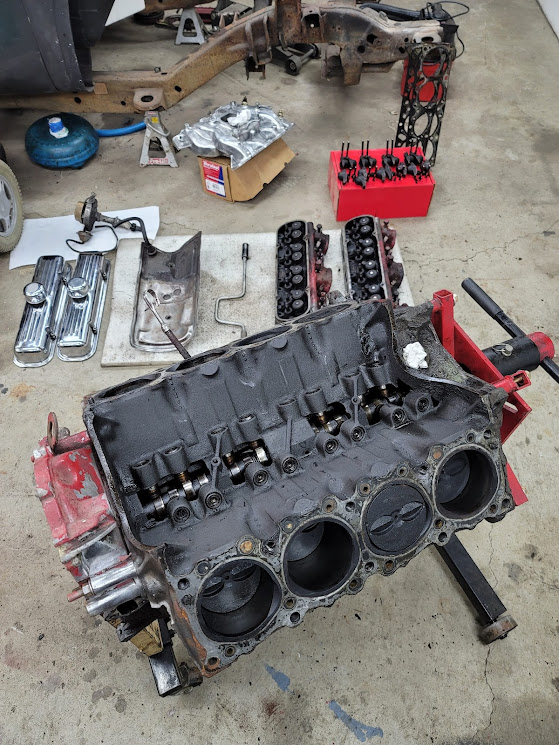
Got the heads pulled, I thought they where stuck on, nope, the weigh as much as a complete 4cylinder engine on their own haha, Damn these things are a huge slab of iron. Dark and sooty but still looking about normal for the age.
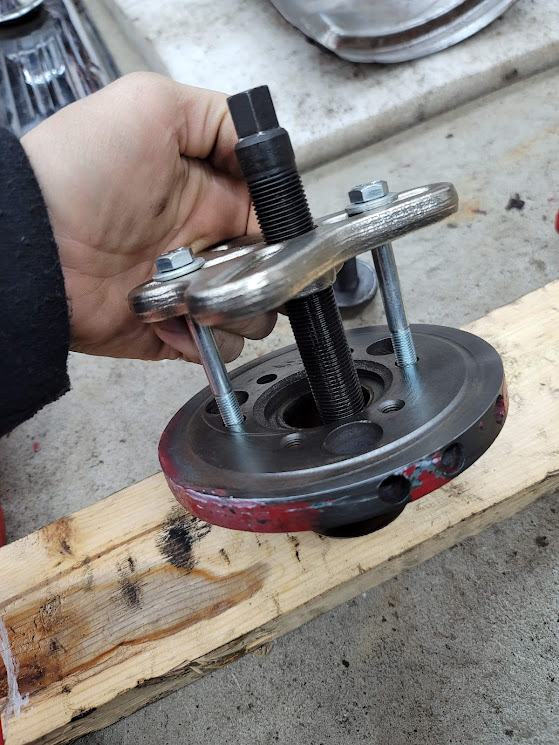
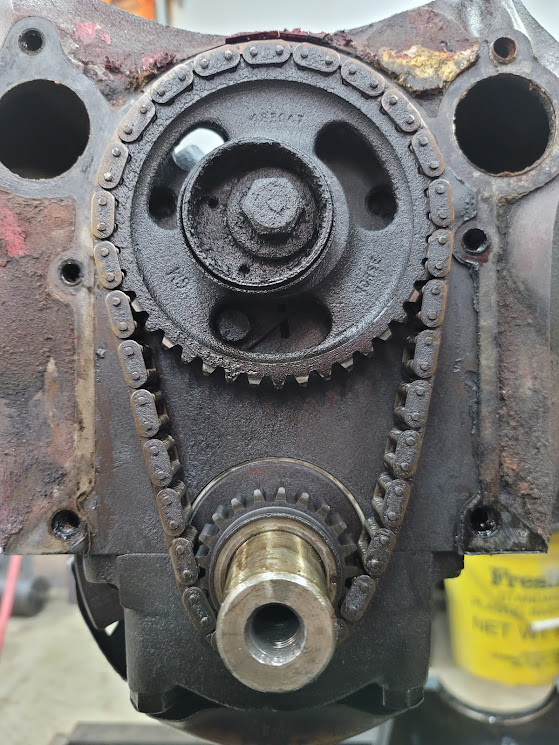
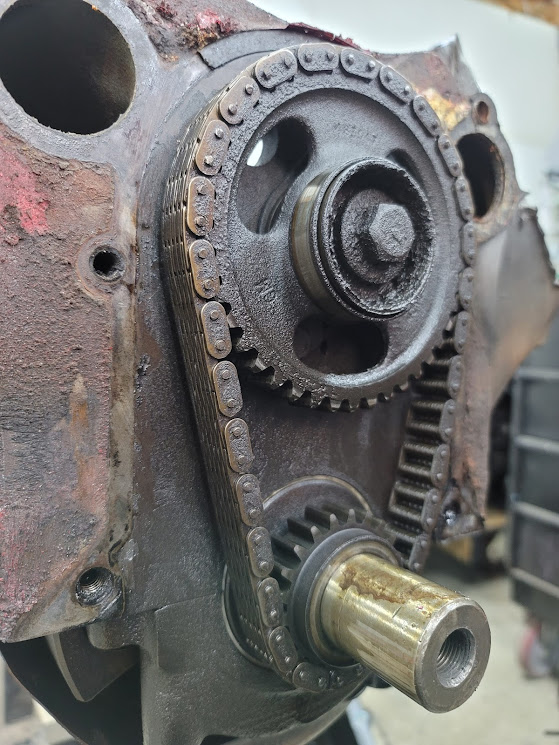
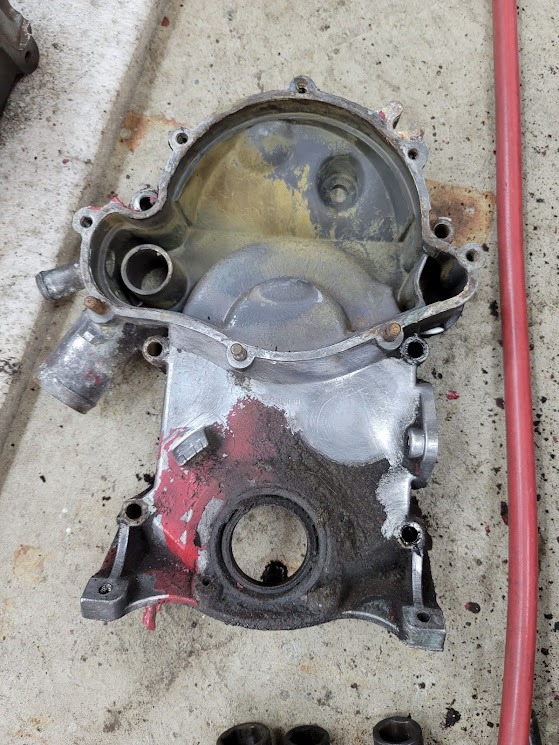
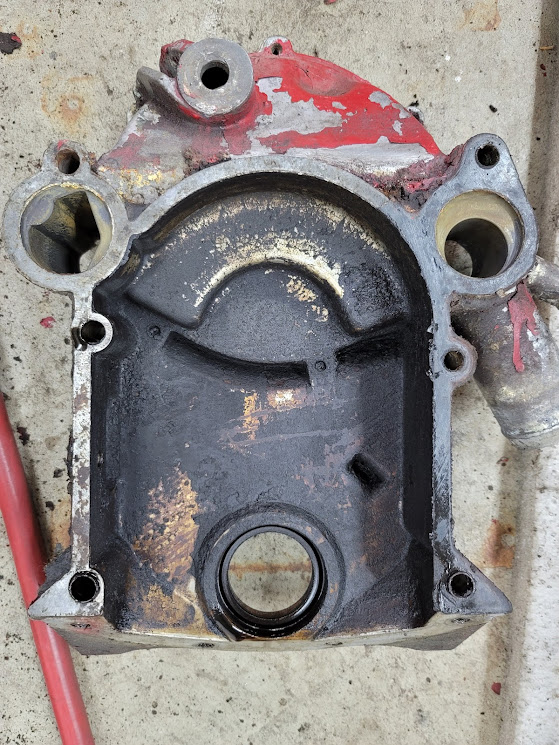
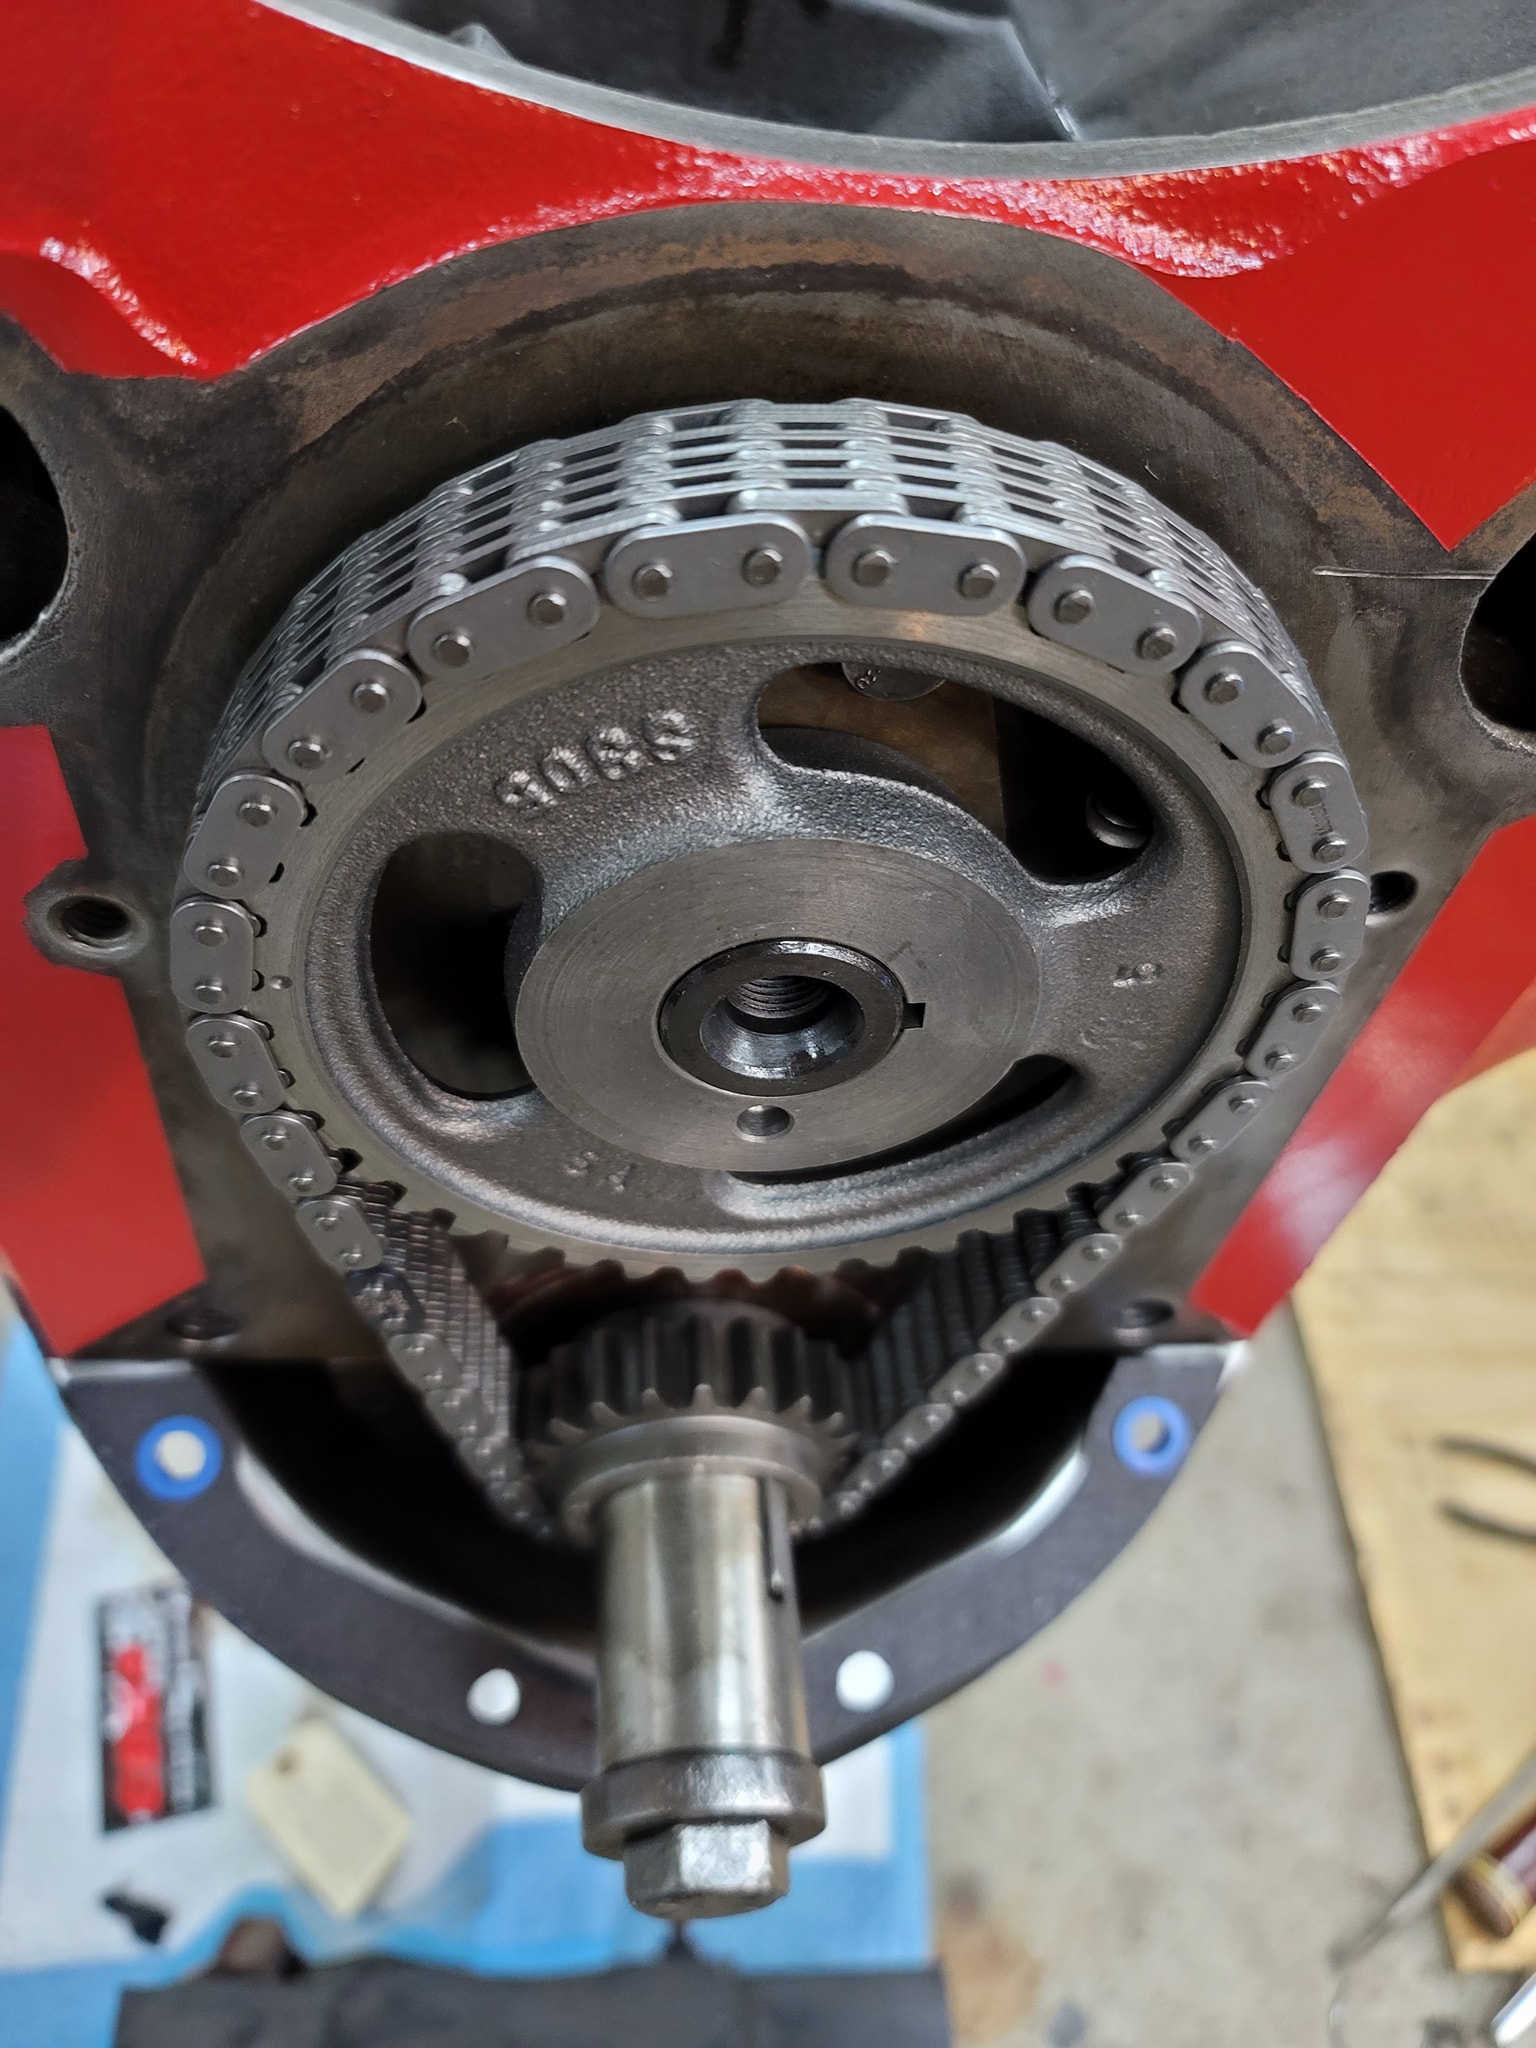
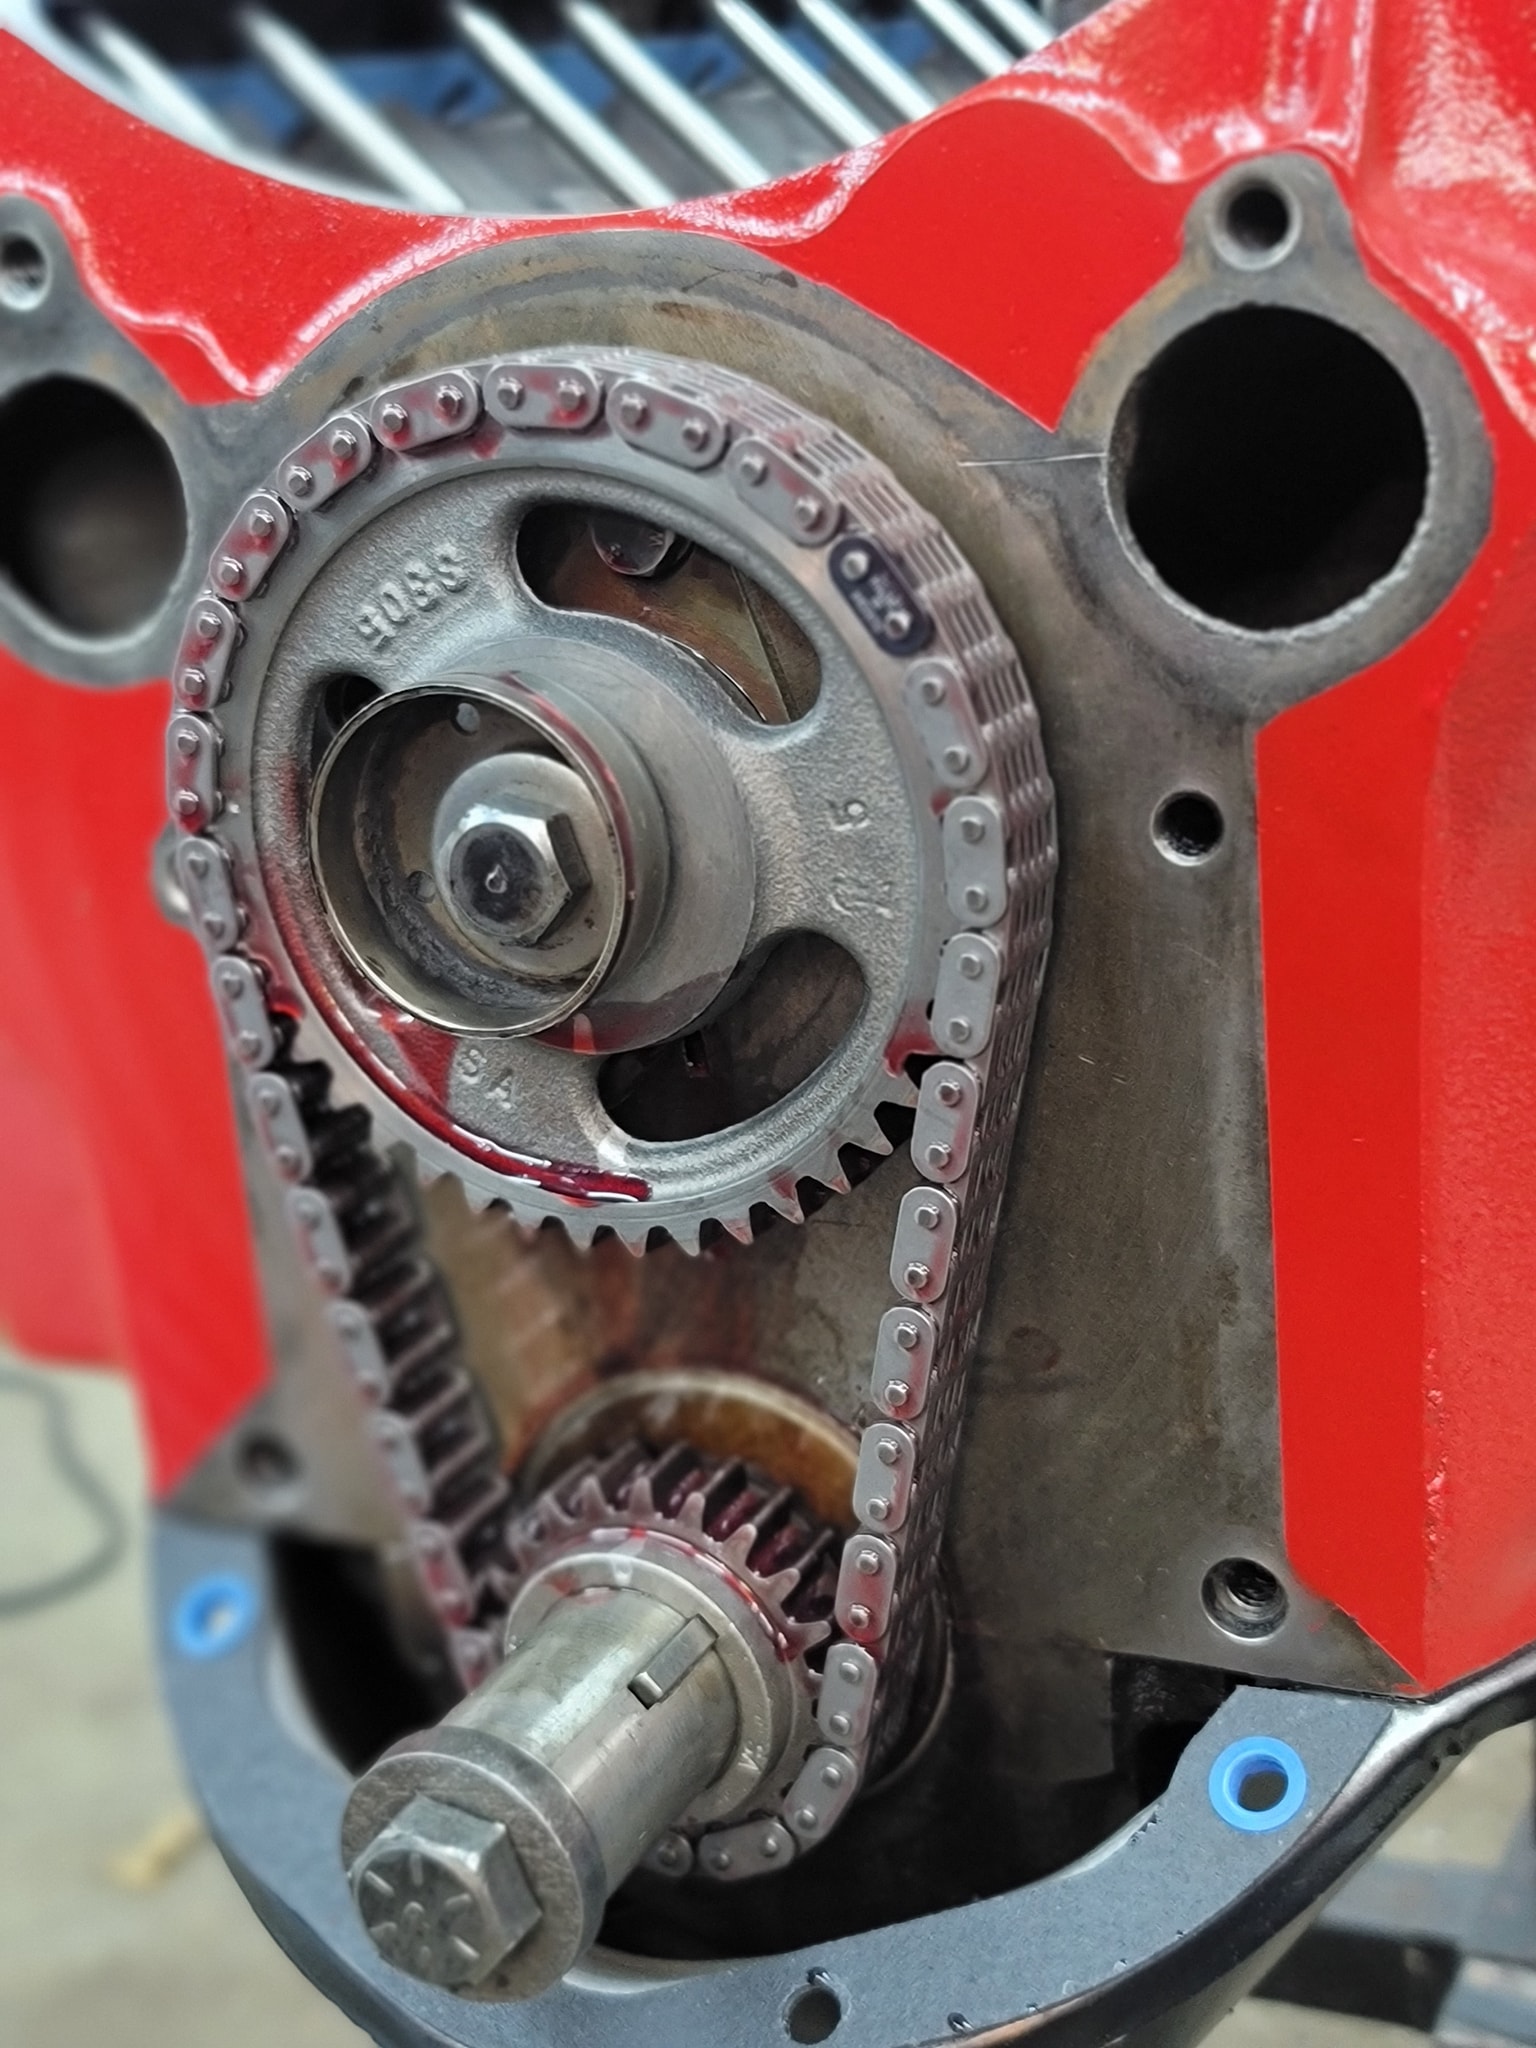
Timing chain was about 1/16″ away from being out of spec on stretch, ( Fun story the steel does not stretch, it is the wear on the link bars between the links that allows for a larger gap on each link point, this makes the chain effectively longer. ) The old timing cover is for the older 8 bolt water pump, these are hard to find and do not cool the motor well, 1979.5+ they changed to the 11 bolt pump that was much better, so going to upgrade this to the newer style with a new bracket and pump.
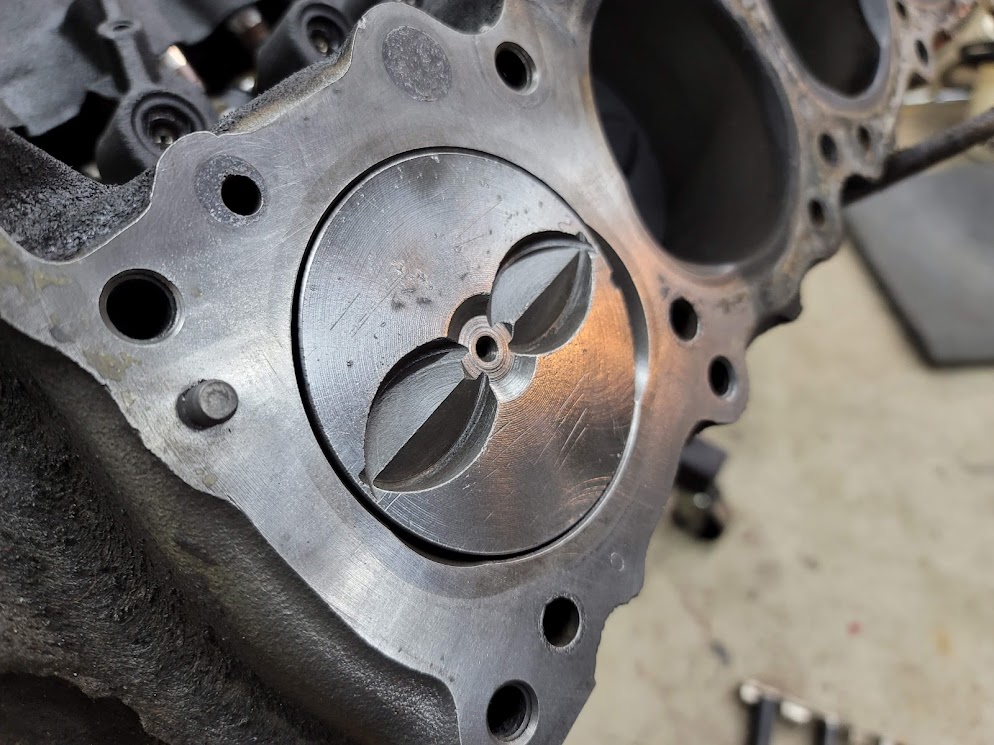
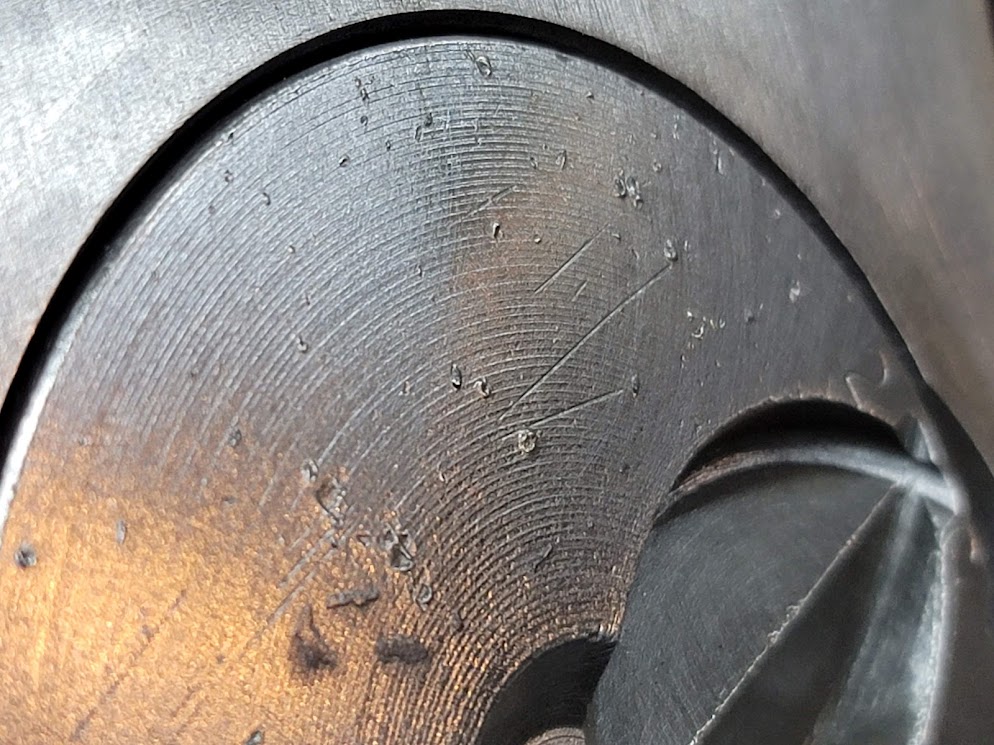

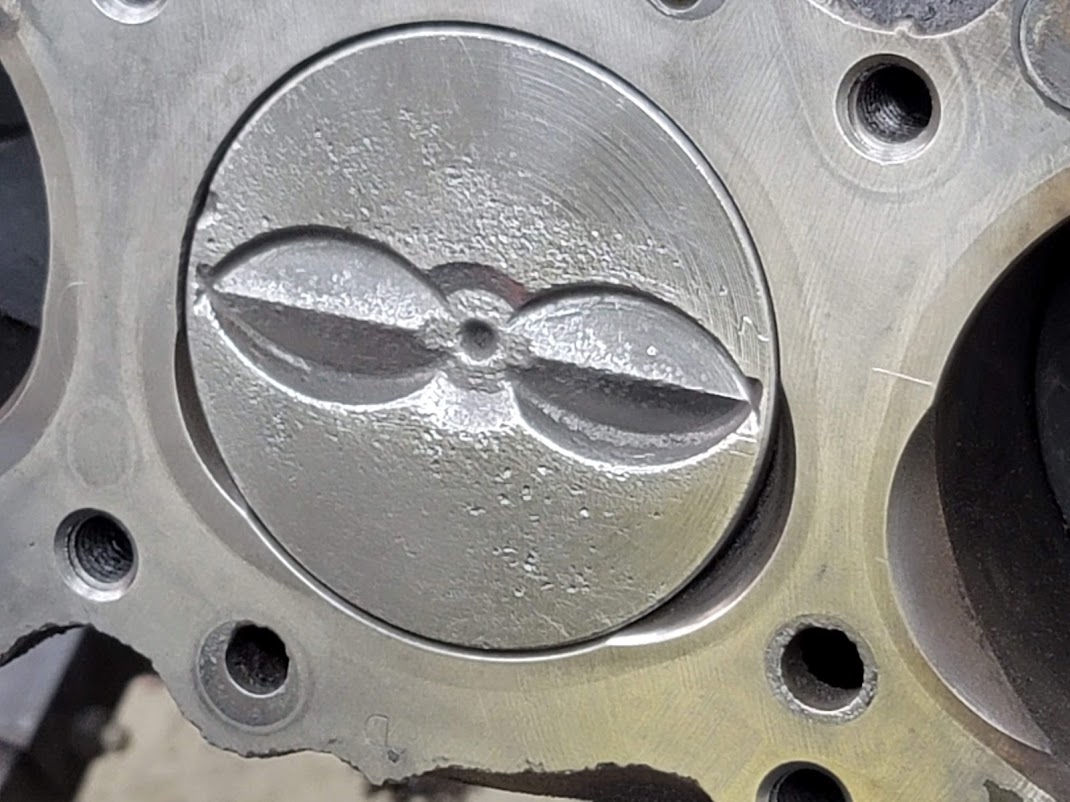
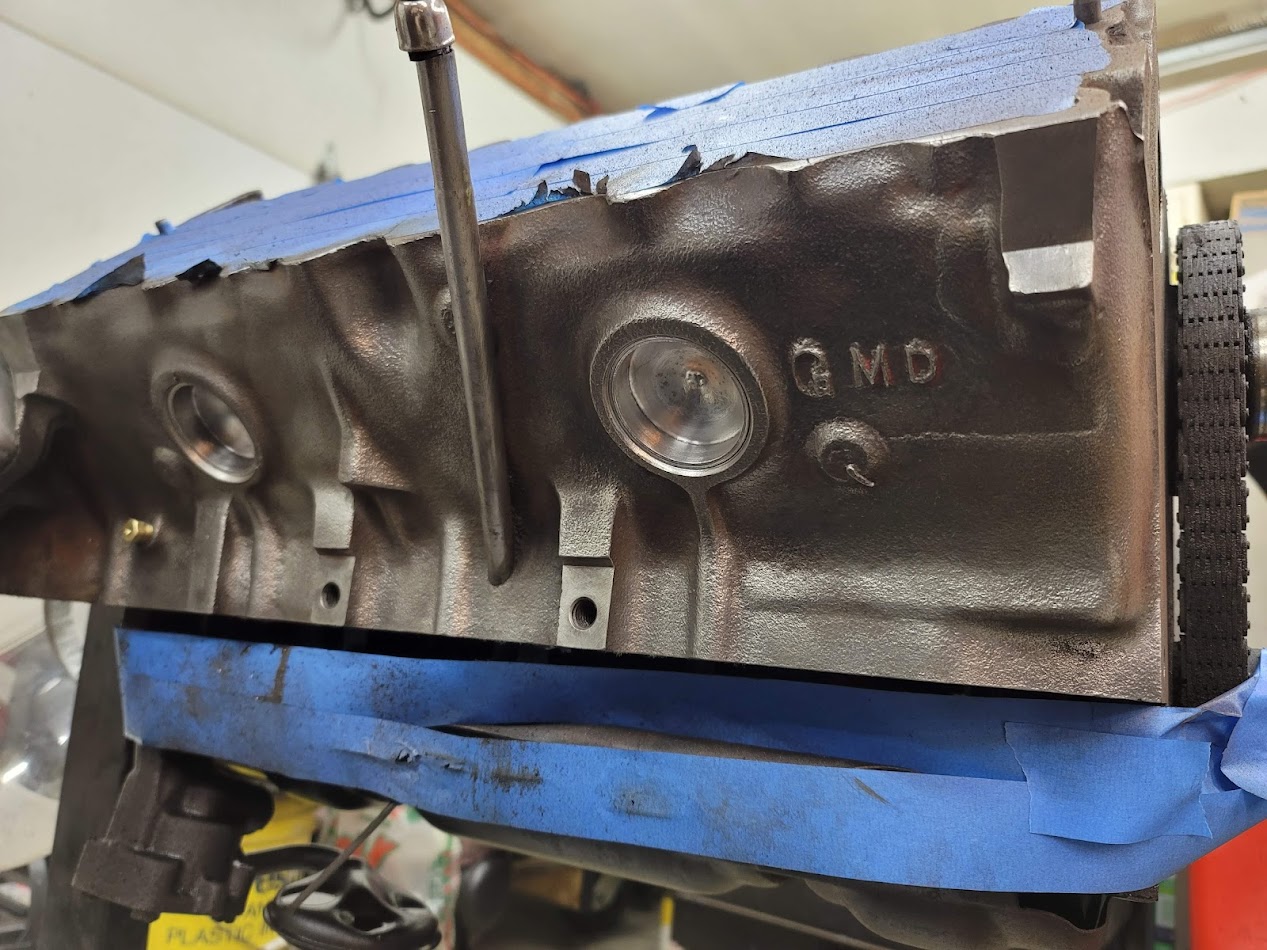
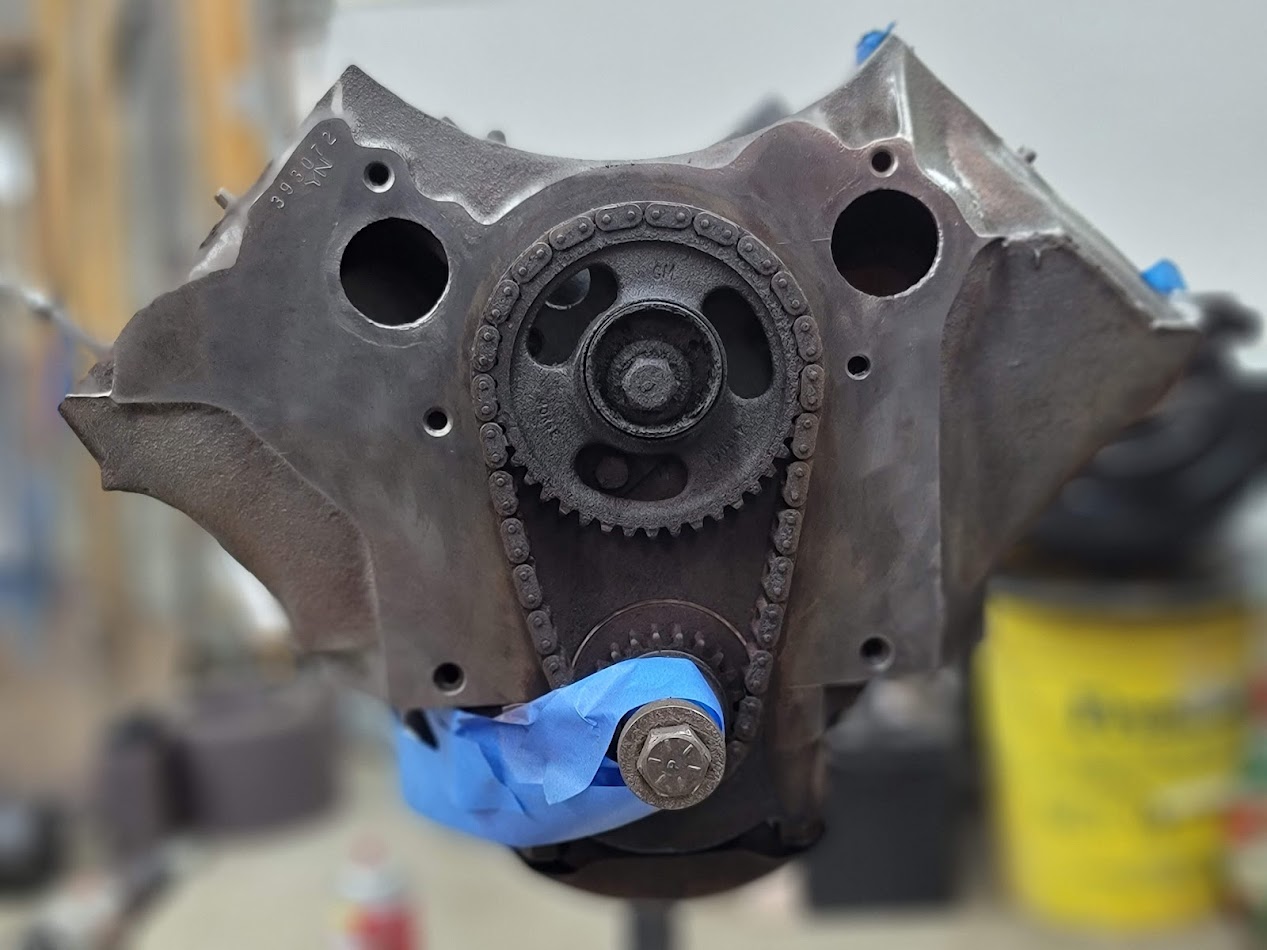
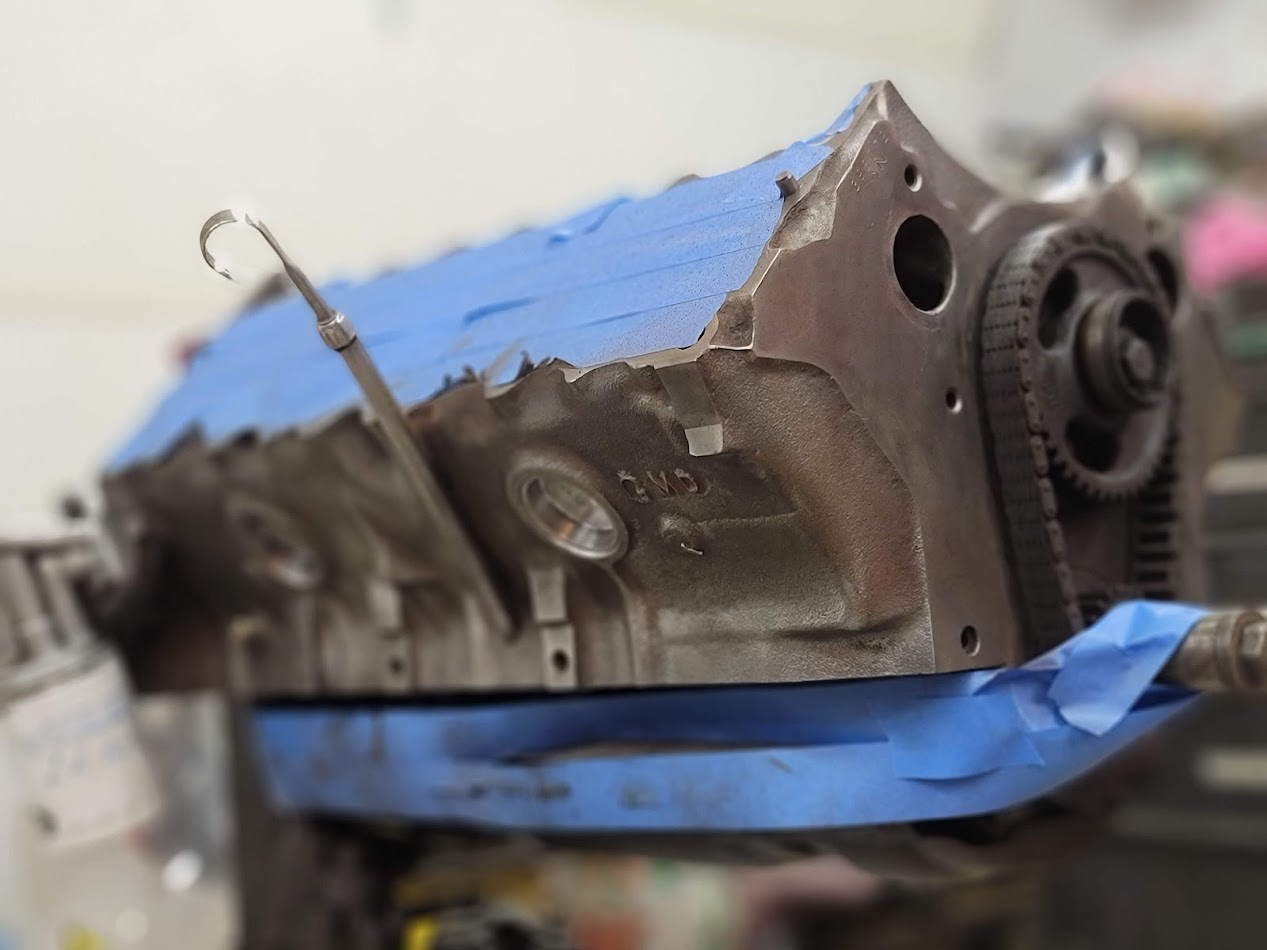
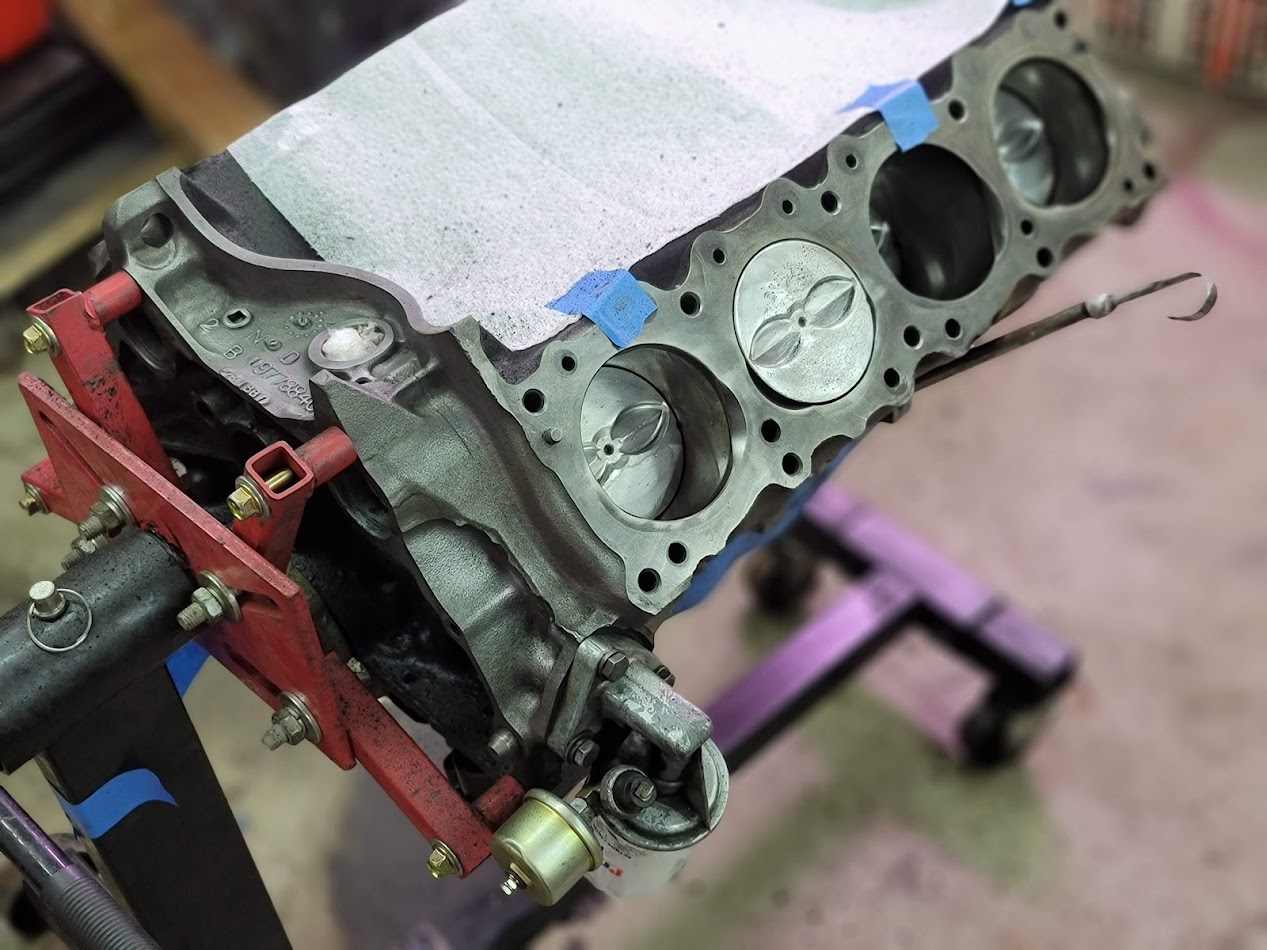
Started cleaning the head, pistons, and block, tons of work here on a very odd shape, so glad I could spin the engine around to get to all the tight spots.
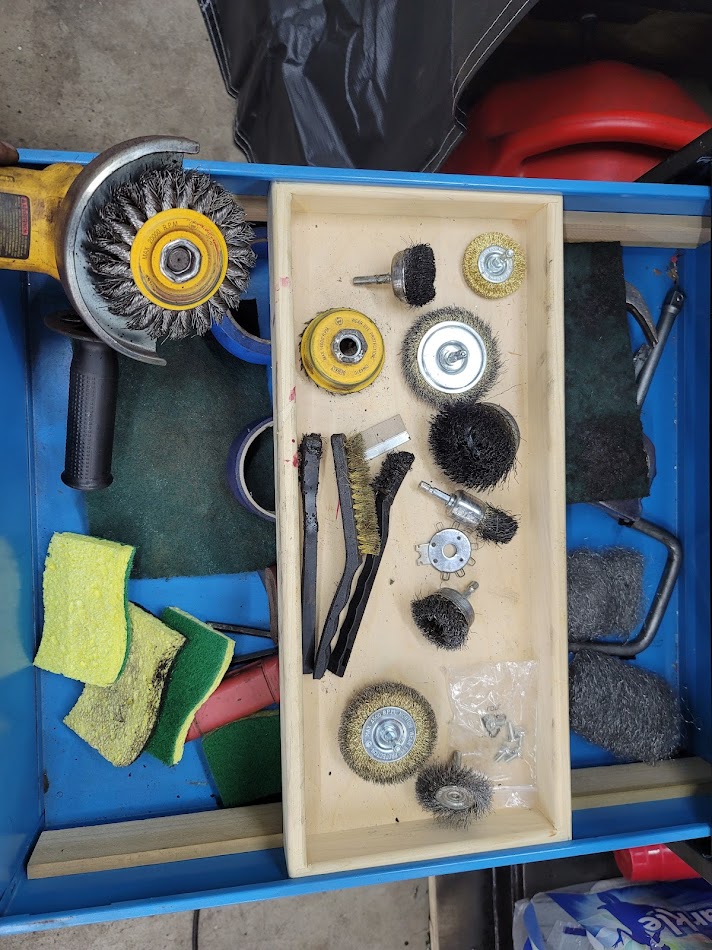
Was using just about every wire wheel and cleaning device you could think of for this project.
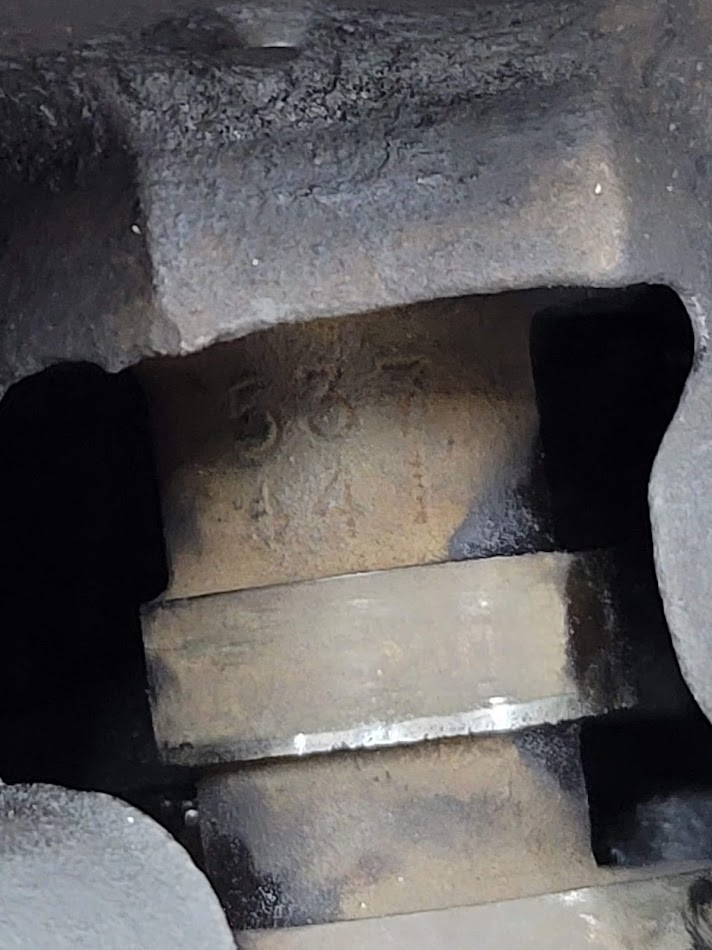
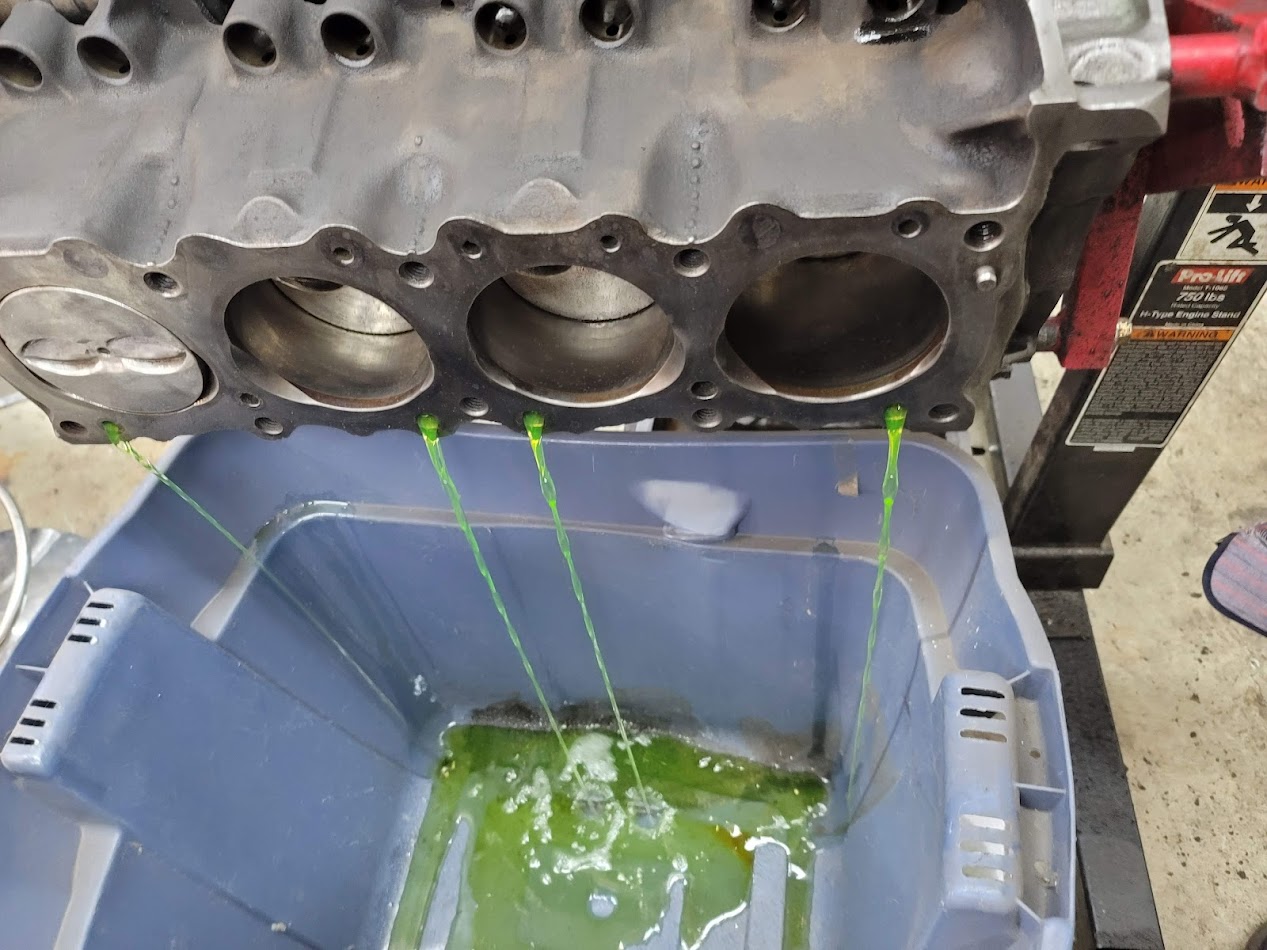
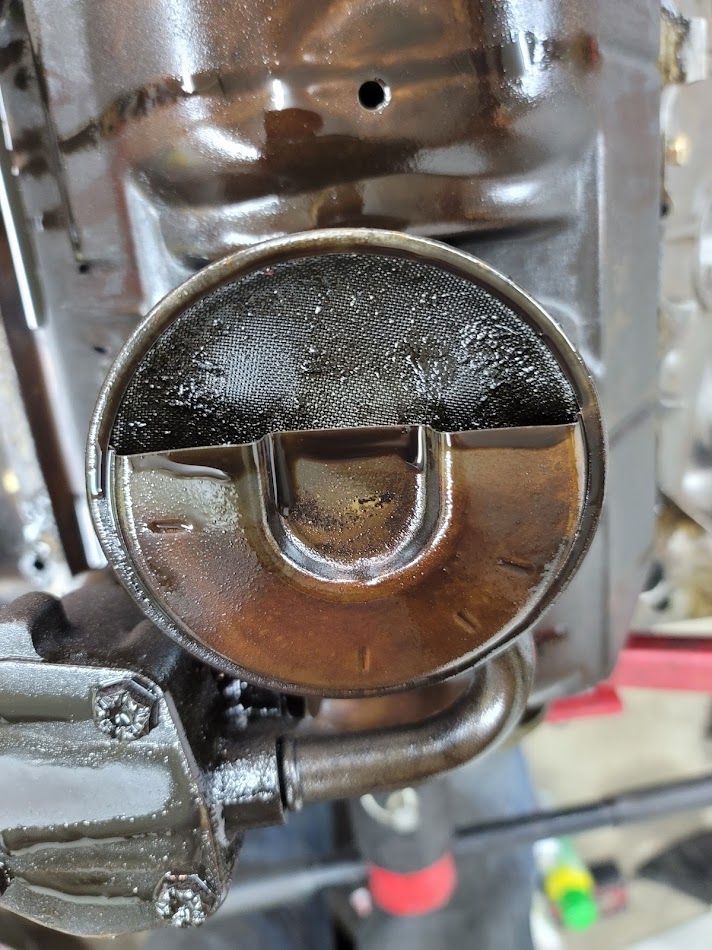
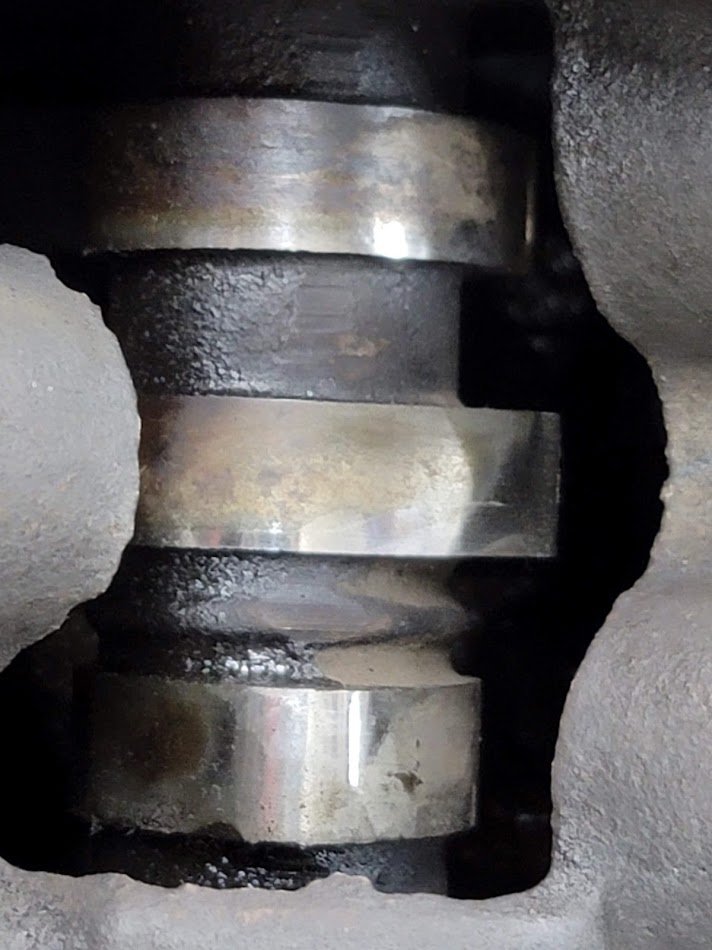
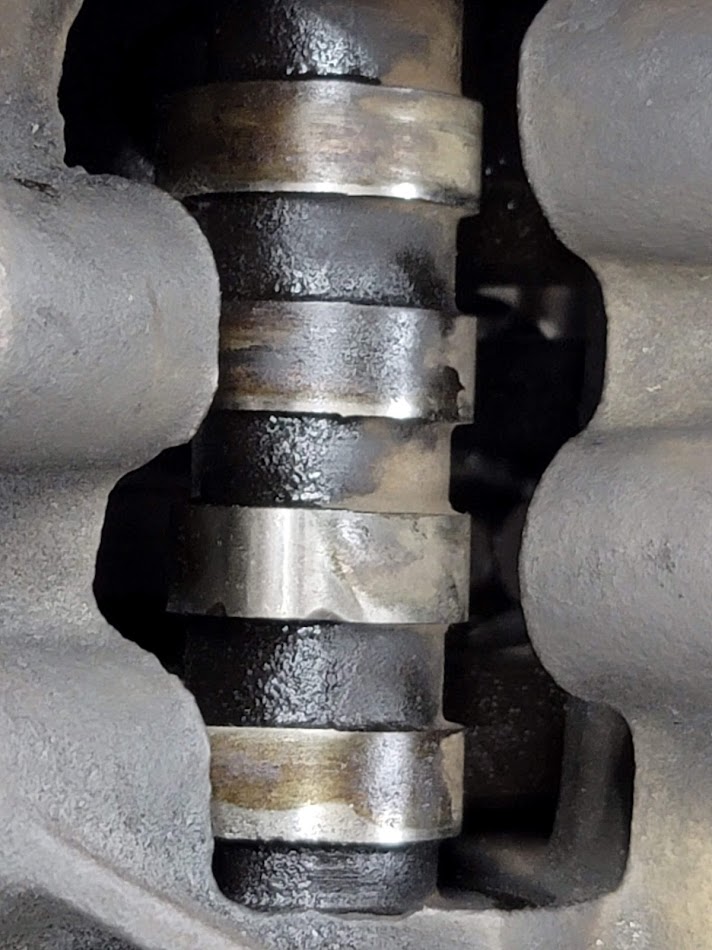
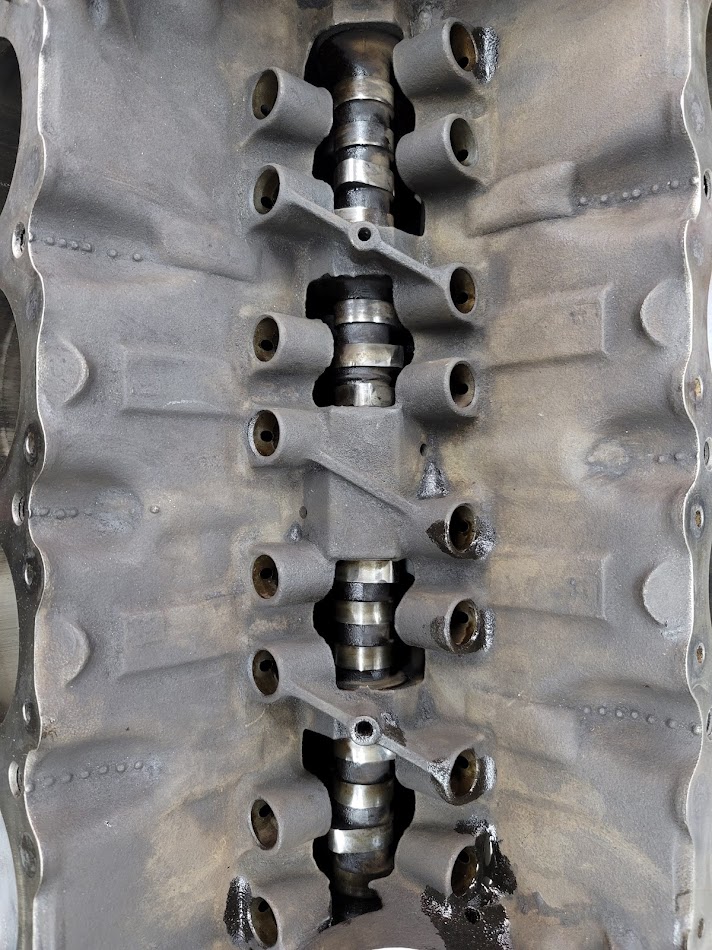
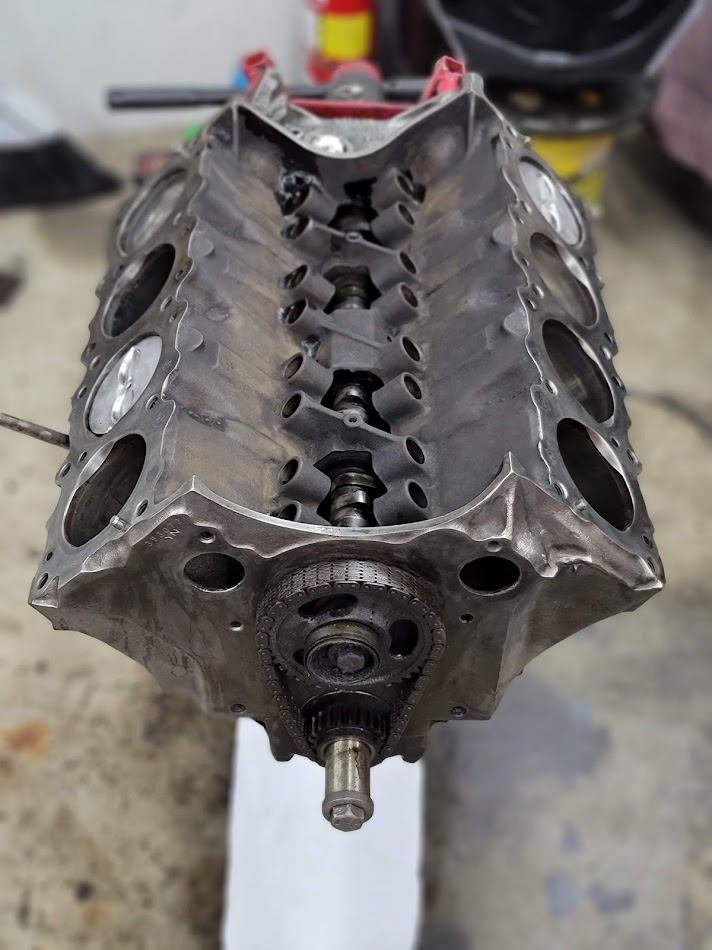
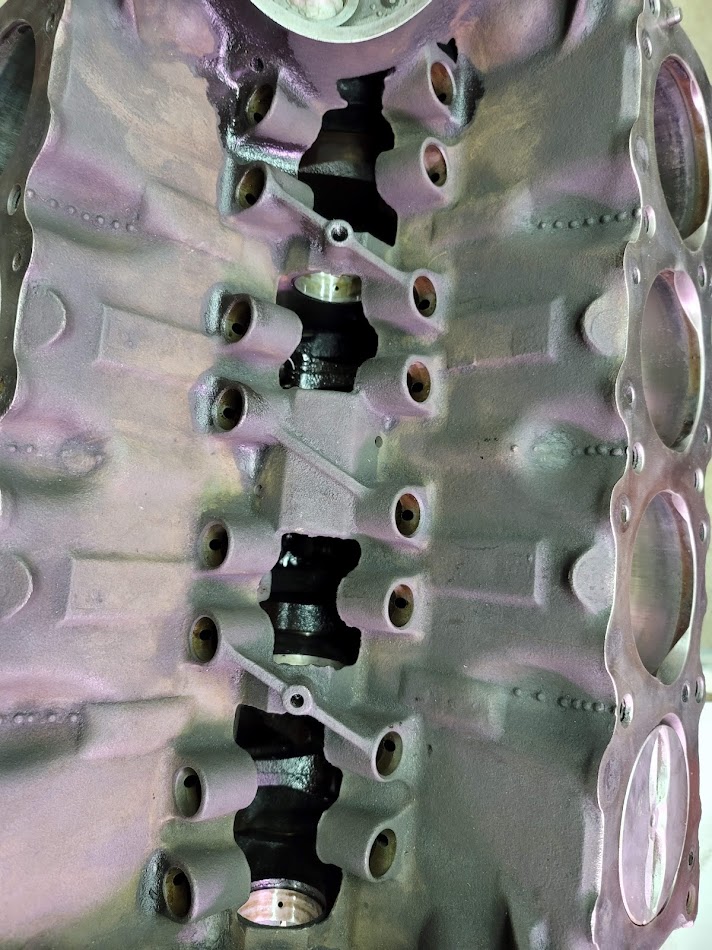
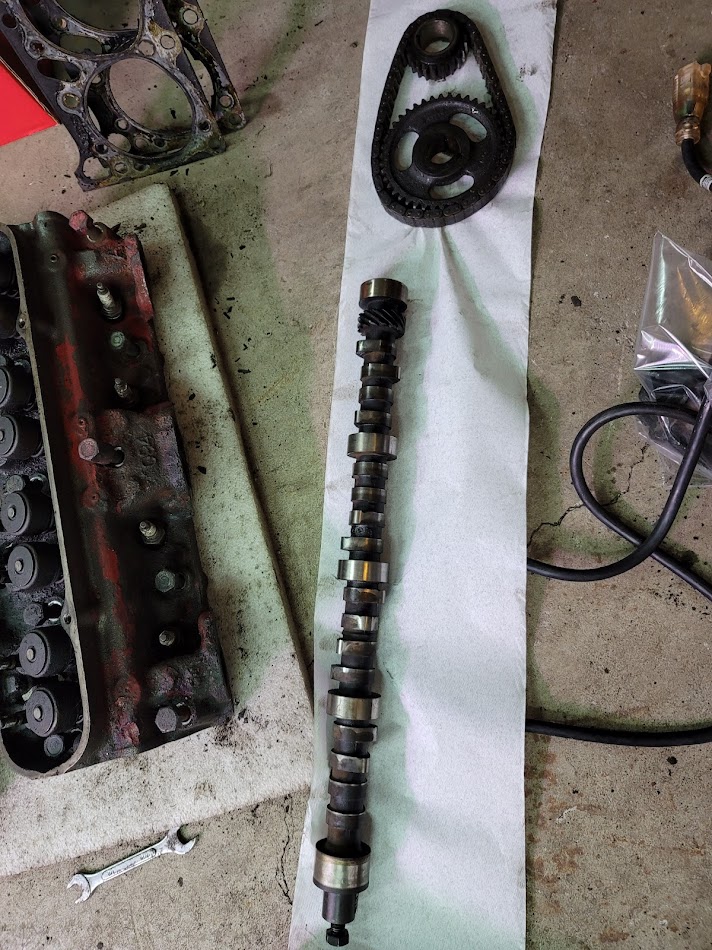
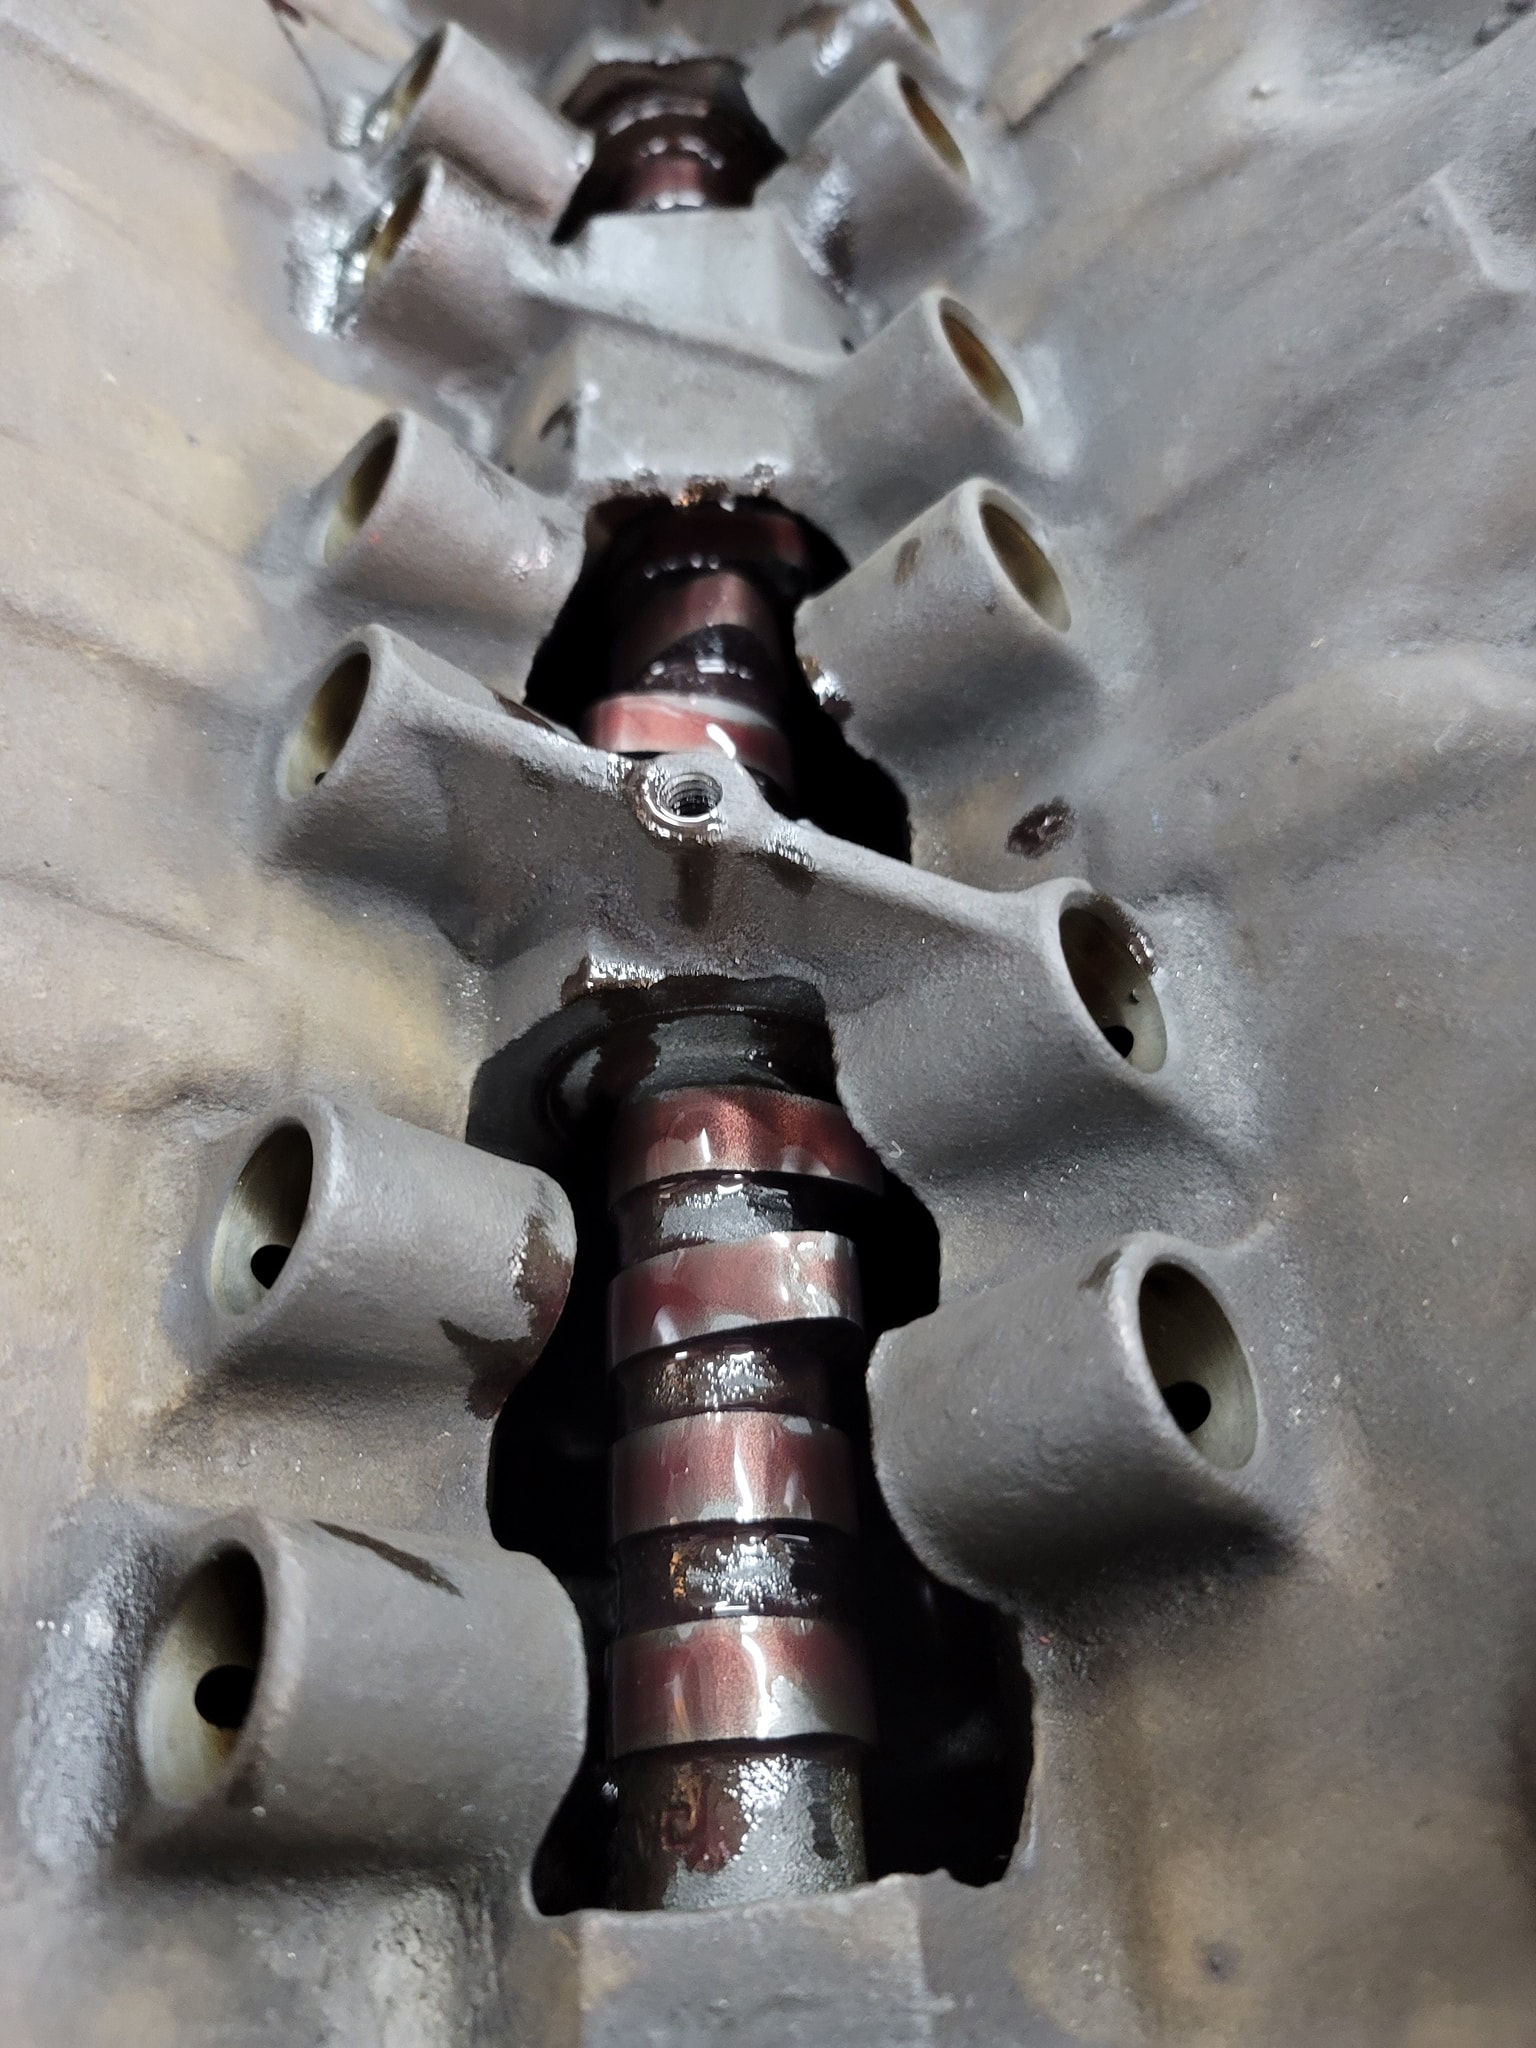
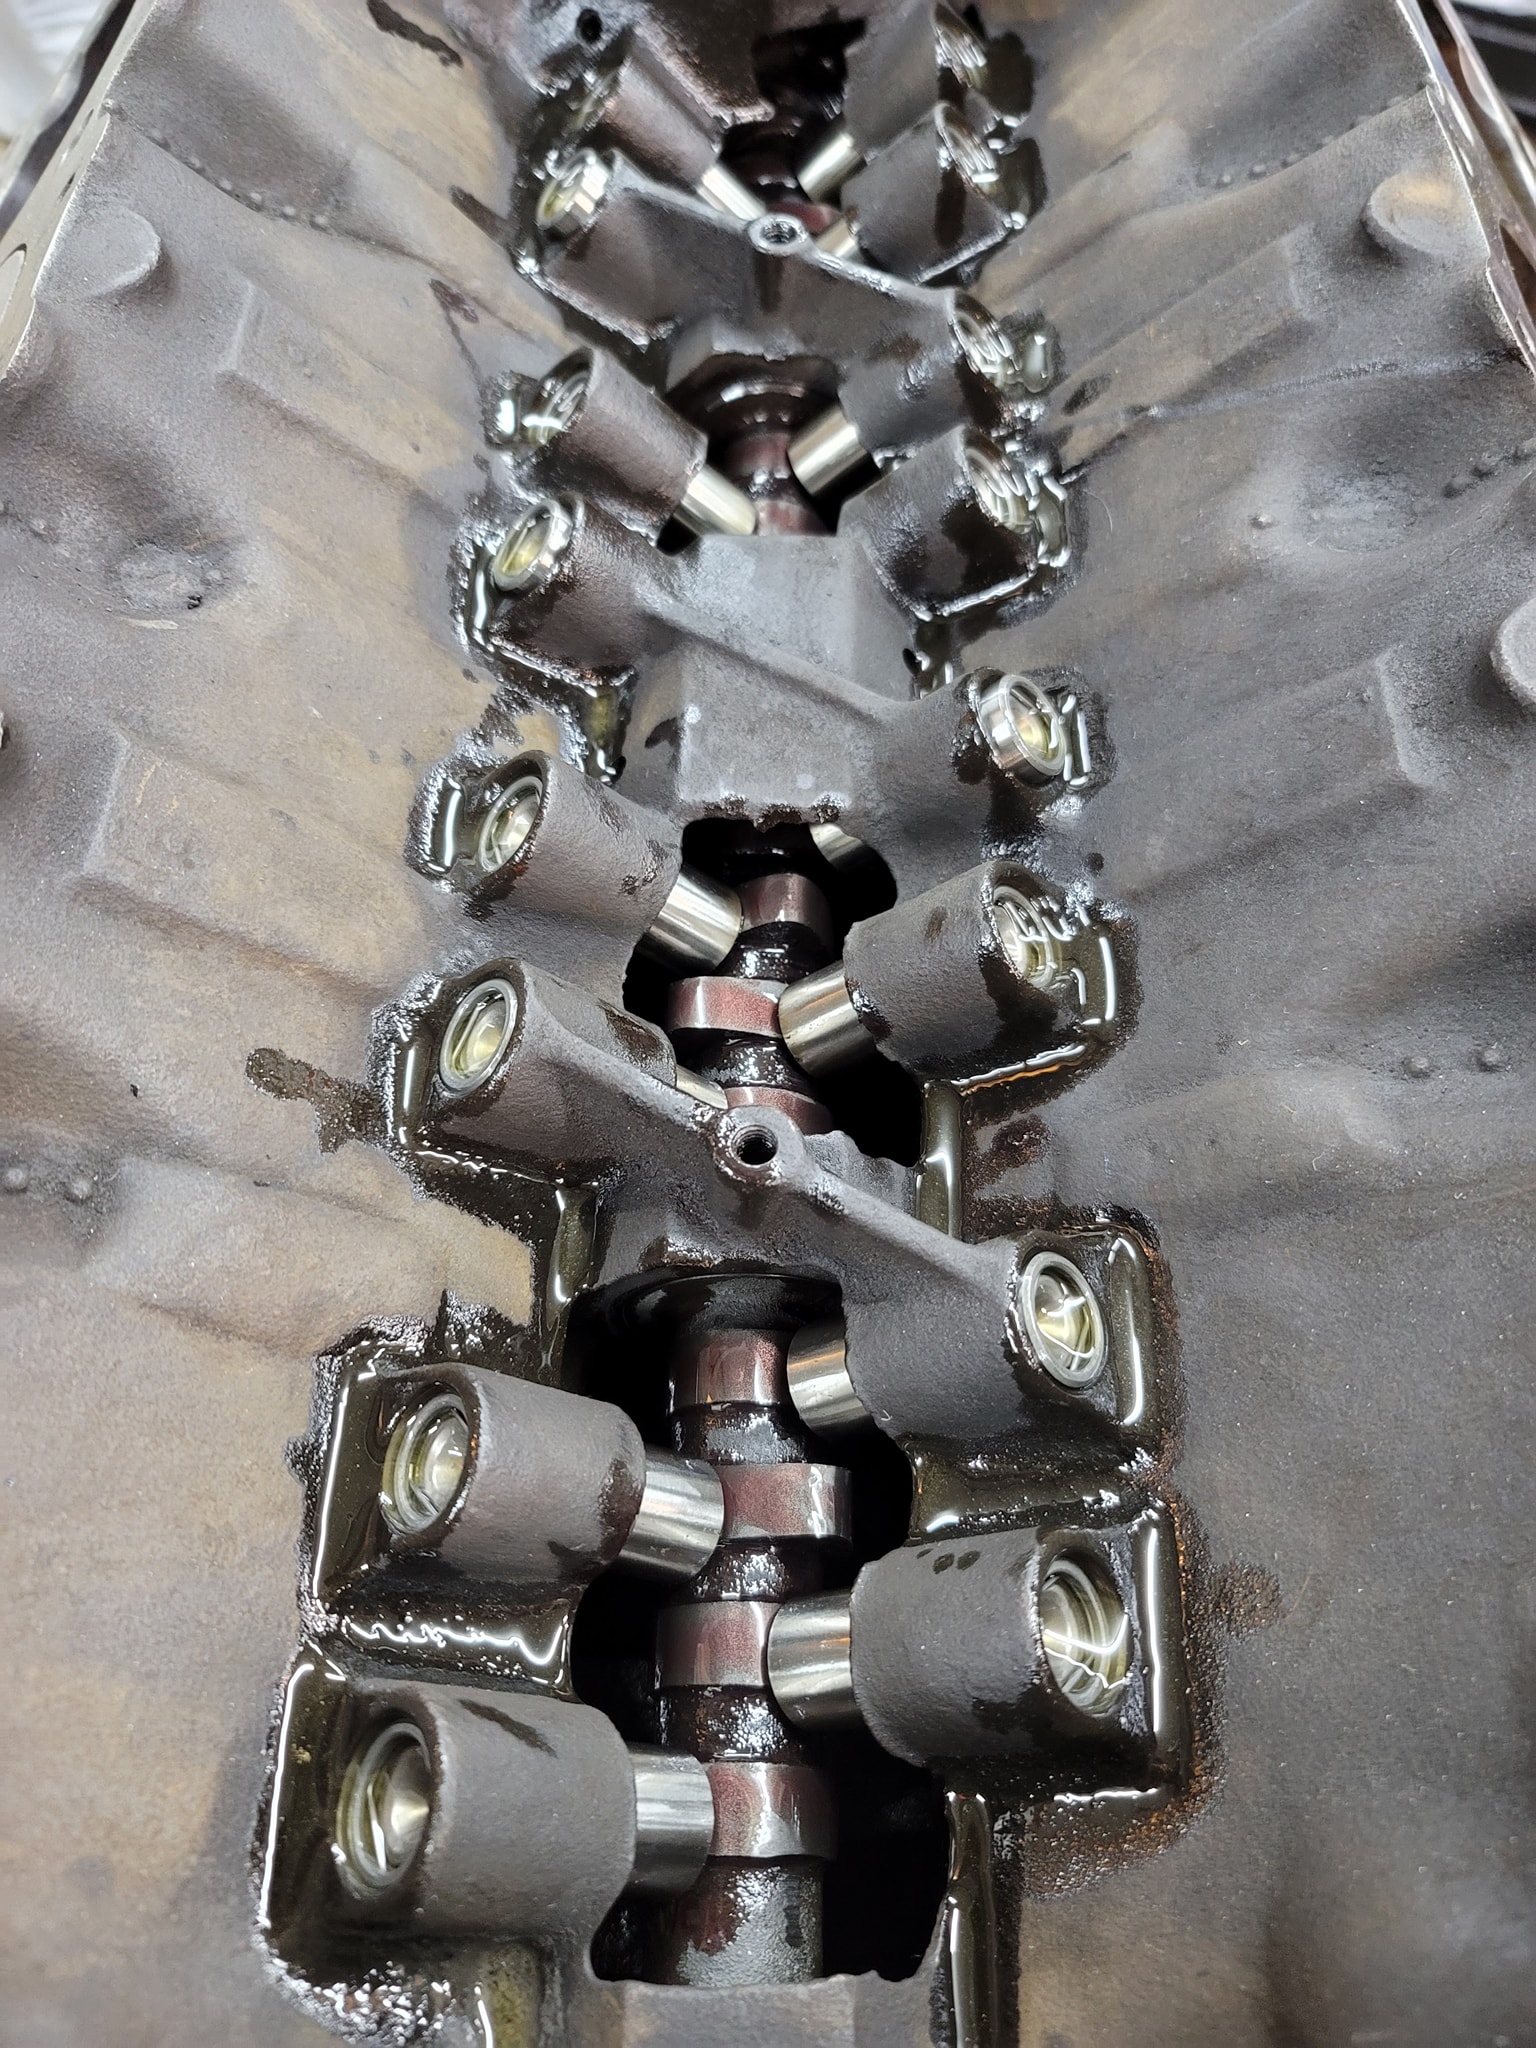
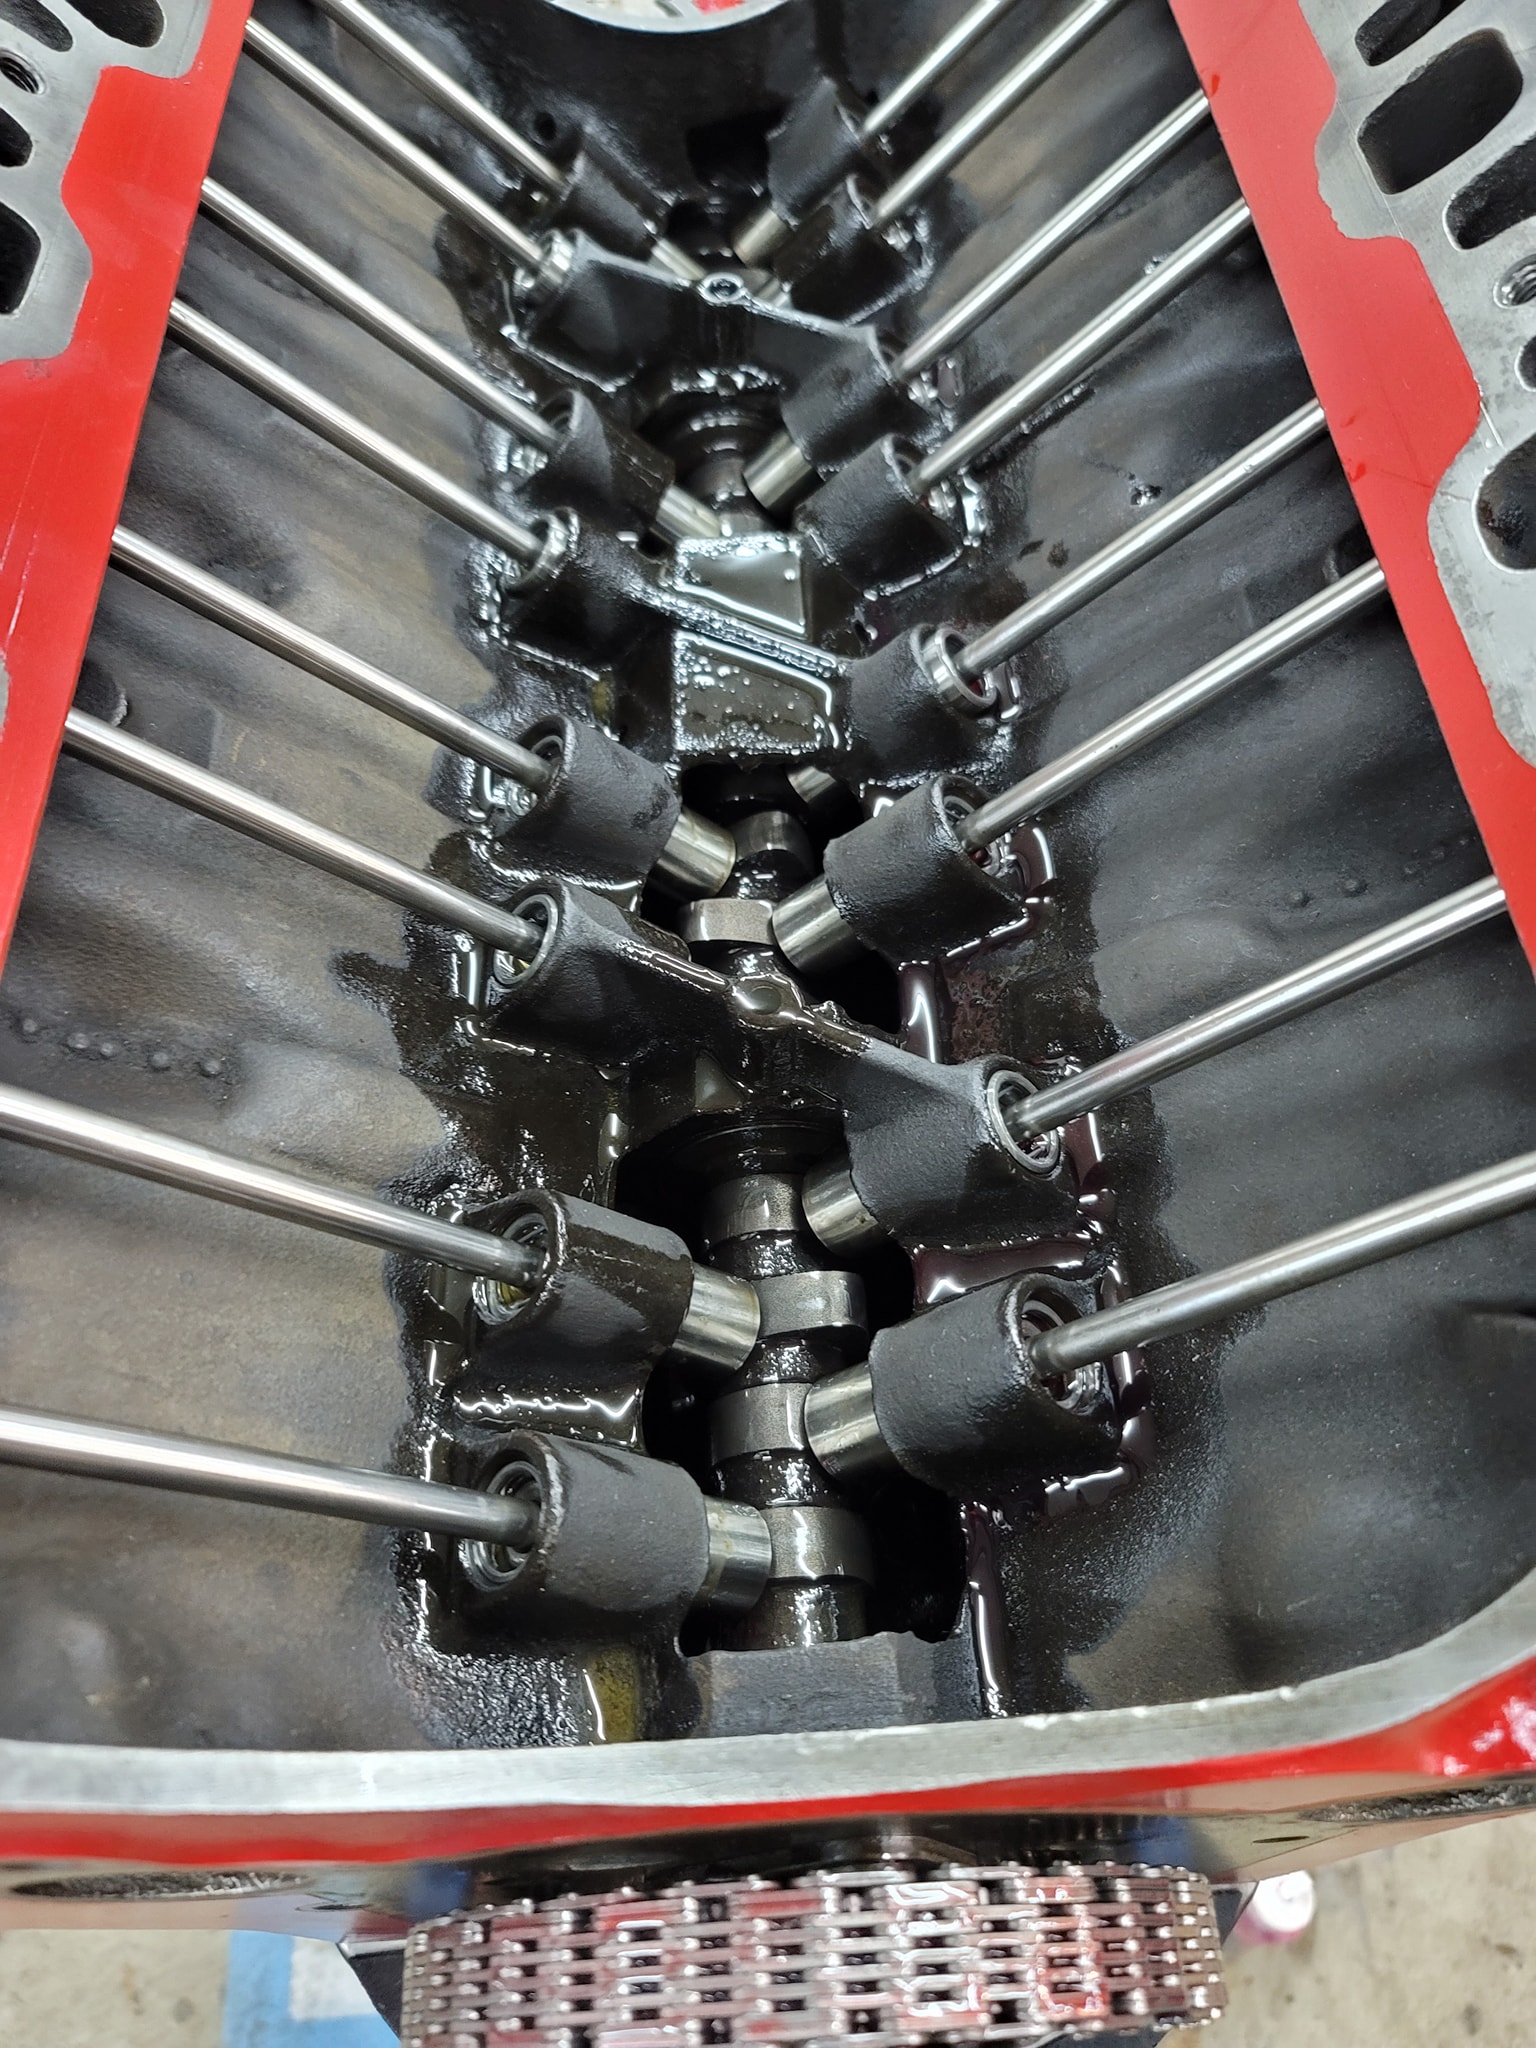
The camshaft was also not looking that great, so pulled it, will get a new one to go with the new lifters as well. Took about an hour to get the old lifters out, they where a bit gummed up.
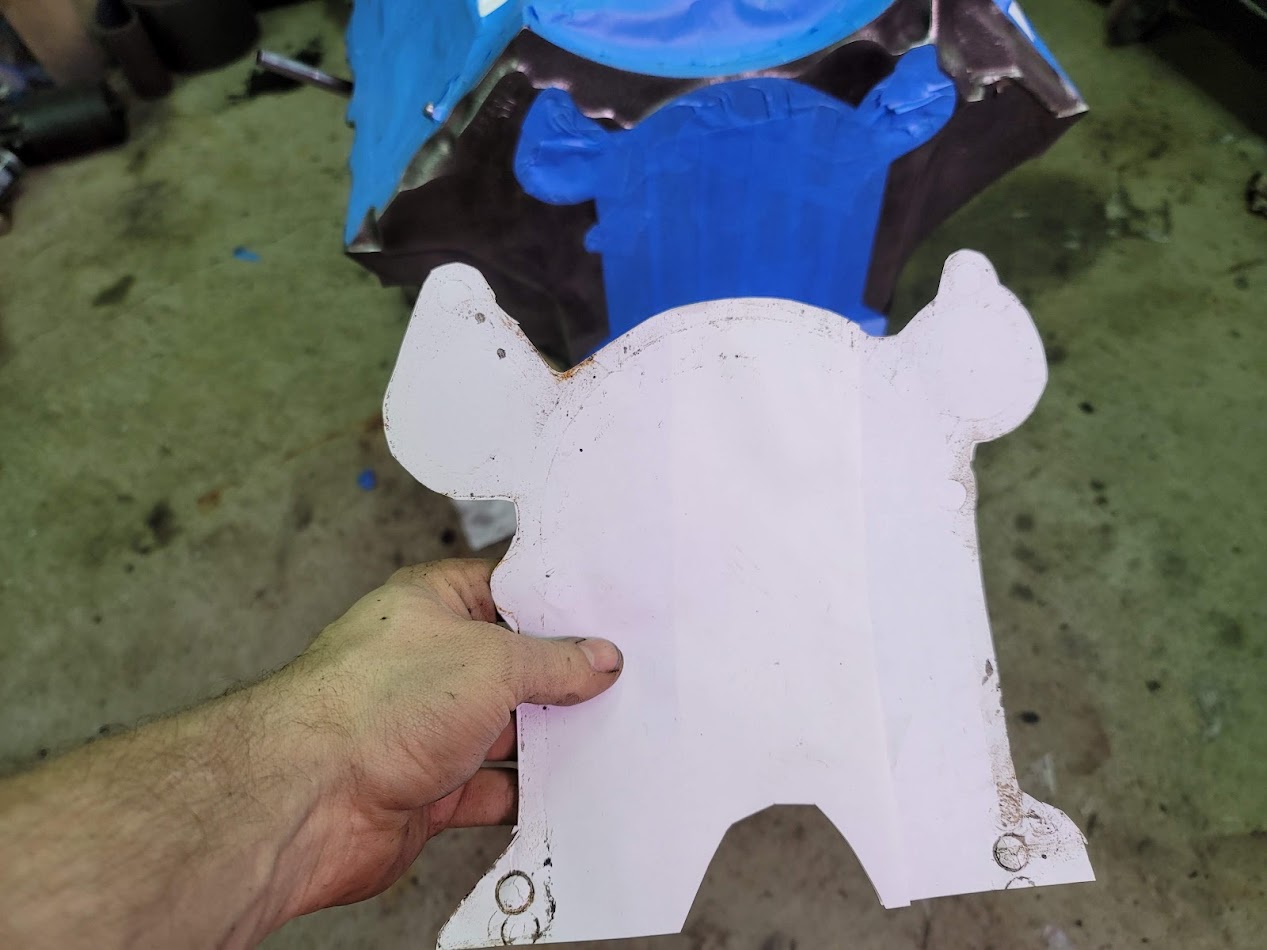
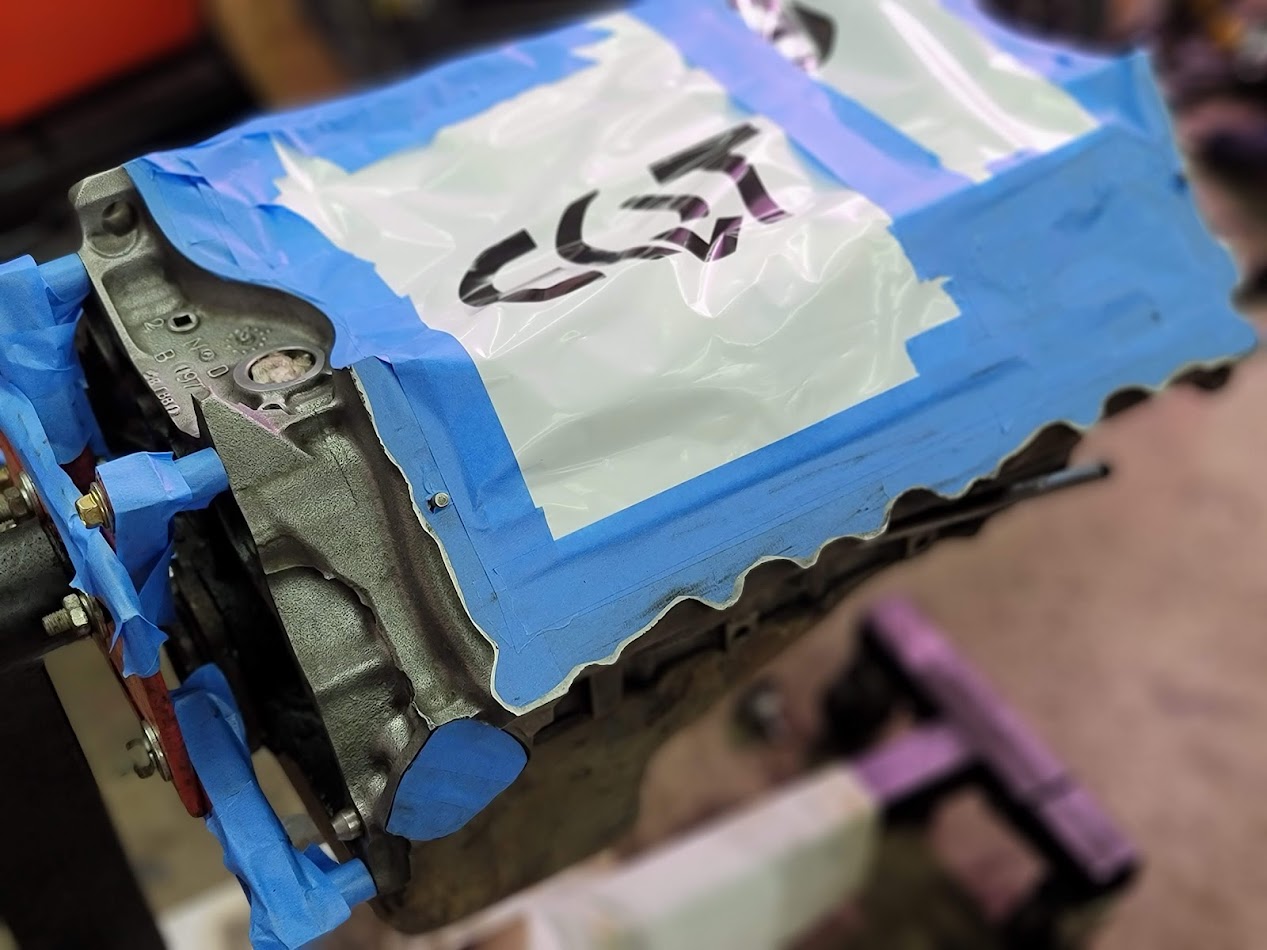
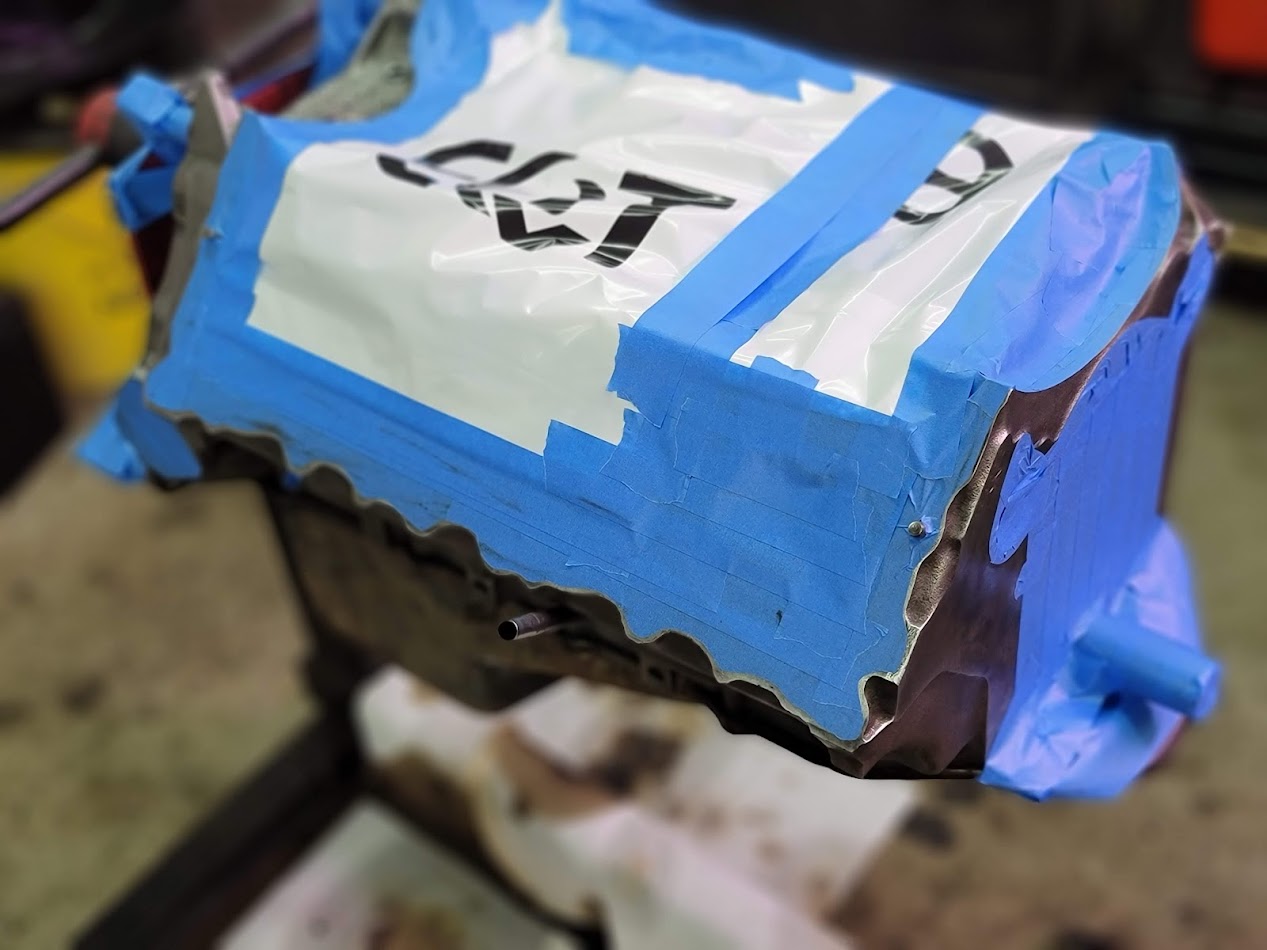
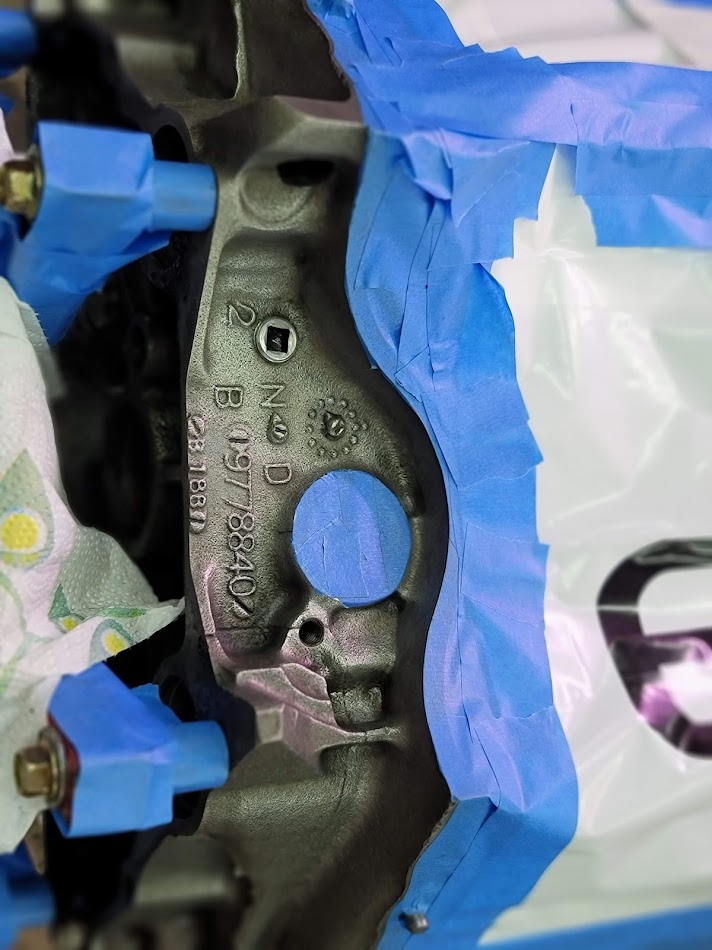
Now to get this bare block into paint before it flash rusts. Got it all tapped out and ready.. But what color?
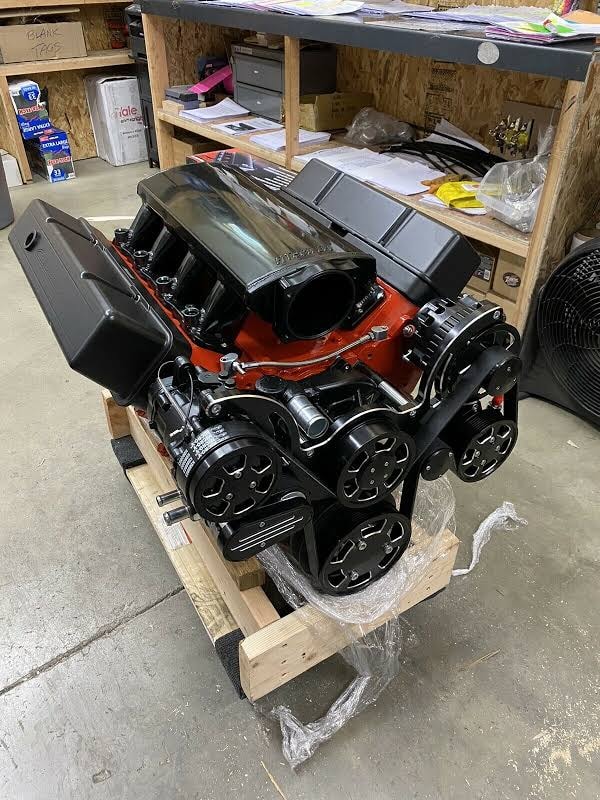
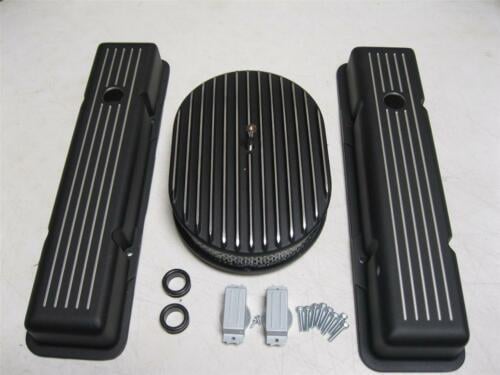
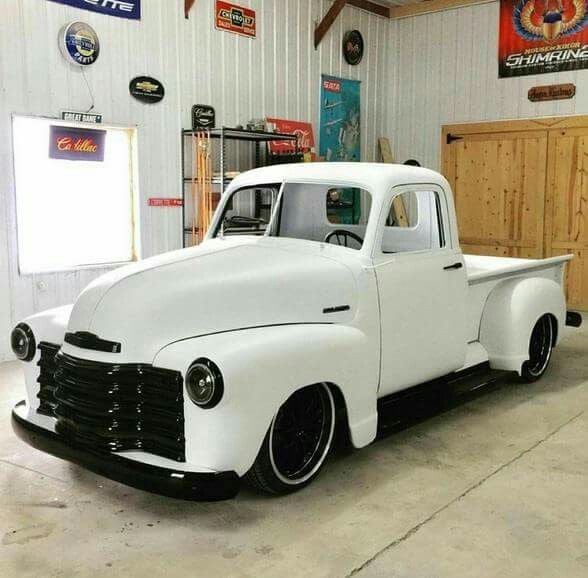
Little inspiration time, the Truck will be Semi gloss white, with black trim. The block will be Red with all black accessories. This should make for a nice modern rest-rod look.
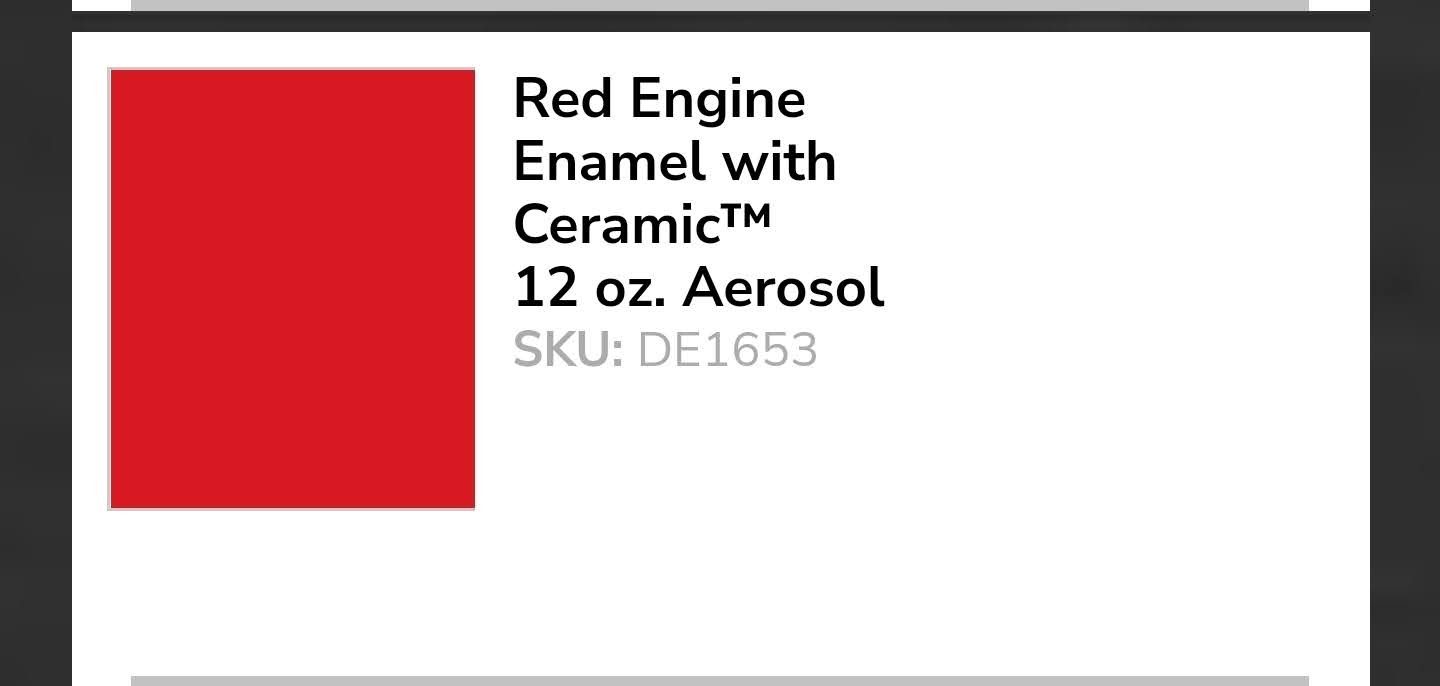
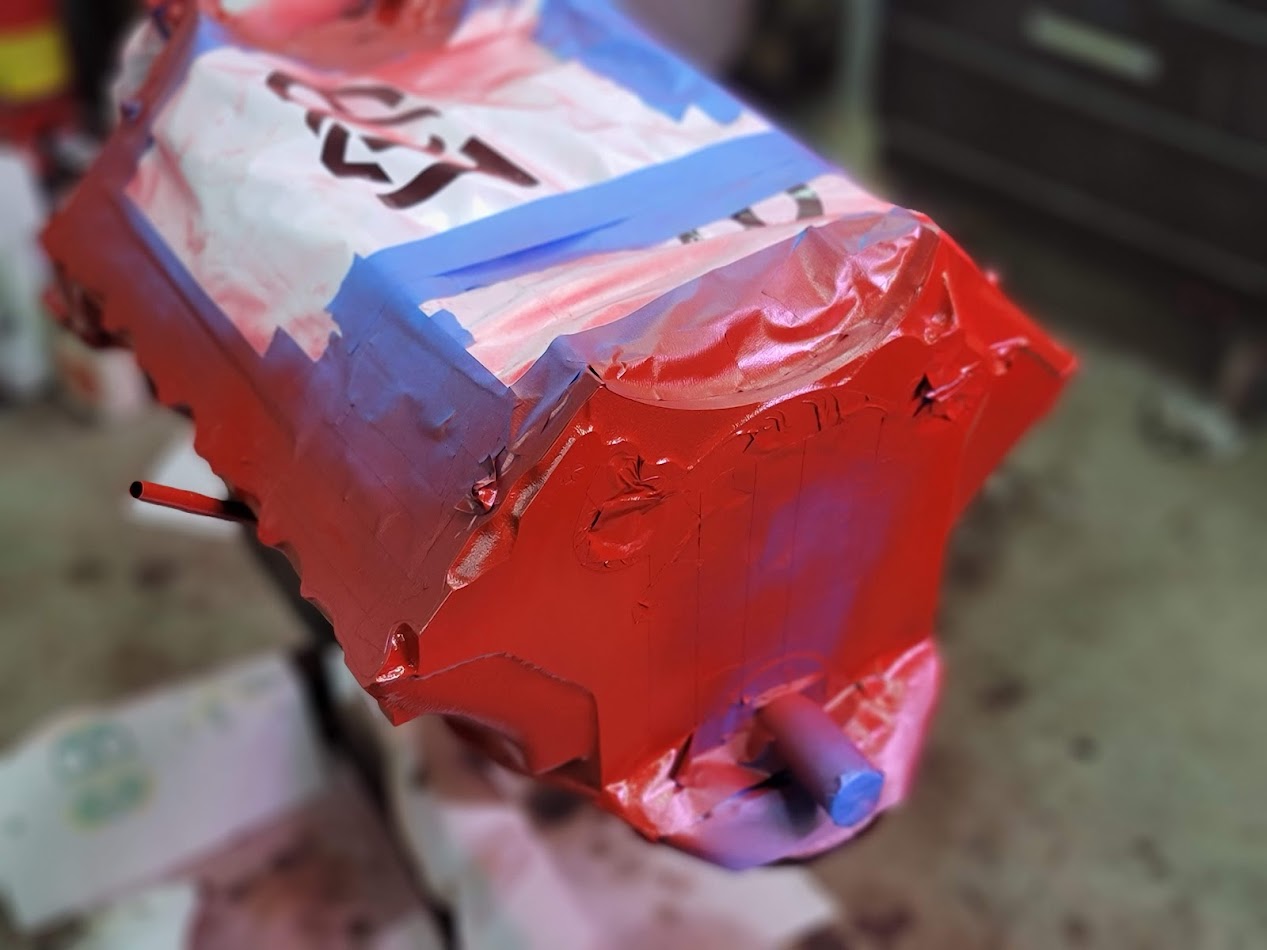
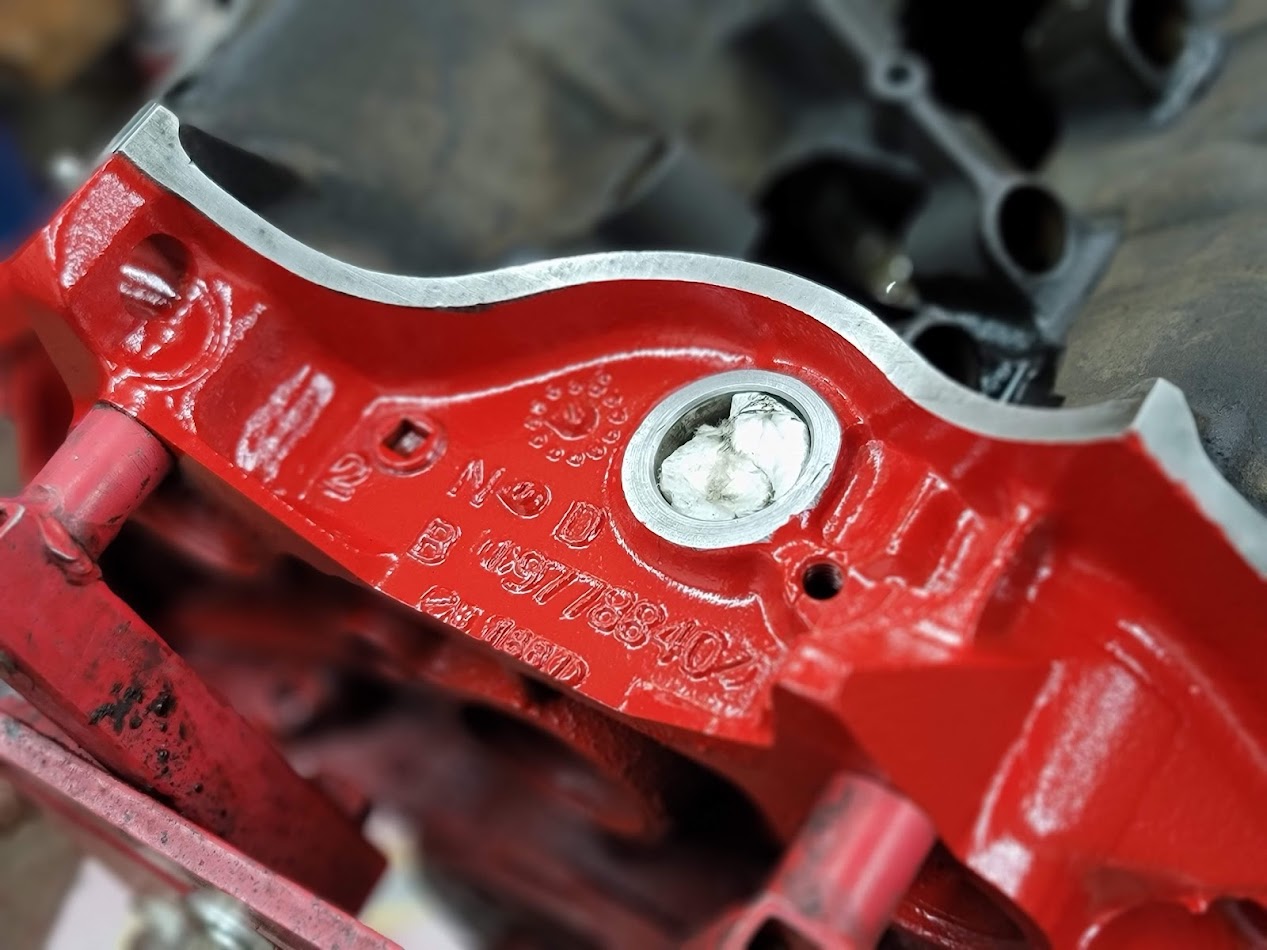
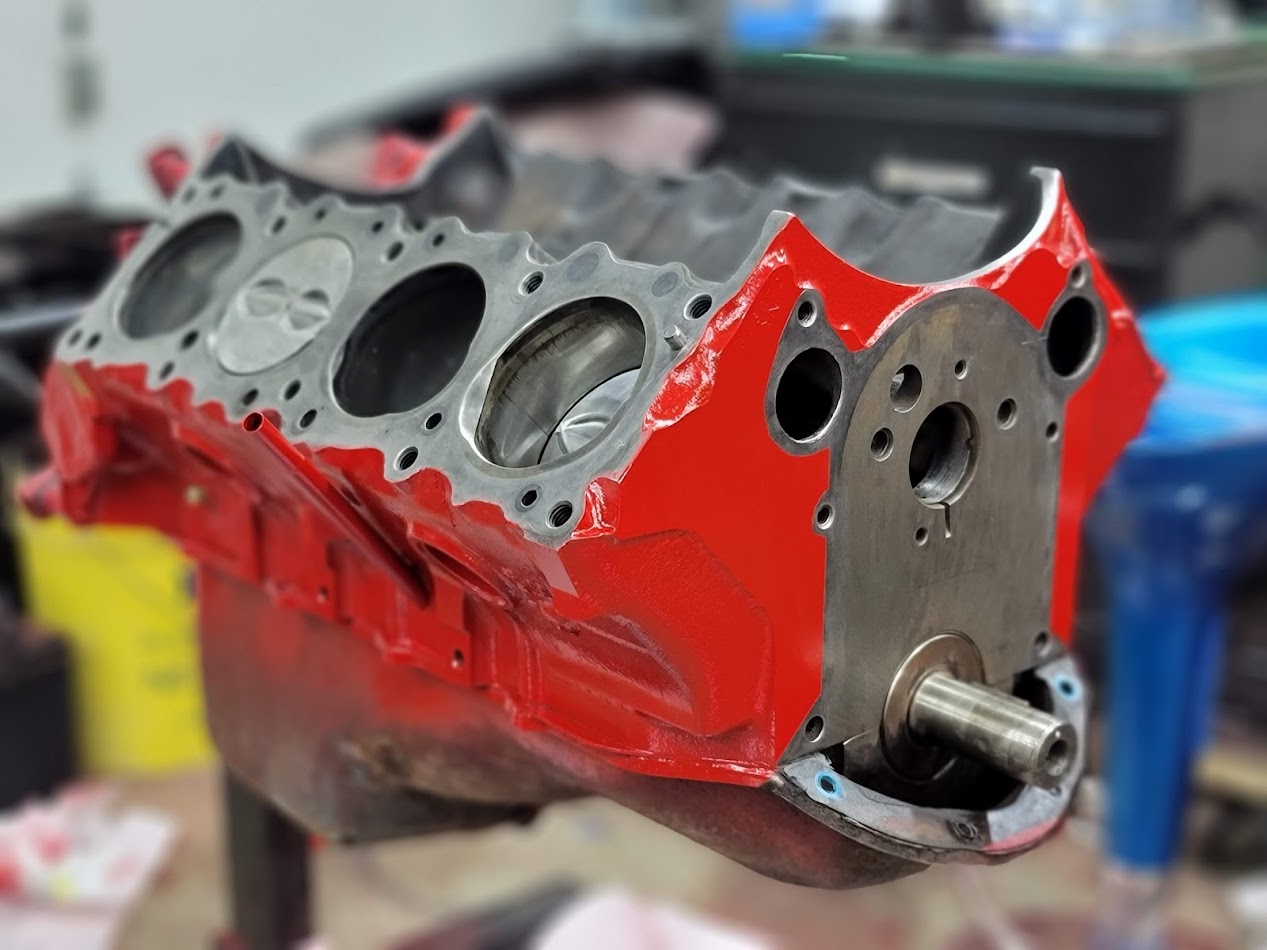
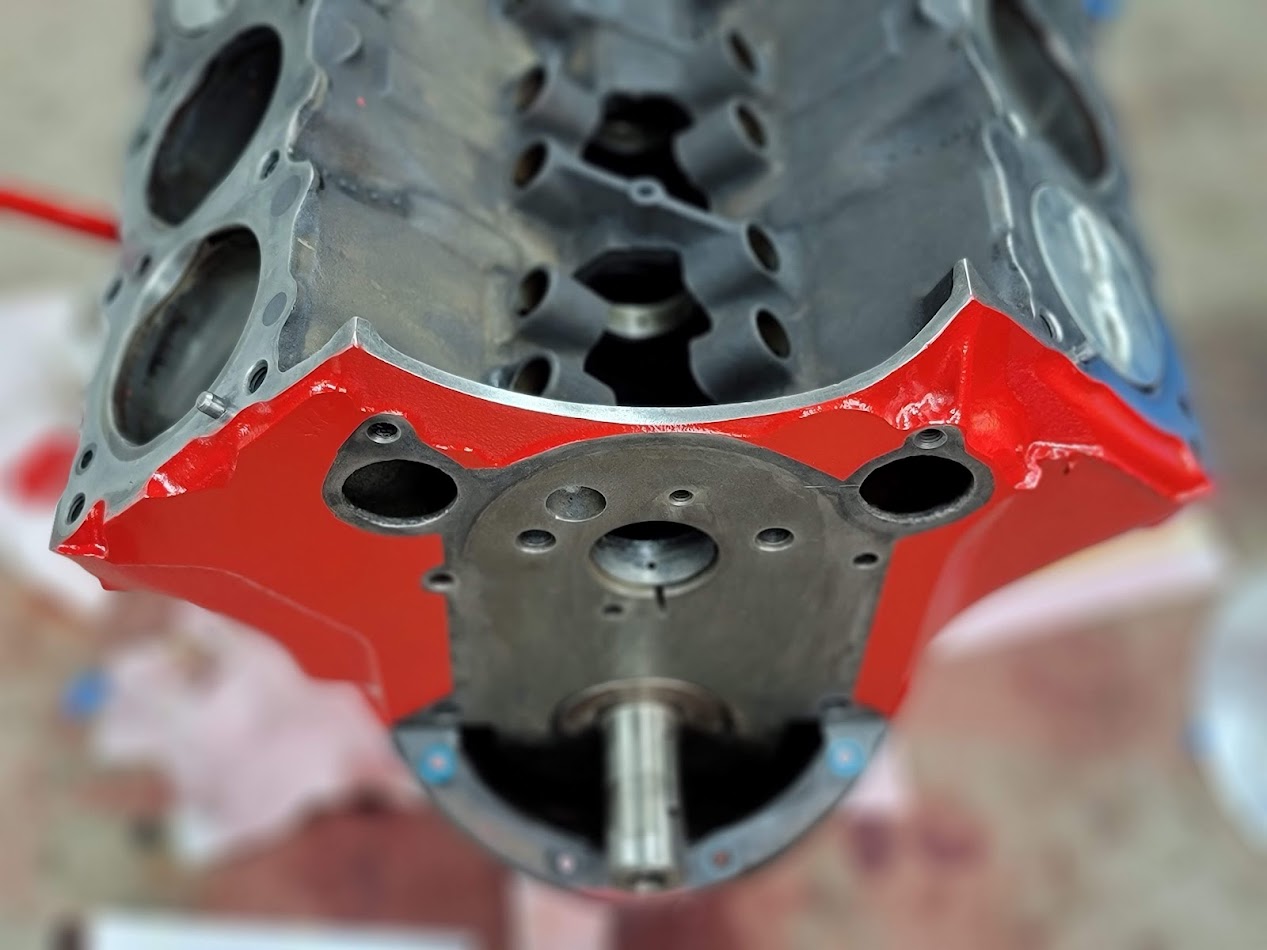
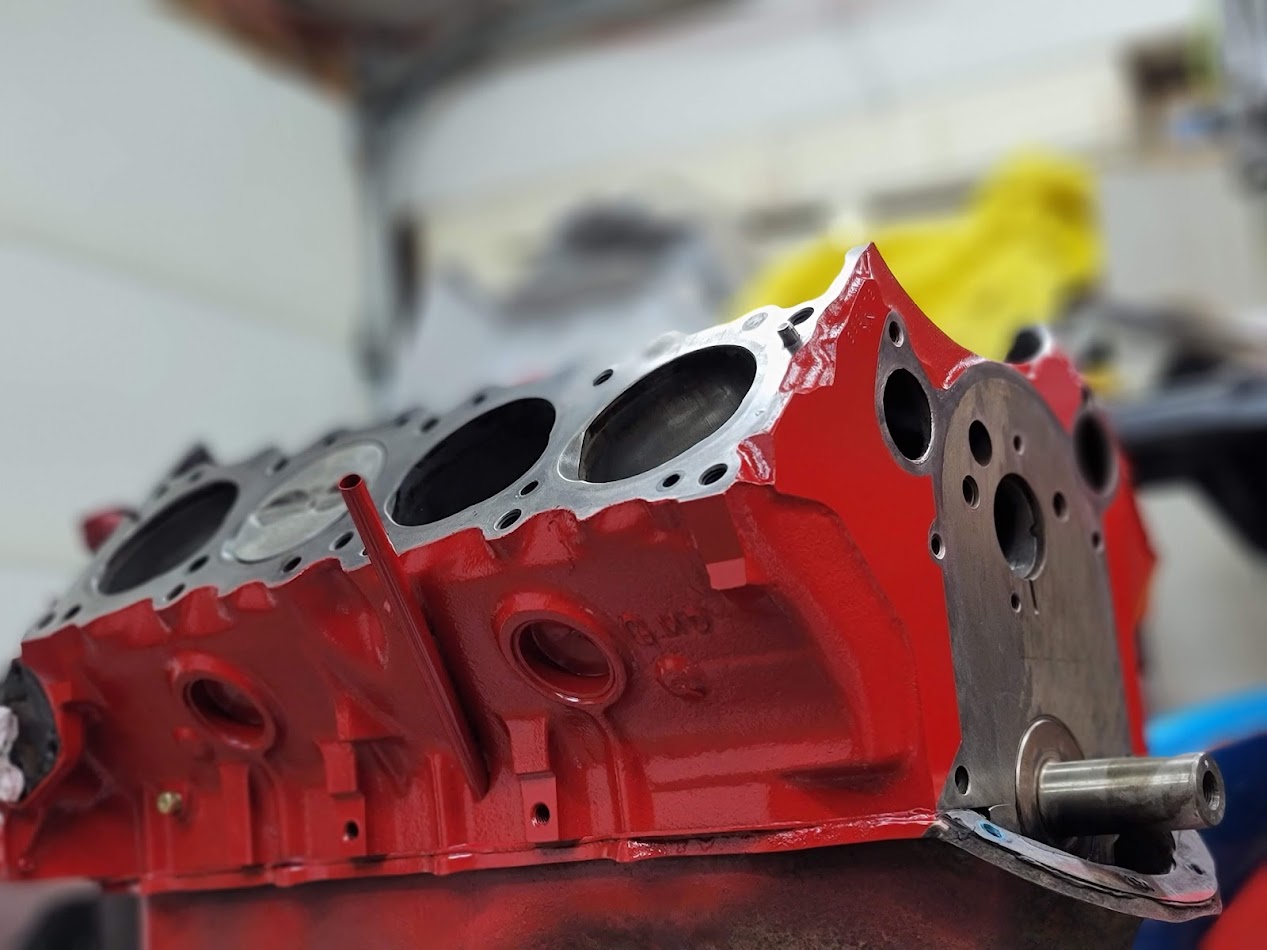
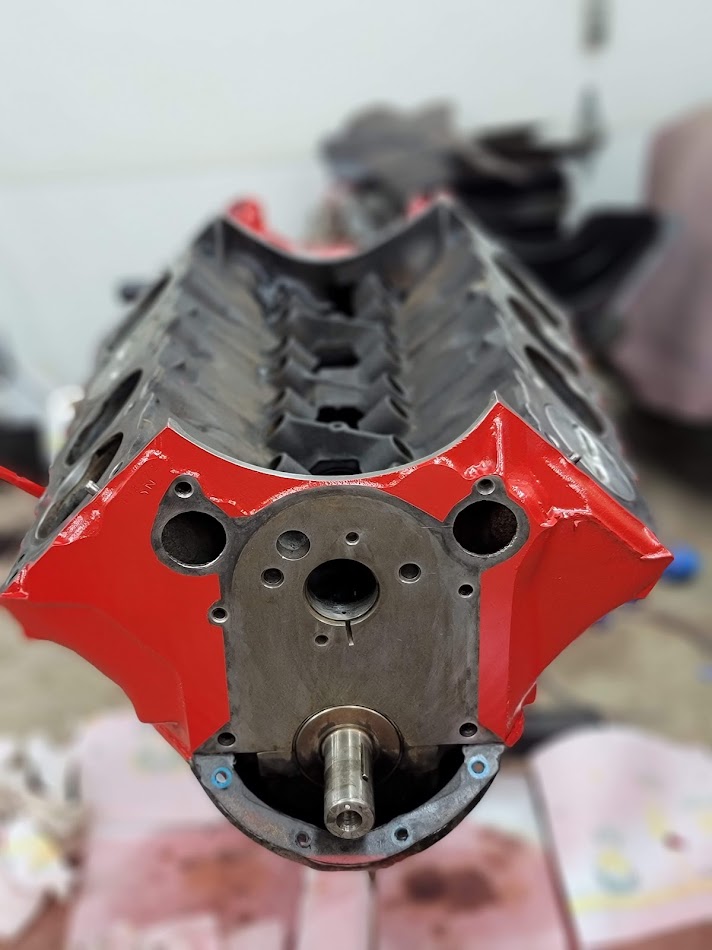
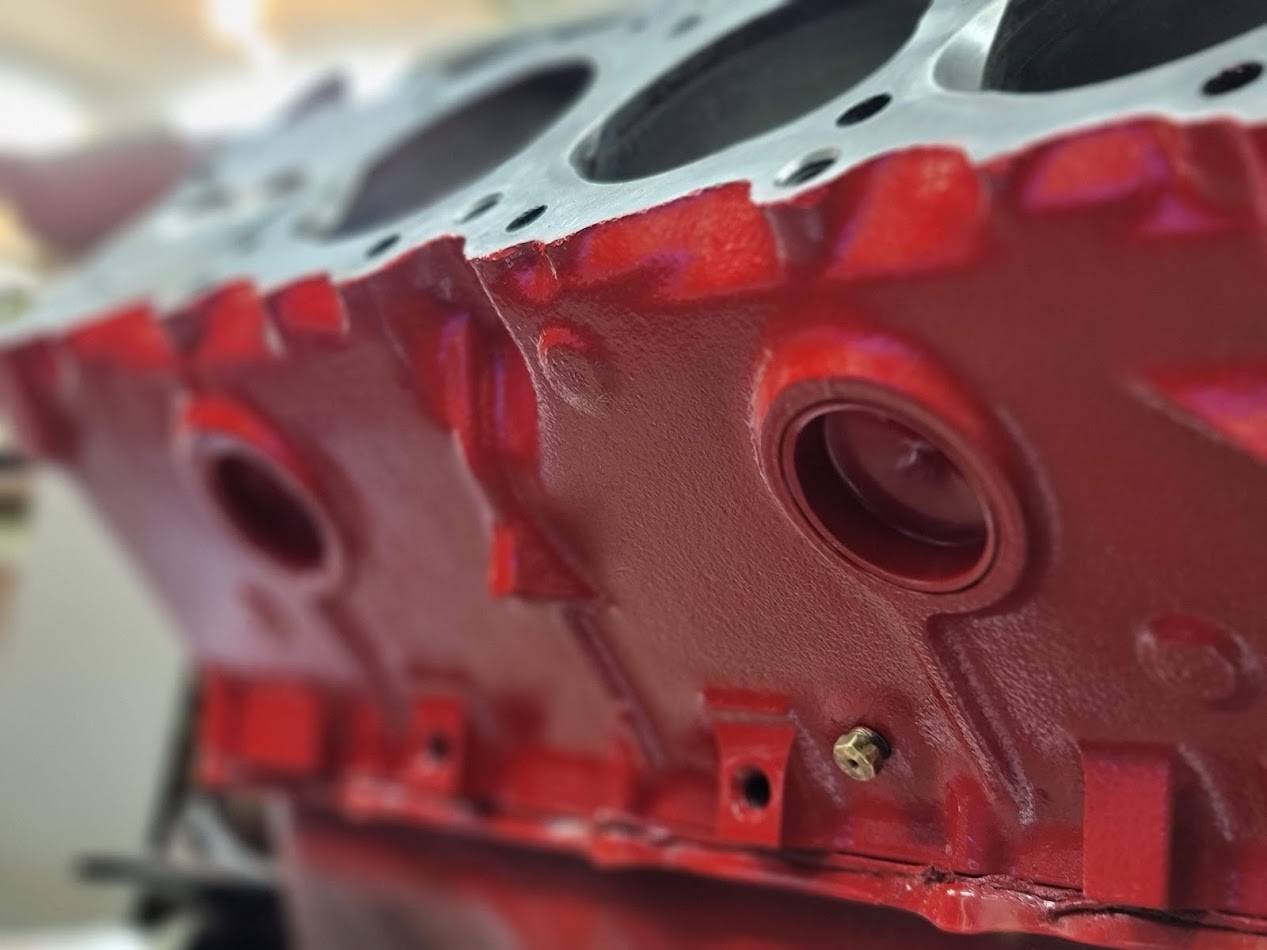

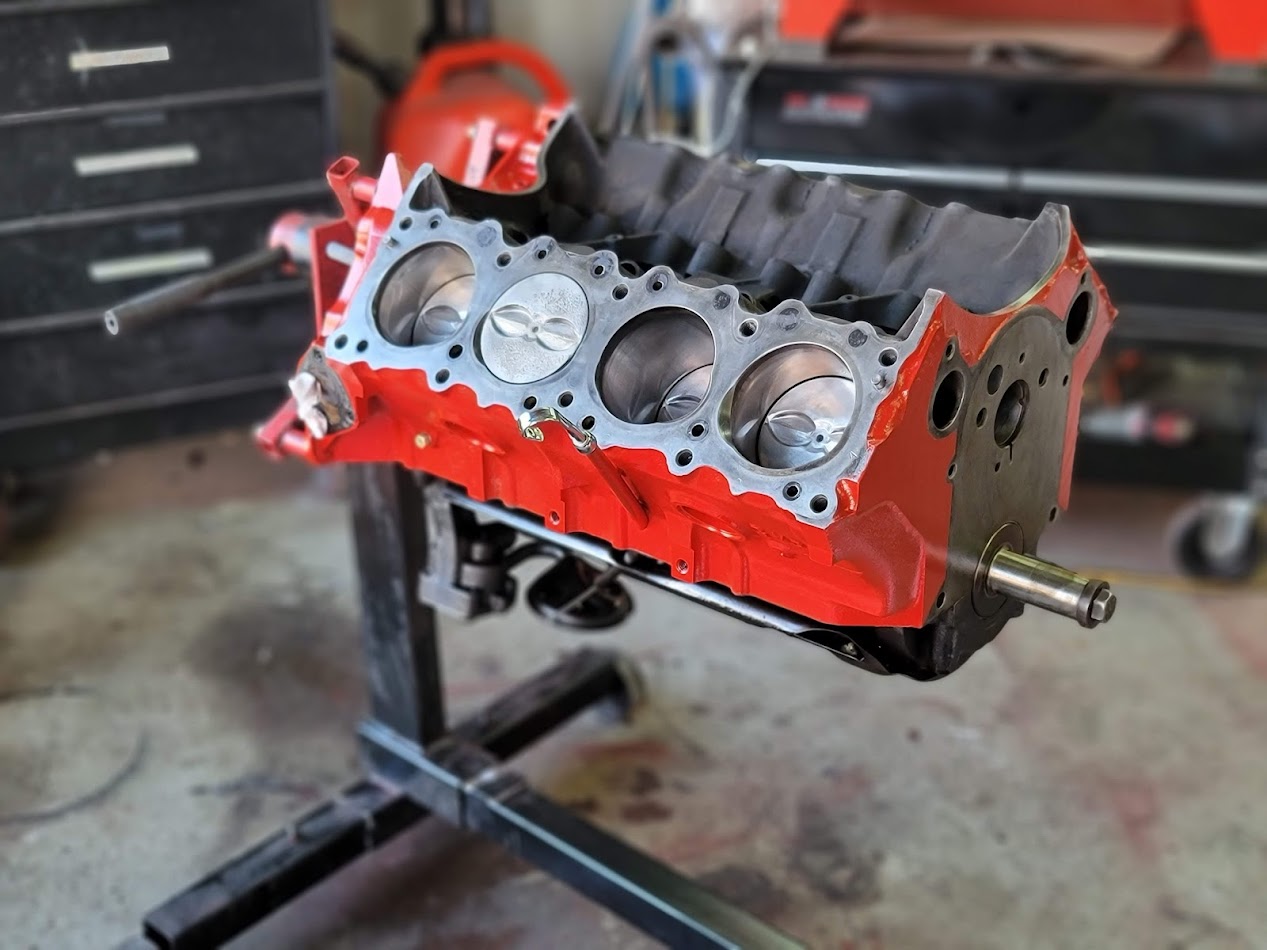
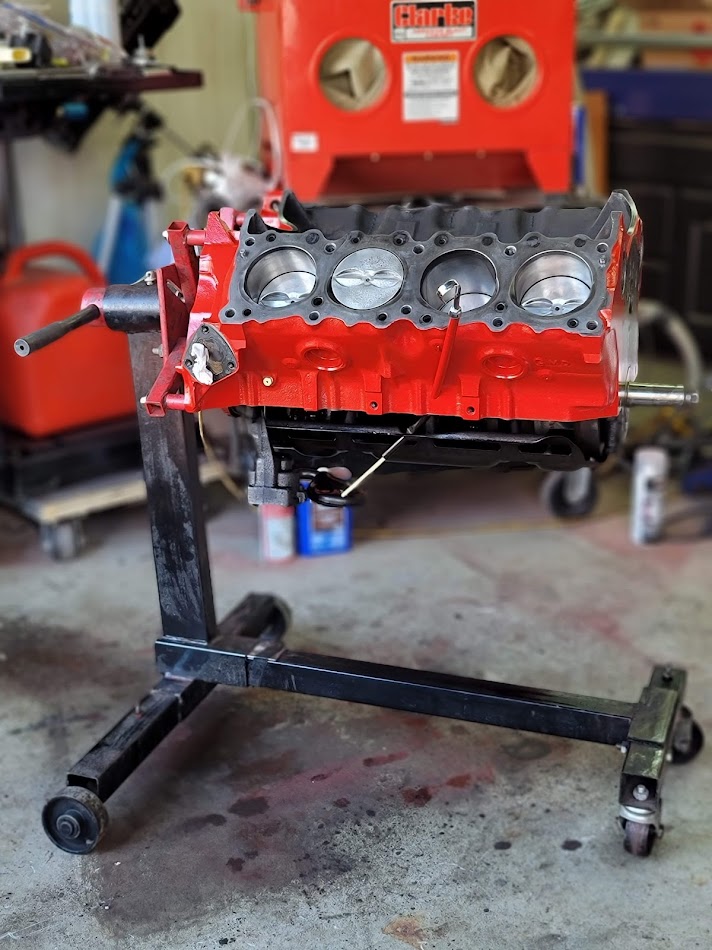
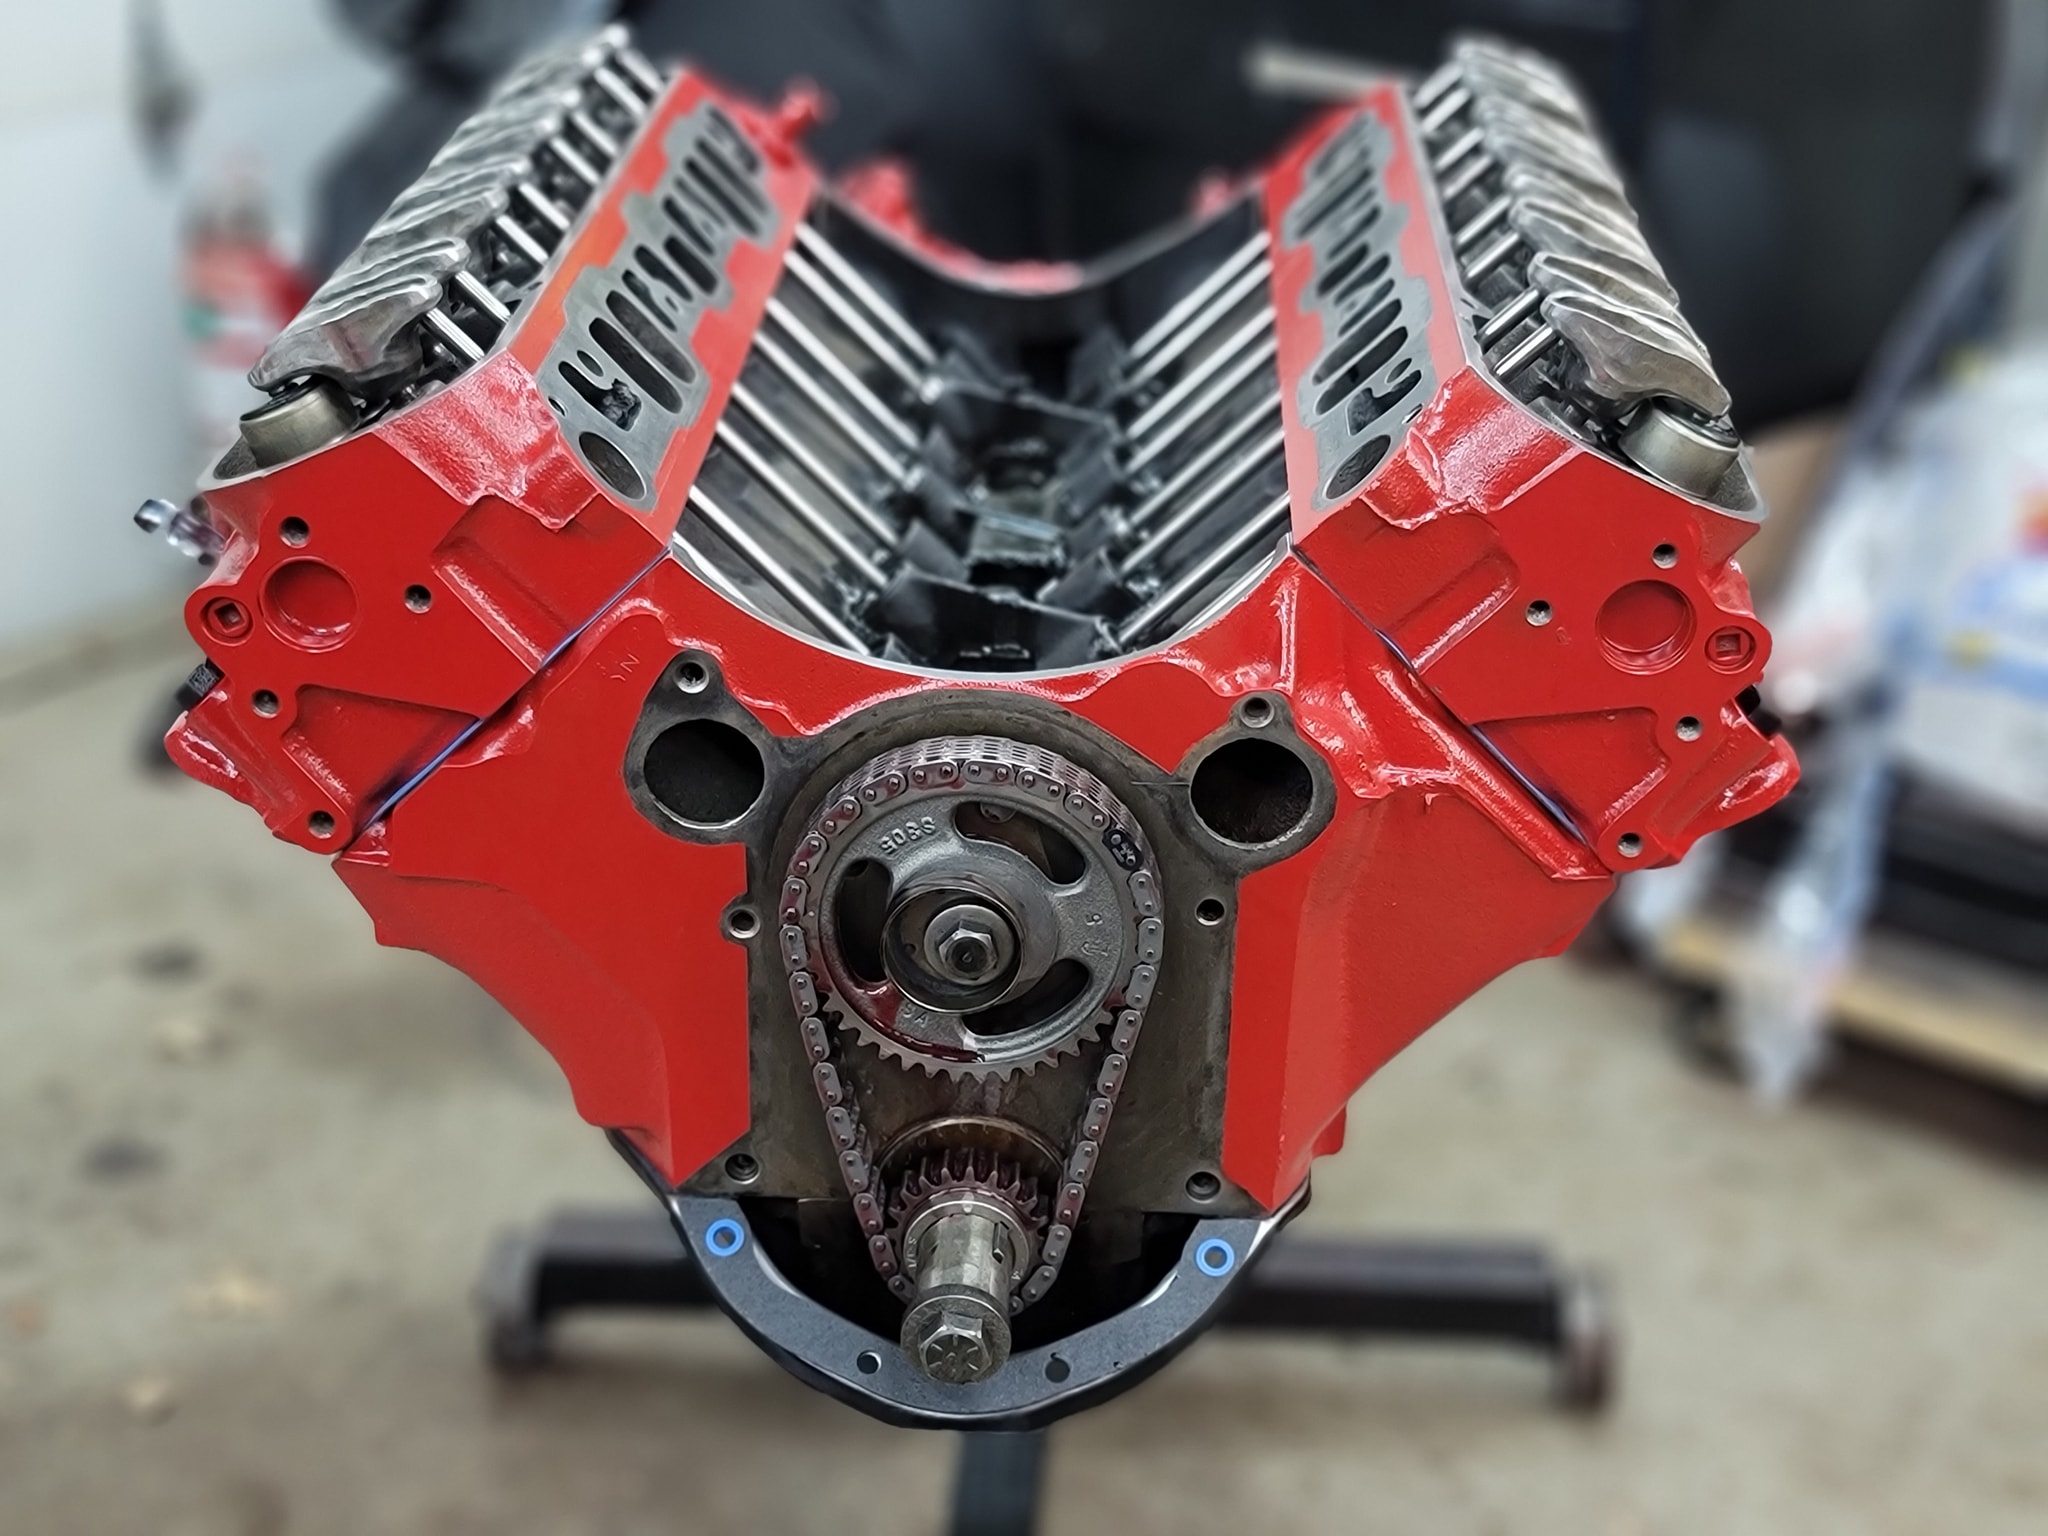
And there it is, a Pontiac motor painted Ford Red, going into a 51 Chevy truck, on a 4X4 S10 chassis ha! Who said this was a normal build? ha!
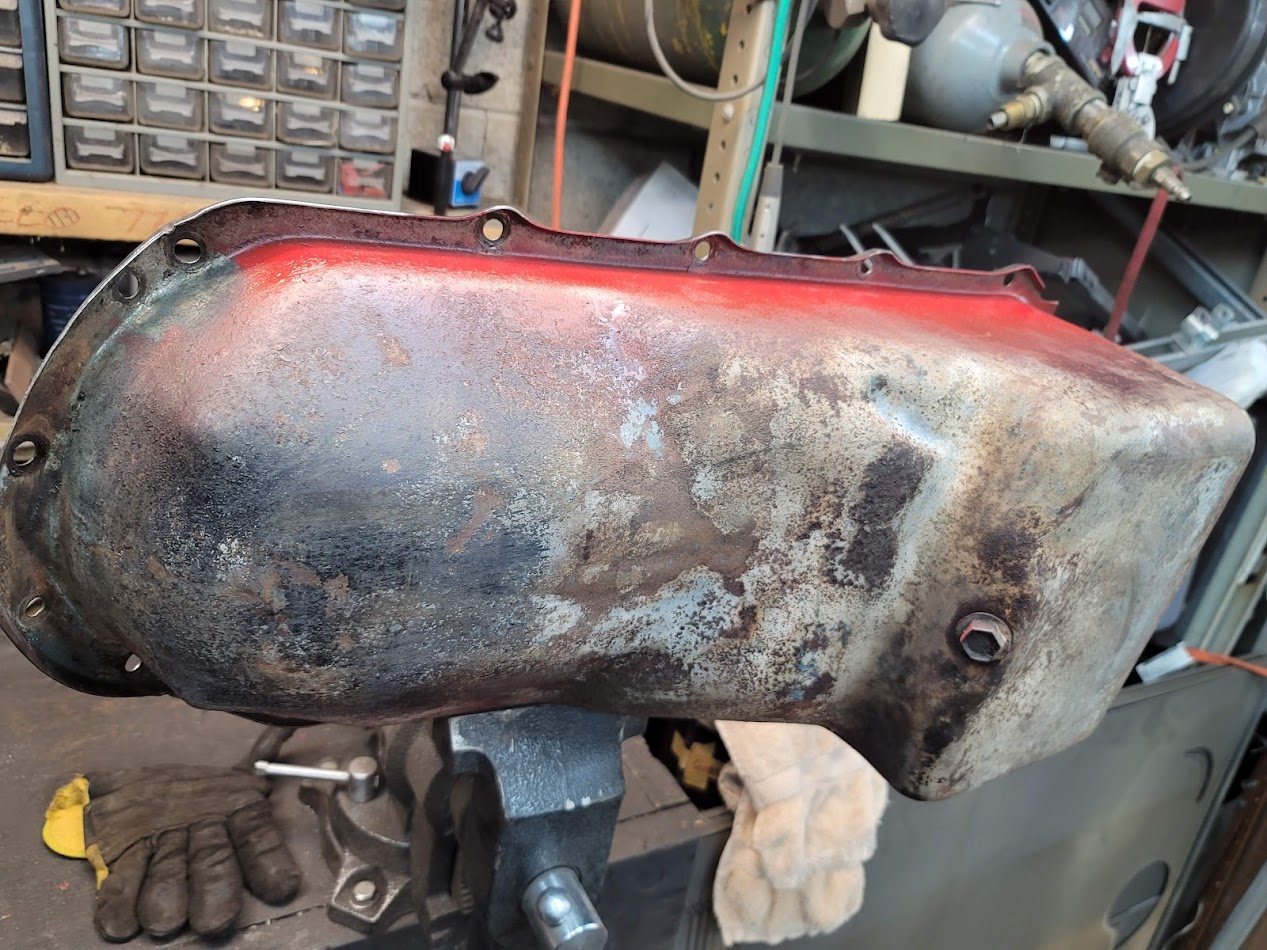
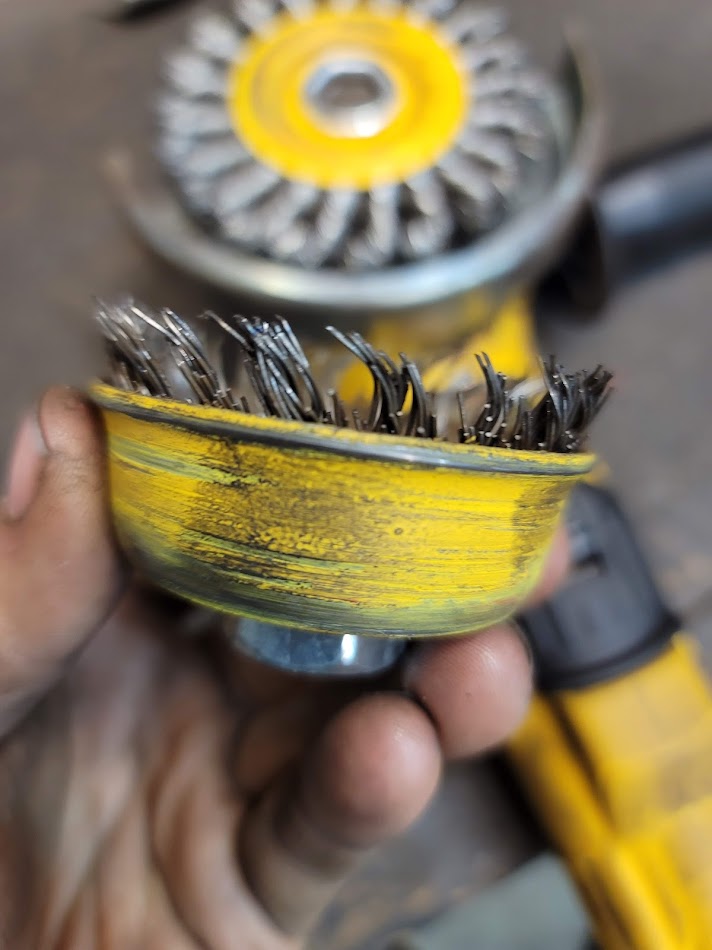
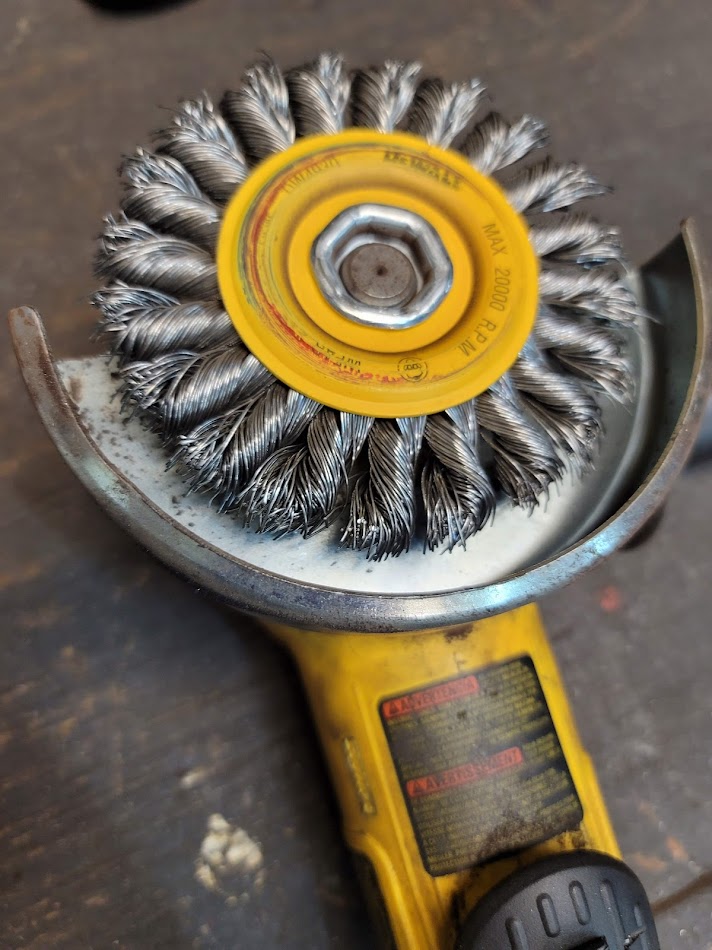
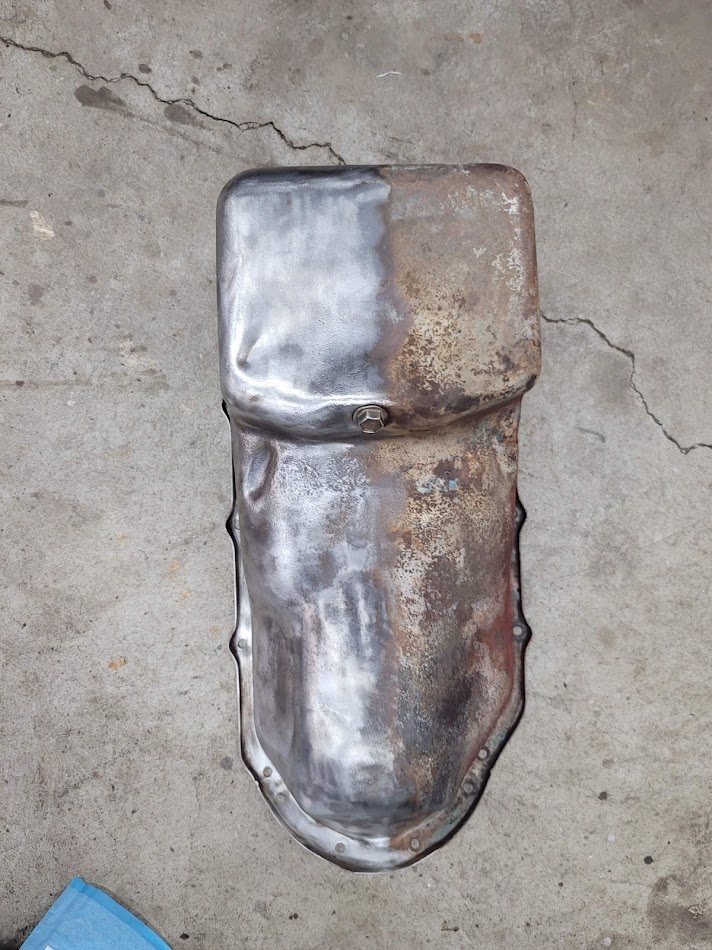
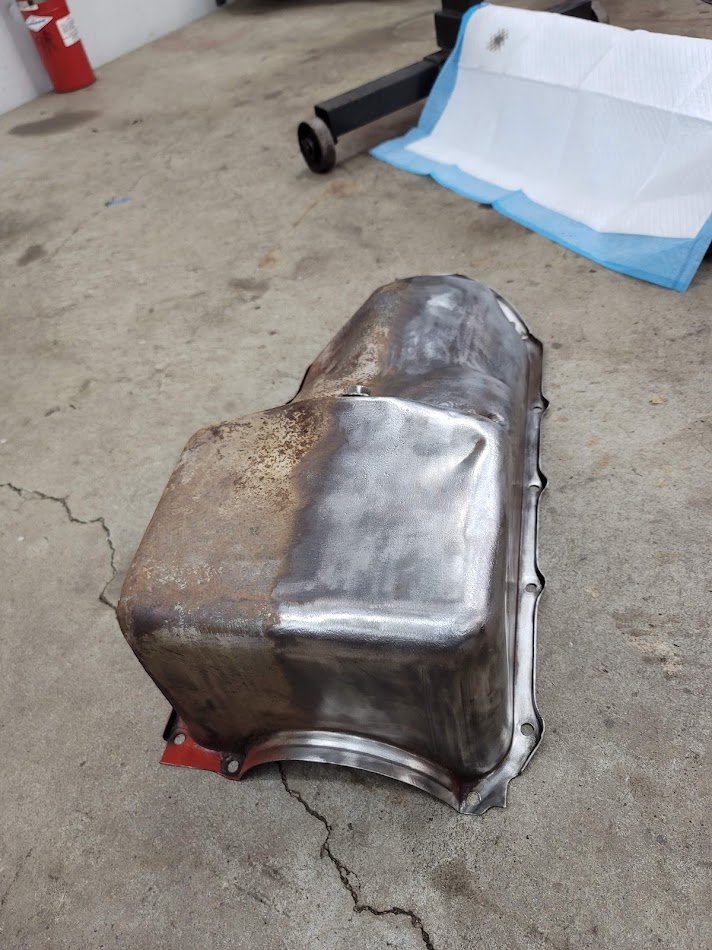
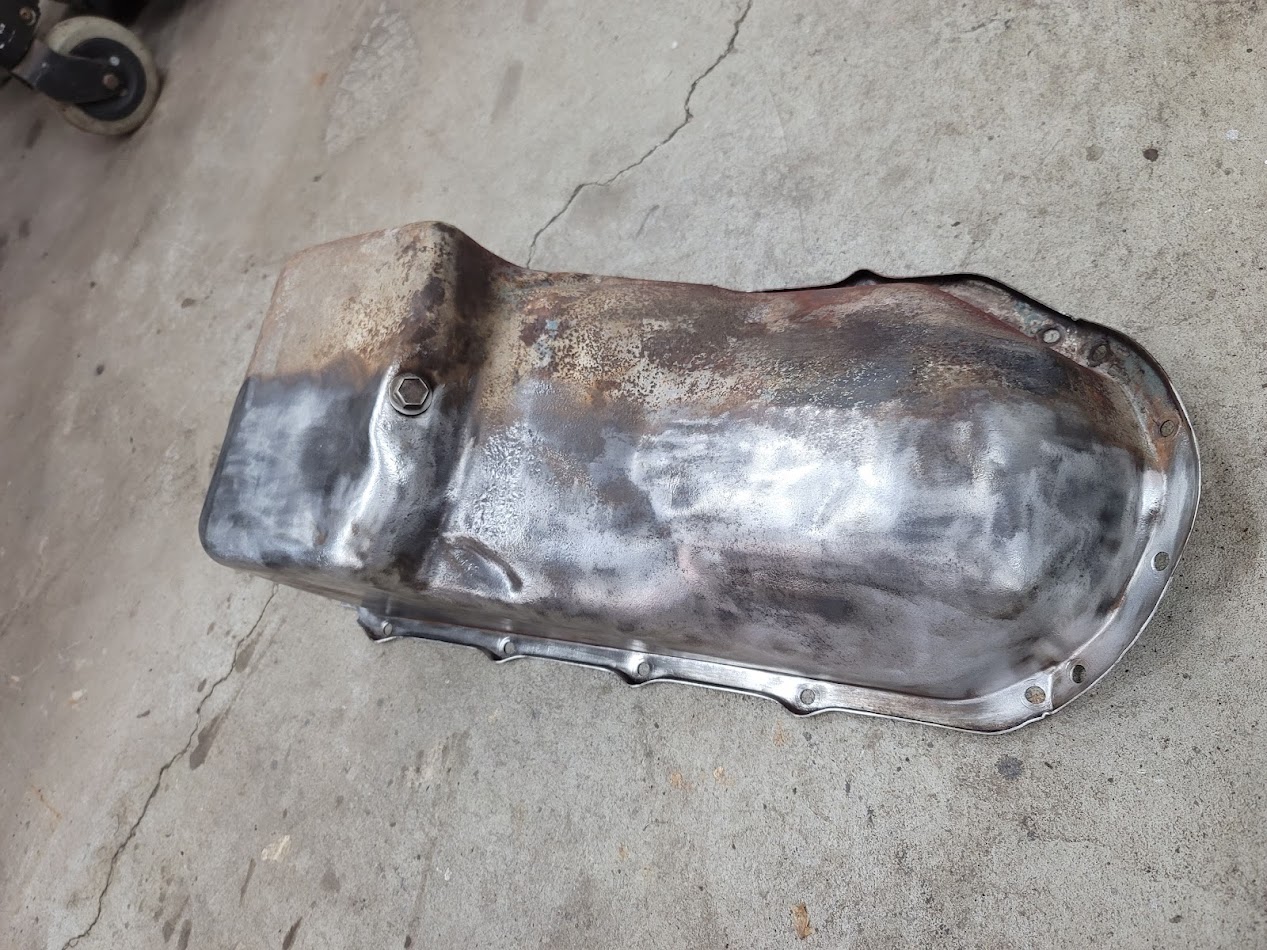
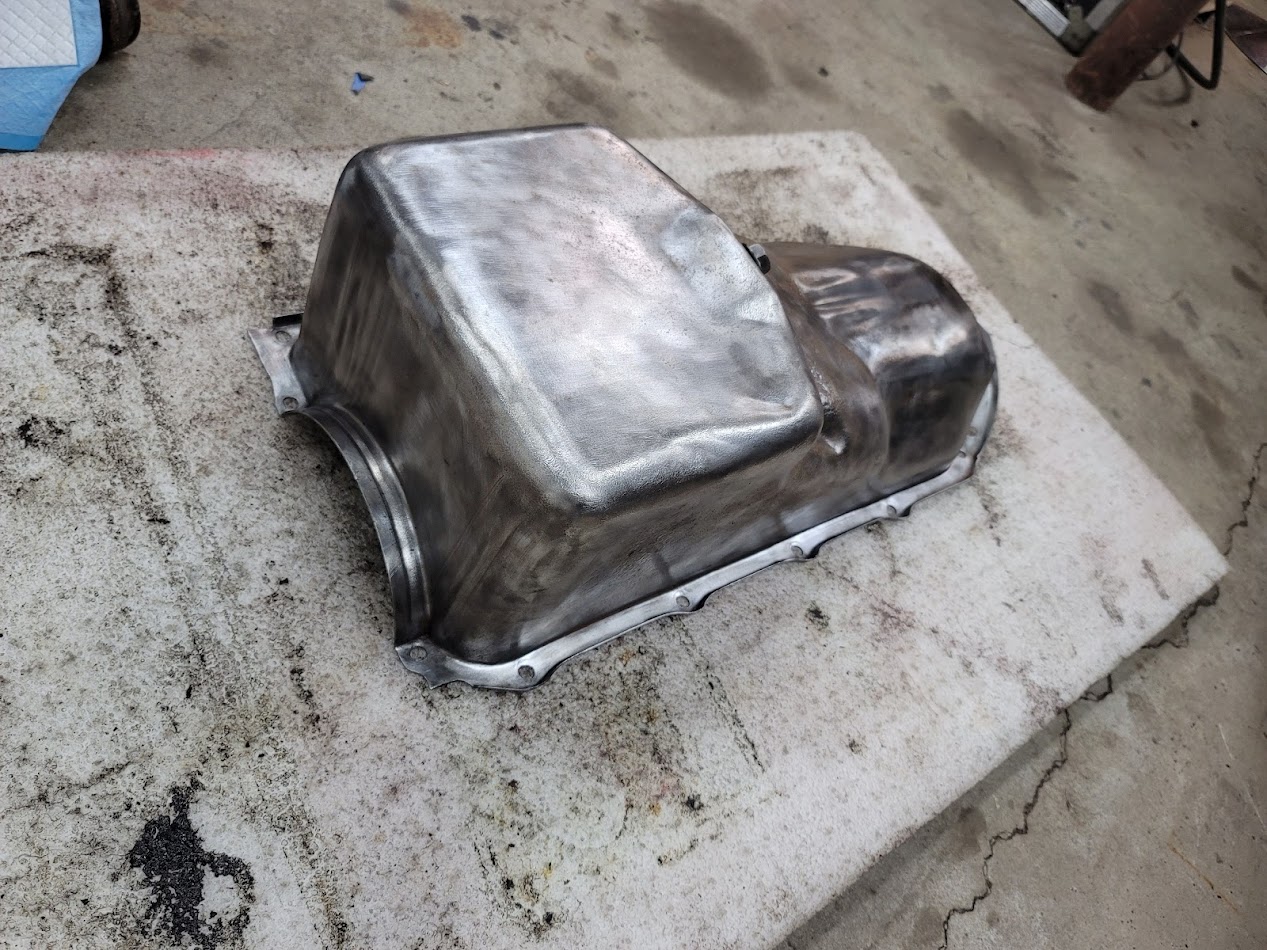
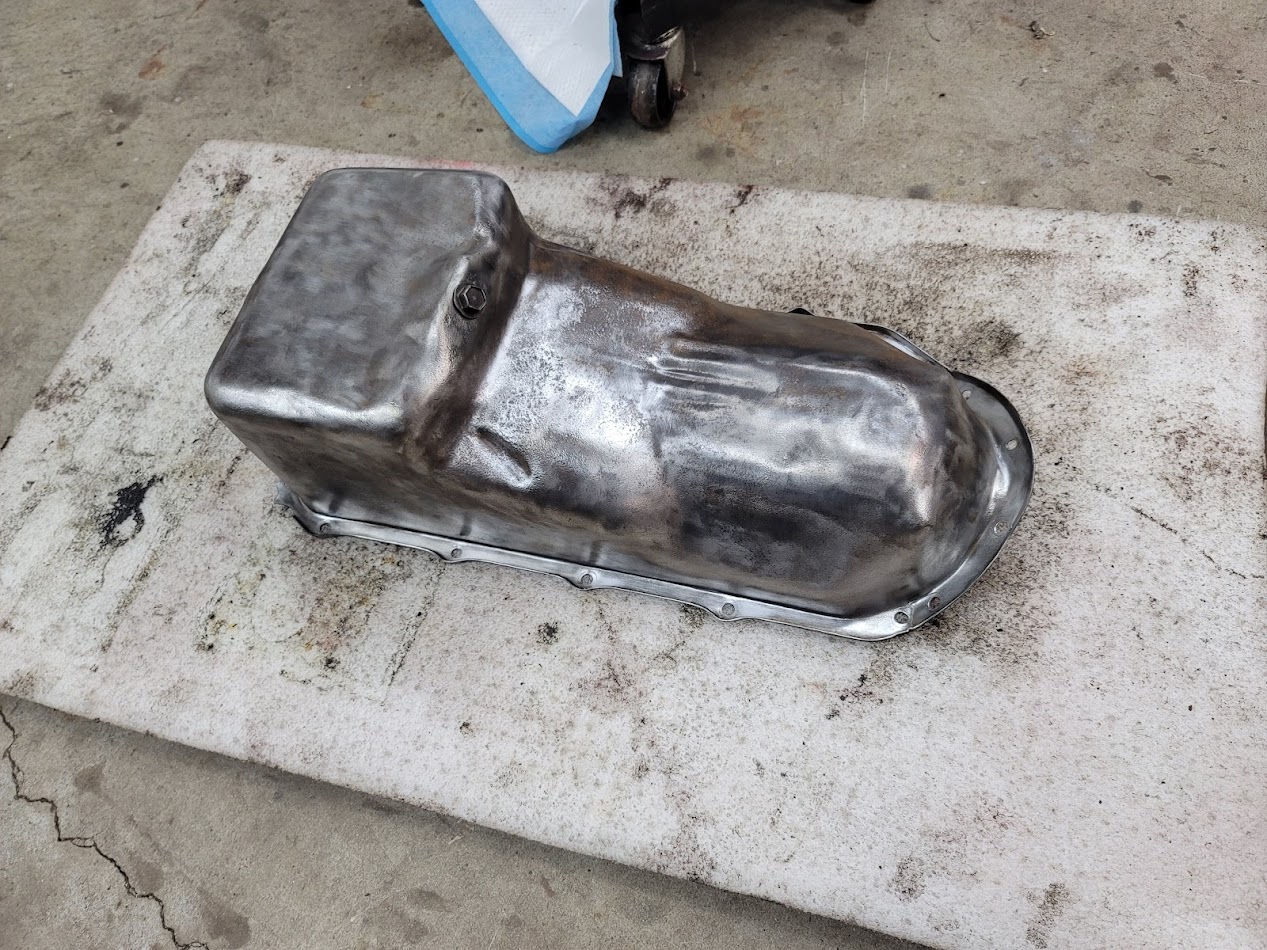
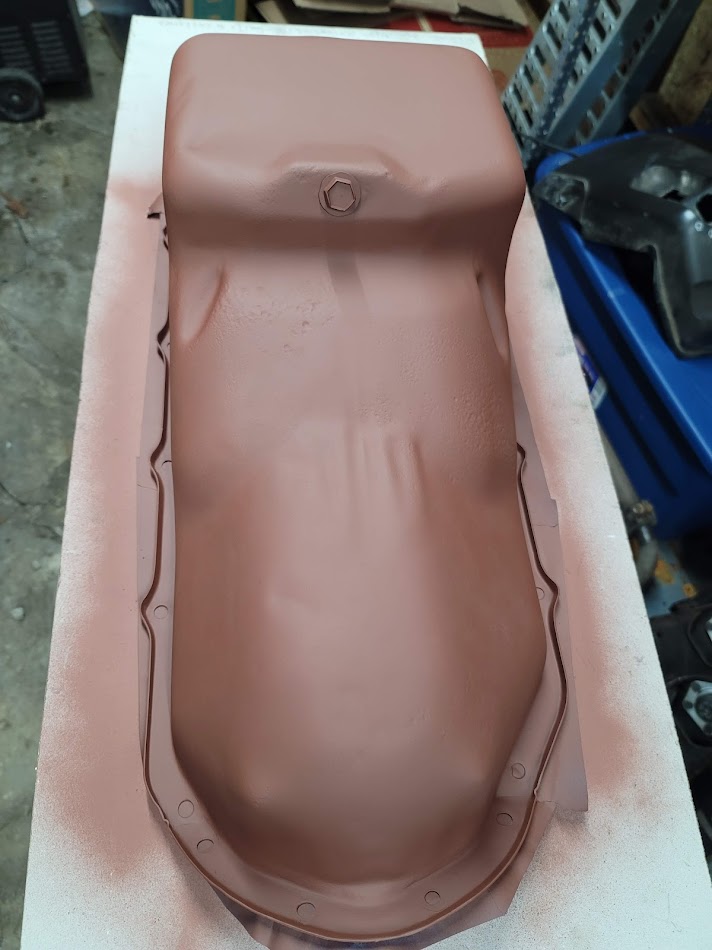
Pulled the pan, and set to work eating up my wire wheels, and getting it back down to bare metal. I think it cleaned up nice, and will be salvageable!
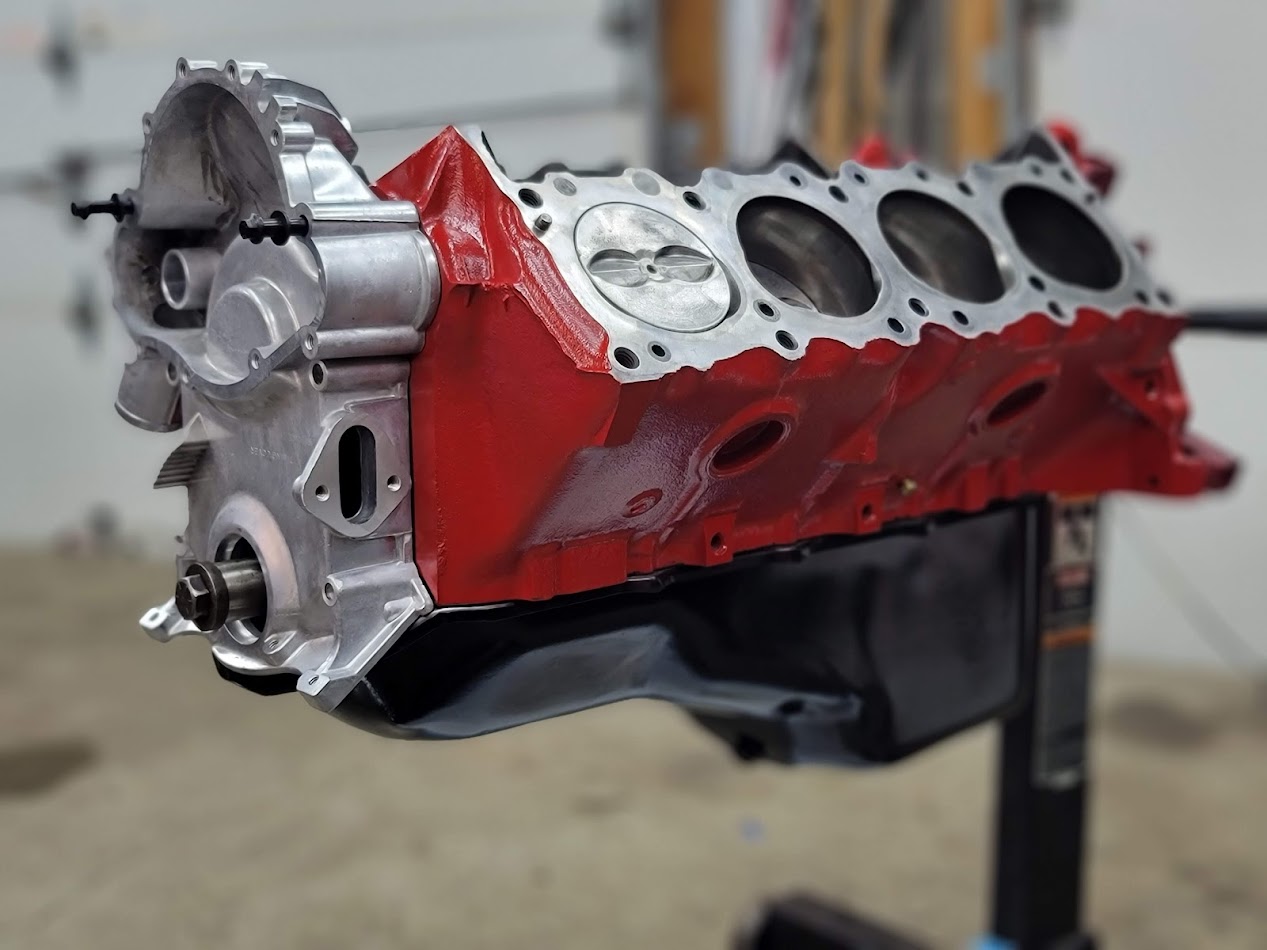
Painted it semi gloss black and stuck it on, looks fantastic! The new timing cover came in, but man it looks out of place all silver like that…
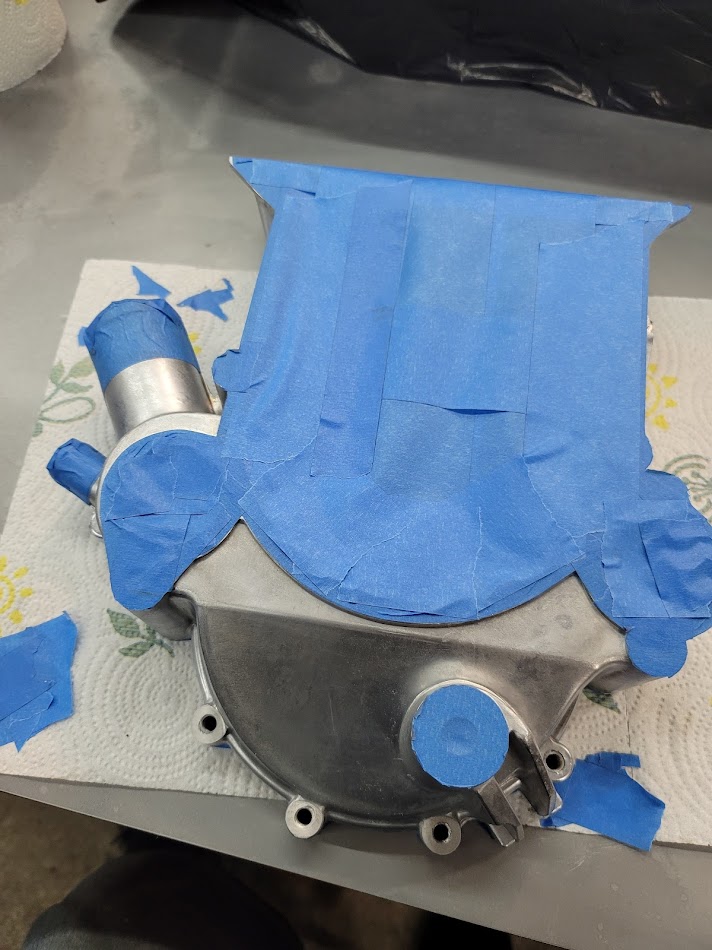
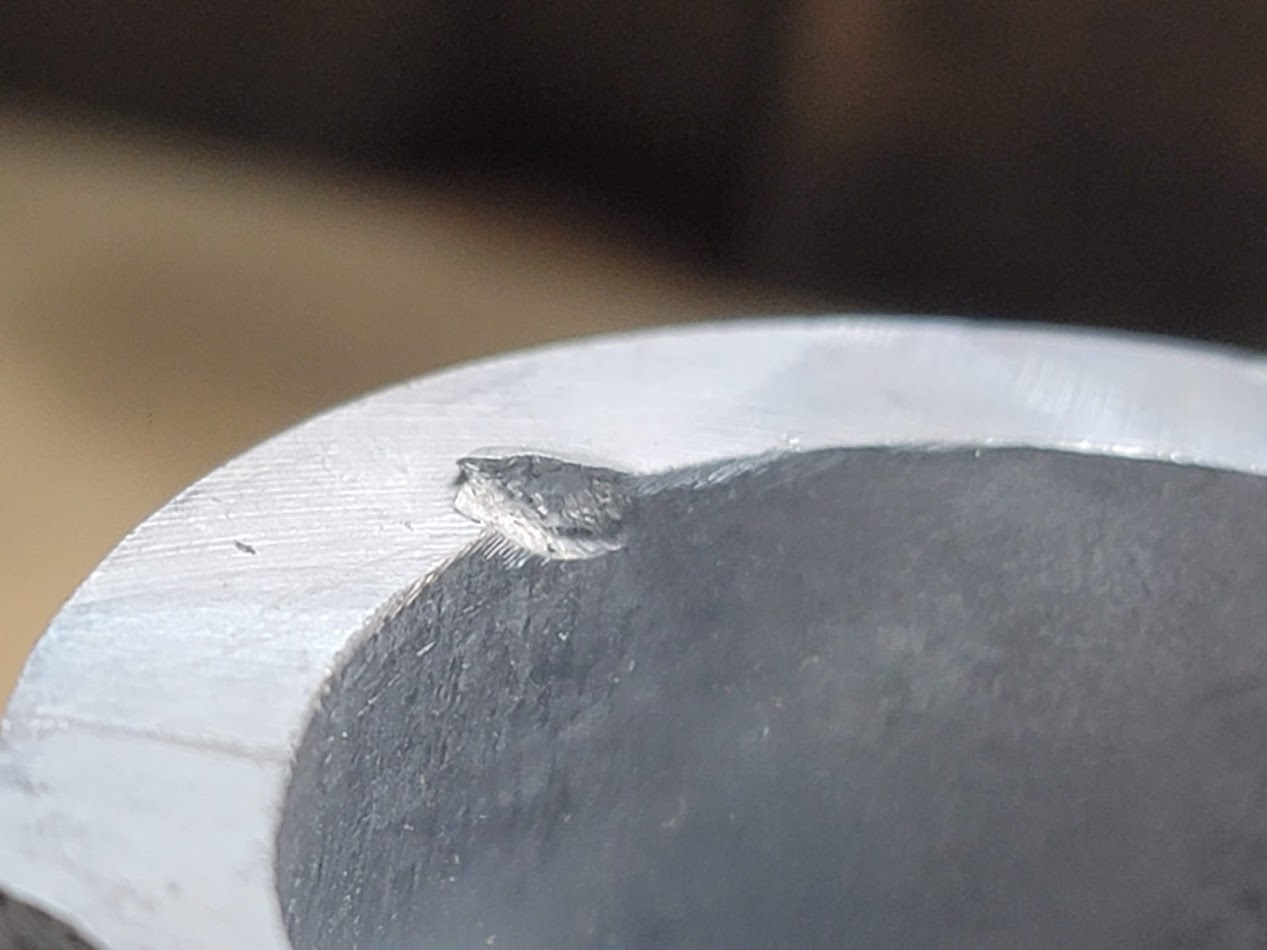
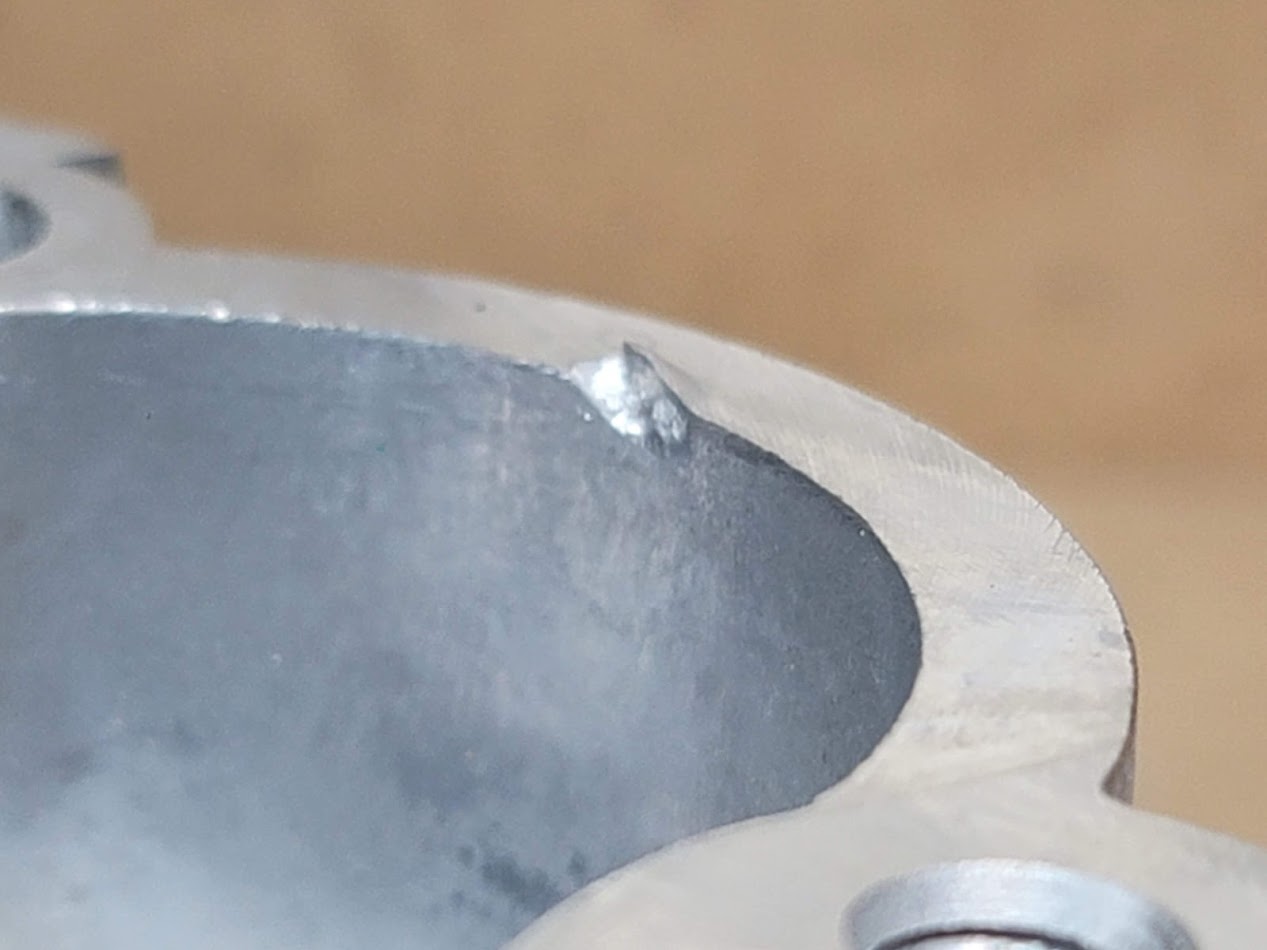
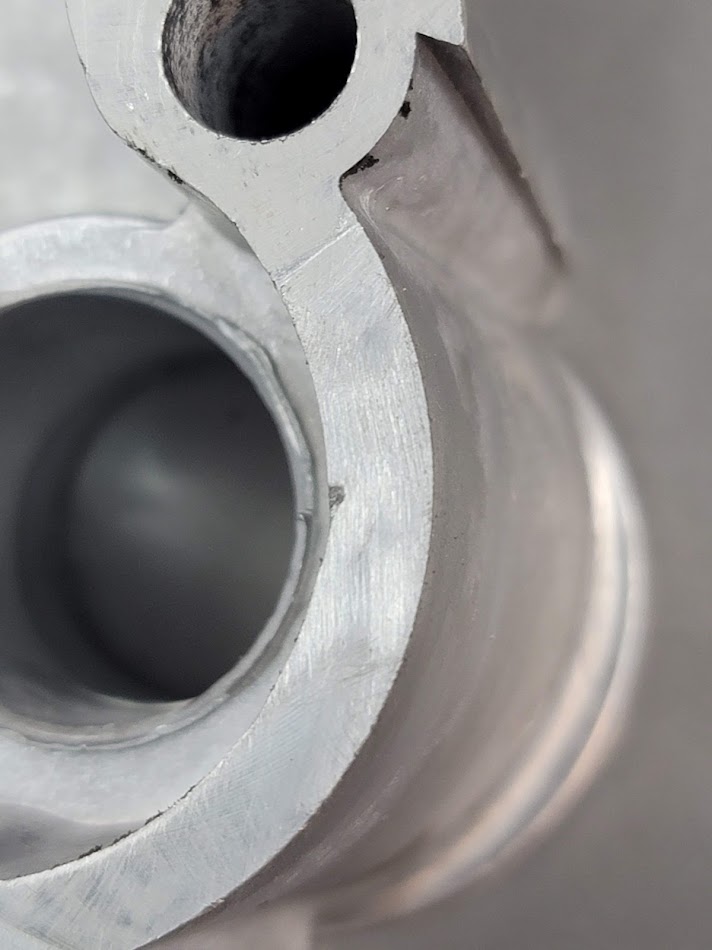
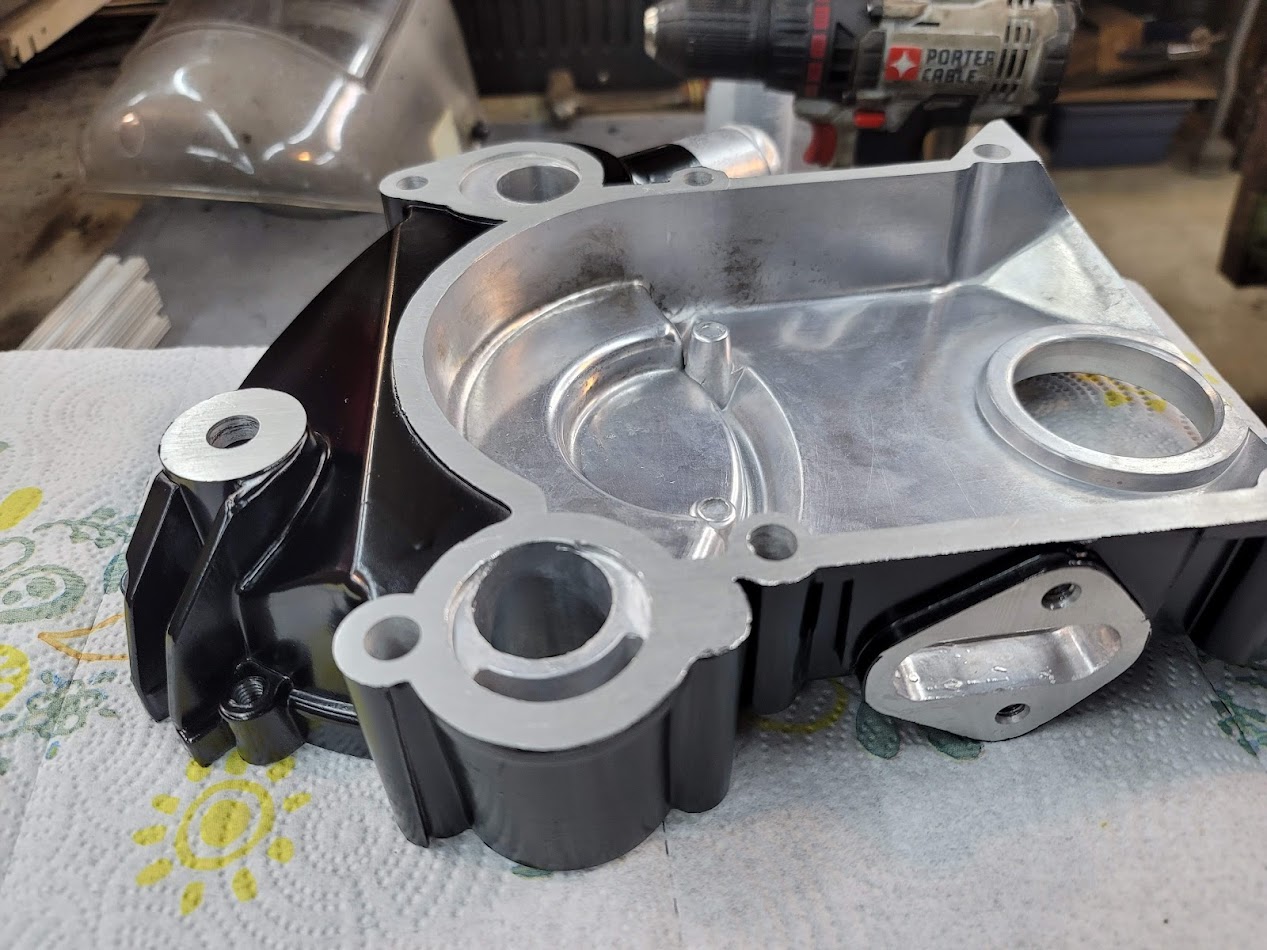
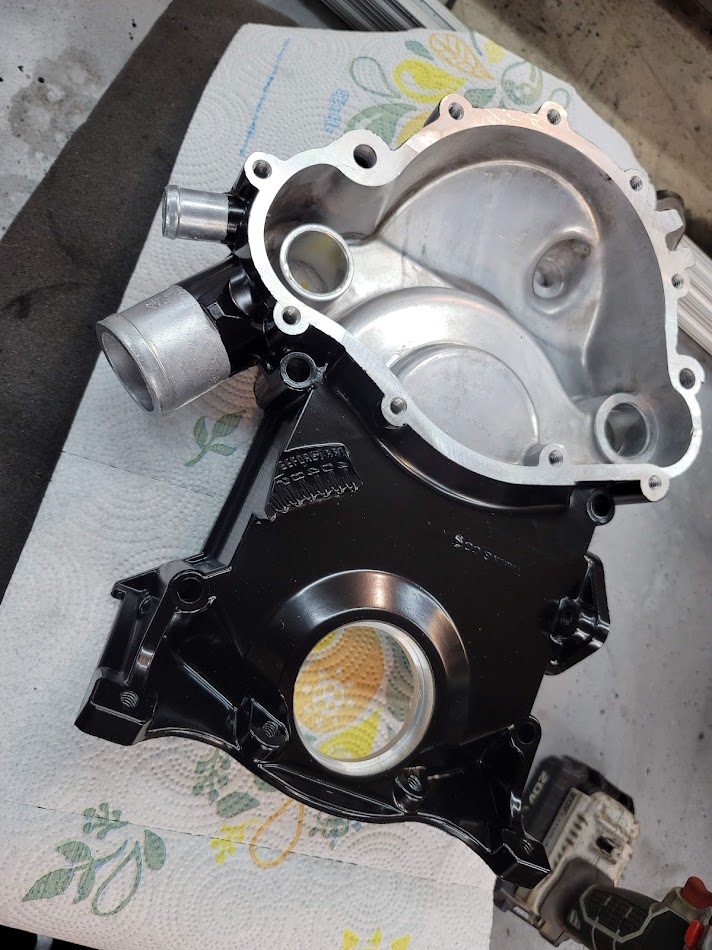
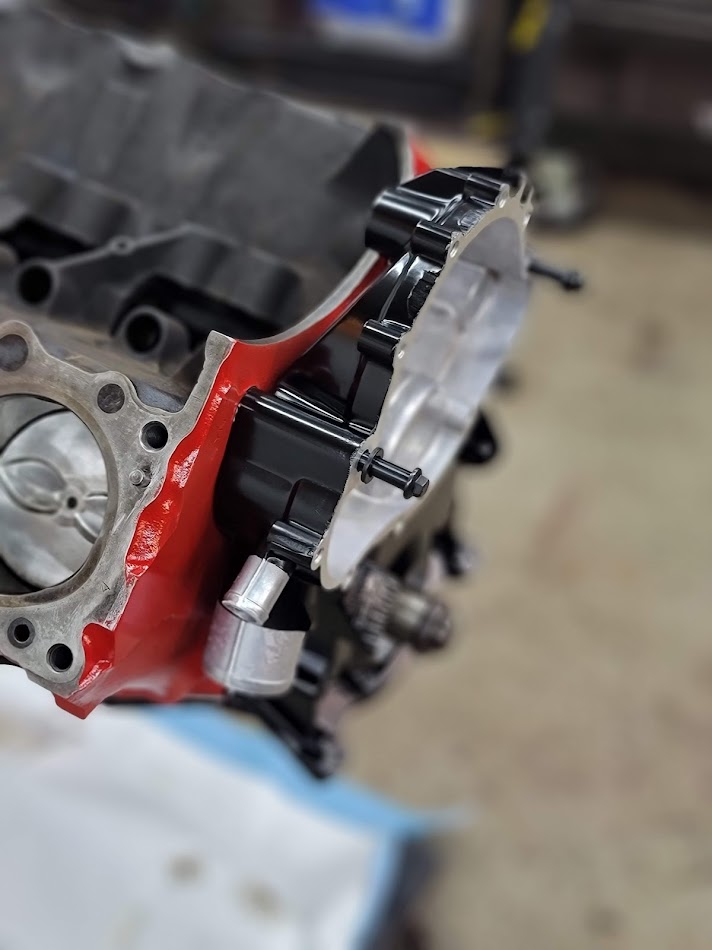
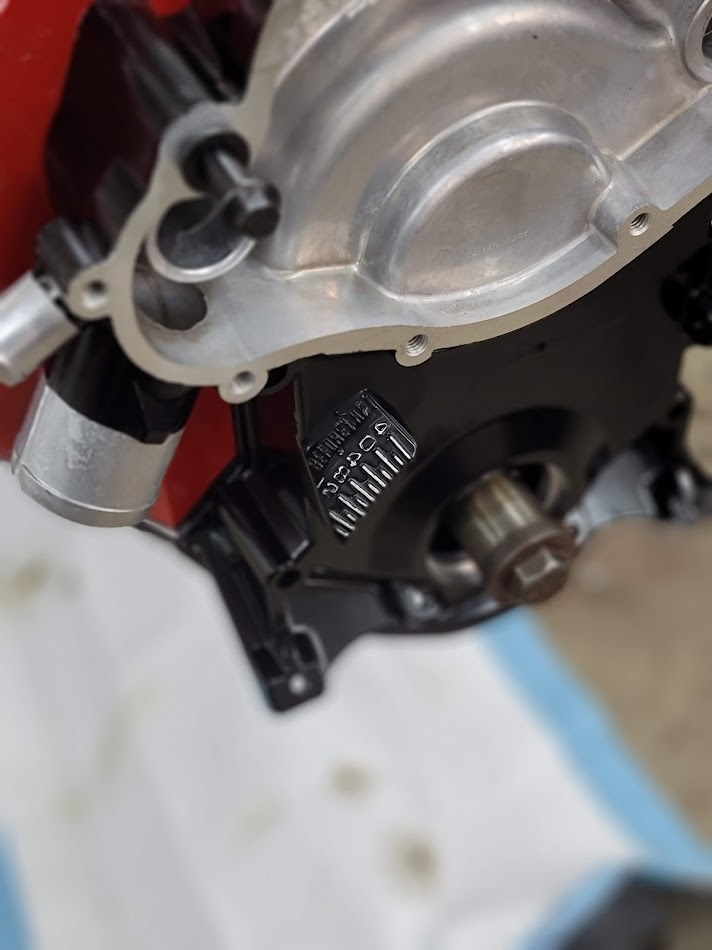
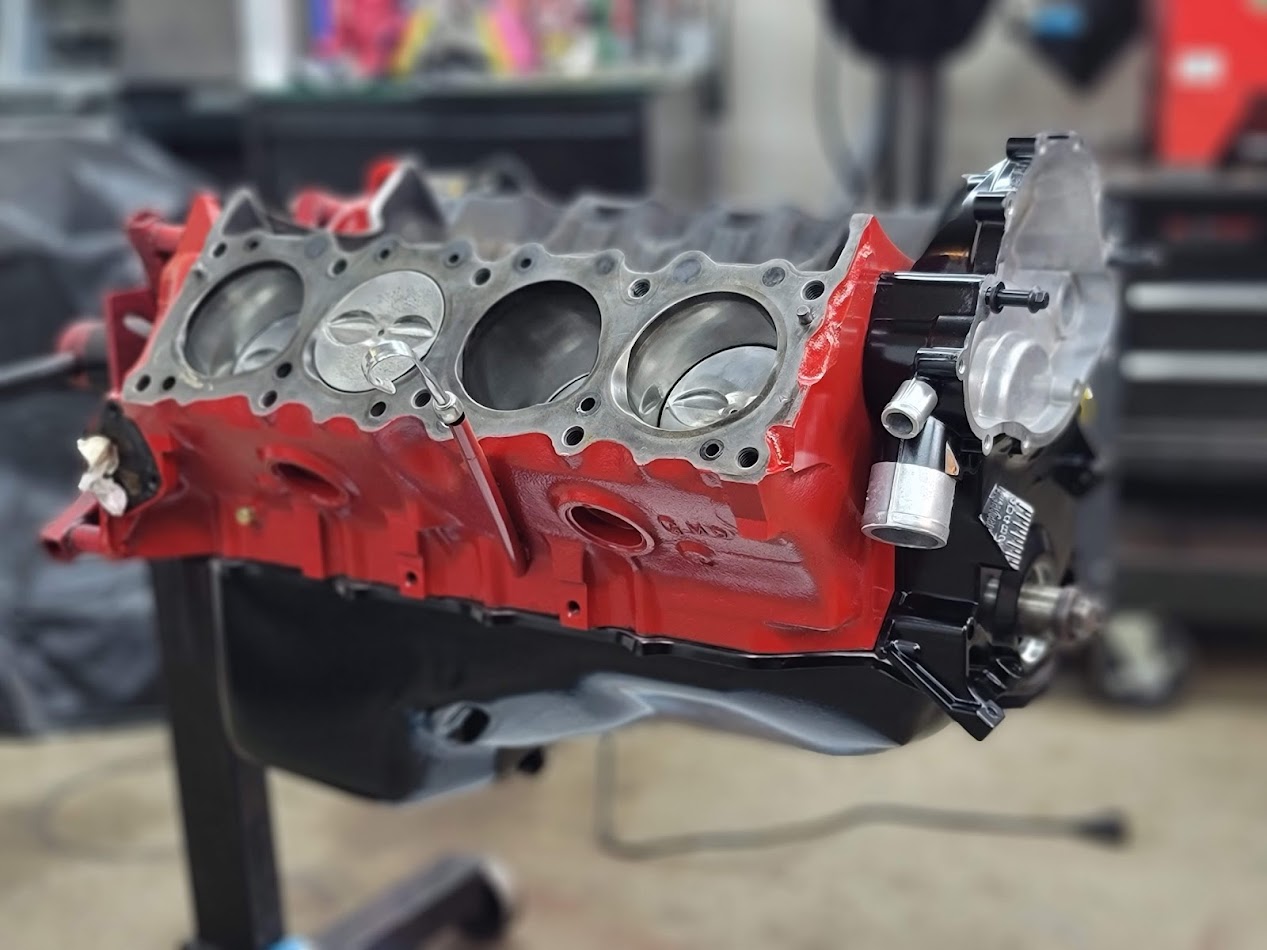
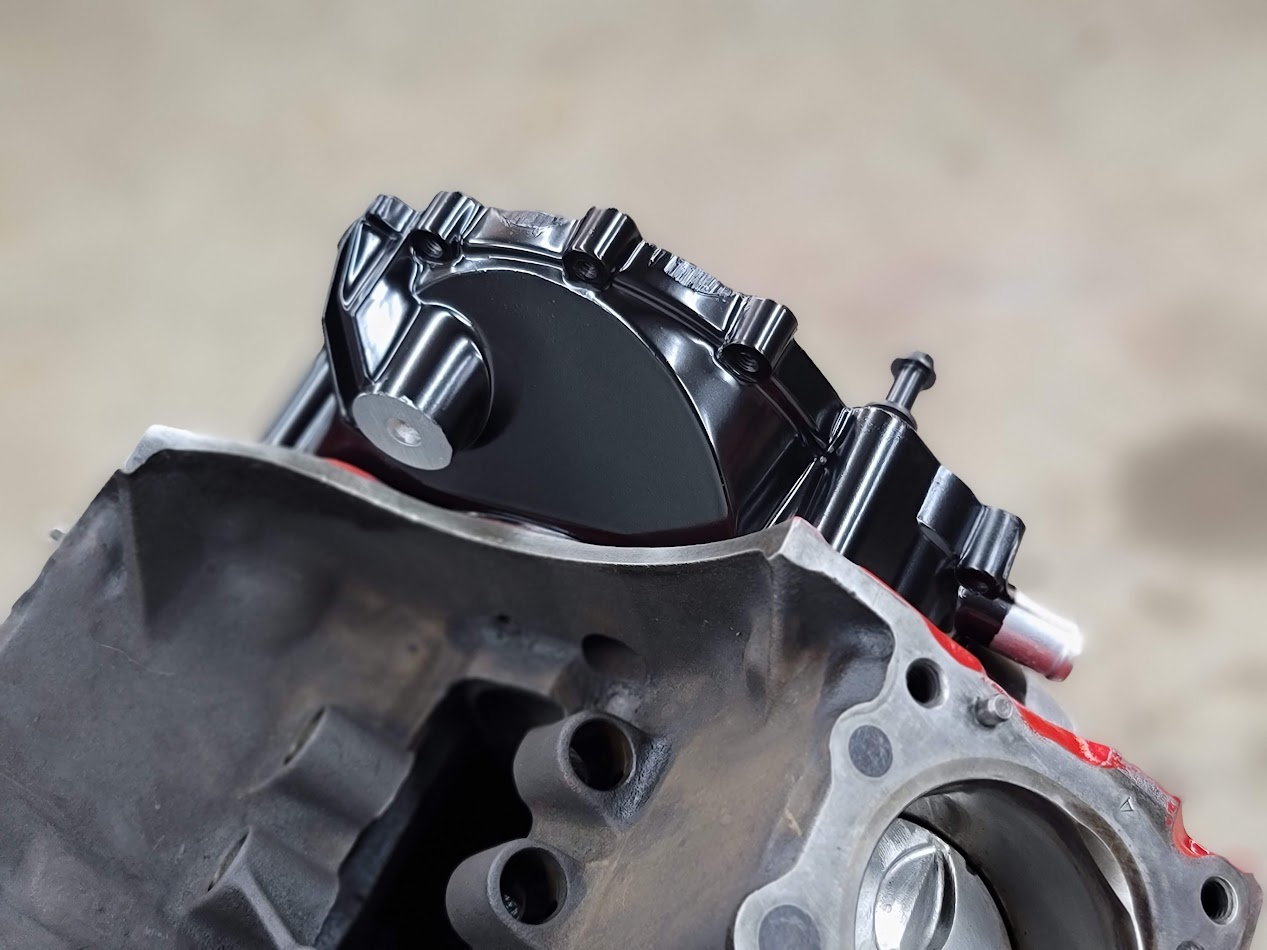
It had a gauge out of the front surface from shipping, I was able to dolly it flat and surface grind it smooth, After a coat of paint it looks so much better!
Oh Right part, lots of new parts came in!
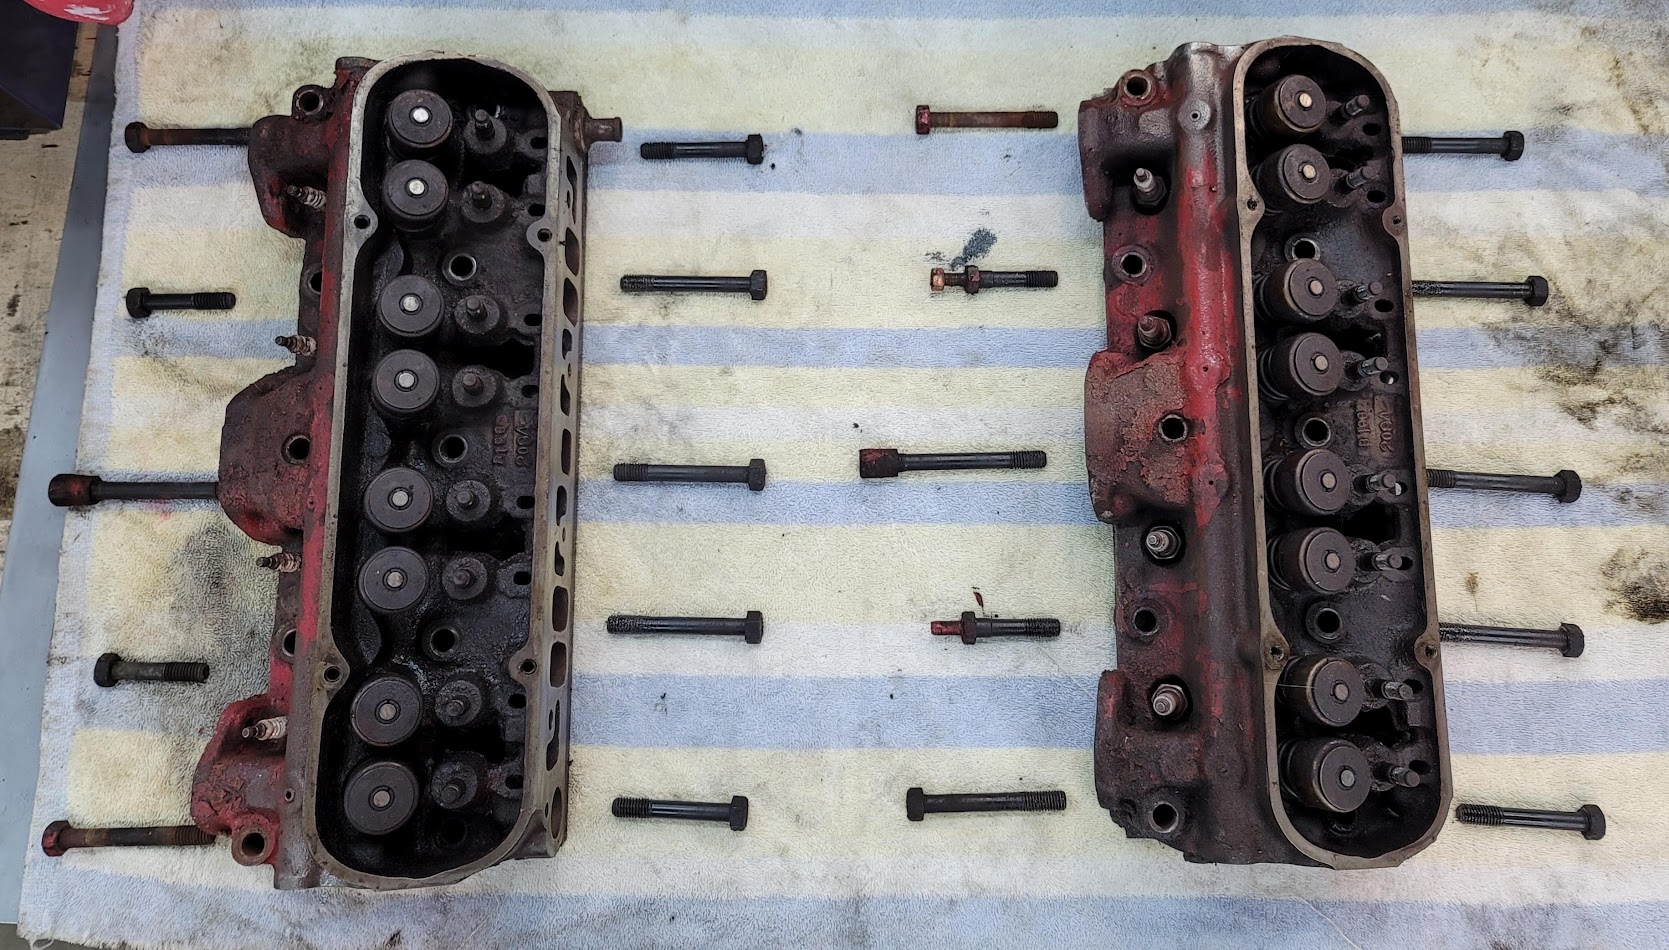
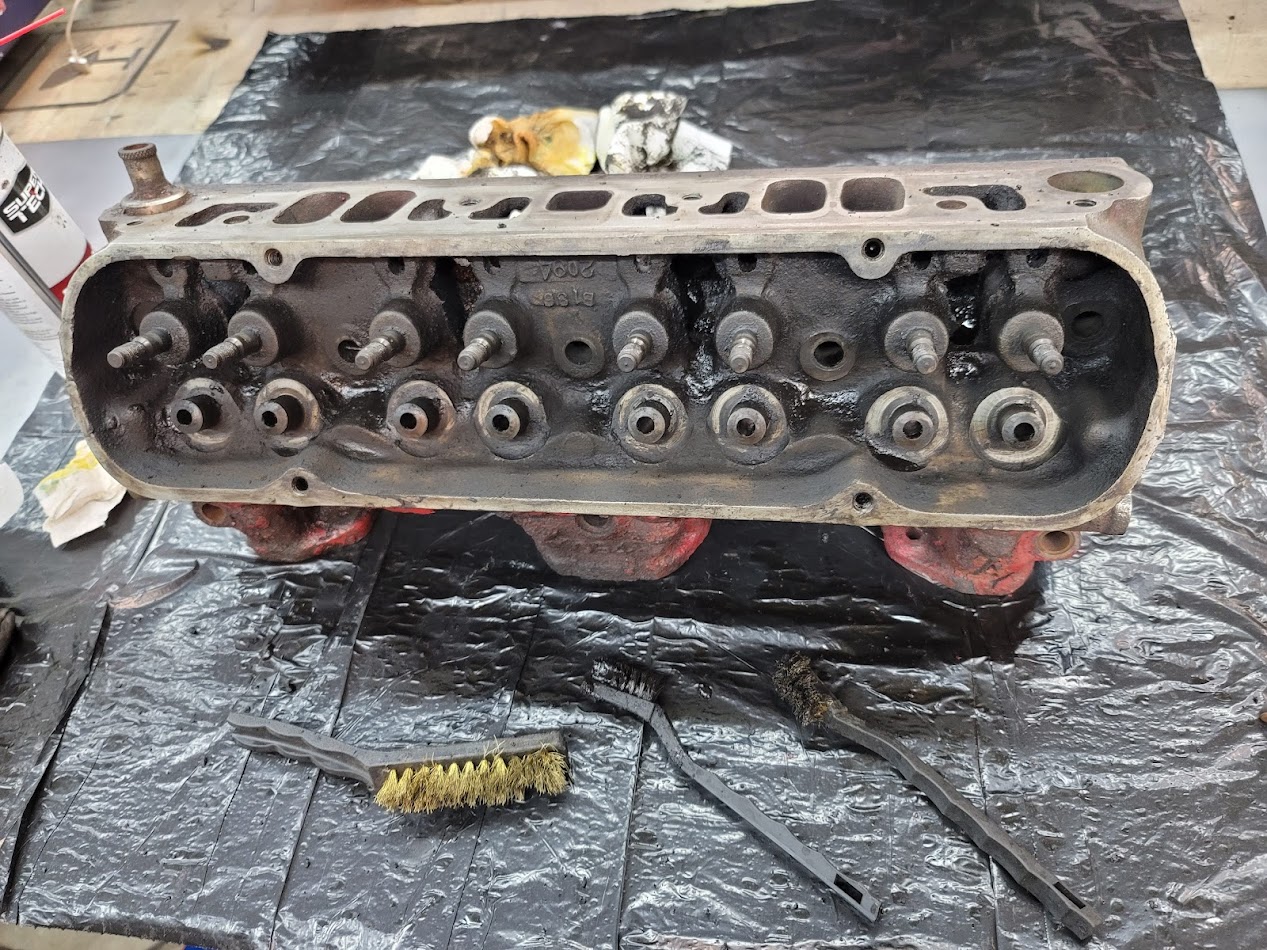
Now to dive into the heads! These will be an adventure to get cleaned up.
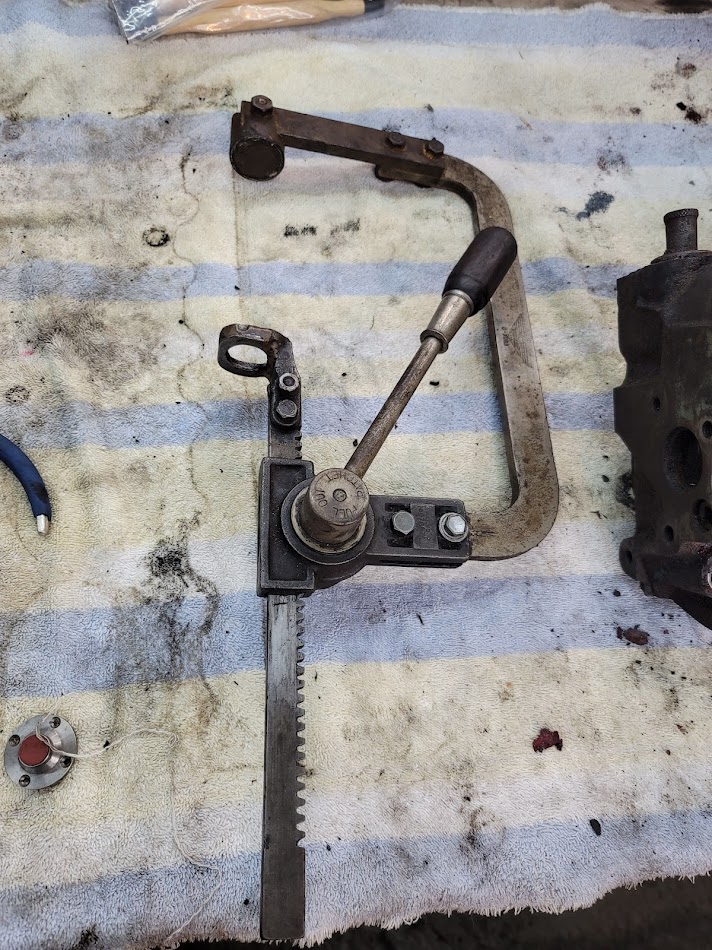
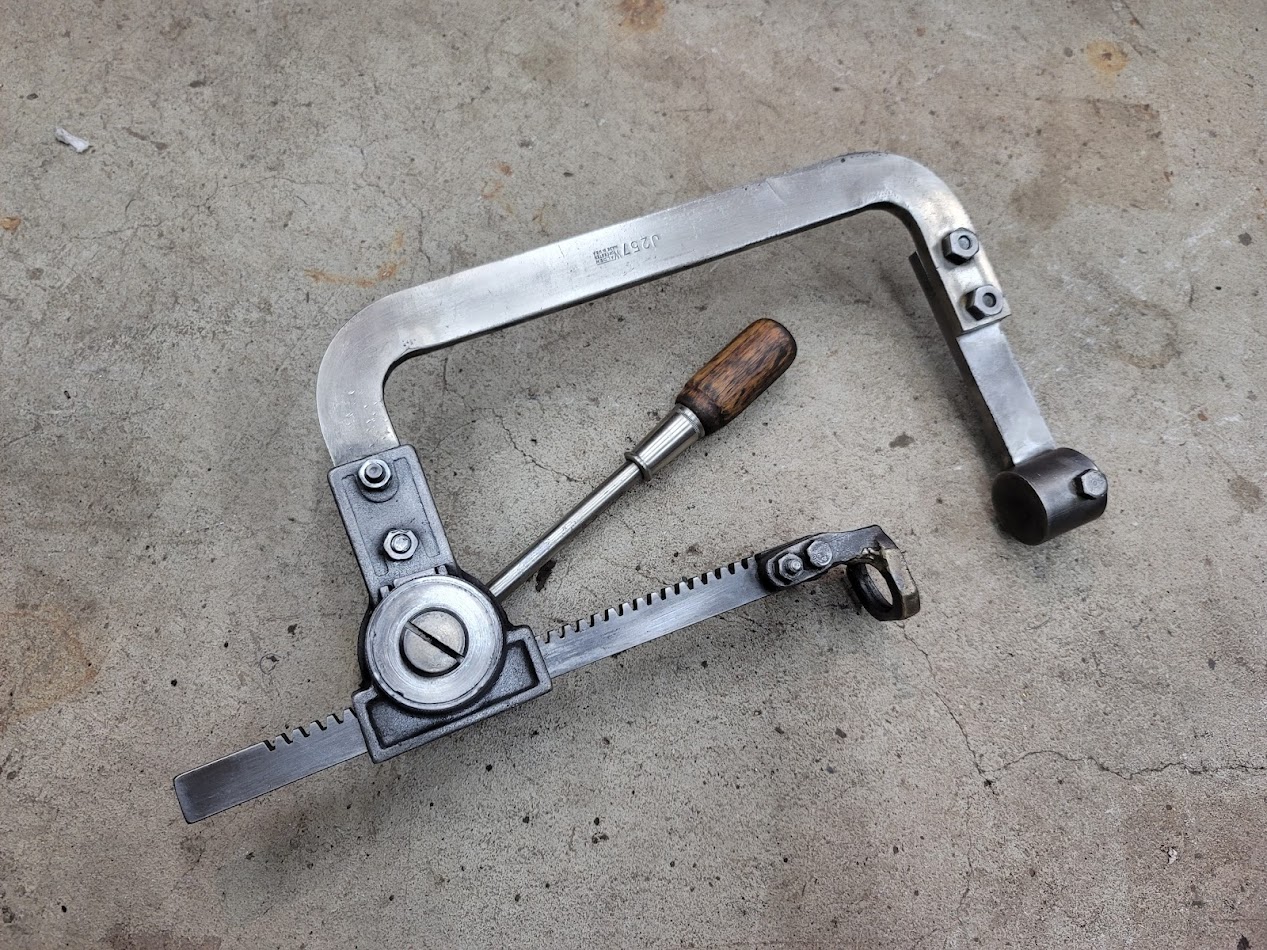
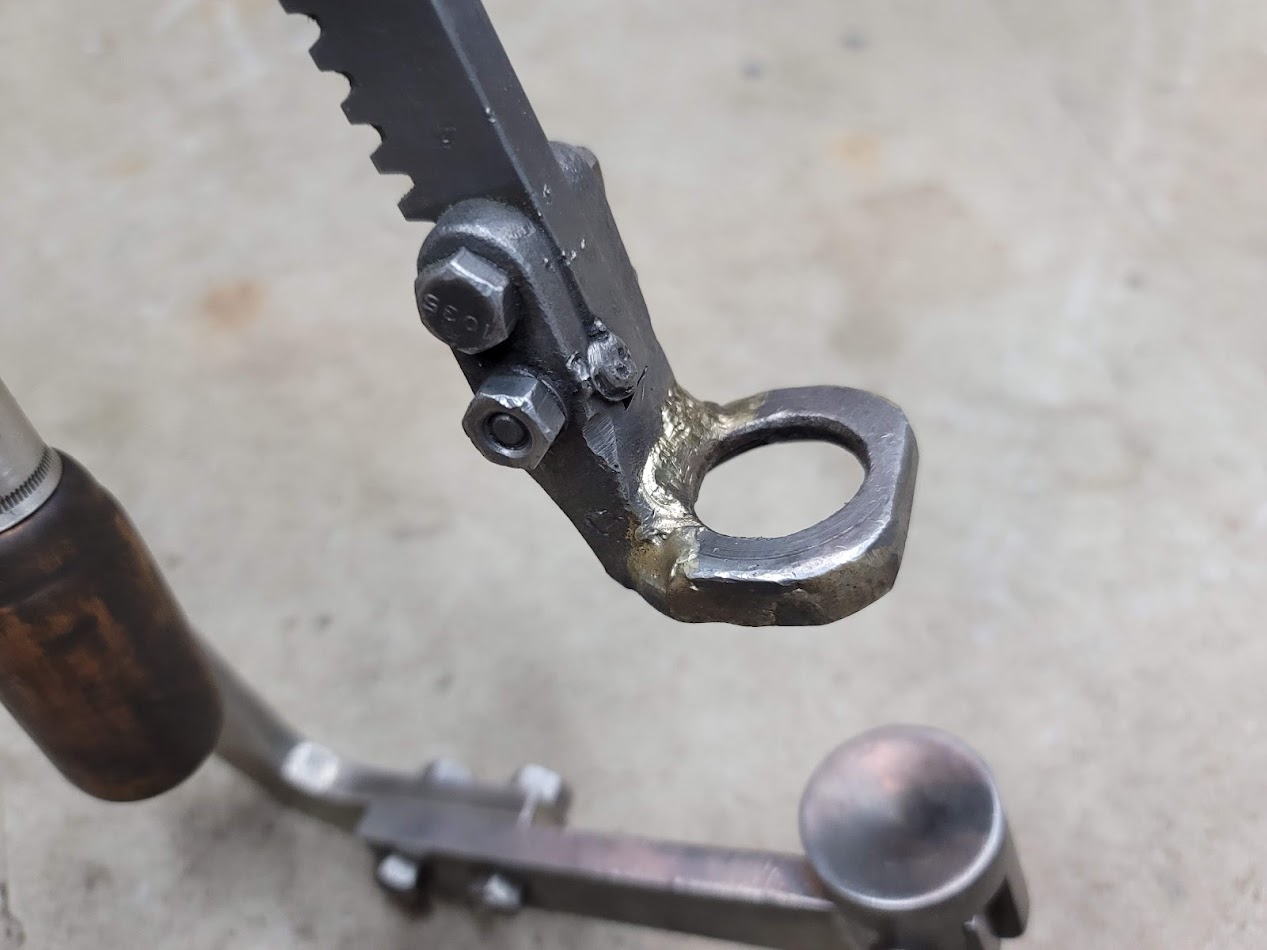
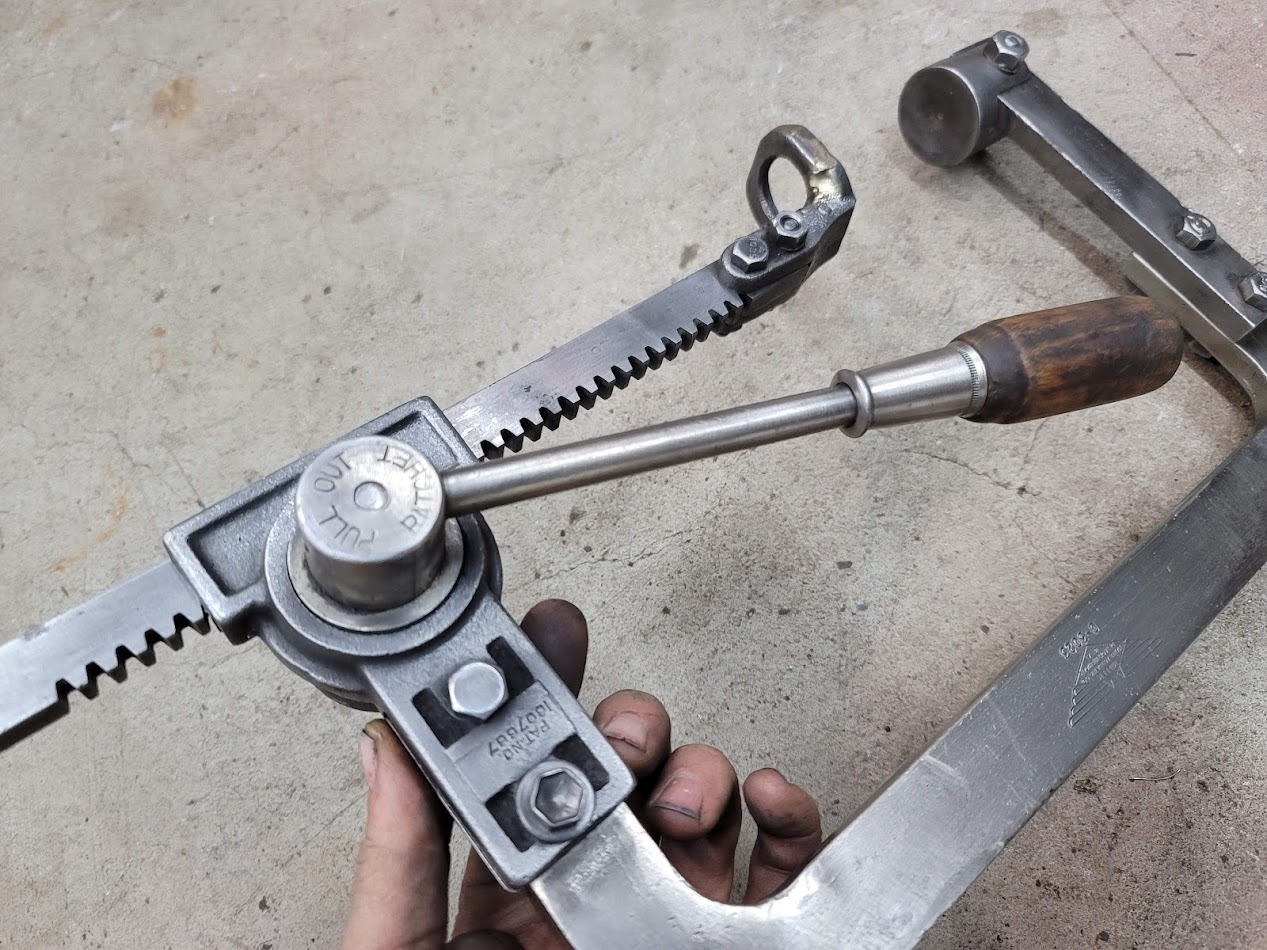
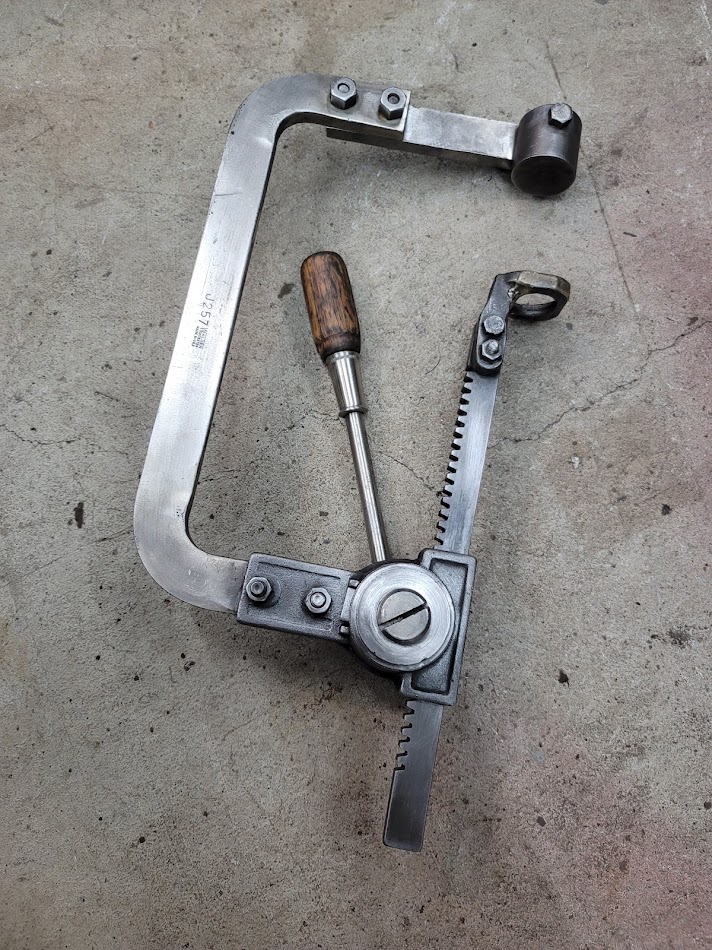
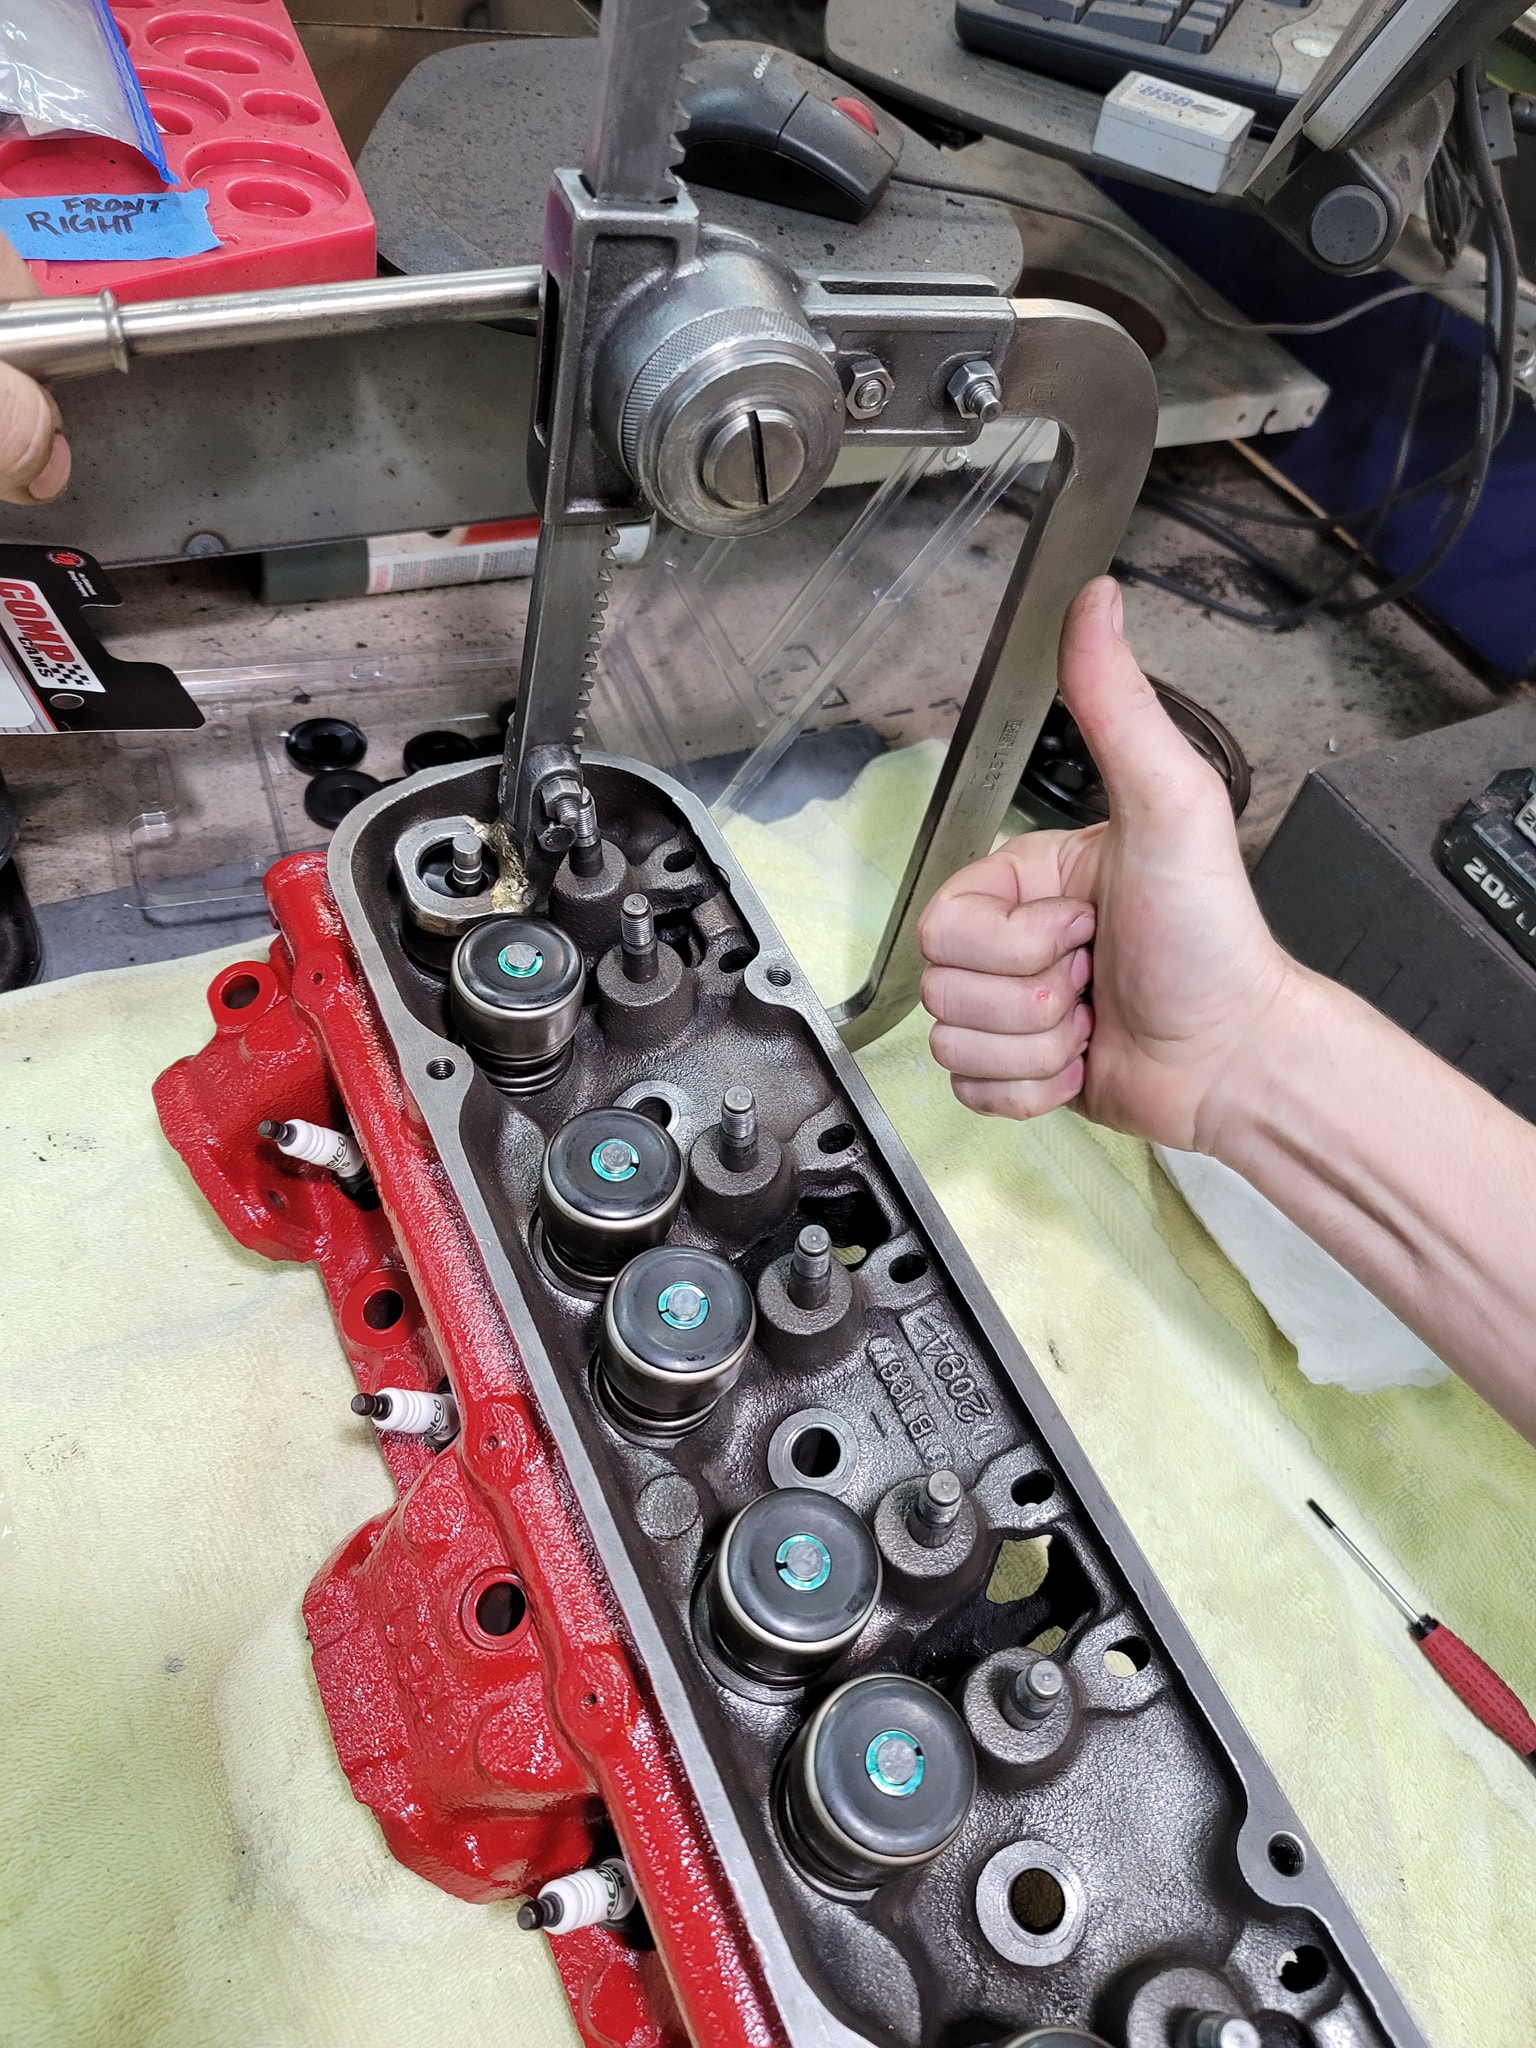
I needed to pull the valves and old springs out, I was lent this antique spring compressor, so took some time to restore it for the friend who lent it to me. Pay it forward!
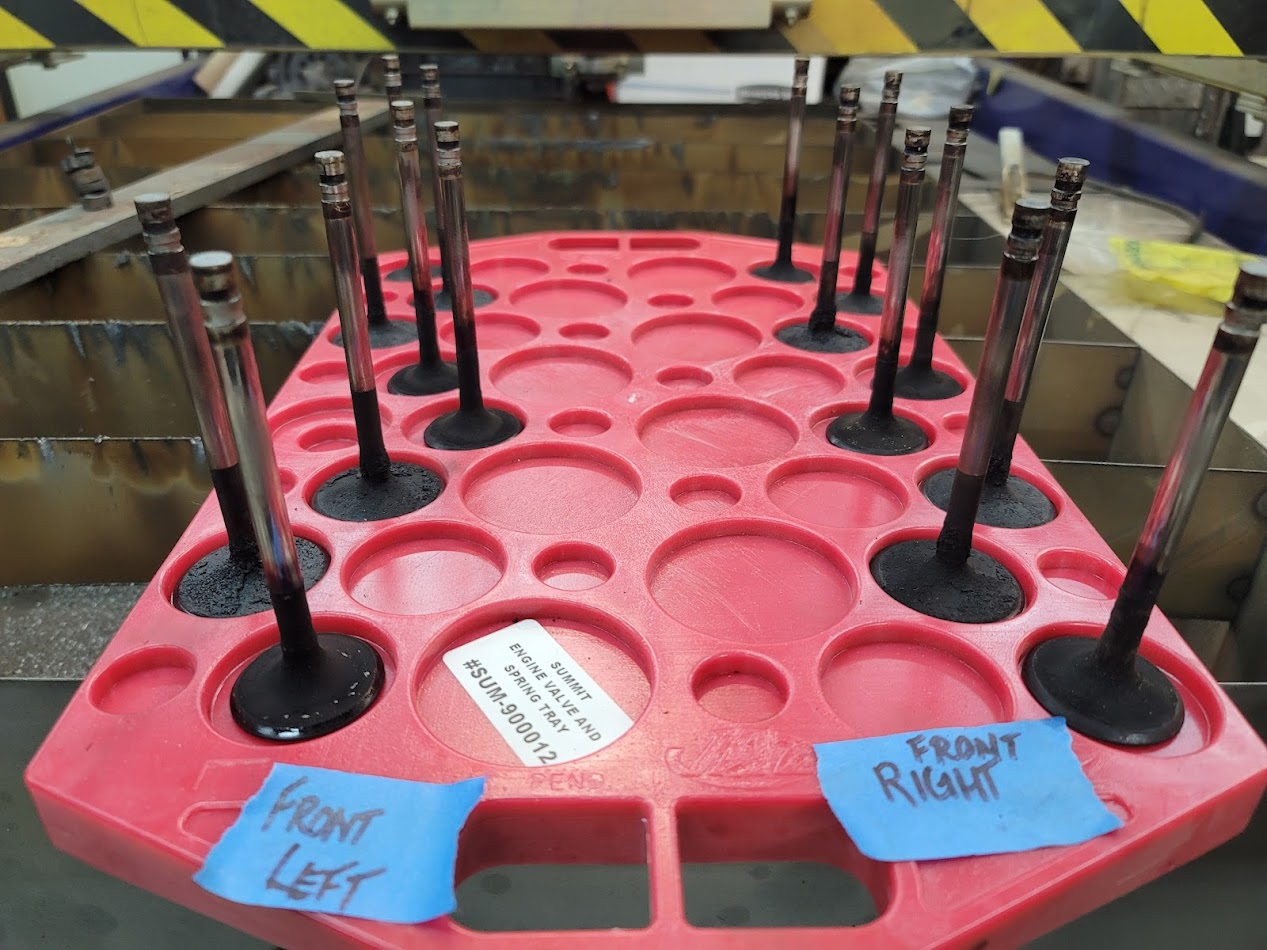
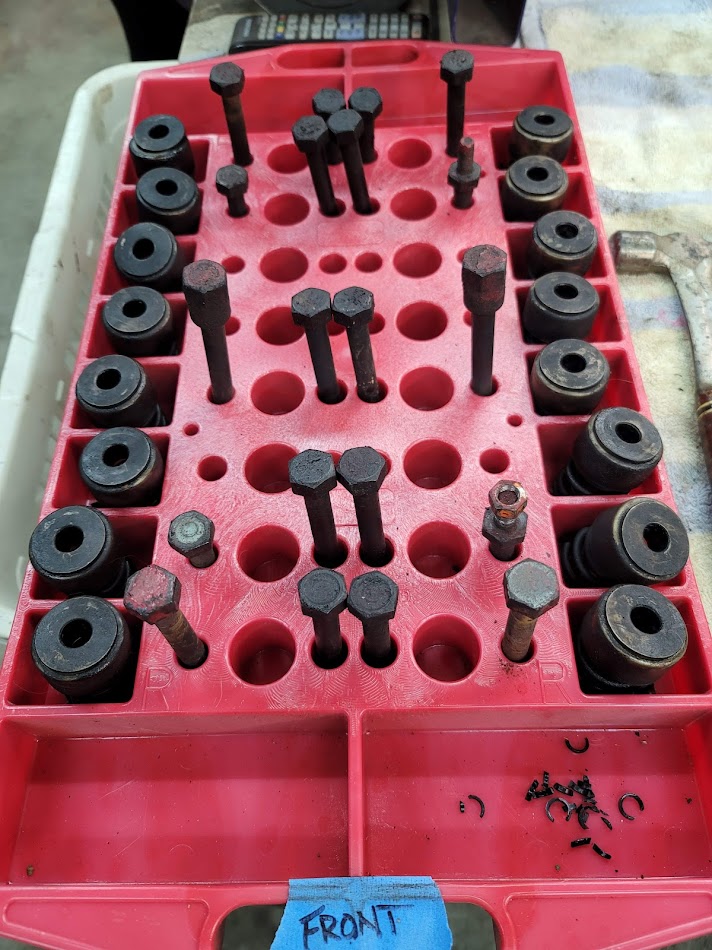
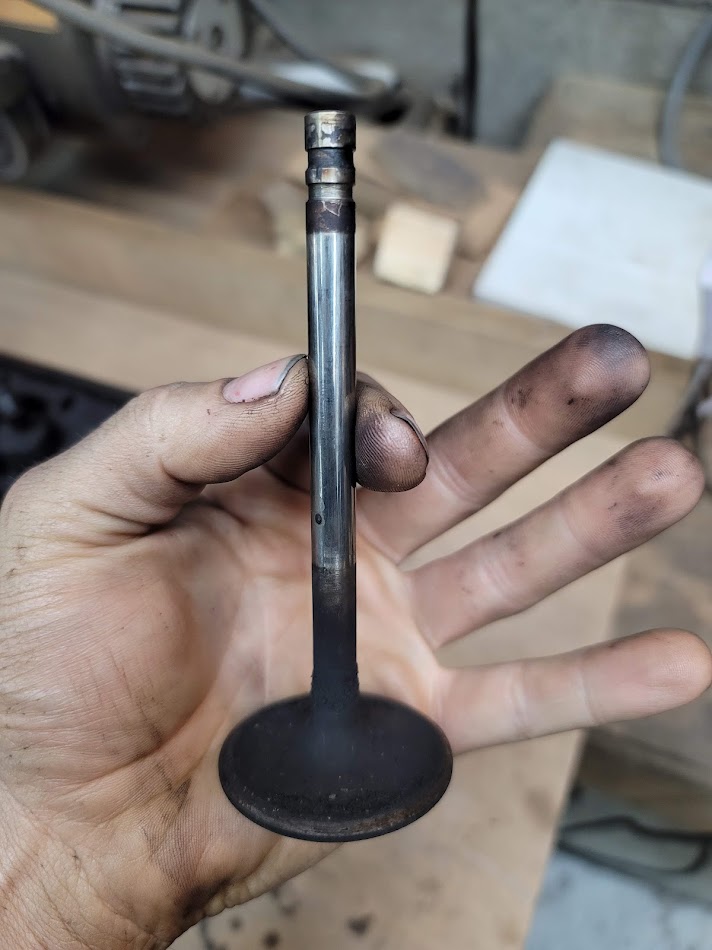
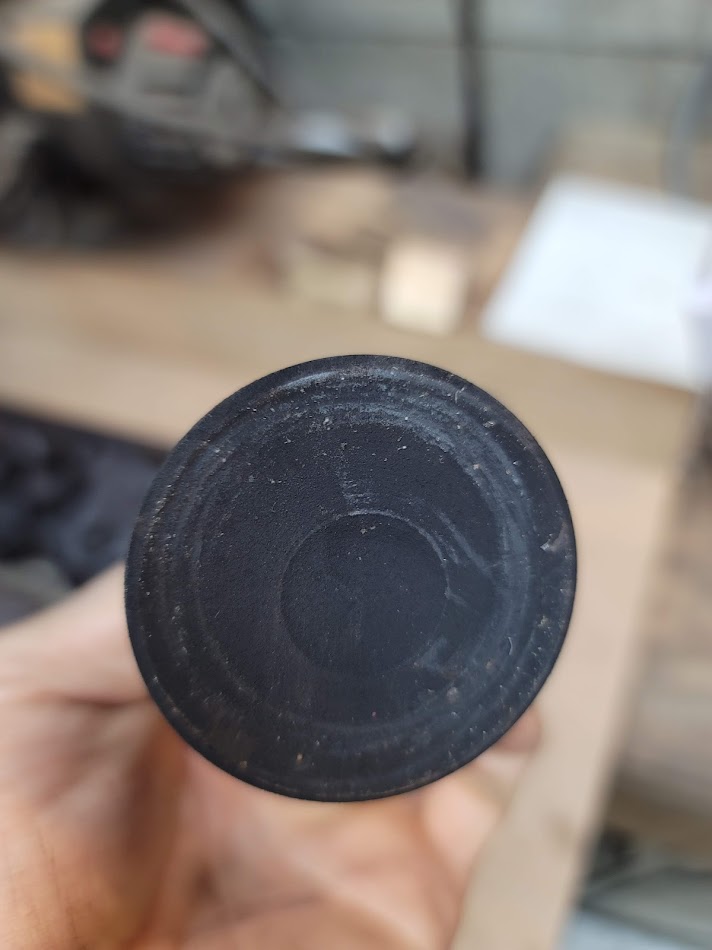
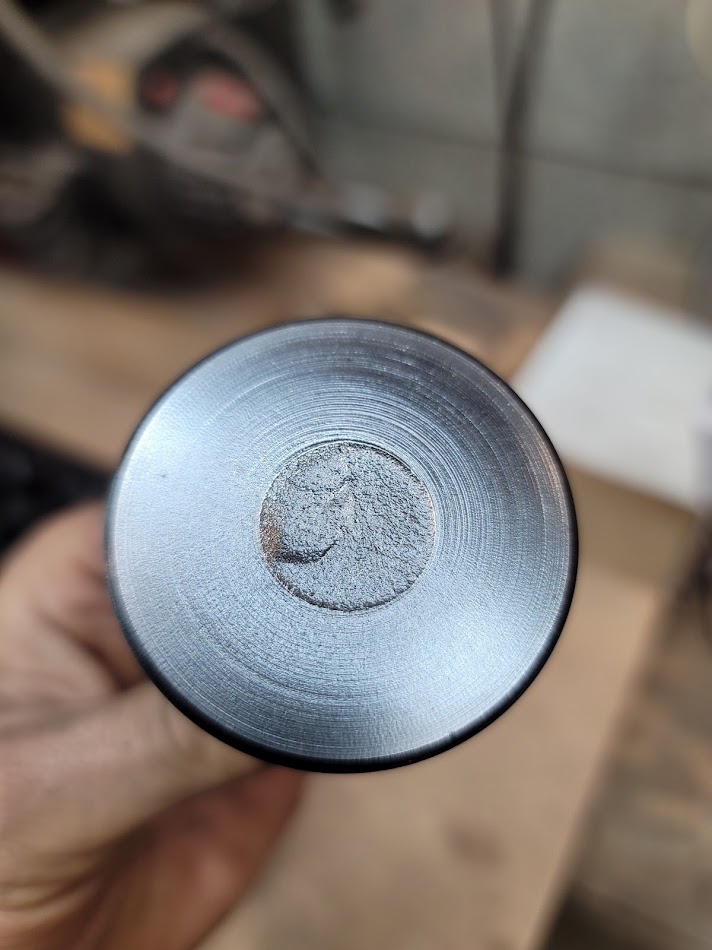
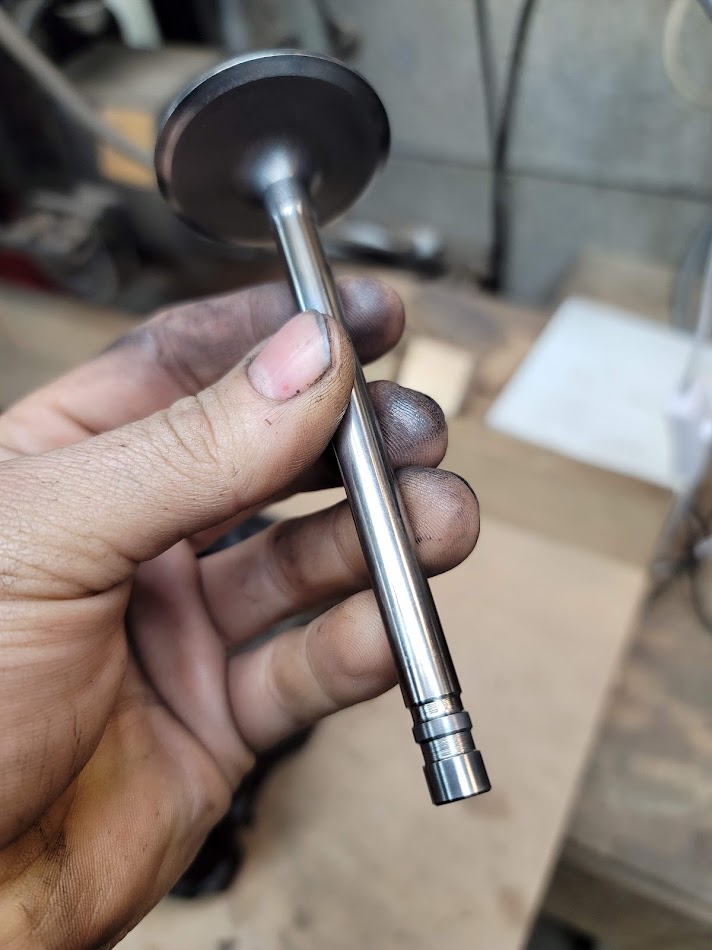
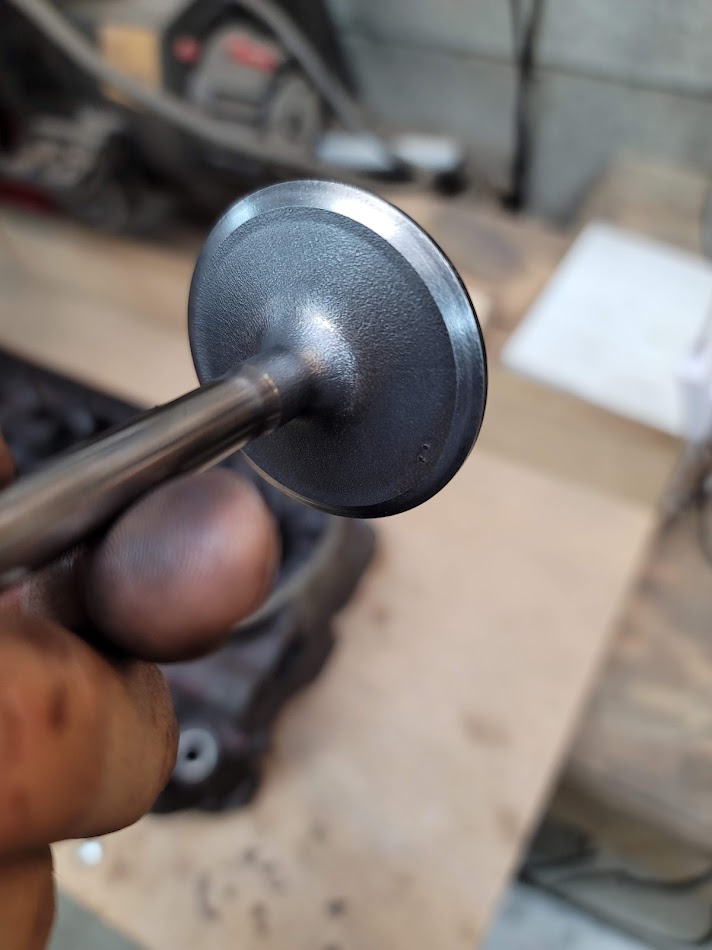
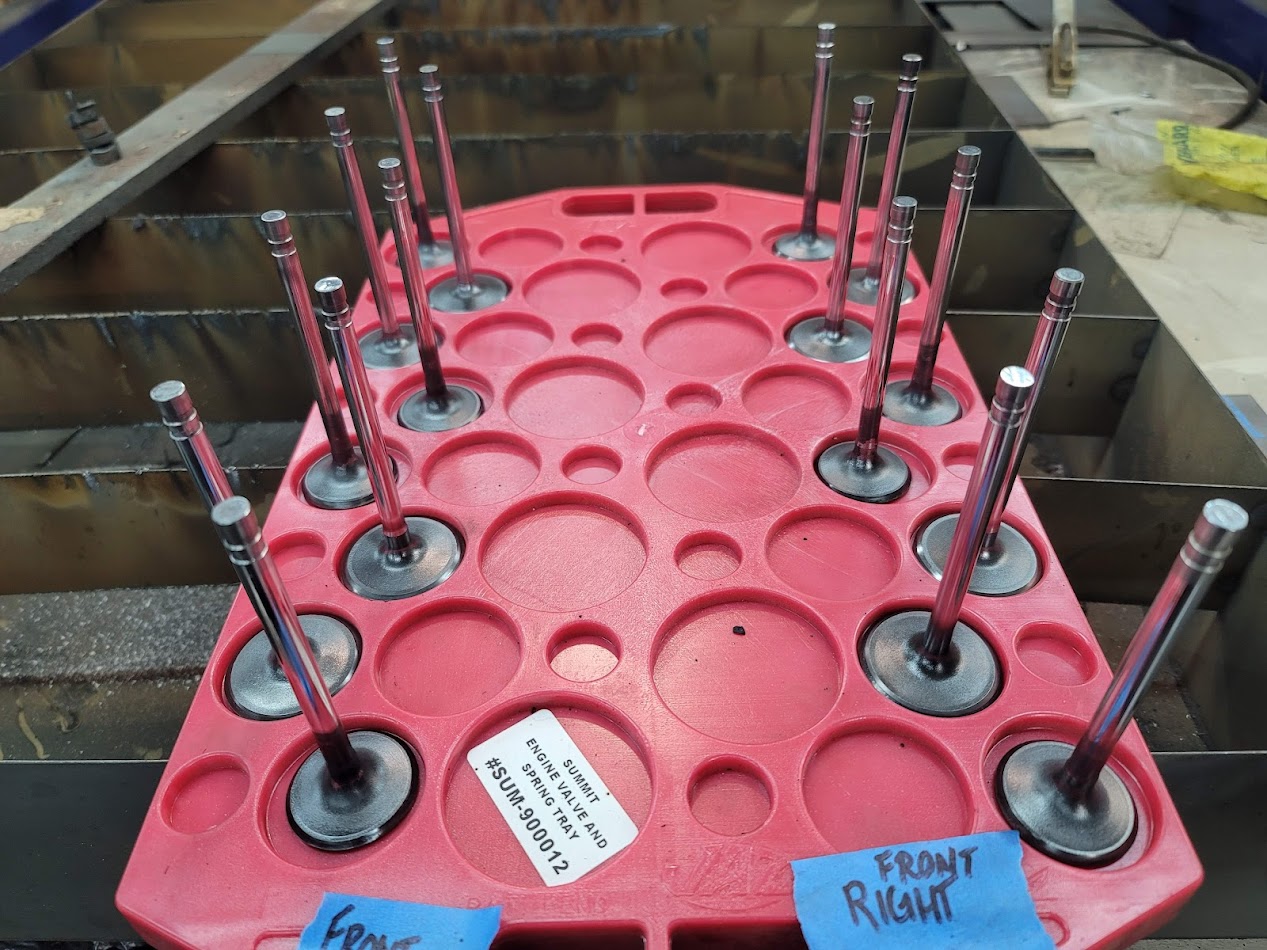
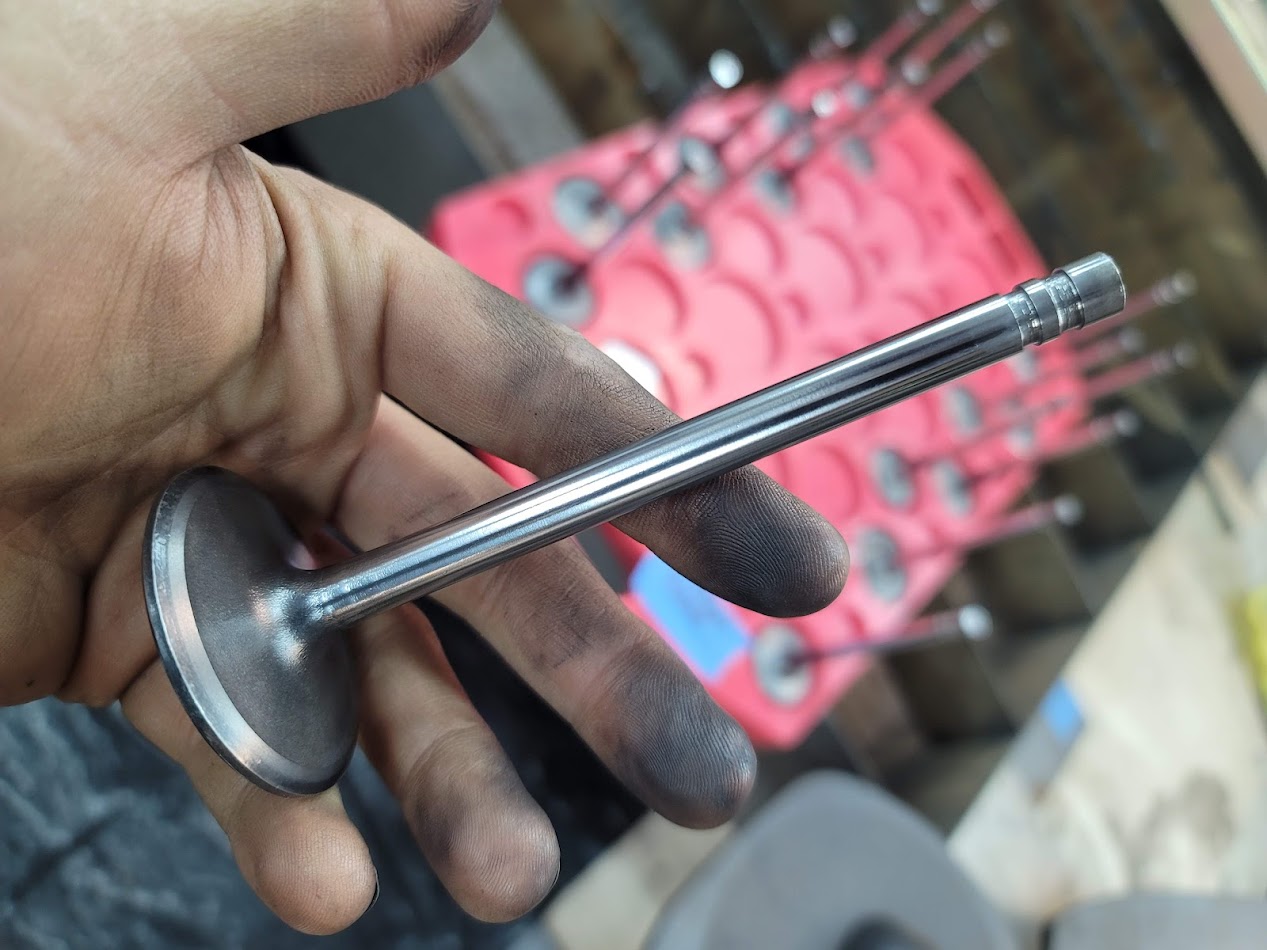
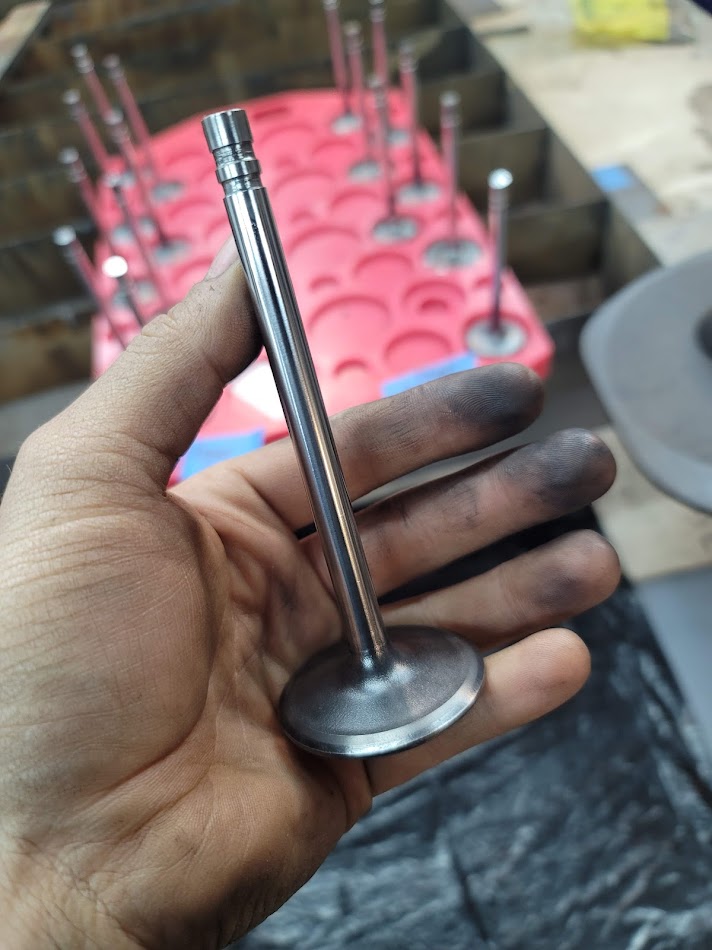
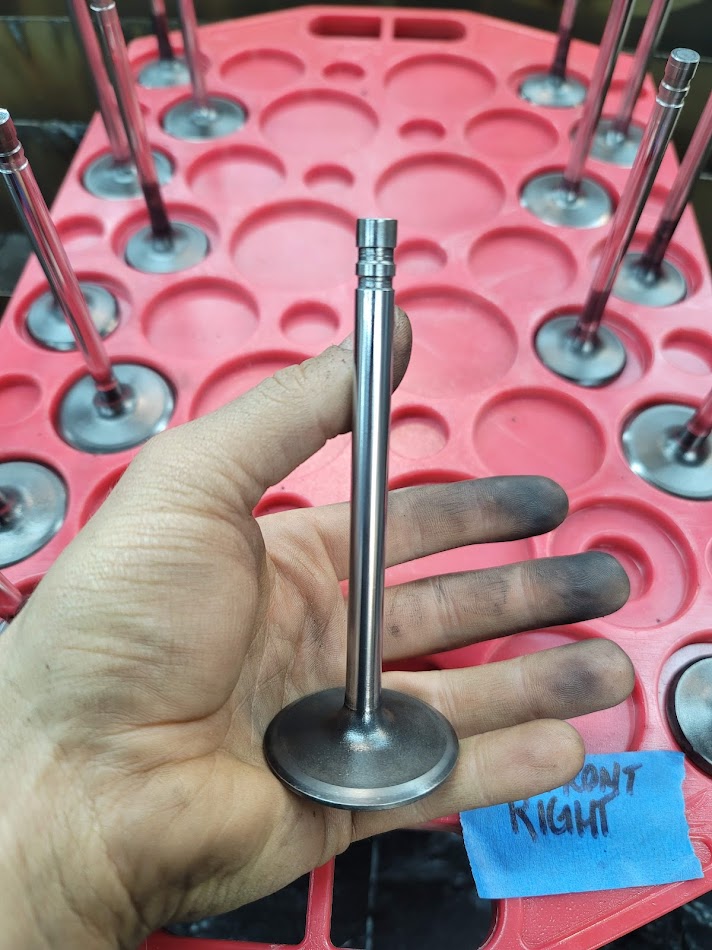
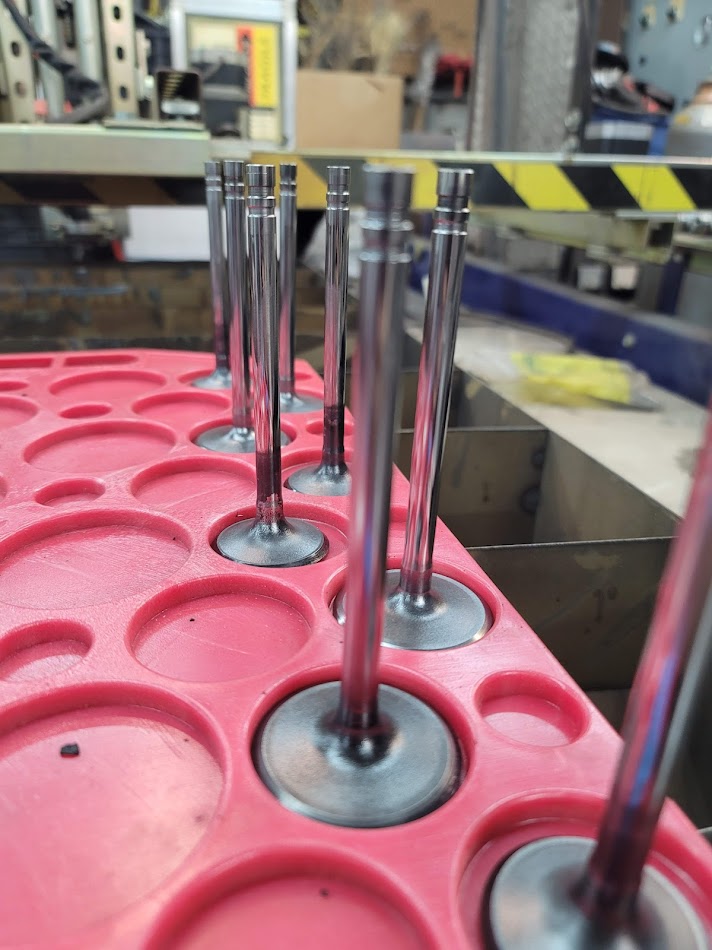
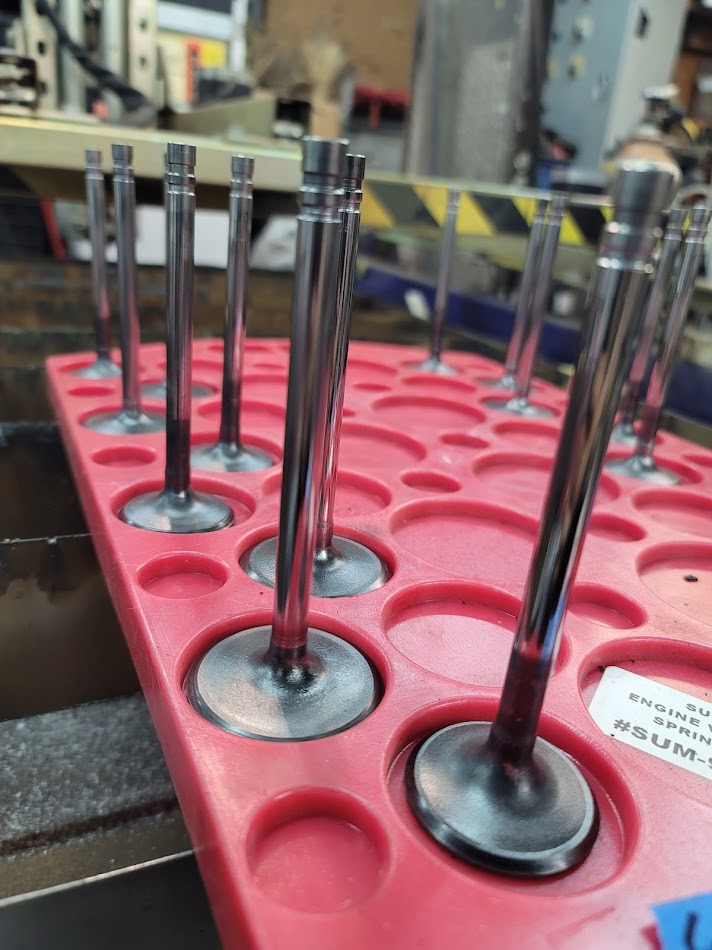
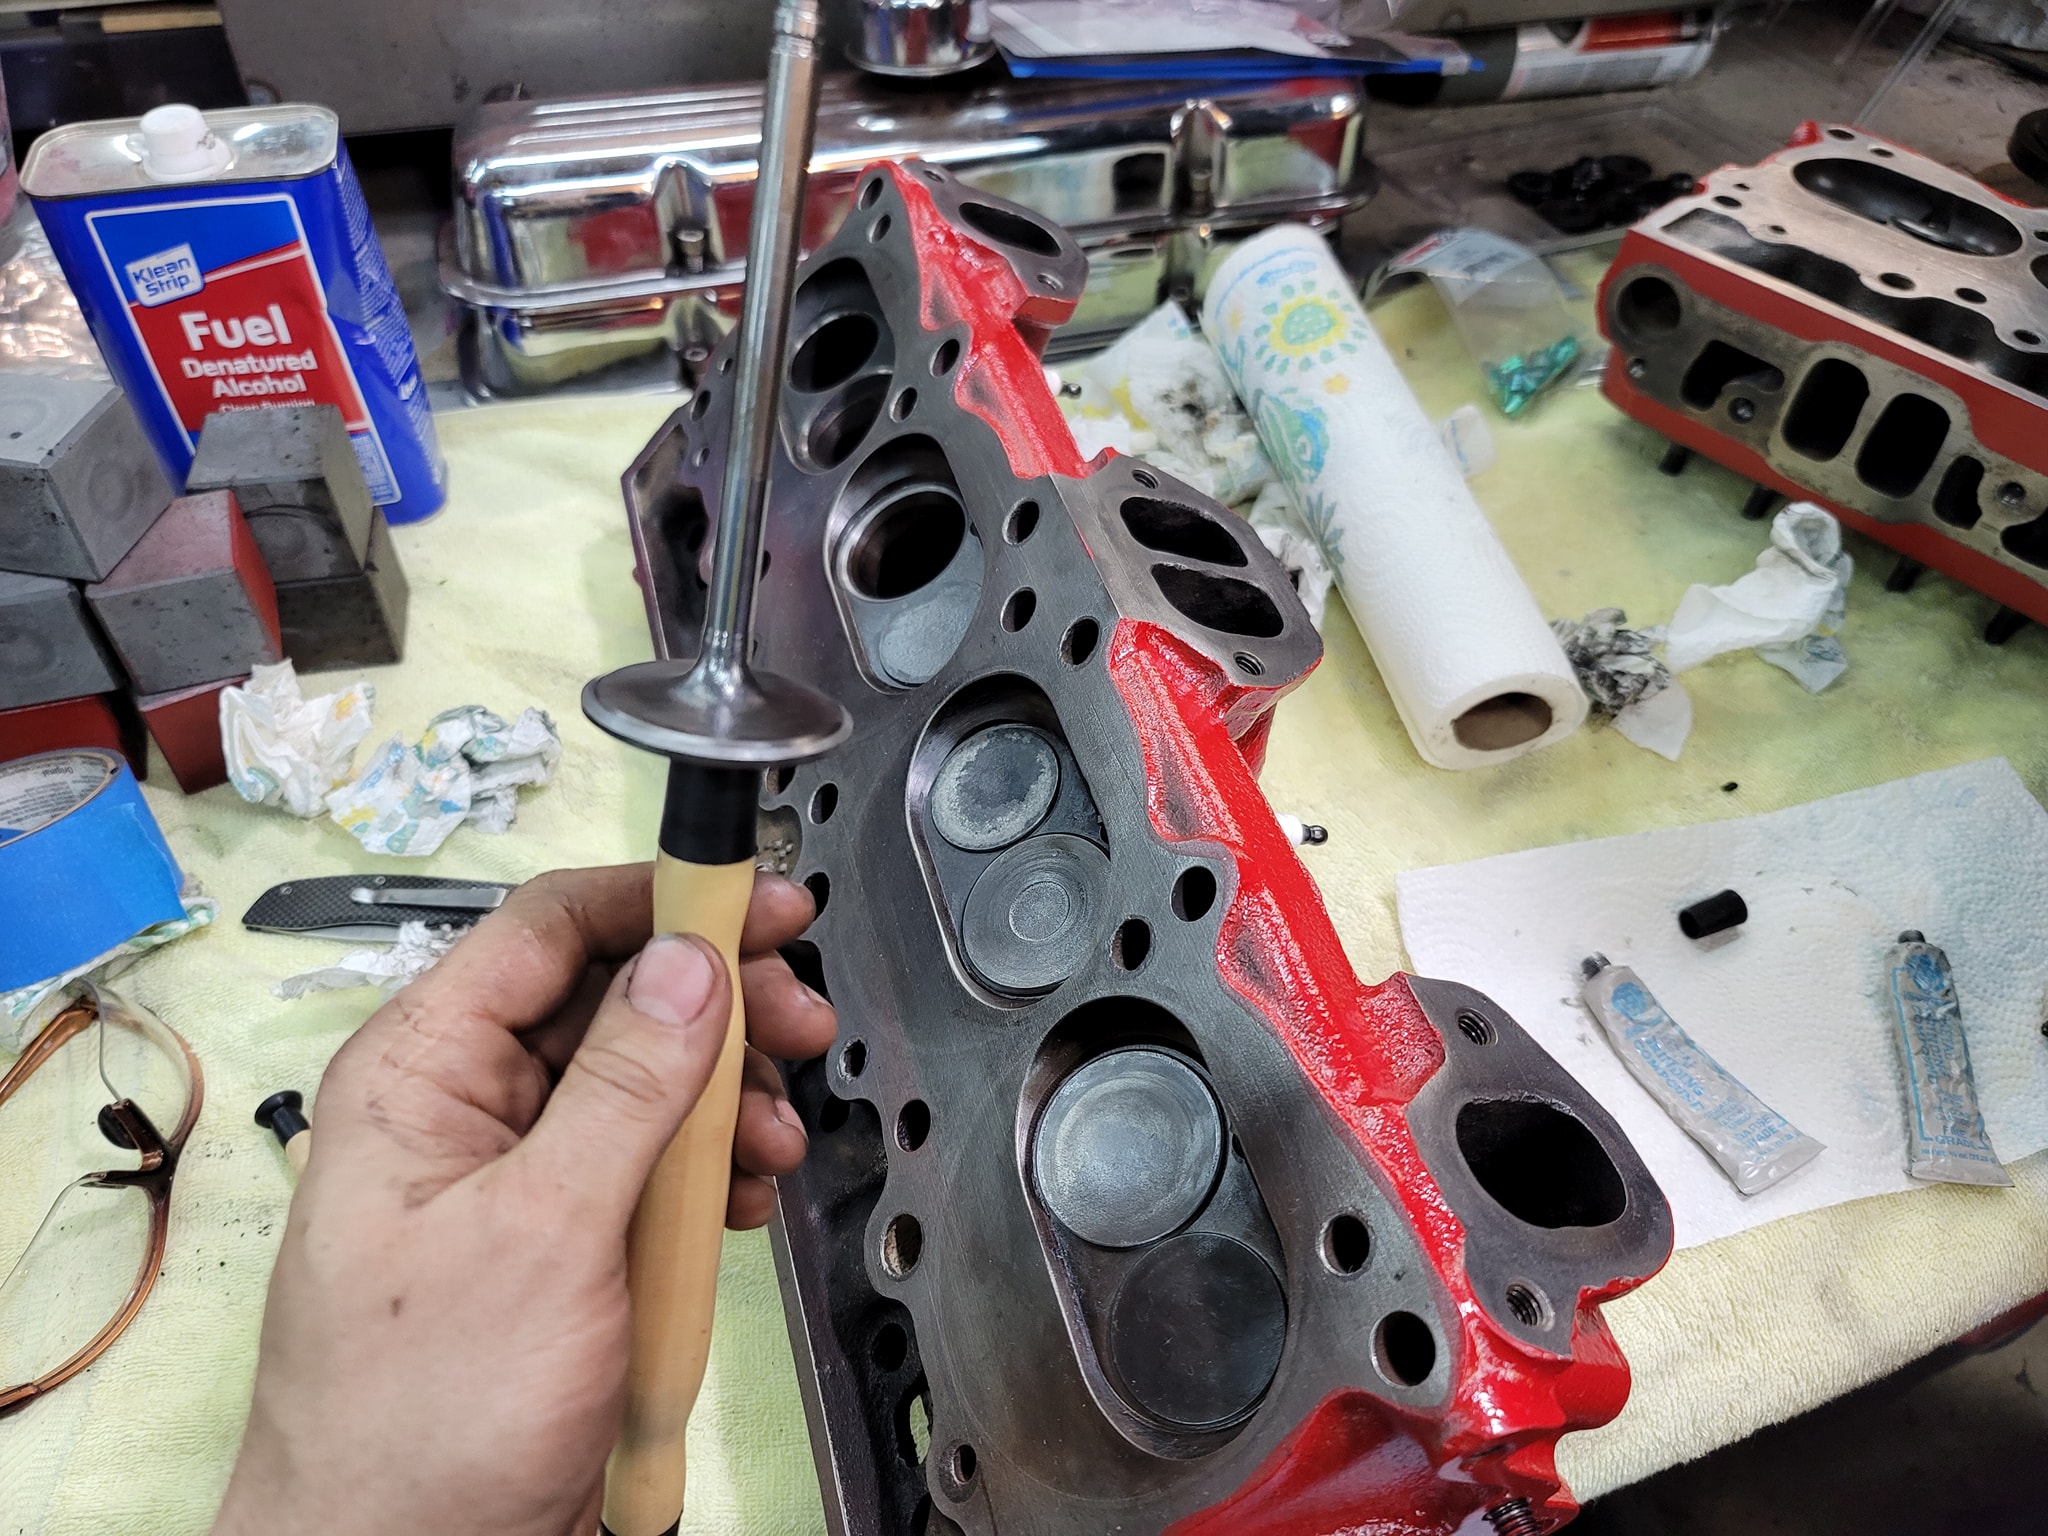
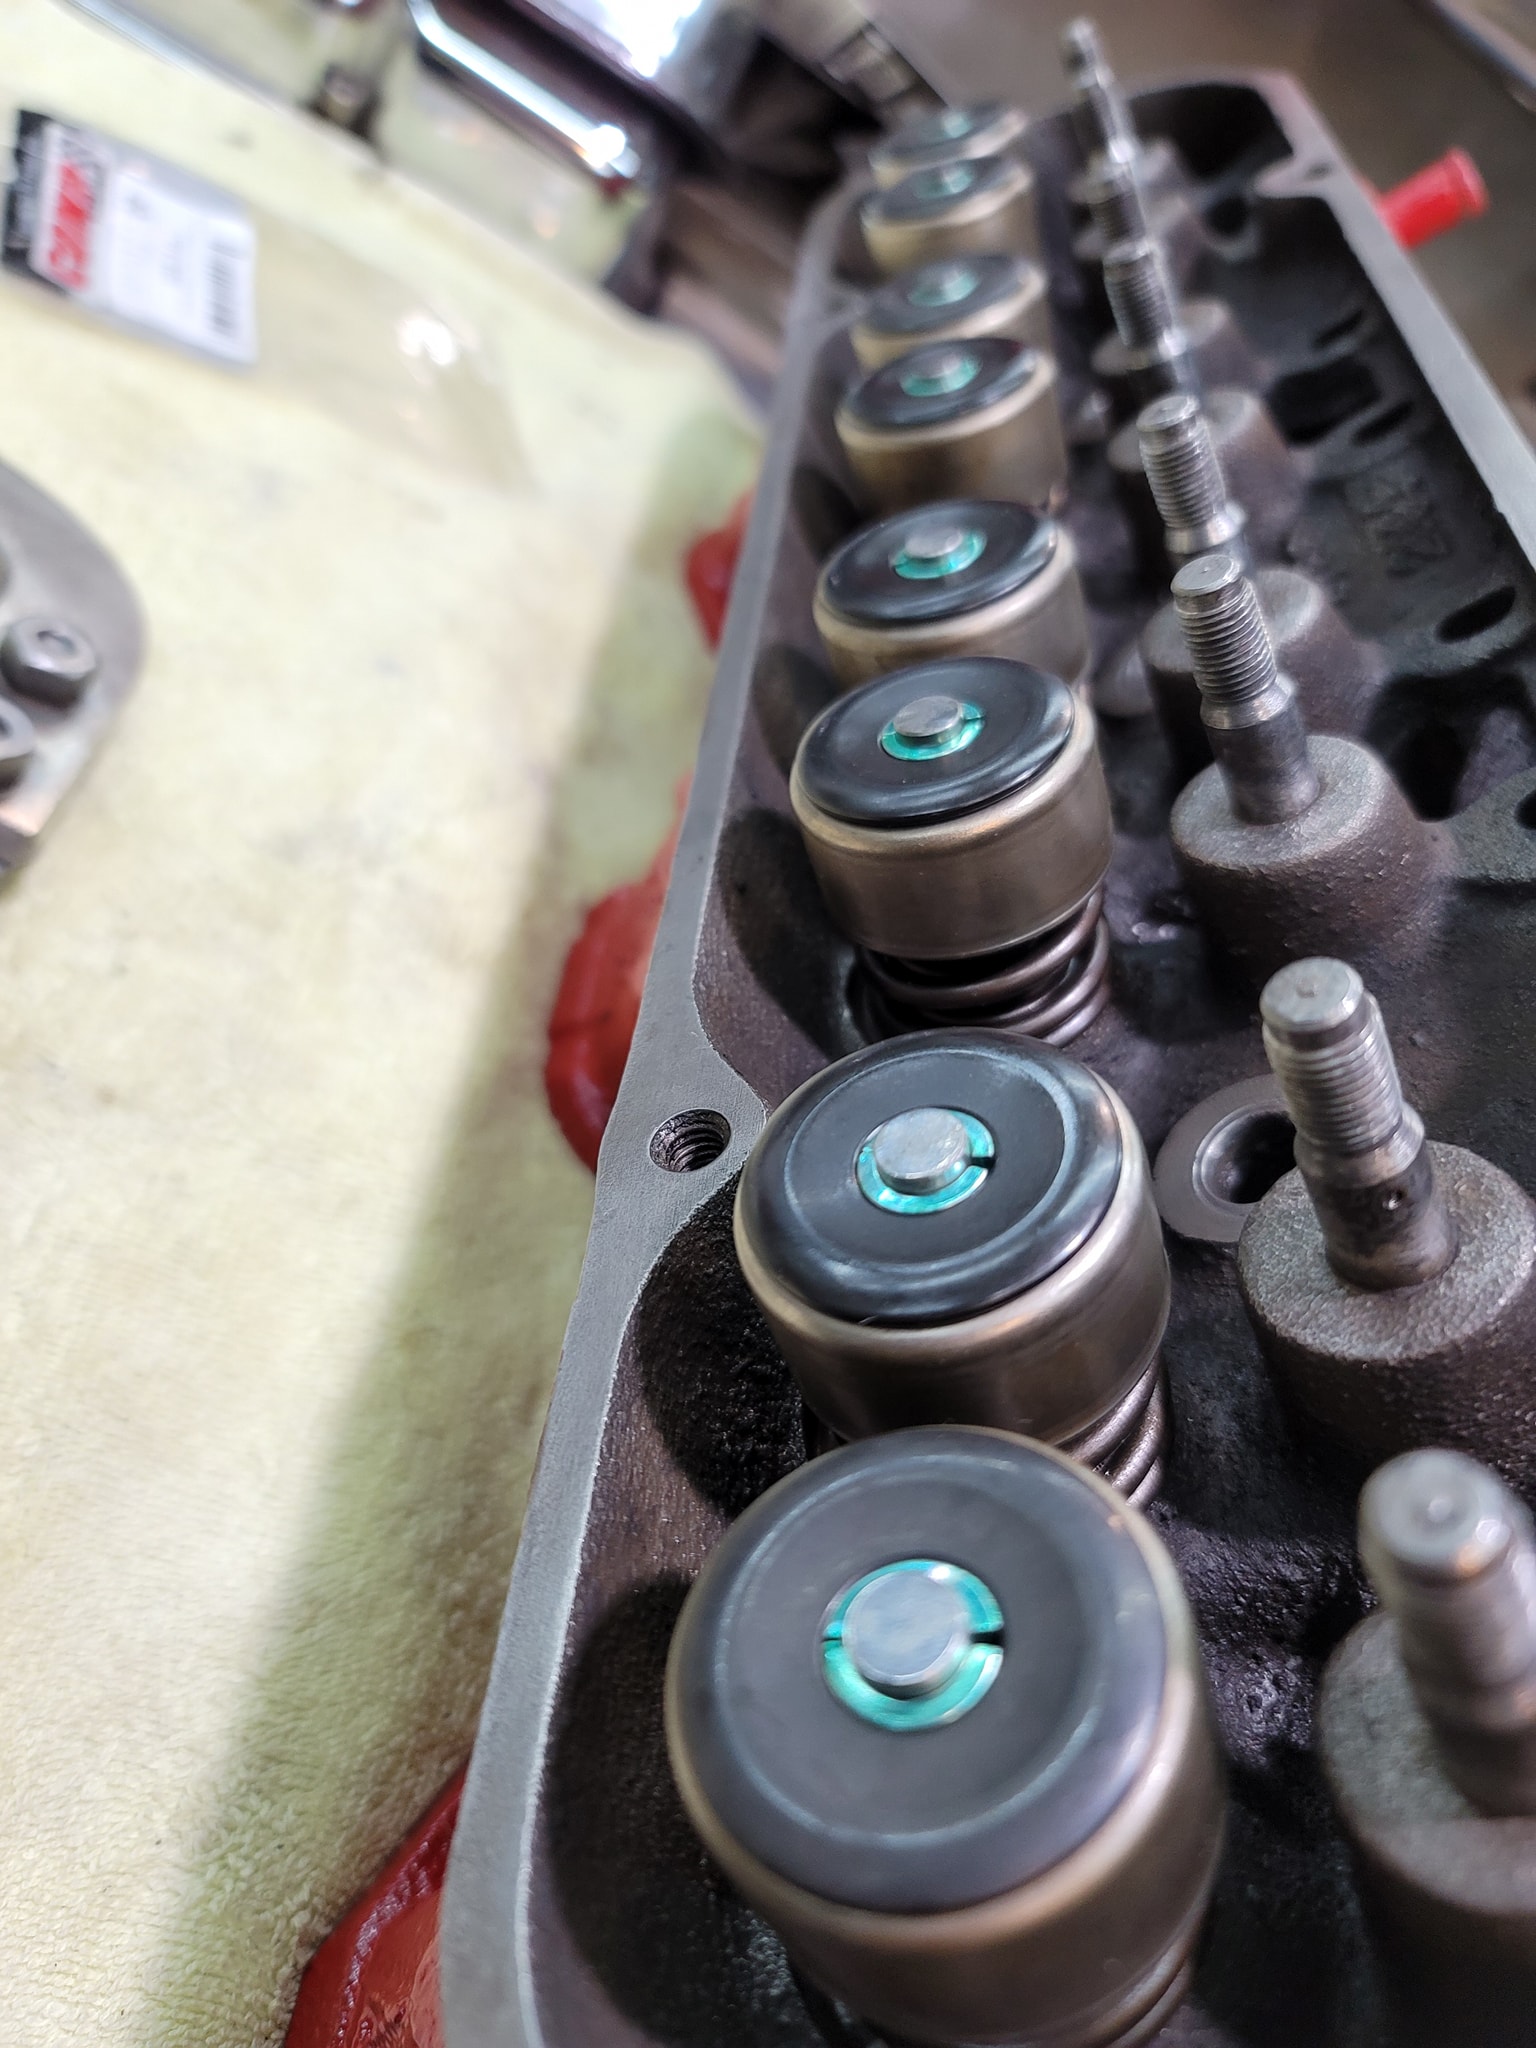
Spent a good bit of time about 10 min each for all 16 valves to clean up and hand polish each valve, they look good as new now! And good news no damaged valves.
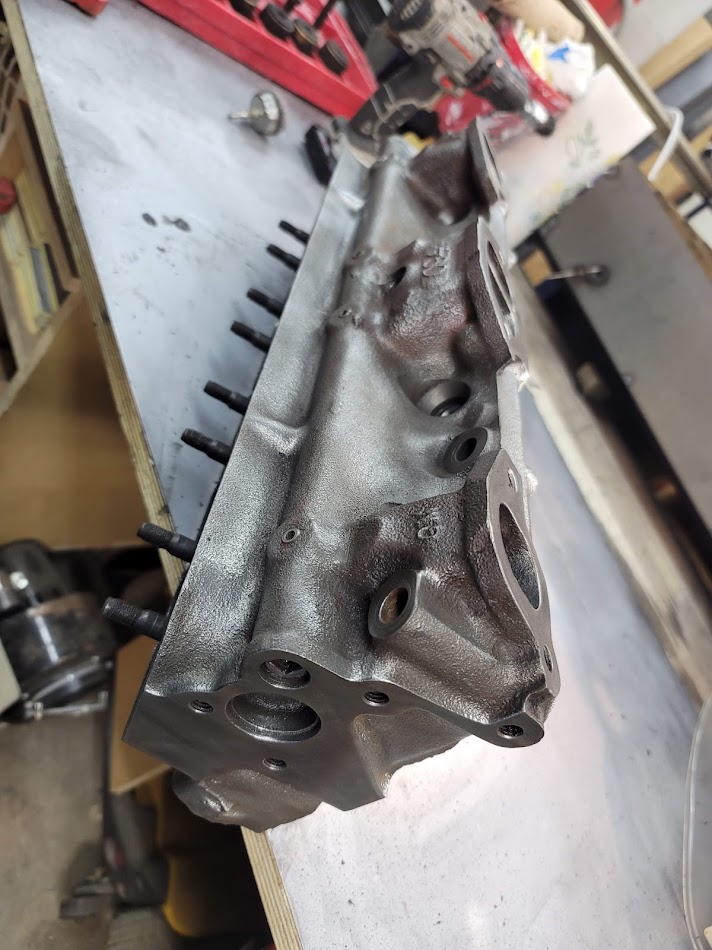
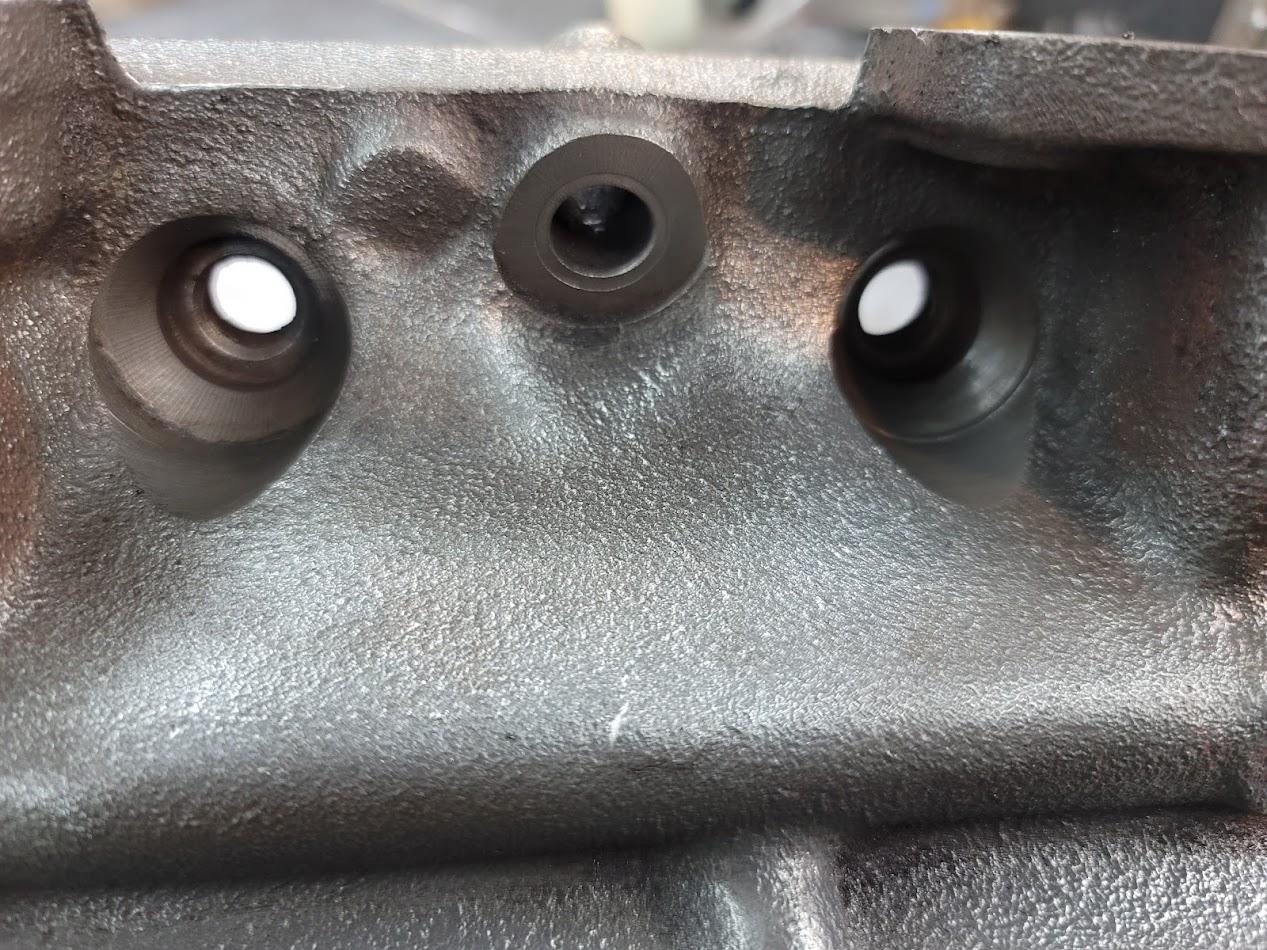
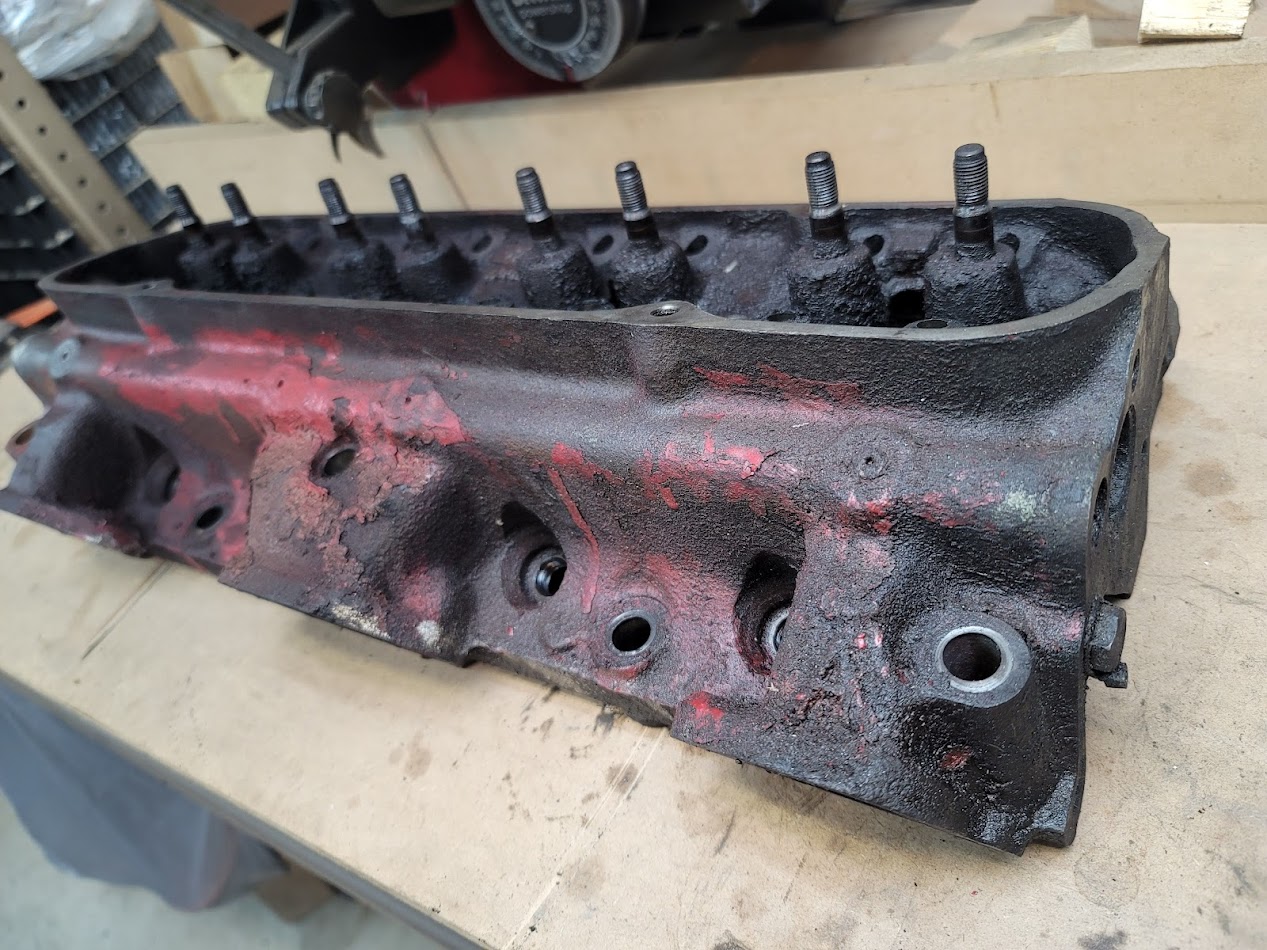
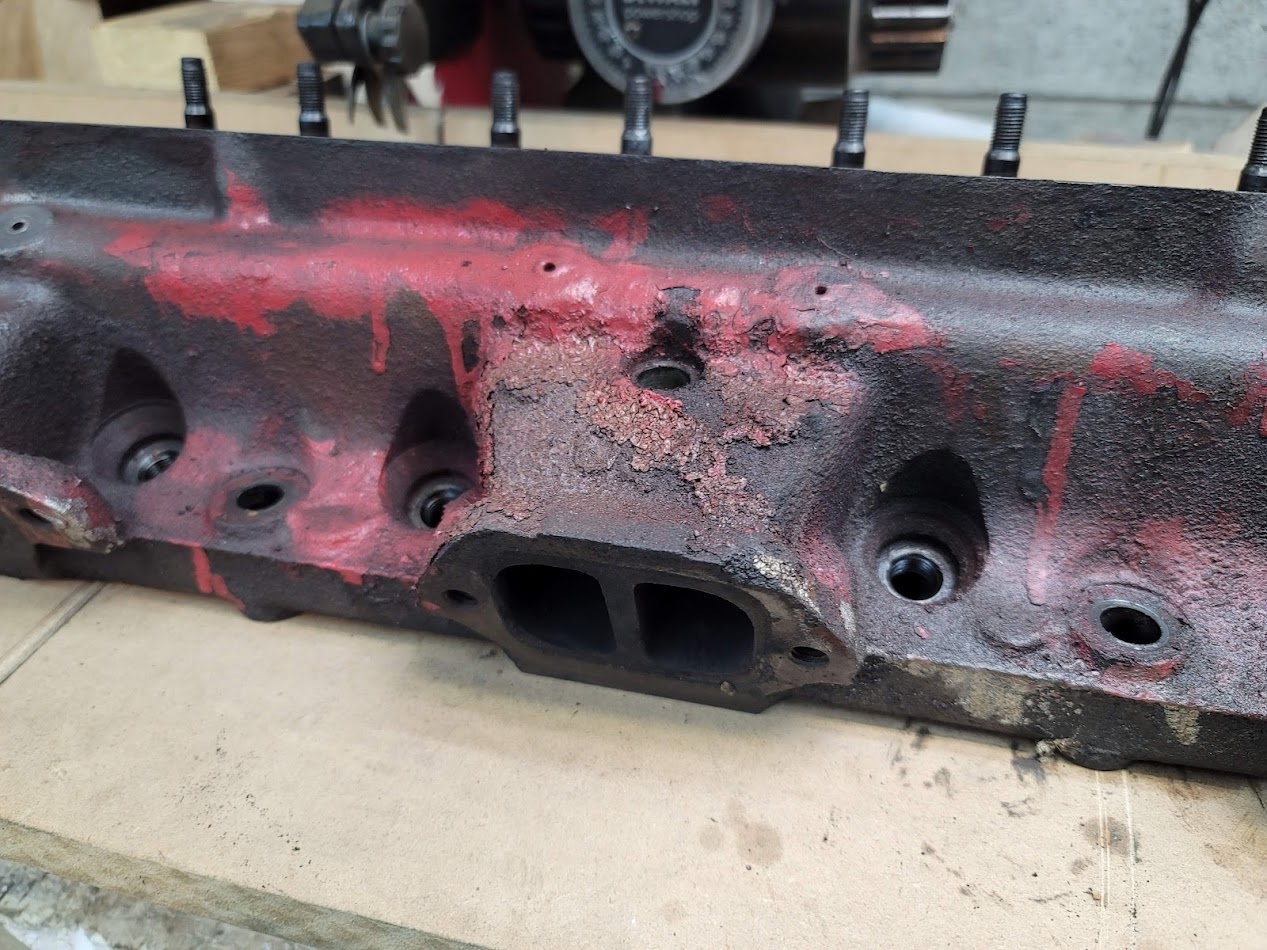
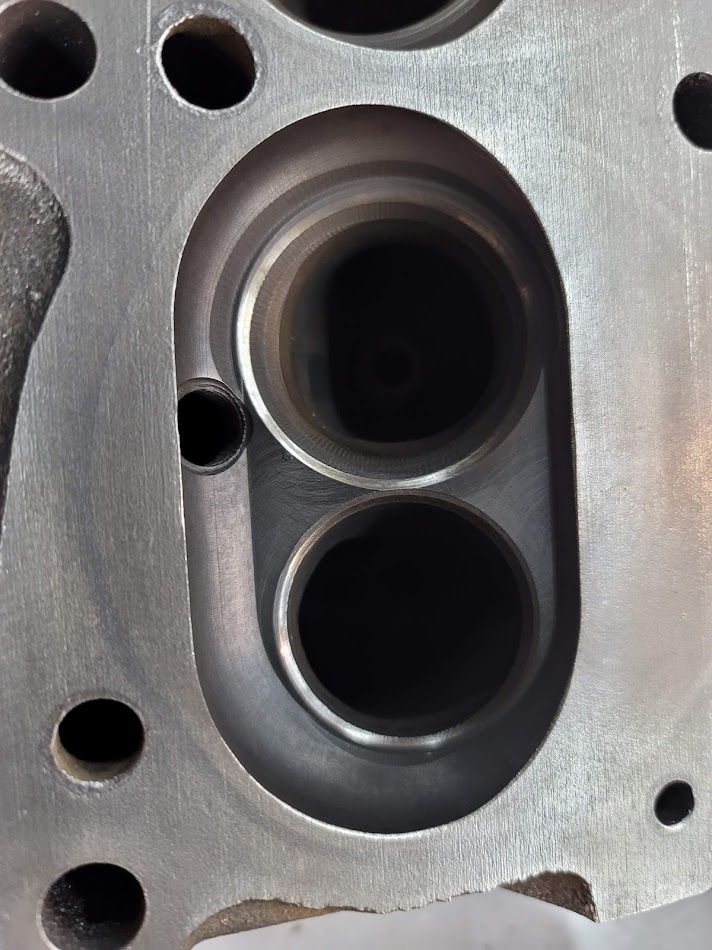
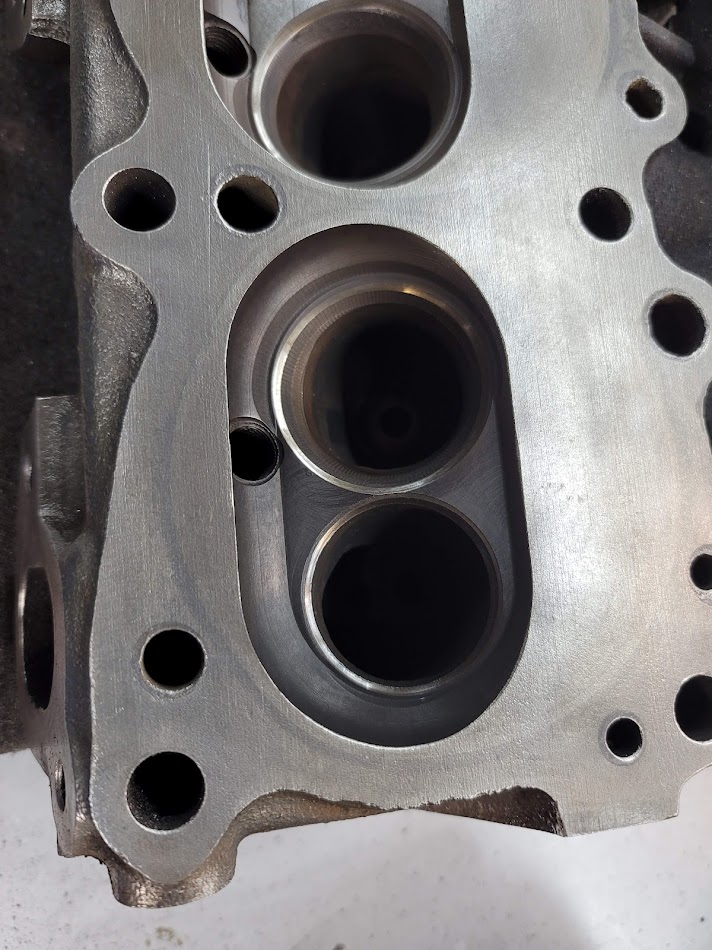
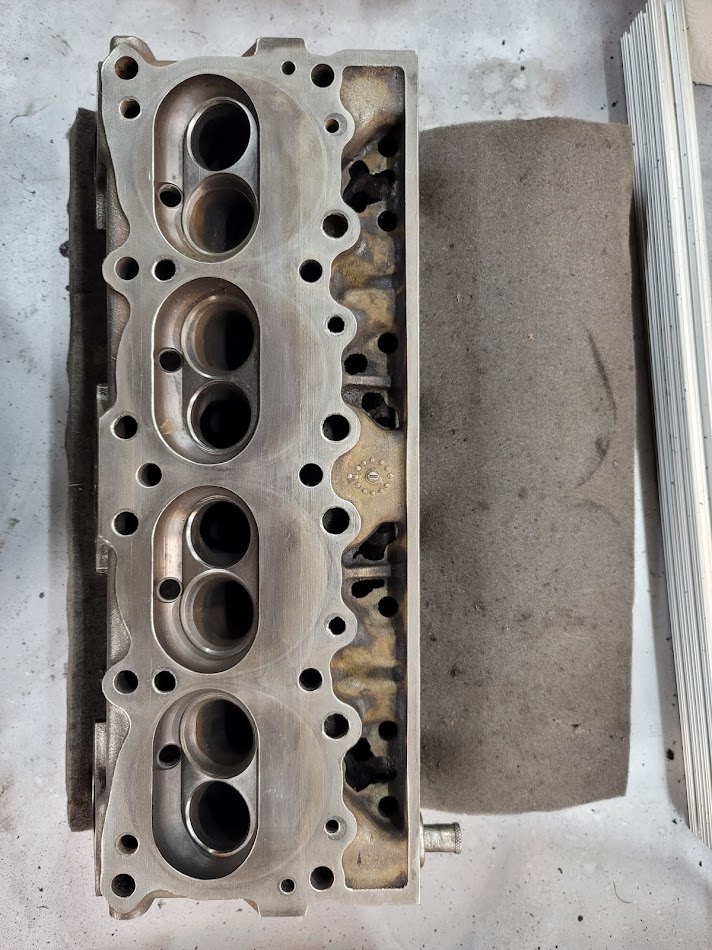
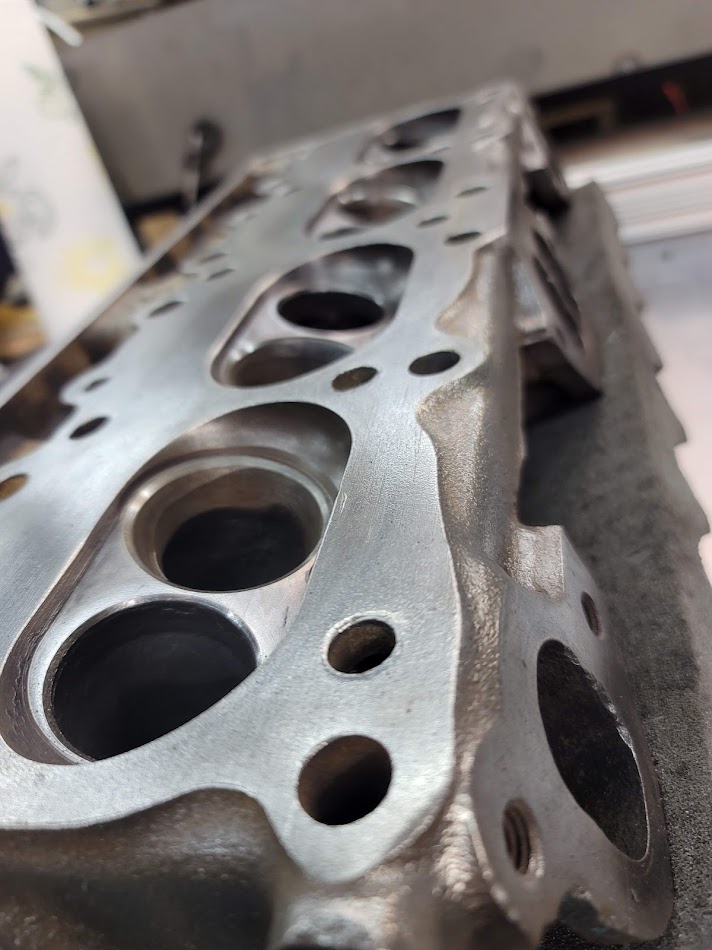
Got the combustion chamber cleaned out and the heads all cleaned up and into bare metal.
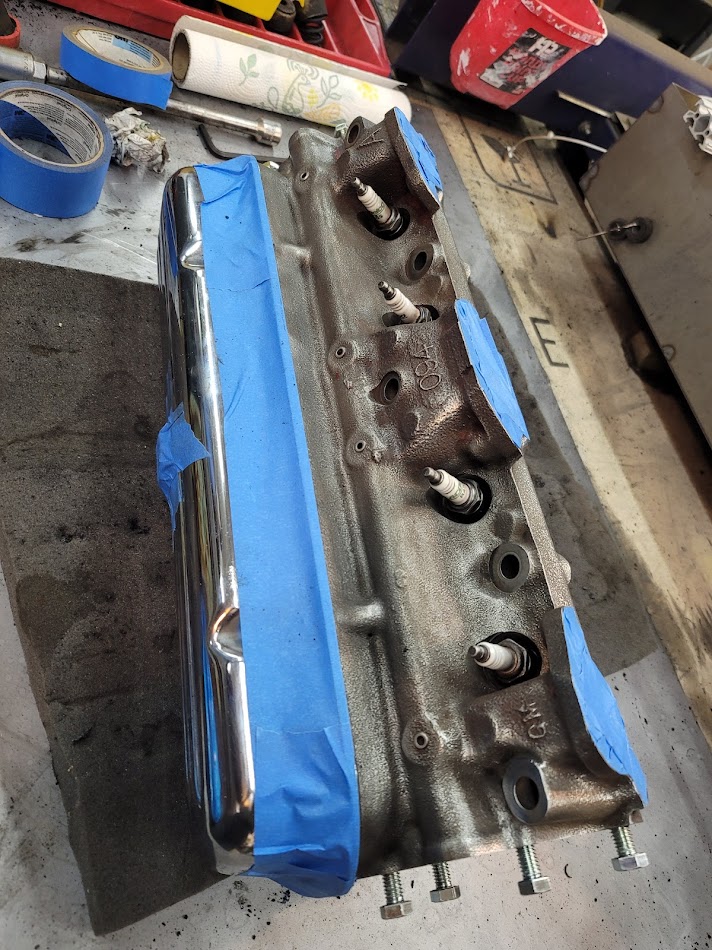
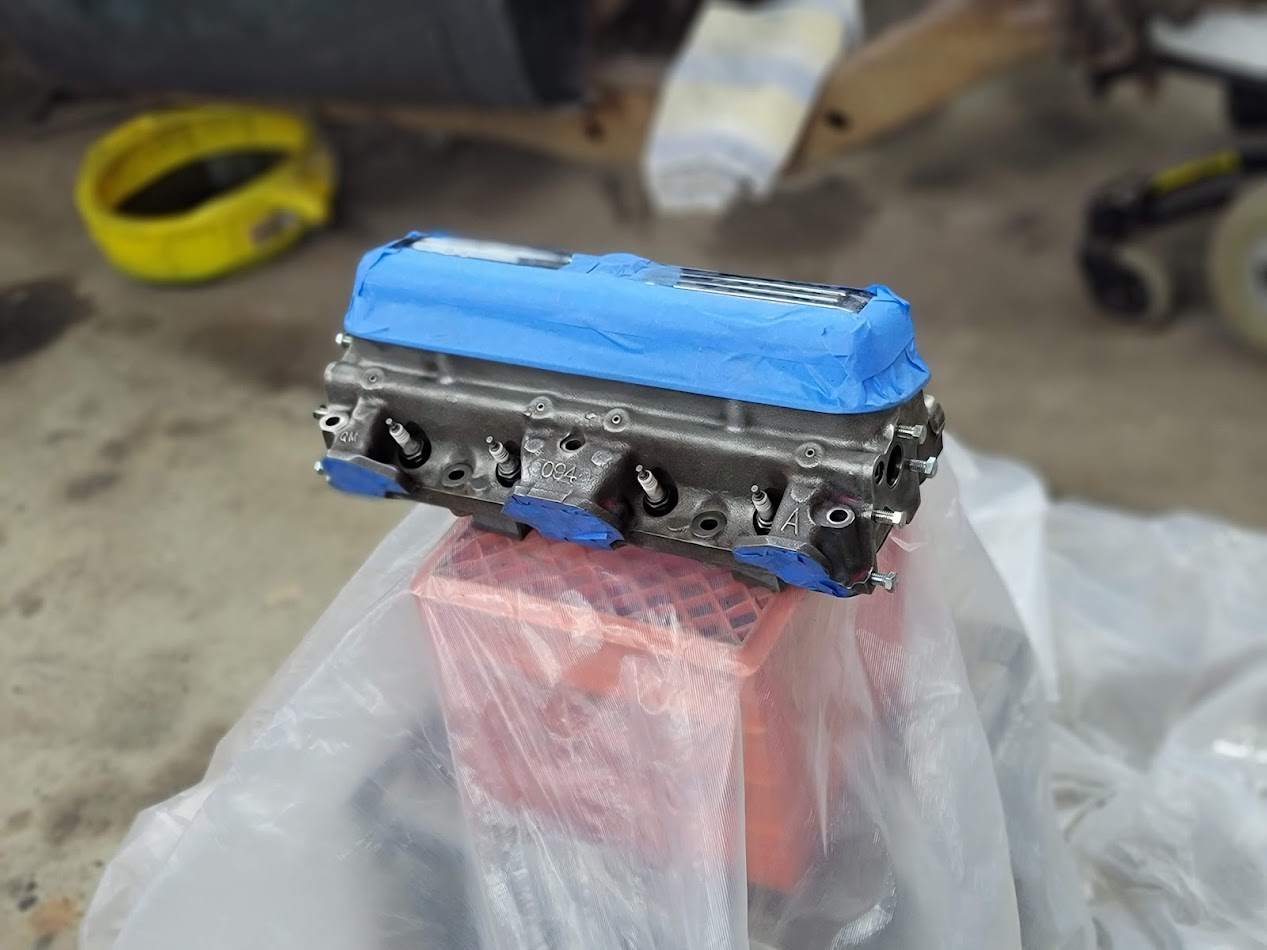
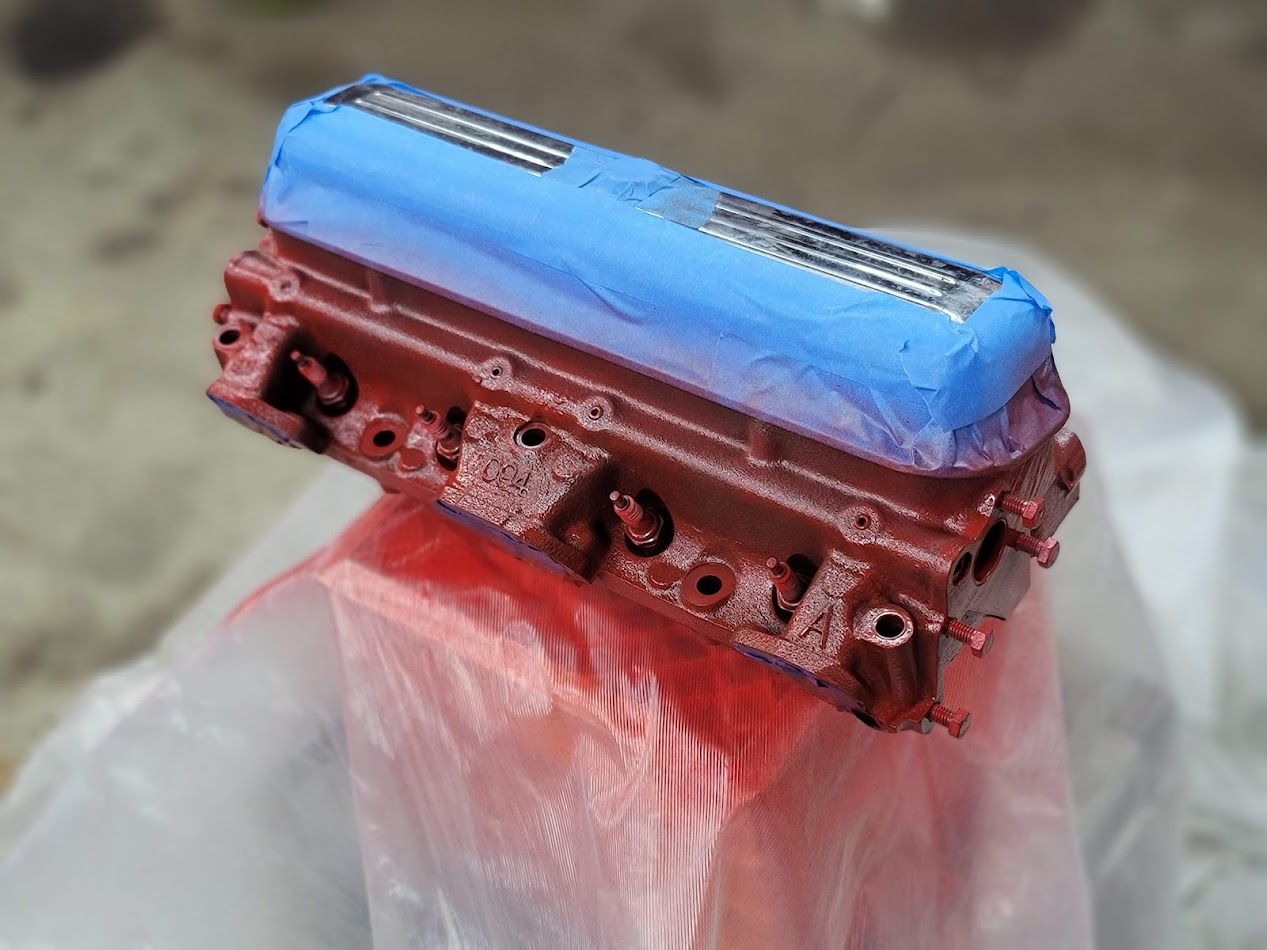
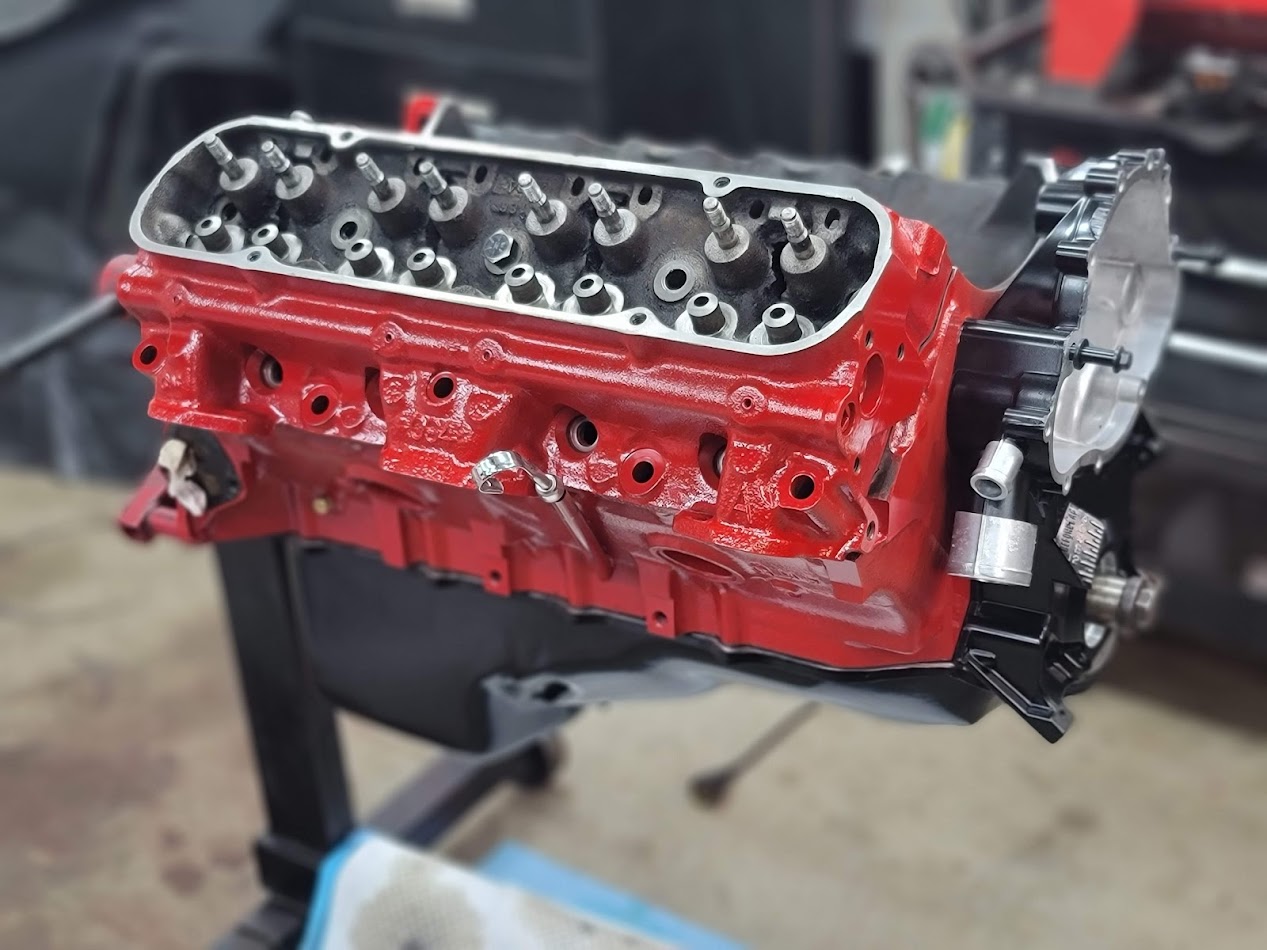
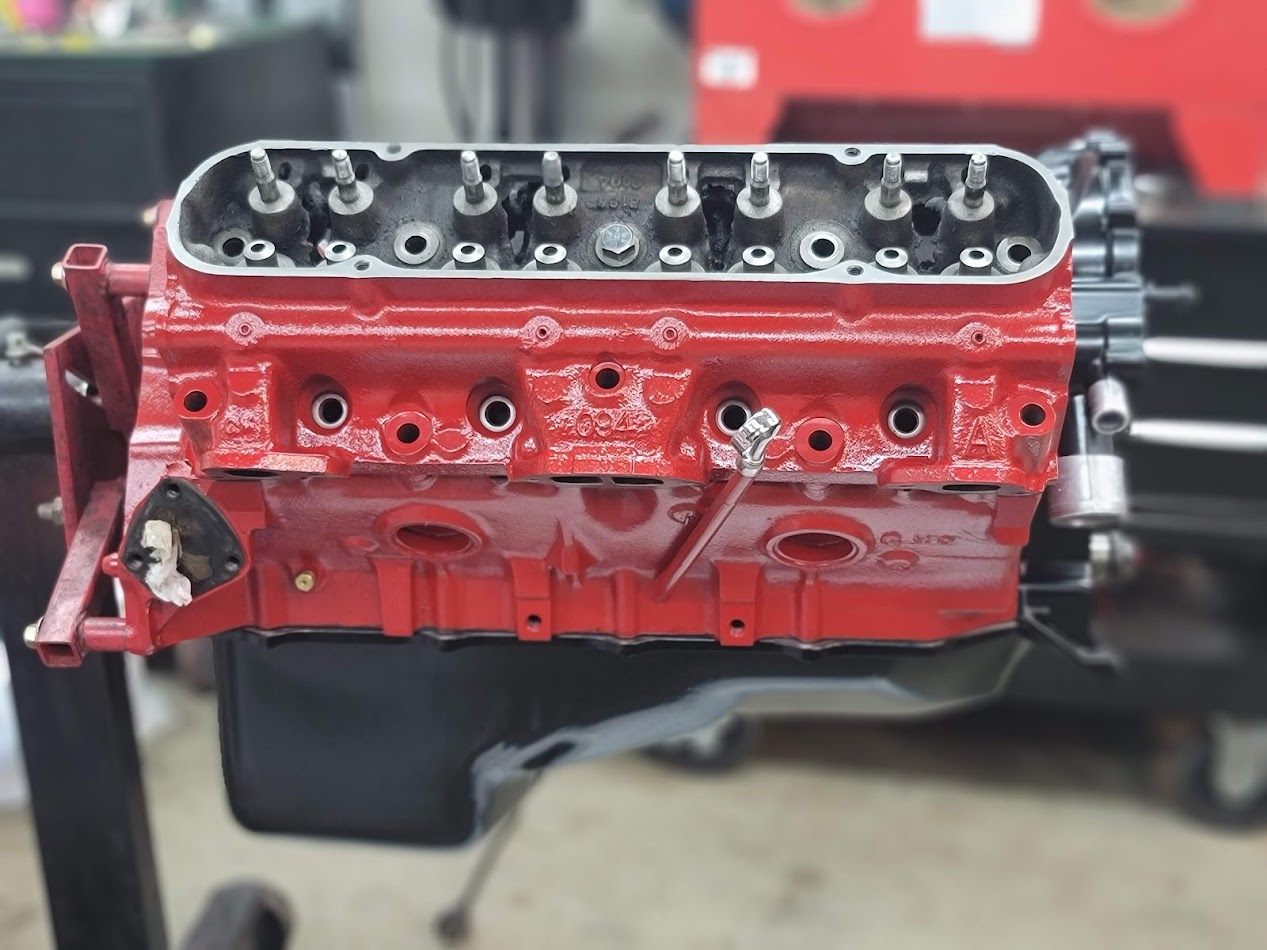
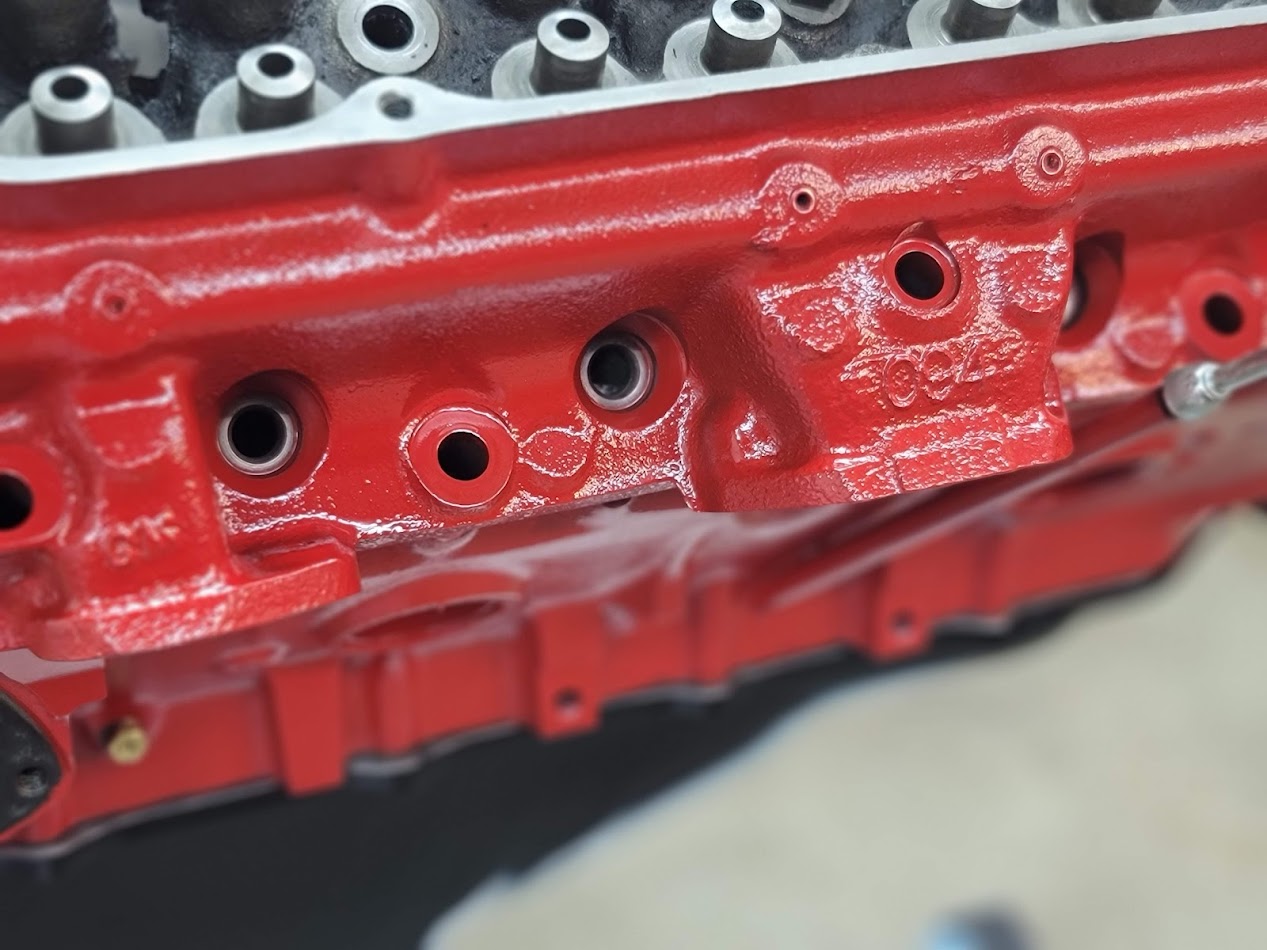
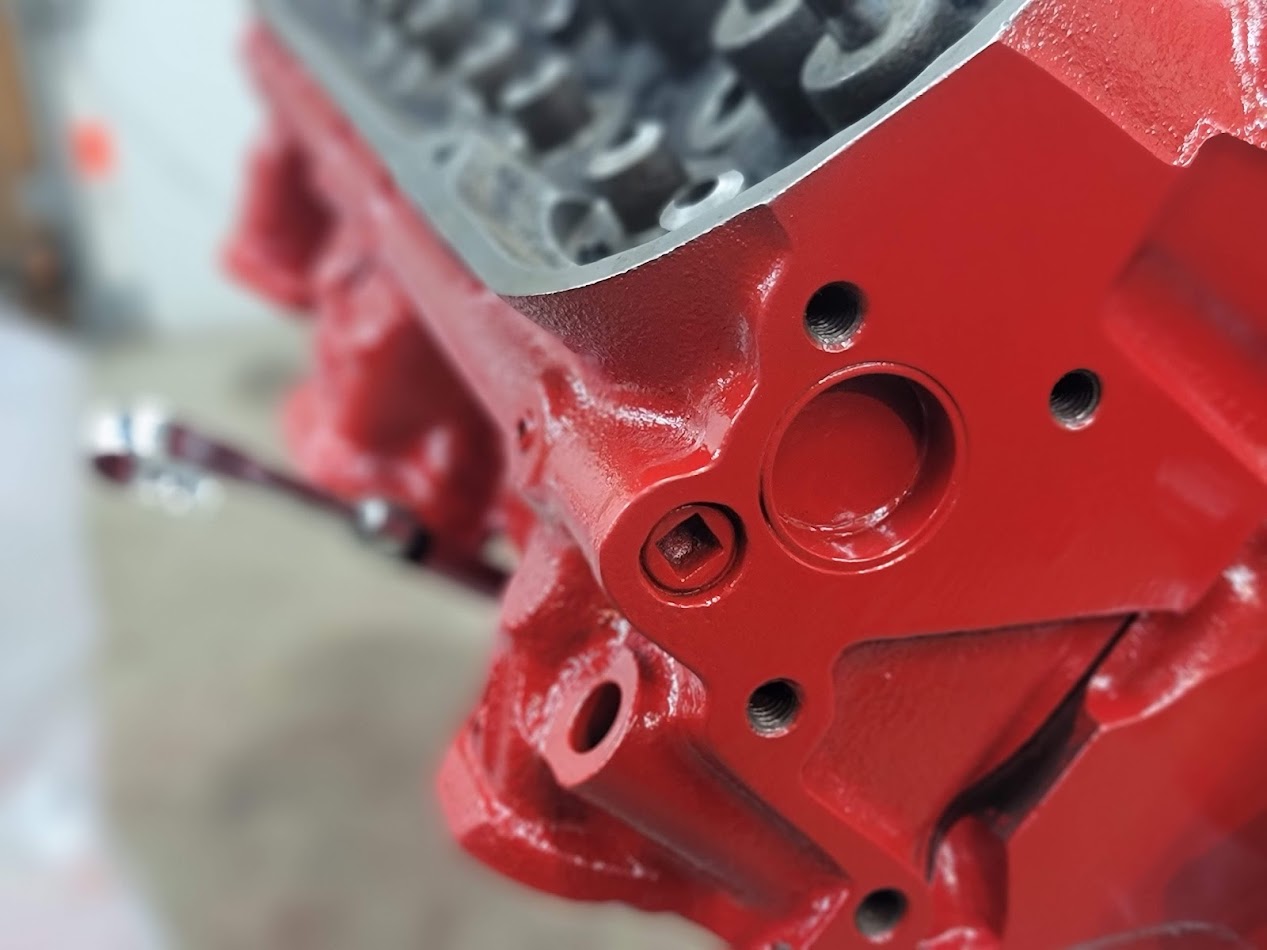
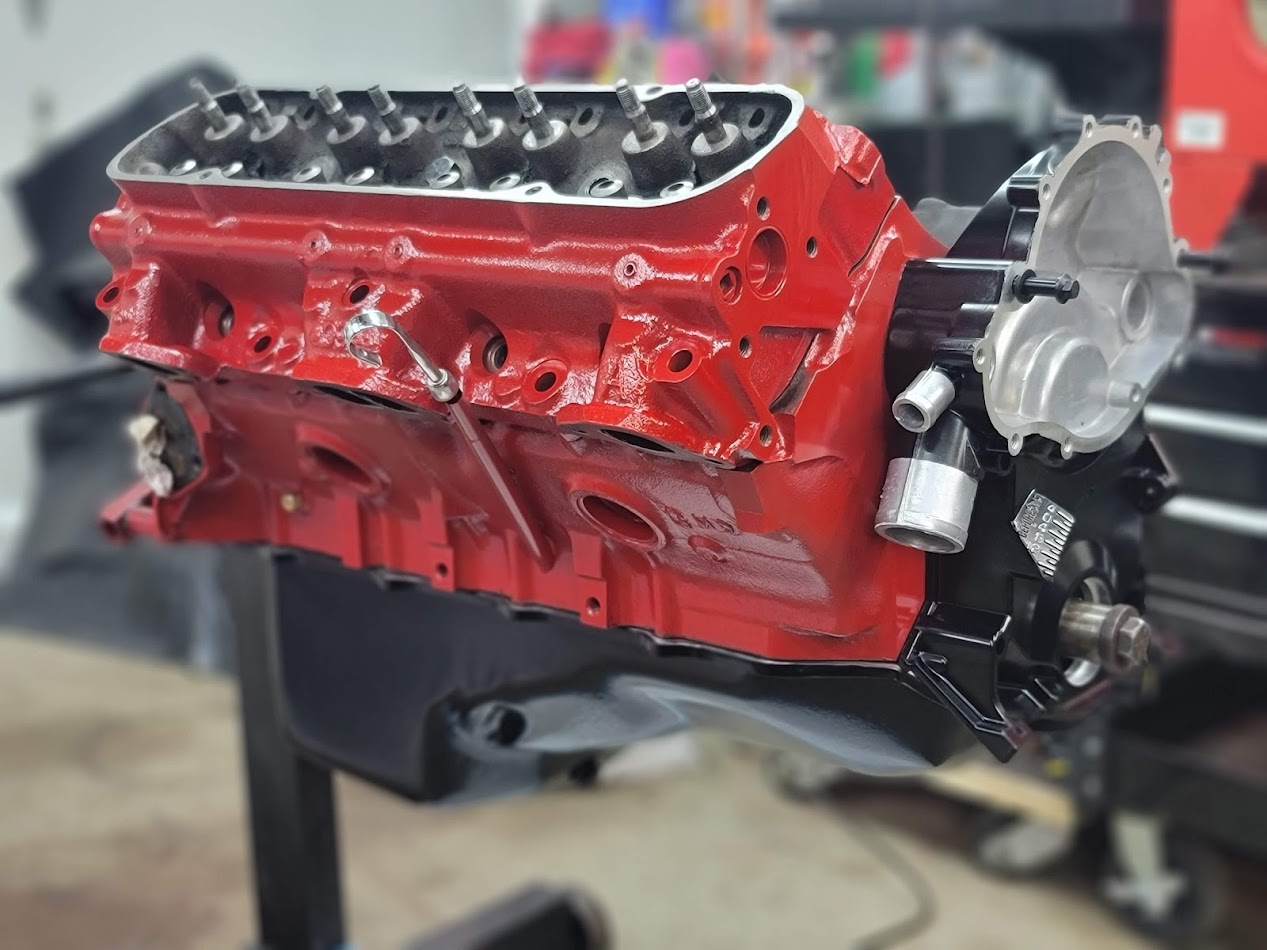
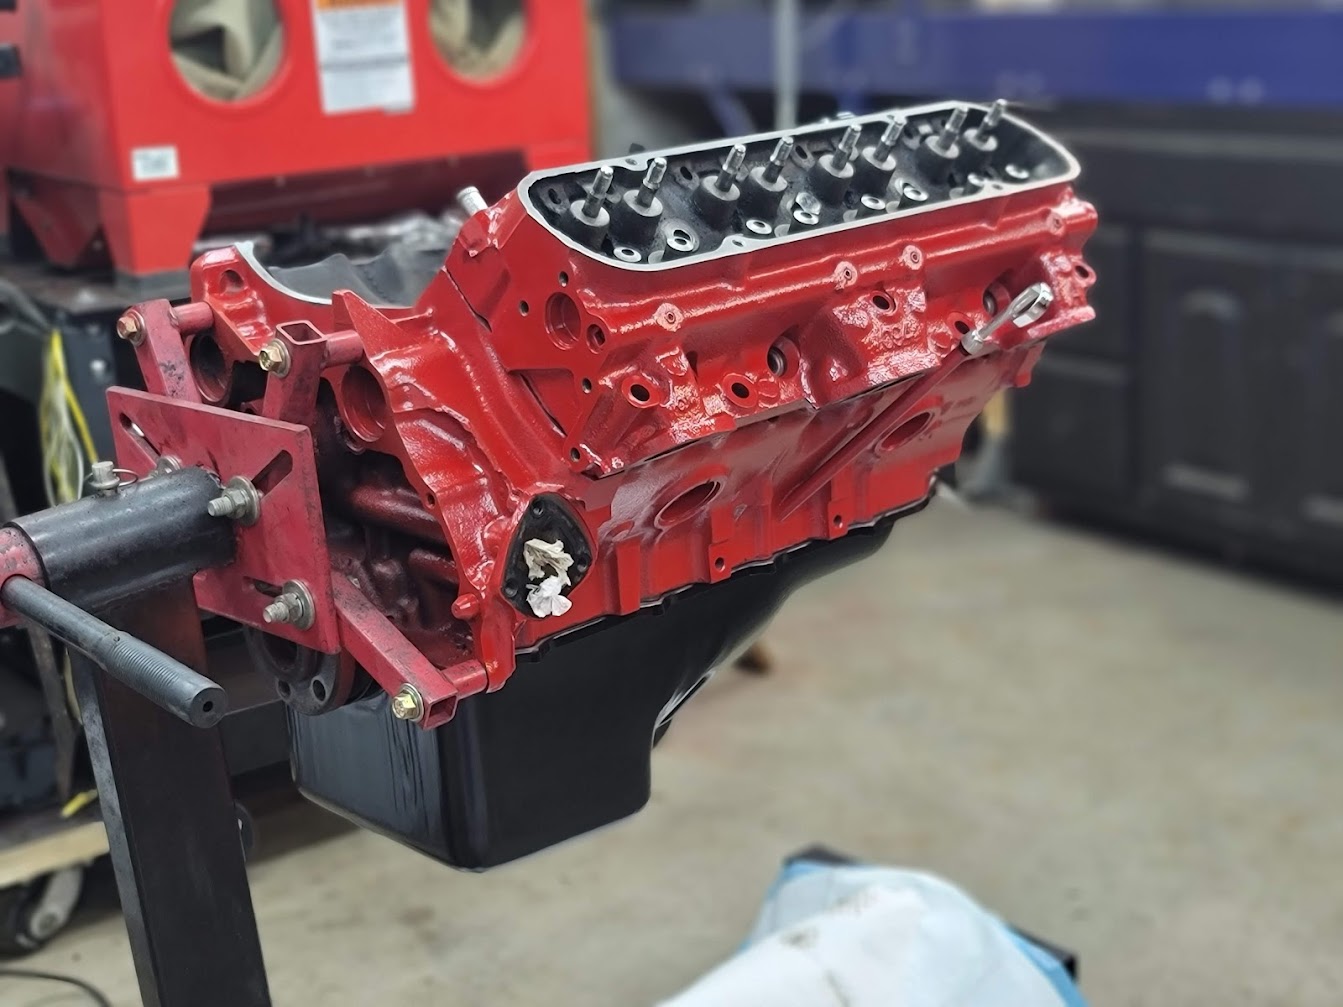
Got it into paint, and mad does it look good! Now that I know how much work I have to do I am dreading doing the other head now, wish me luck…
UPDATE: 3/23/2022
2nd head has been cleaned!
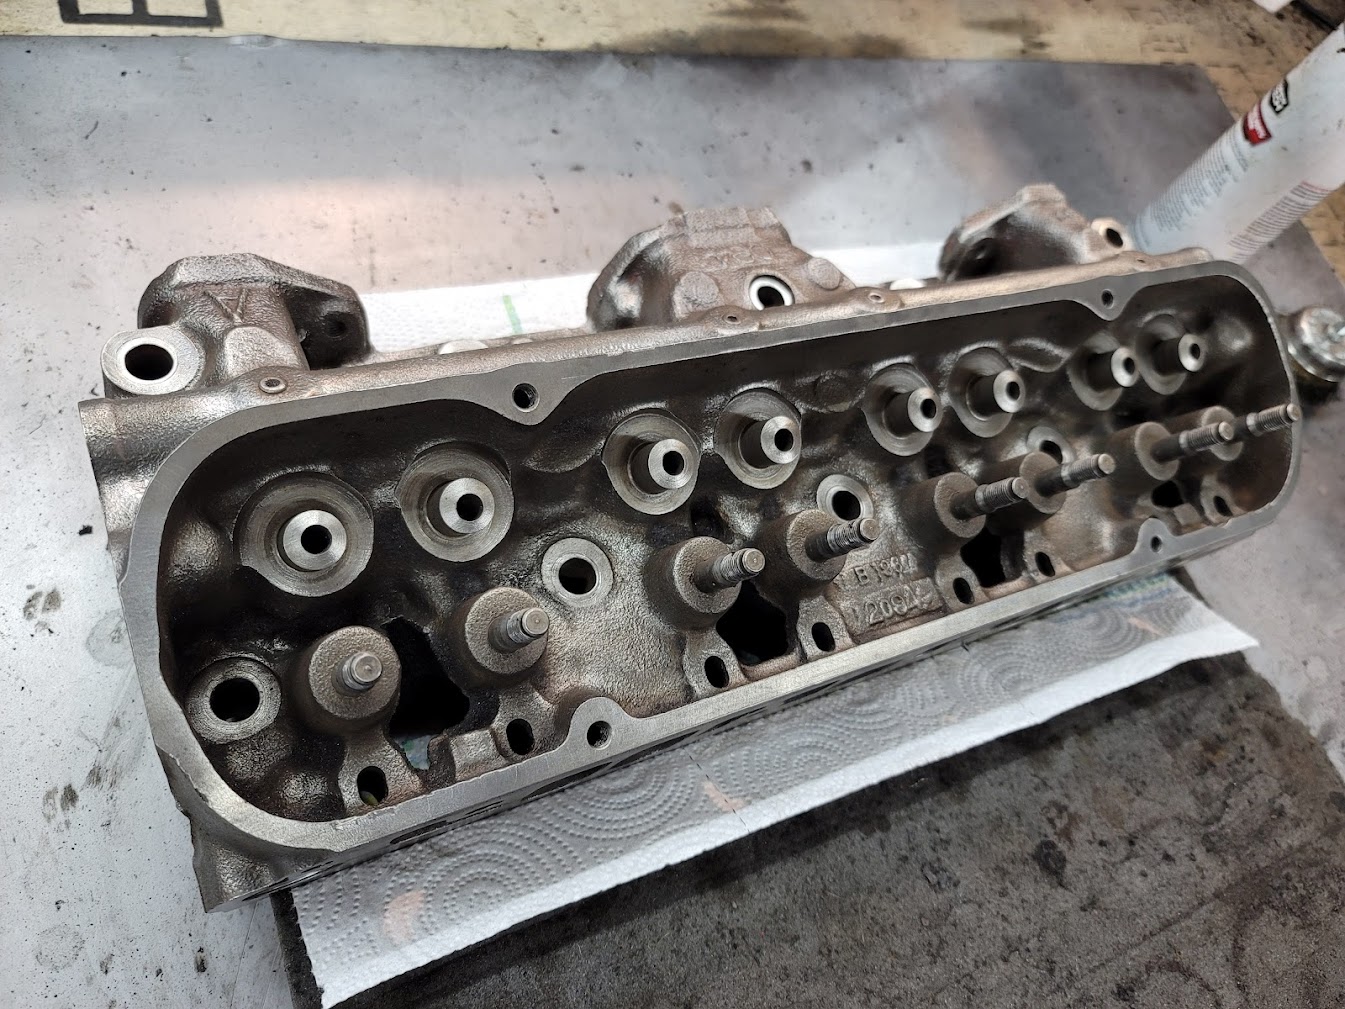
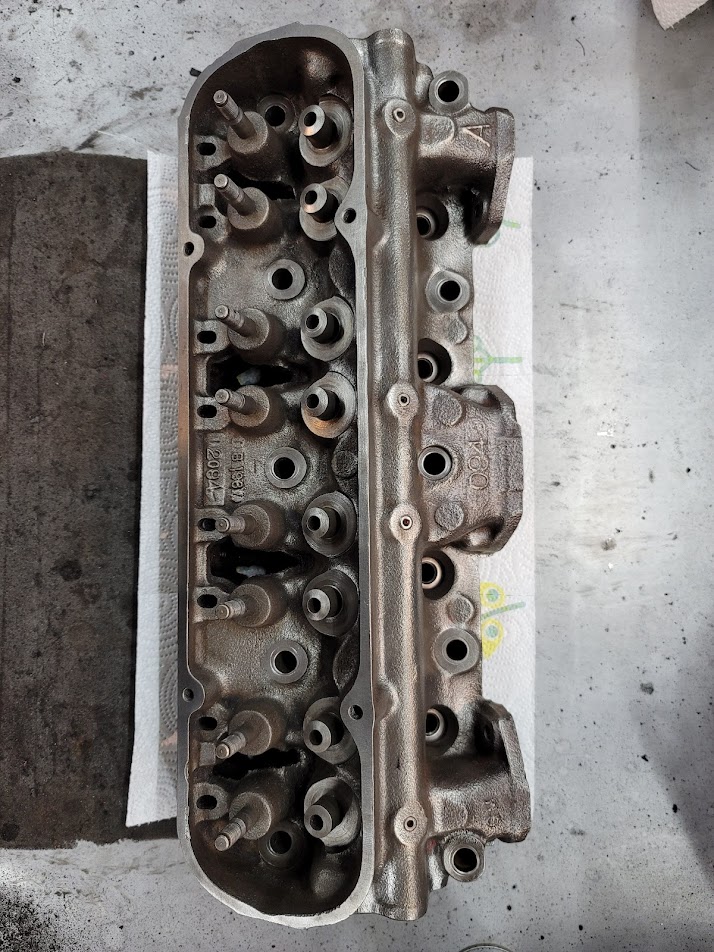
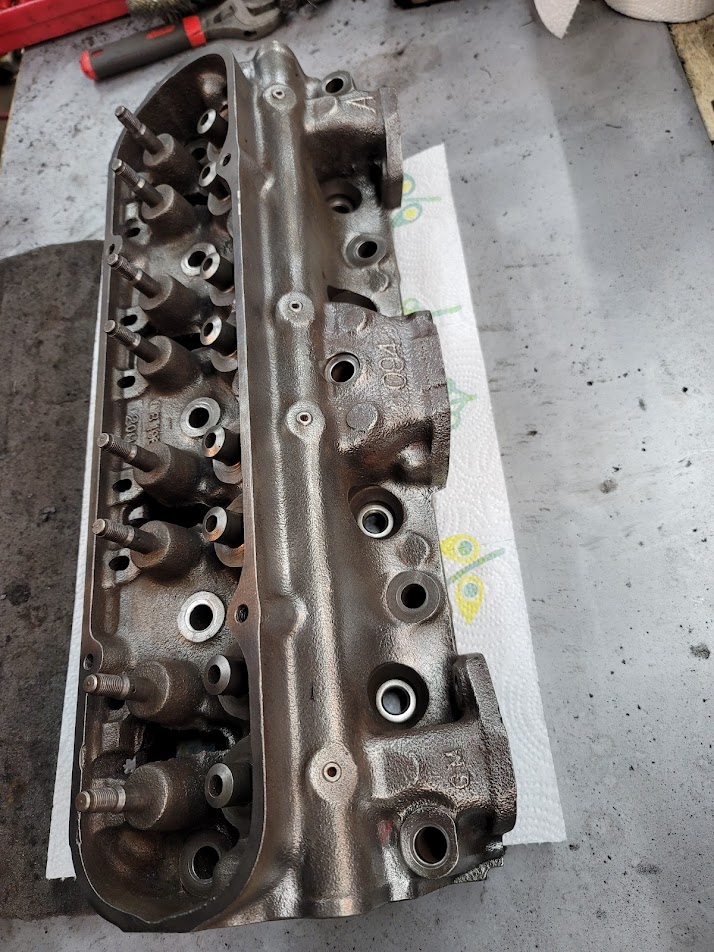
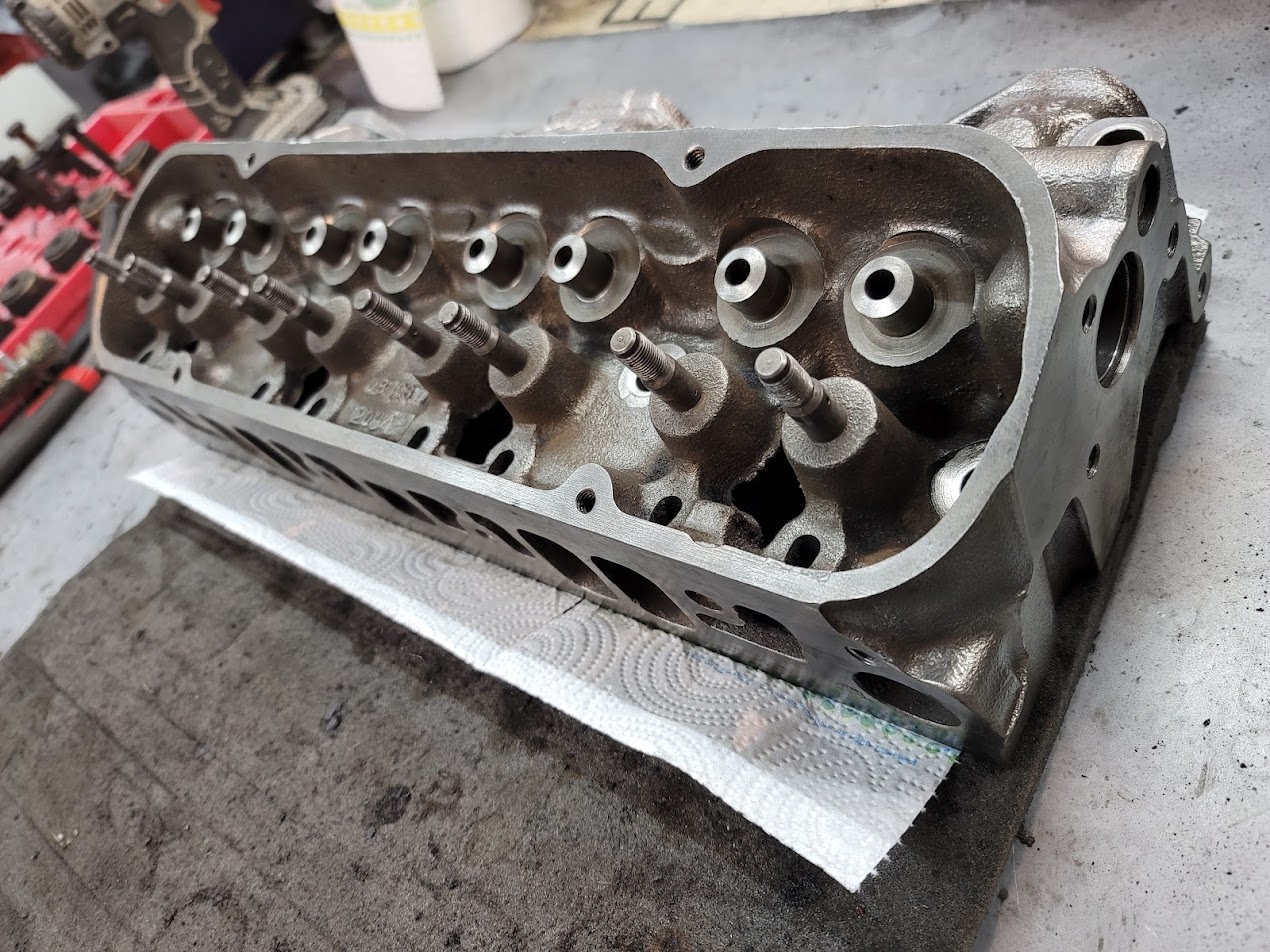
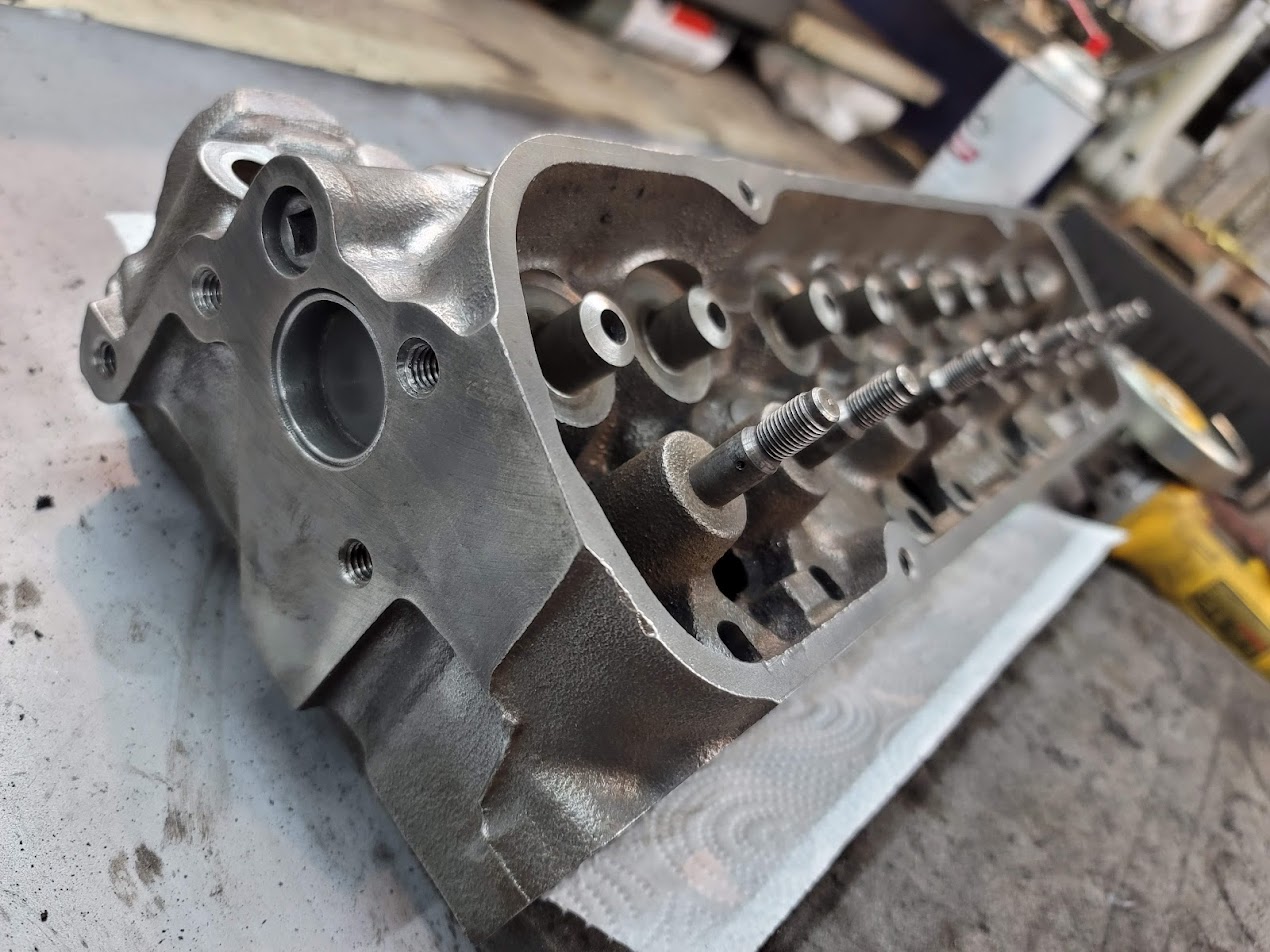
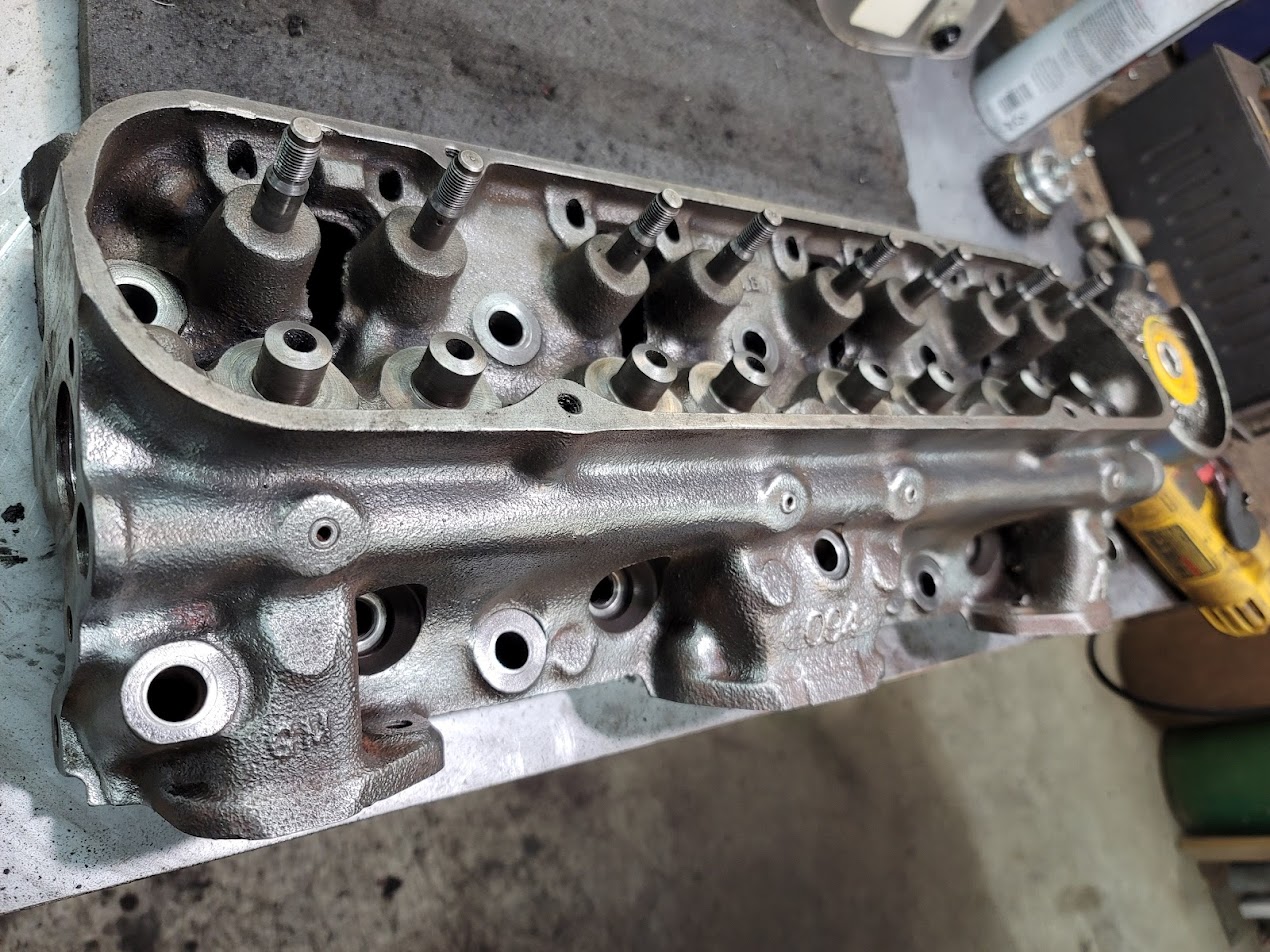
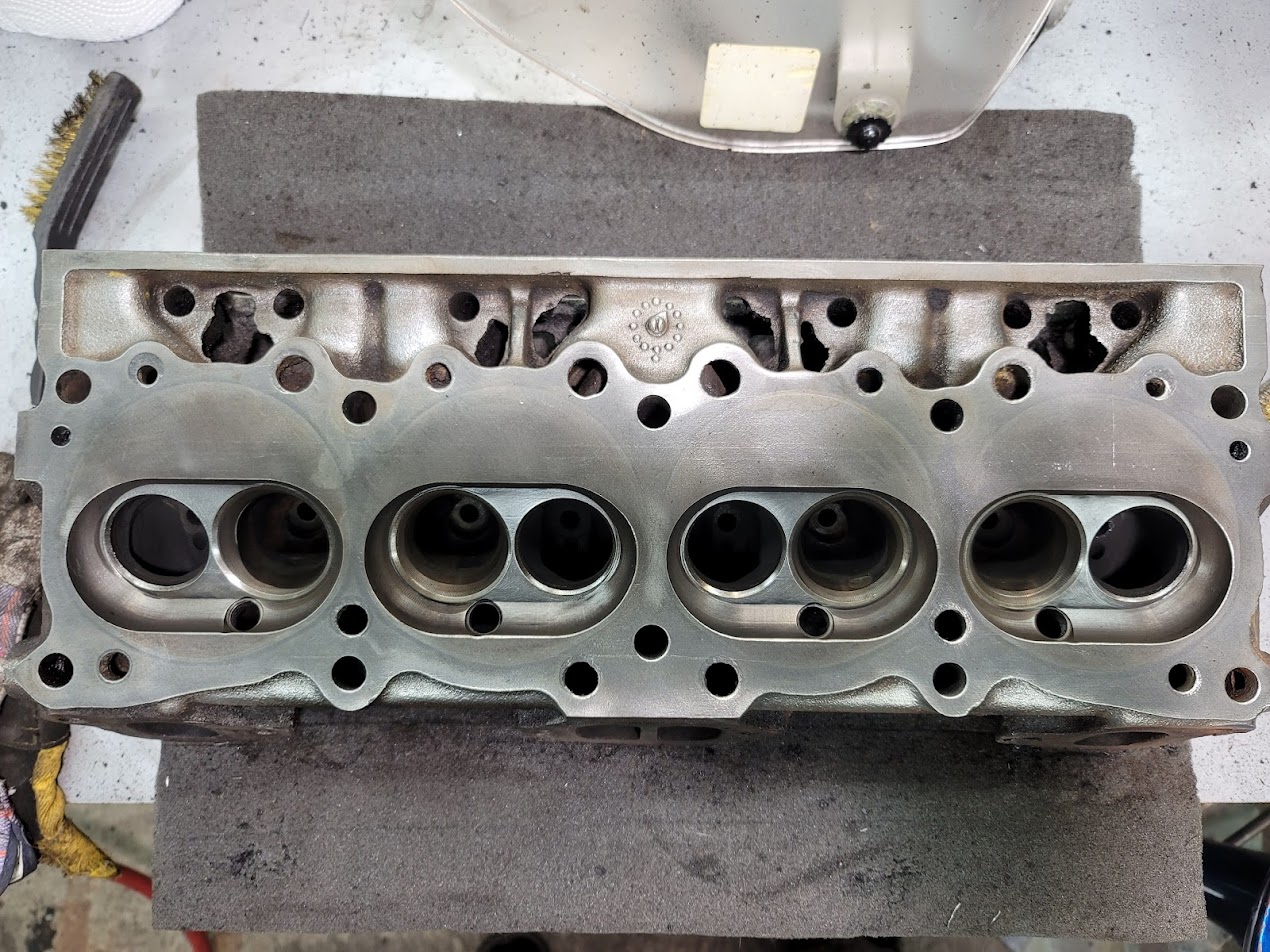
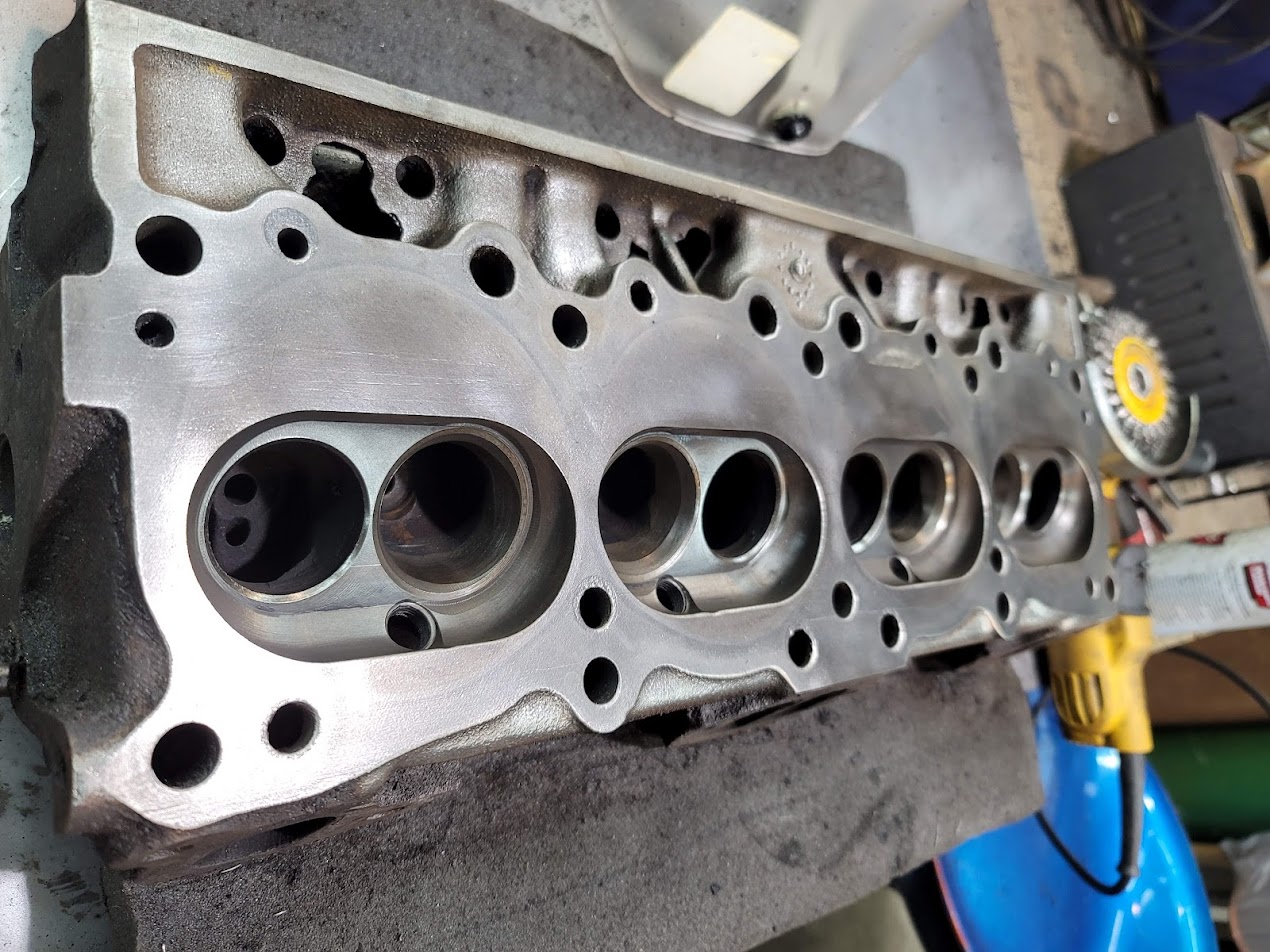
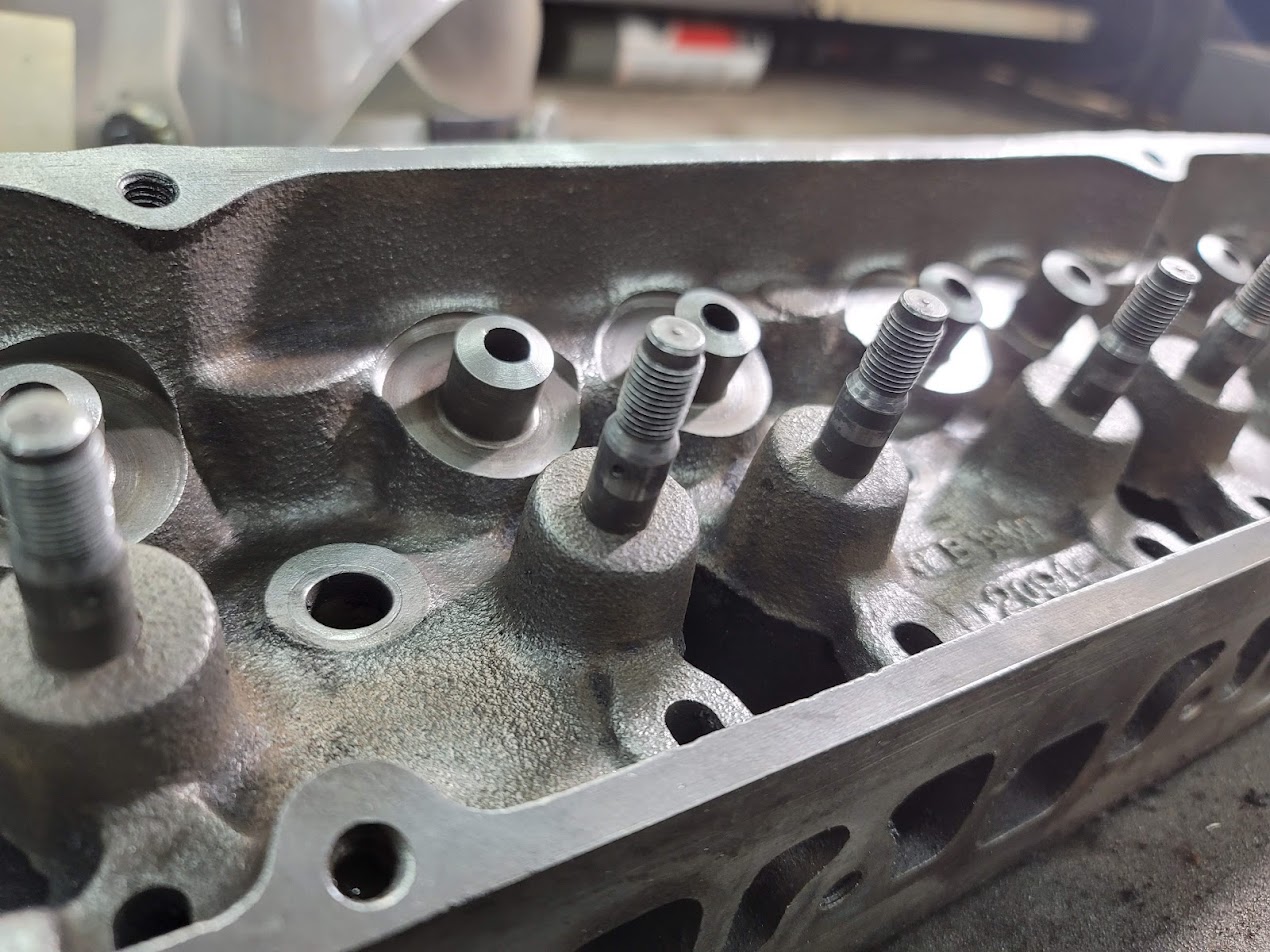
For sure get a workout moving these large slabs of iron around to clean all the odd spots. Also chased all the threads to clean them up.
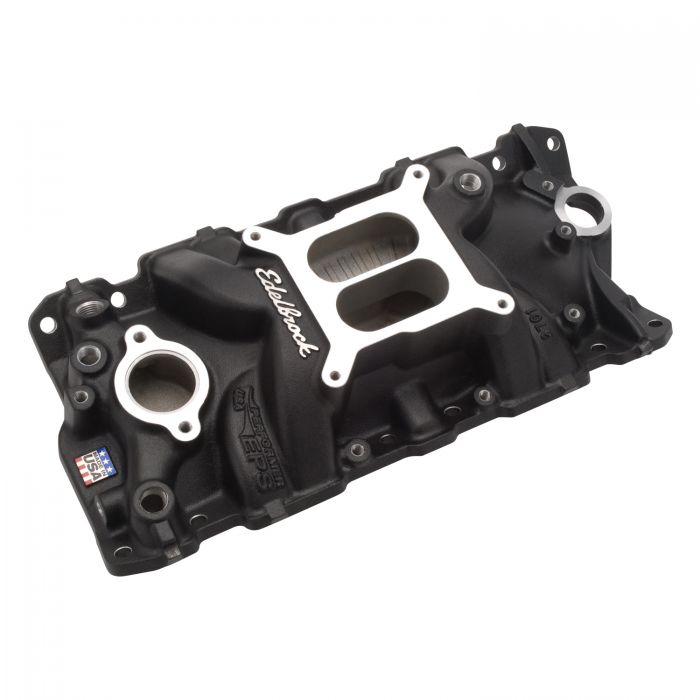
Thinking of painting the intake black like this, that shall be the next step after getting the last head into paint.


Got the balancer cleaned up and in paint, may have to get a new one need to look into the 11 bolt and 4 to 4.5″ water pump length conversion problems.


Both heads are now in paint! Man does it look good. The intake is next on the block to be painted black. Just need to pick up some more paint, and some more gaskets.
UPDATE:
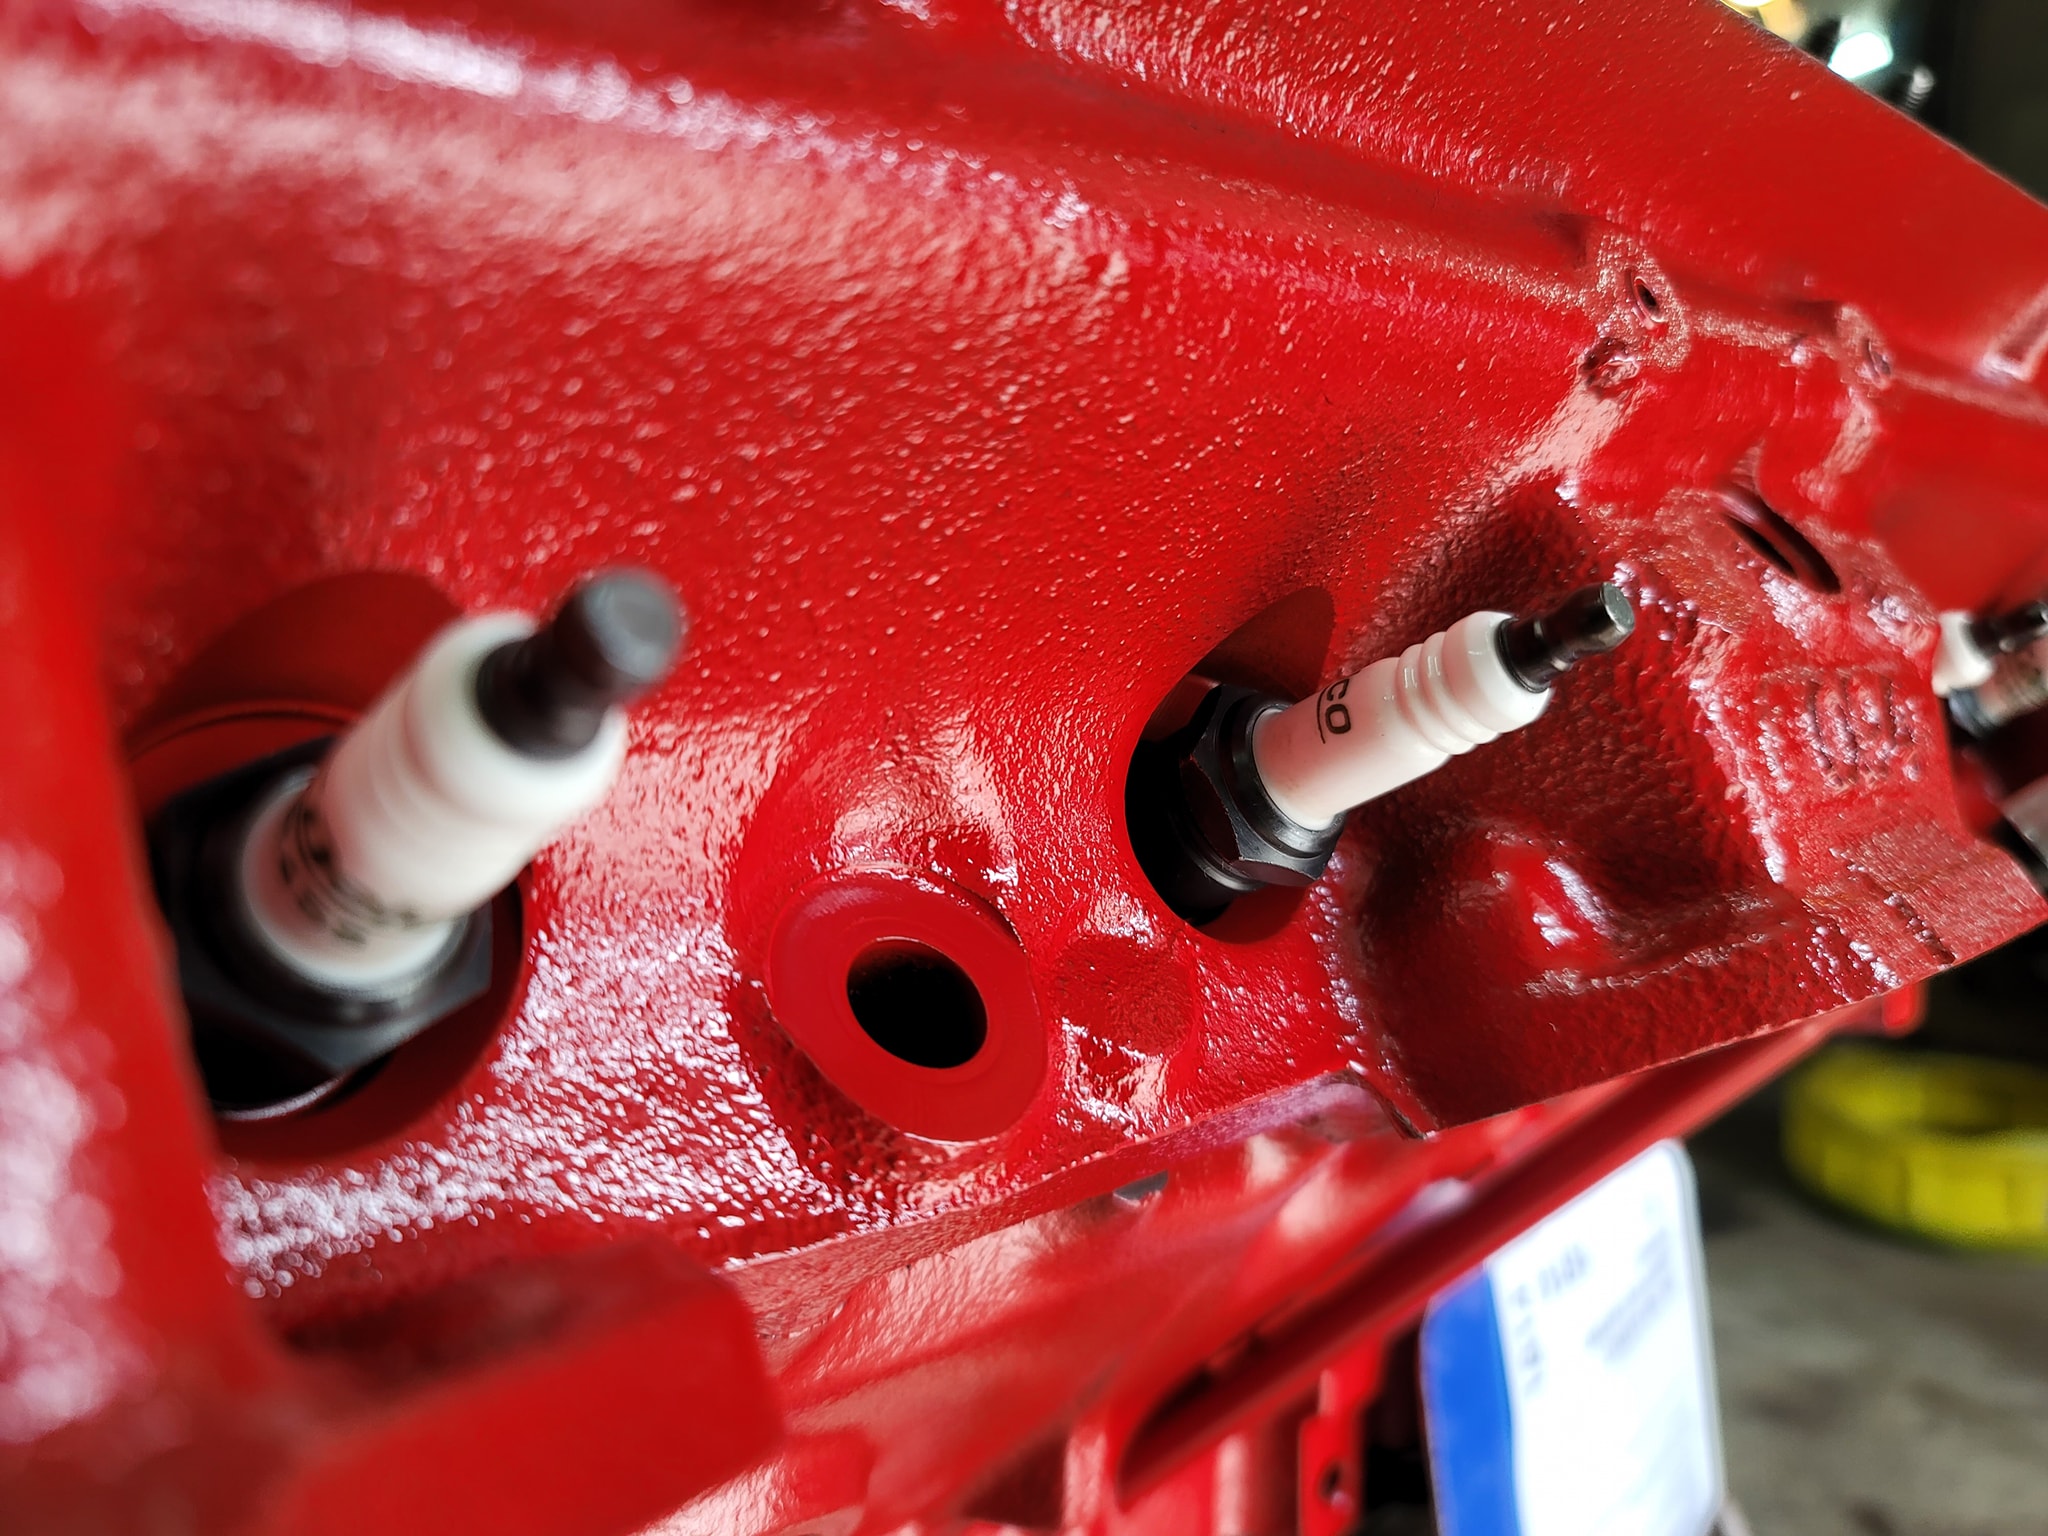
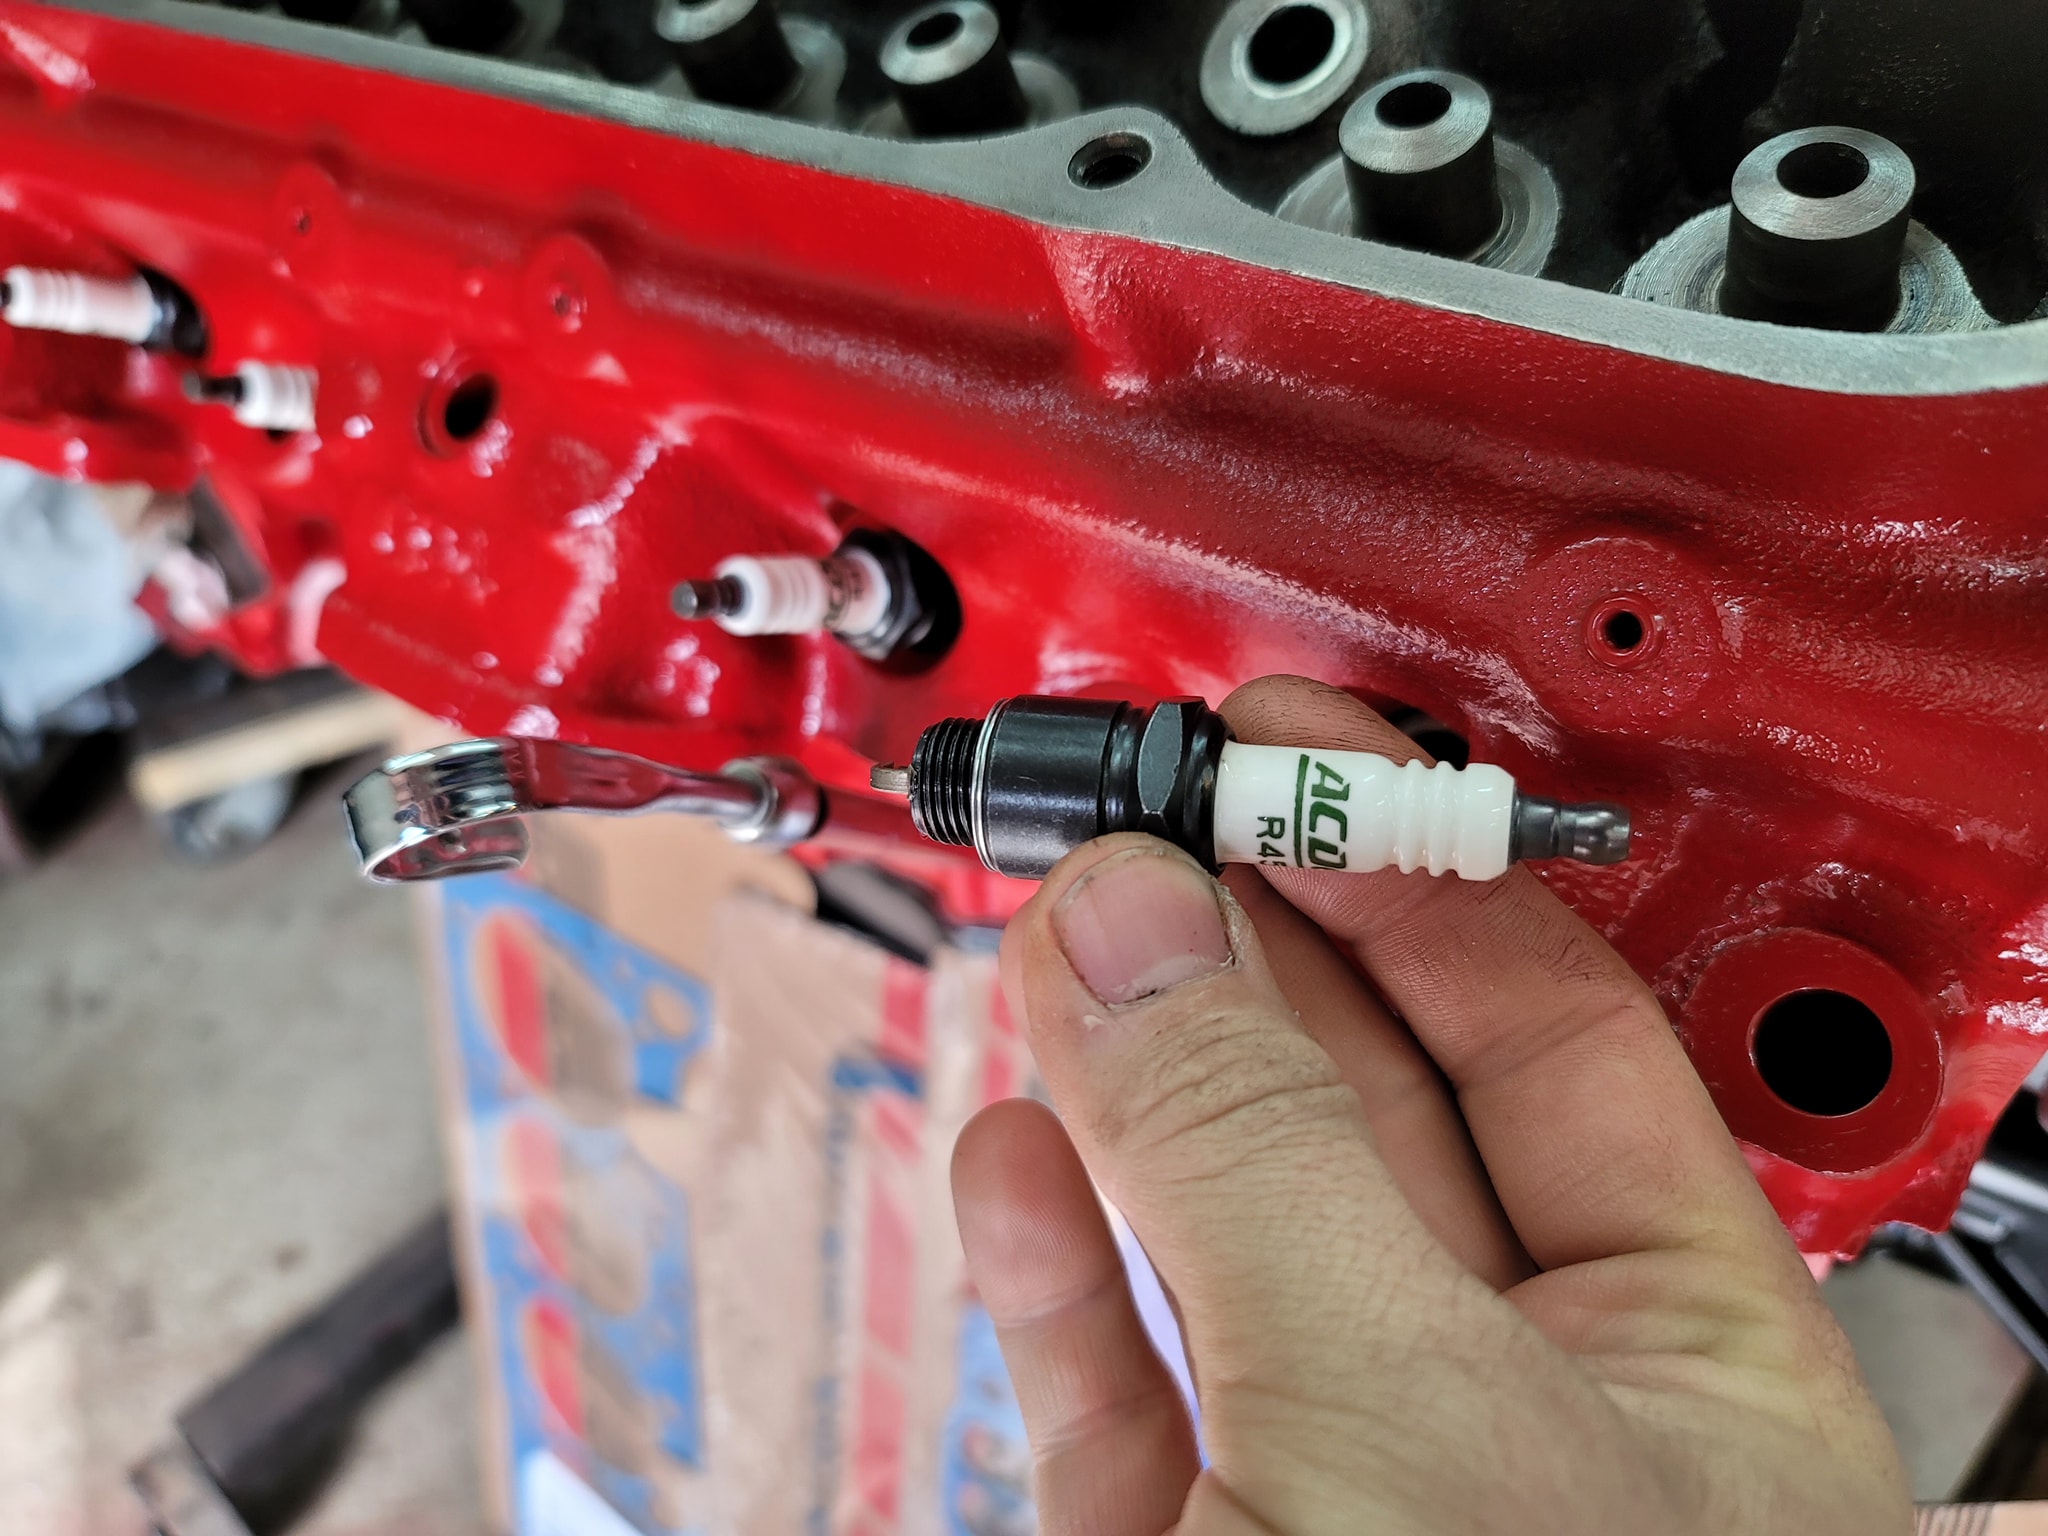
Found some black bodied plugs! Also gaskets came in!
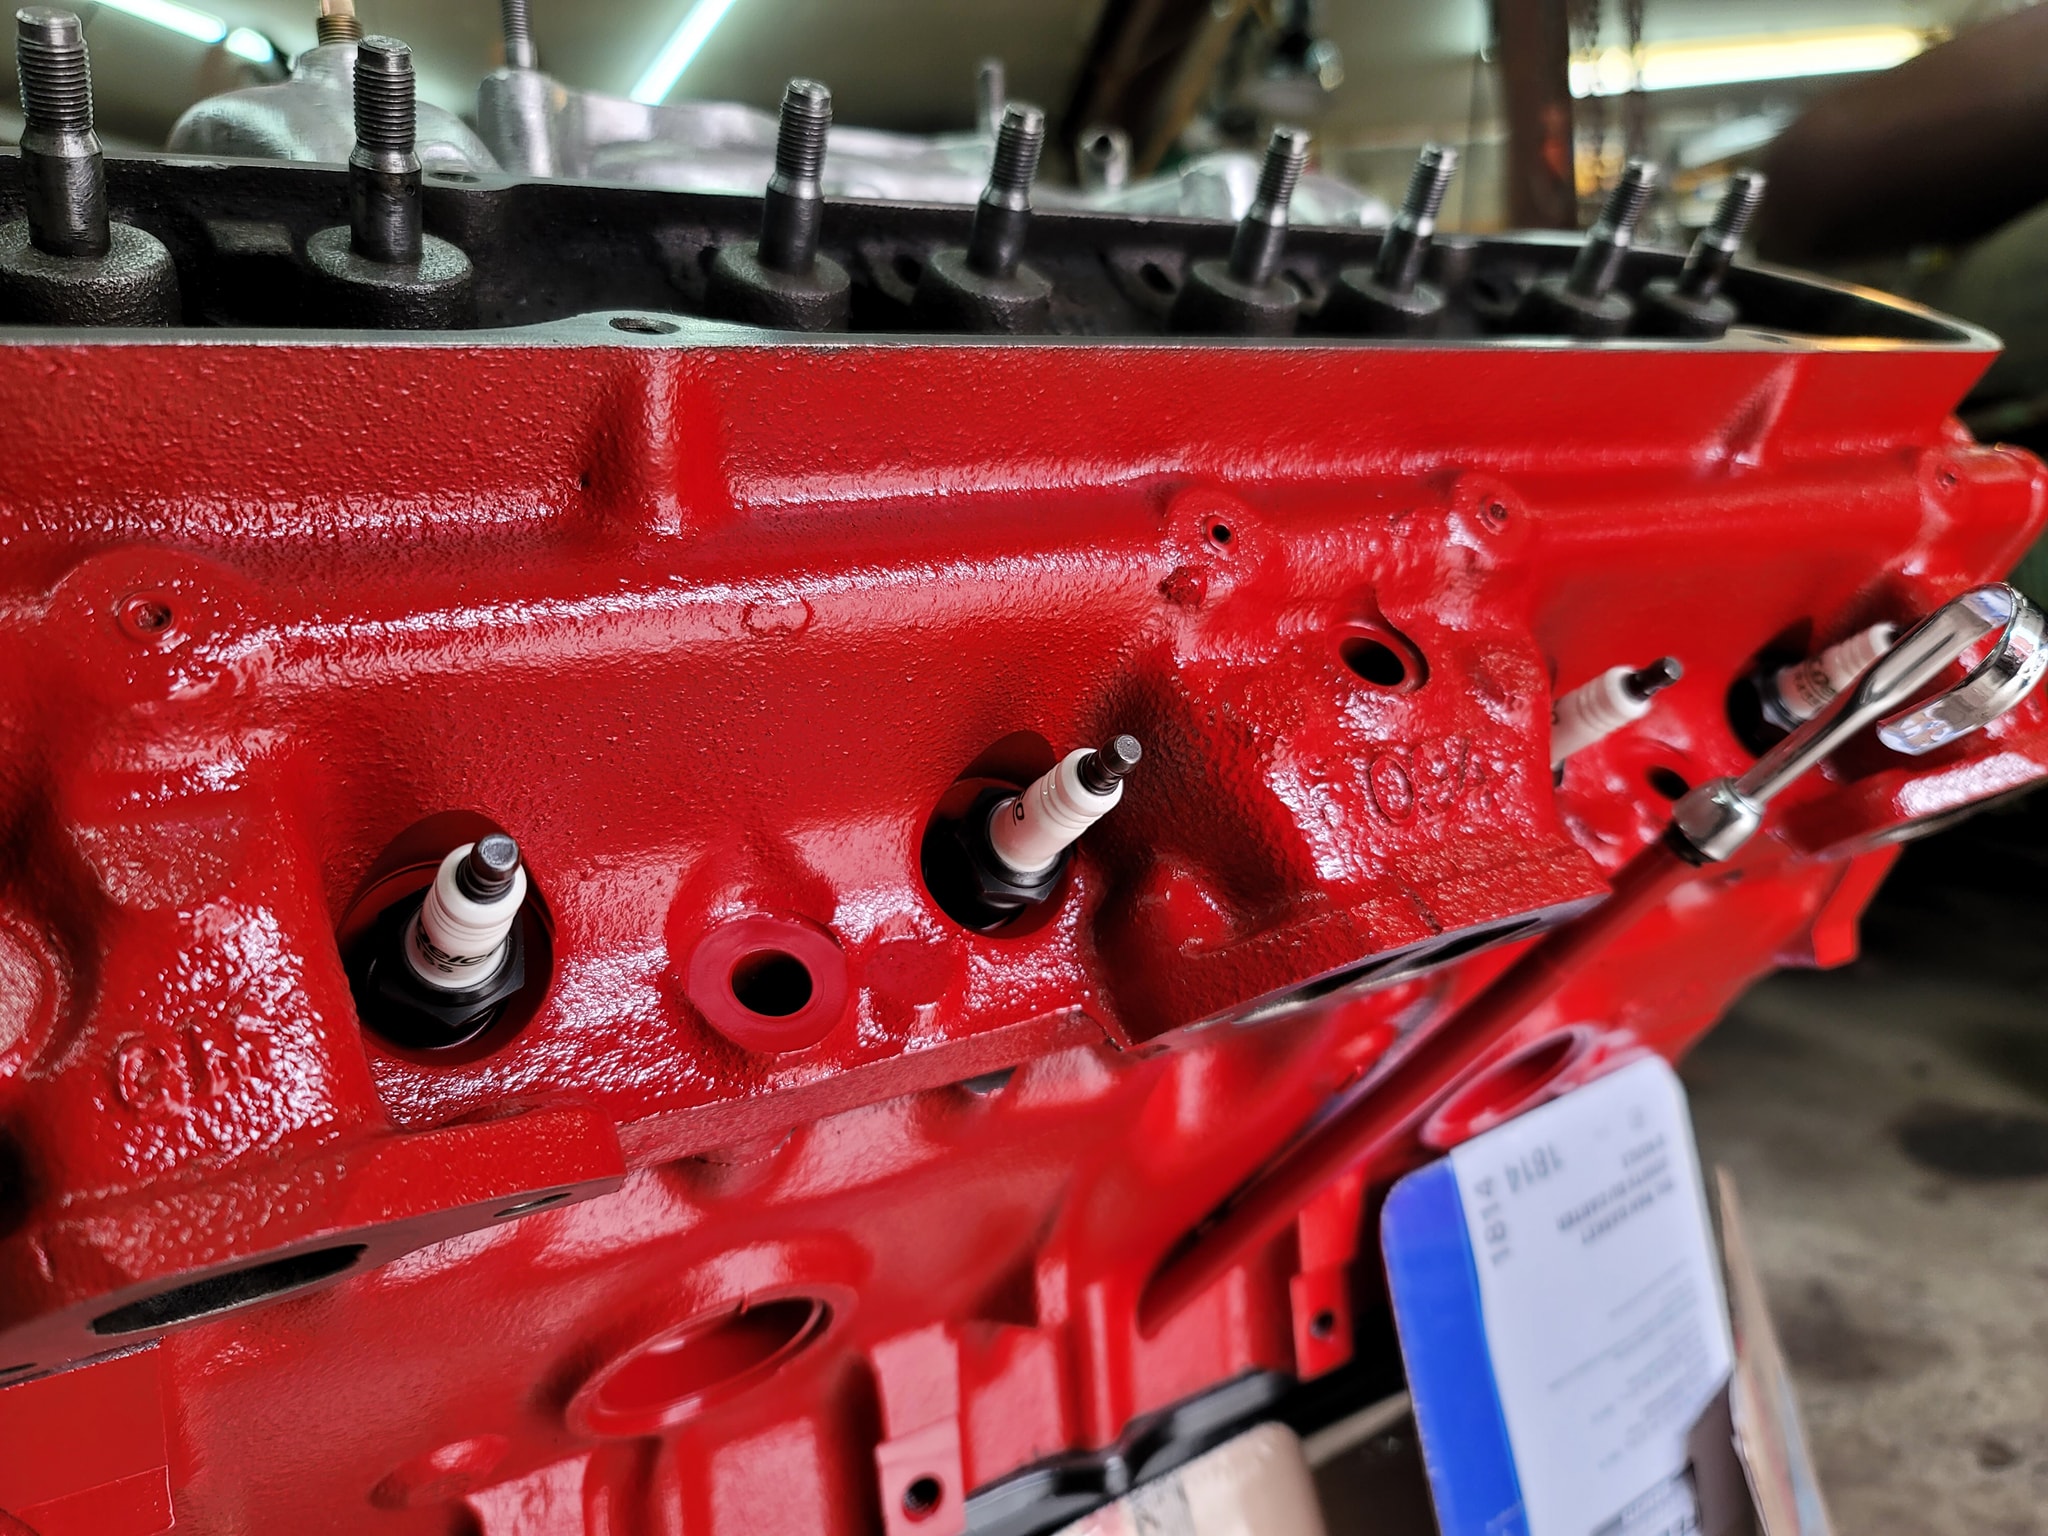

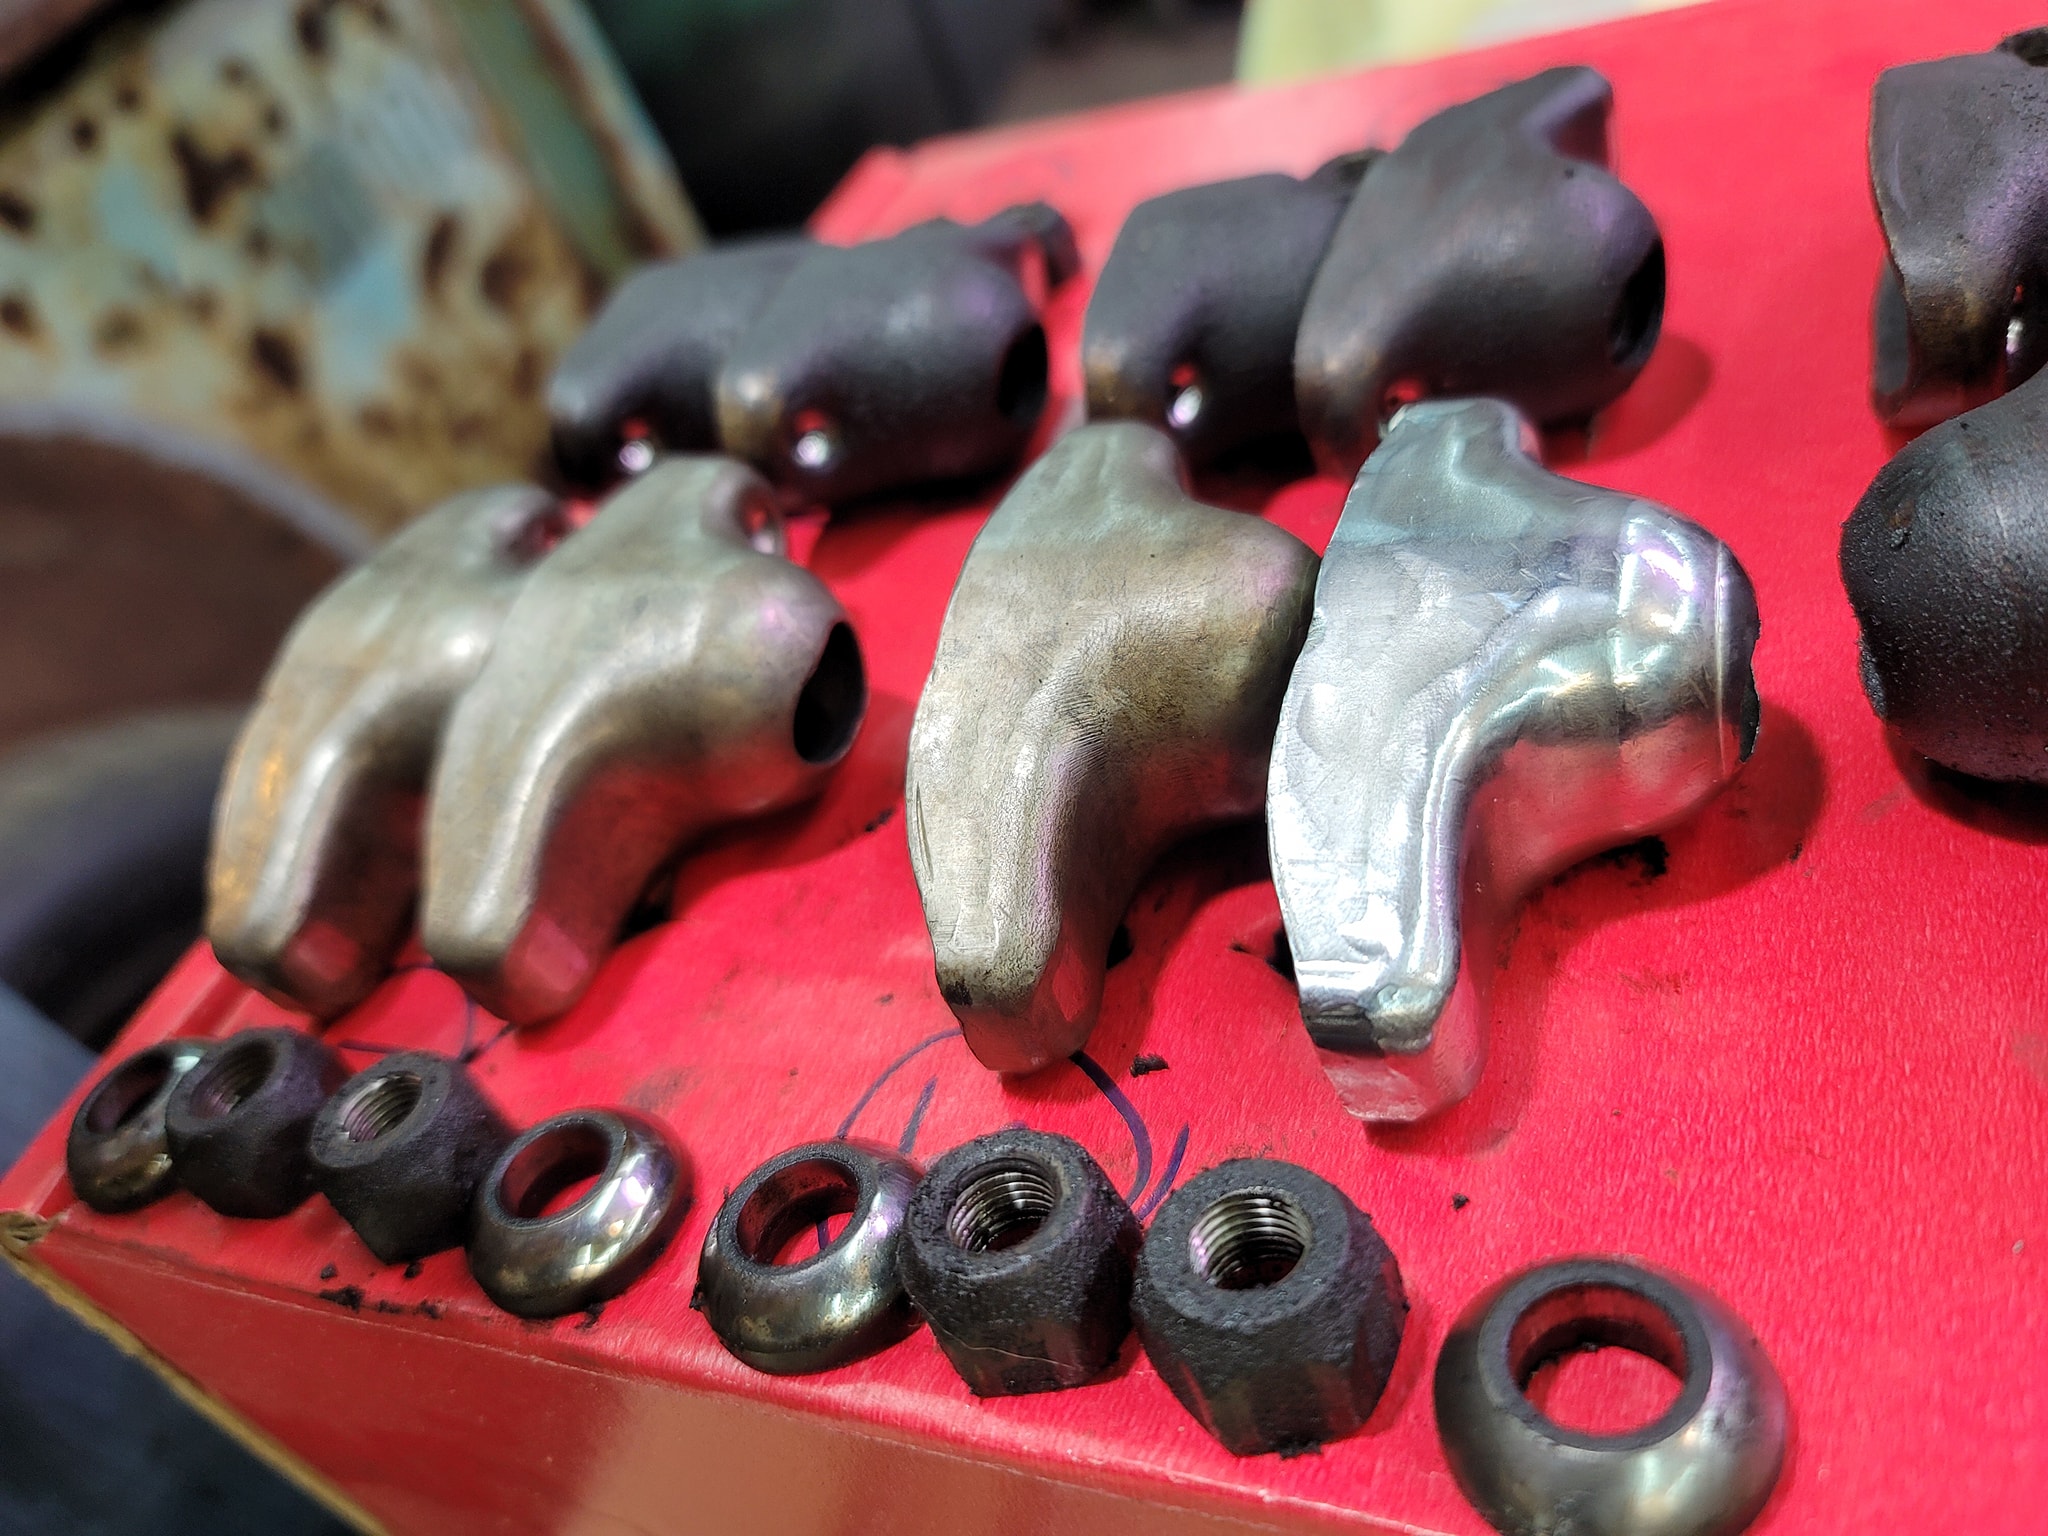
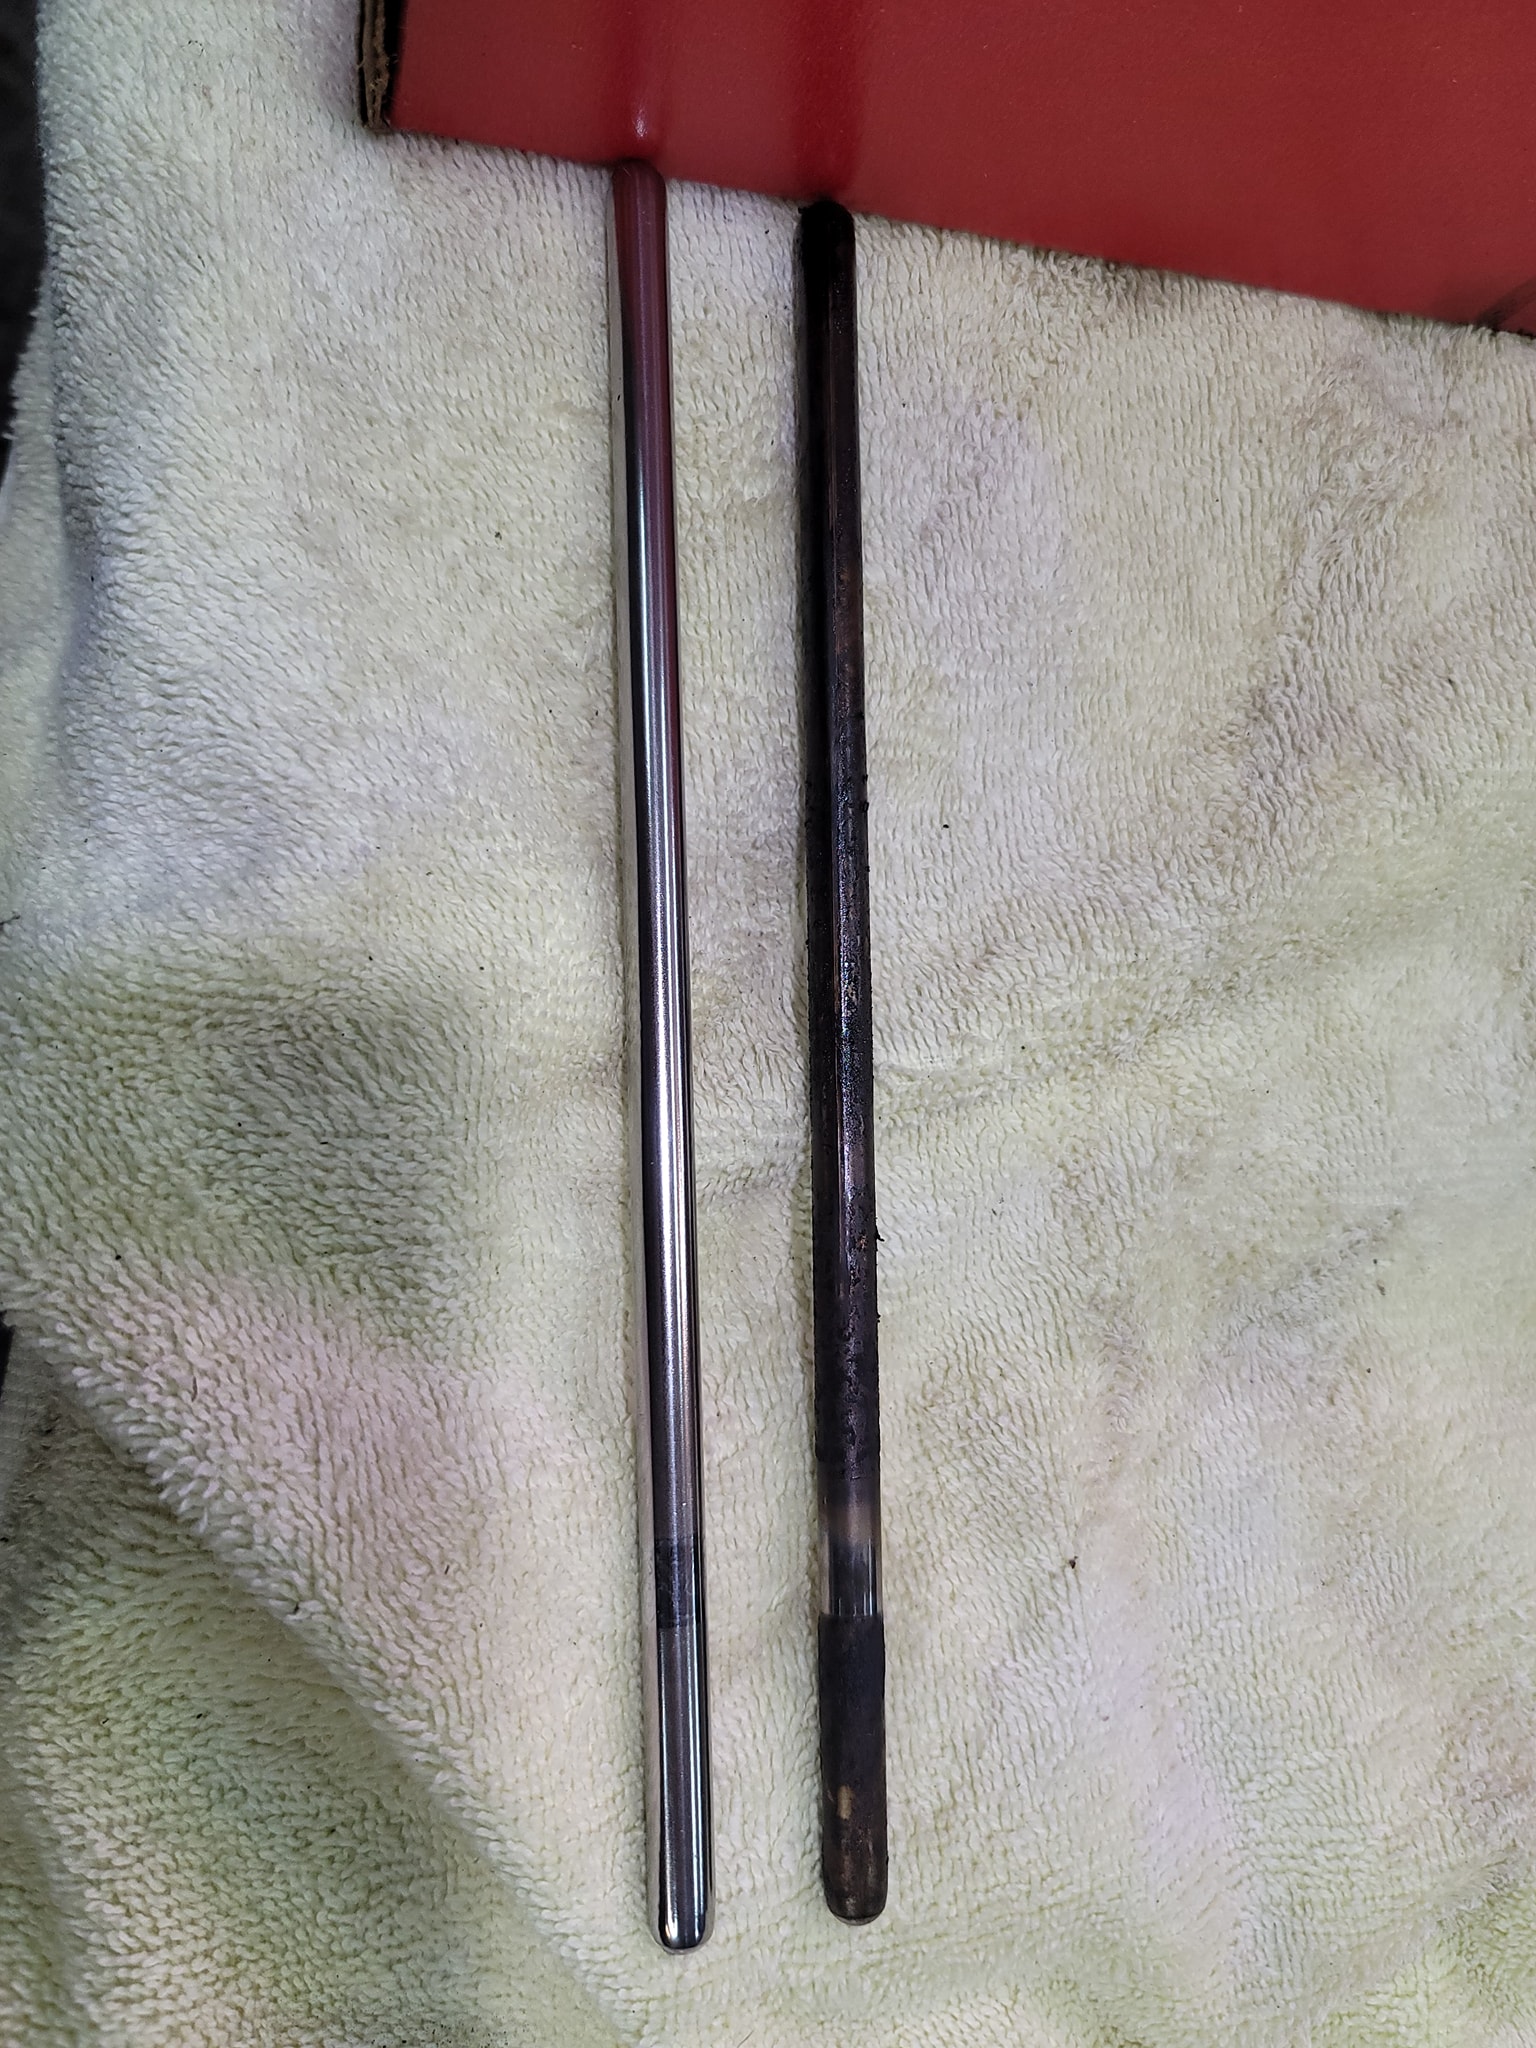
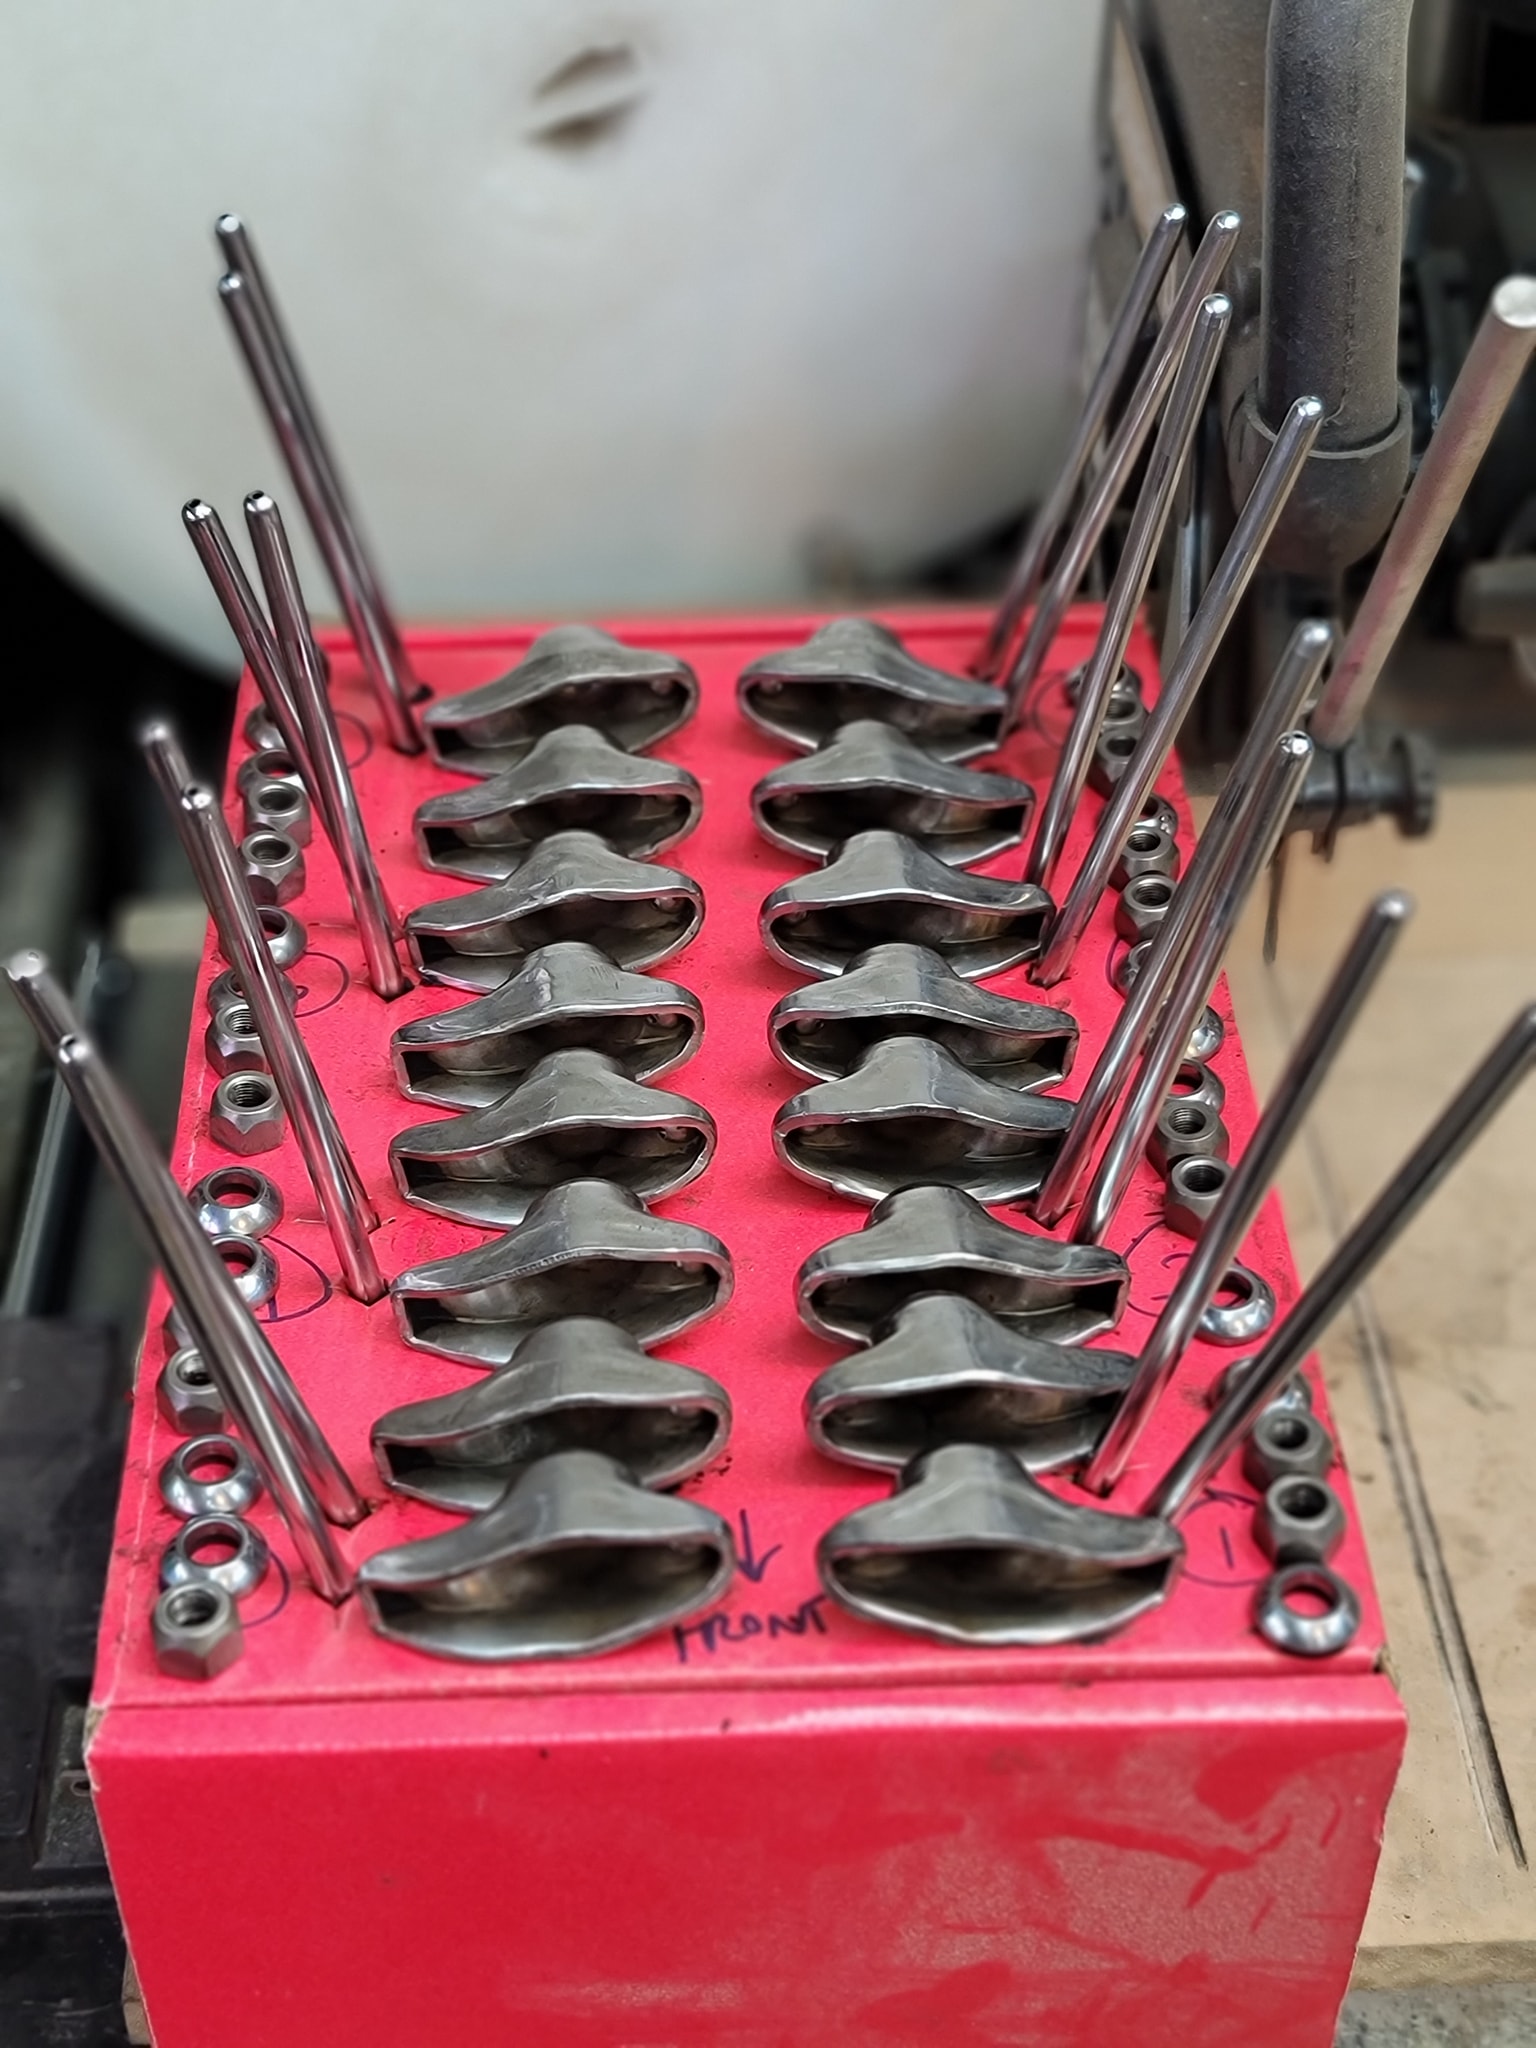
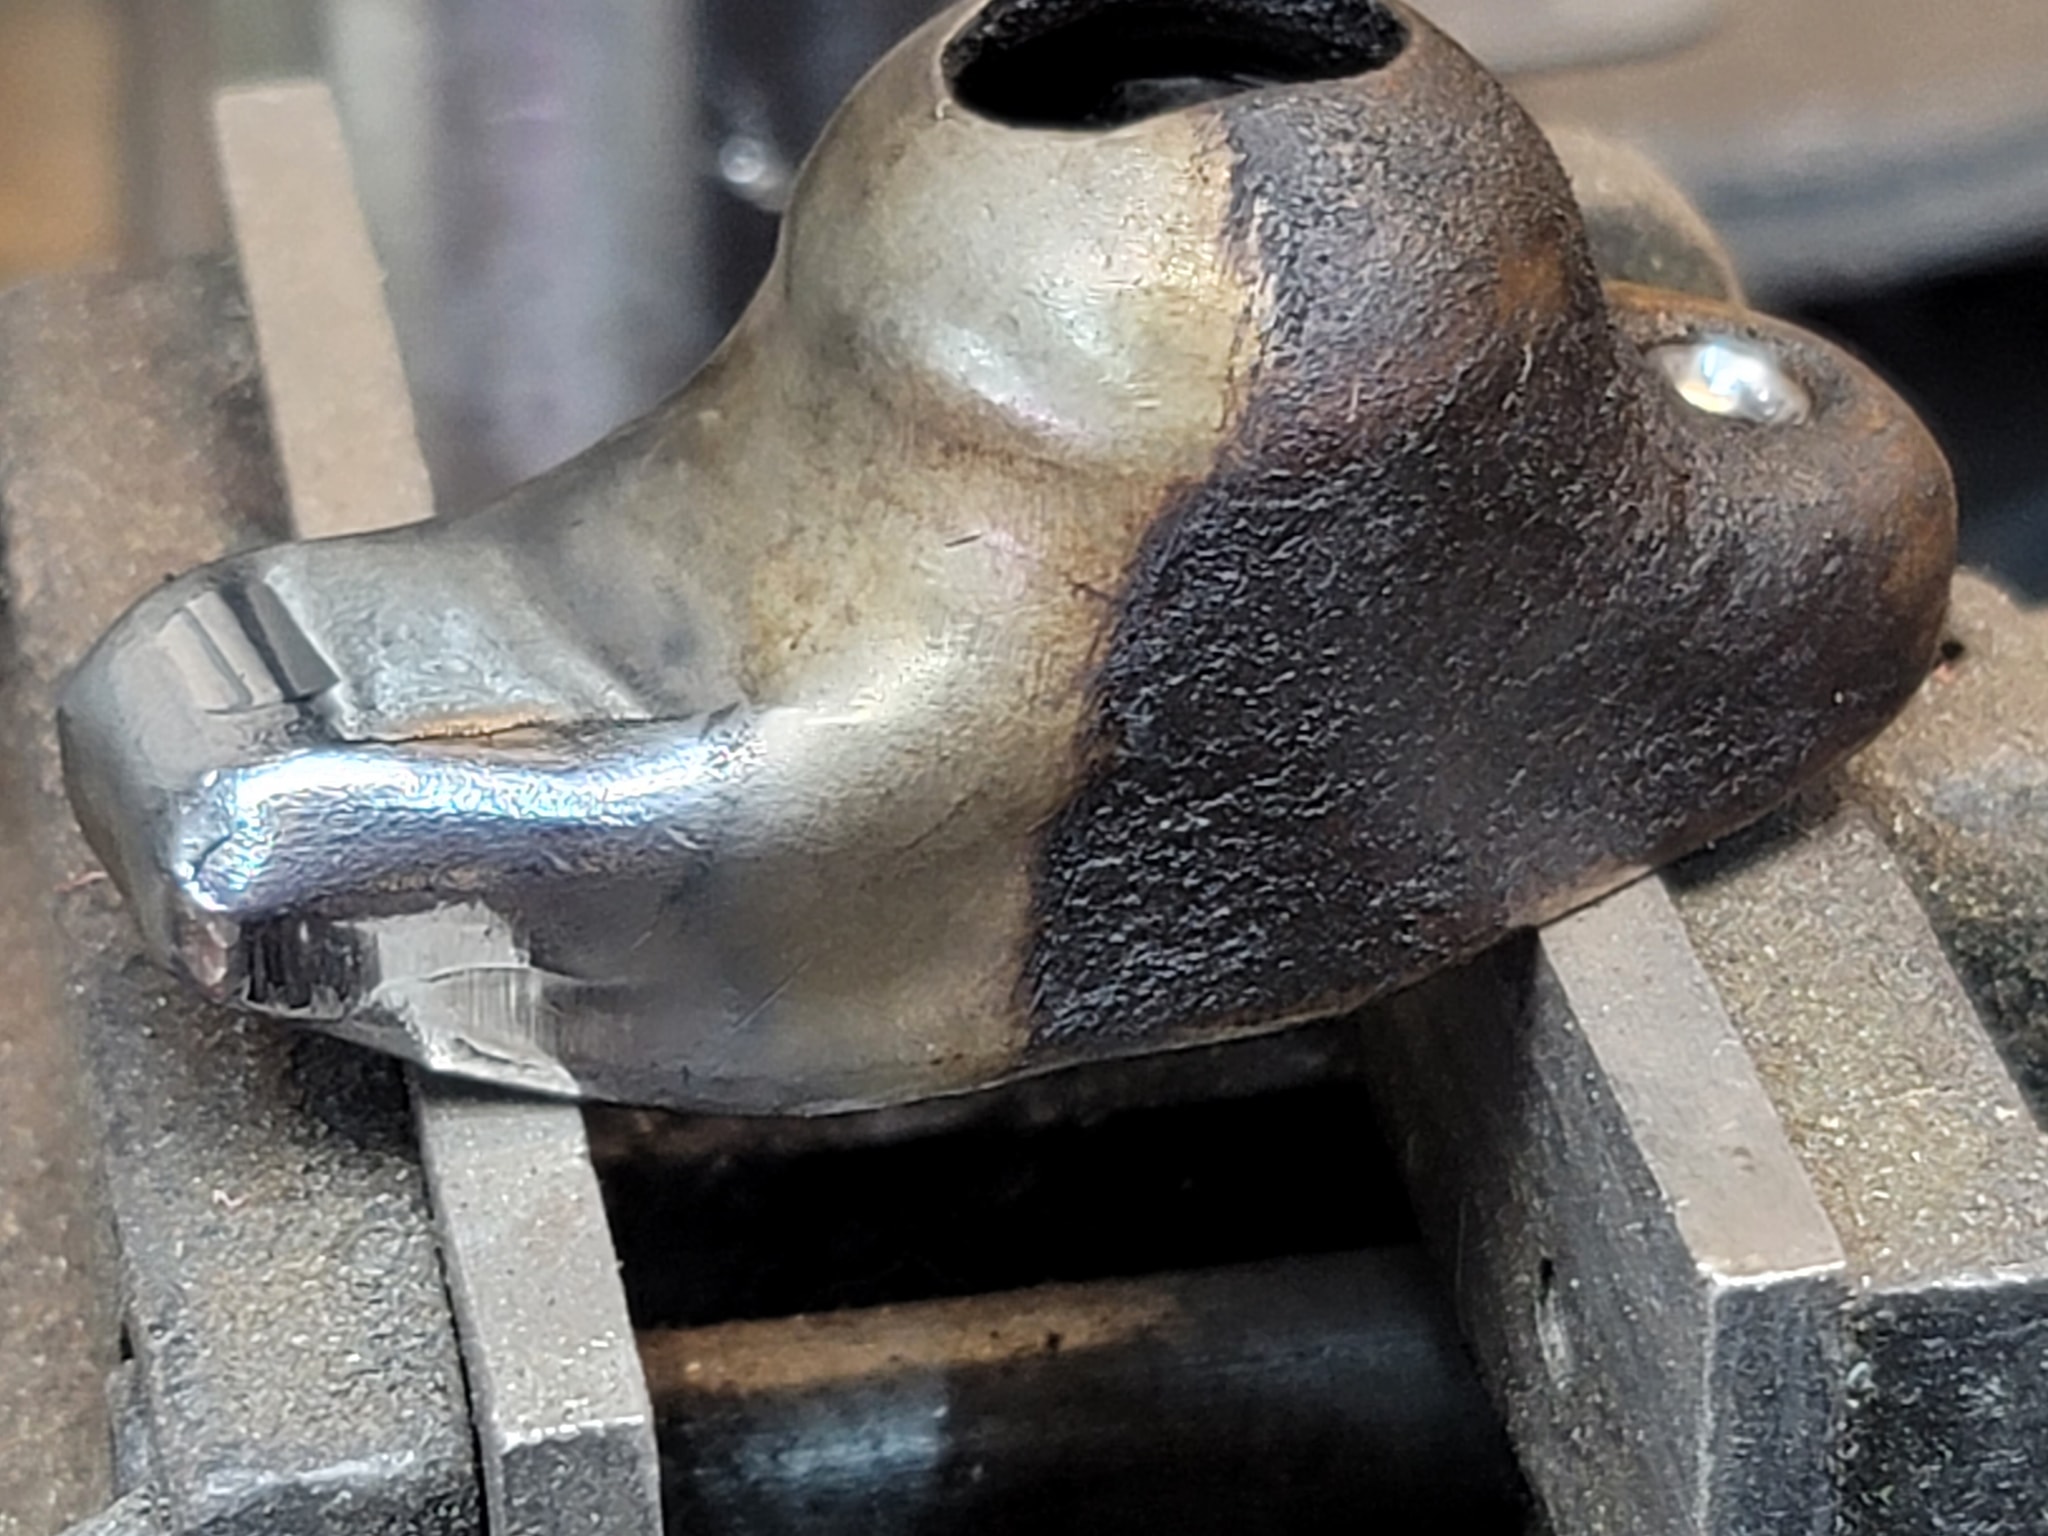
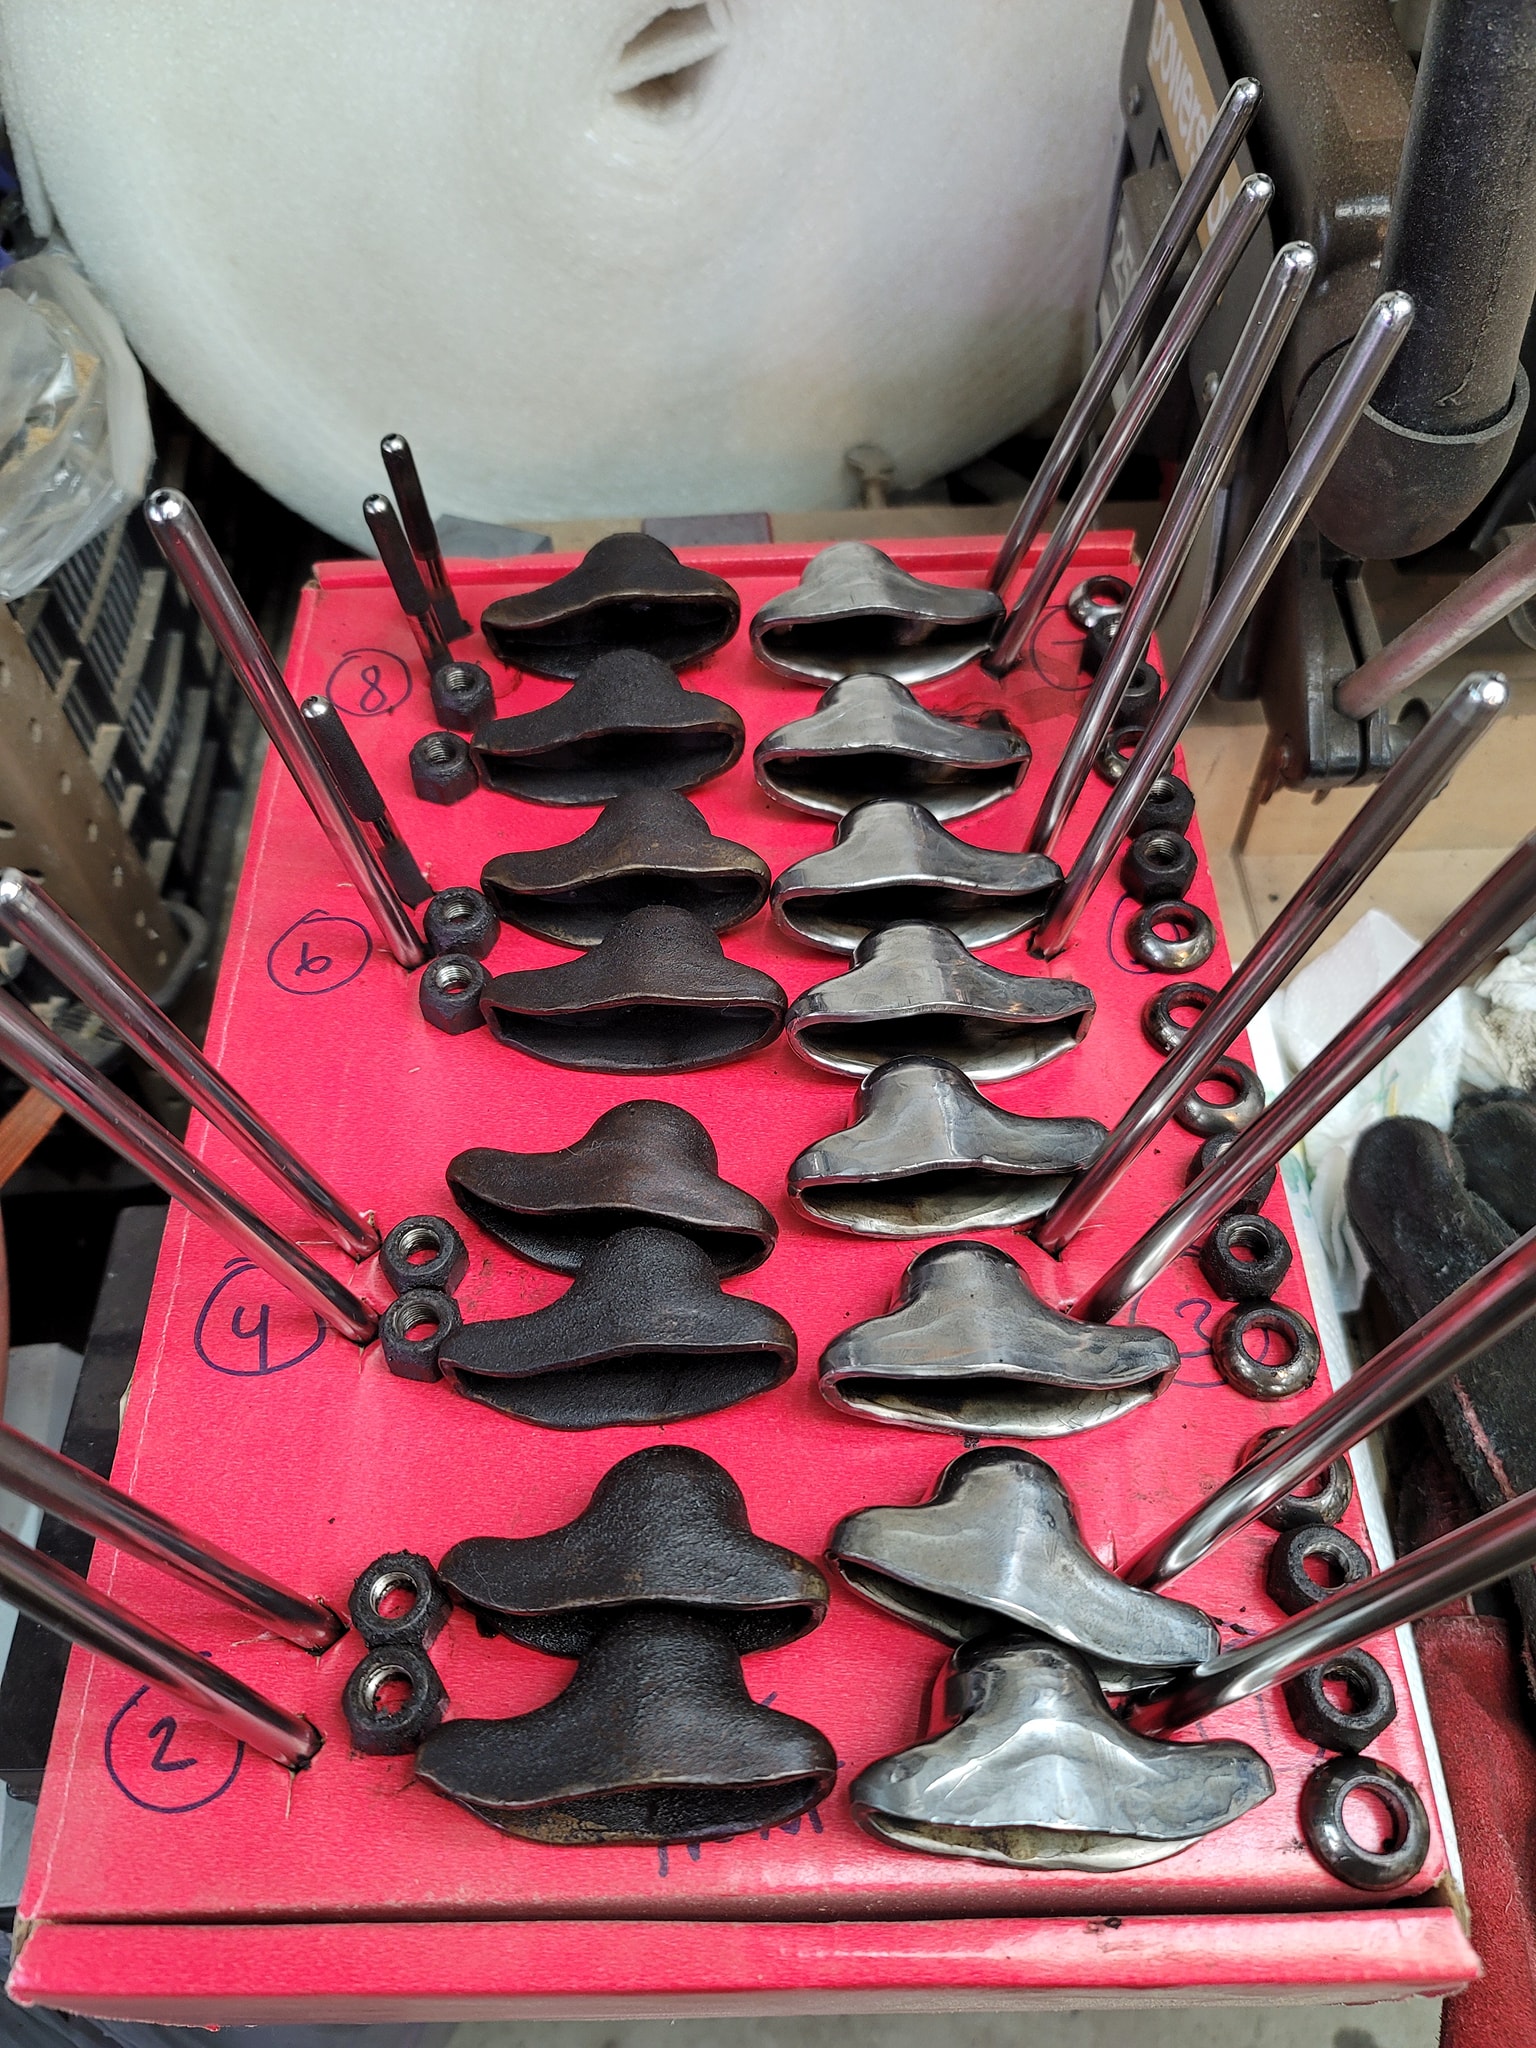
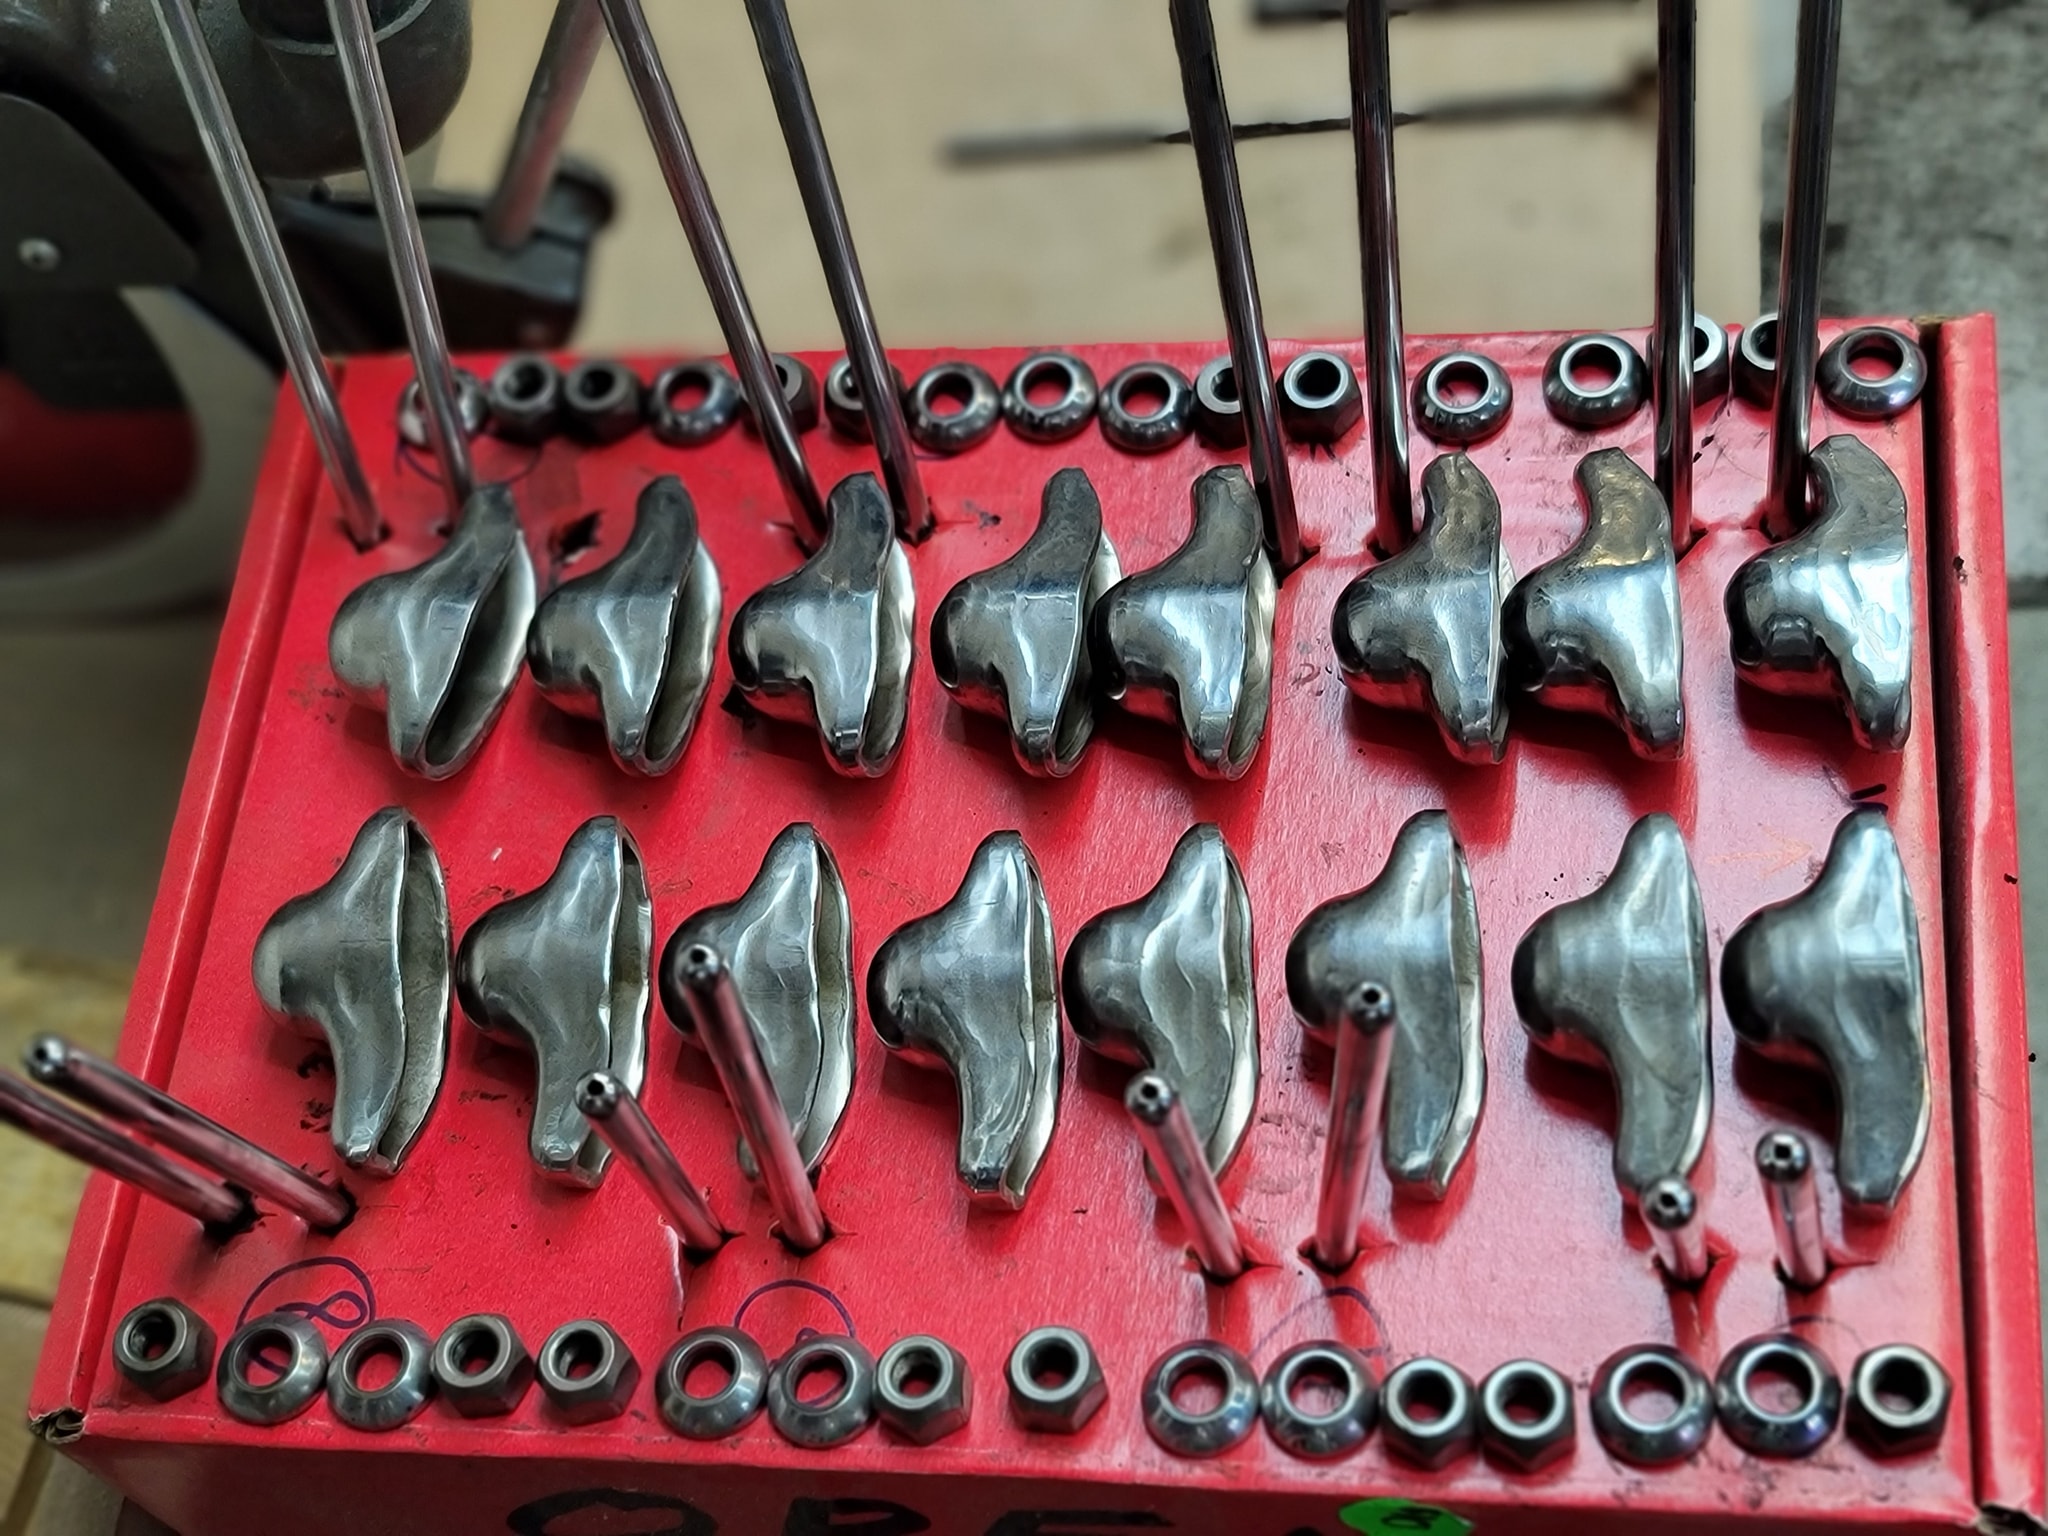
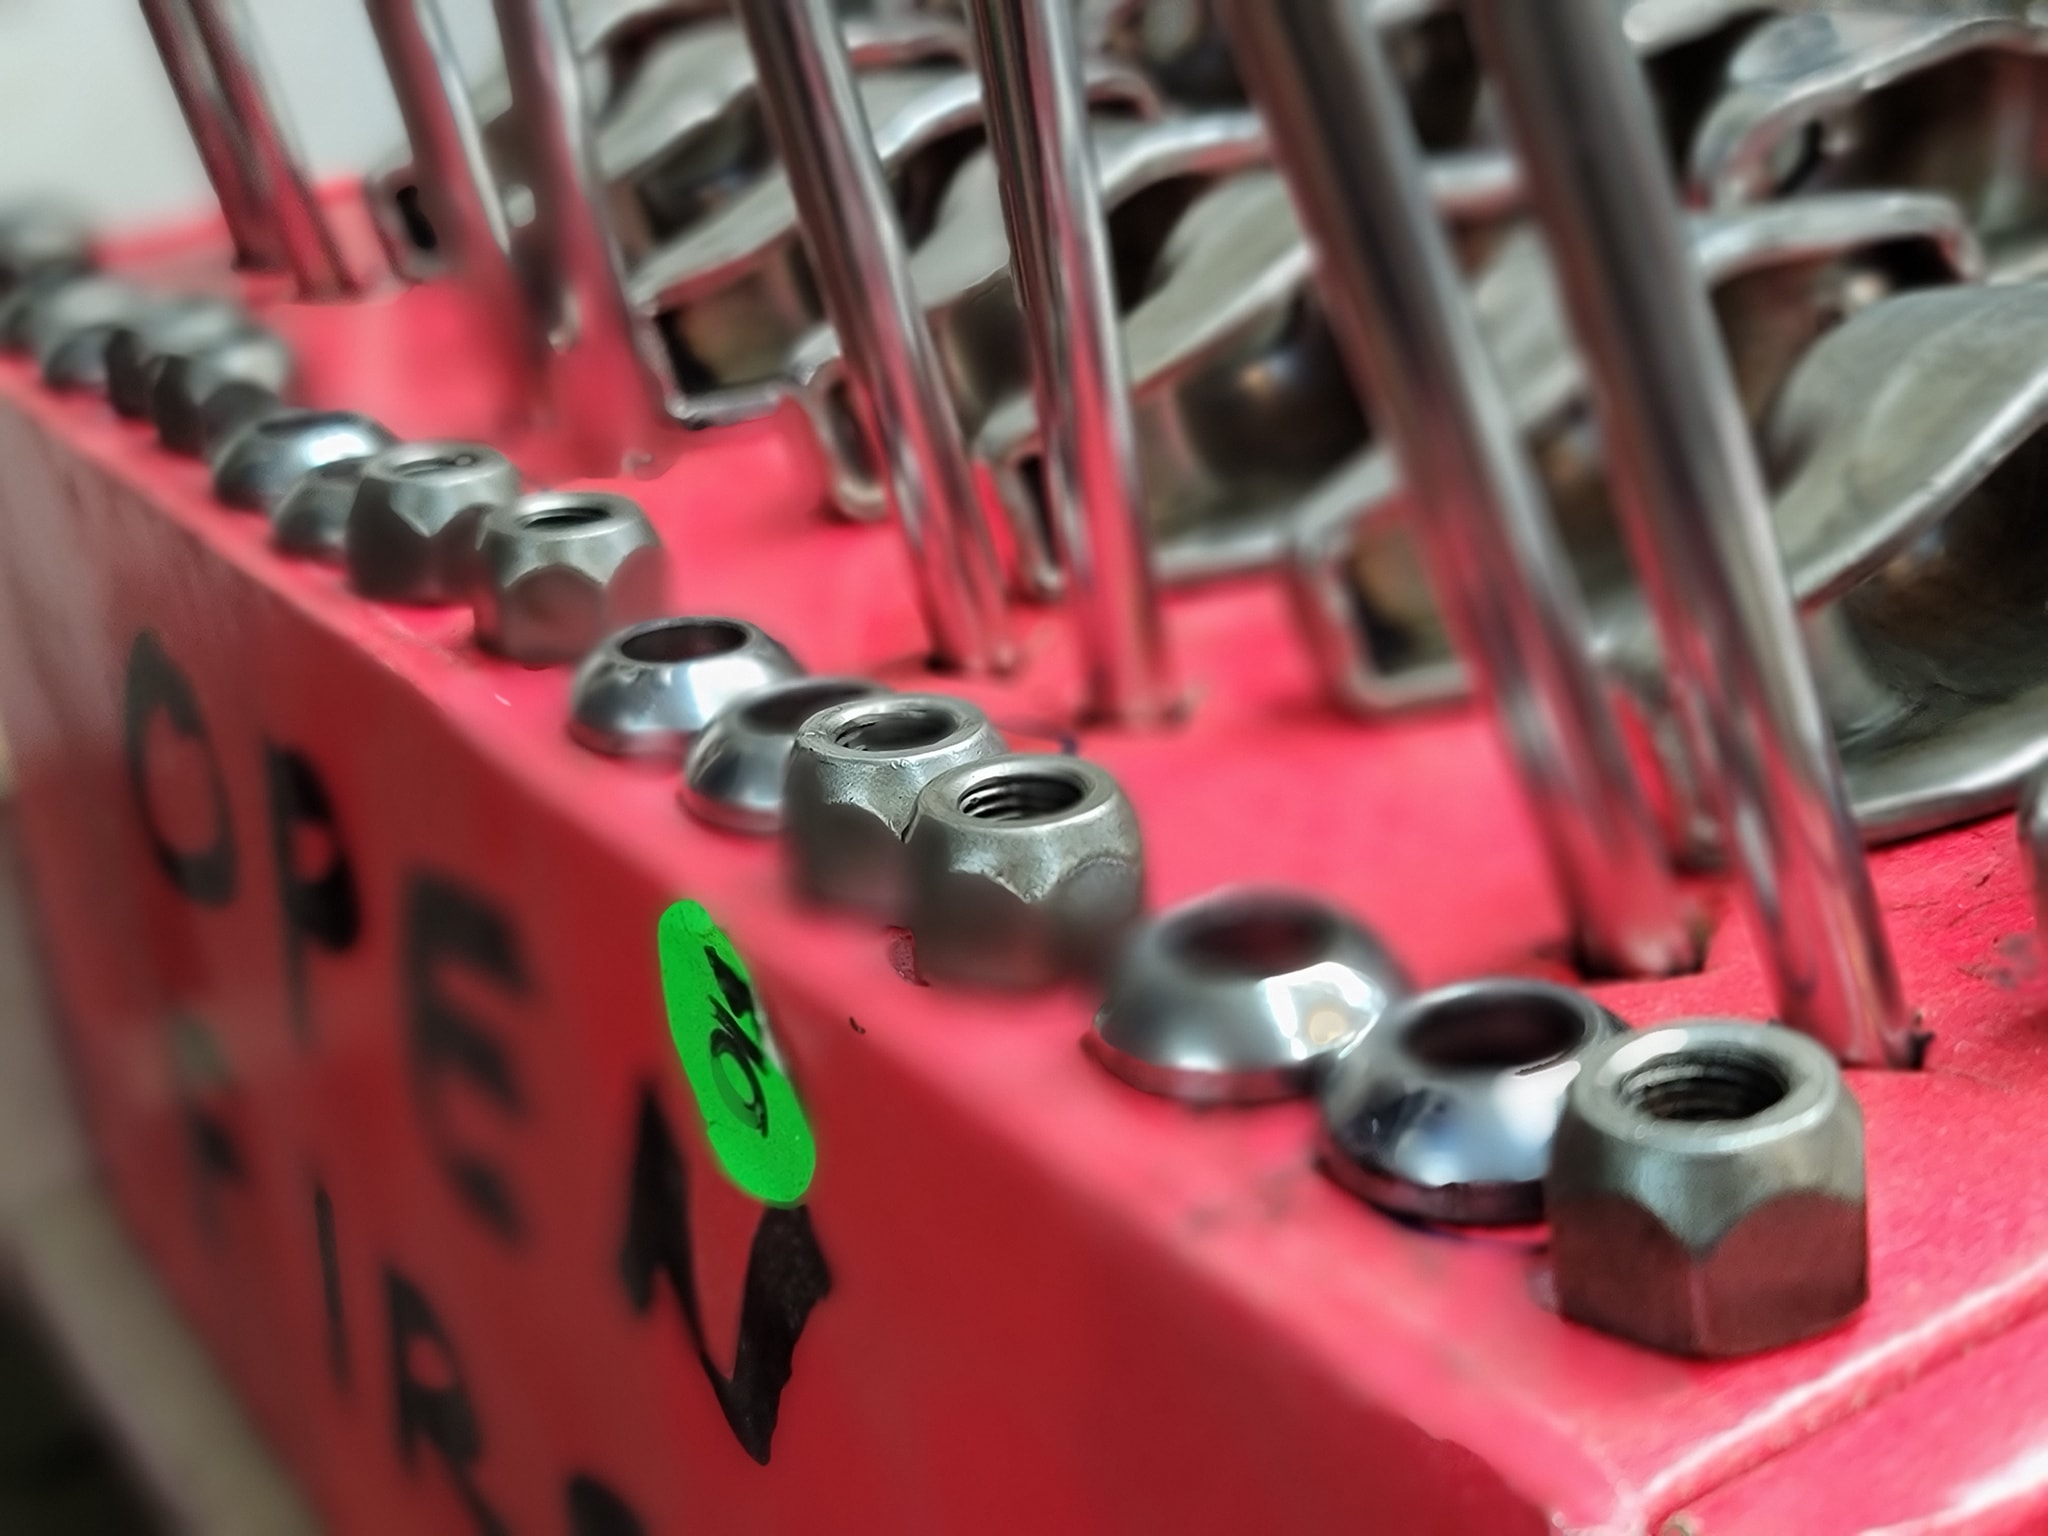
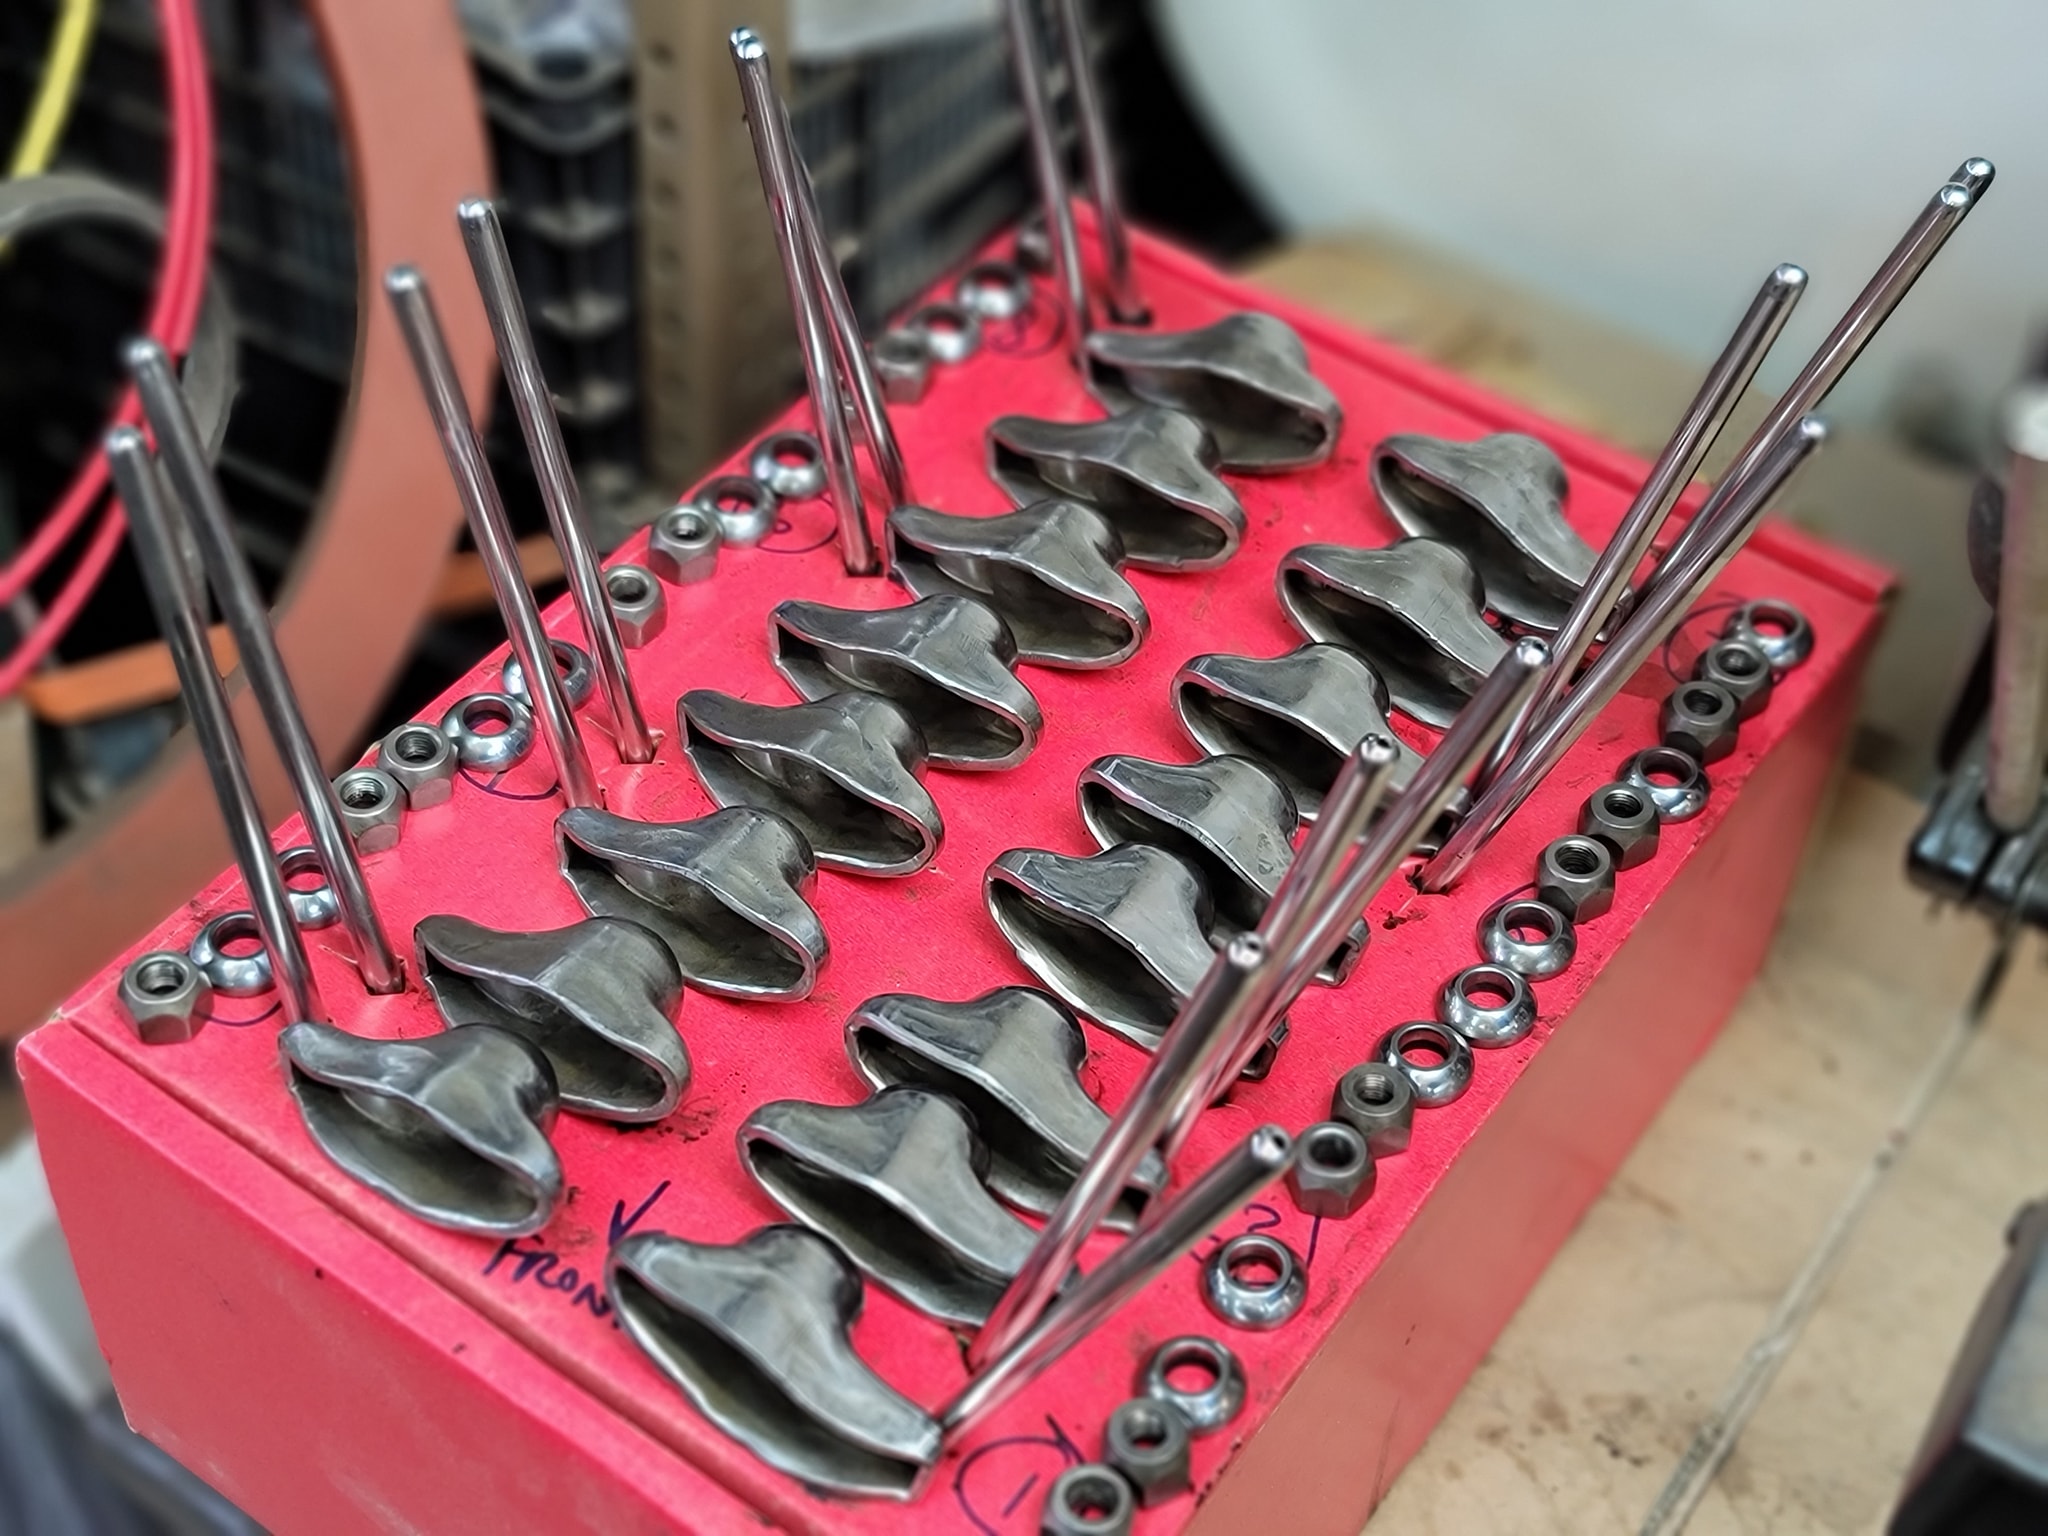
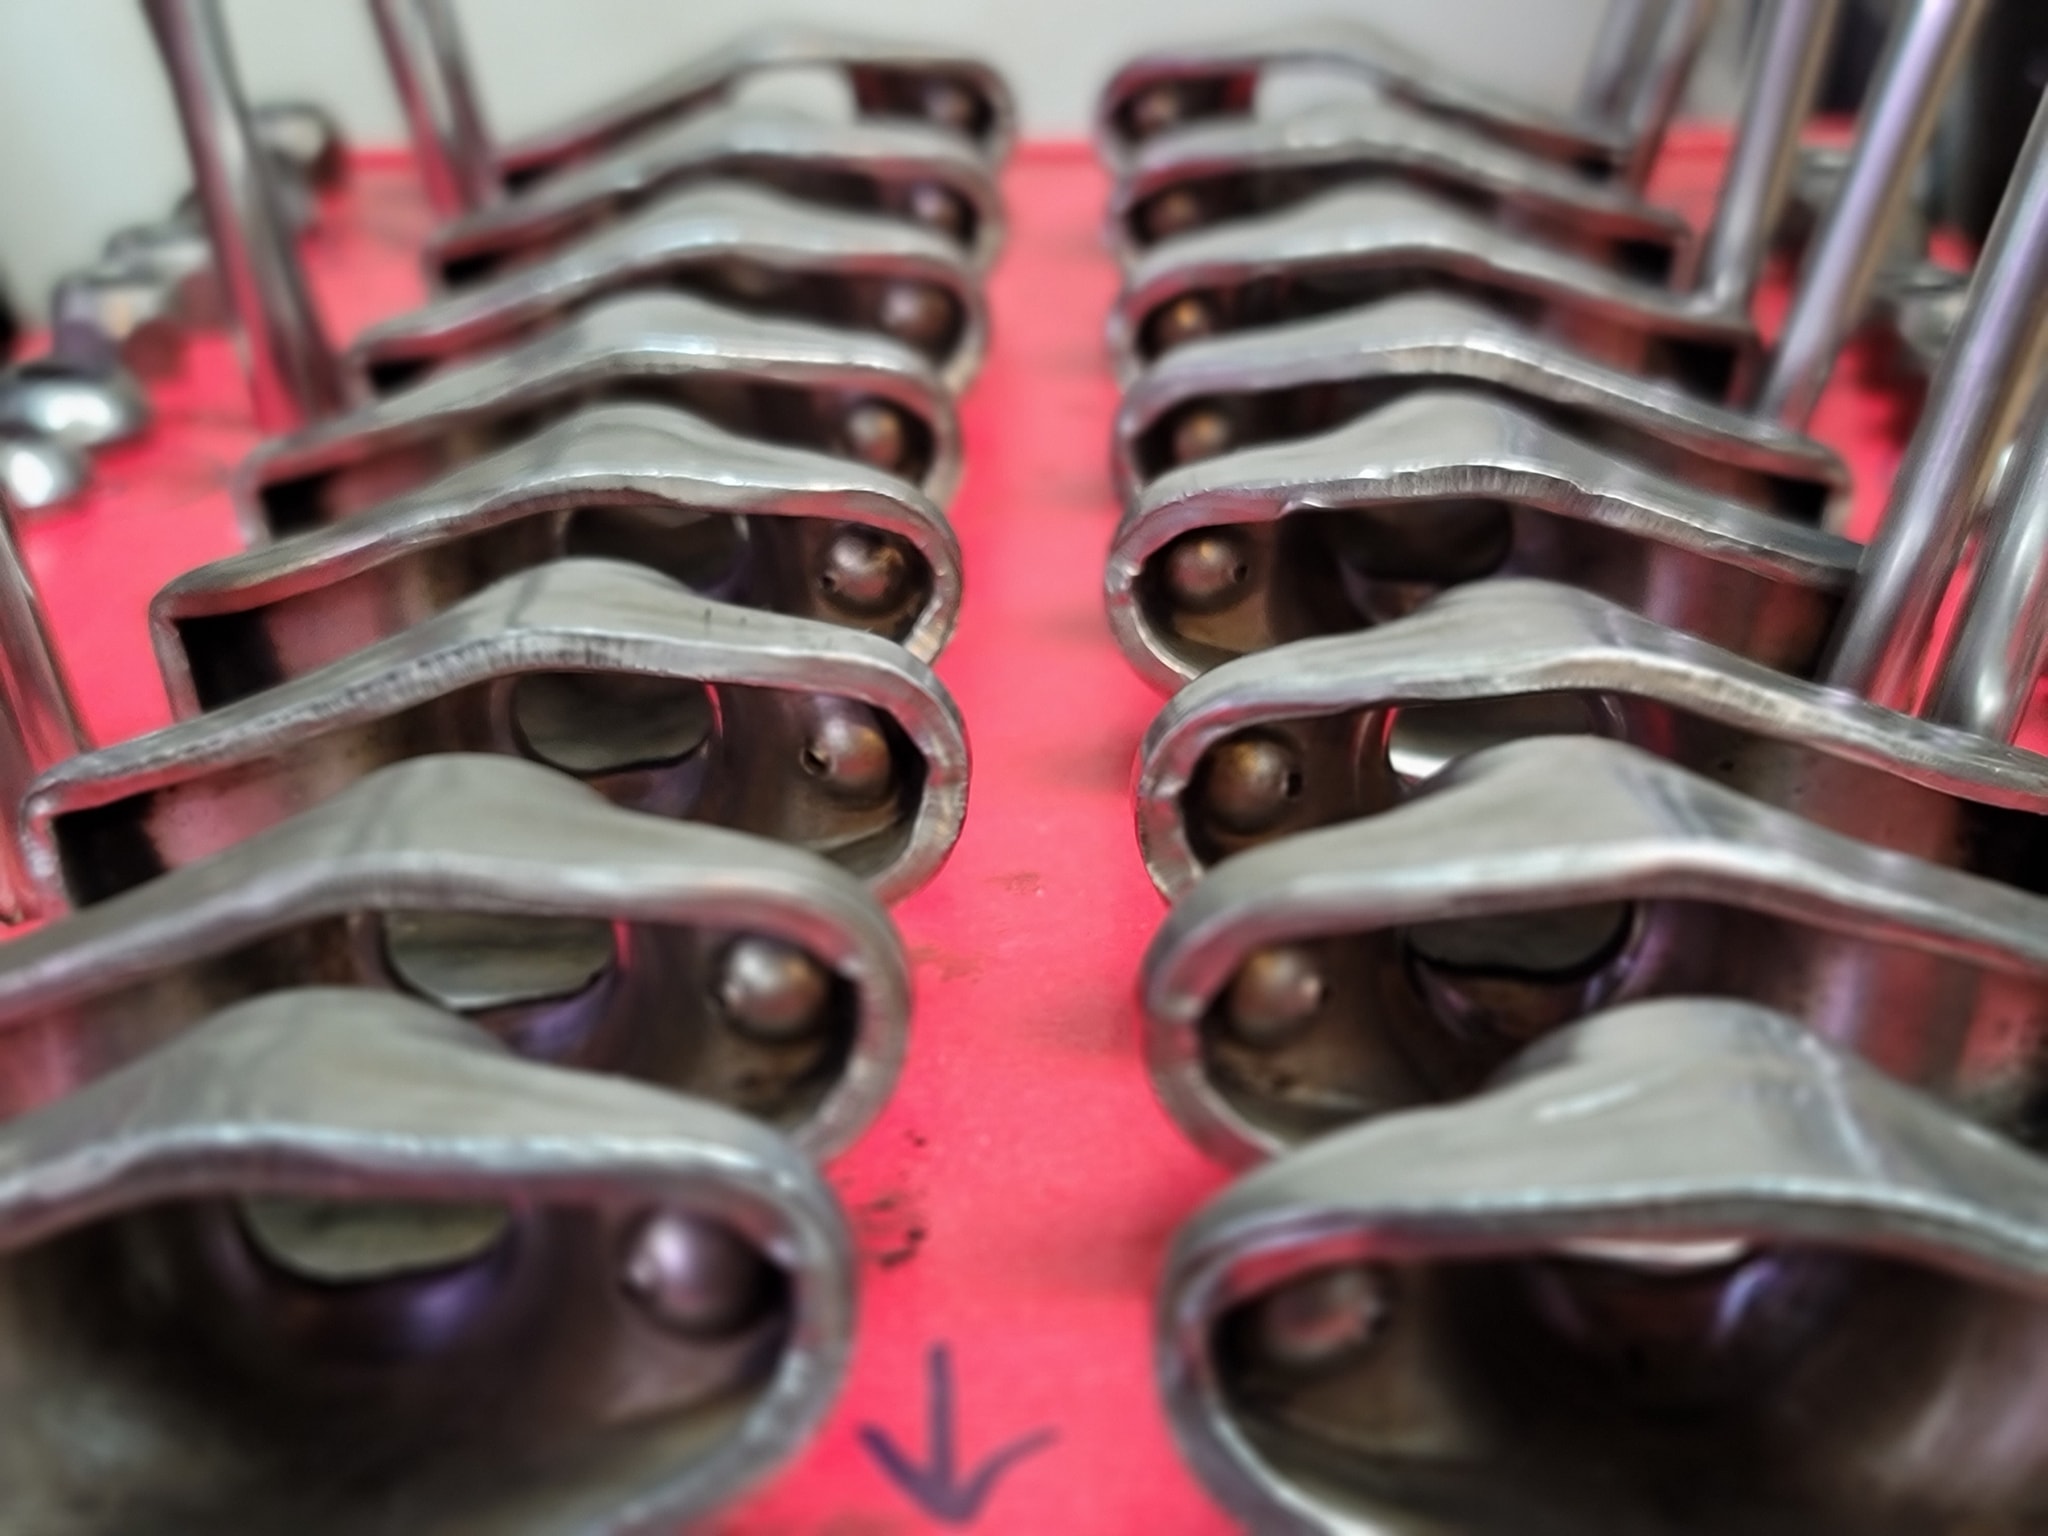
Cleaned up and polished all the rocker parts, sooo much work in such a small spot ha!
Intake painted!!
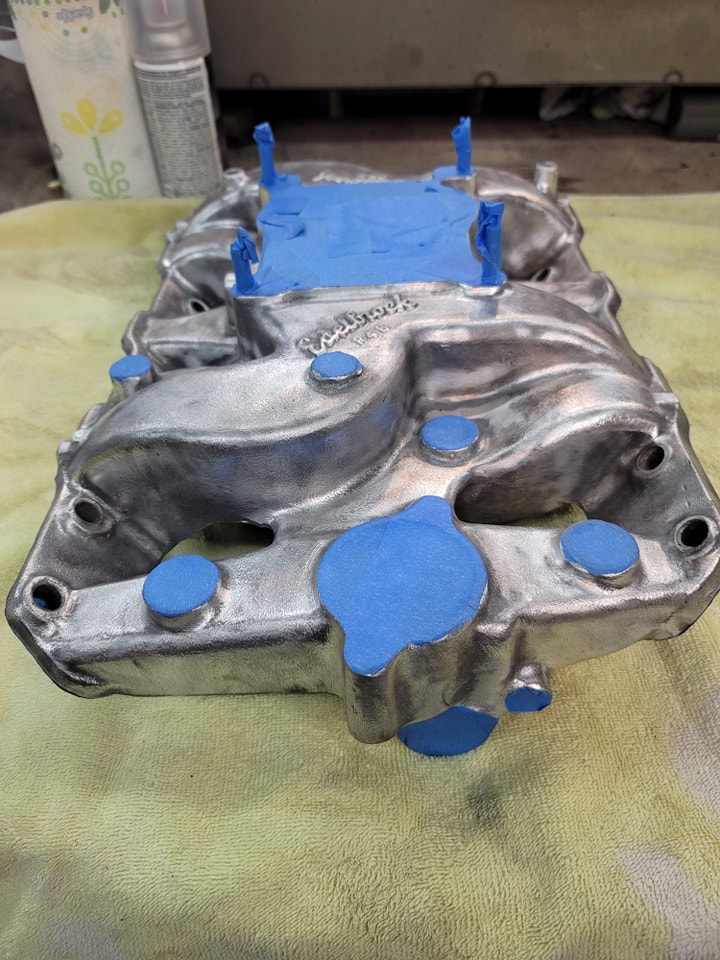
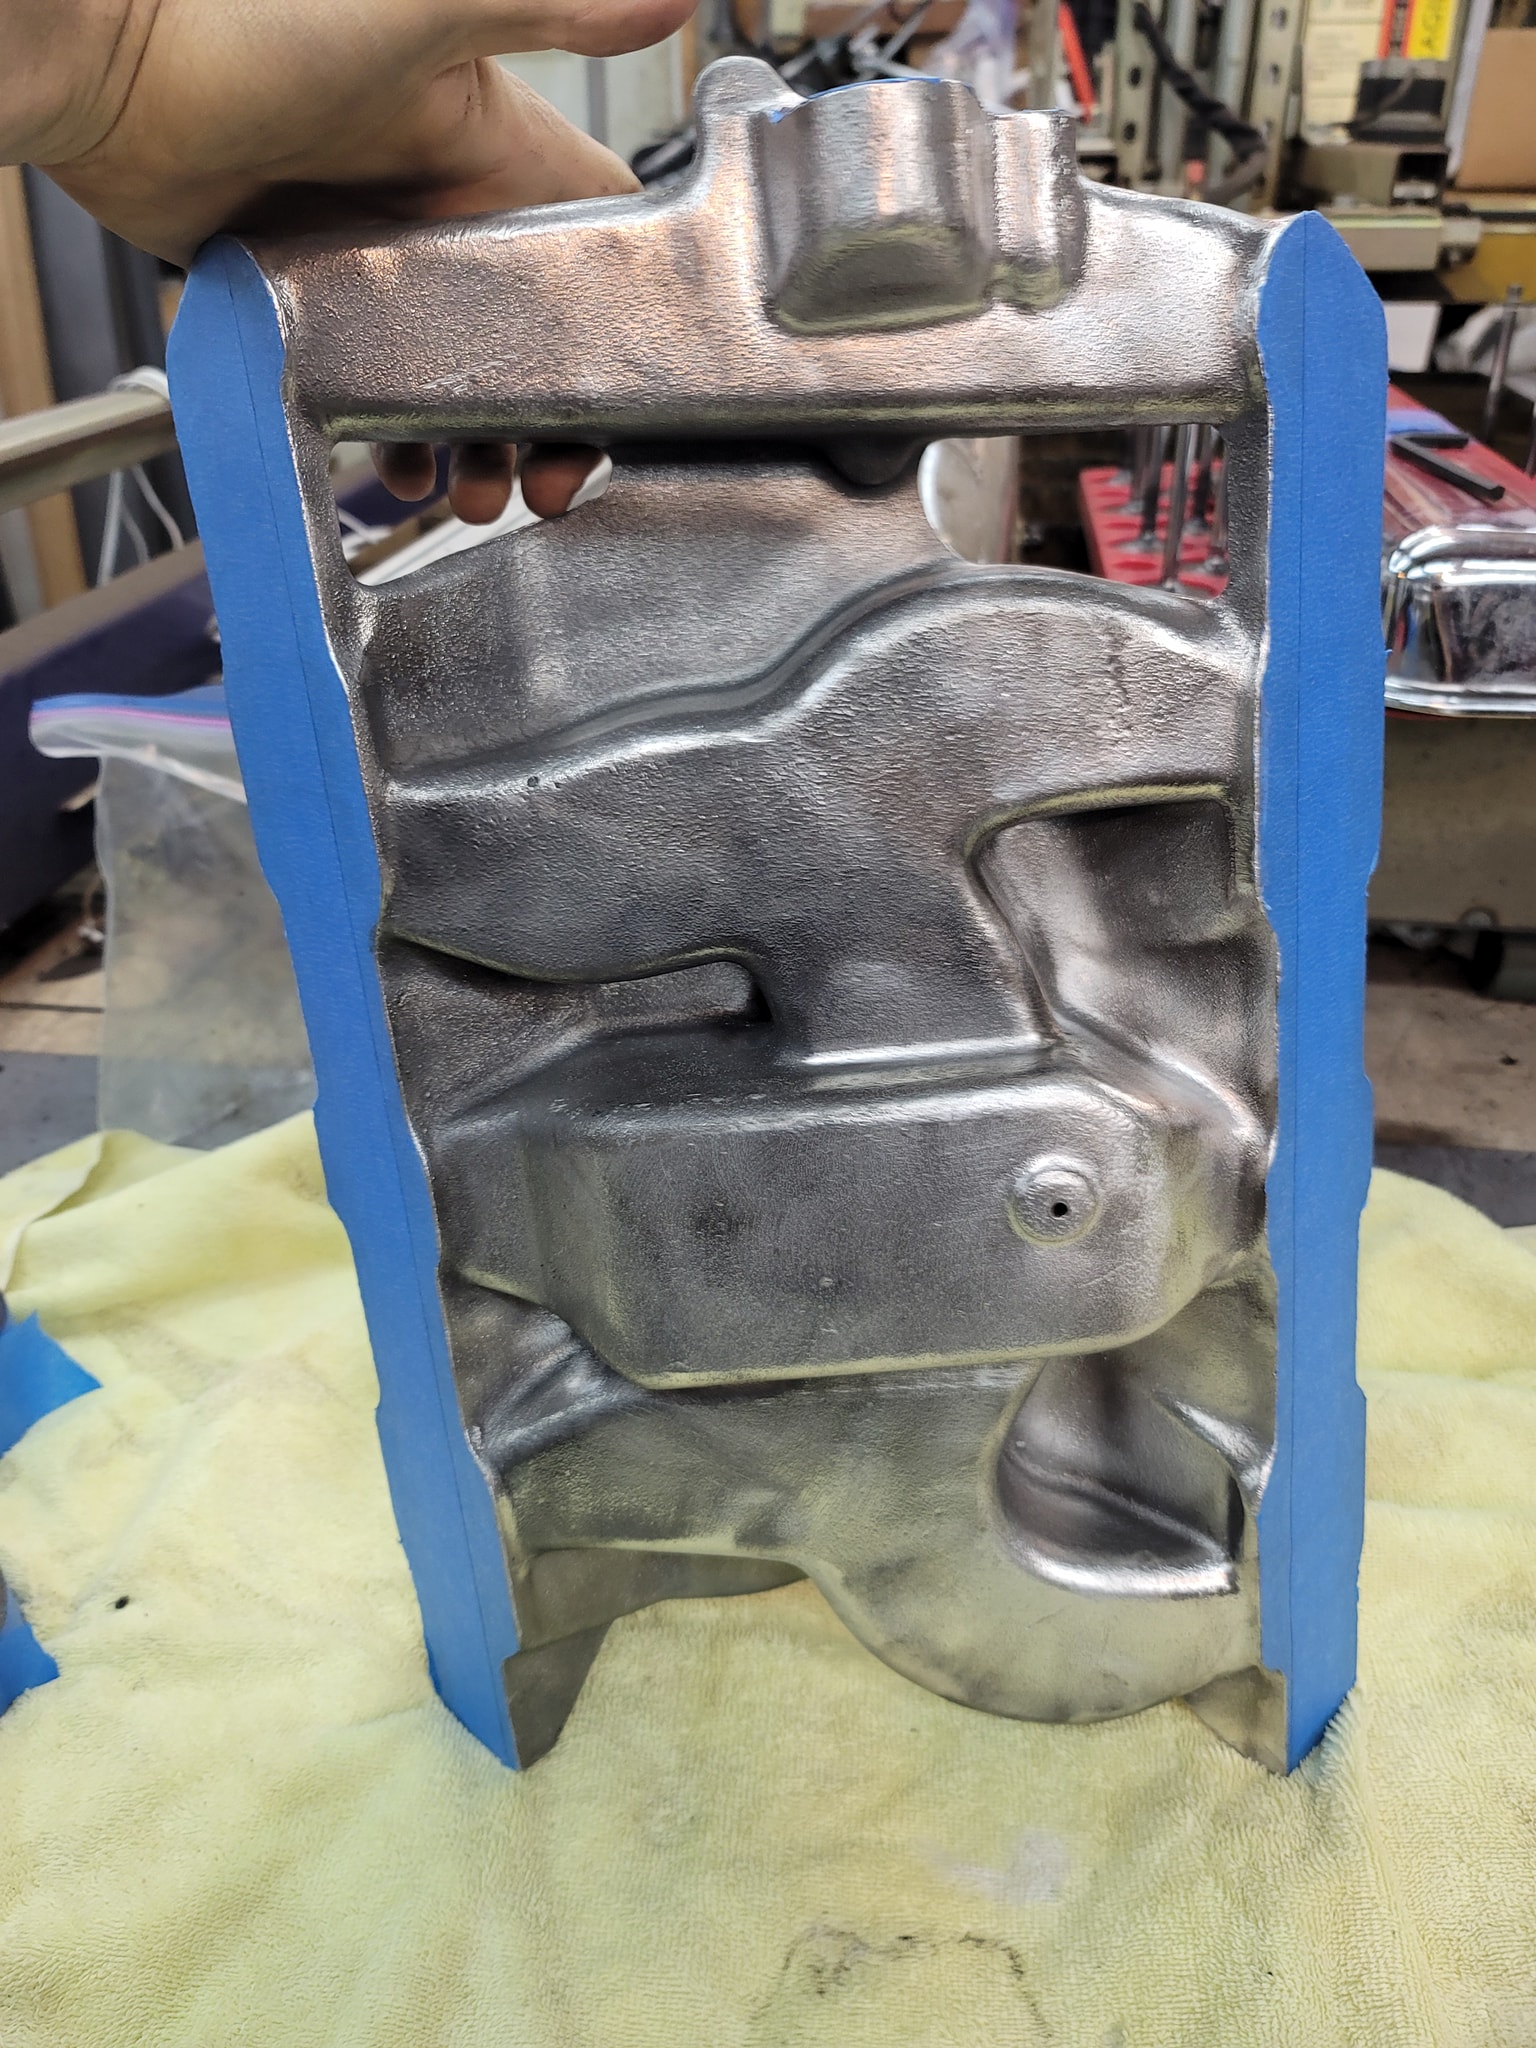
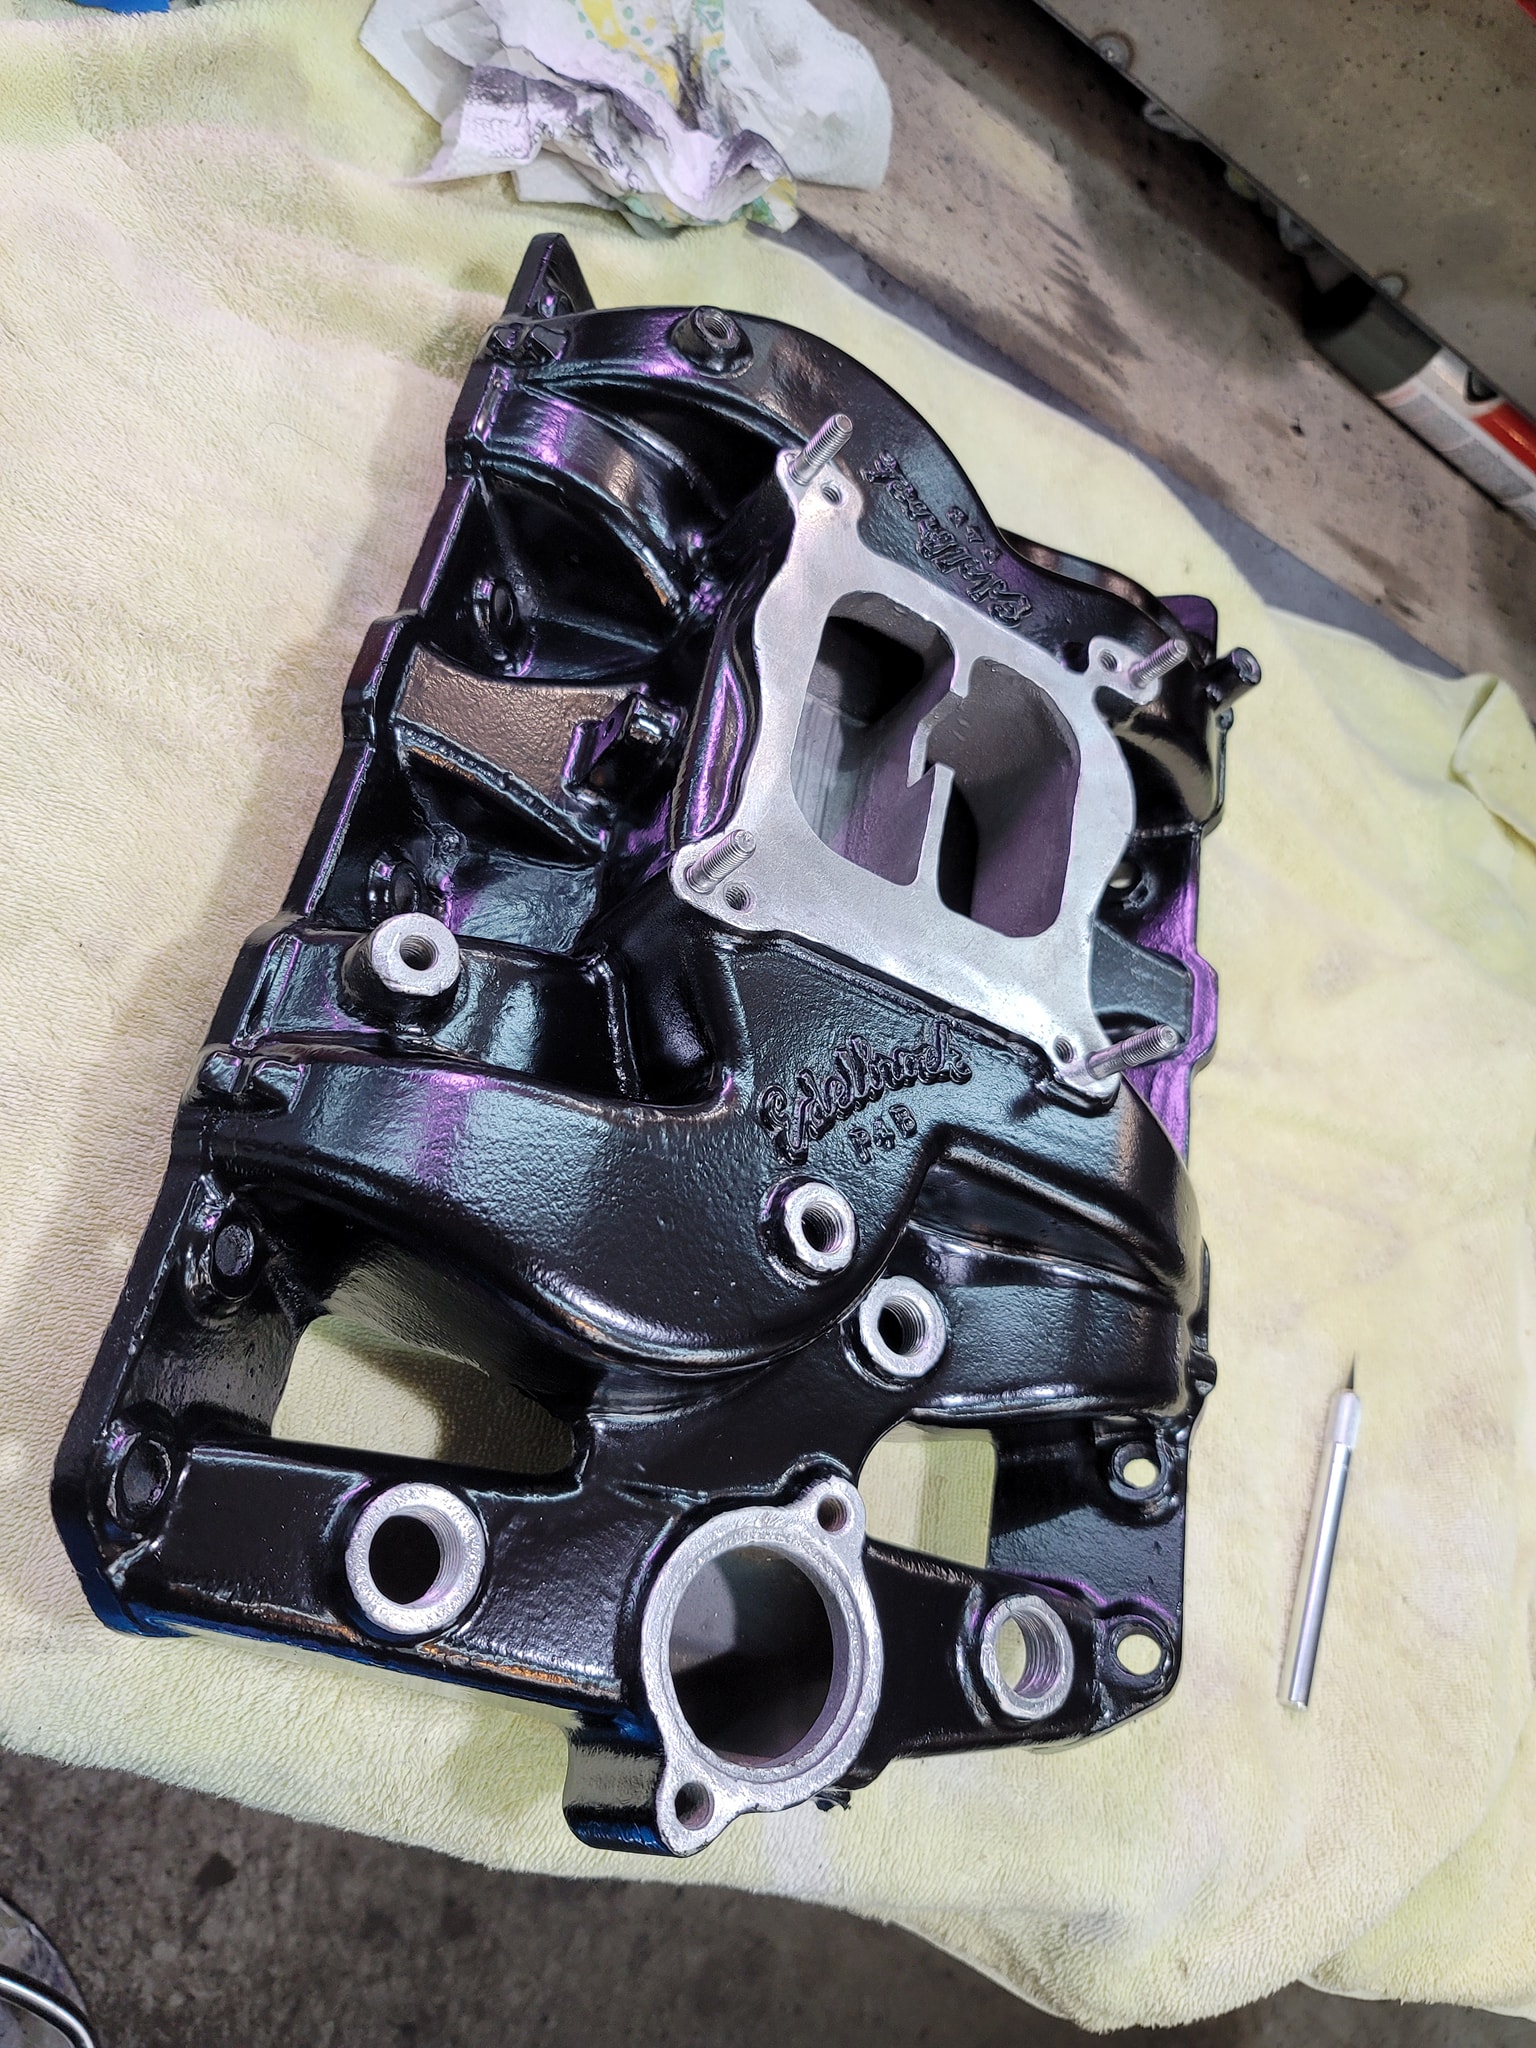
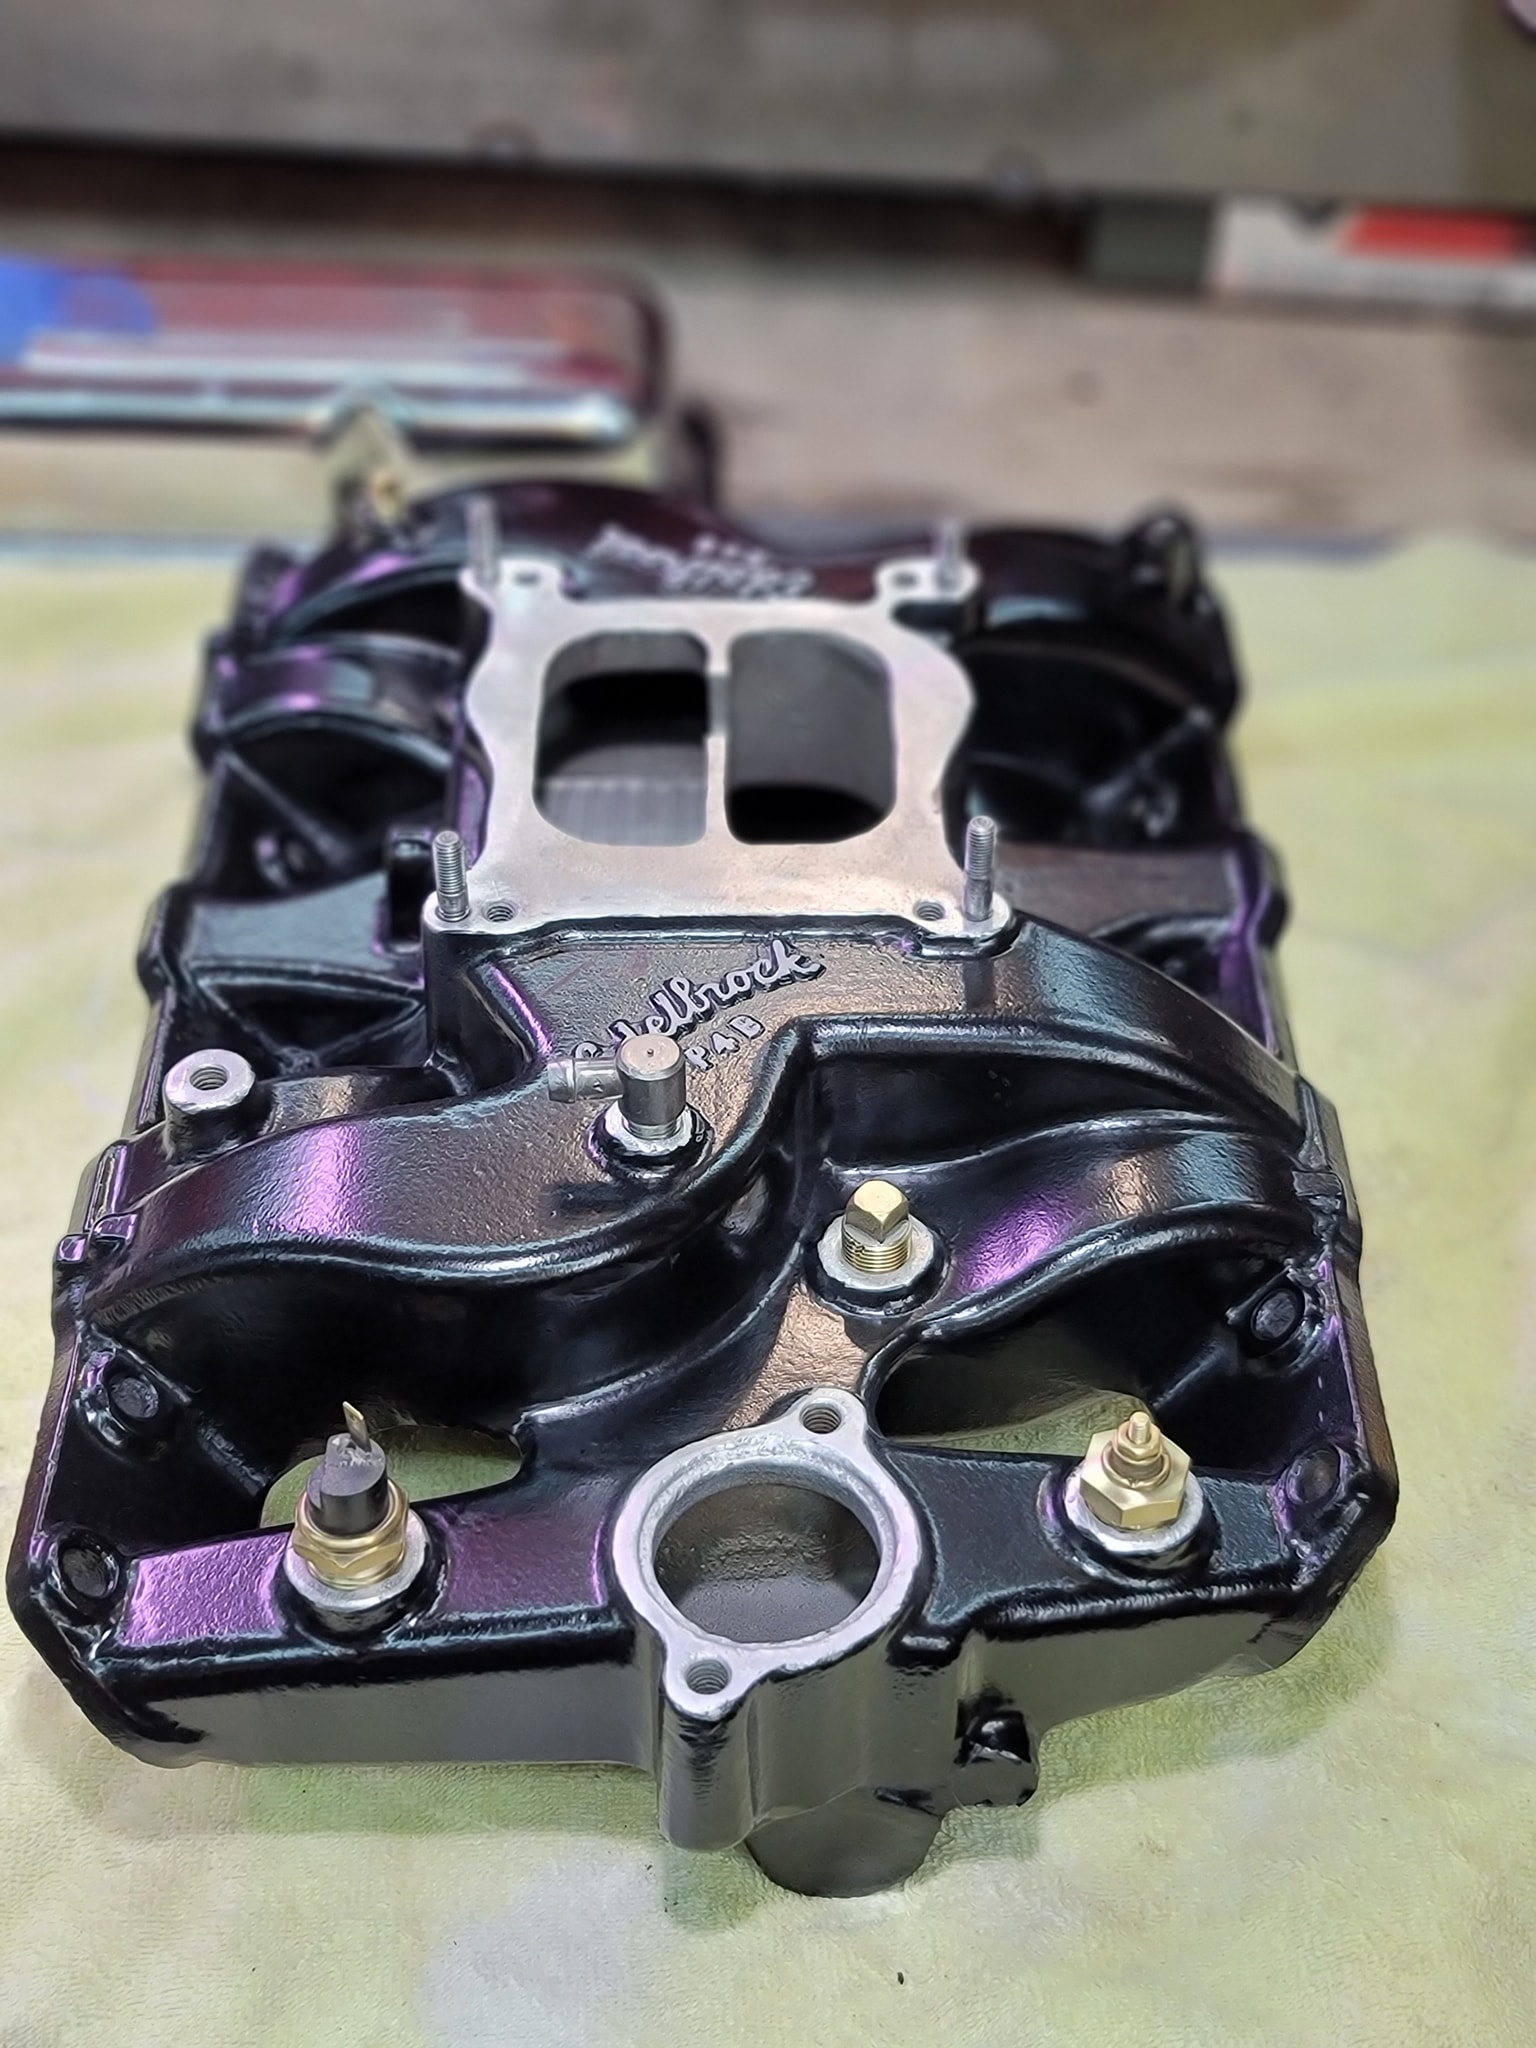
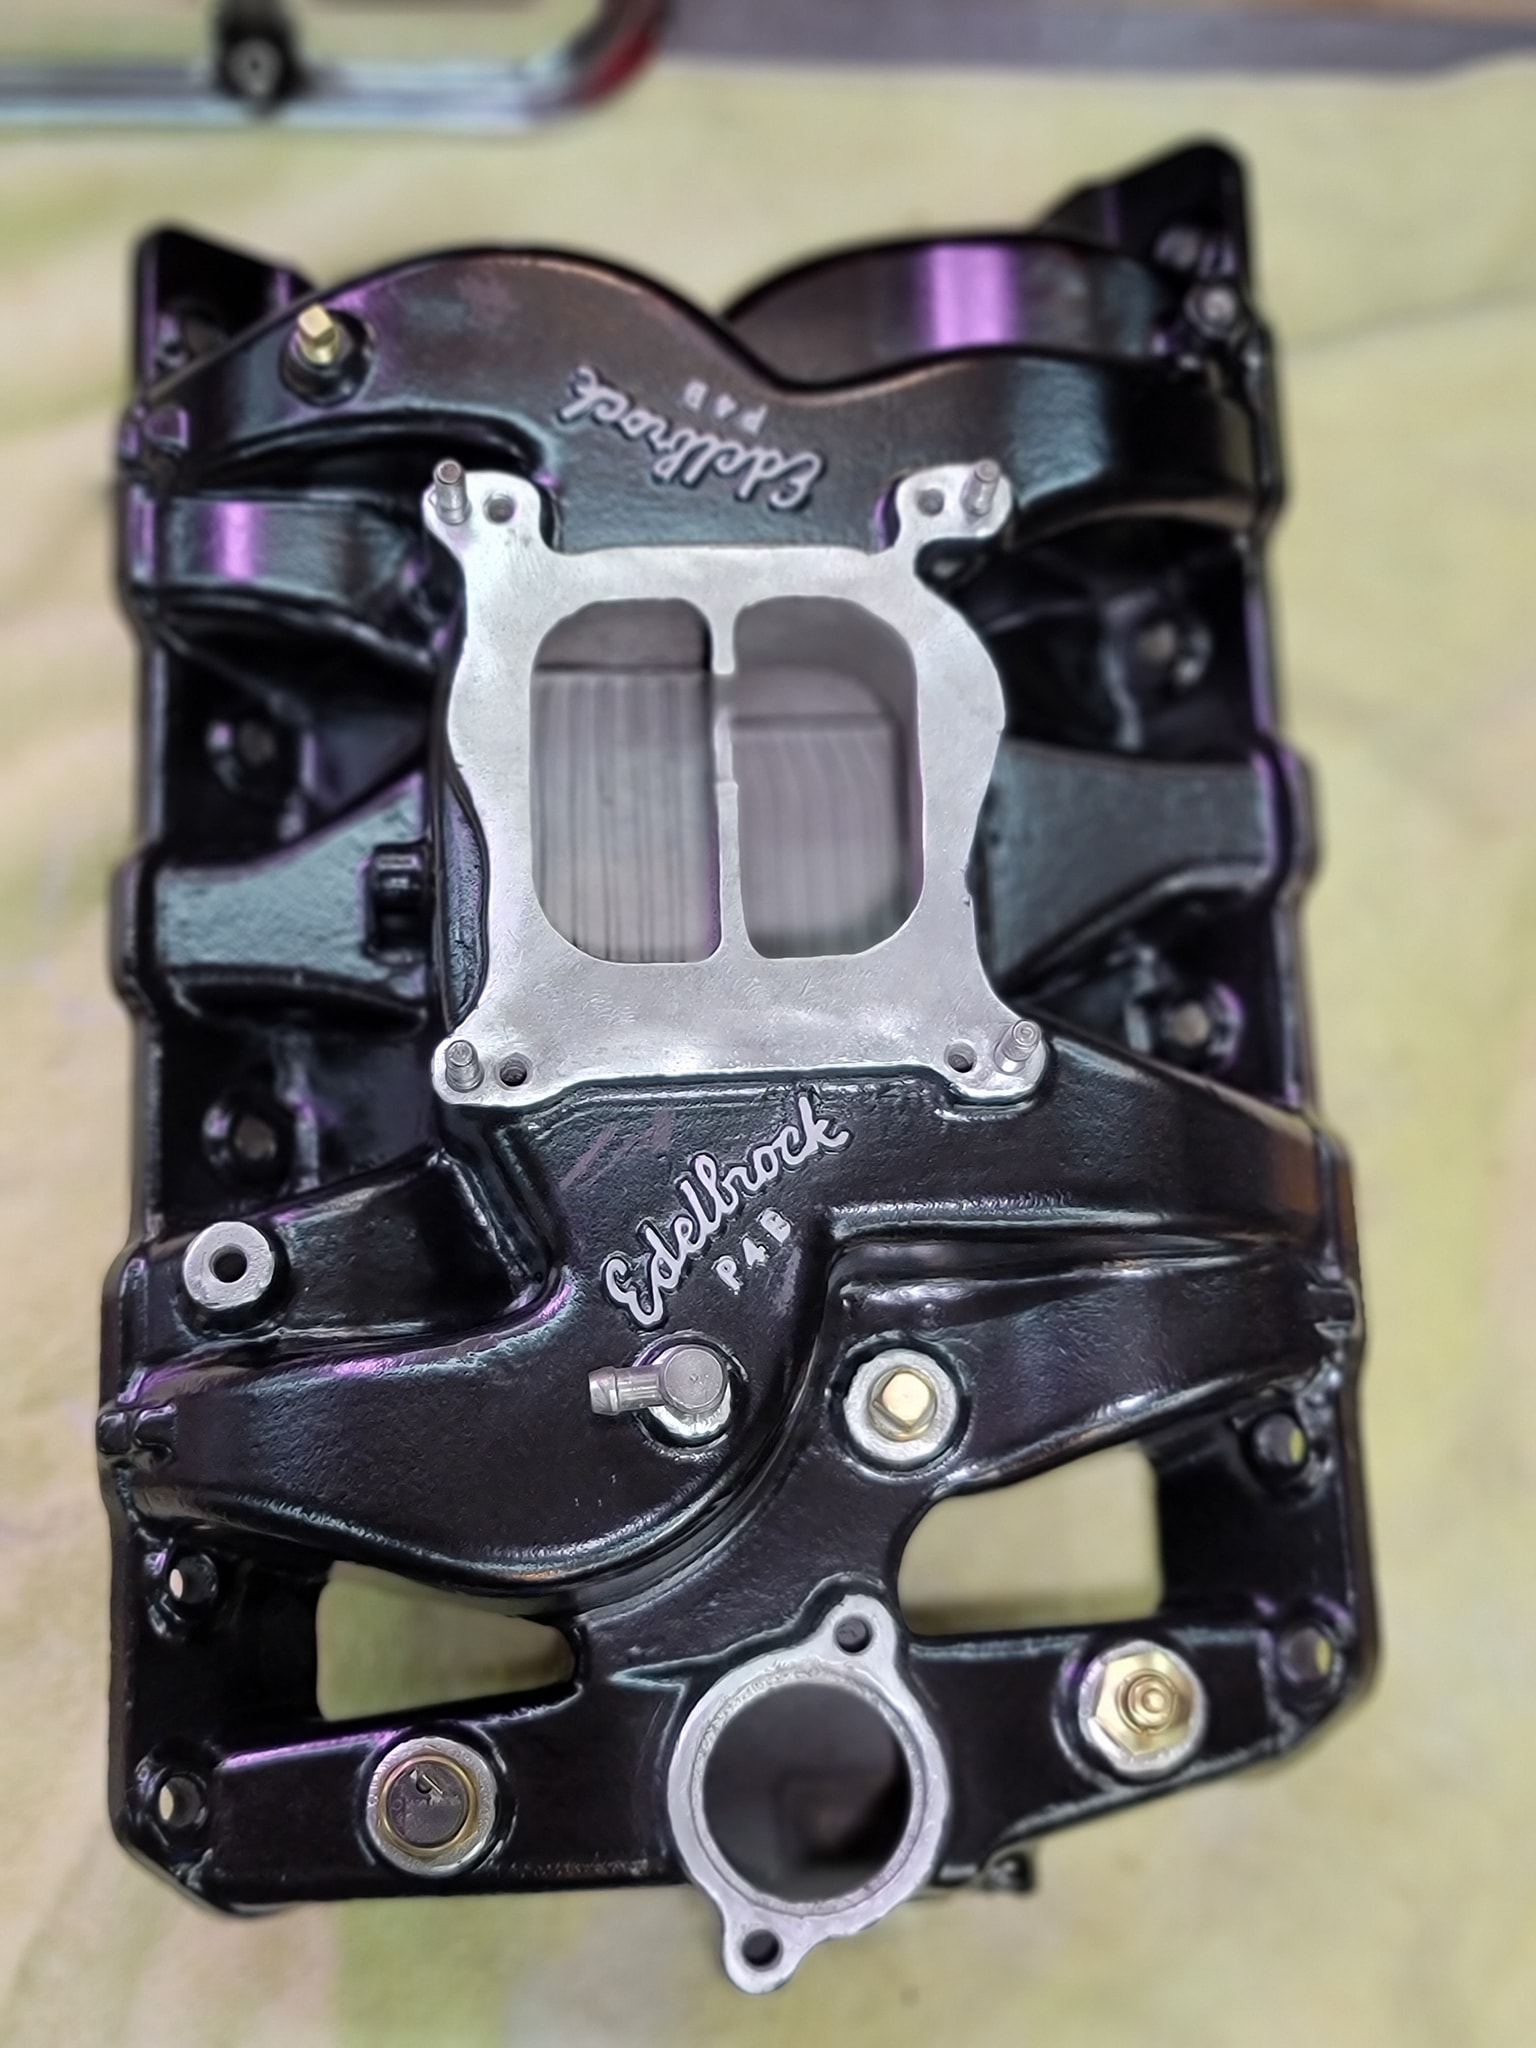
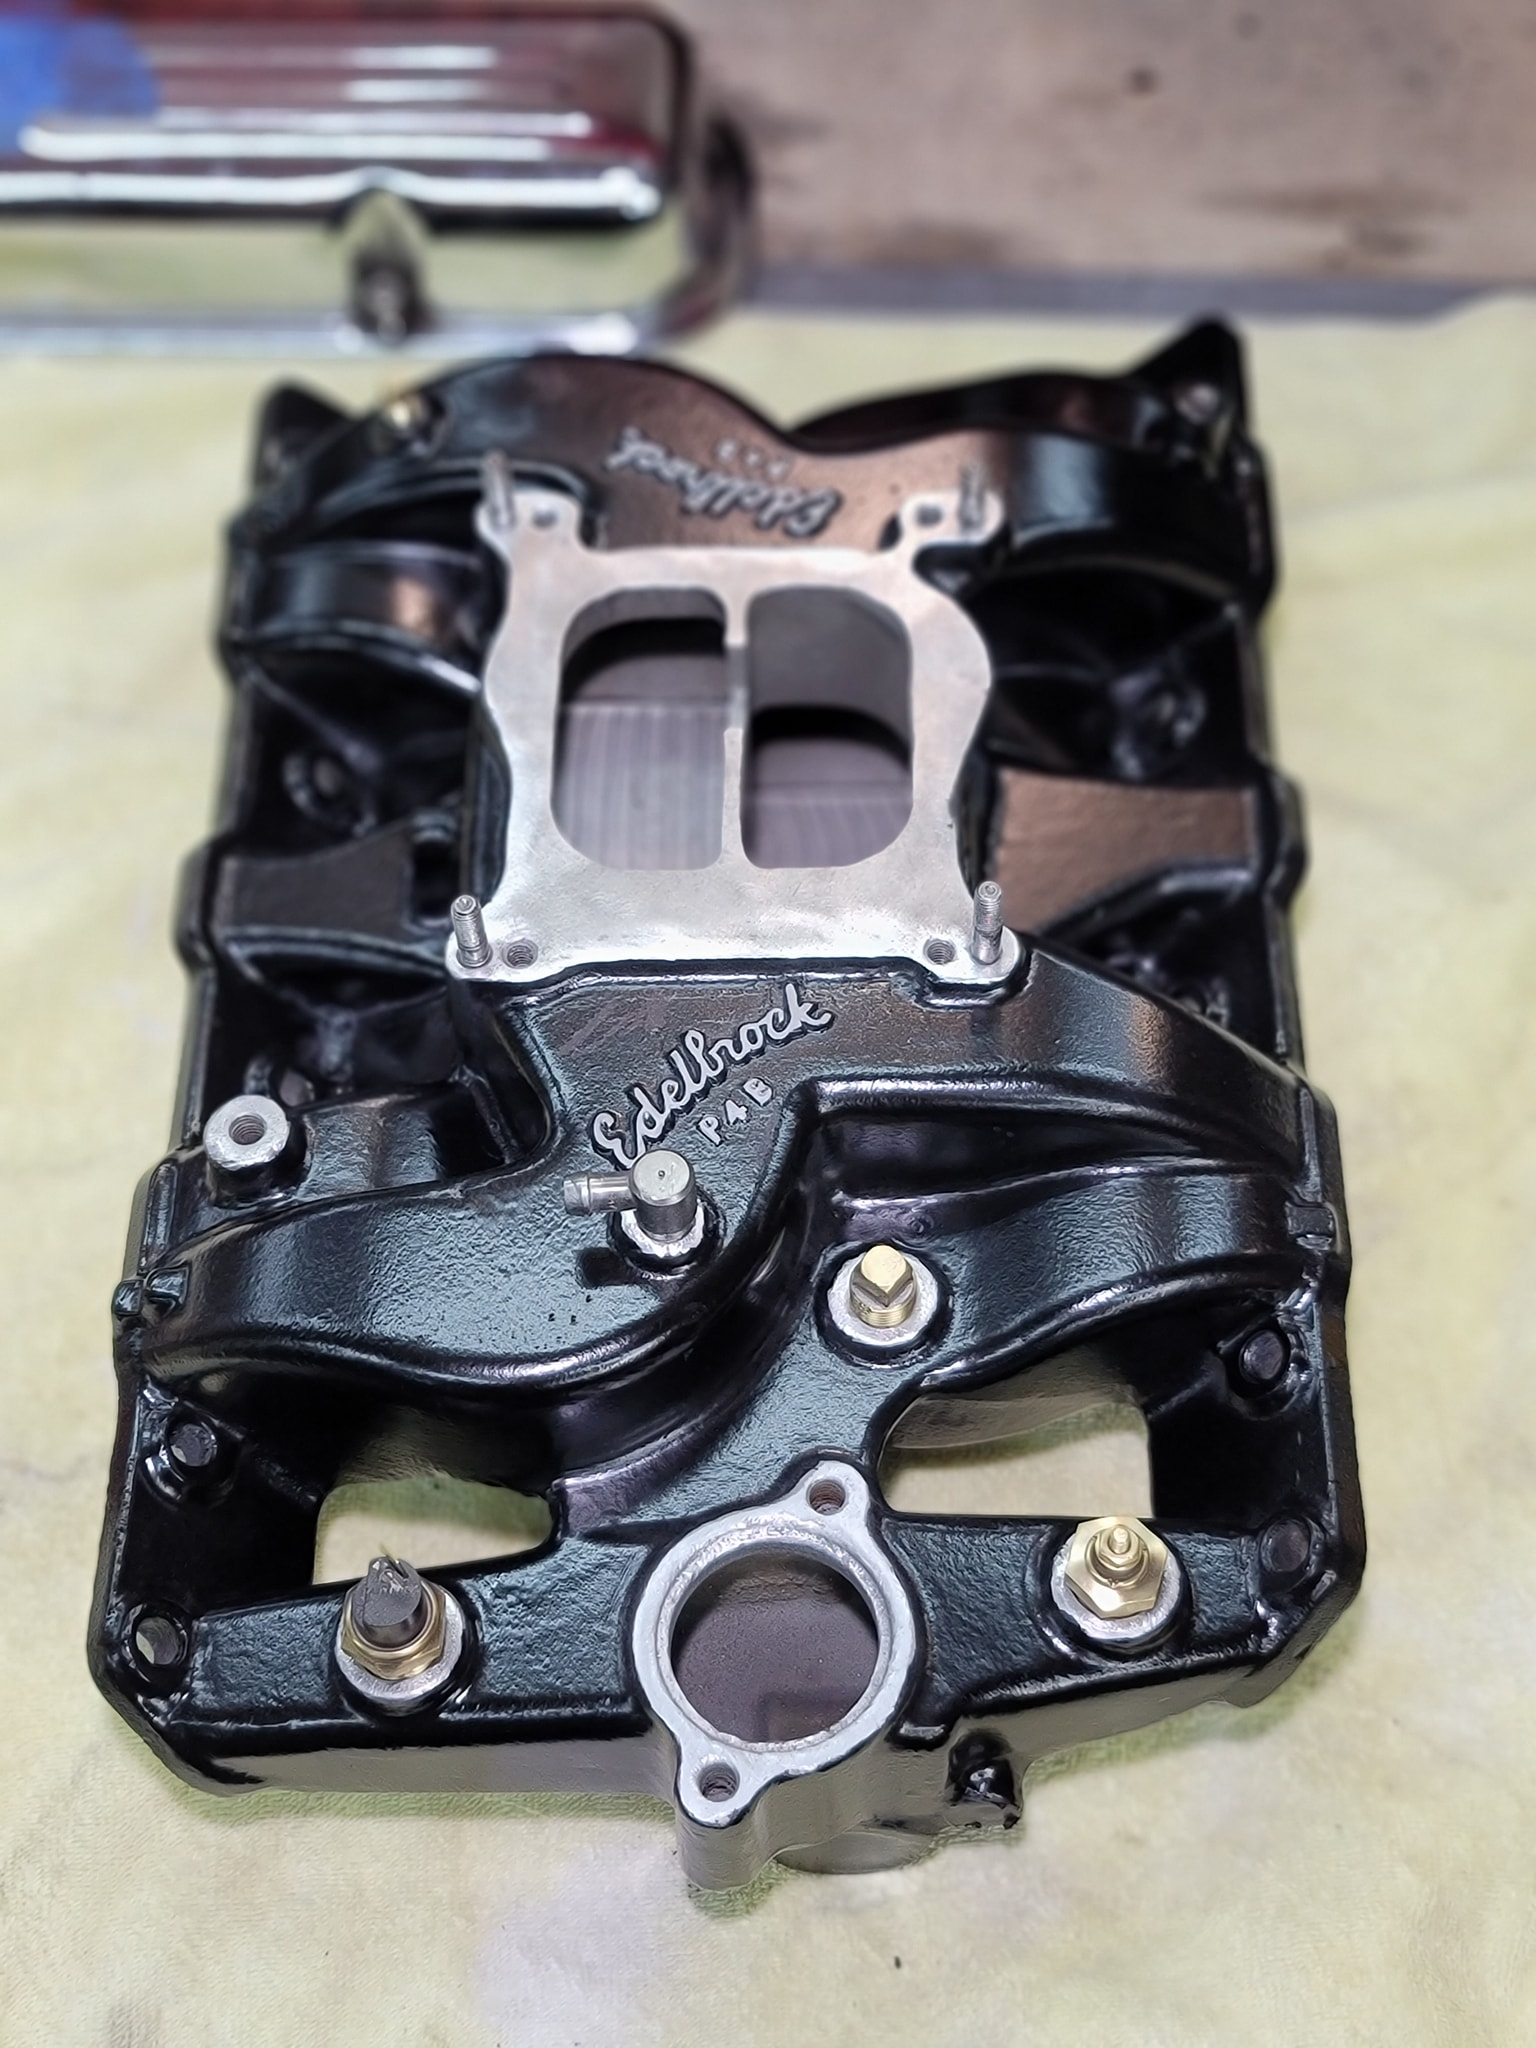
Marked off and painted around gaskets
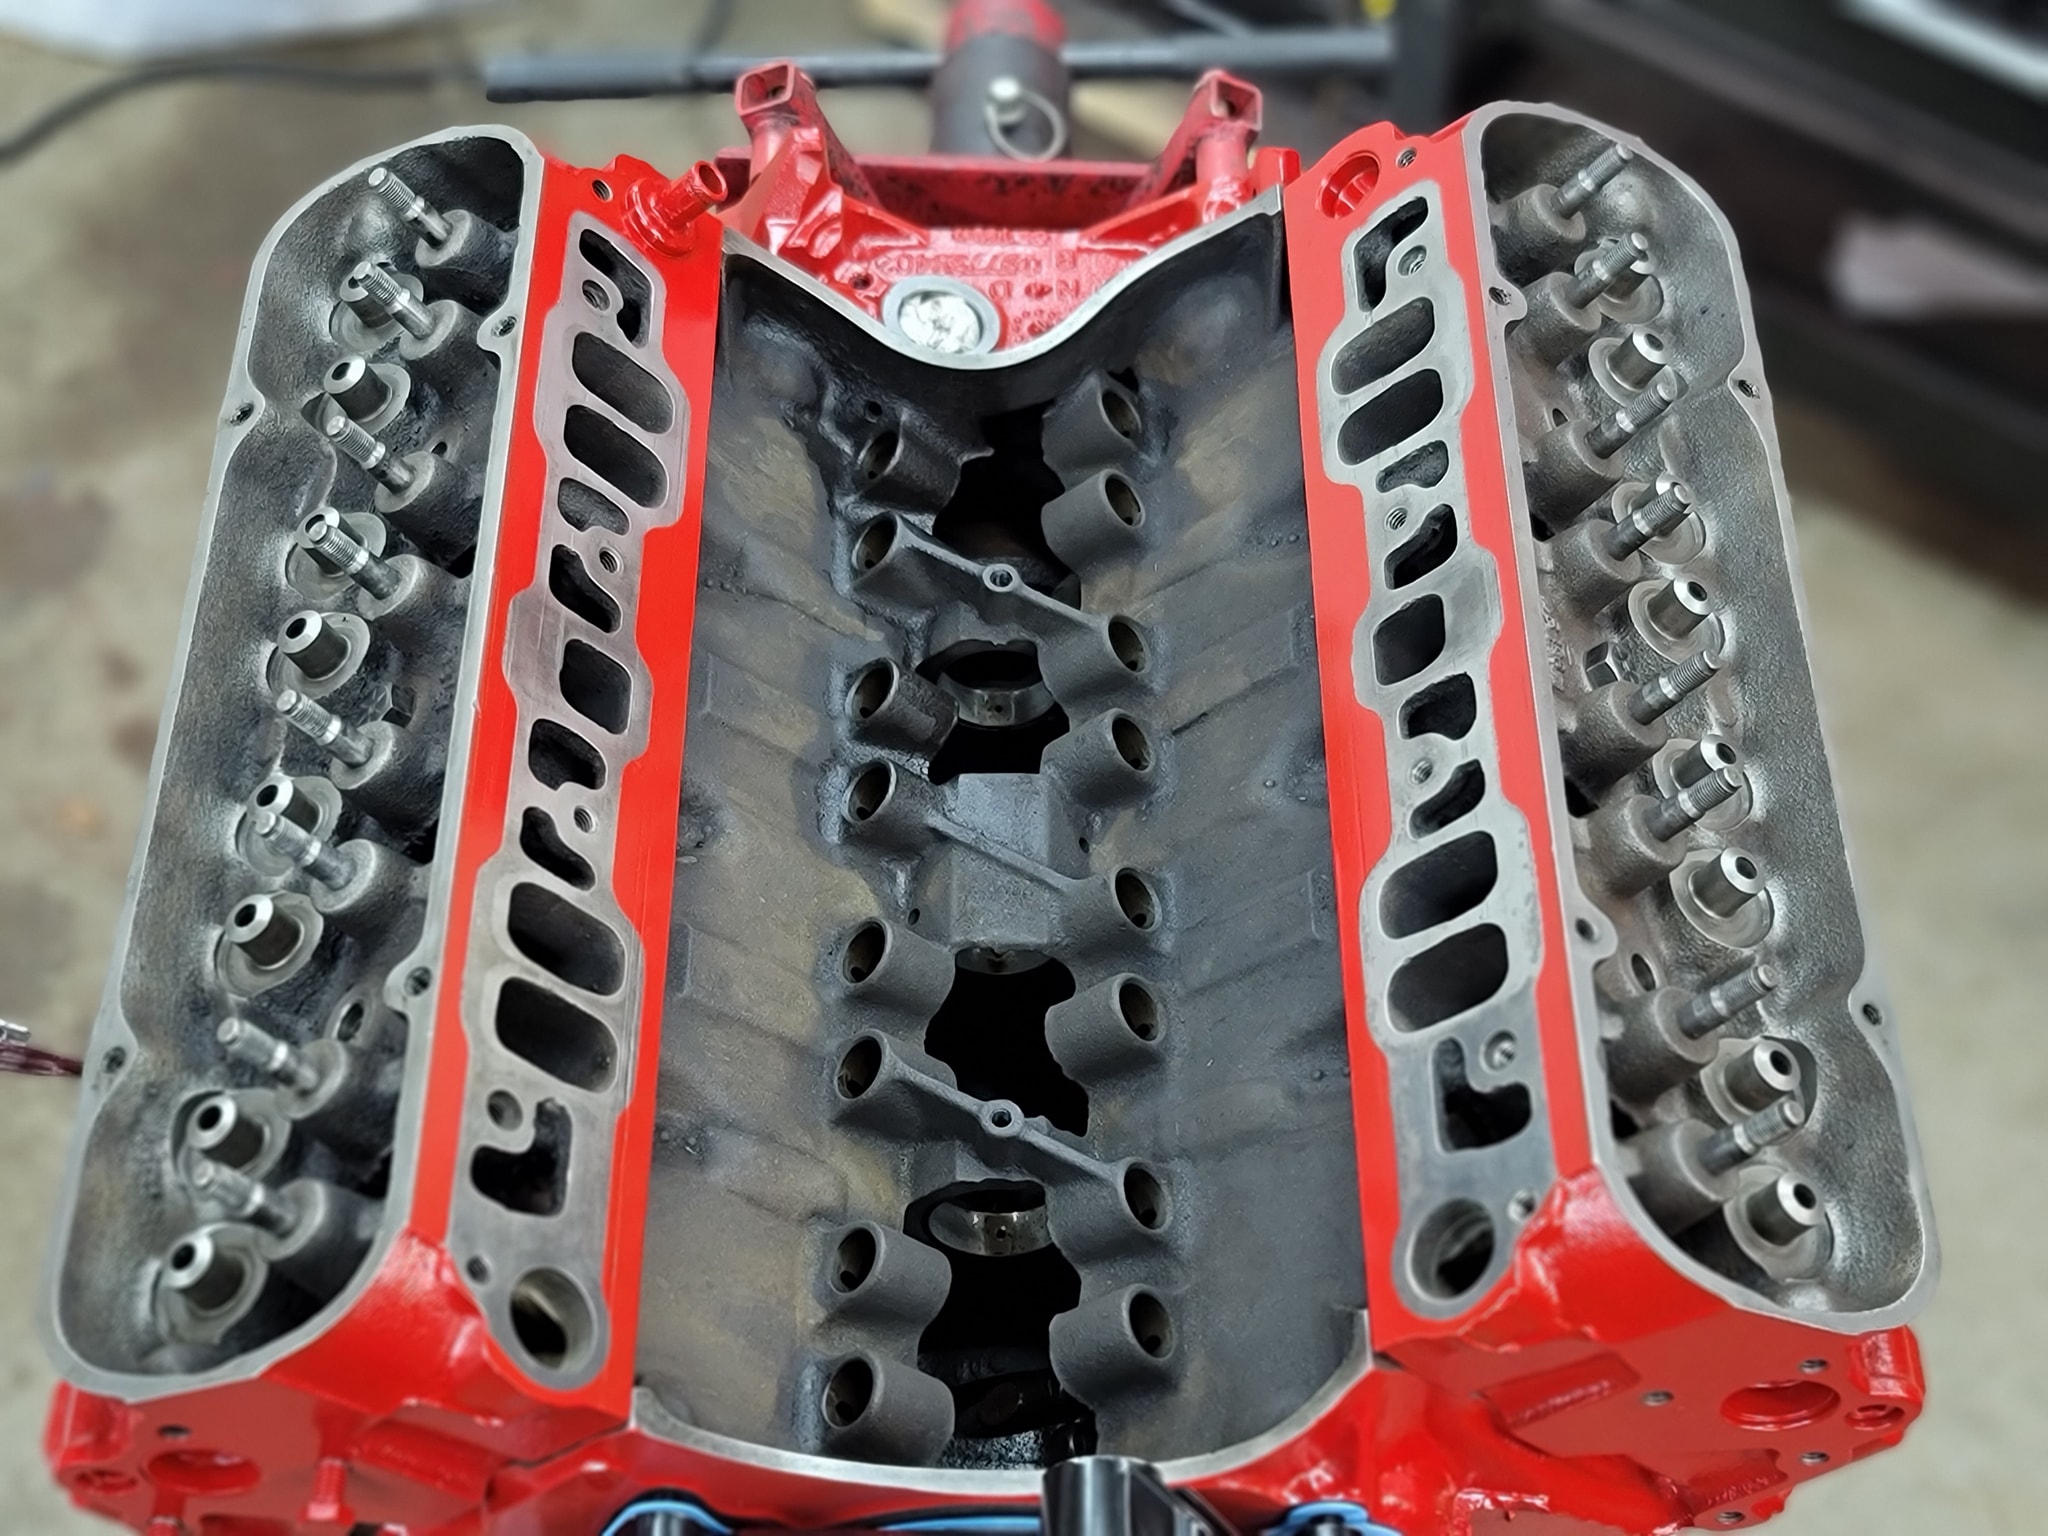
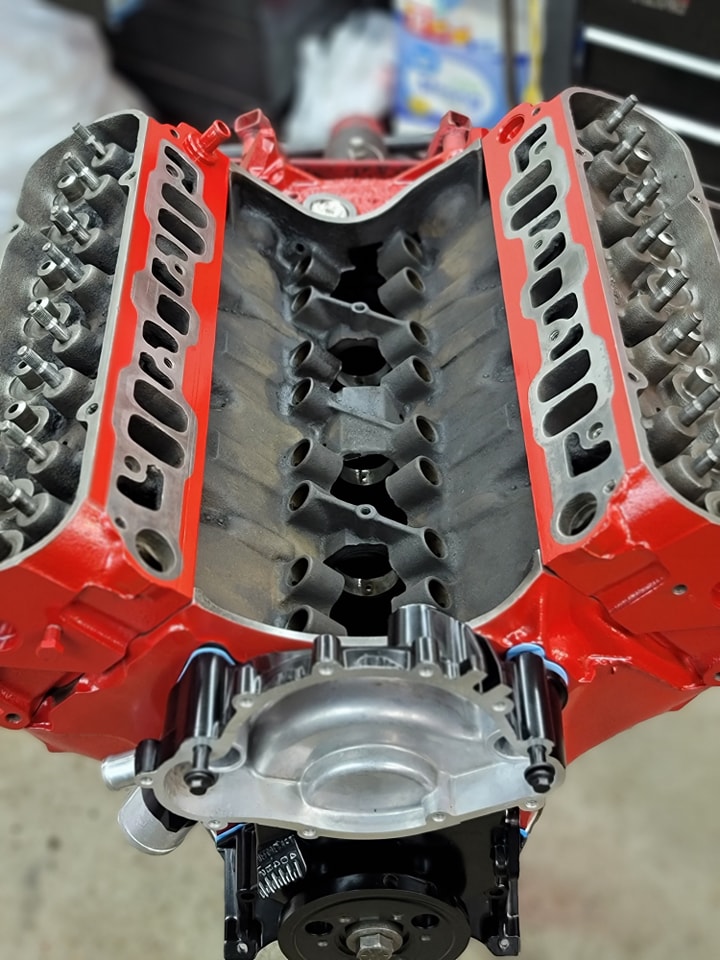
Placed the intake to see how it looks, wow yup was worth all the work, looks amazing in black!
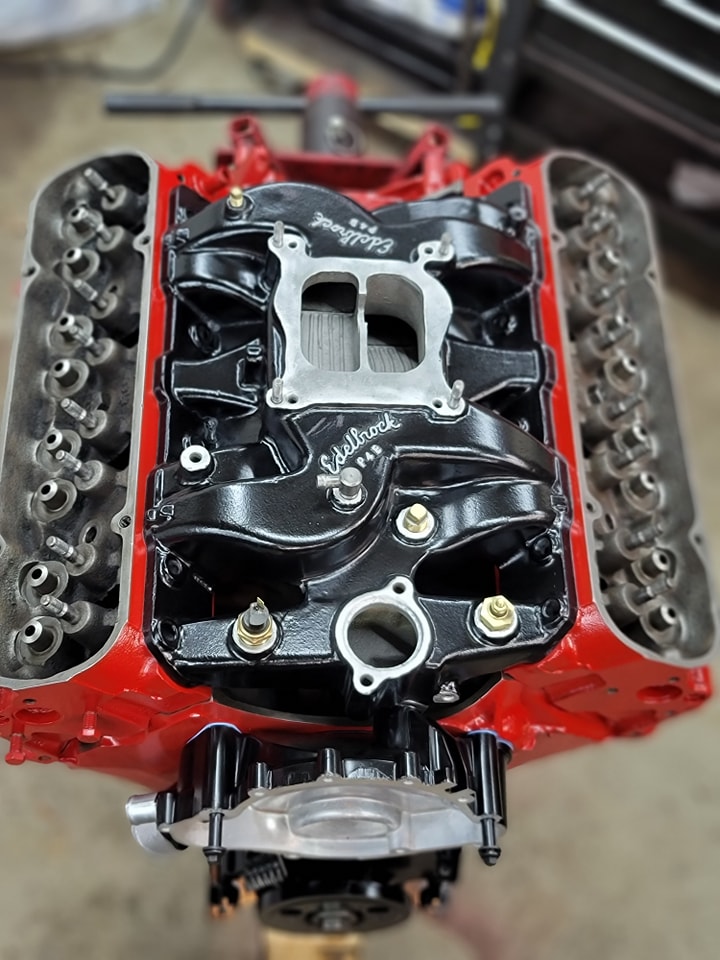
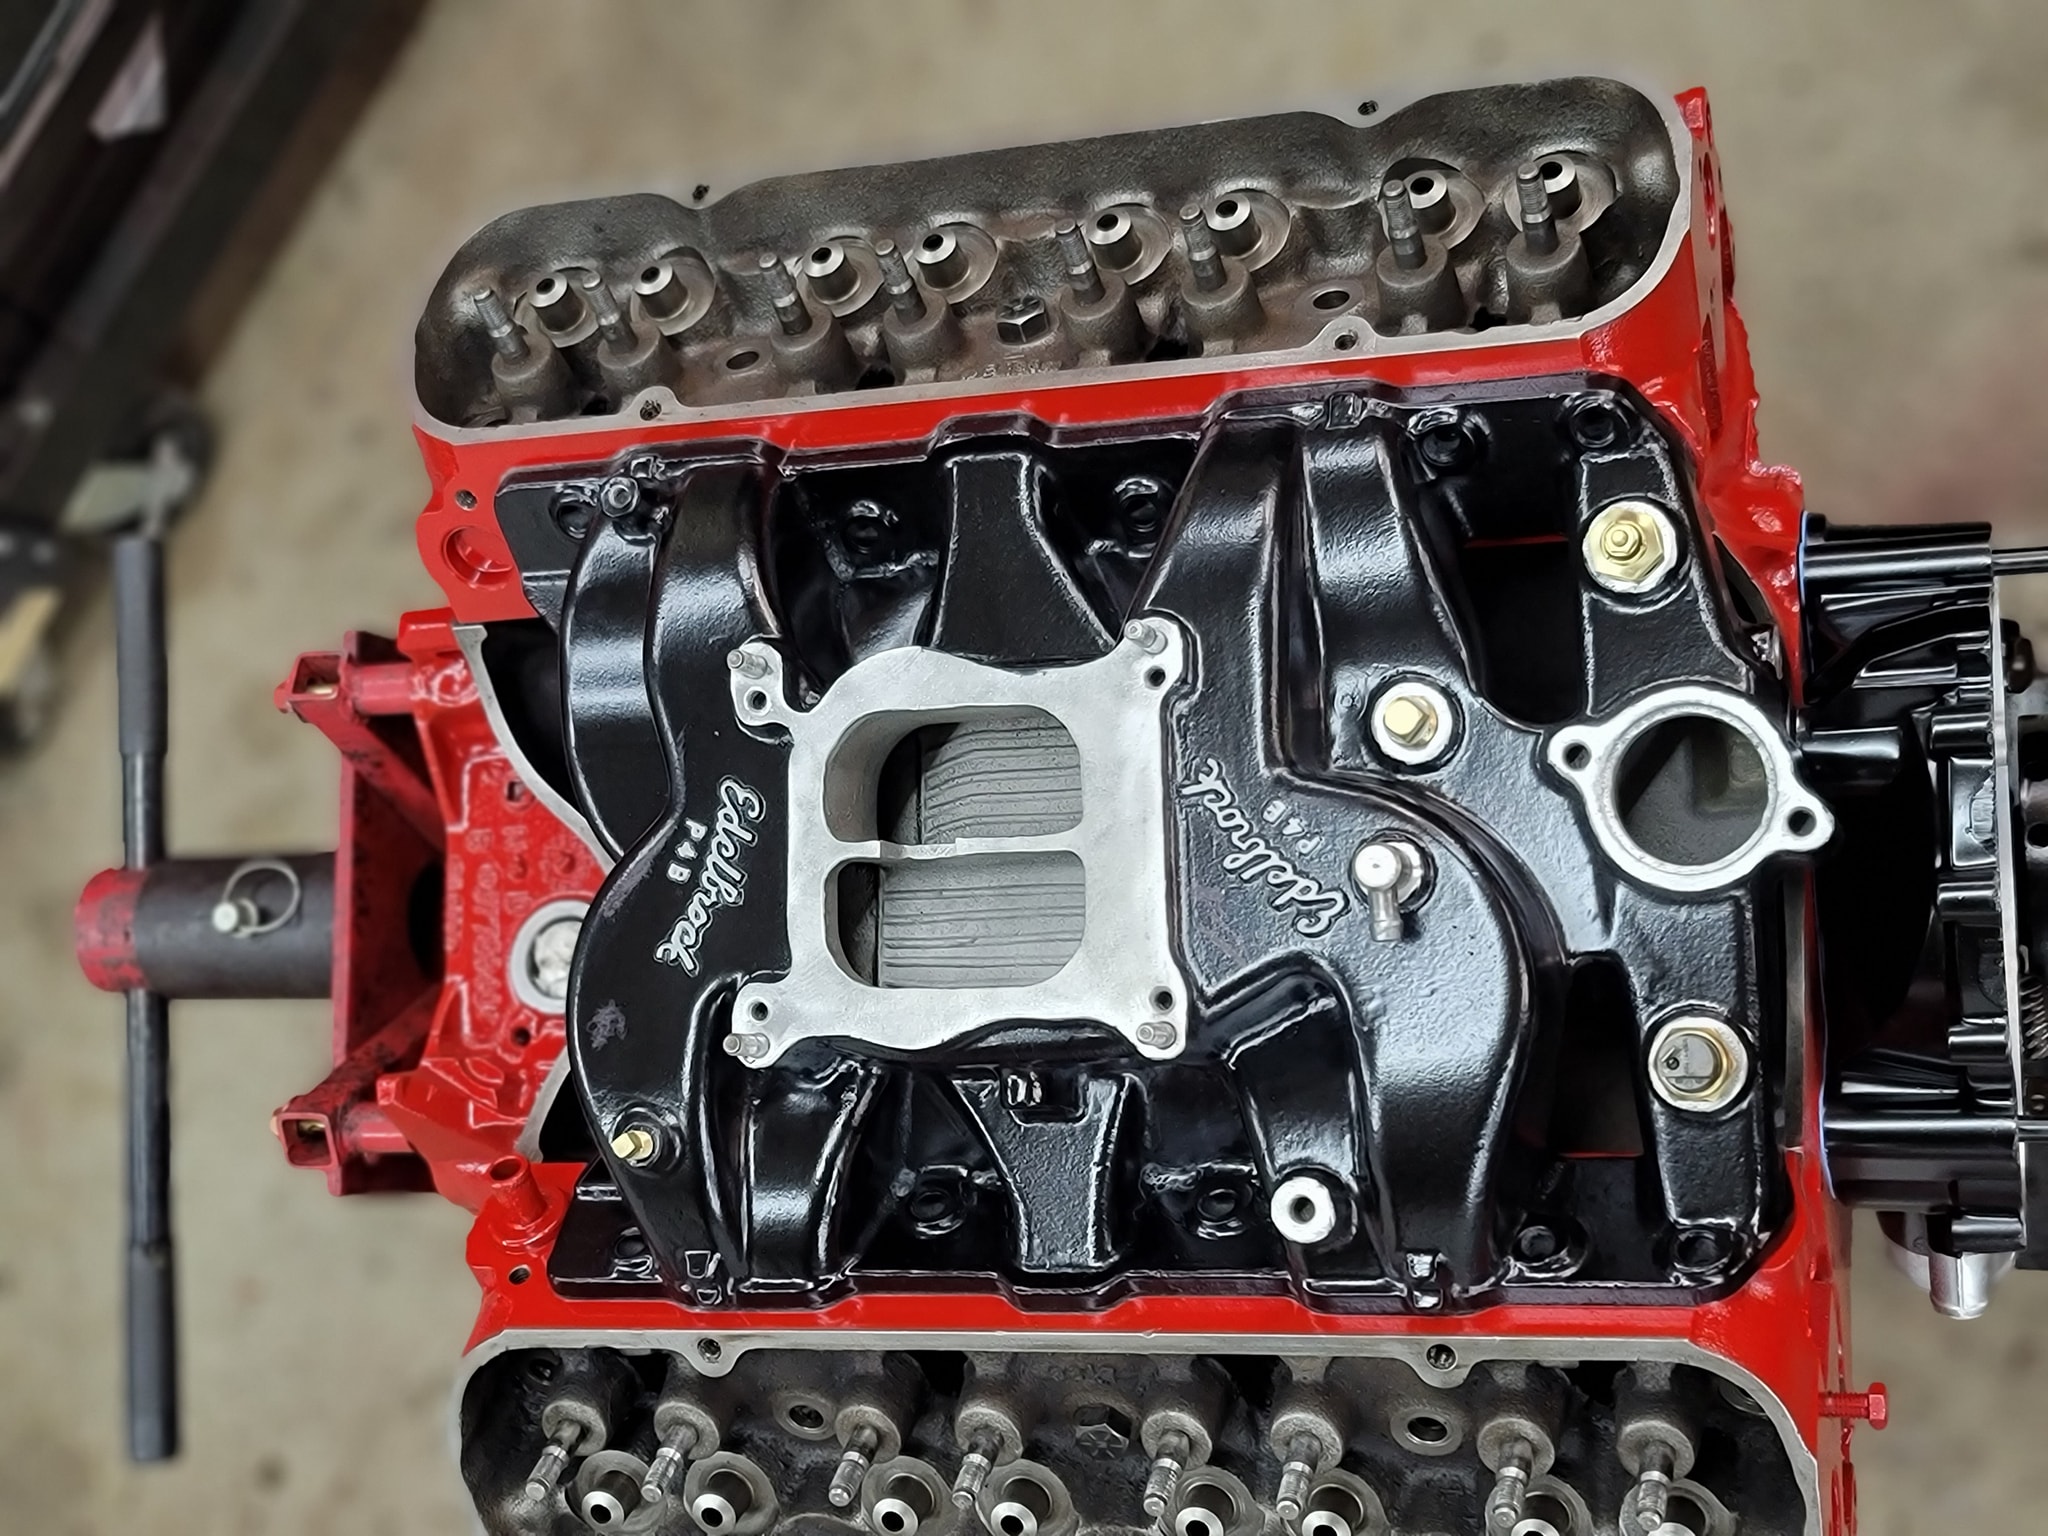
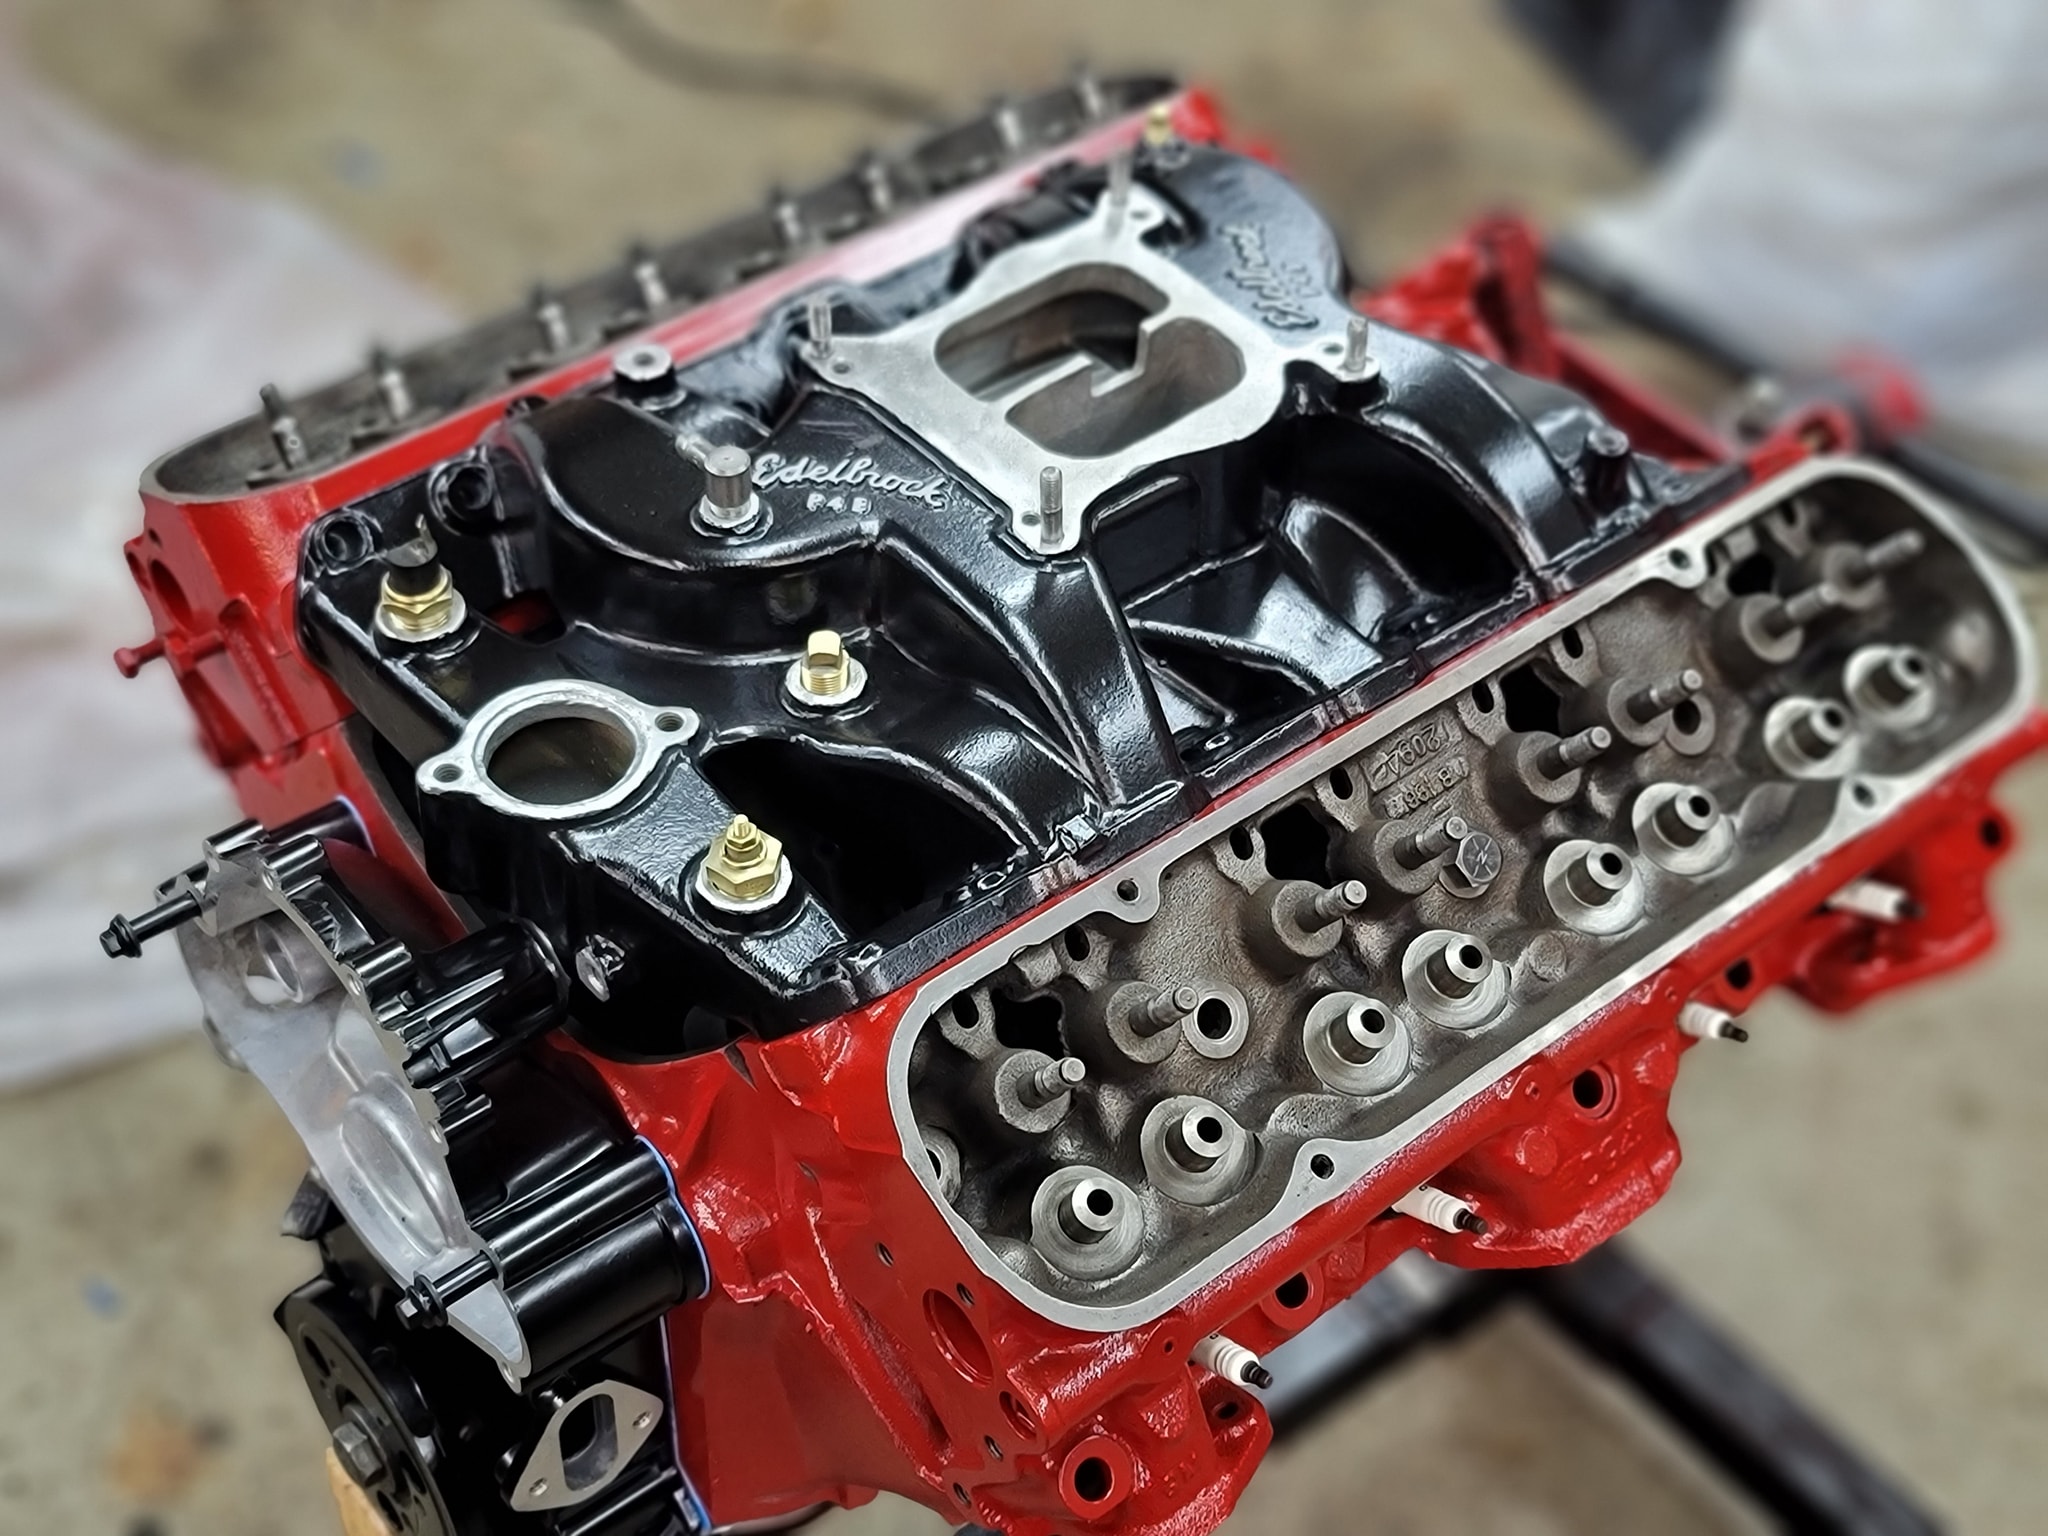

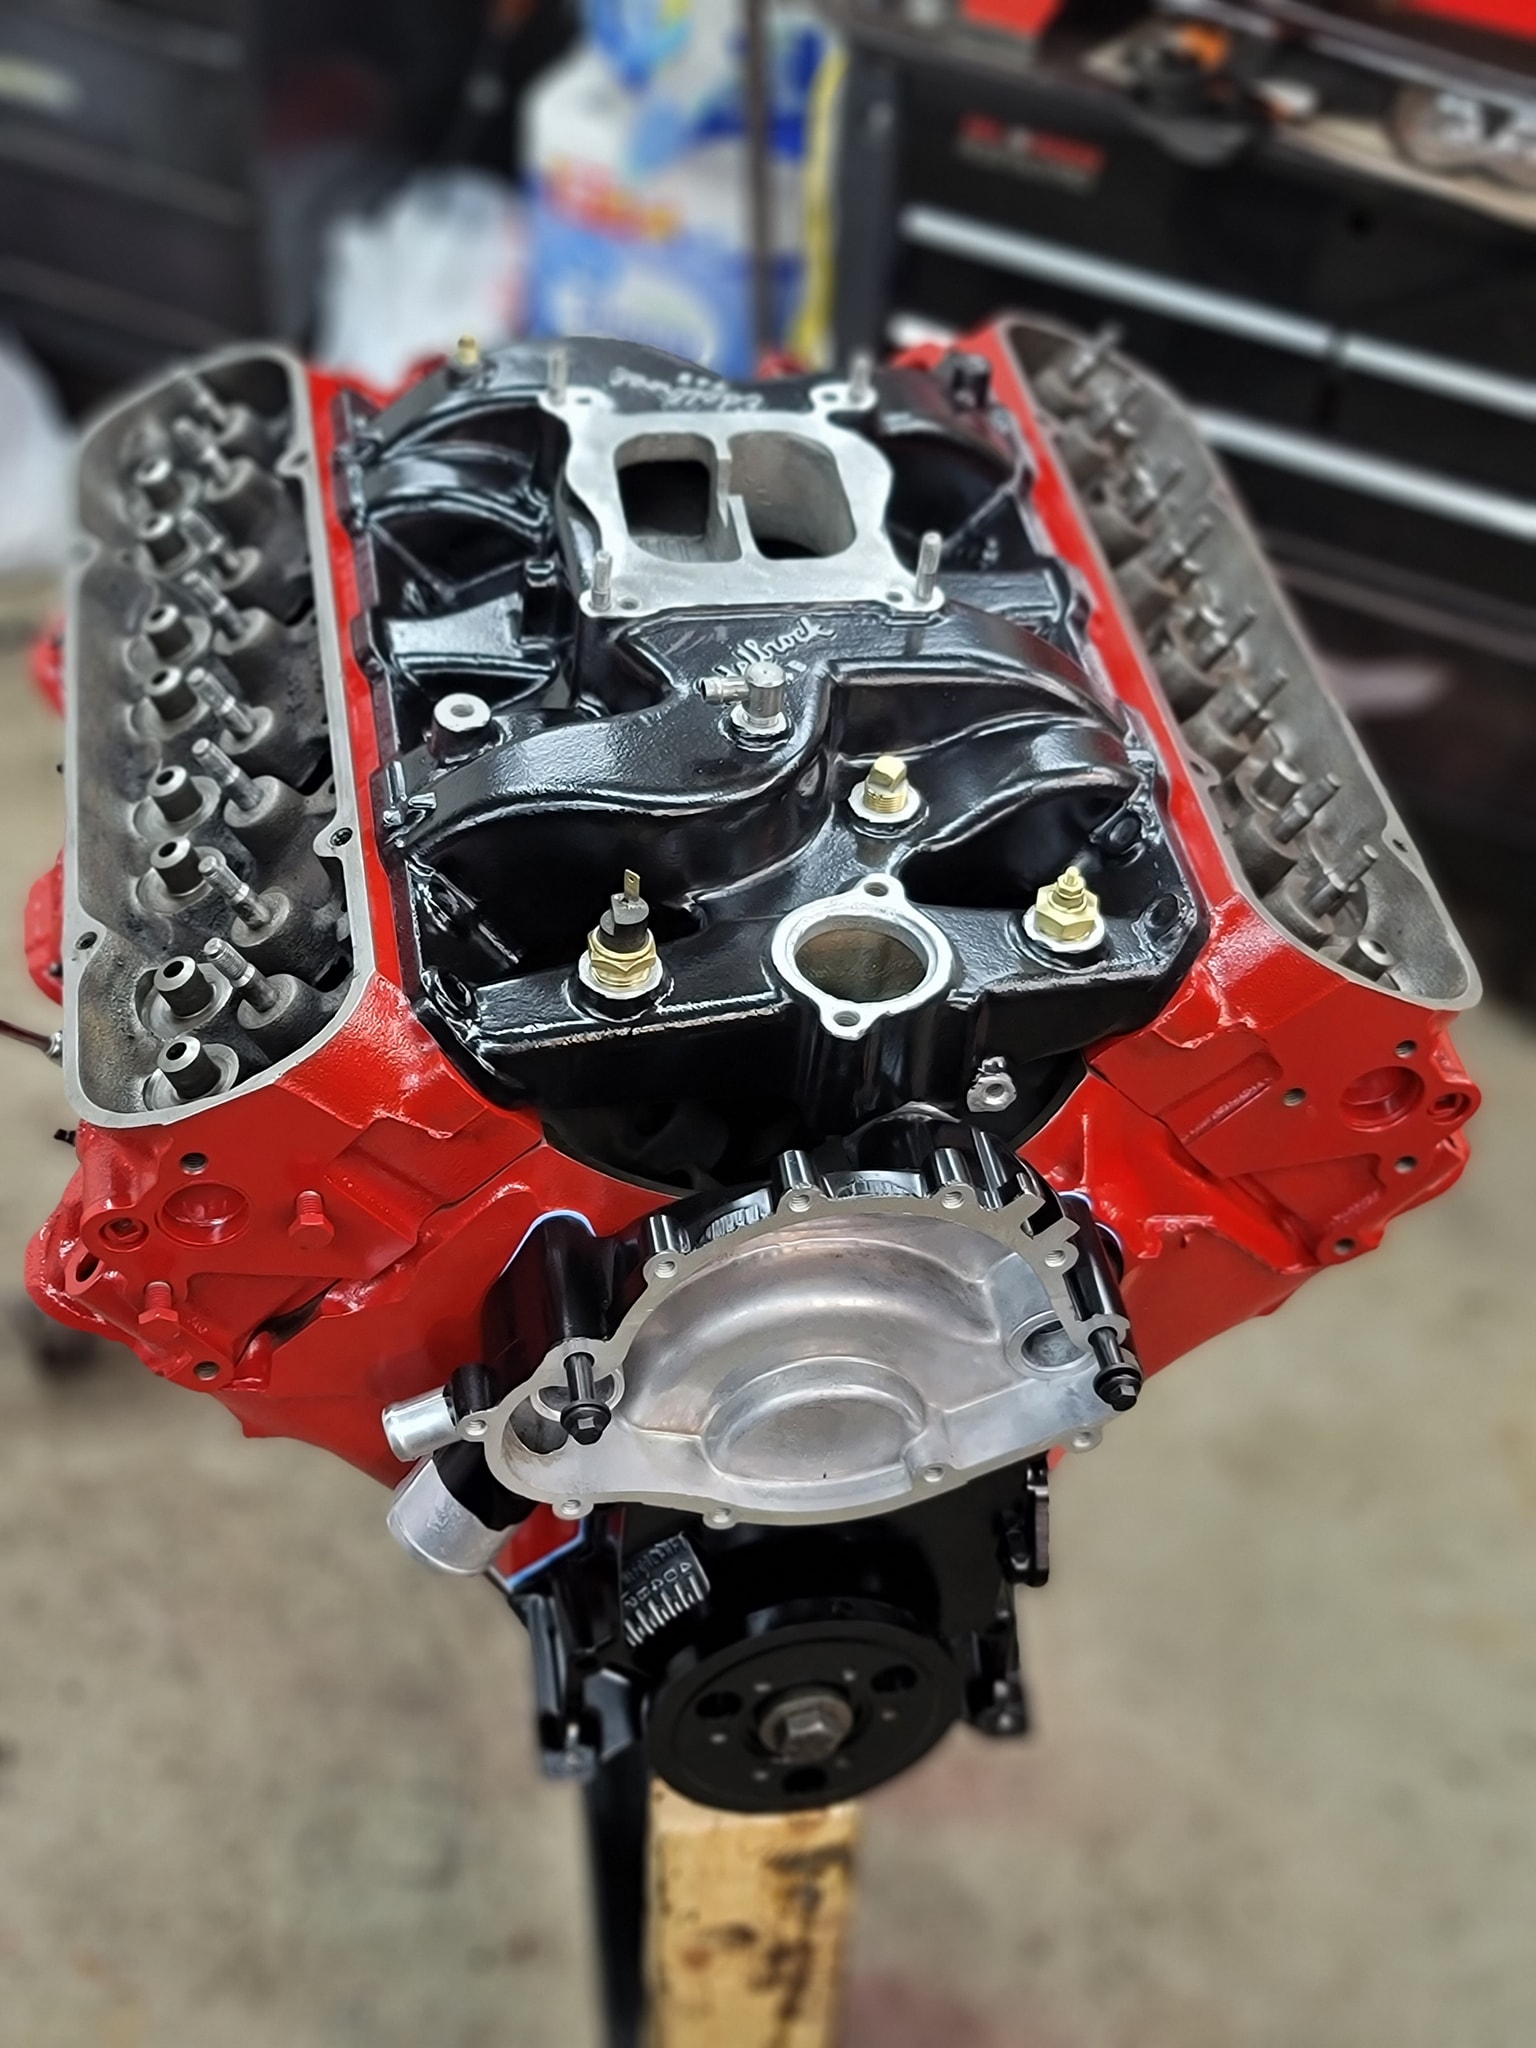
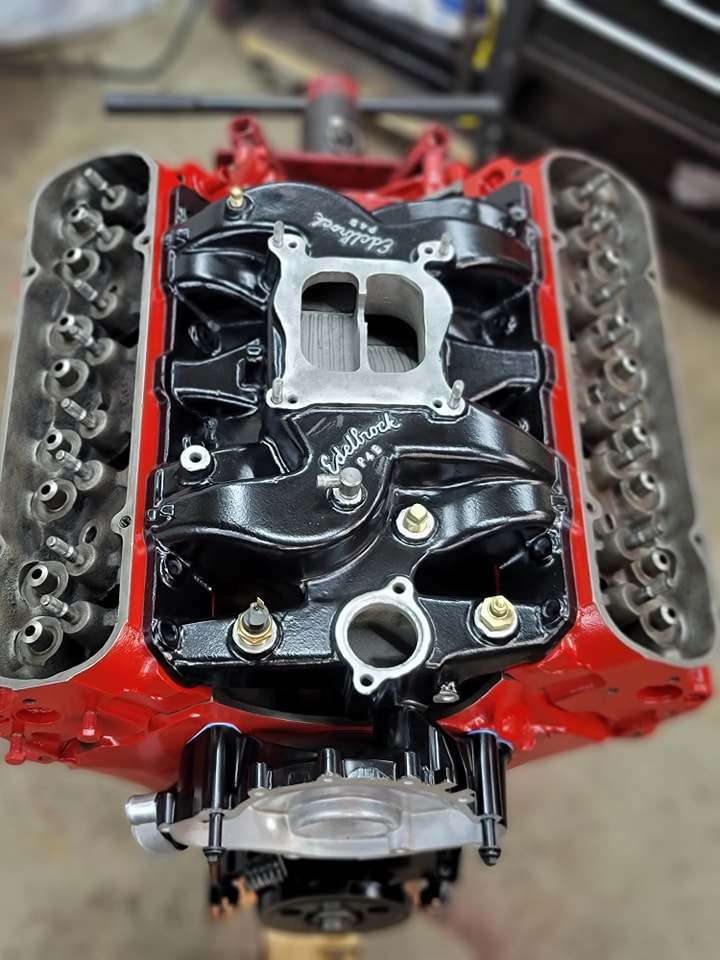
Here I am on 3/26 at 3:26pm with my 326 engine ha! What a great time, to be doing timing lol
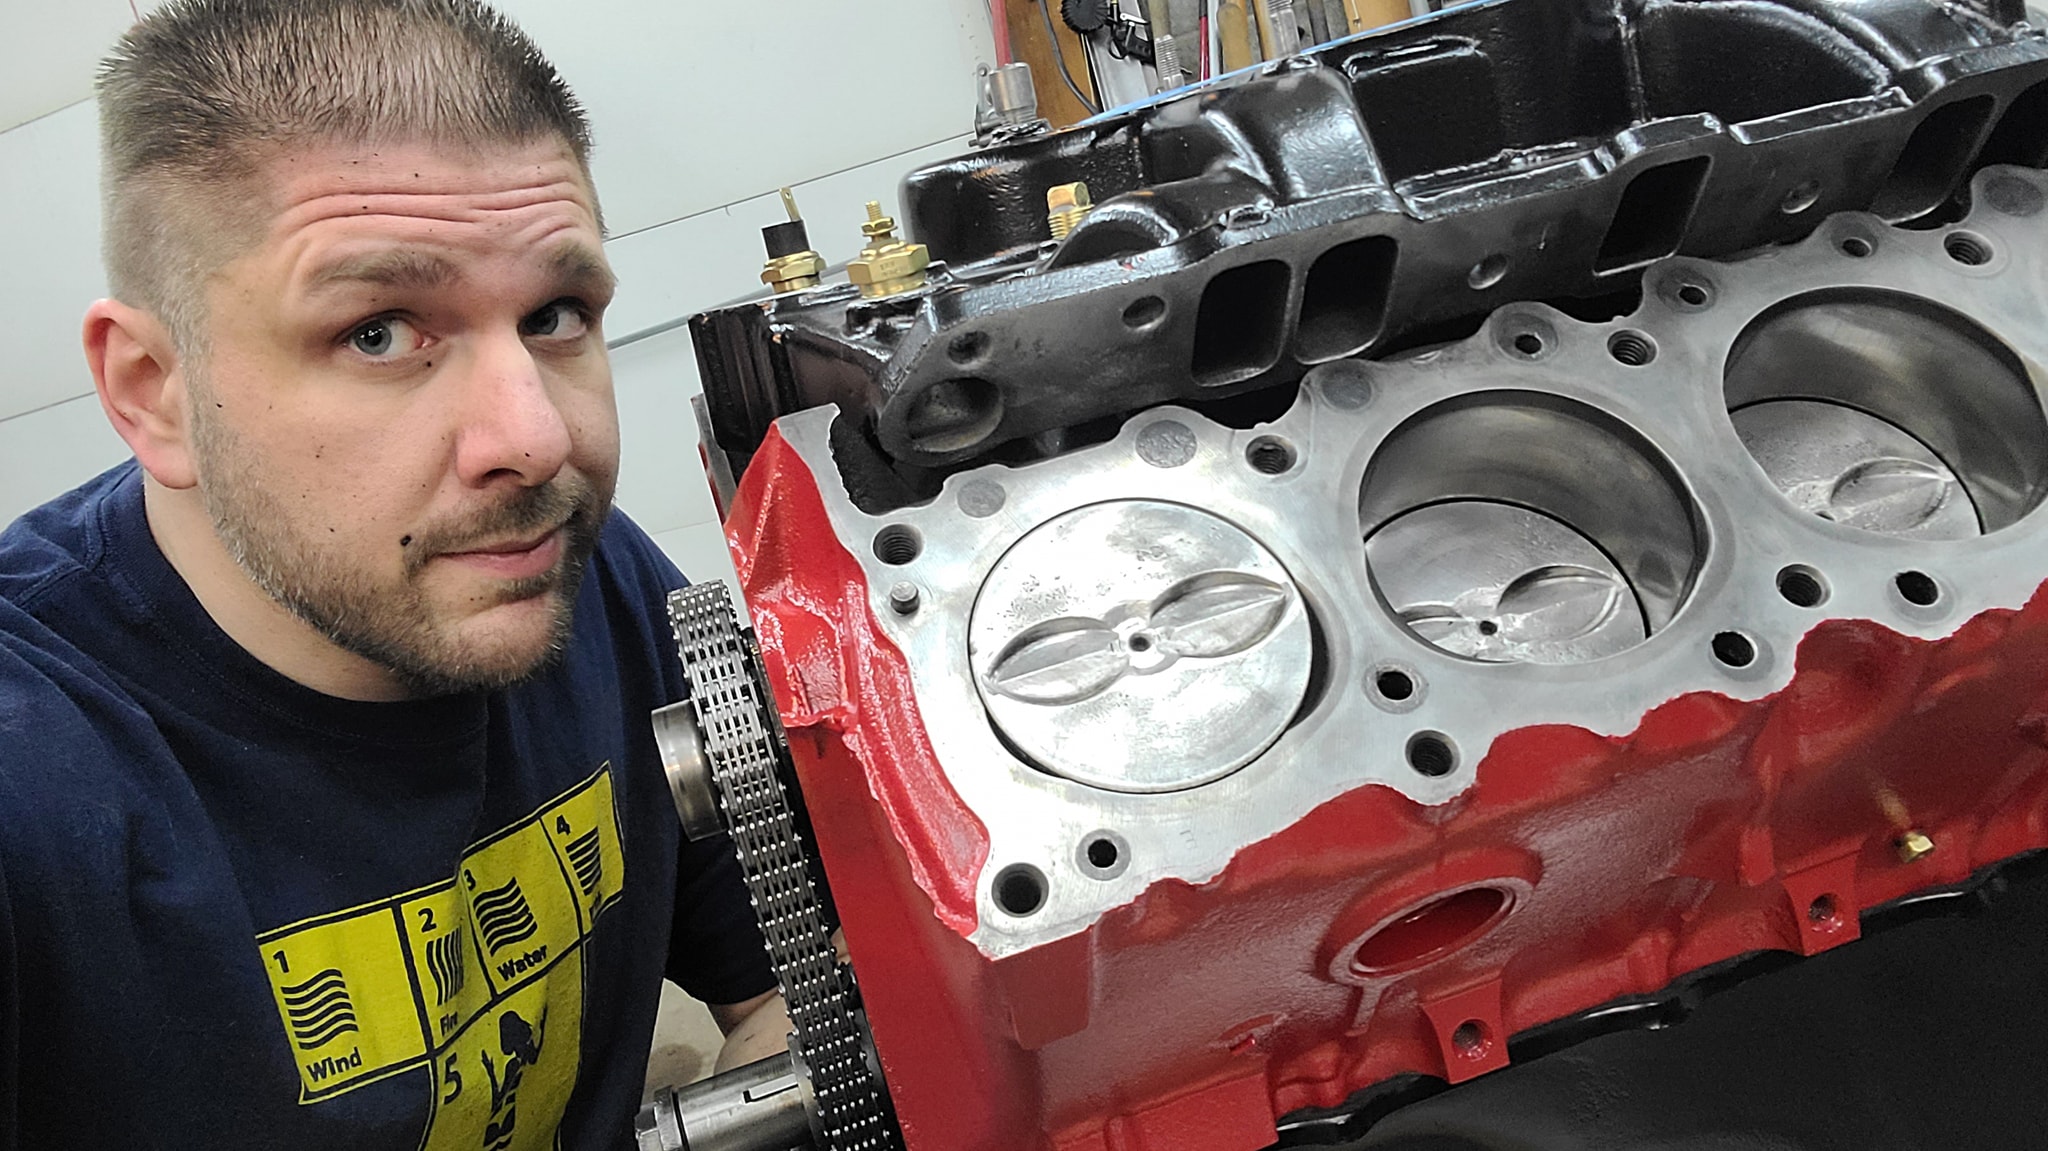
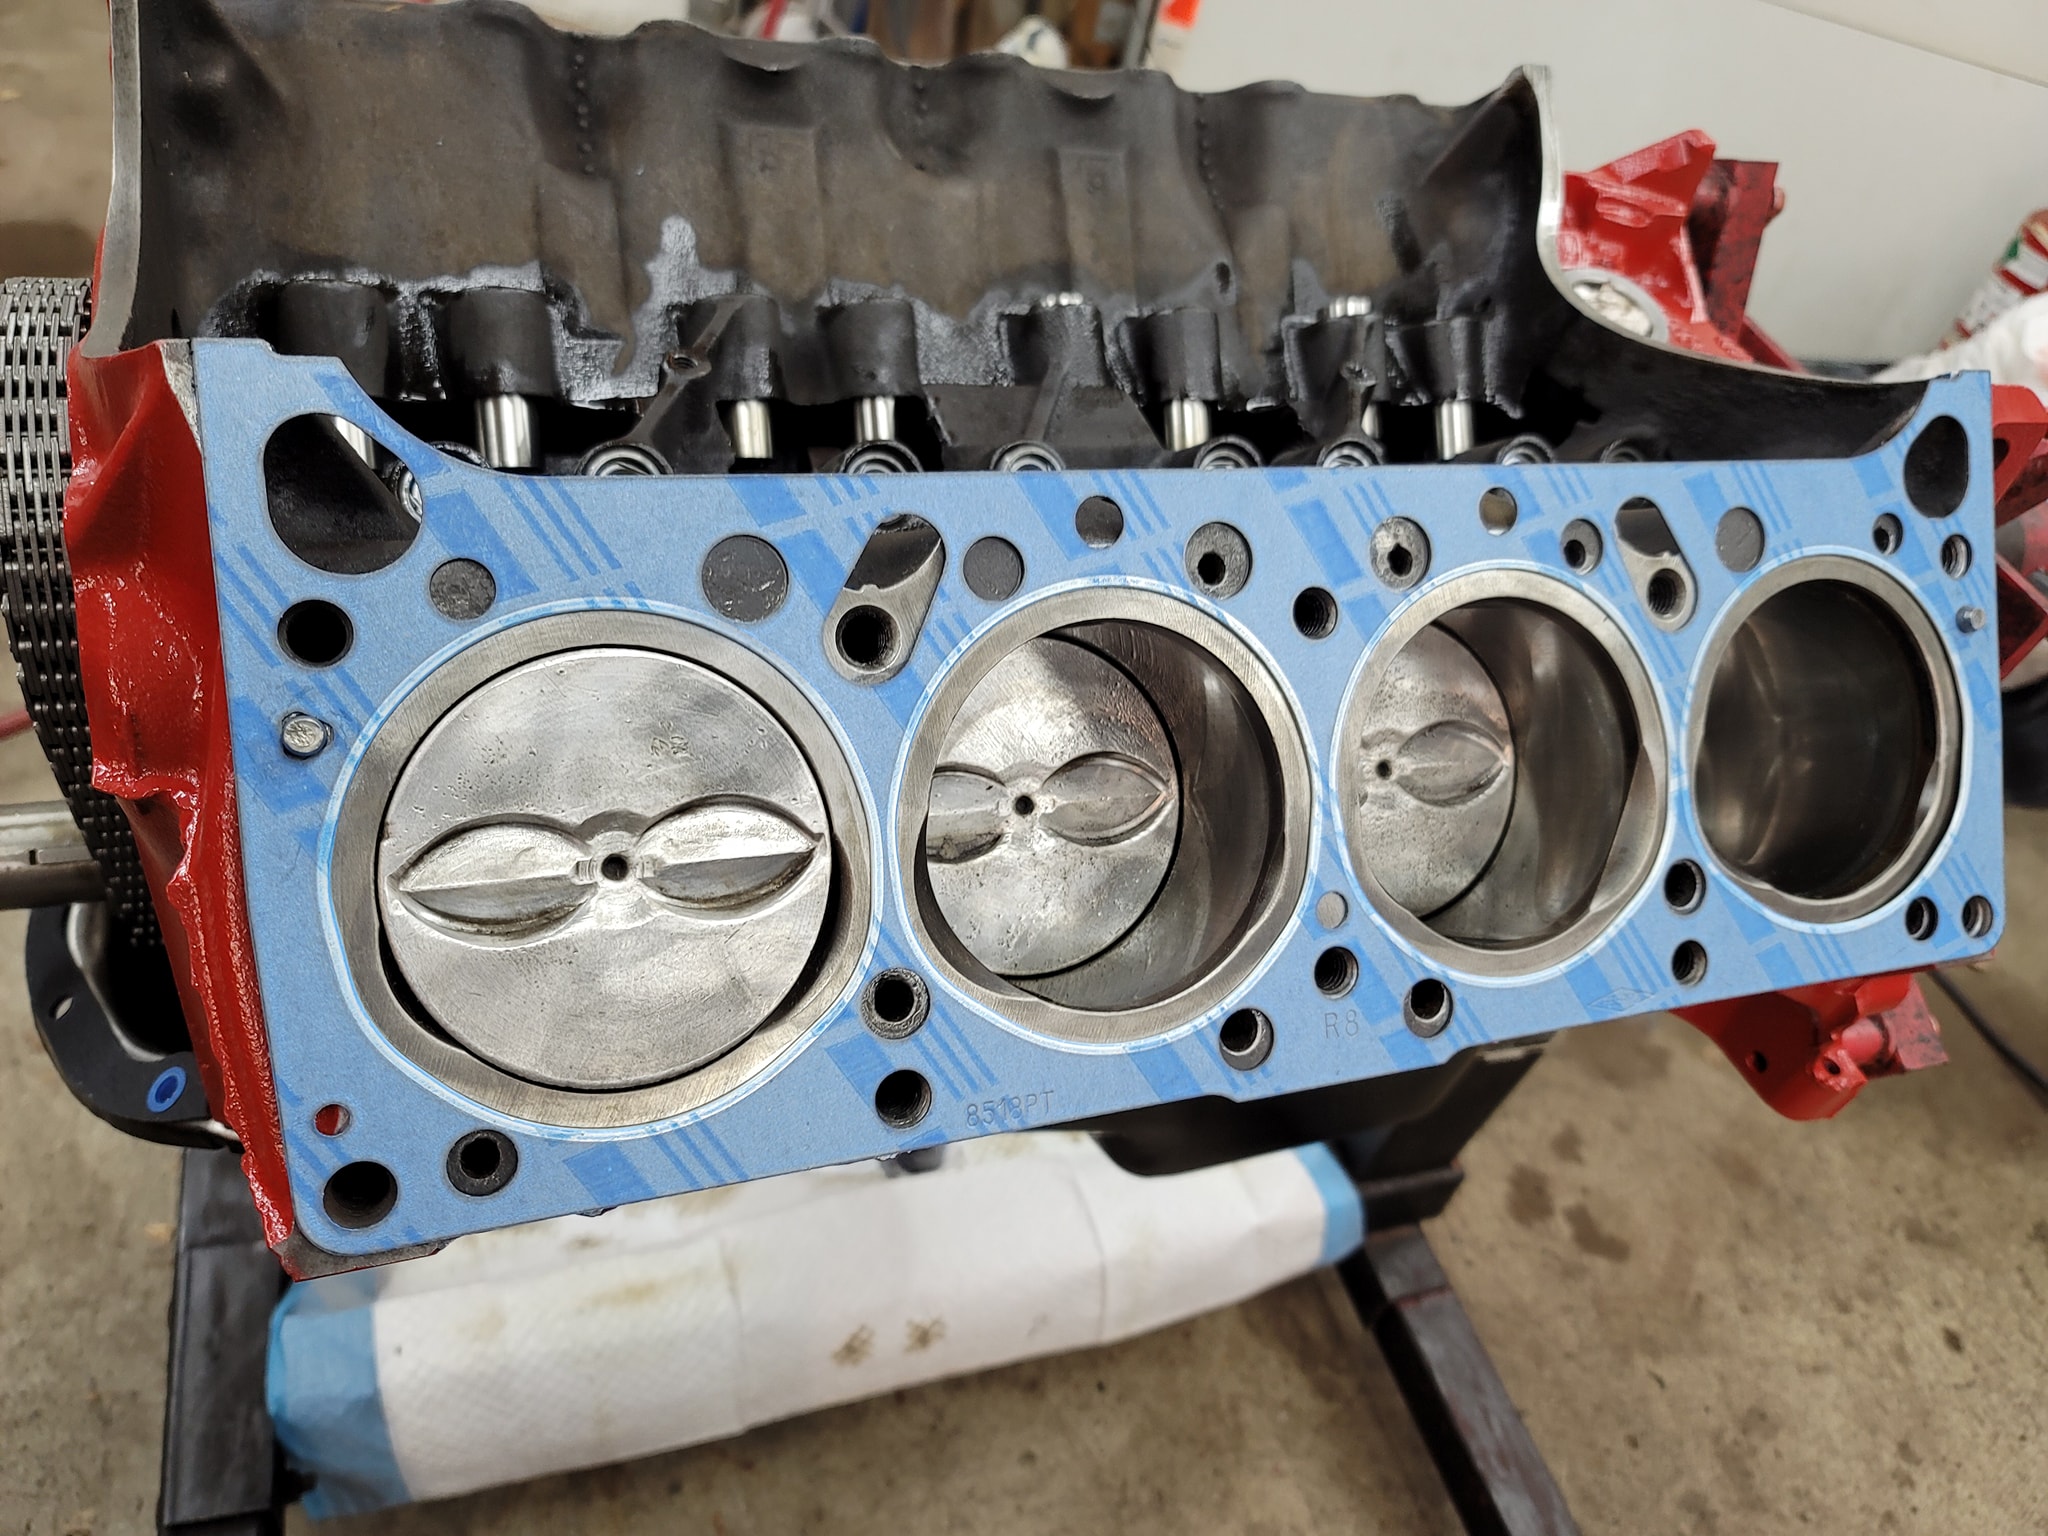
Major progress, huge thanks to a good friend of mine for all the expertise in helping rebuild an engine! Feels so good to start buttoning up the internals! New oil pump, cam shaft, lifters, timing set and gaskets. Heads all torqued down going to feel that in the morning ha
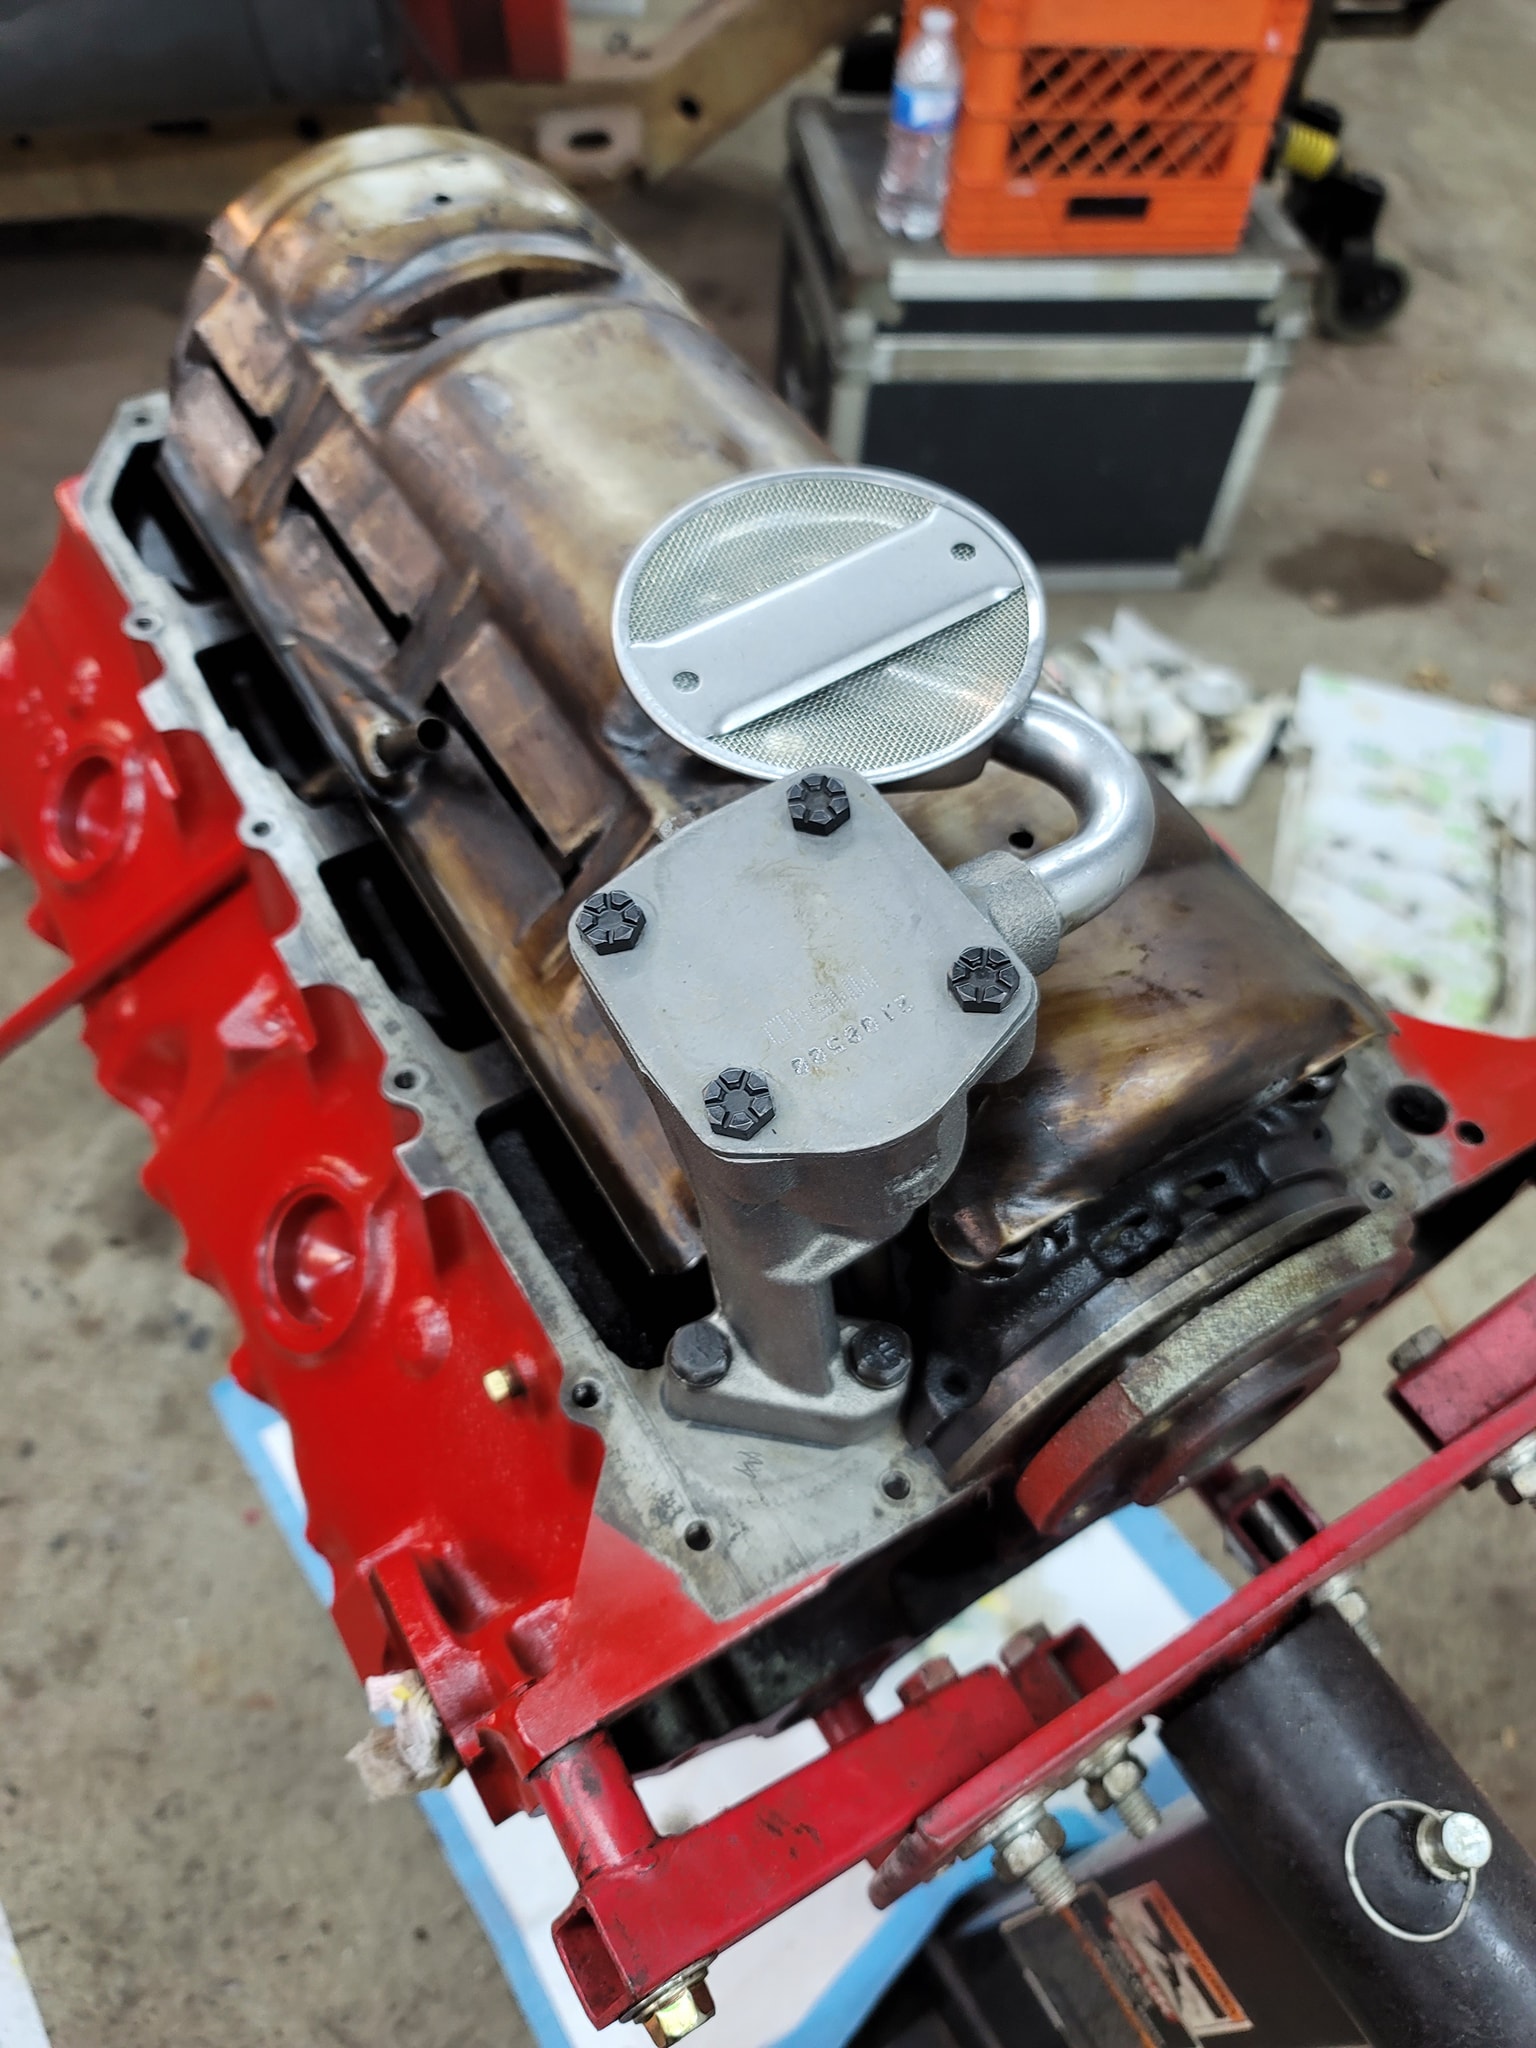
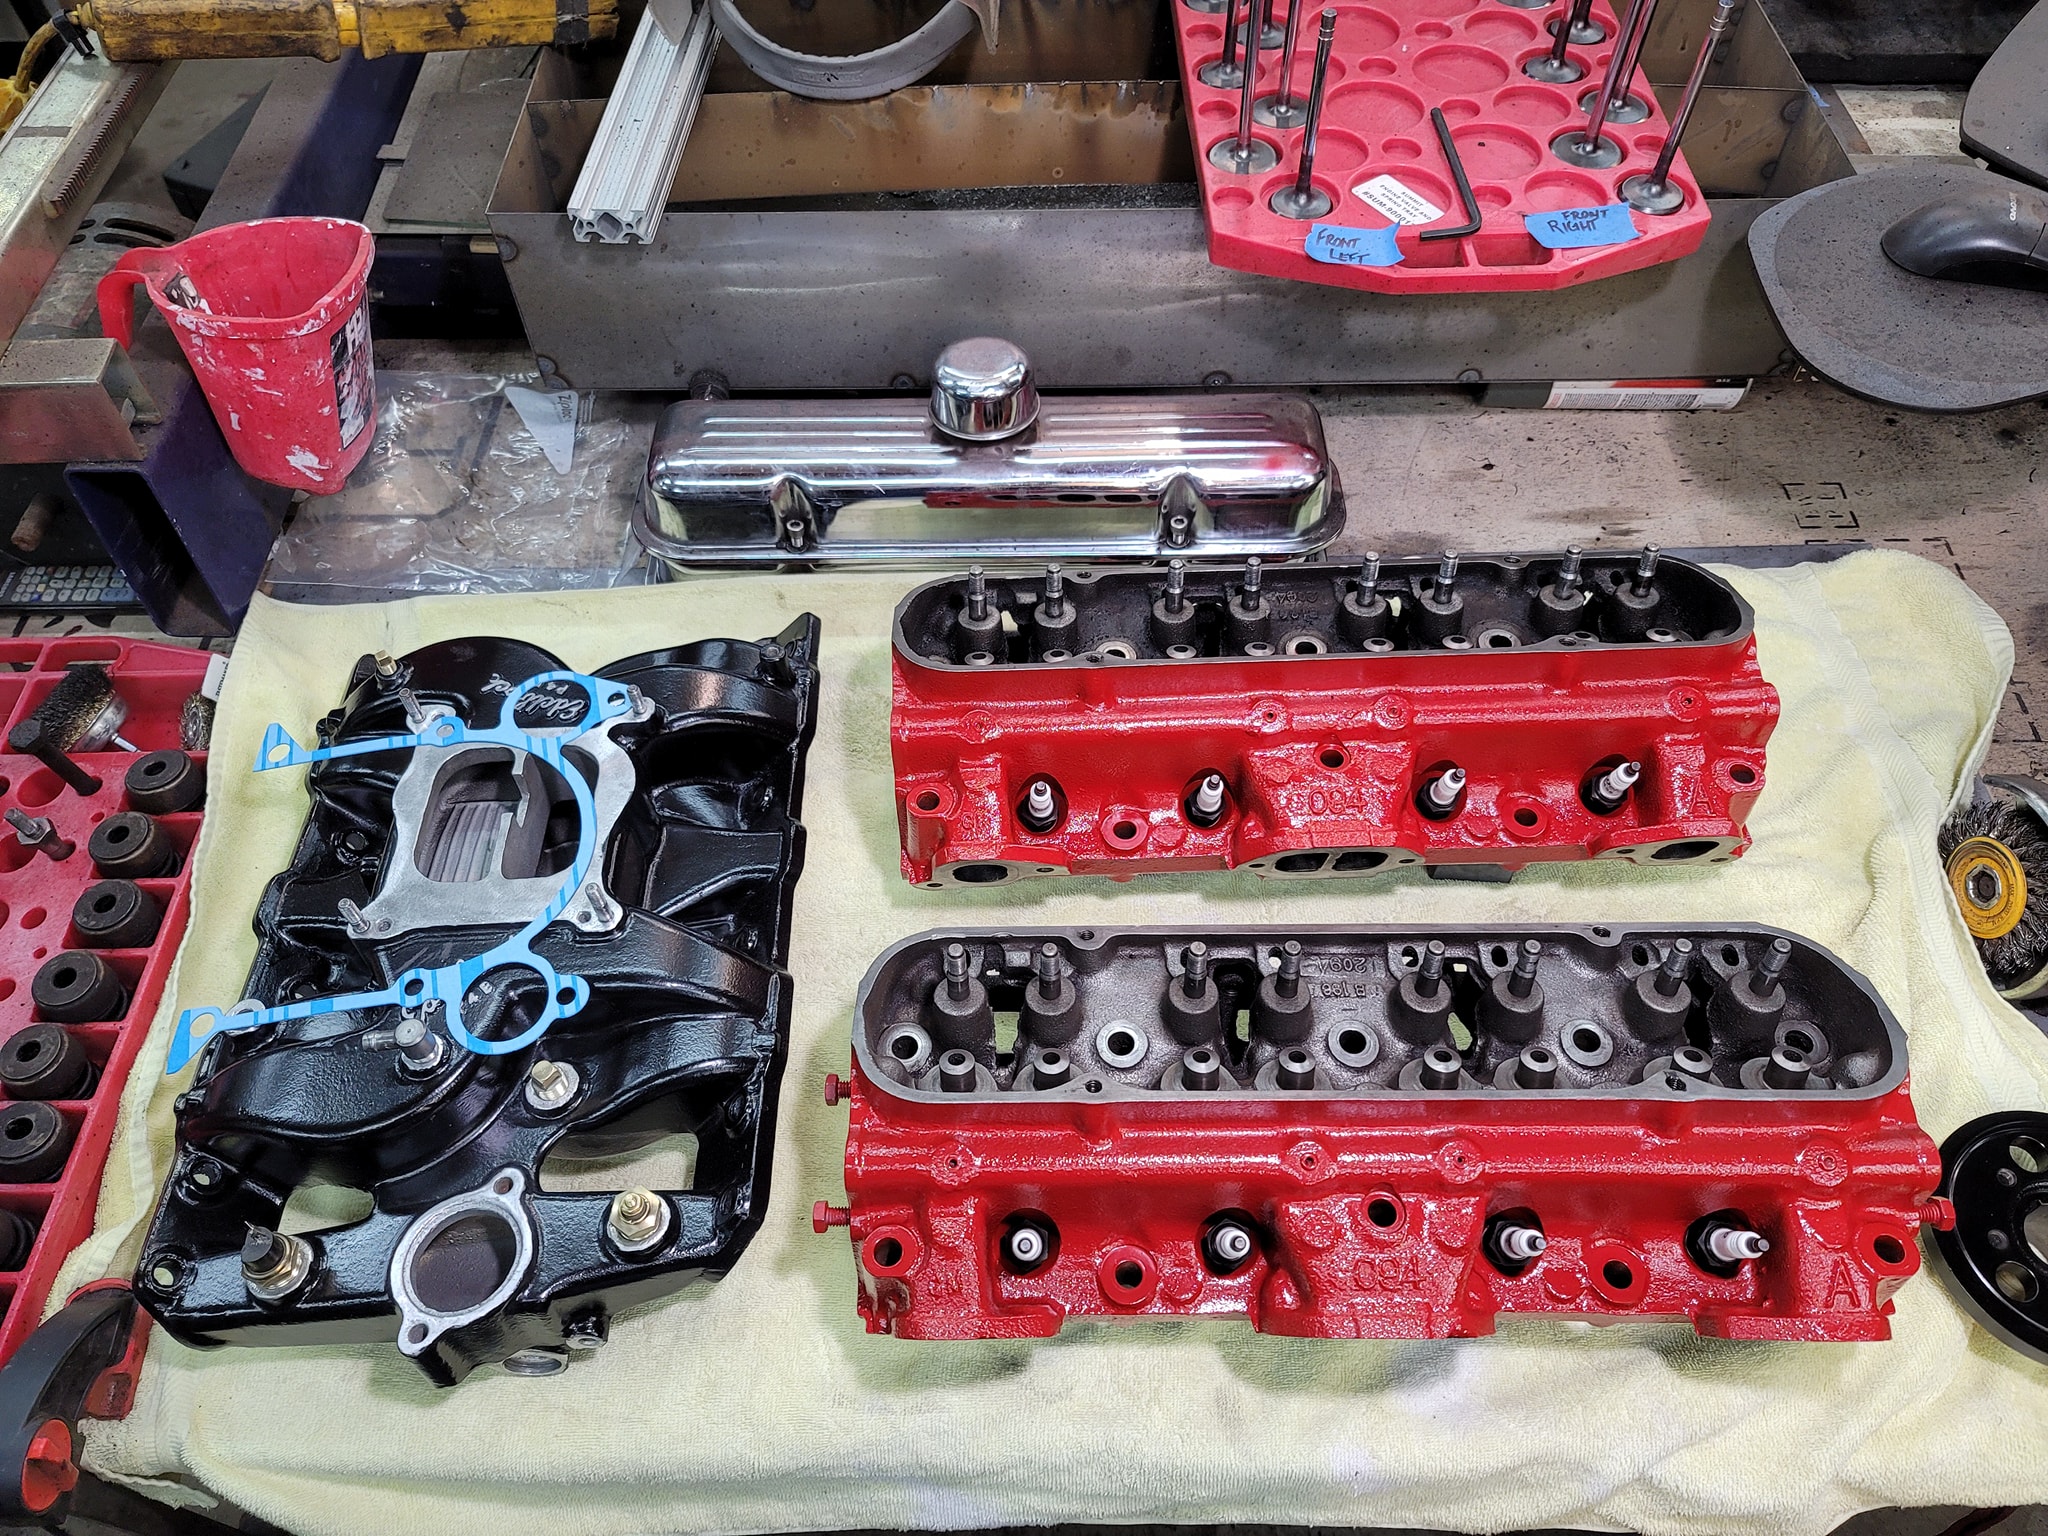
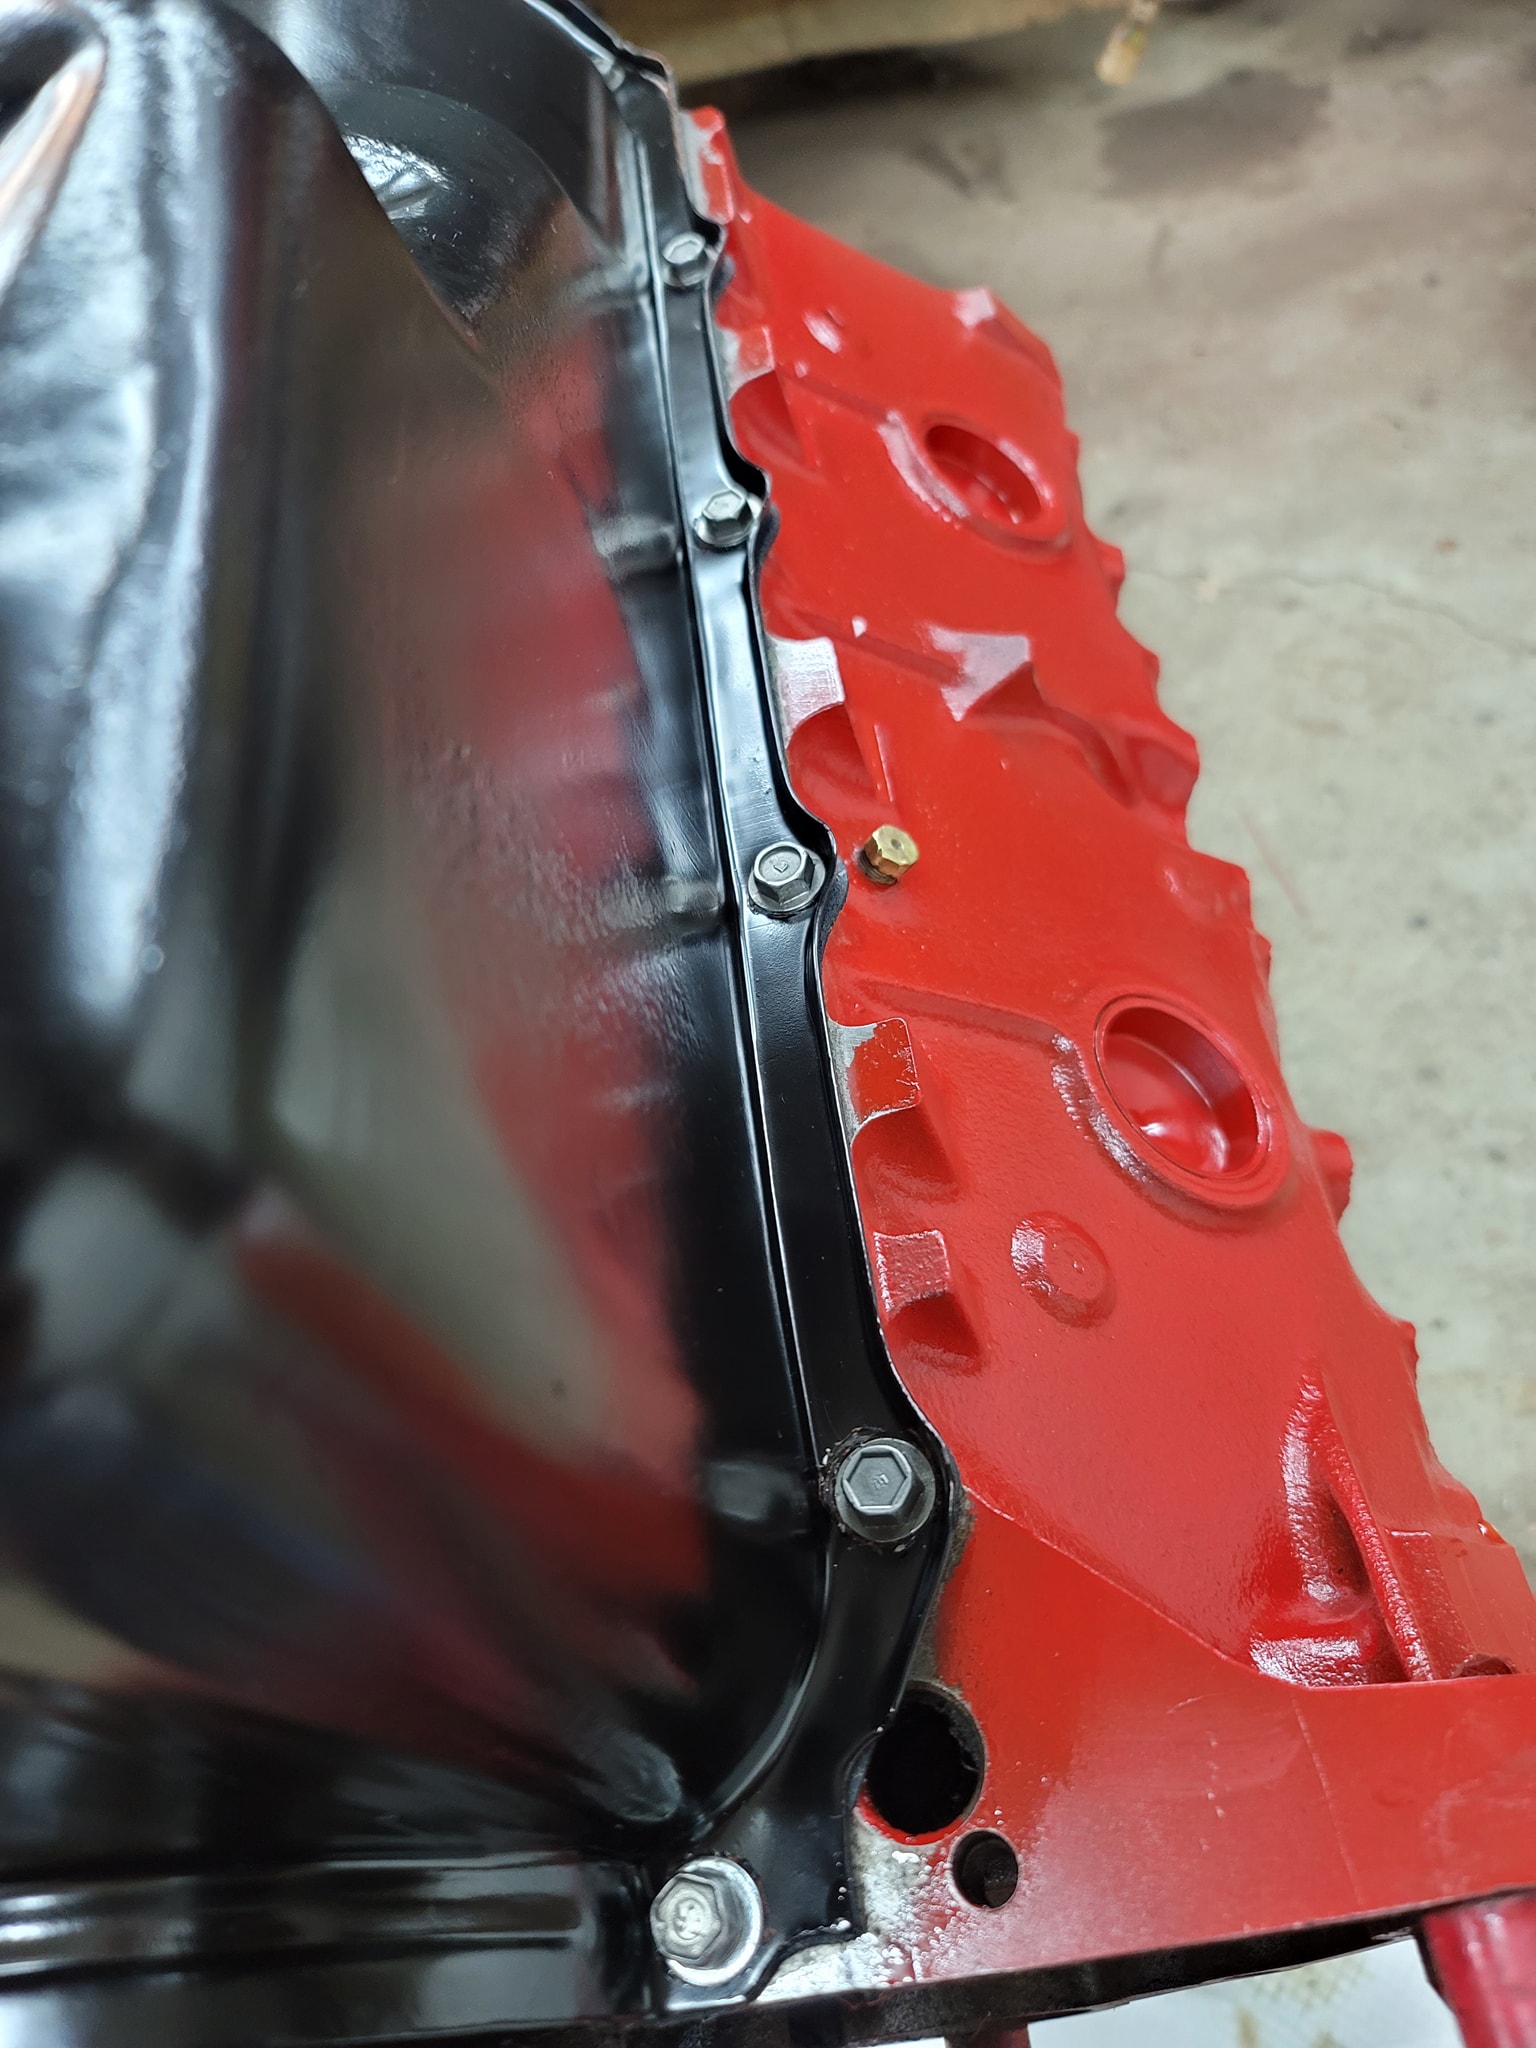
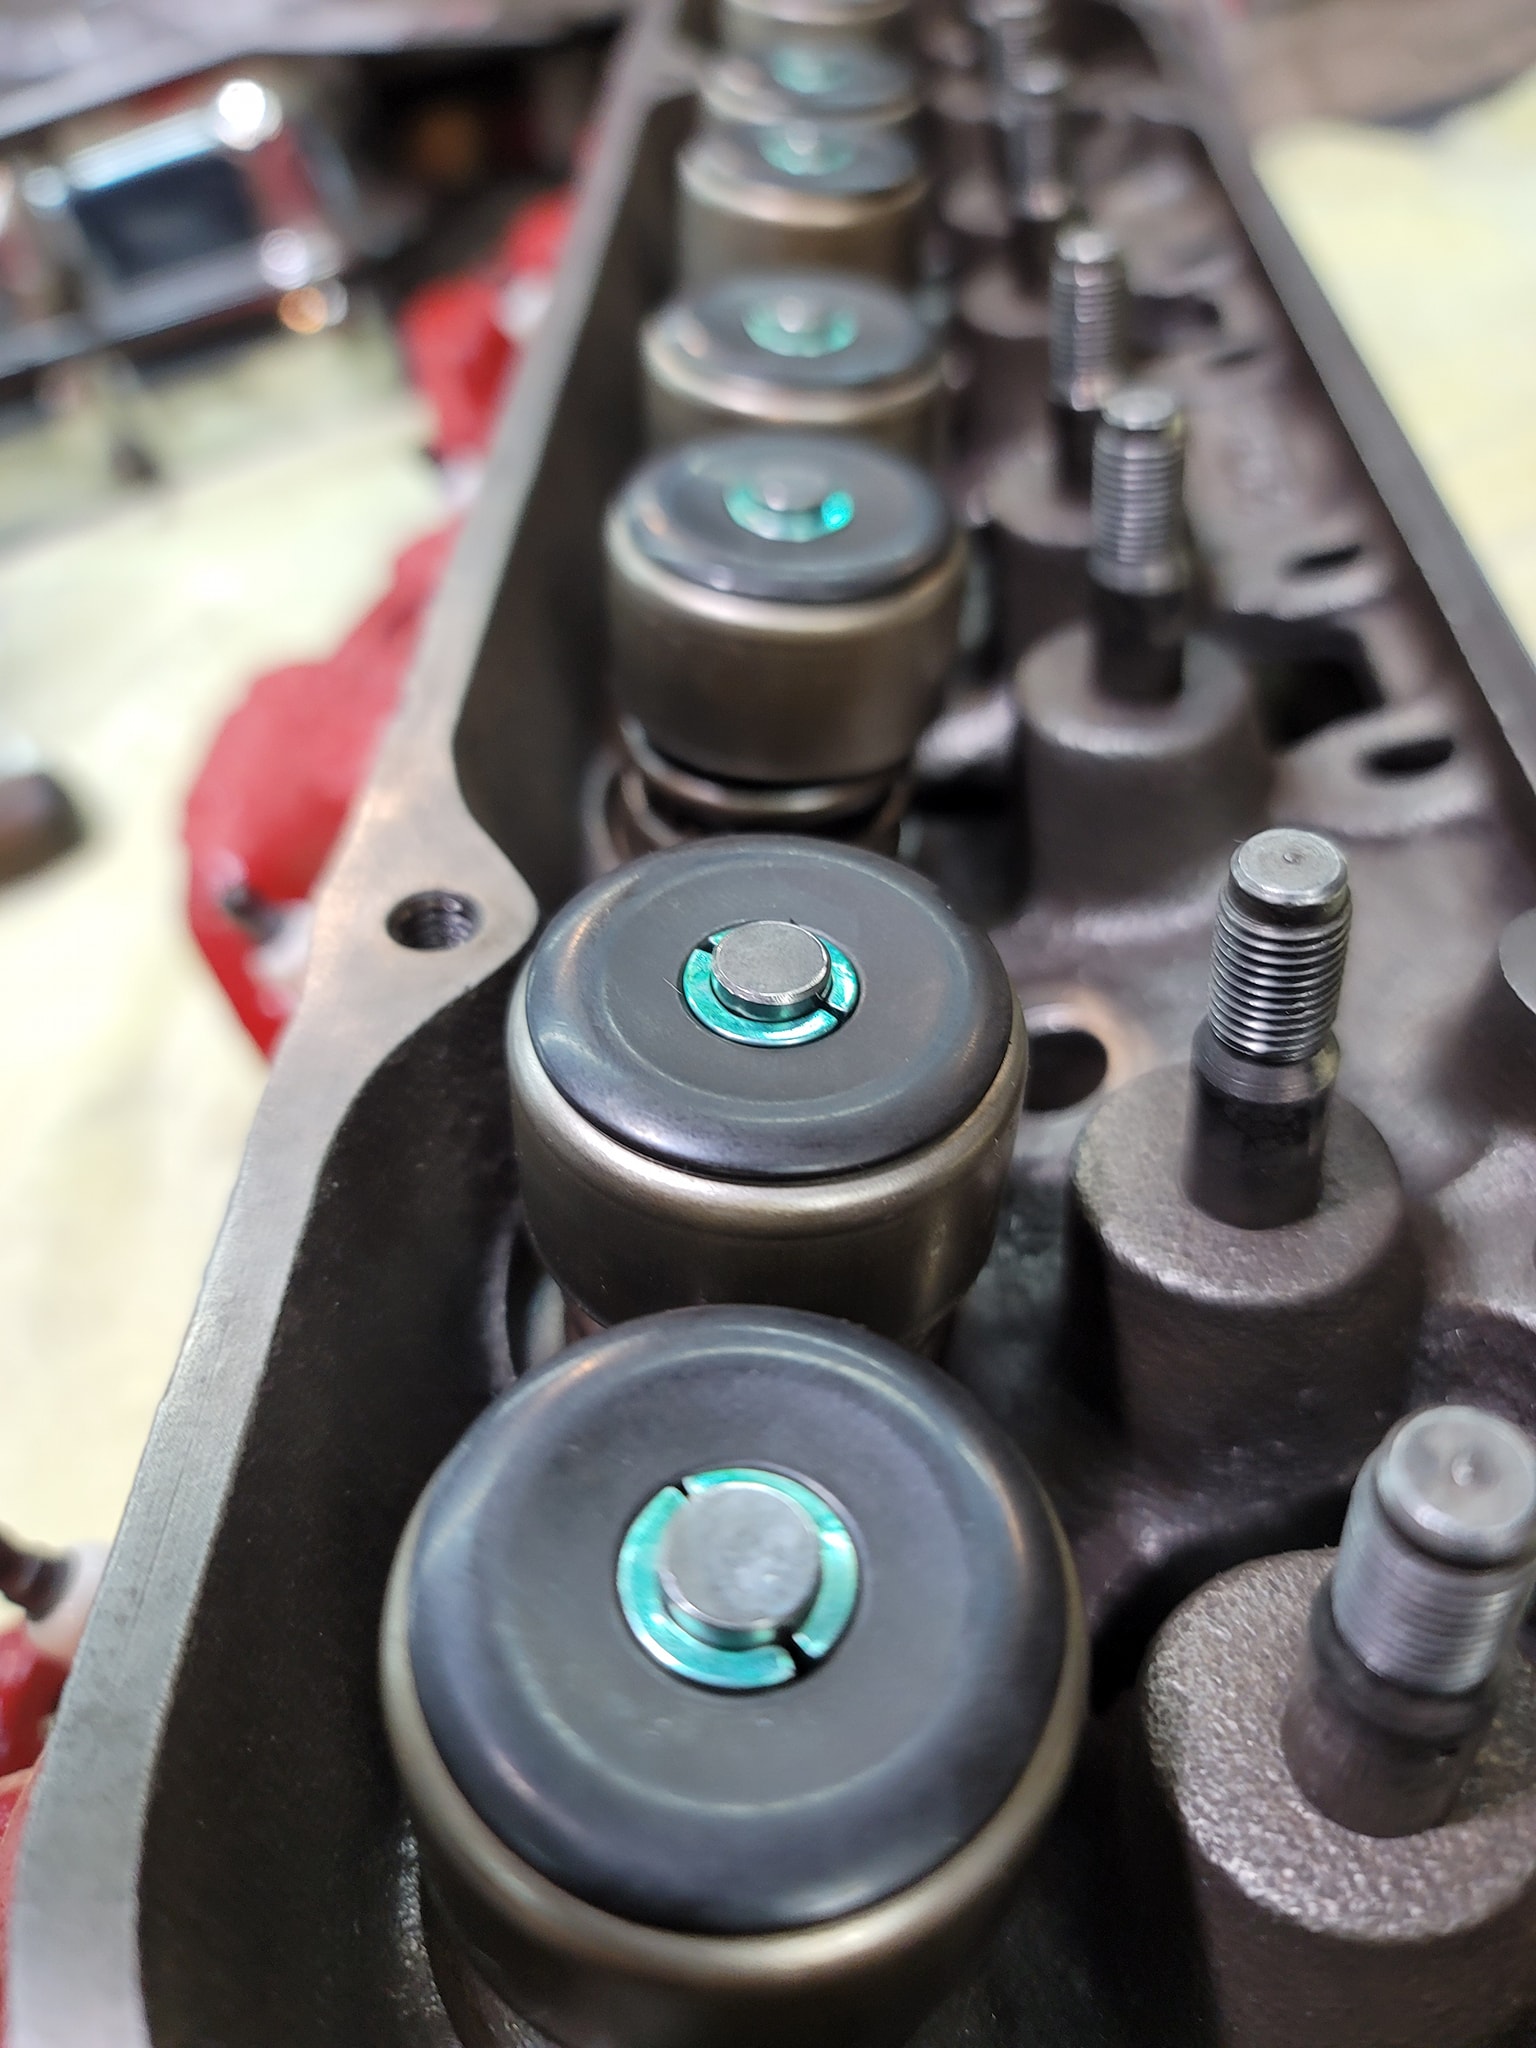
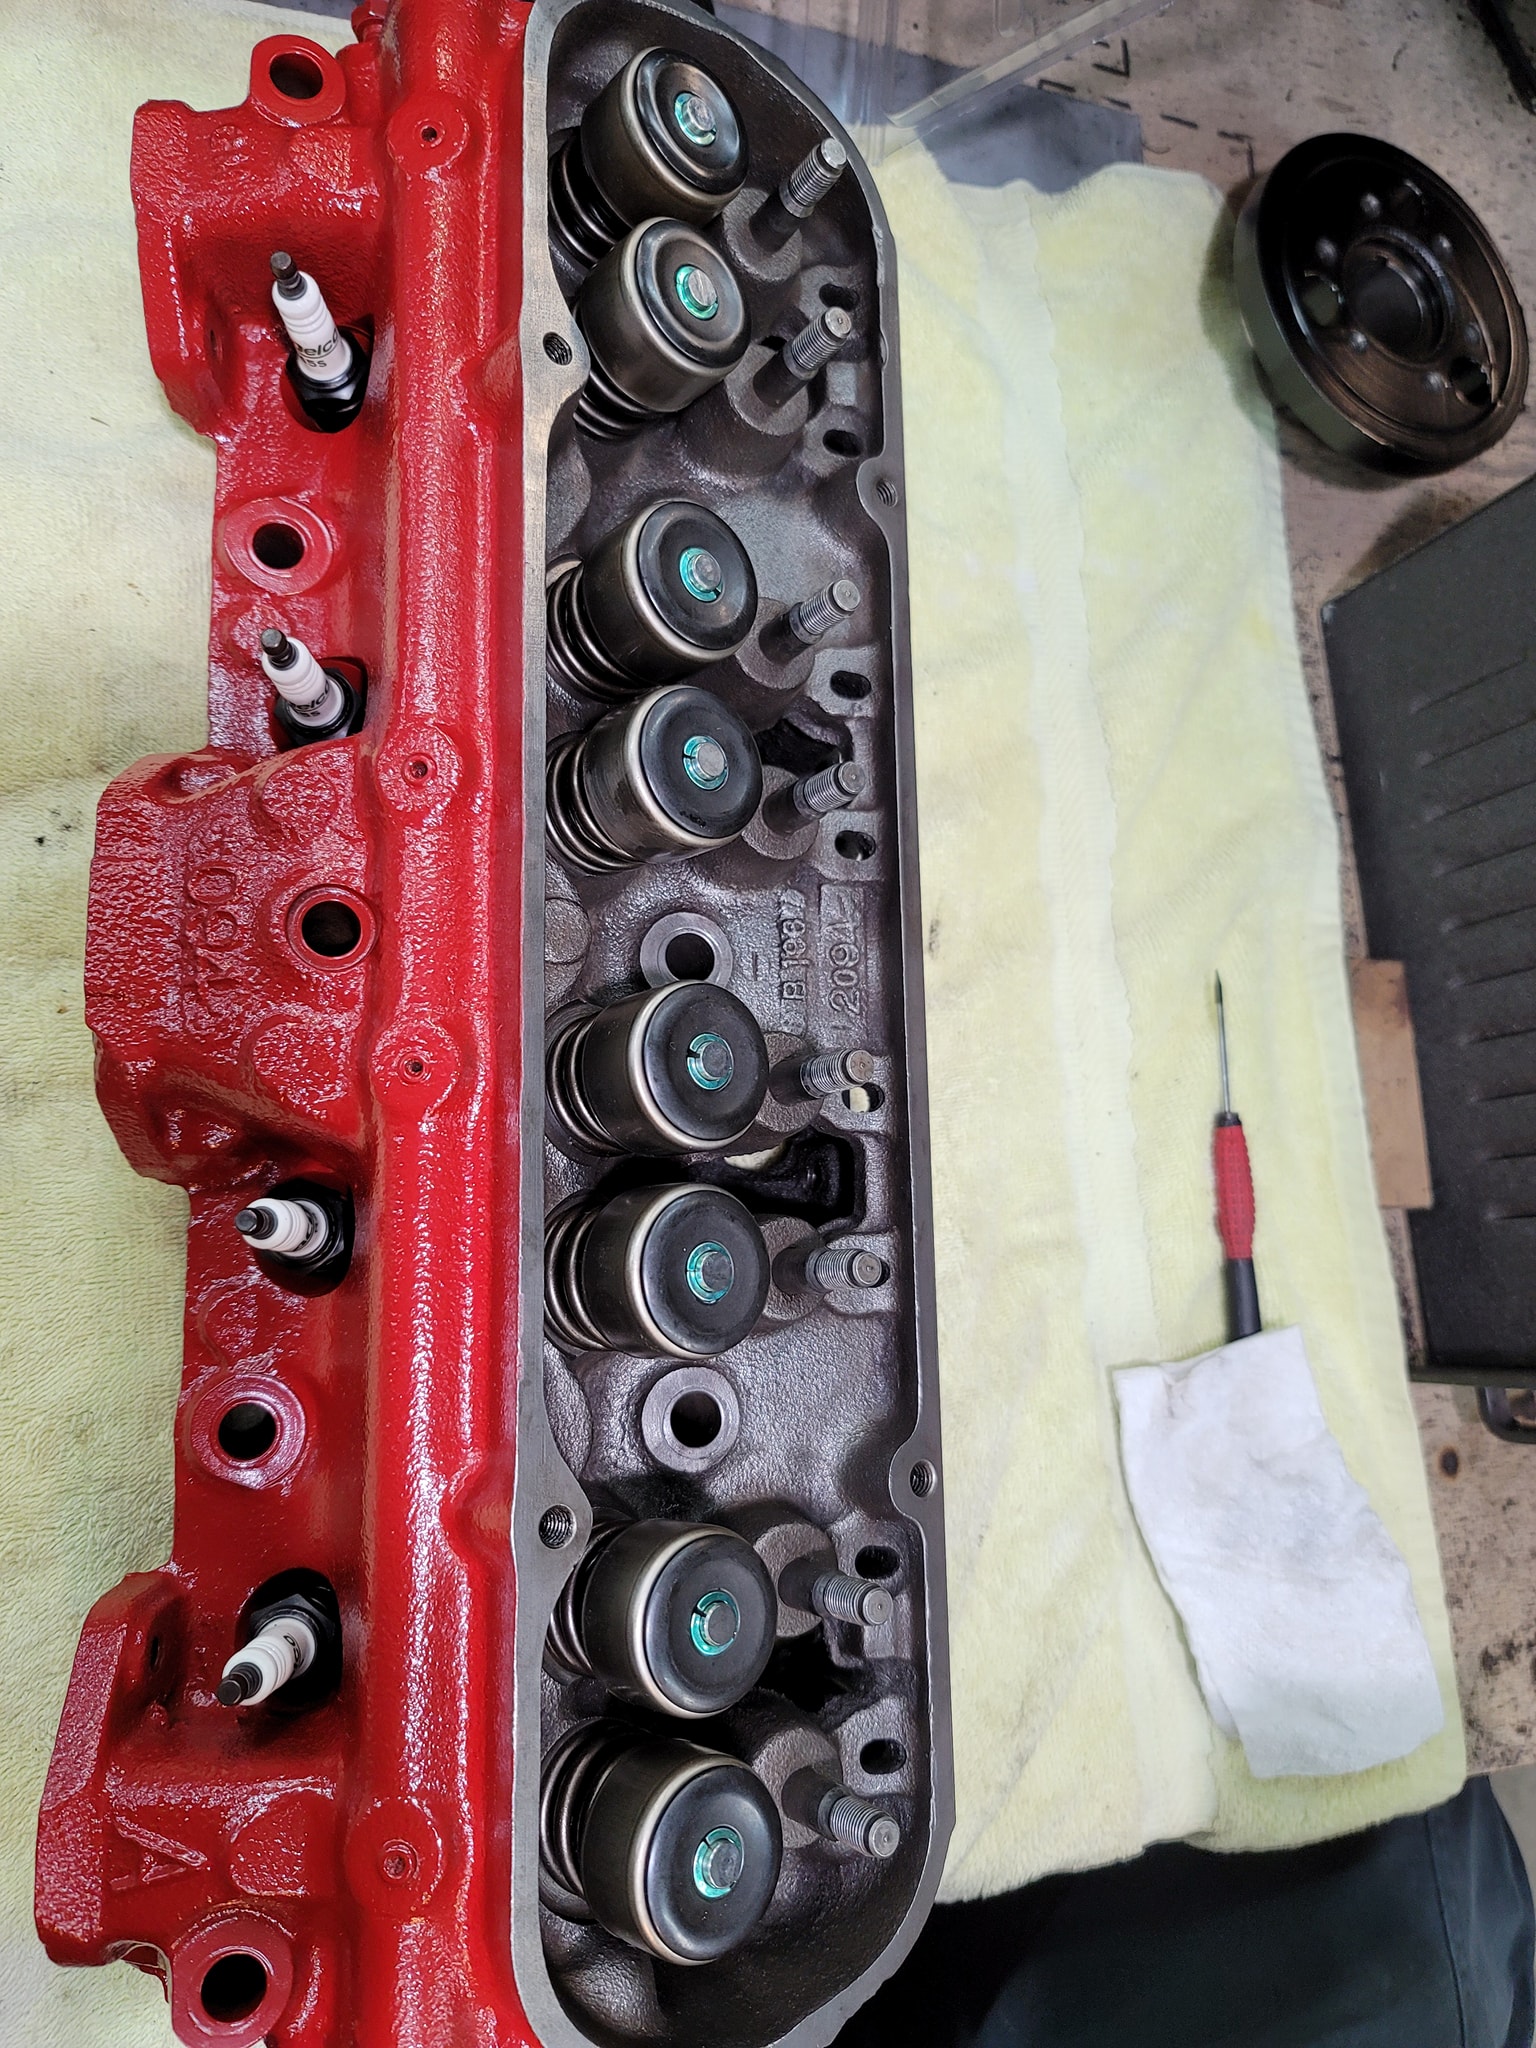
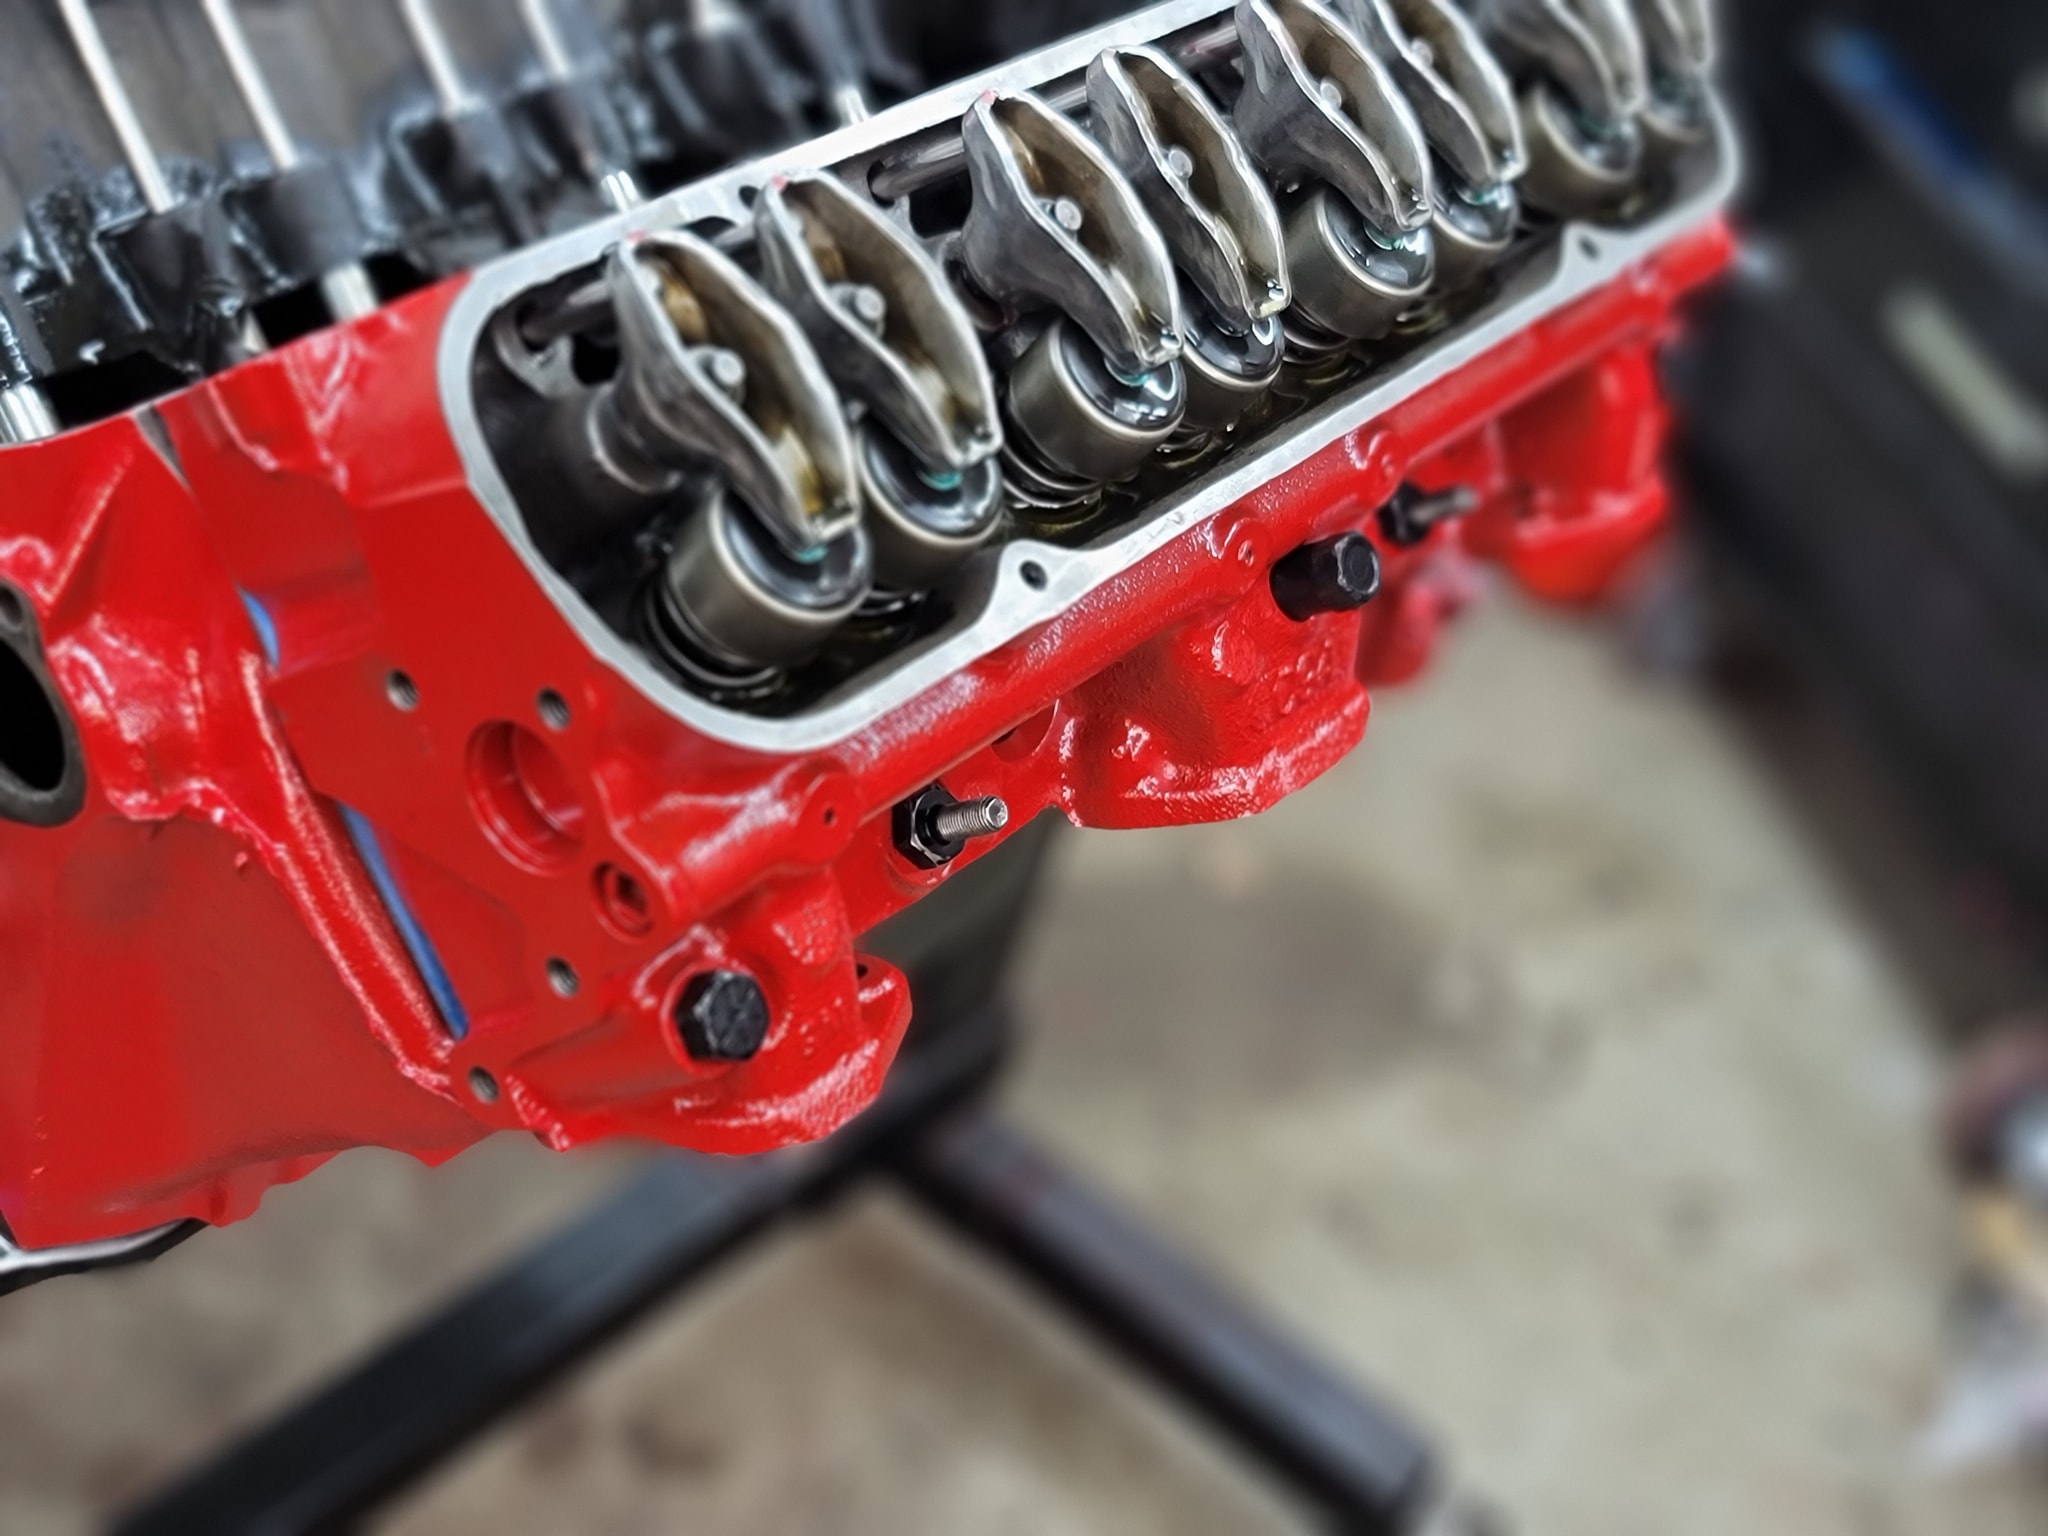
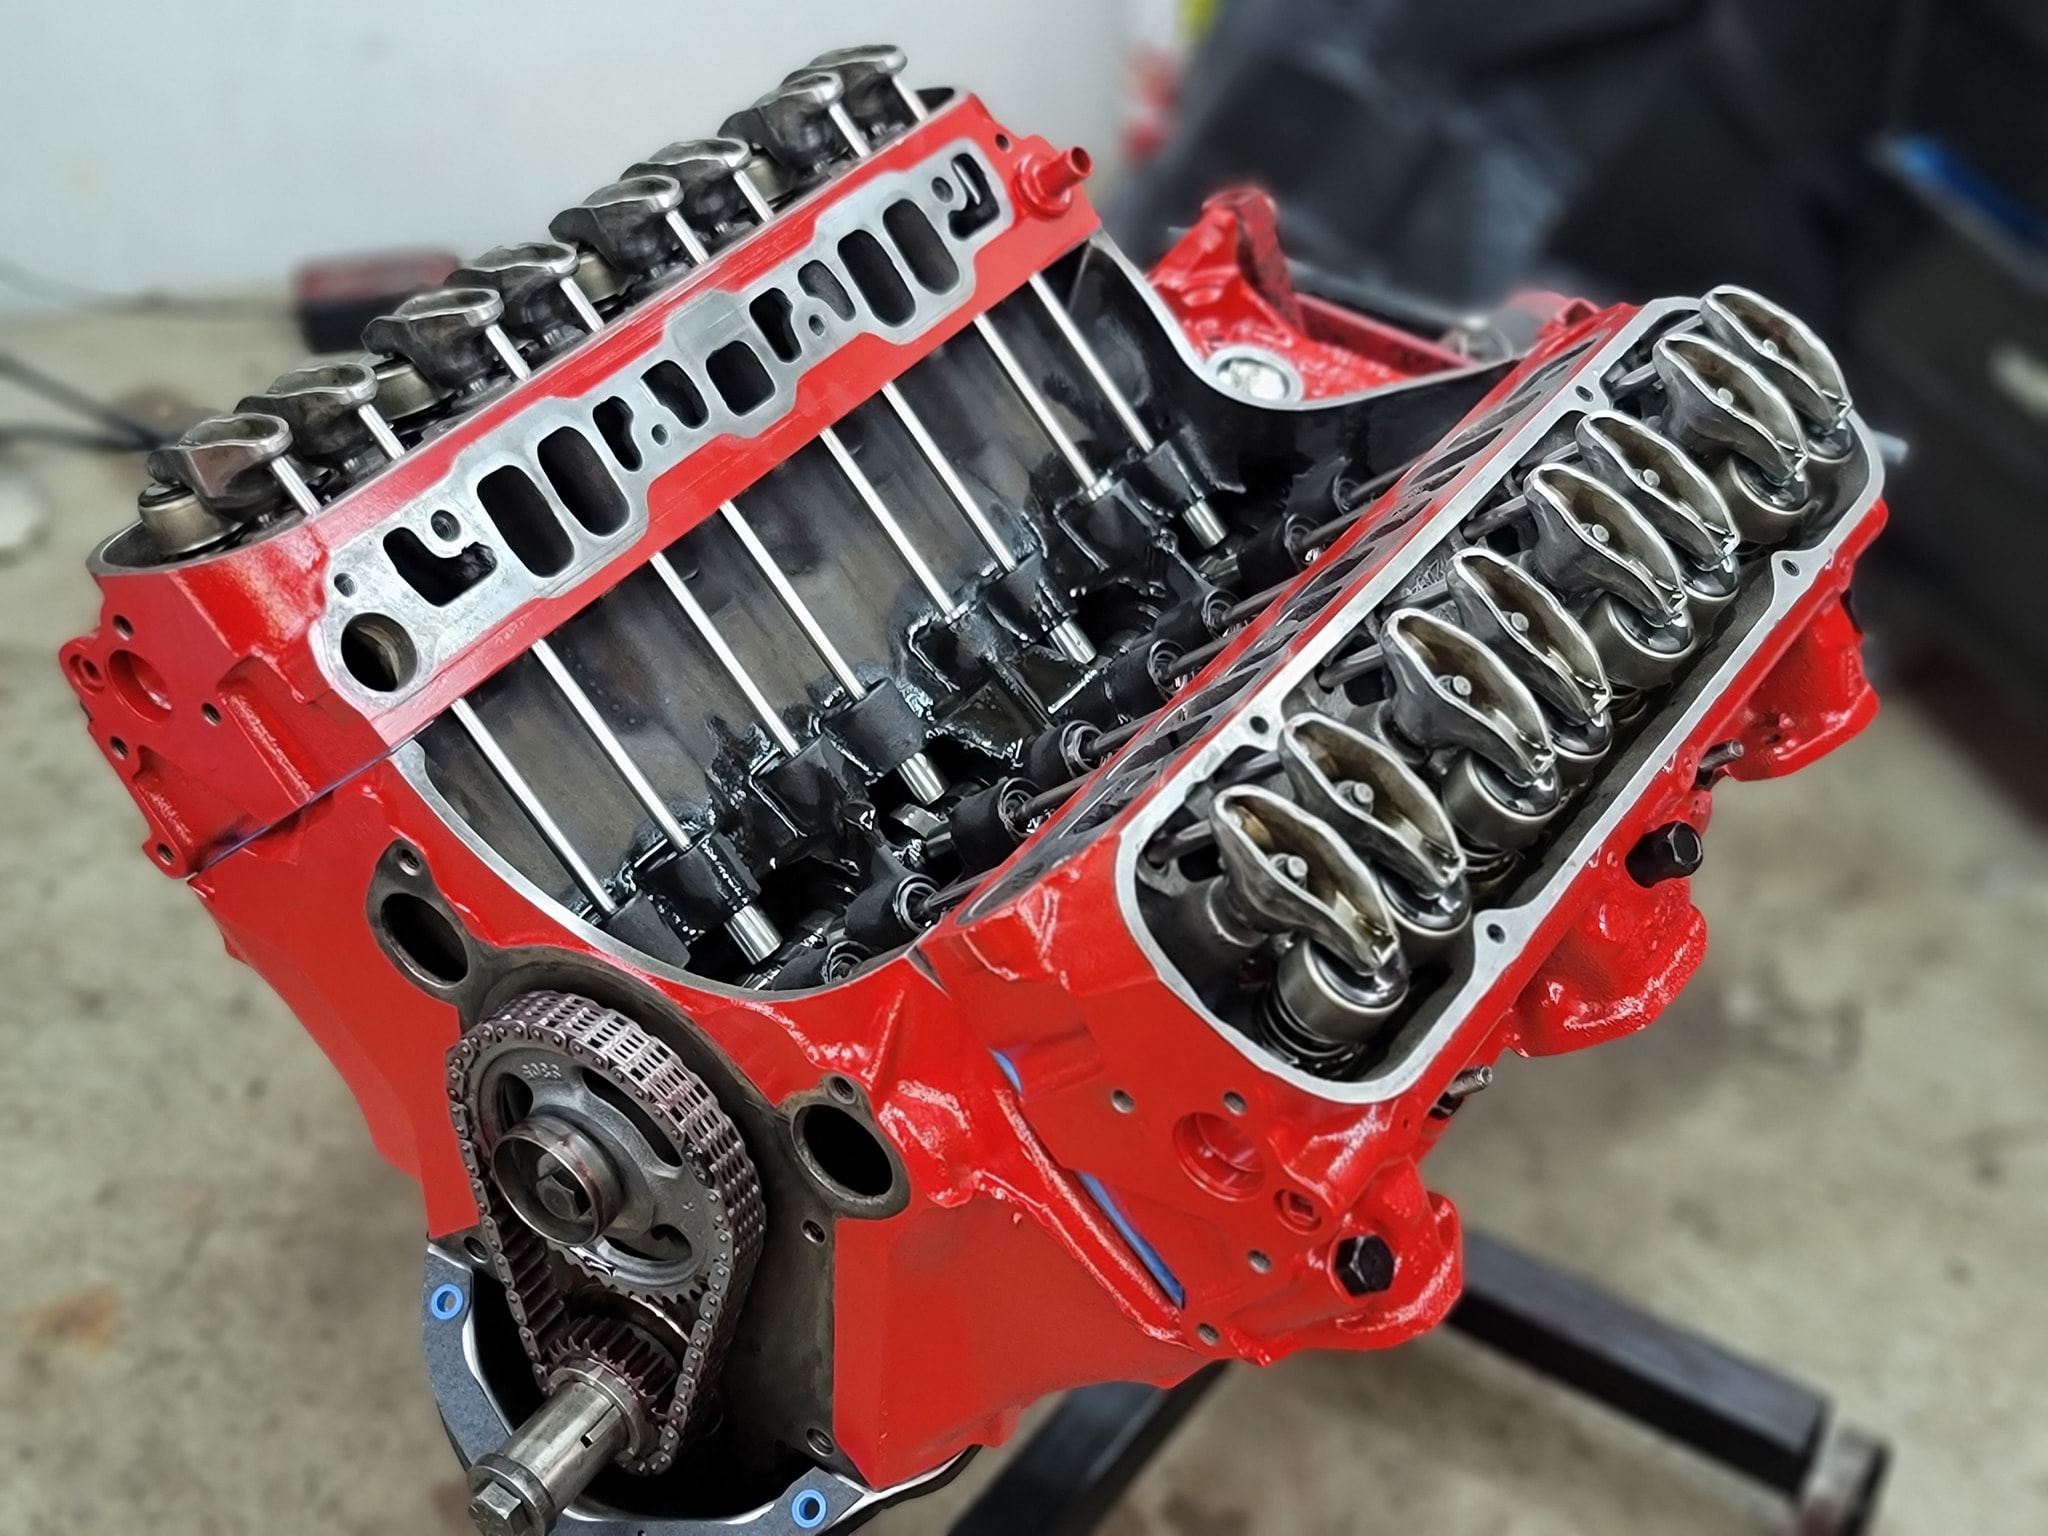
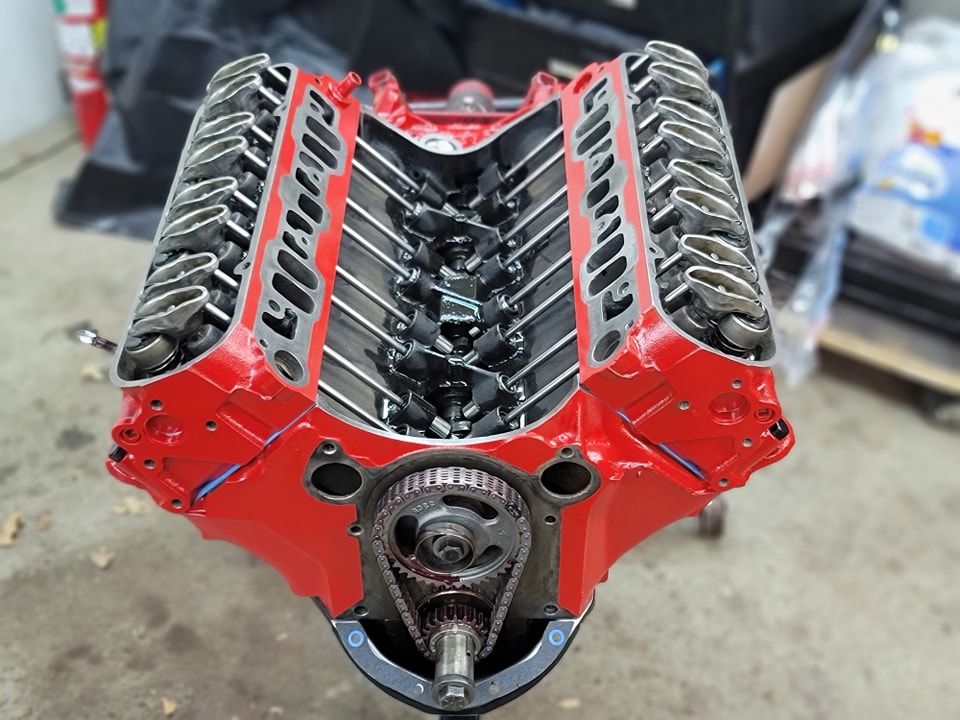
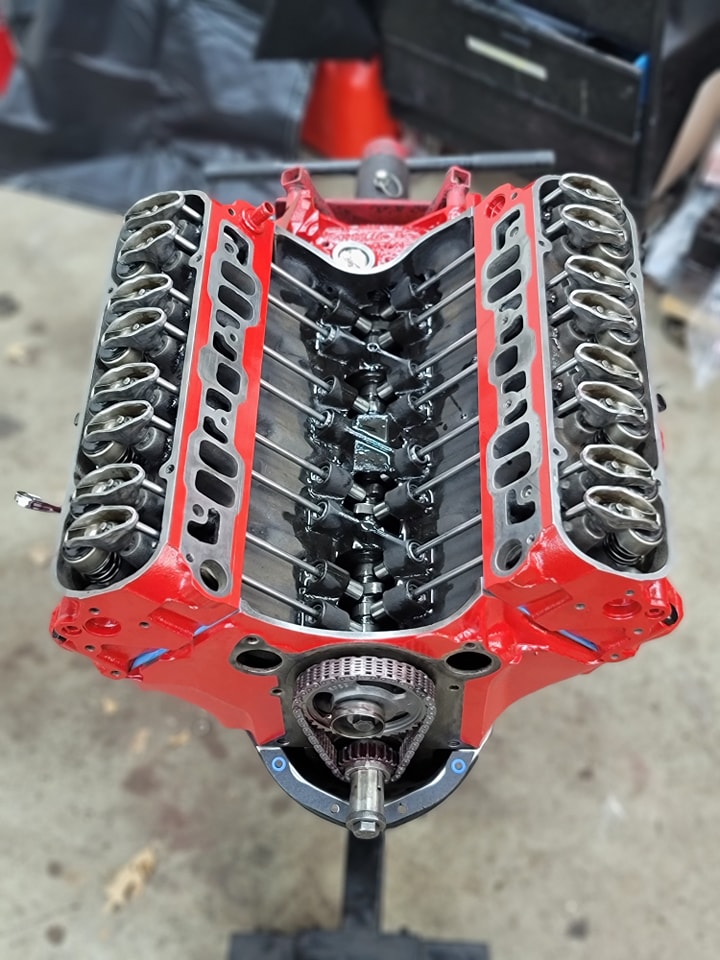
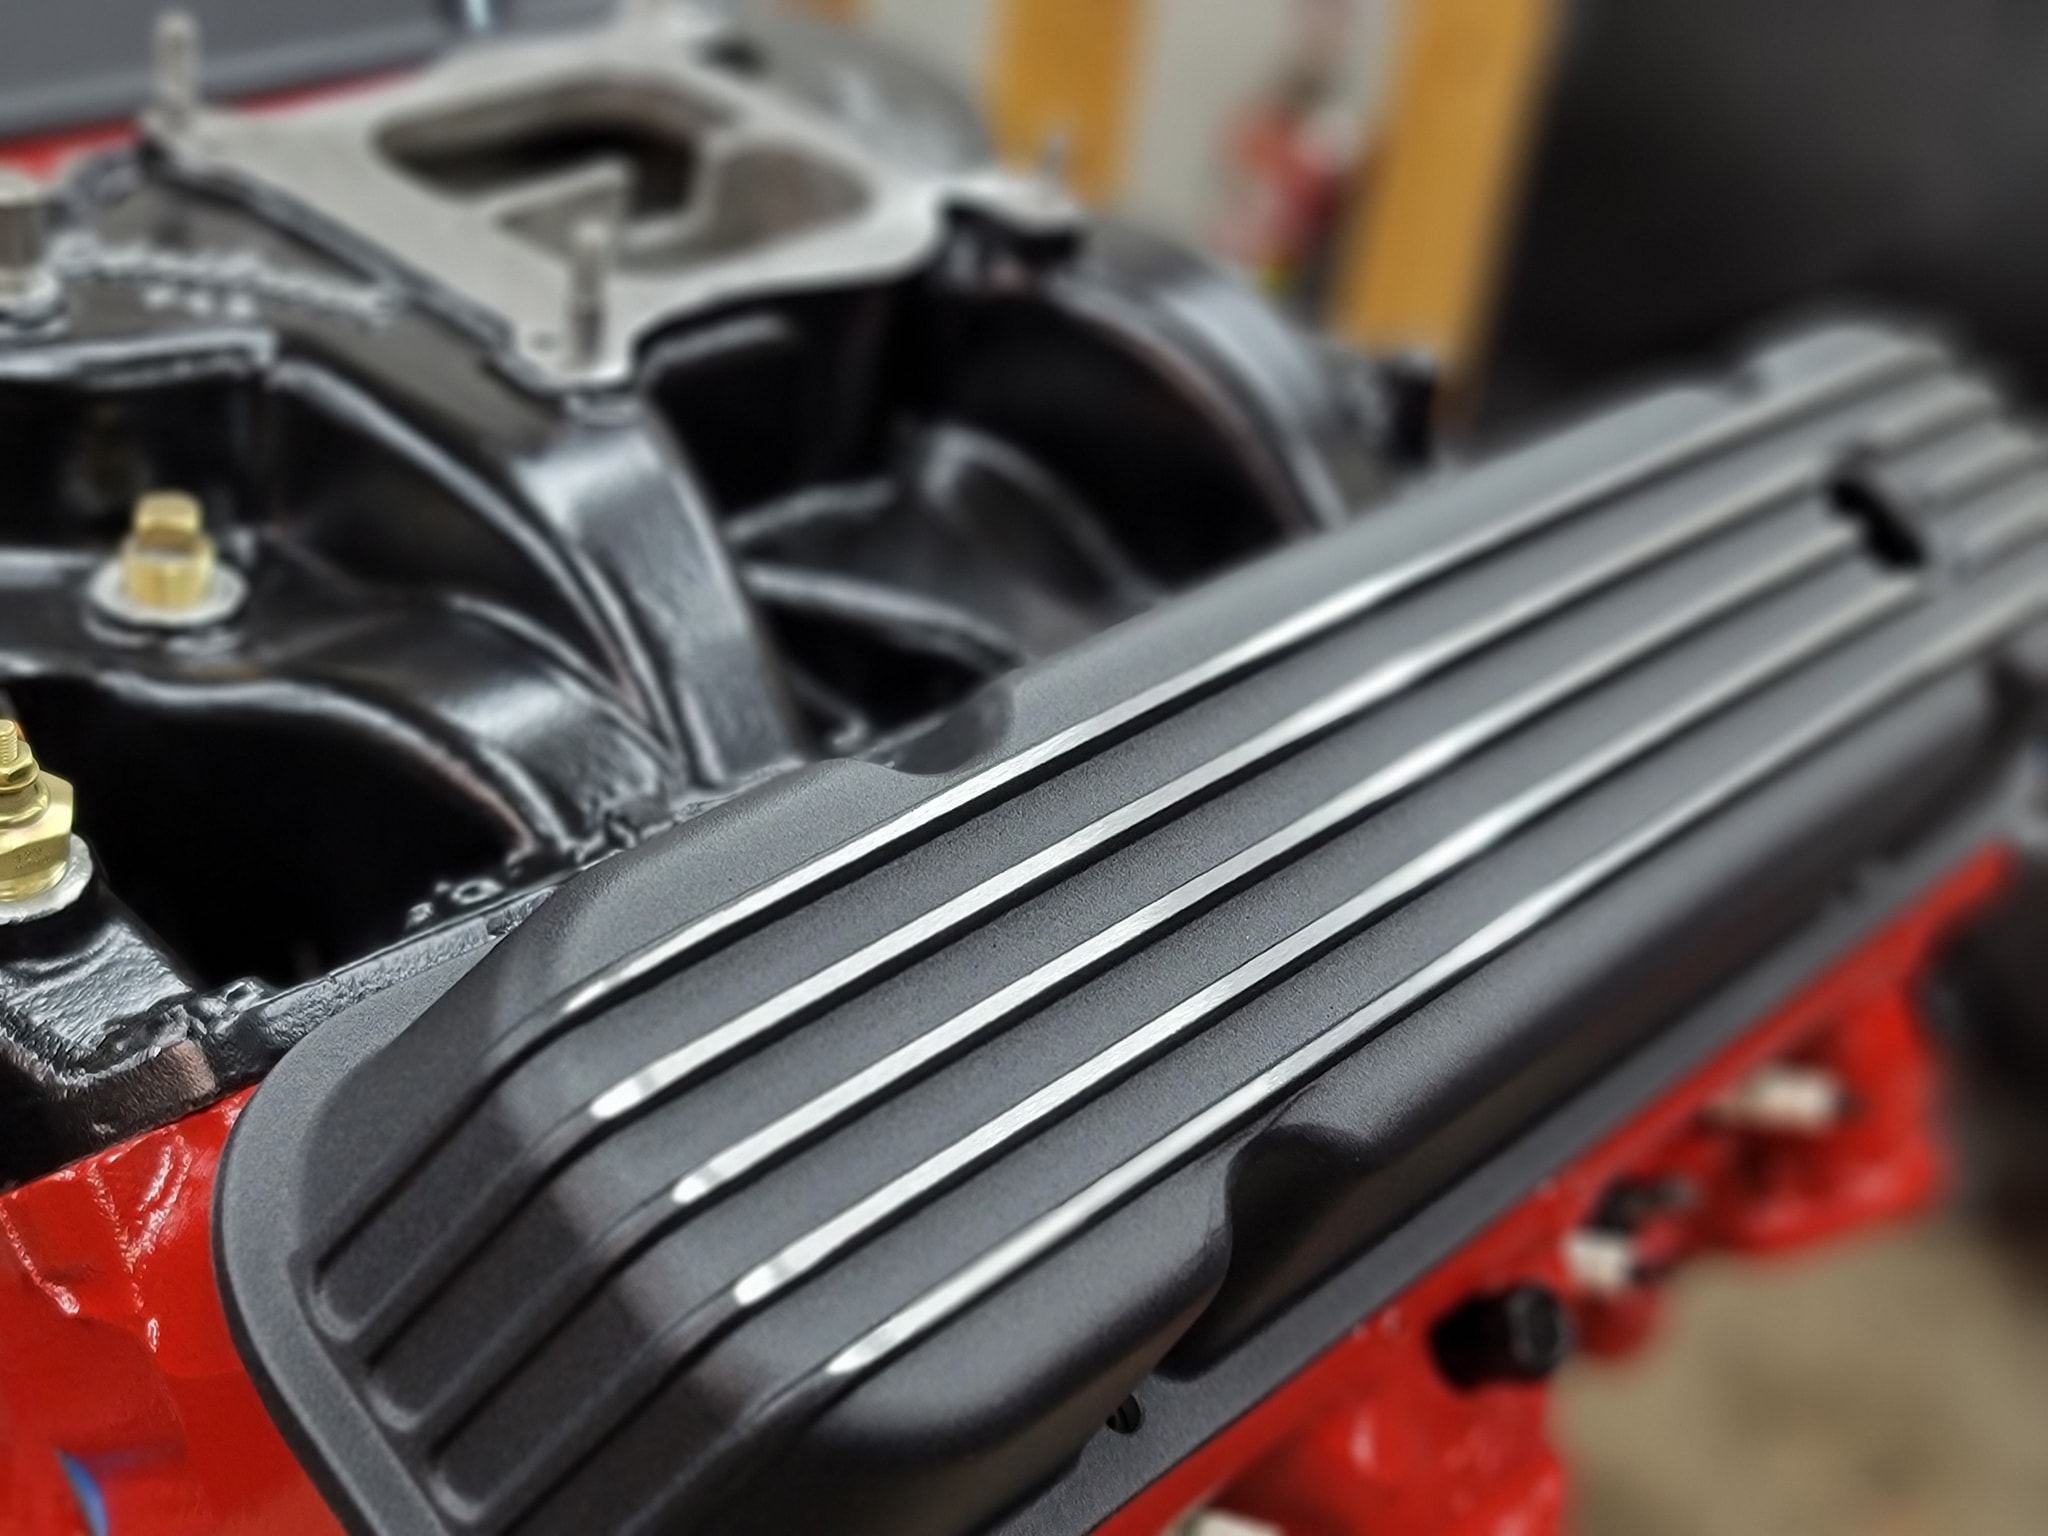
Valve covers came in!!!
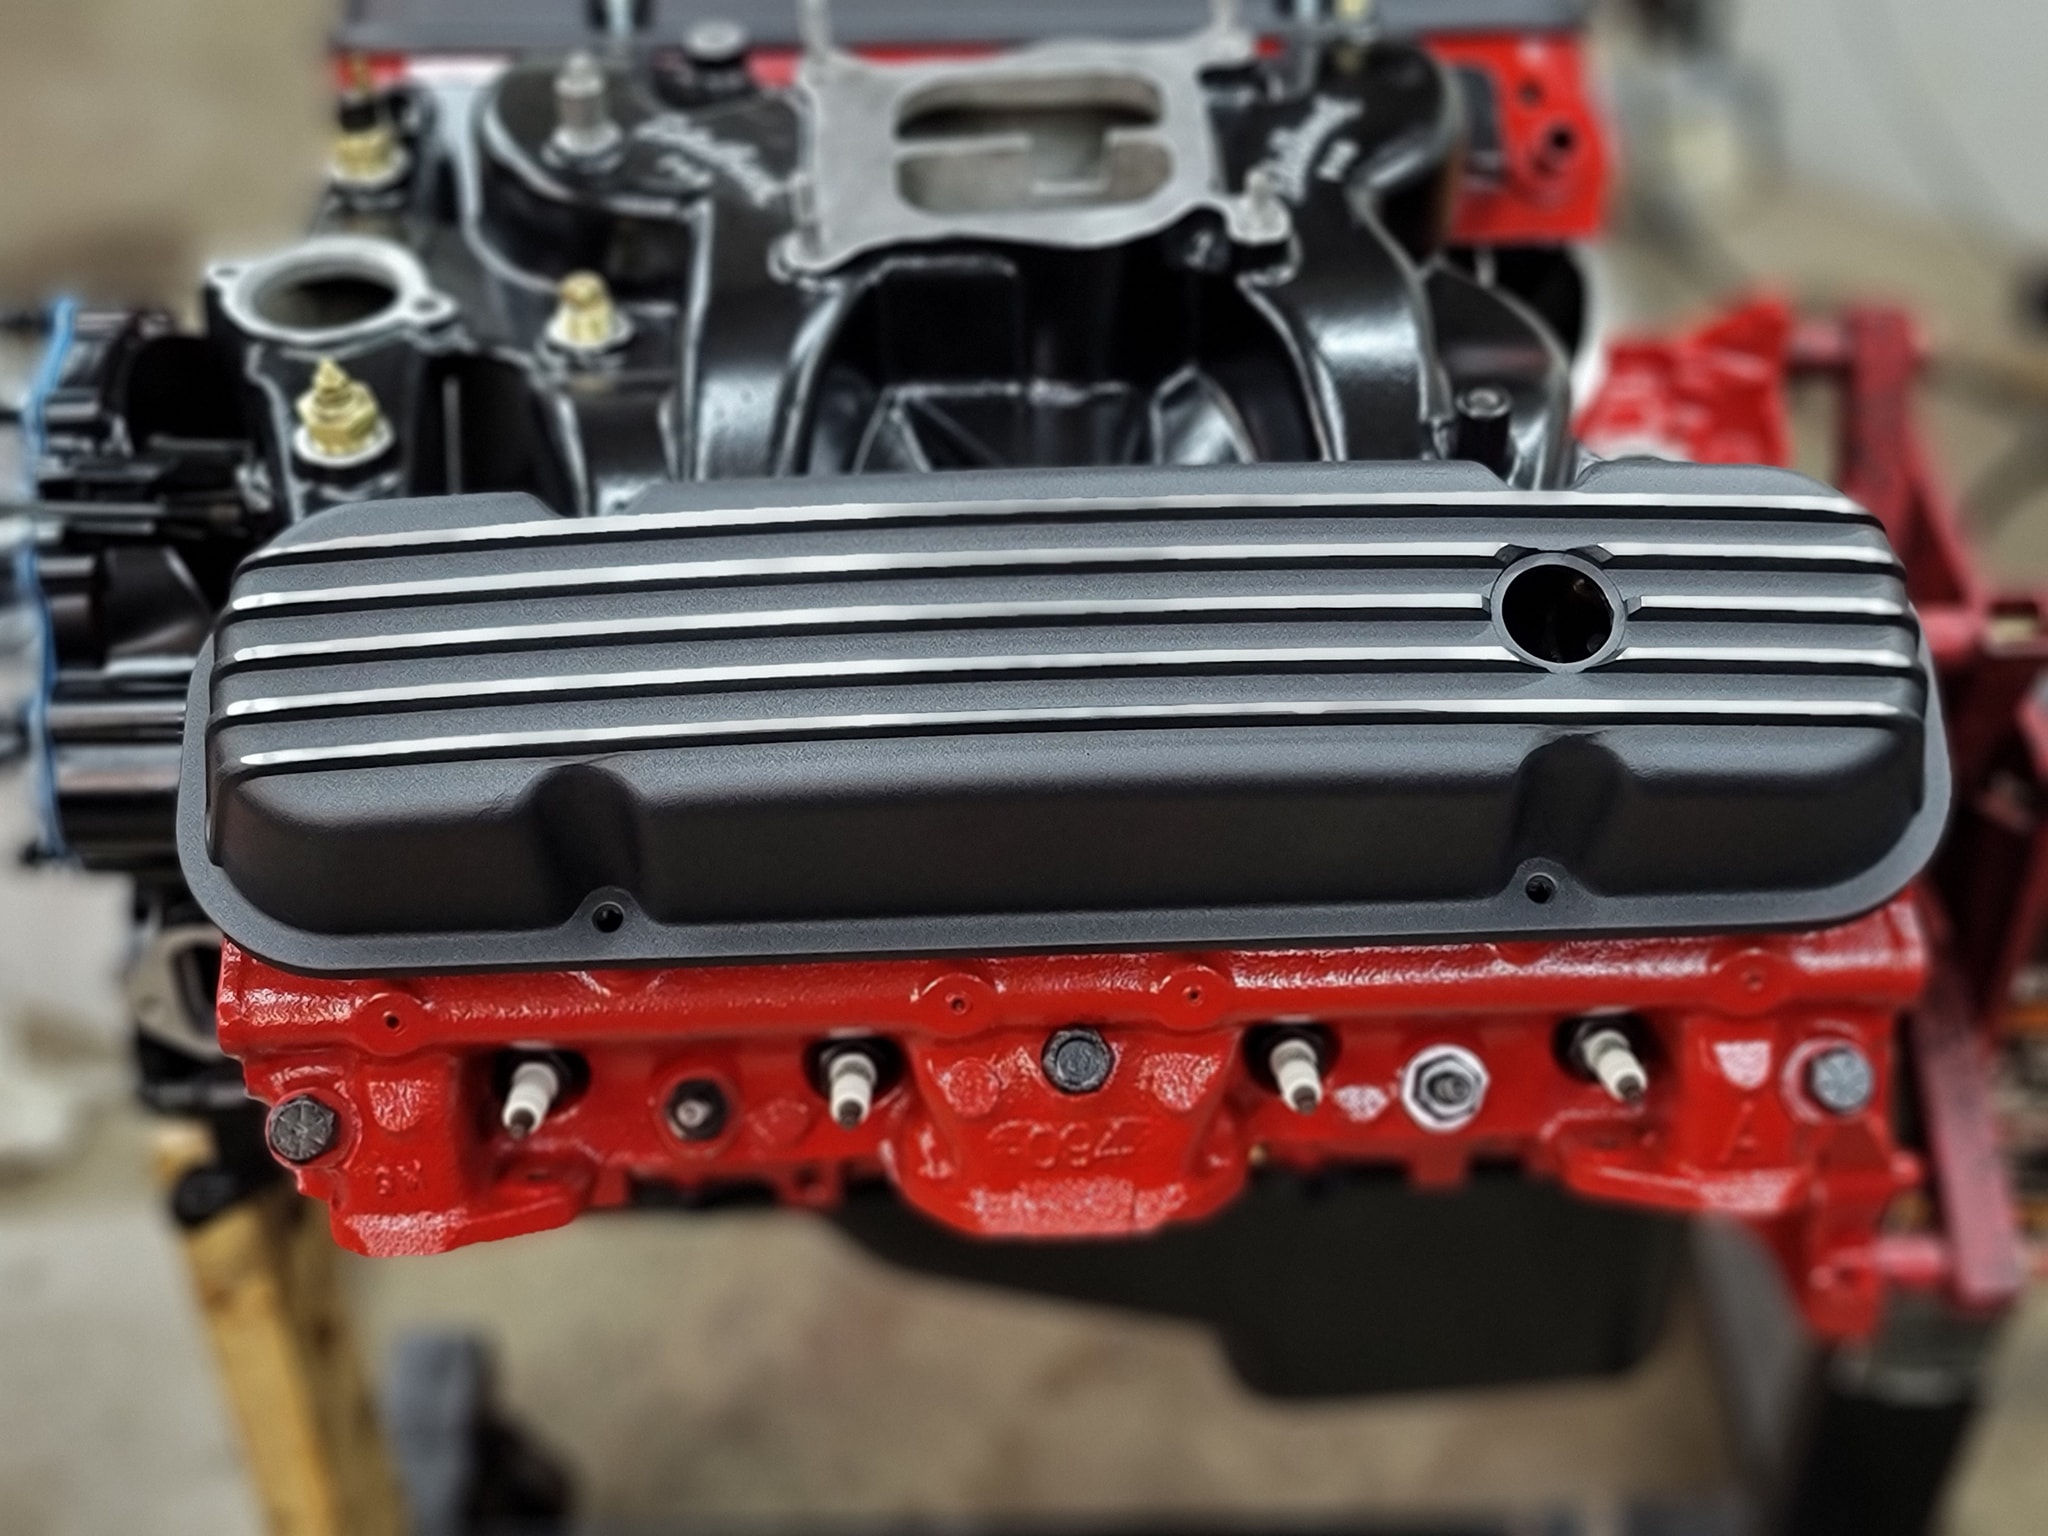
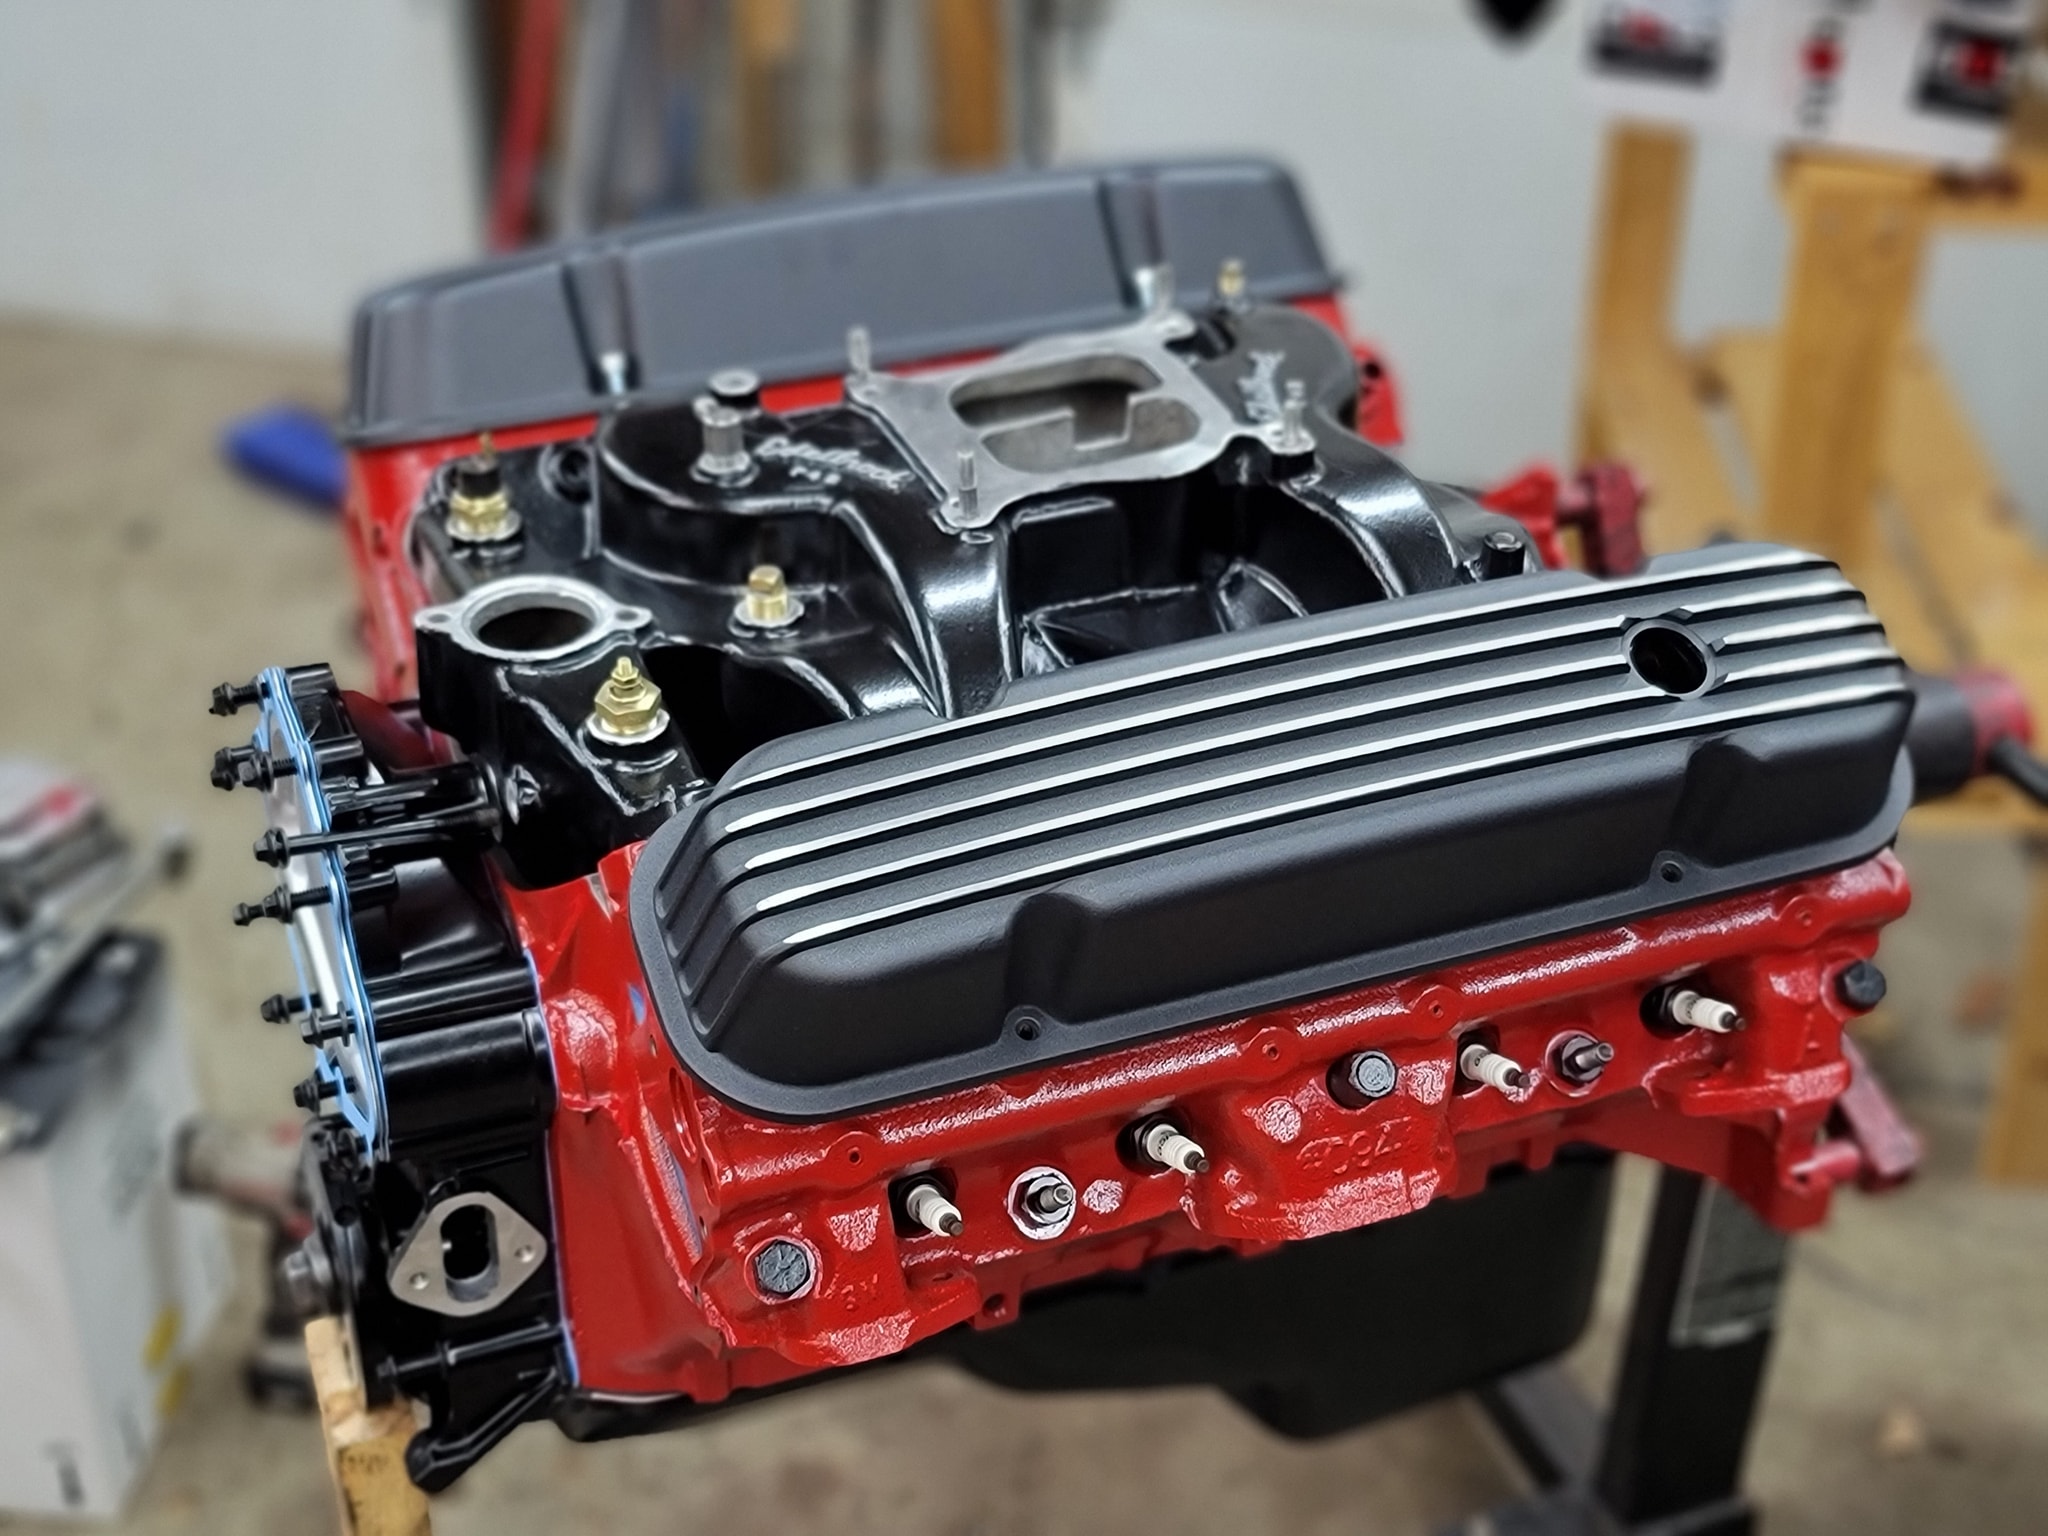
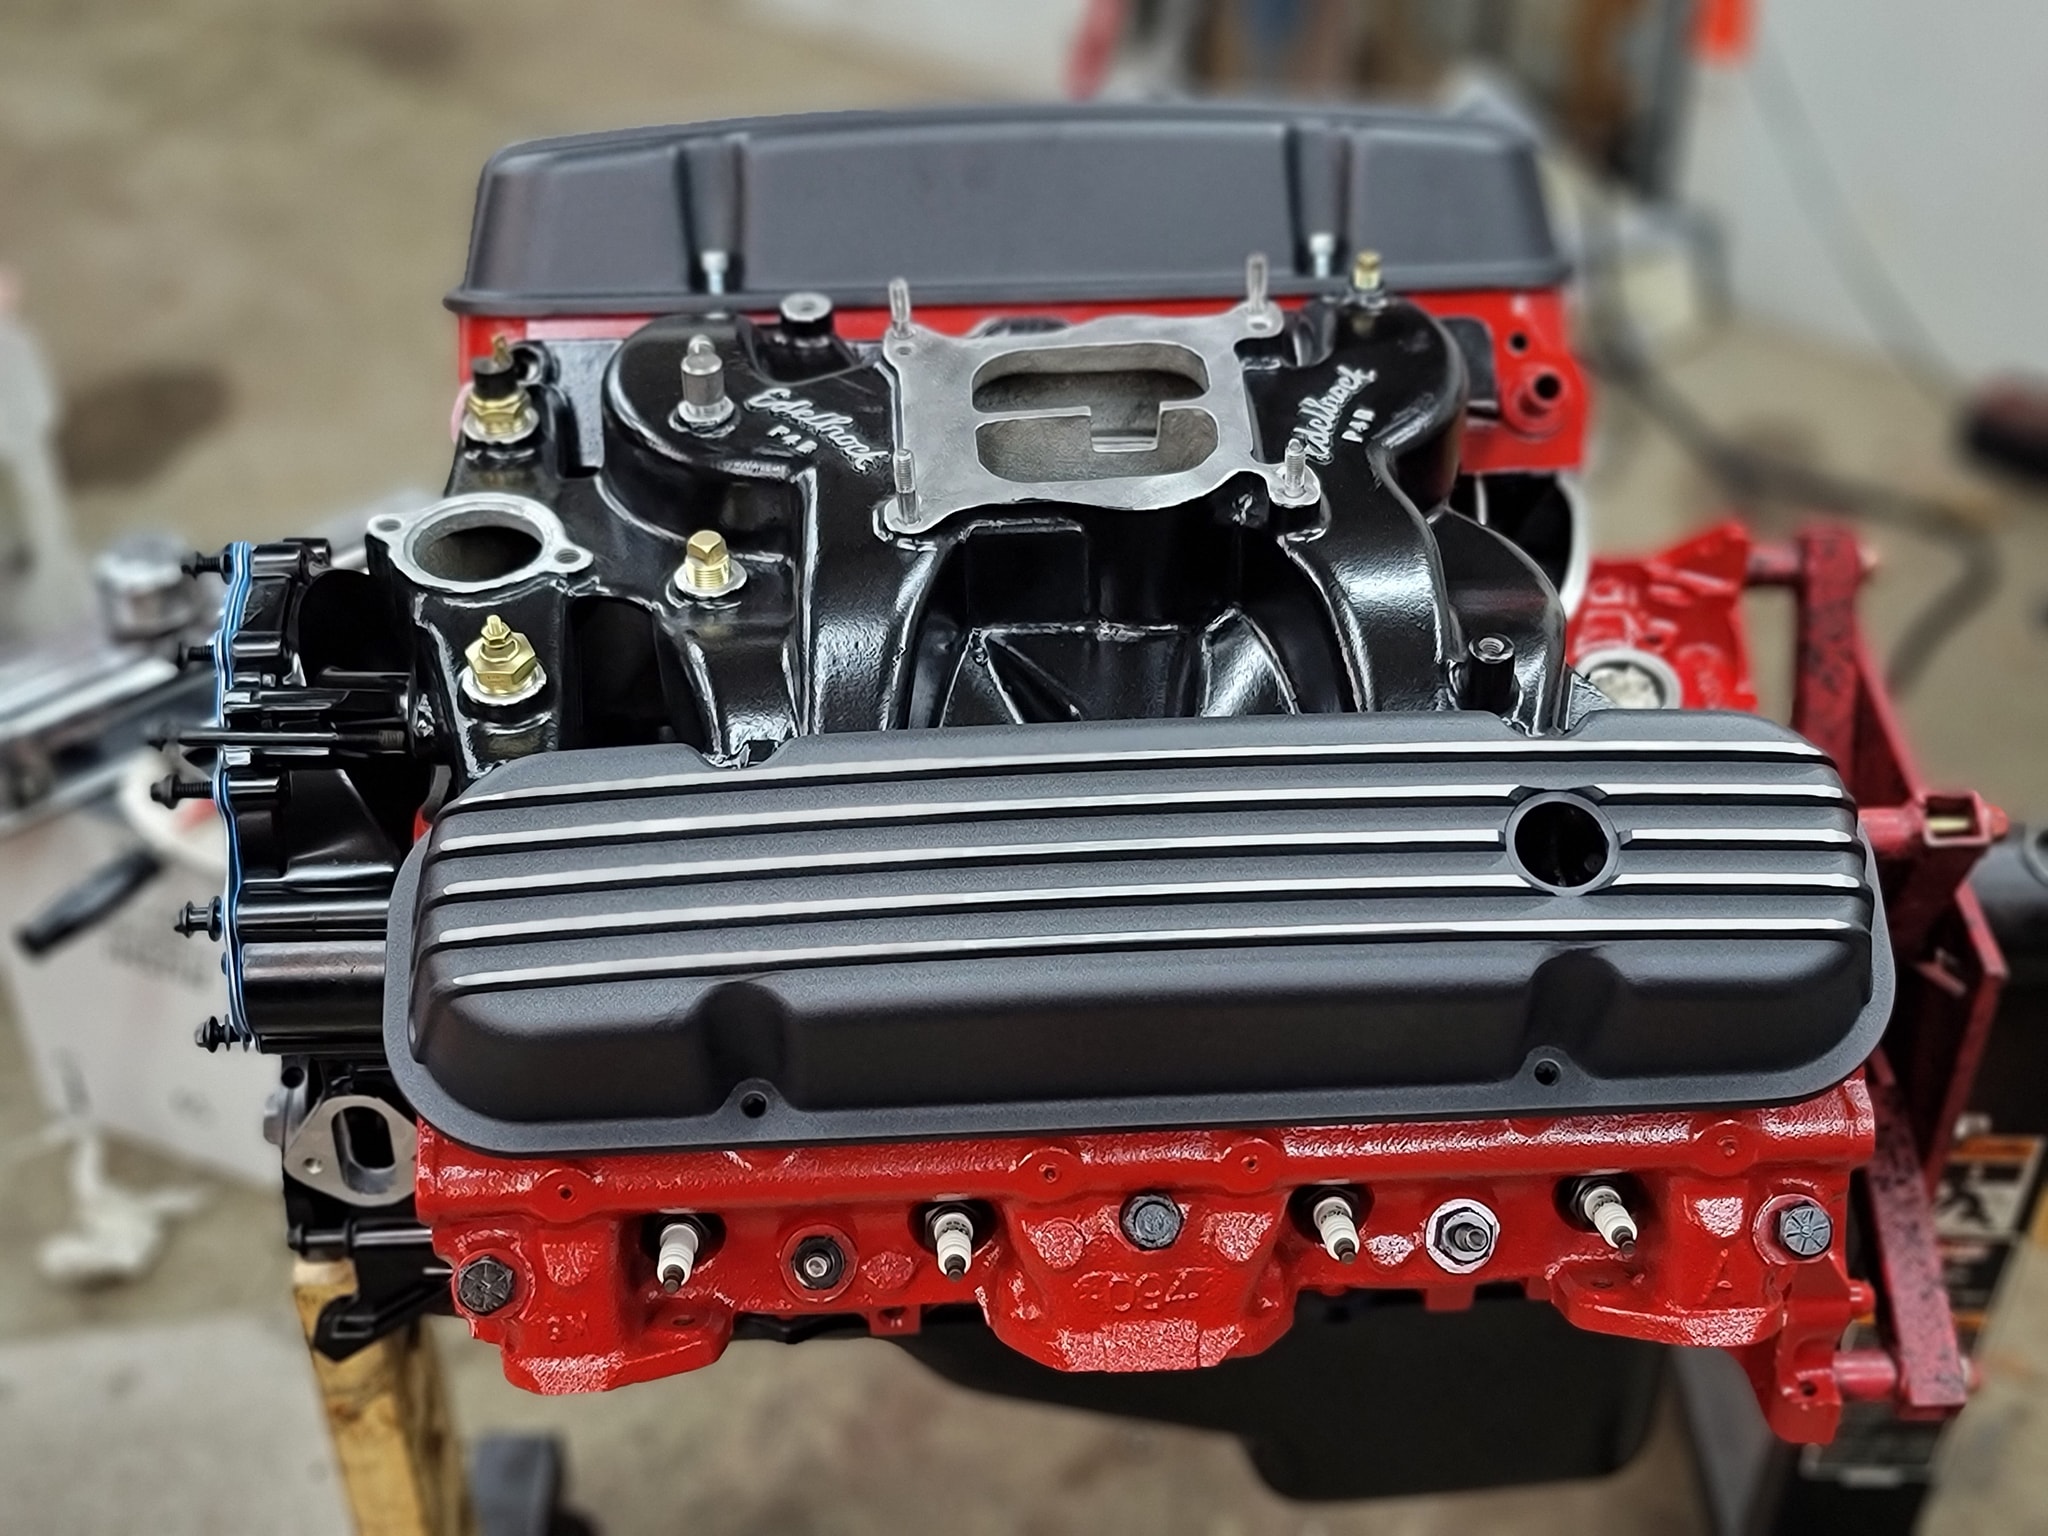
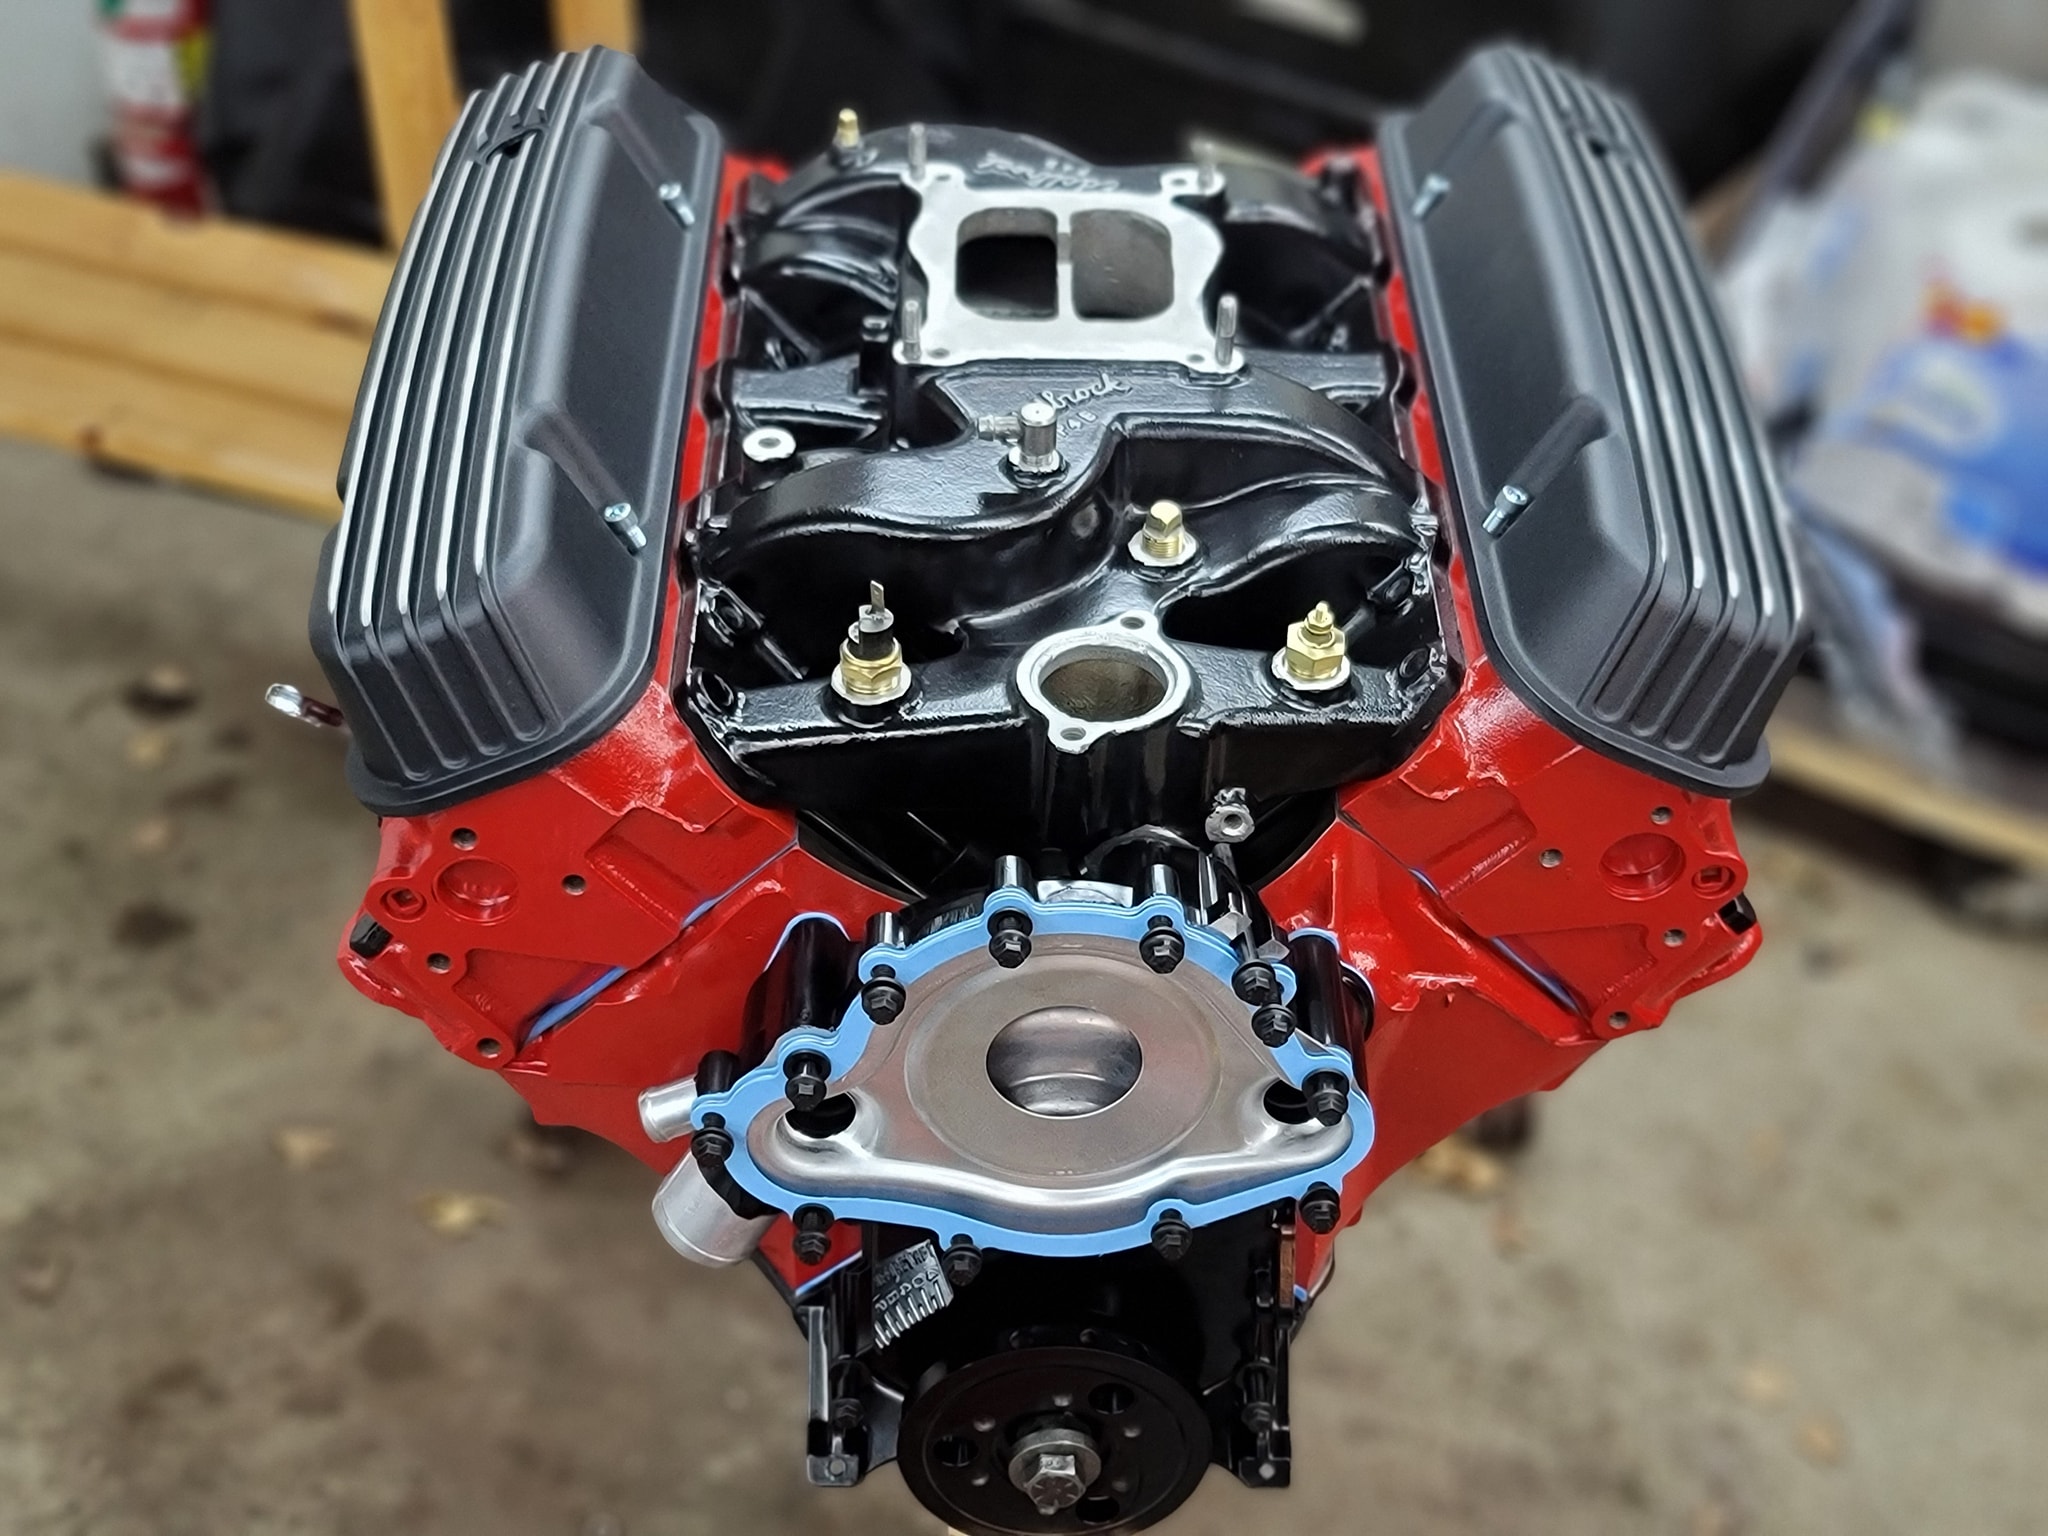
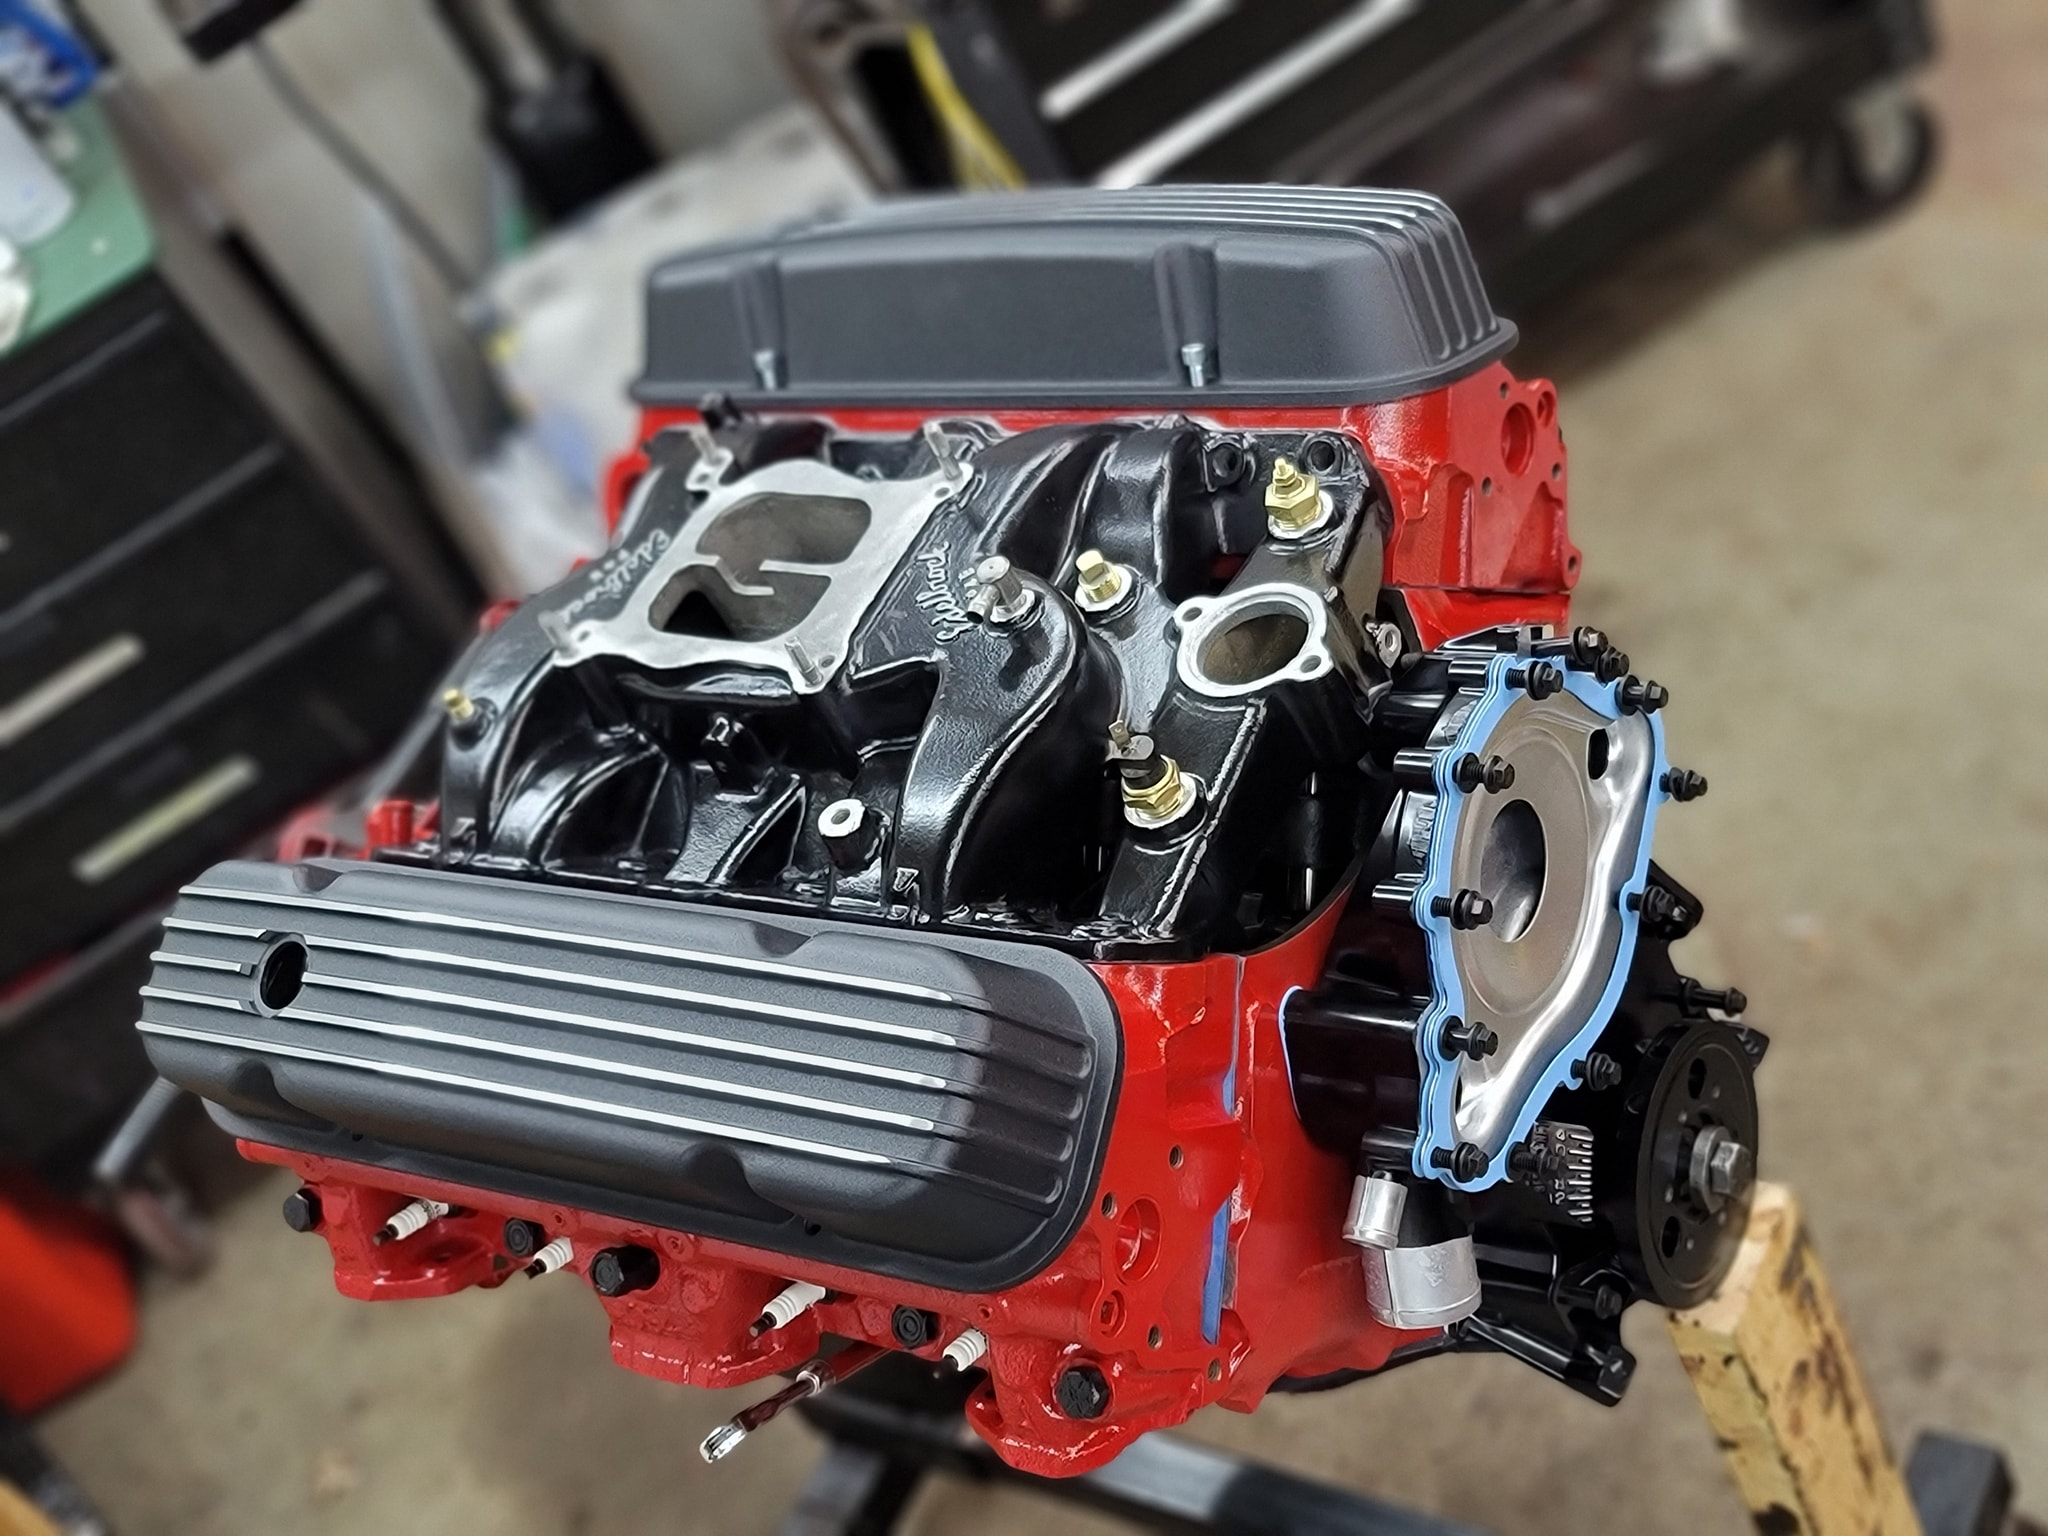
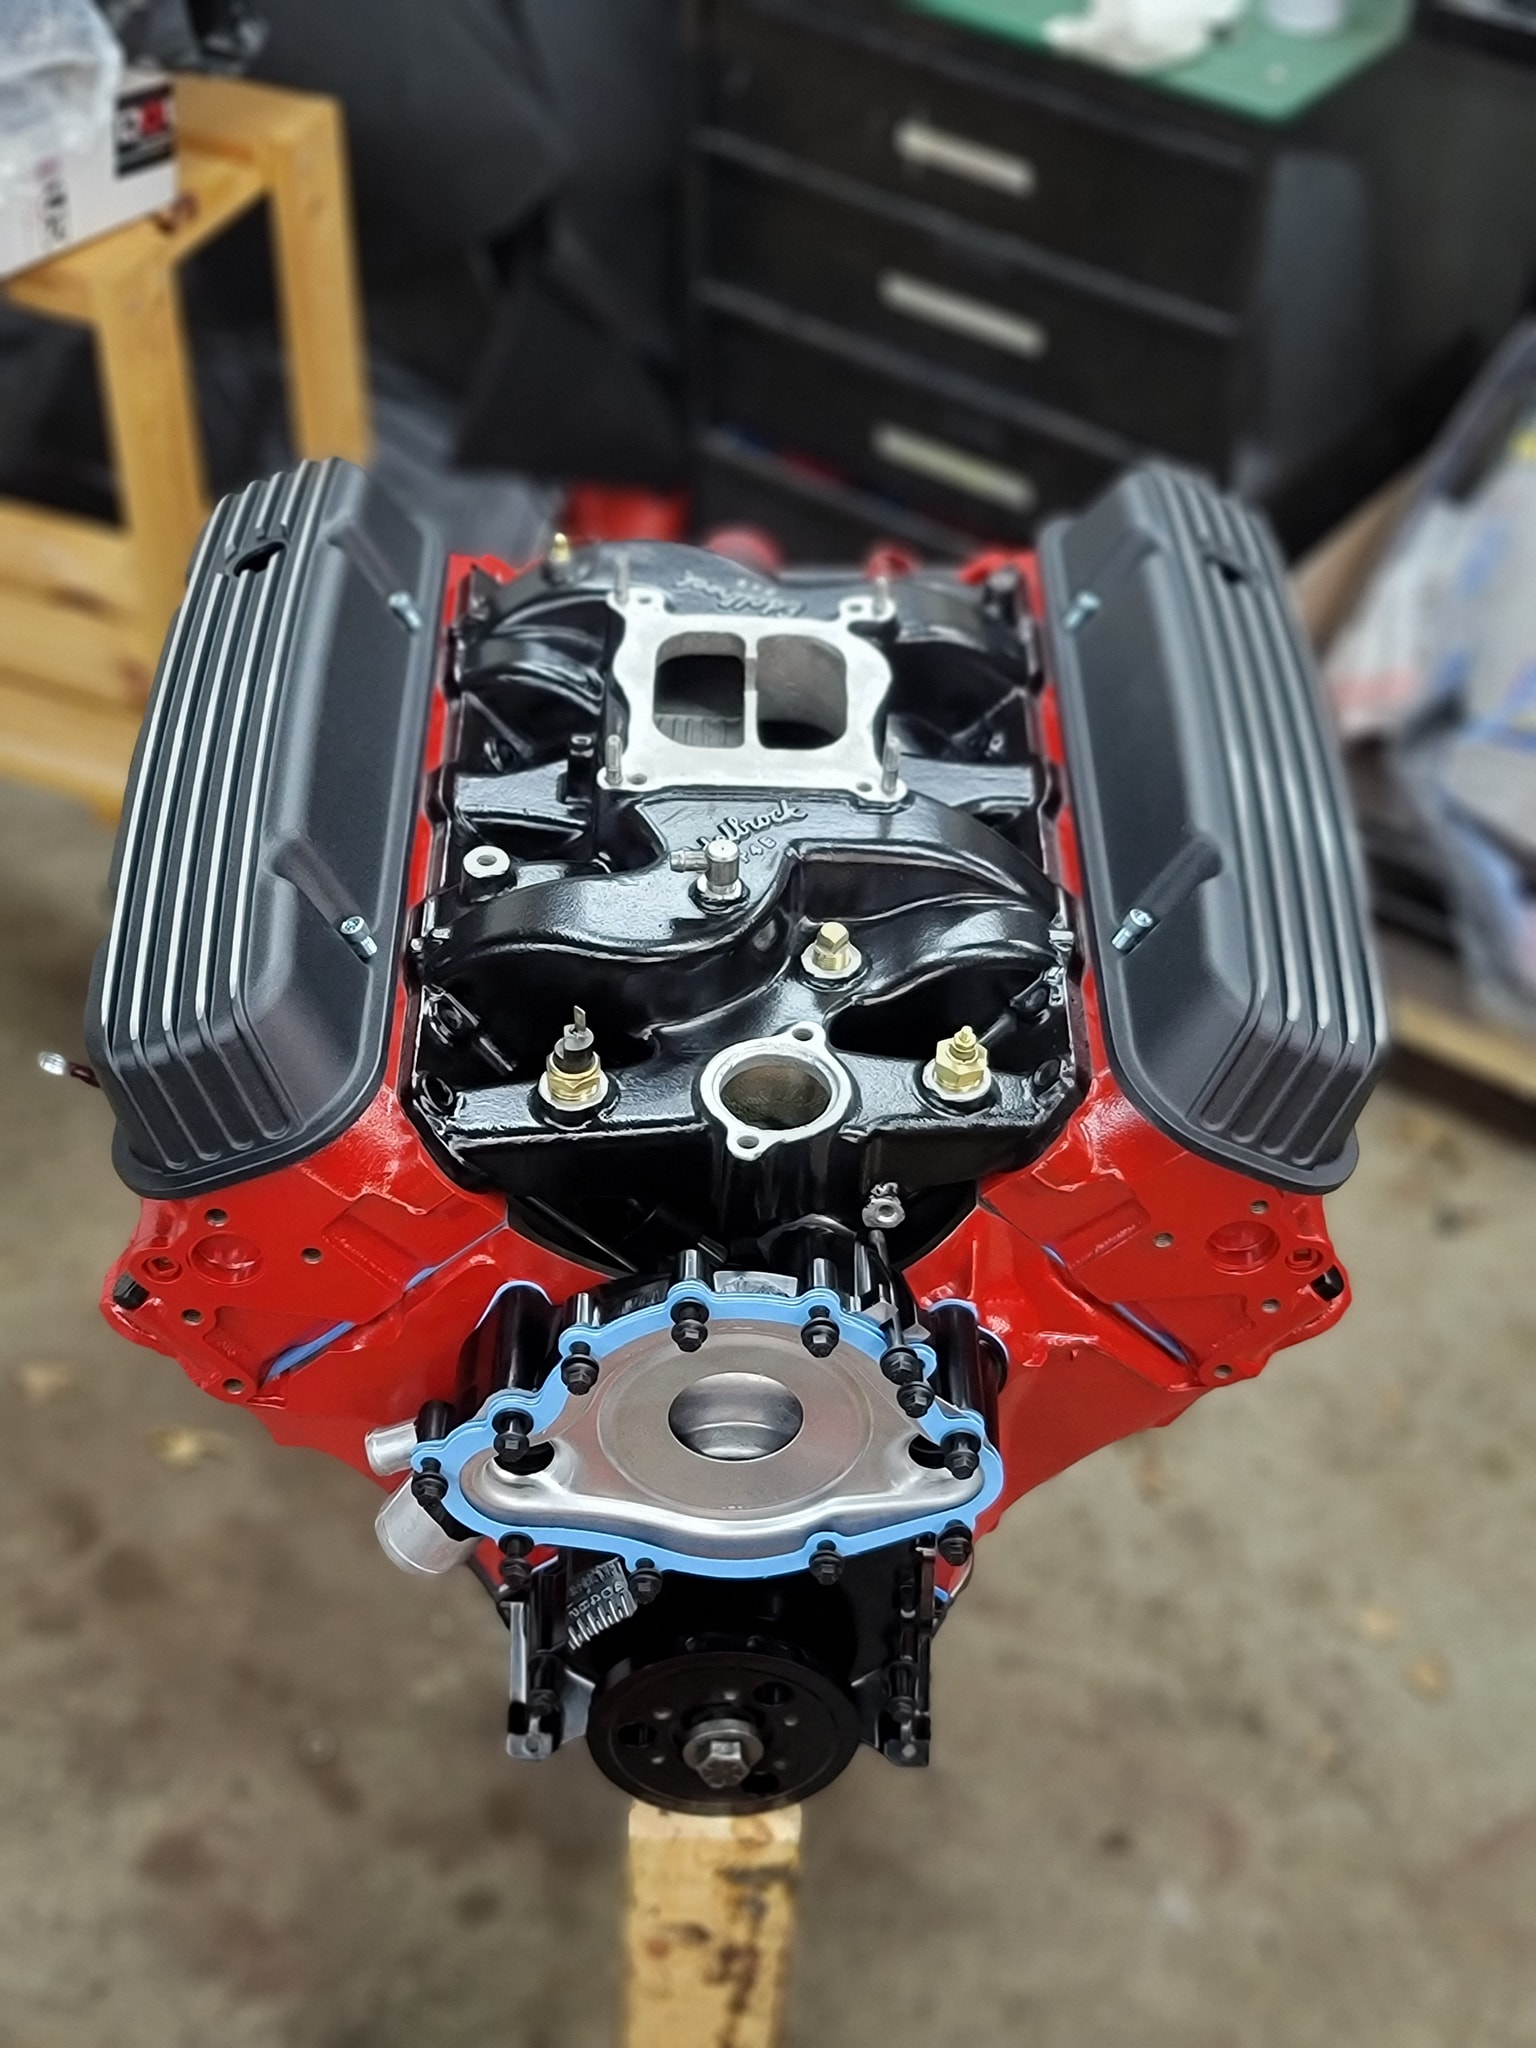
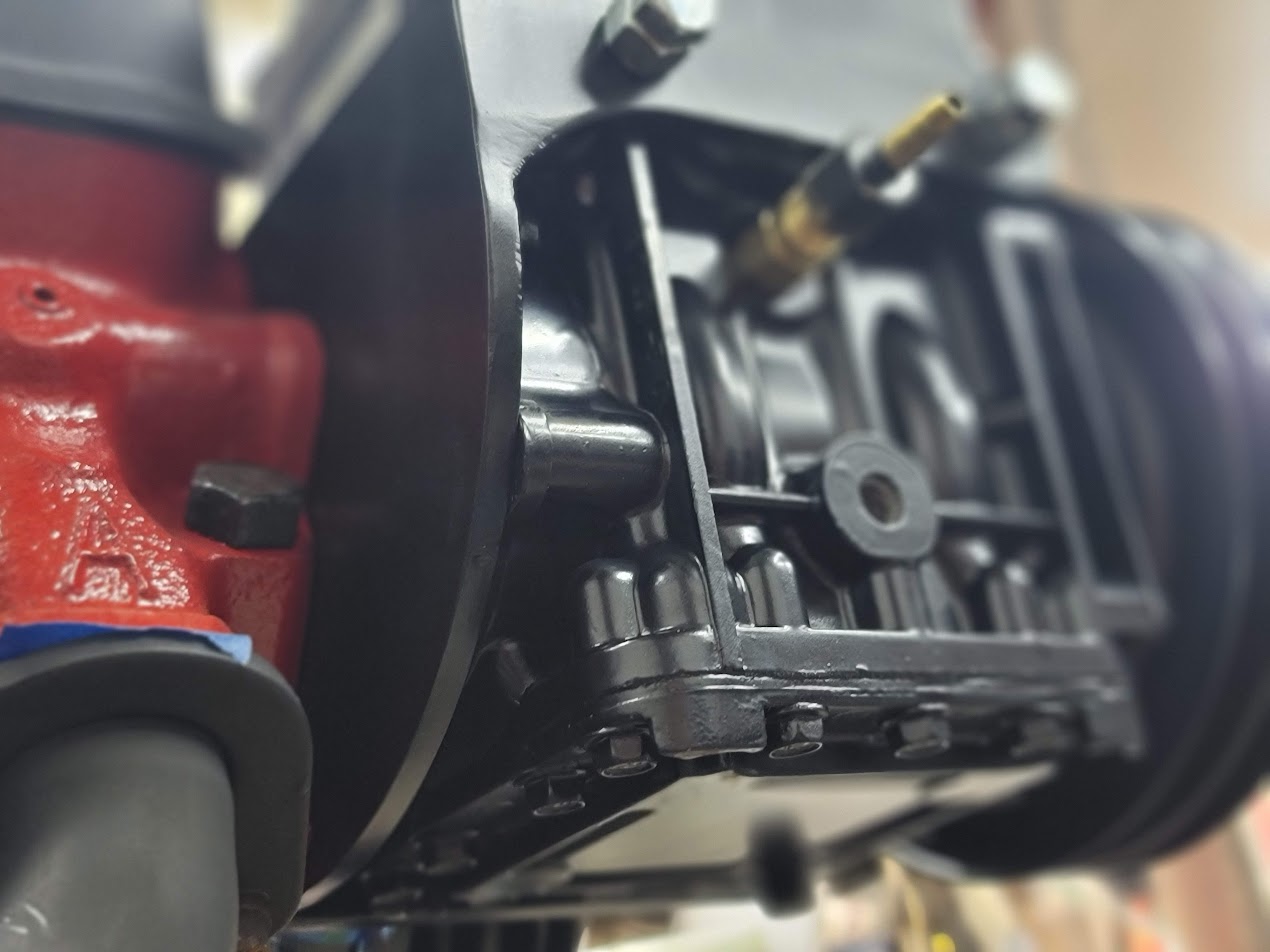
Valley pan was next on the list, loads of fun cleaning the inside of this thing. Lots of emulsifier and compressed air. Cleaned up nice though! Feels a pound lighter ha.
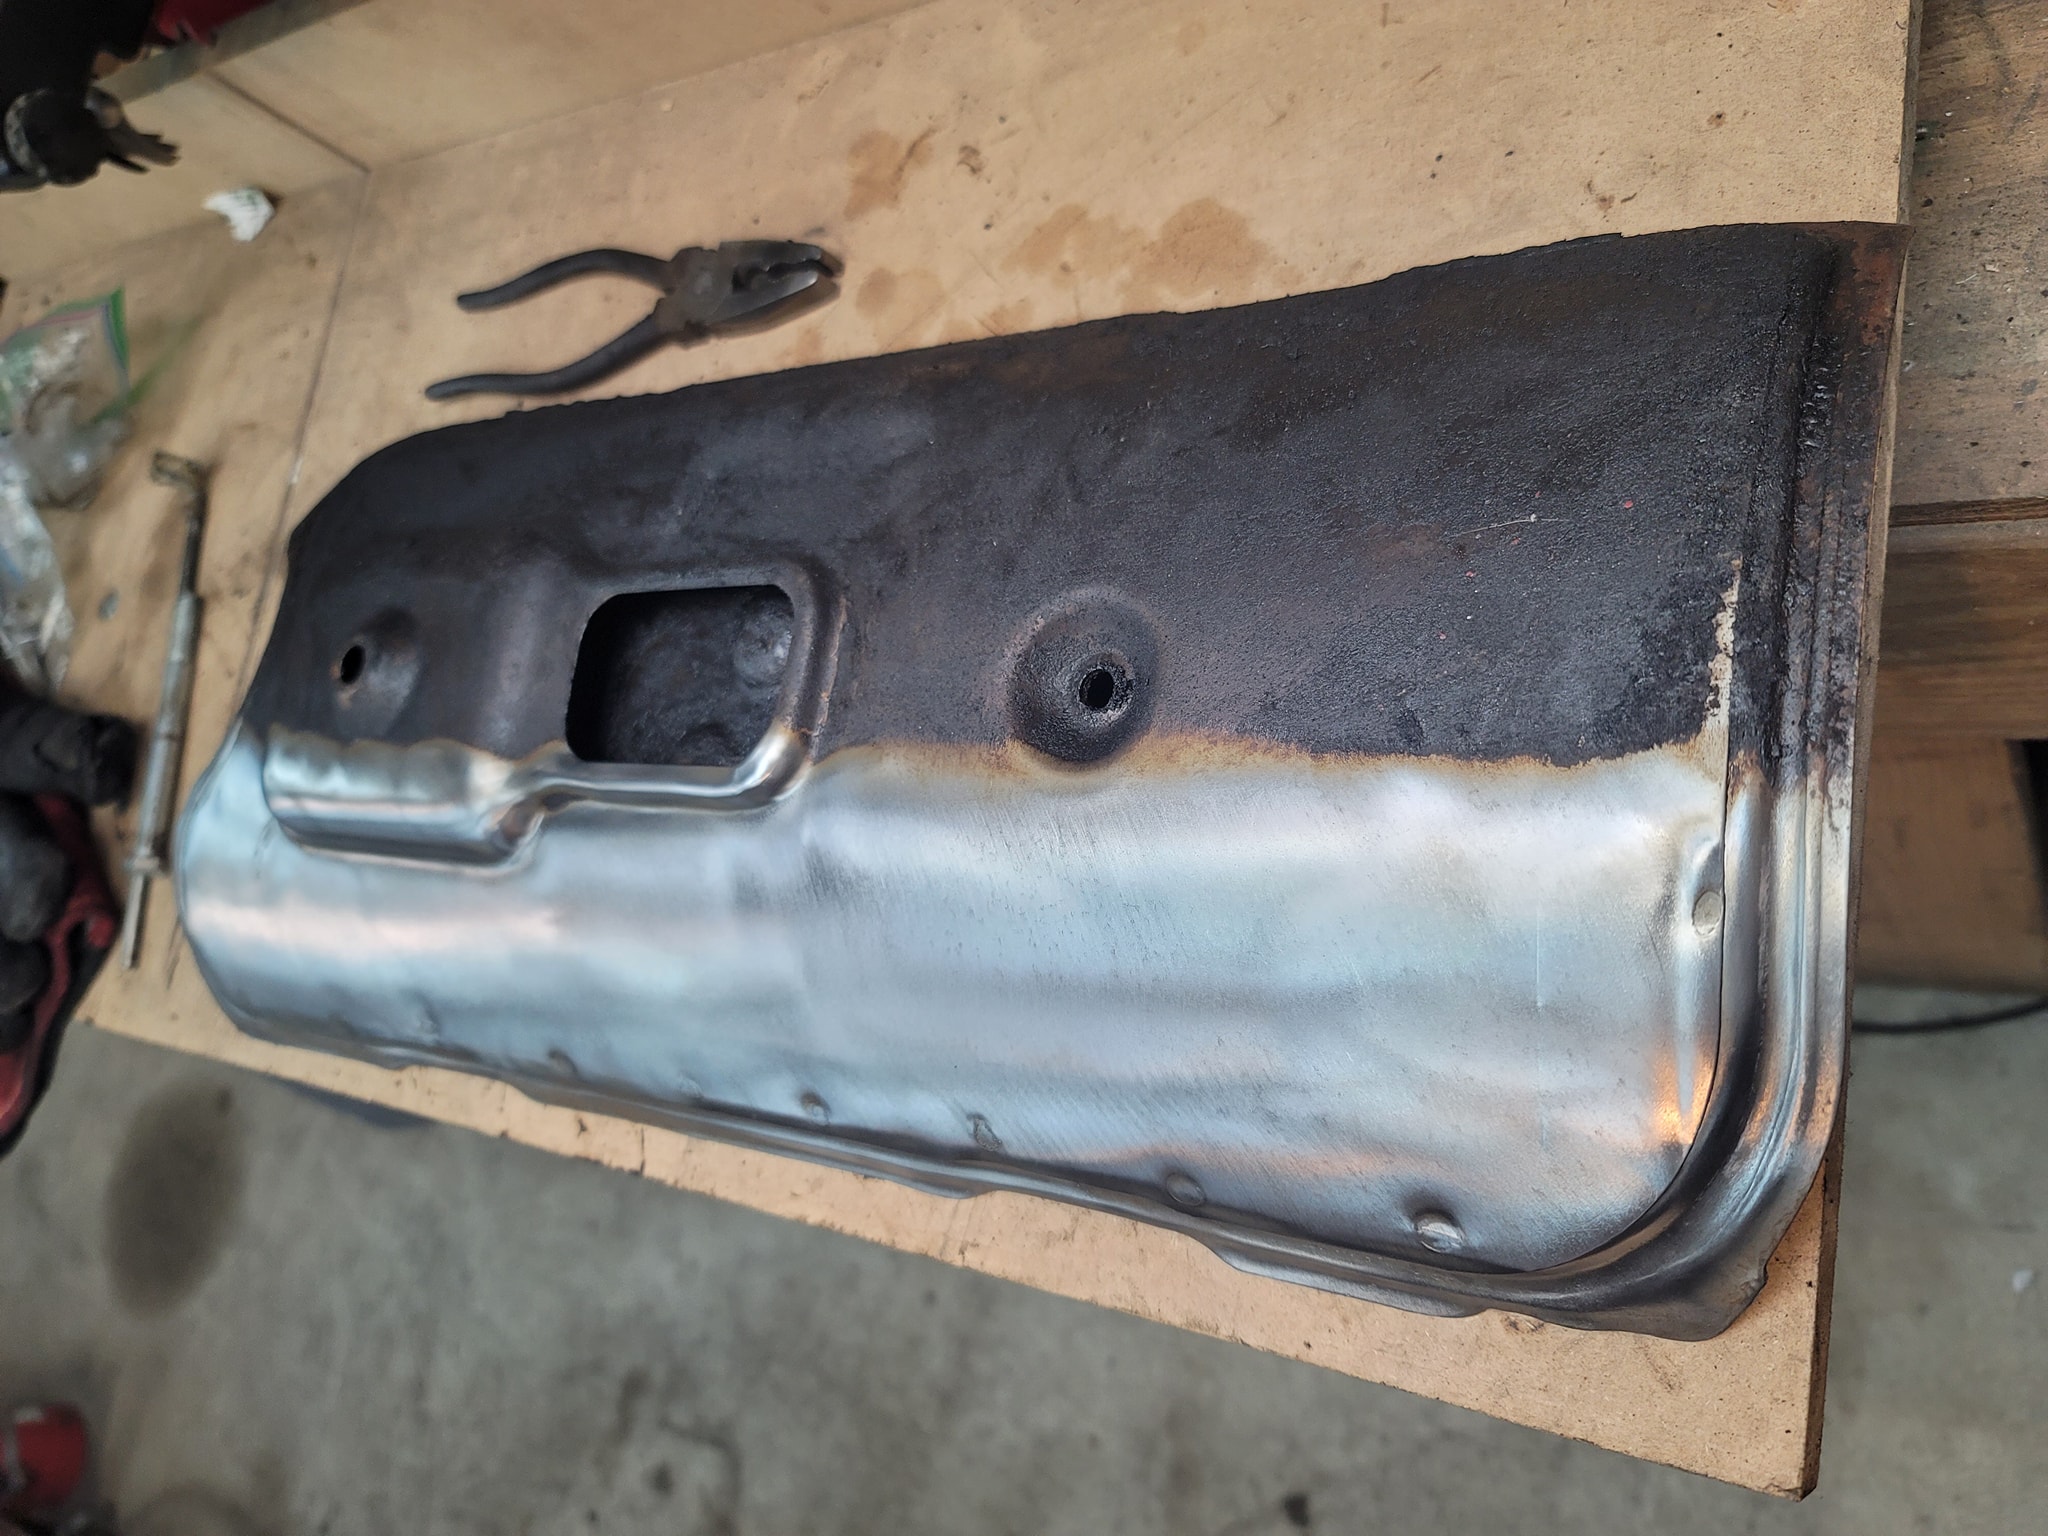
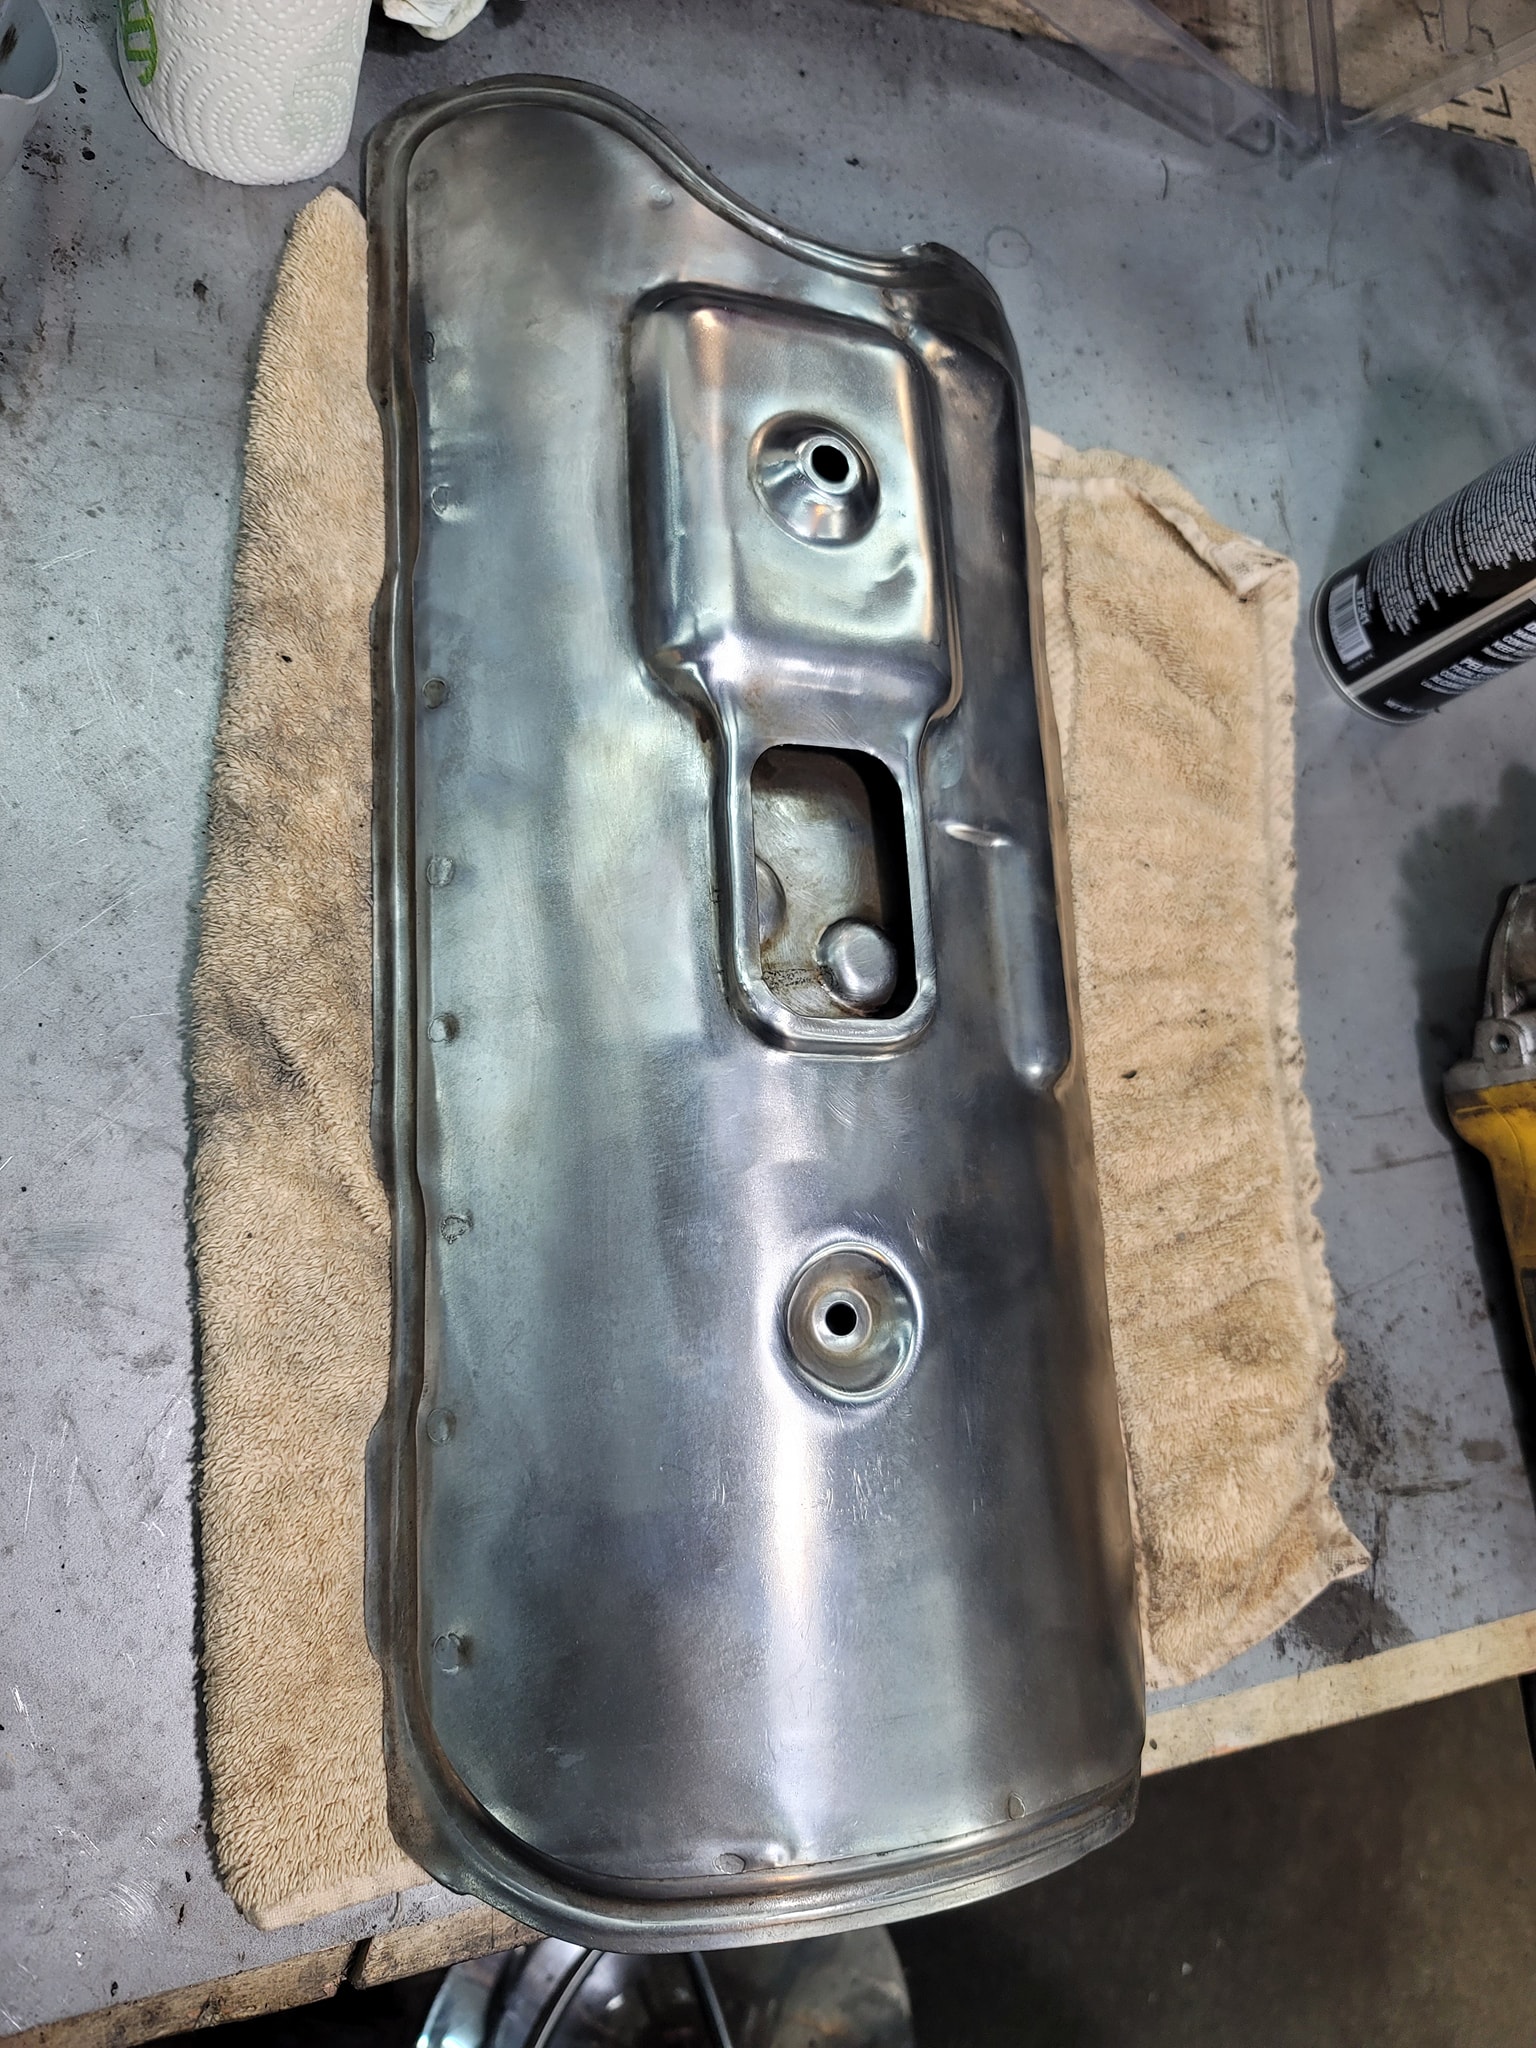
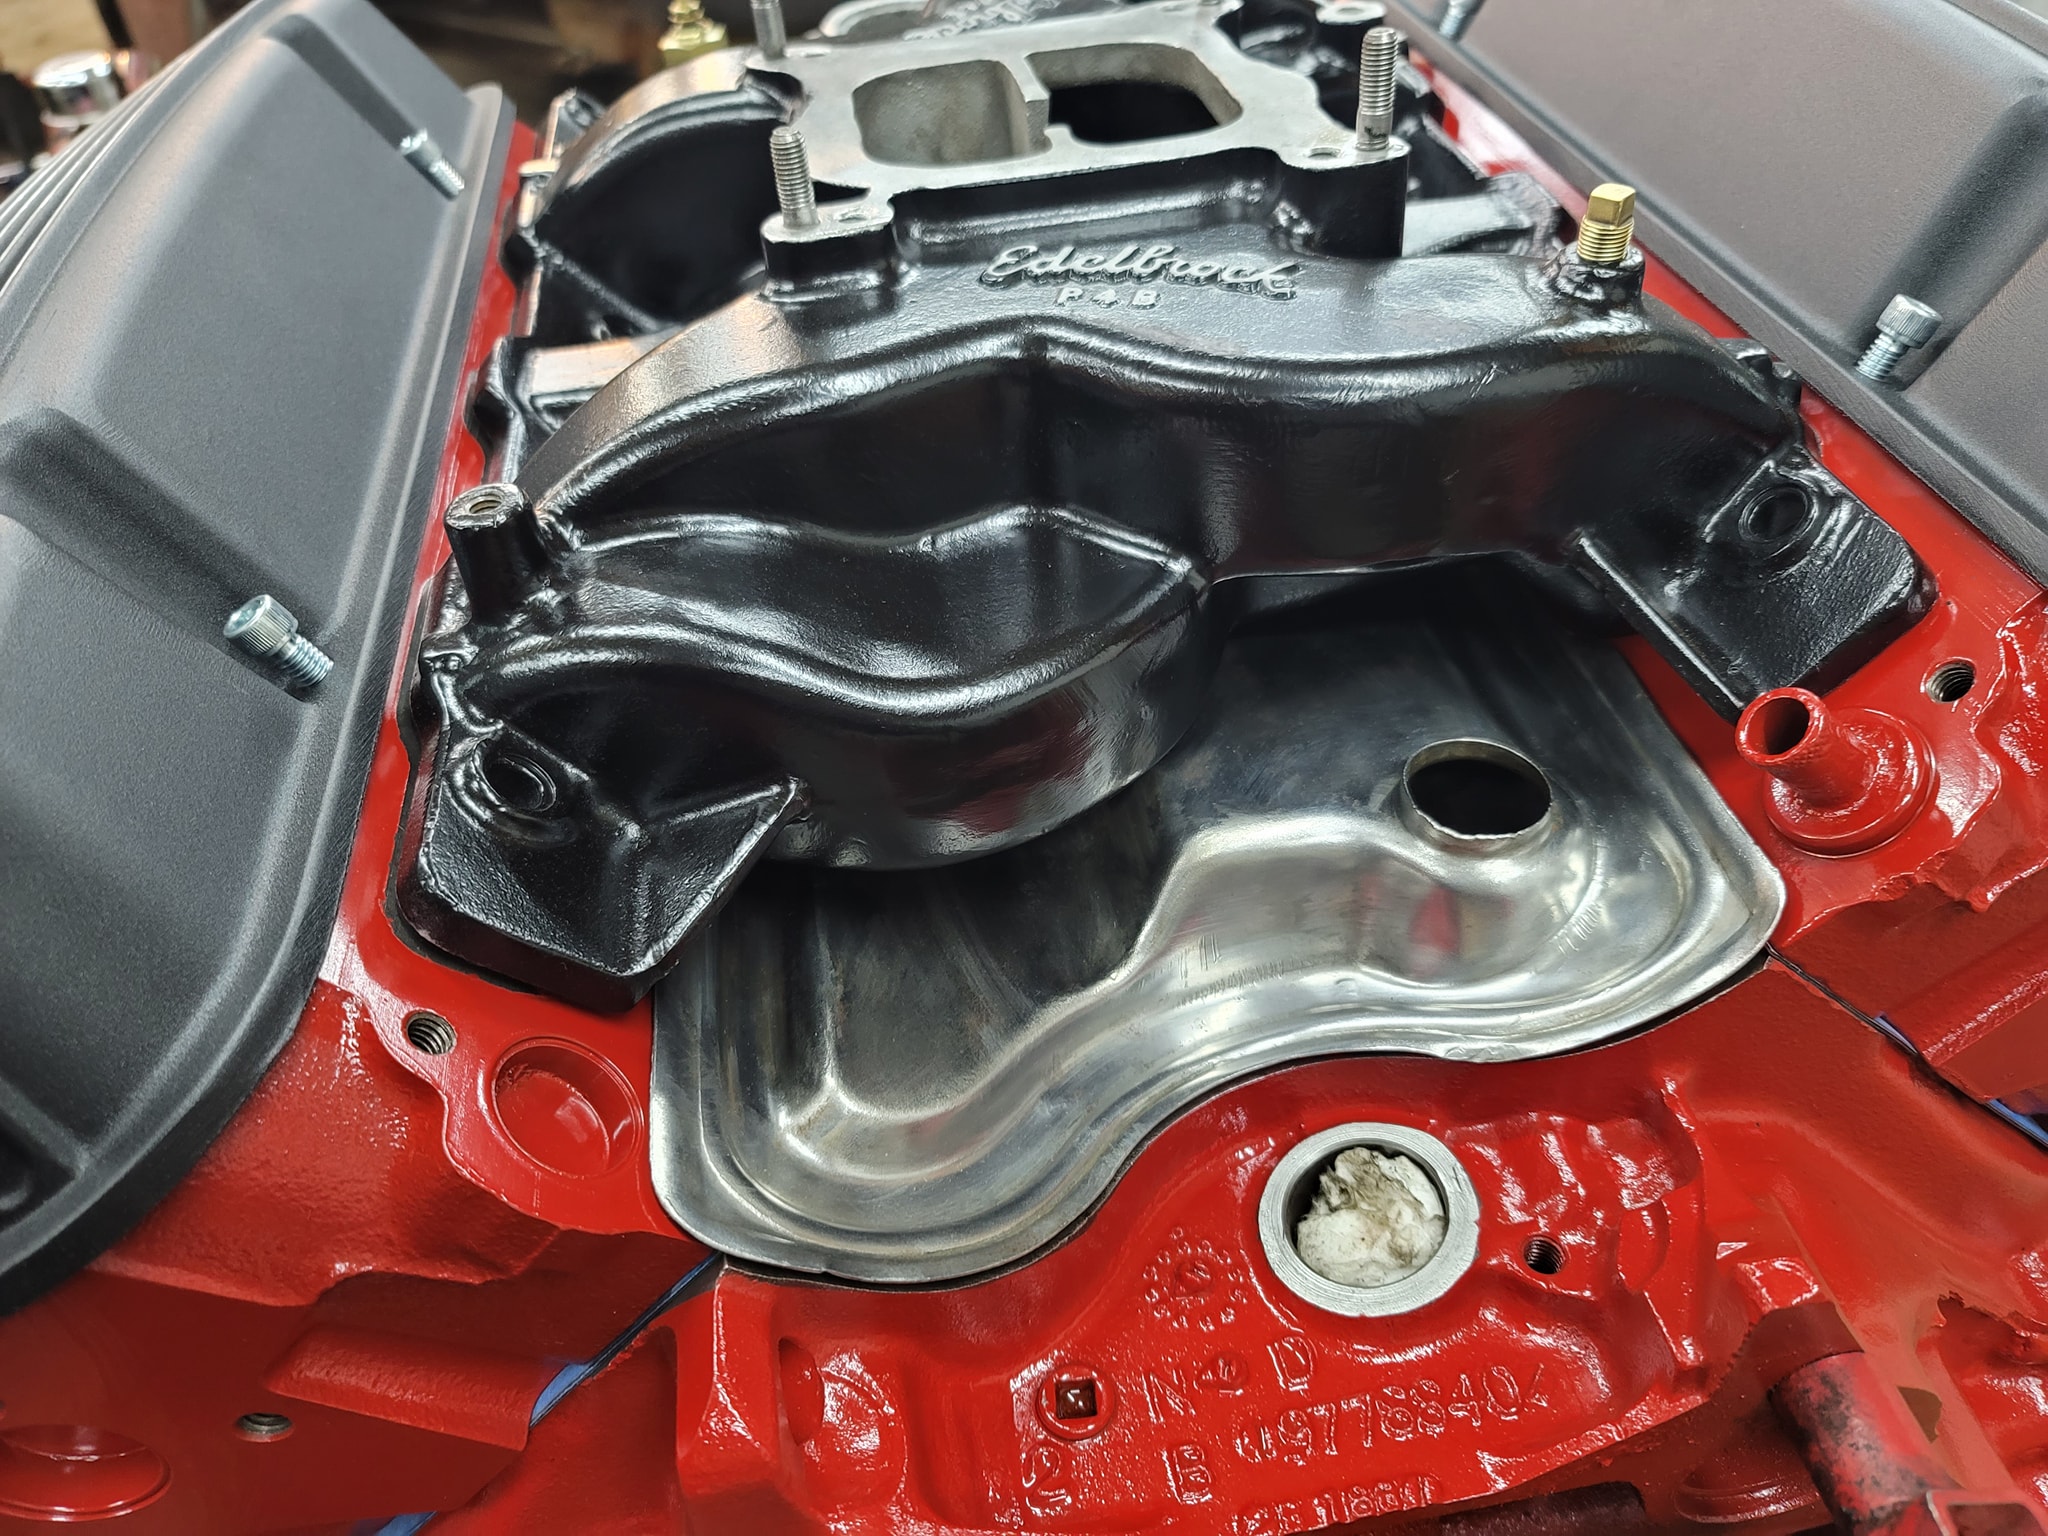
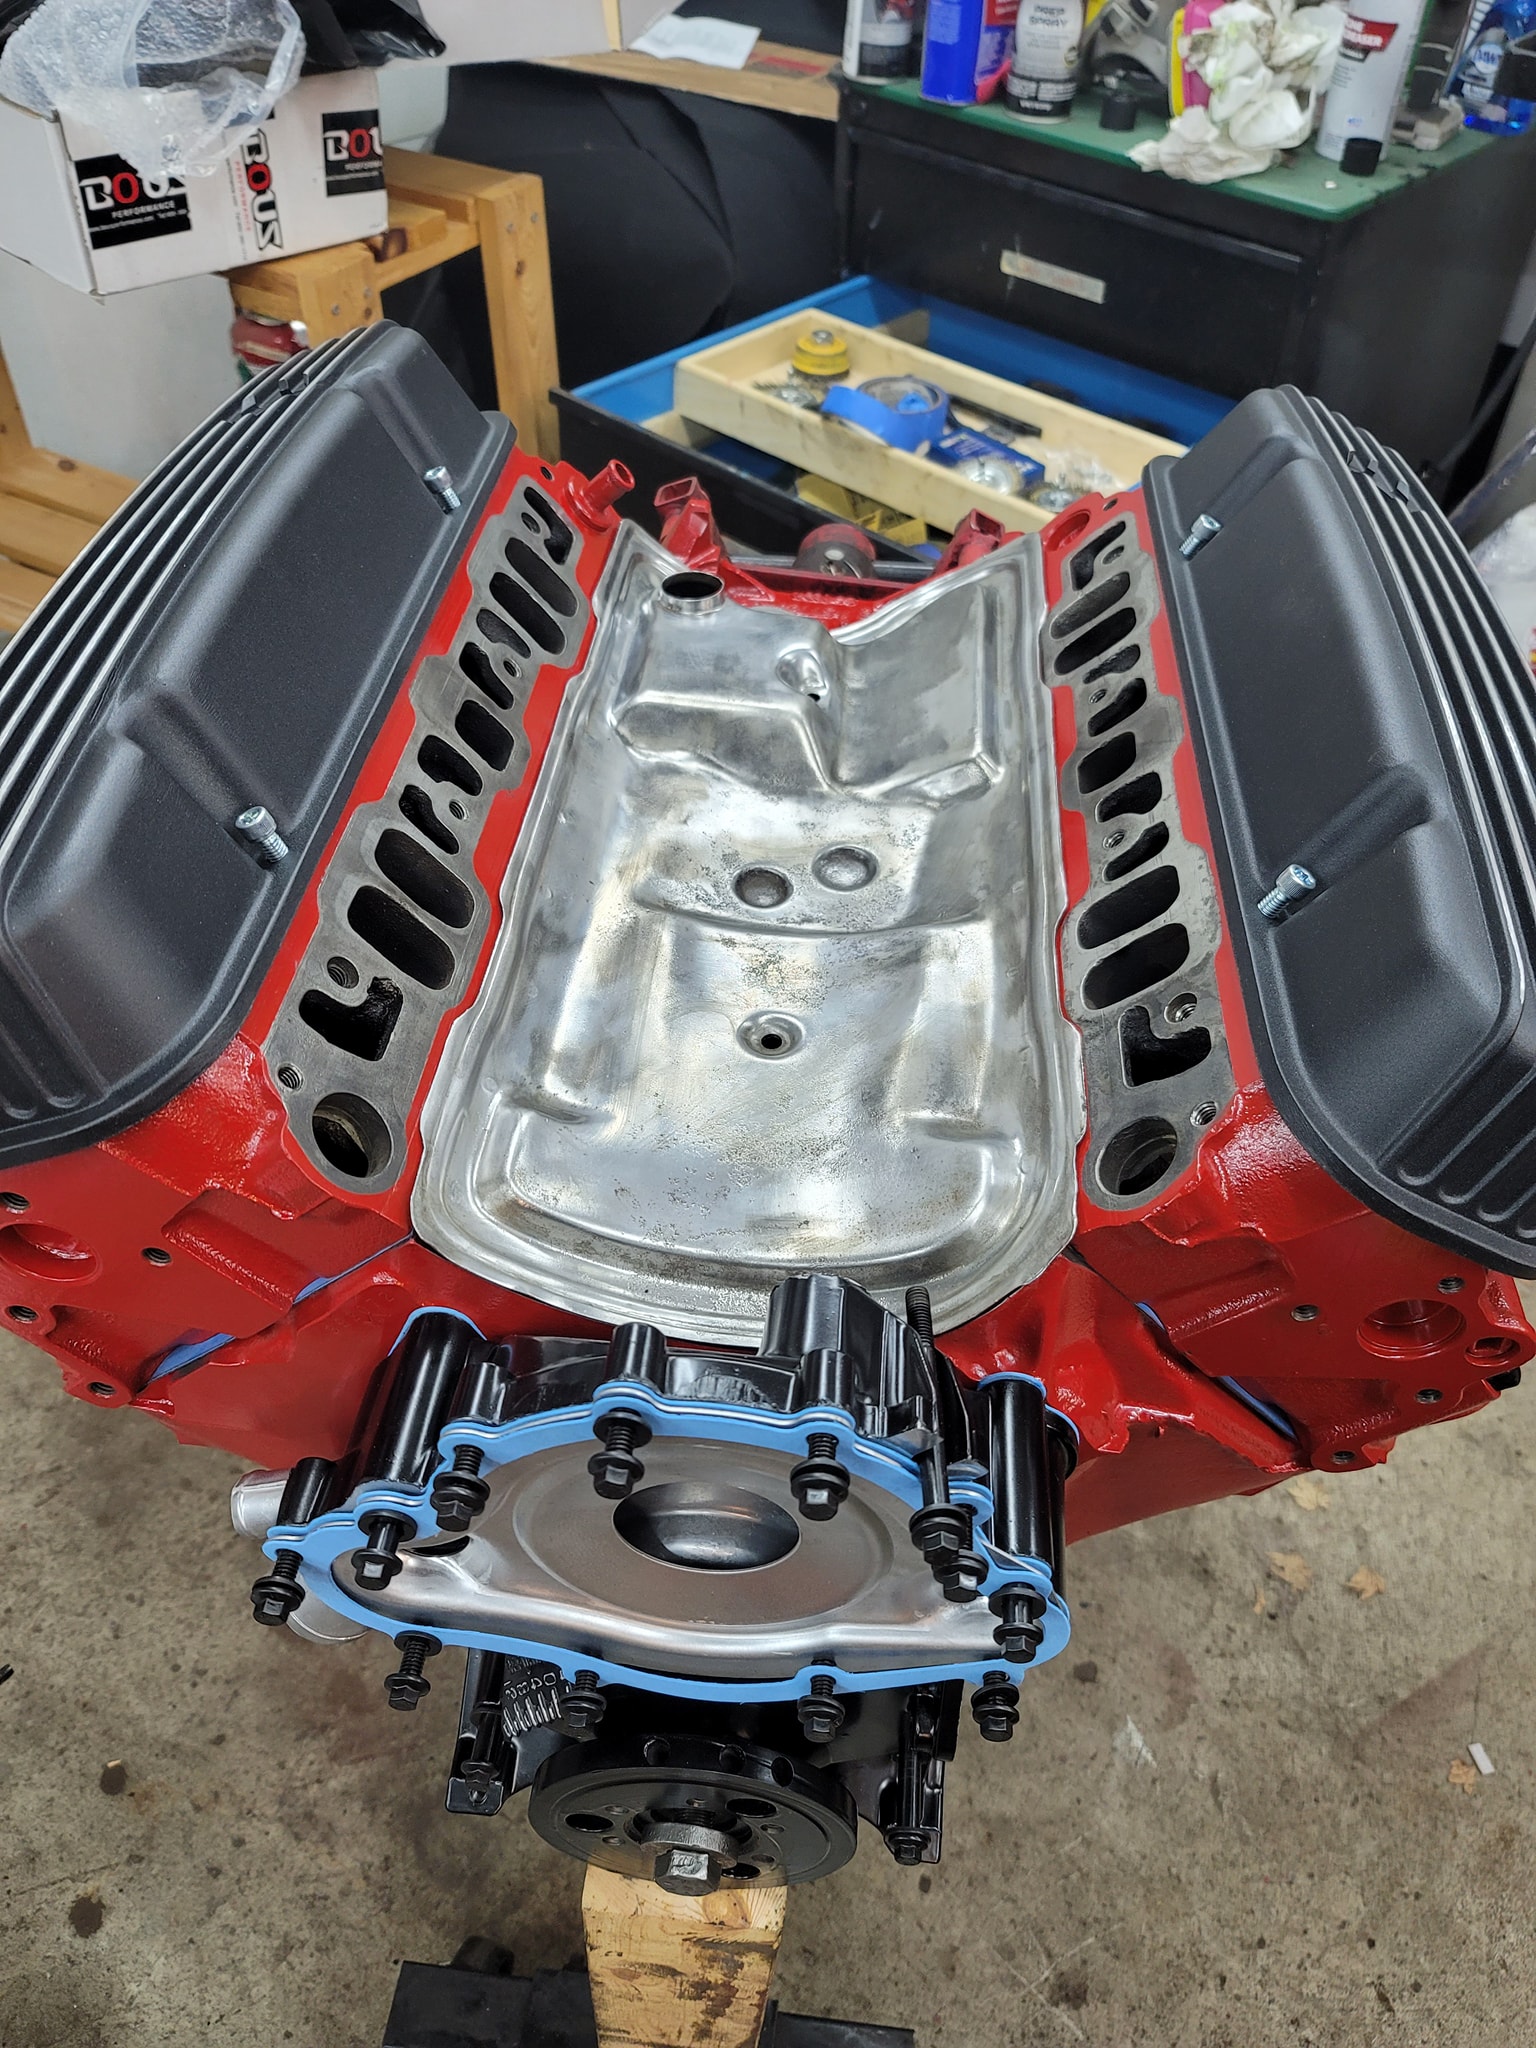
Think I may go black with the color on this pan.
The crank pulley is the next part I need to test fit to figure out the water pump pulley.
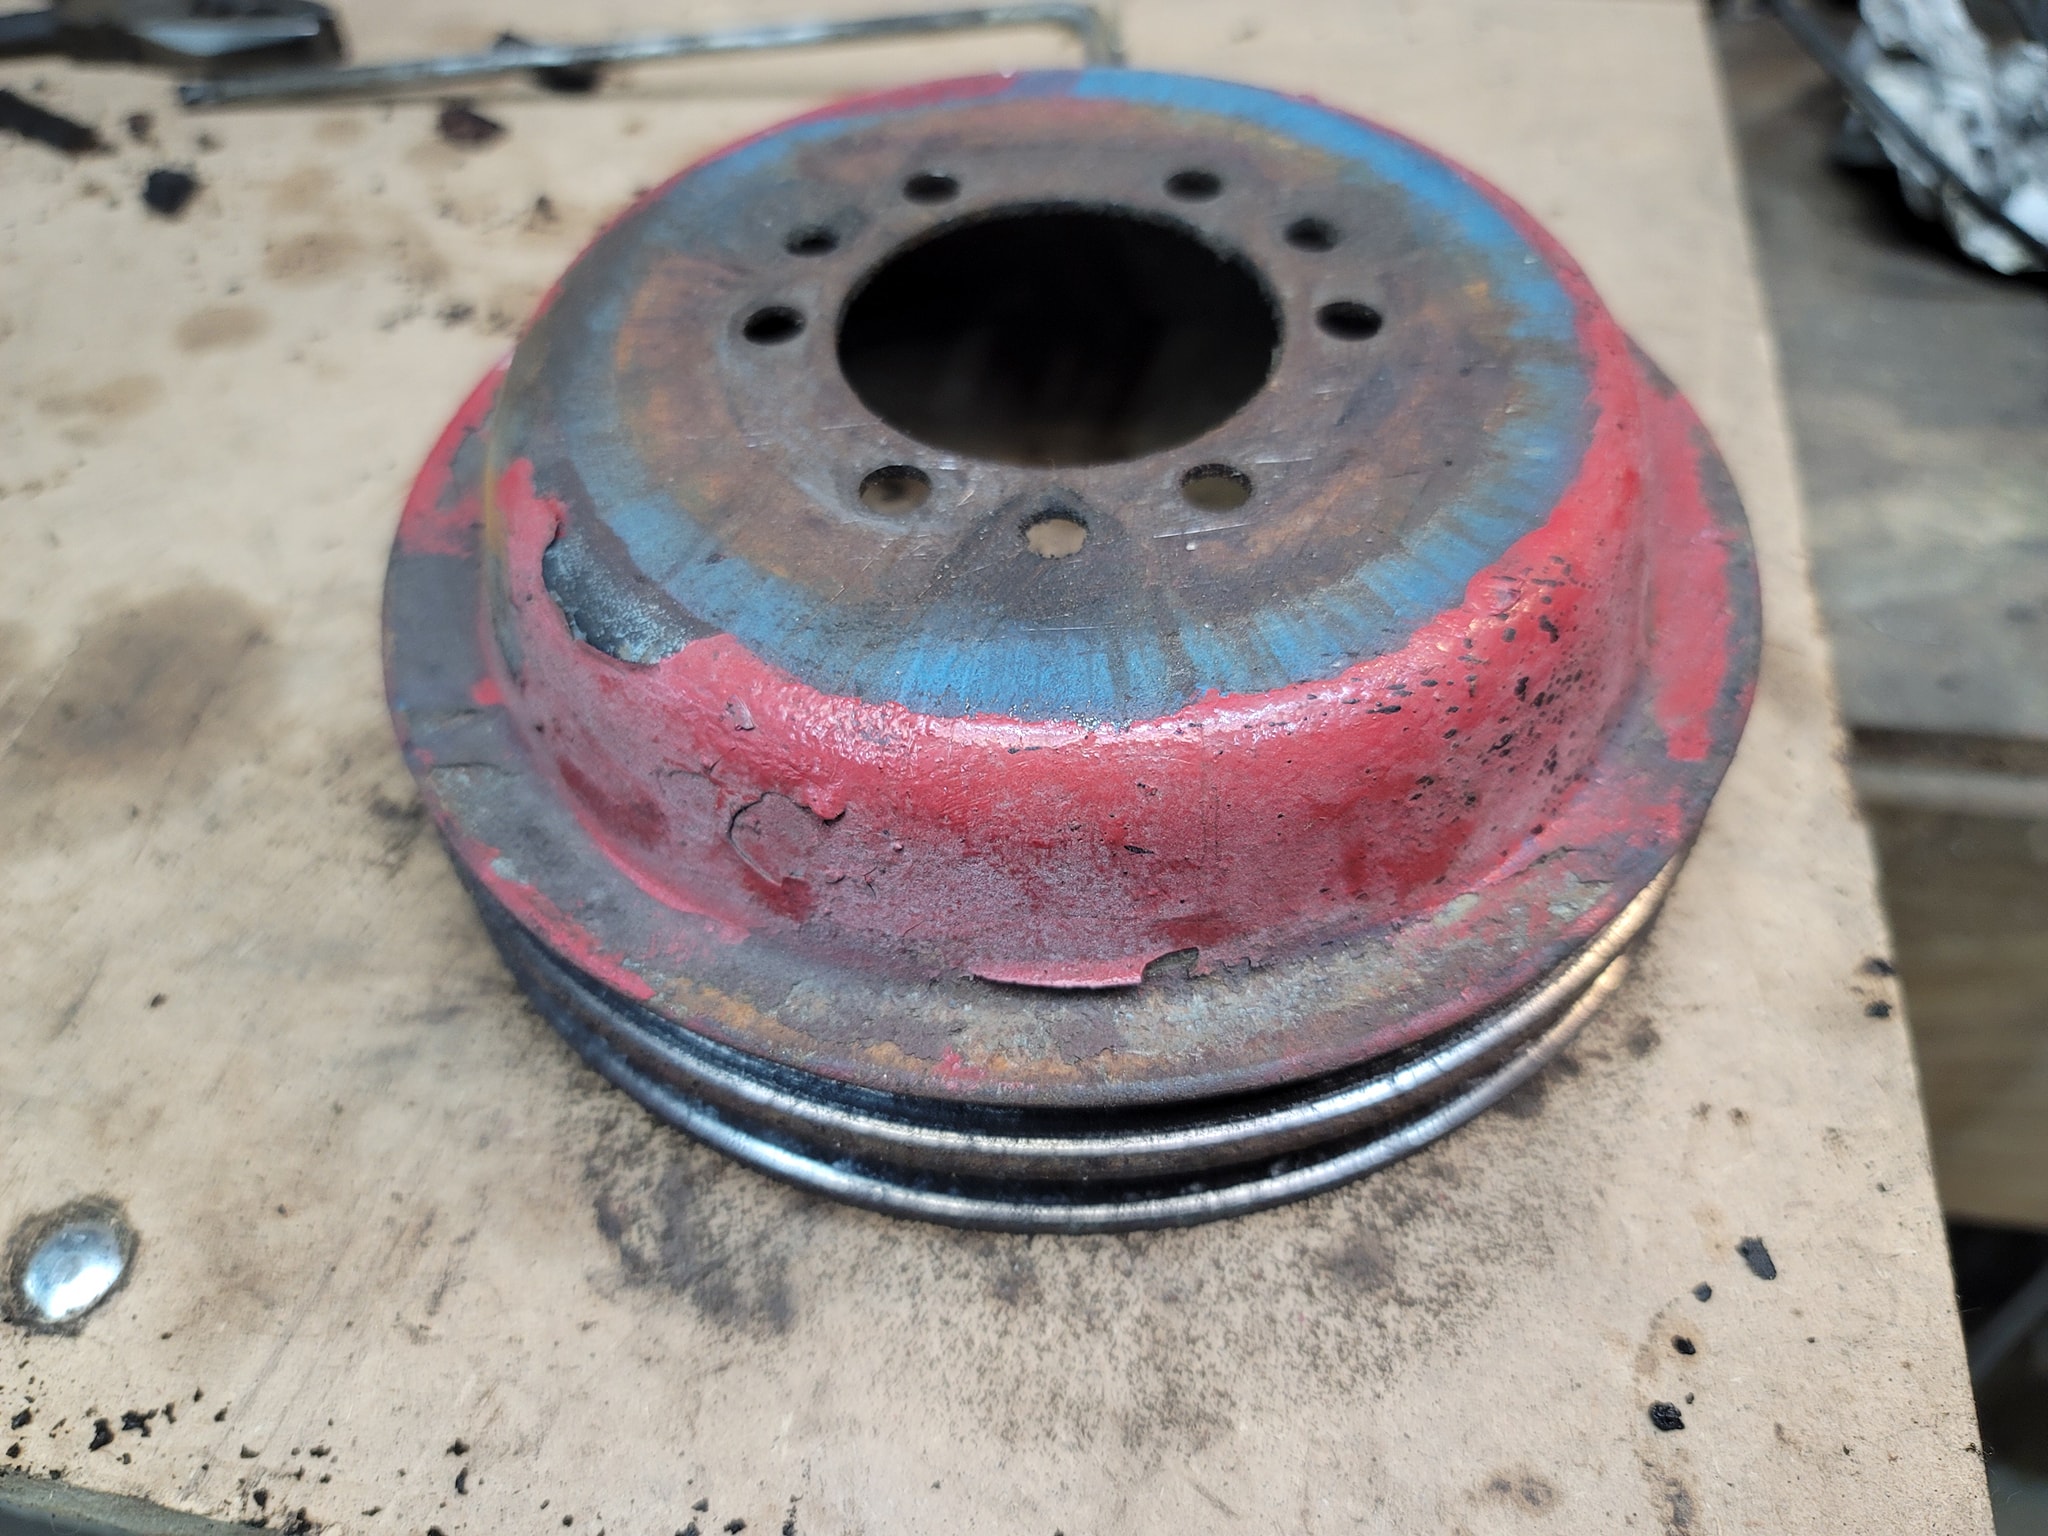
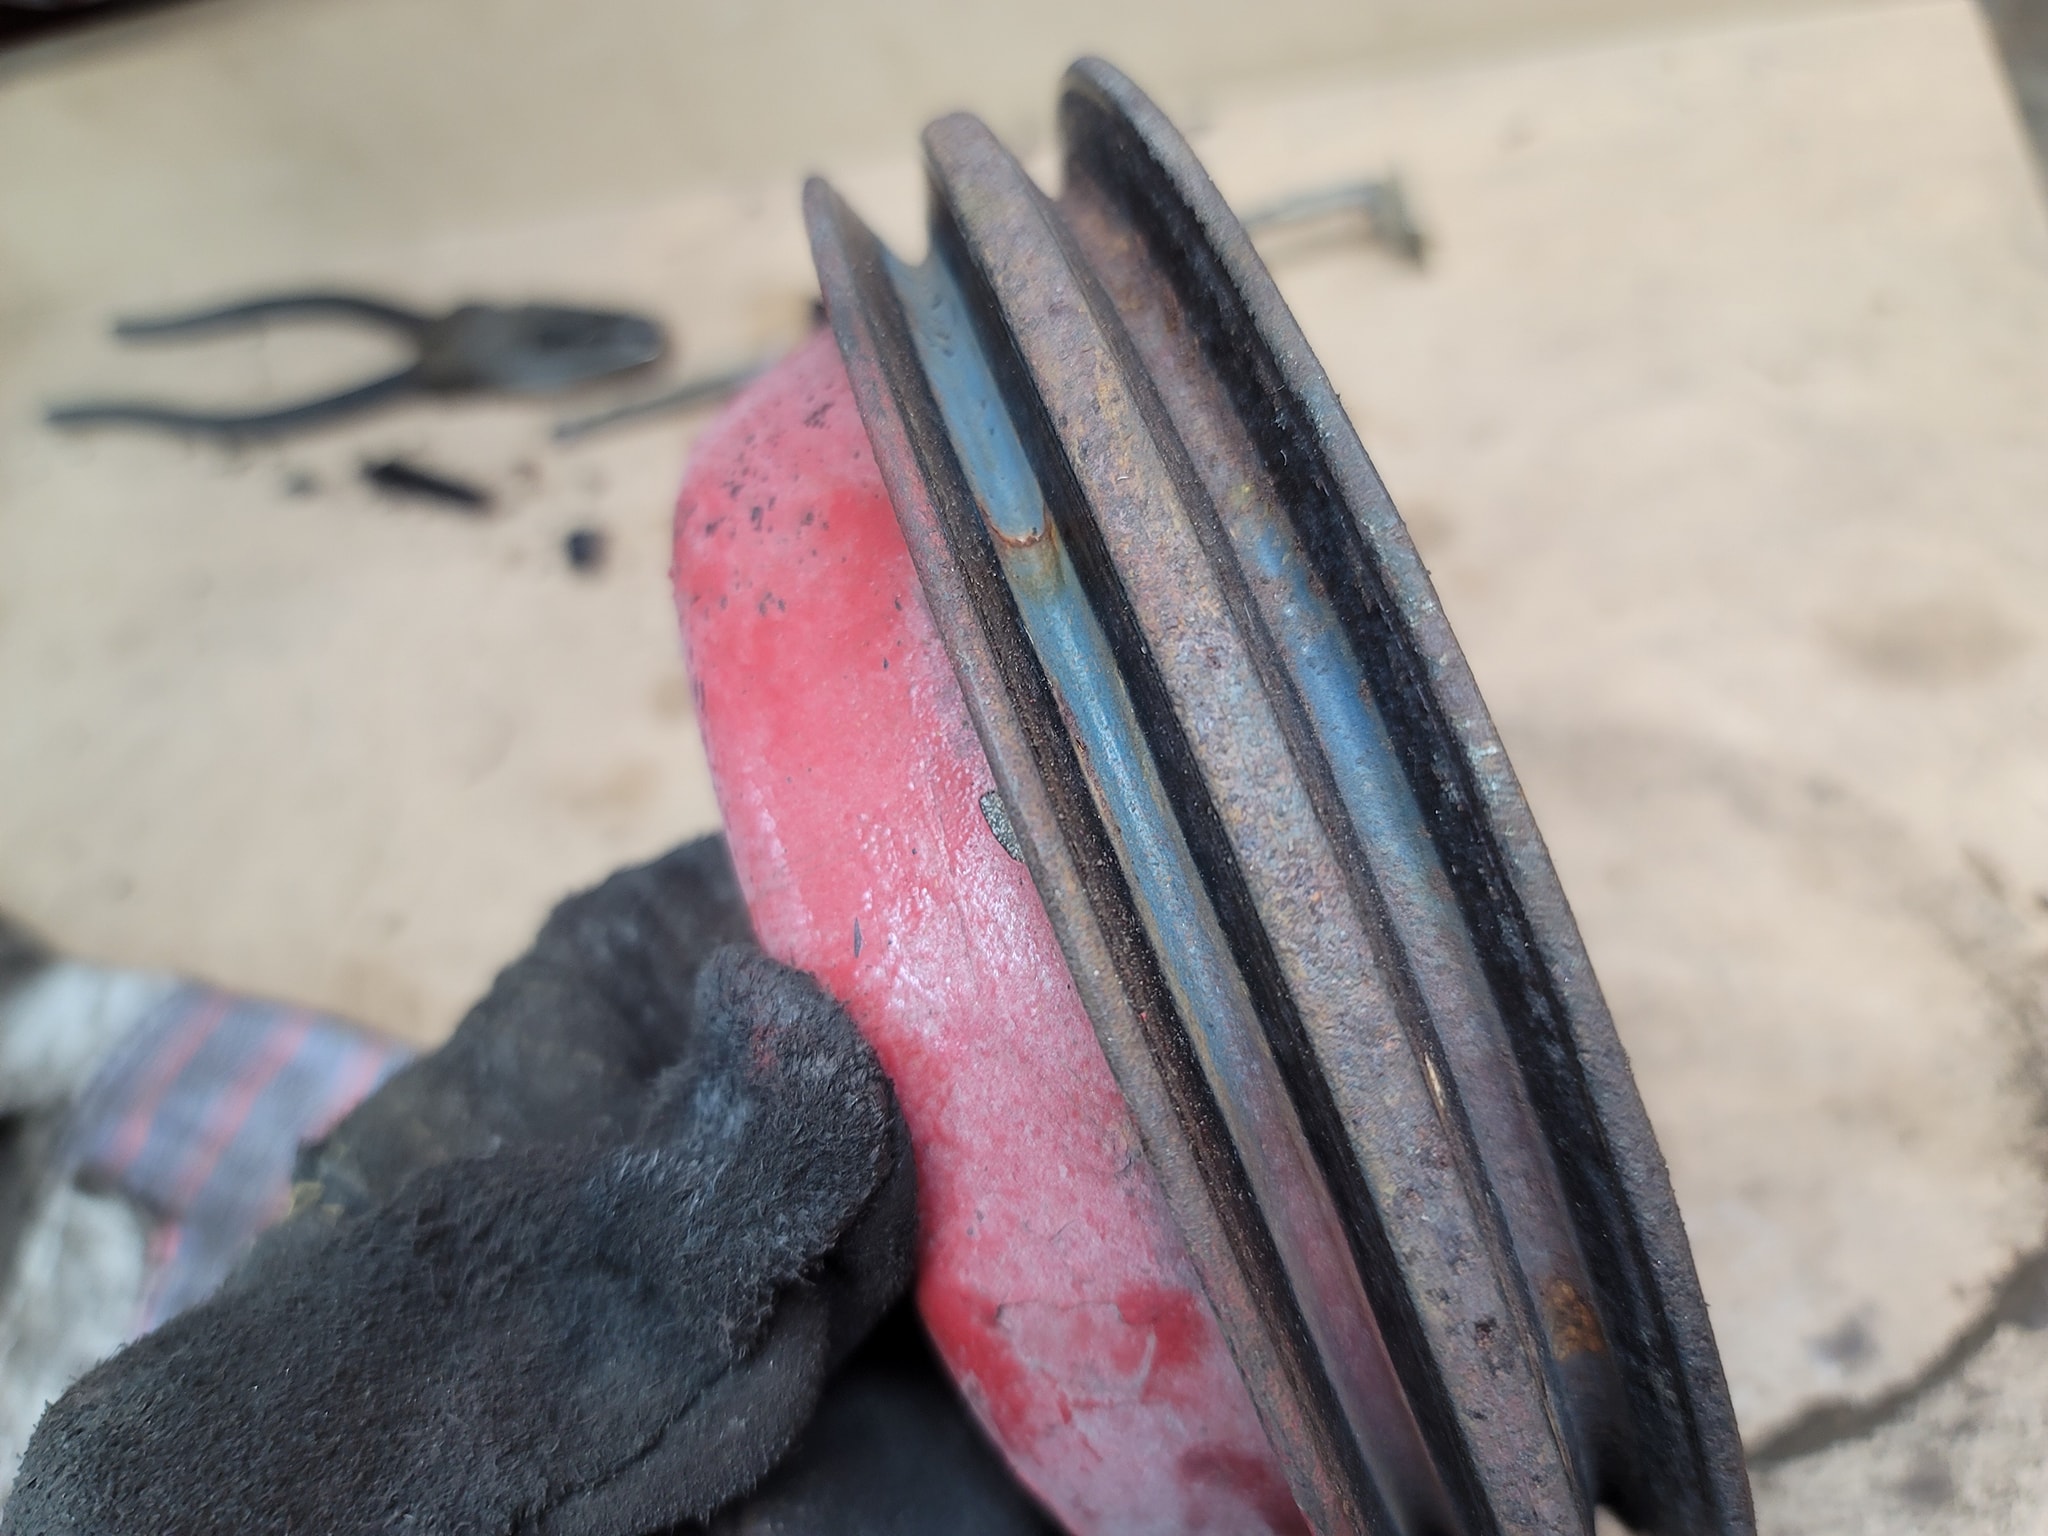
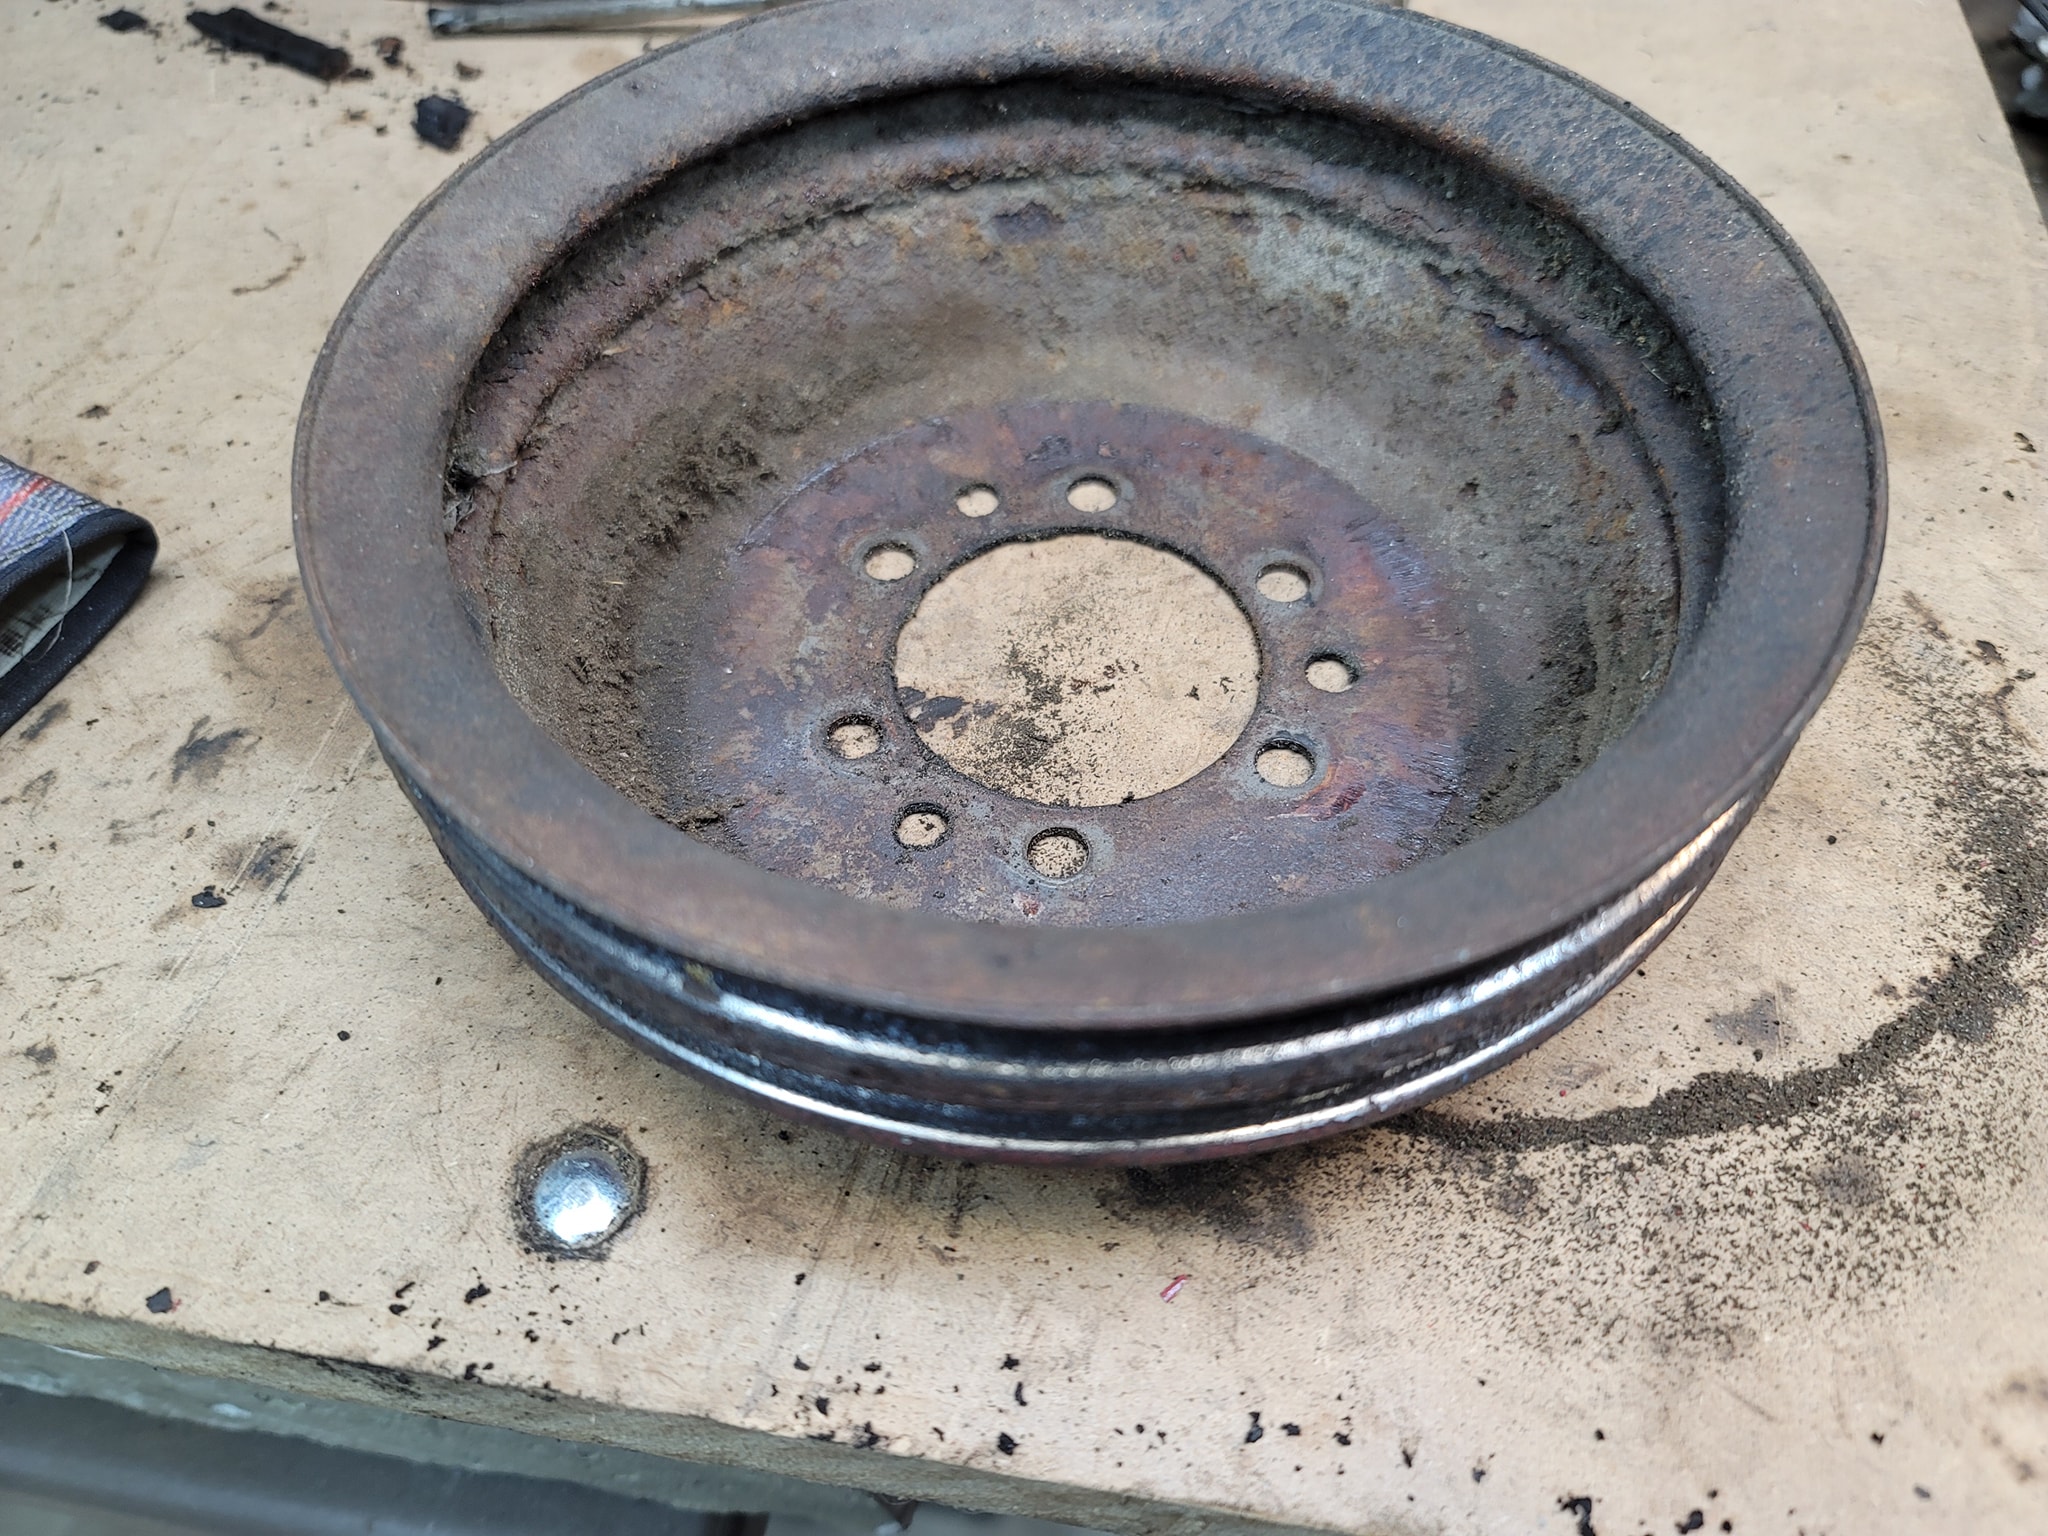
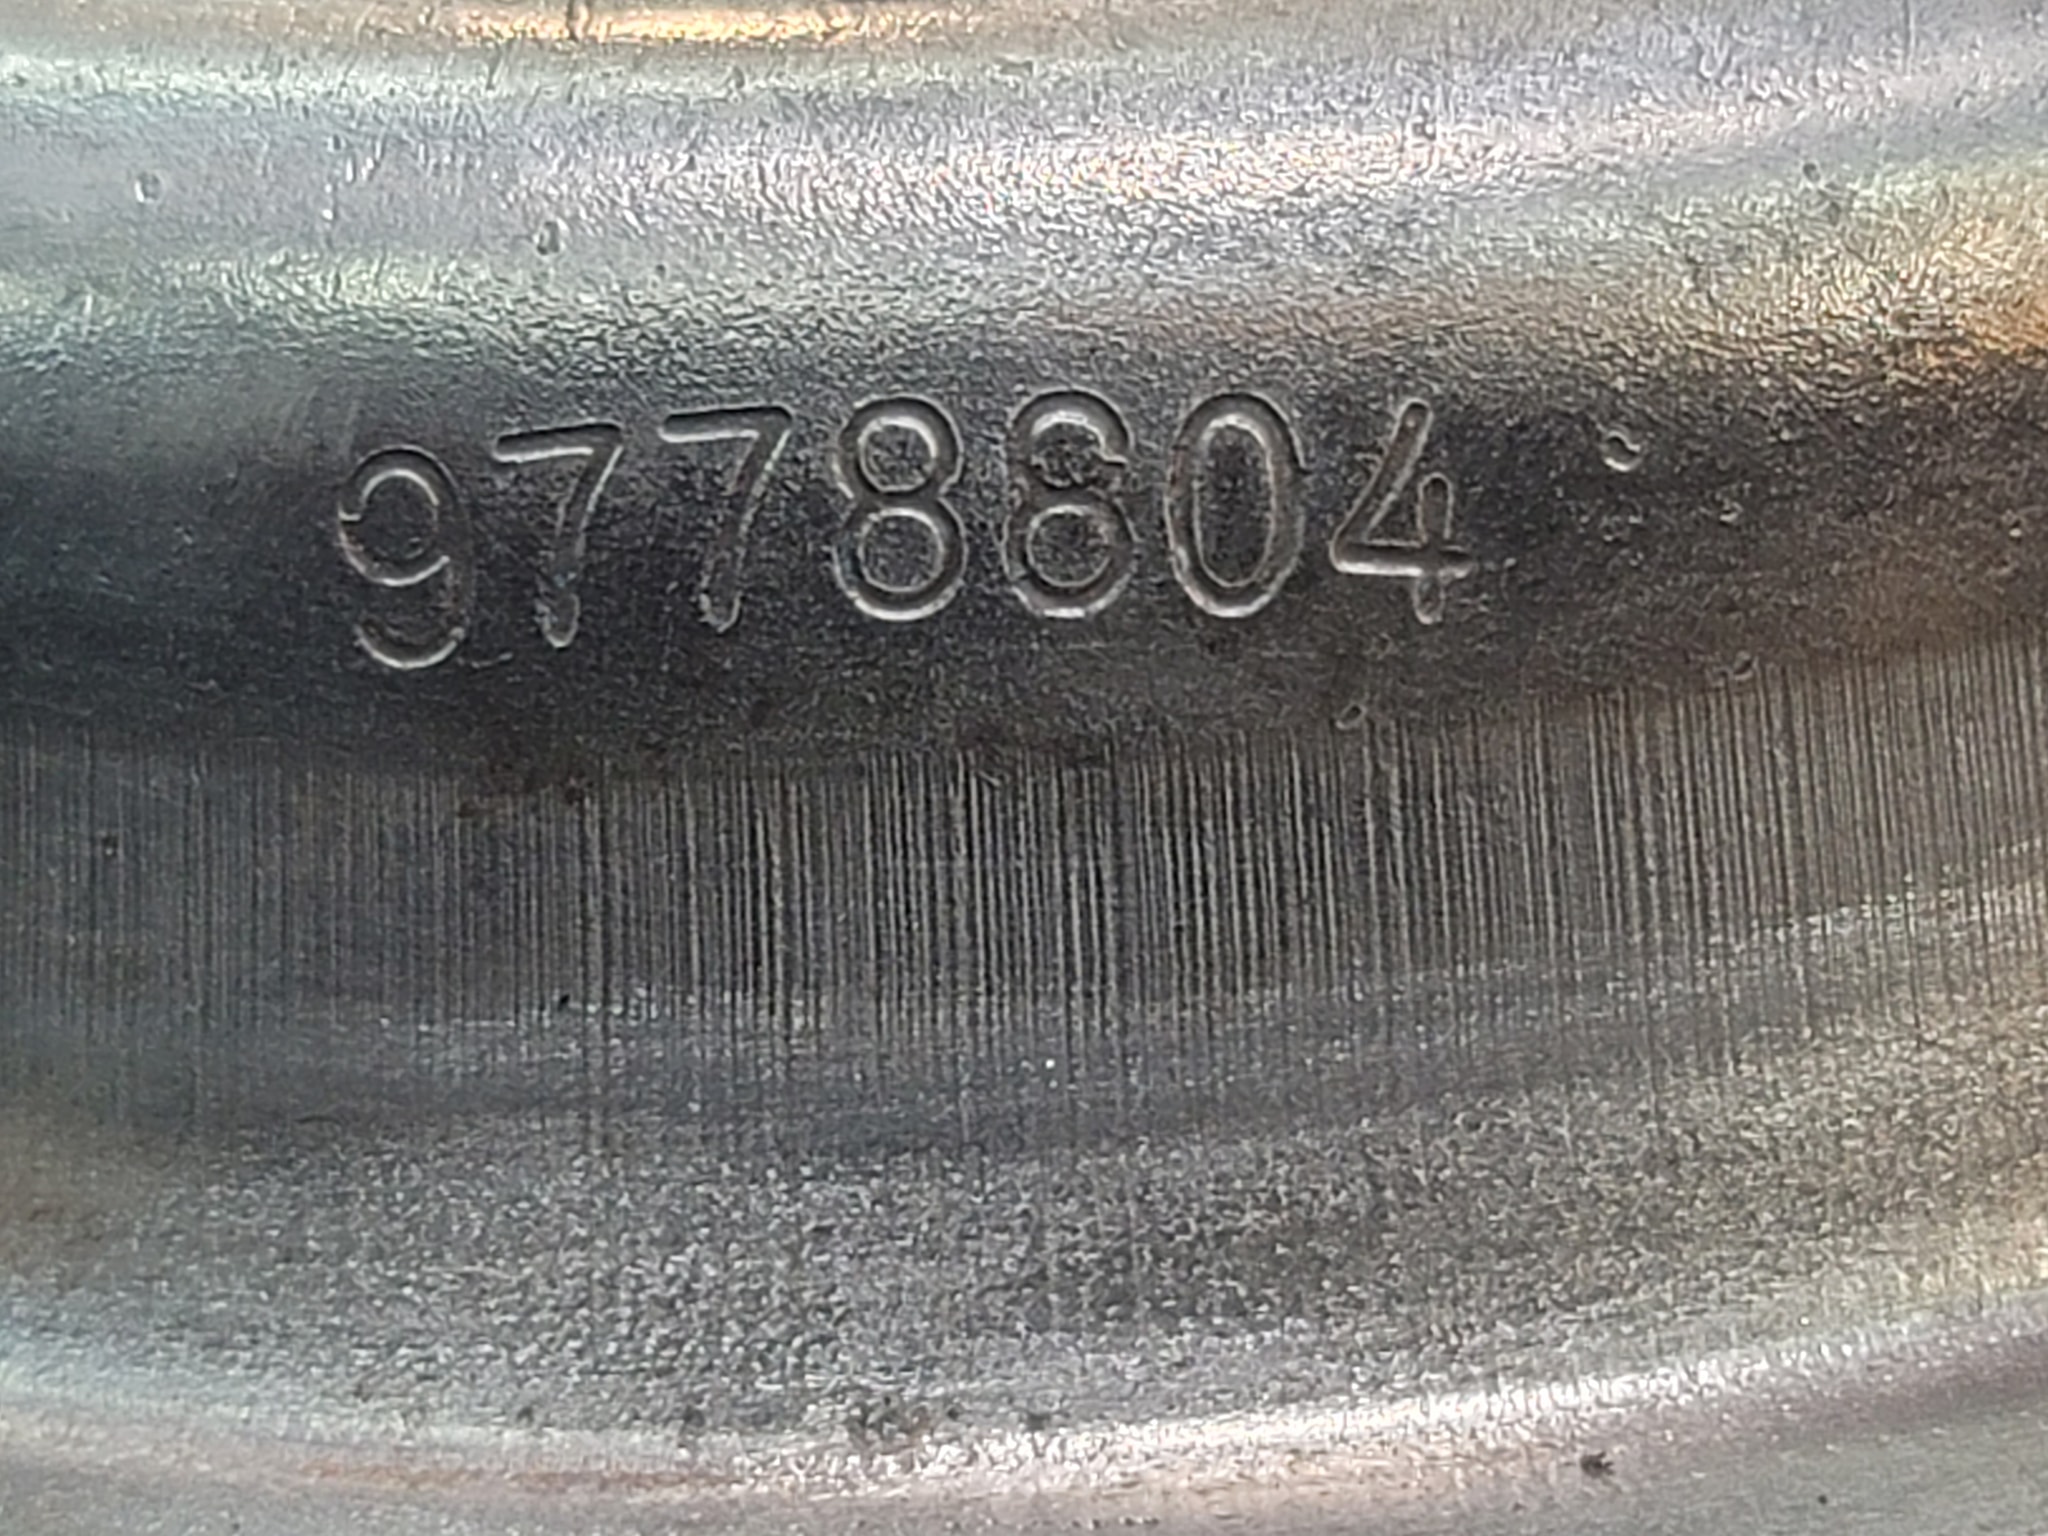
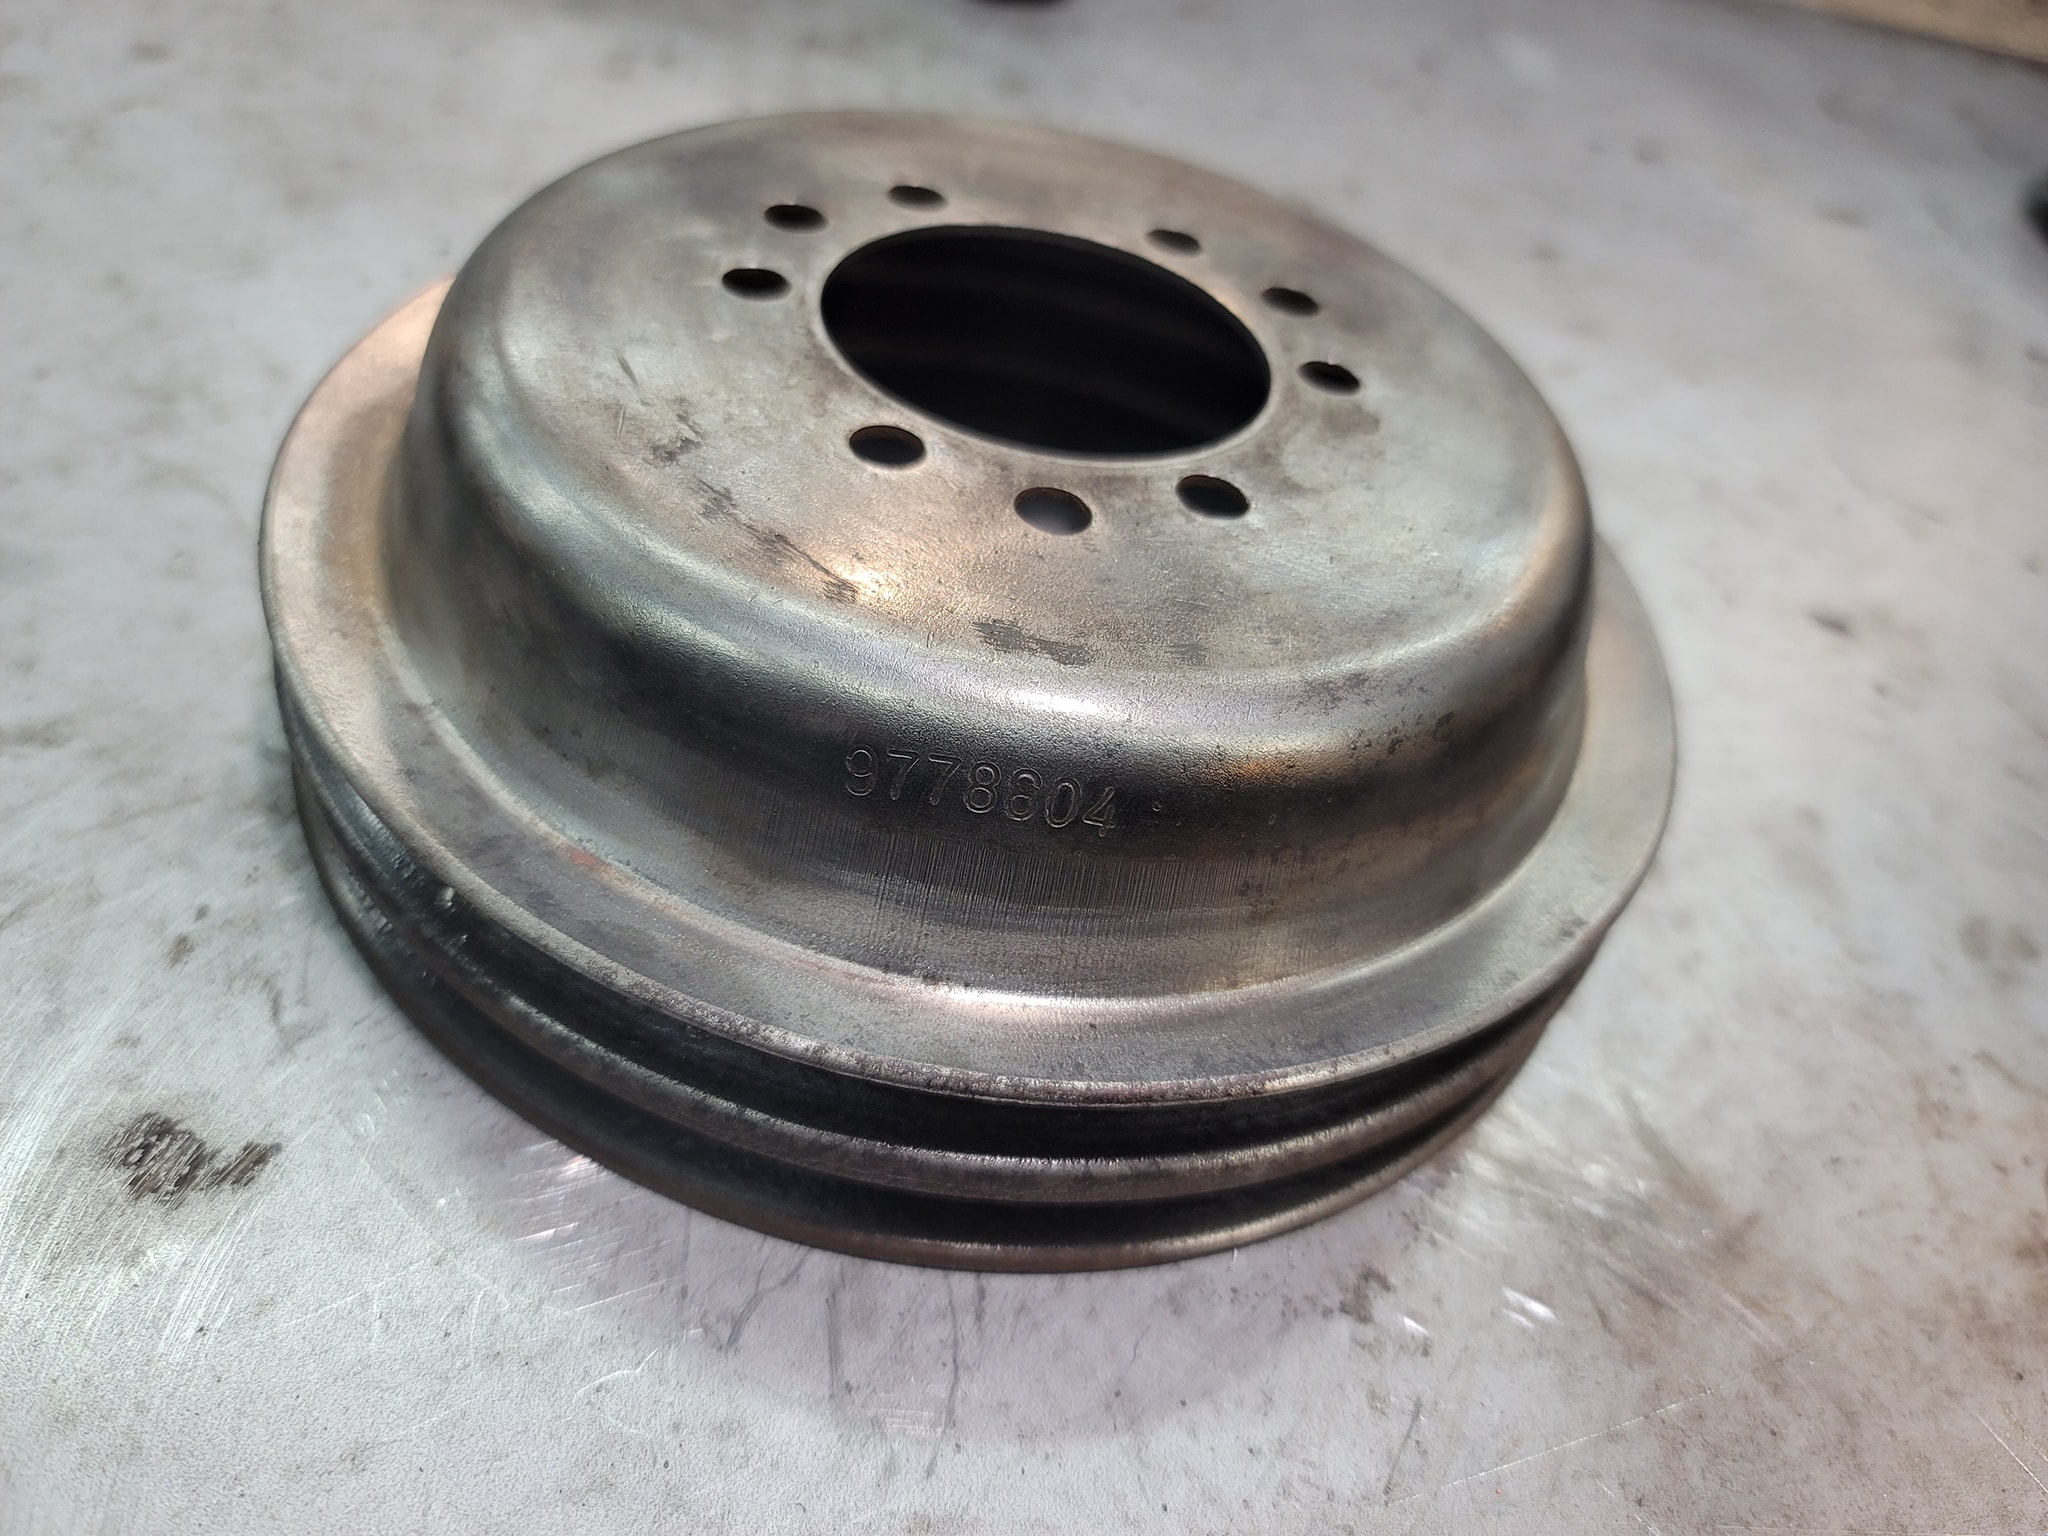
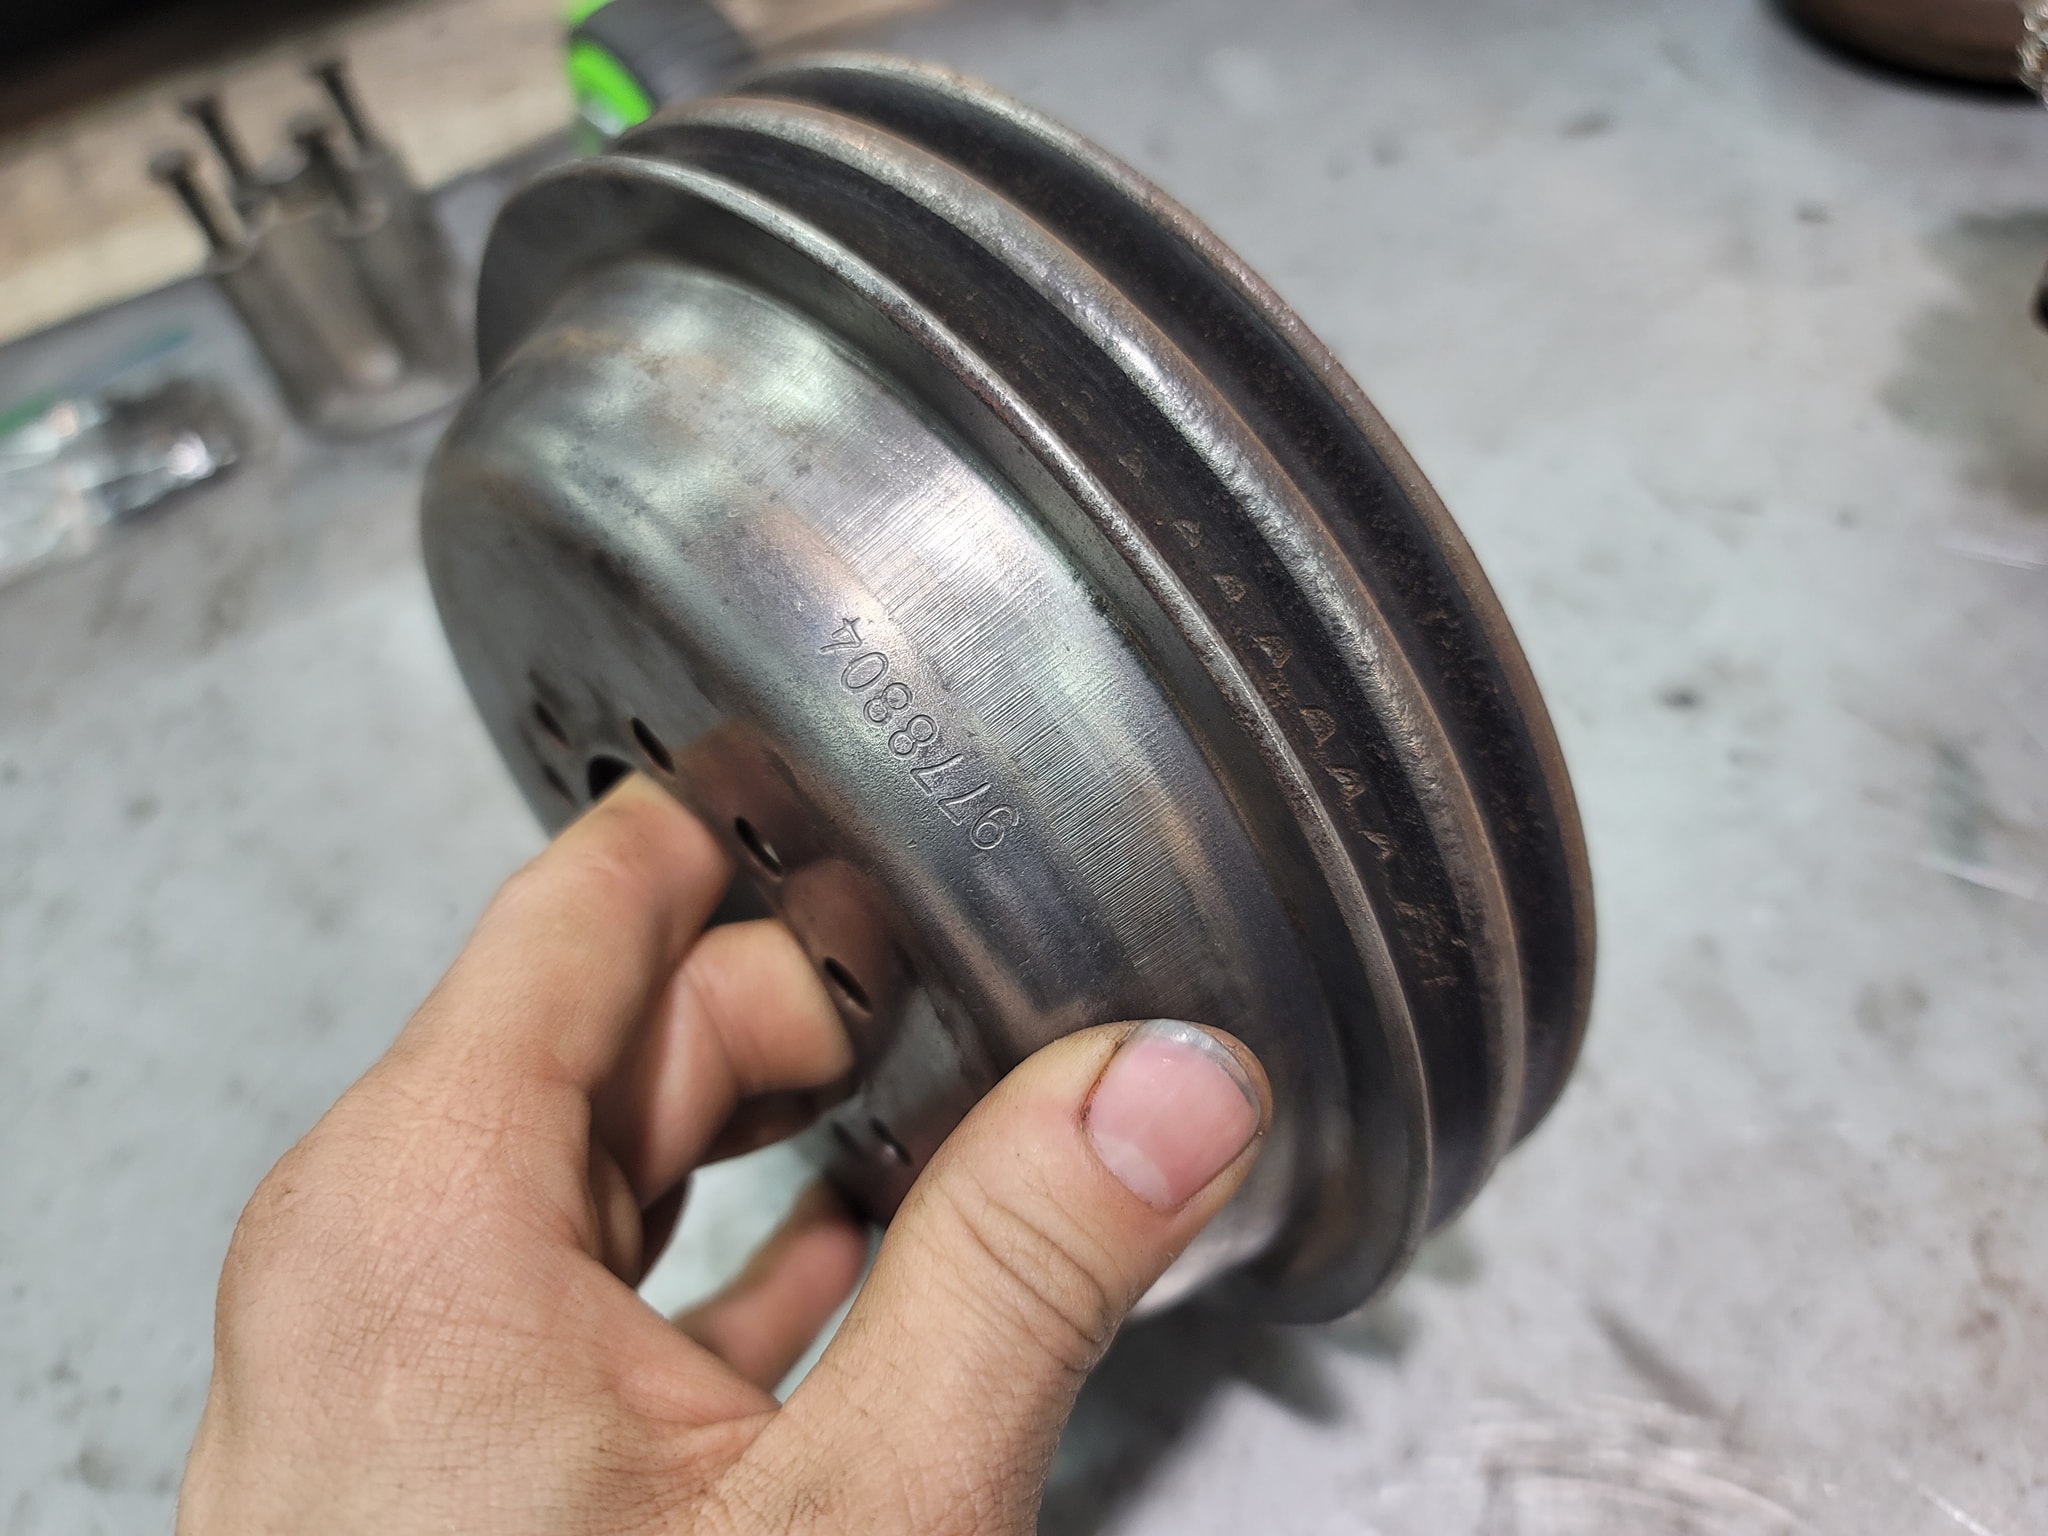
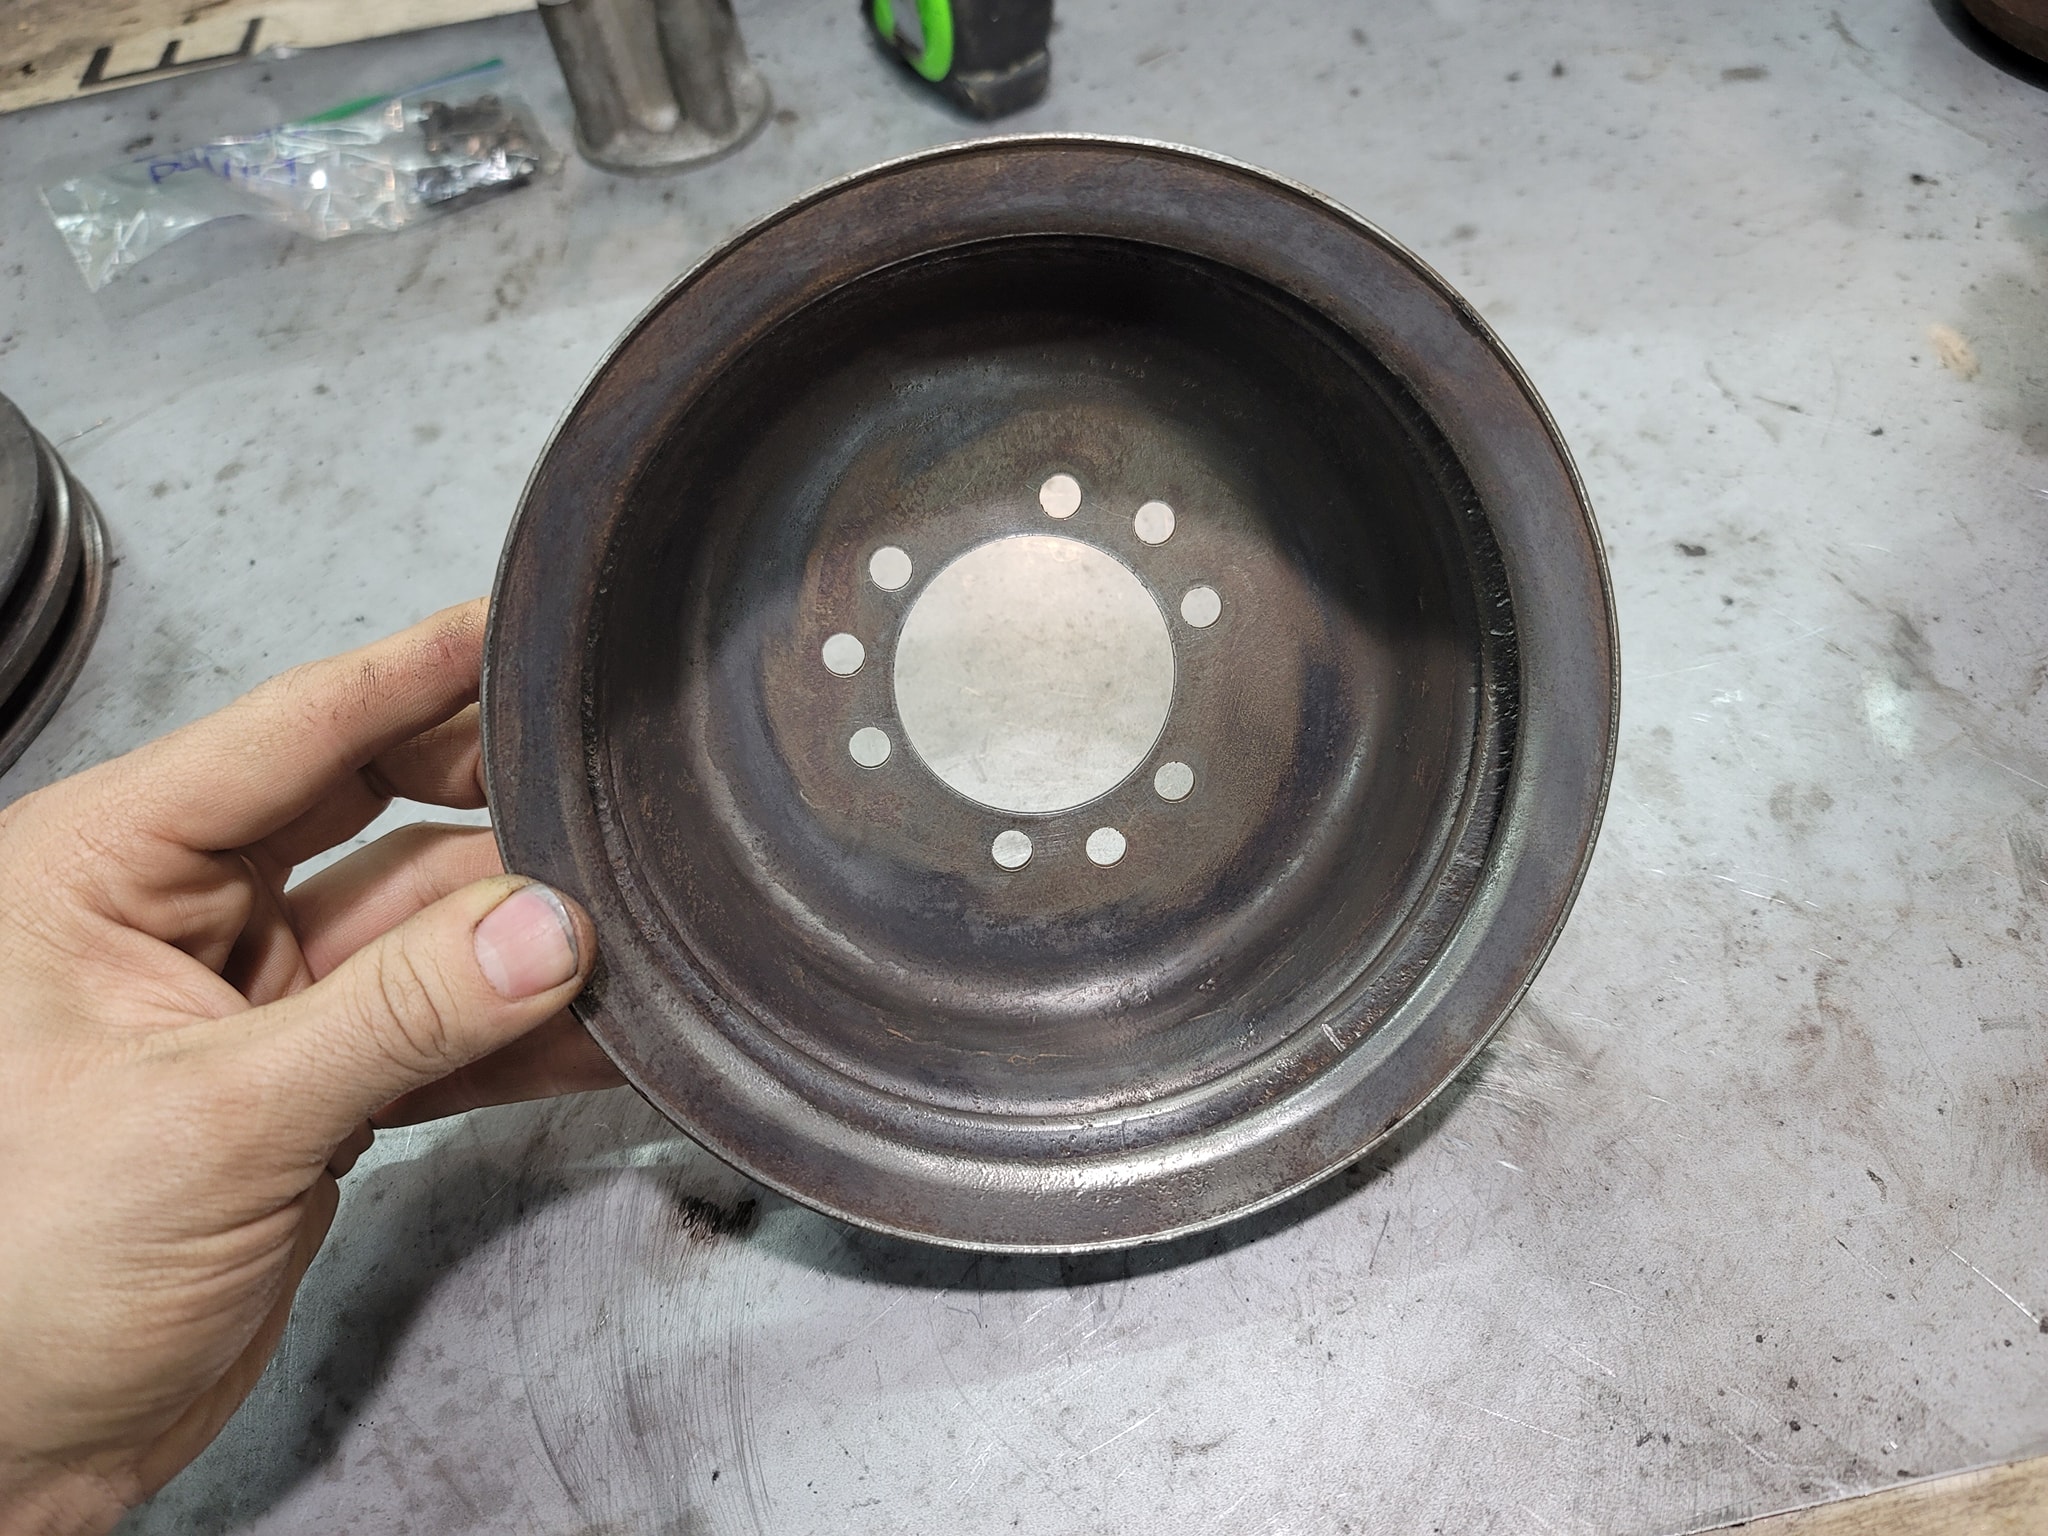
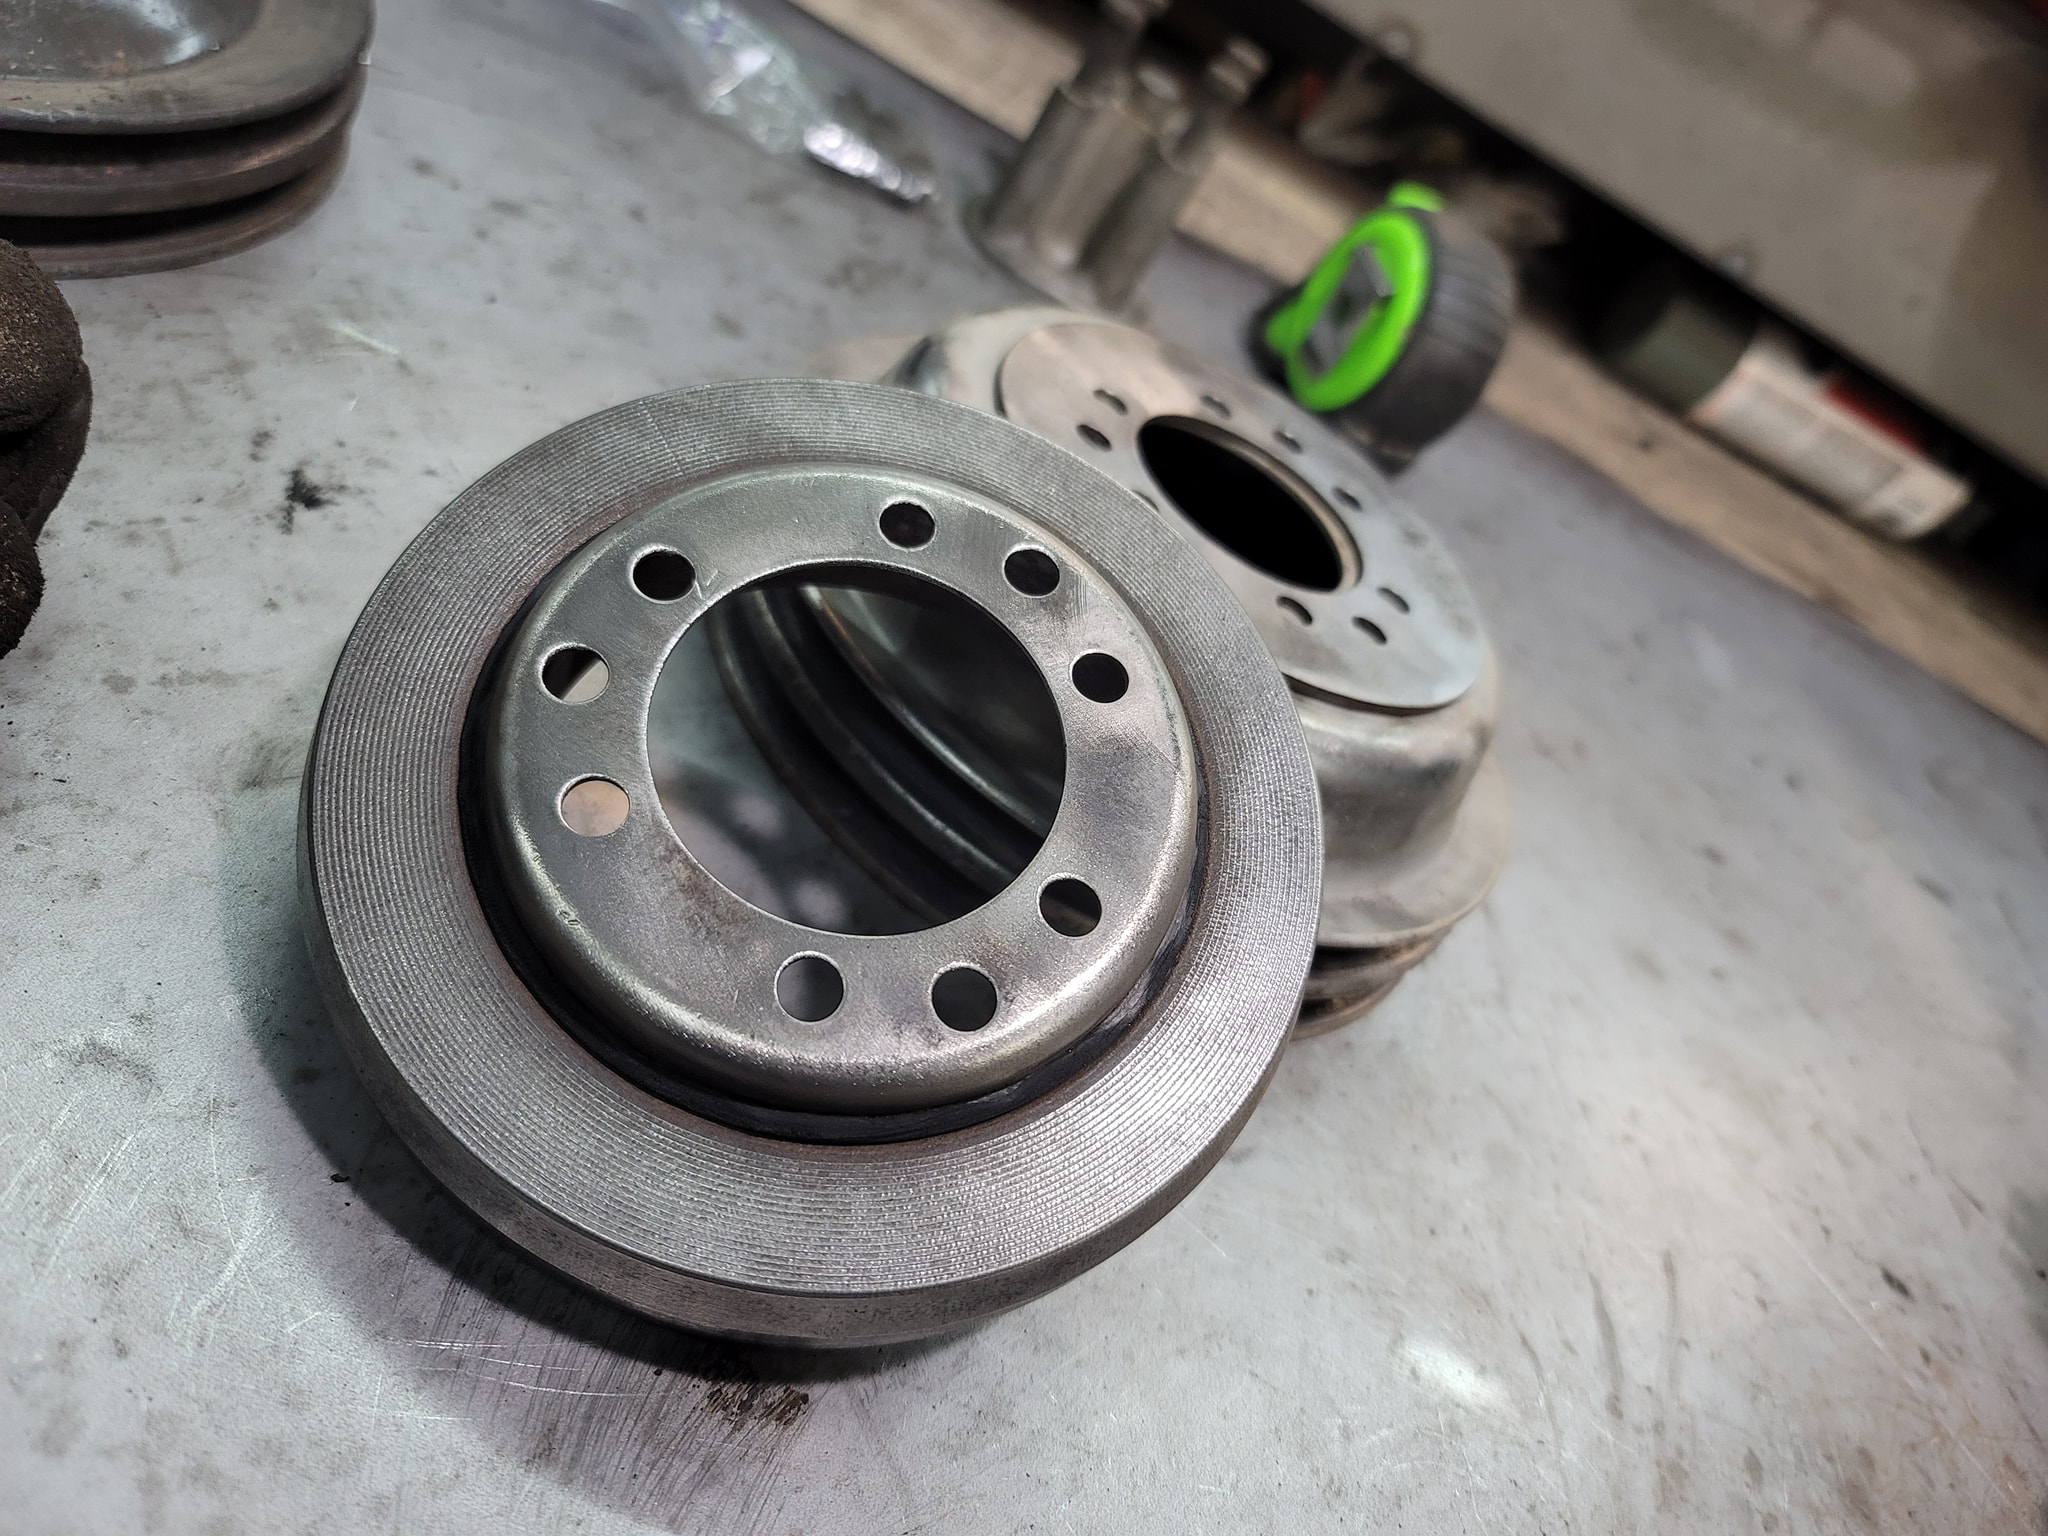
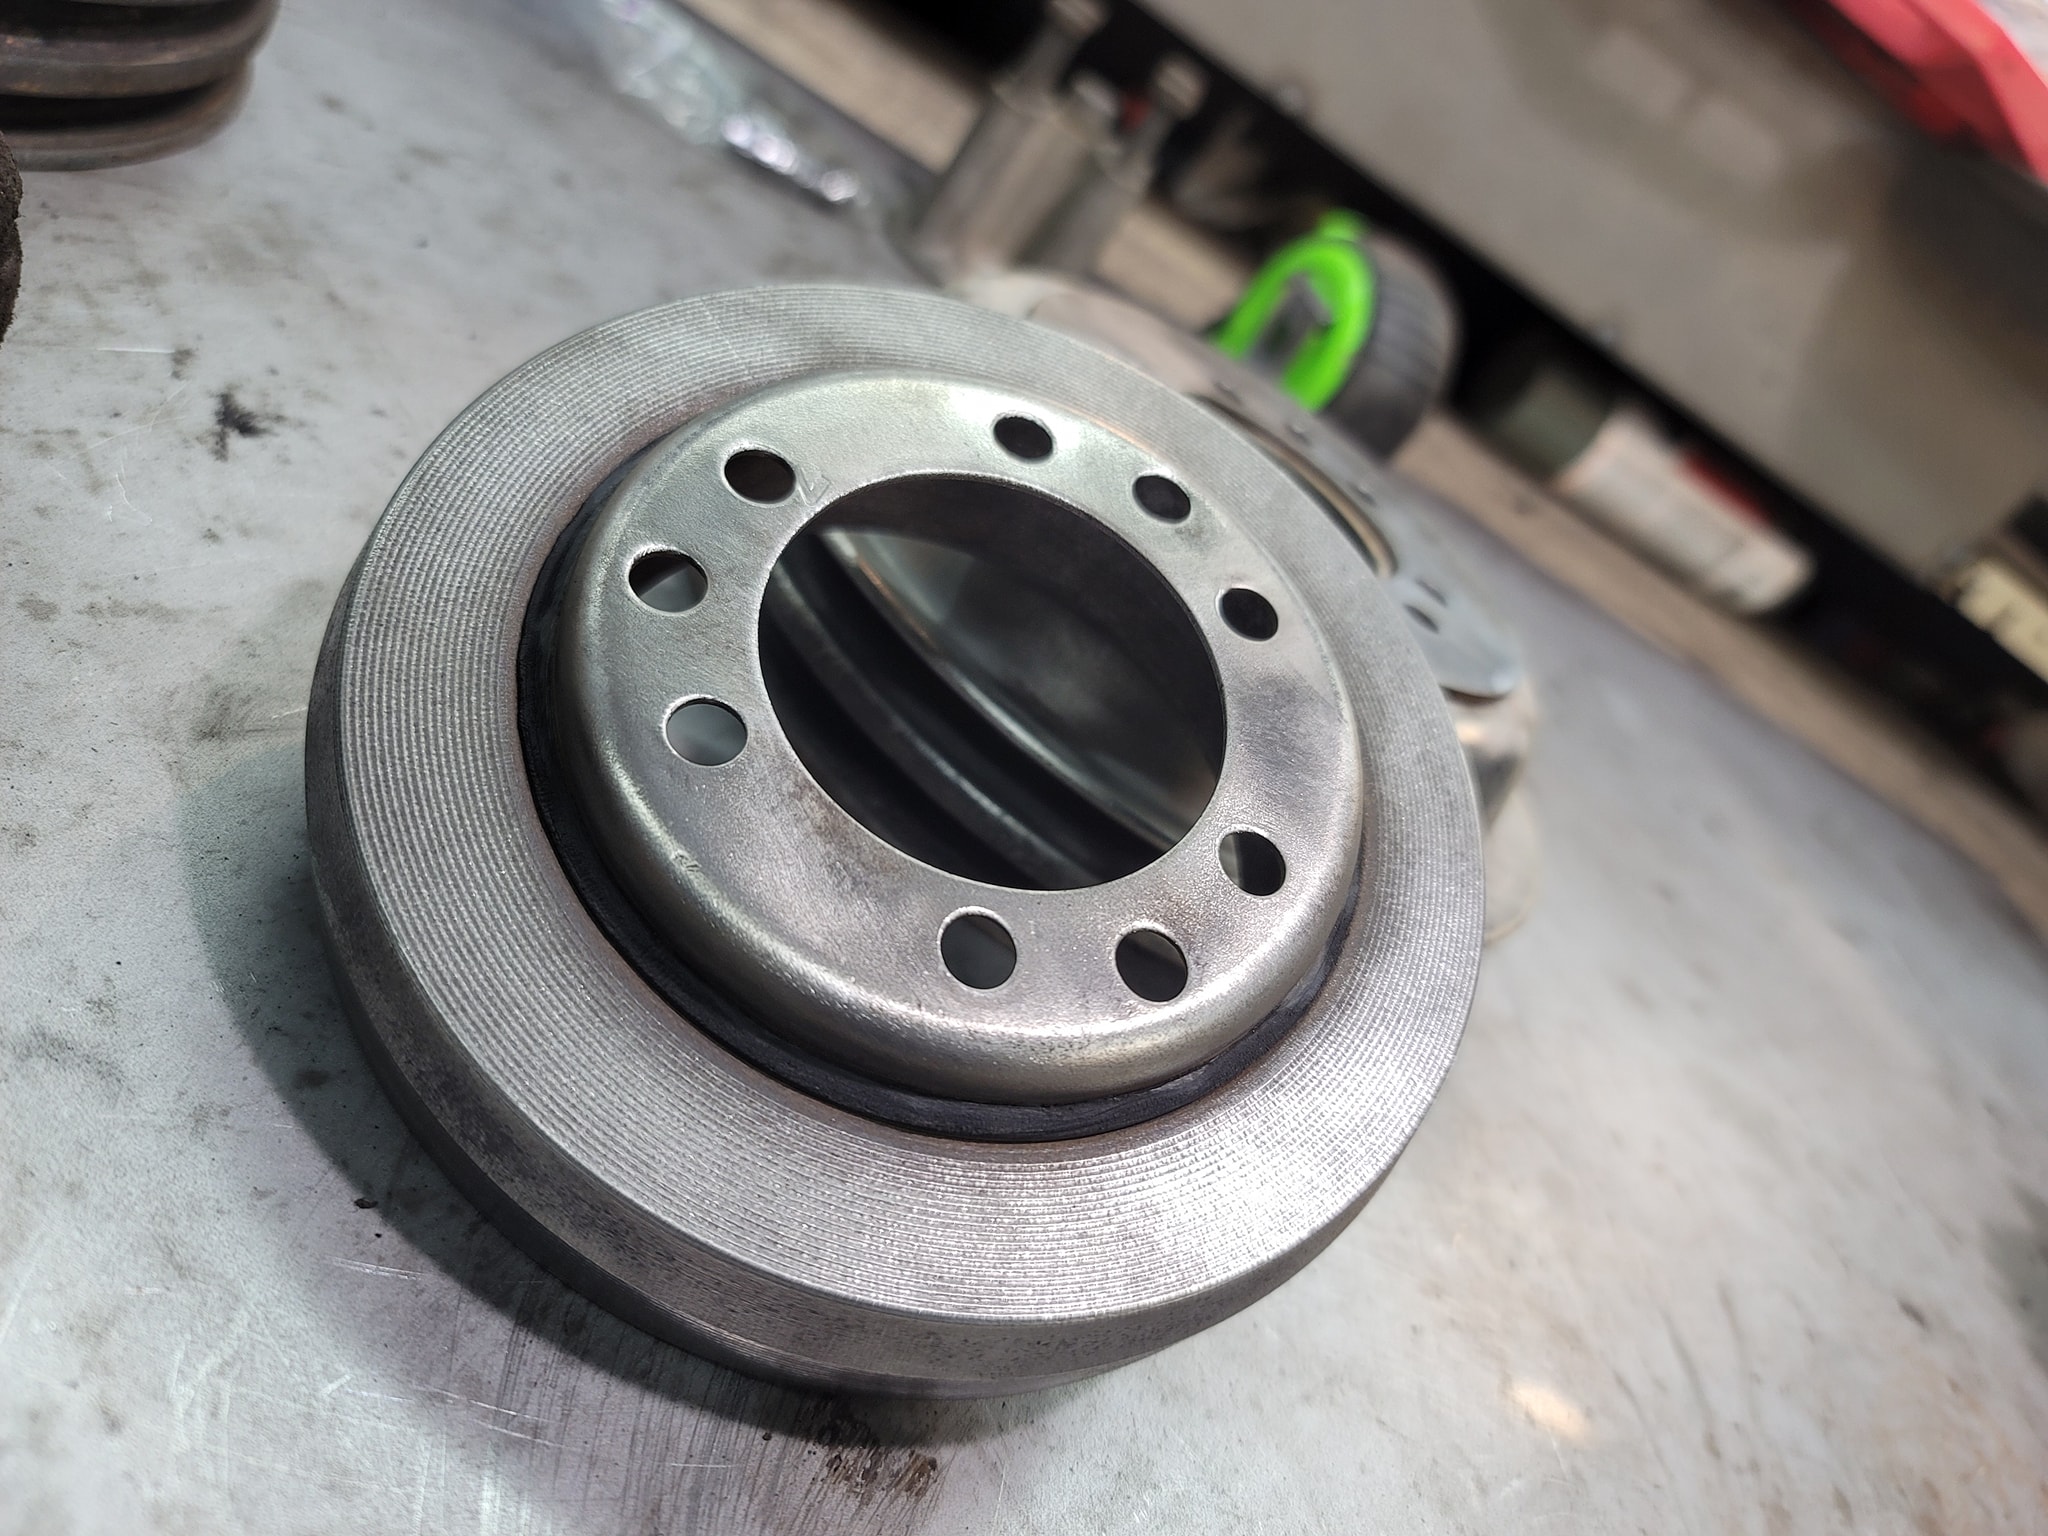
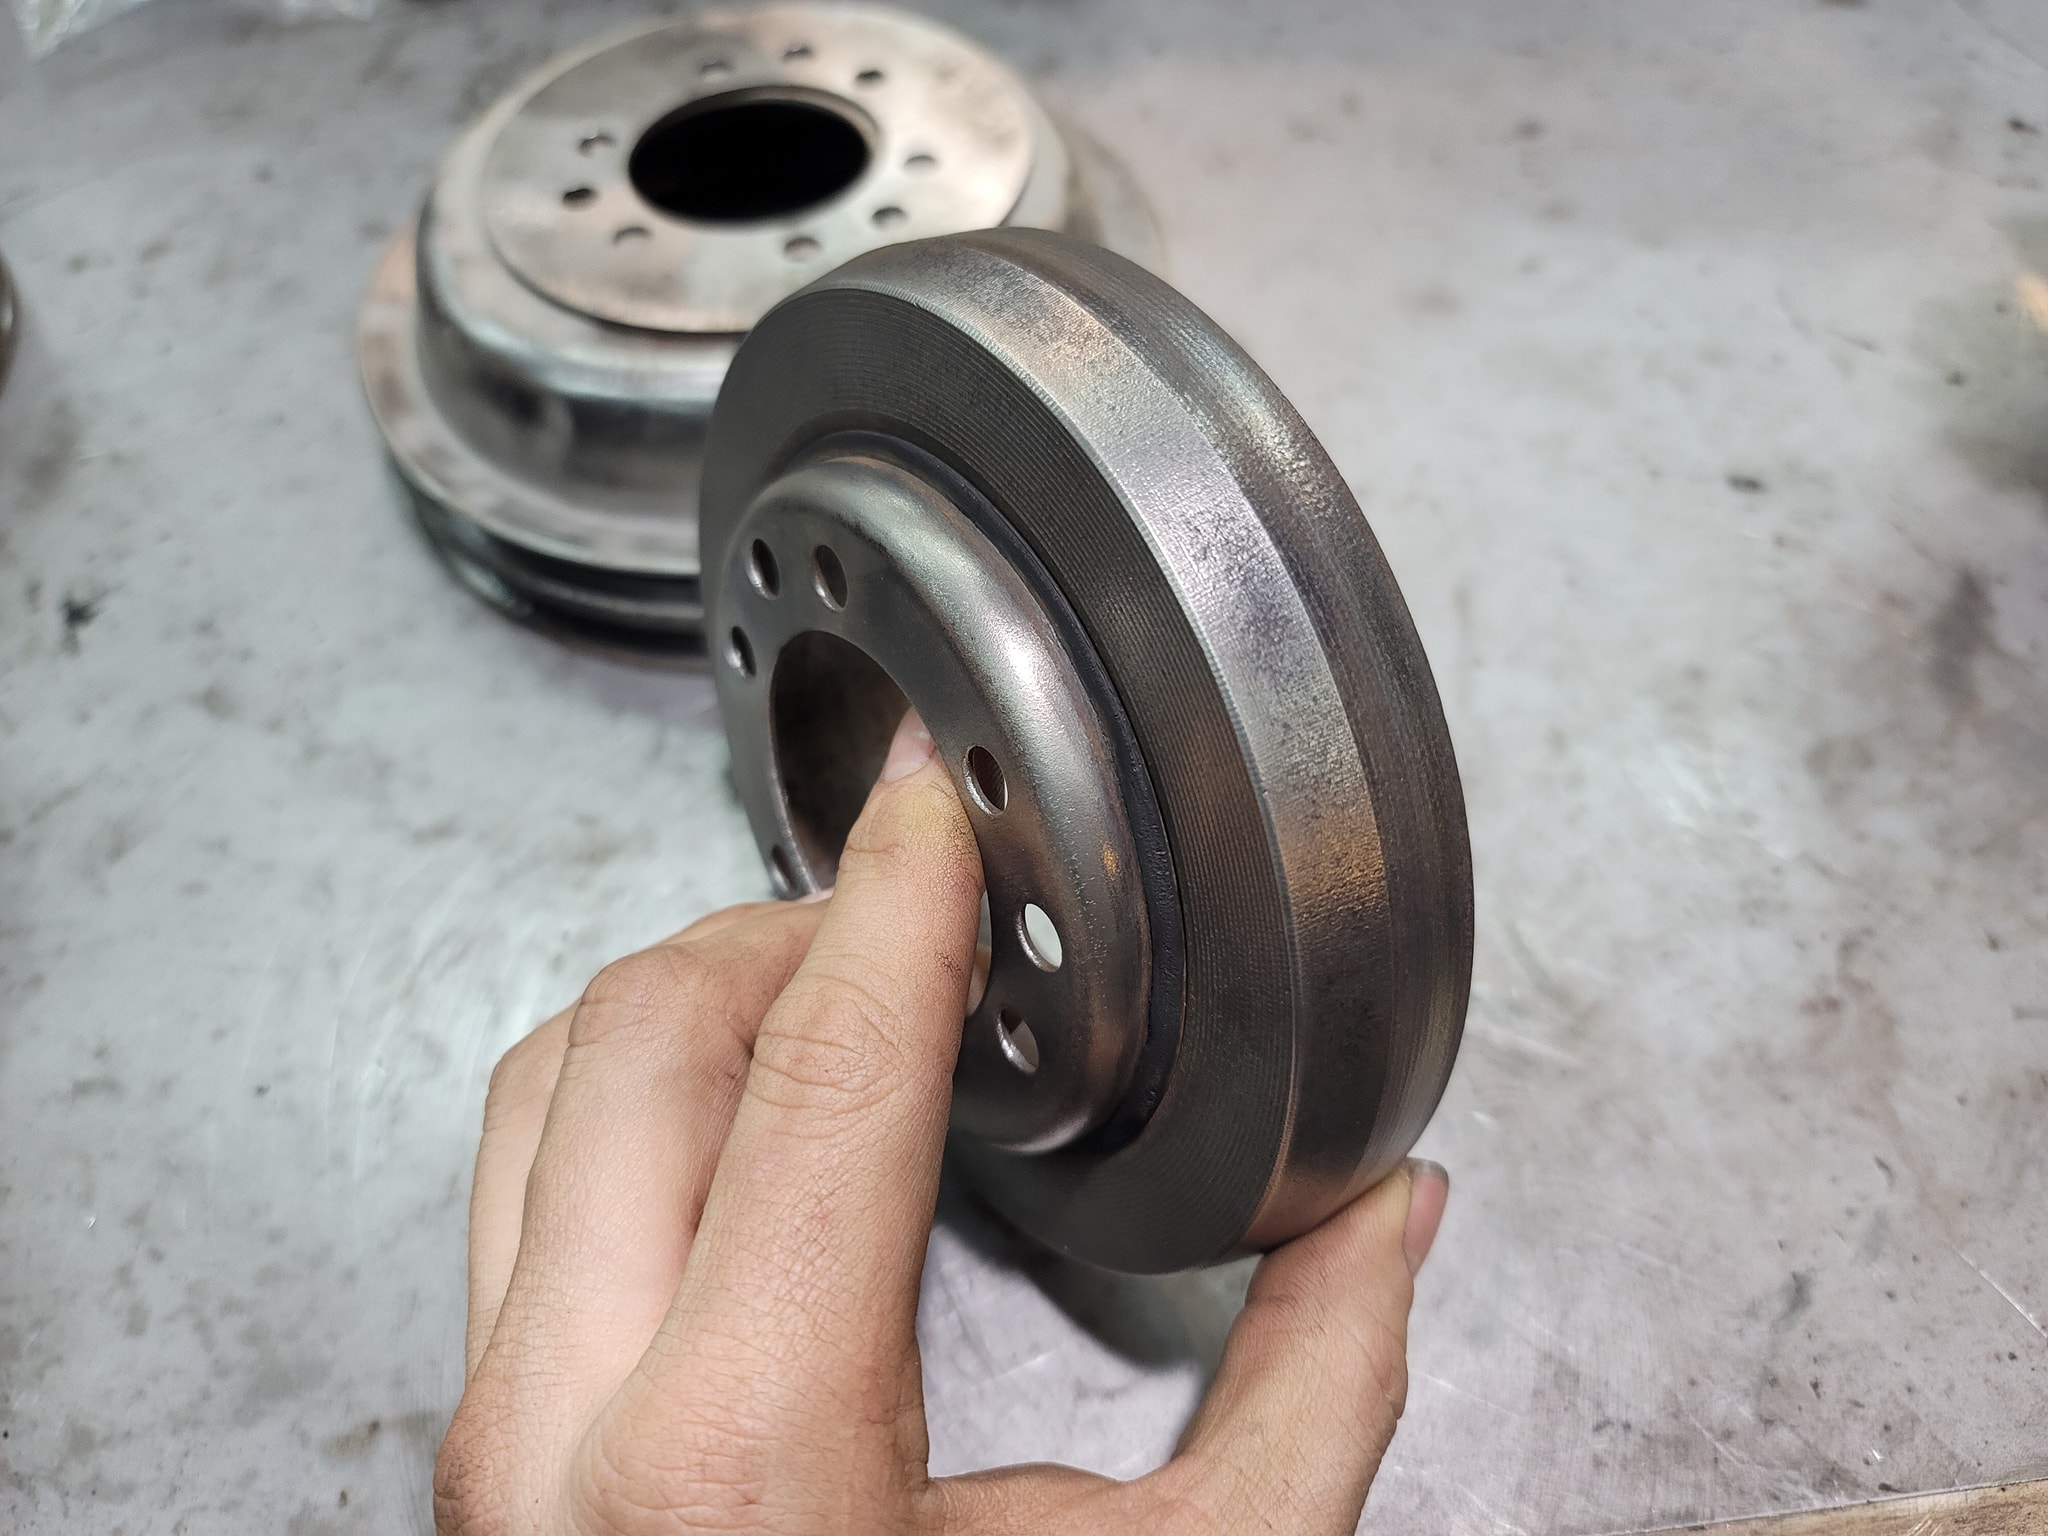
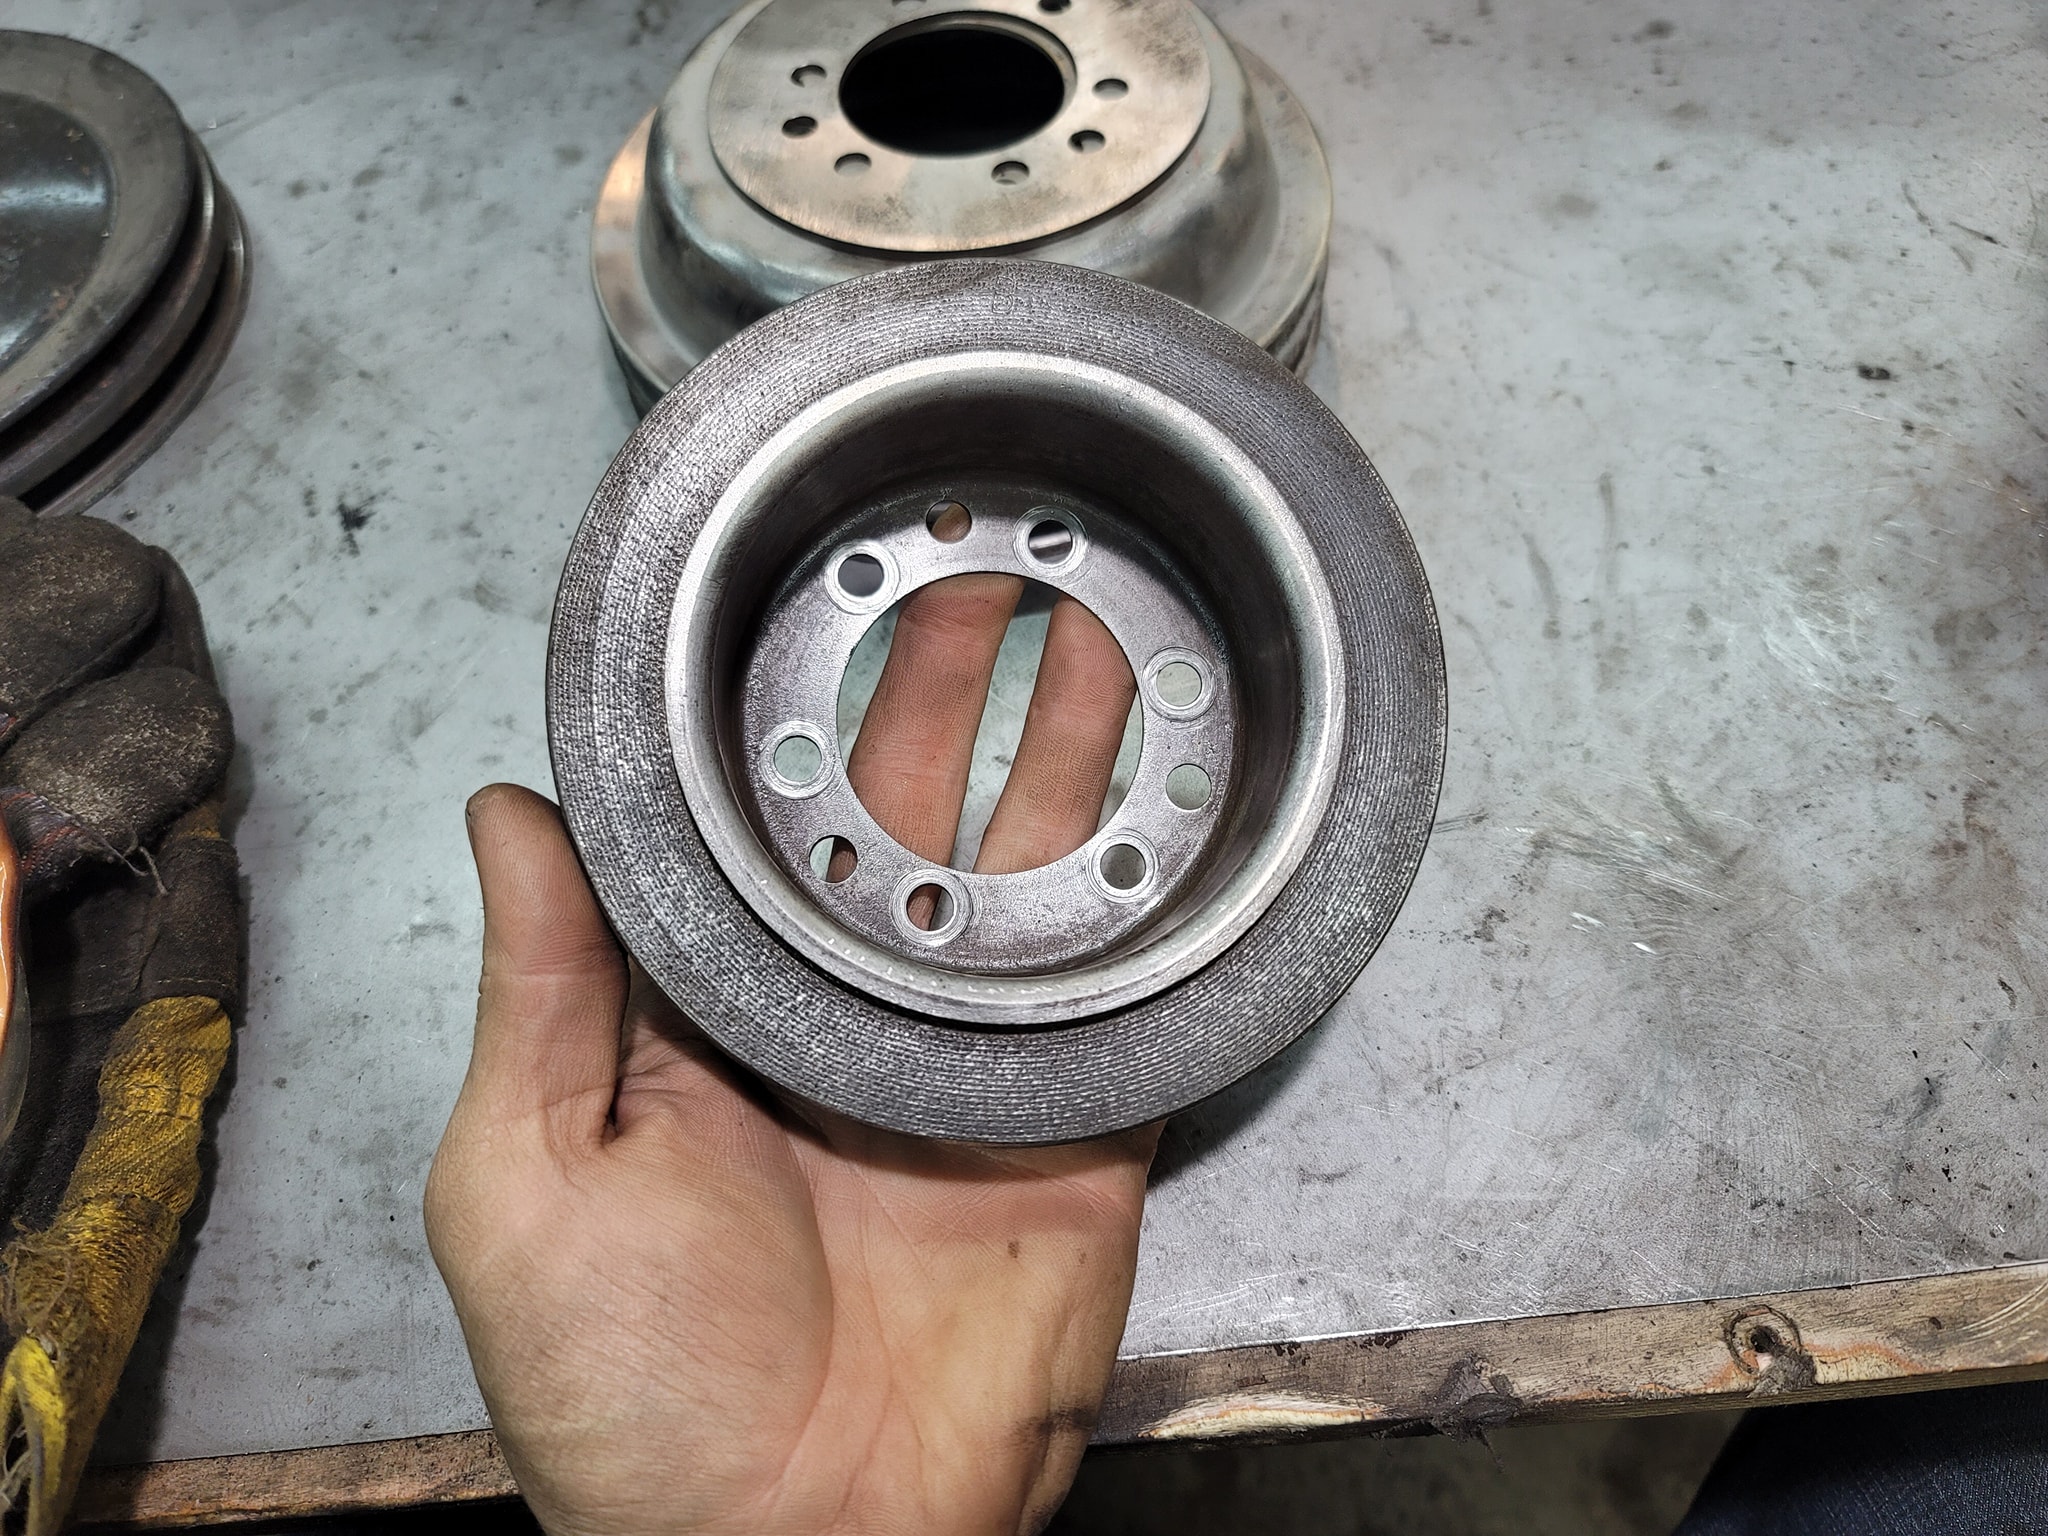
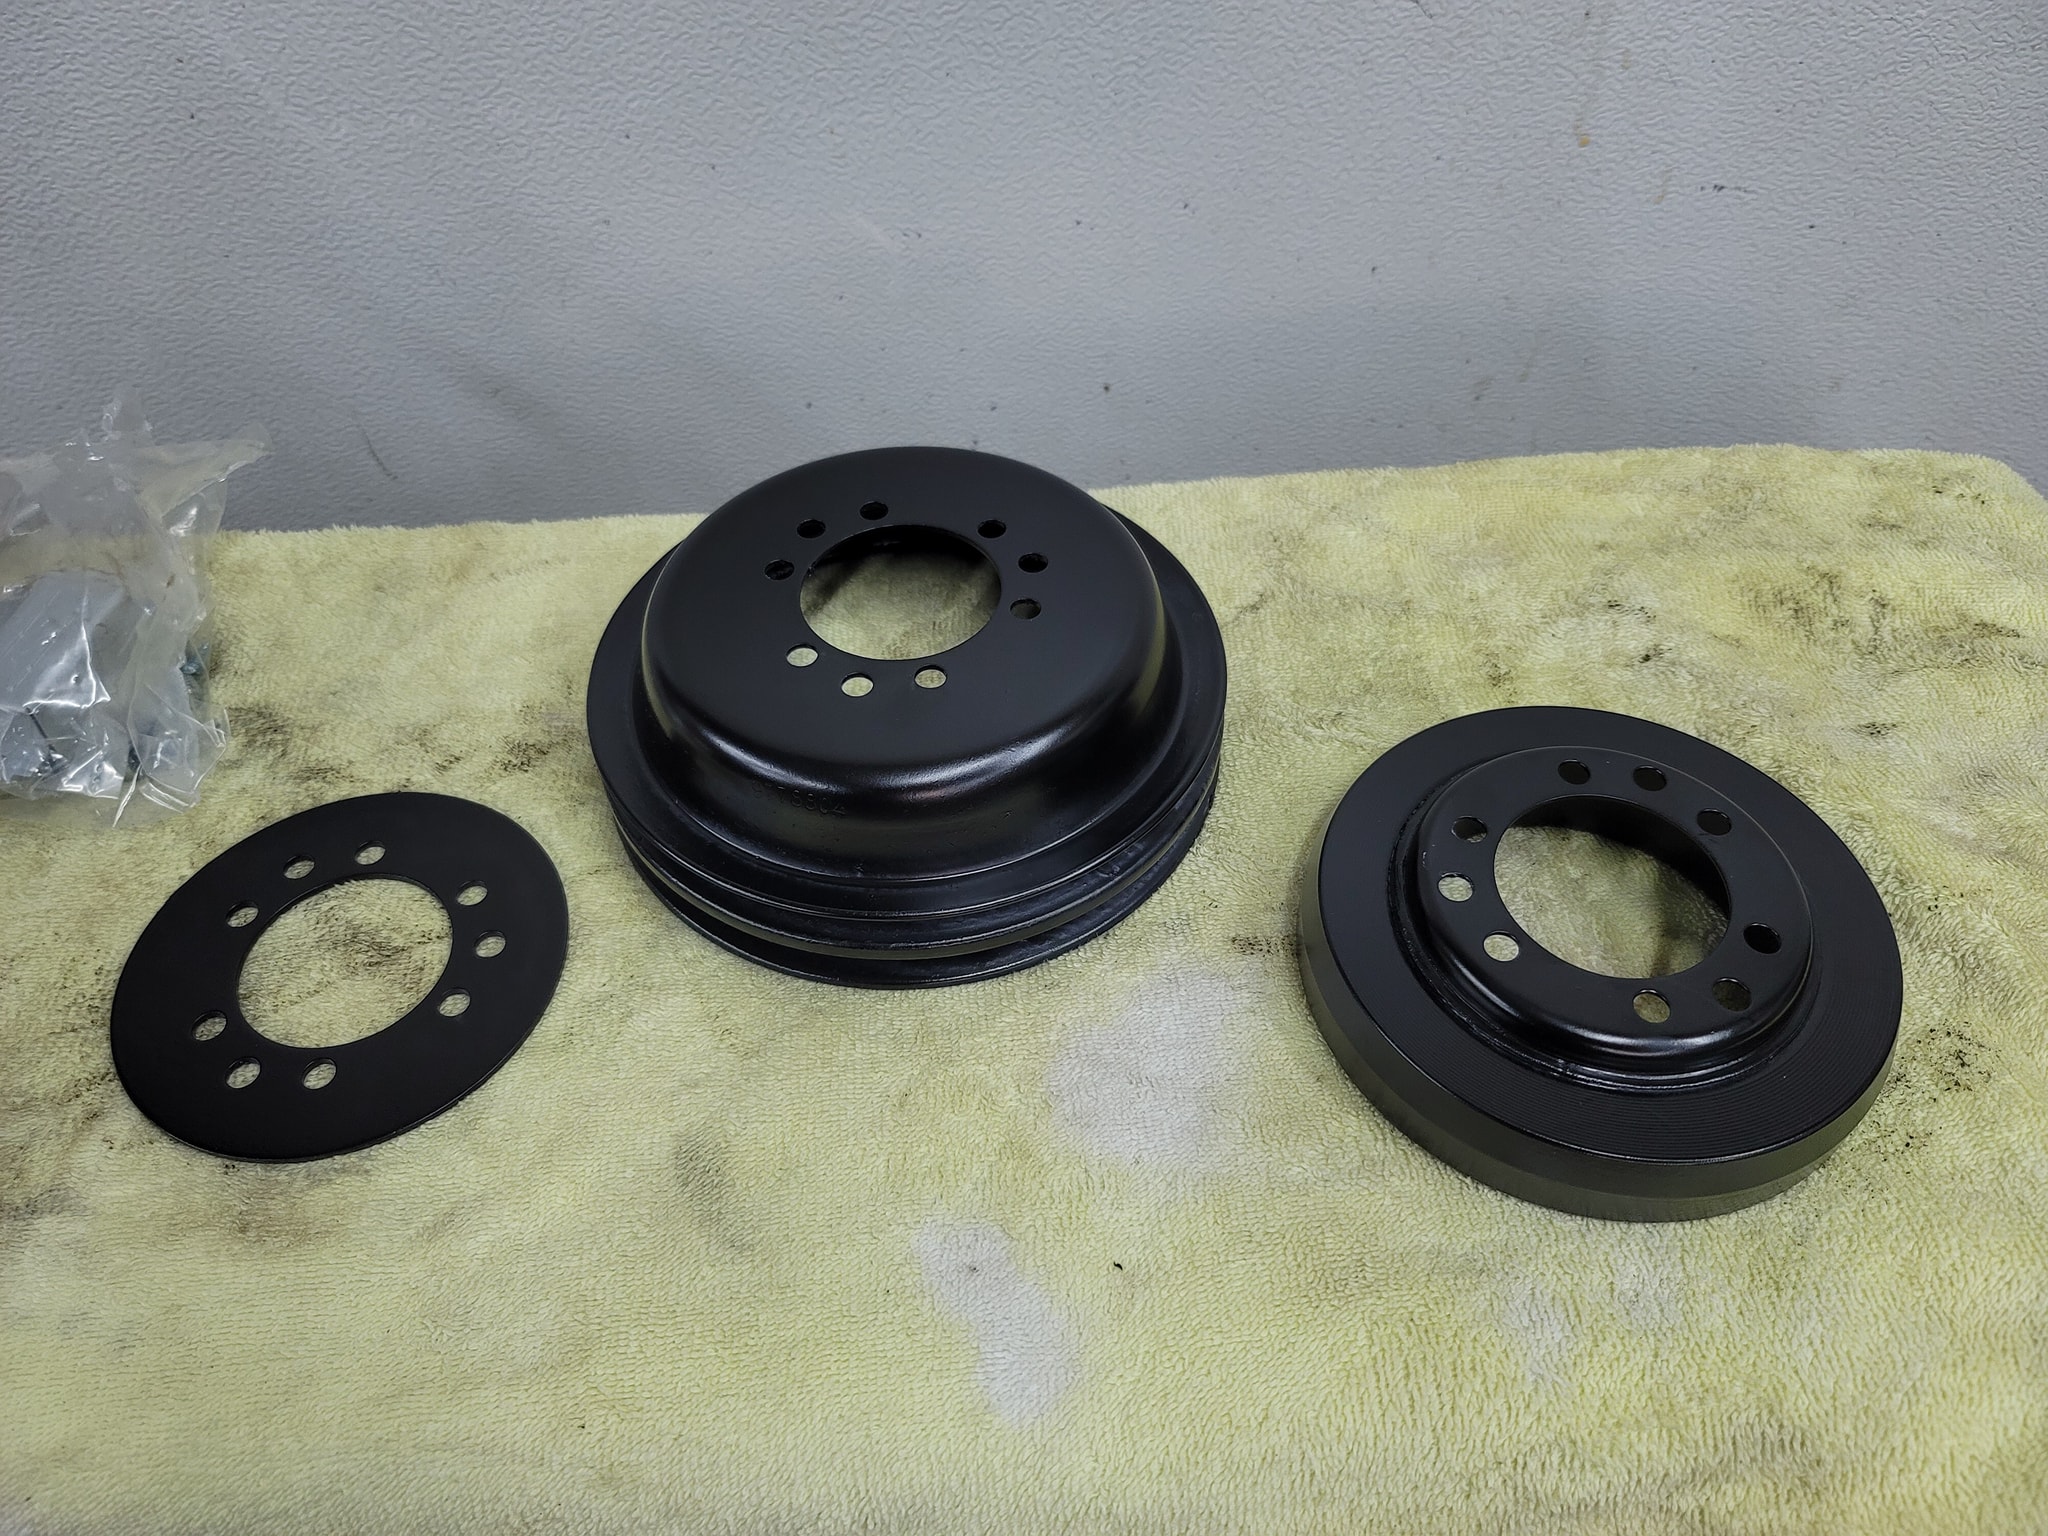
New parts time!
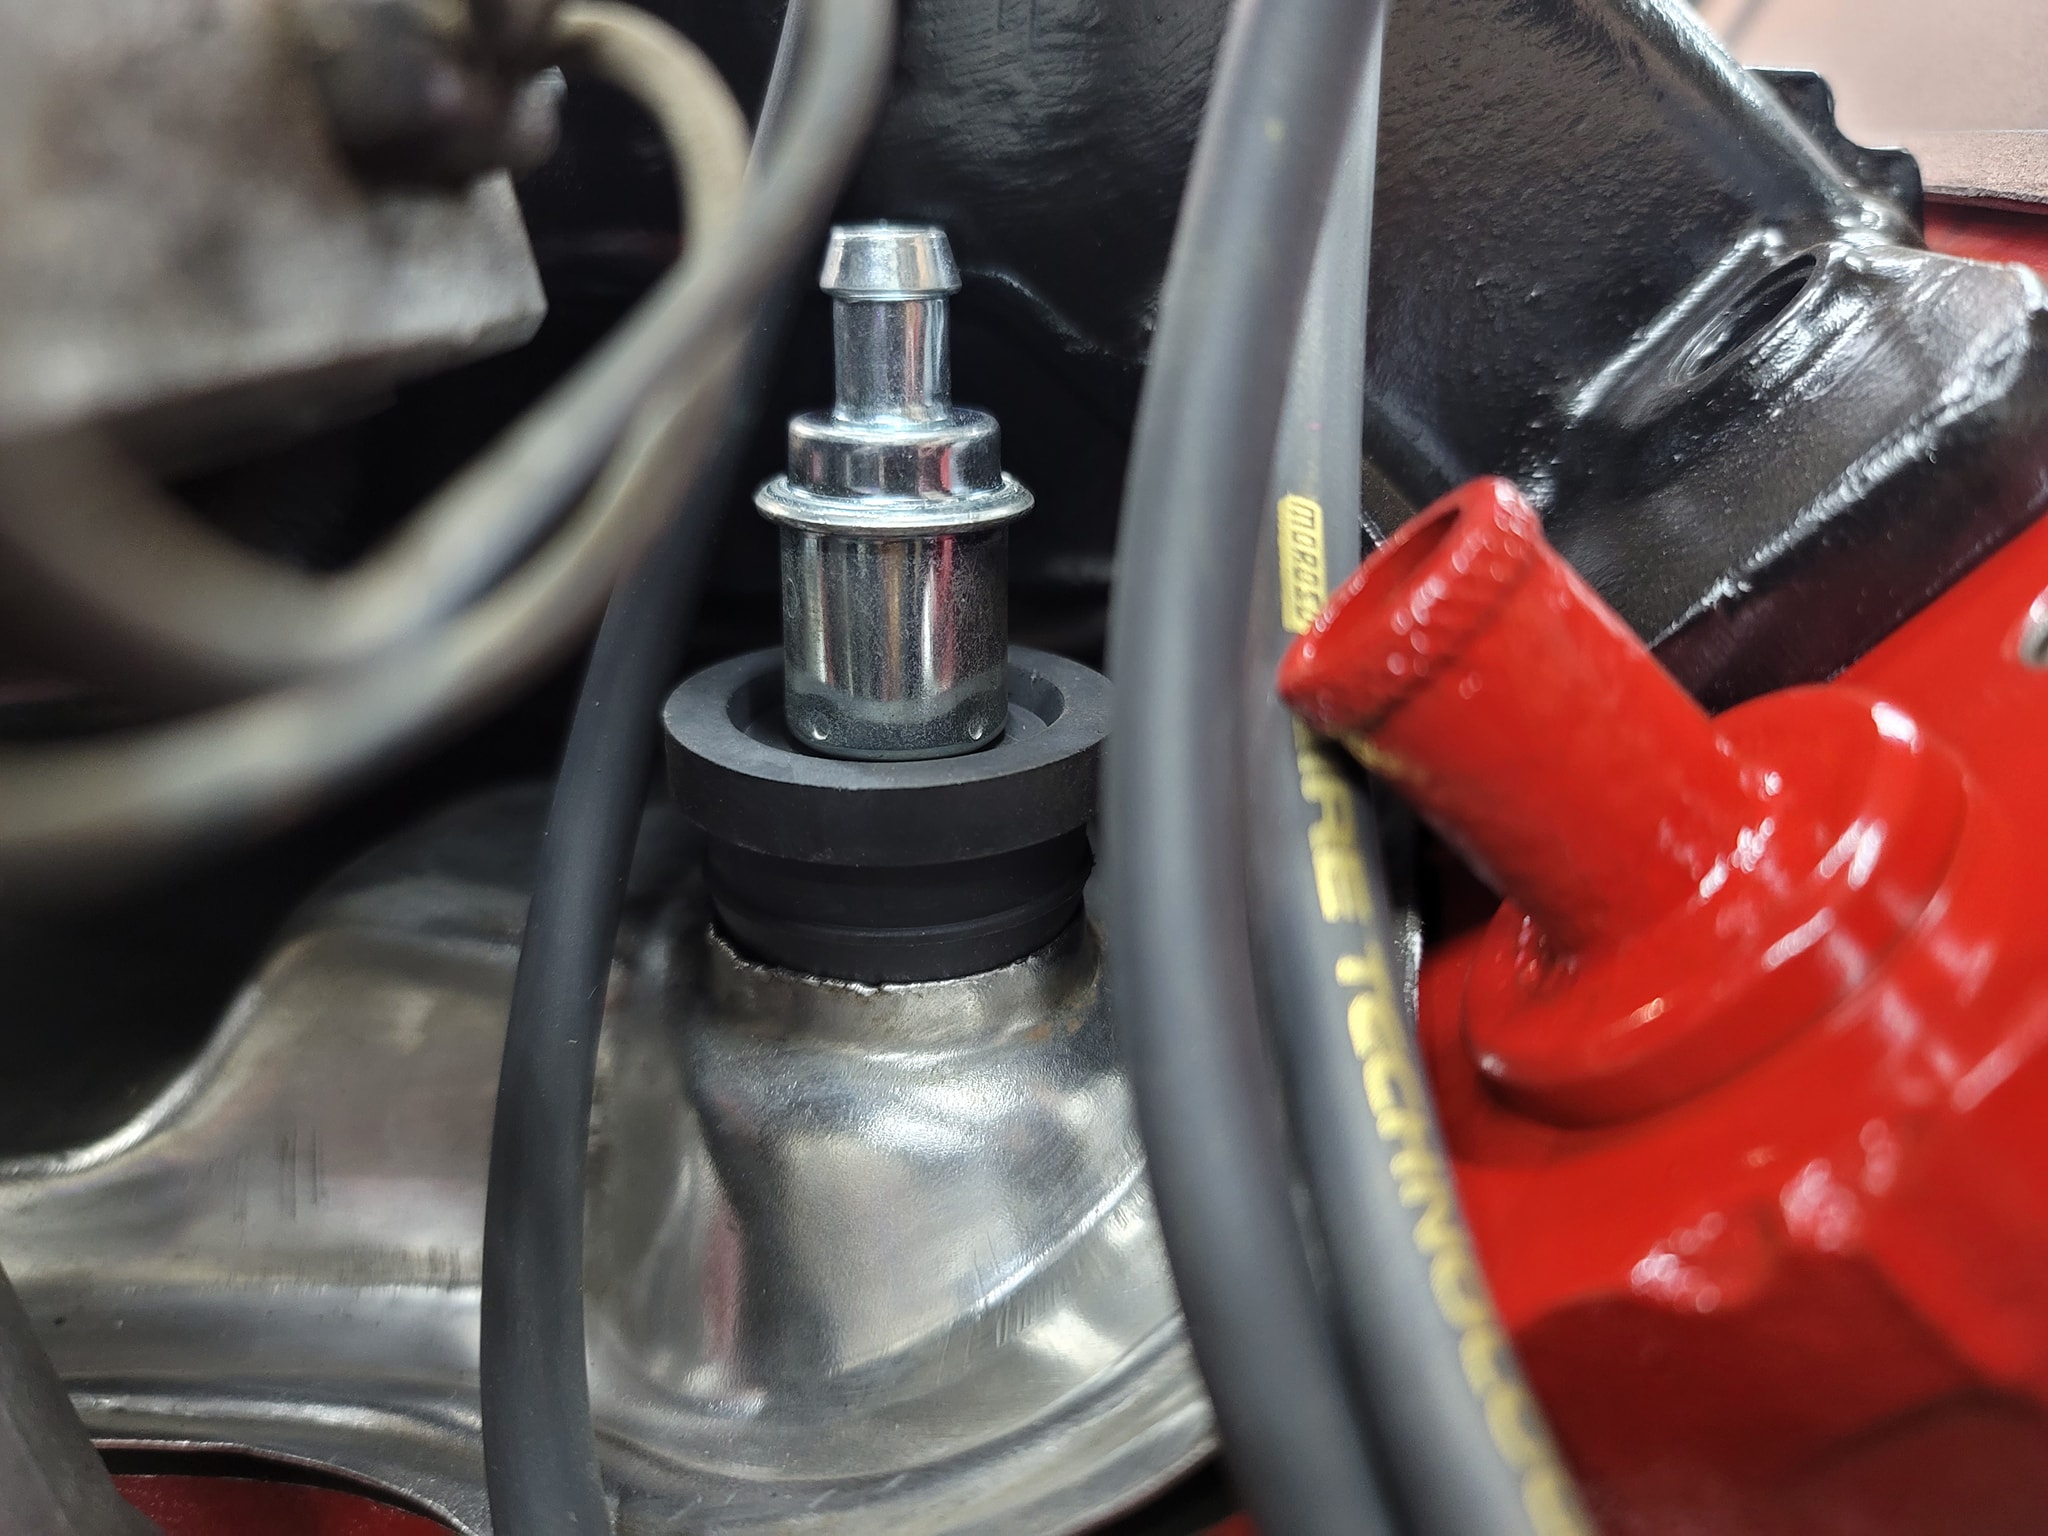
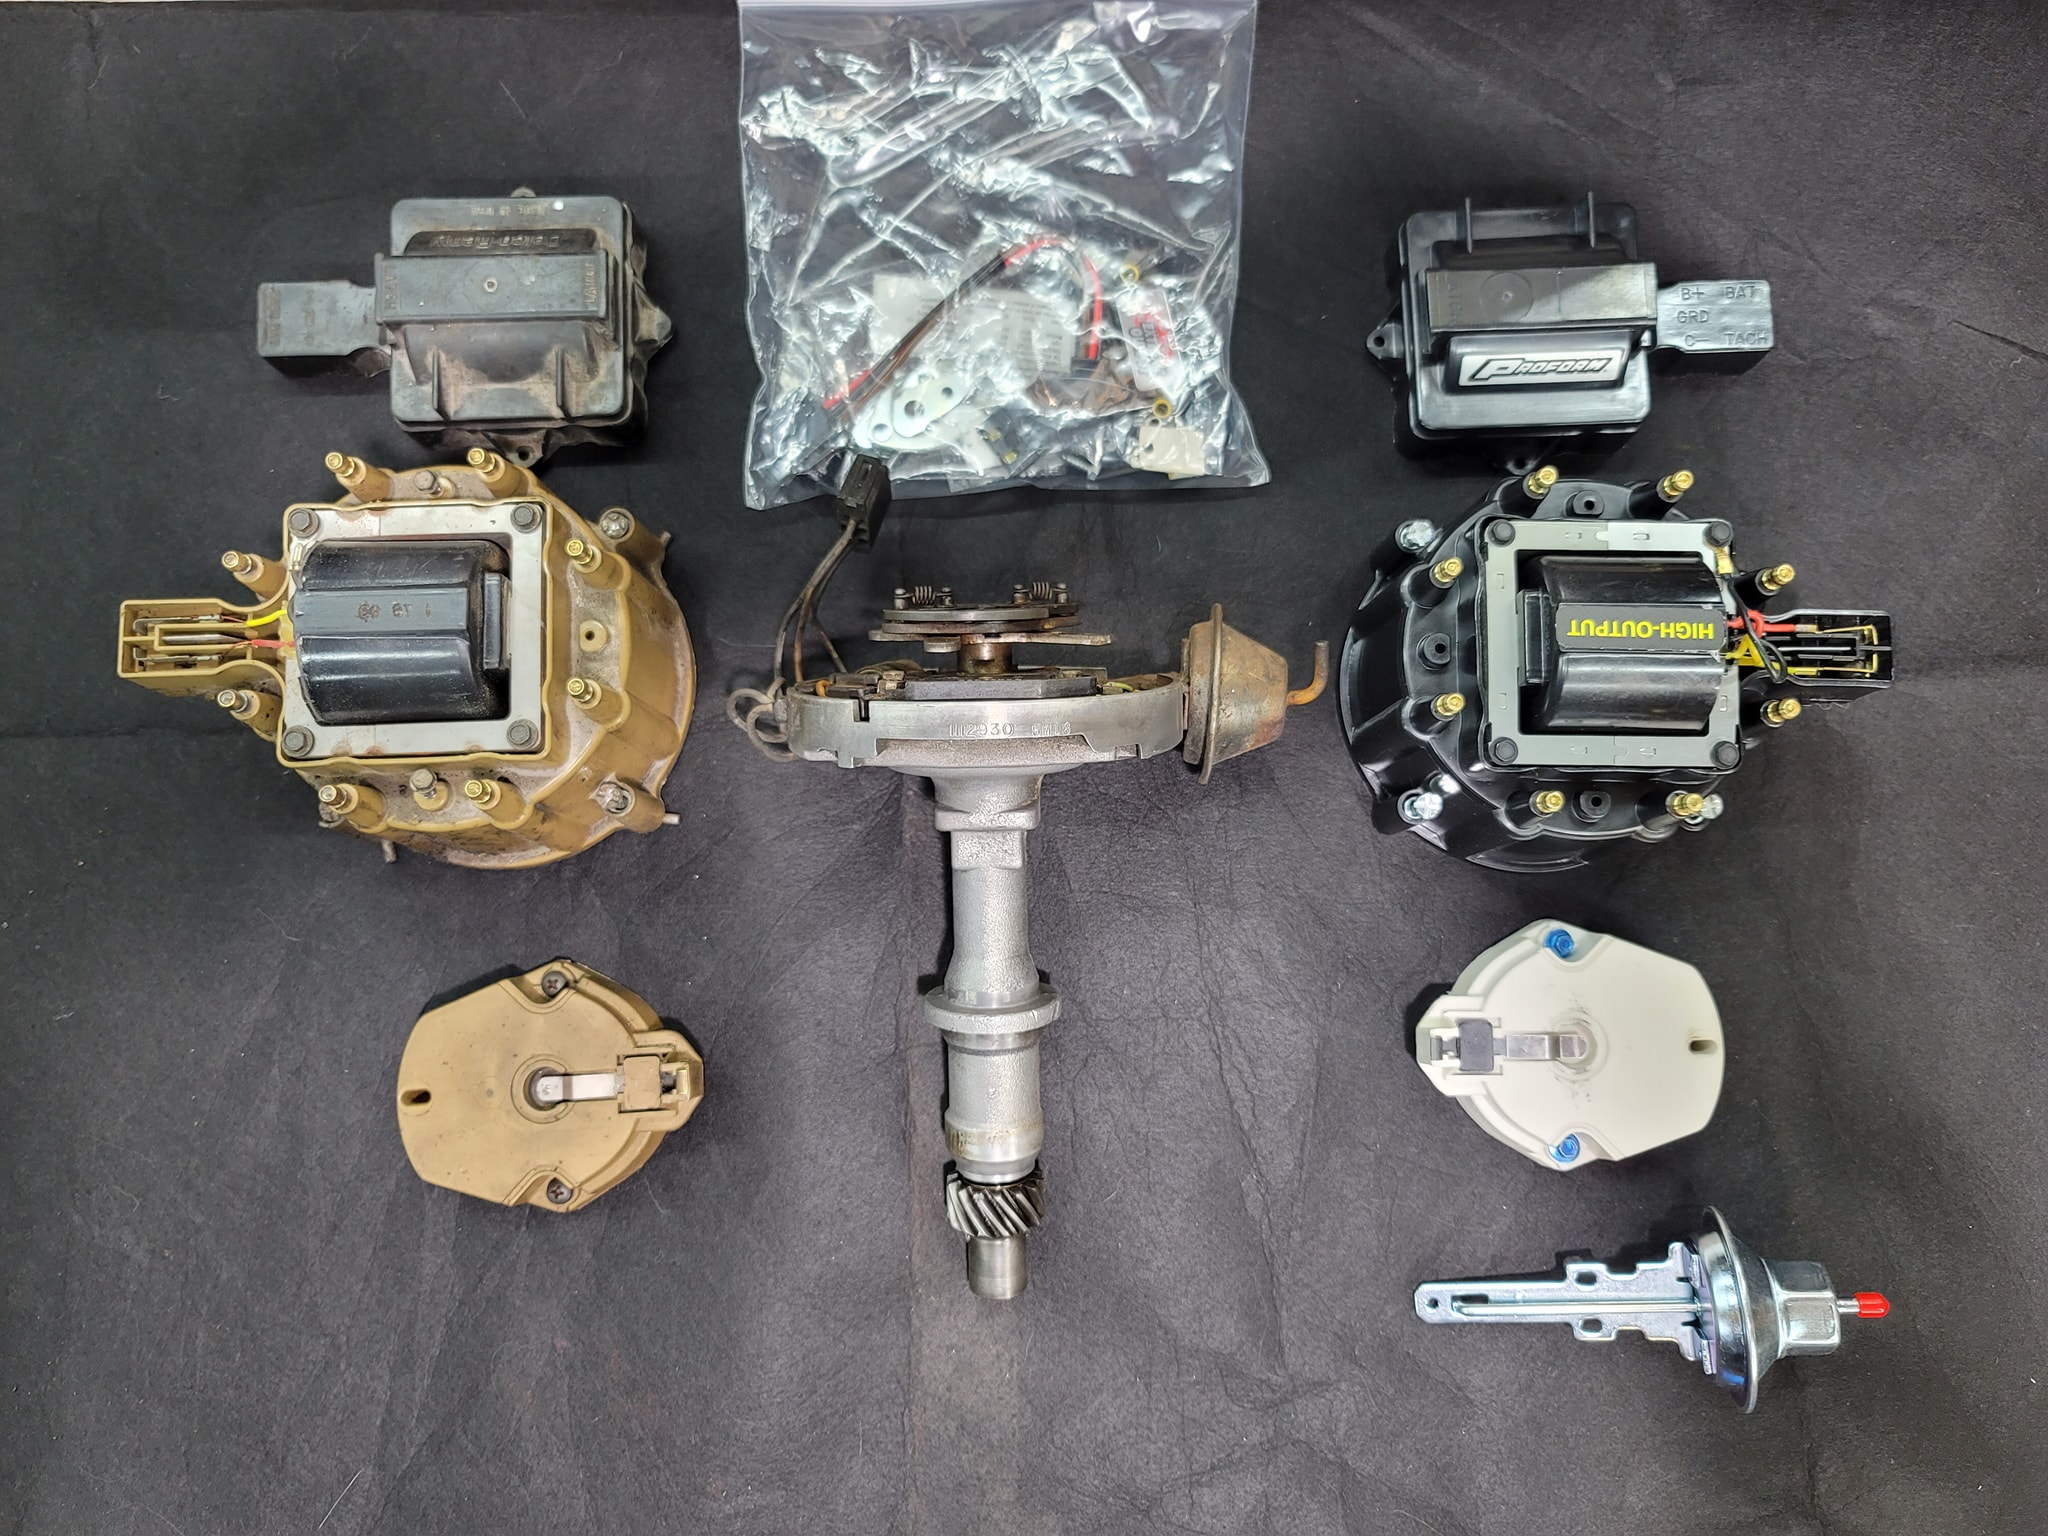
Finding parts for some of these old items has been a challenge.
New Plug wires test fit, they fit great and are made in USA! They are for a 1976 Pontiac Firebird with a 400, like I said sourcing parts has been an adventure.
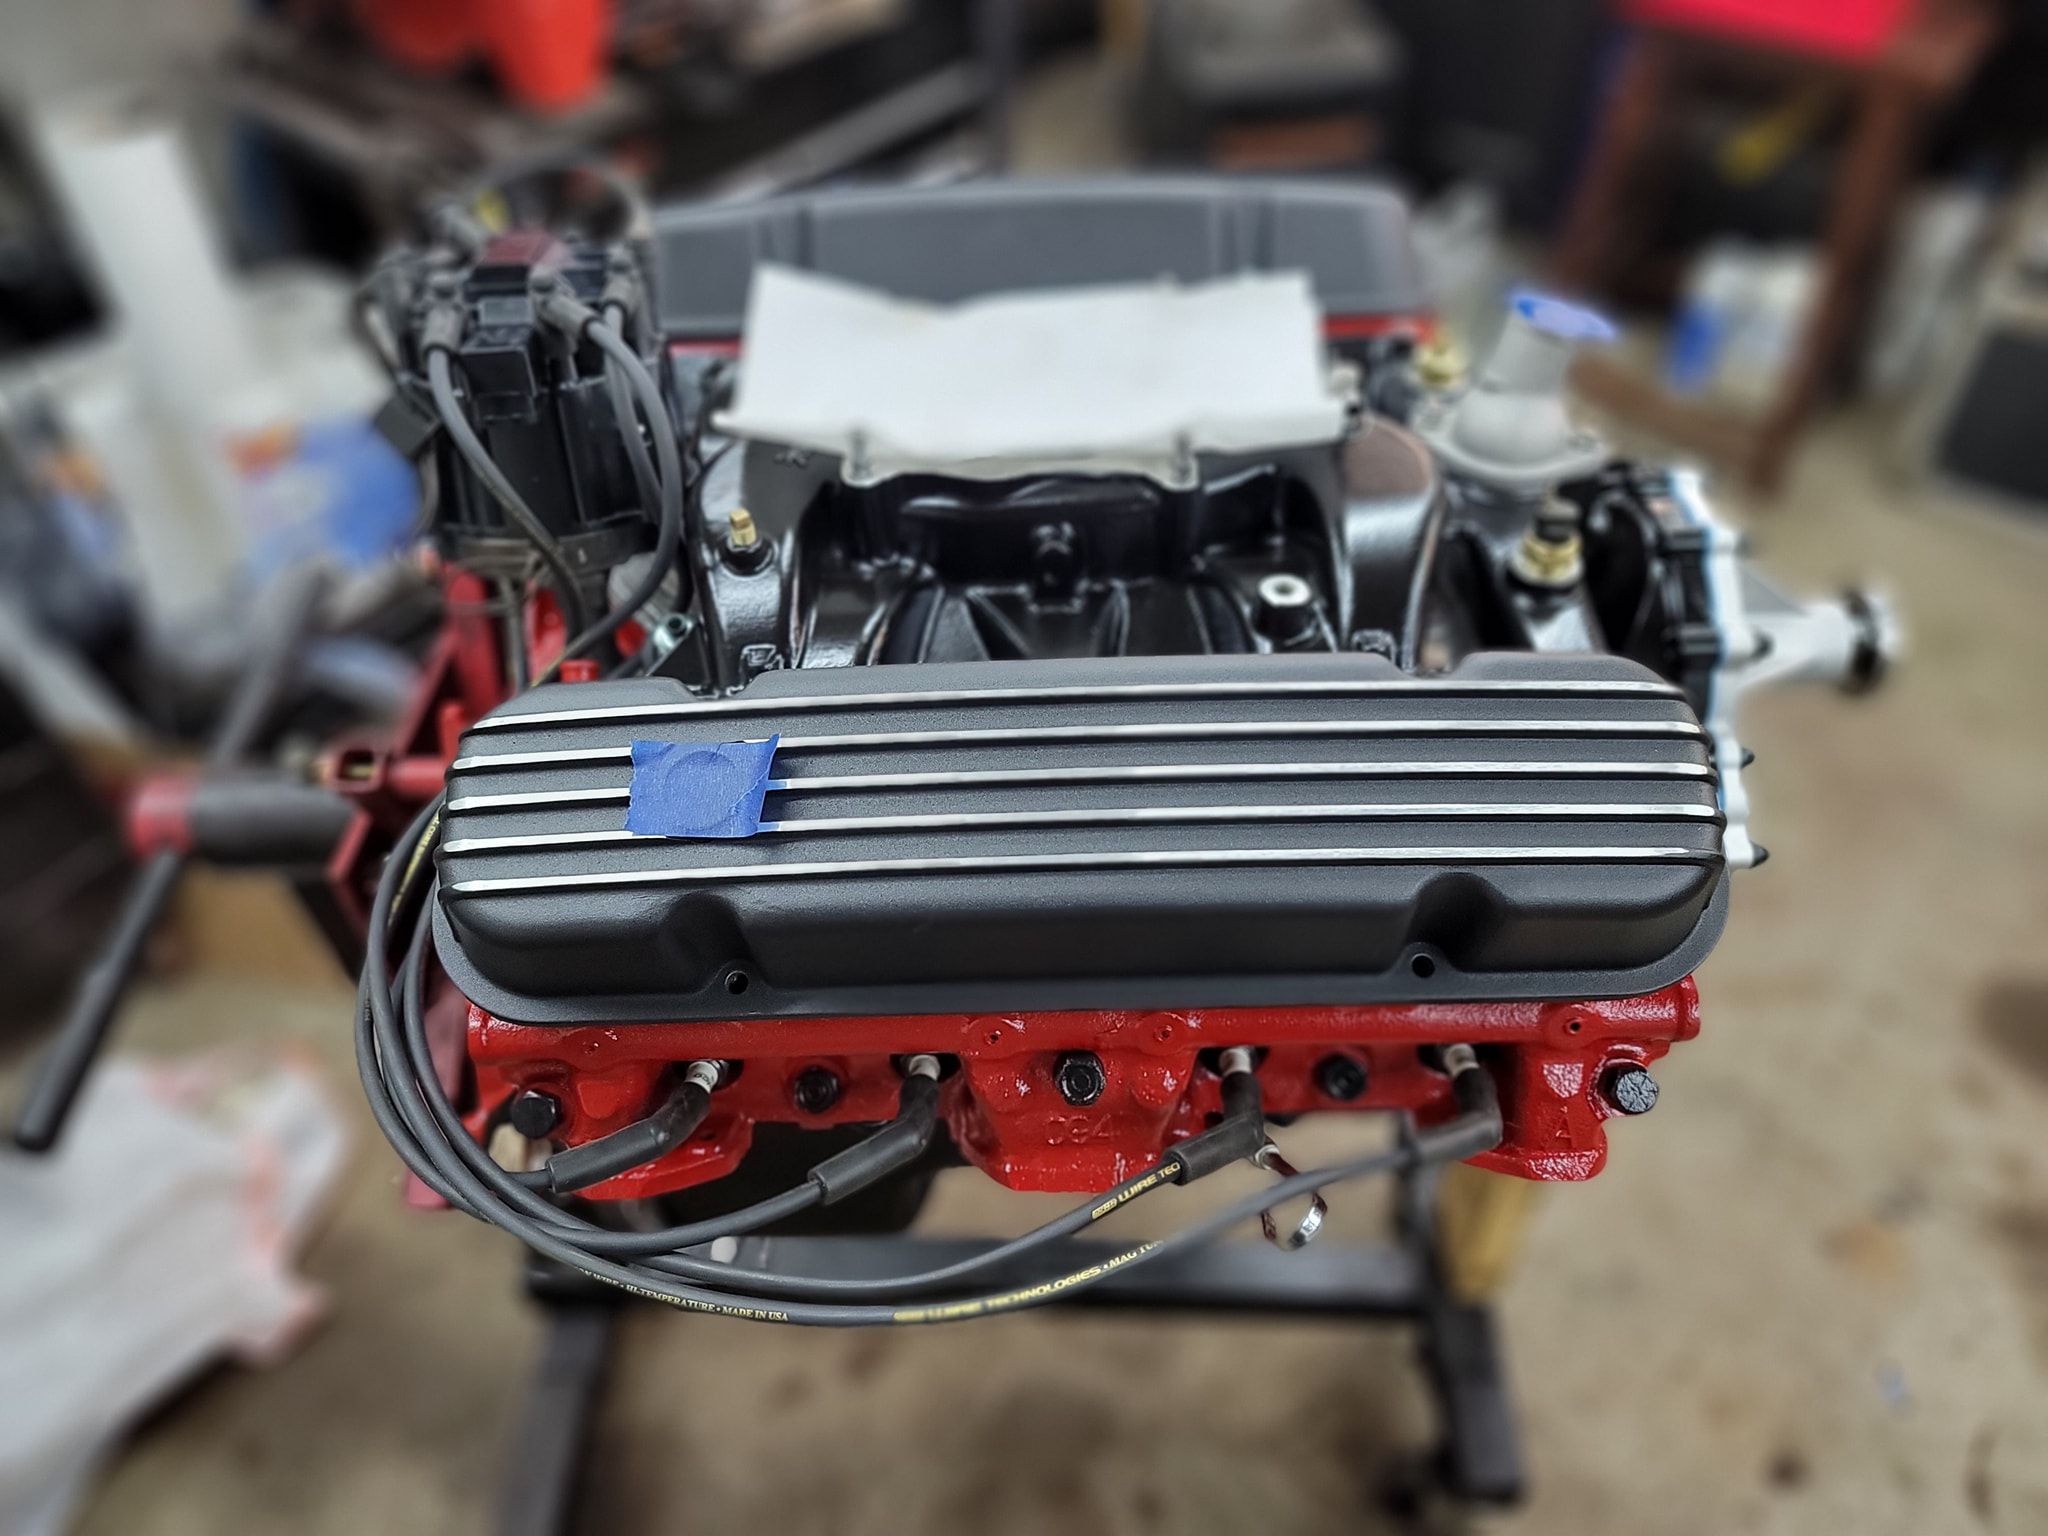

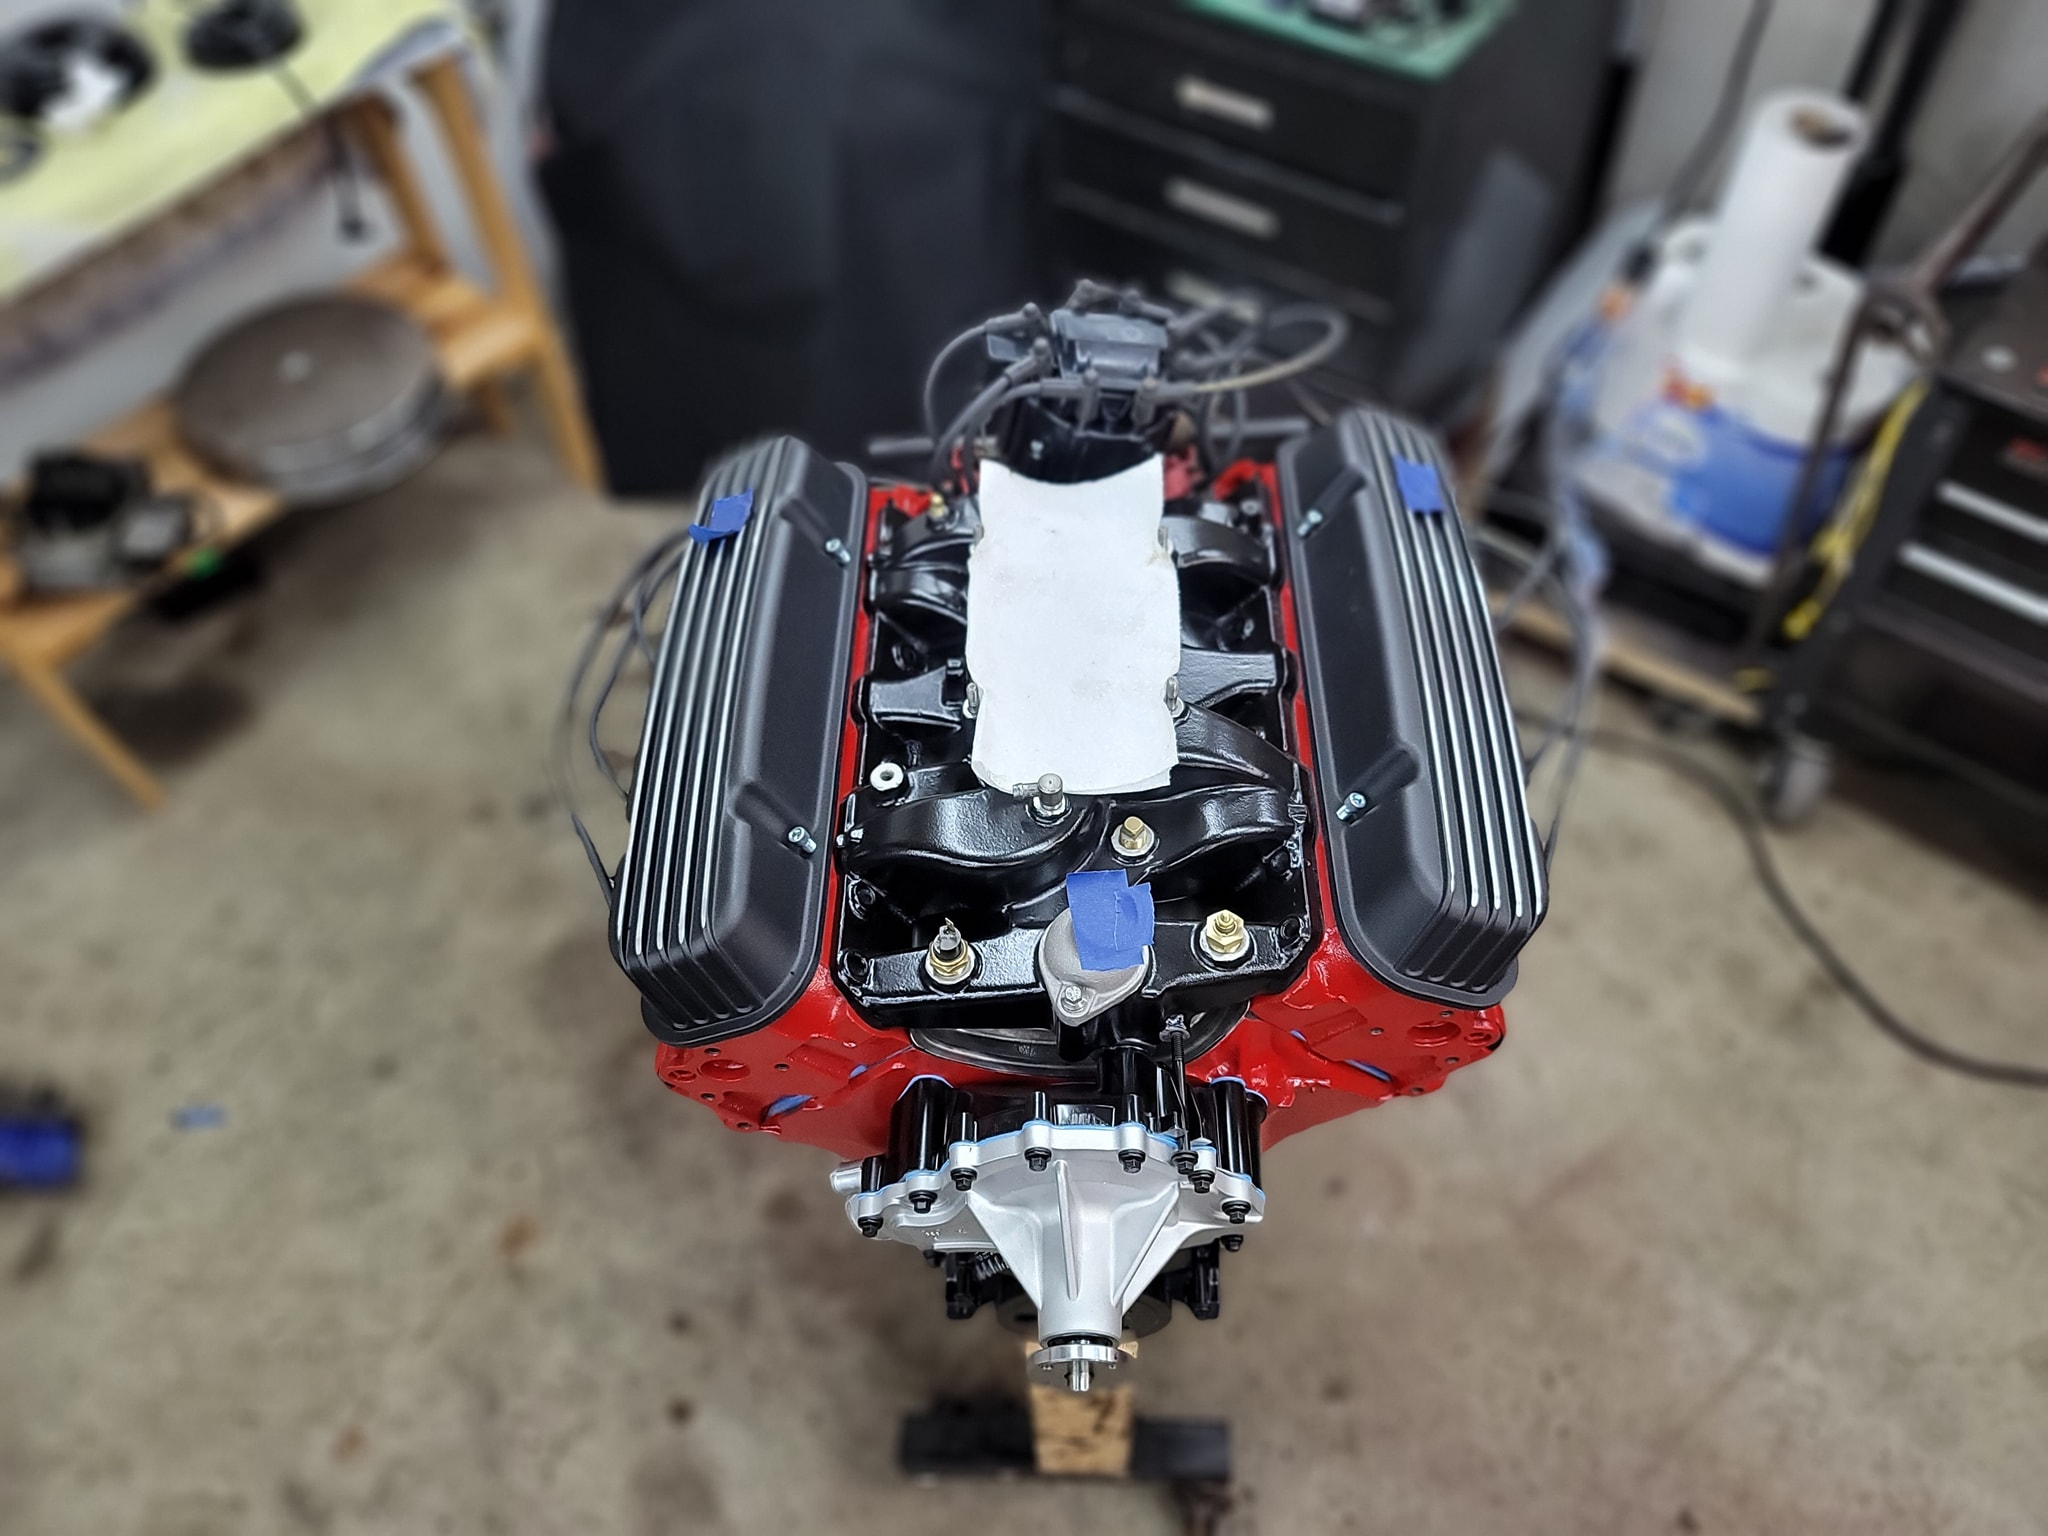
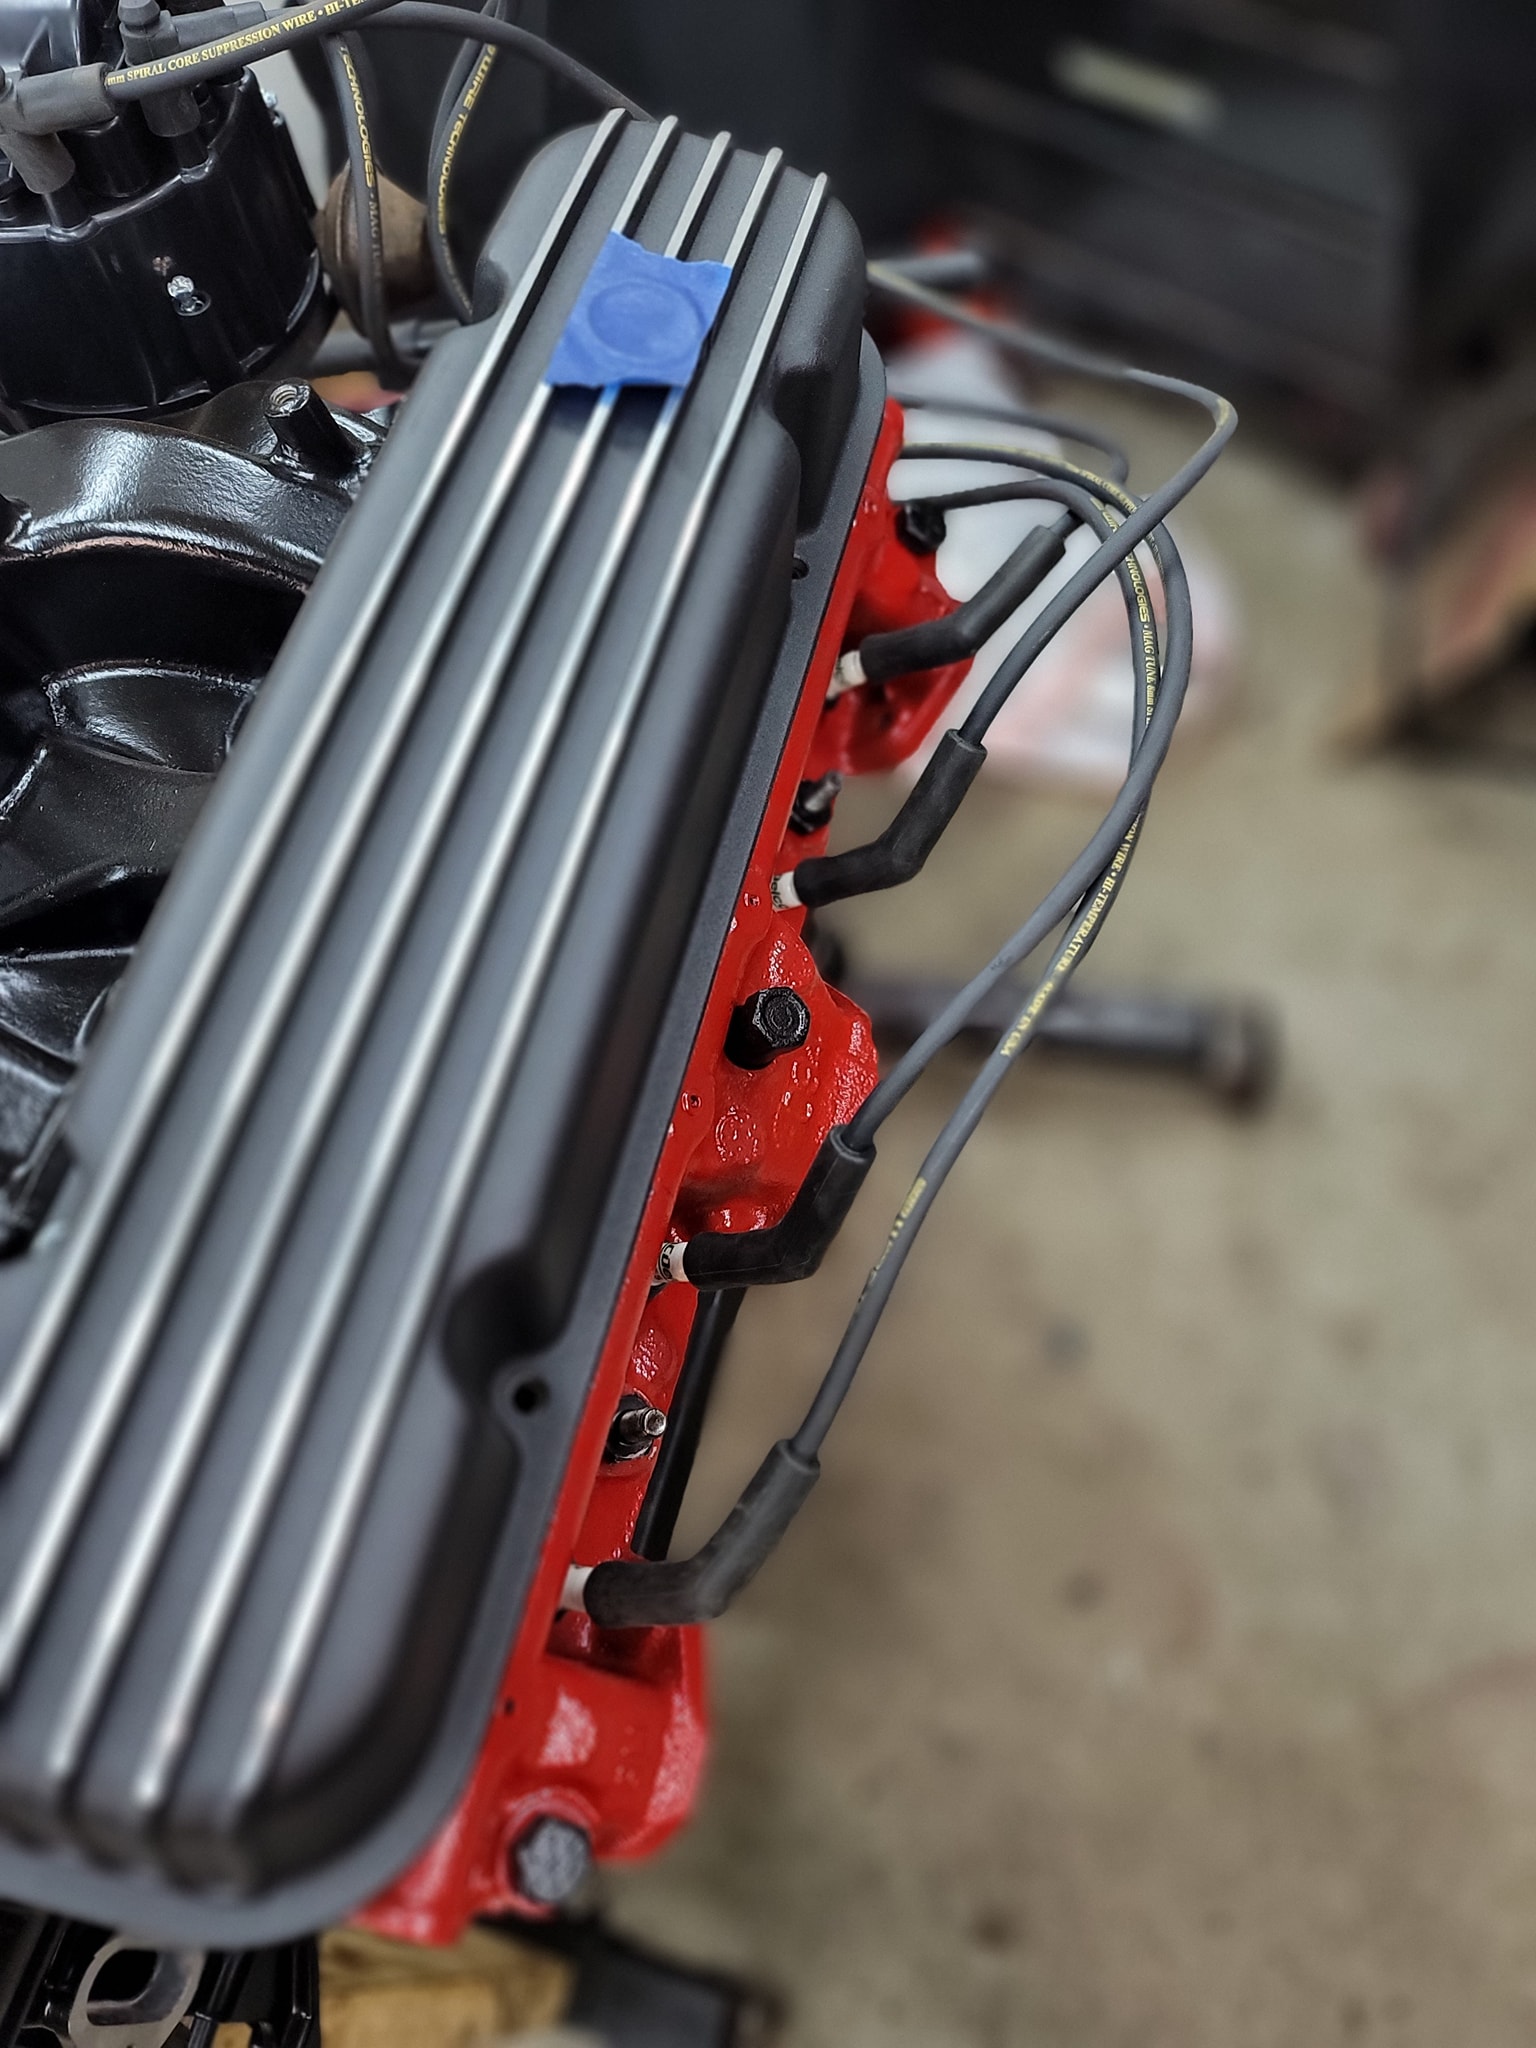
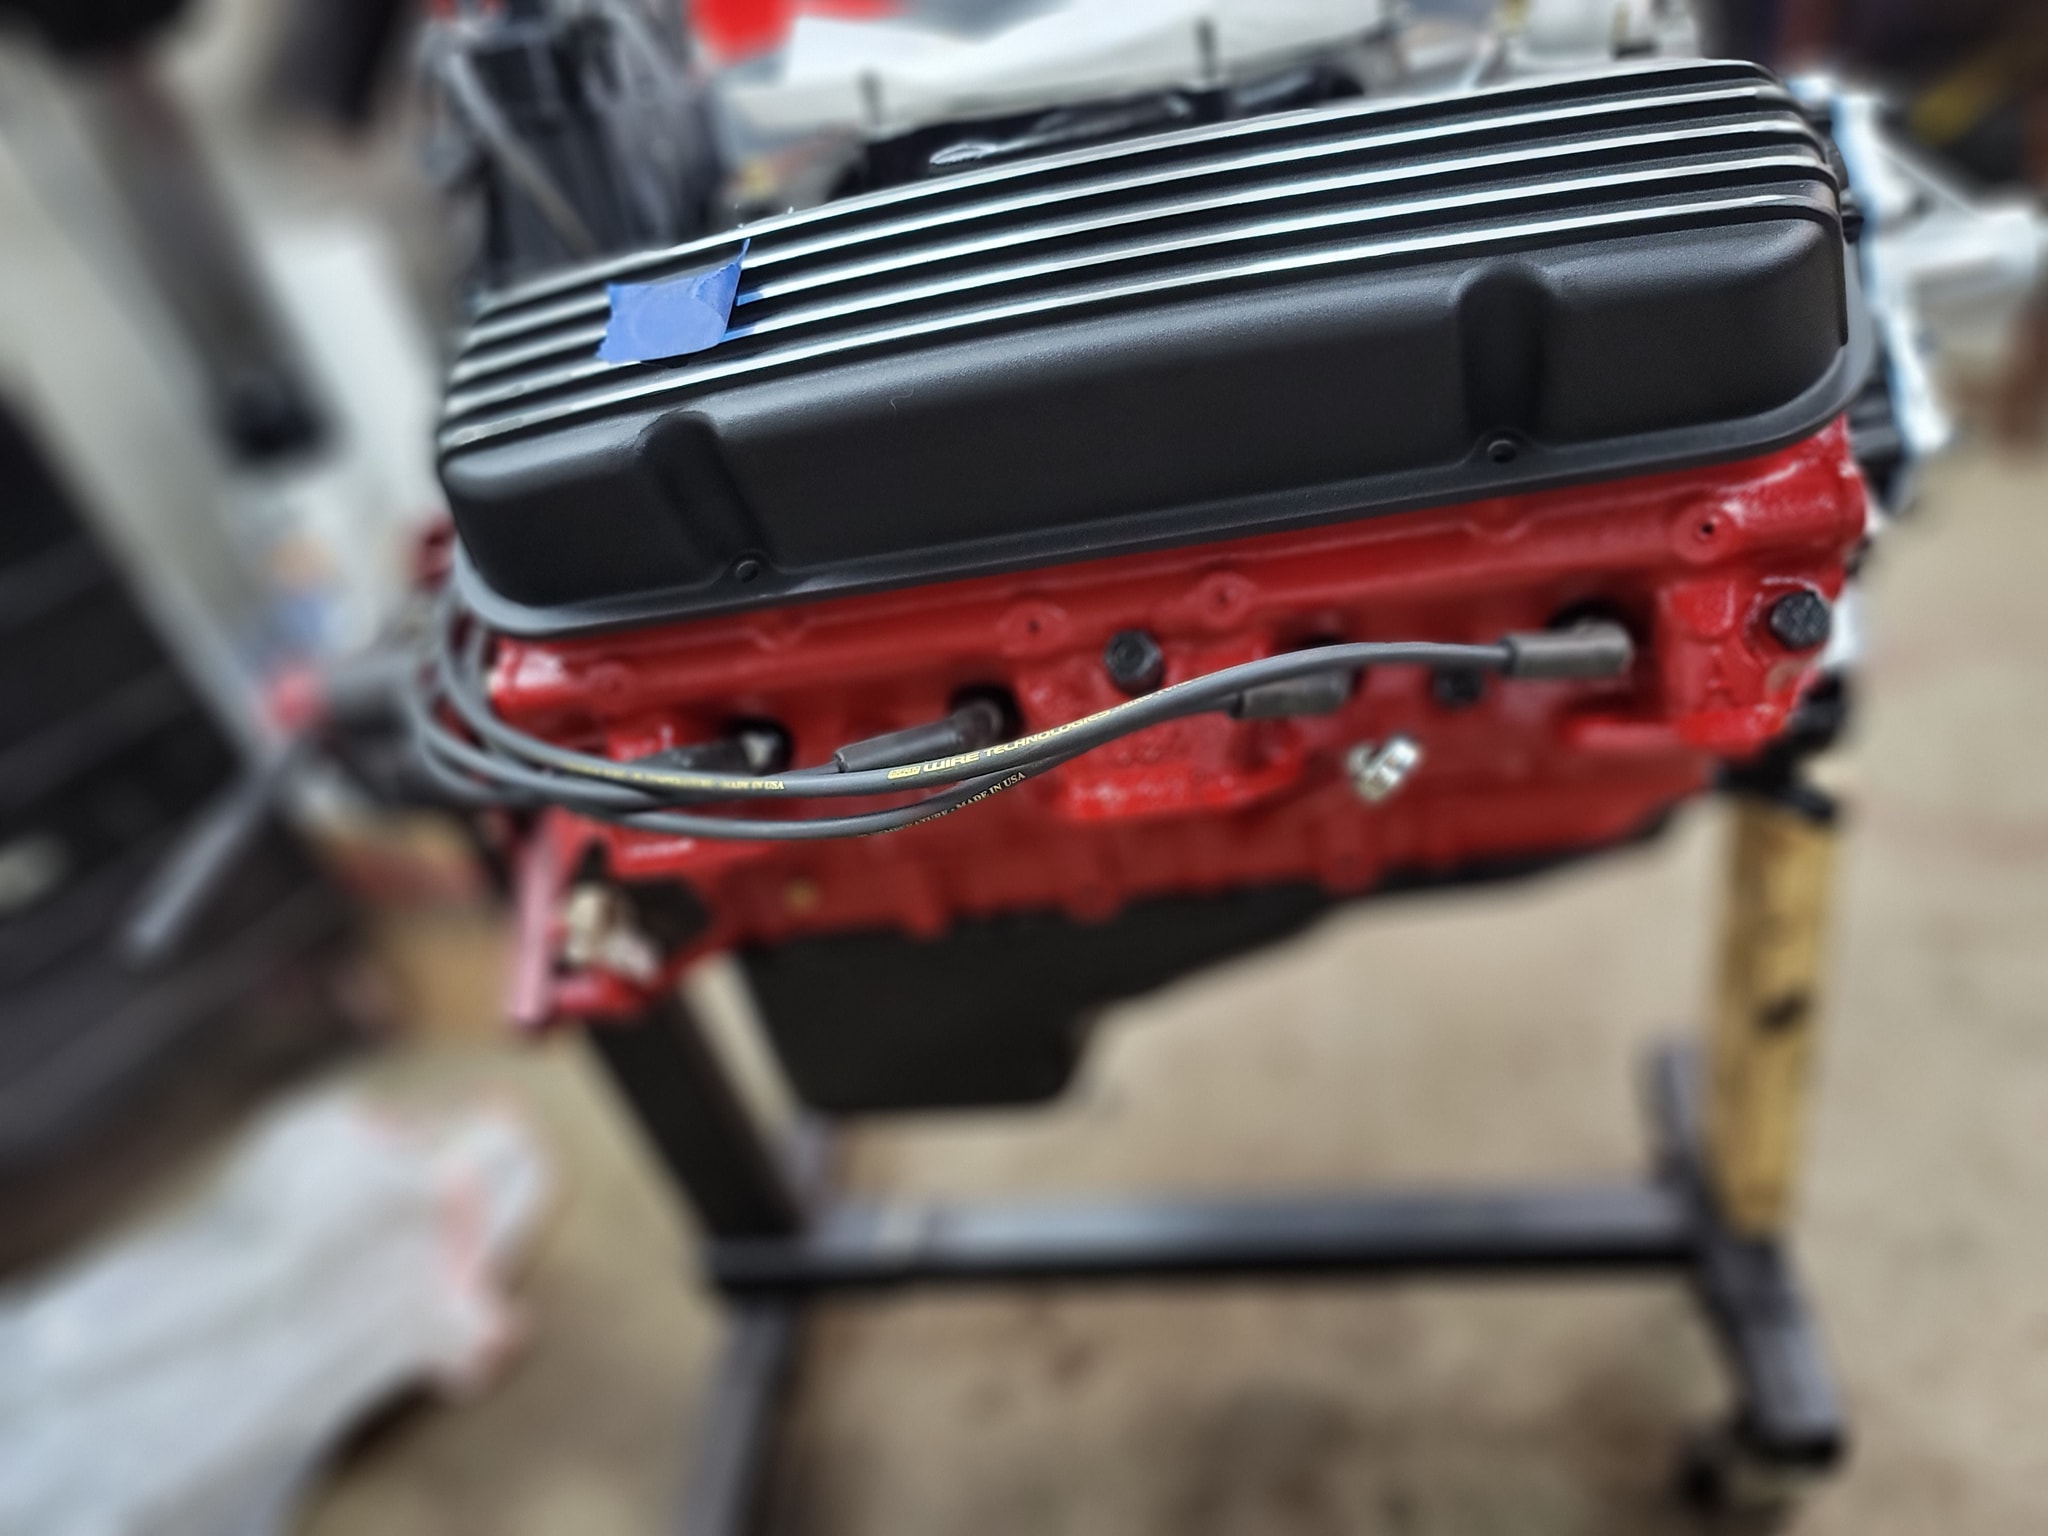
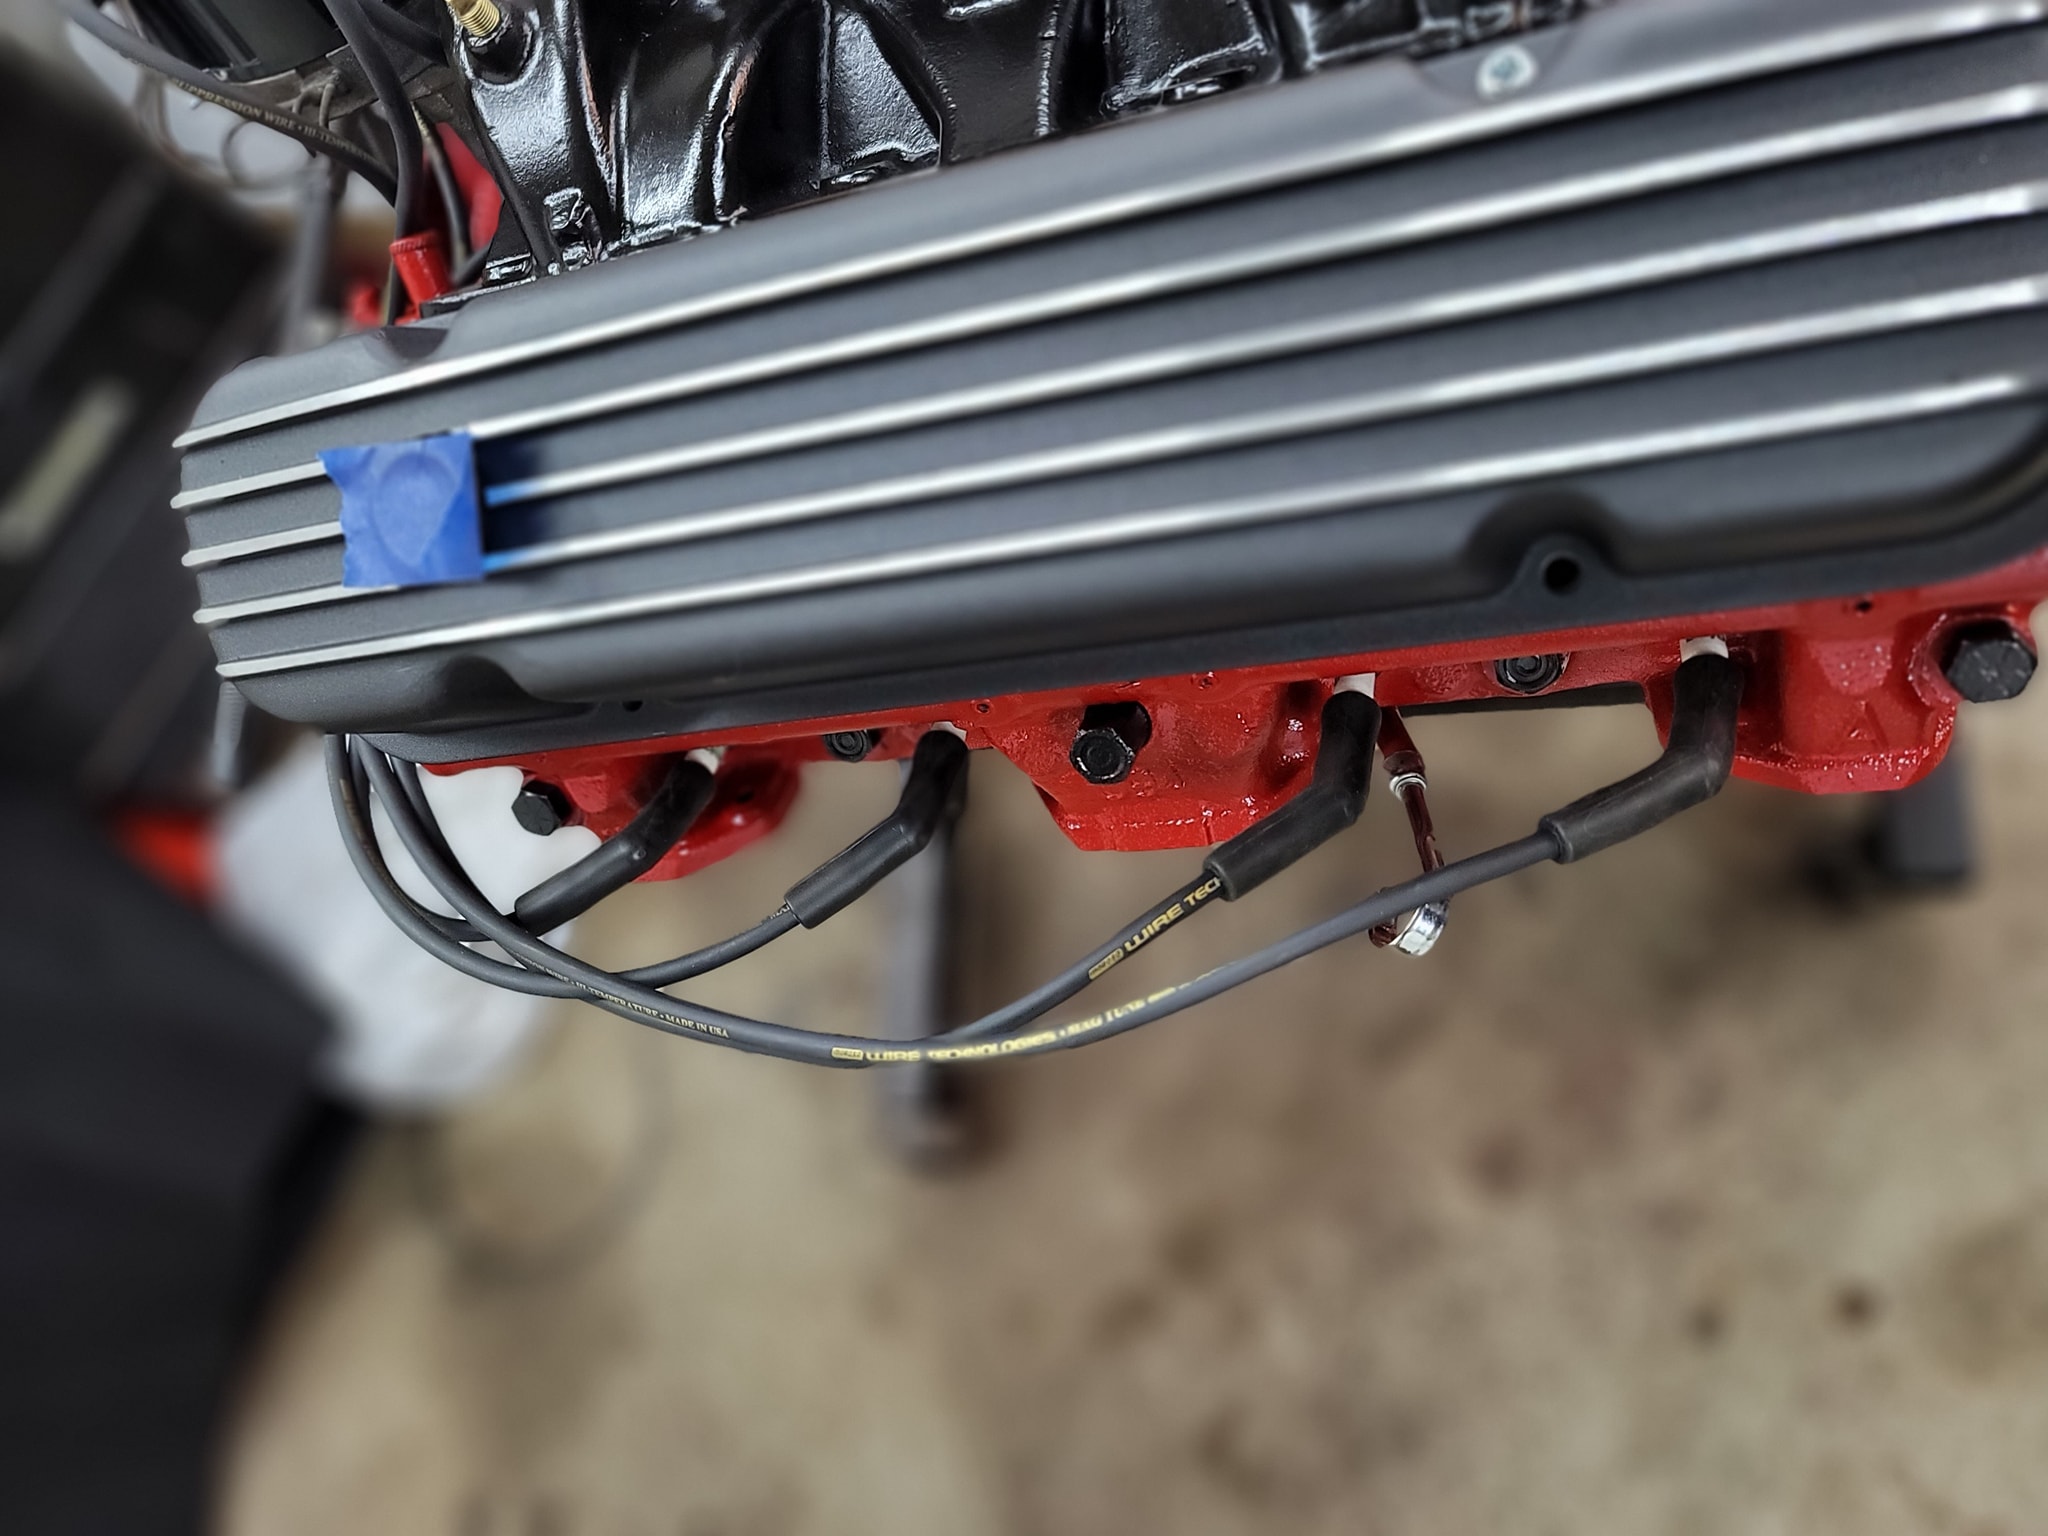
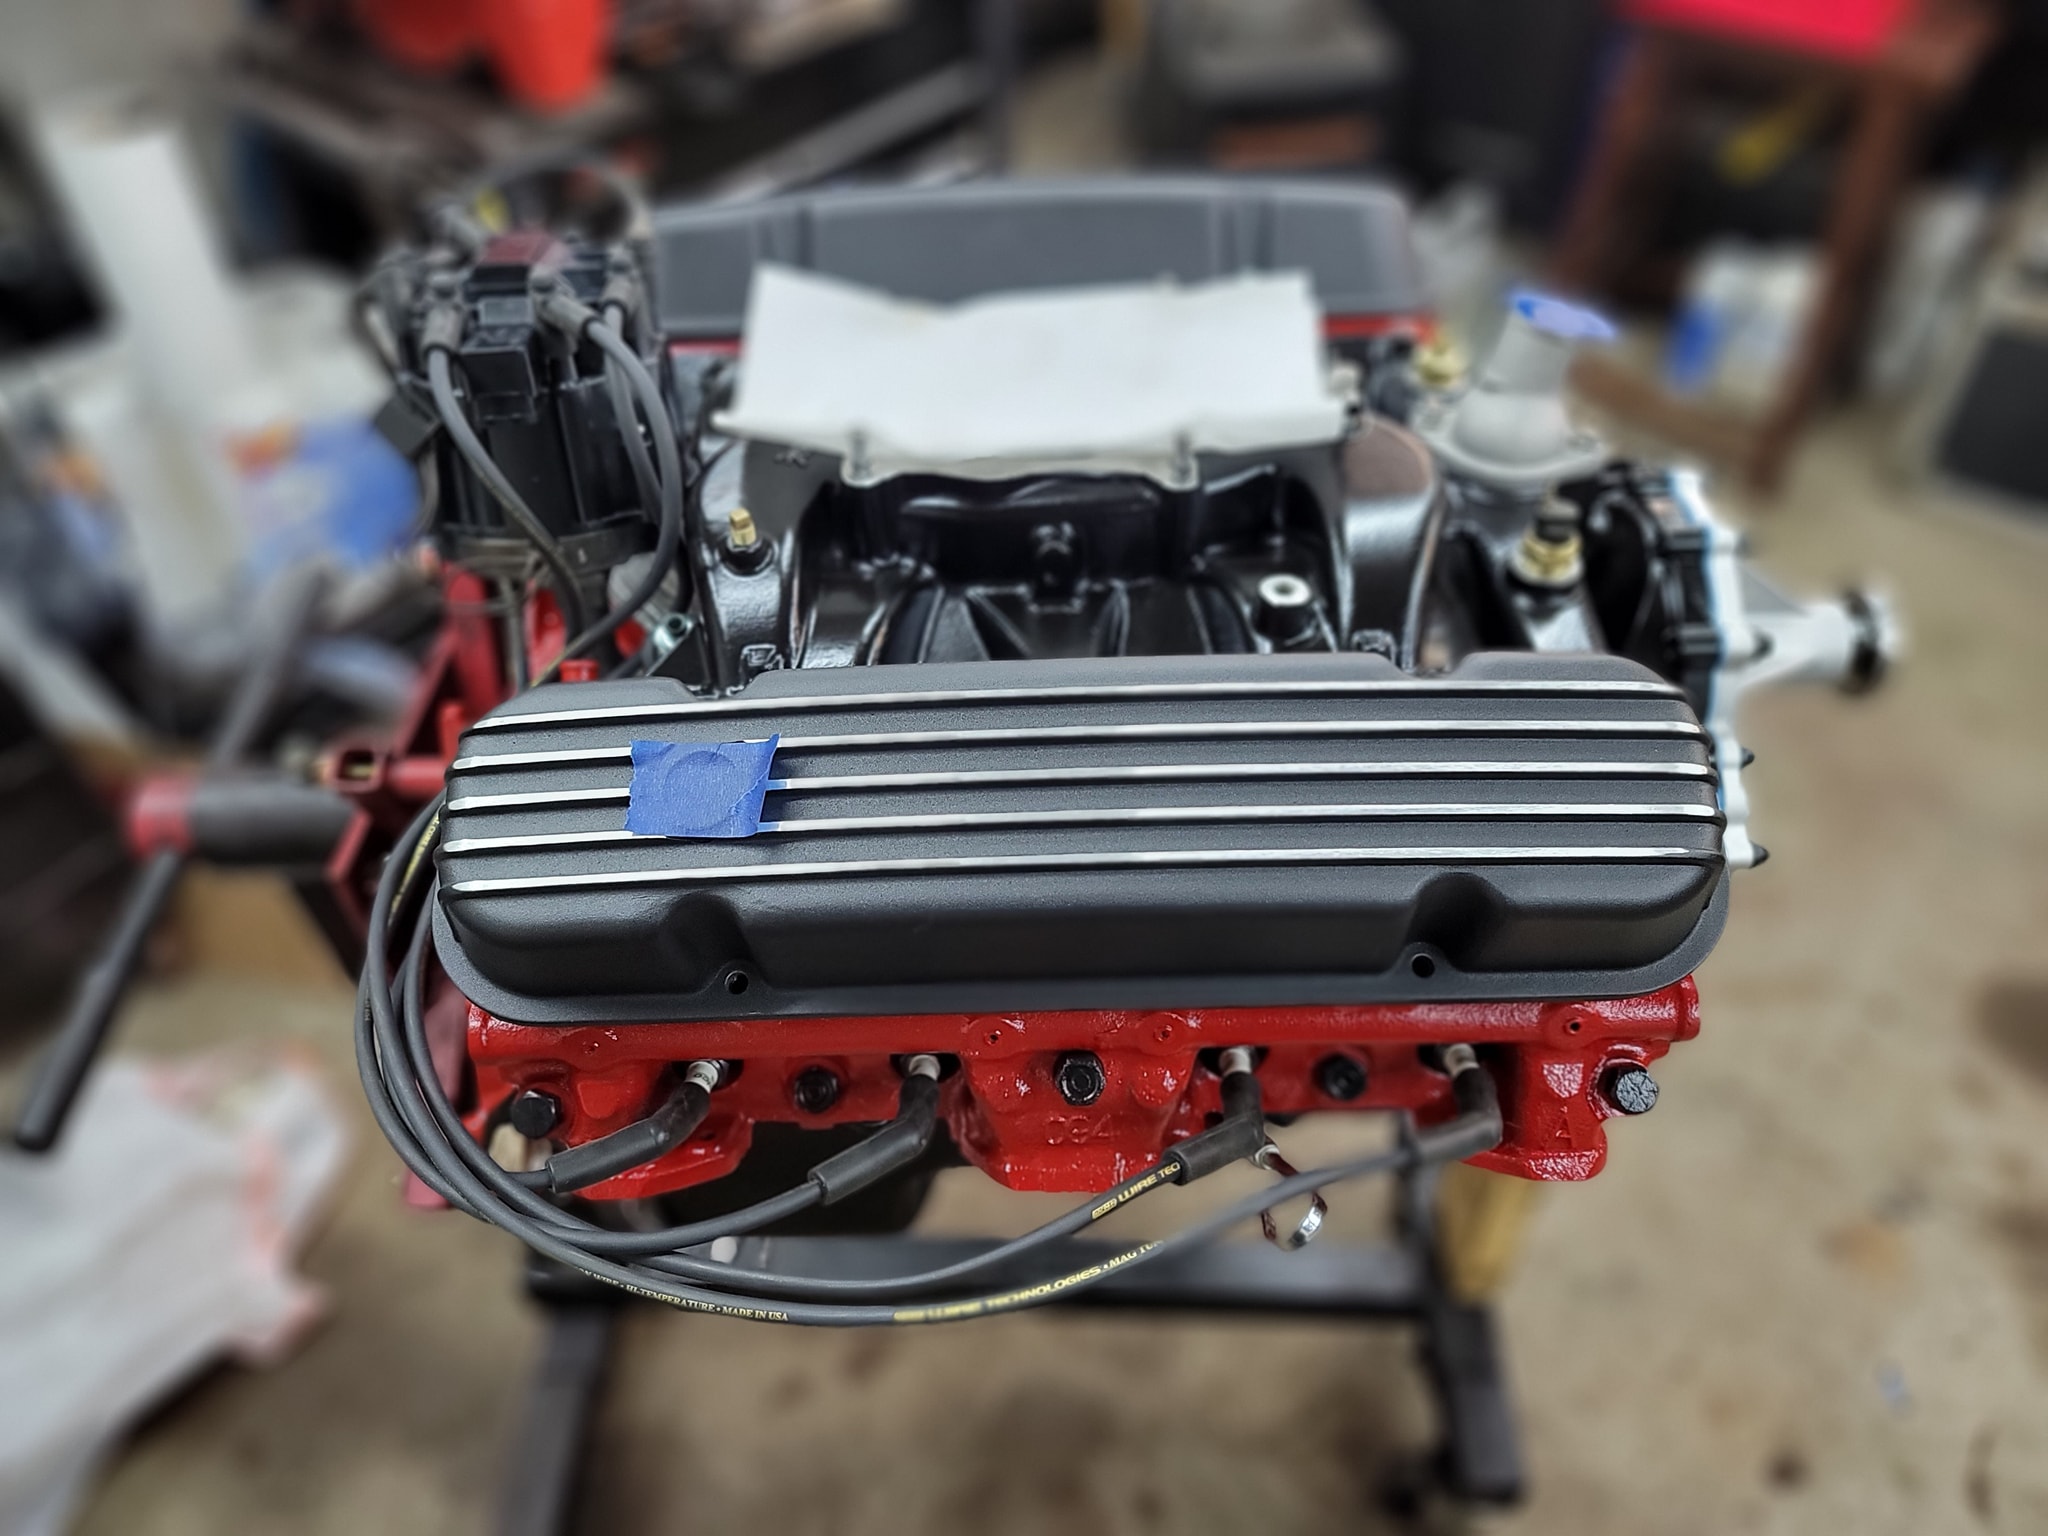
UPDATE: 4/3/2022 Started Meticulous disassembly and preparation for ‘rebuildification’ lol

UPDATE: Finished up the distributor rebuild tonight. Looks and feels brand new now!

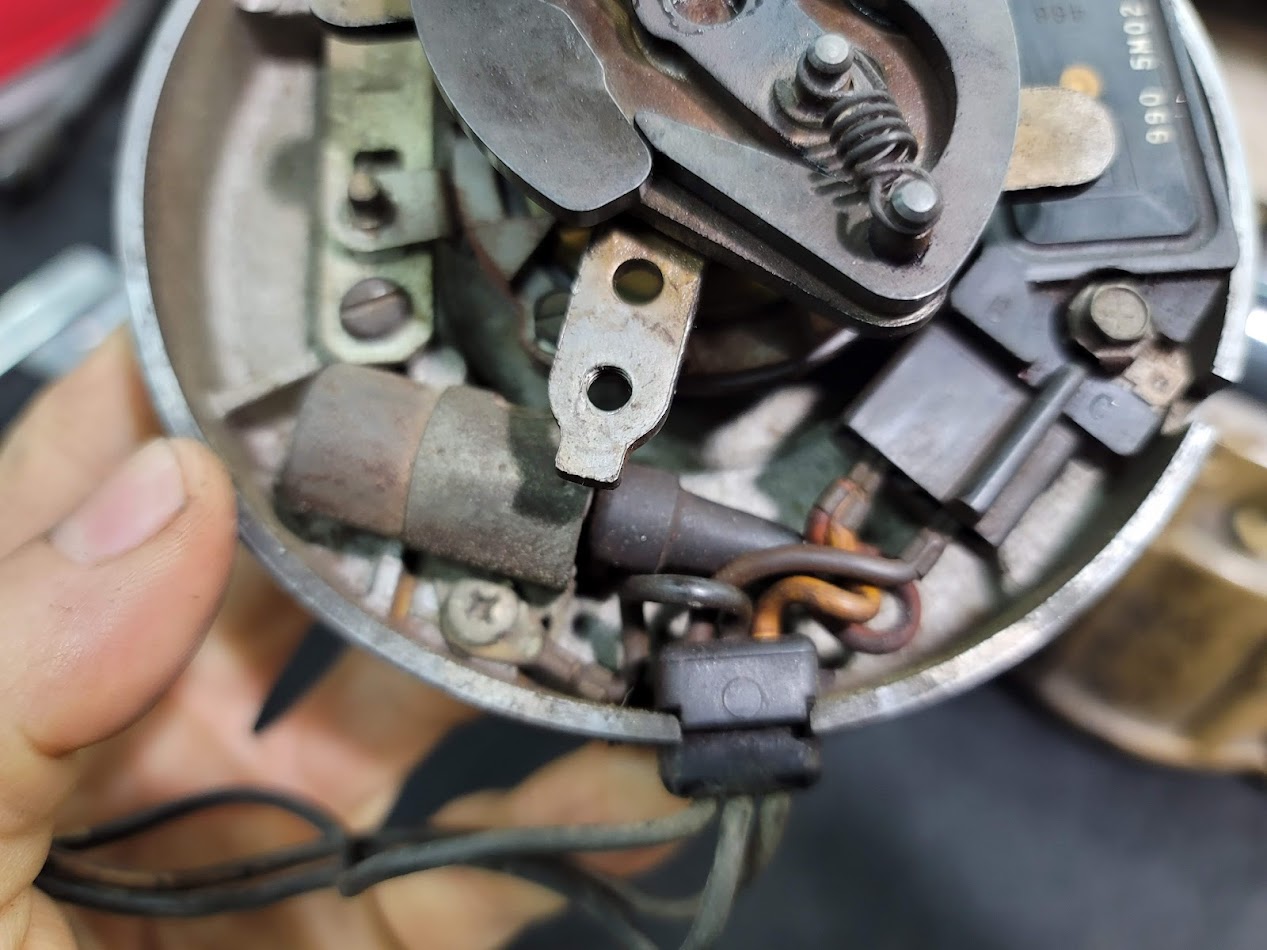
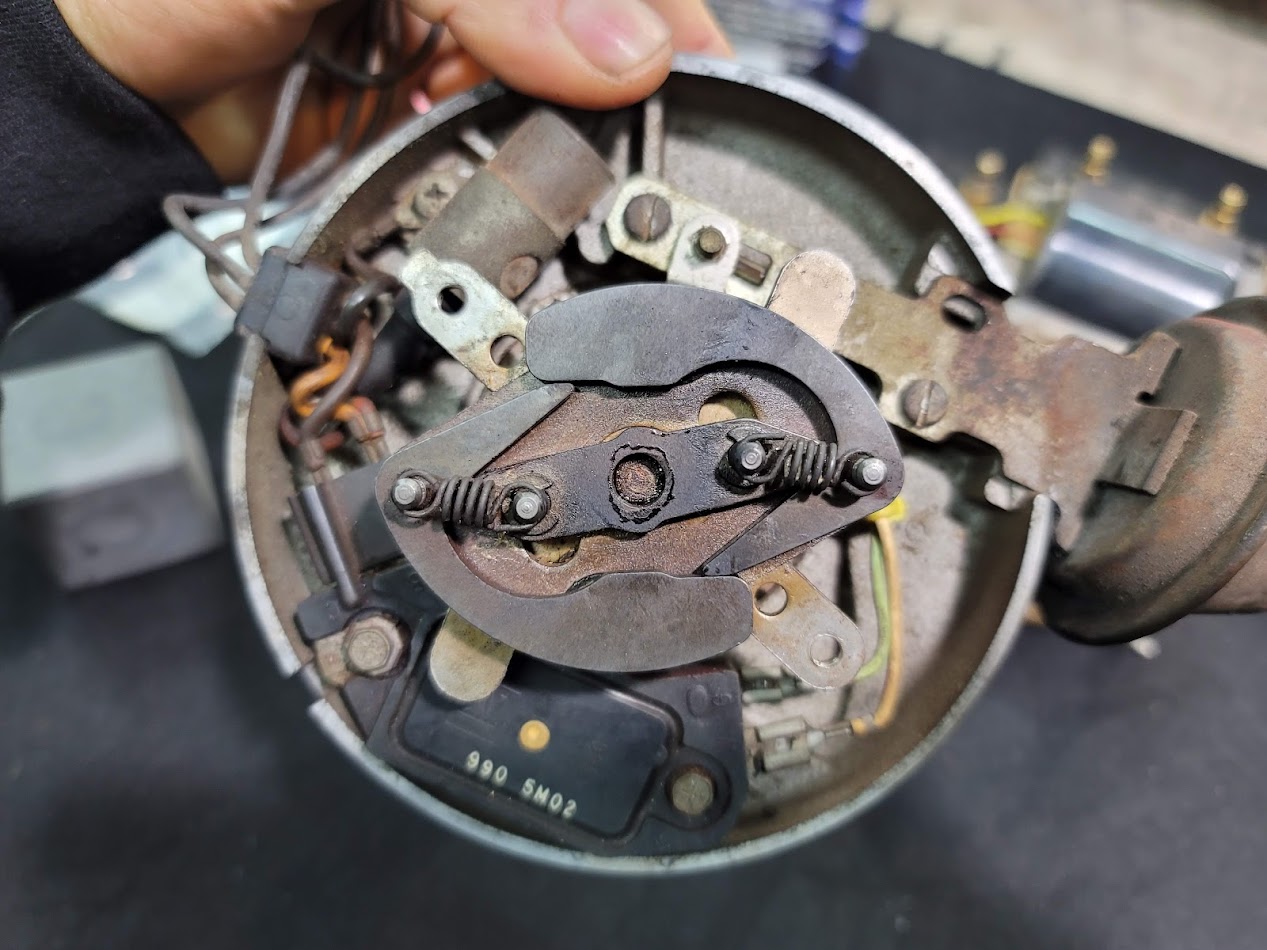
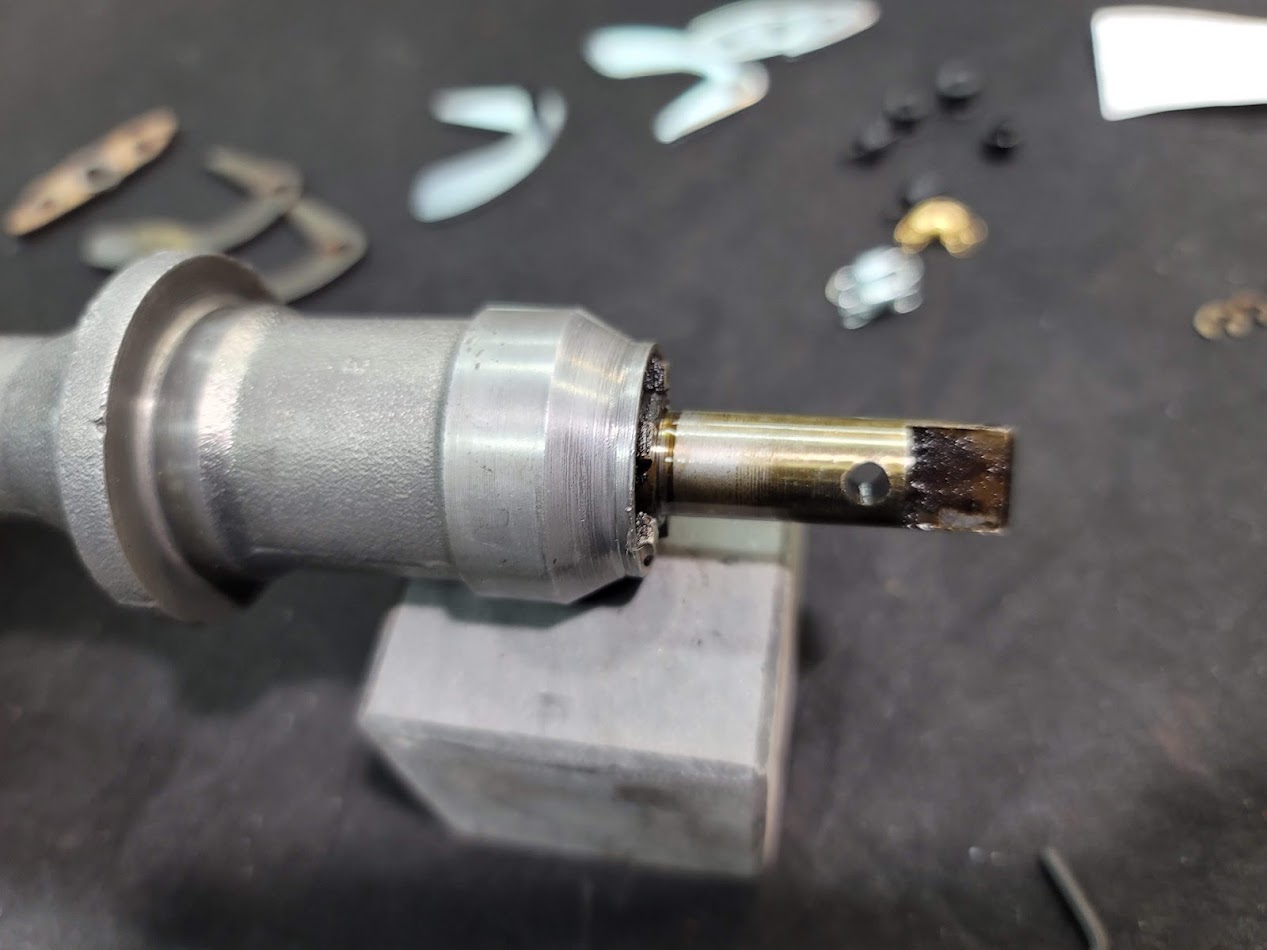
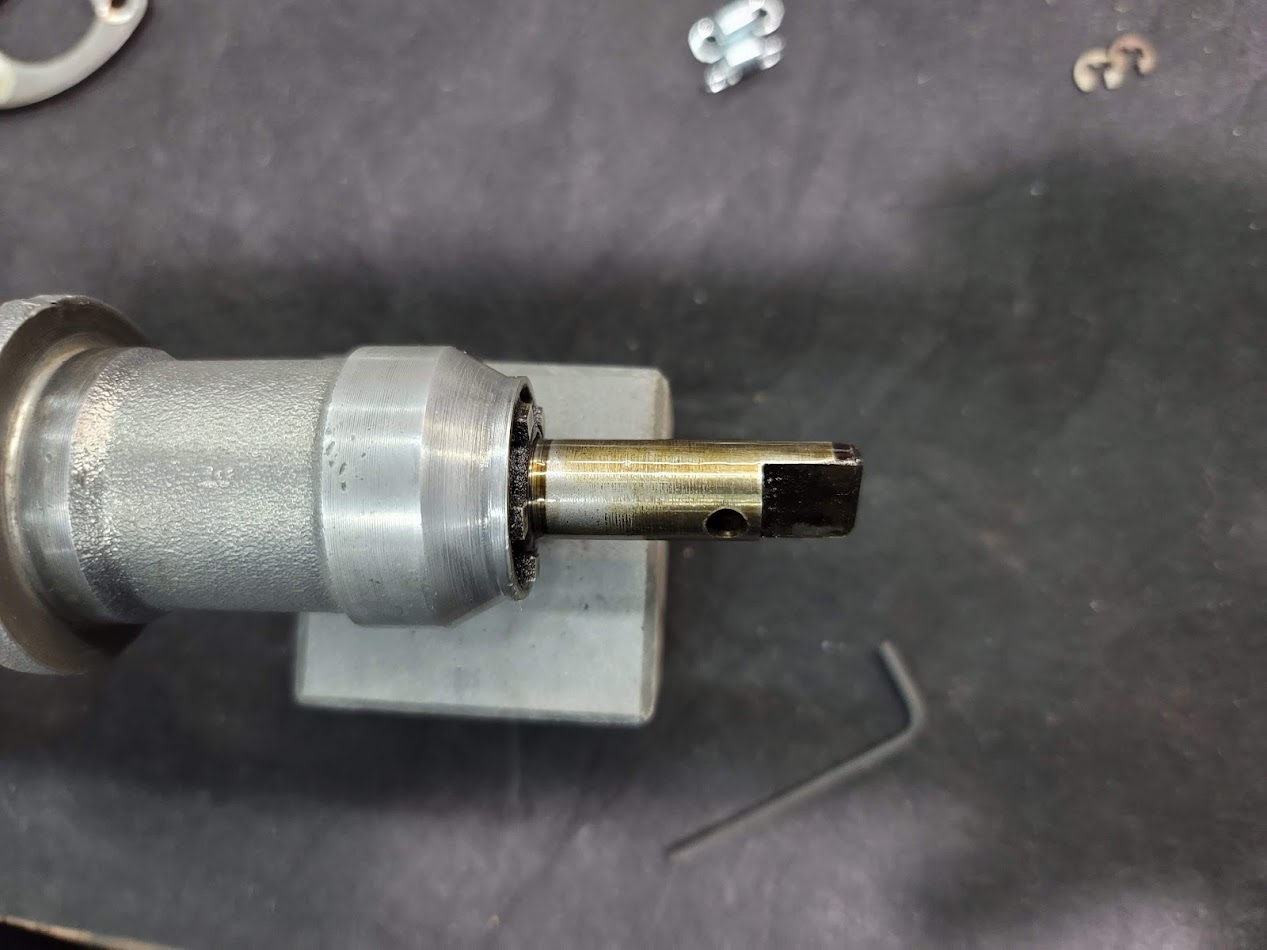
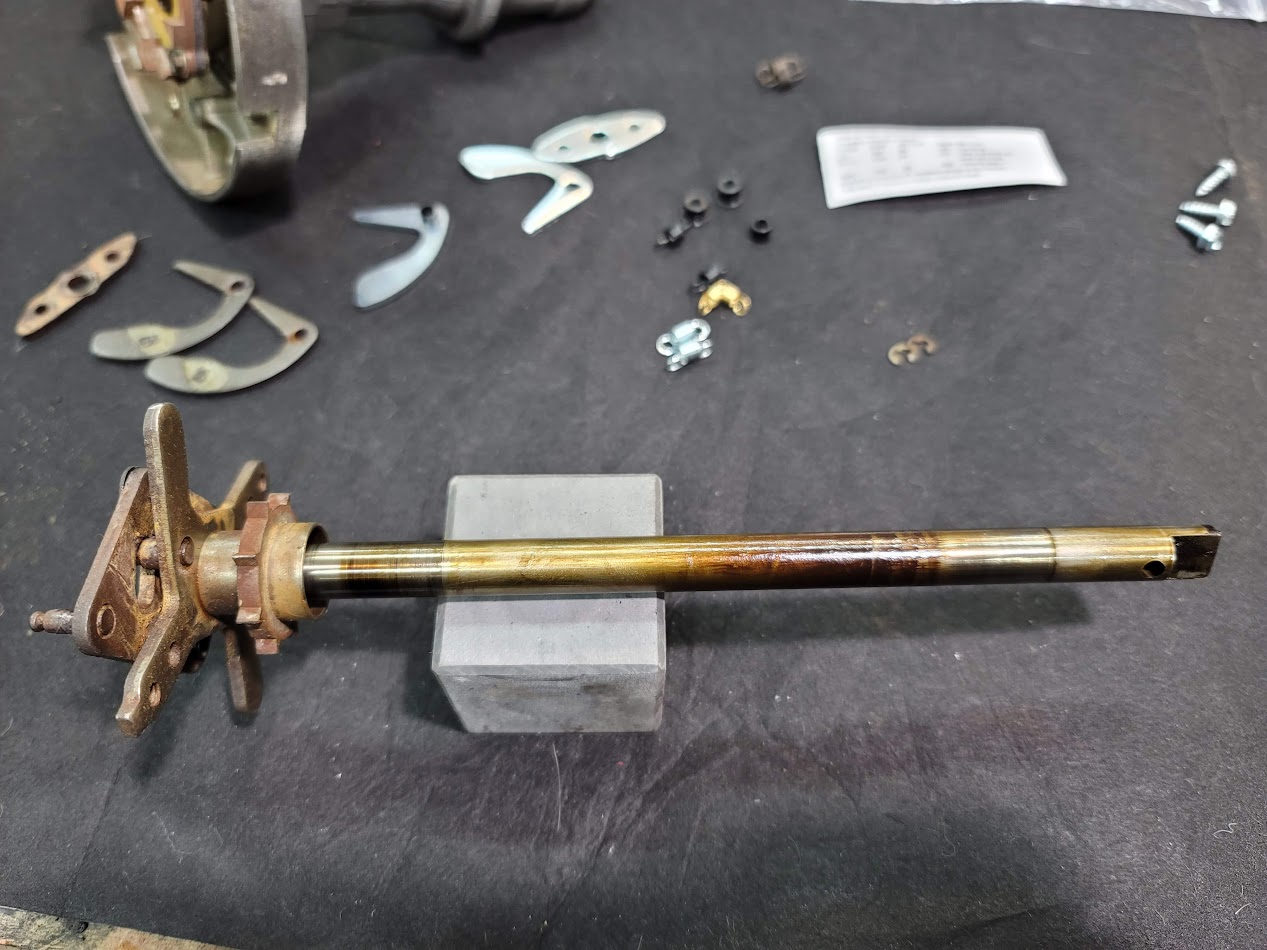
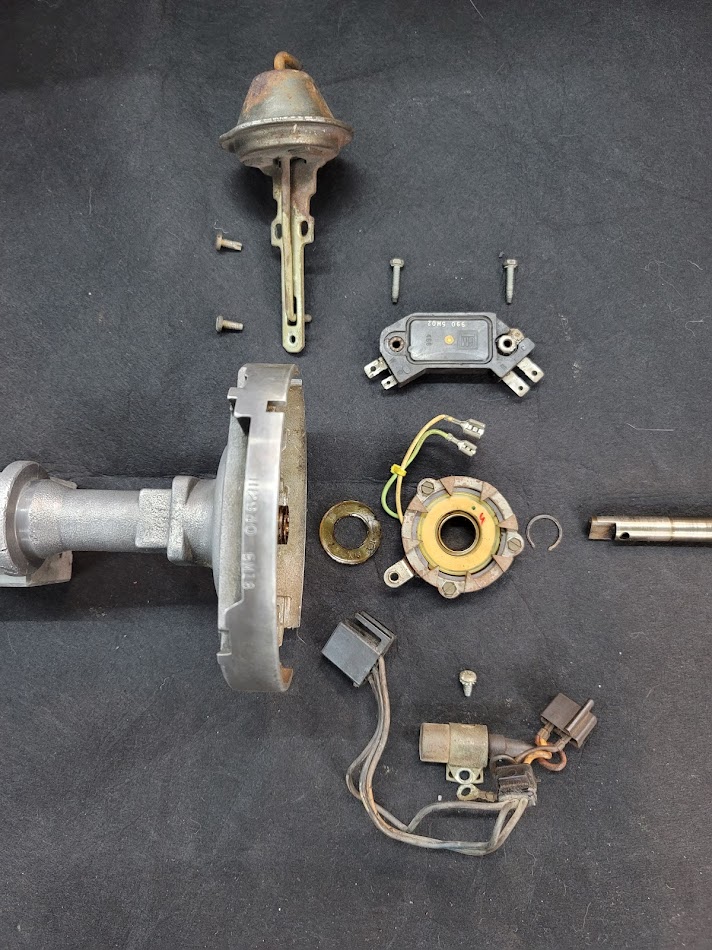
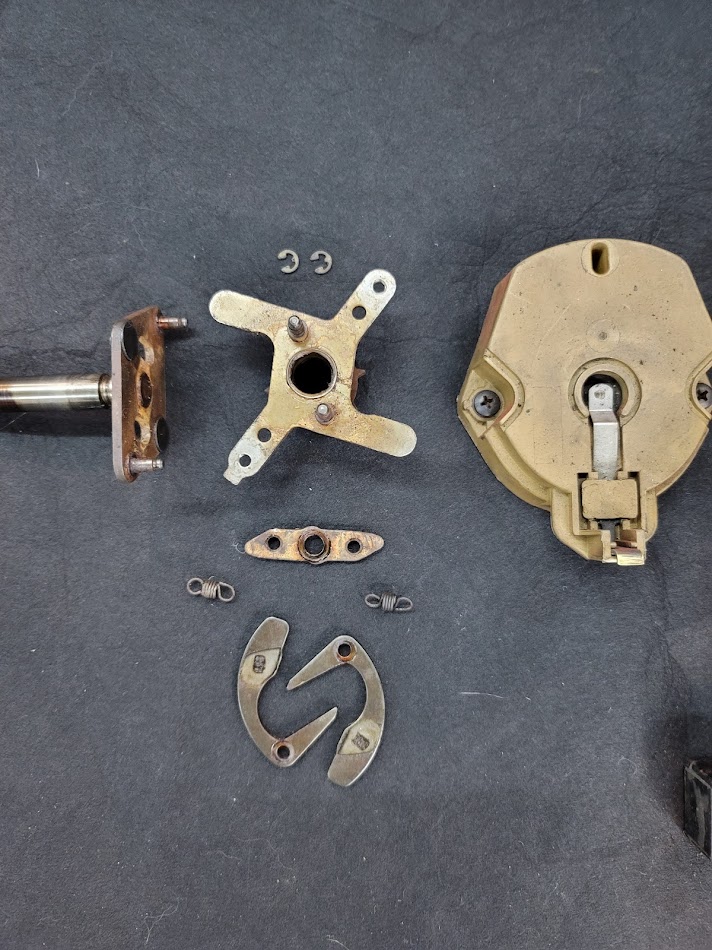
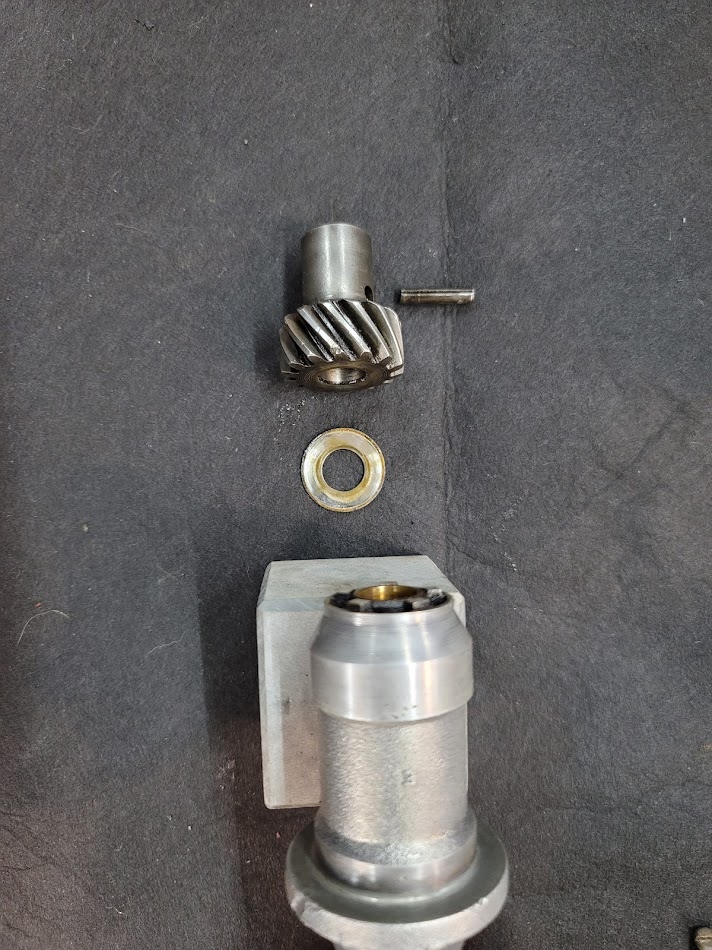
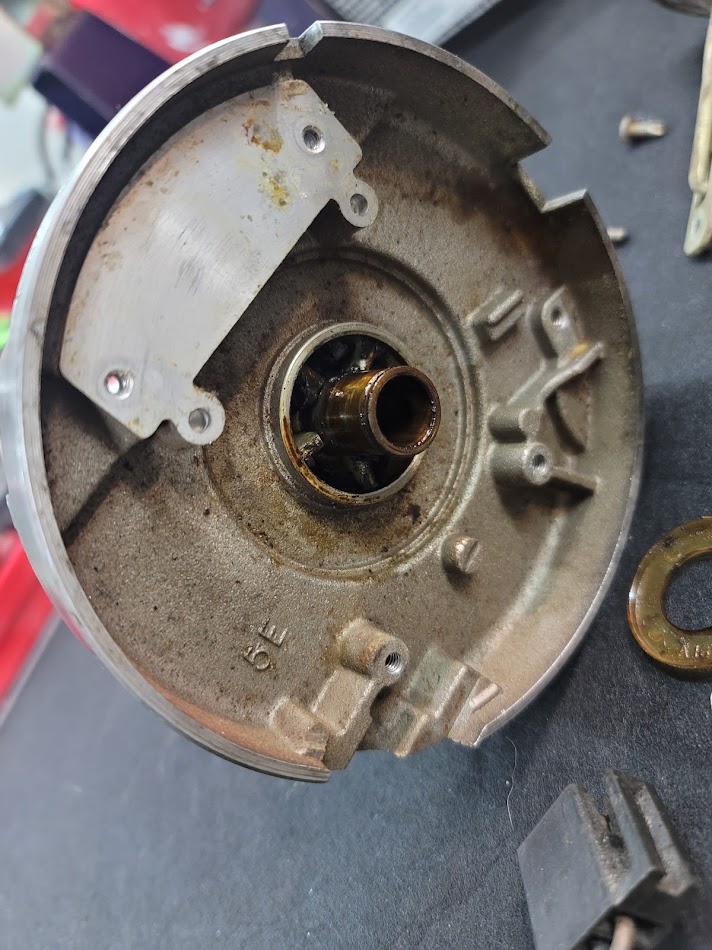
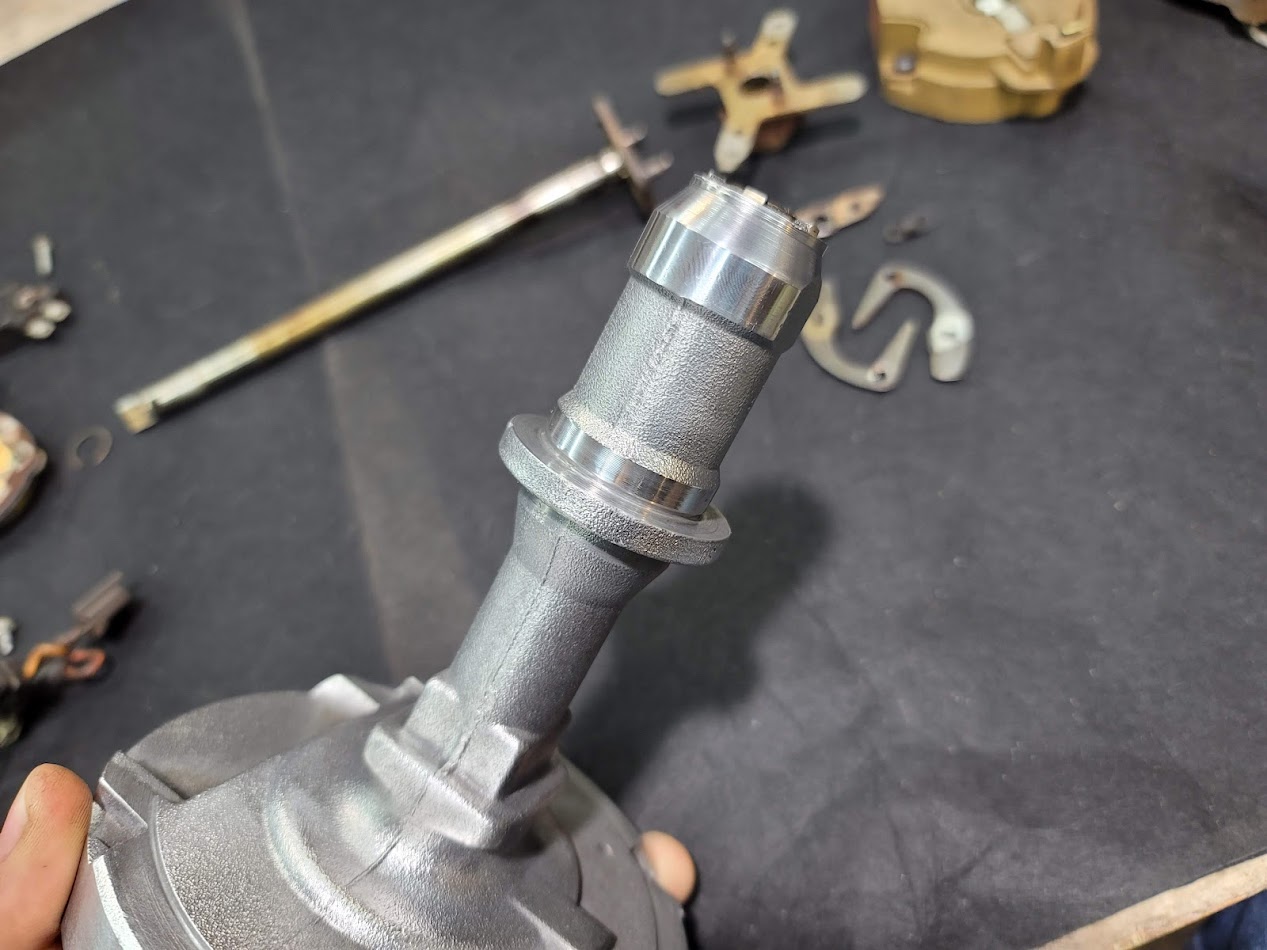
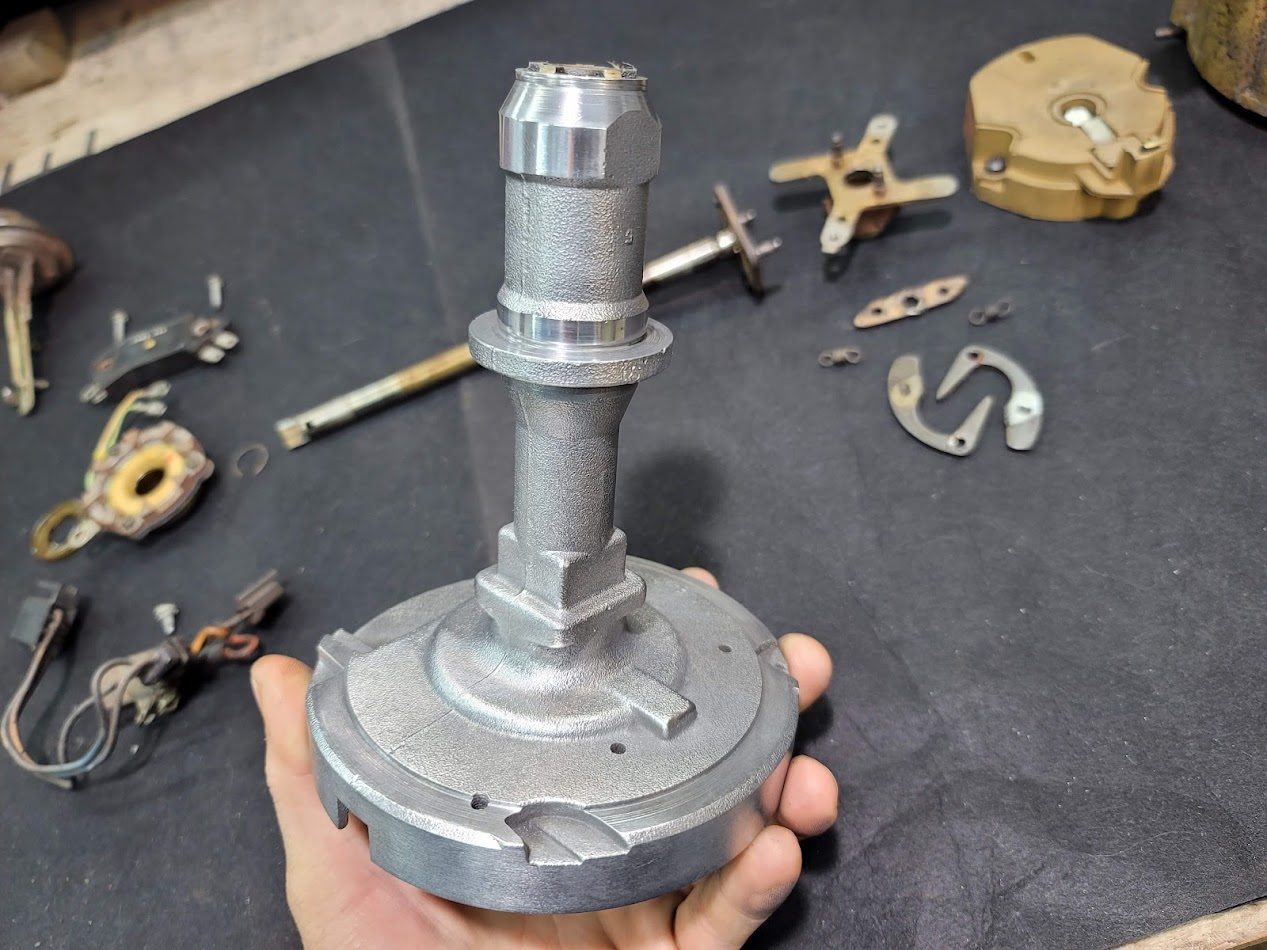
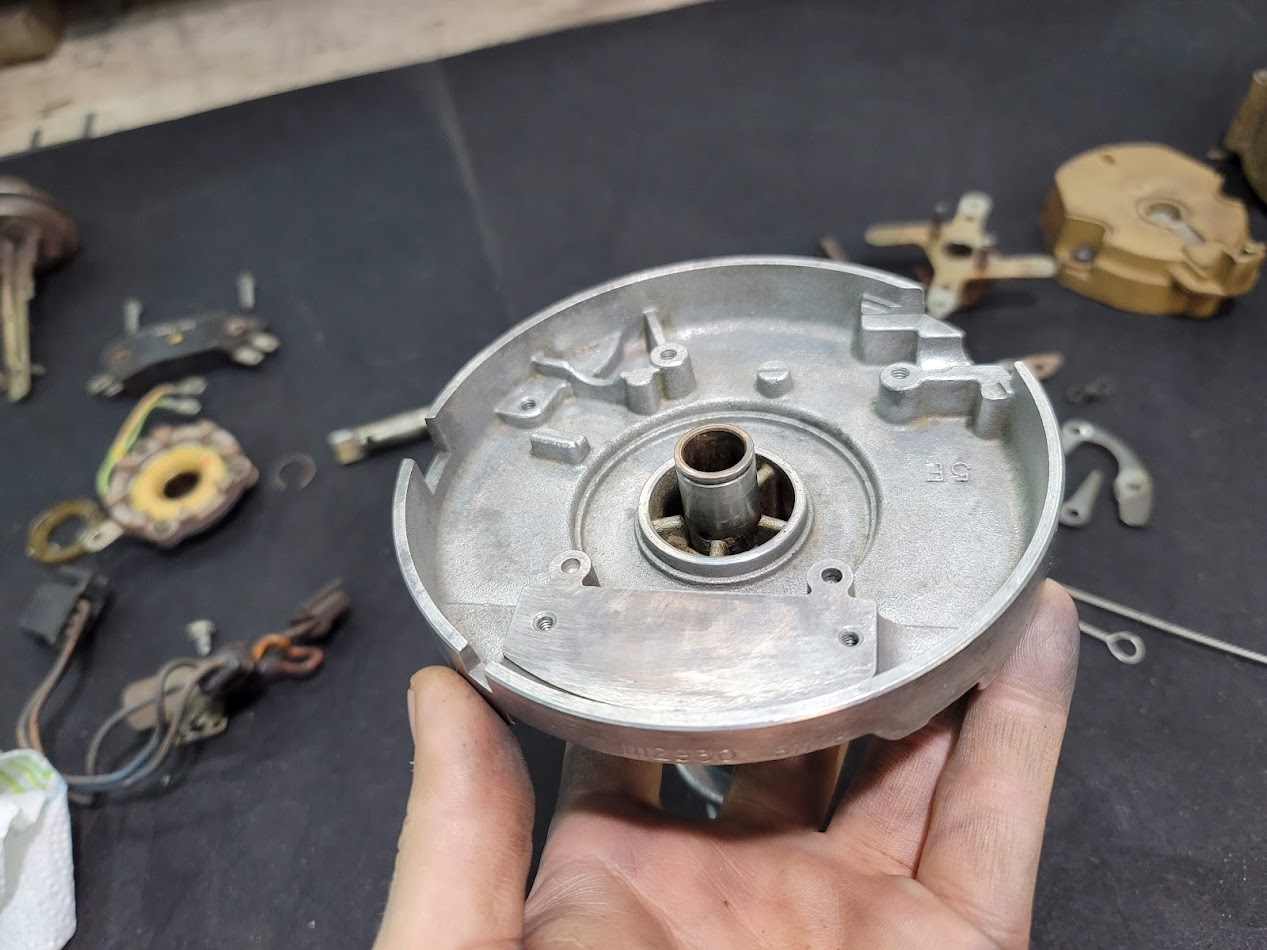
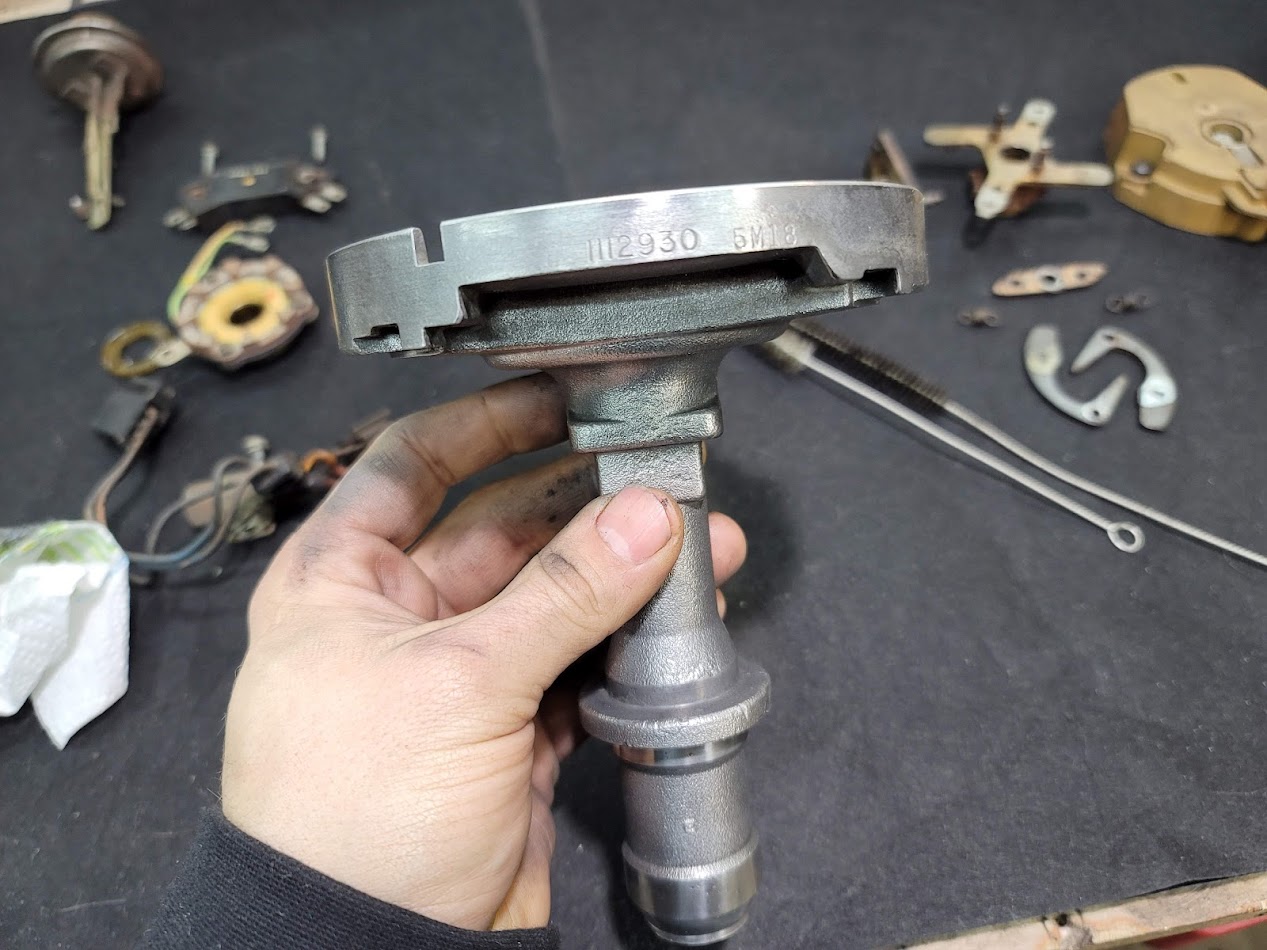
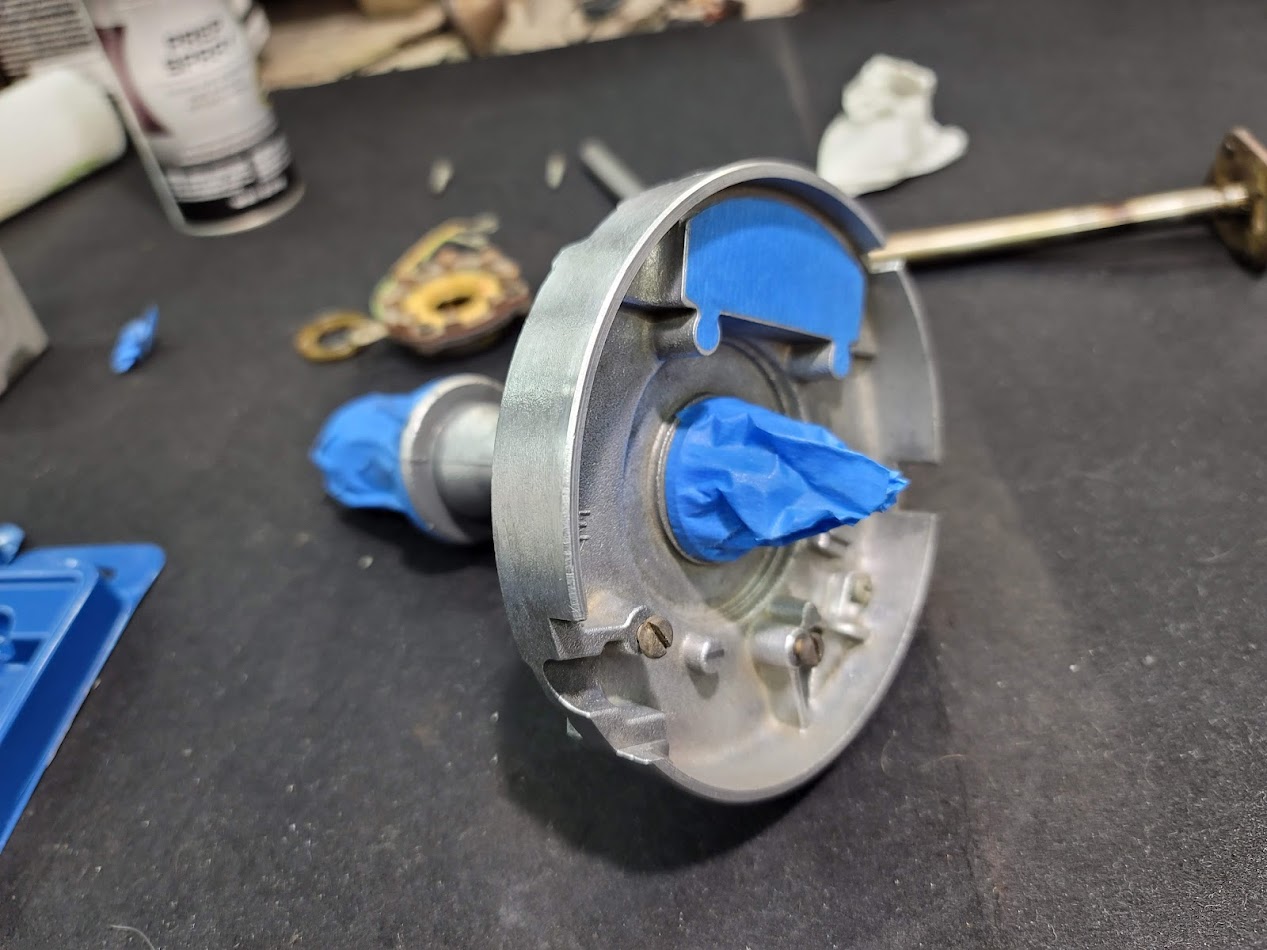
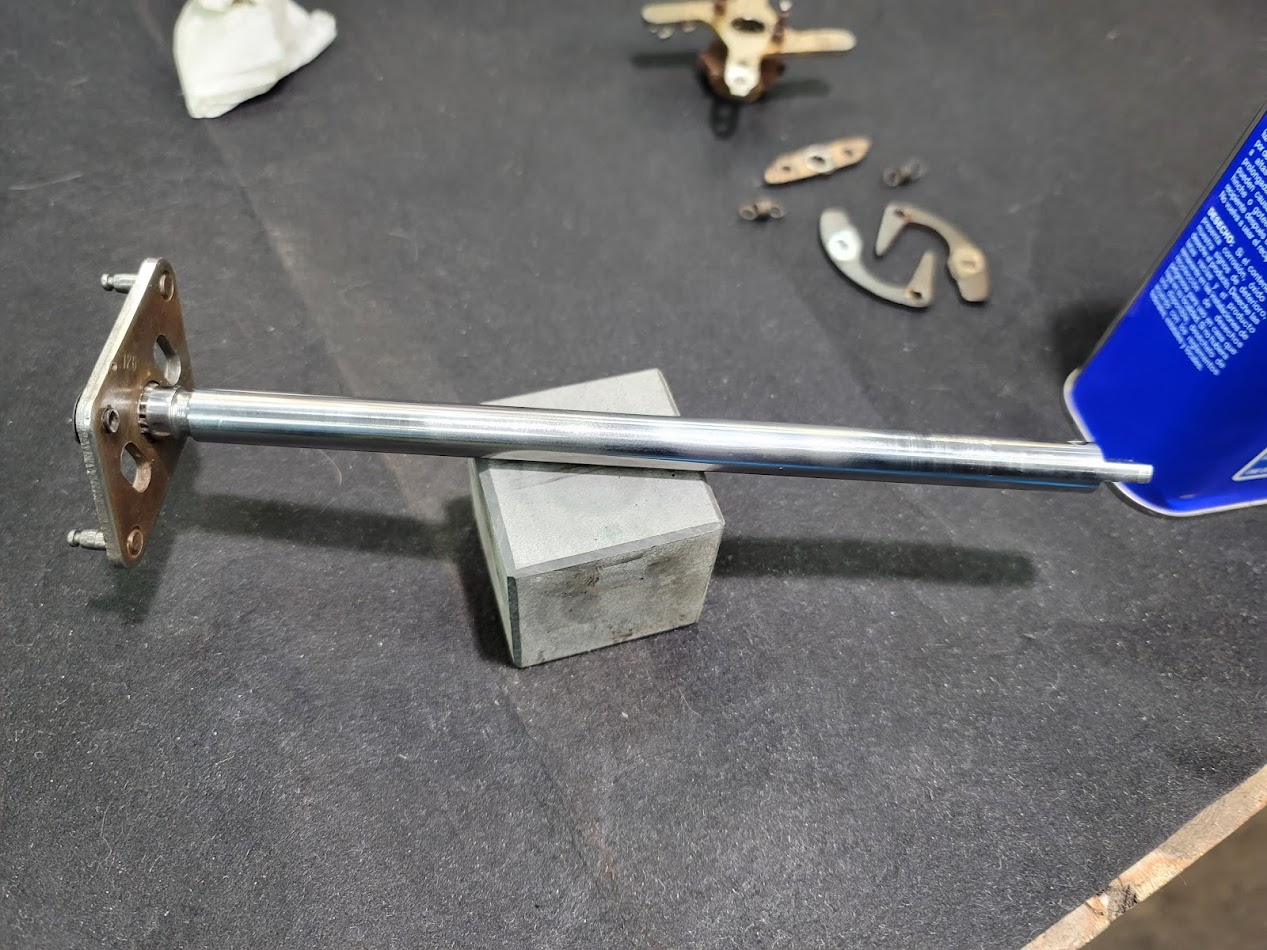
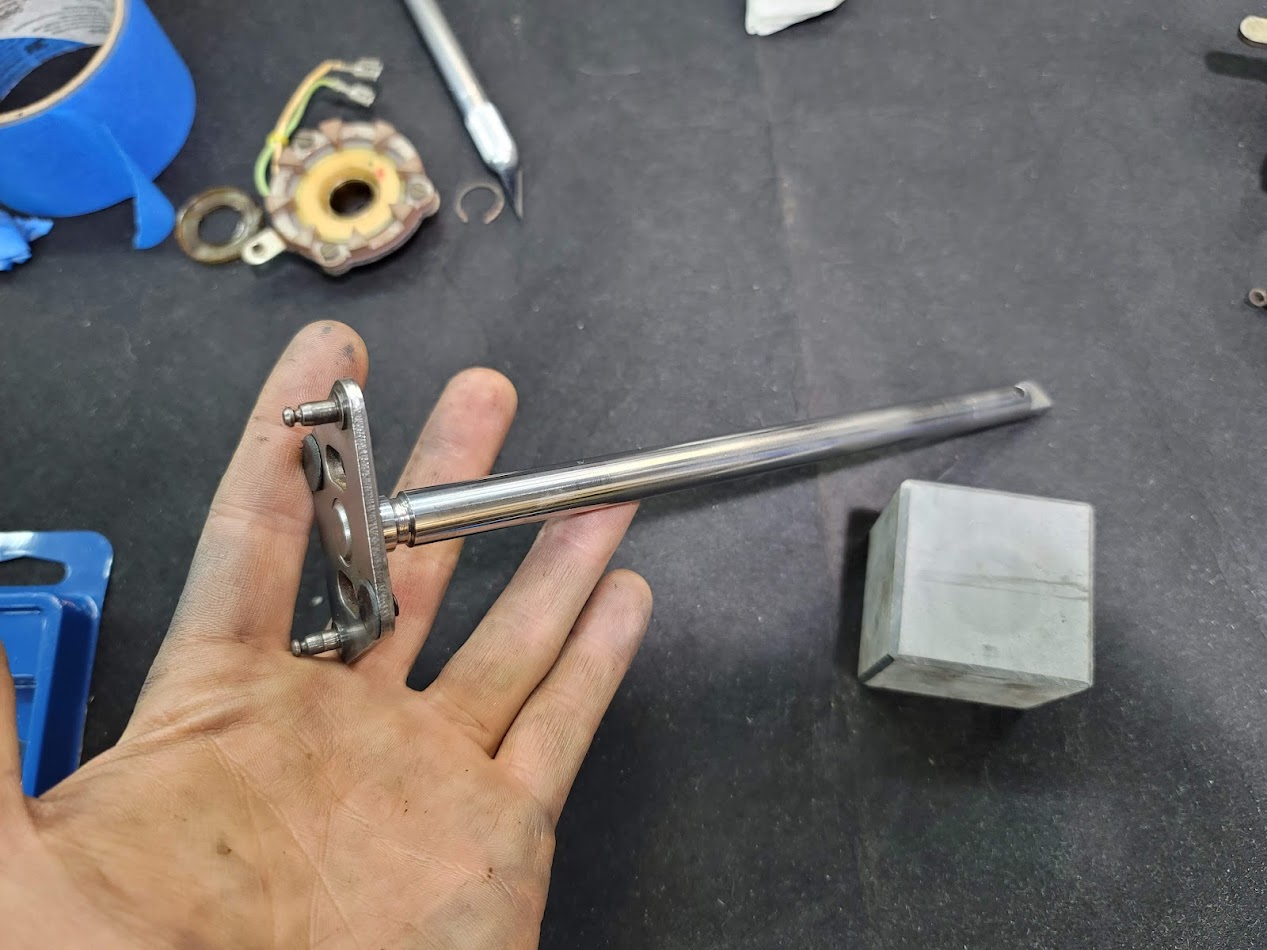
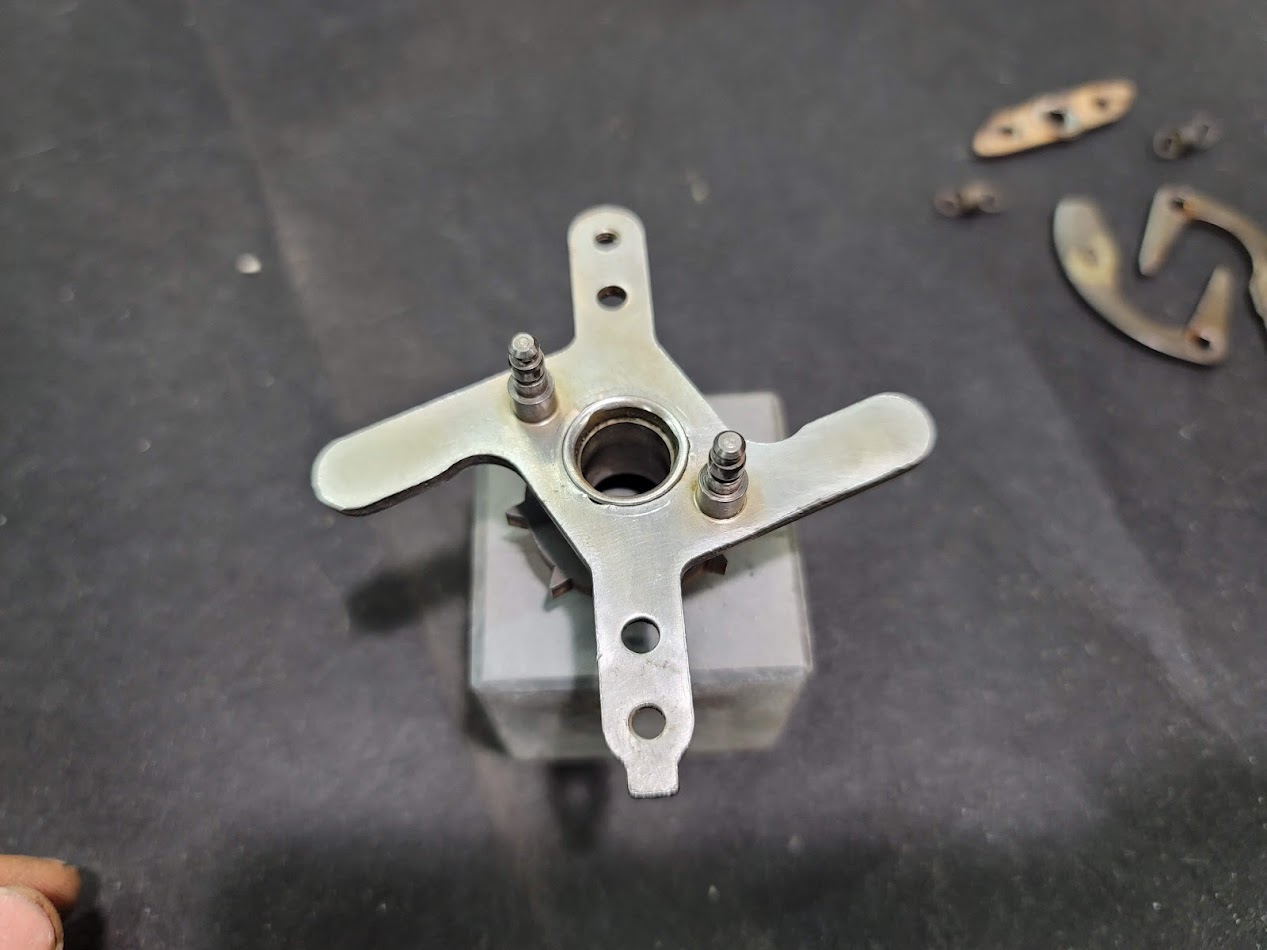
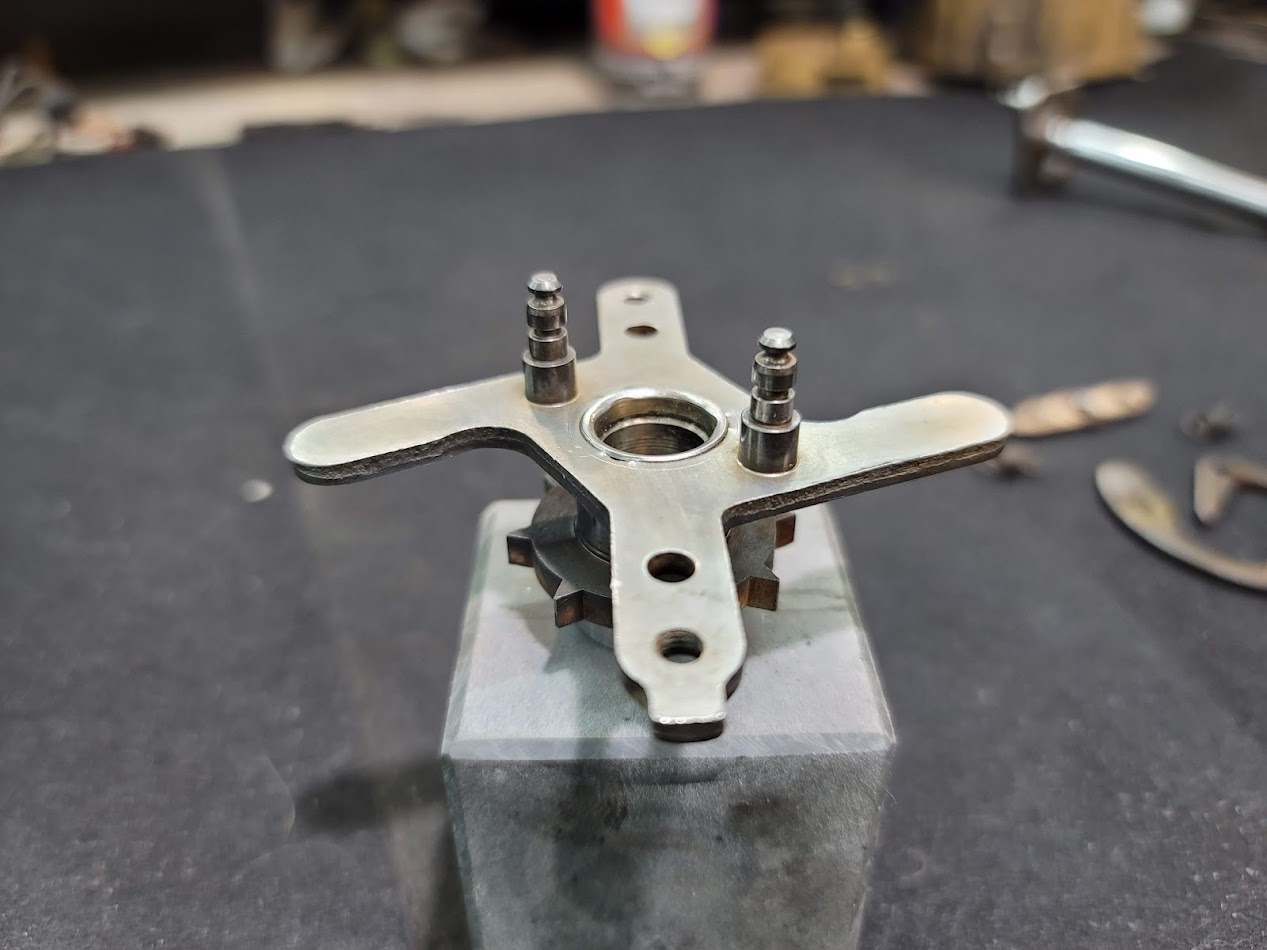
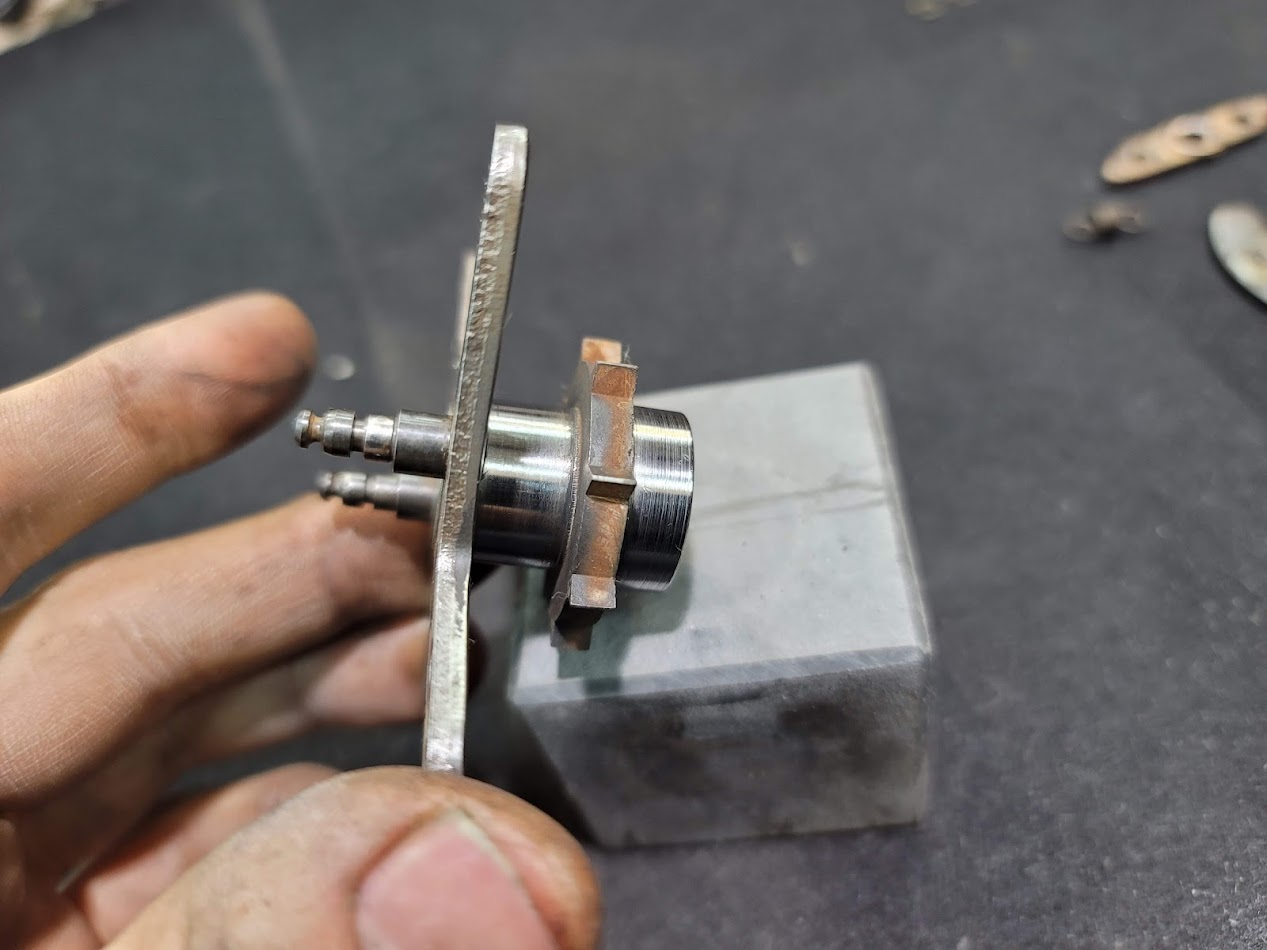
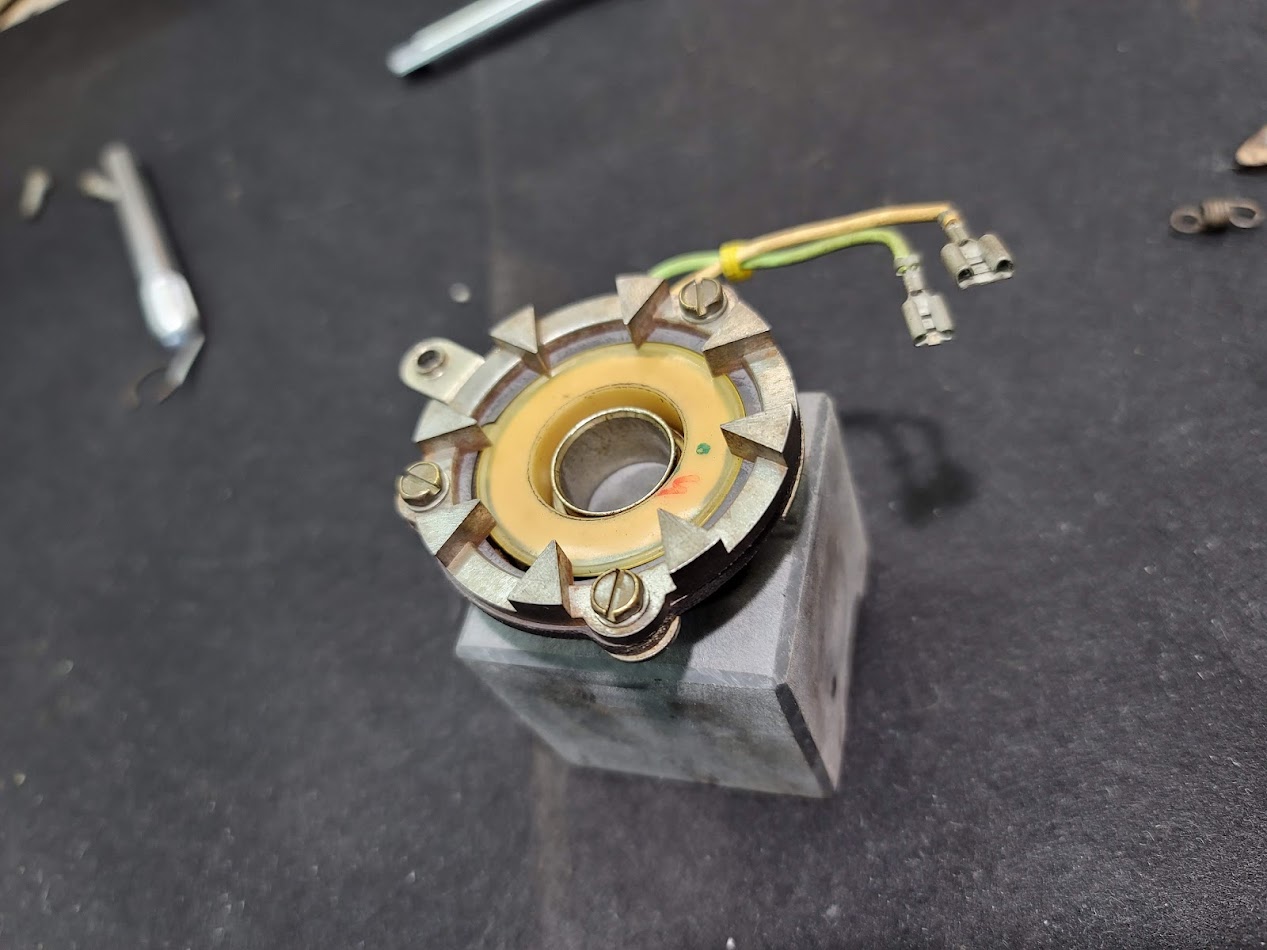
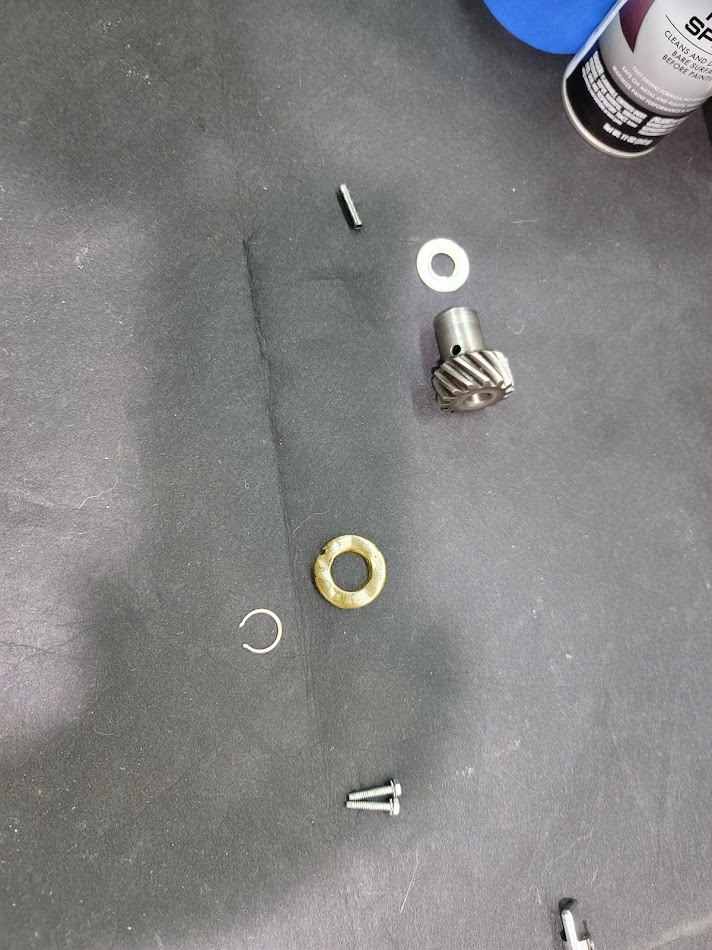
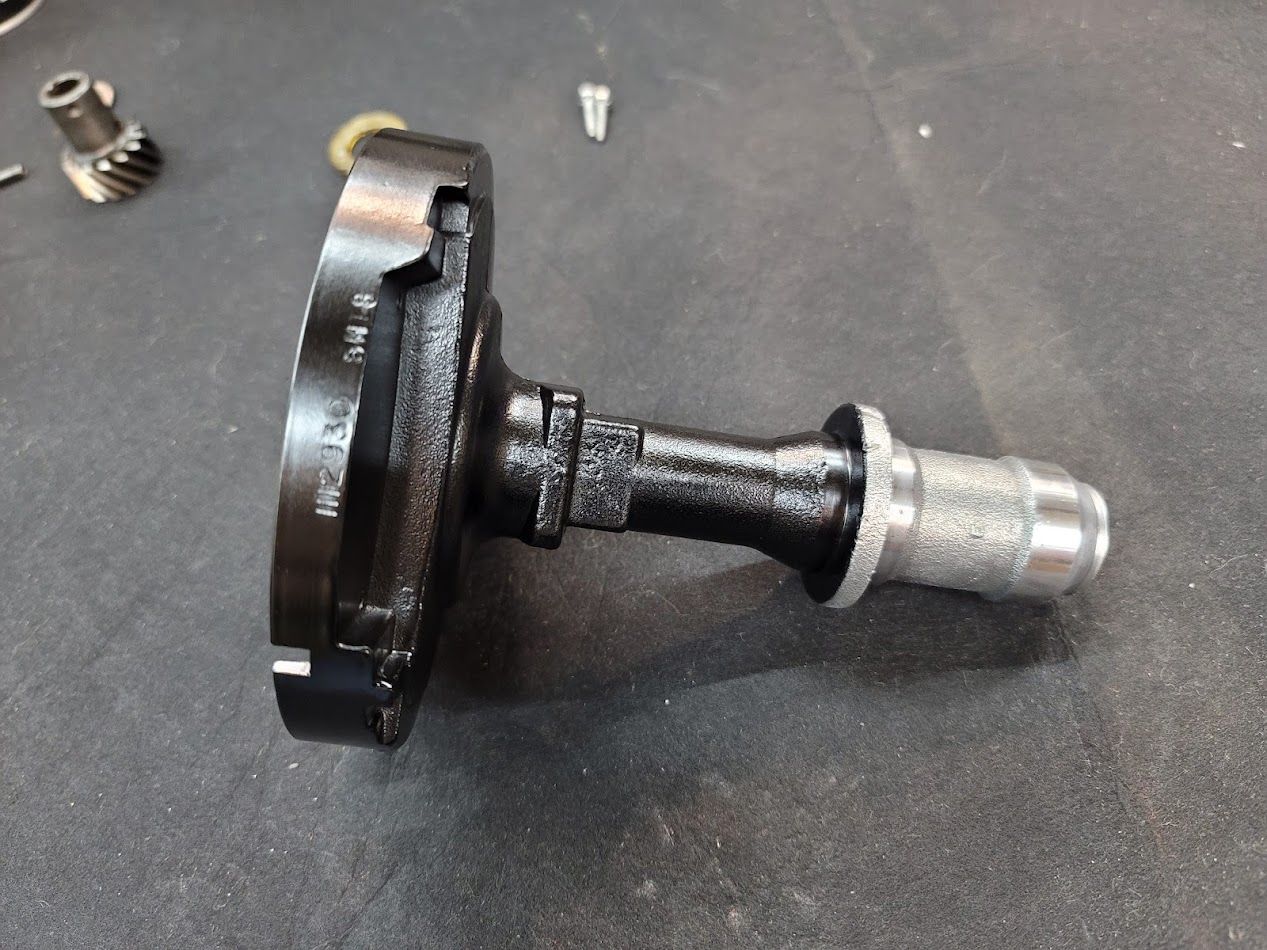
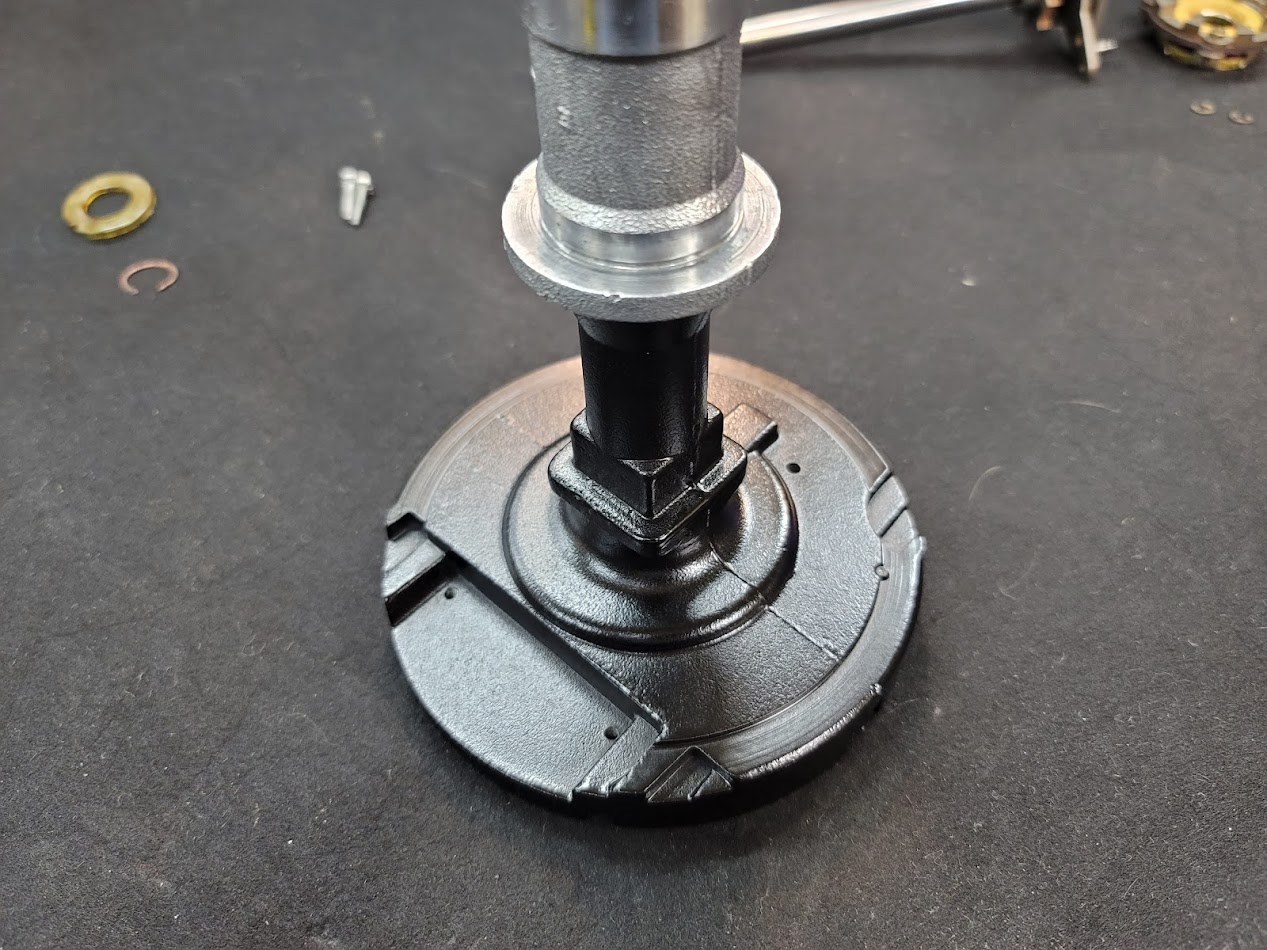
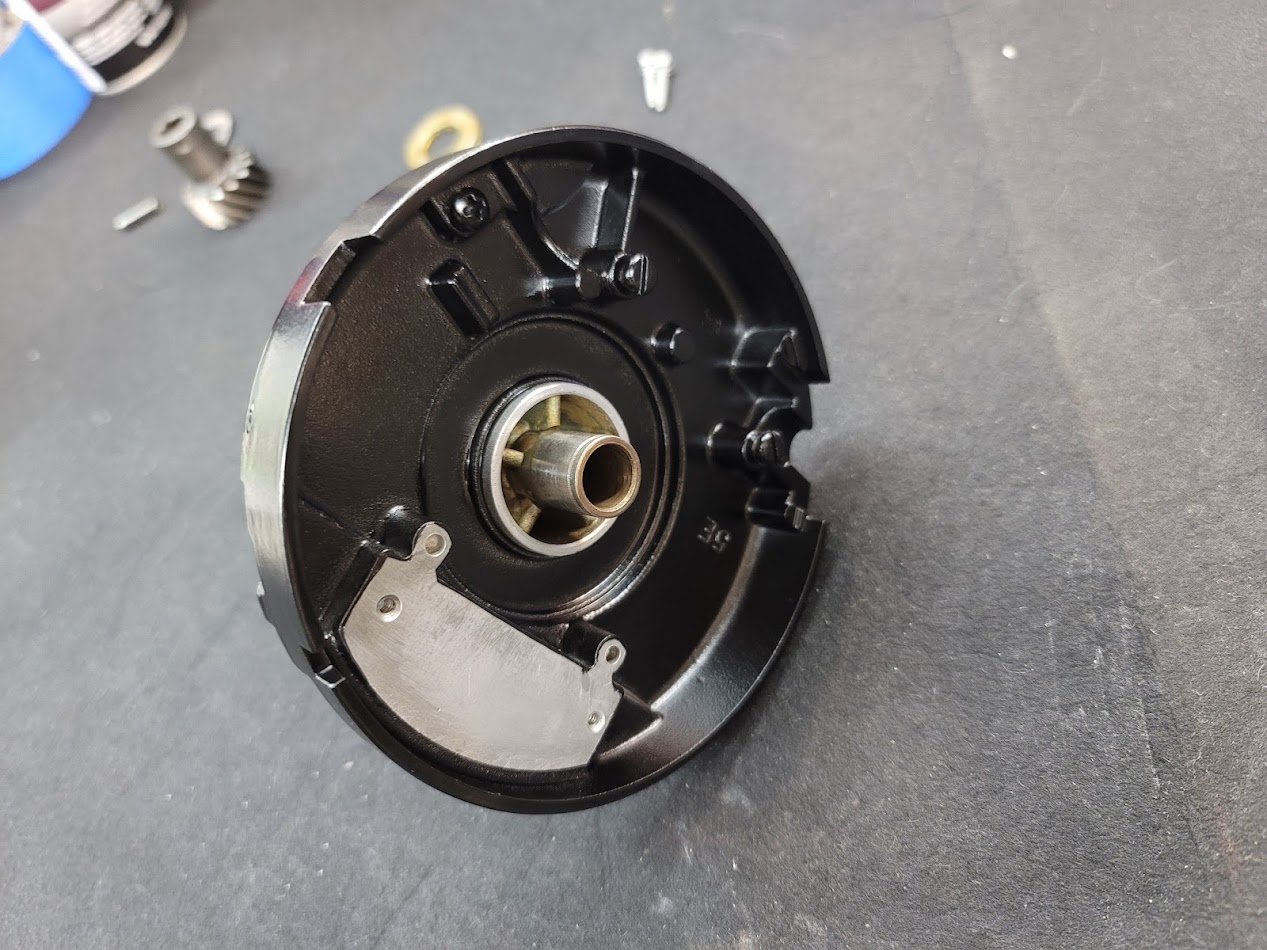
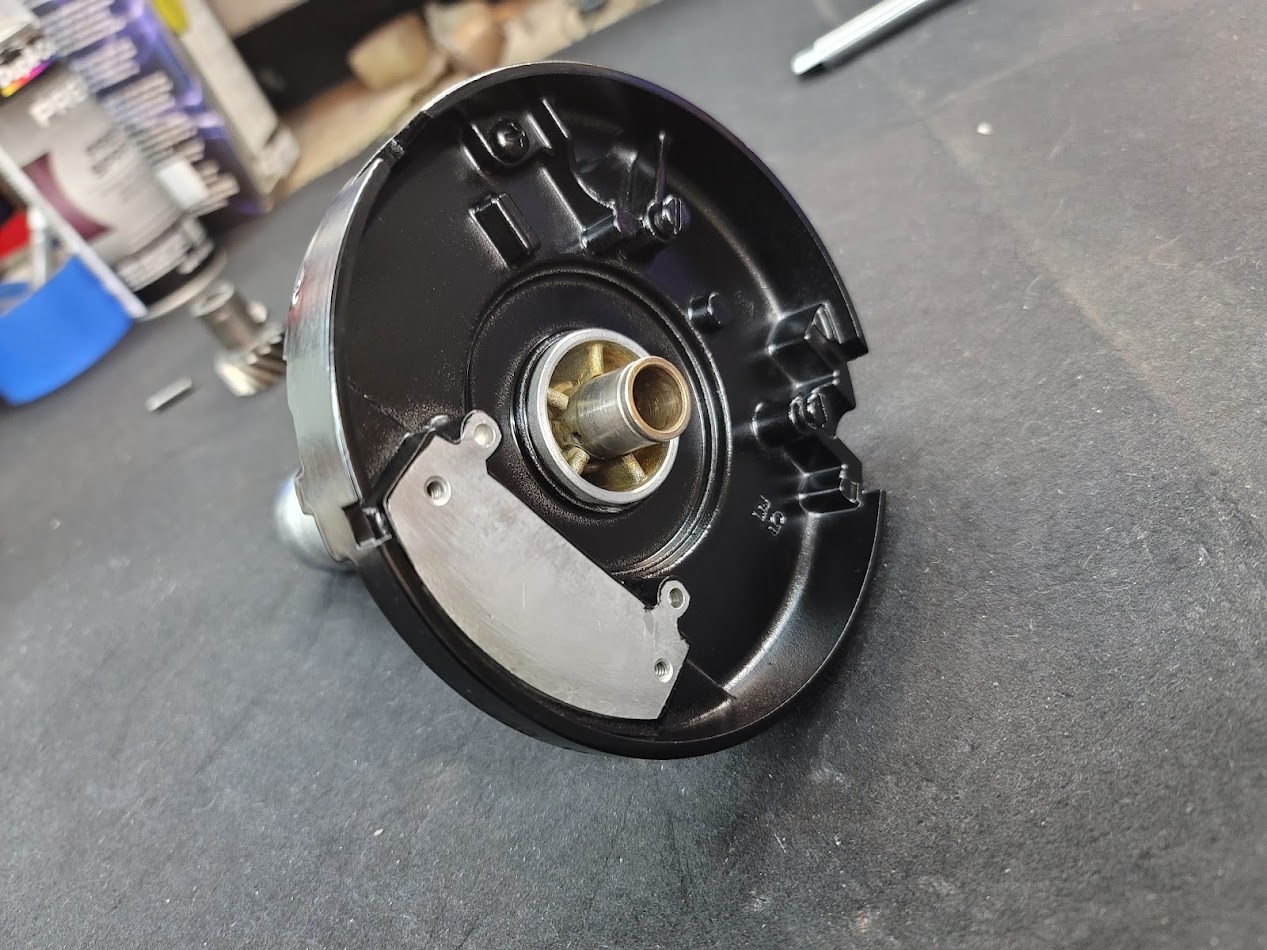
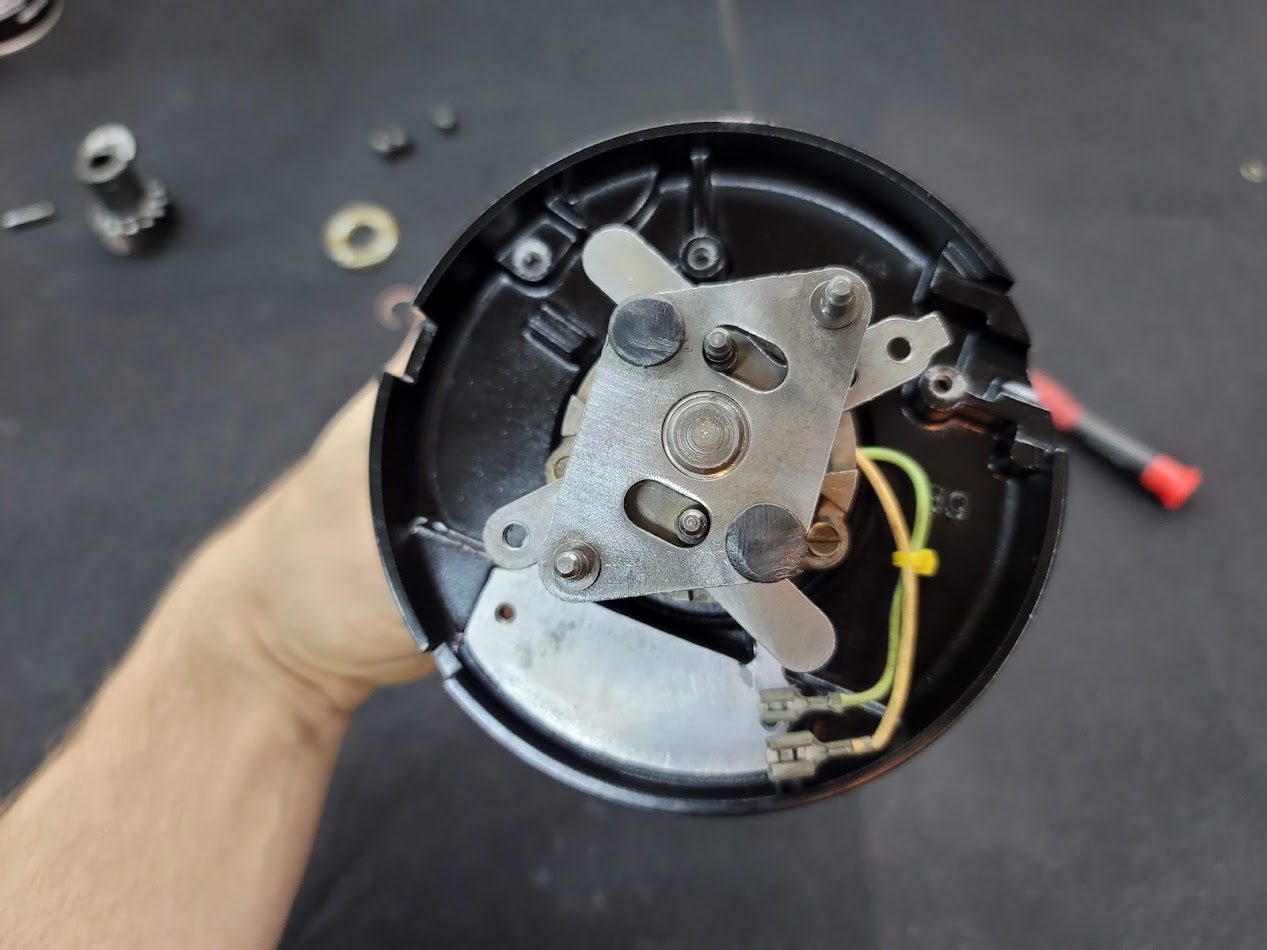
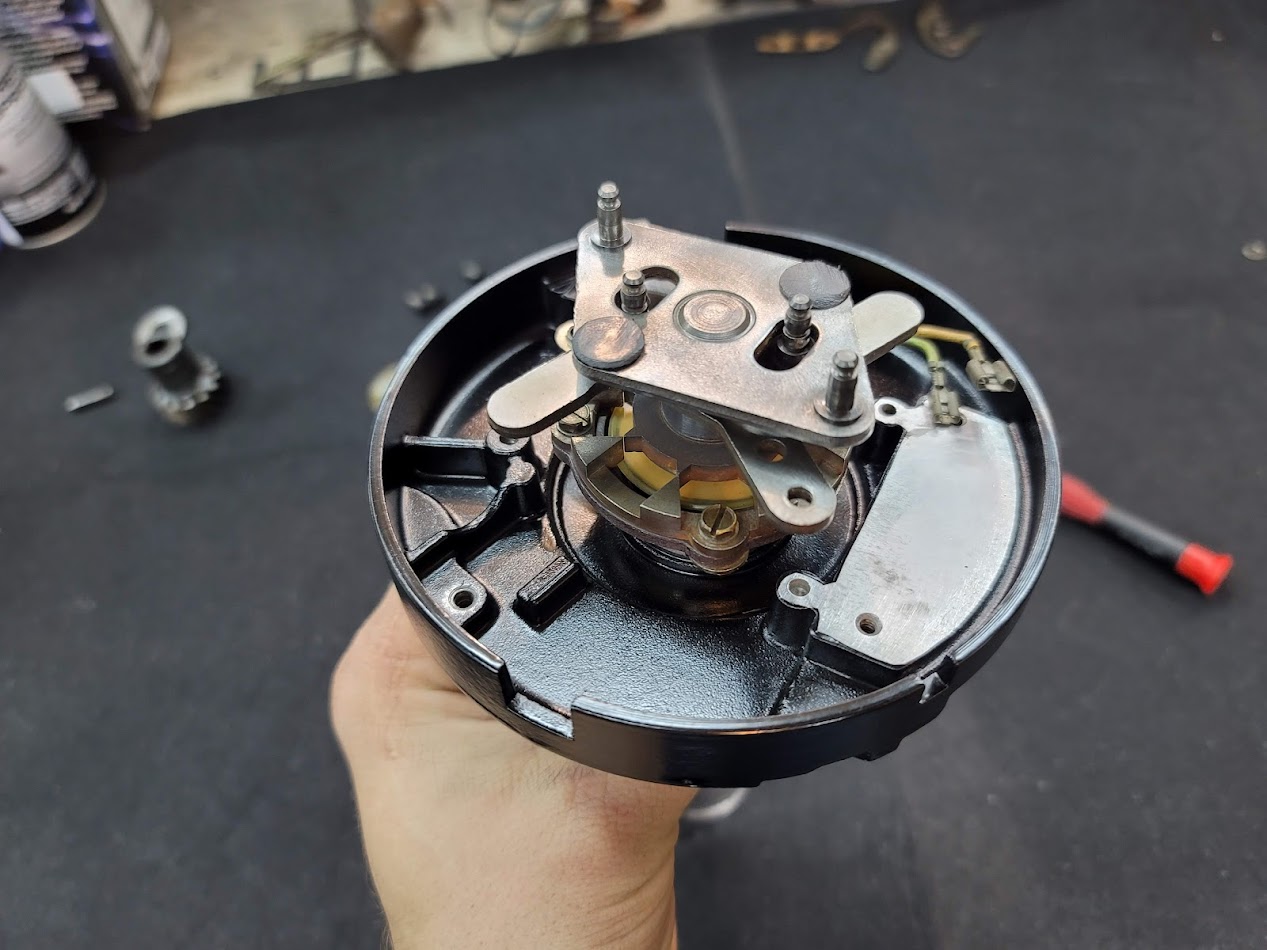
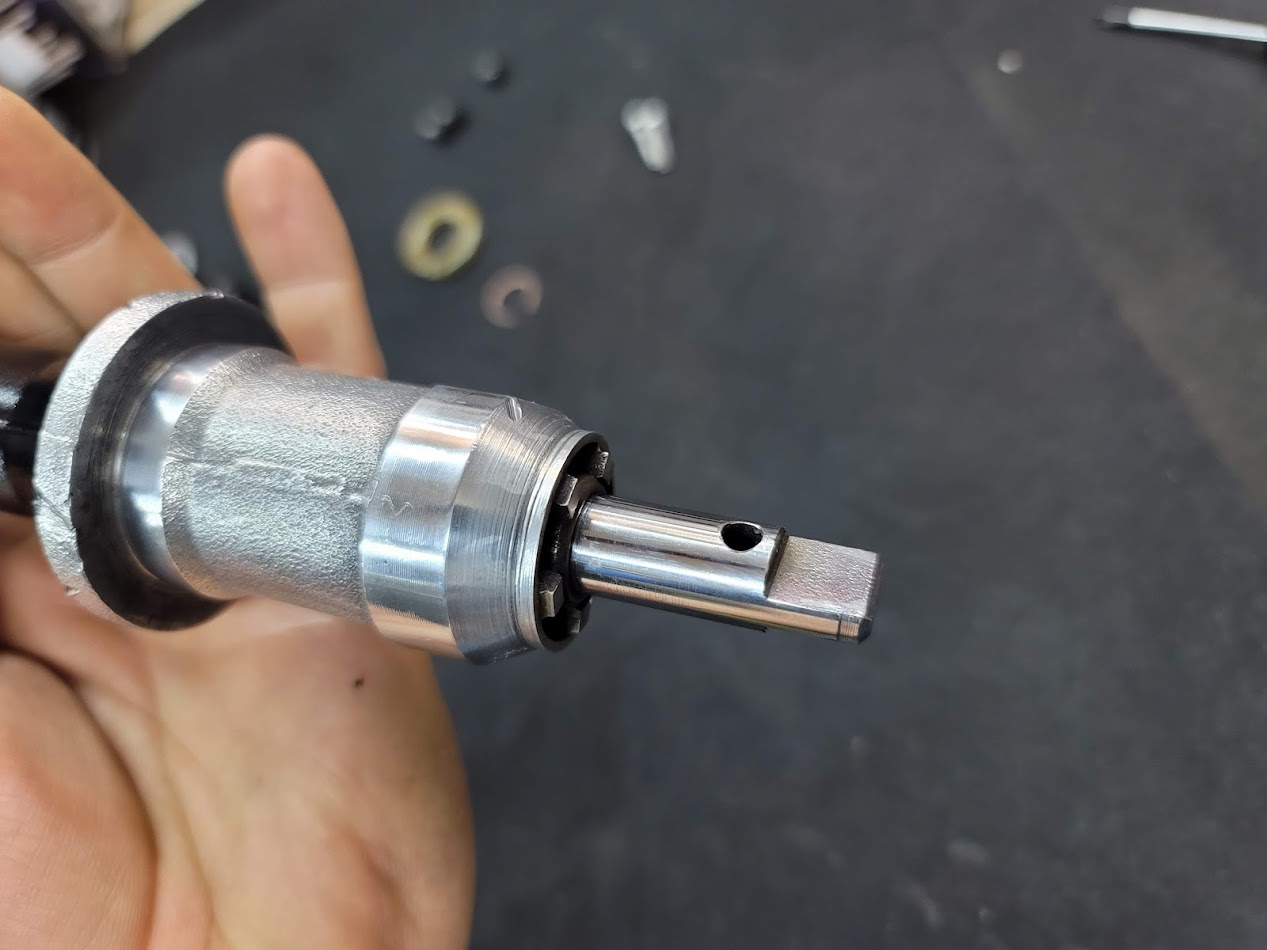


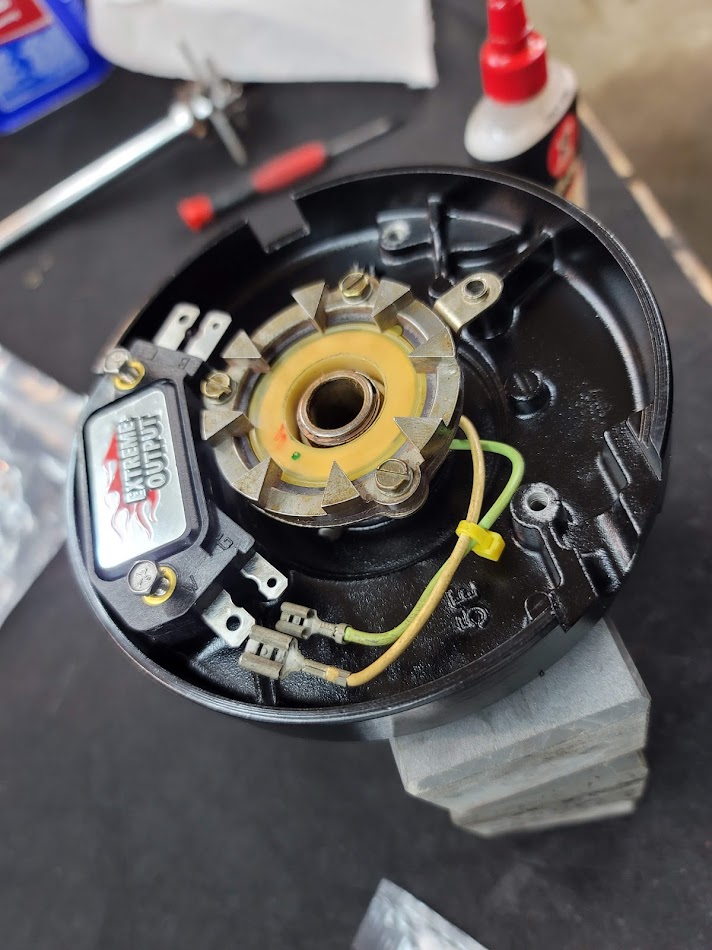

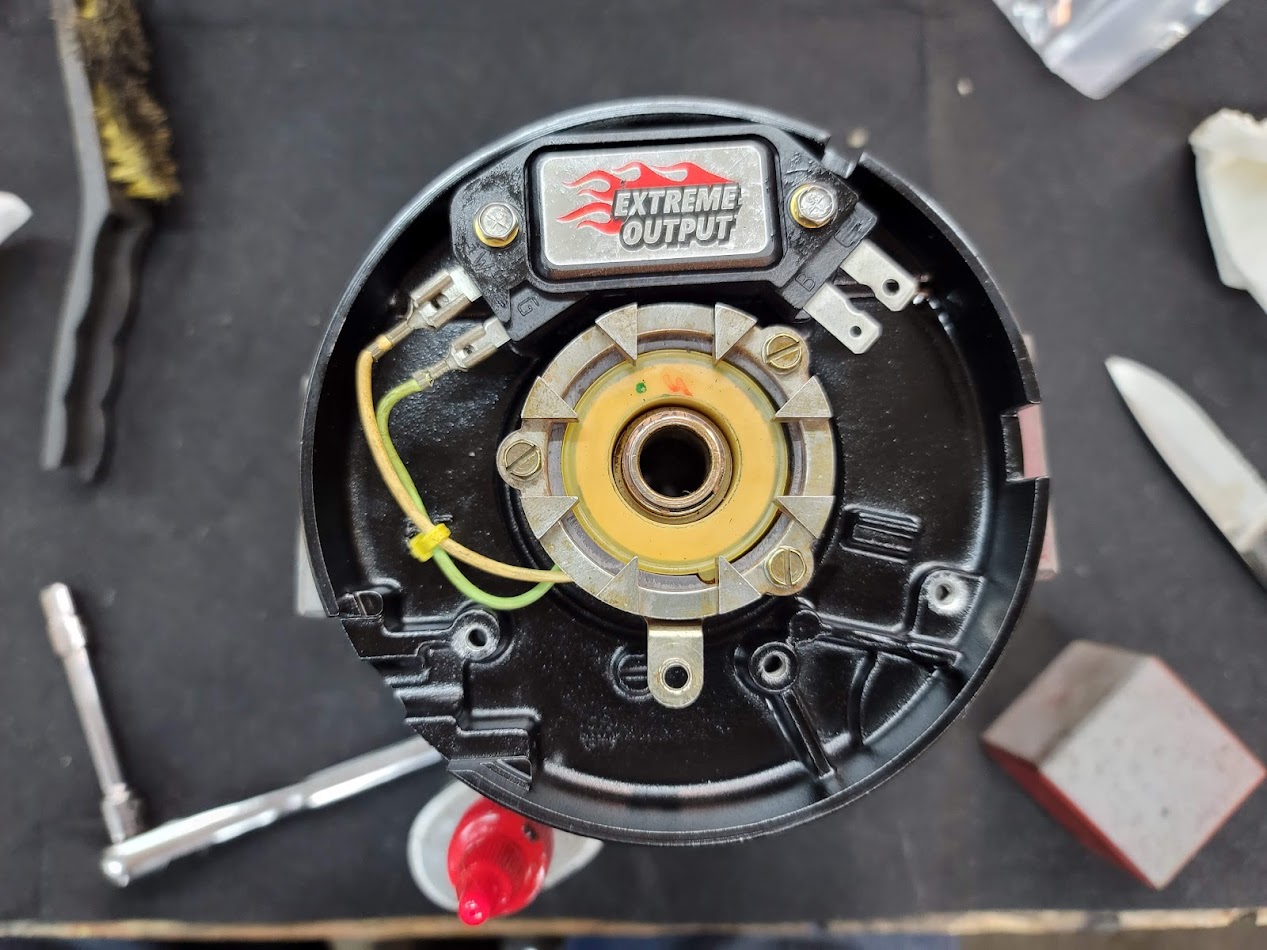
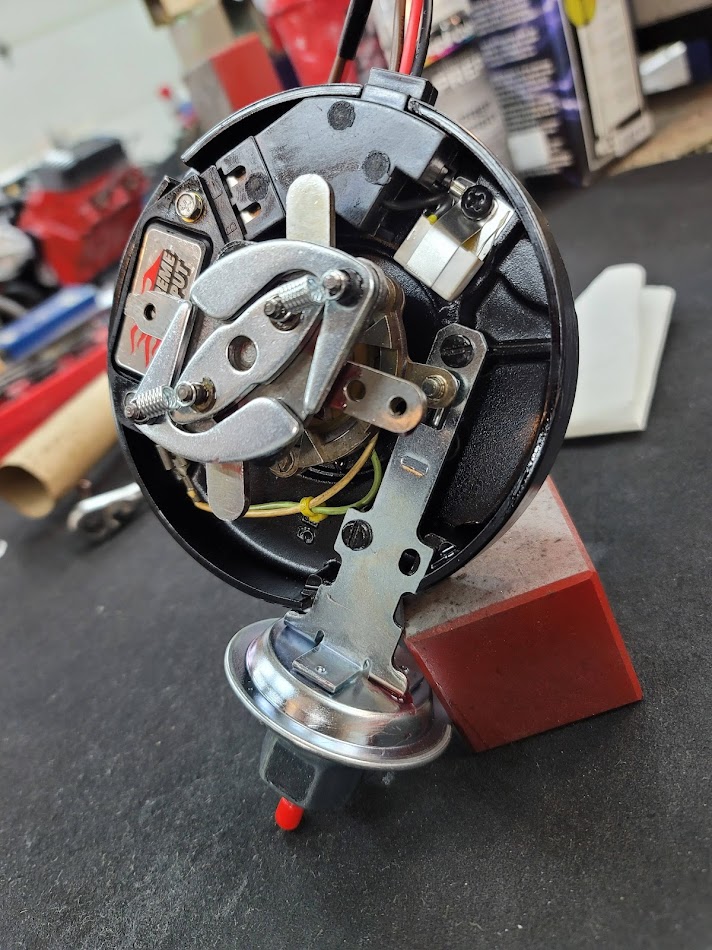
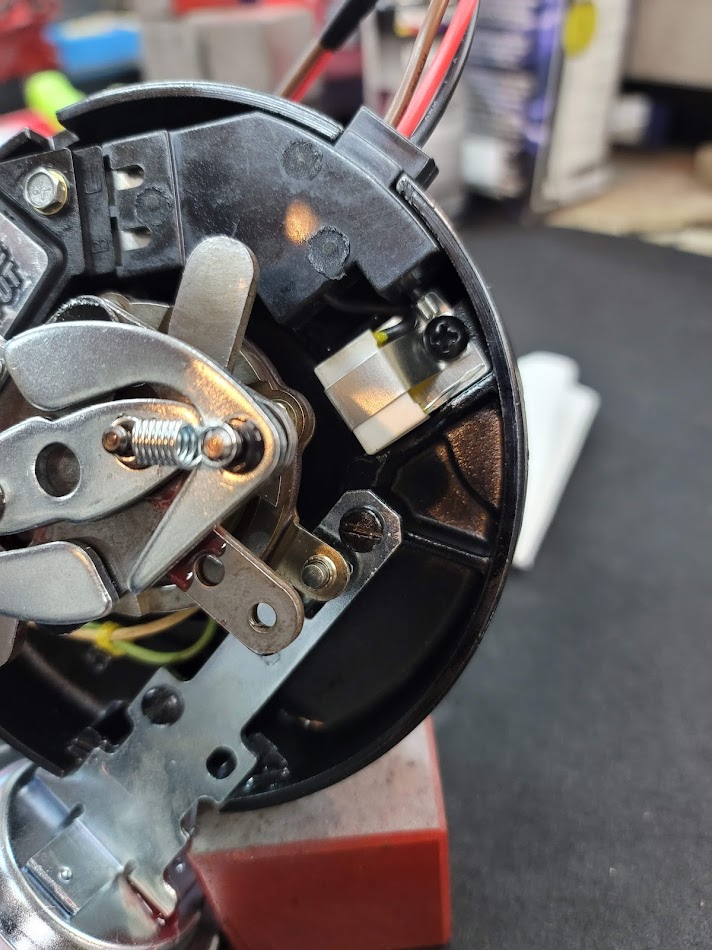
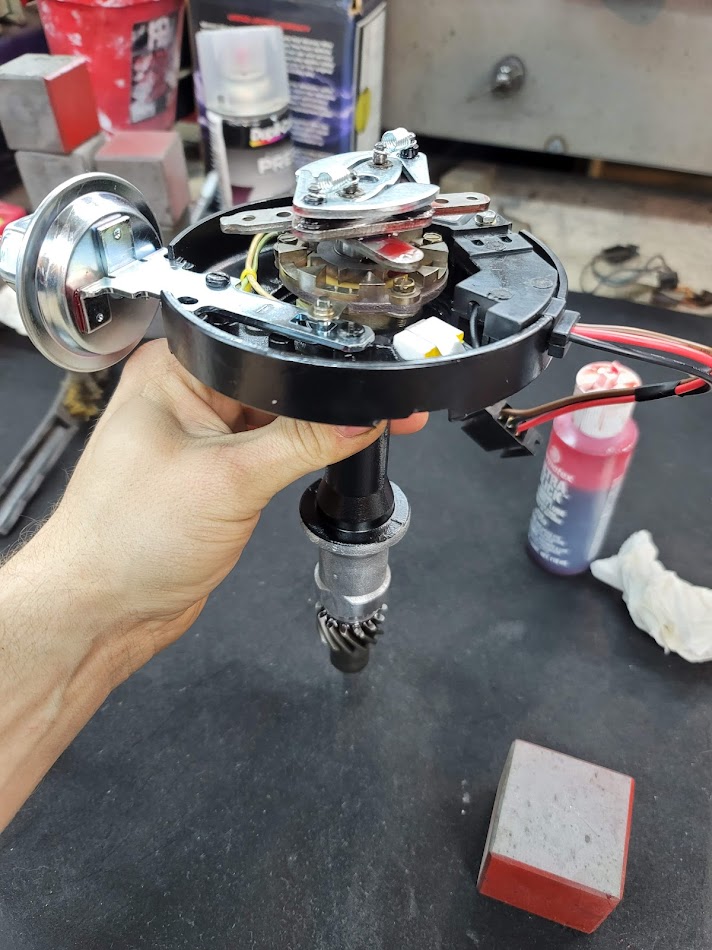
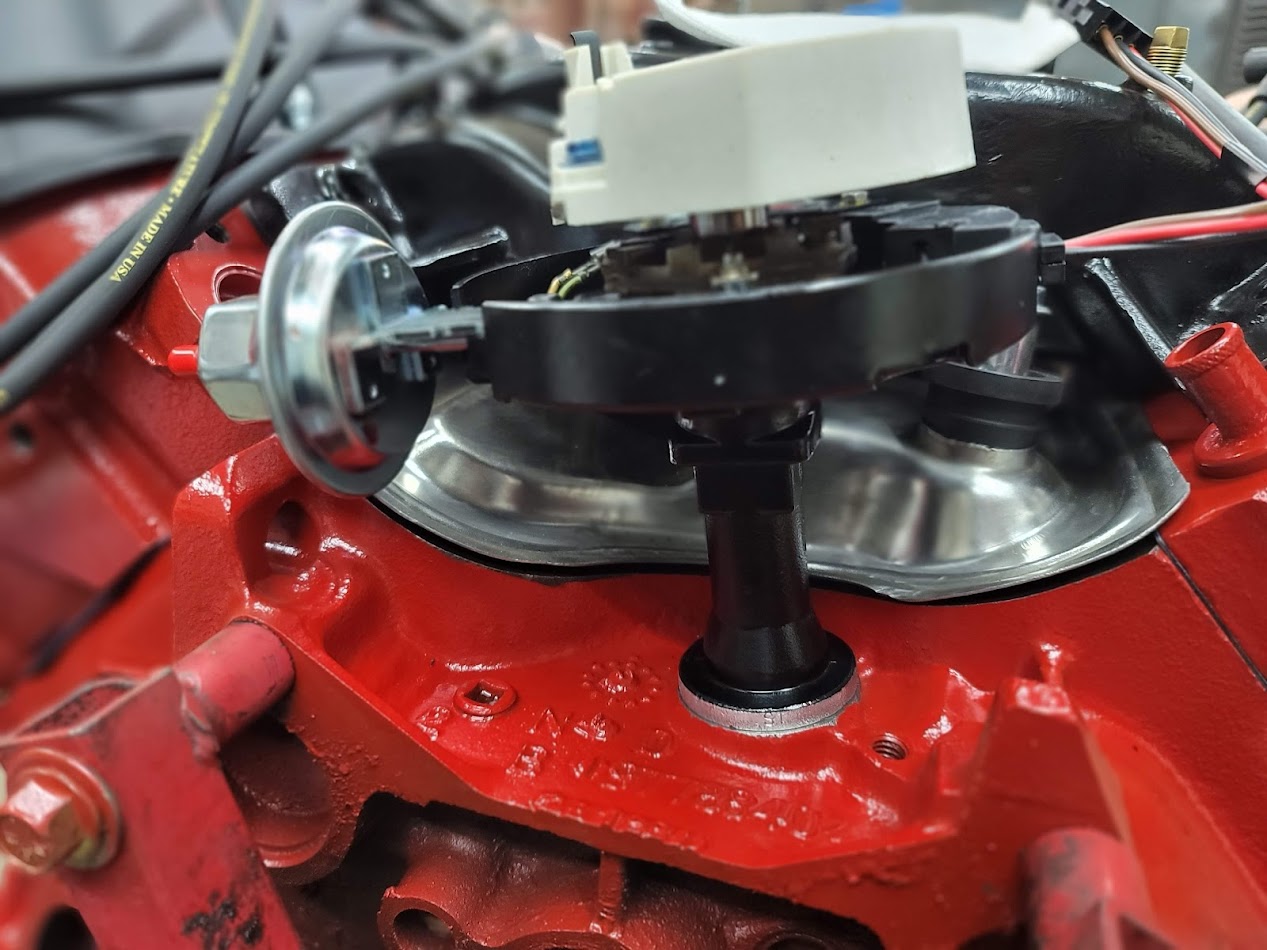
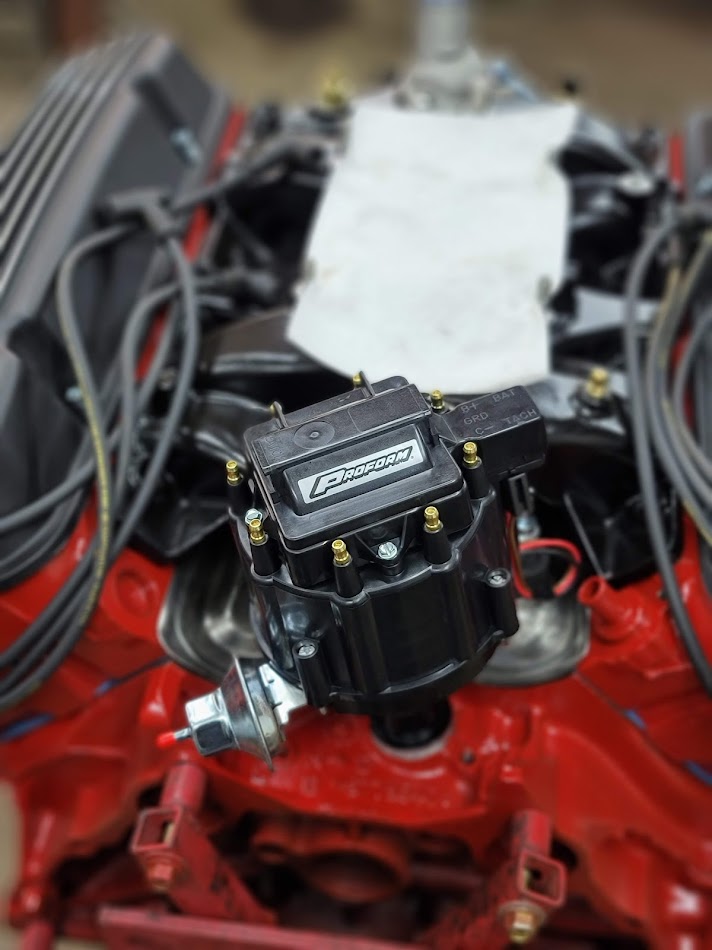
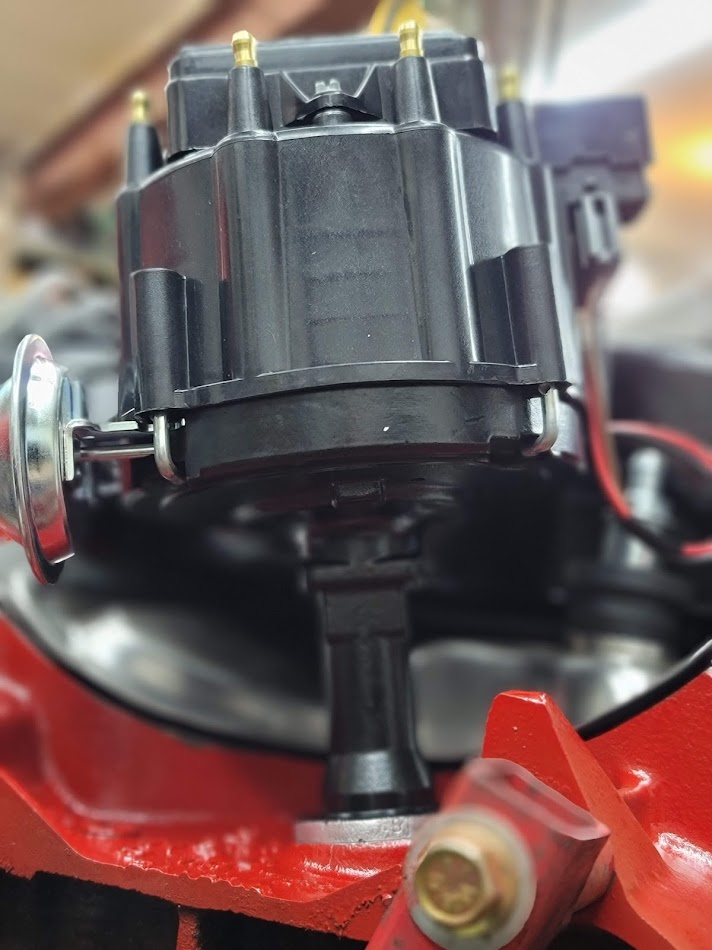
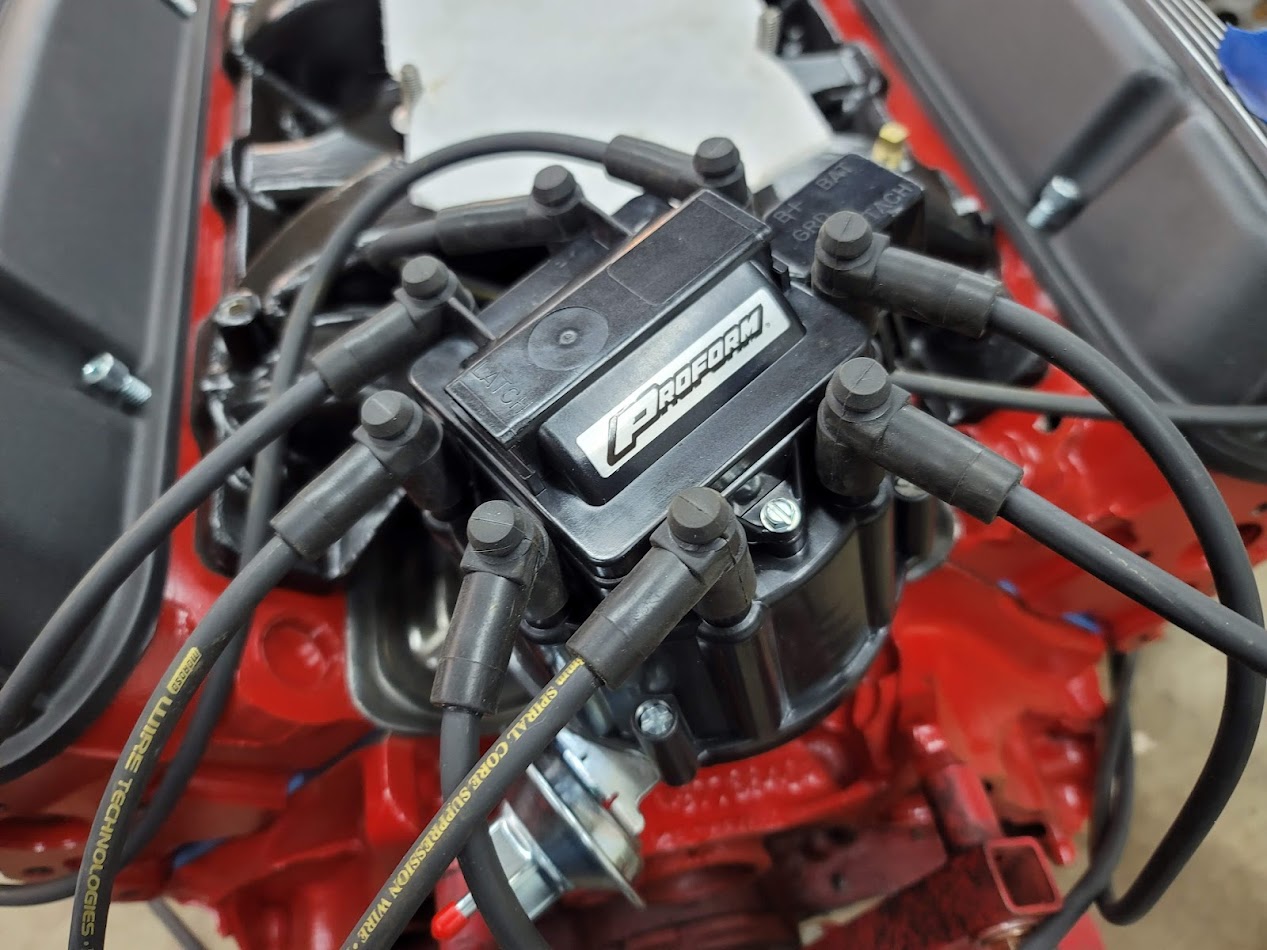
Next step? I need to figure out my front brackets and pullies, with the new water pump things no longer align…
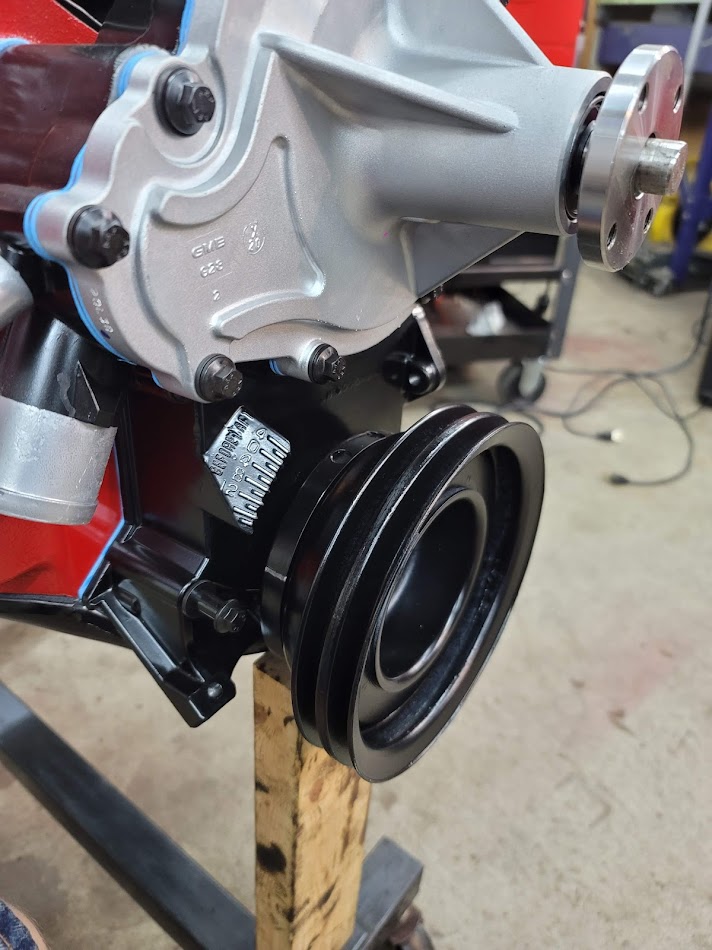
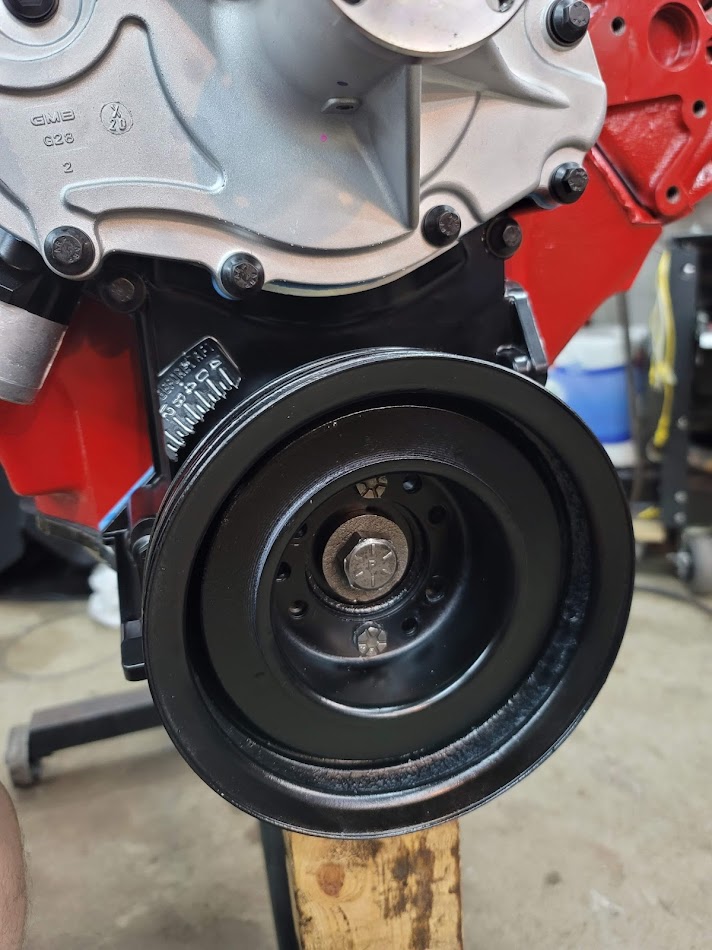
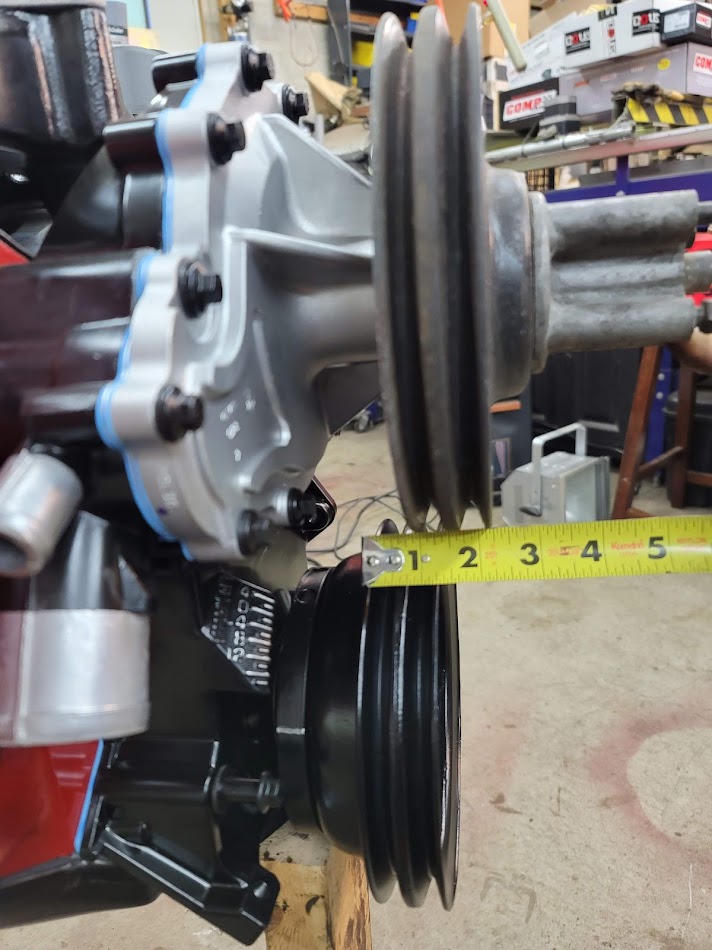
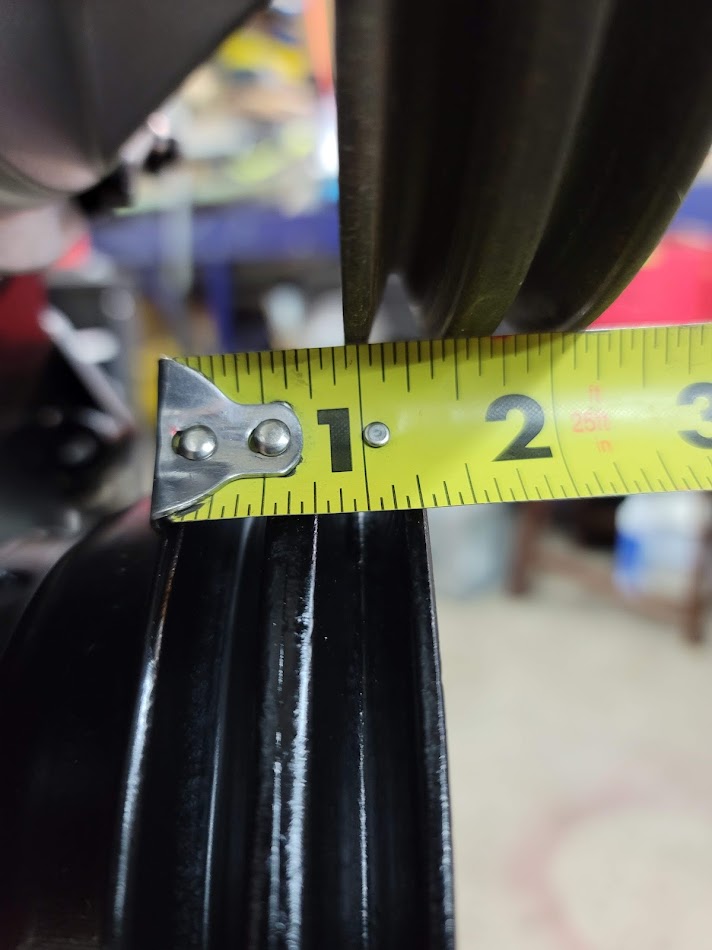
UPDATE: 4/7/2022 I *think* I found a pulley, while I wait for that to arrive, it was time to get some things into paint!
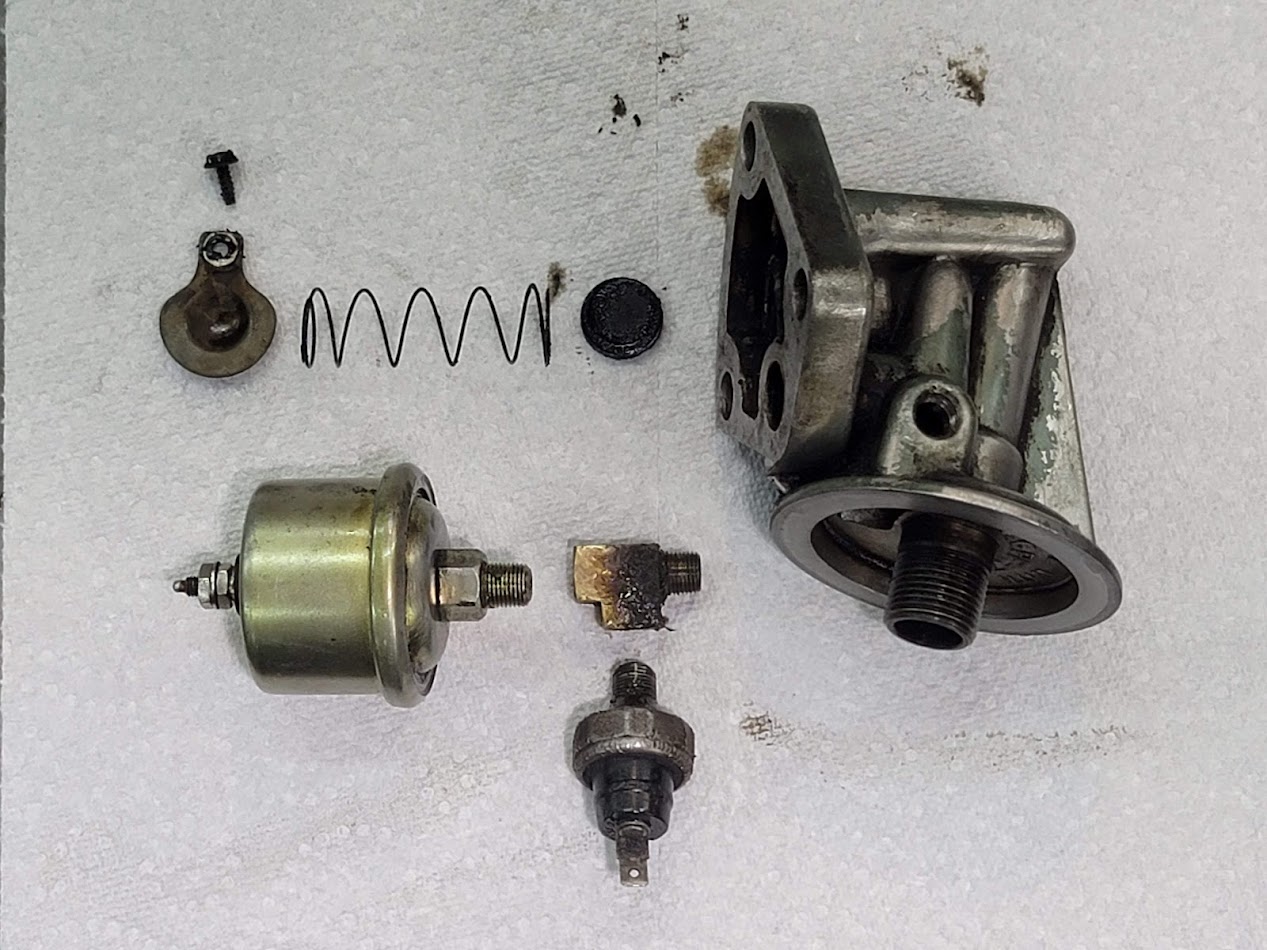
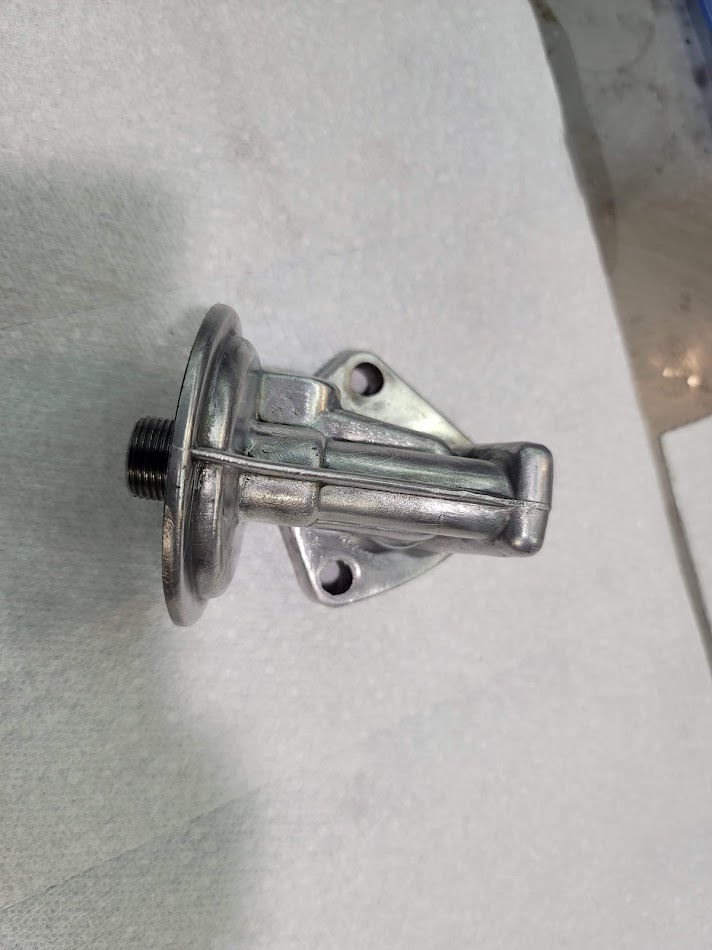
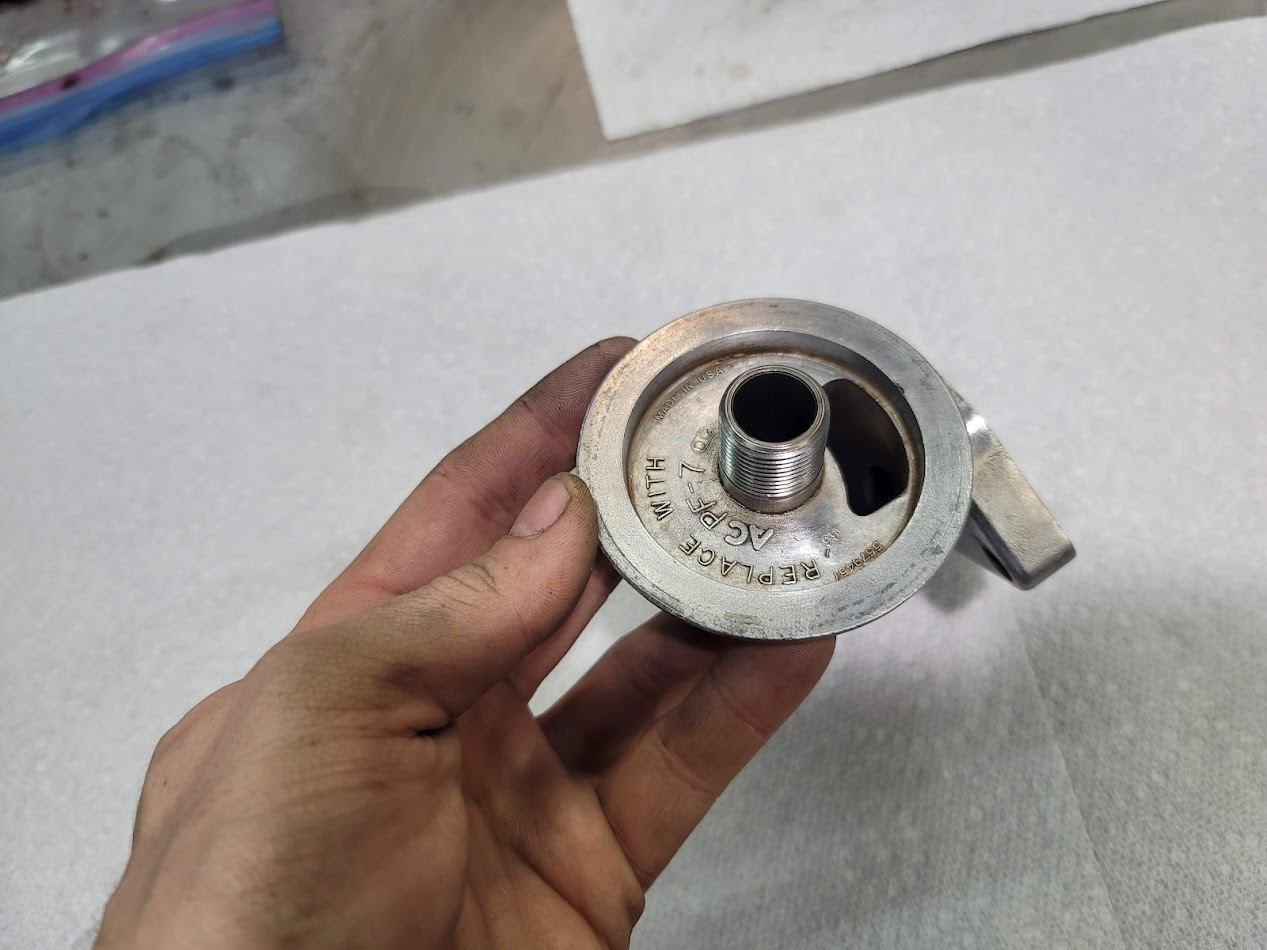
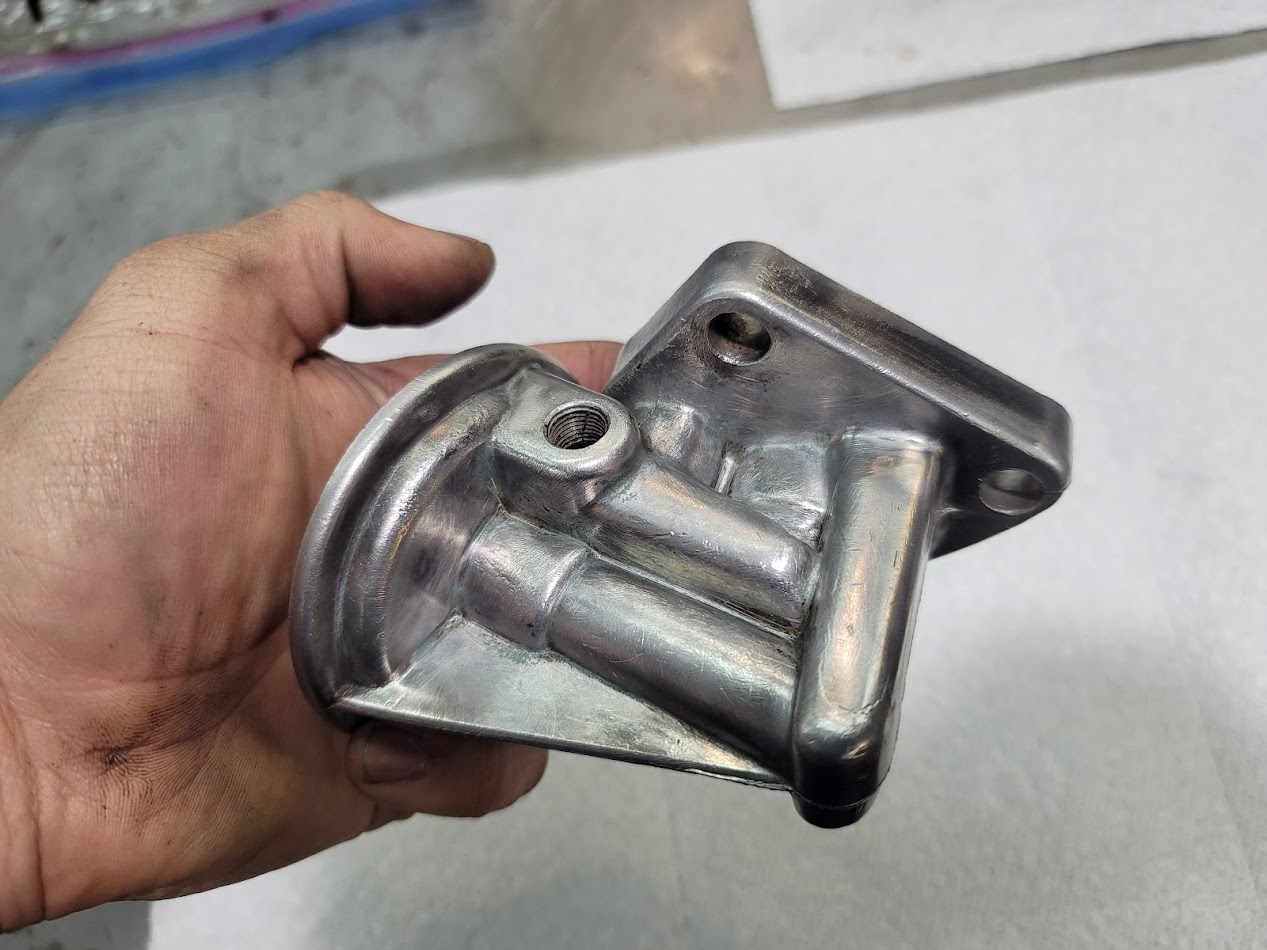
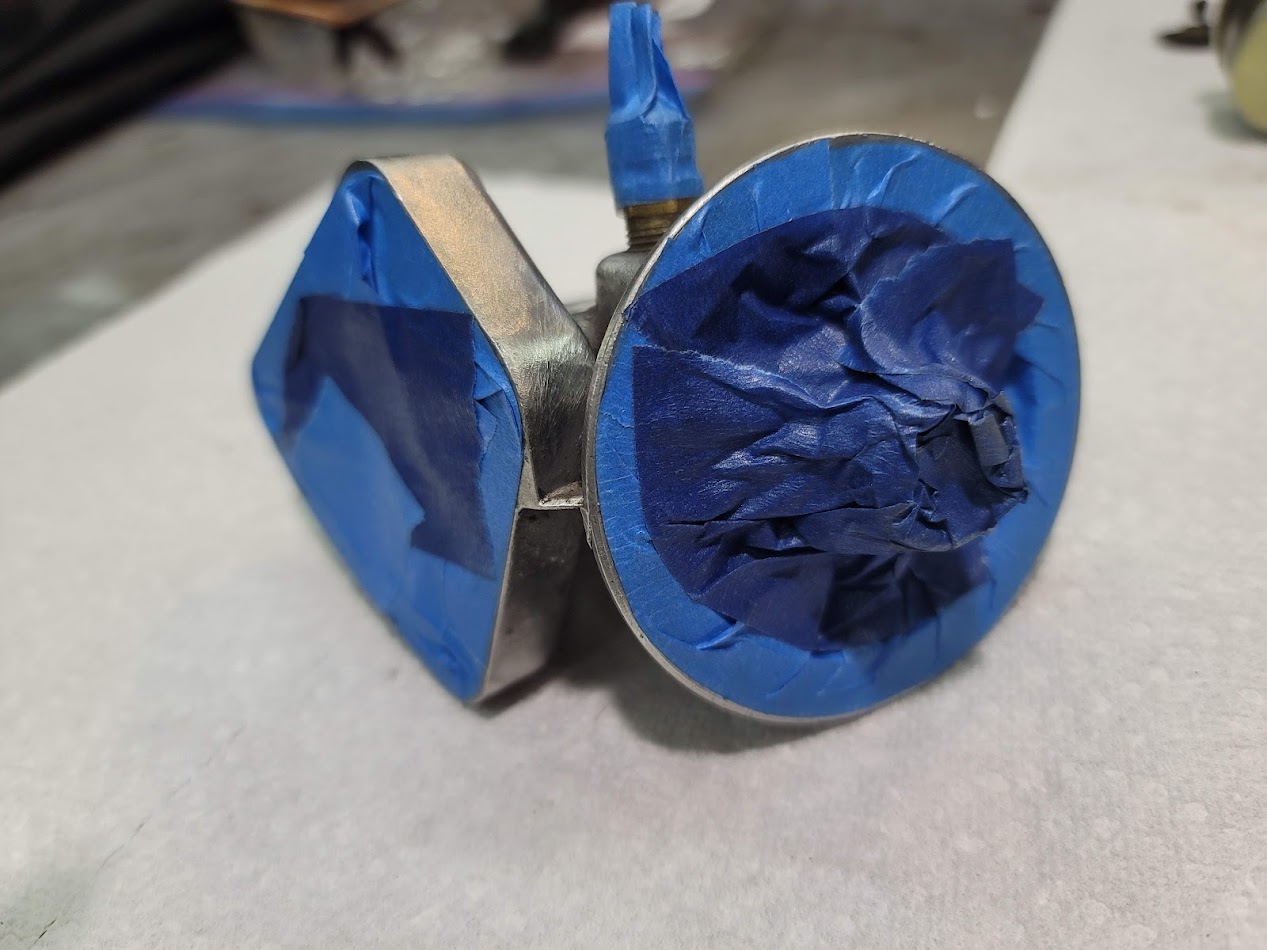
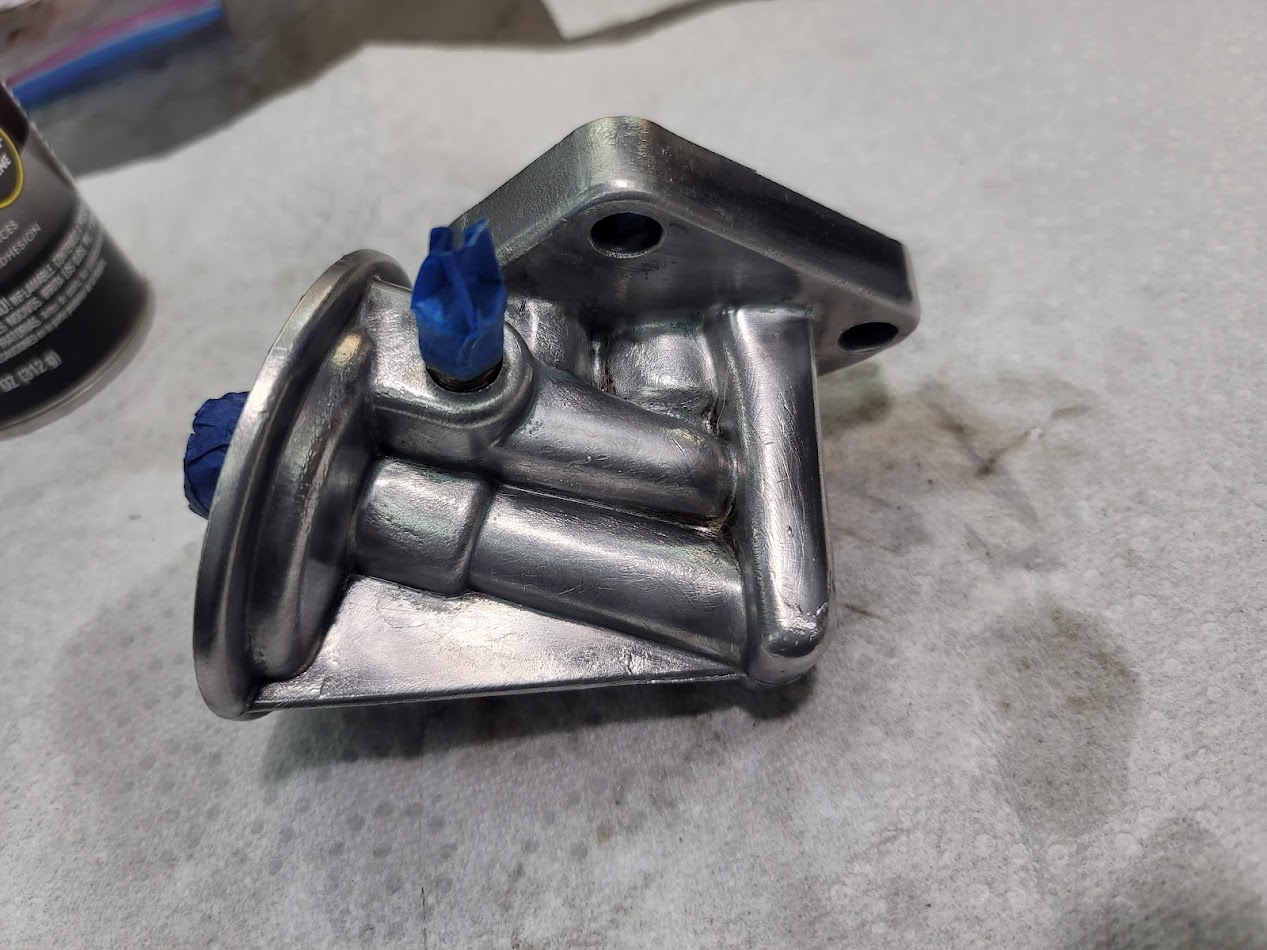
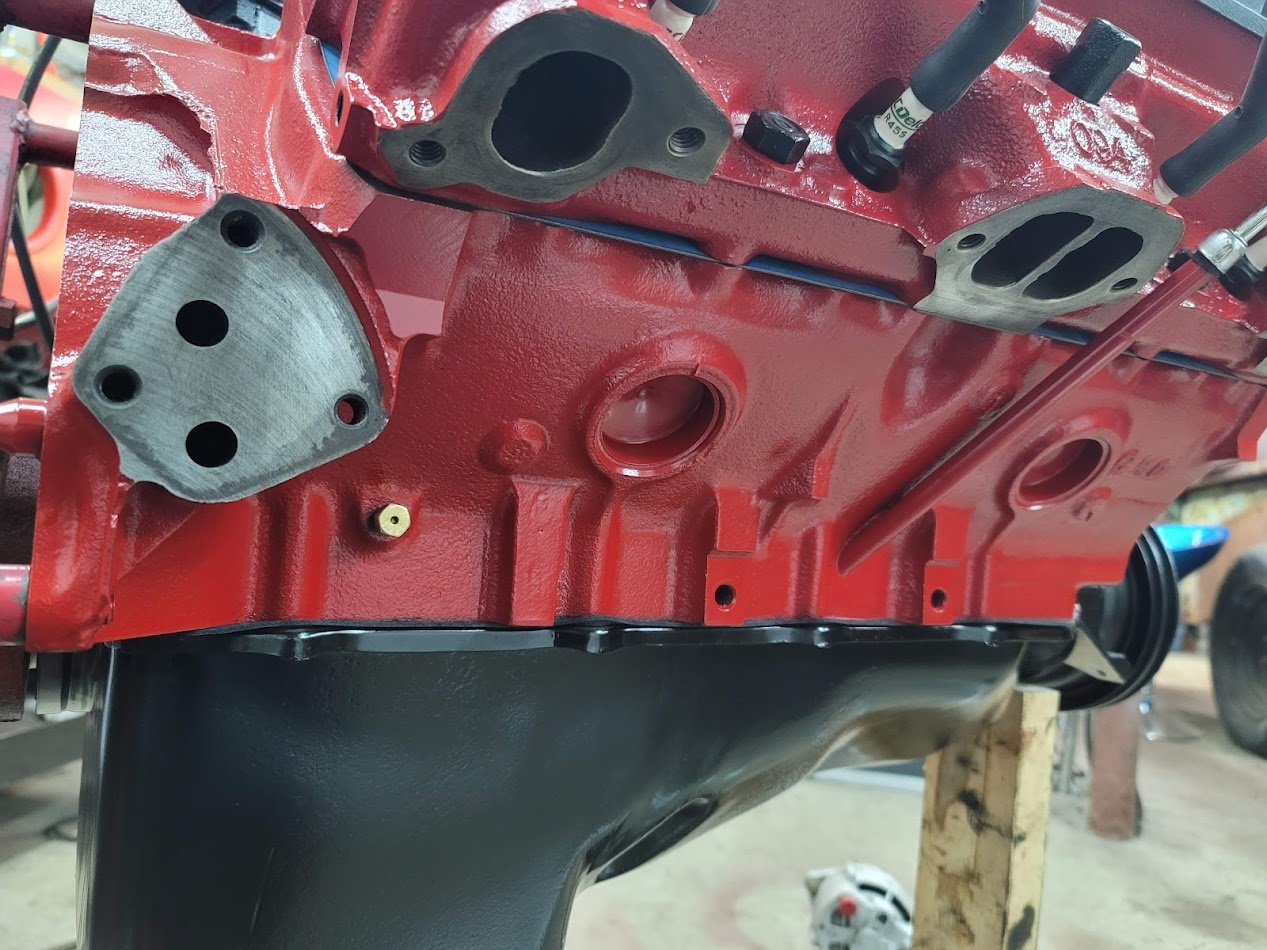
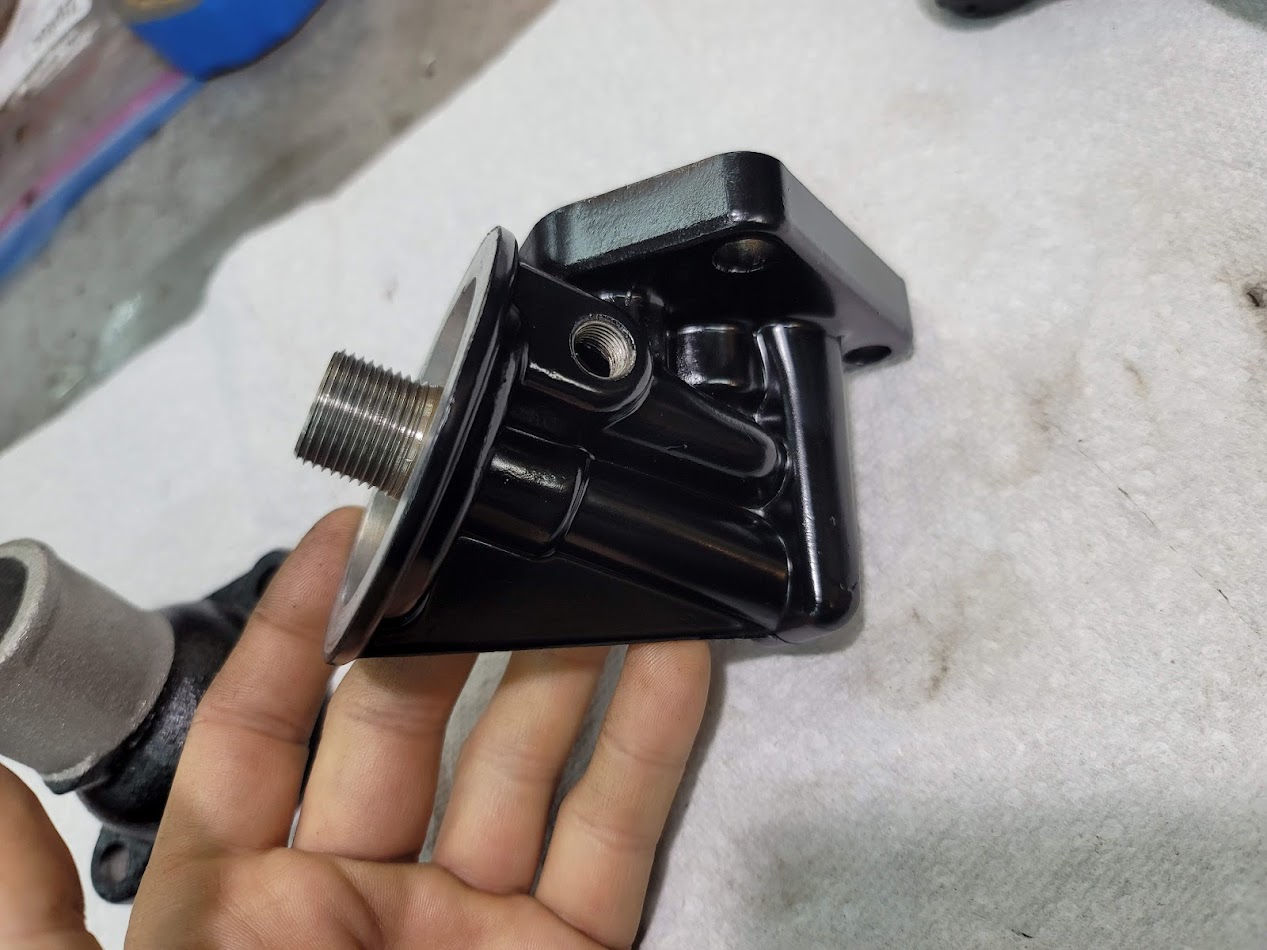
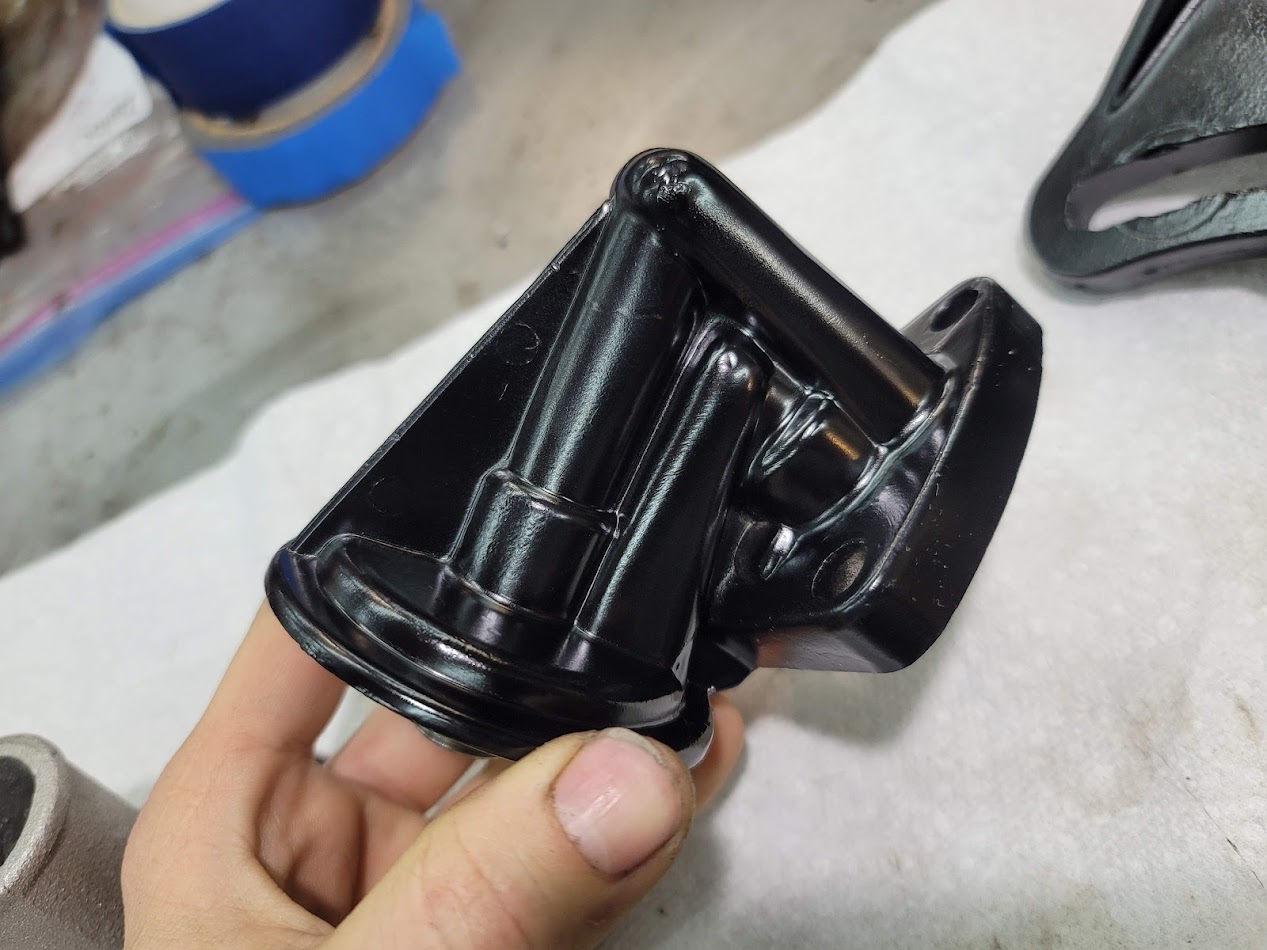
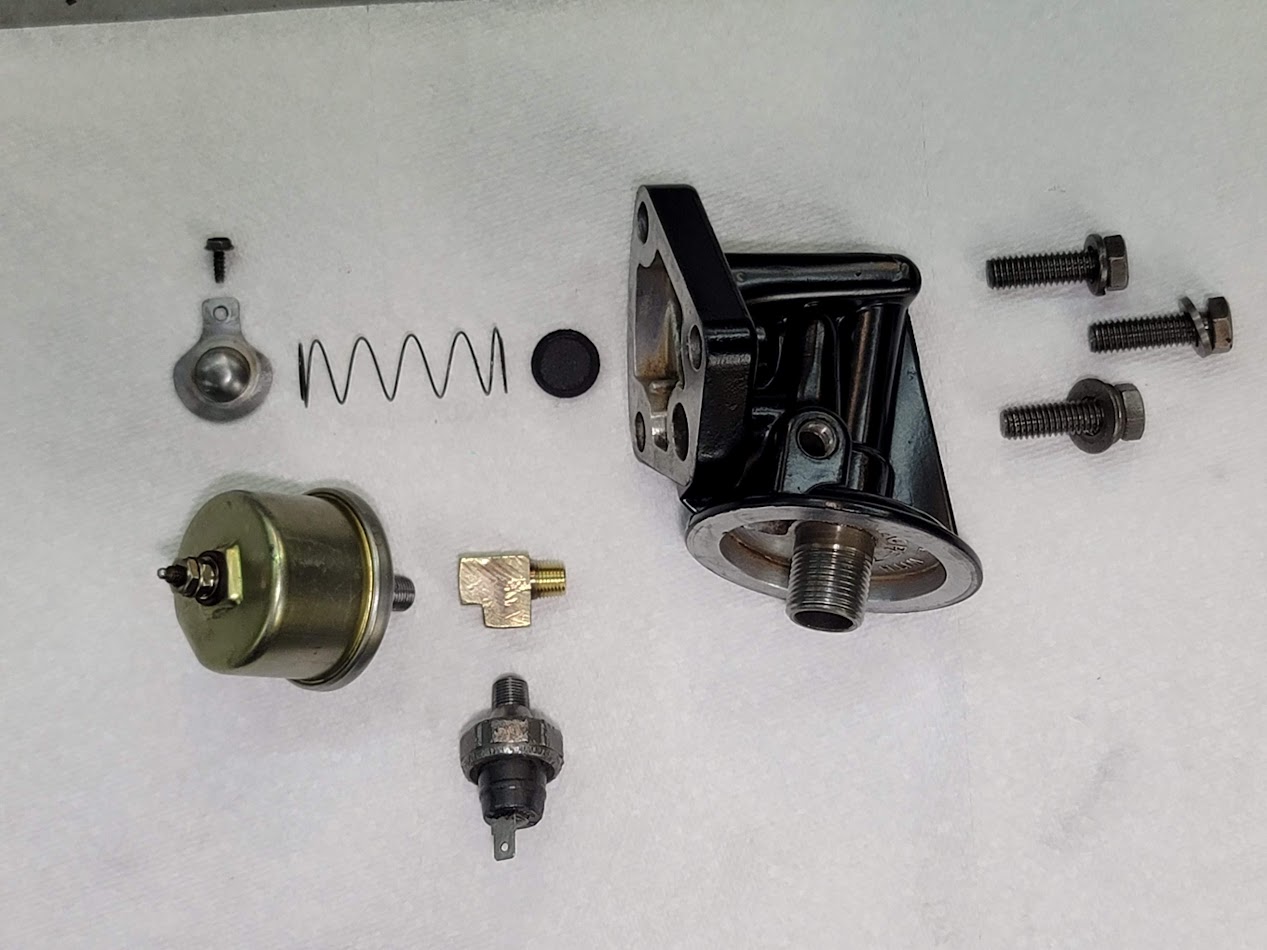
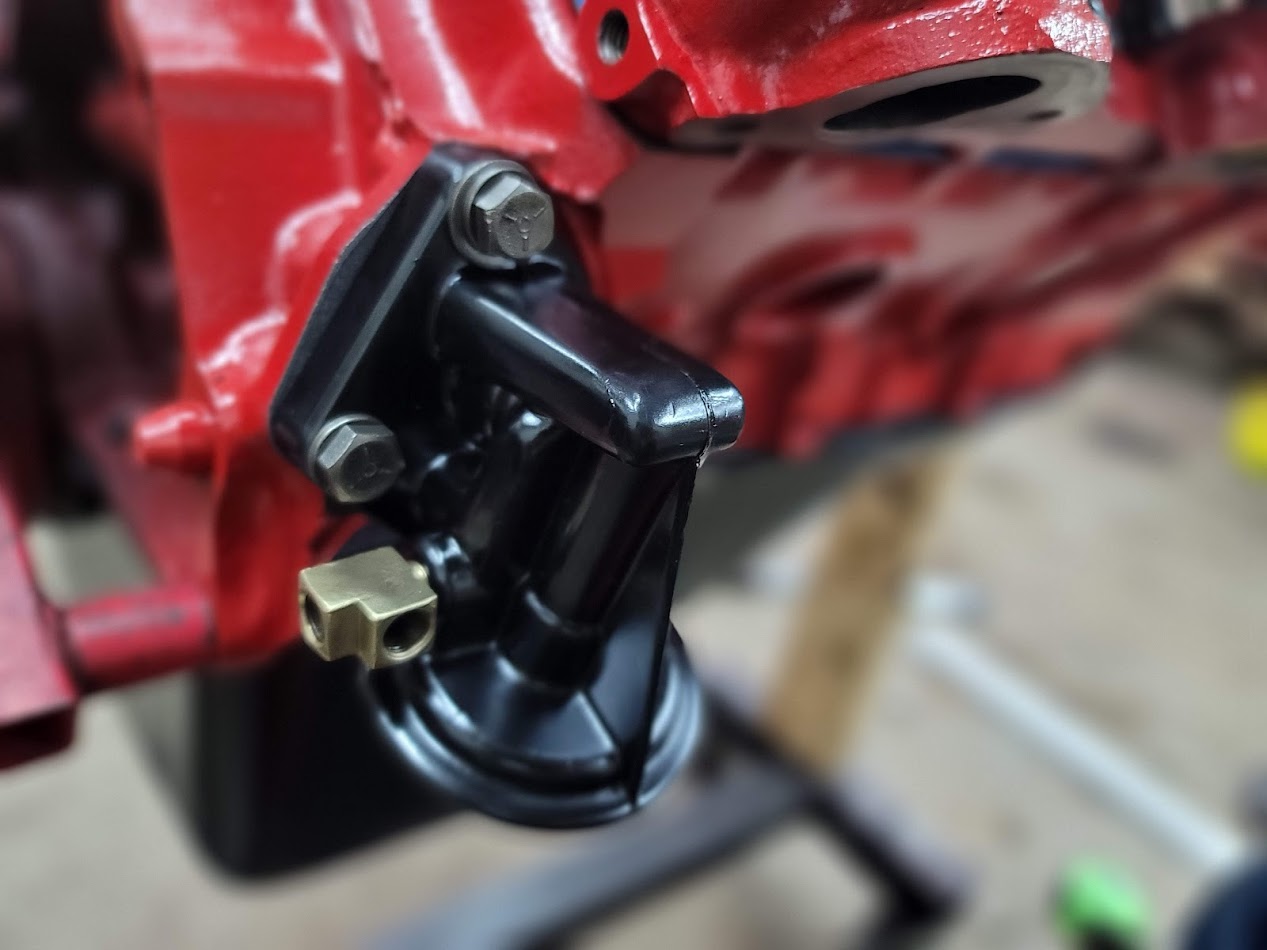
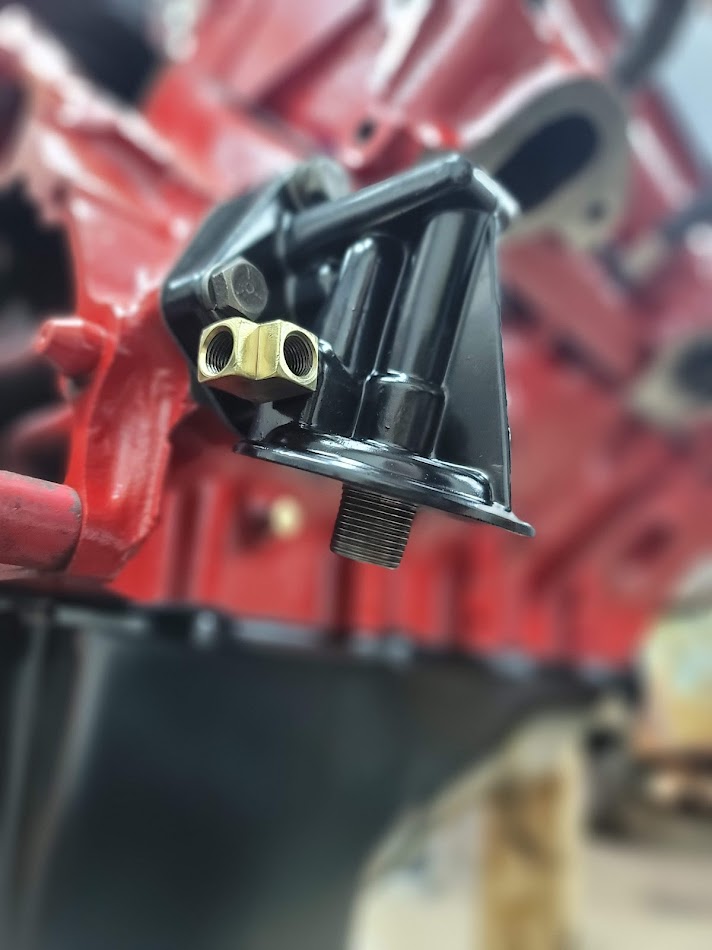
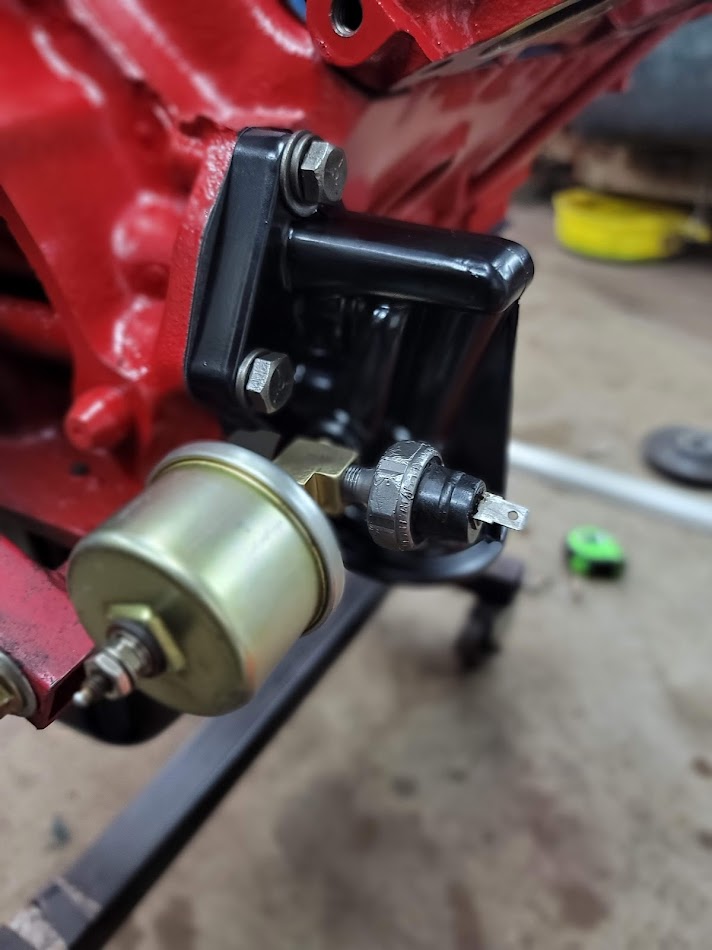
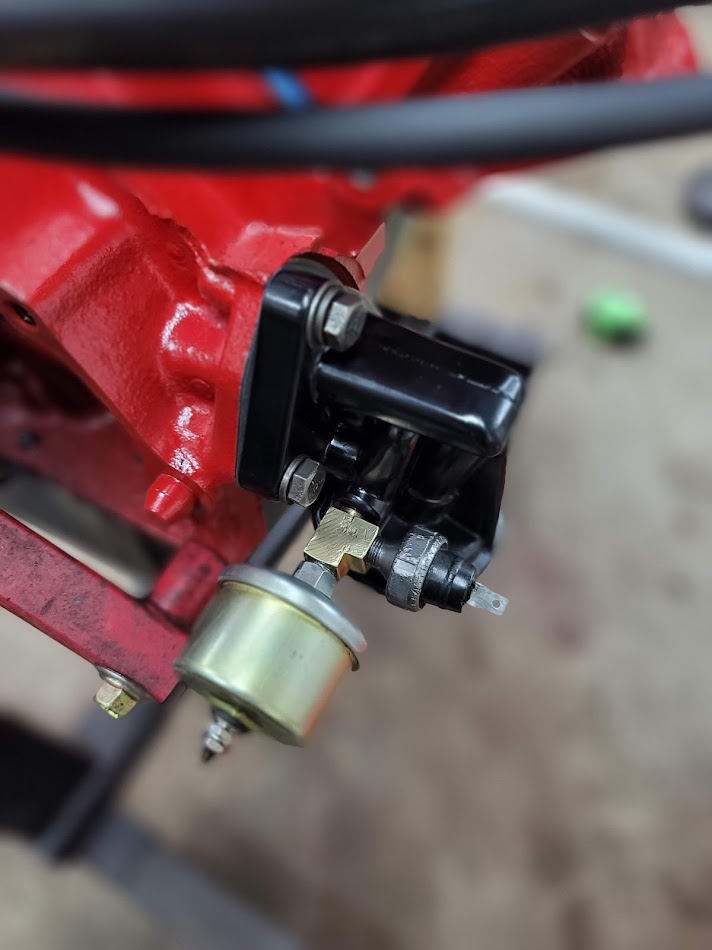
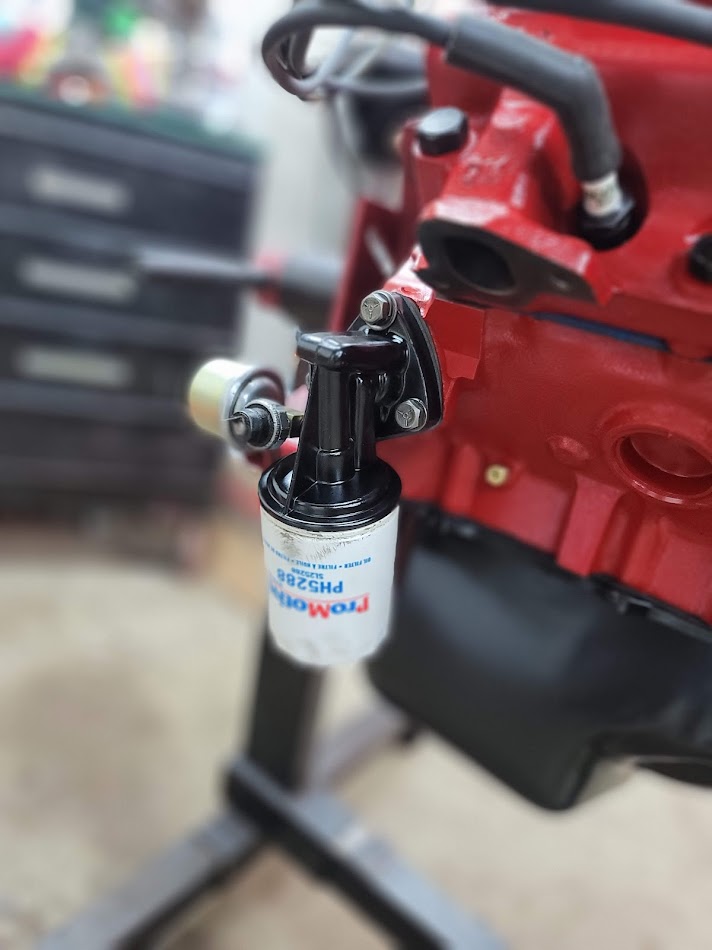
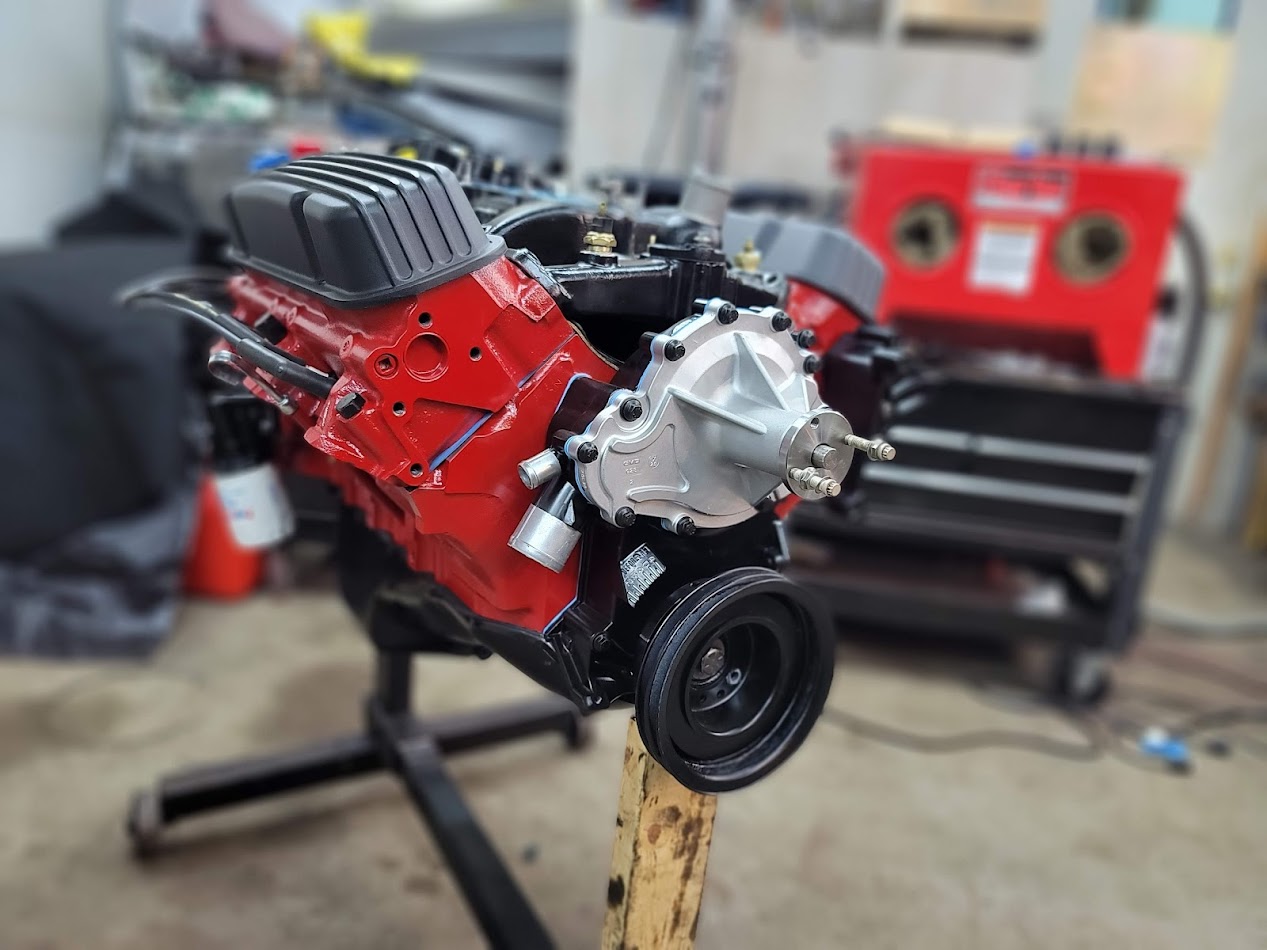
Put off the oil filter bracket for it was a very complex shape to try and clean and strip. But got it done! Looks much better in paint. Need to pick up a new filter, pressure switch and sender unit.
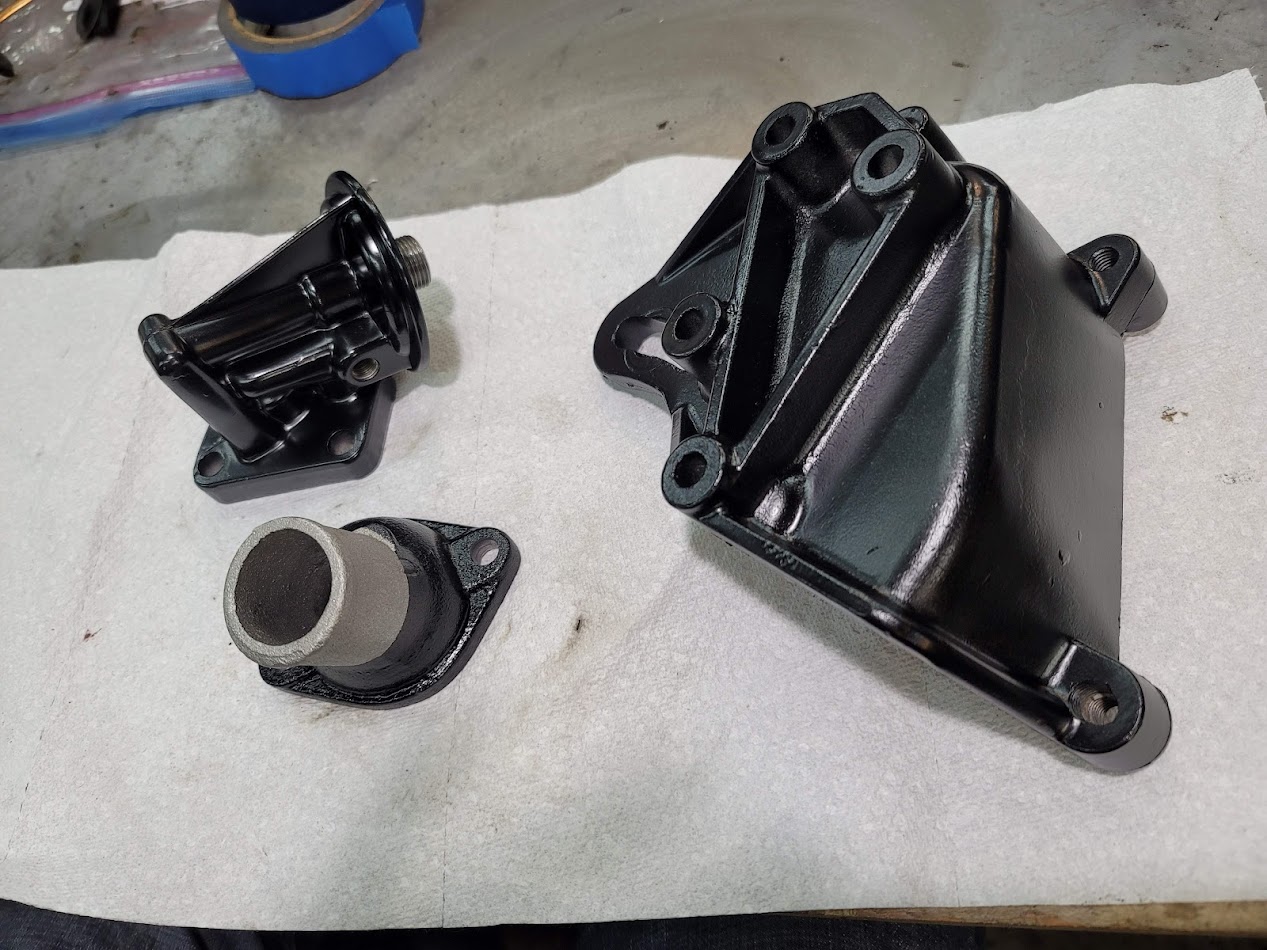
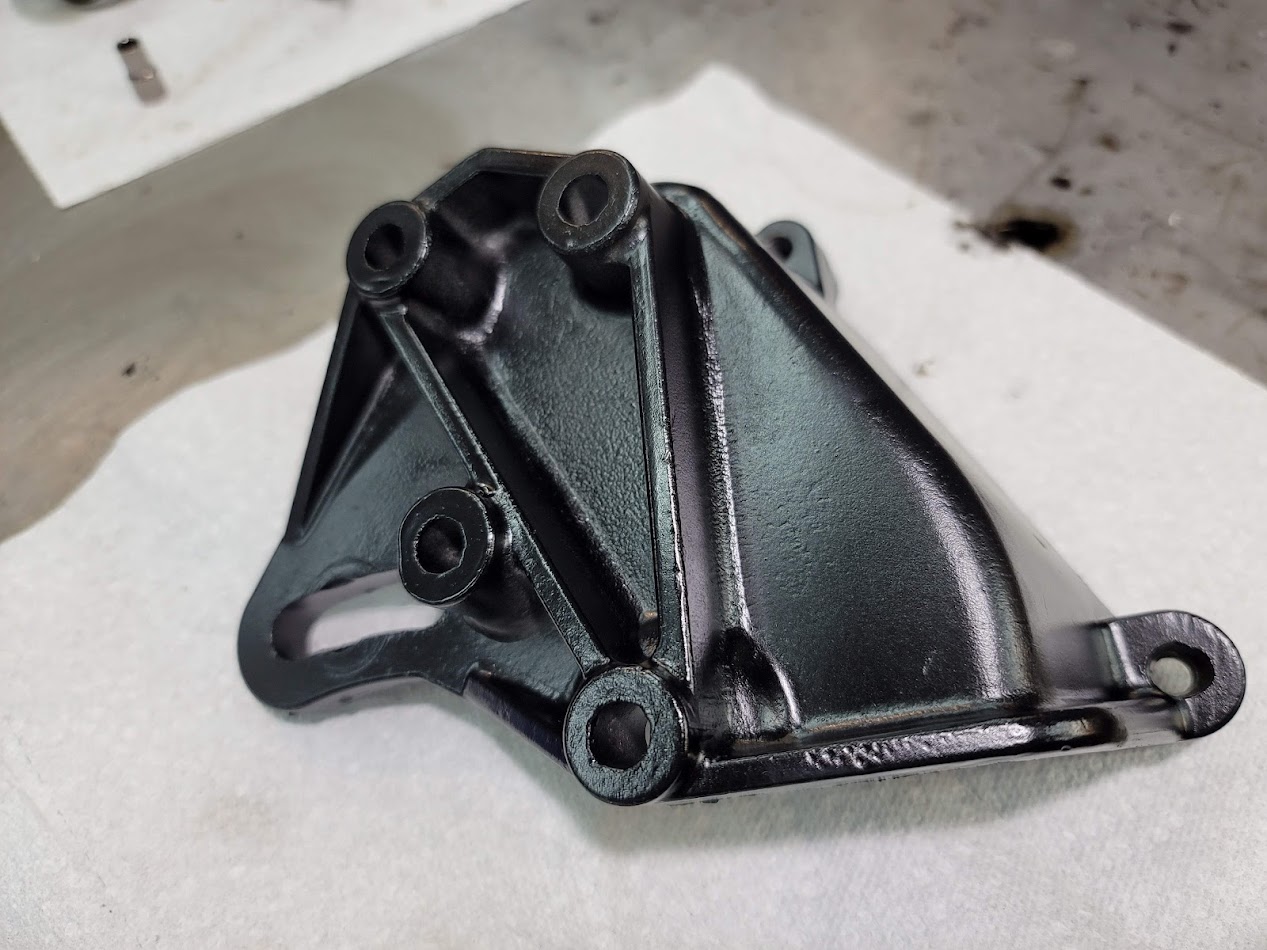
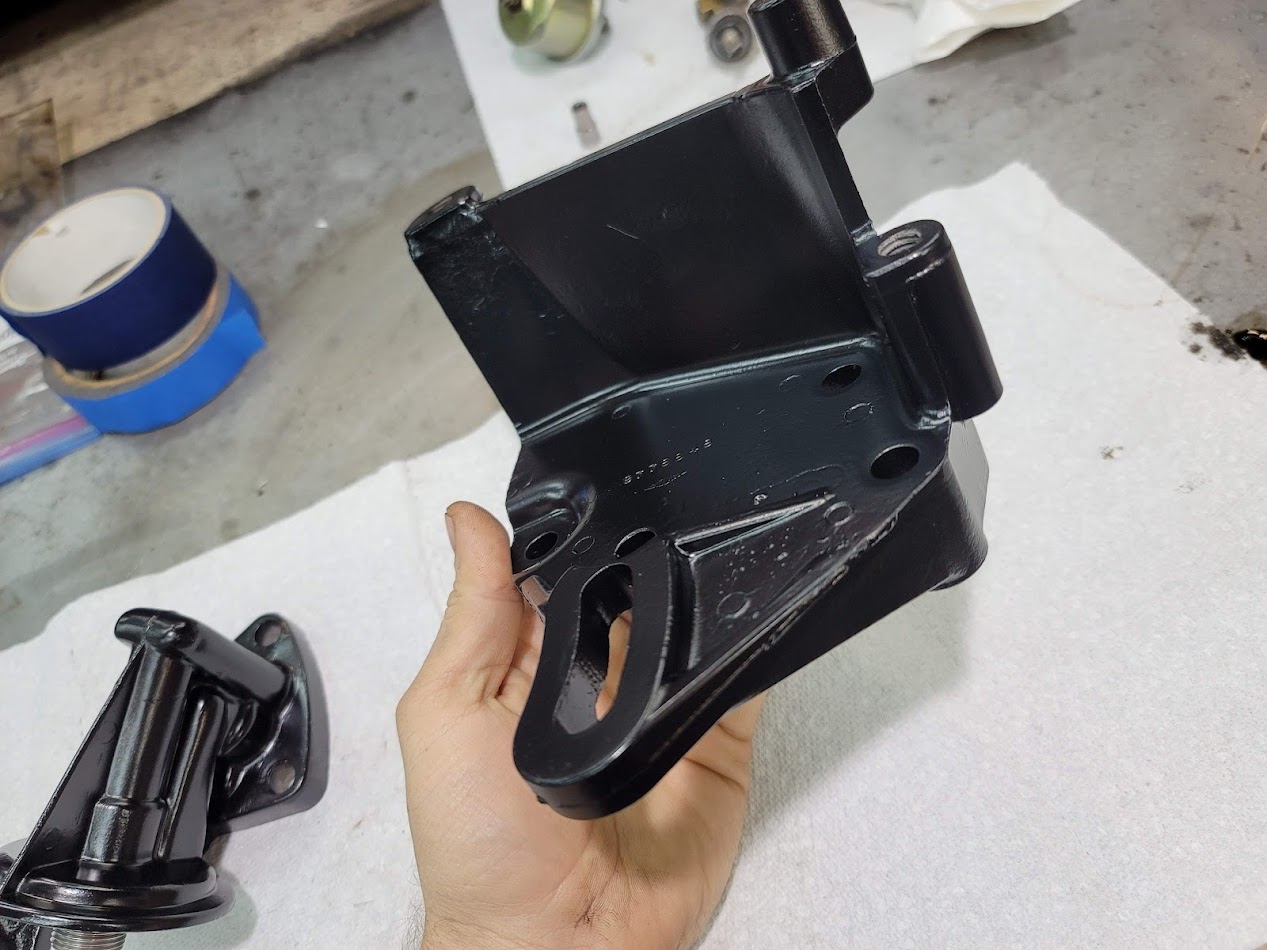
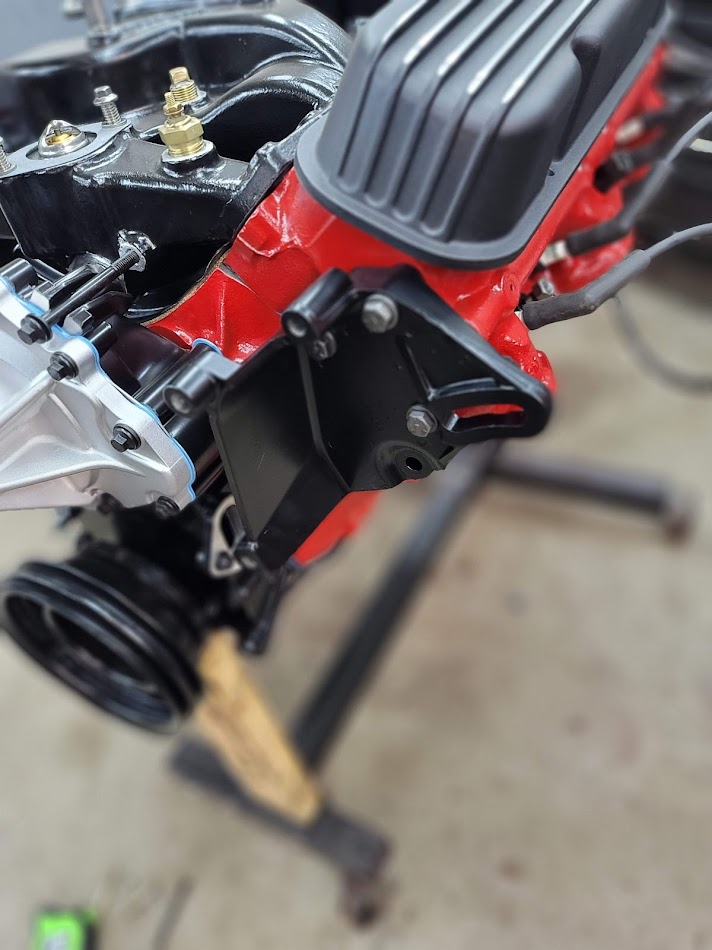
Power steering pump bracket also painted and installed.
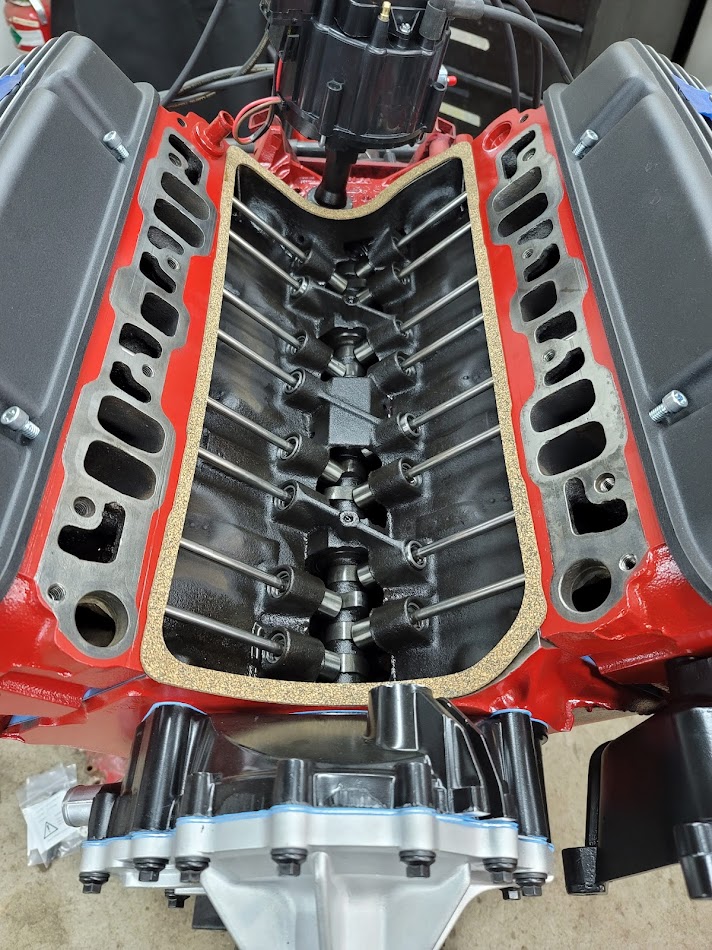
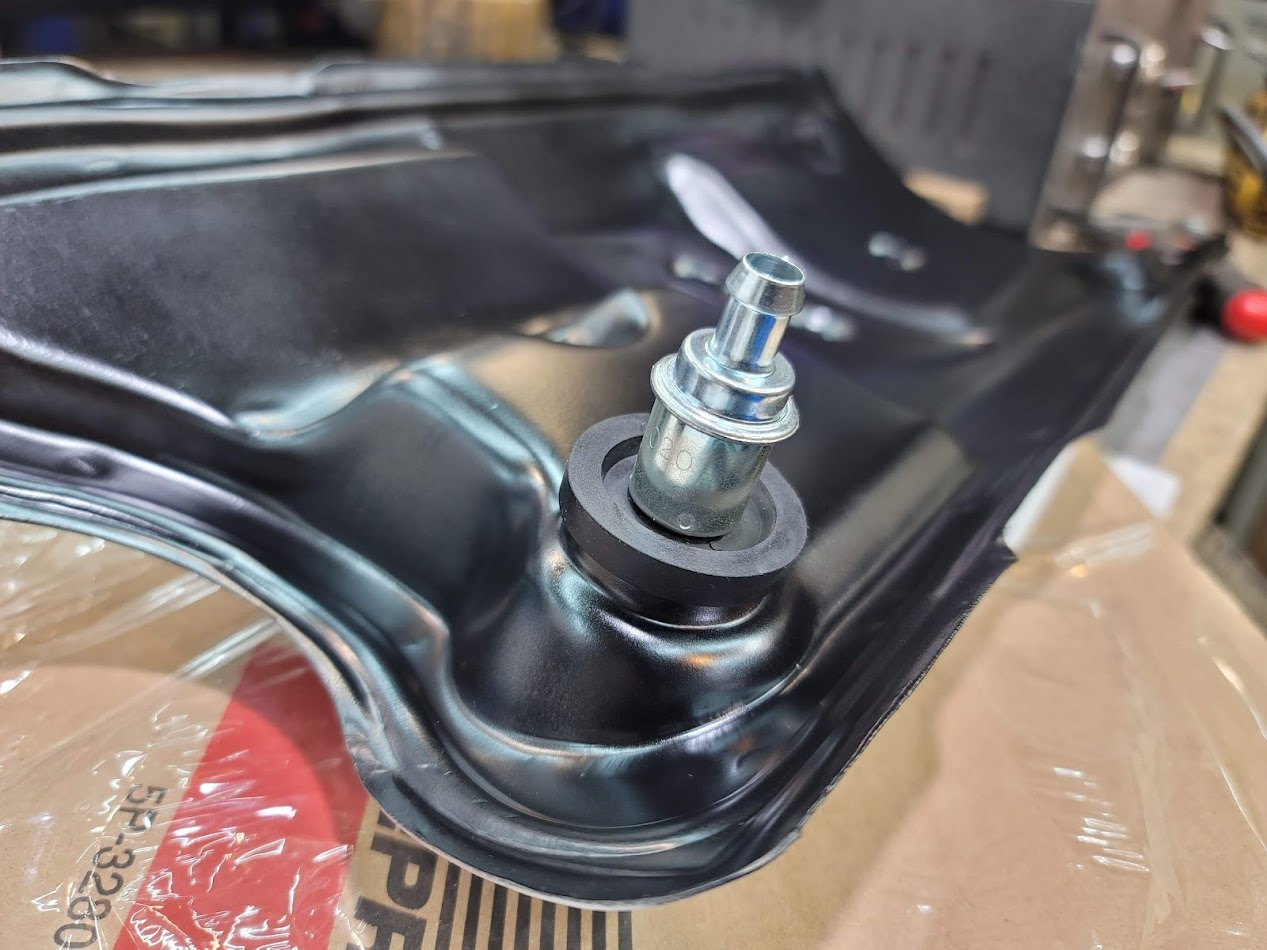
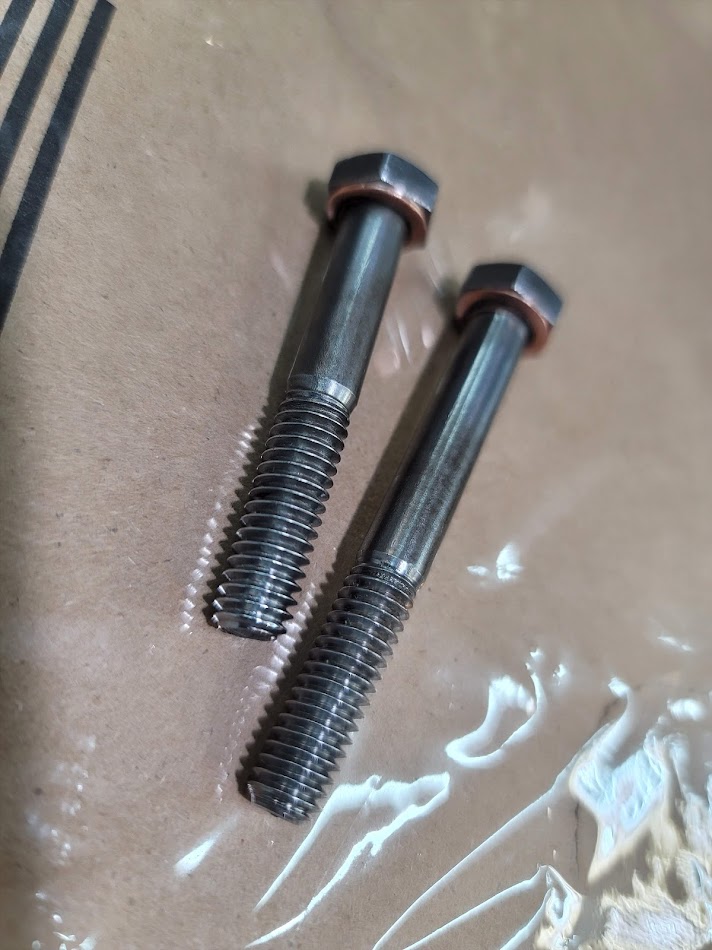
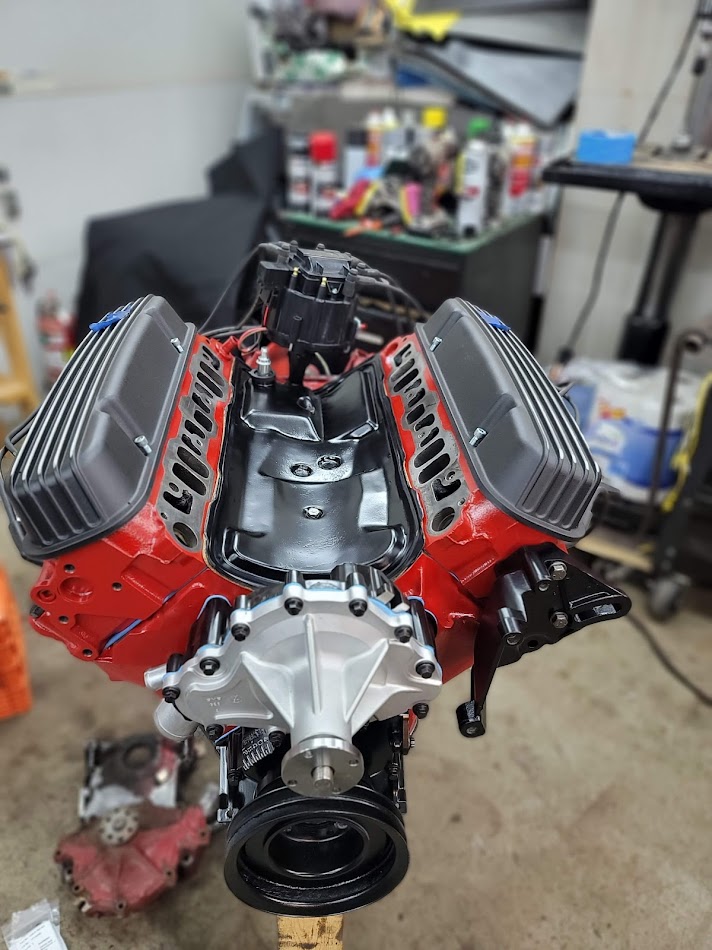
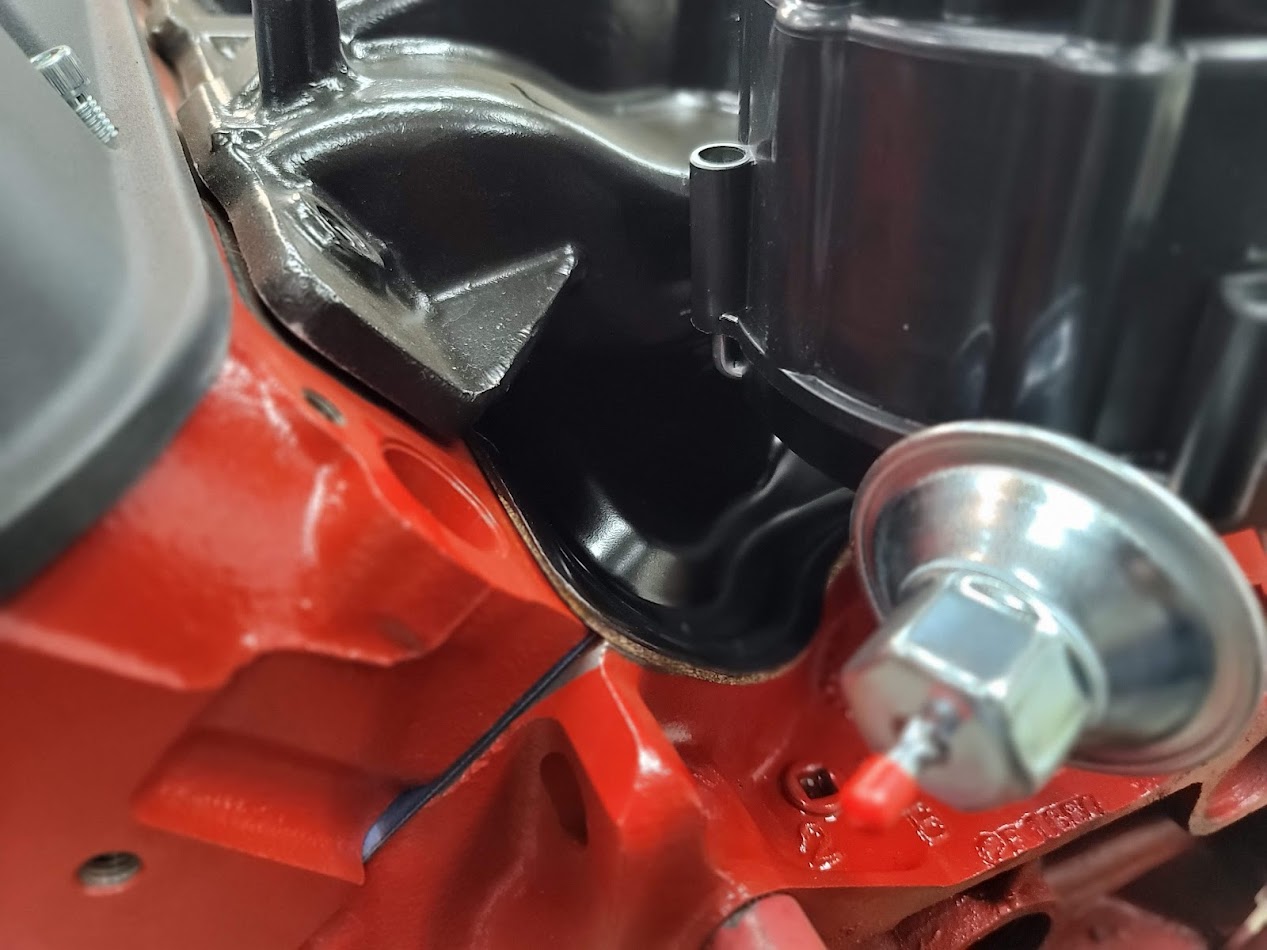
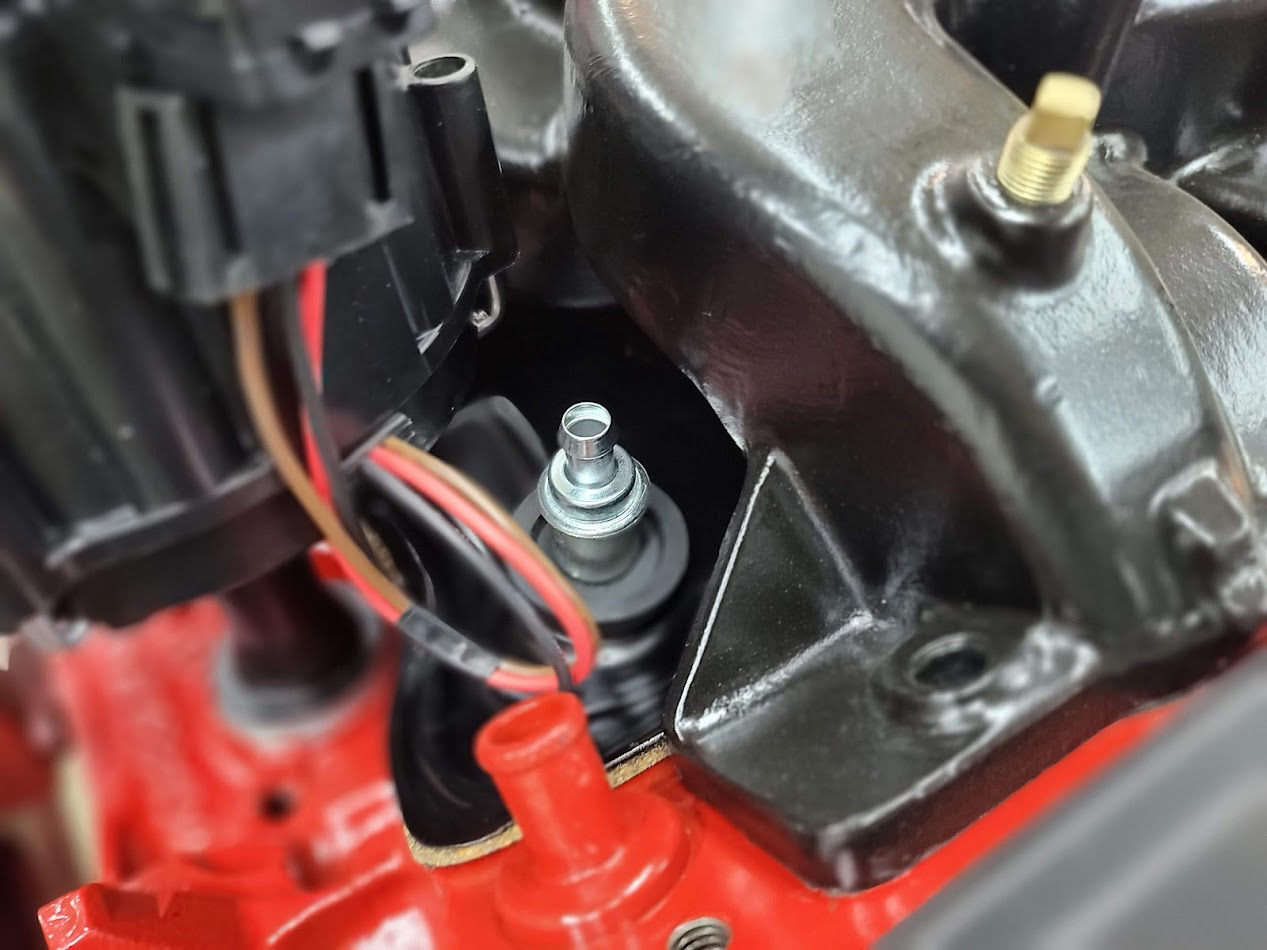
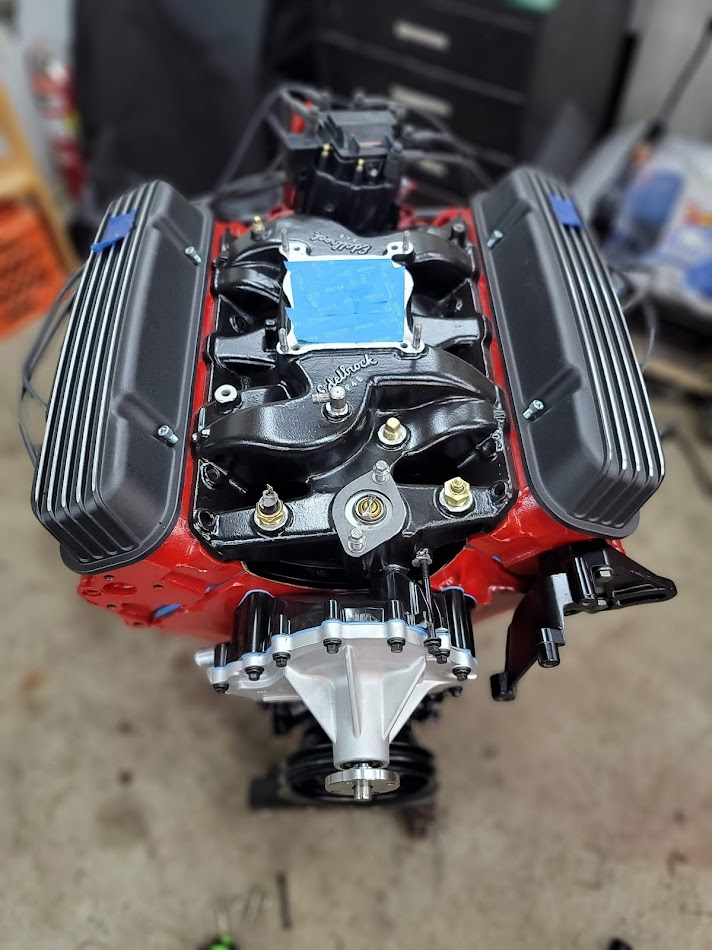
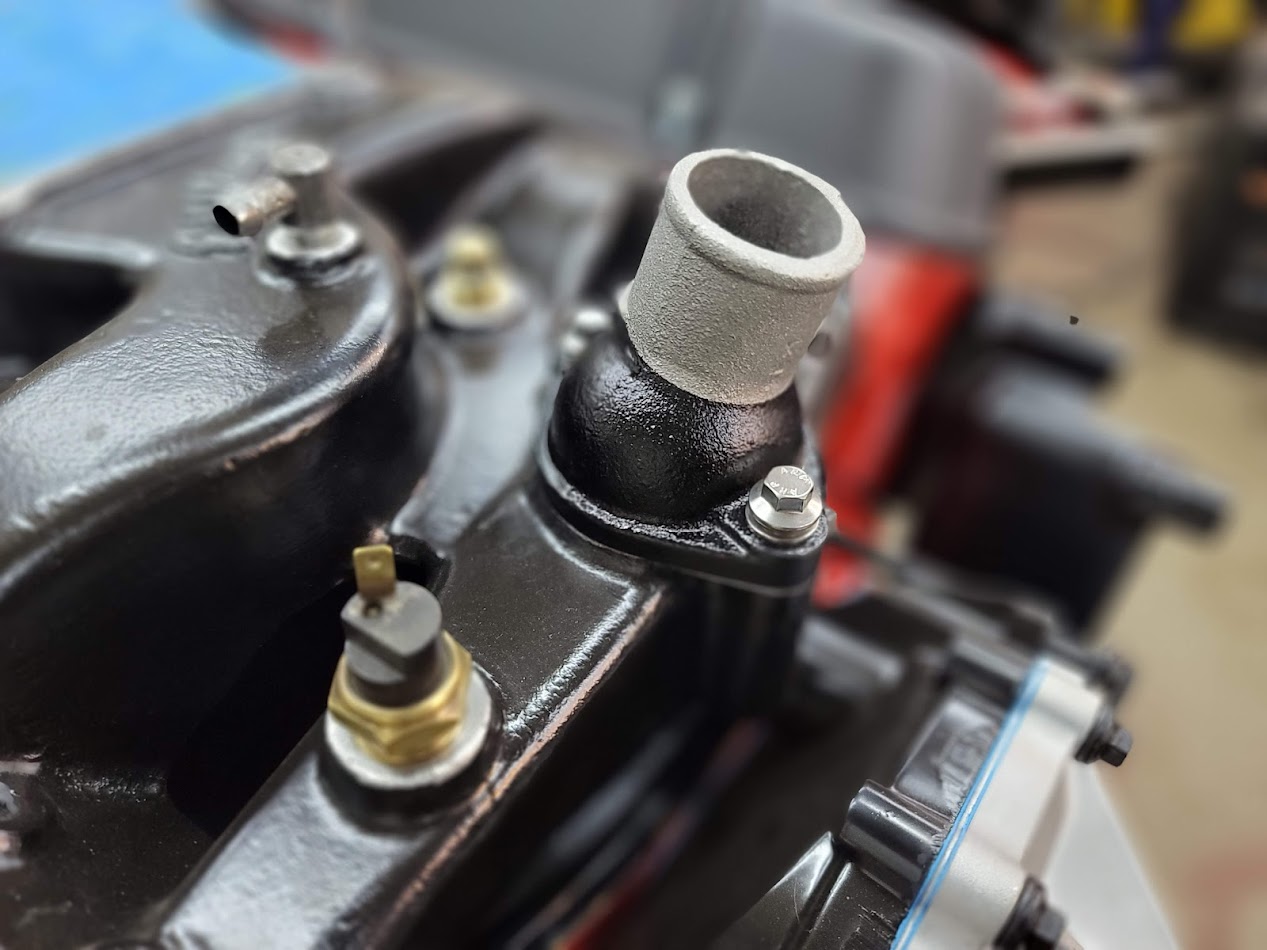
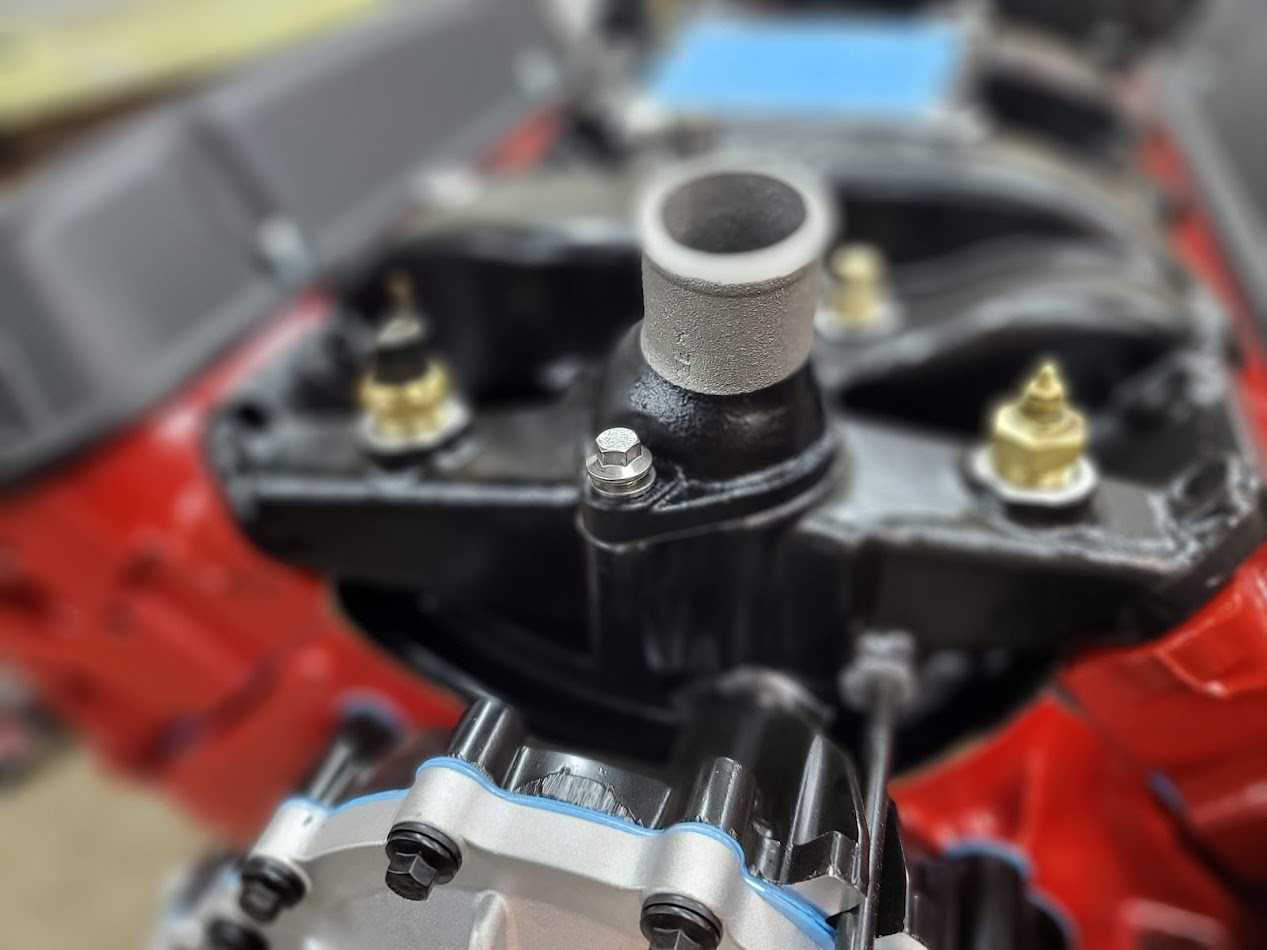
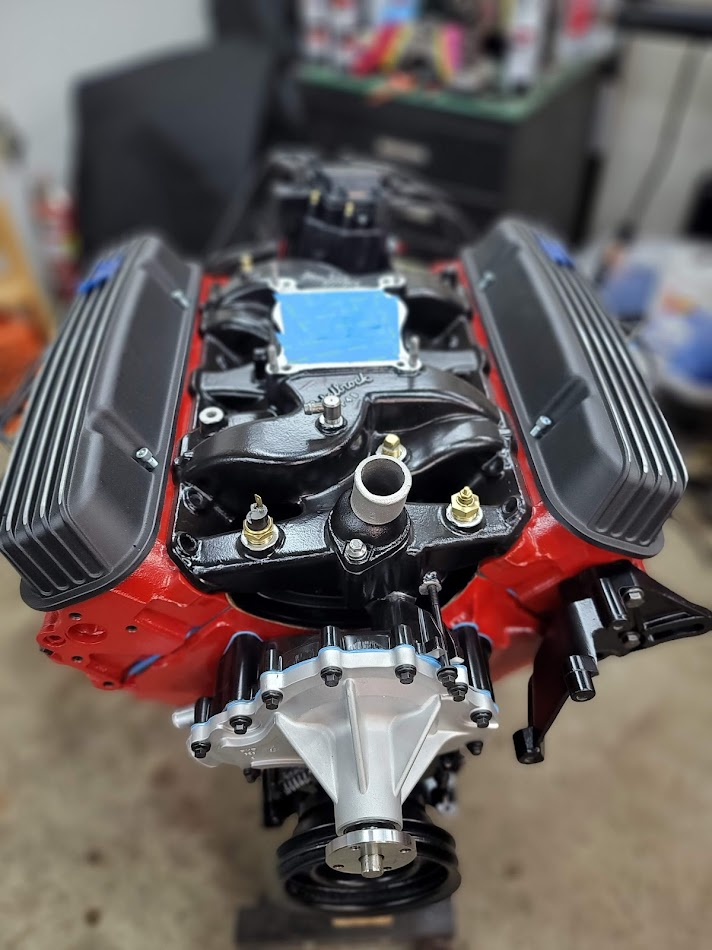
Got the valley pan painted, looks much better dark, even the bolts cleaned up nice.
Next step is to clean up all the front accessory brackets.
UPDATE: 4/10/2022
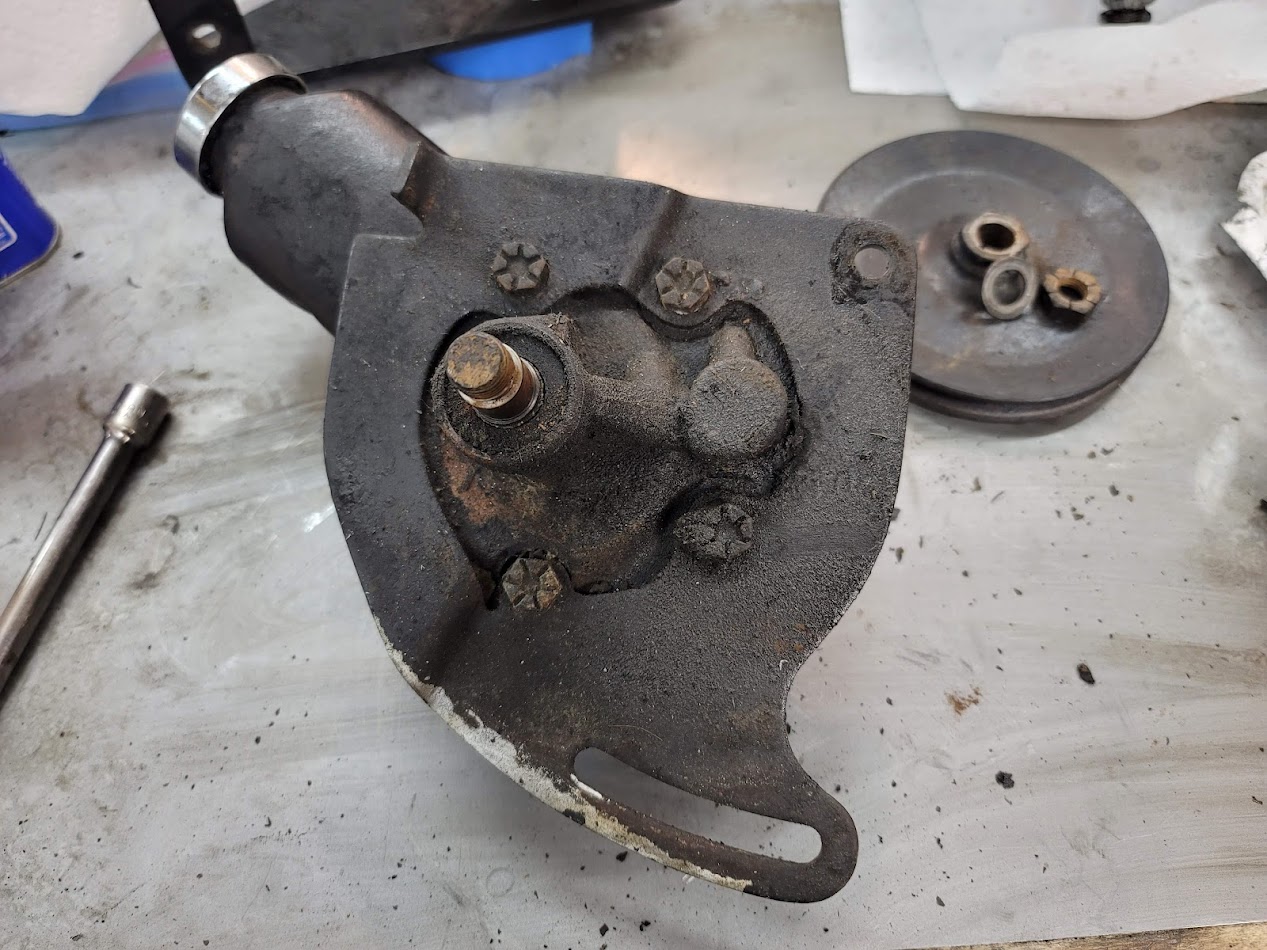
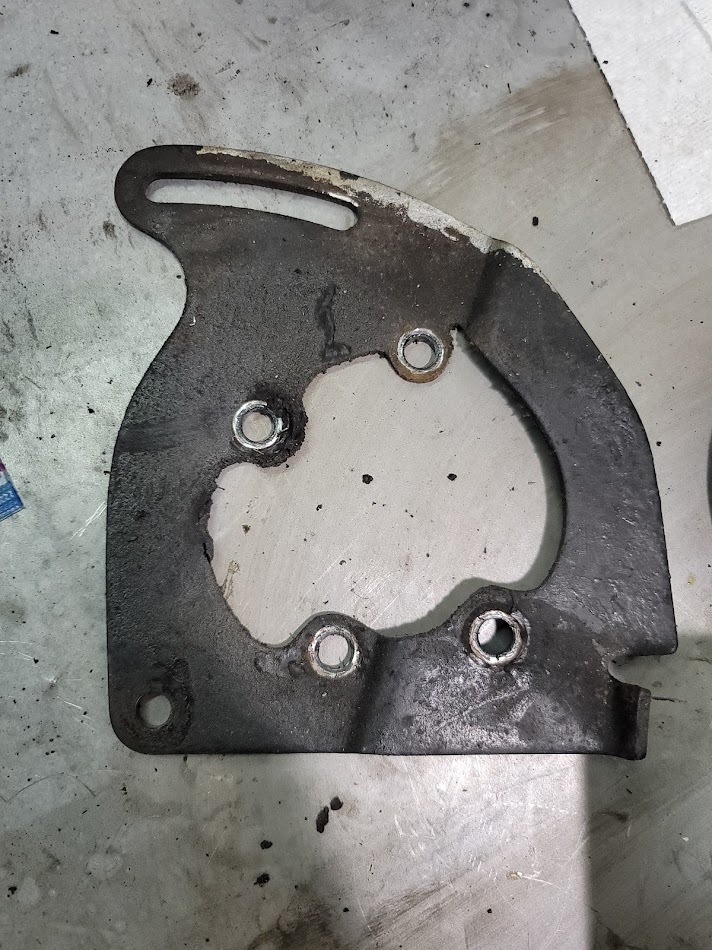
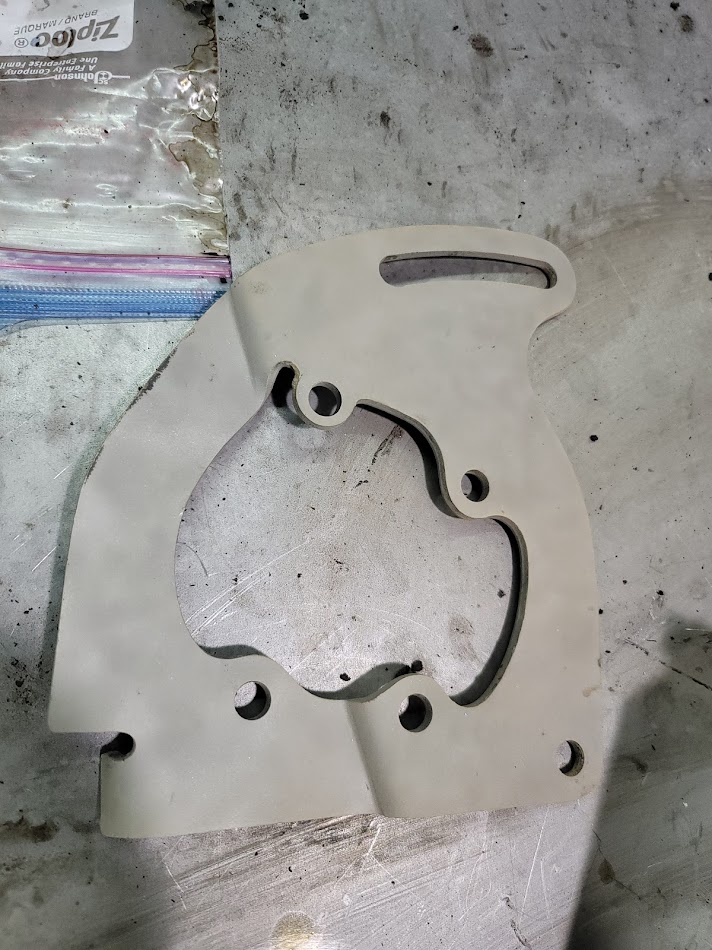
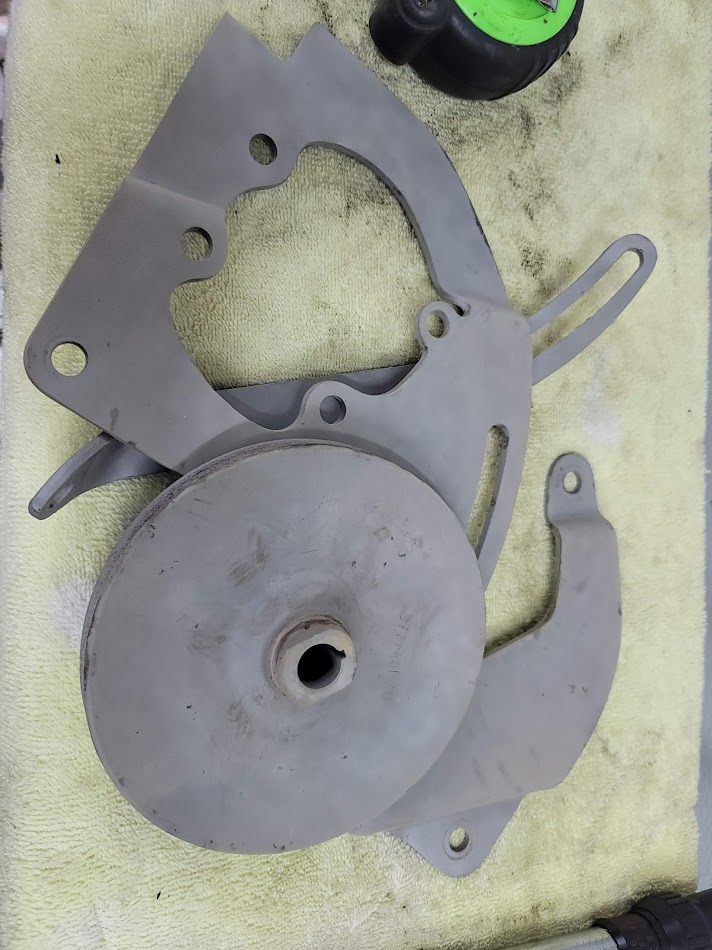
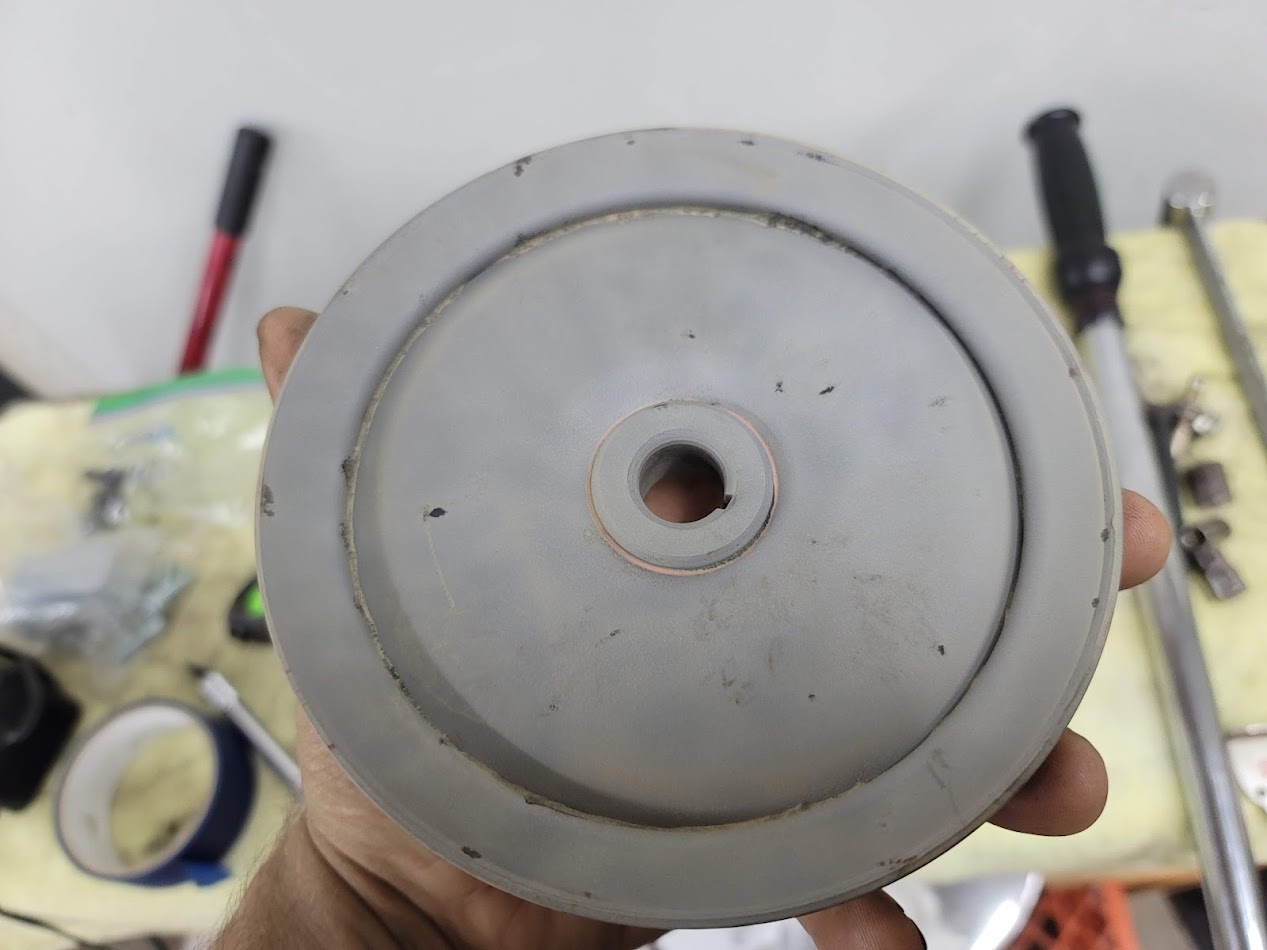
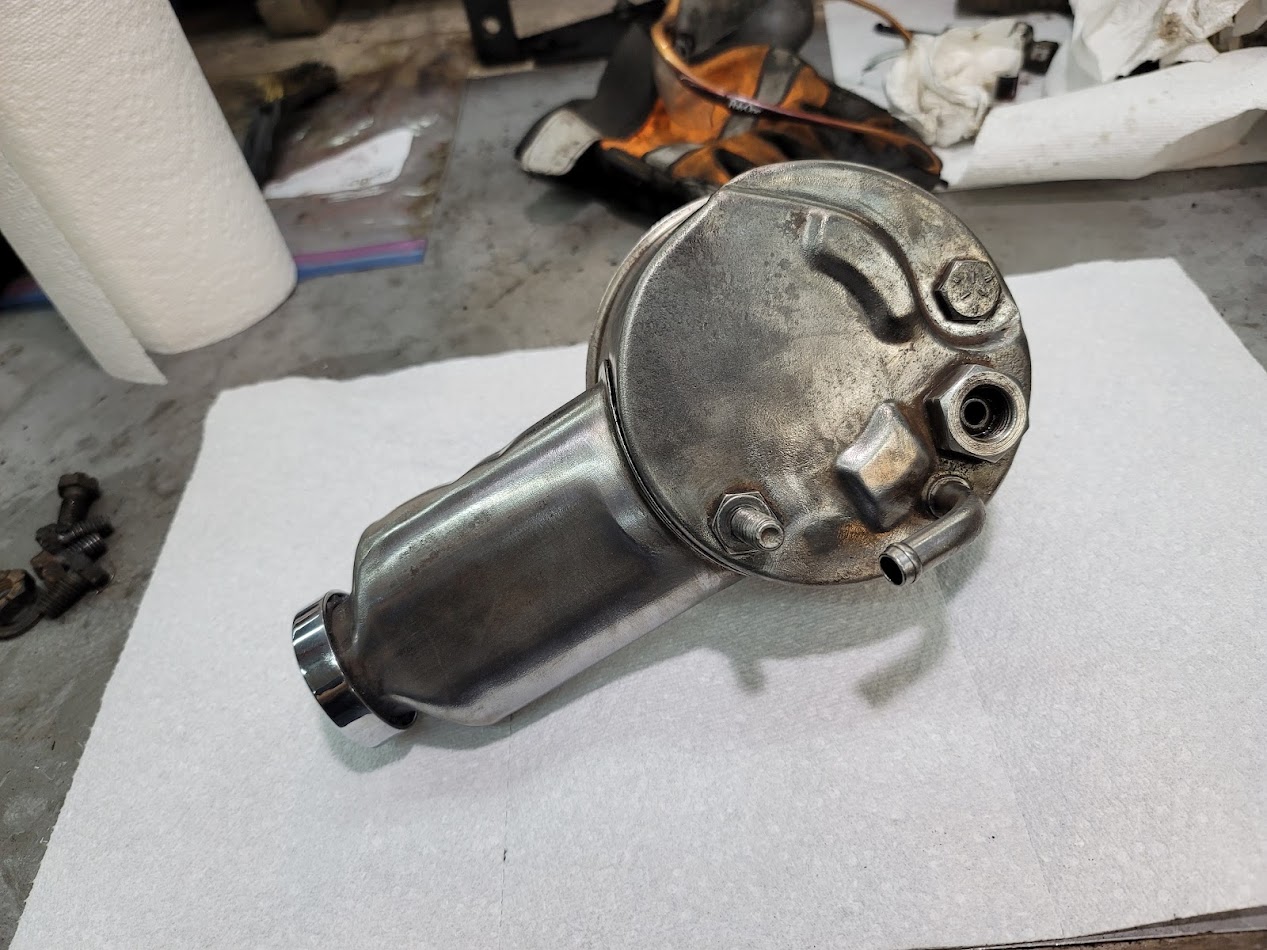
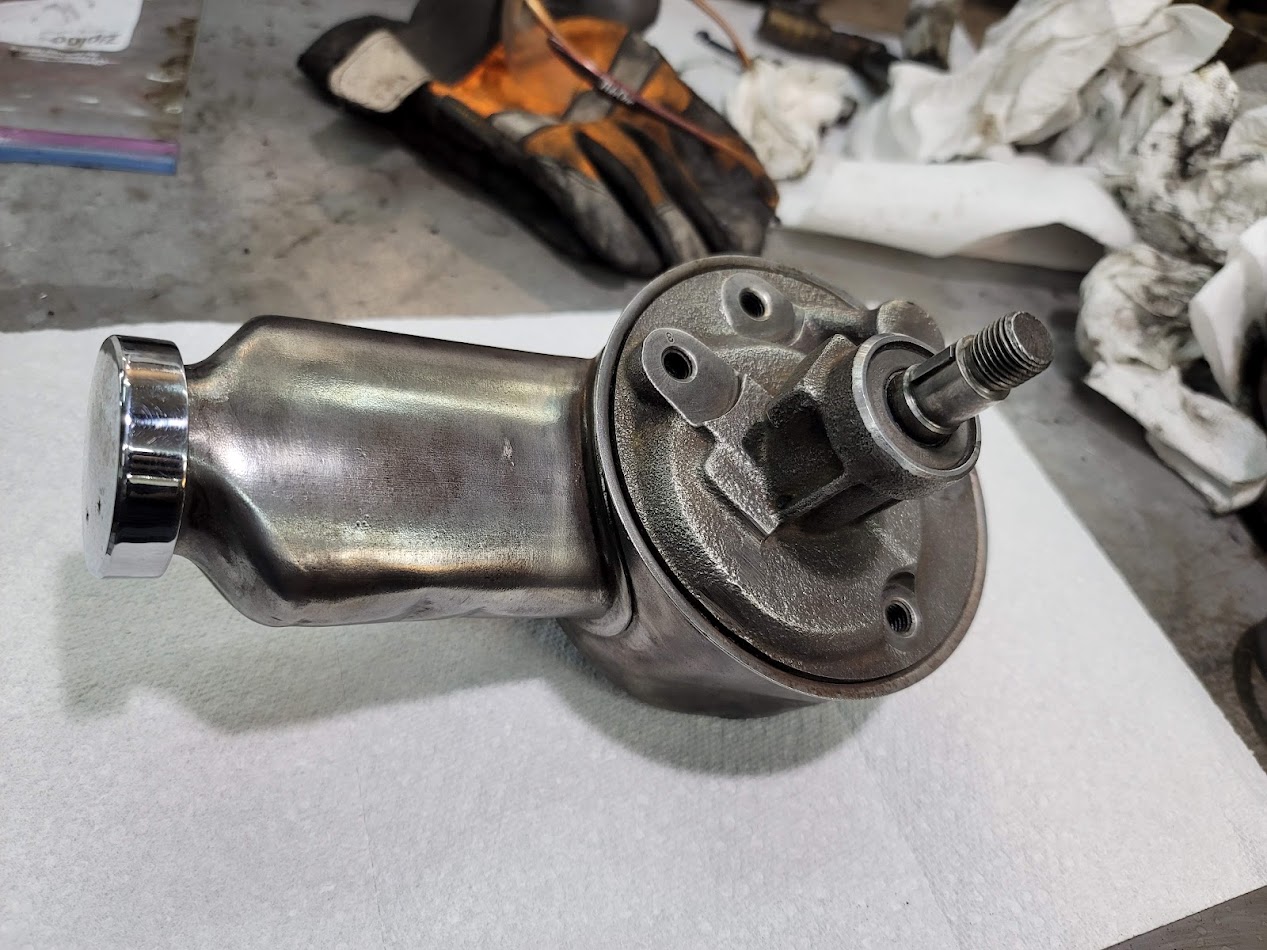
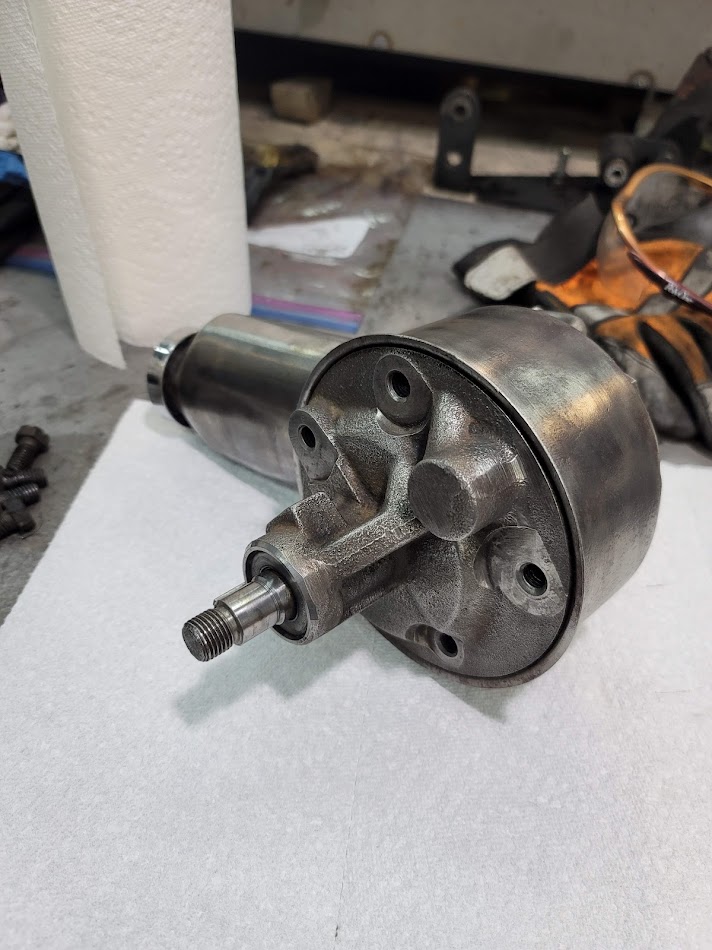
Pulled the PS pump from the shelf tp start cleaning the pump and brackets, the sandblaster is a great tool for these things, but sadly not good on items like the pump, so this had to be done by hand, to prevent any chance of getting grit into the pump.
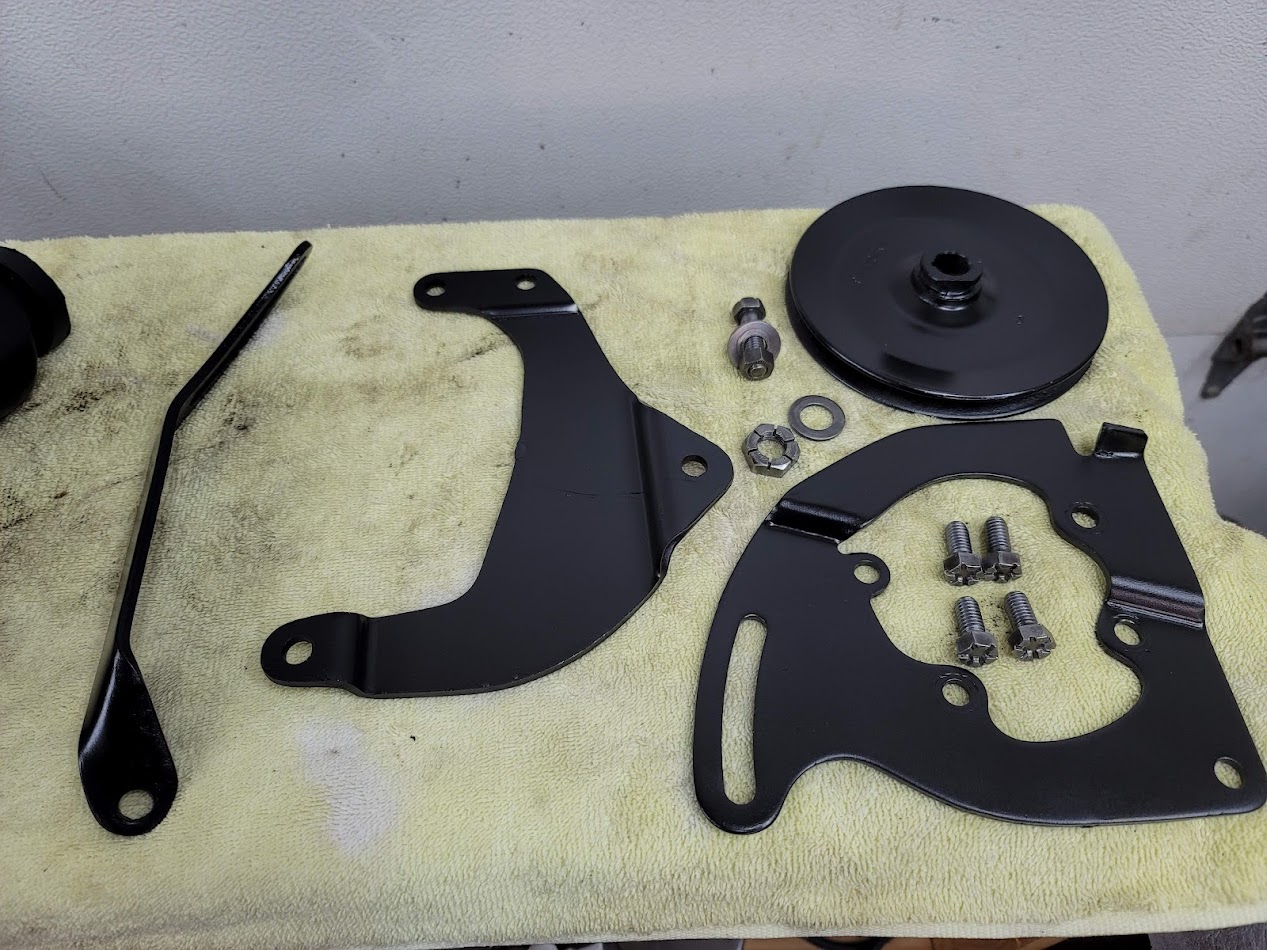
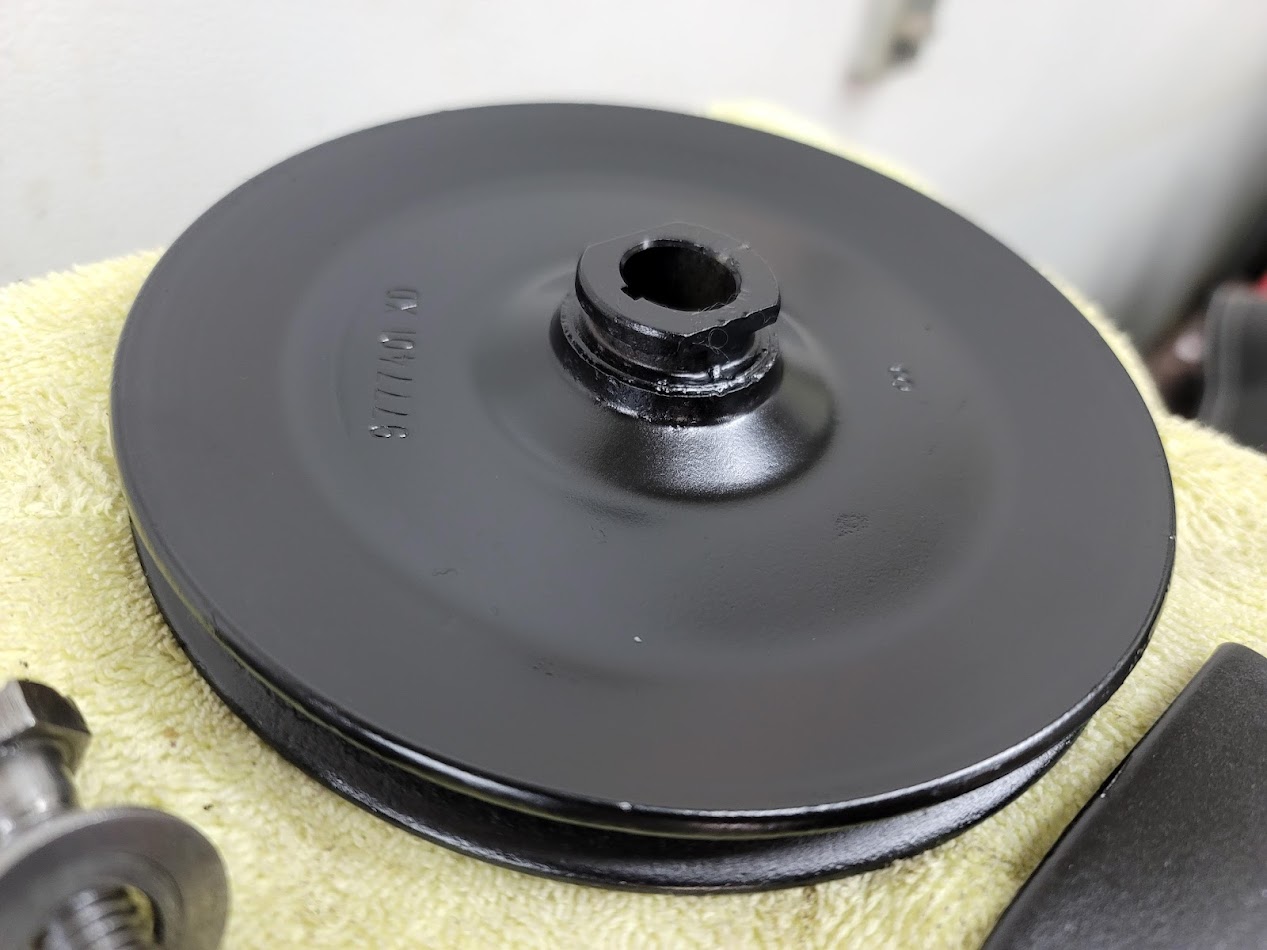
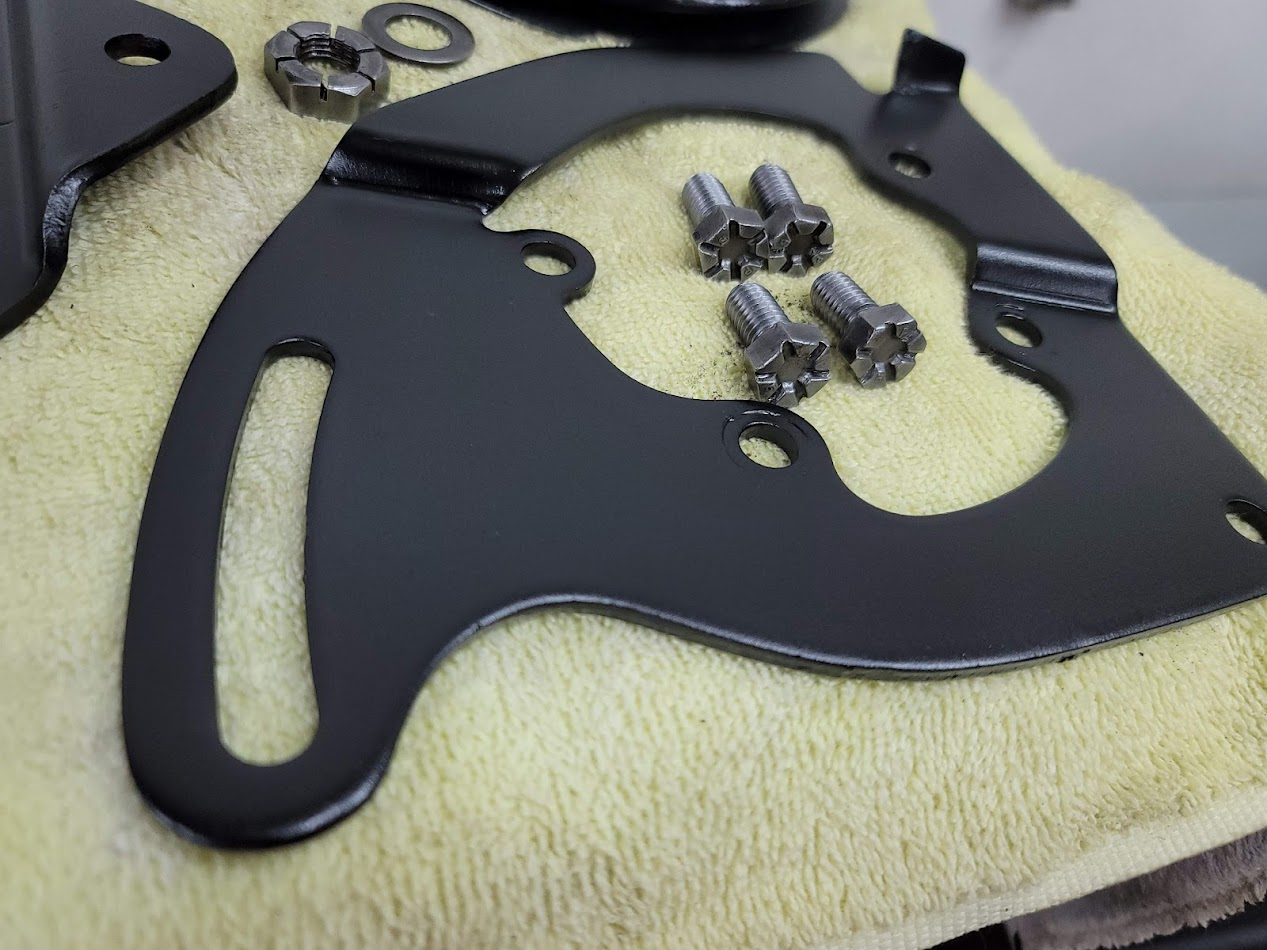
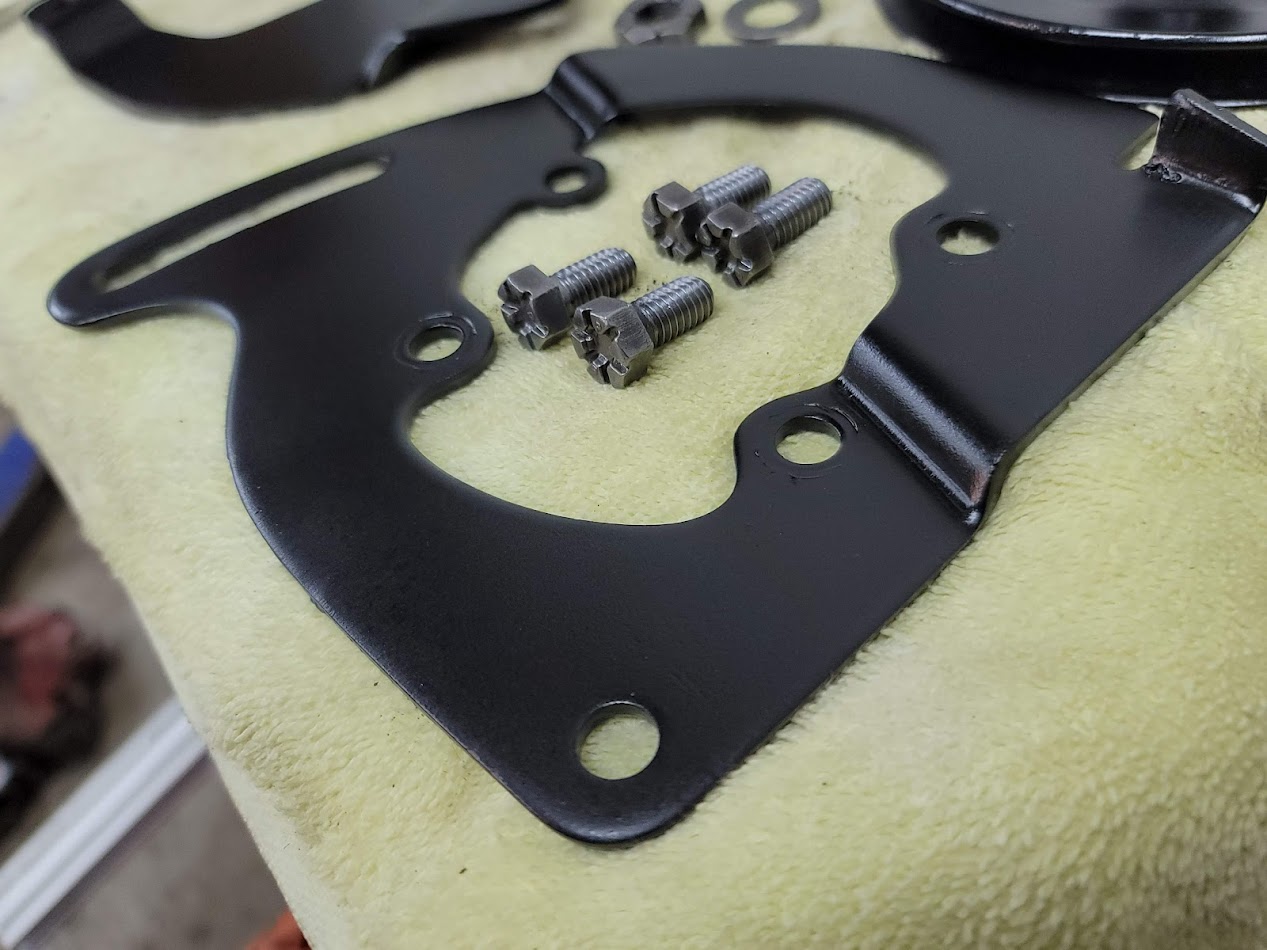
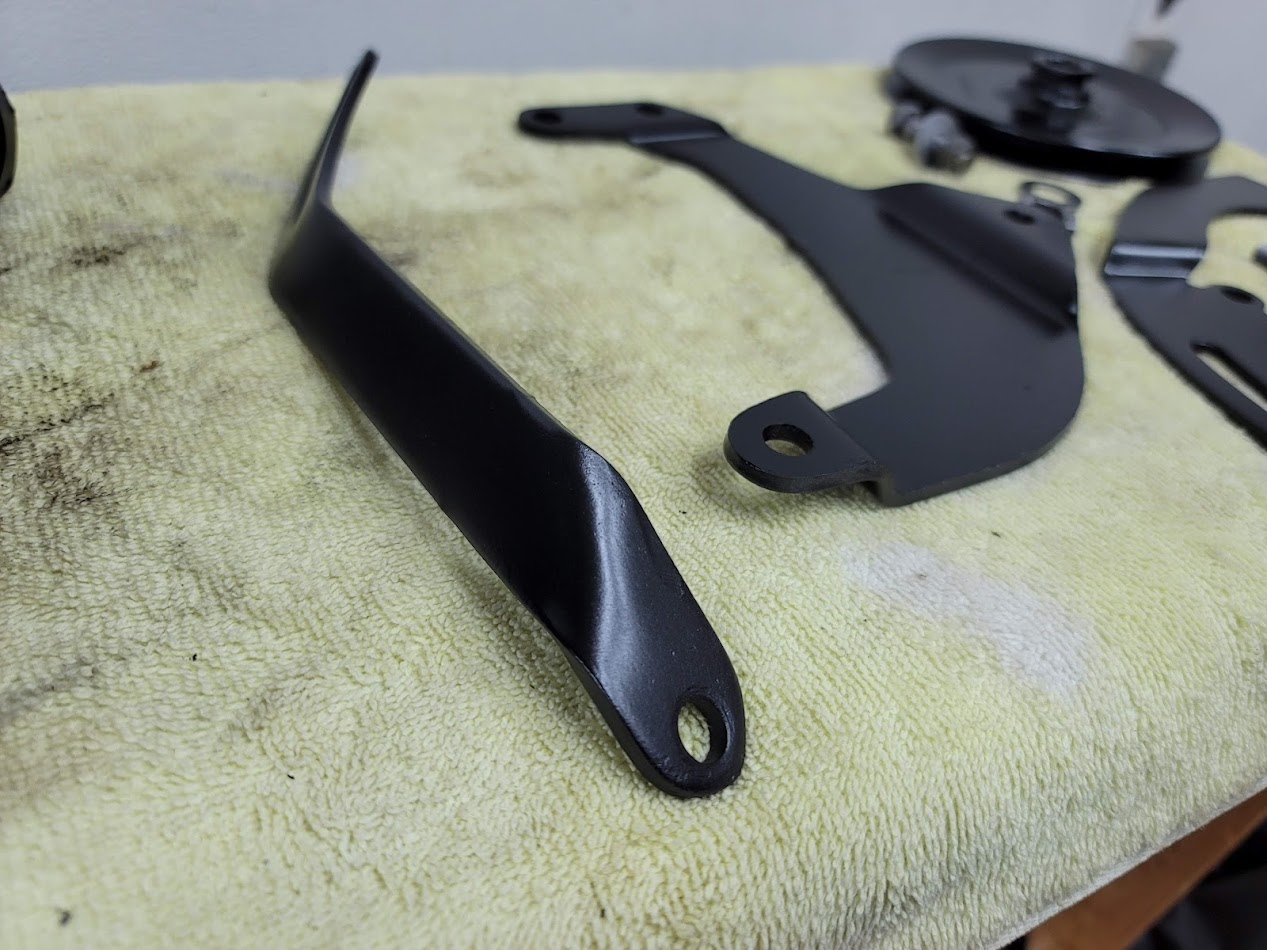
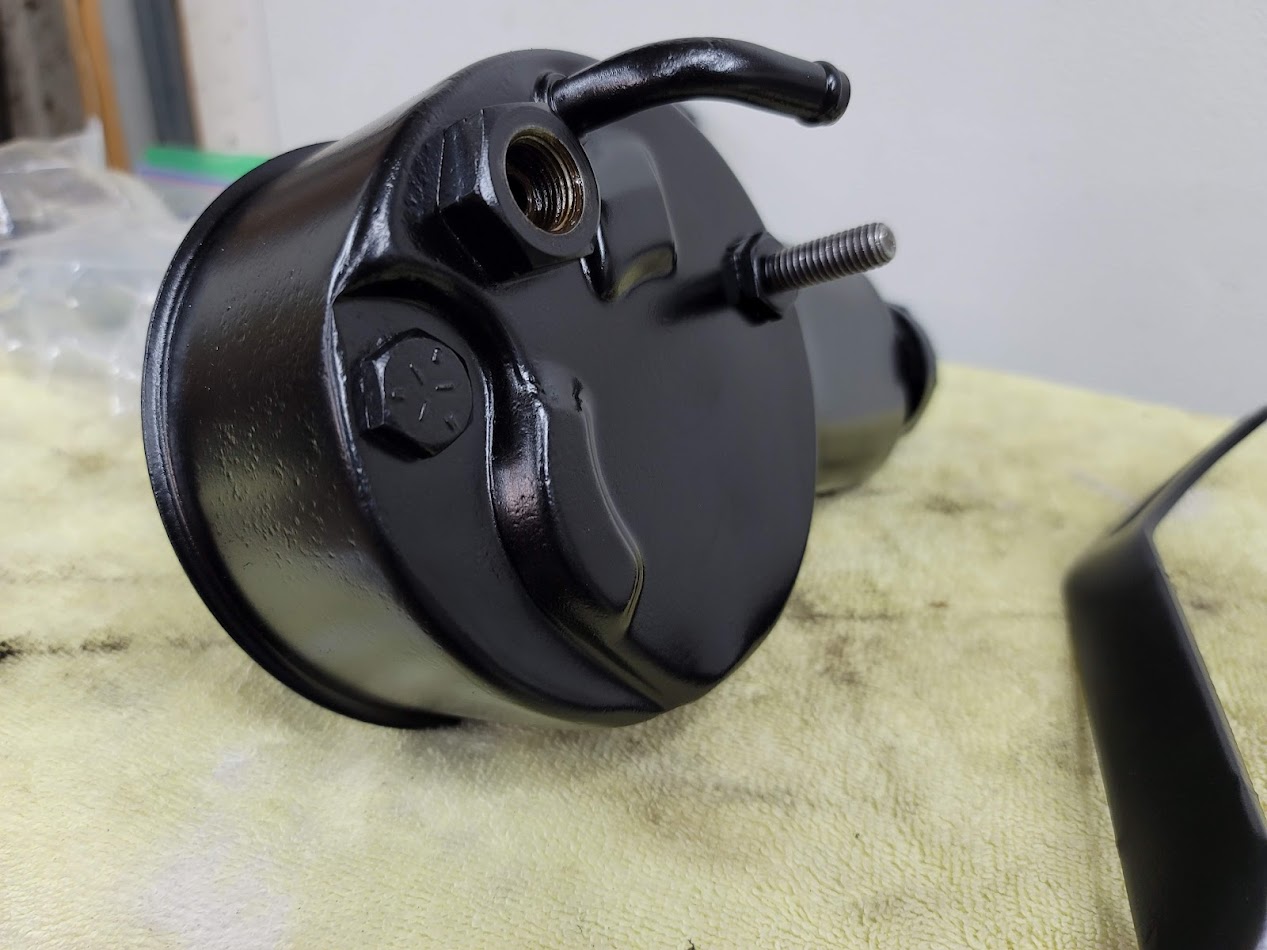
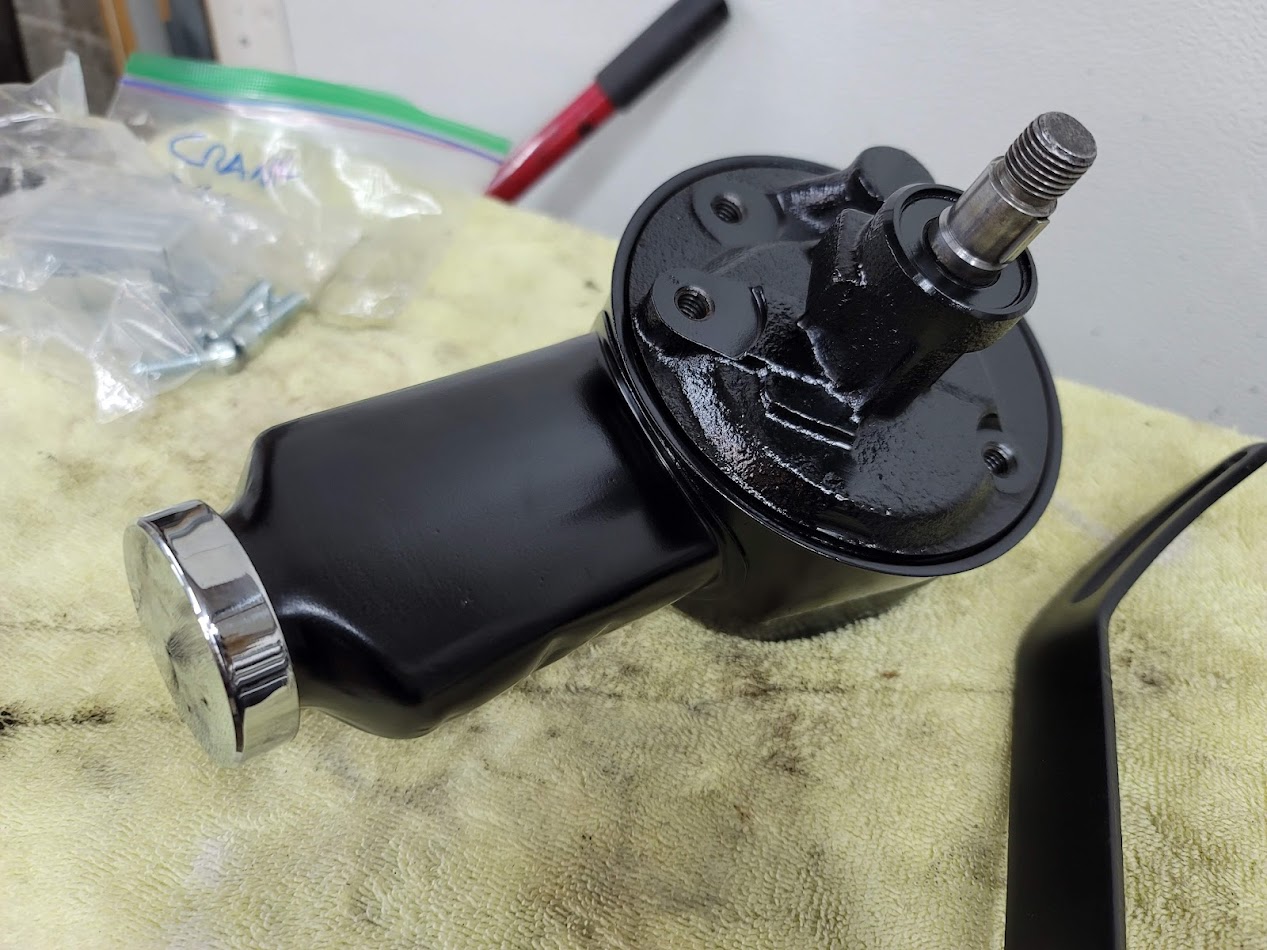
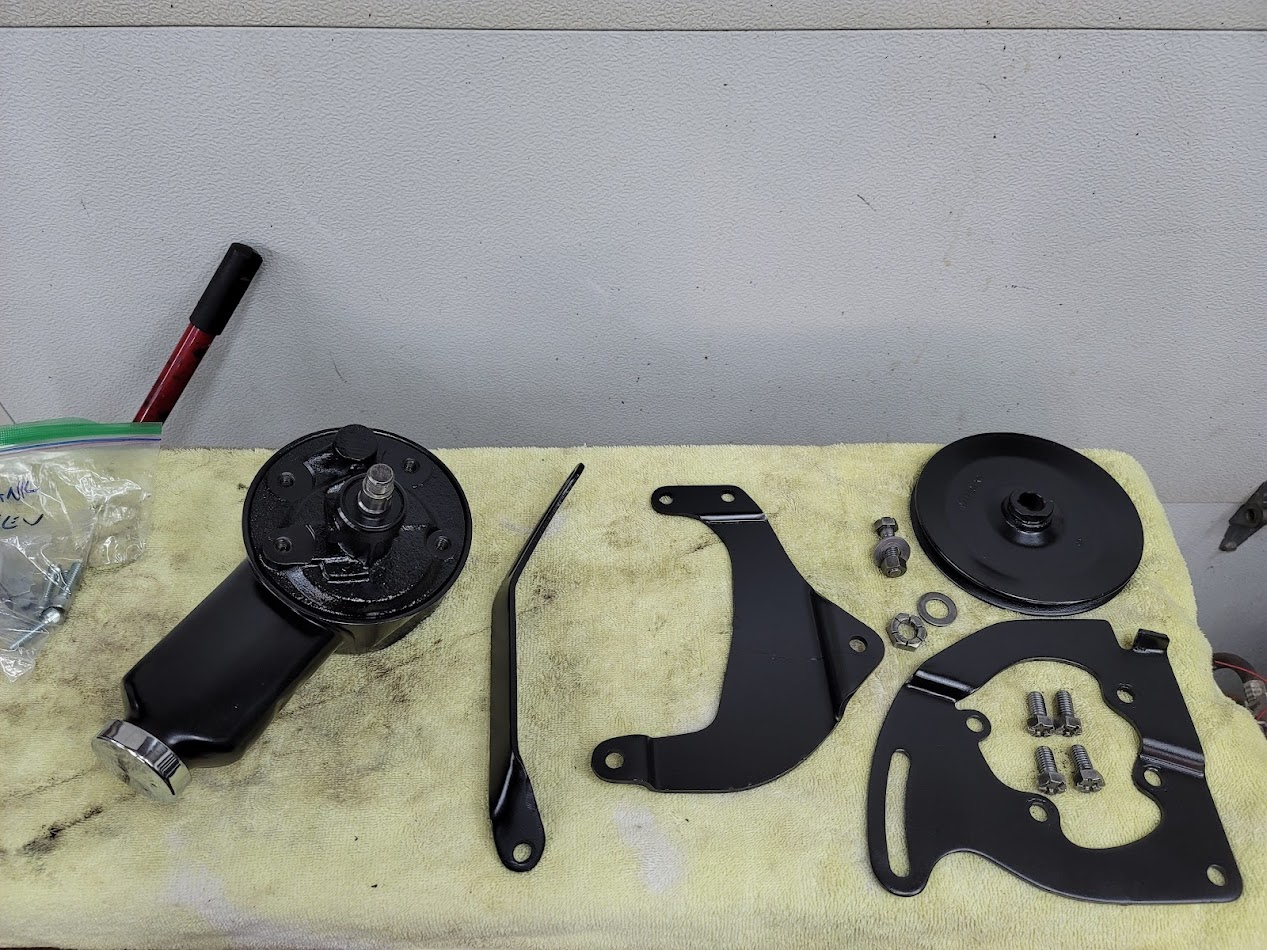
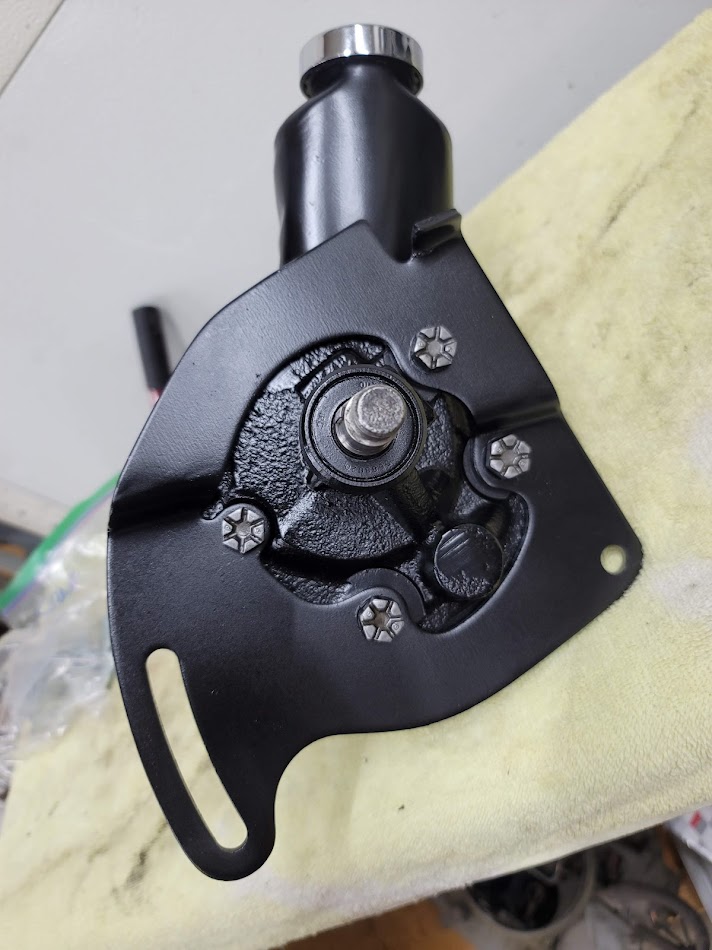
Painted up! now to mount to the motor.
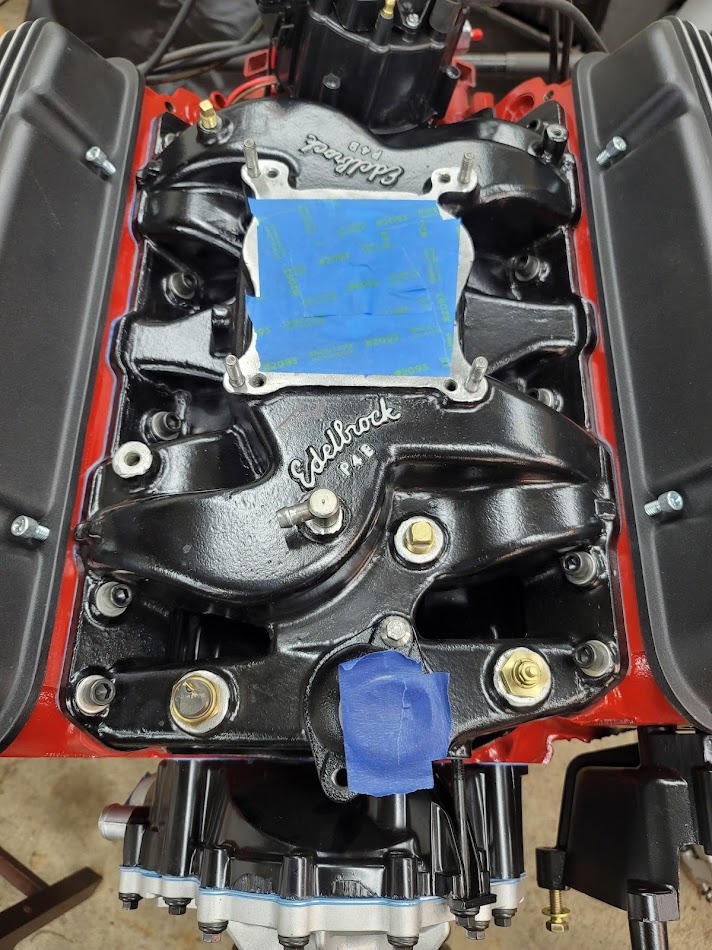
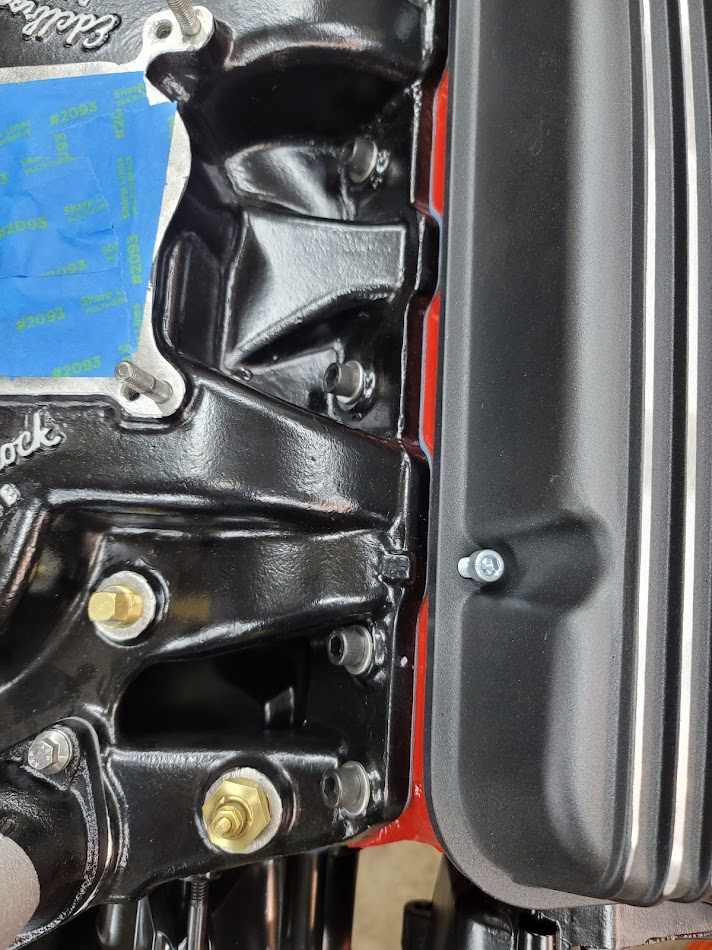

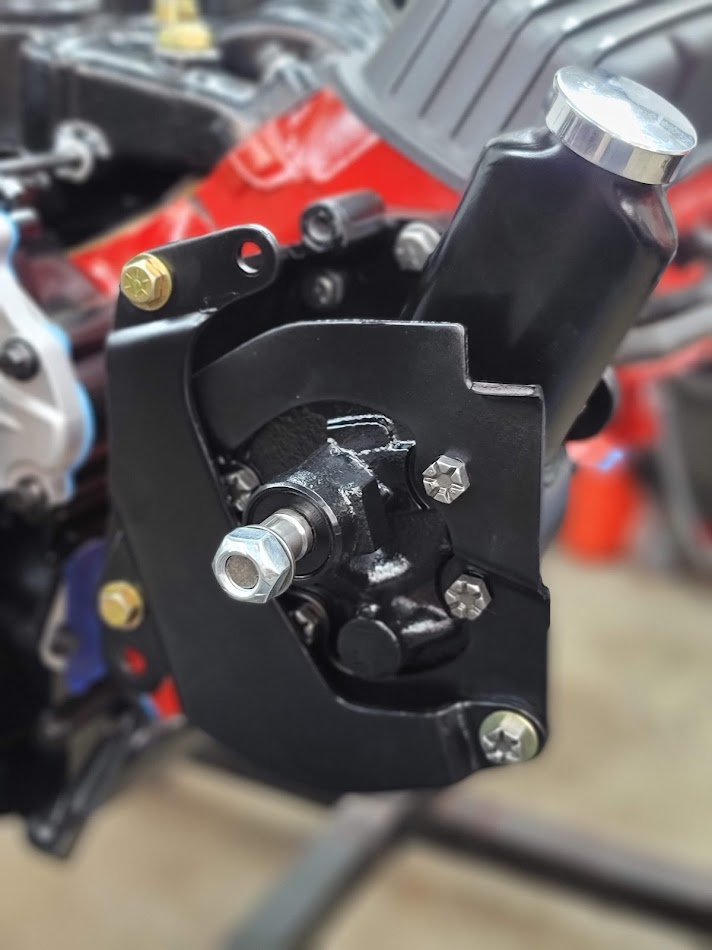
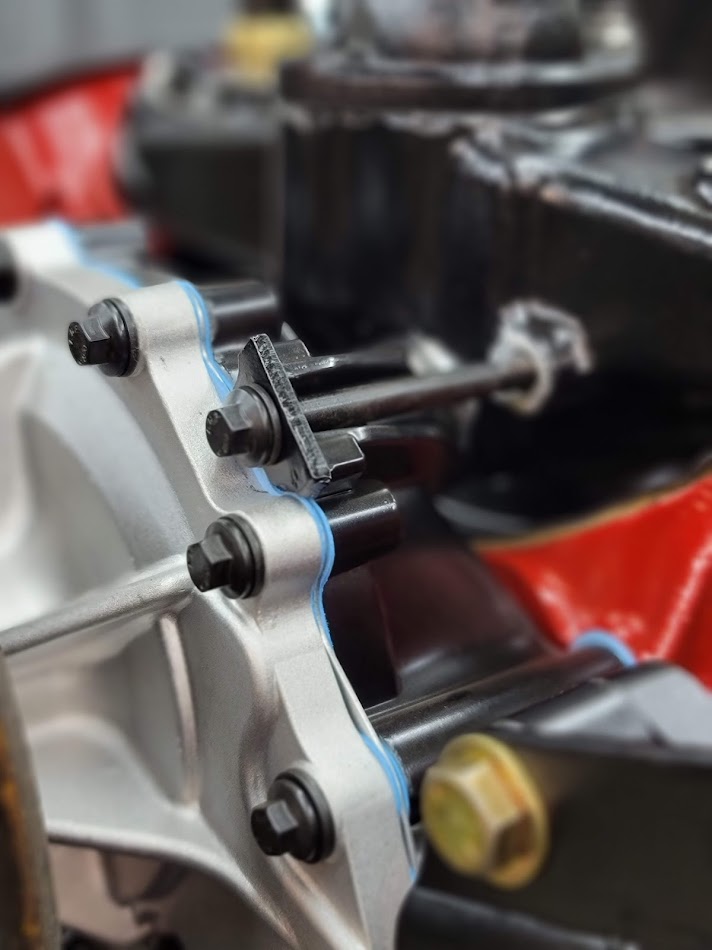
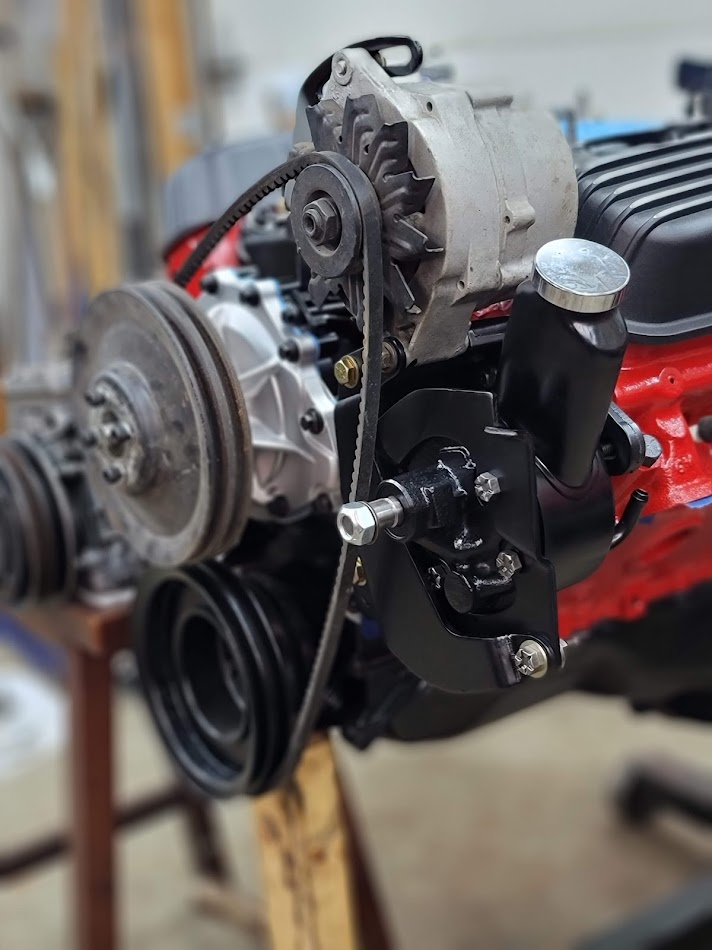
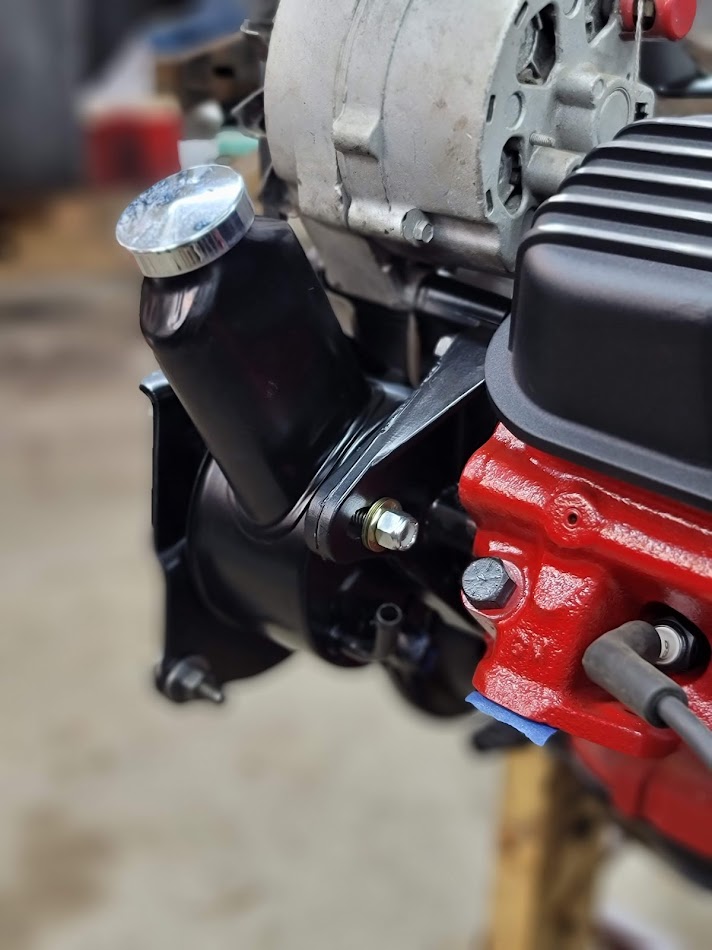
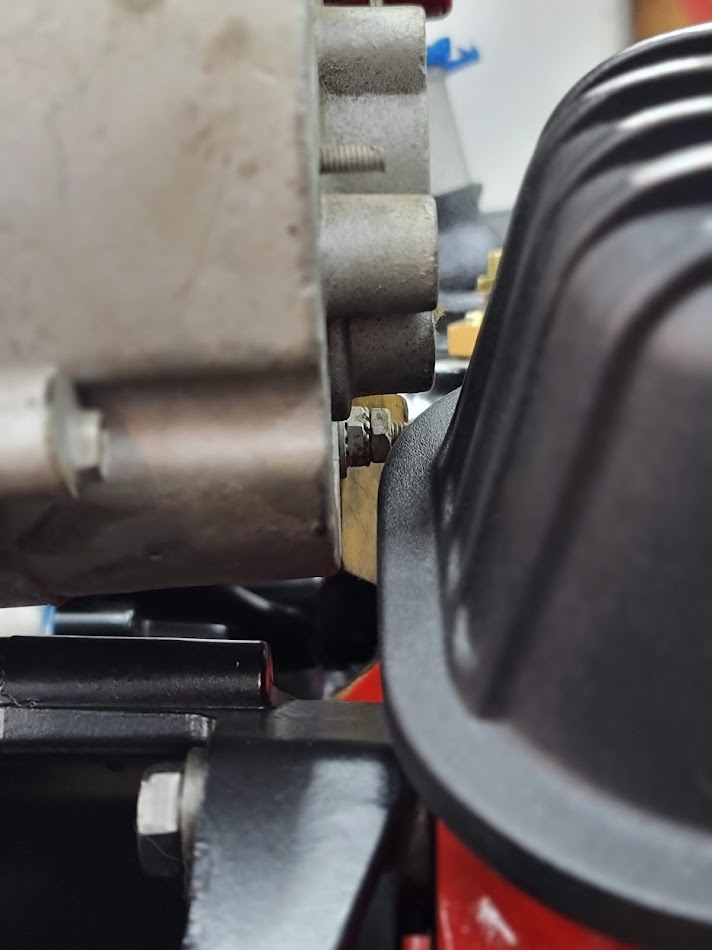
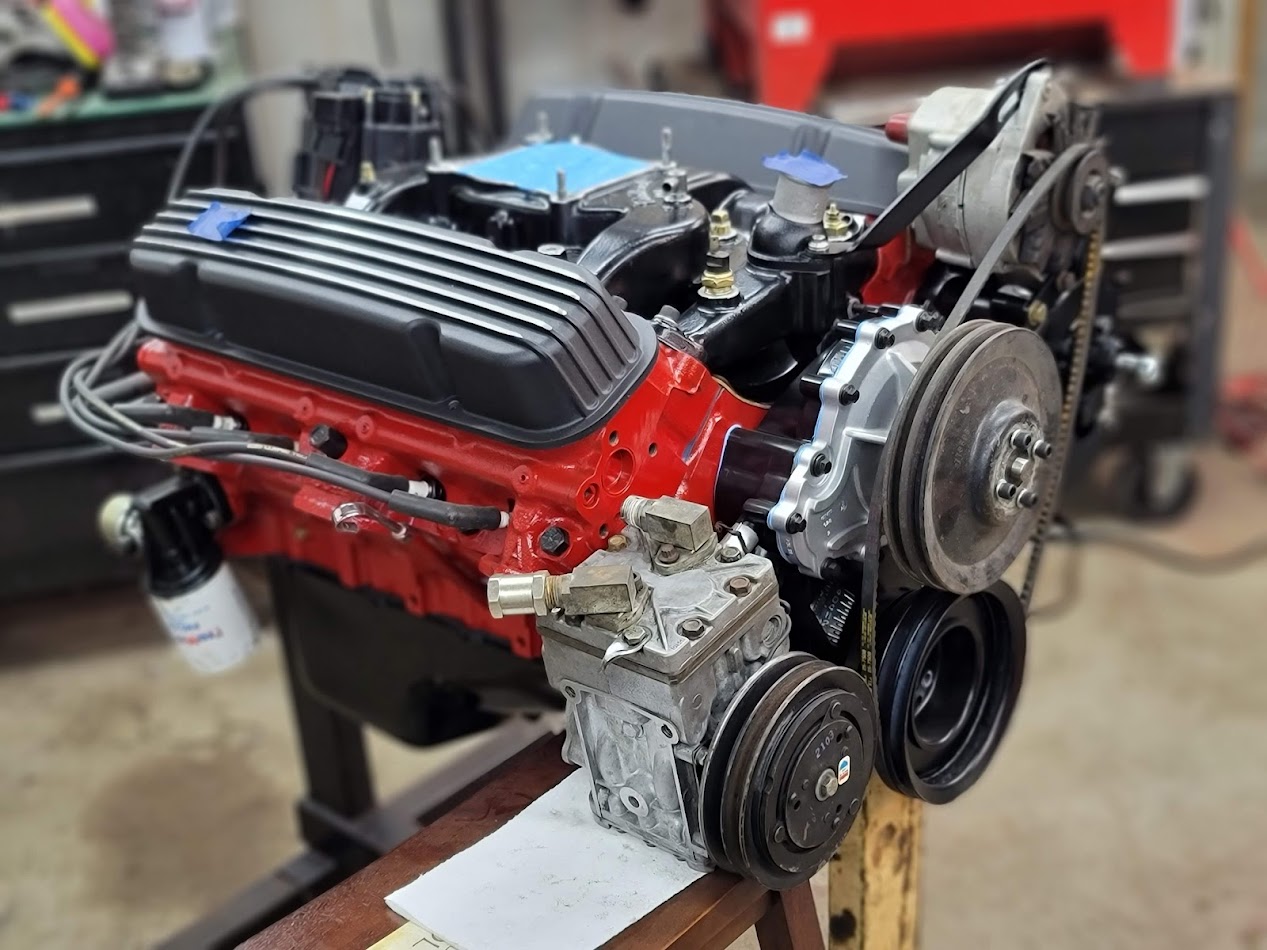
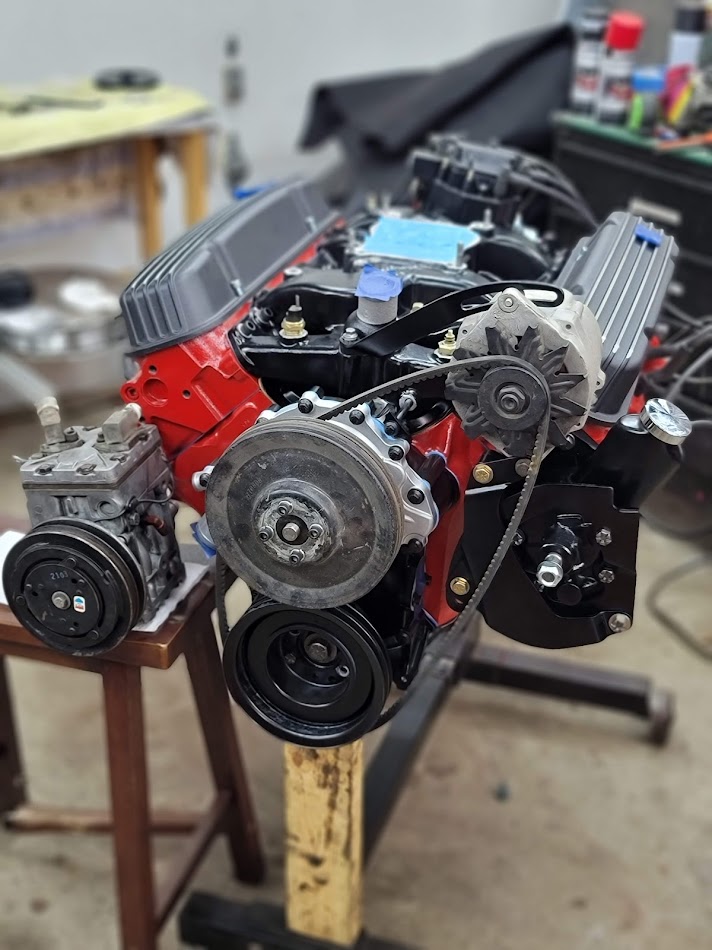
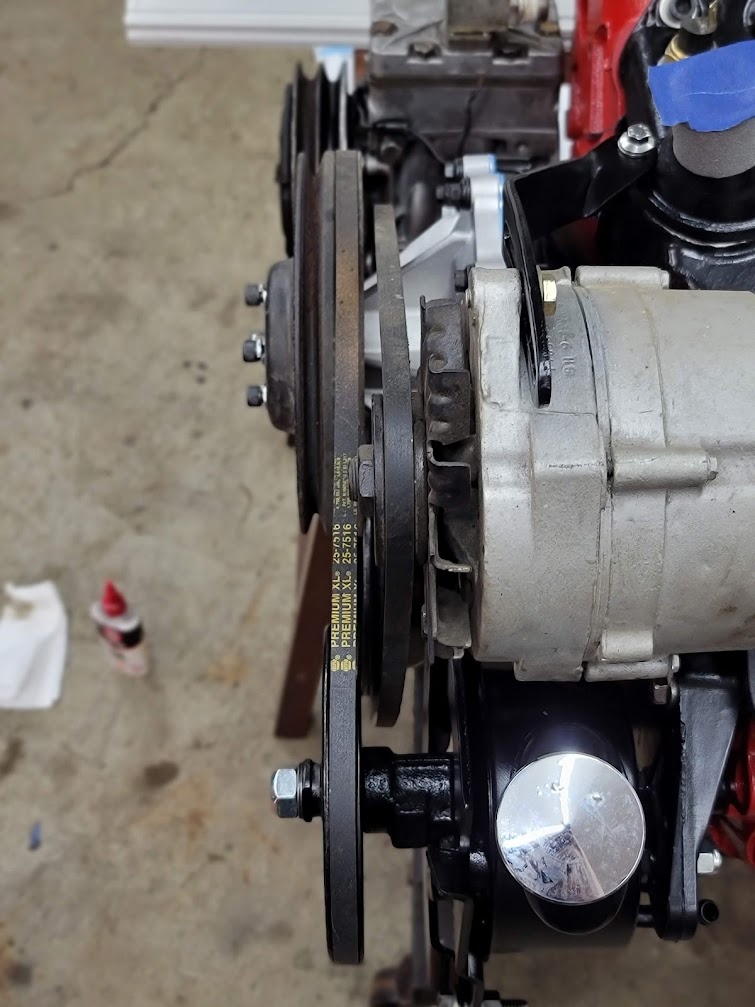
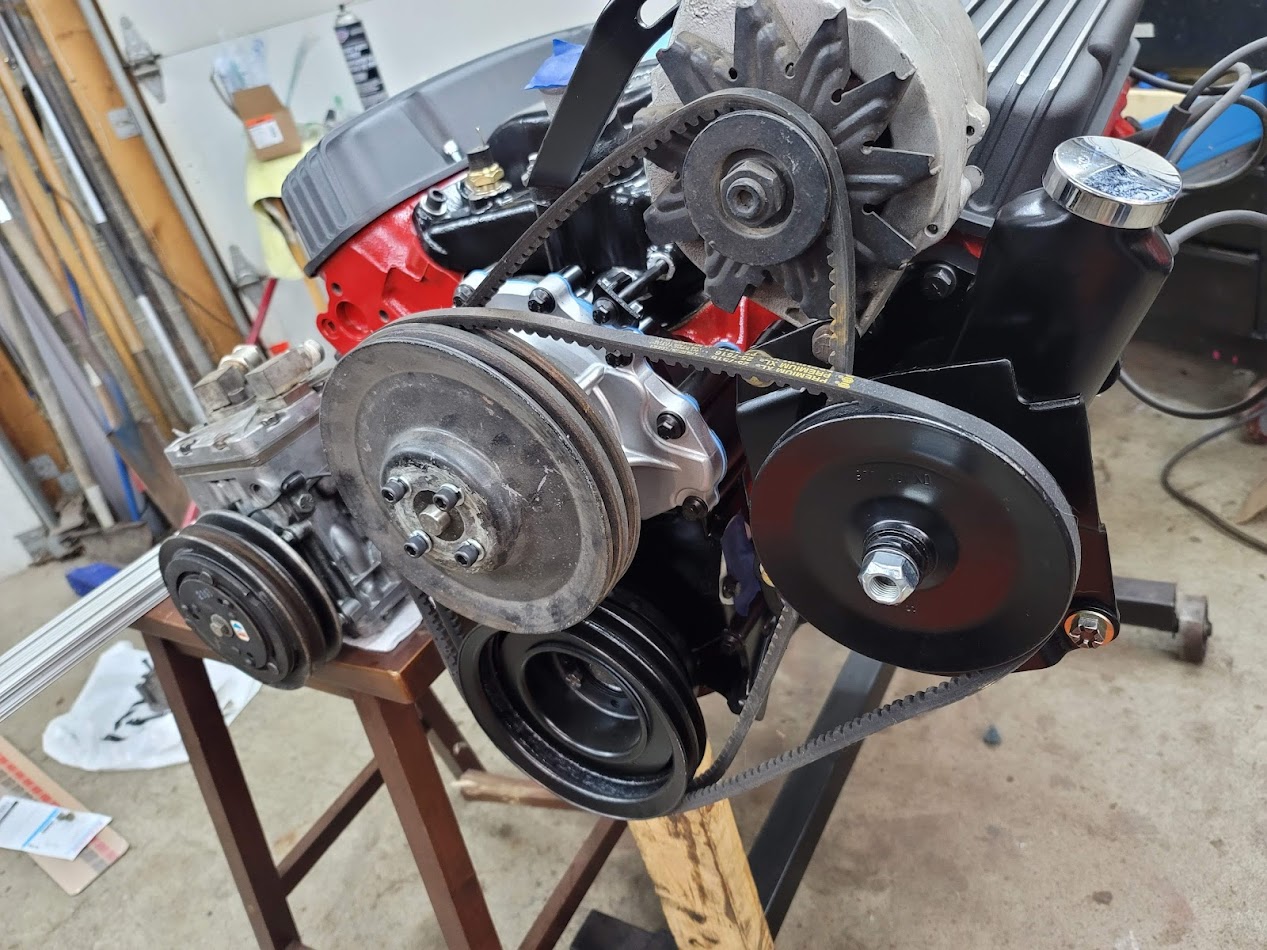
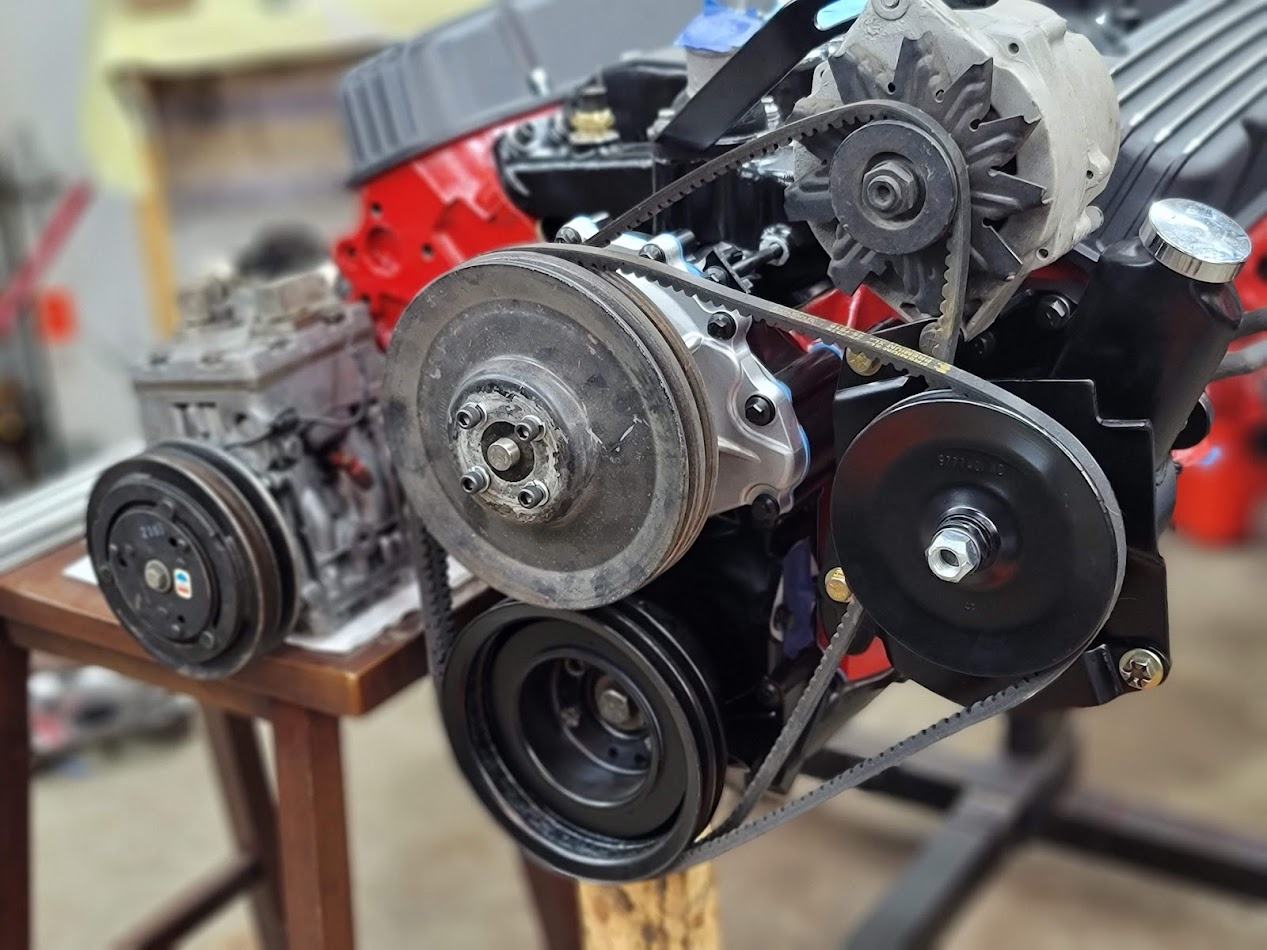
New bolts installed and intake on for good this time! now to figure out my belt situation, and this means bolting everything on to check alignment.
UPDATE: 4/29/2022 Much has happened, much to tell!

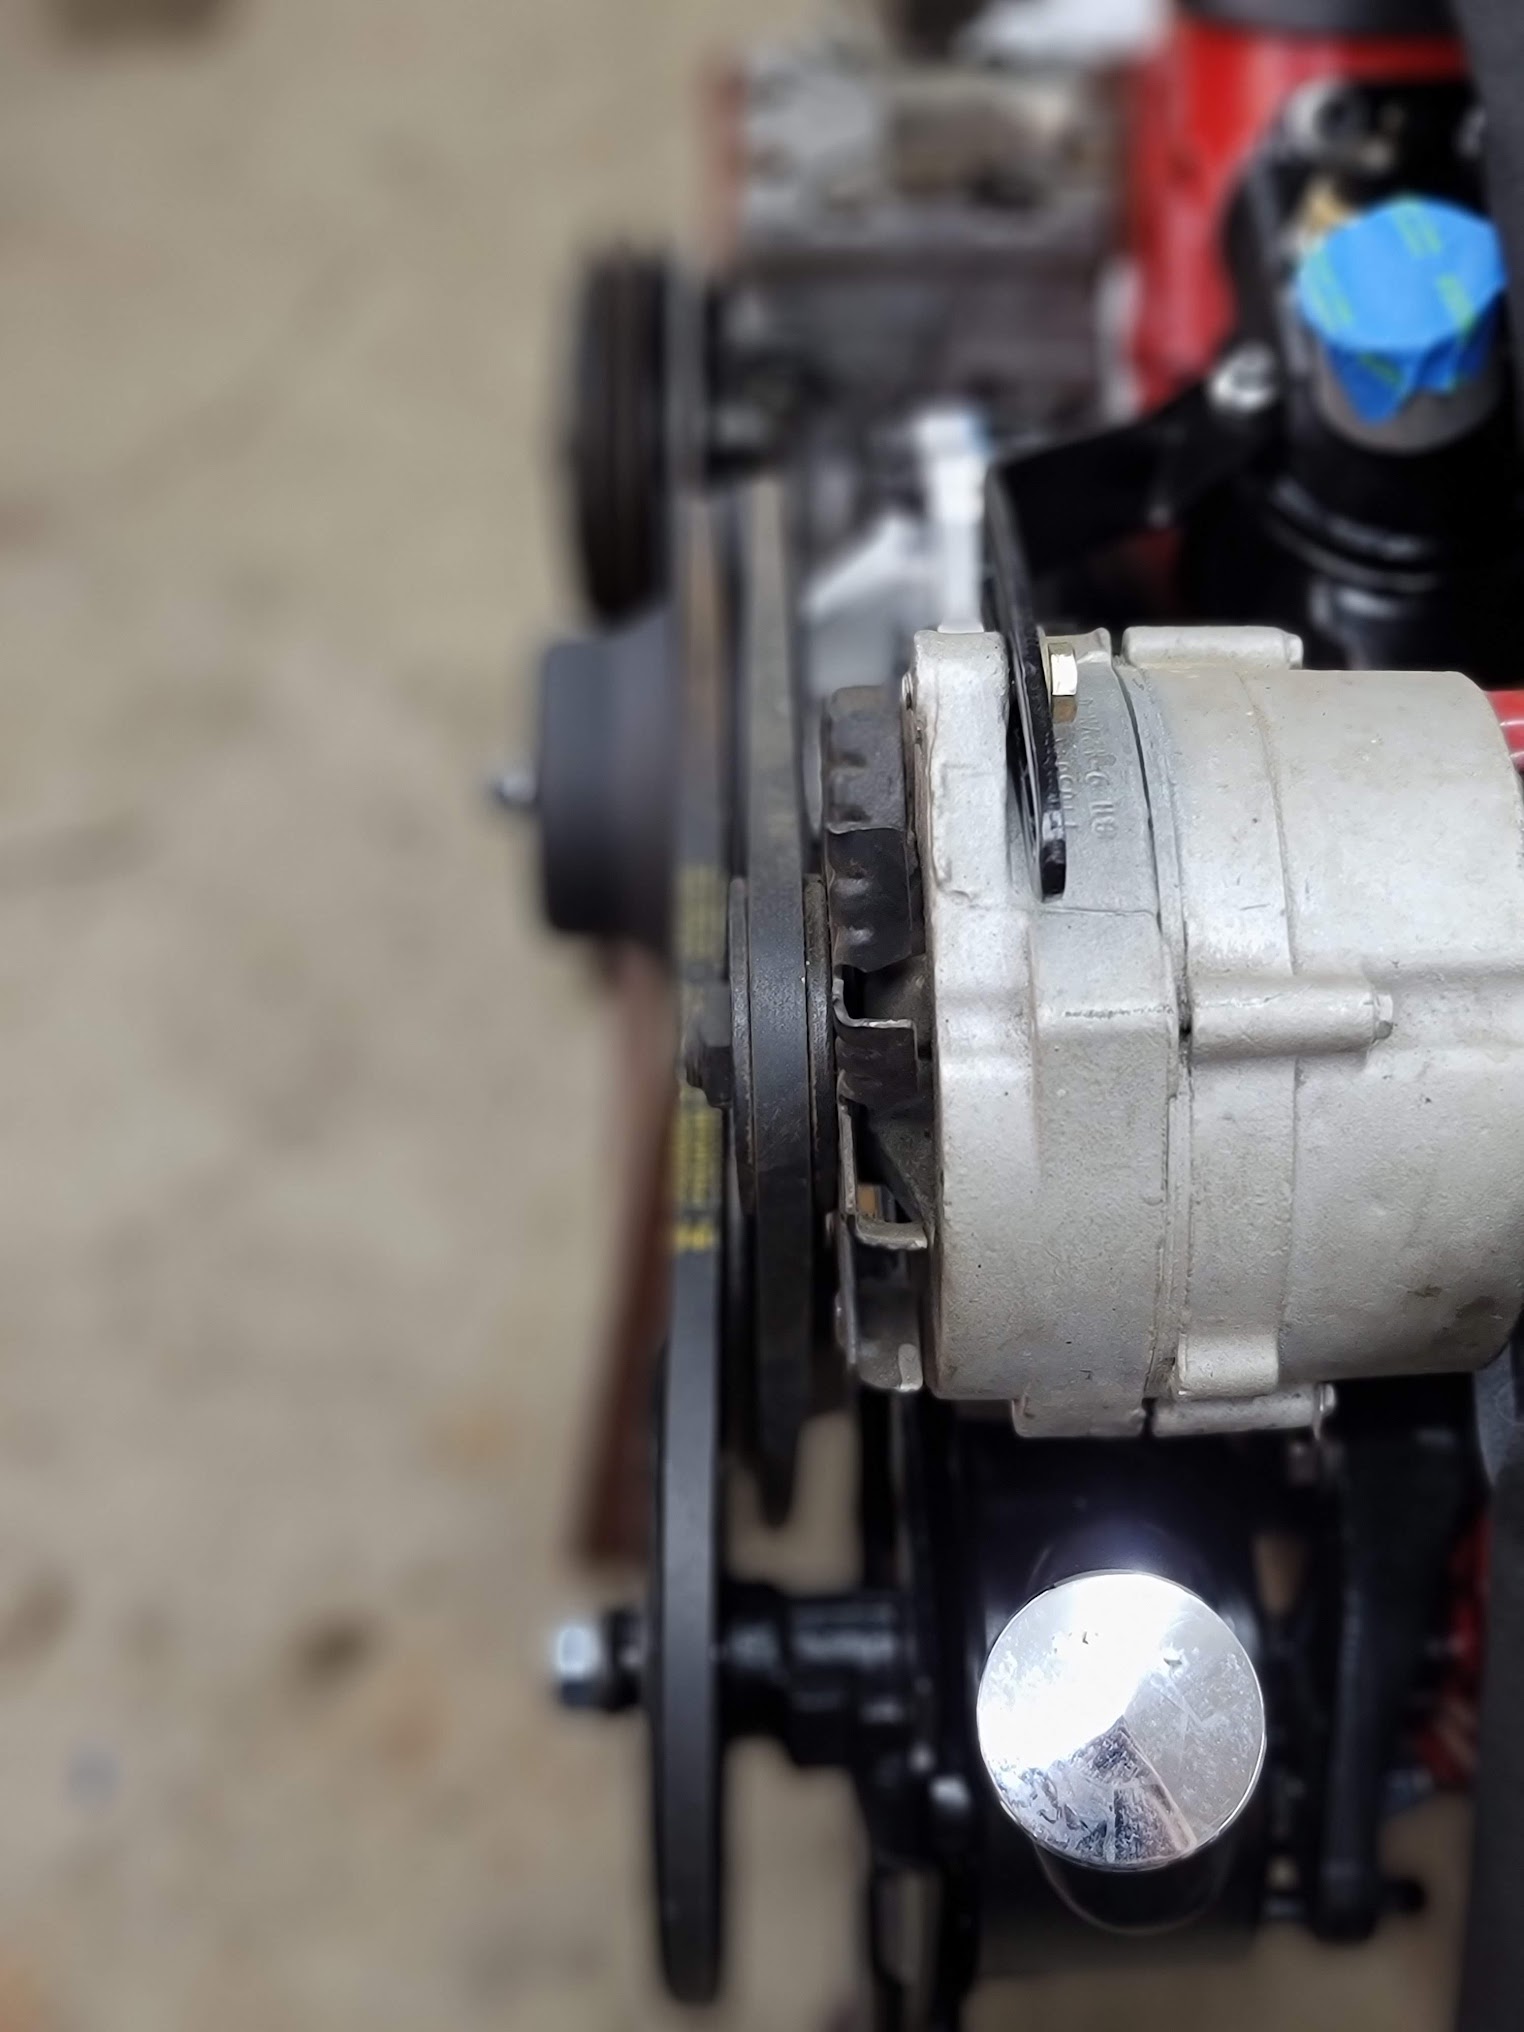
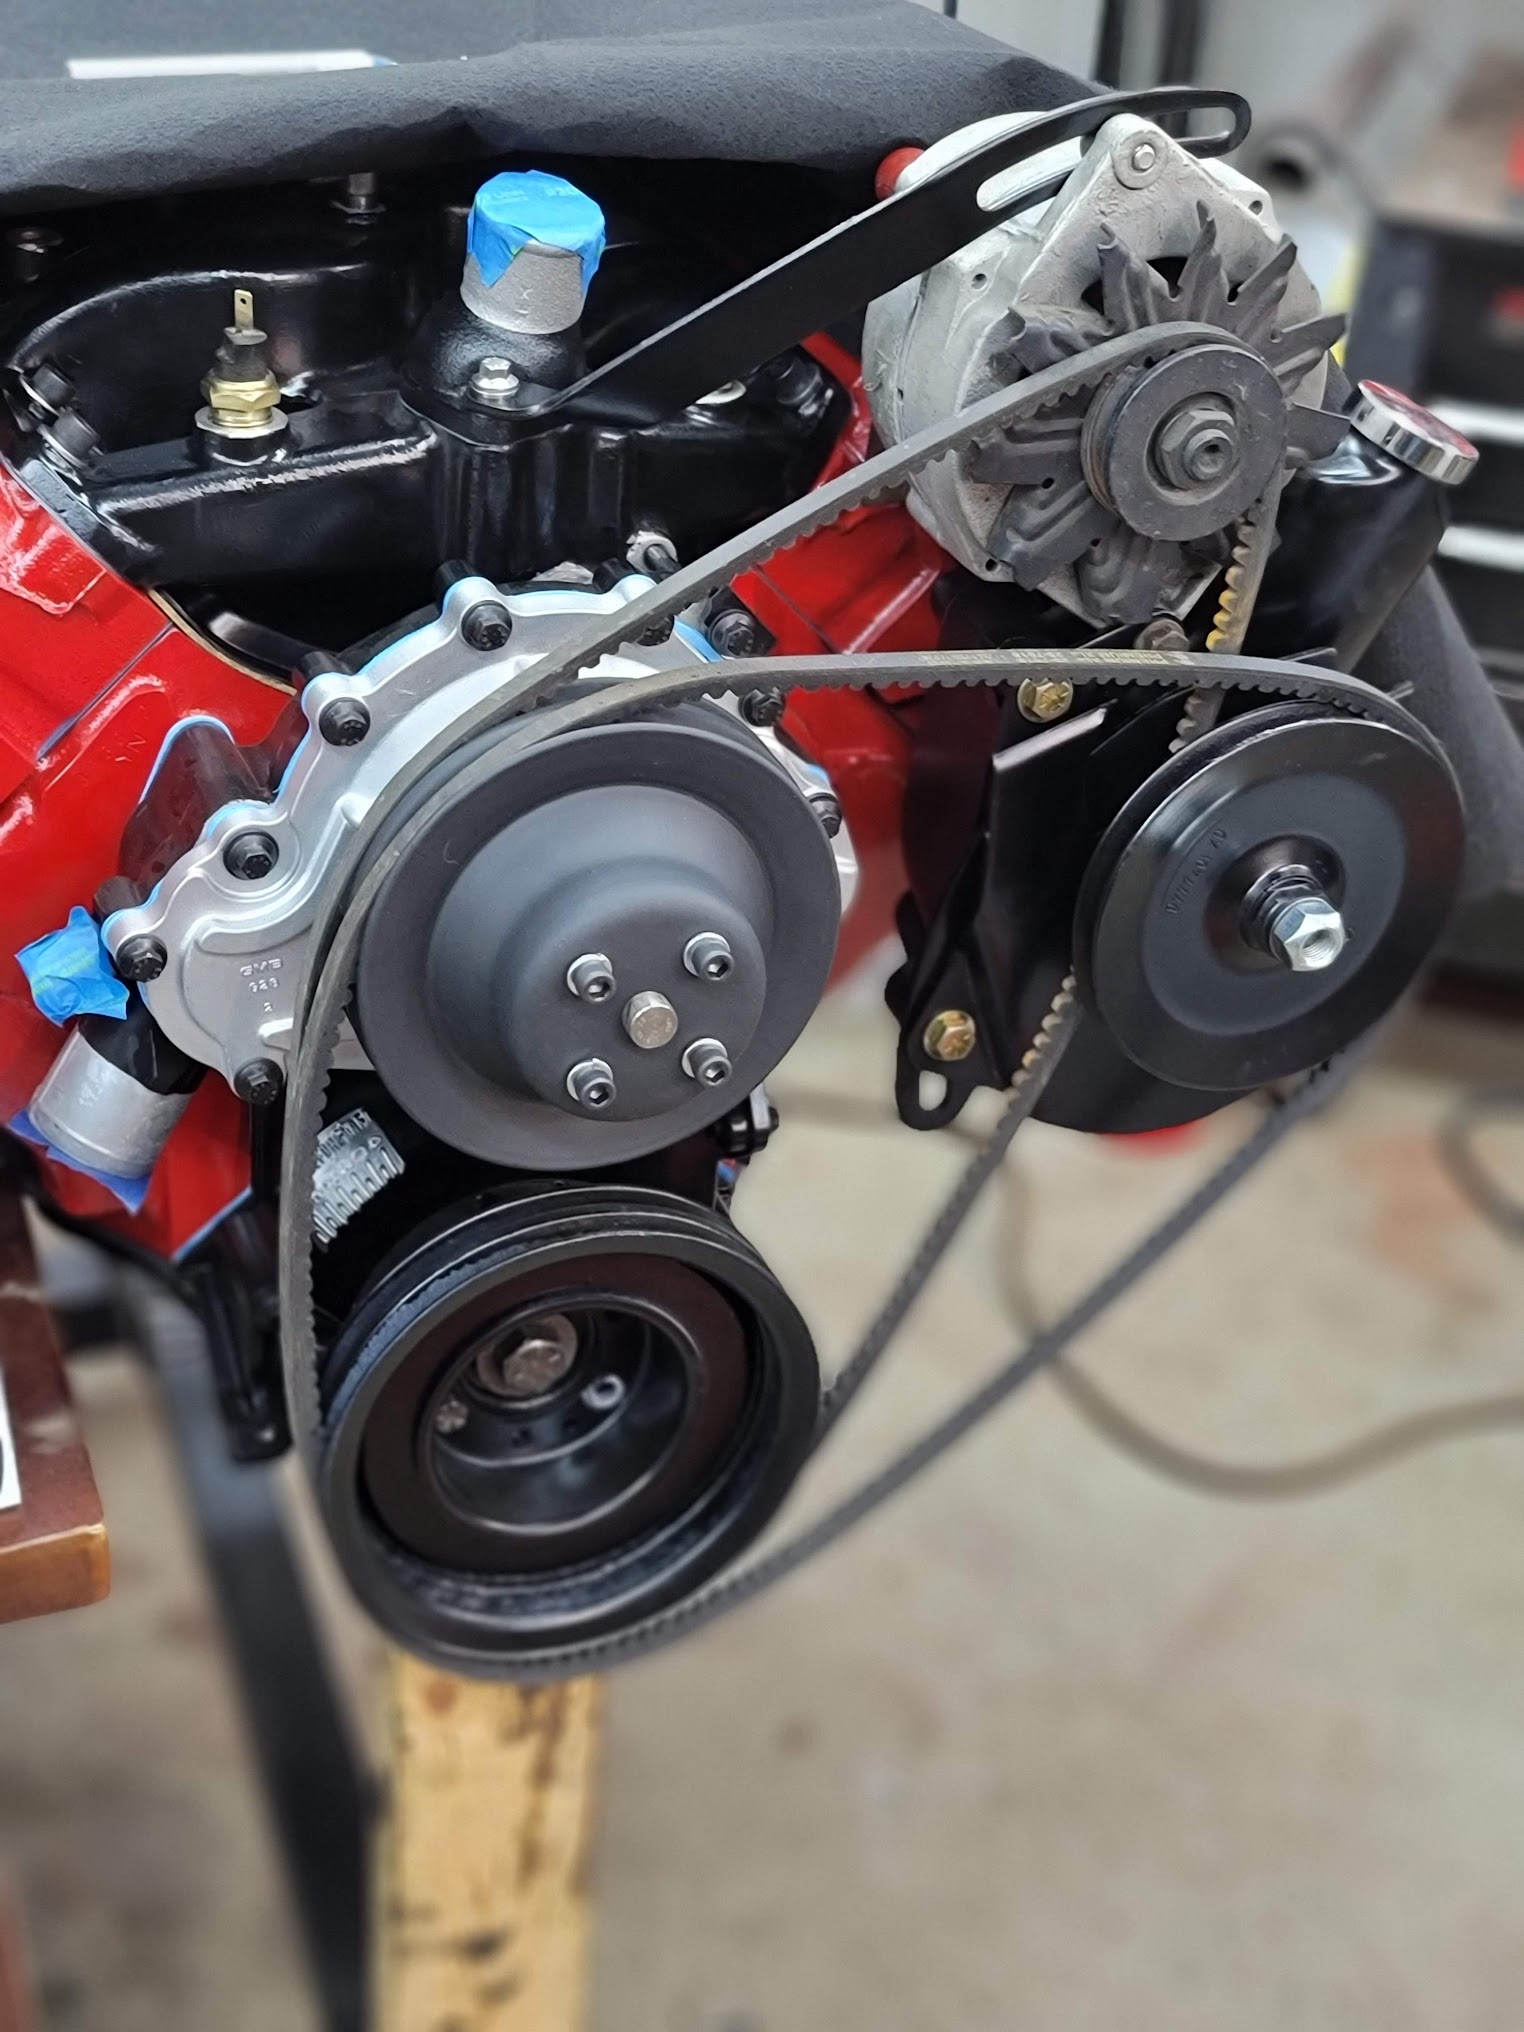
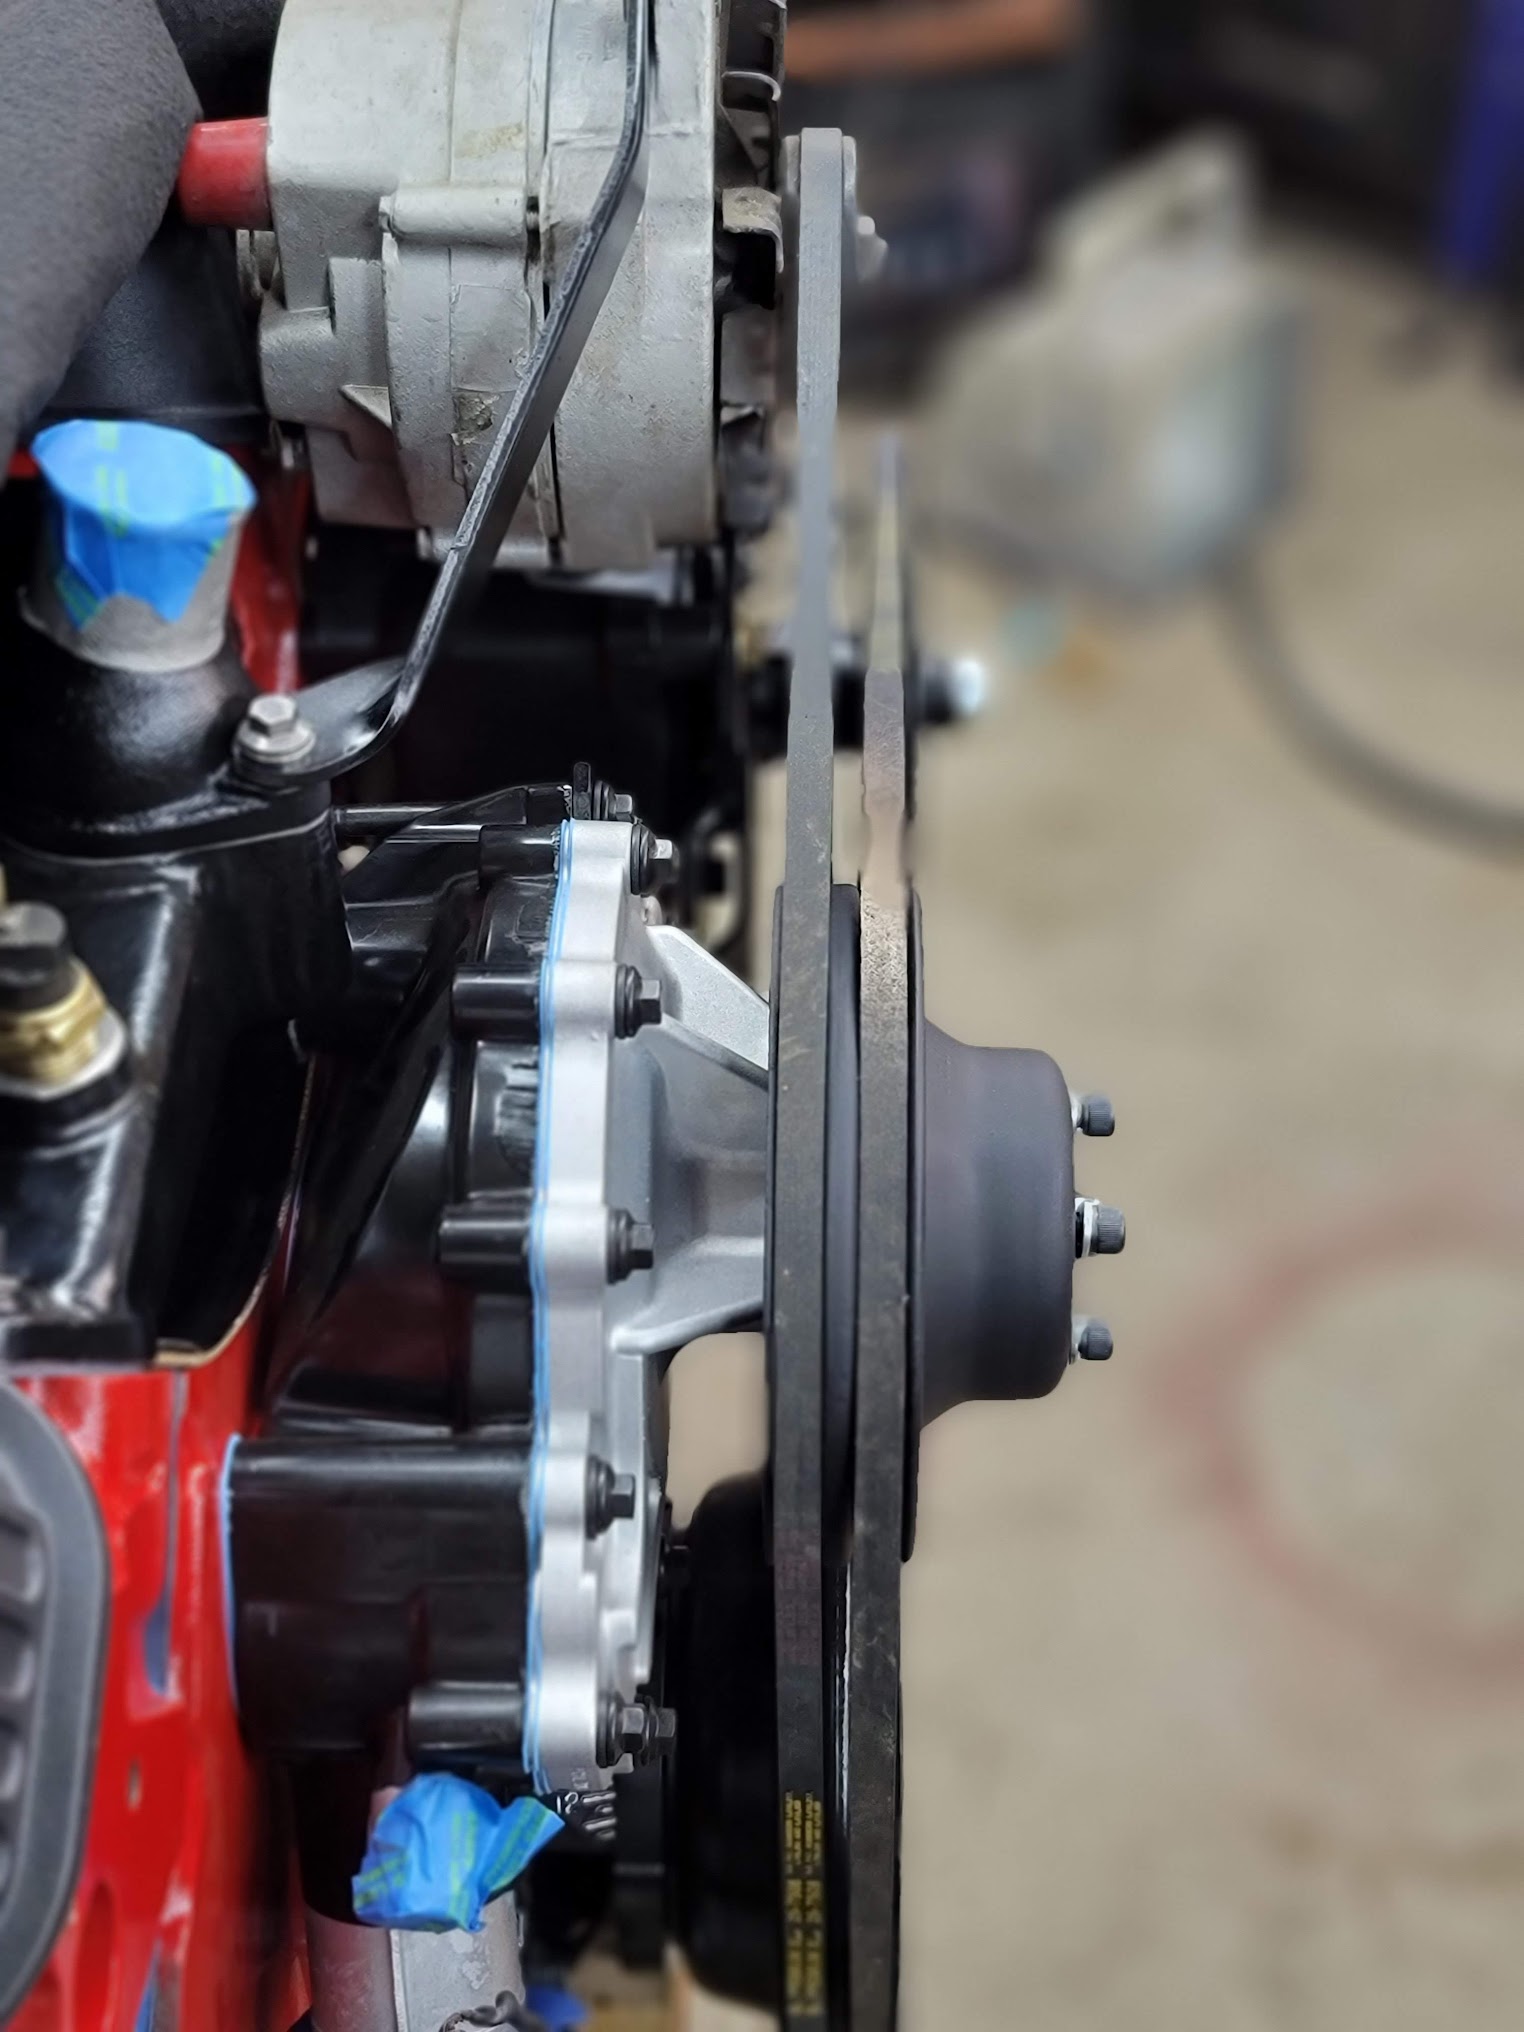
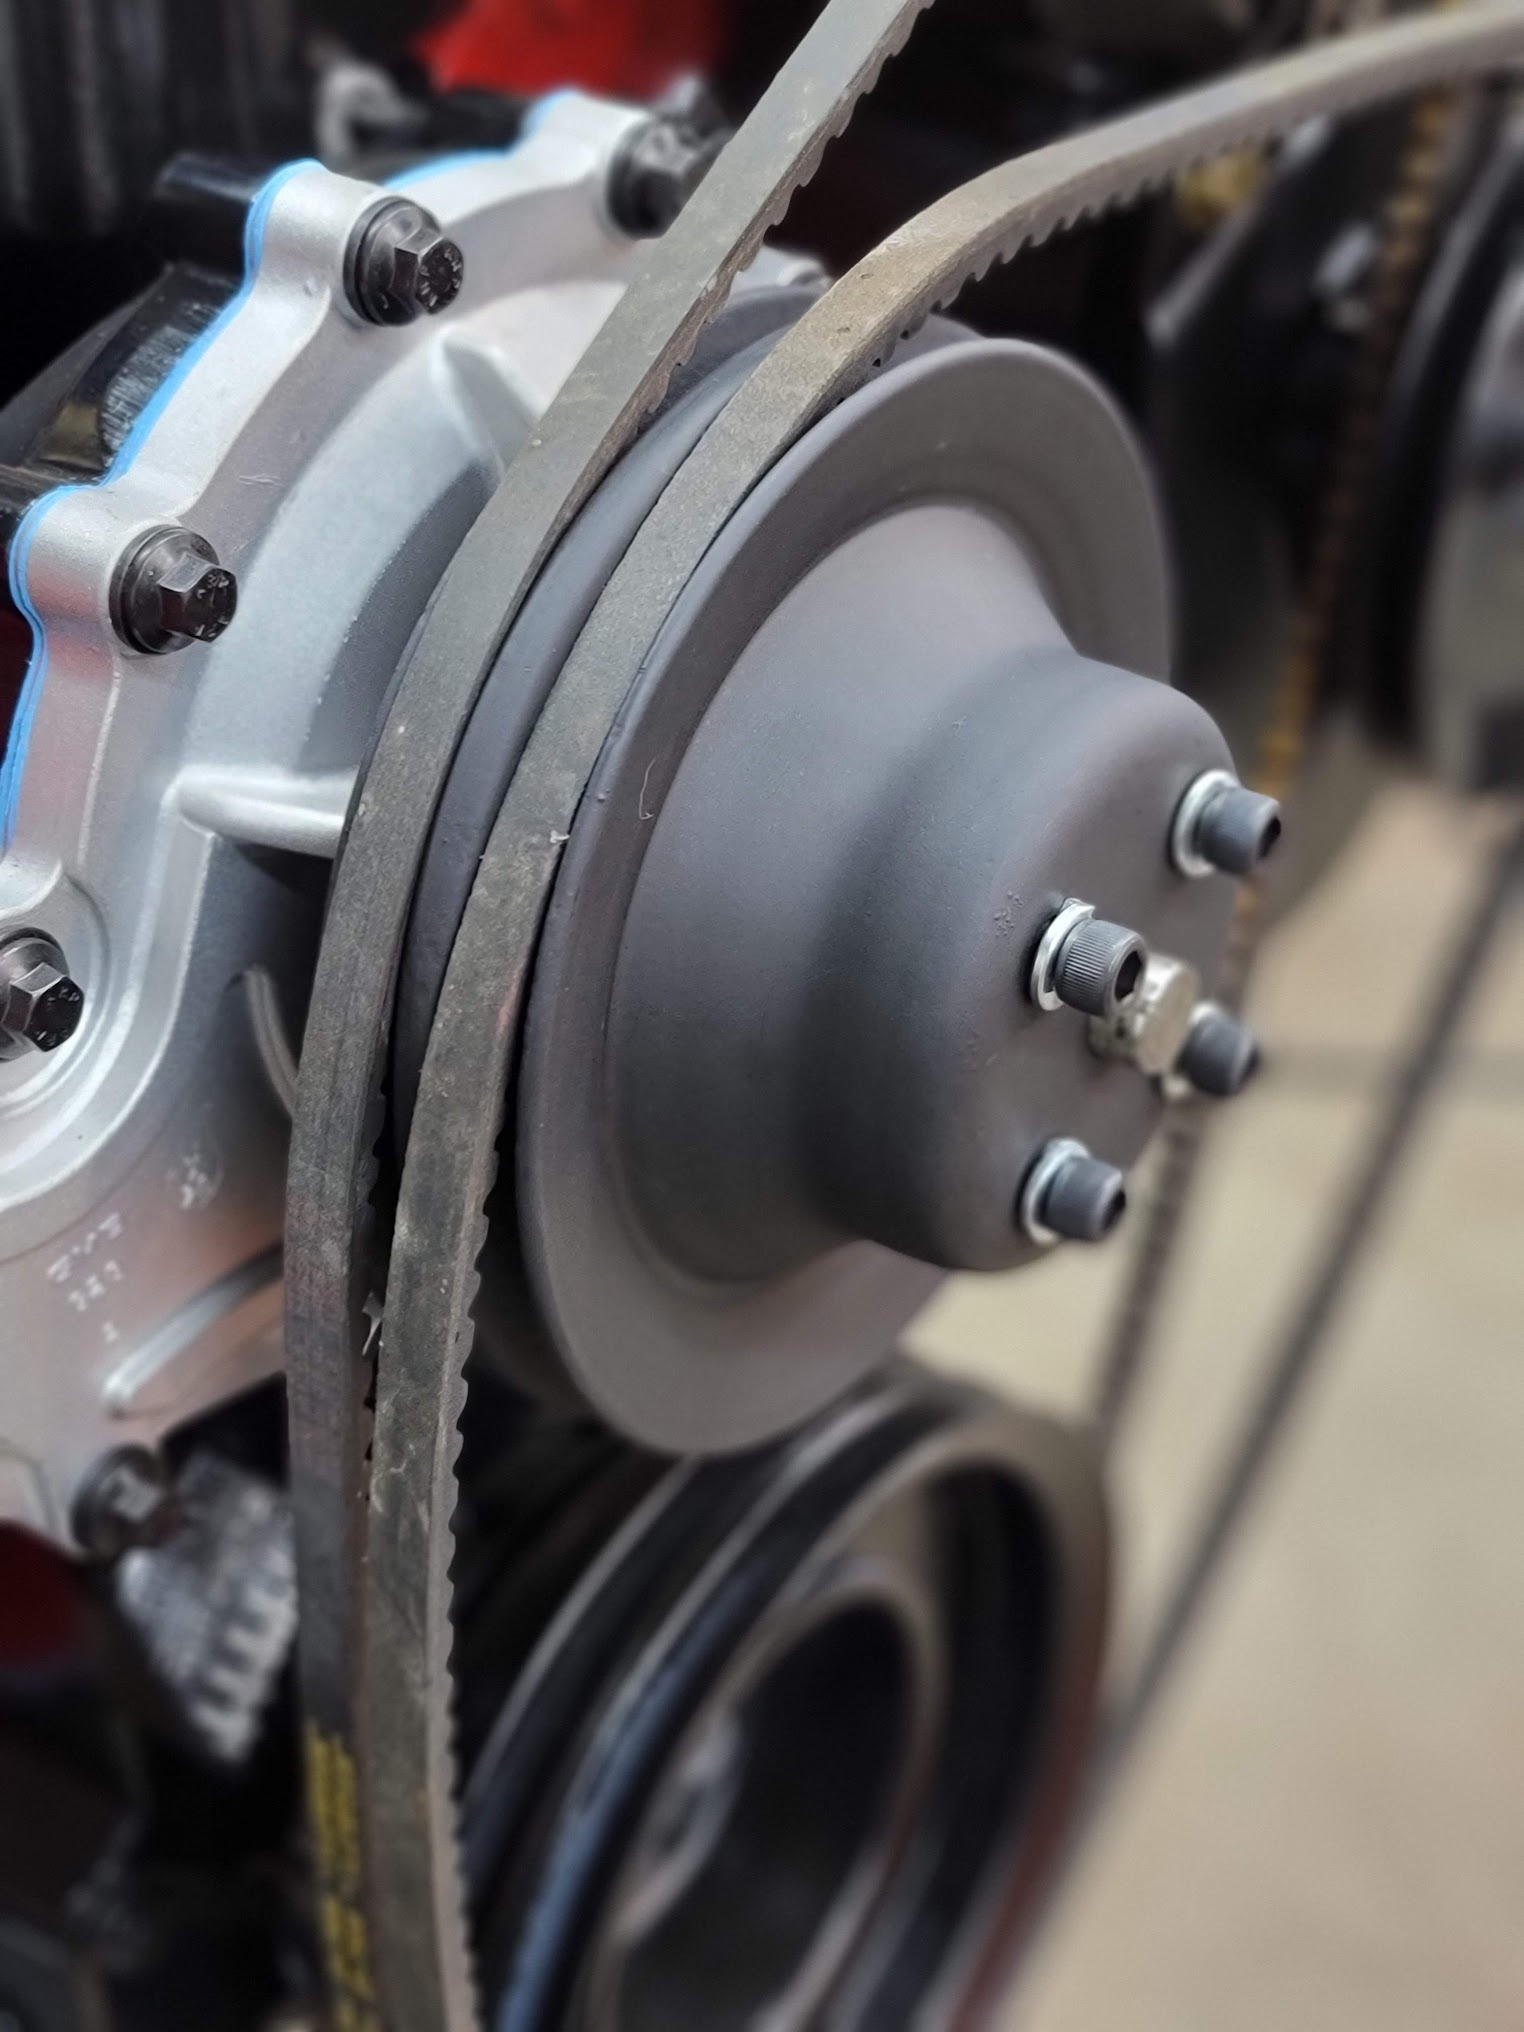
Found a pulley! Only made for 1/2 of a year in 1970. it is the exact 7/8″ offset correction I needed to align the old components with the new 11 bolt 4.5″ tall water pump! For those of you in a similar situation, the part number is 9799128XT The smaller diameter is for AC cars, and allows the water pump and fan to spin faster for better cooling. I plan to run Electric AC but still want better cooling so hence the size change. The old pulley was 8″ Diameter.
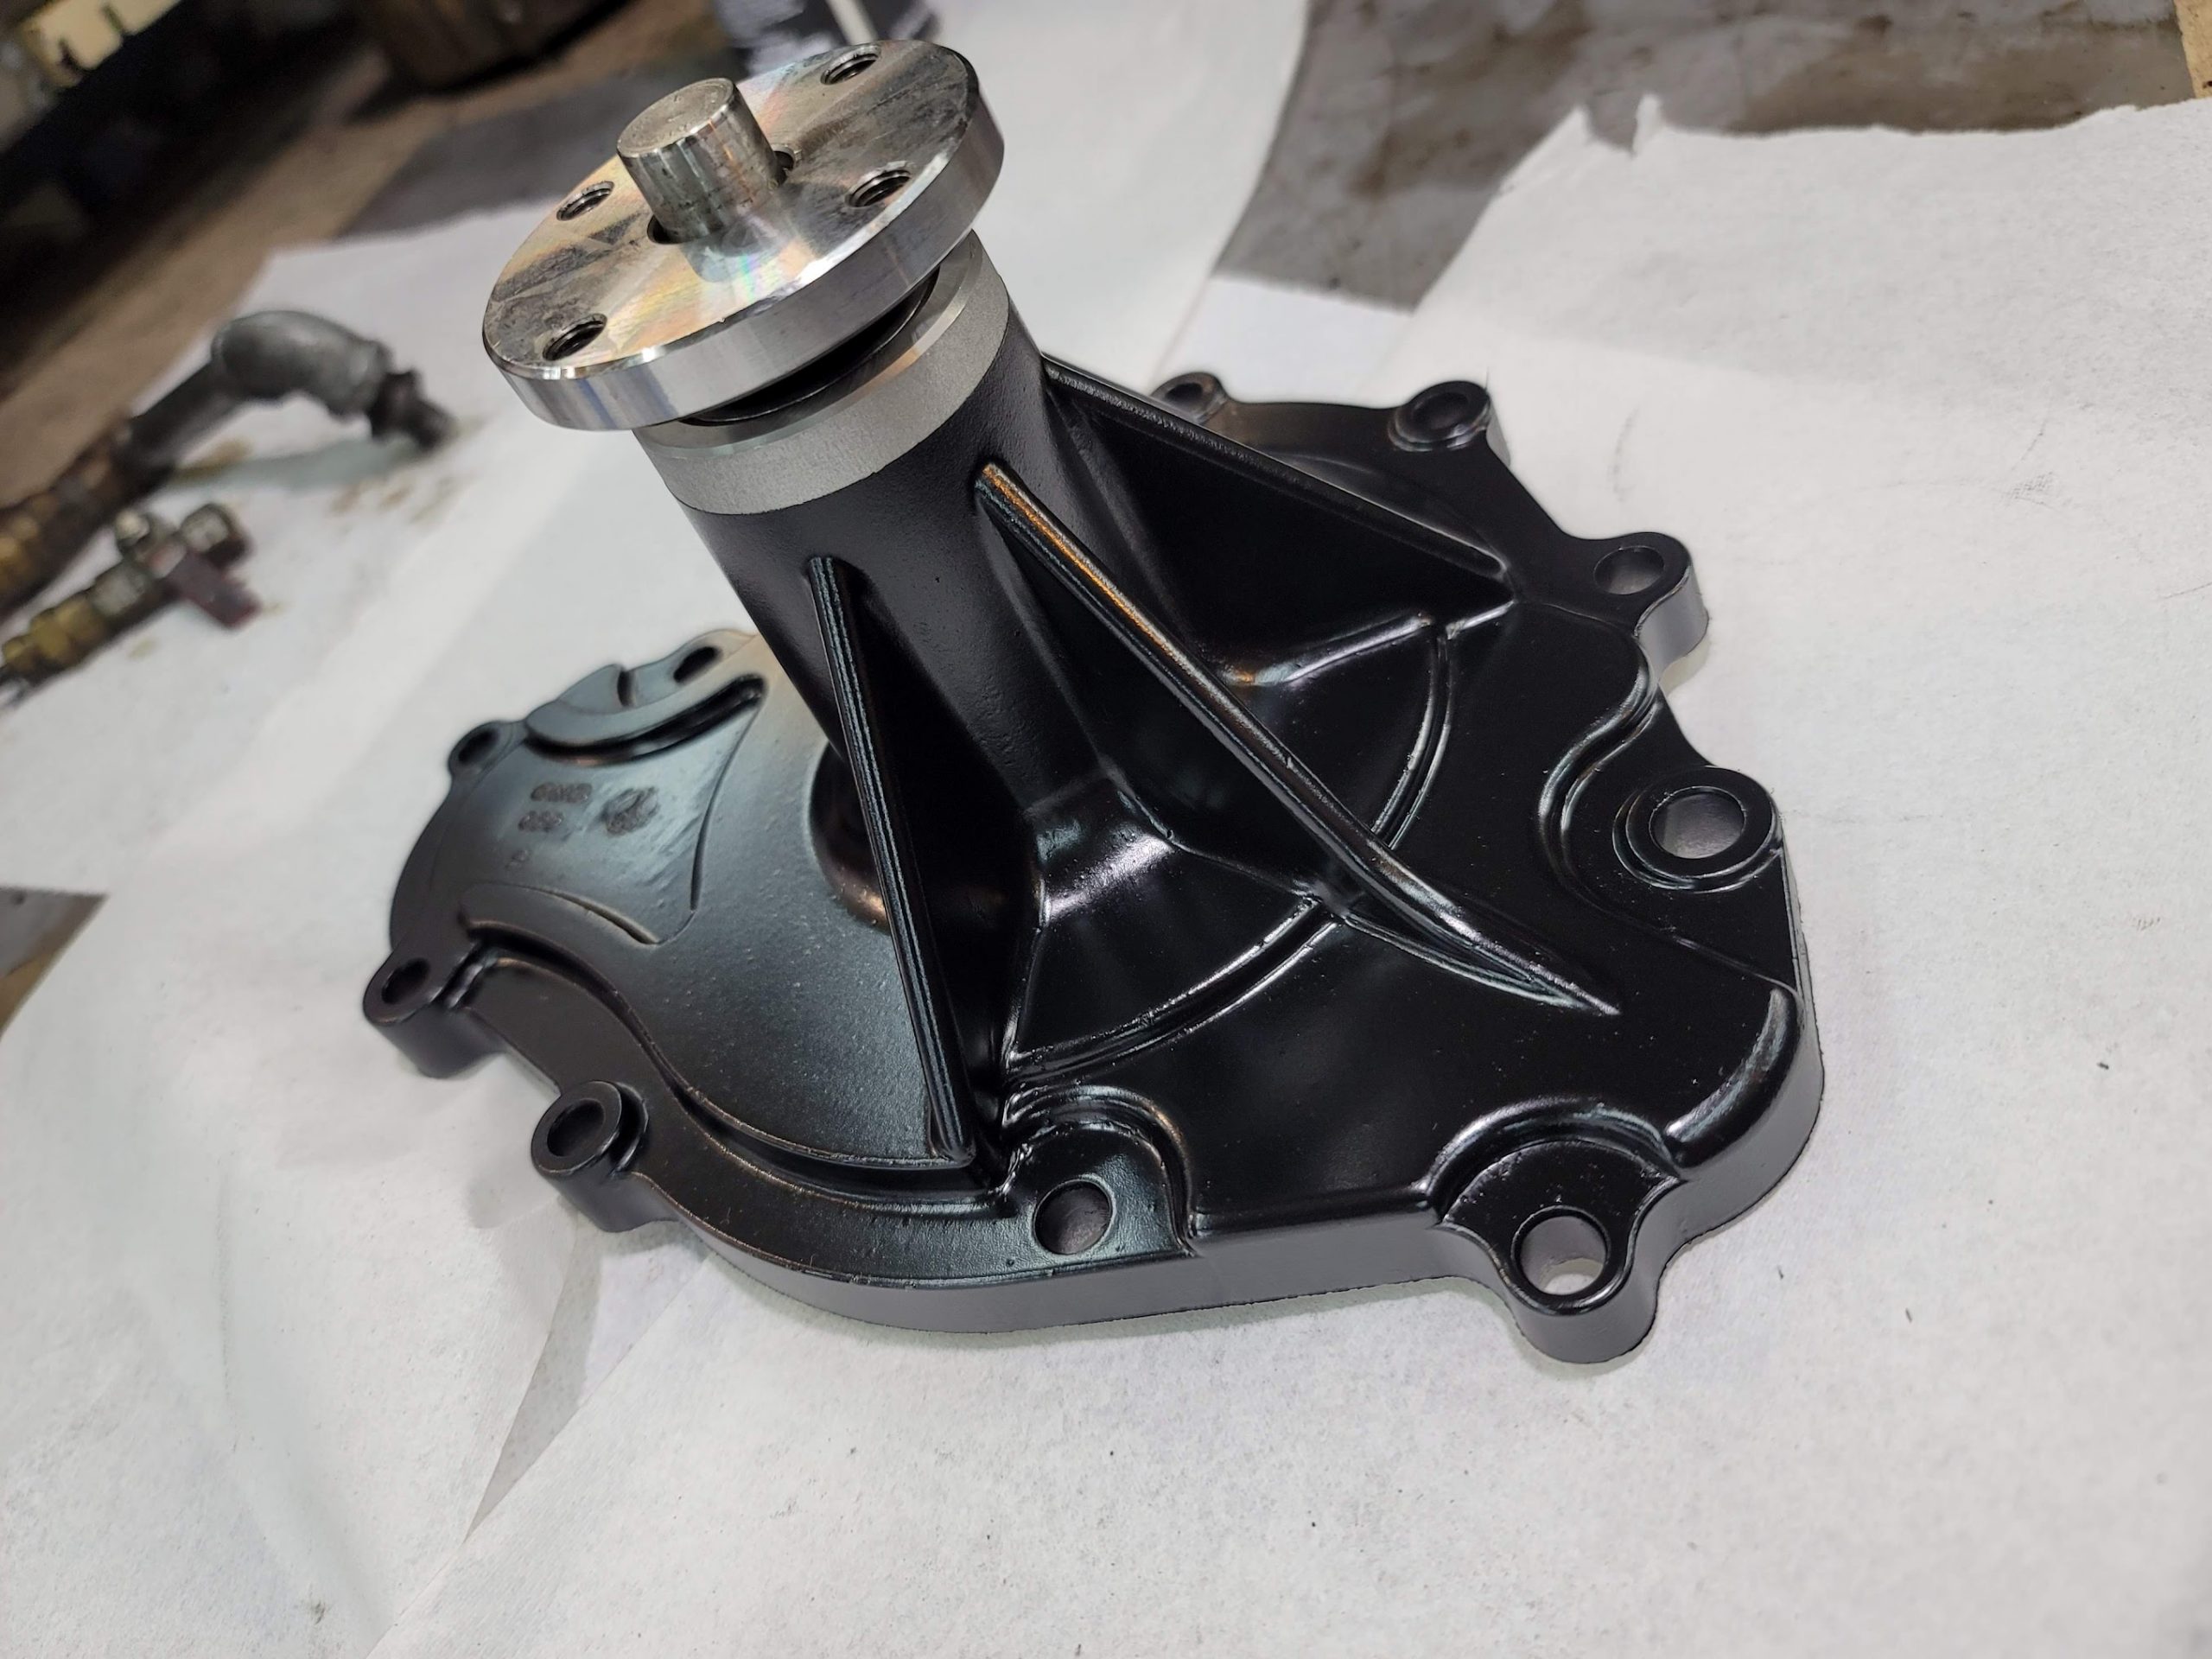

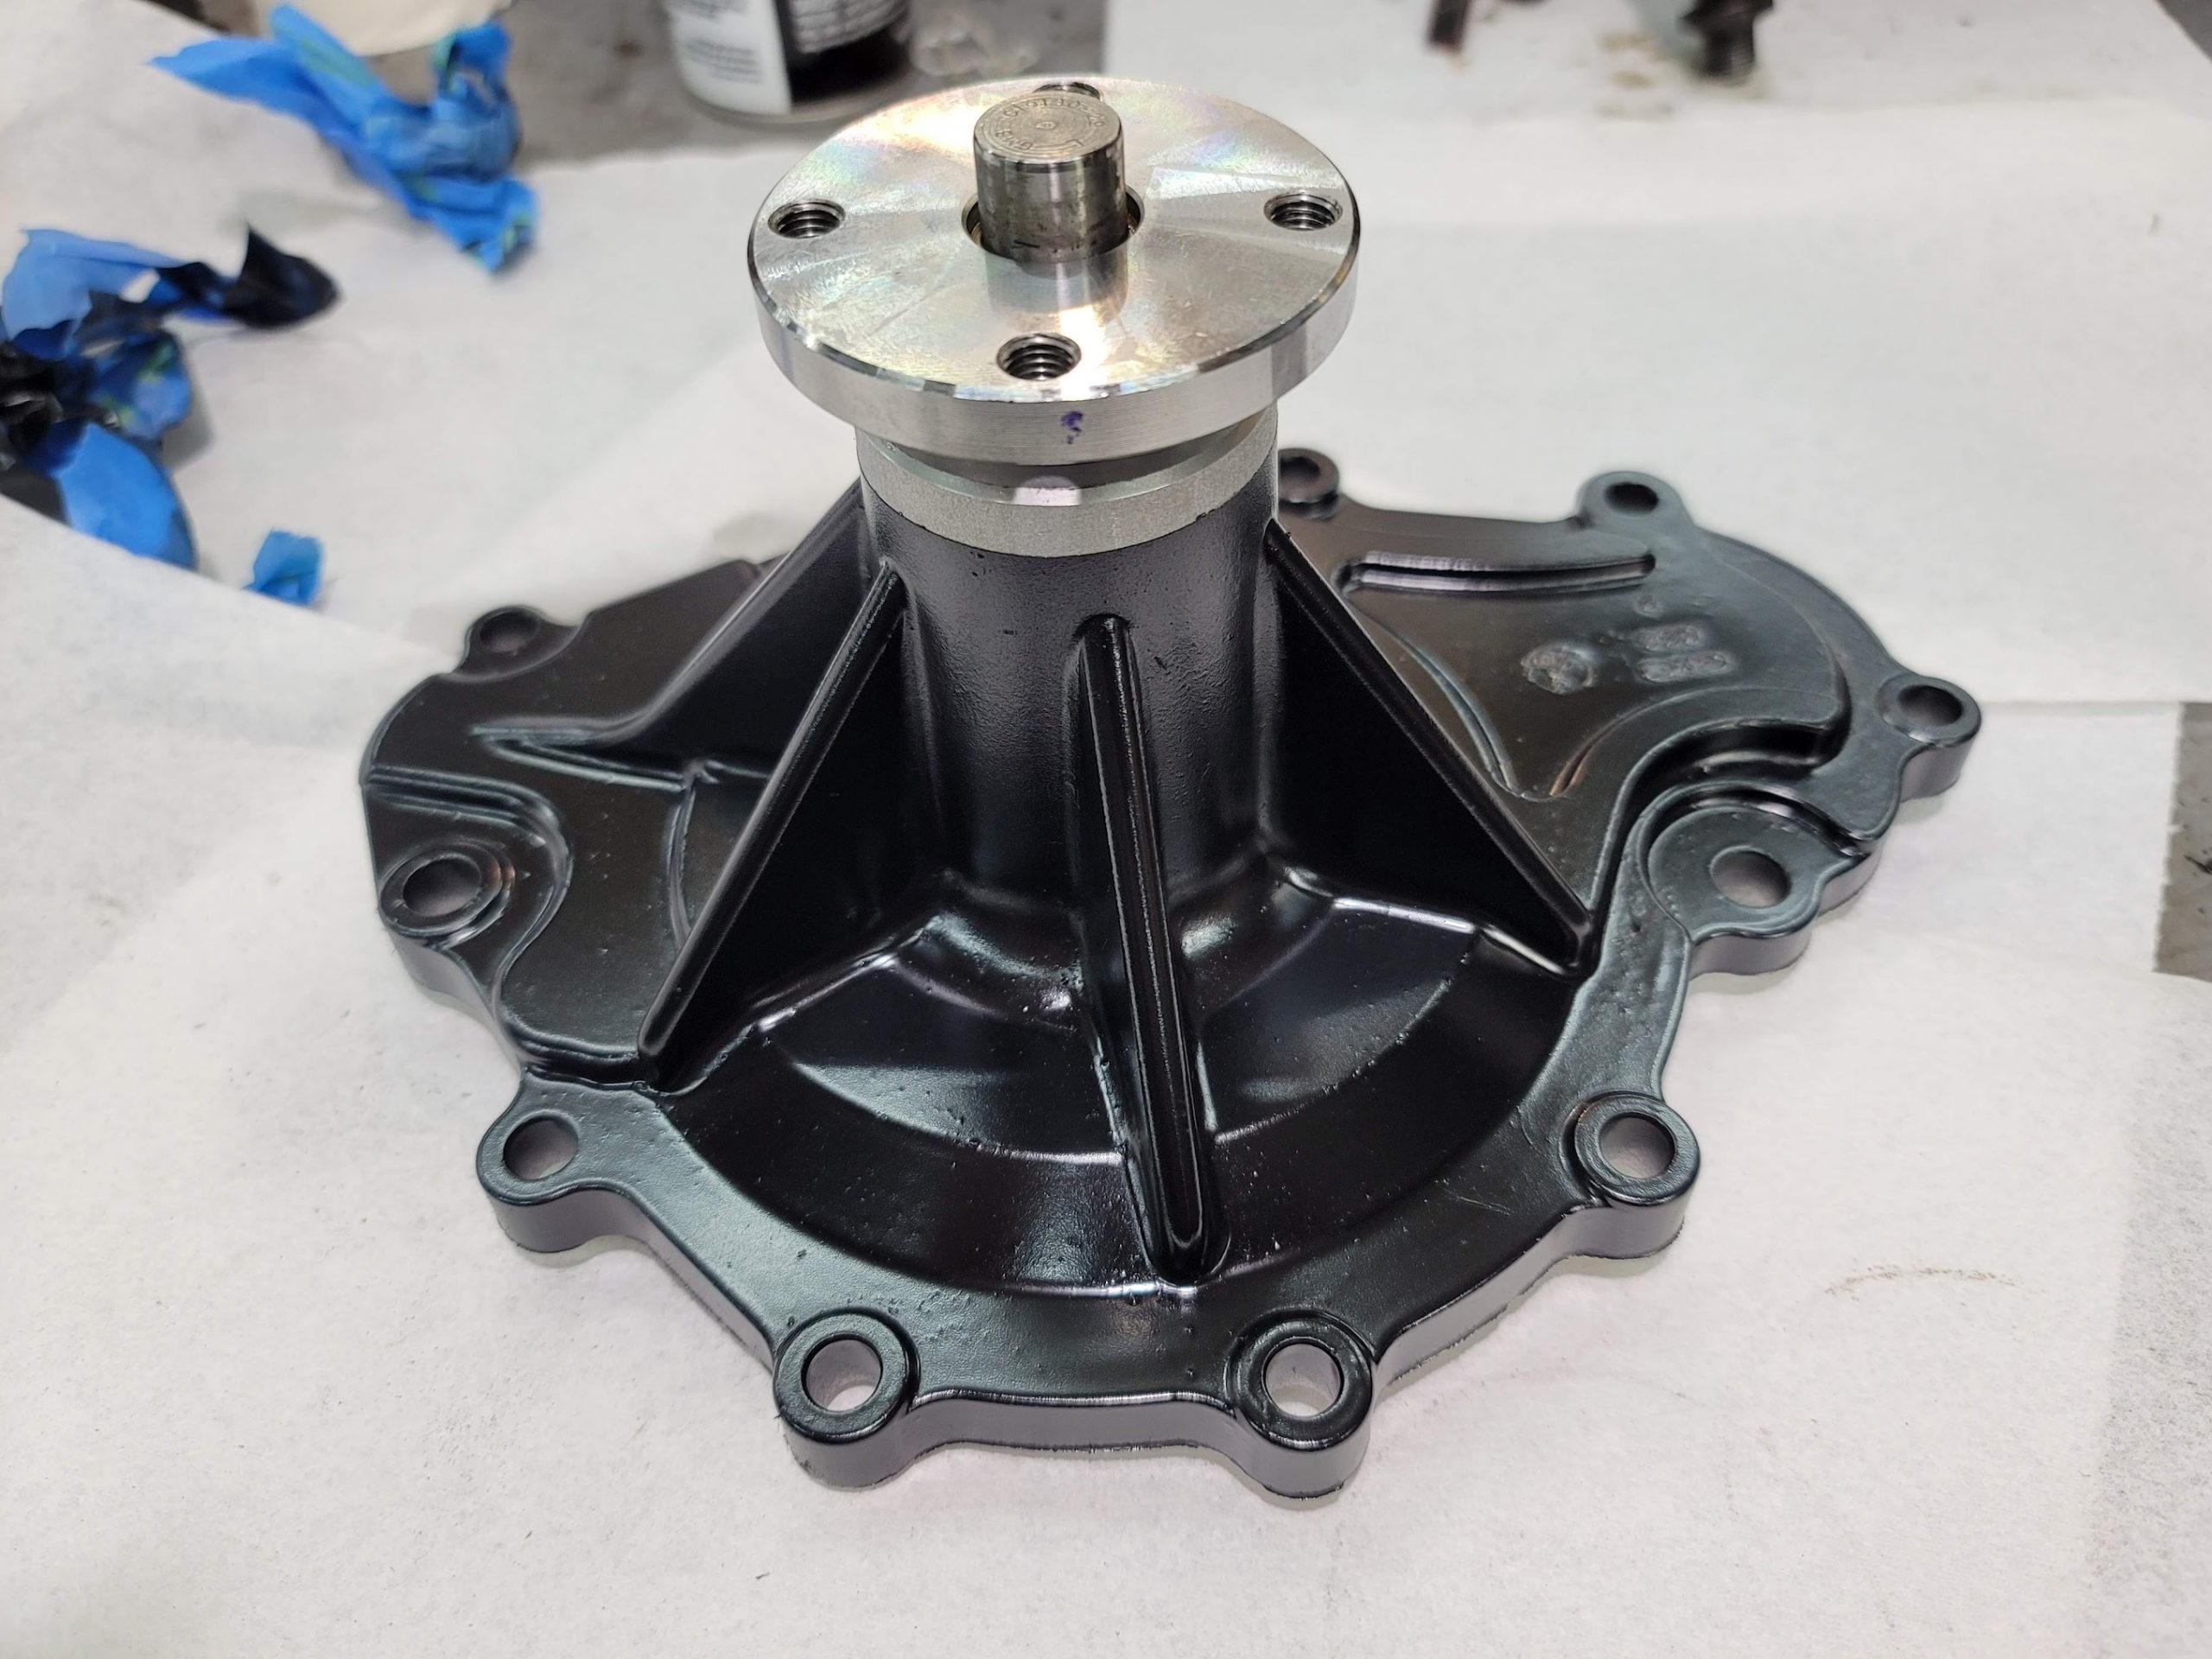
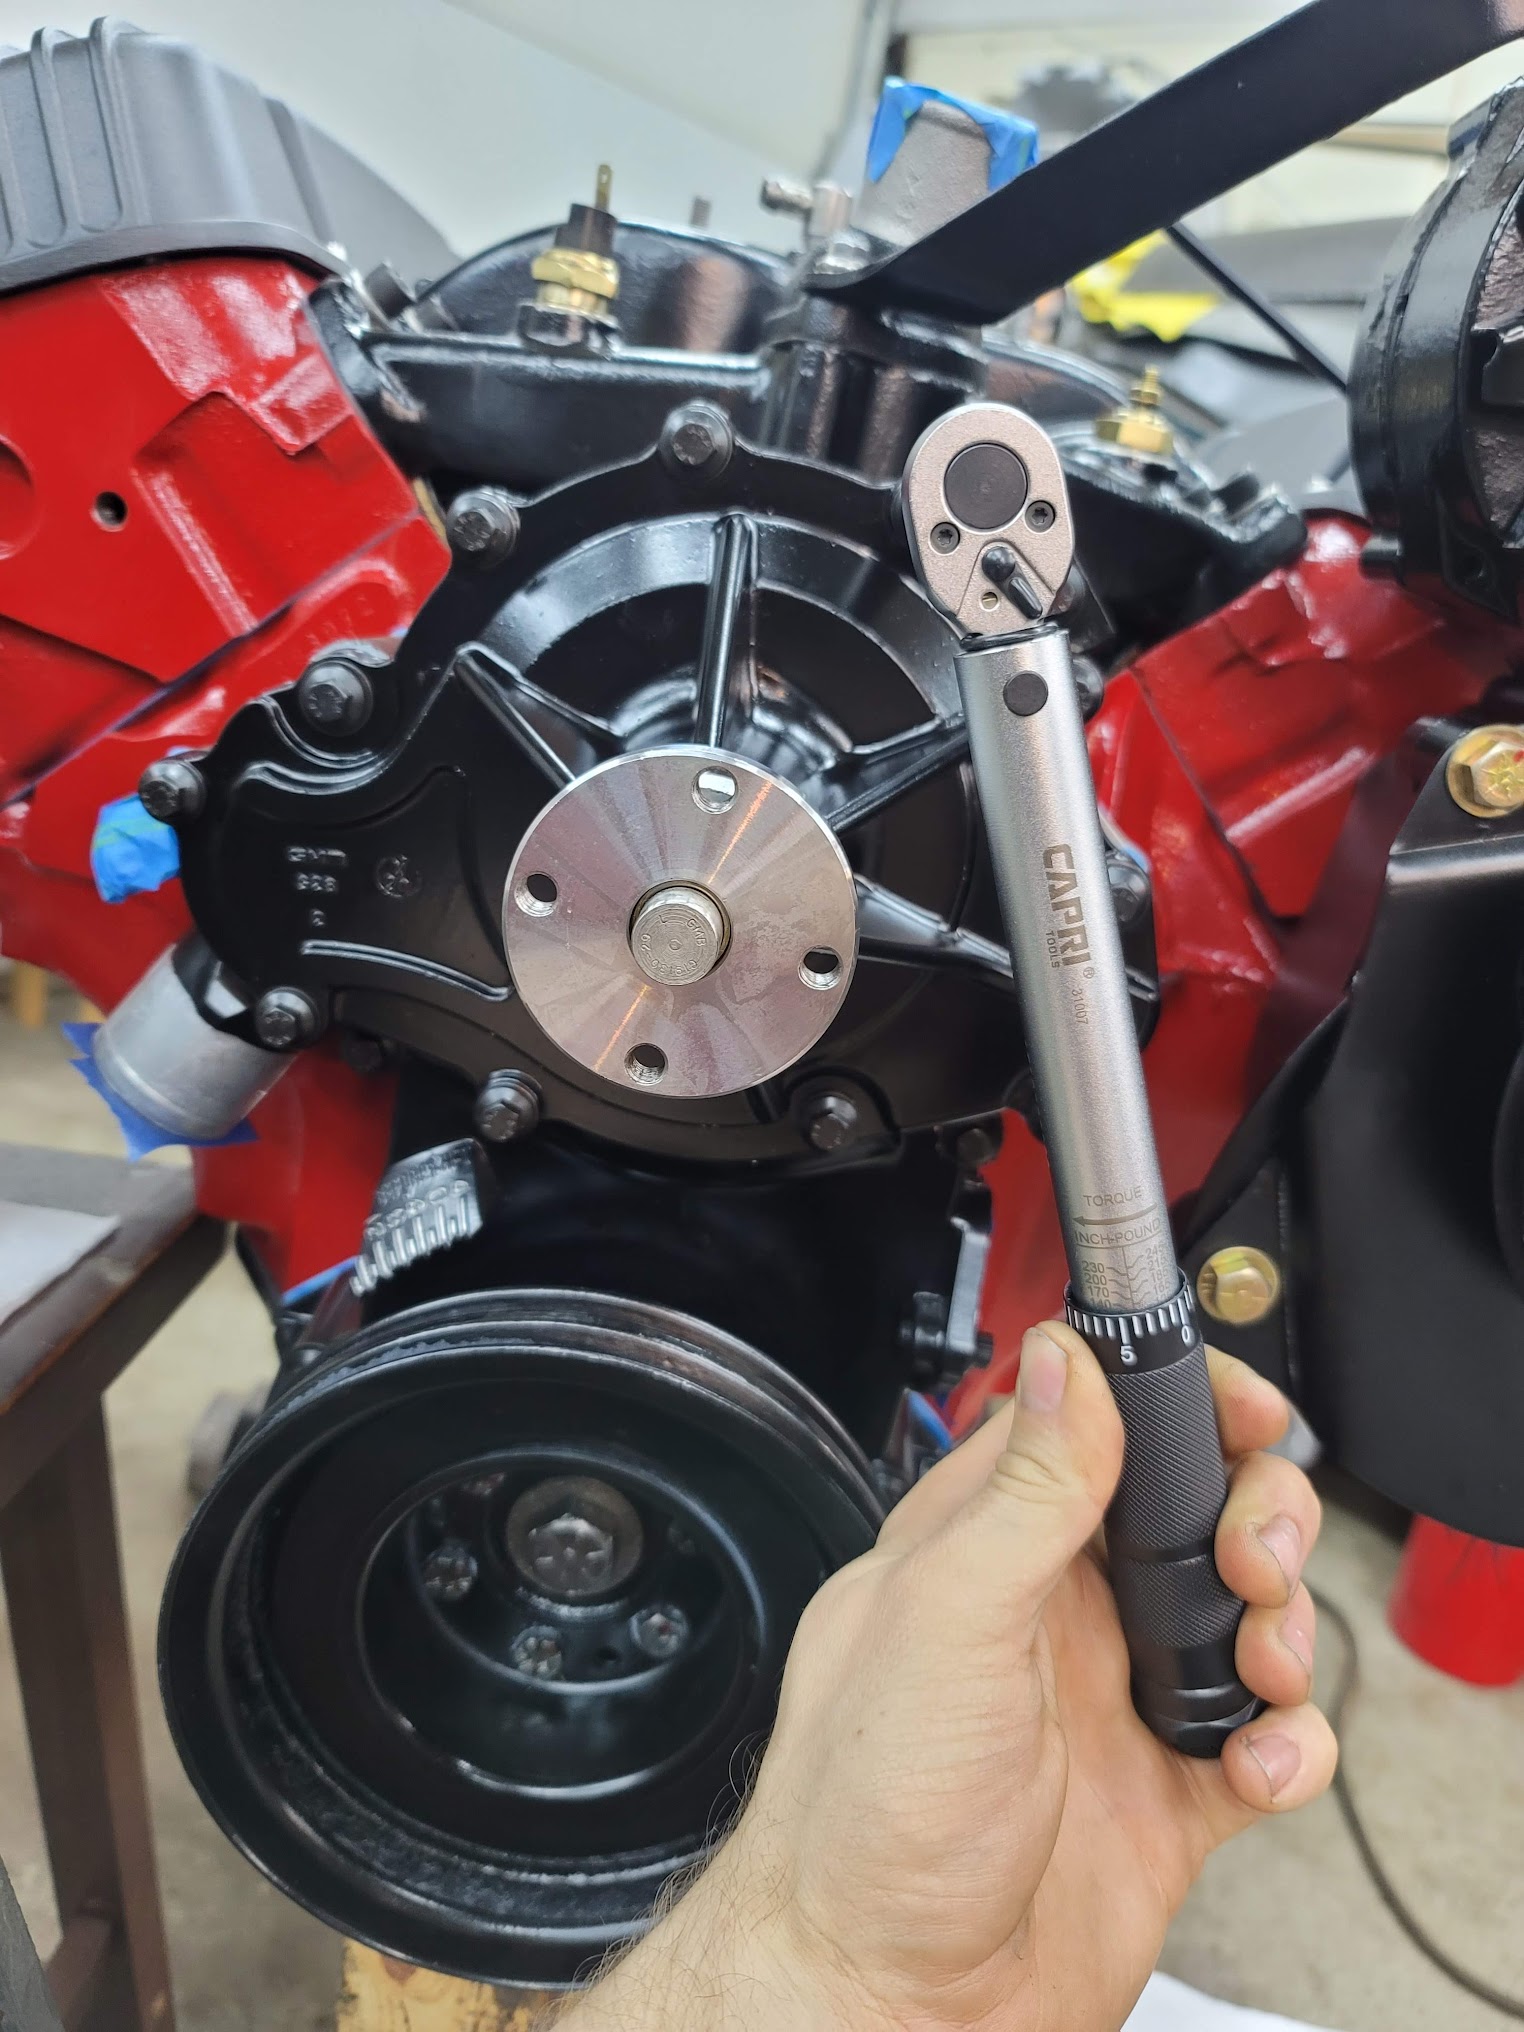
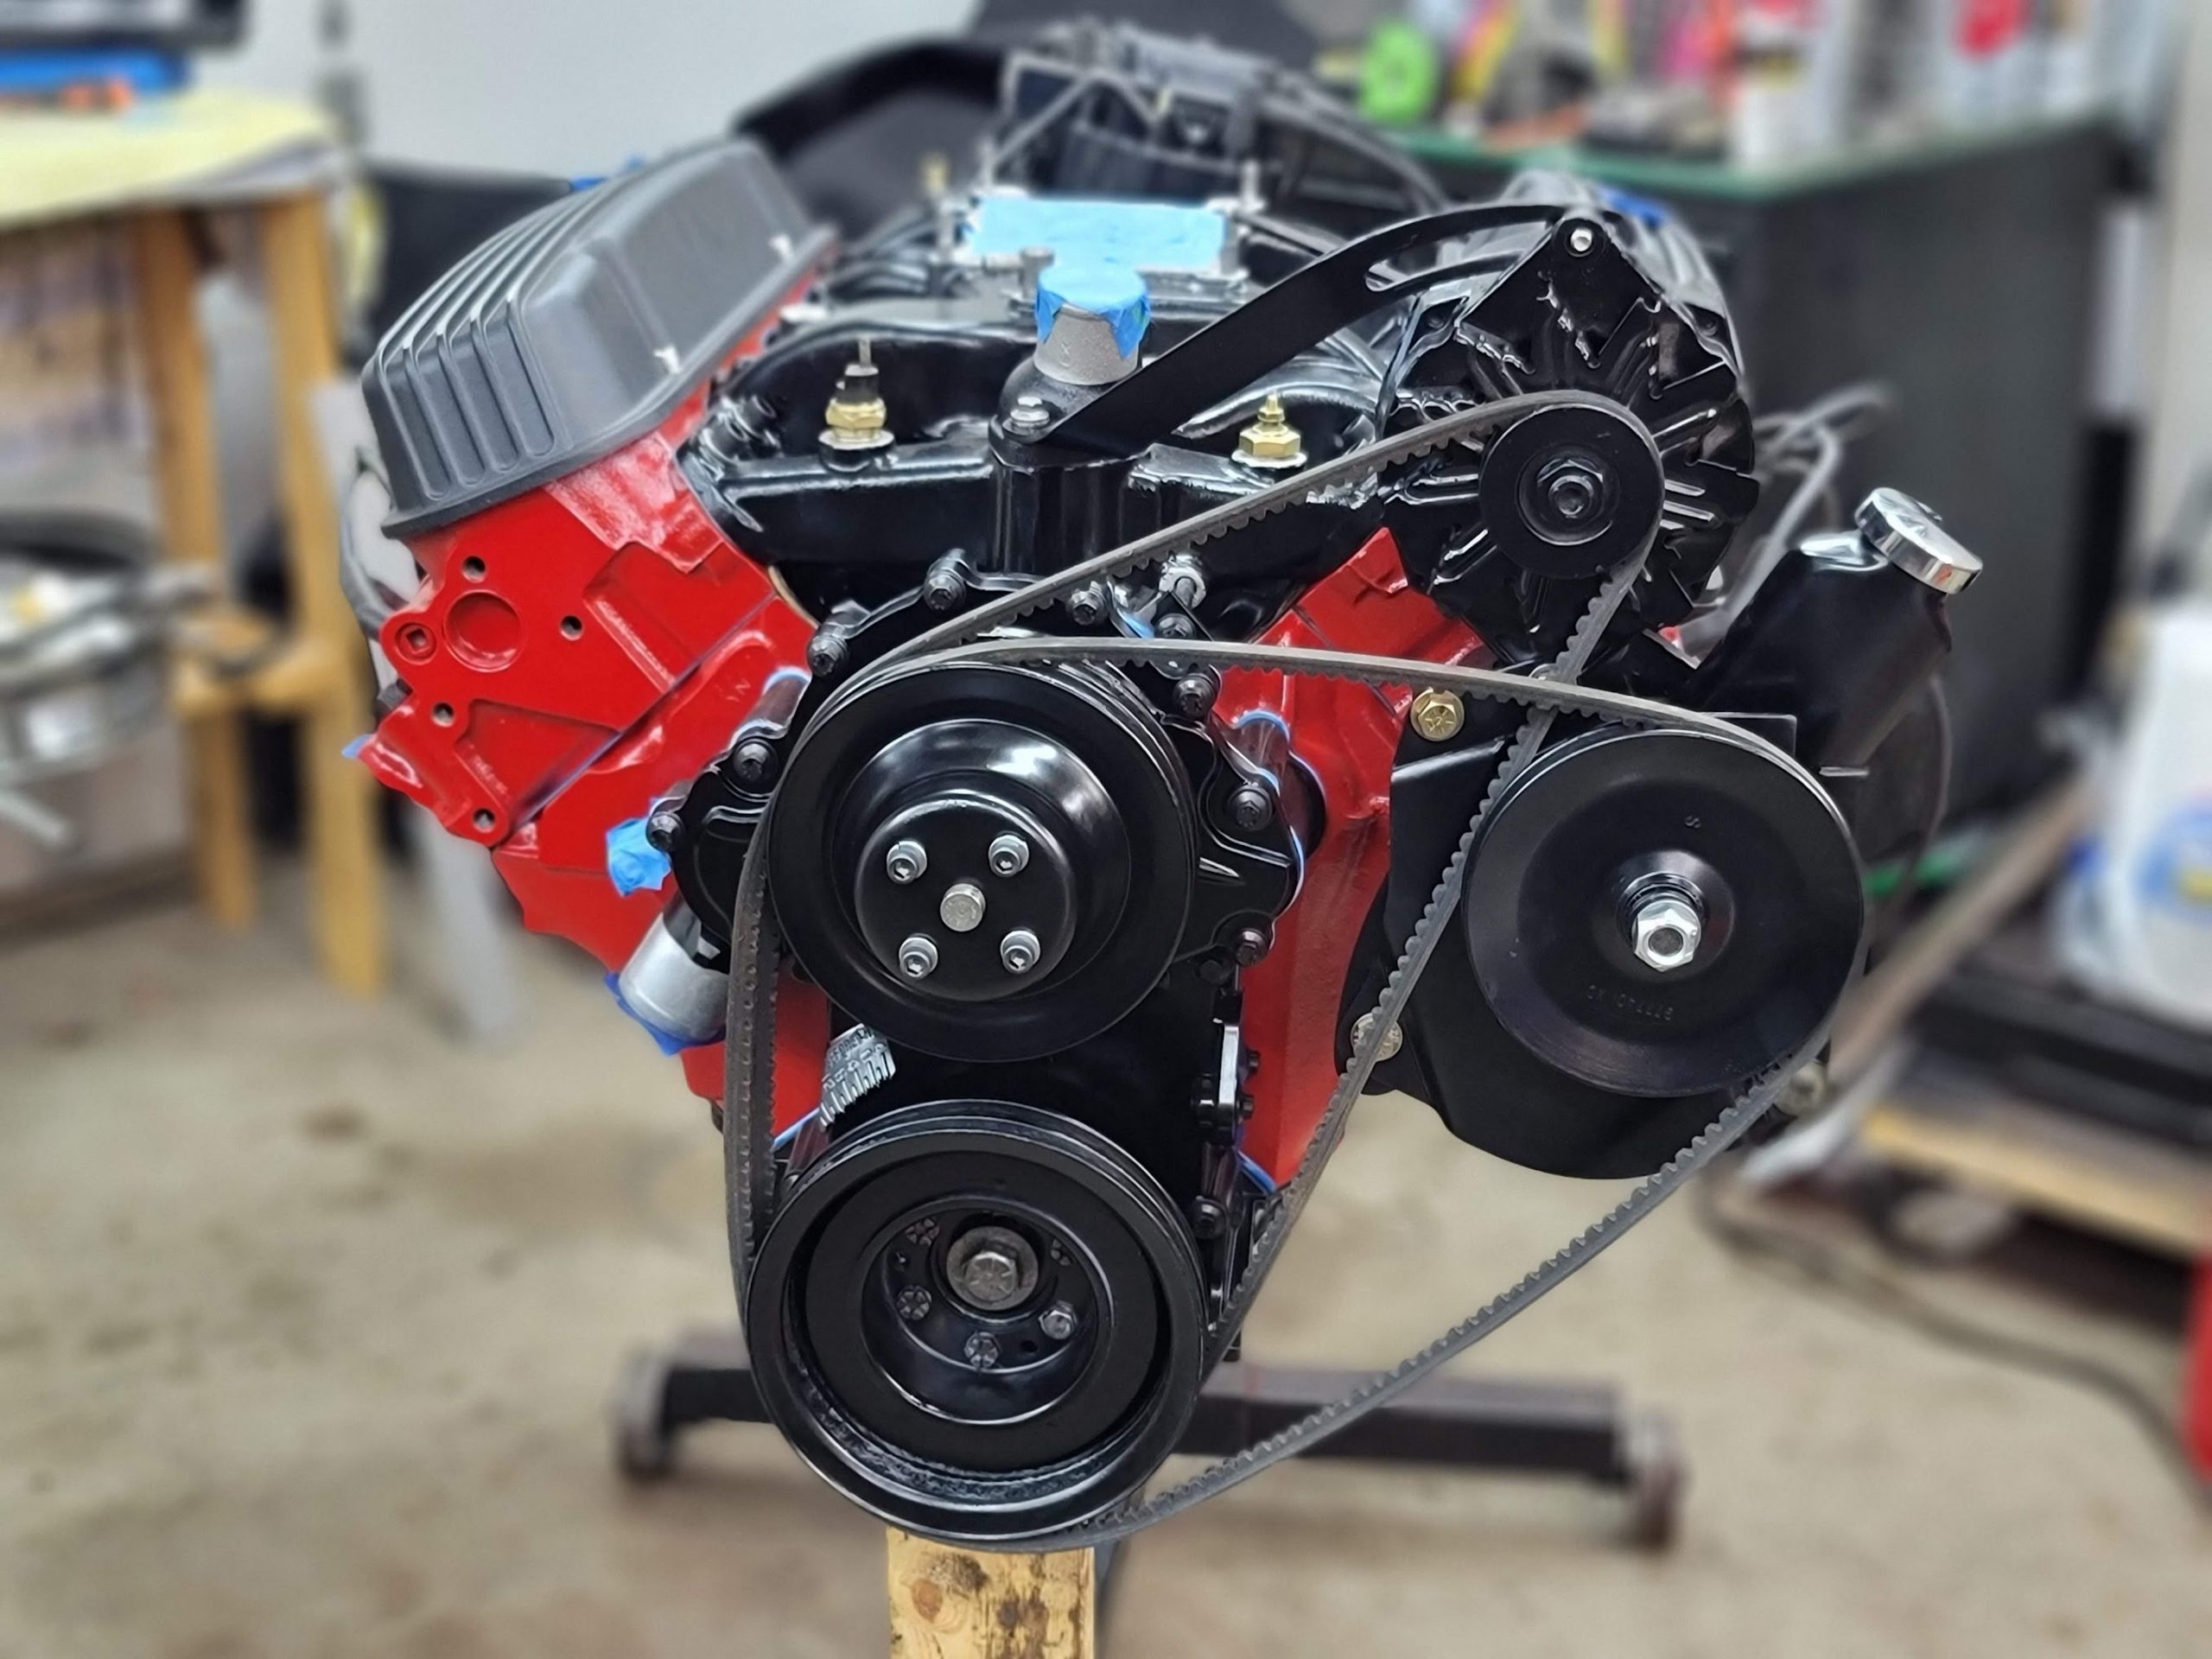
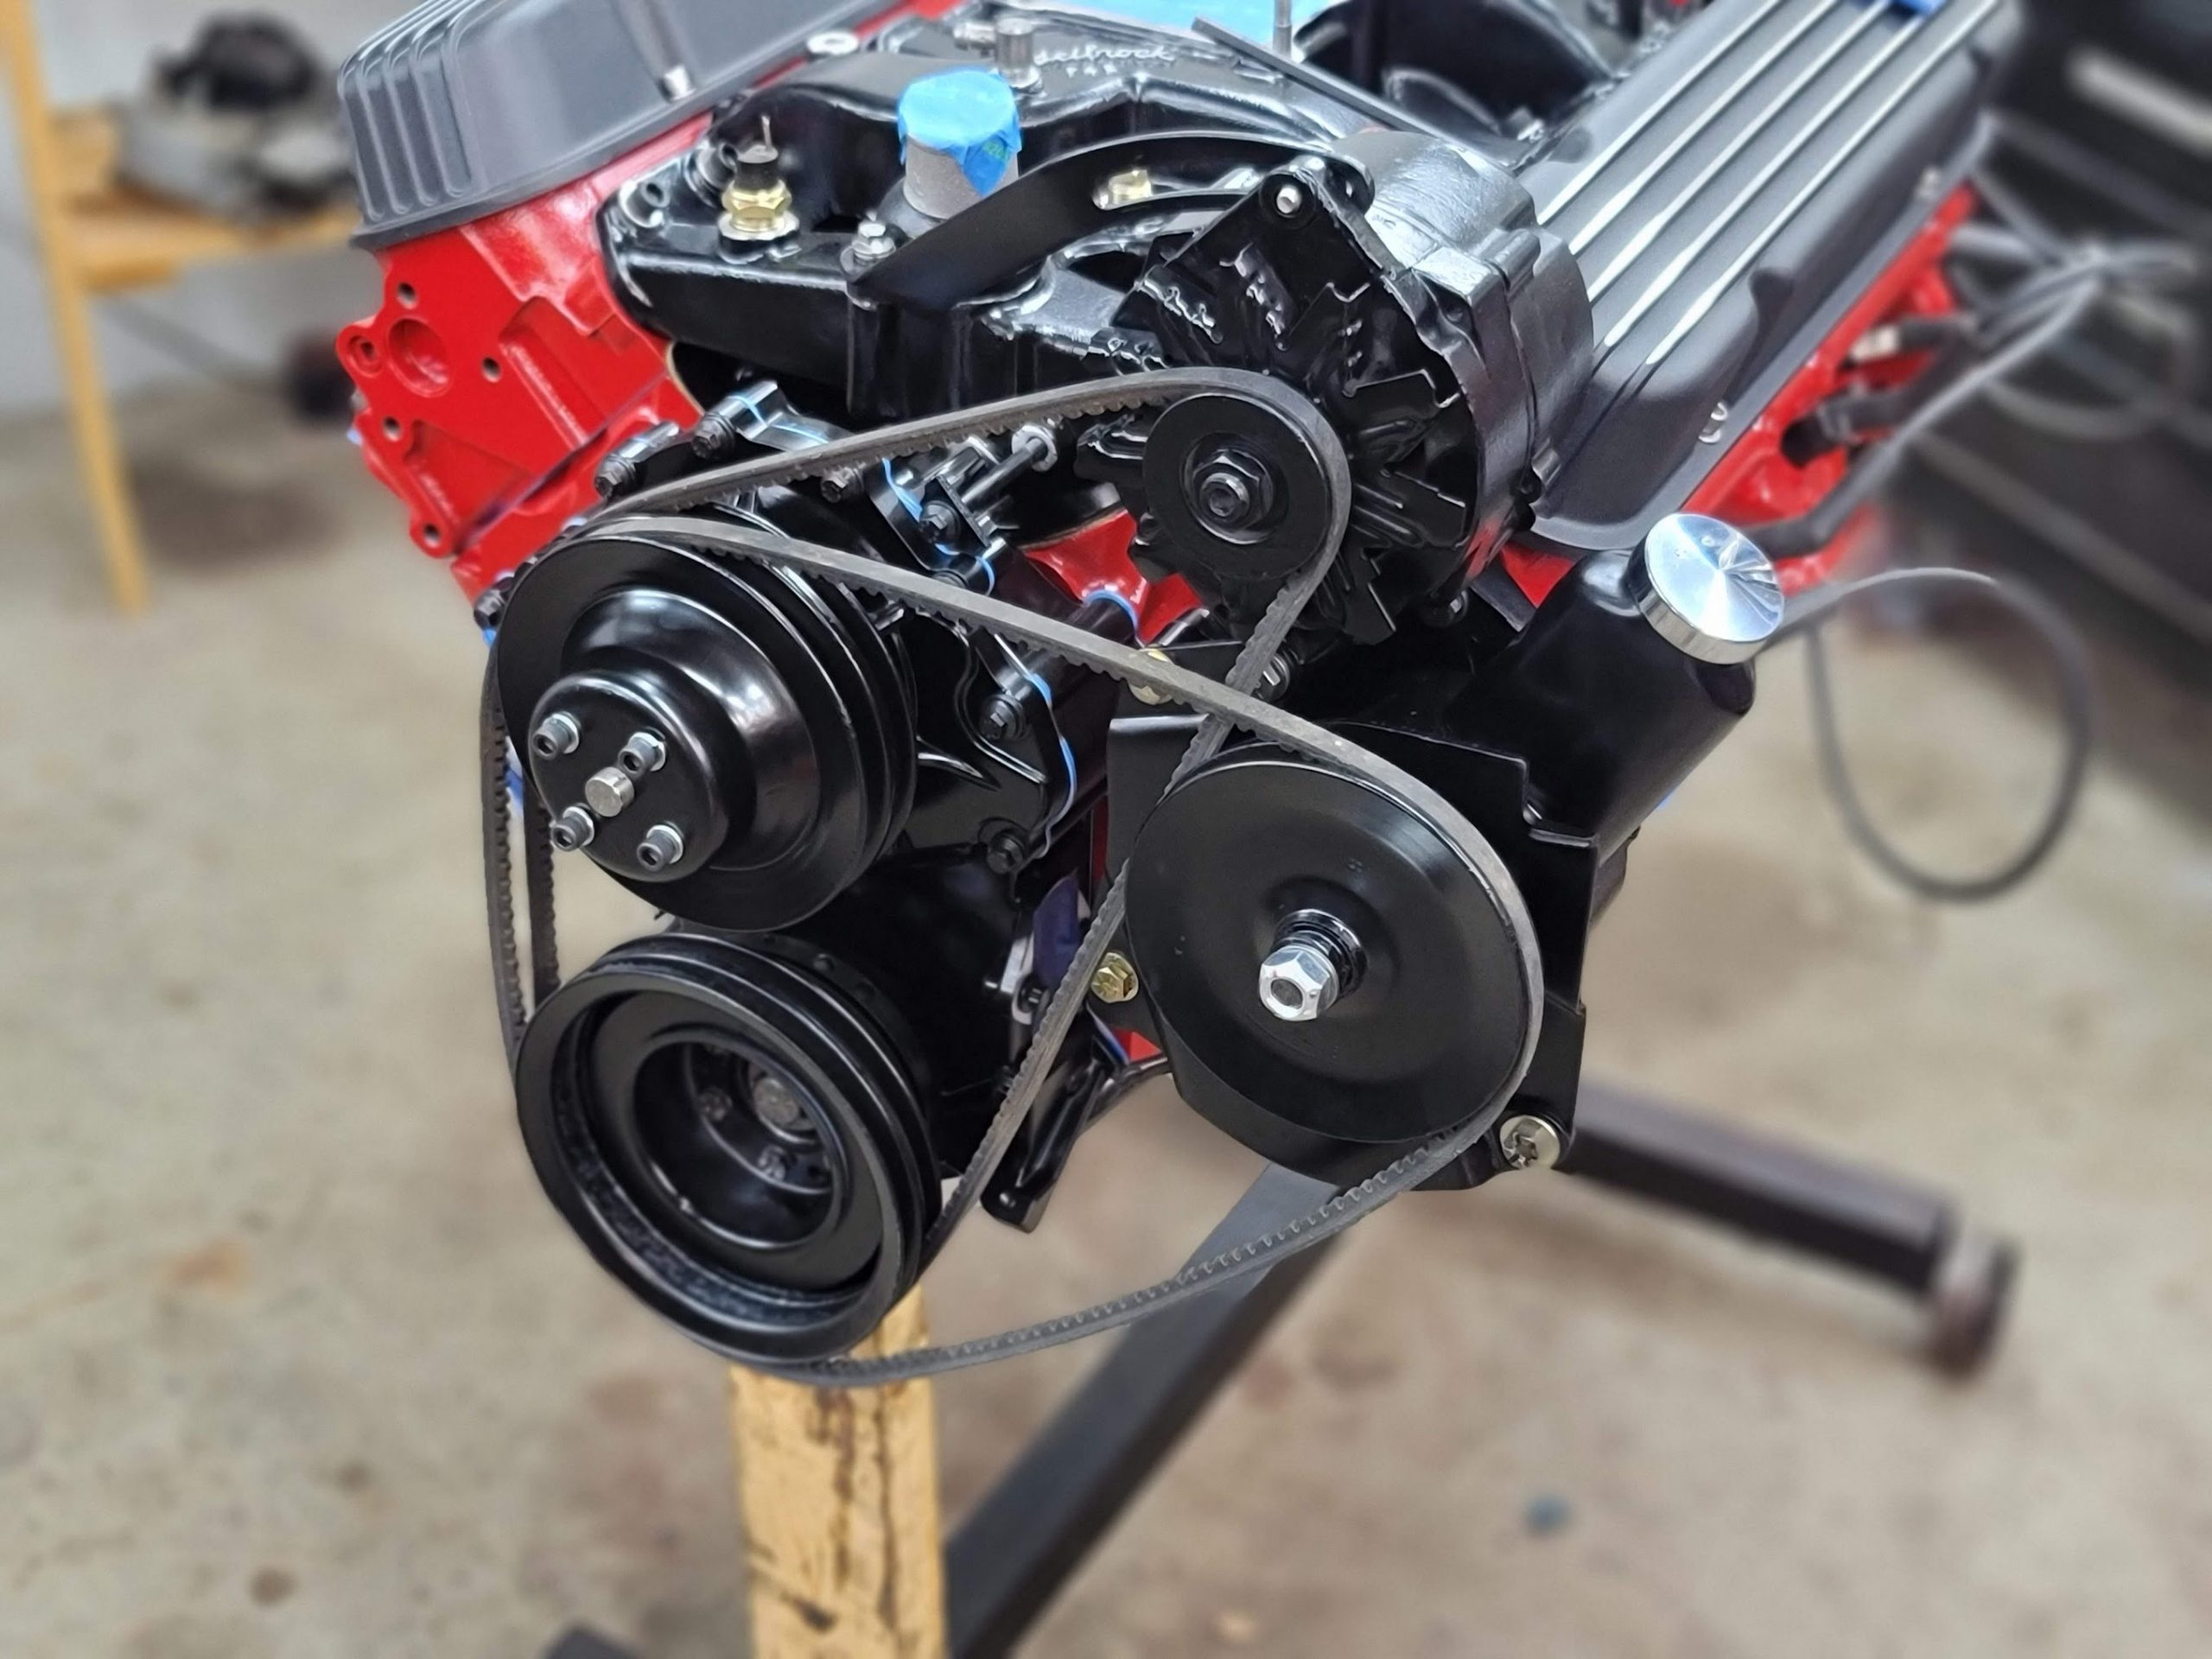
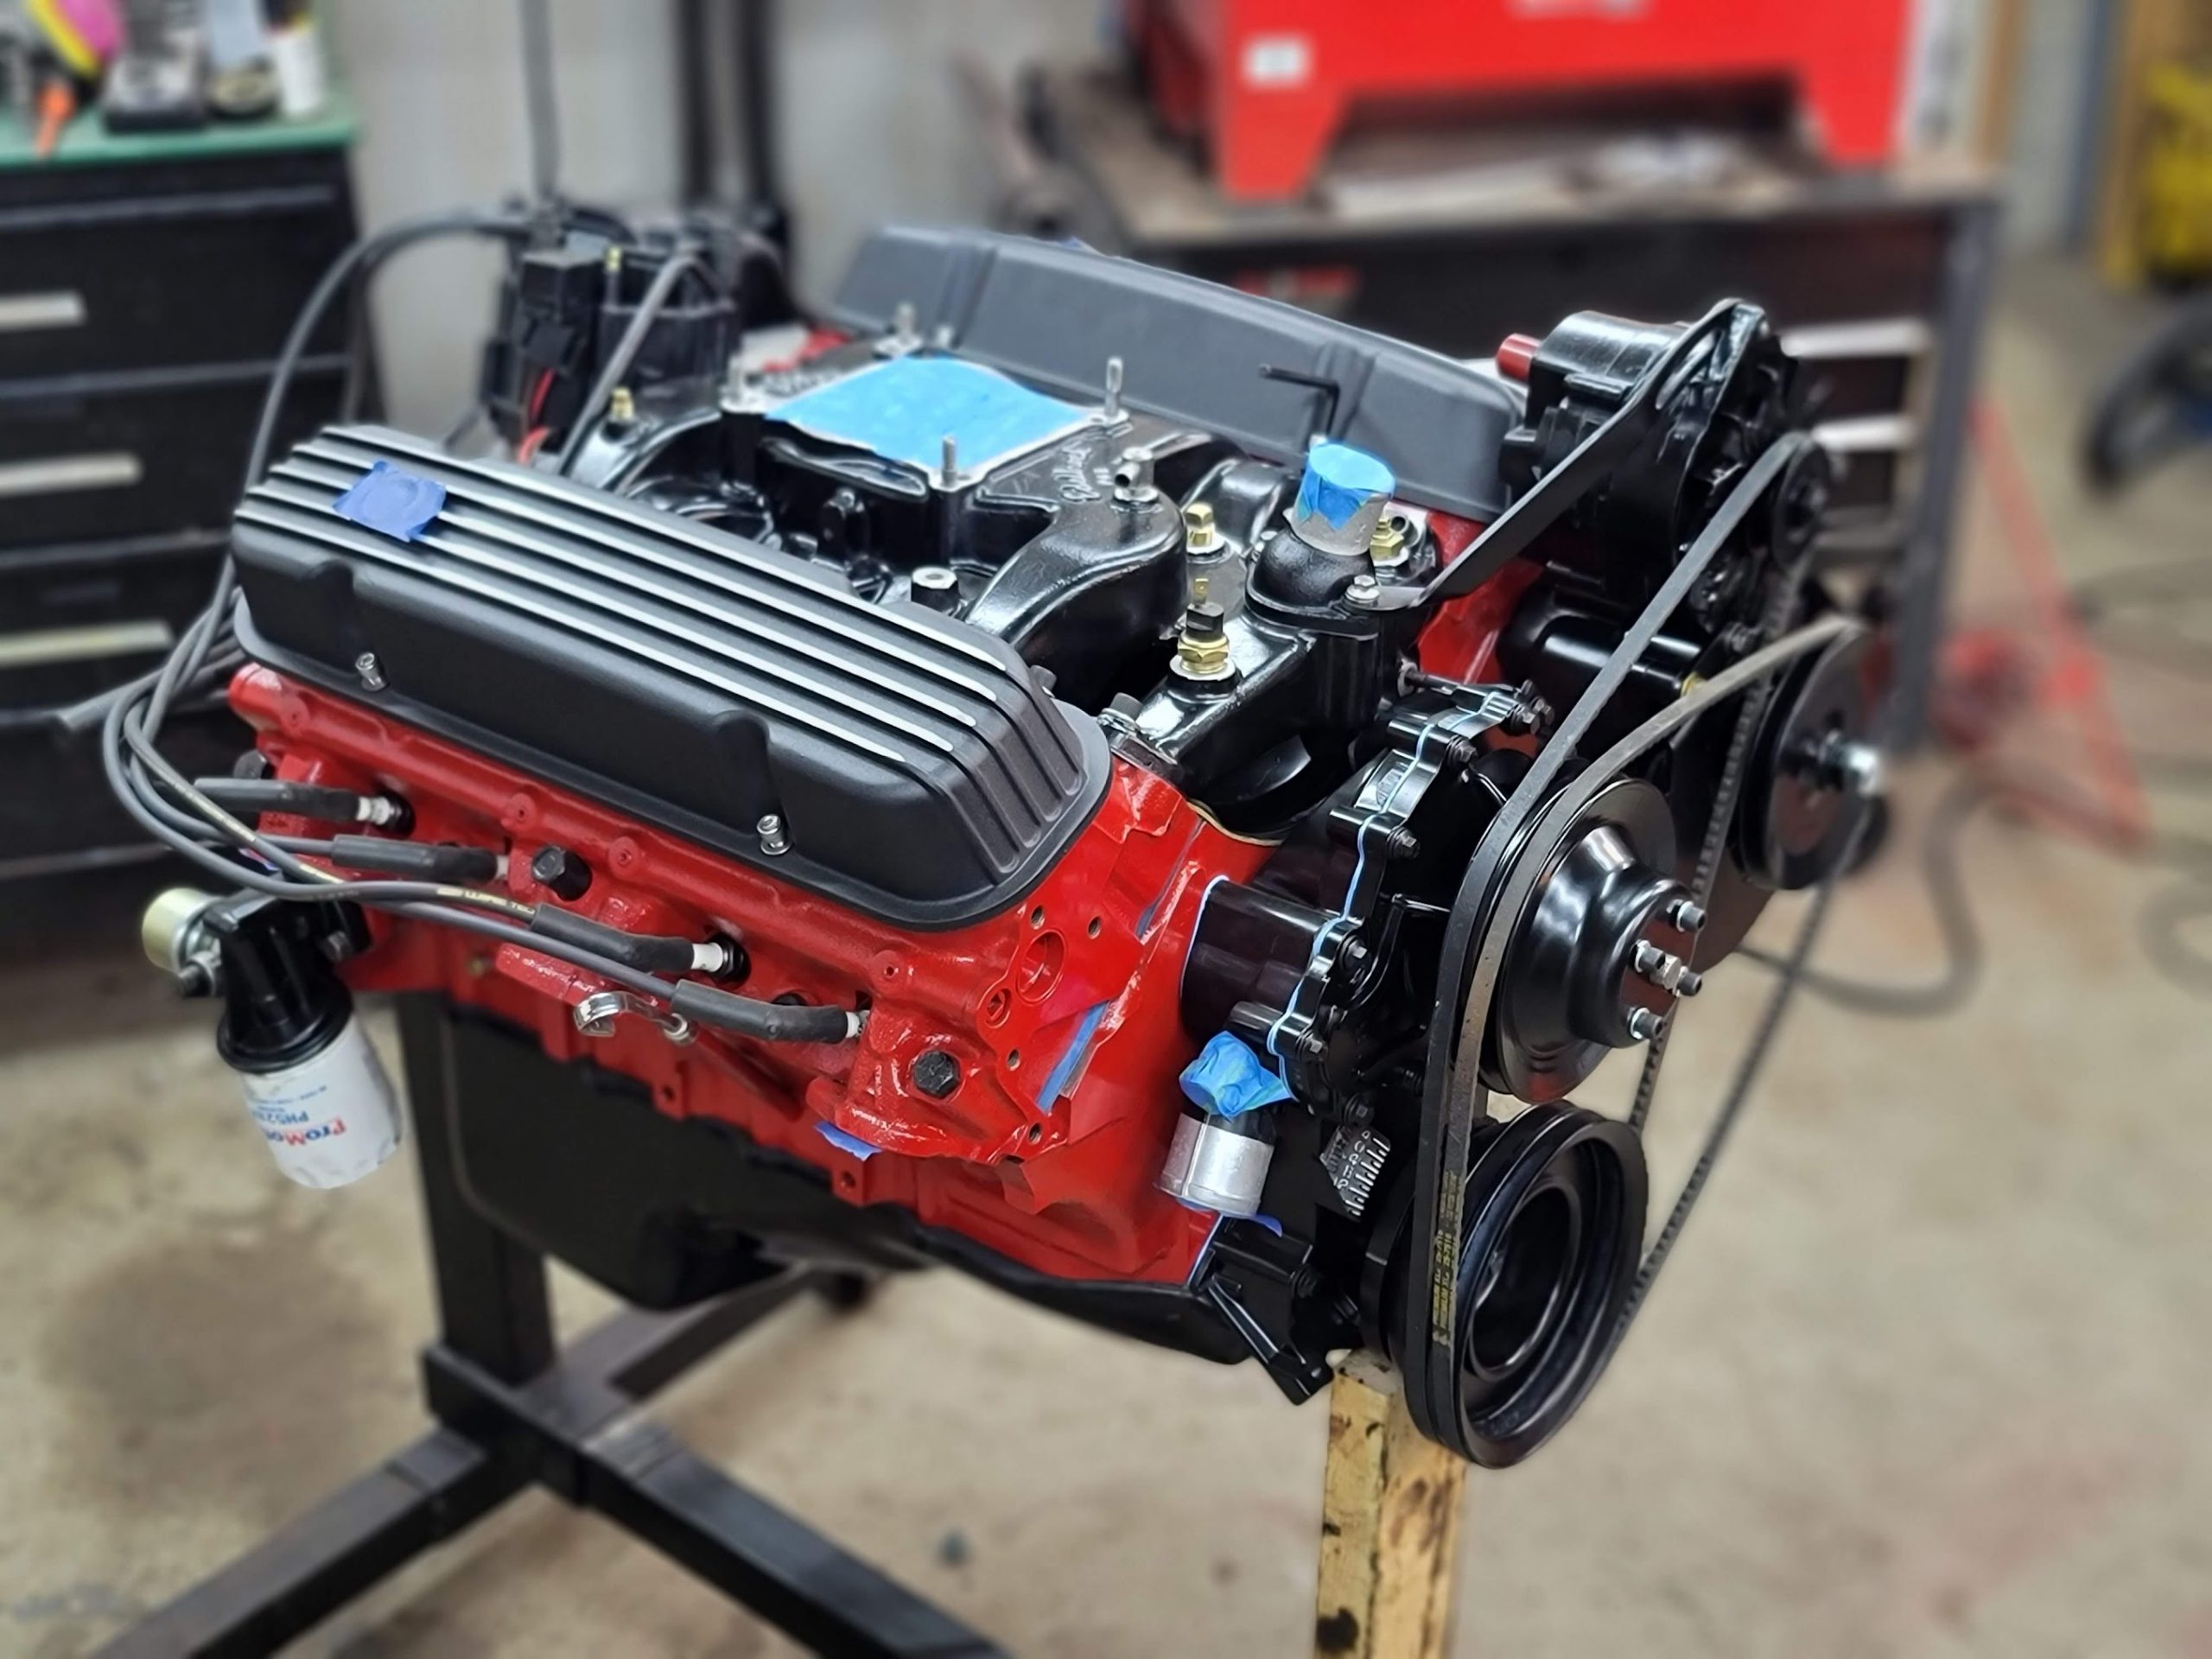
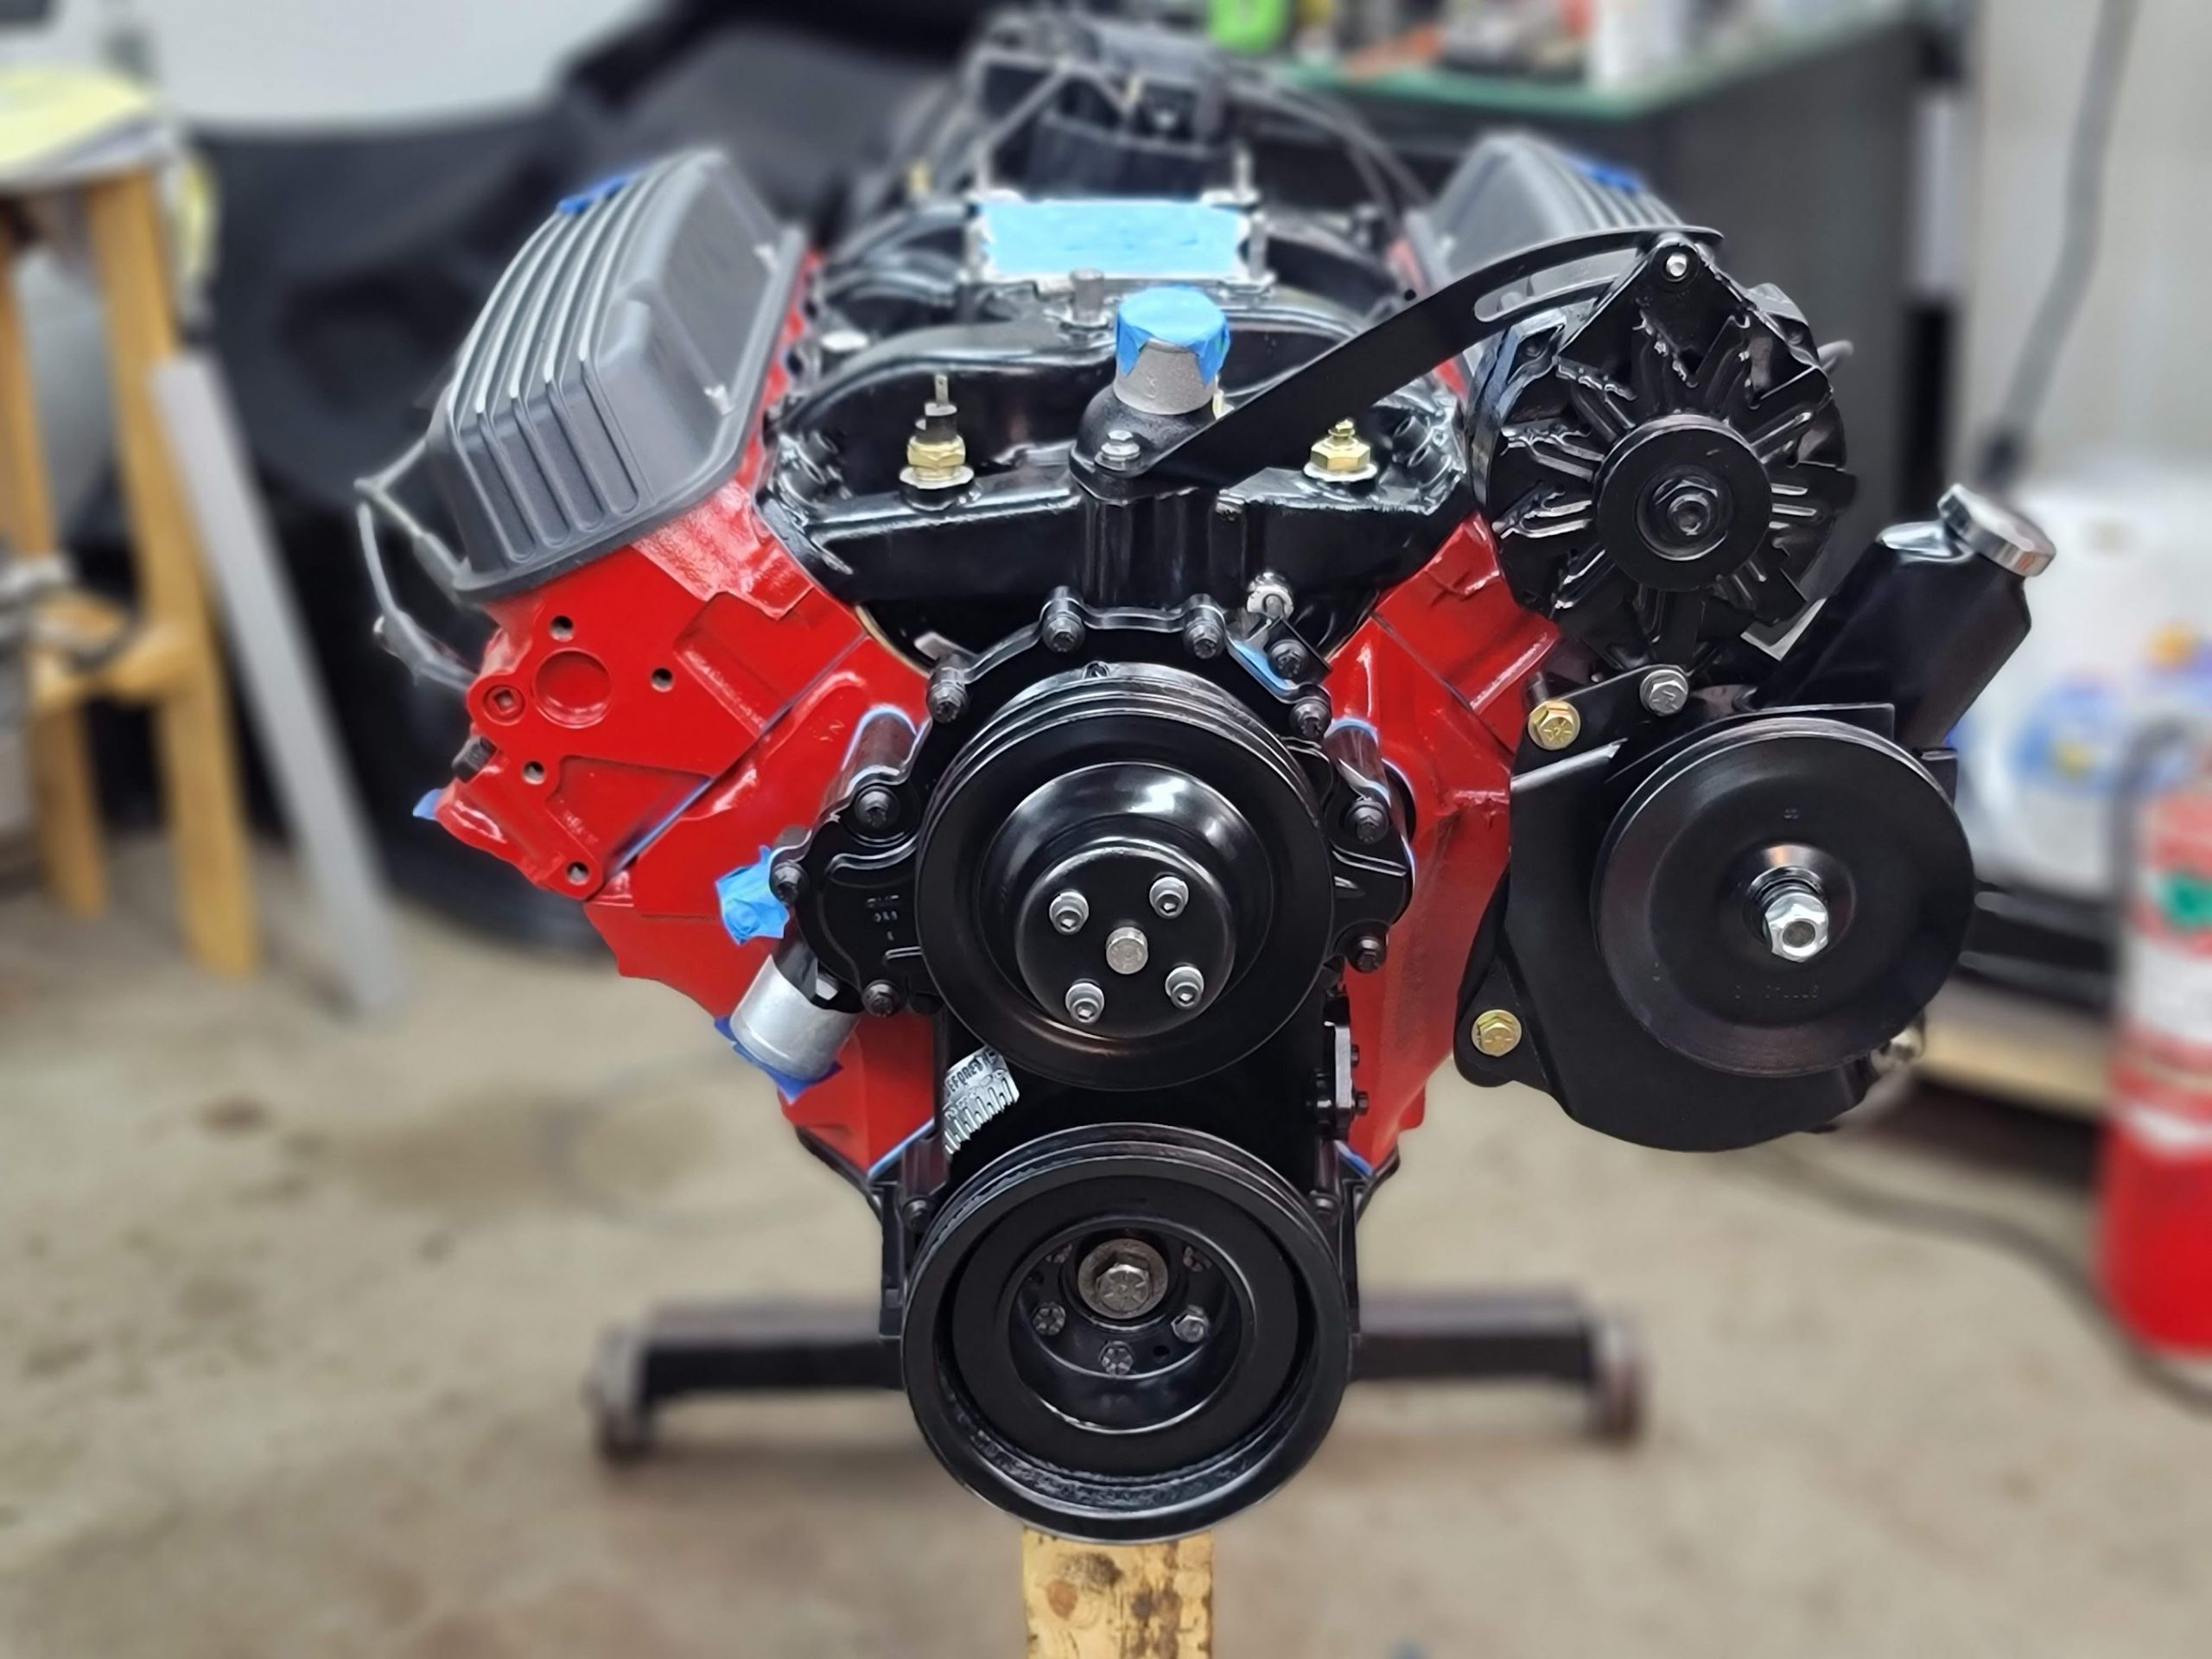
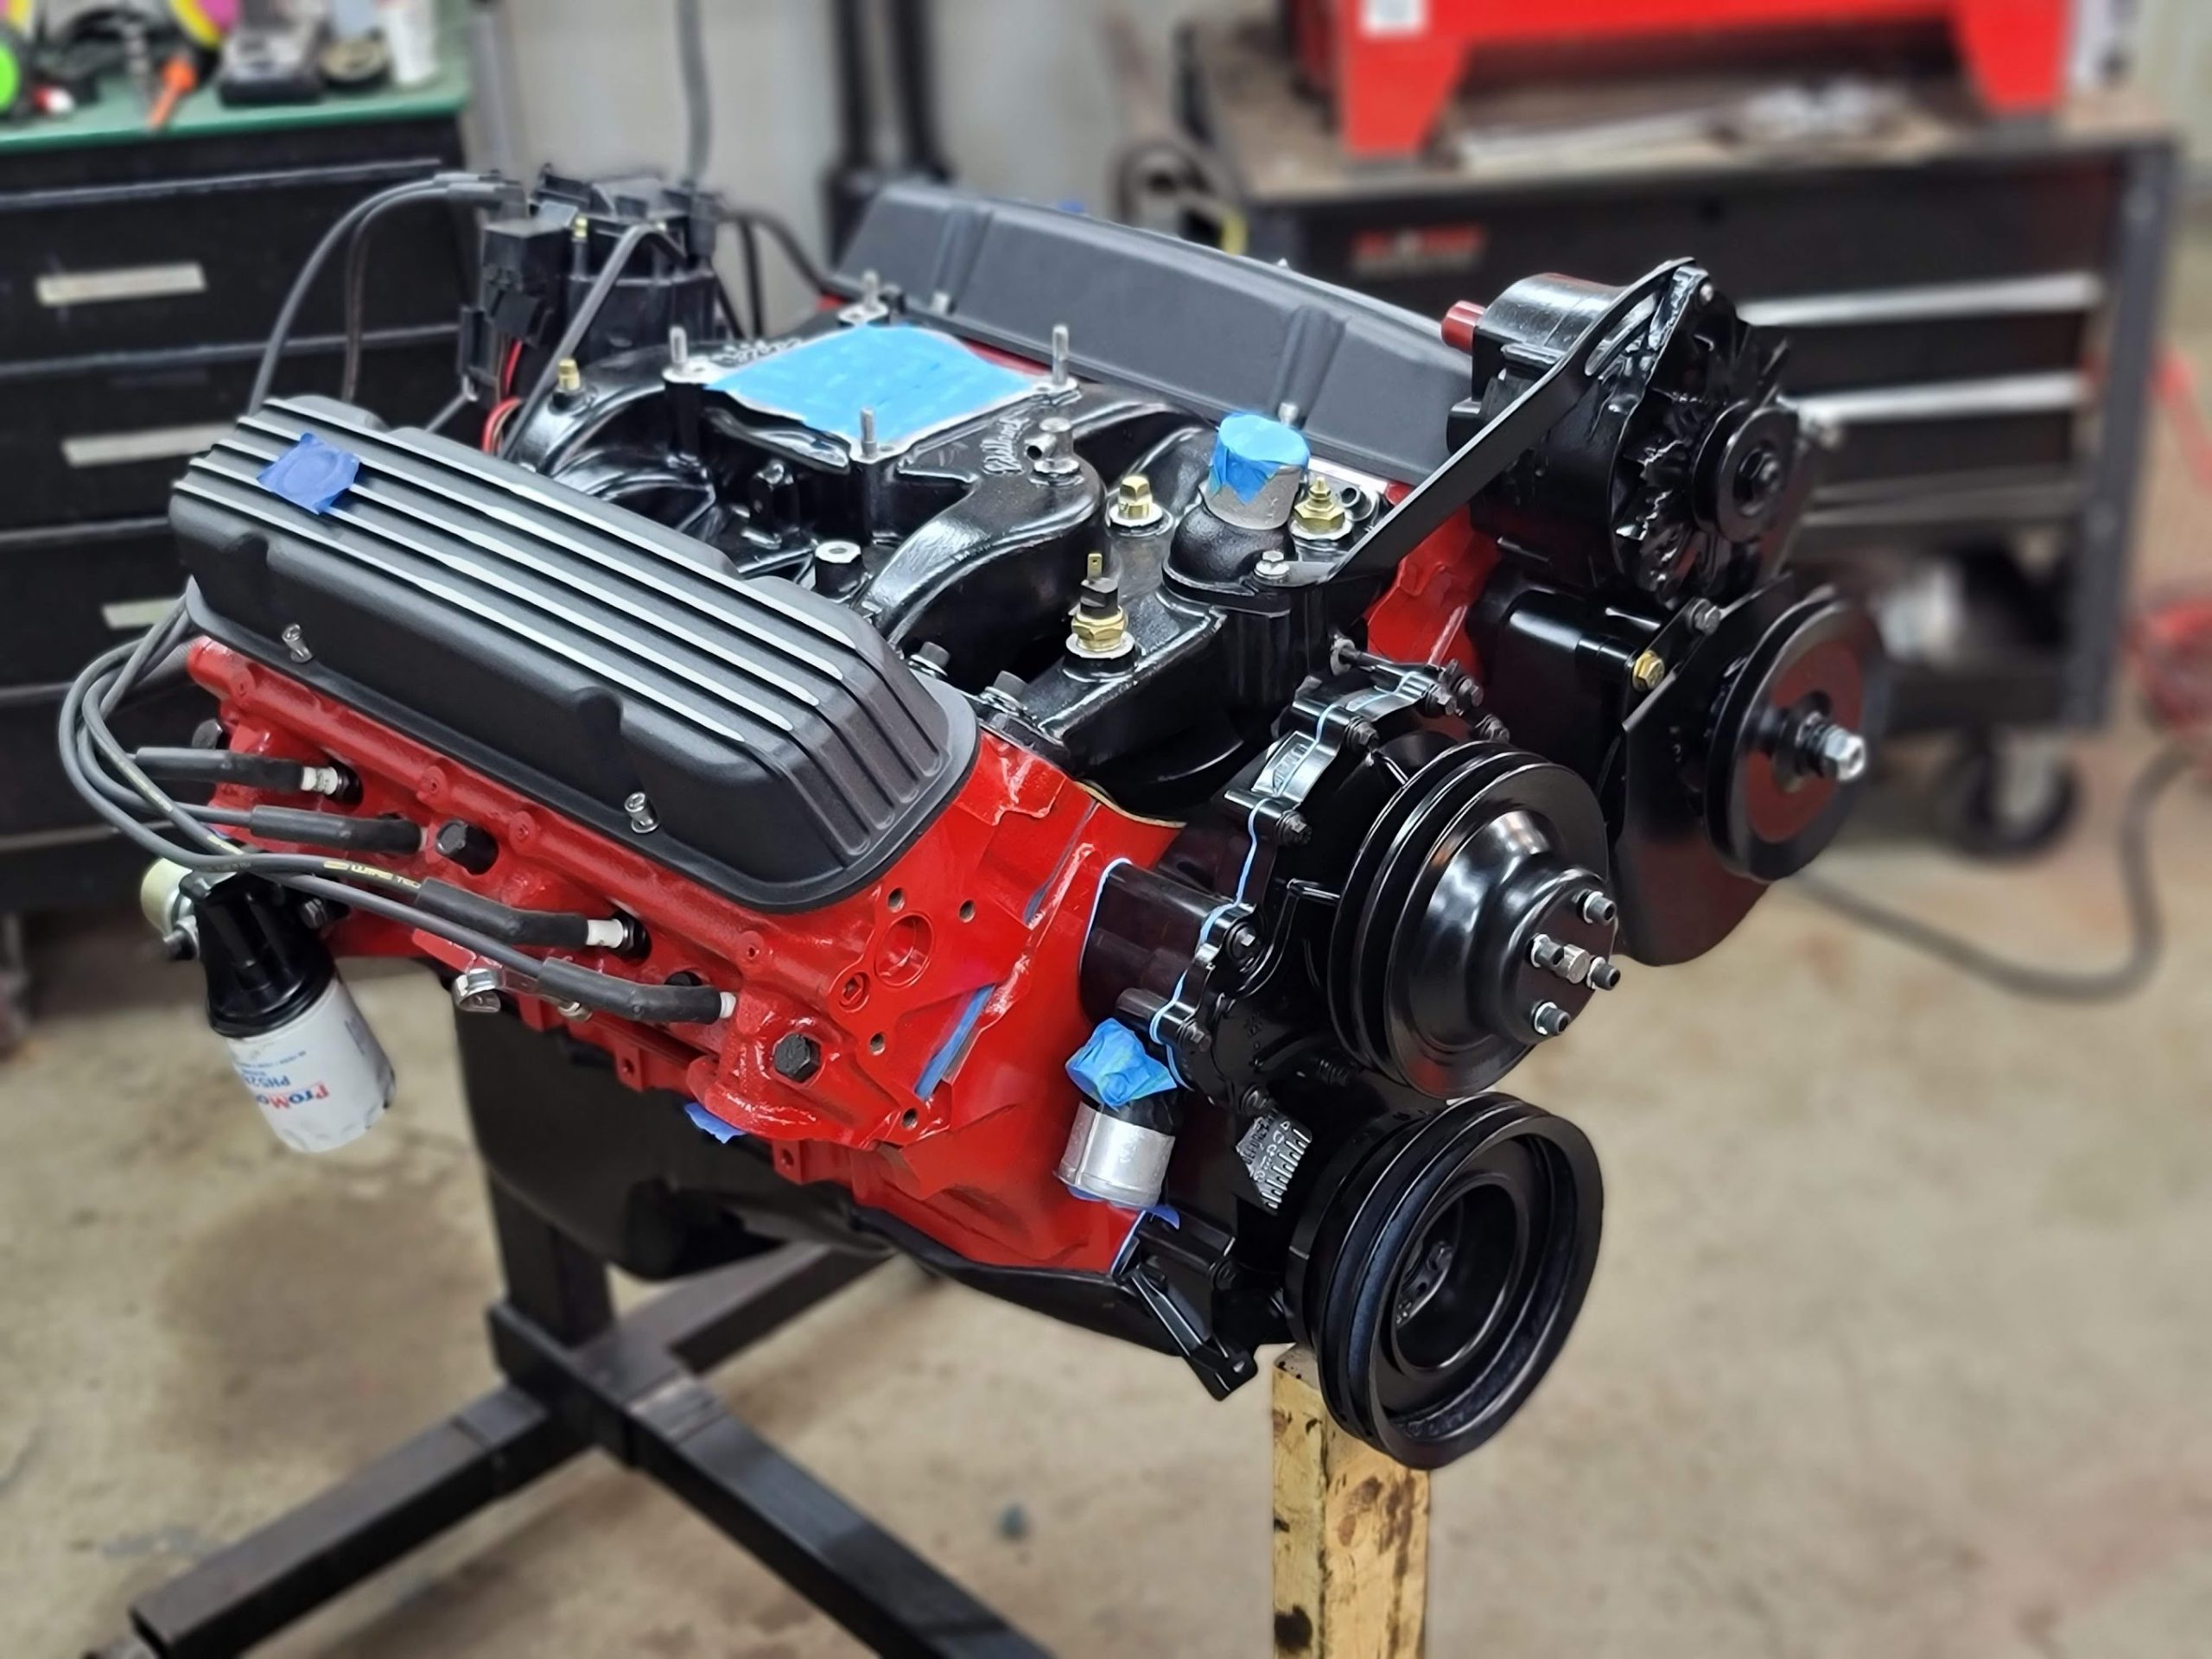

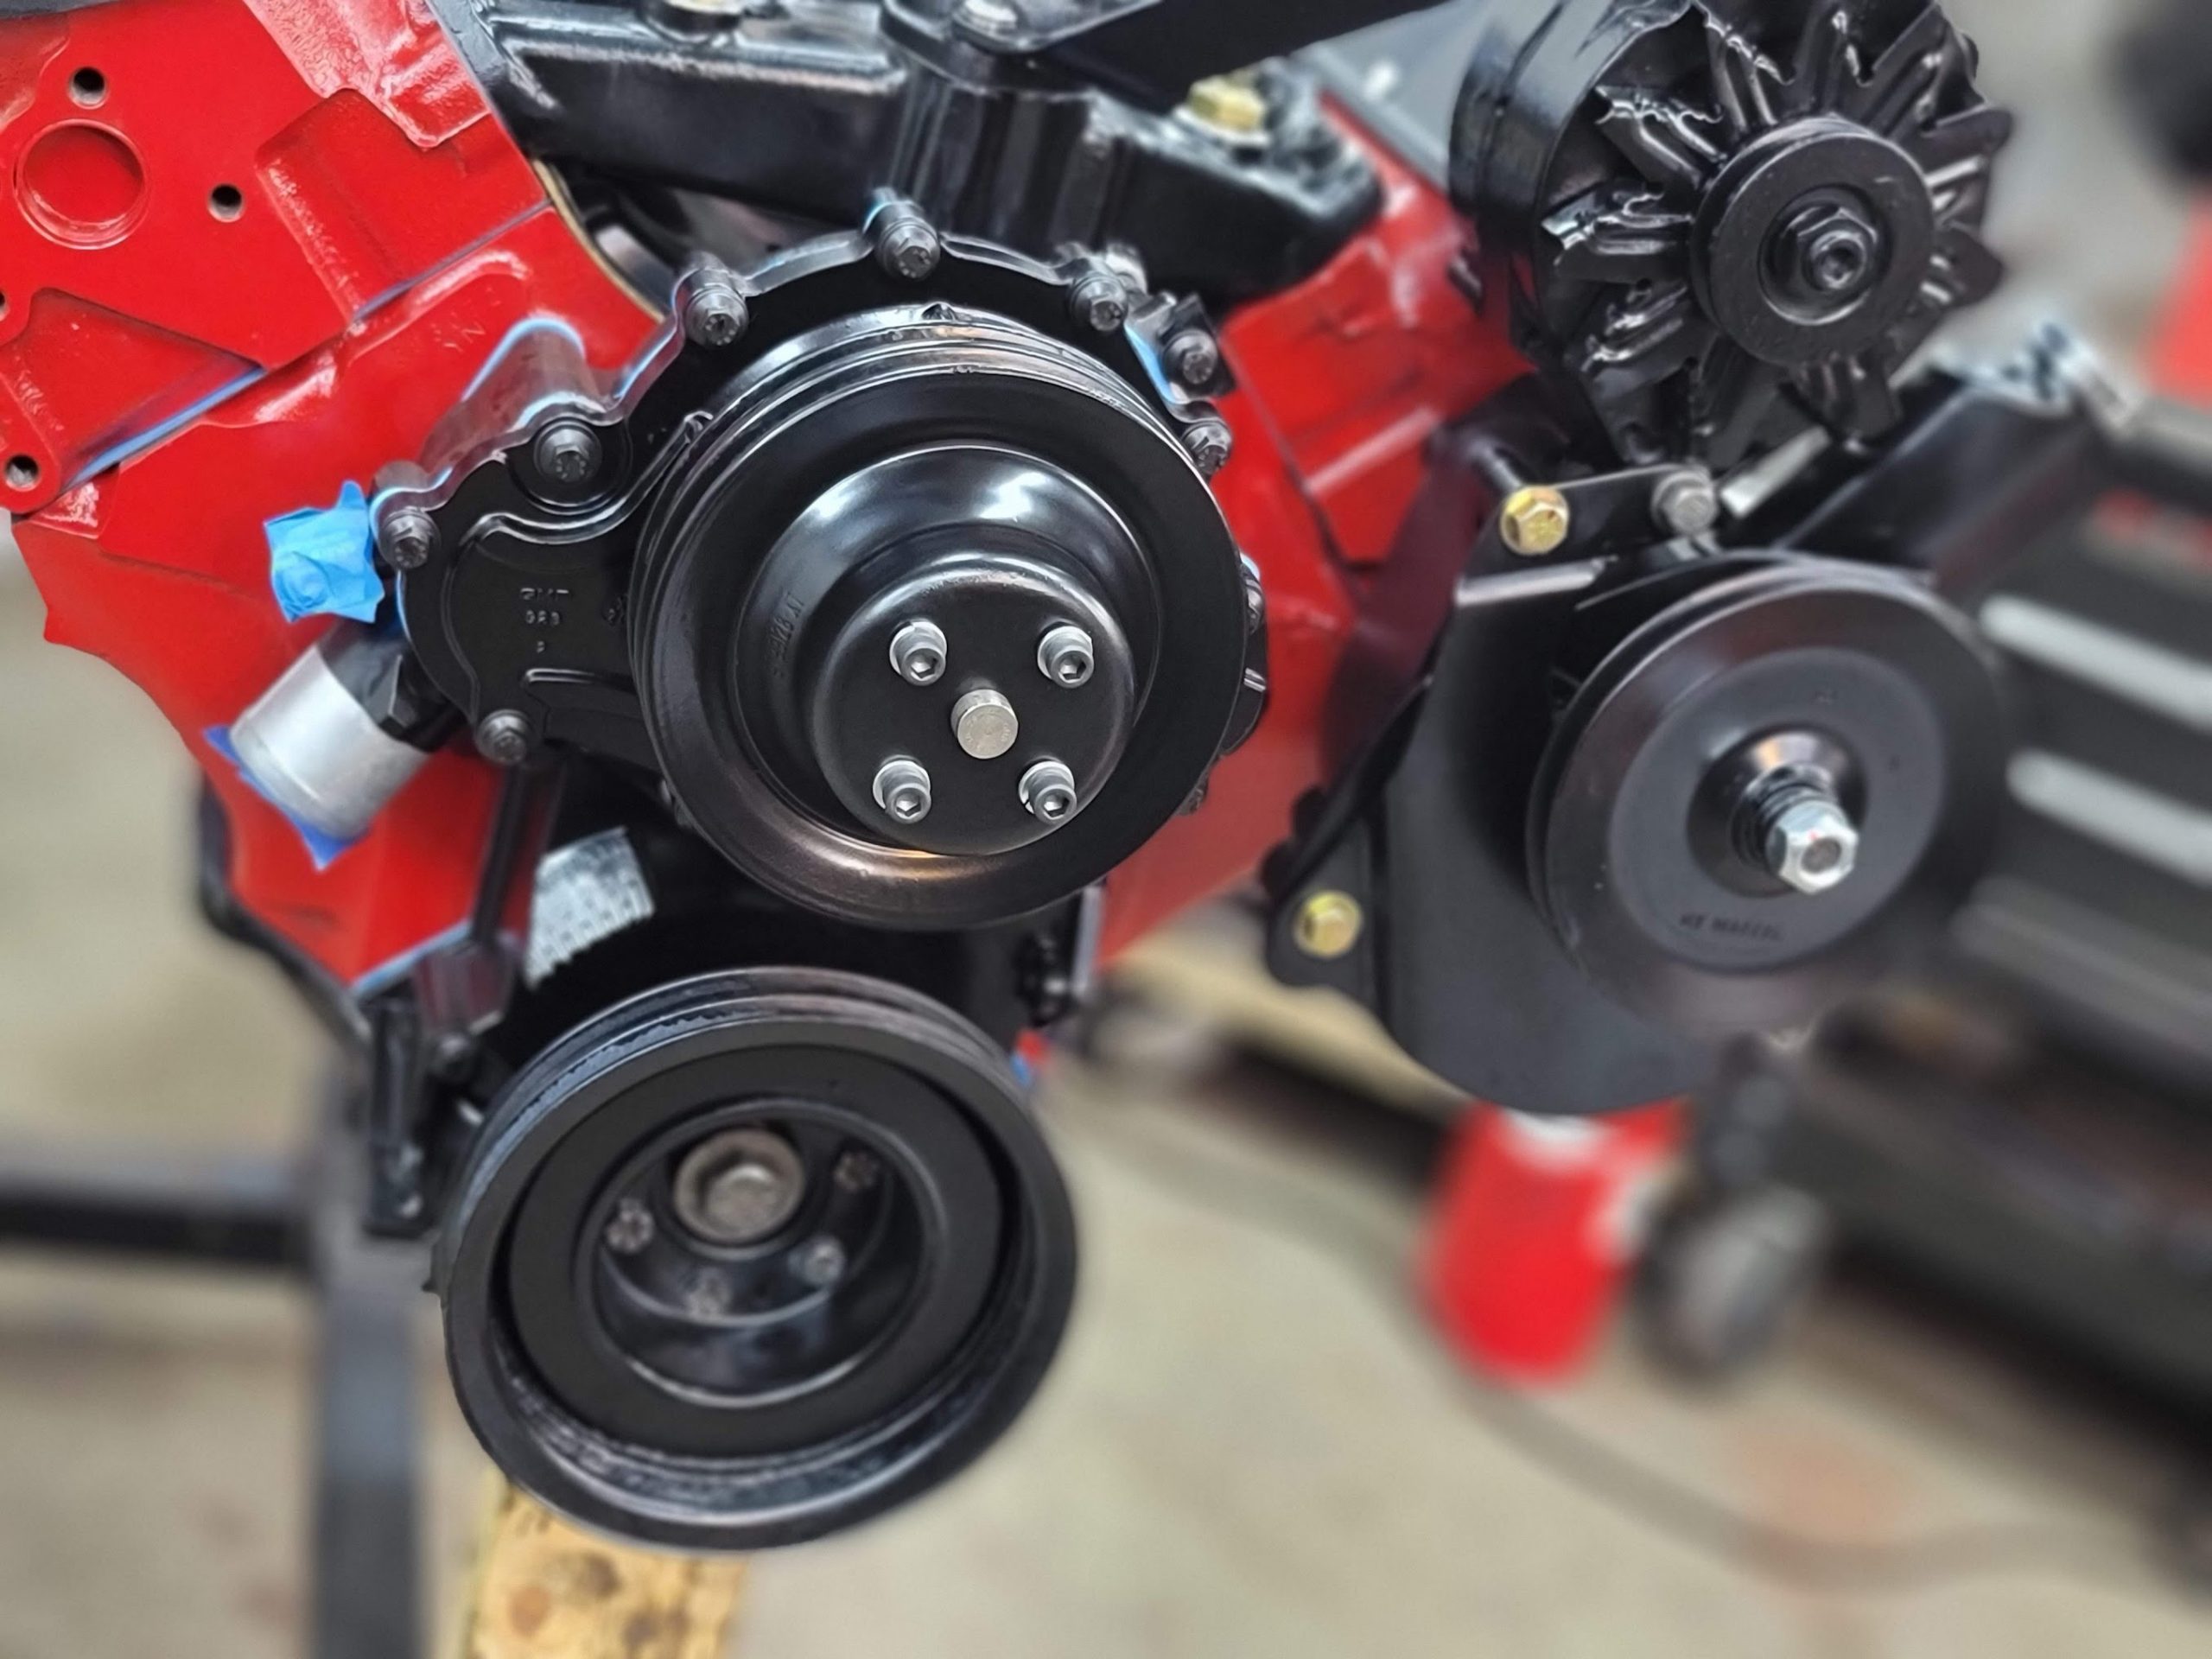
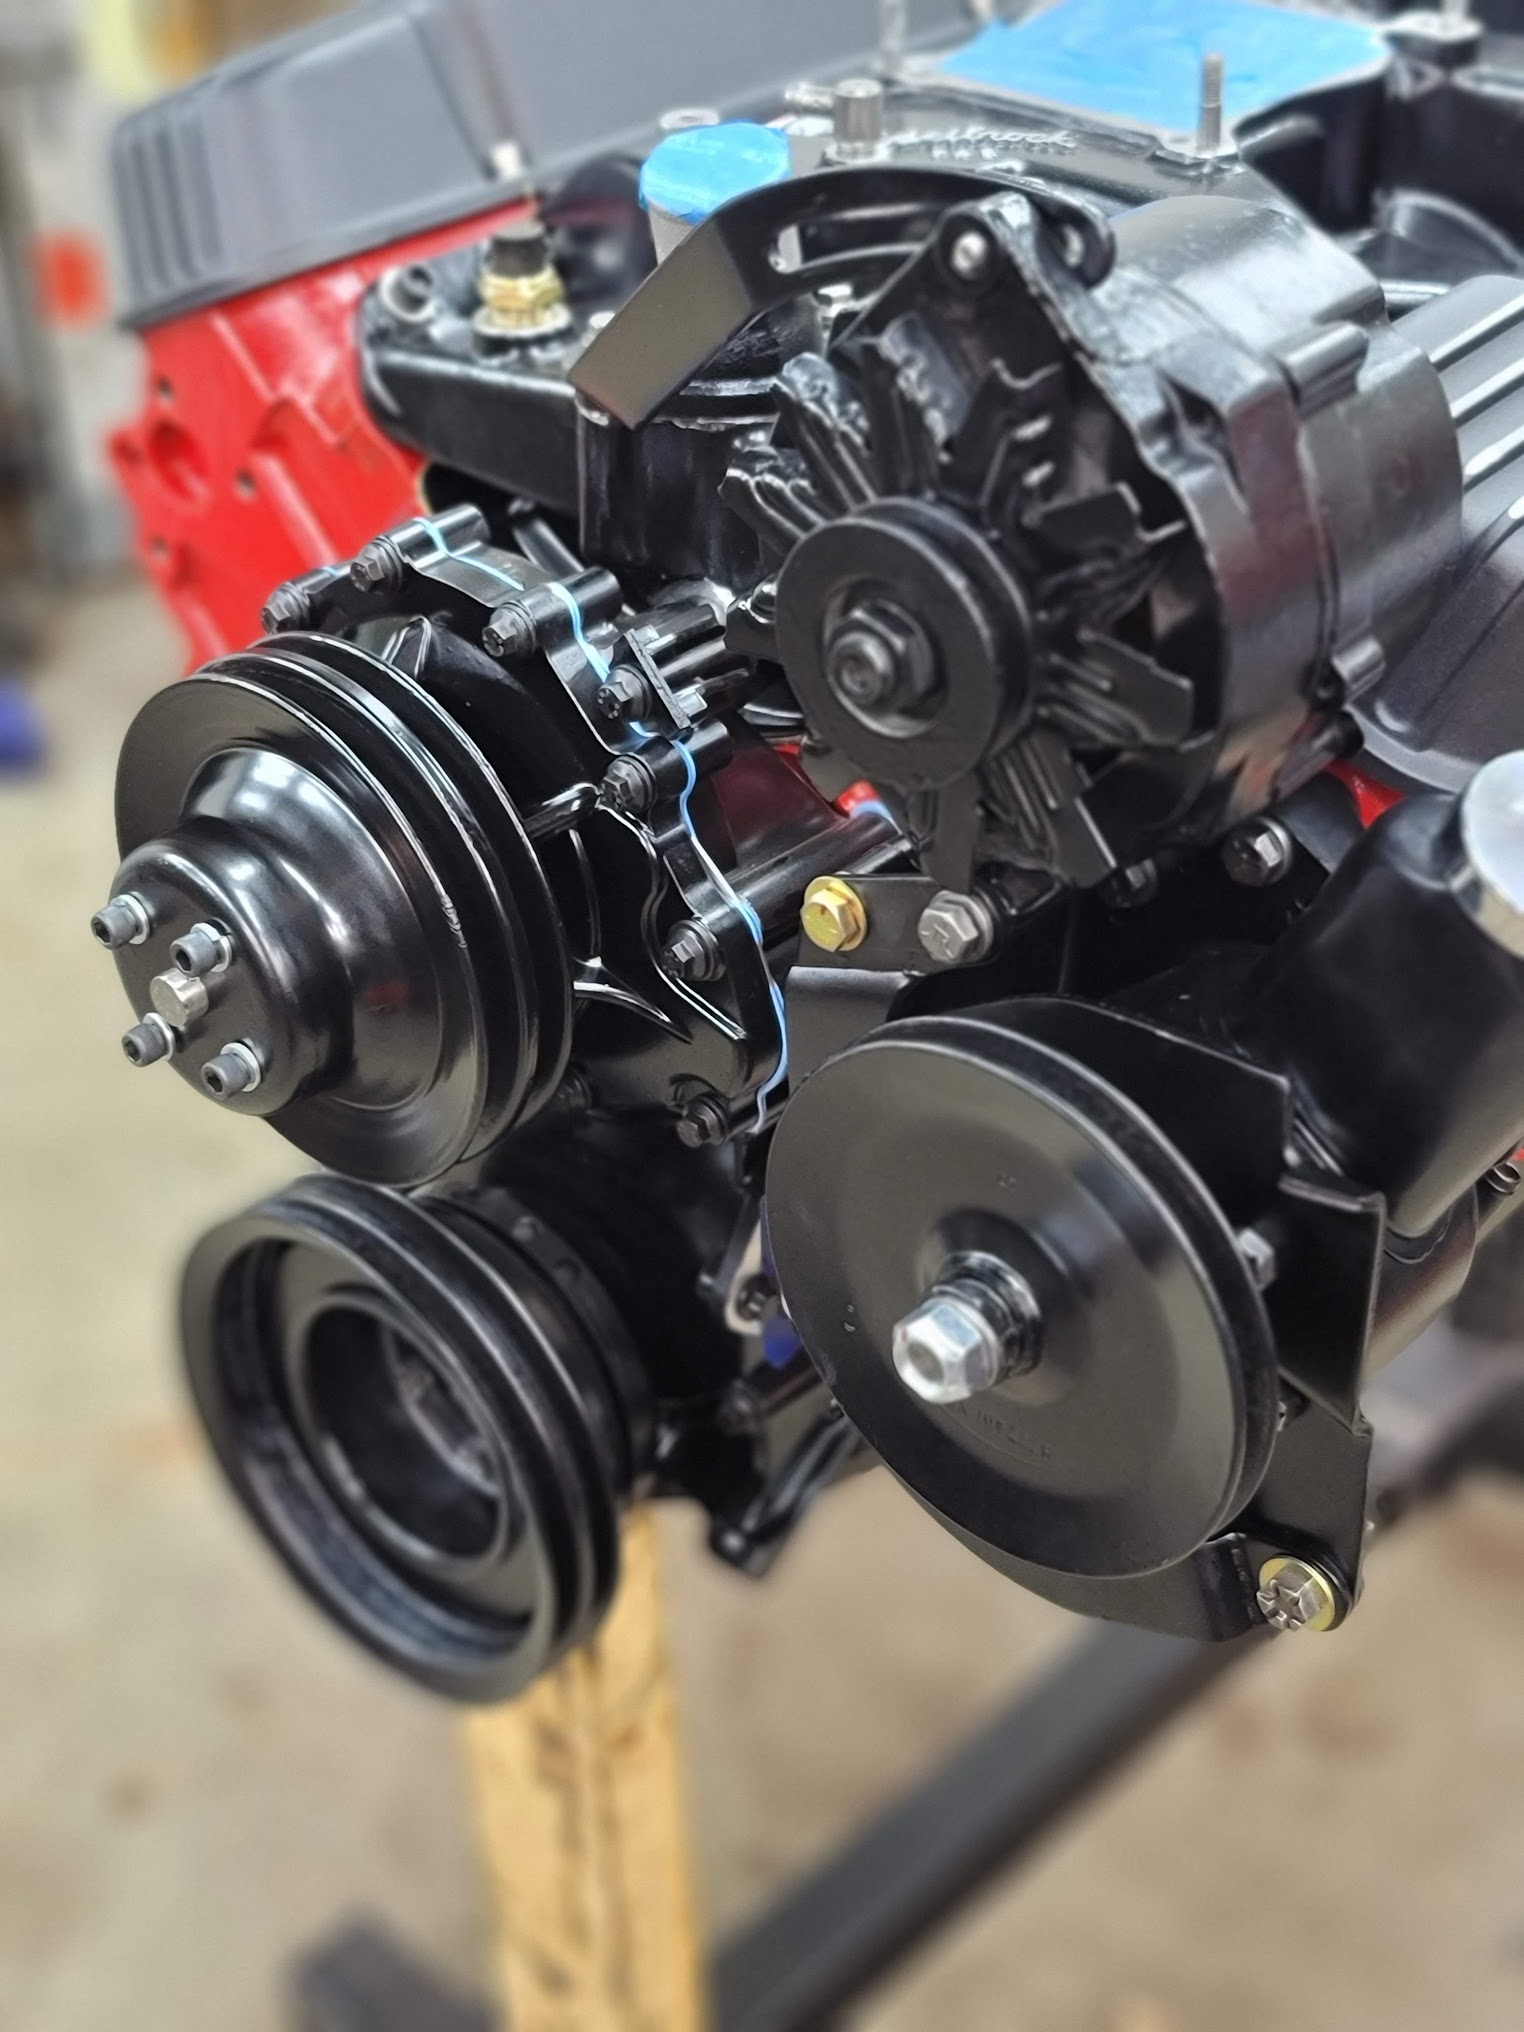
Next step was to get it into paint to match, and get the water pump painted, for now I know it will work and not need returned.
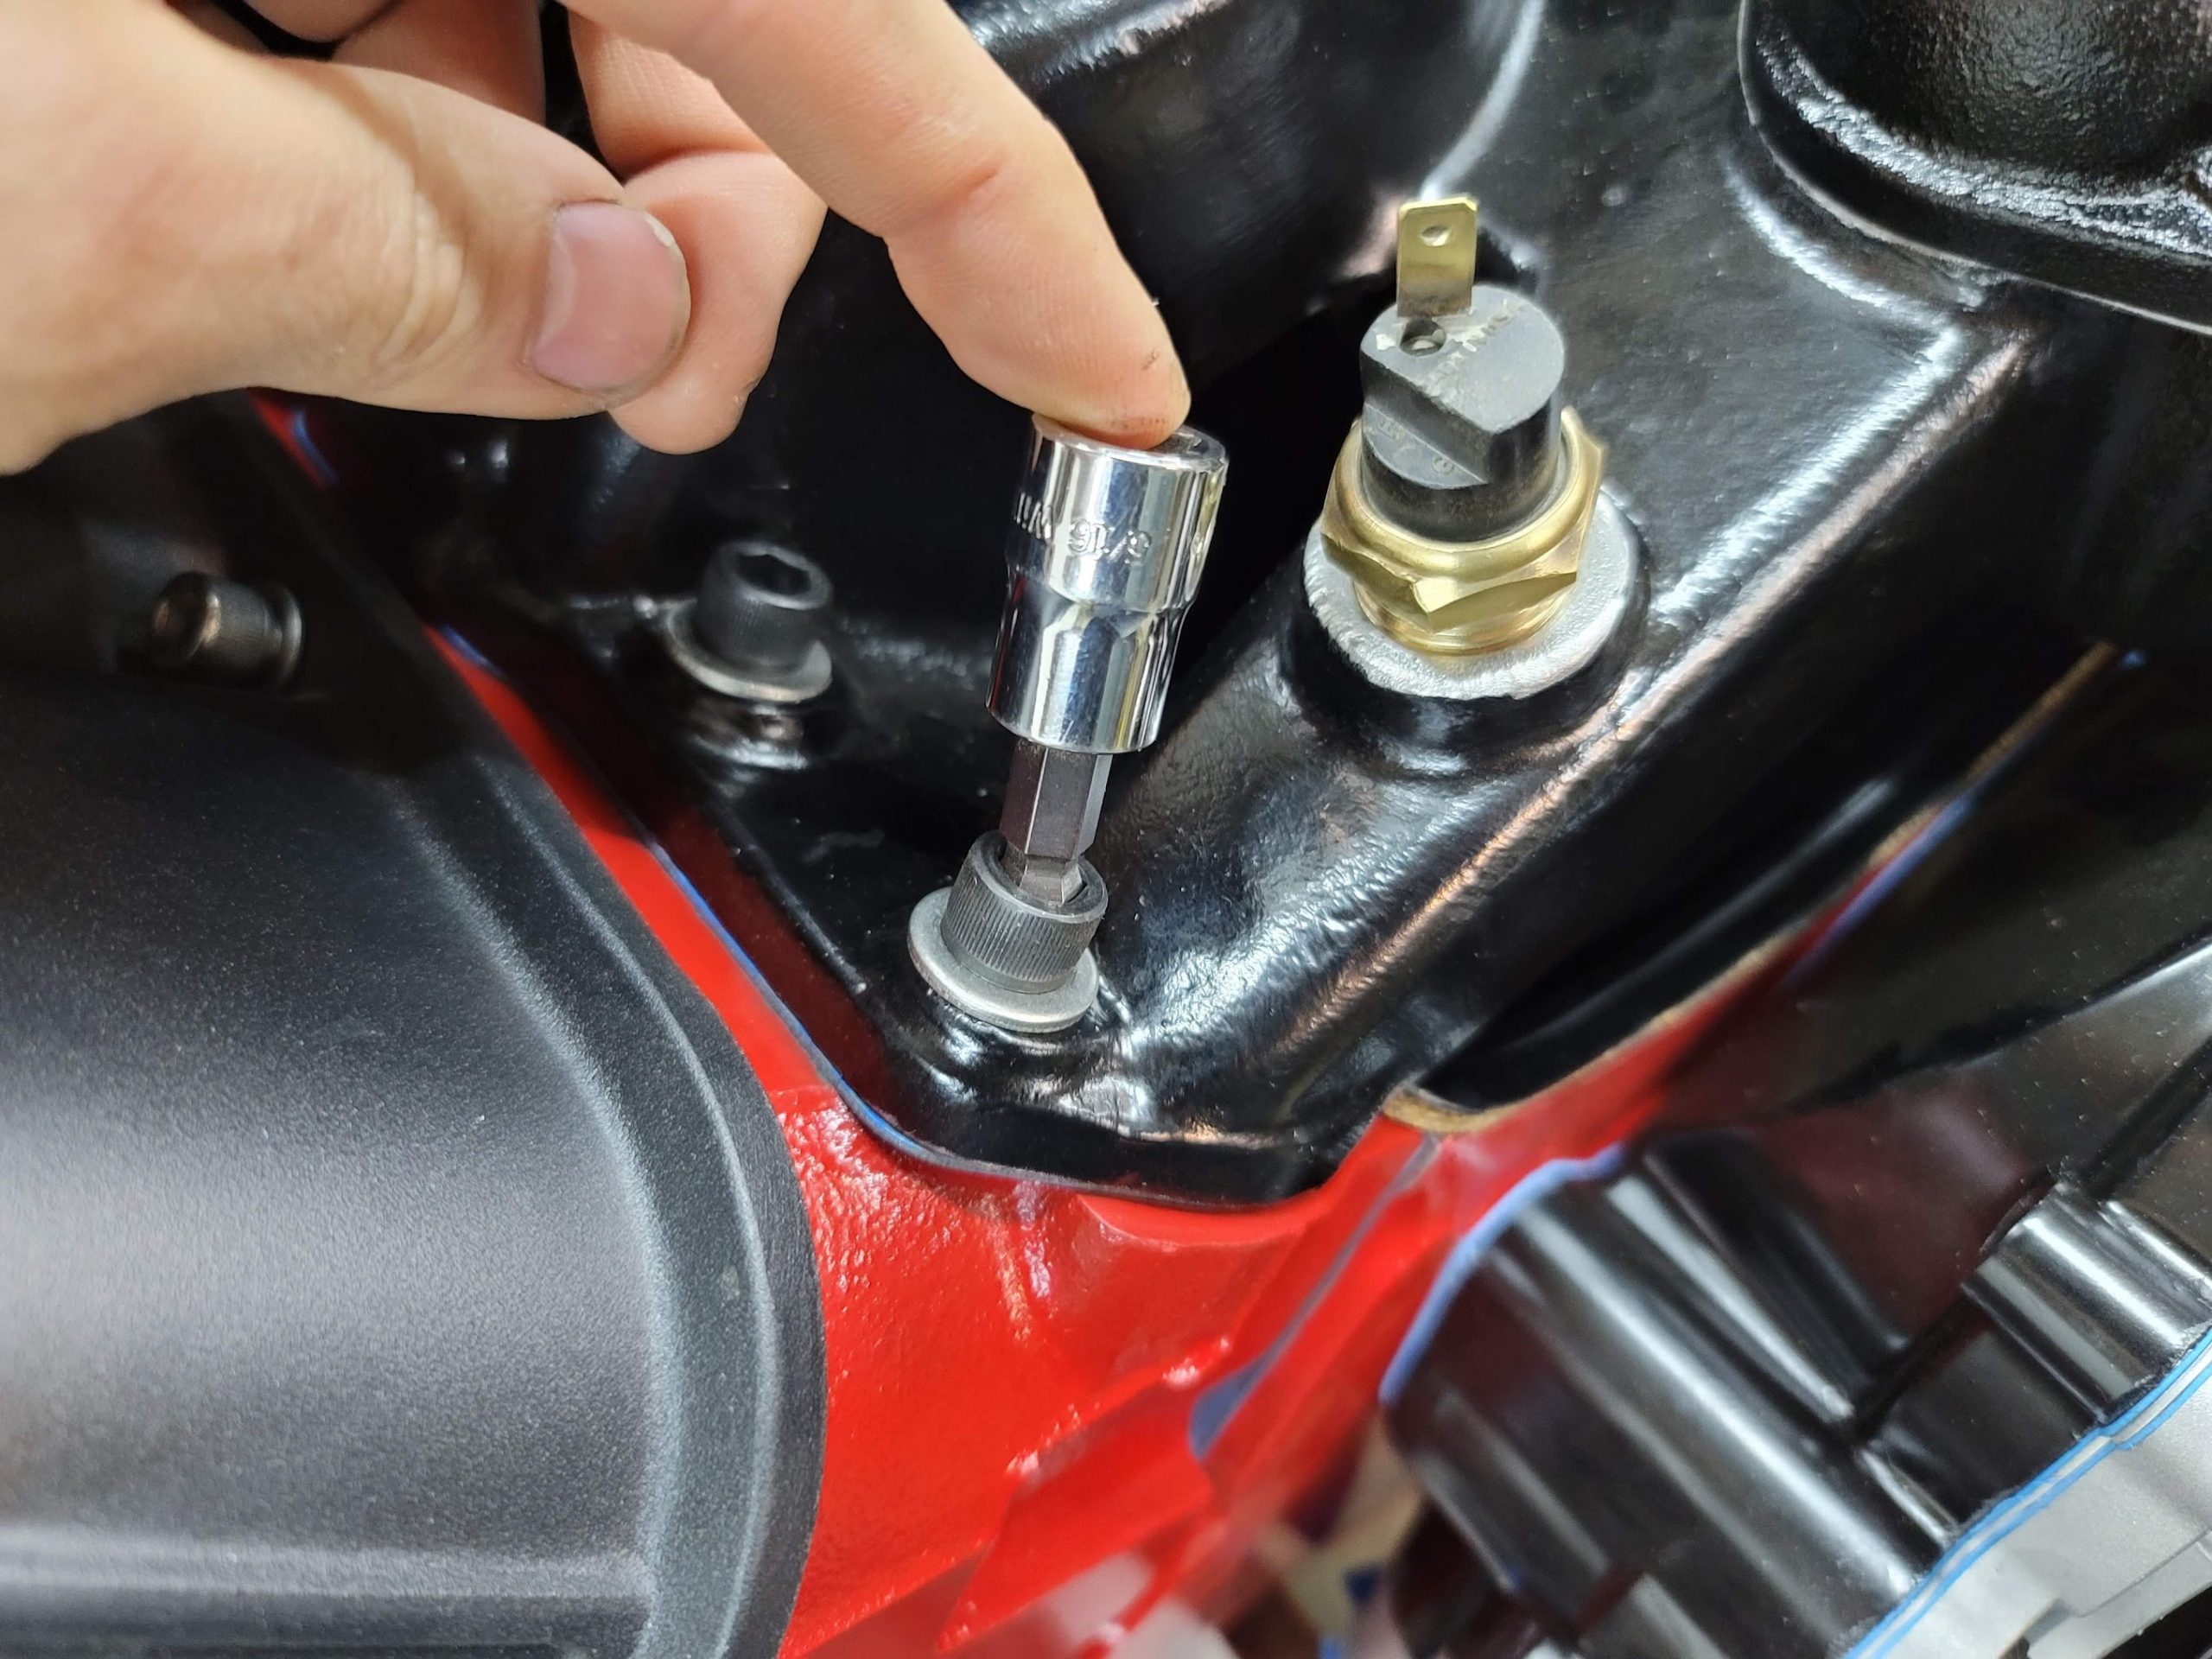
Small side quest, I had to pick up a special socket to Allen adapter that can angle, to be able to get a torque wrench on the intake.
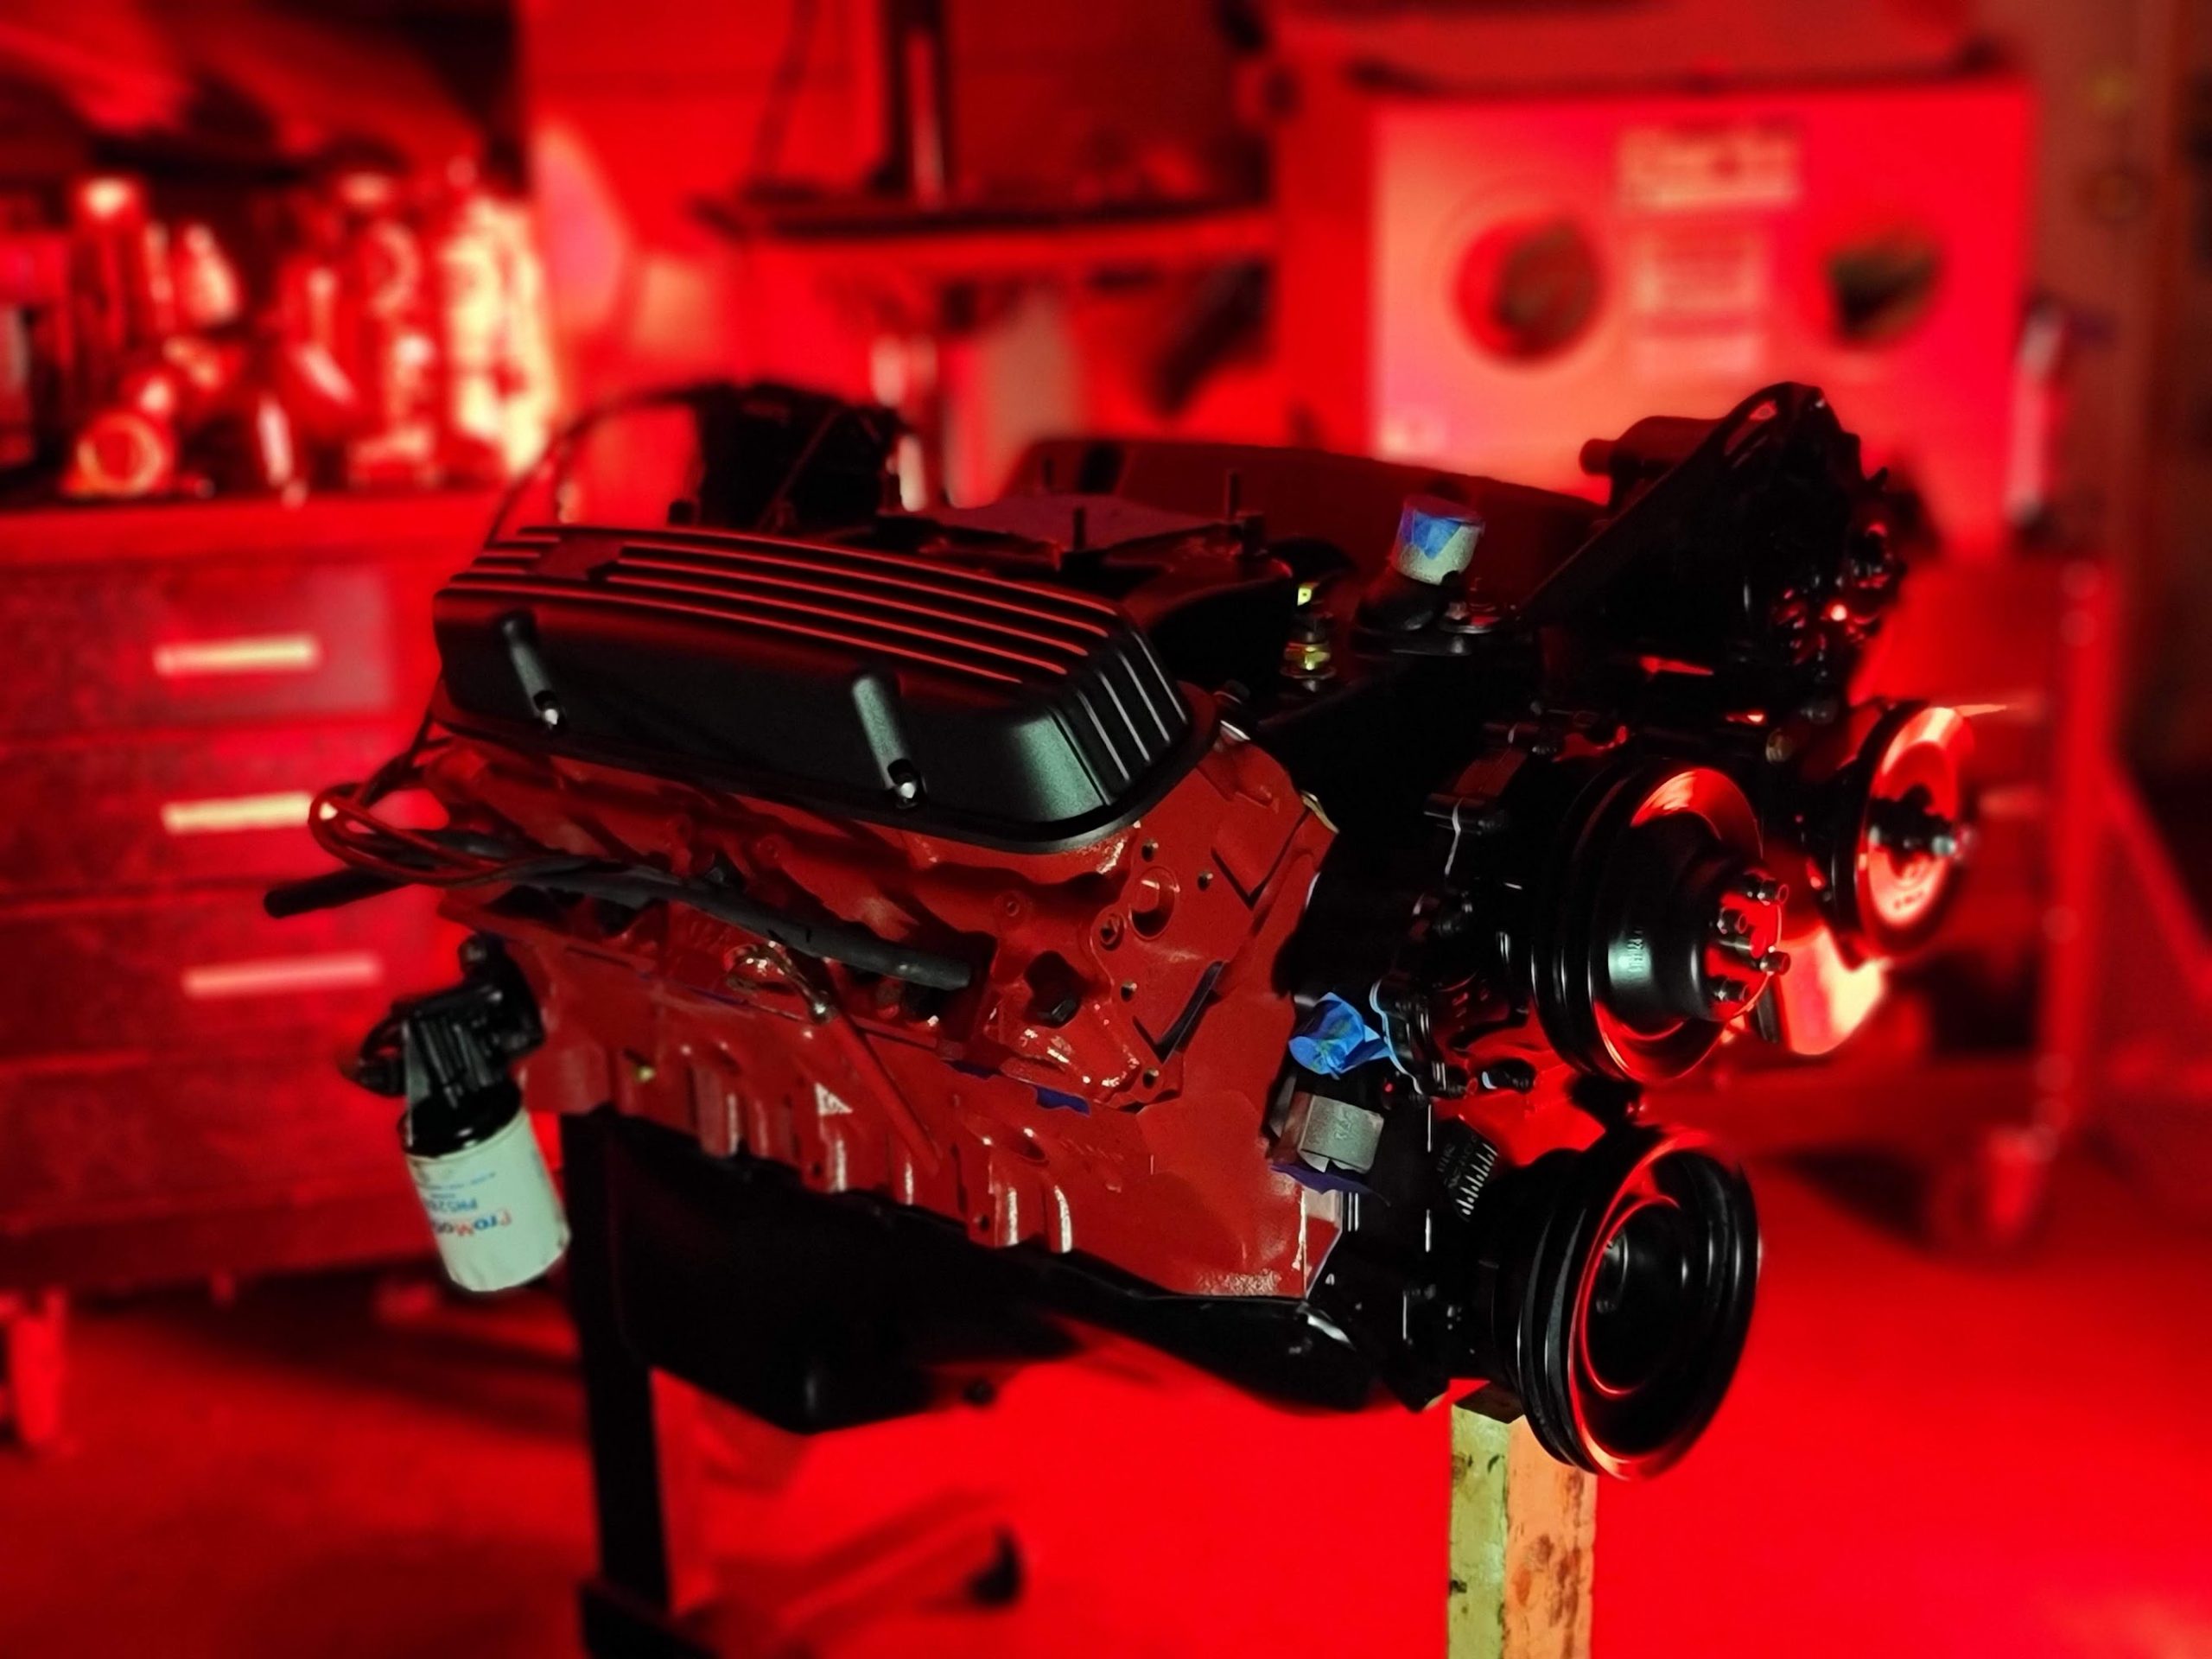
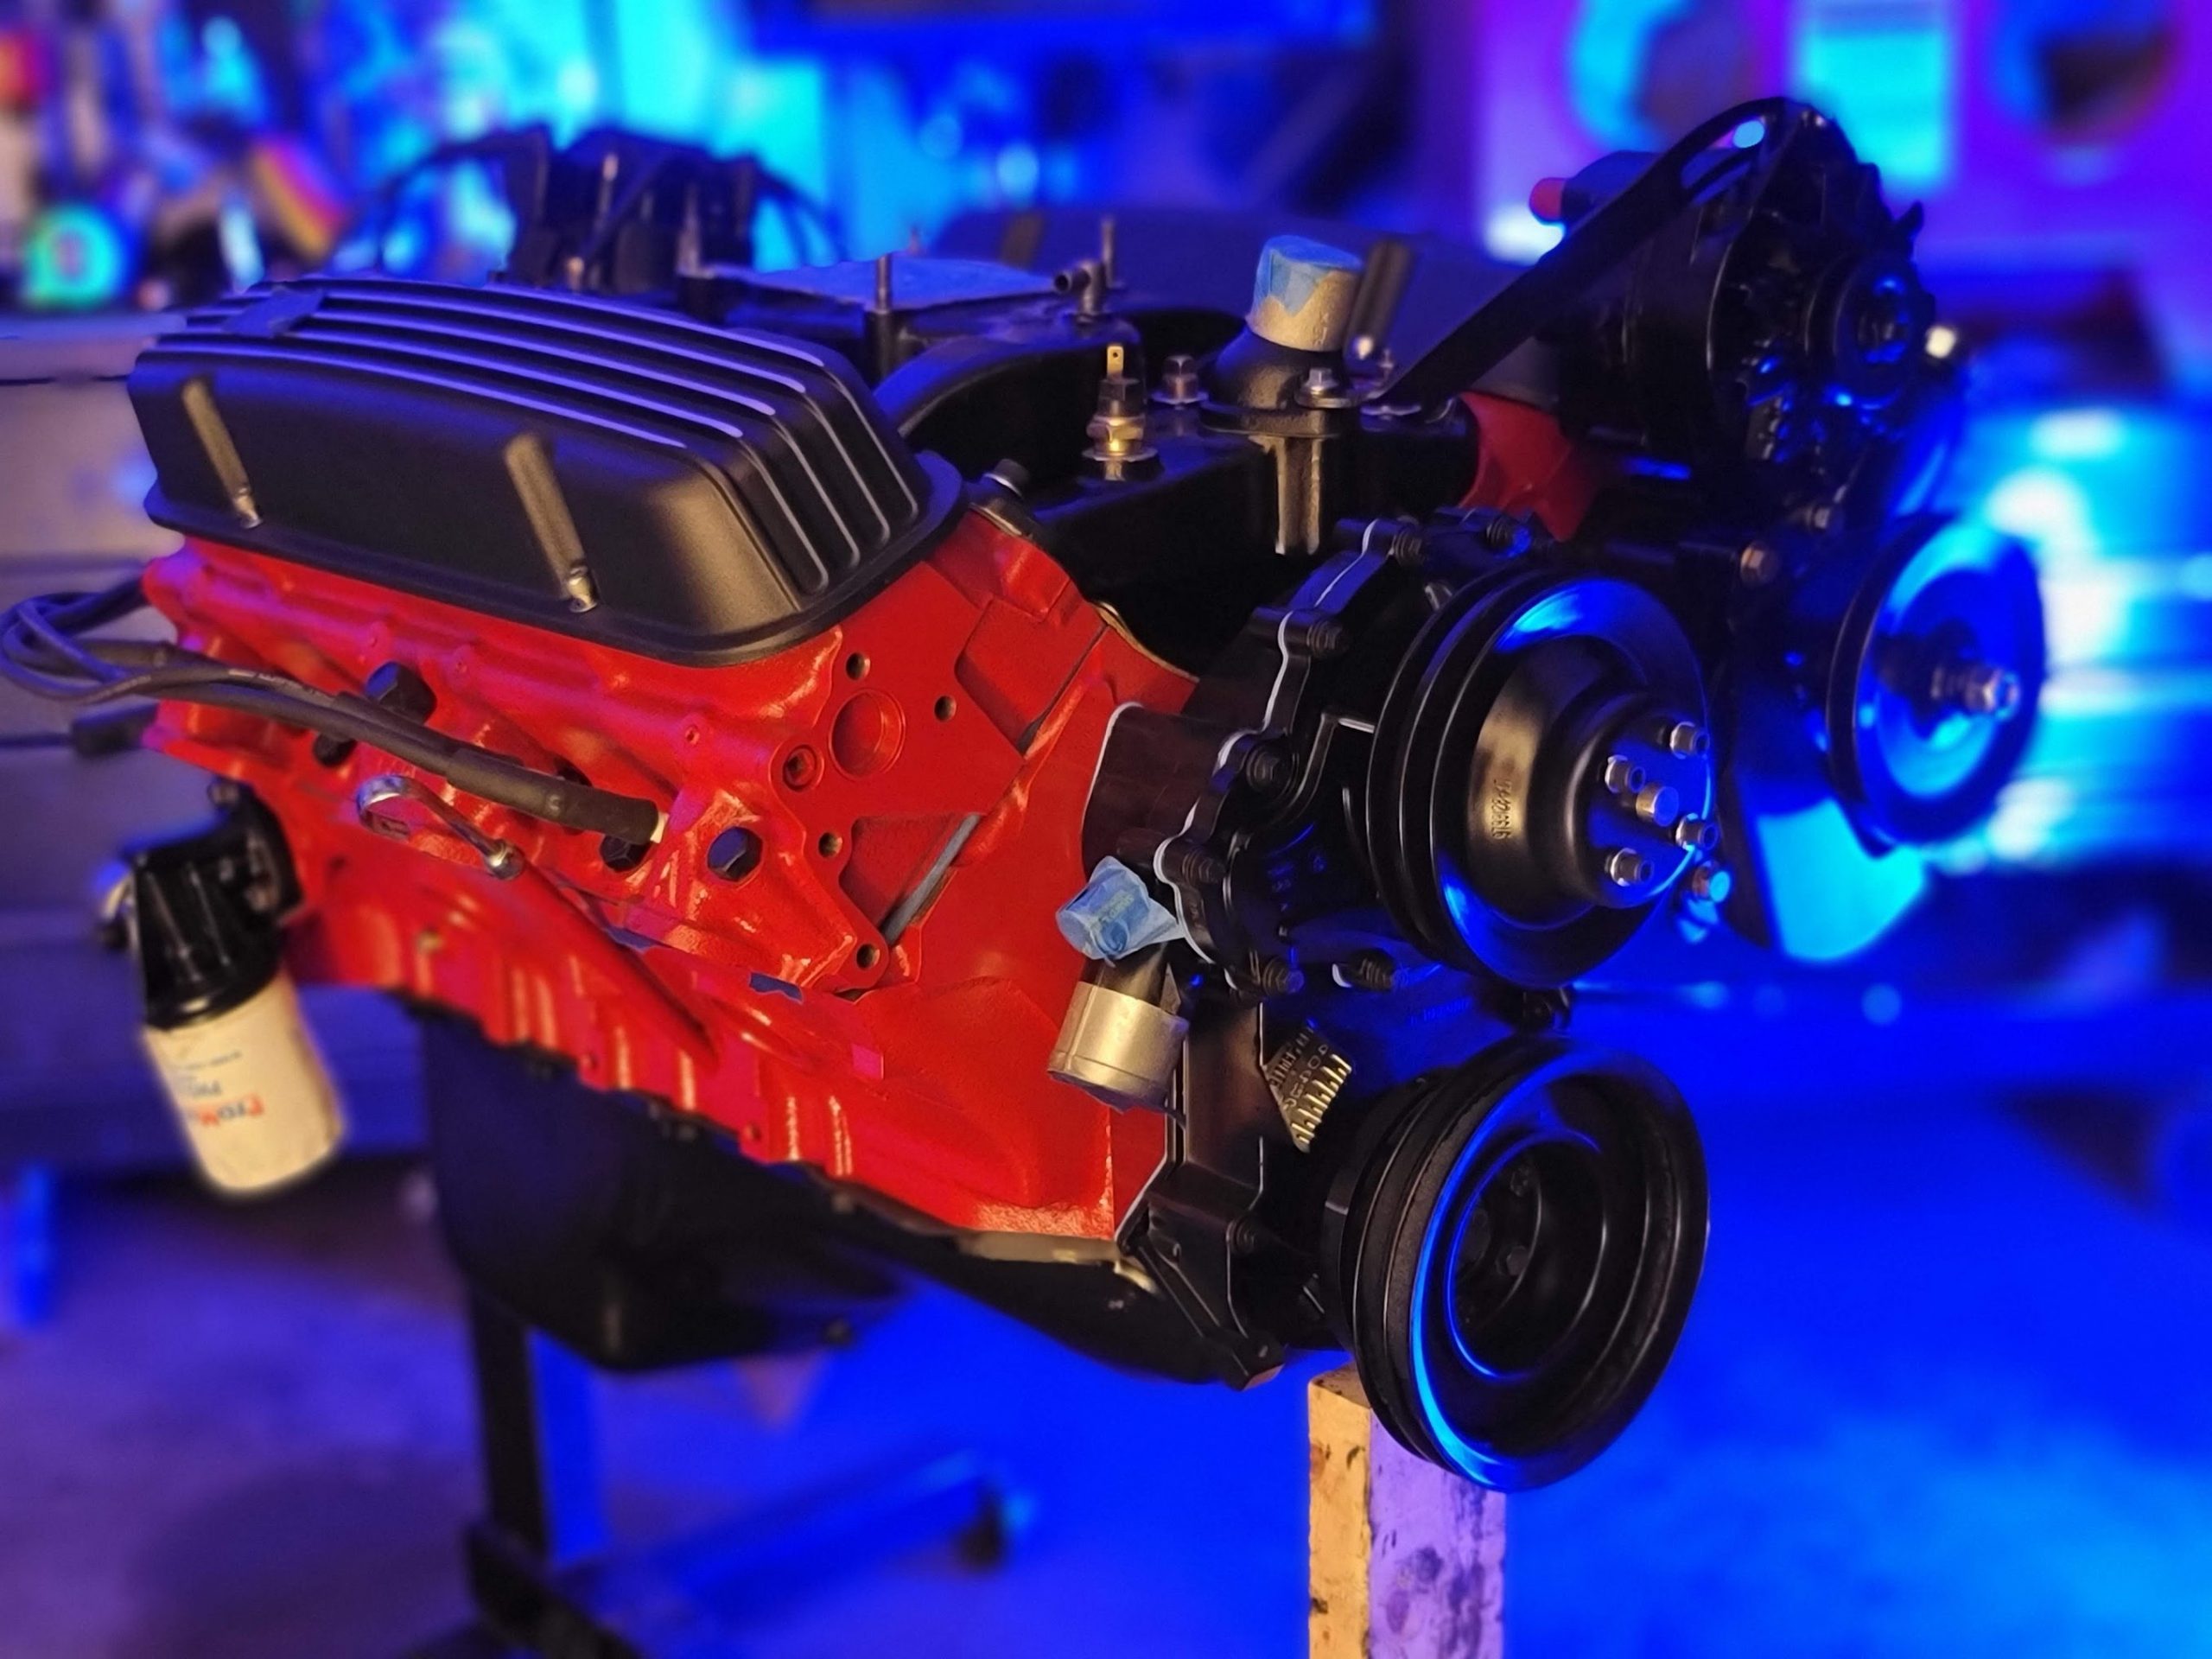
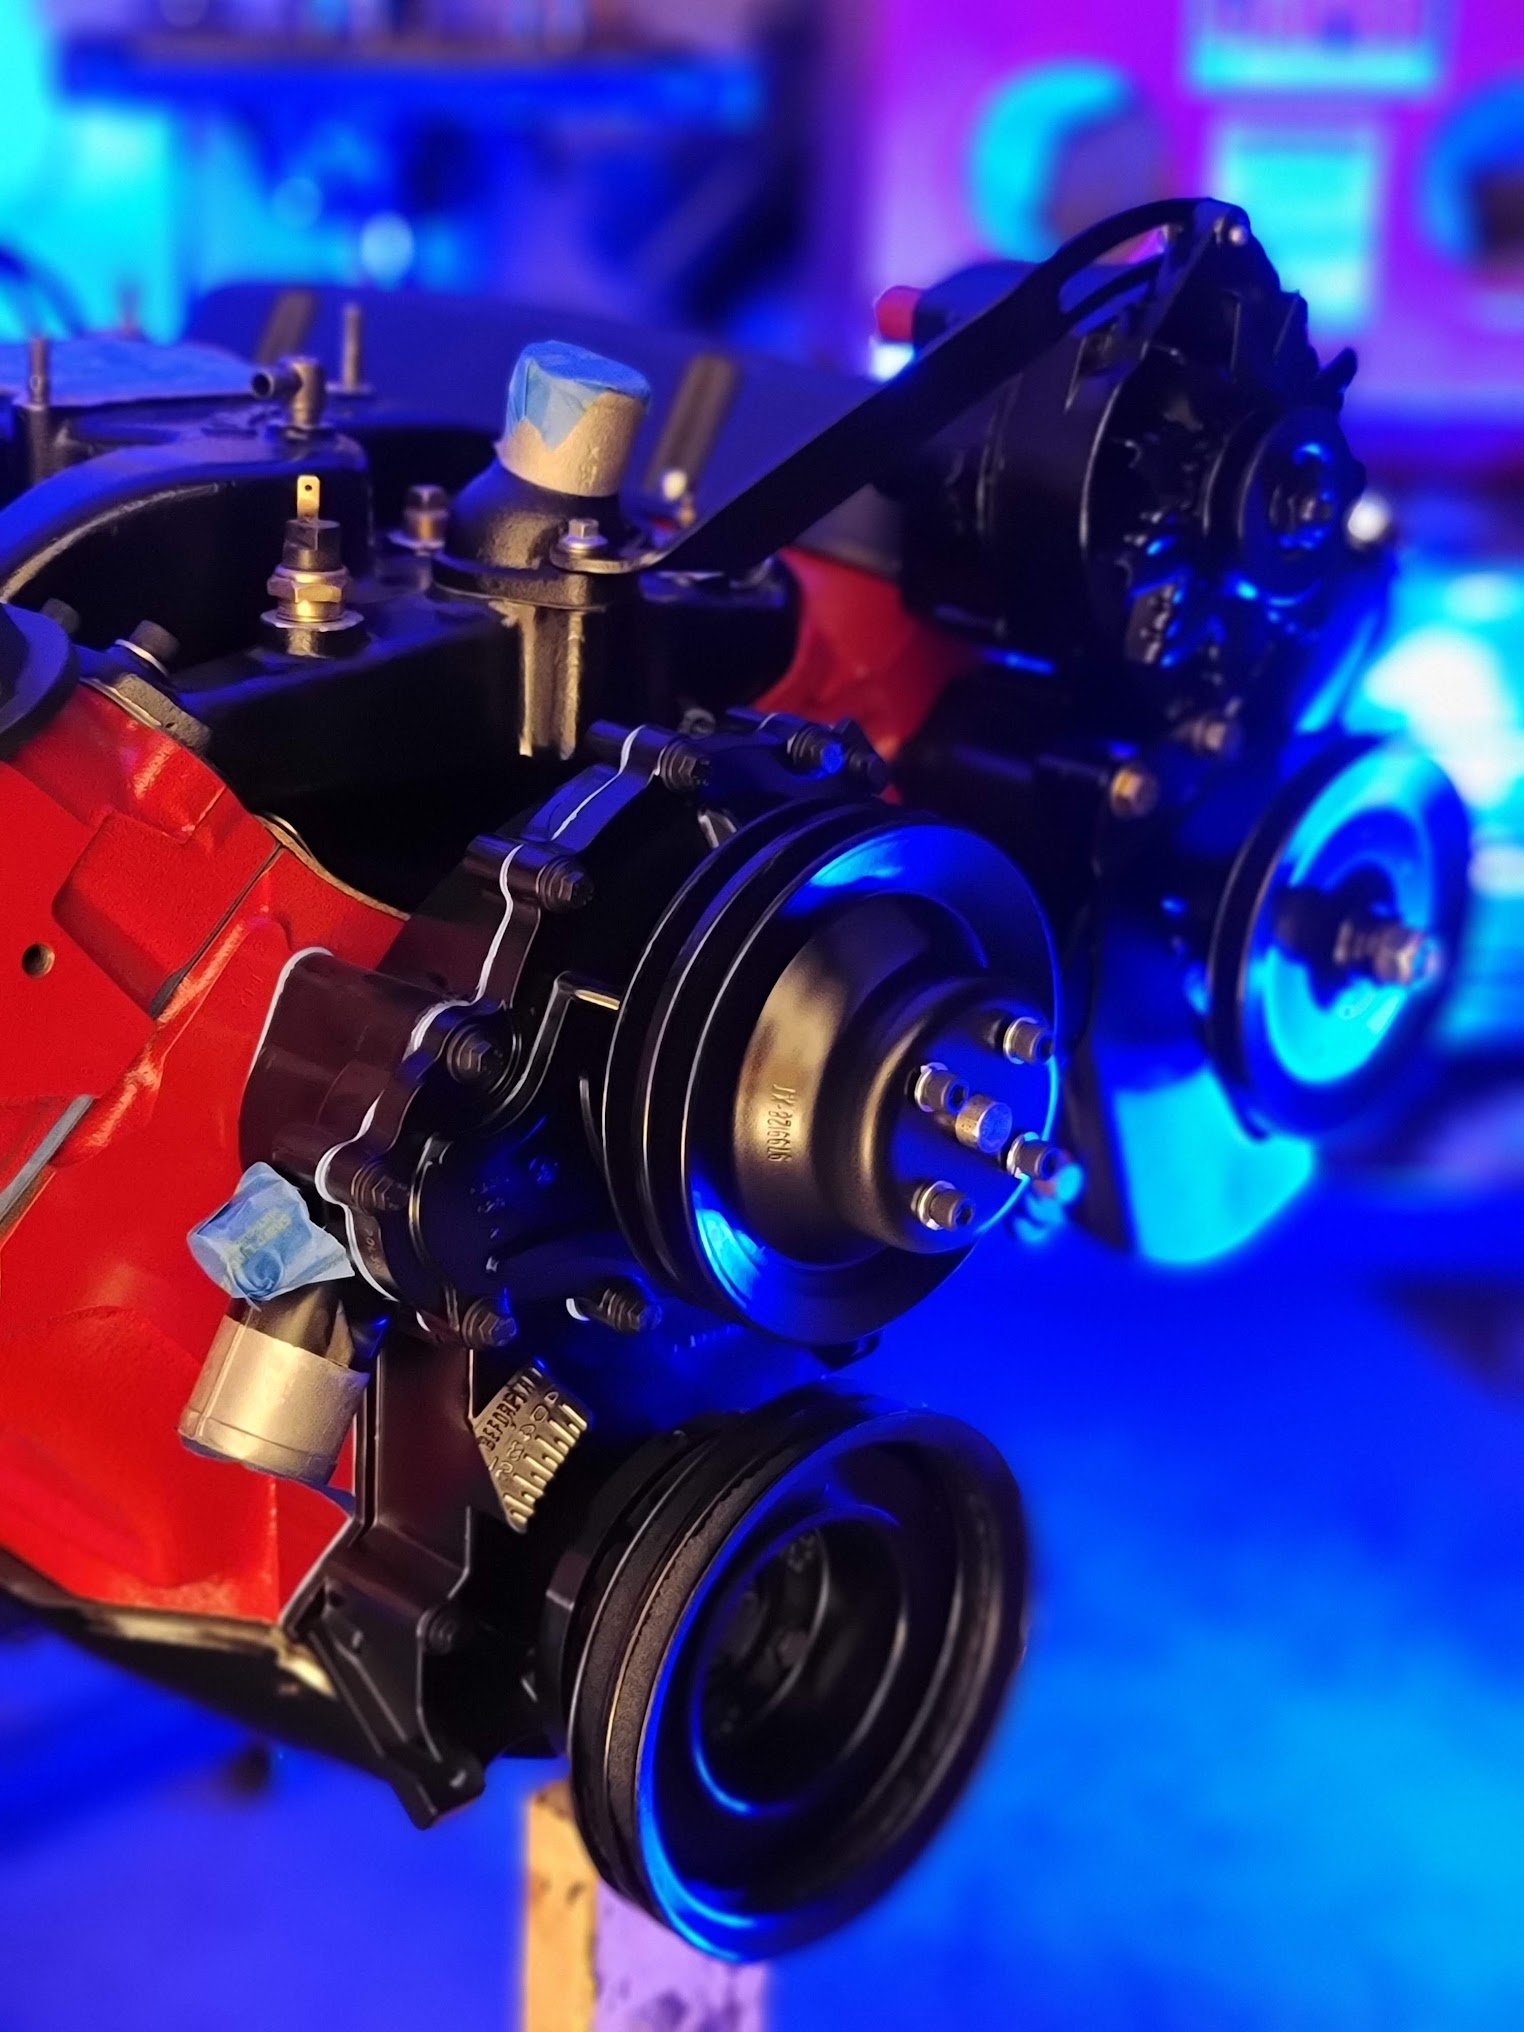
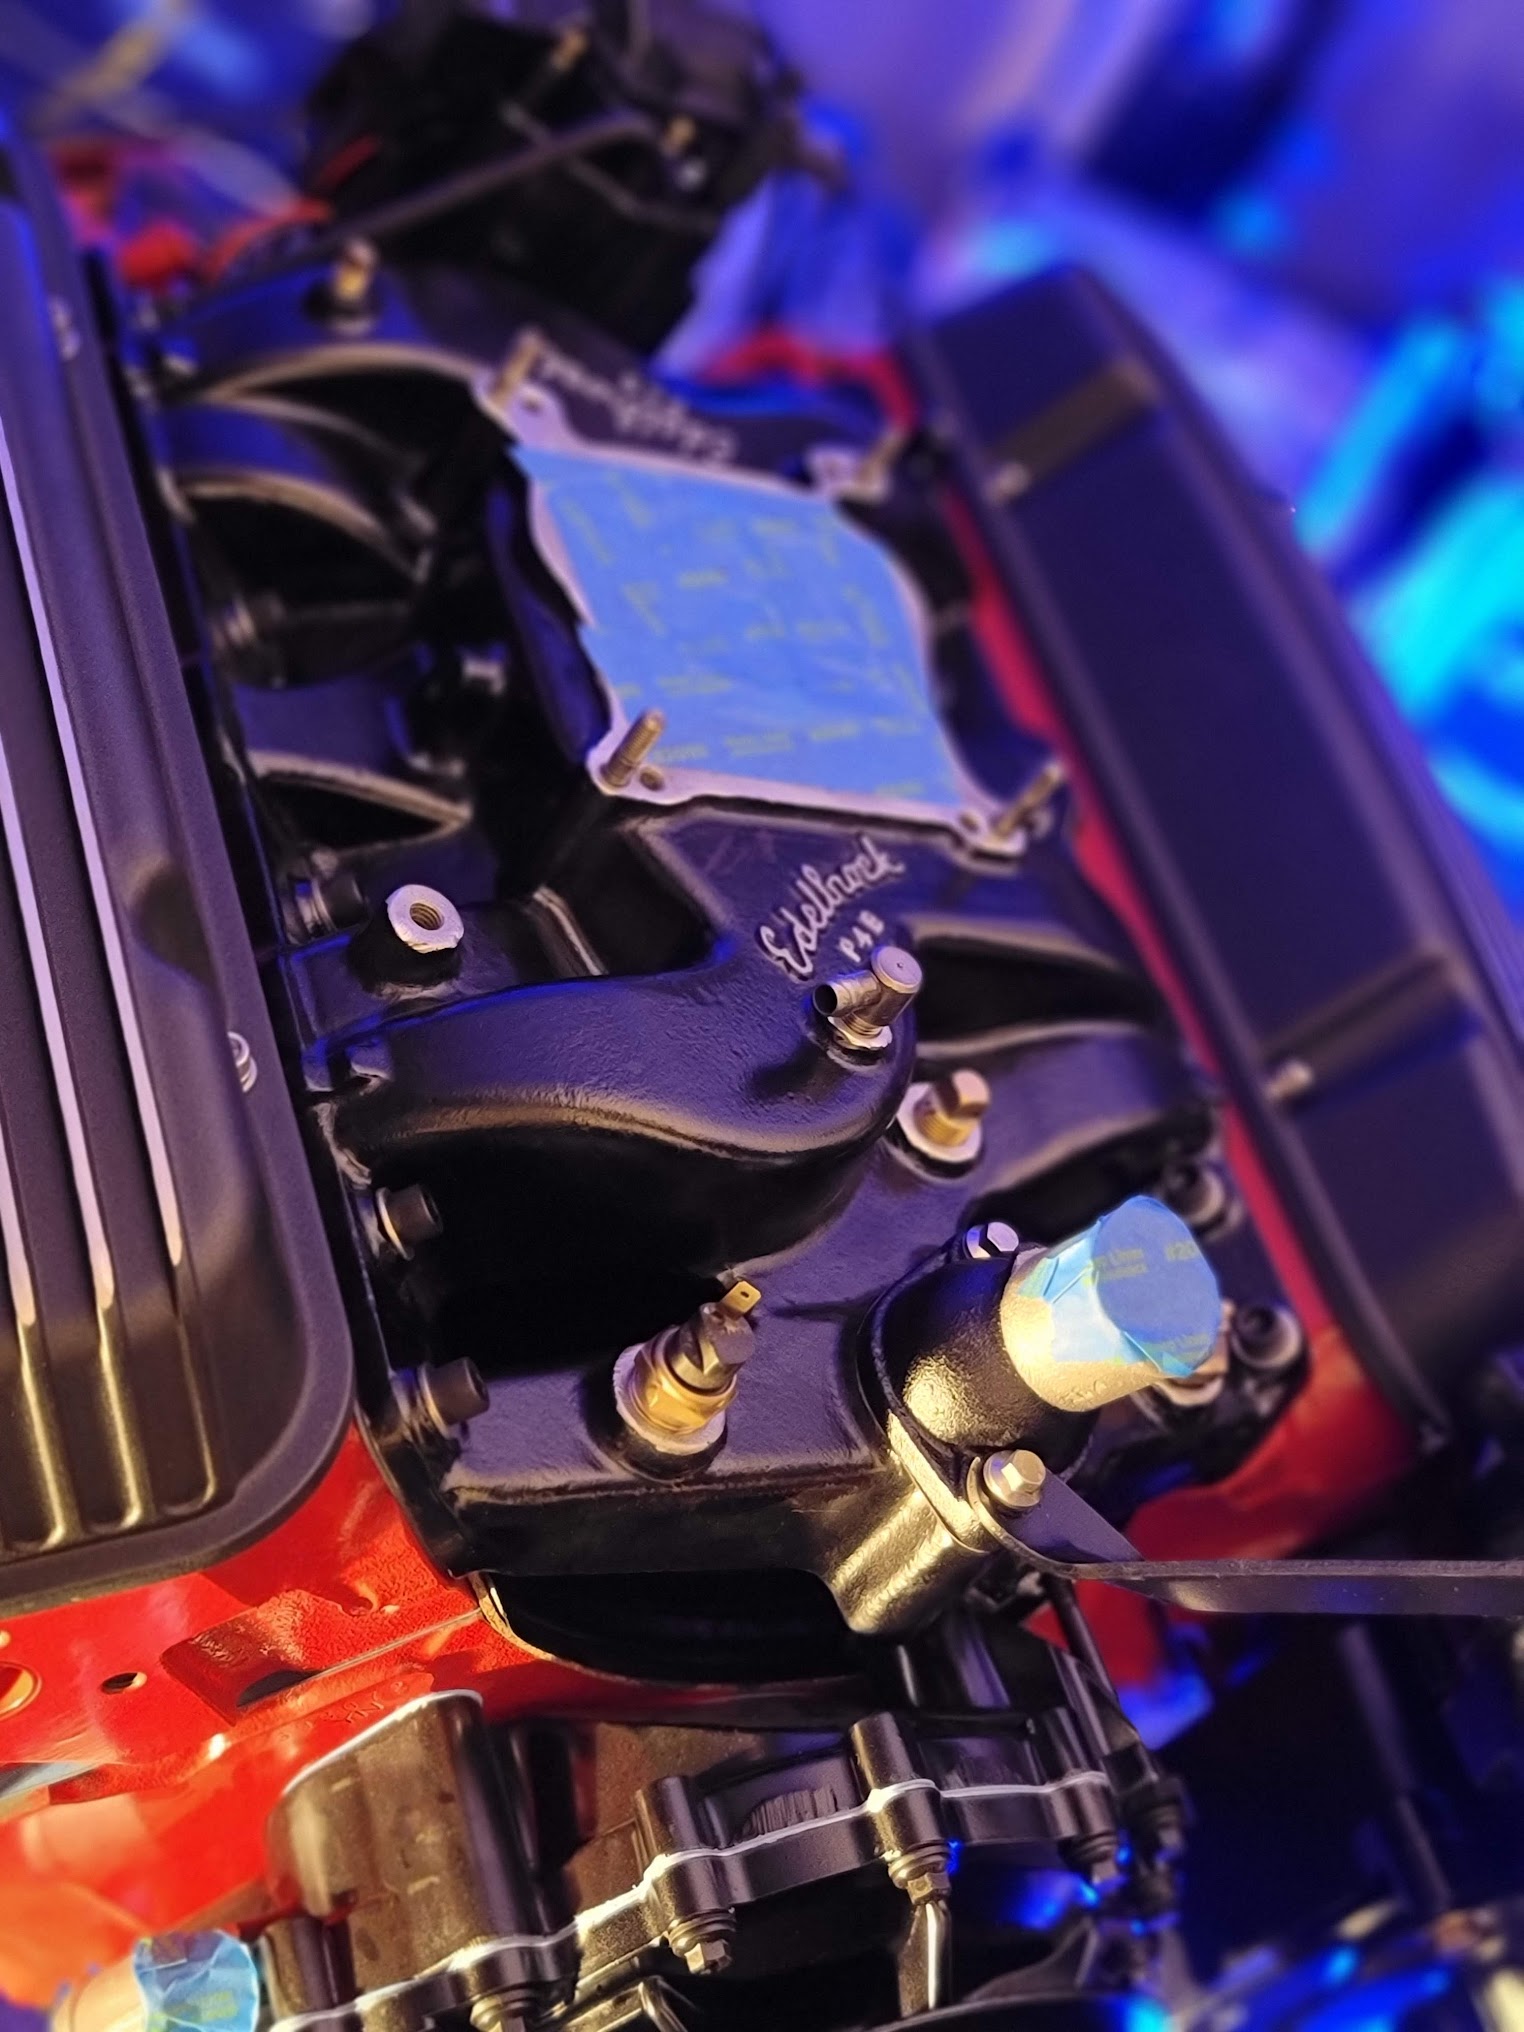
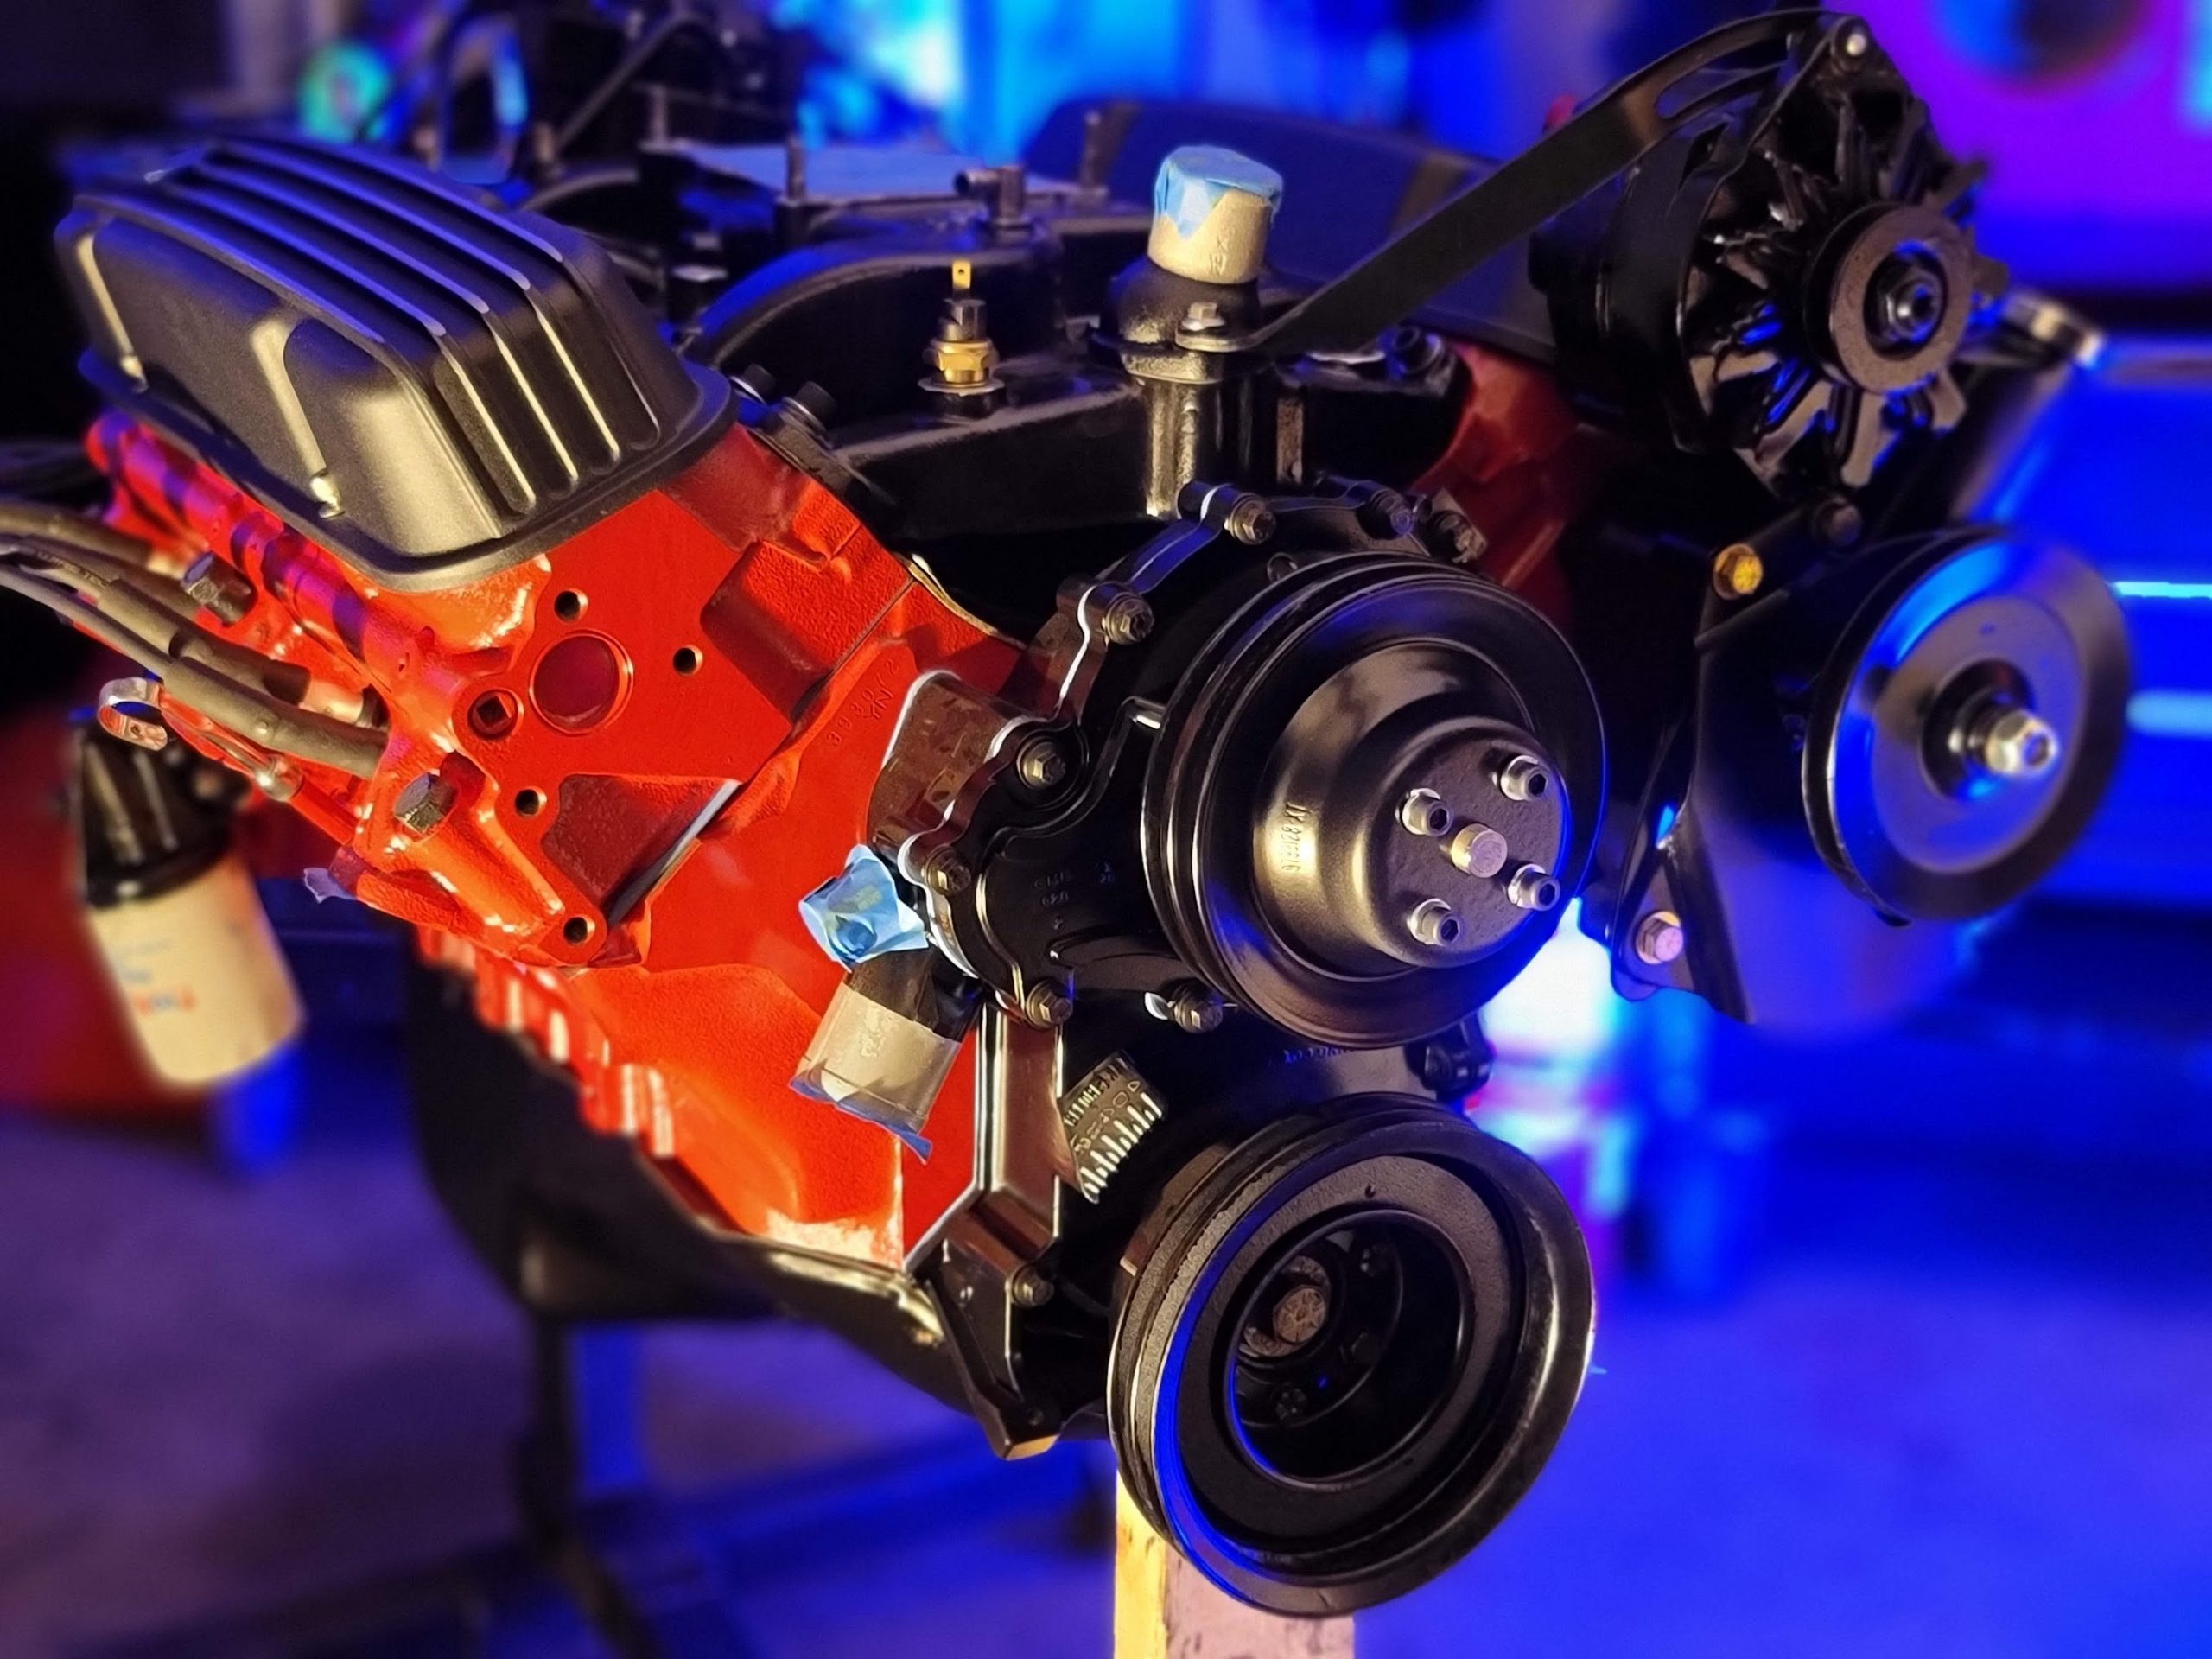
Photo shoot! .. Why not, it just looks so good I wanted some nice photos of it!
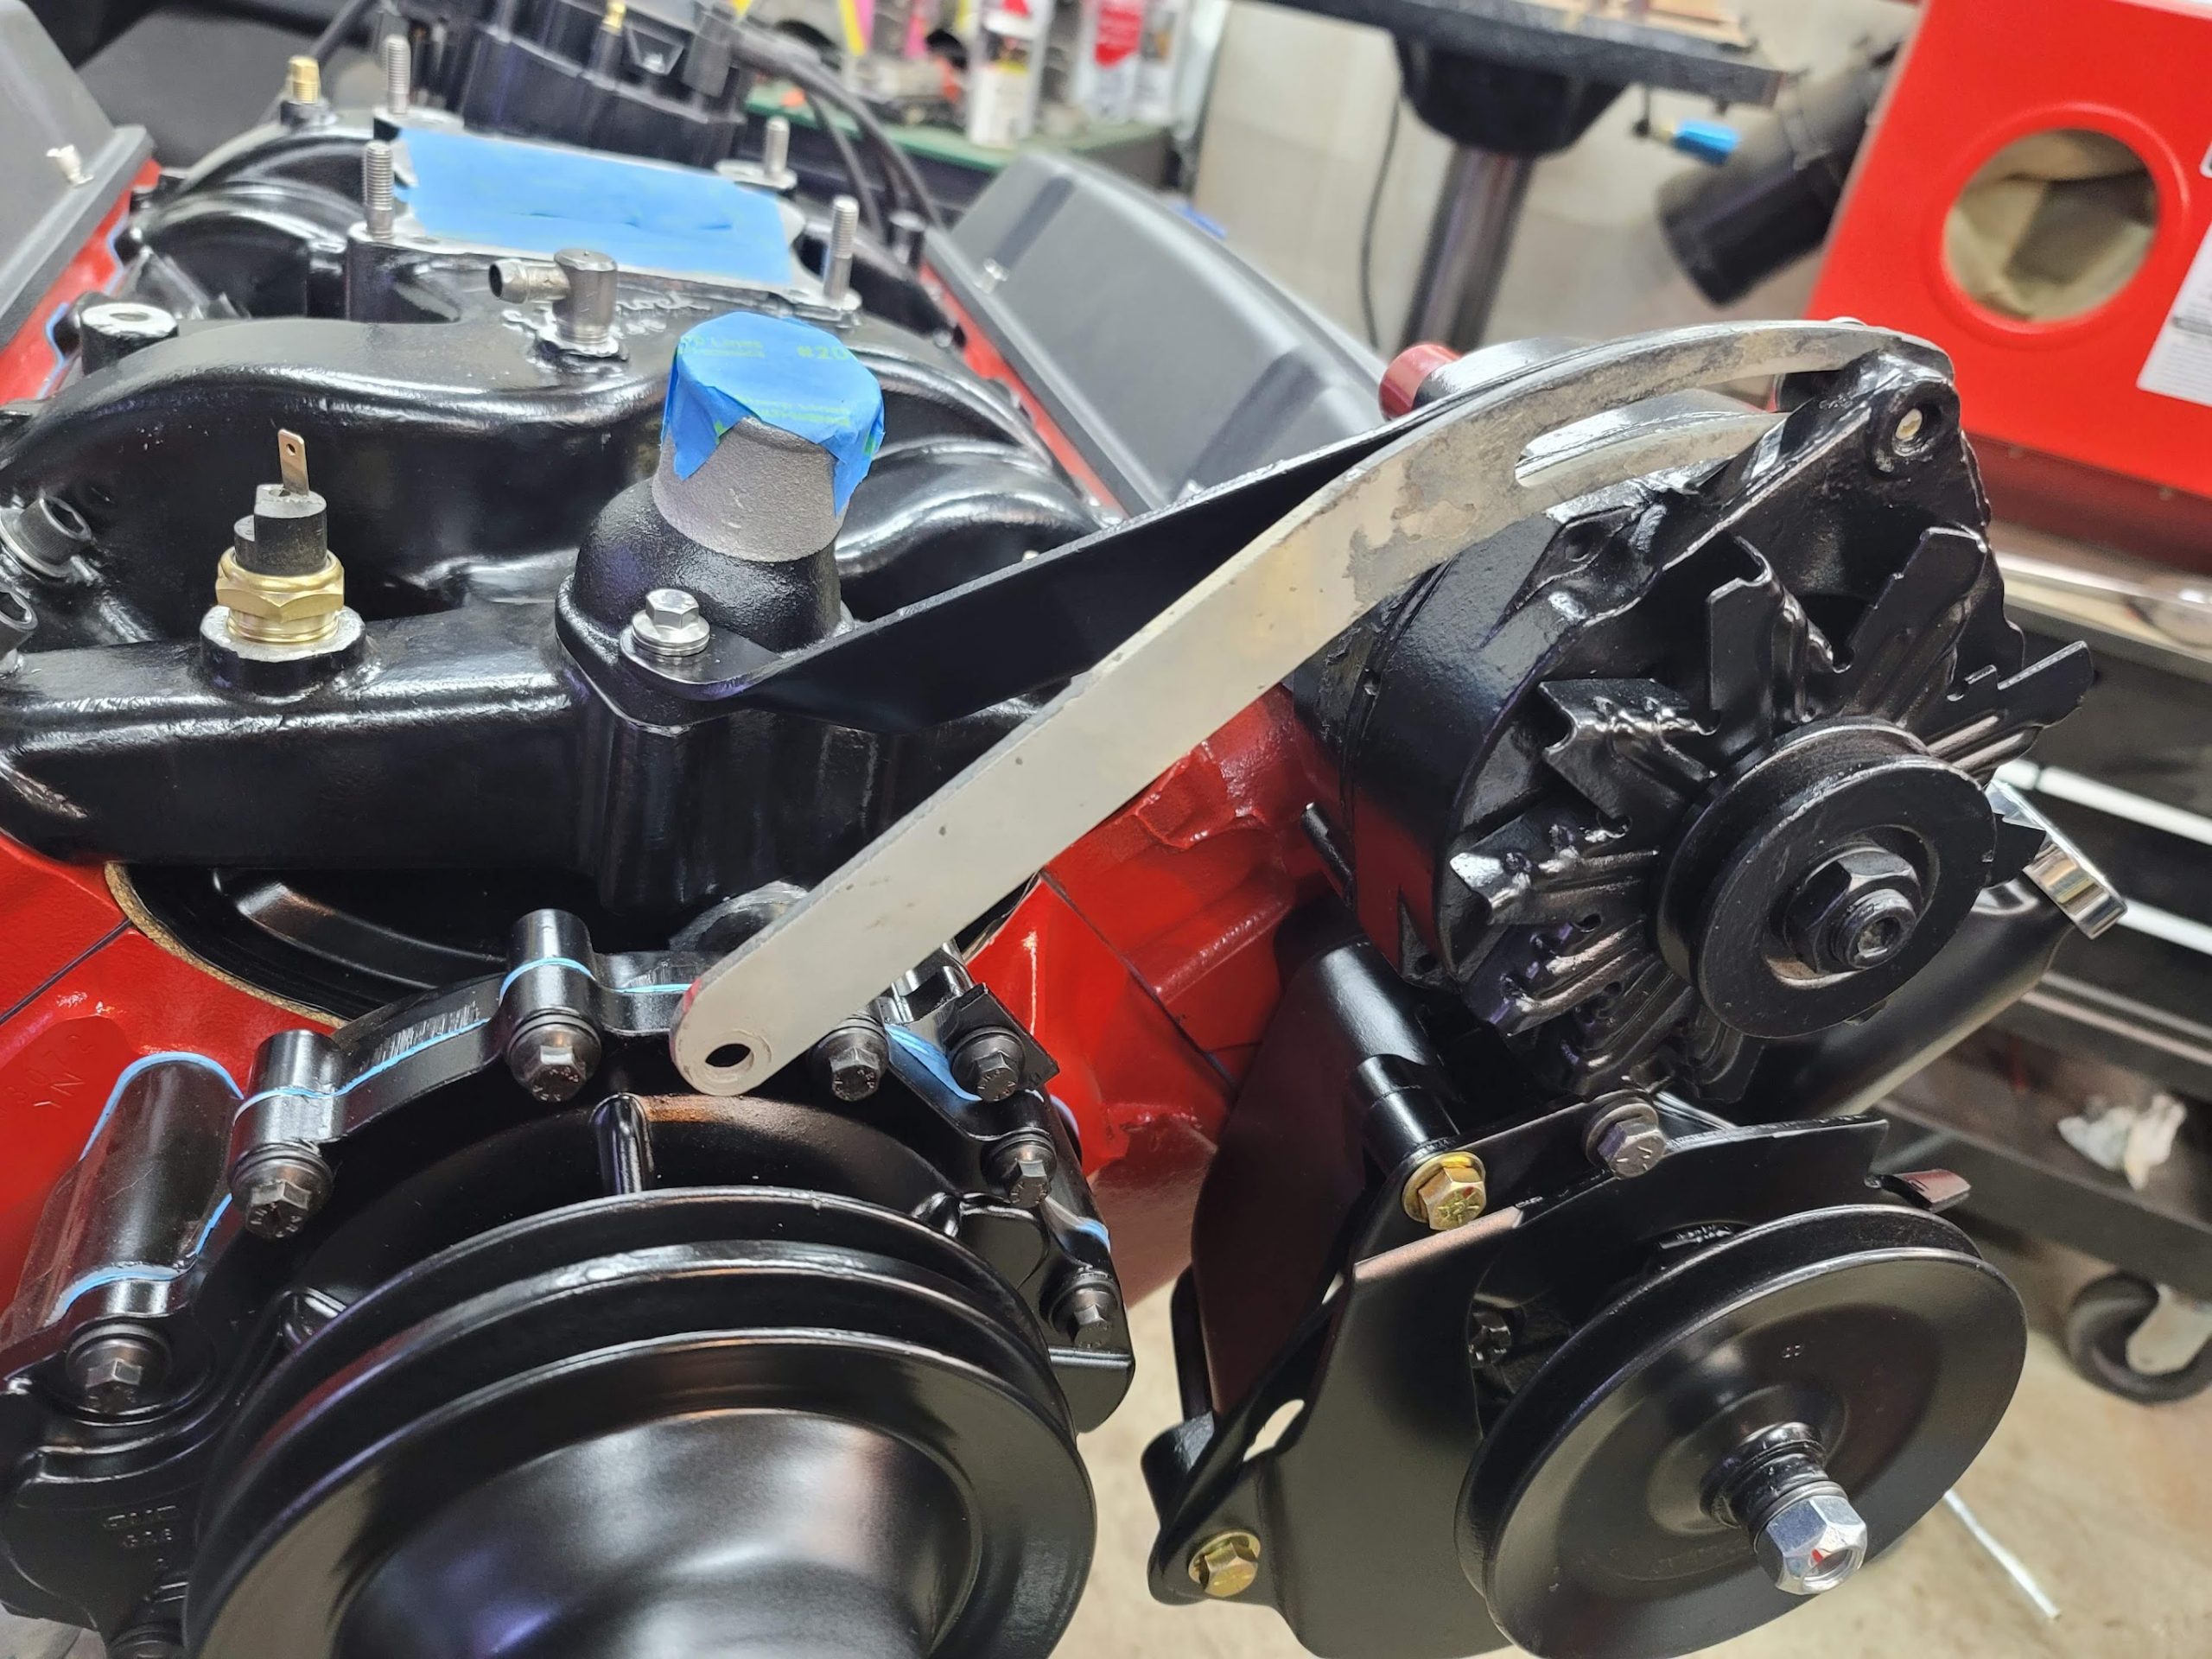
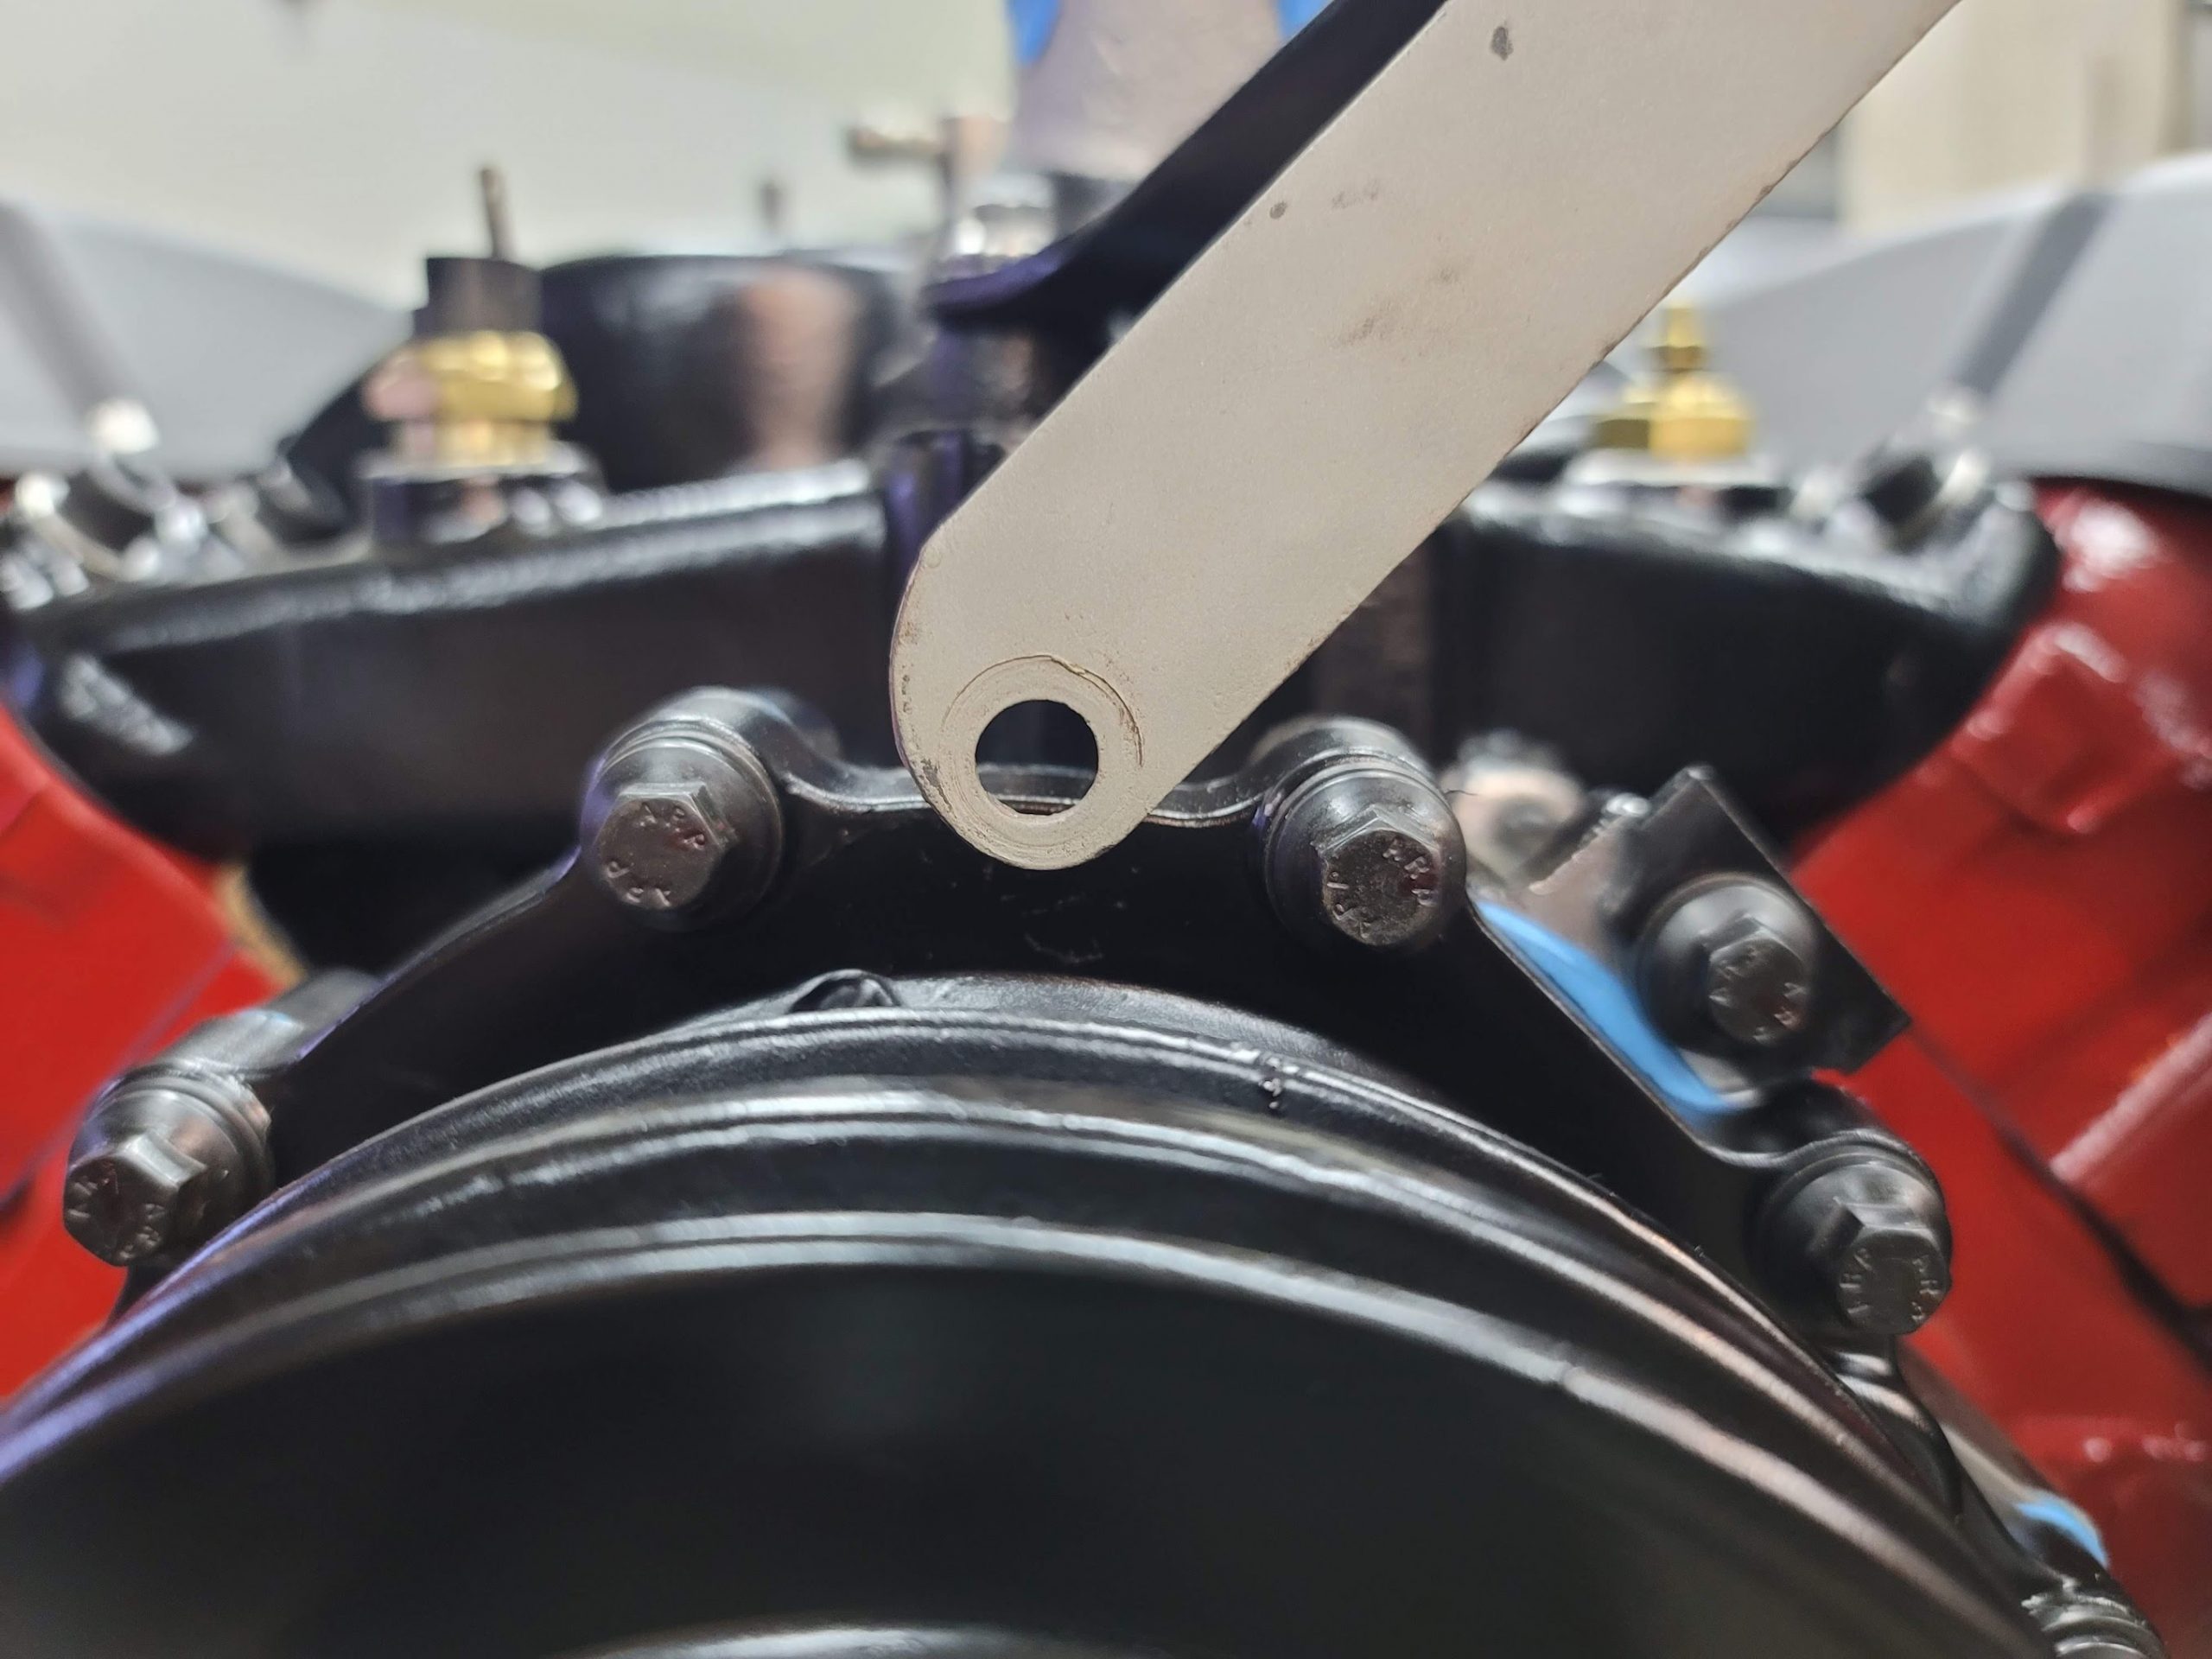
With the switch from the 8 bolt to 11 bolt, it came with some other issues, like how this bracket does not align any longer, will have to make a new adapter for this one.
Now the fun part, I need to mount my Engine driven Air compressor for the air ride system, it is a York SC209 made by CCI, it is the compact model of the 210 that most people use. A Pontiac never came with a York style compressor so there are no design or brackets to get or look at, I can not find anyone who has even mounted a EDC to a Pontiac motor! So step one is finidng a way to get power from the engine for it.
Found a solution! For those who need one, It was only made for 2 years, for a a Pontiac Firebird 350 400 A.I.R. Pump Drive Pulley 486005XM
Now to figure out how to mount the compressor! Here is a design I came up with for mounting the compressor to the block.
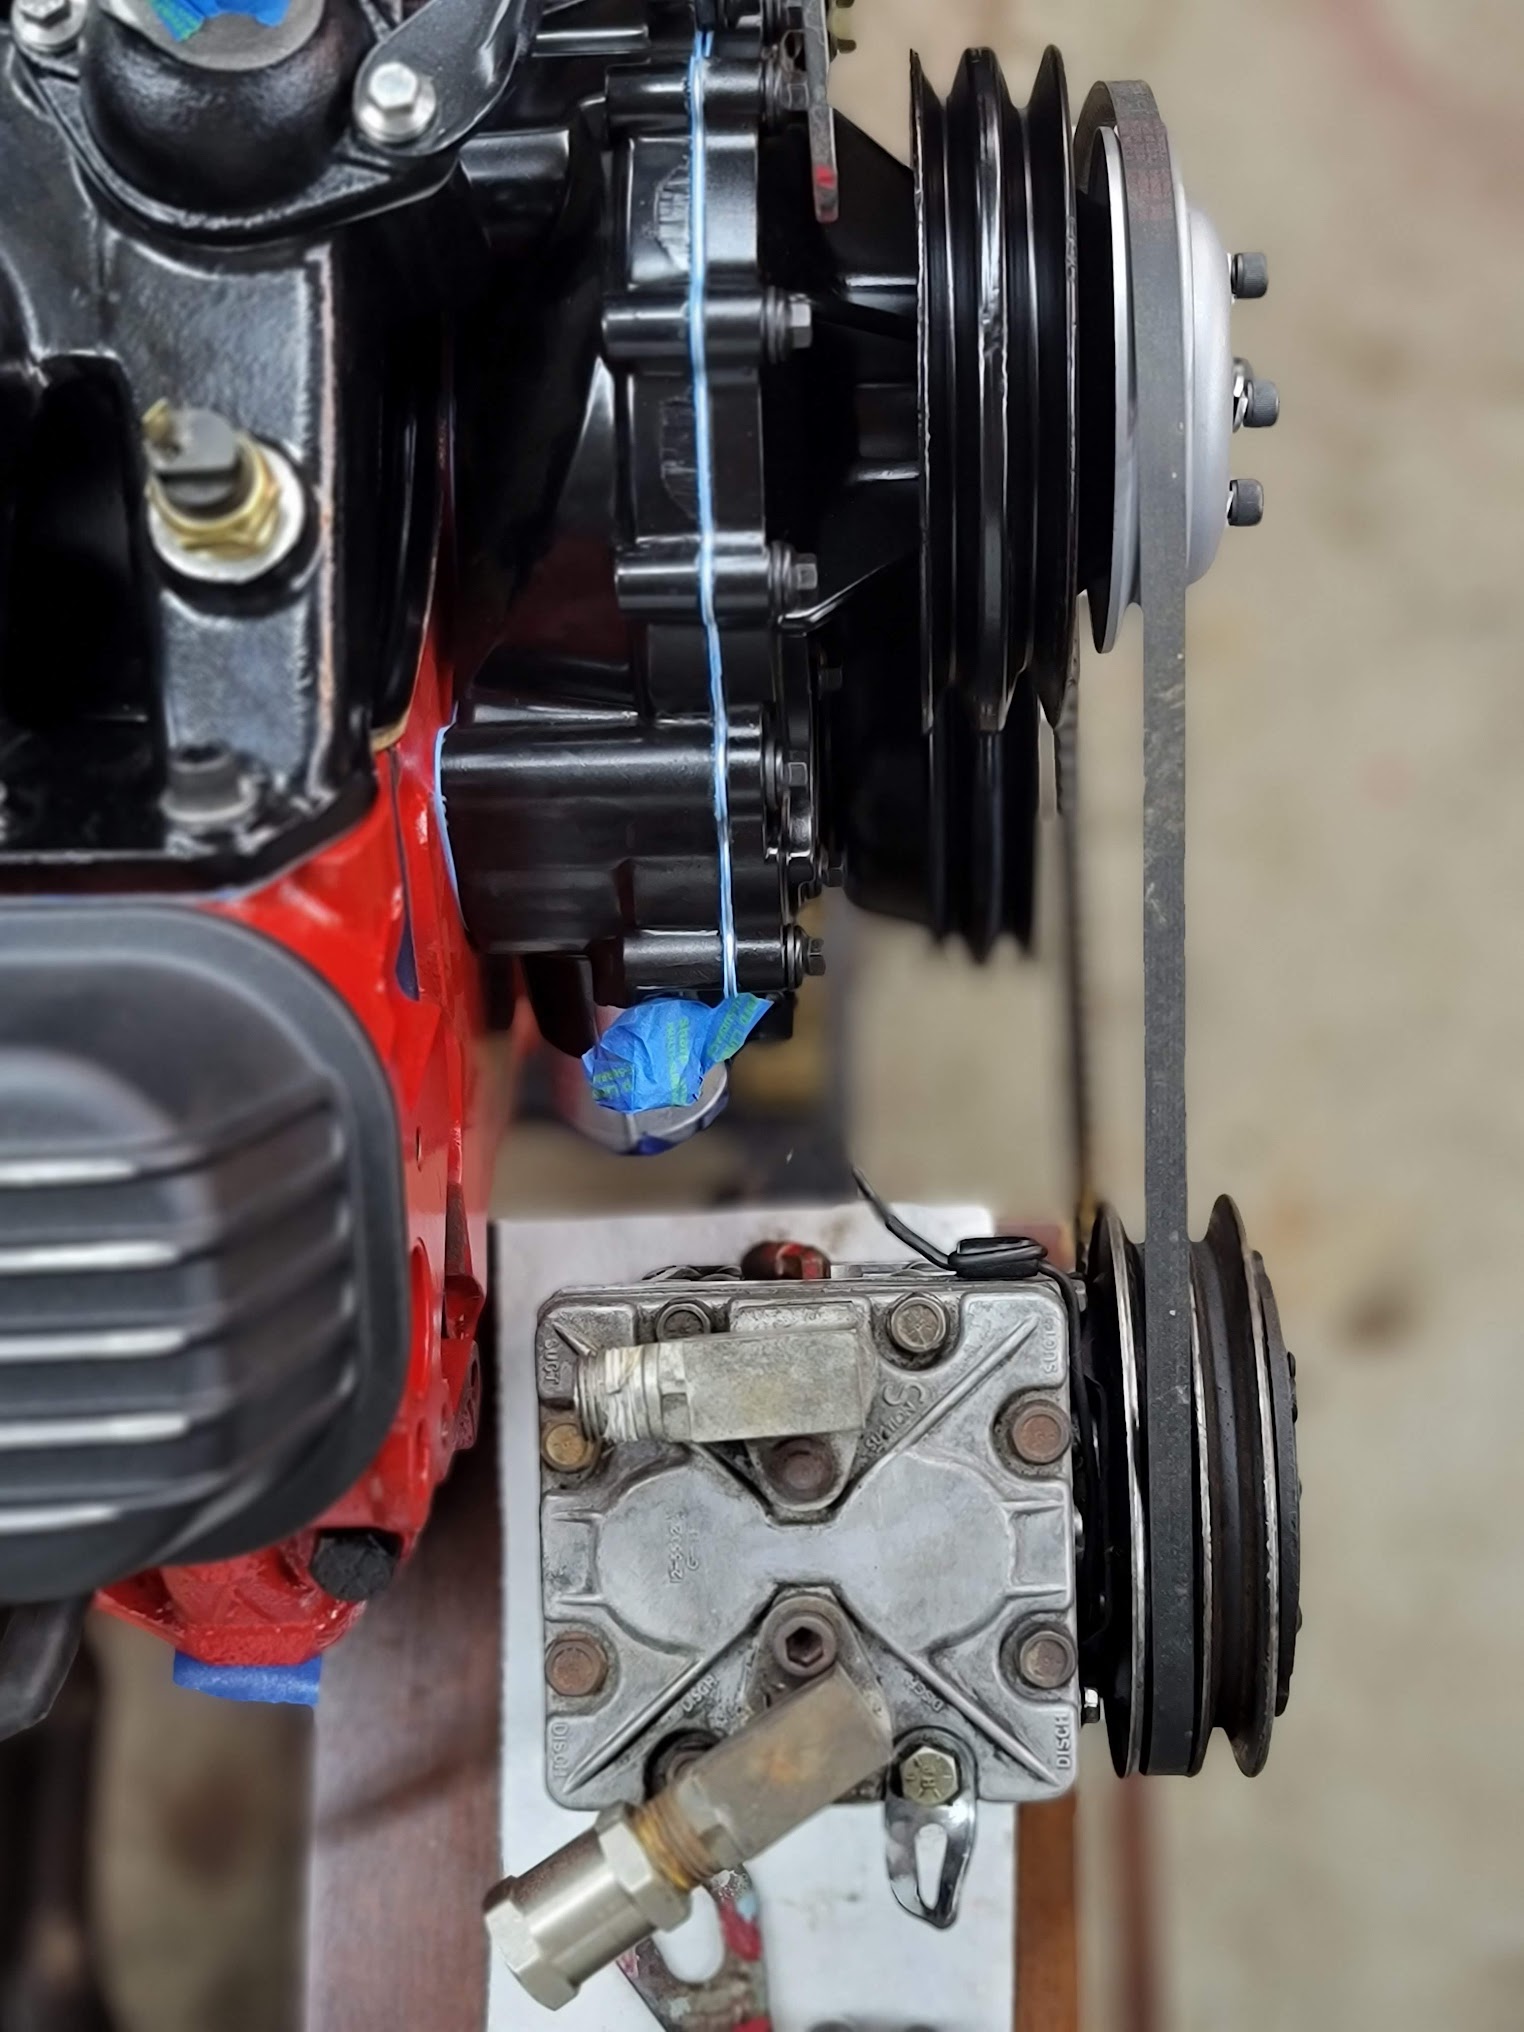
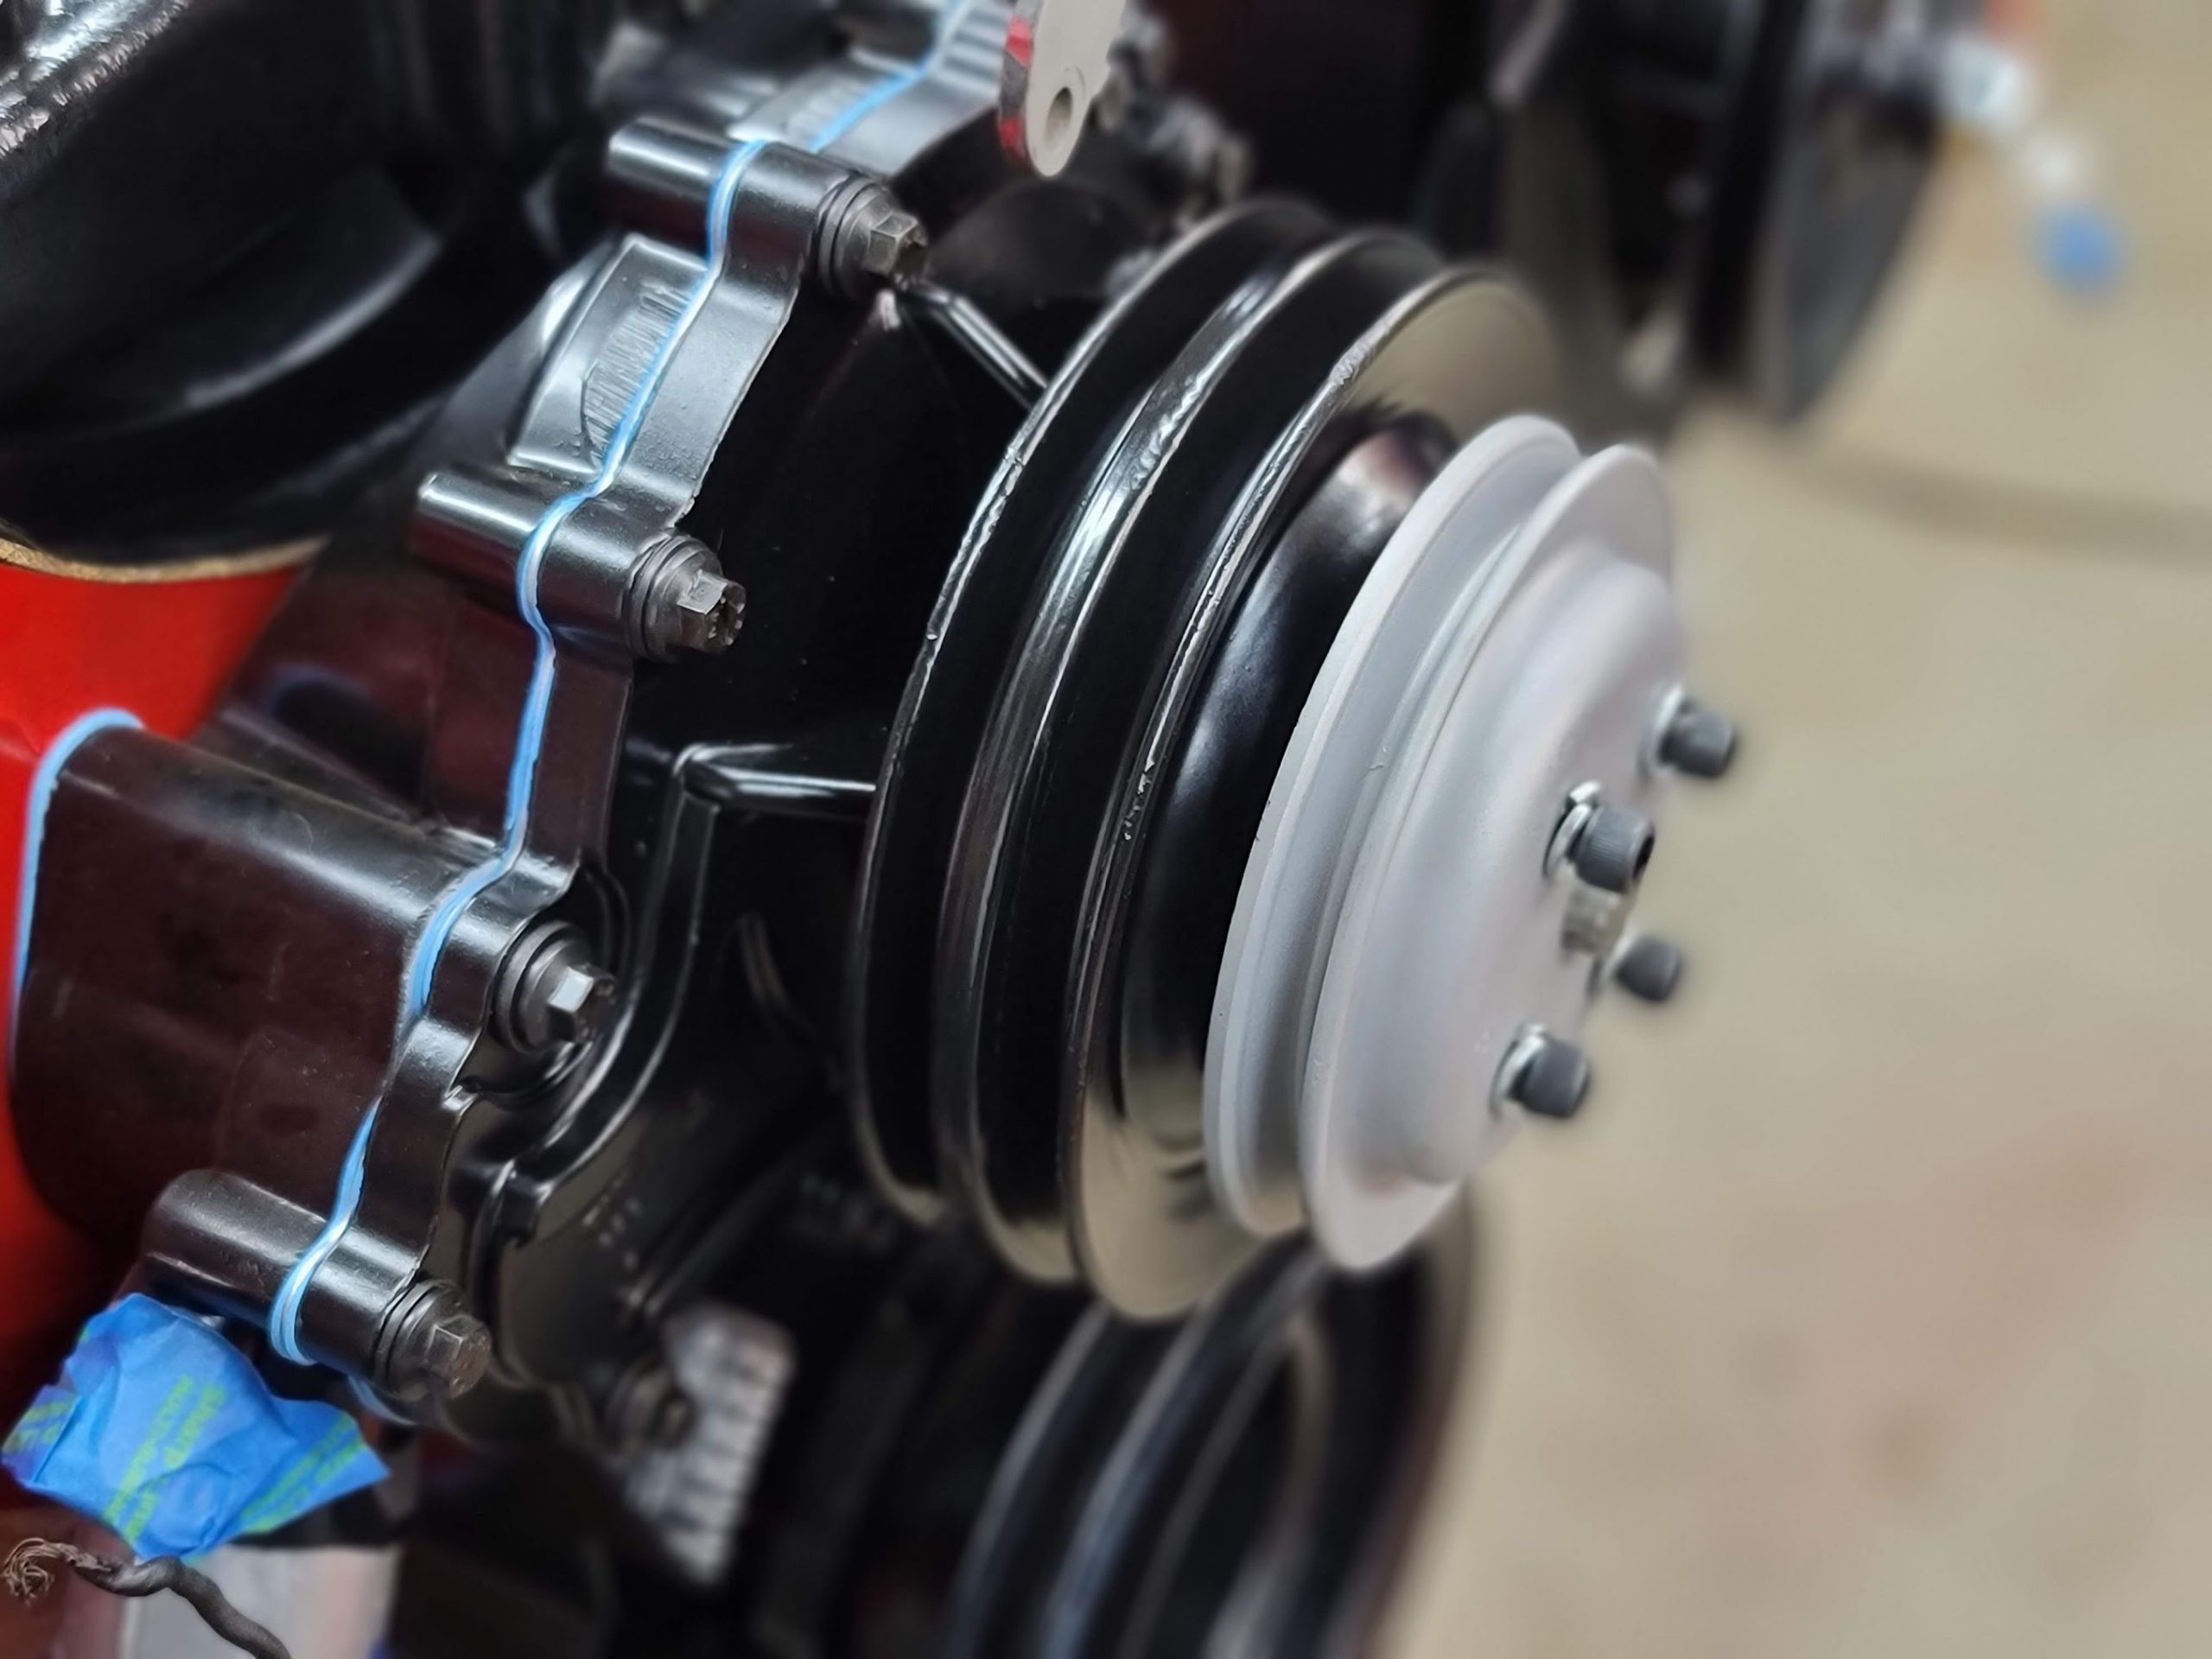
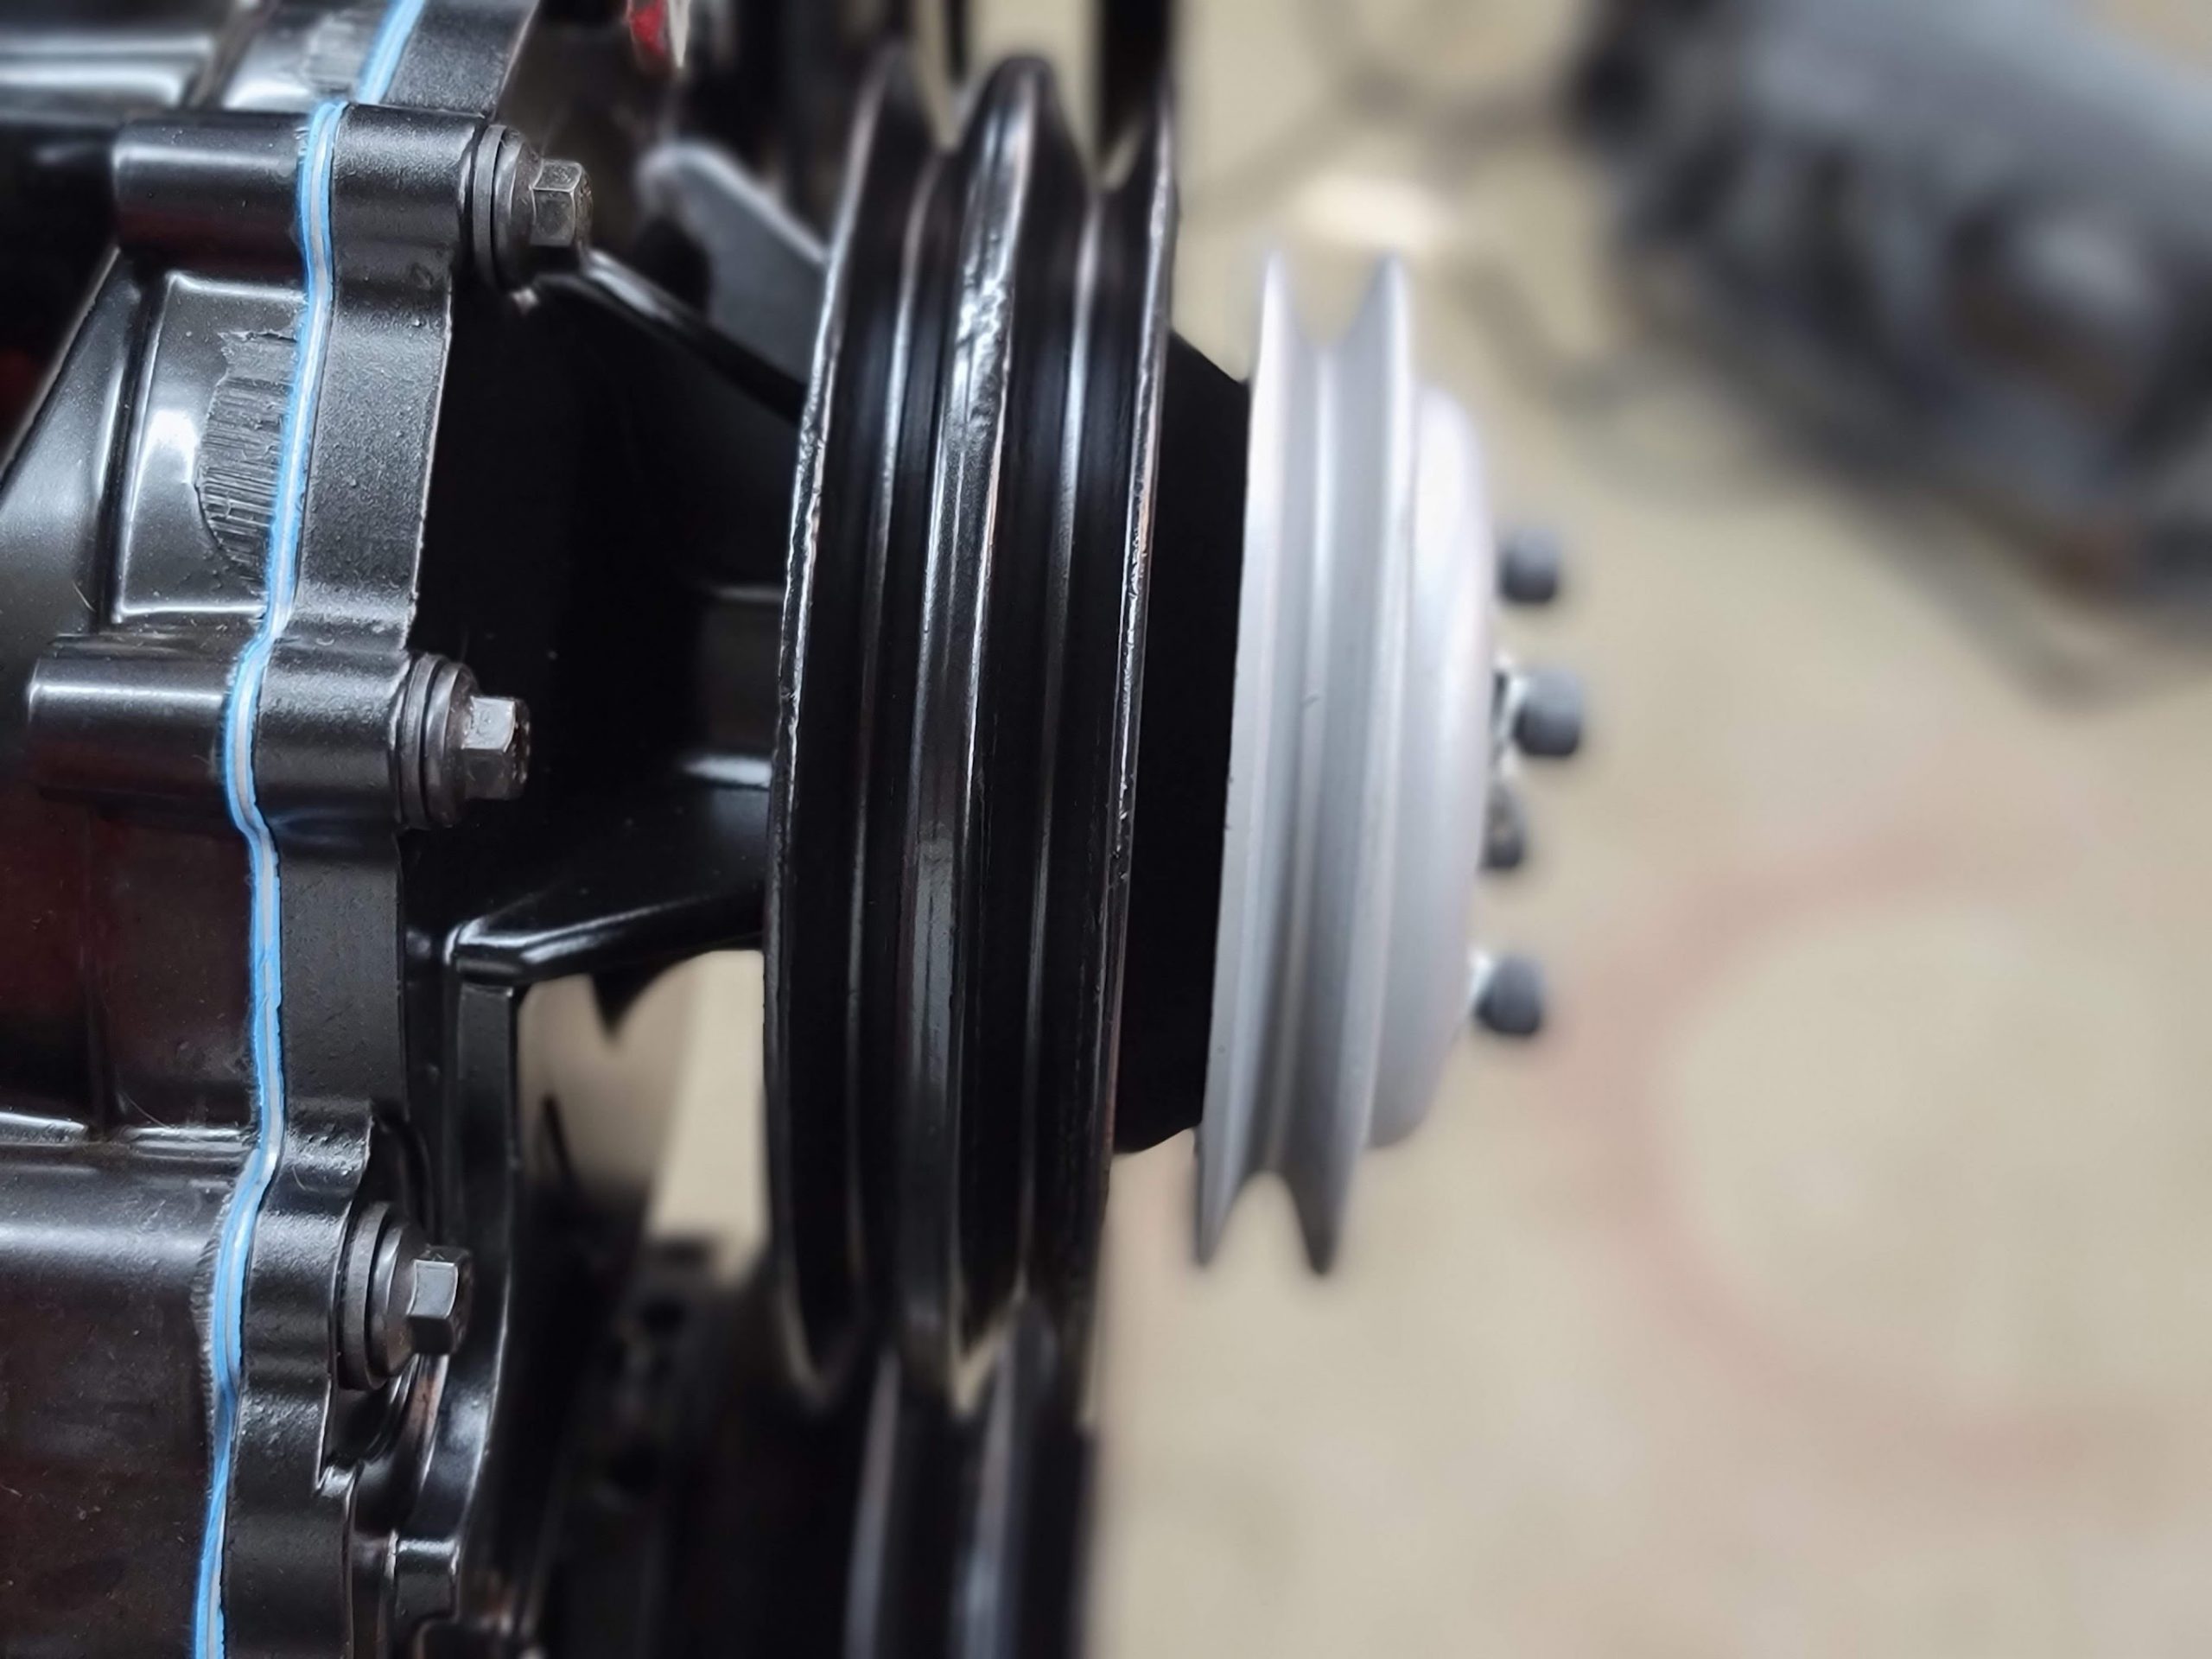
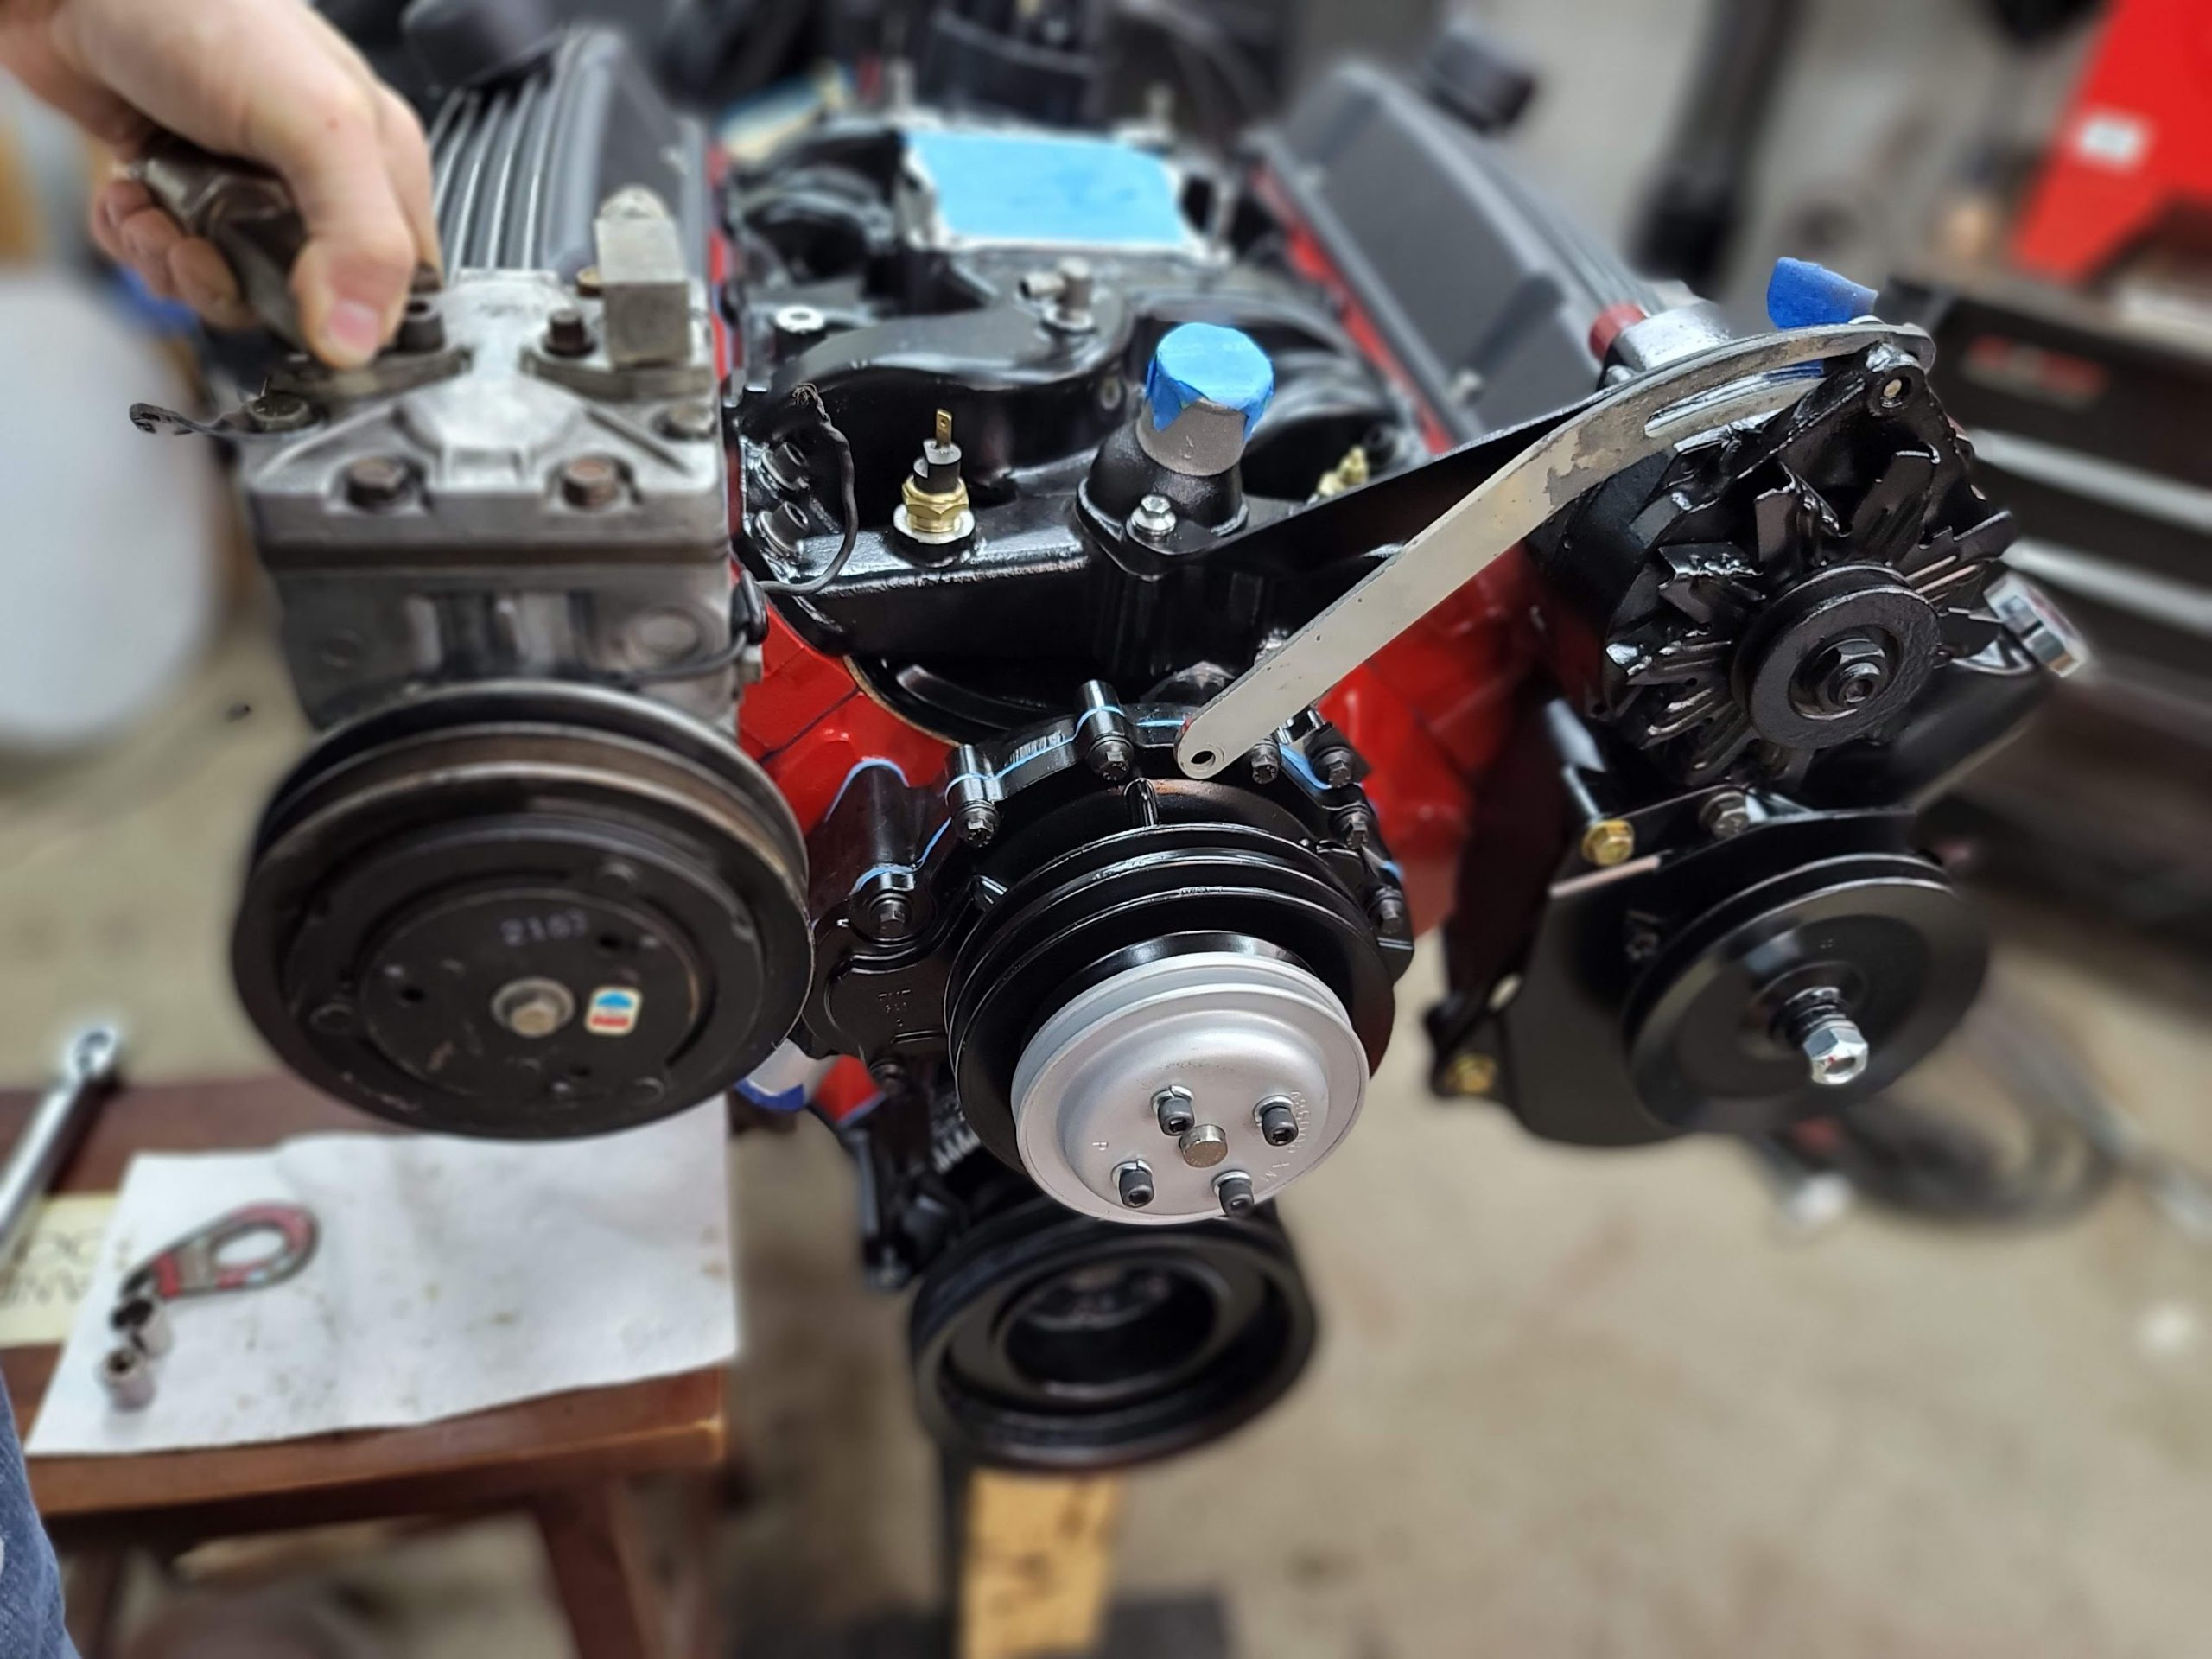
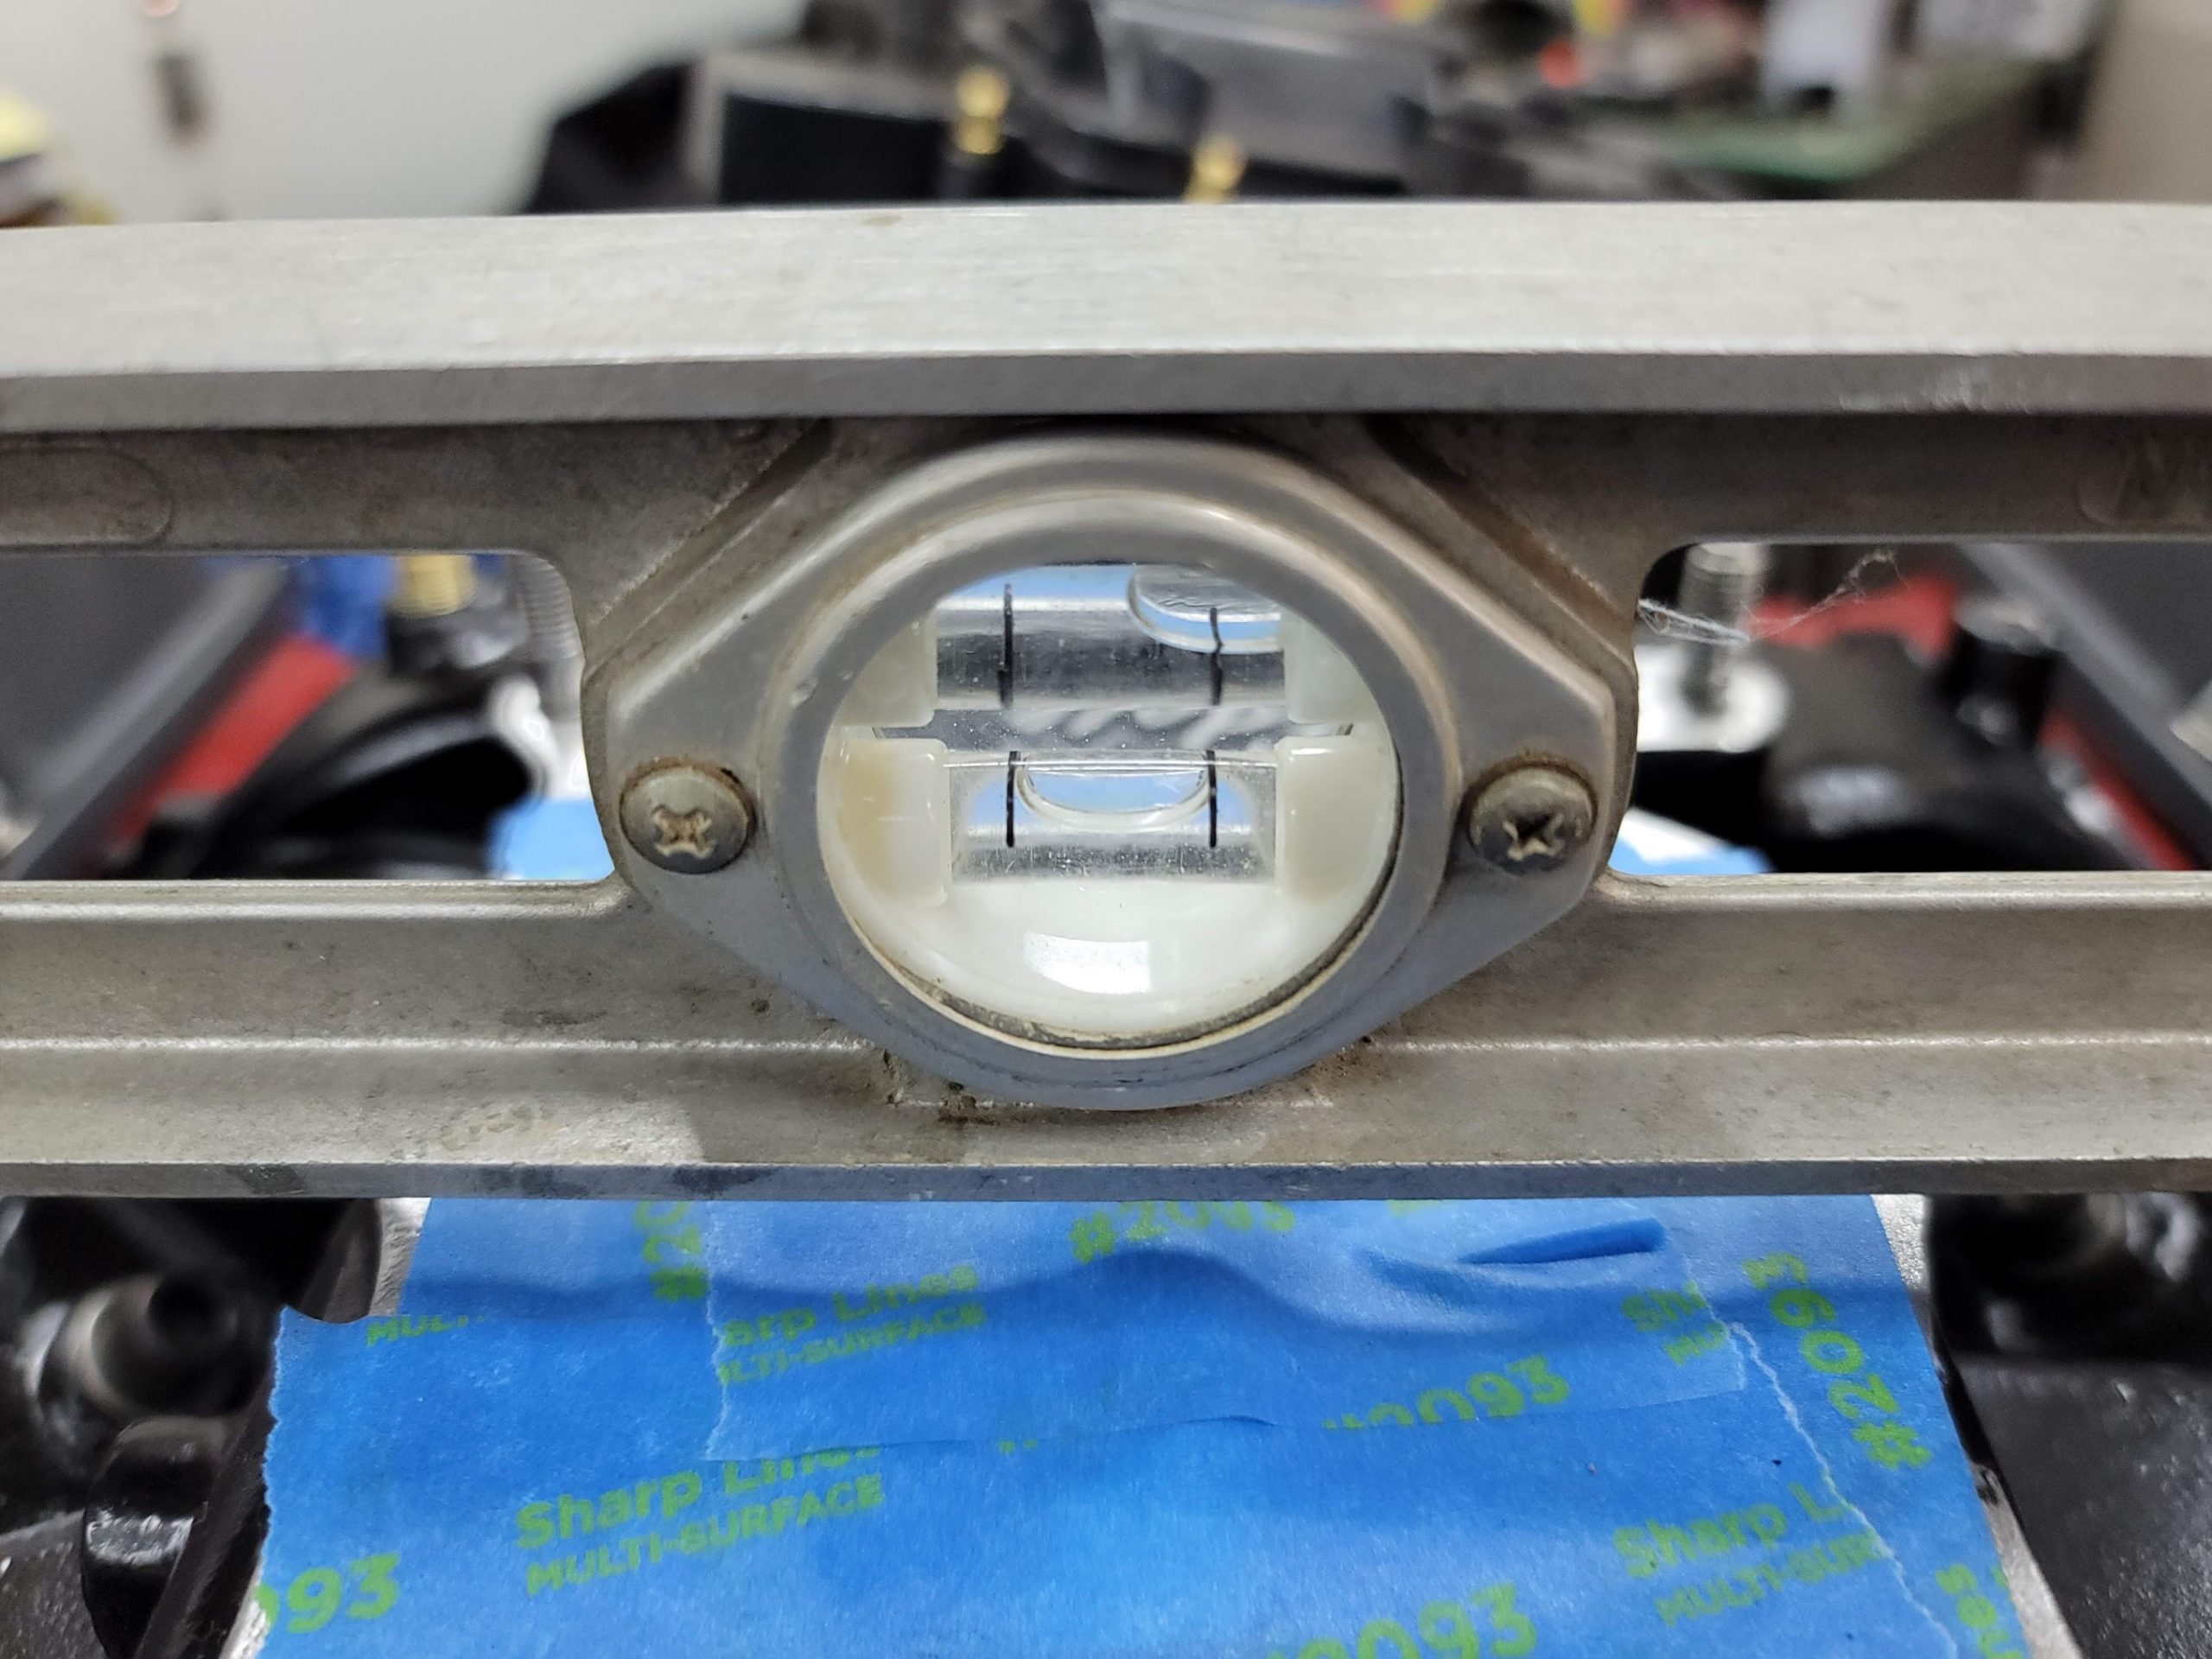
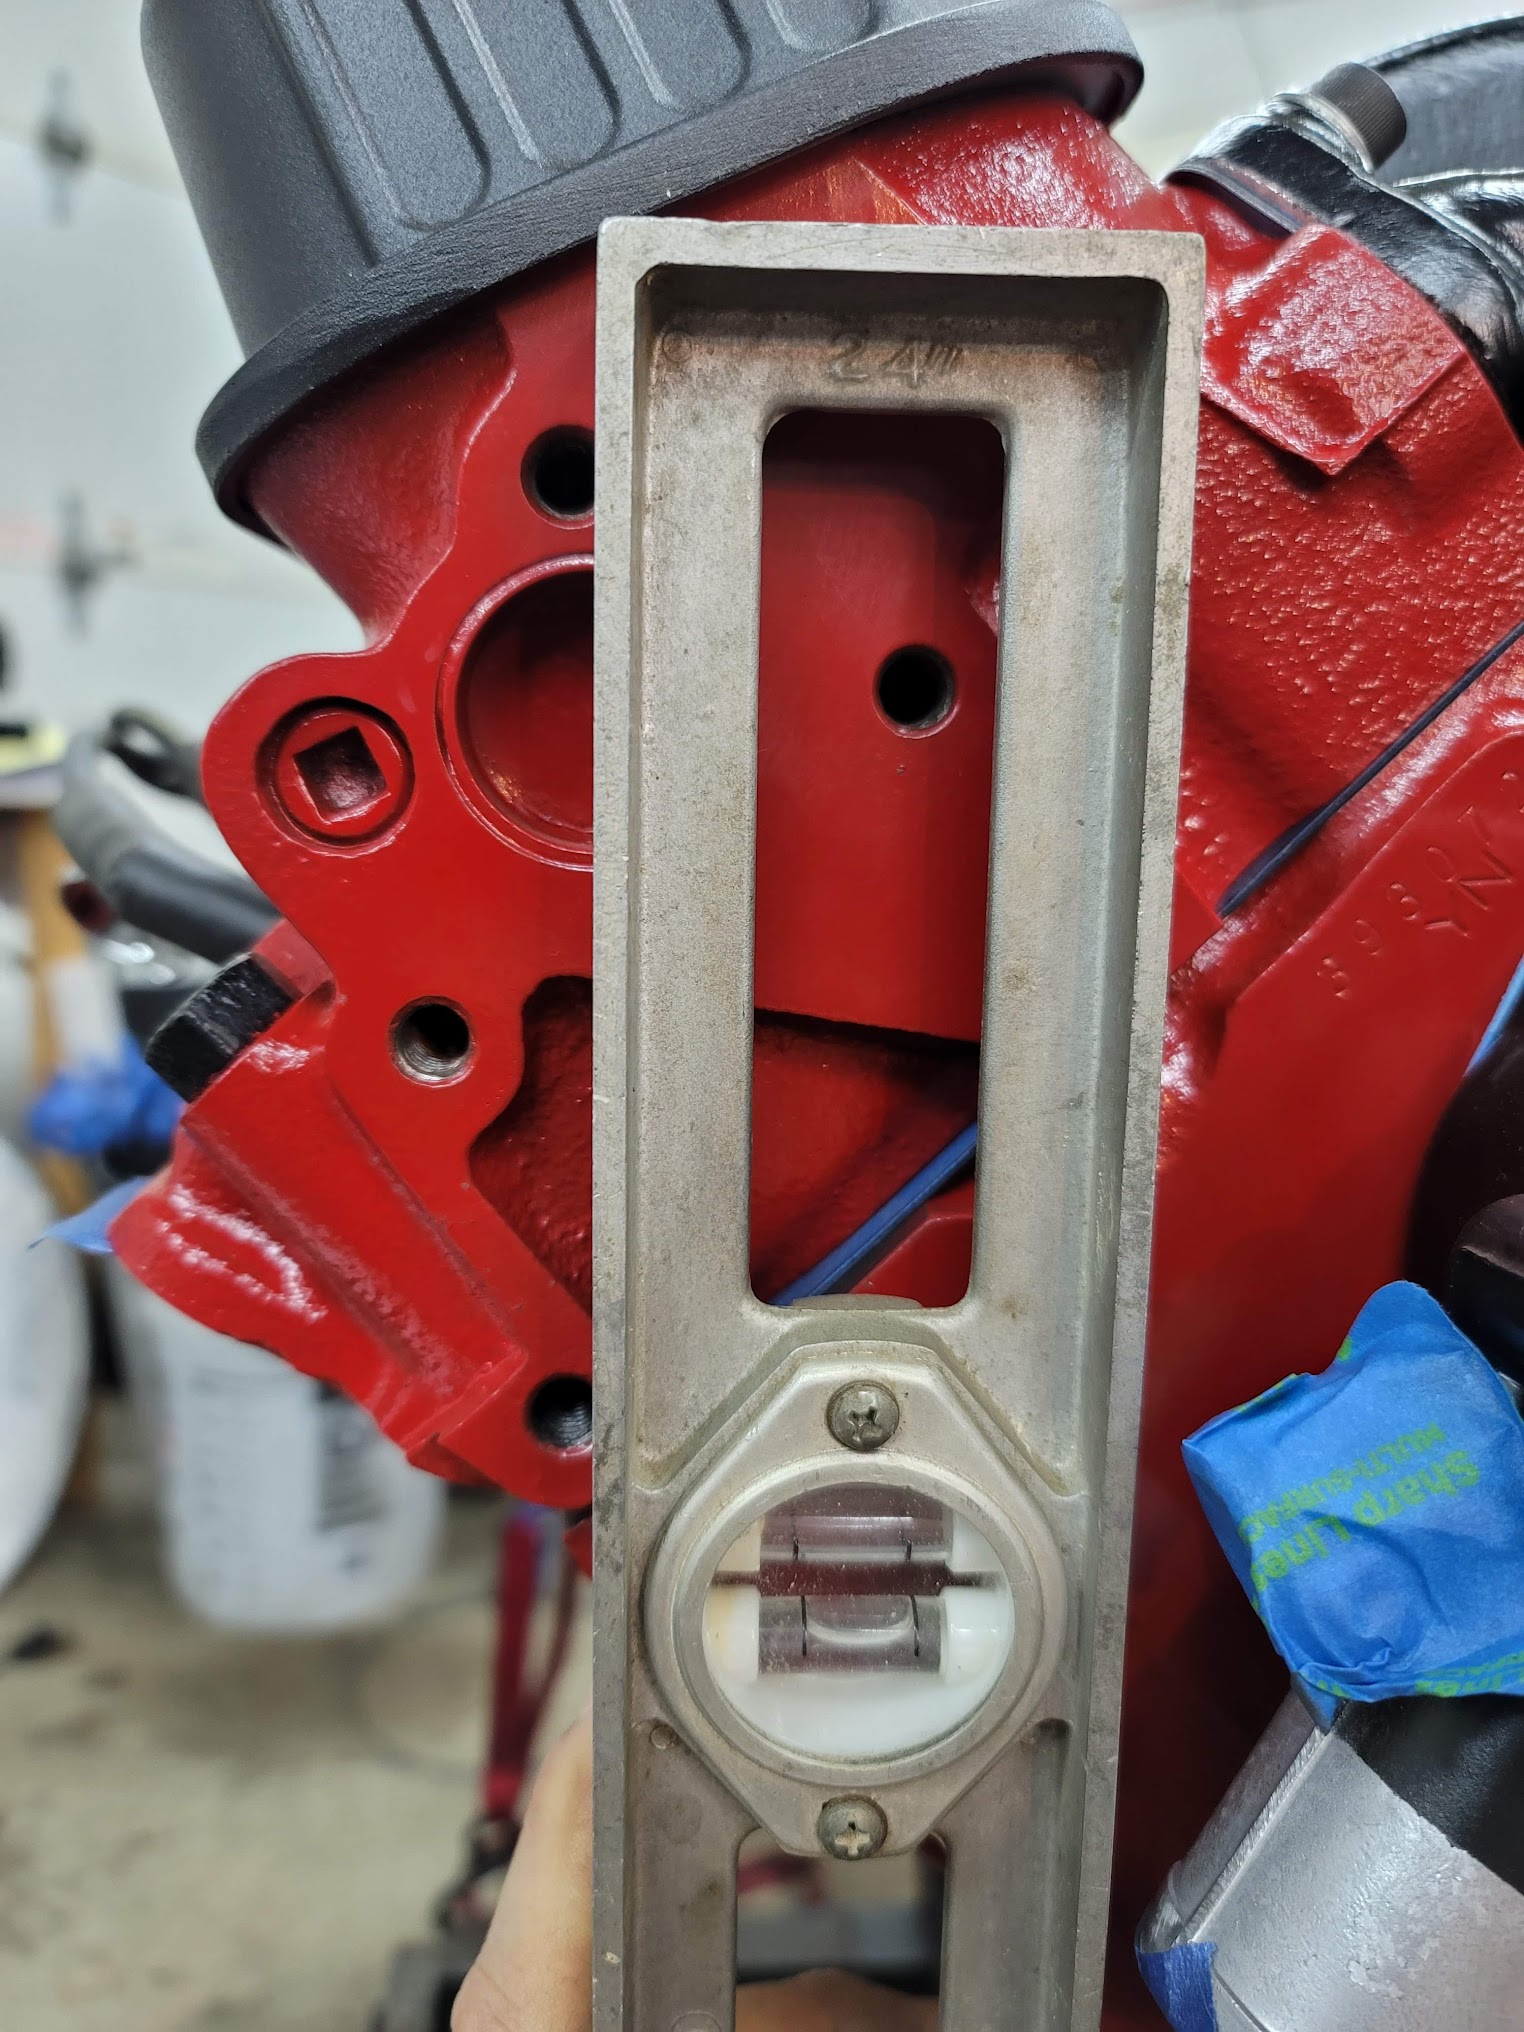
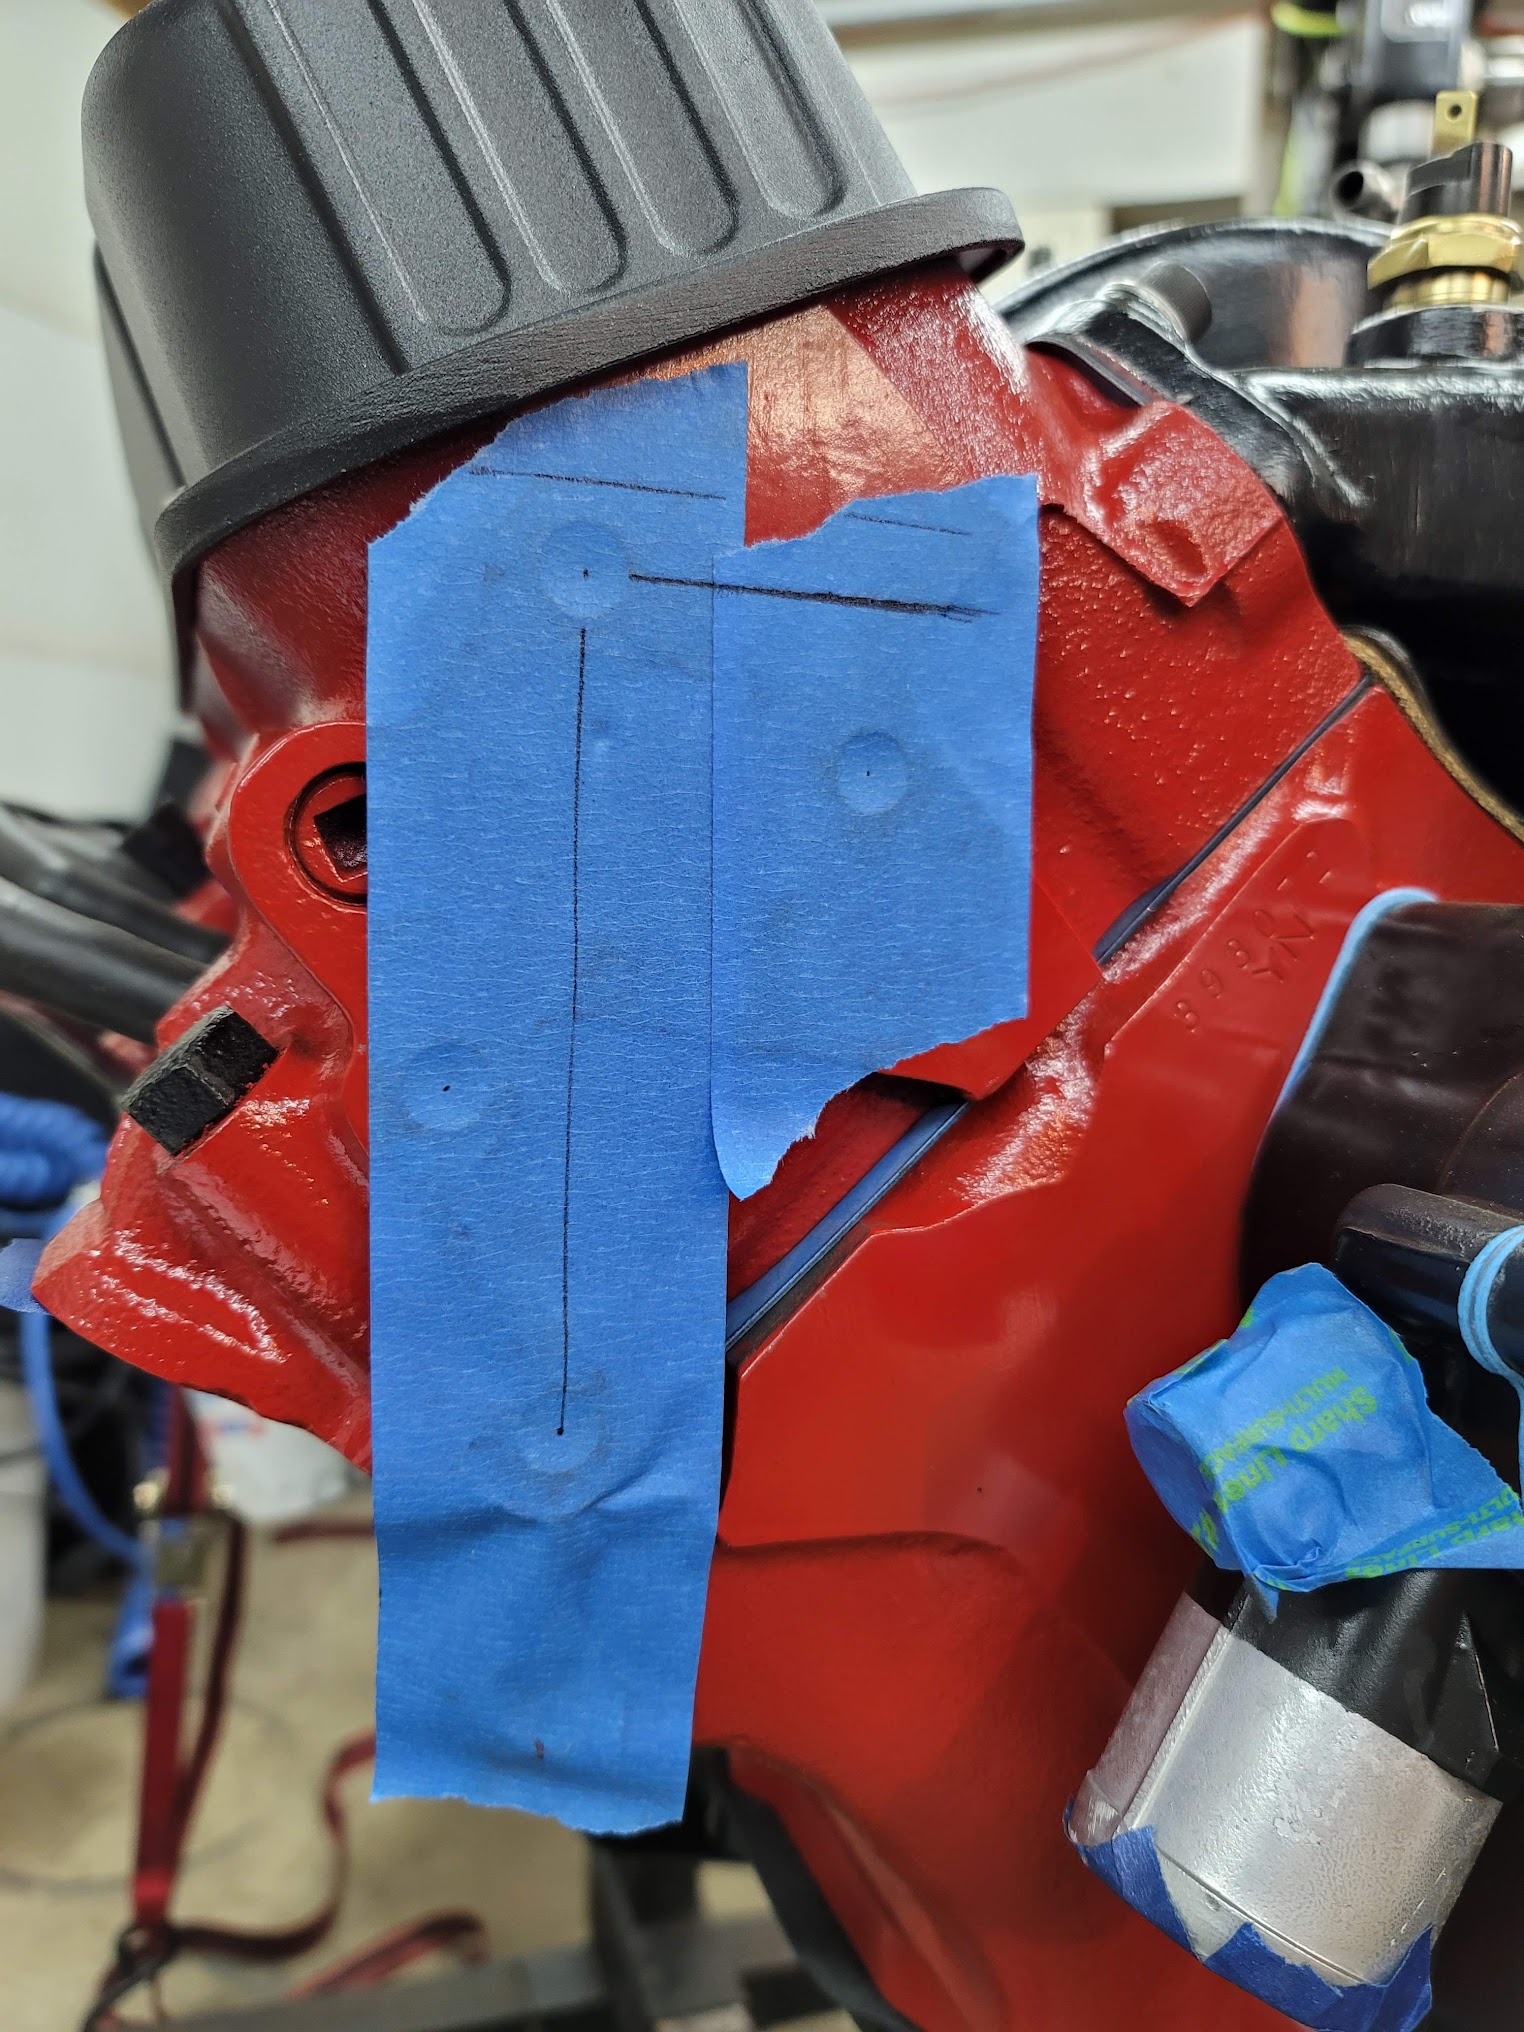
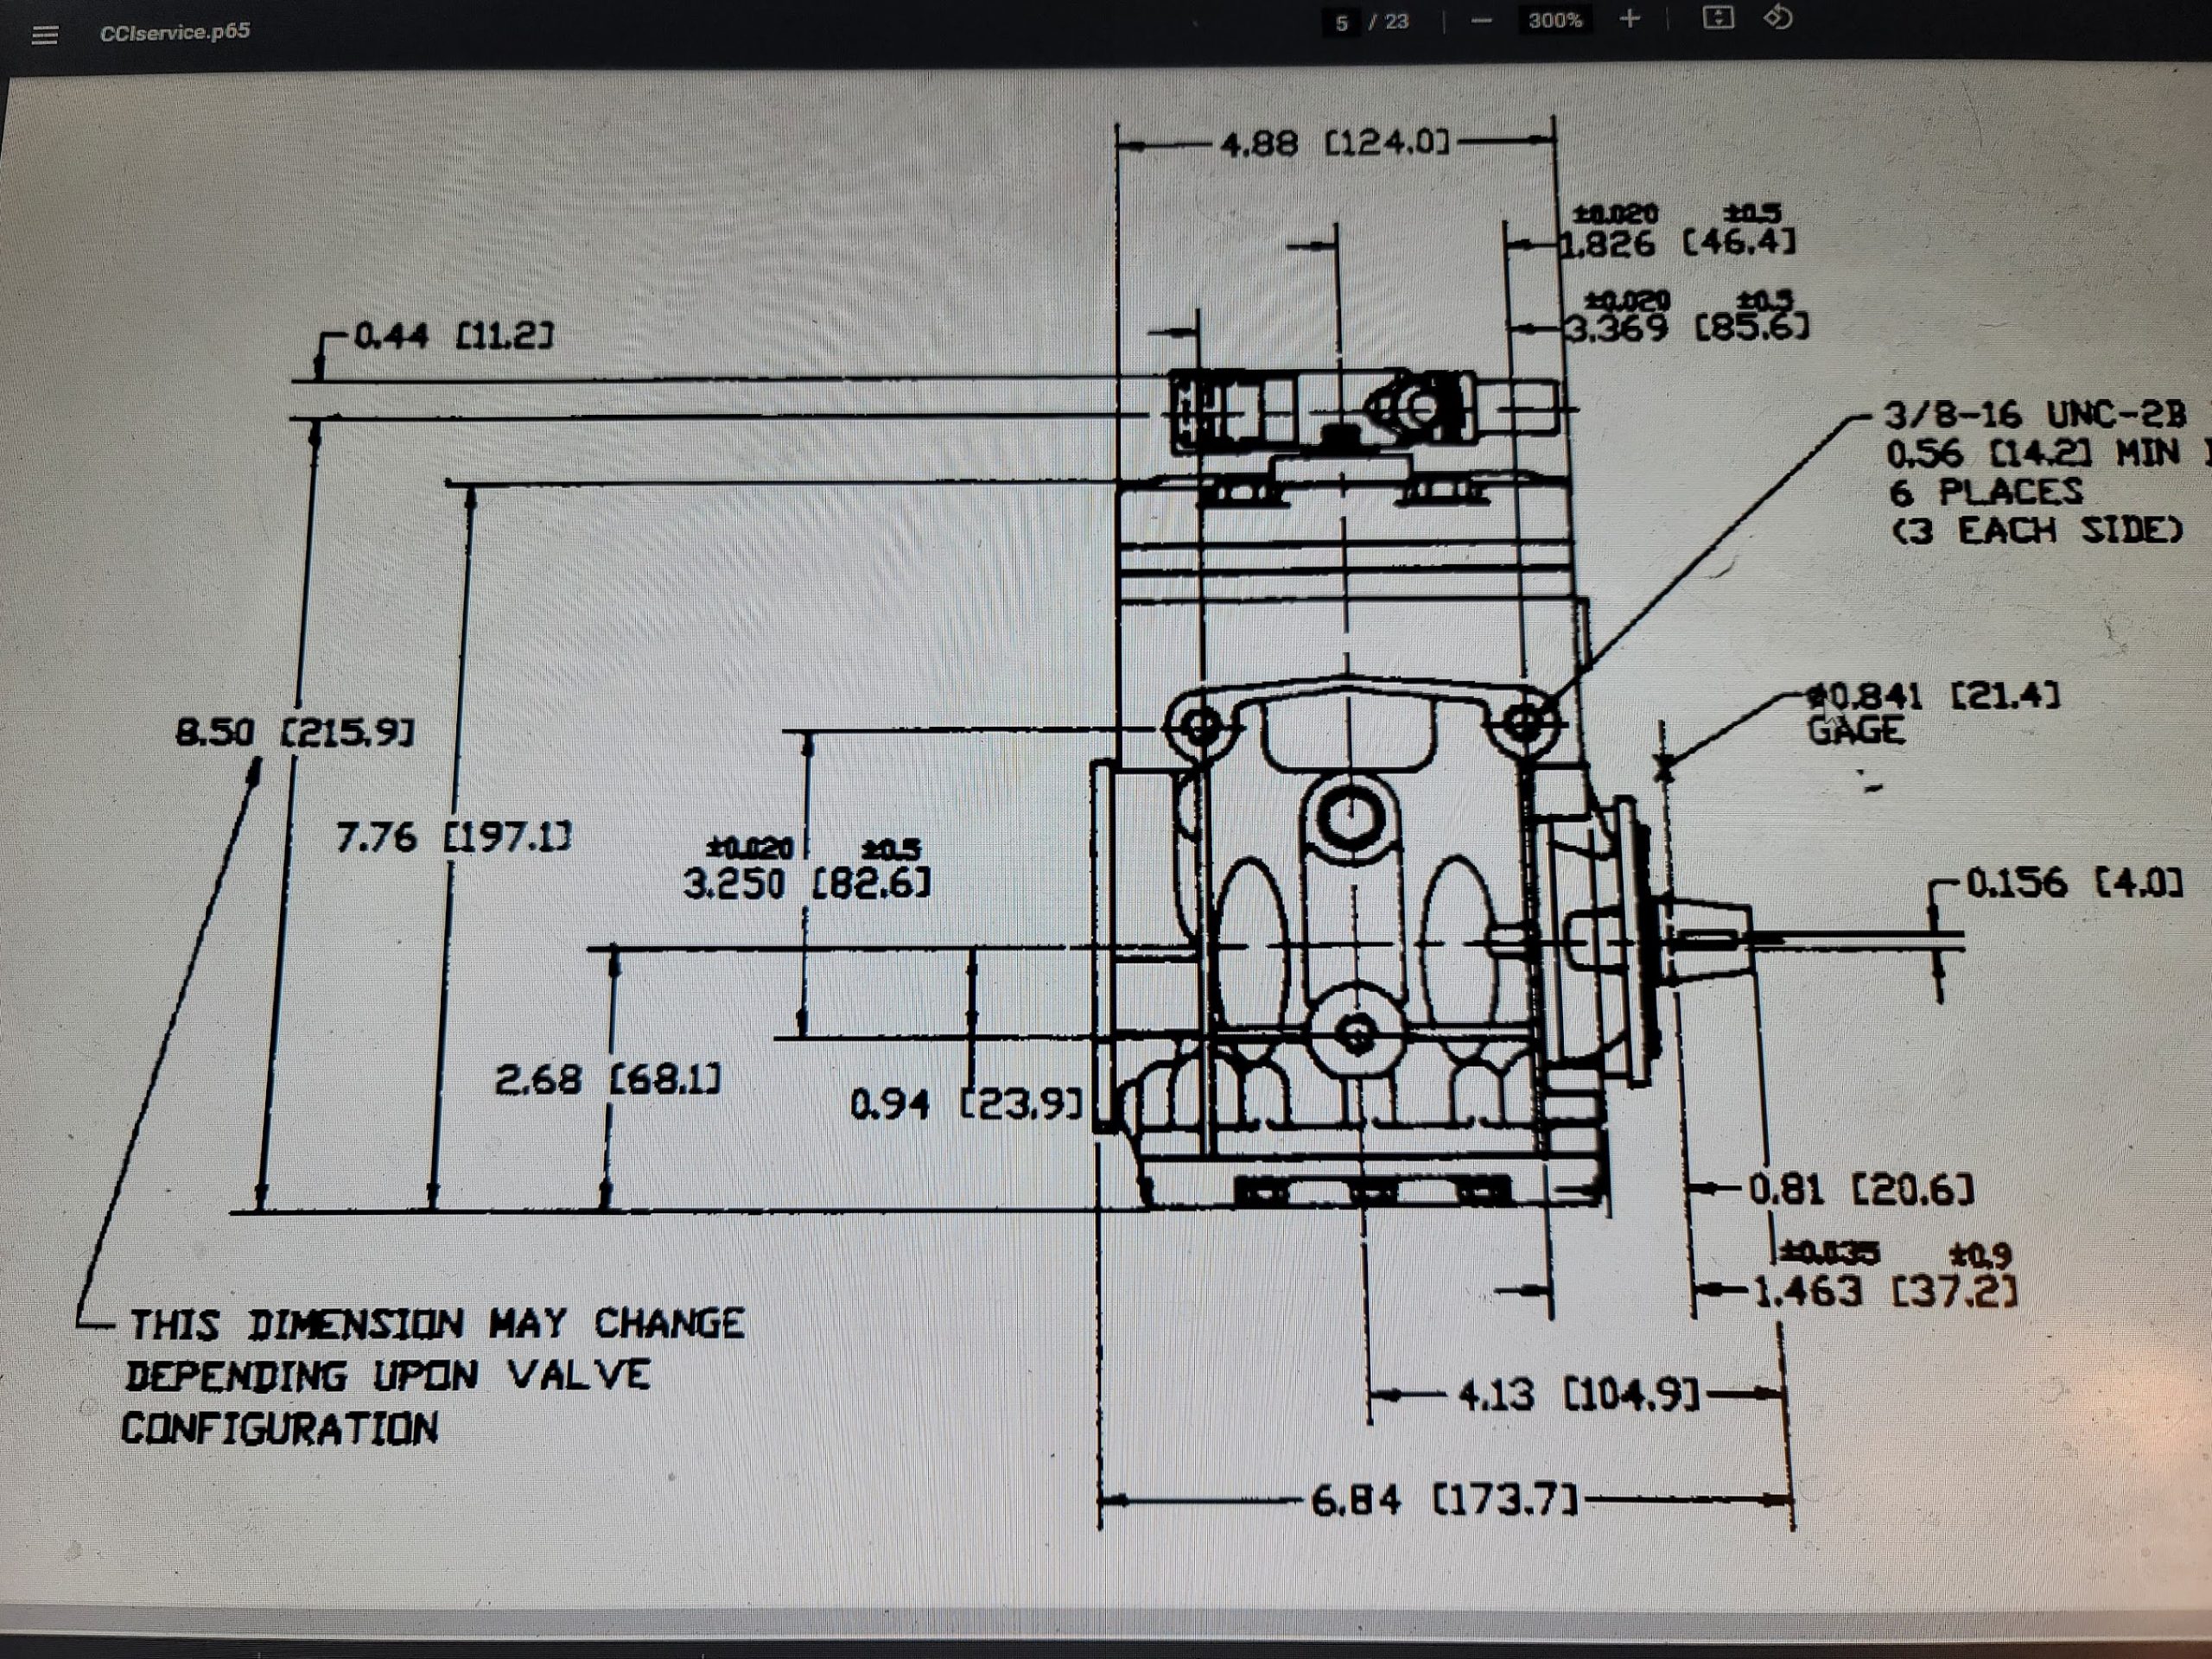
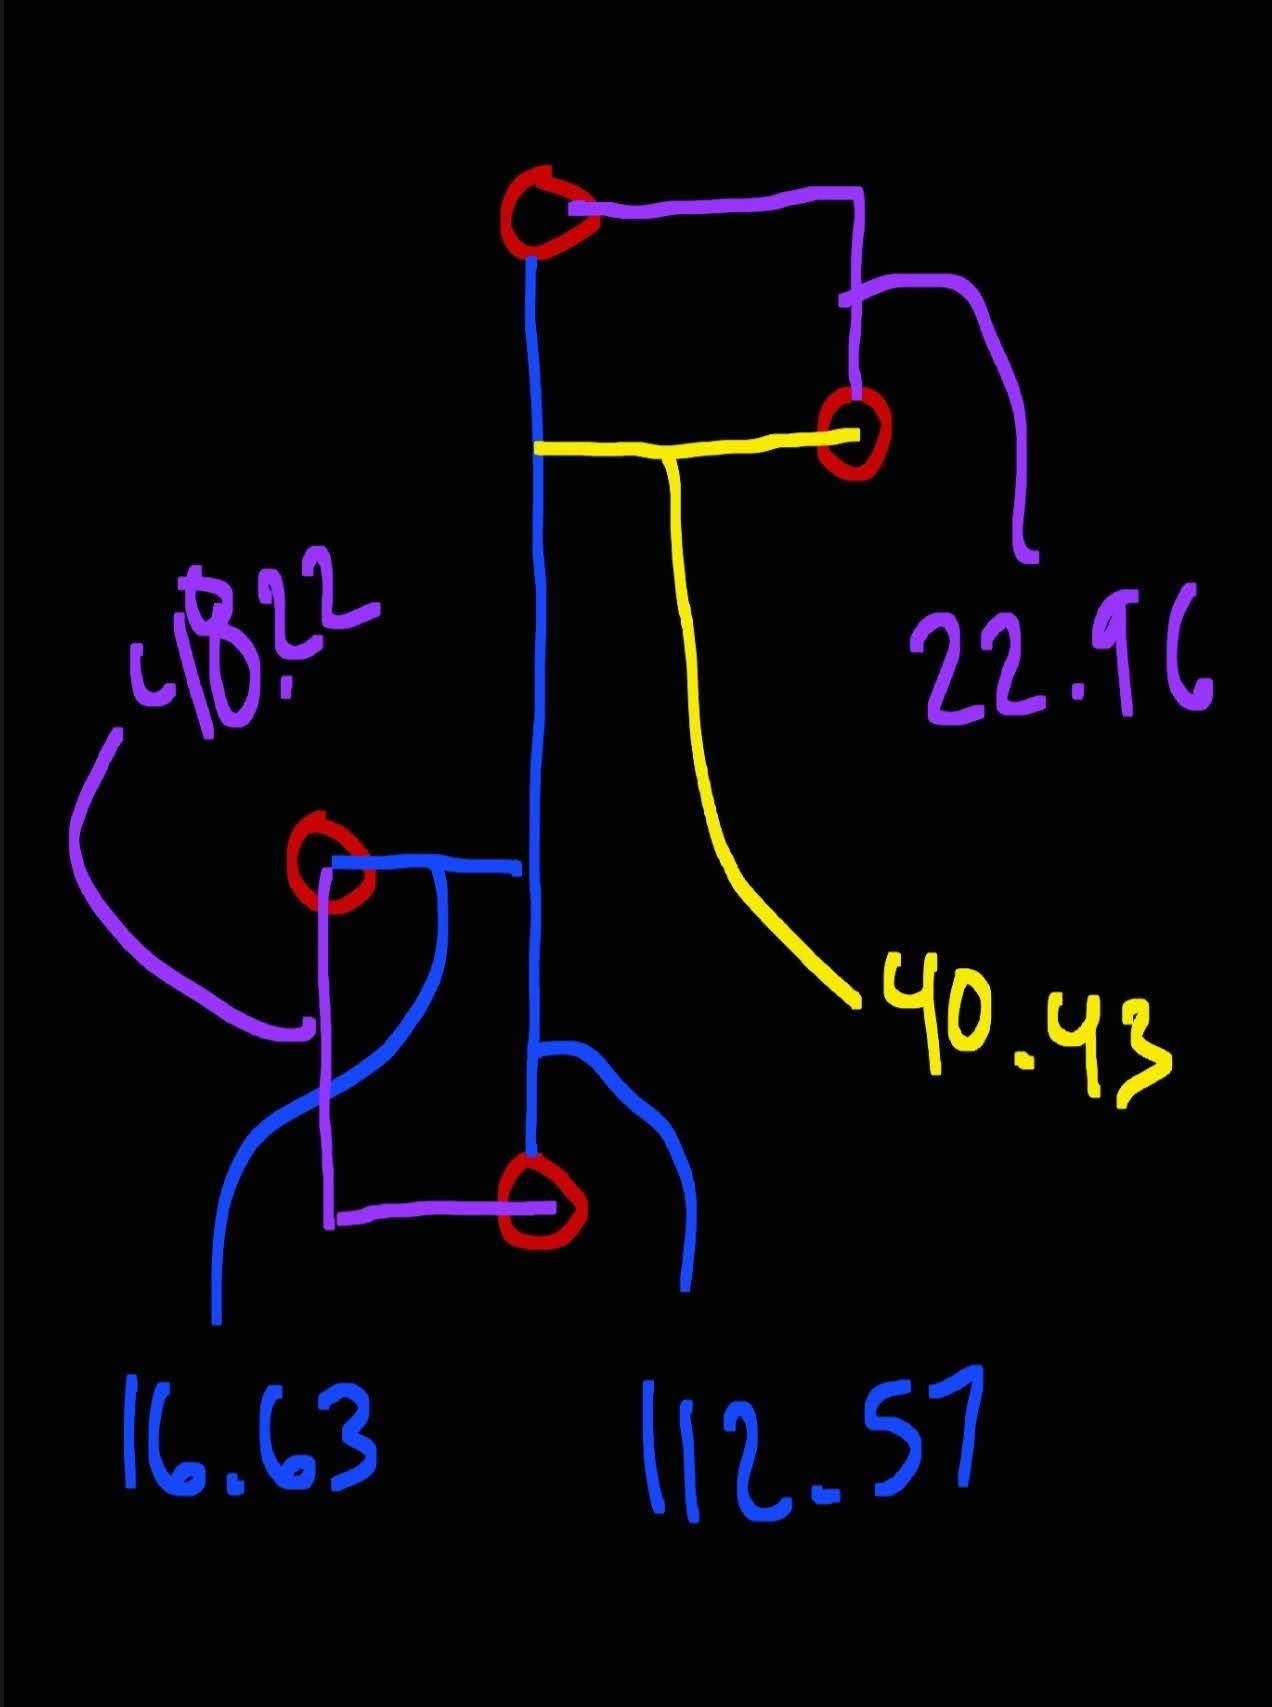
Step one, was to get everything where it needed to be, I can now take a ton of measurements and figuring out the Pontiac hole spacing on the head is a fun adventure, I included the diagram above if needed for your project.
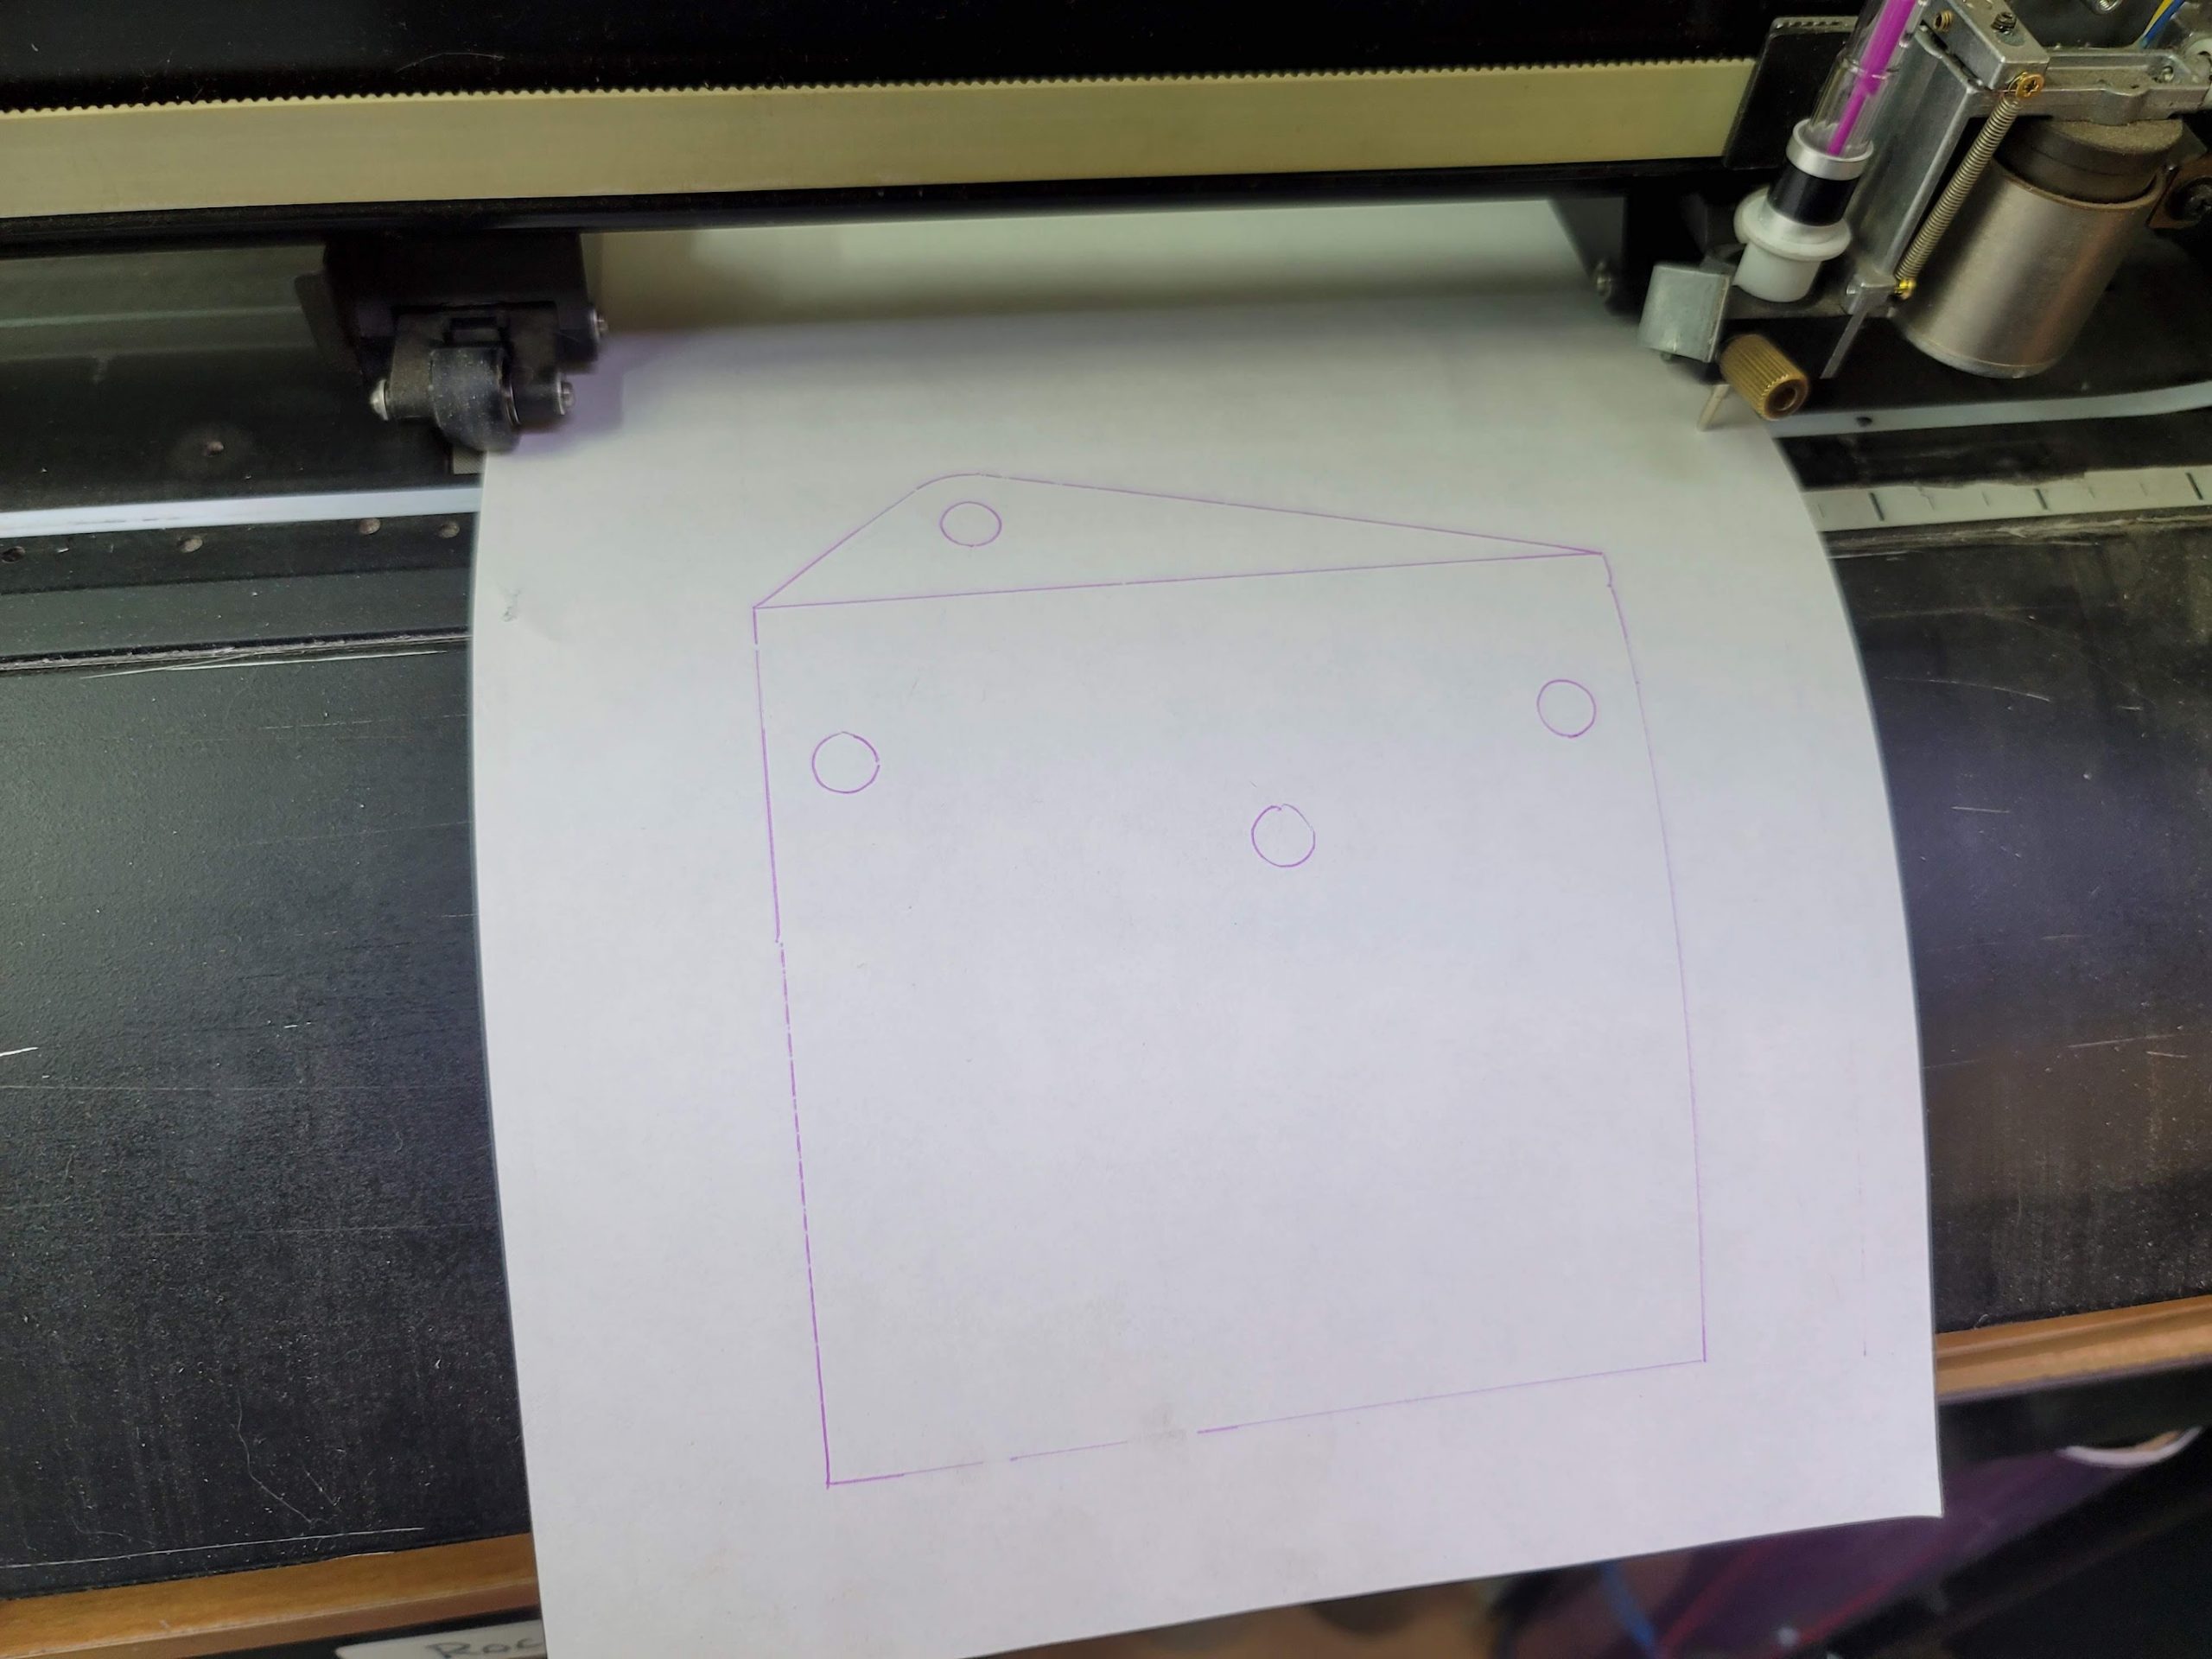
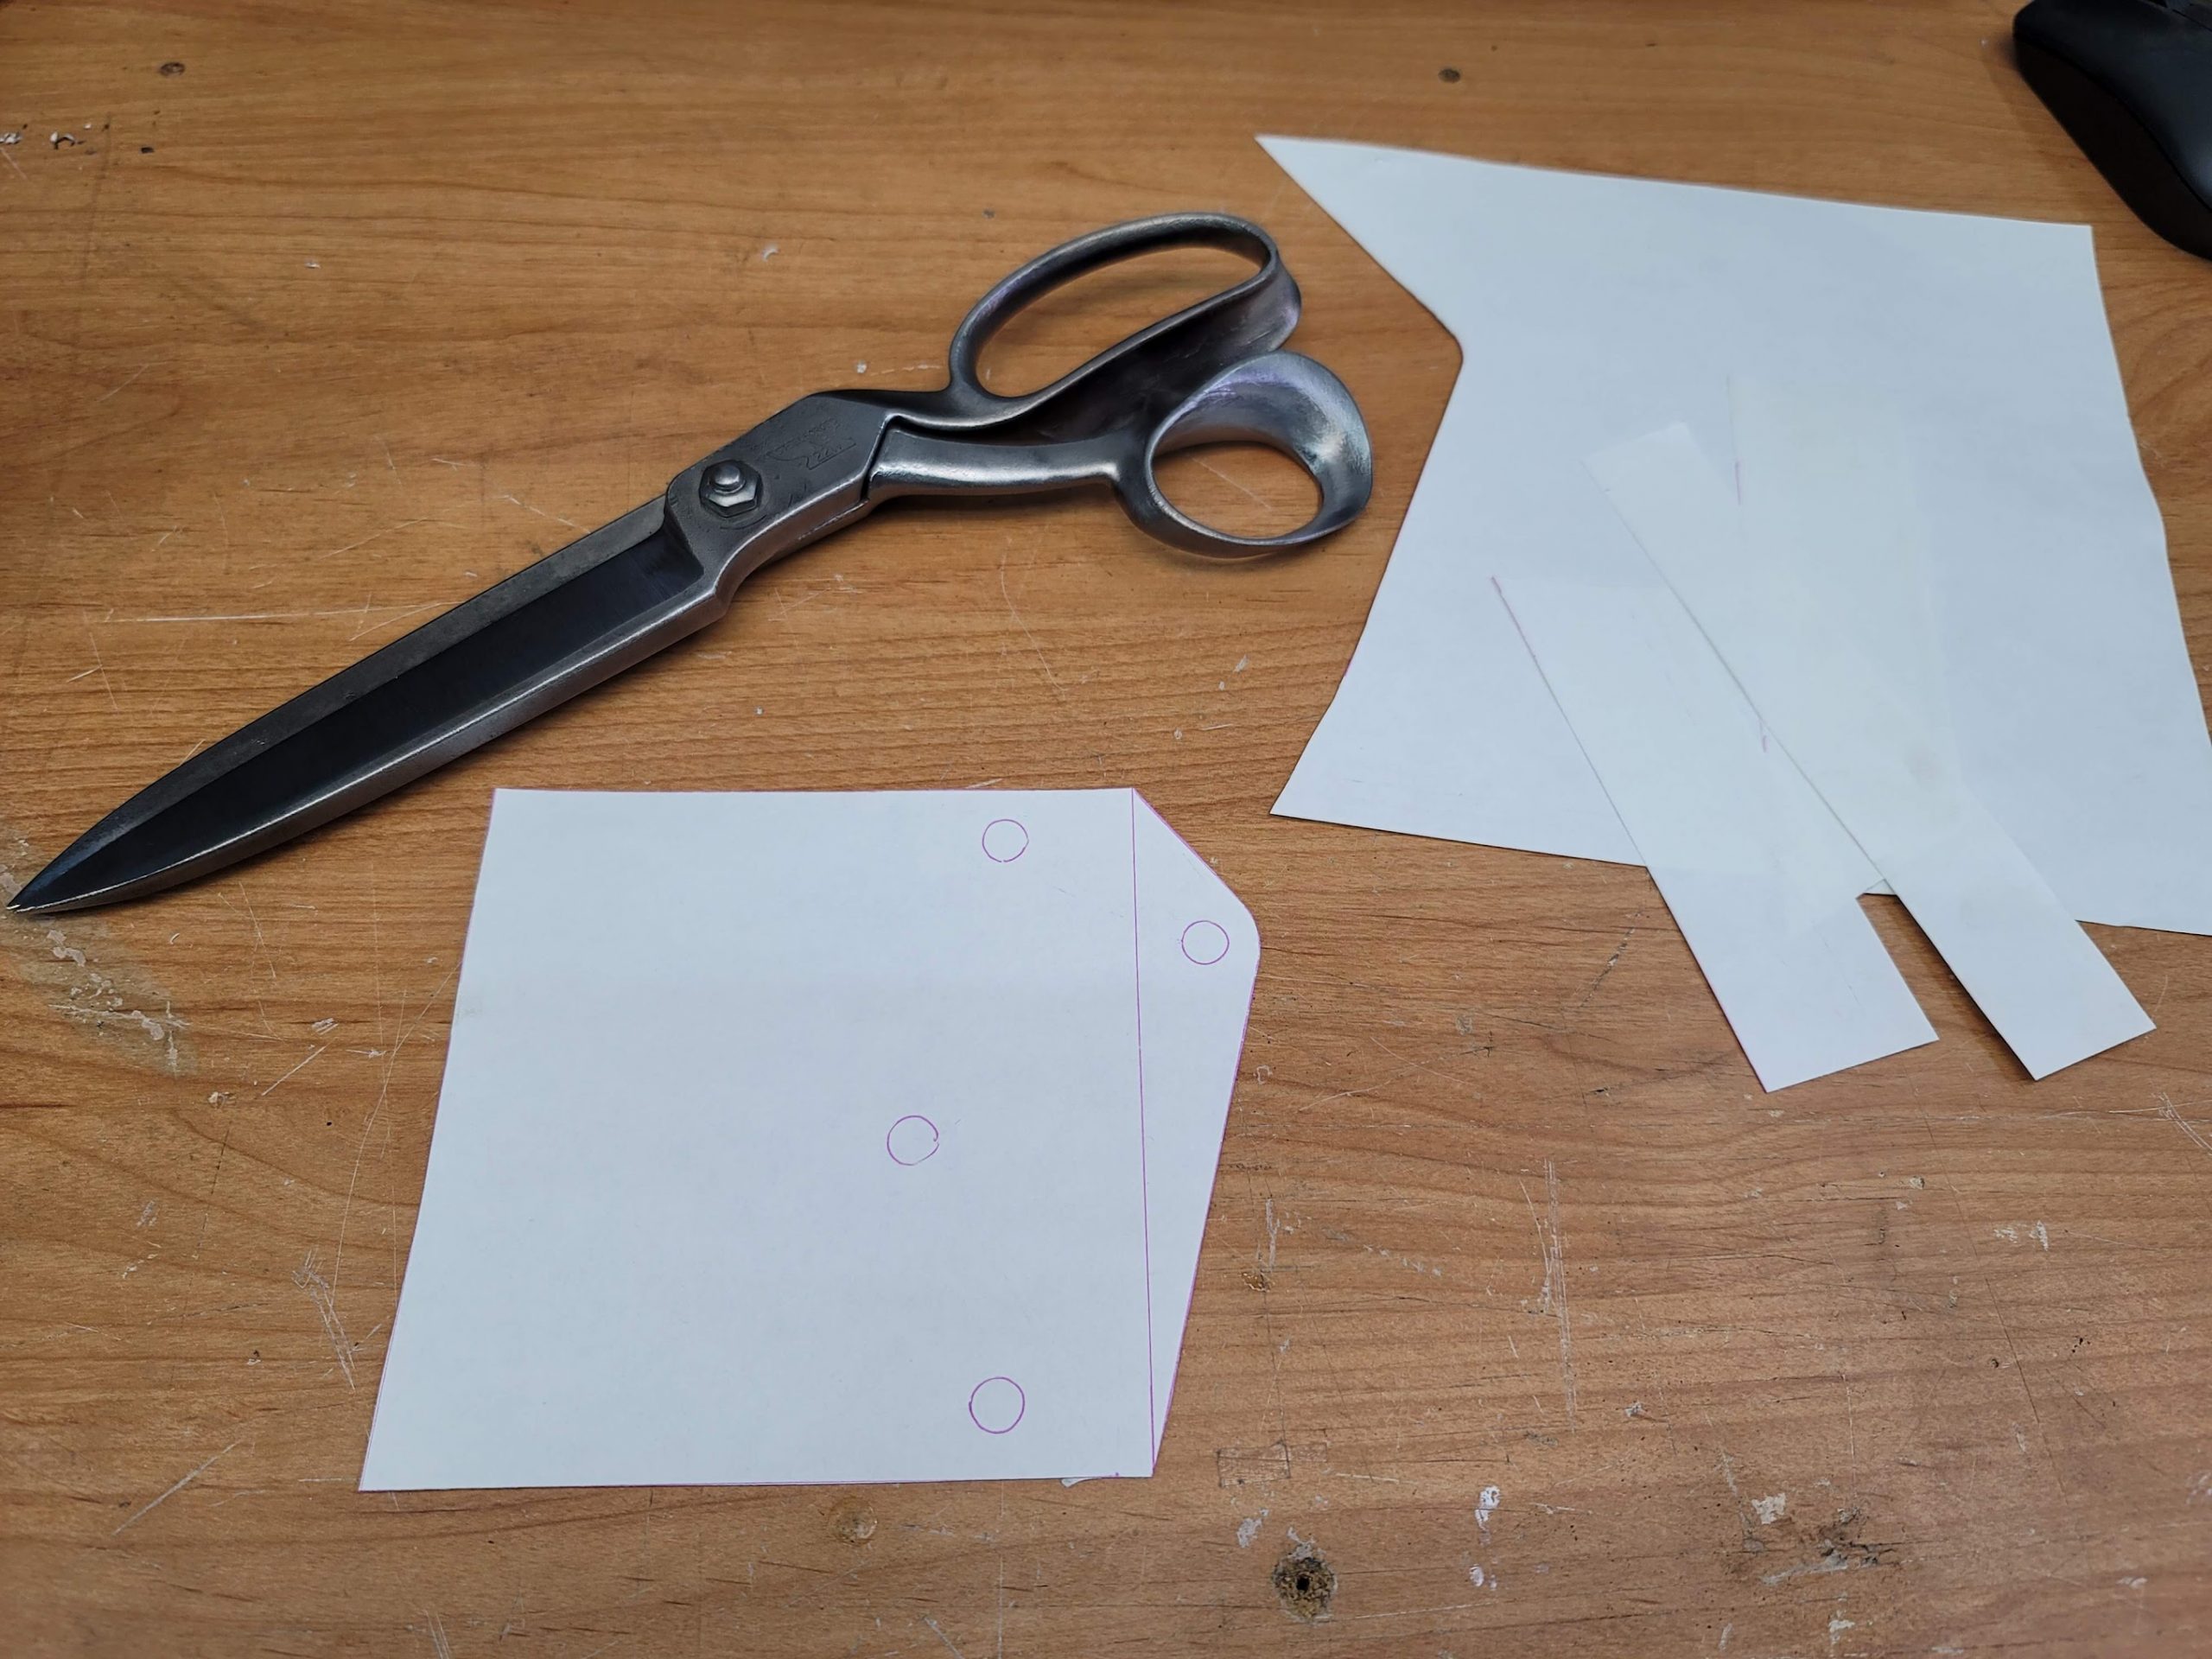
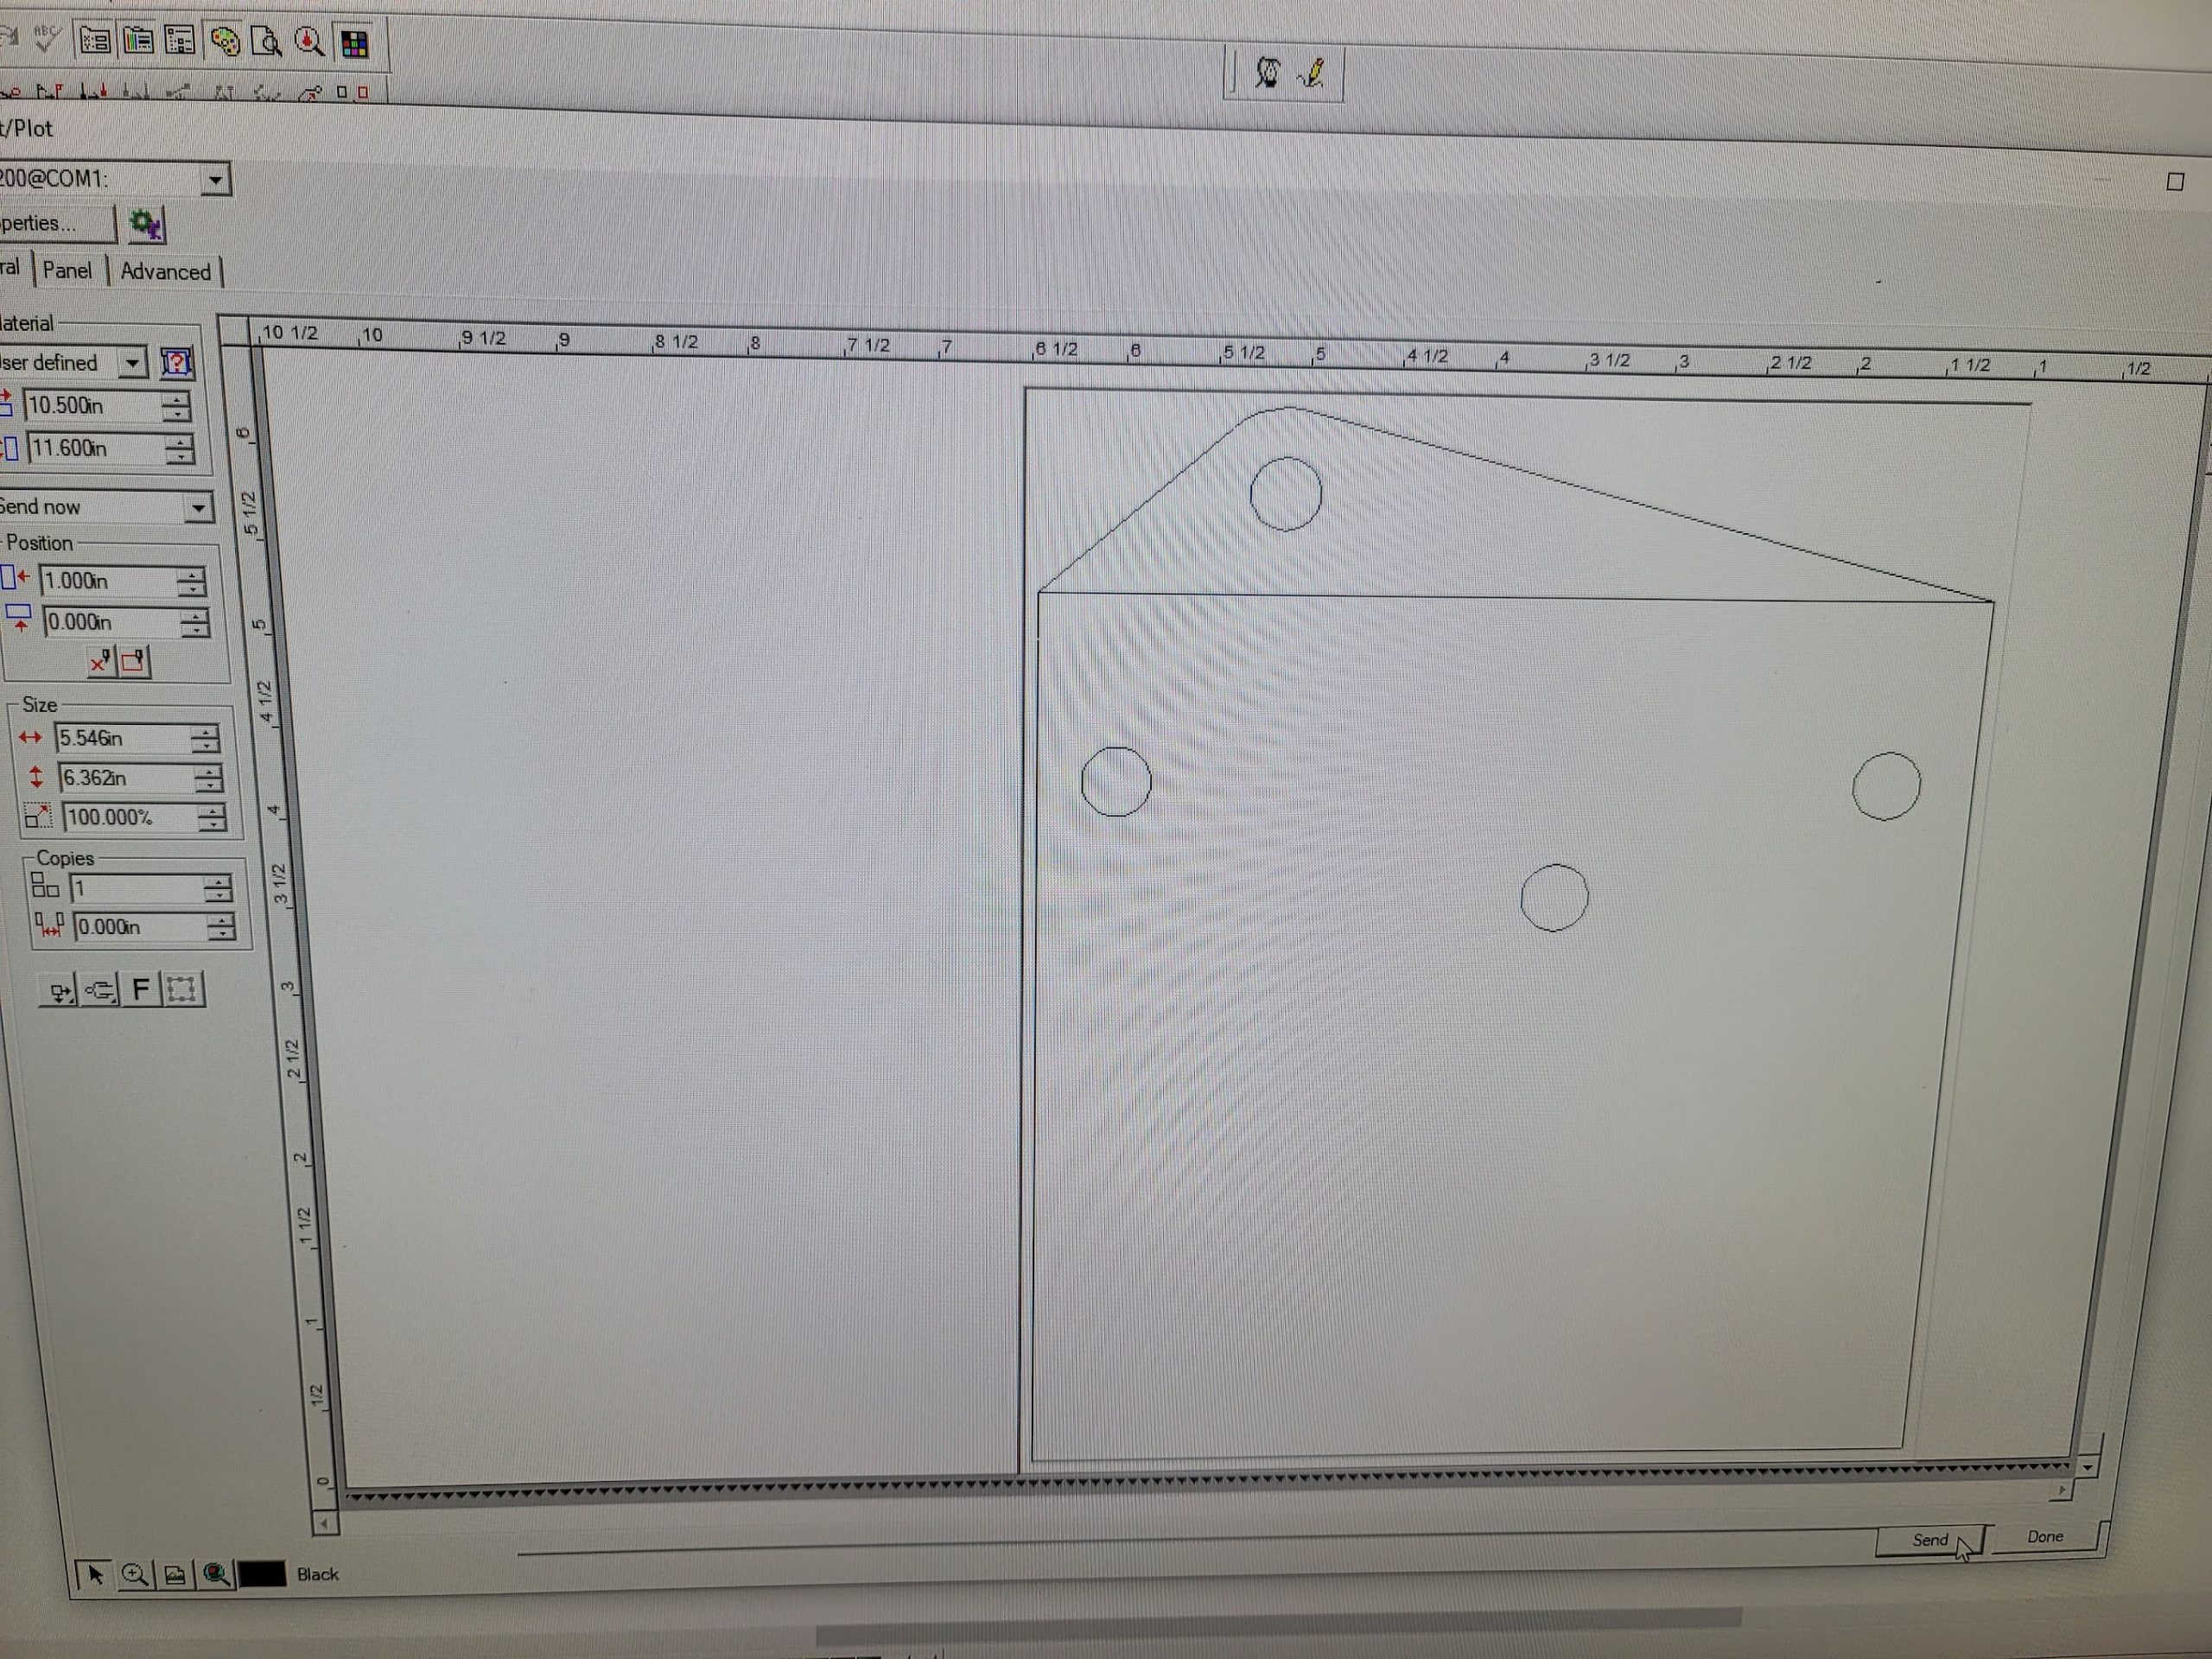
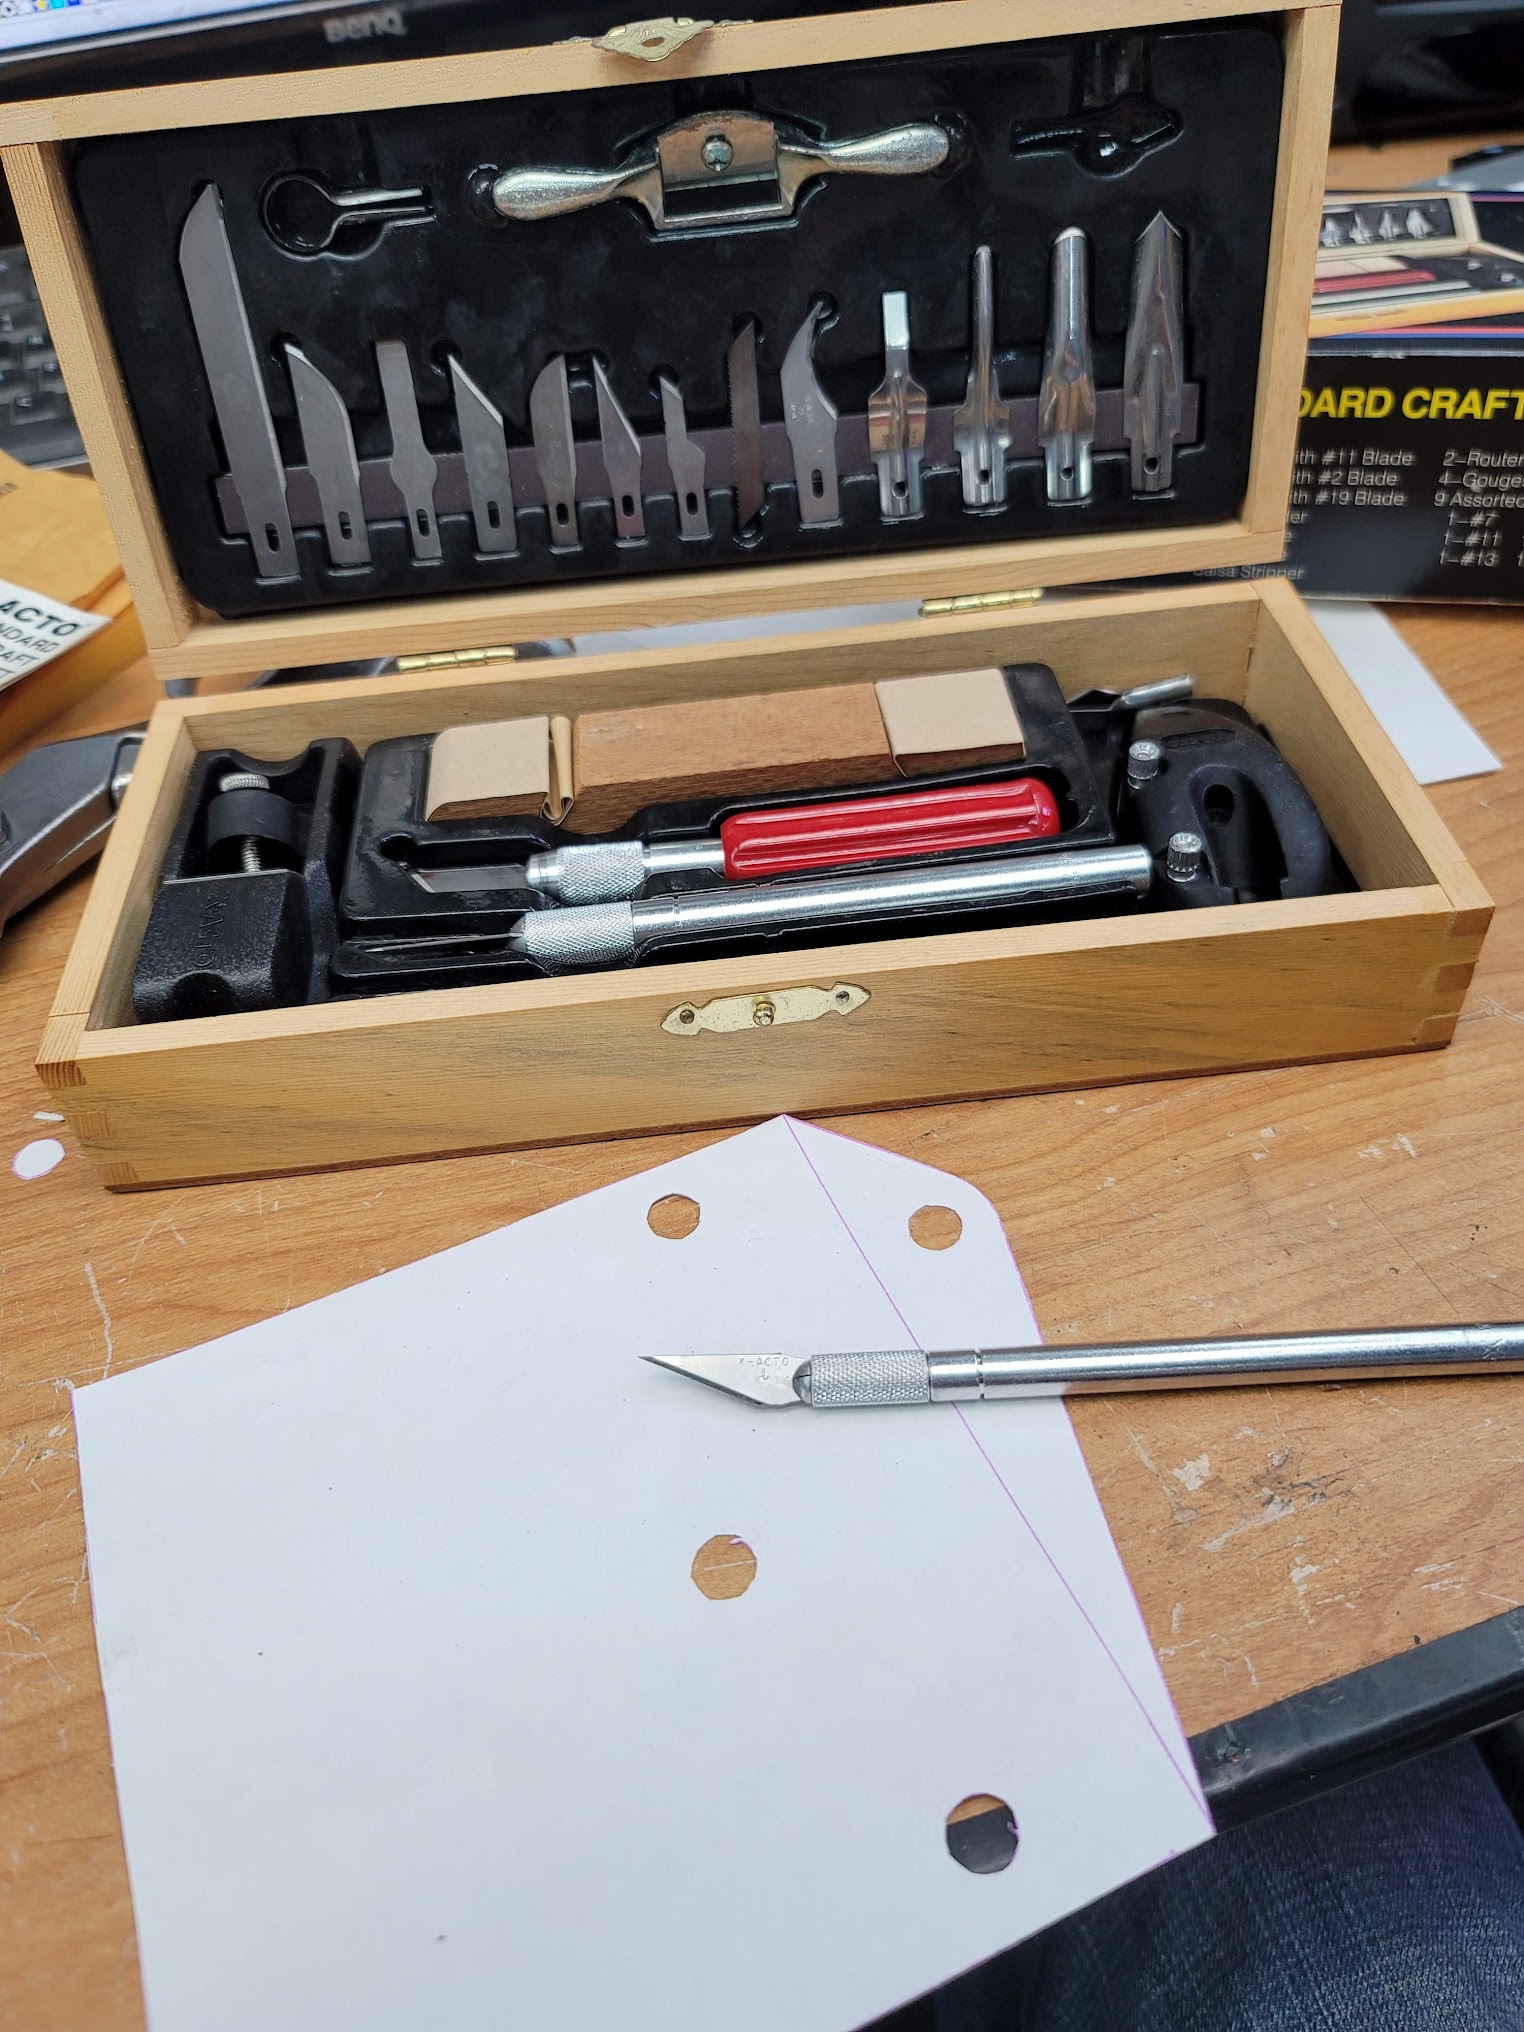
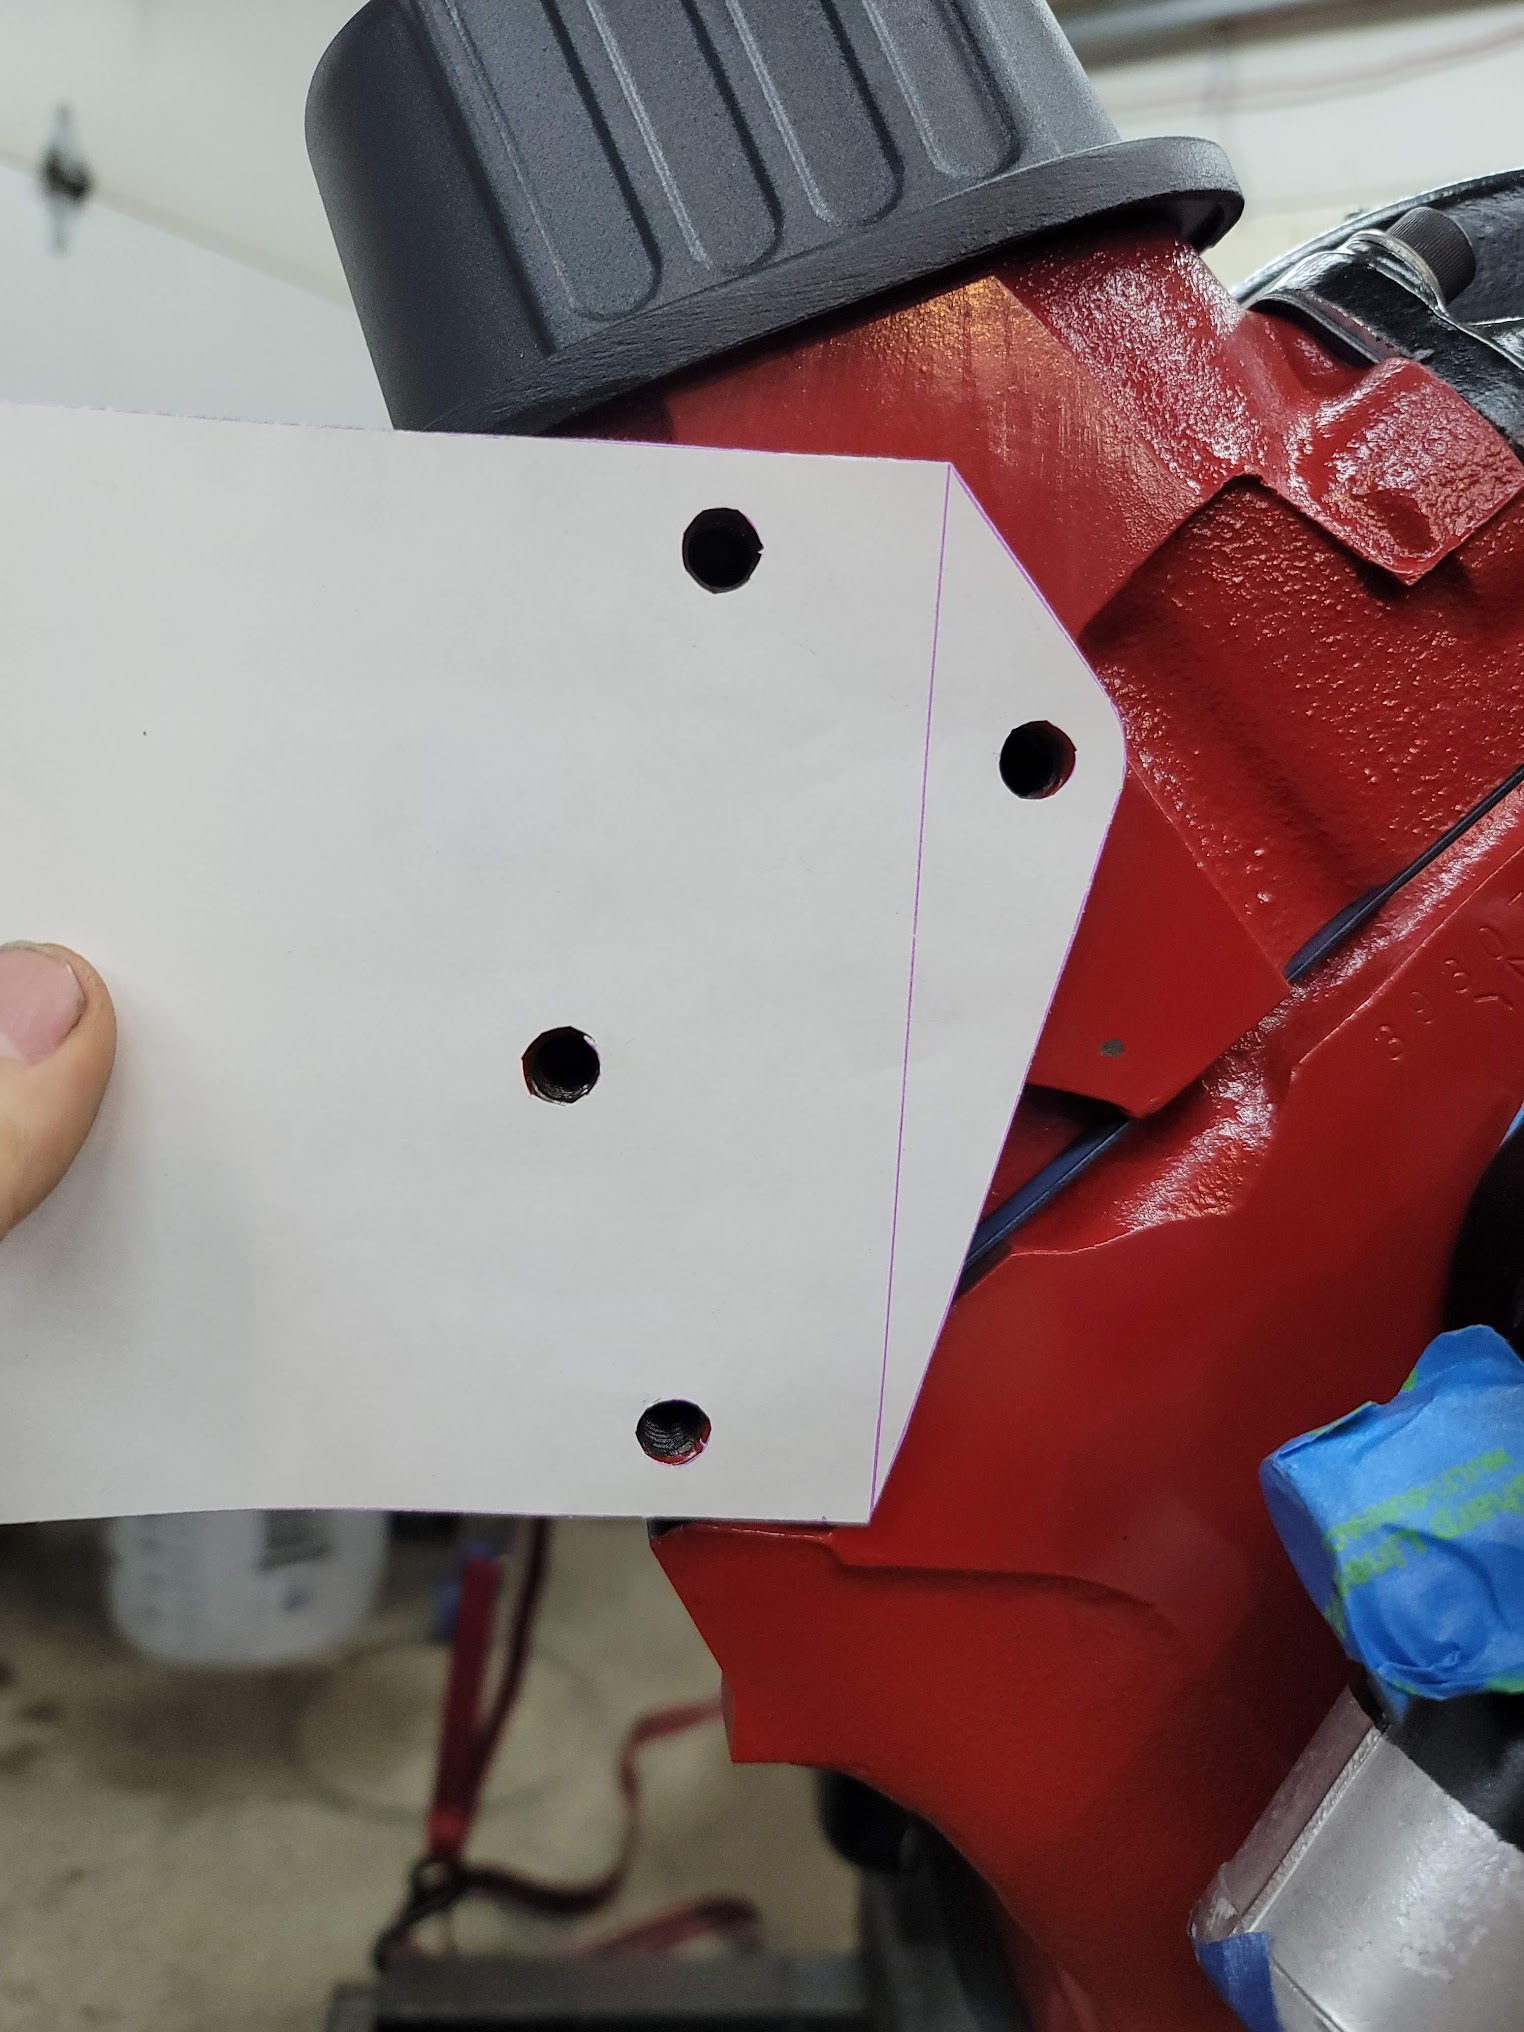

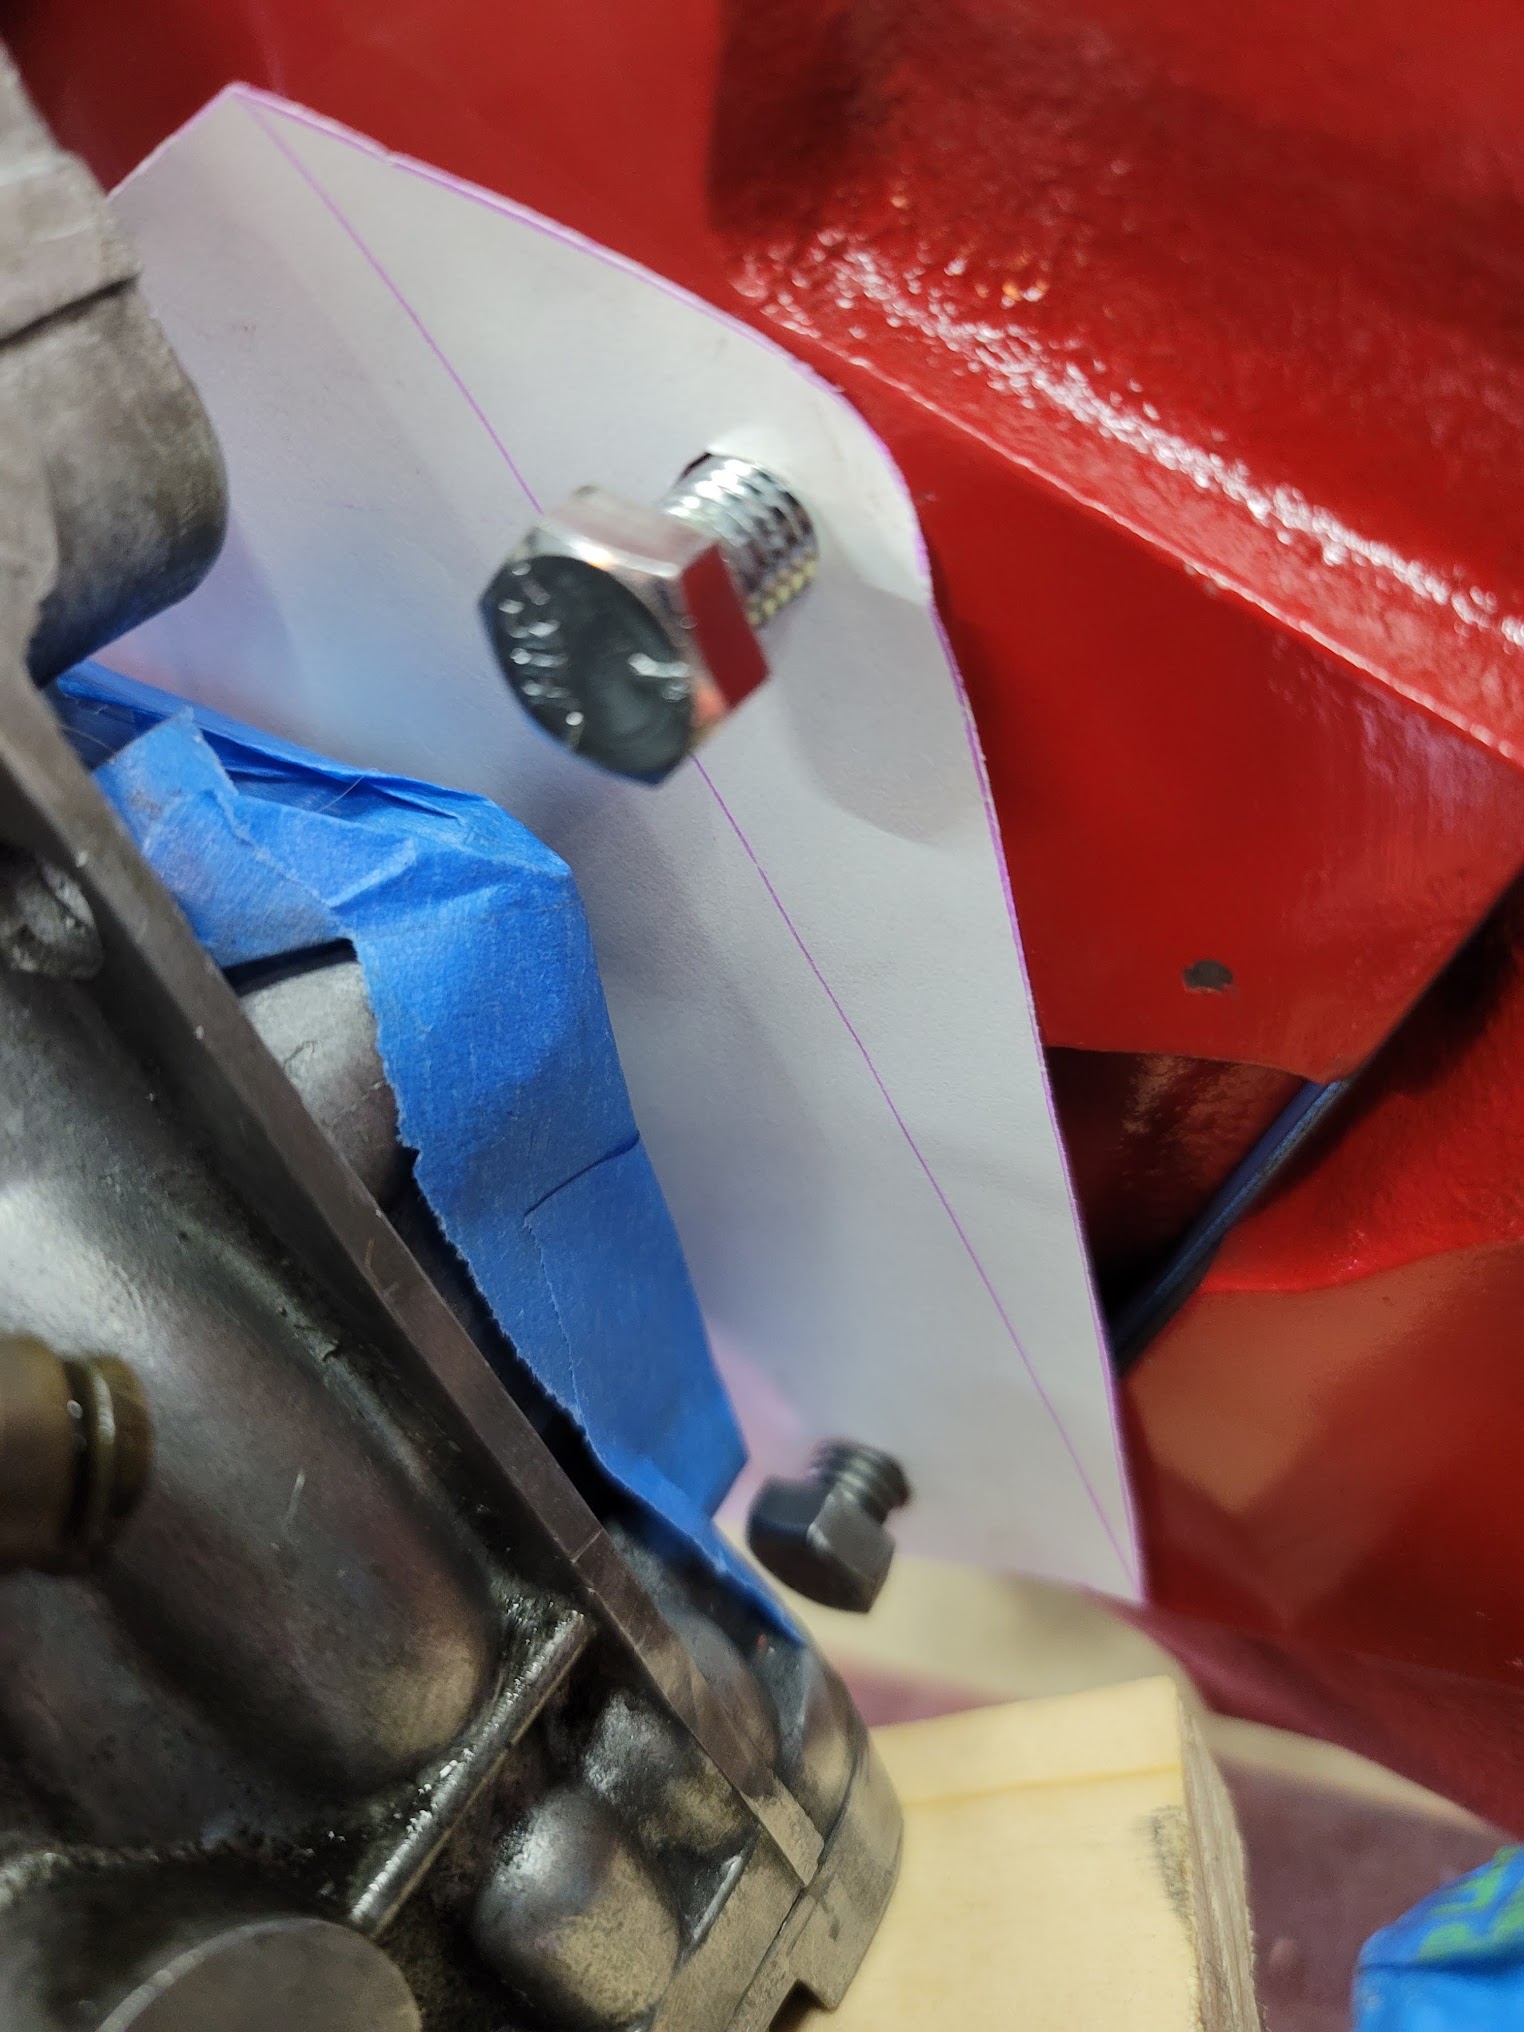
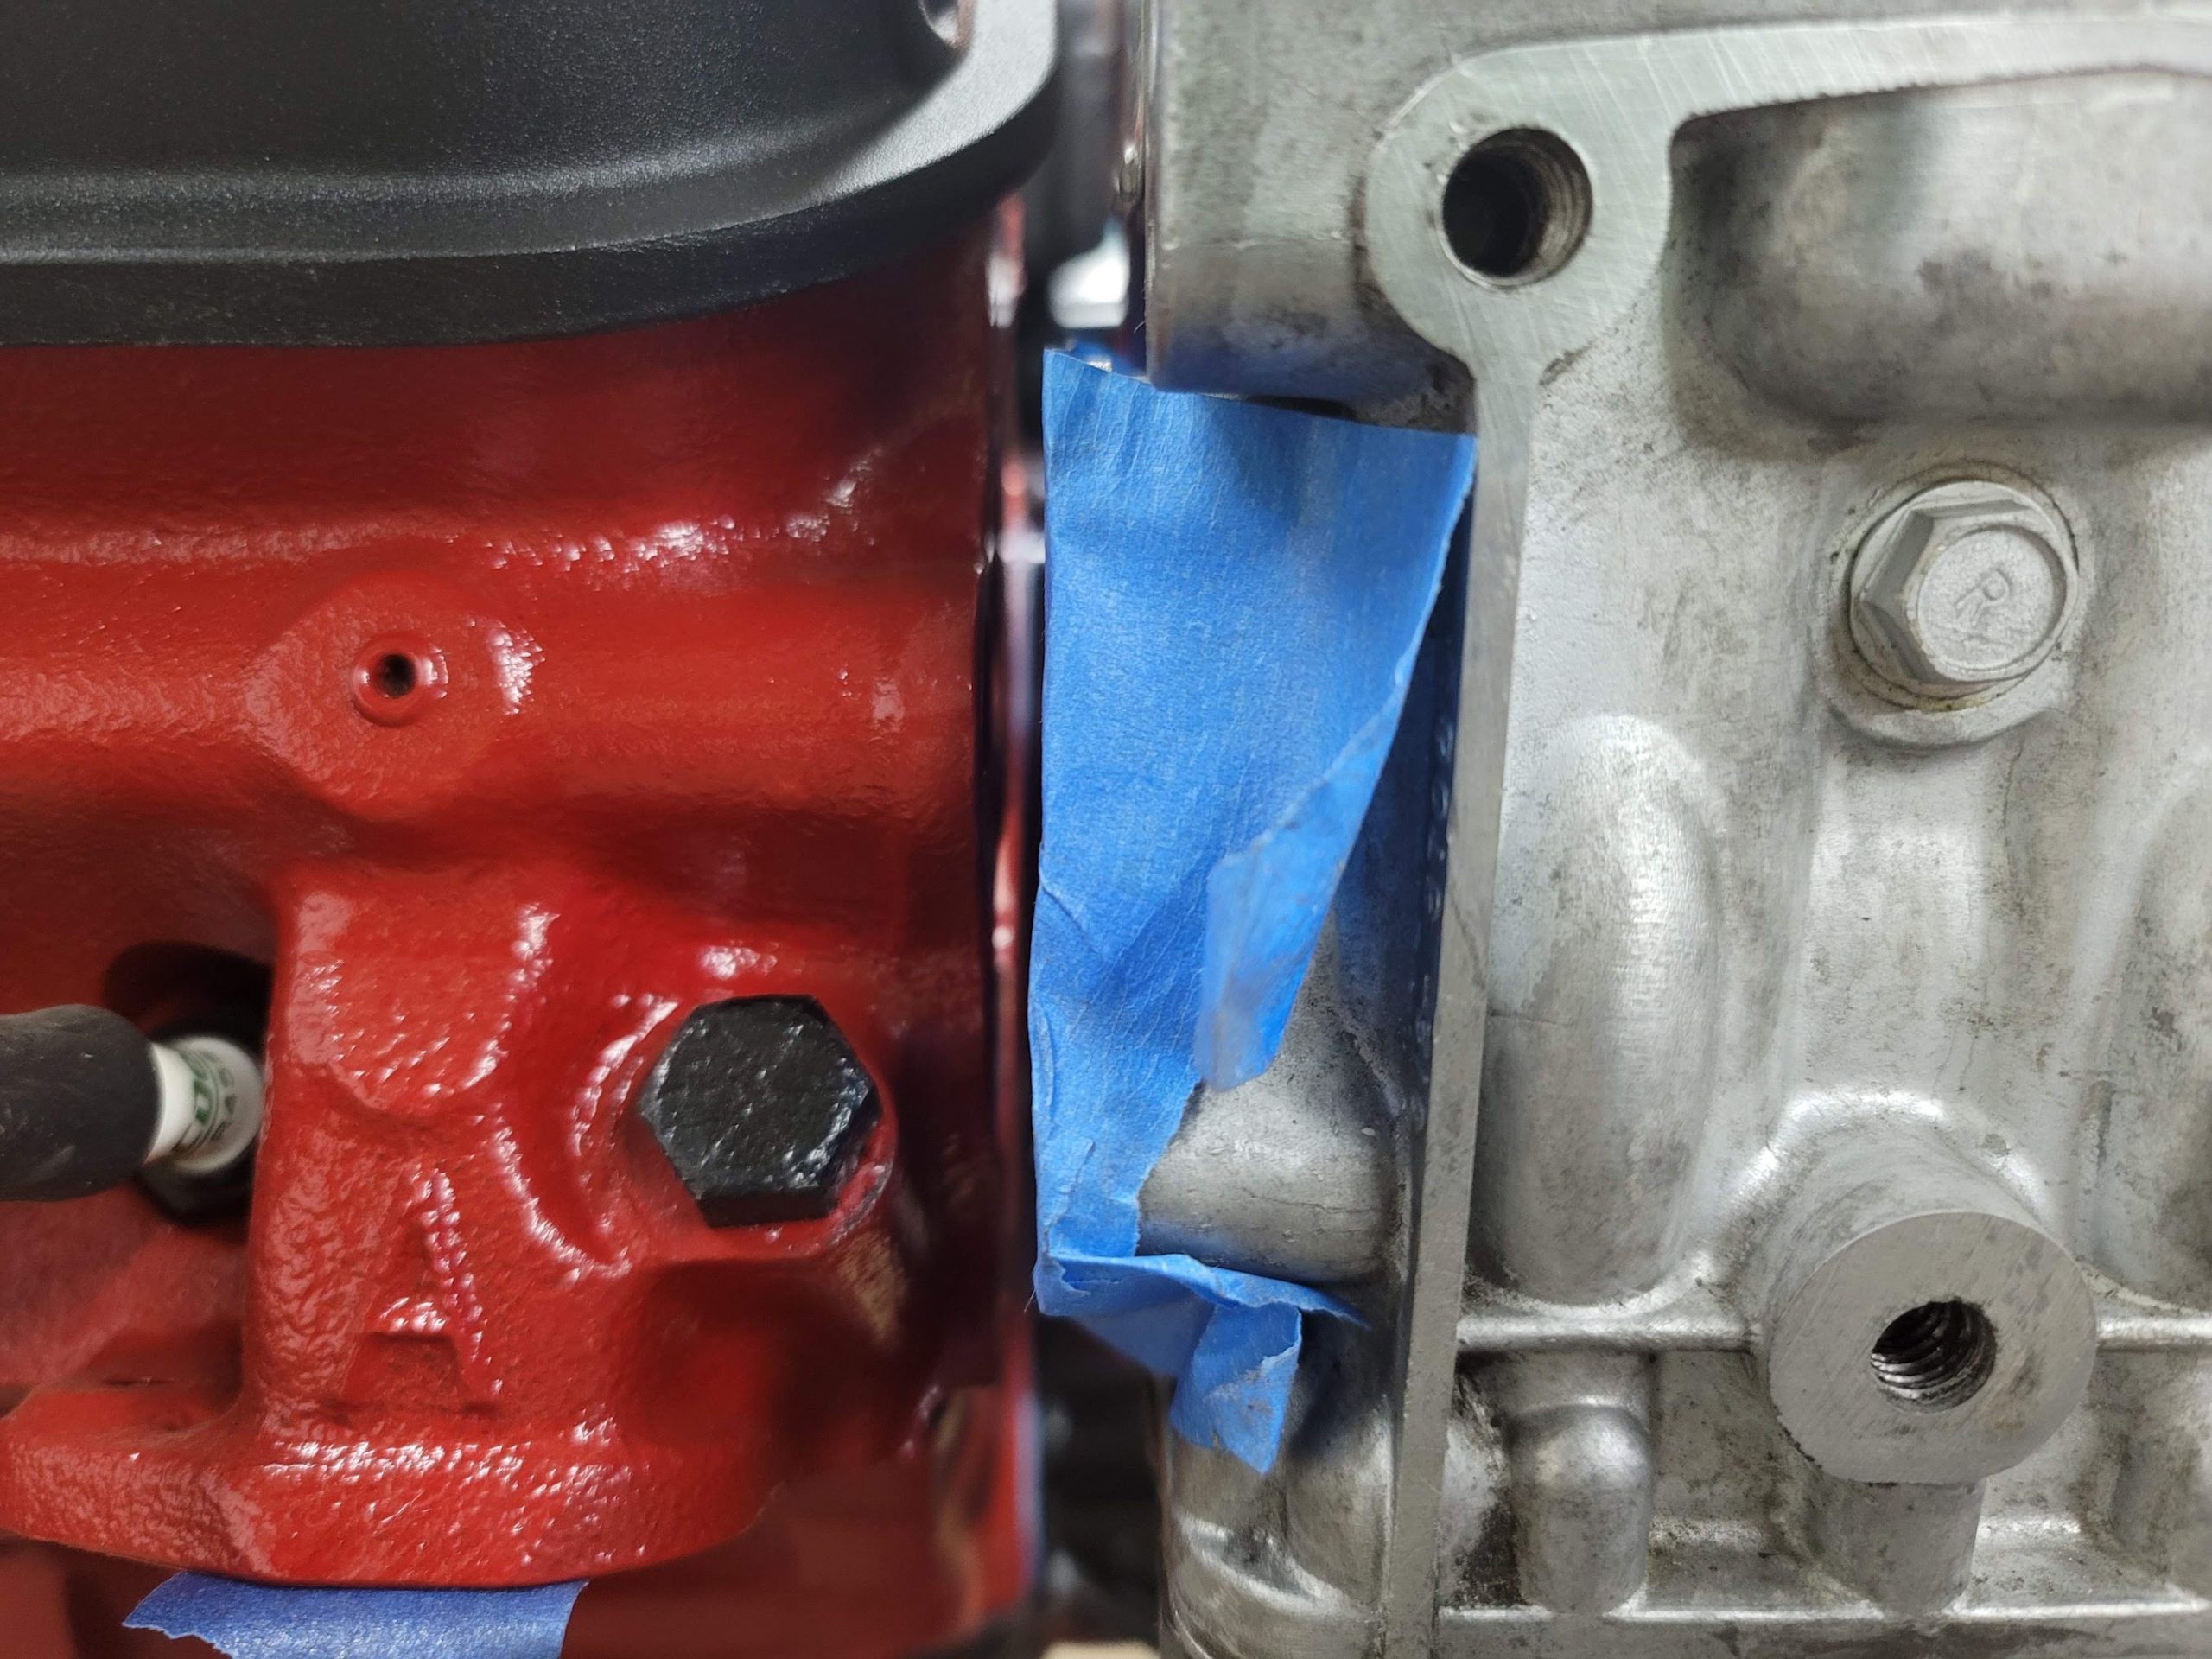
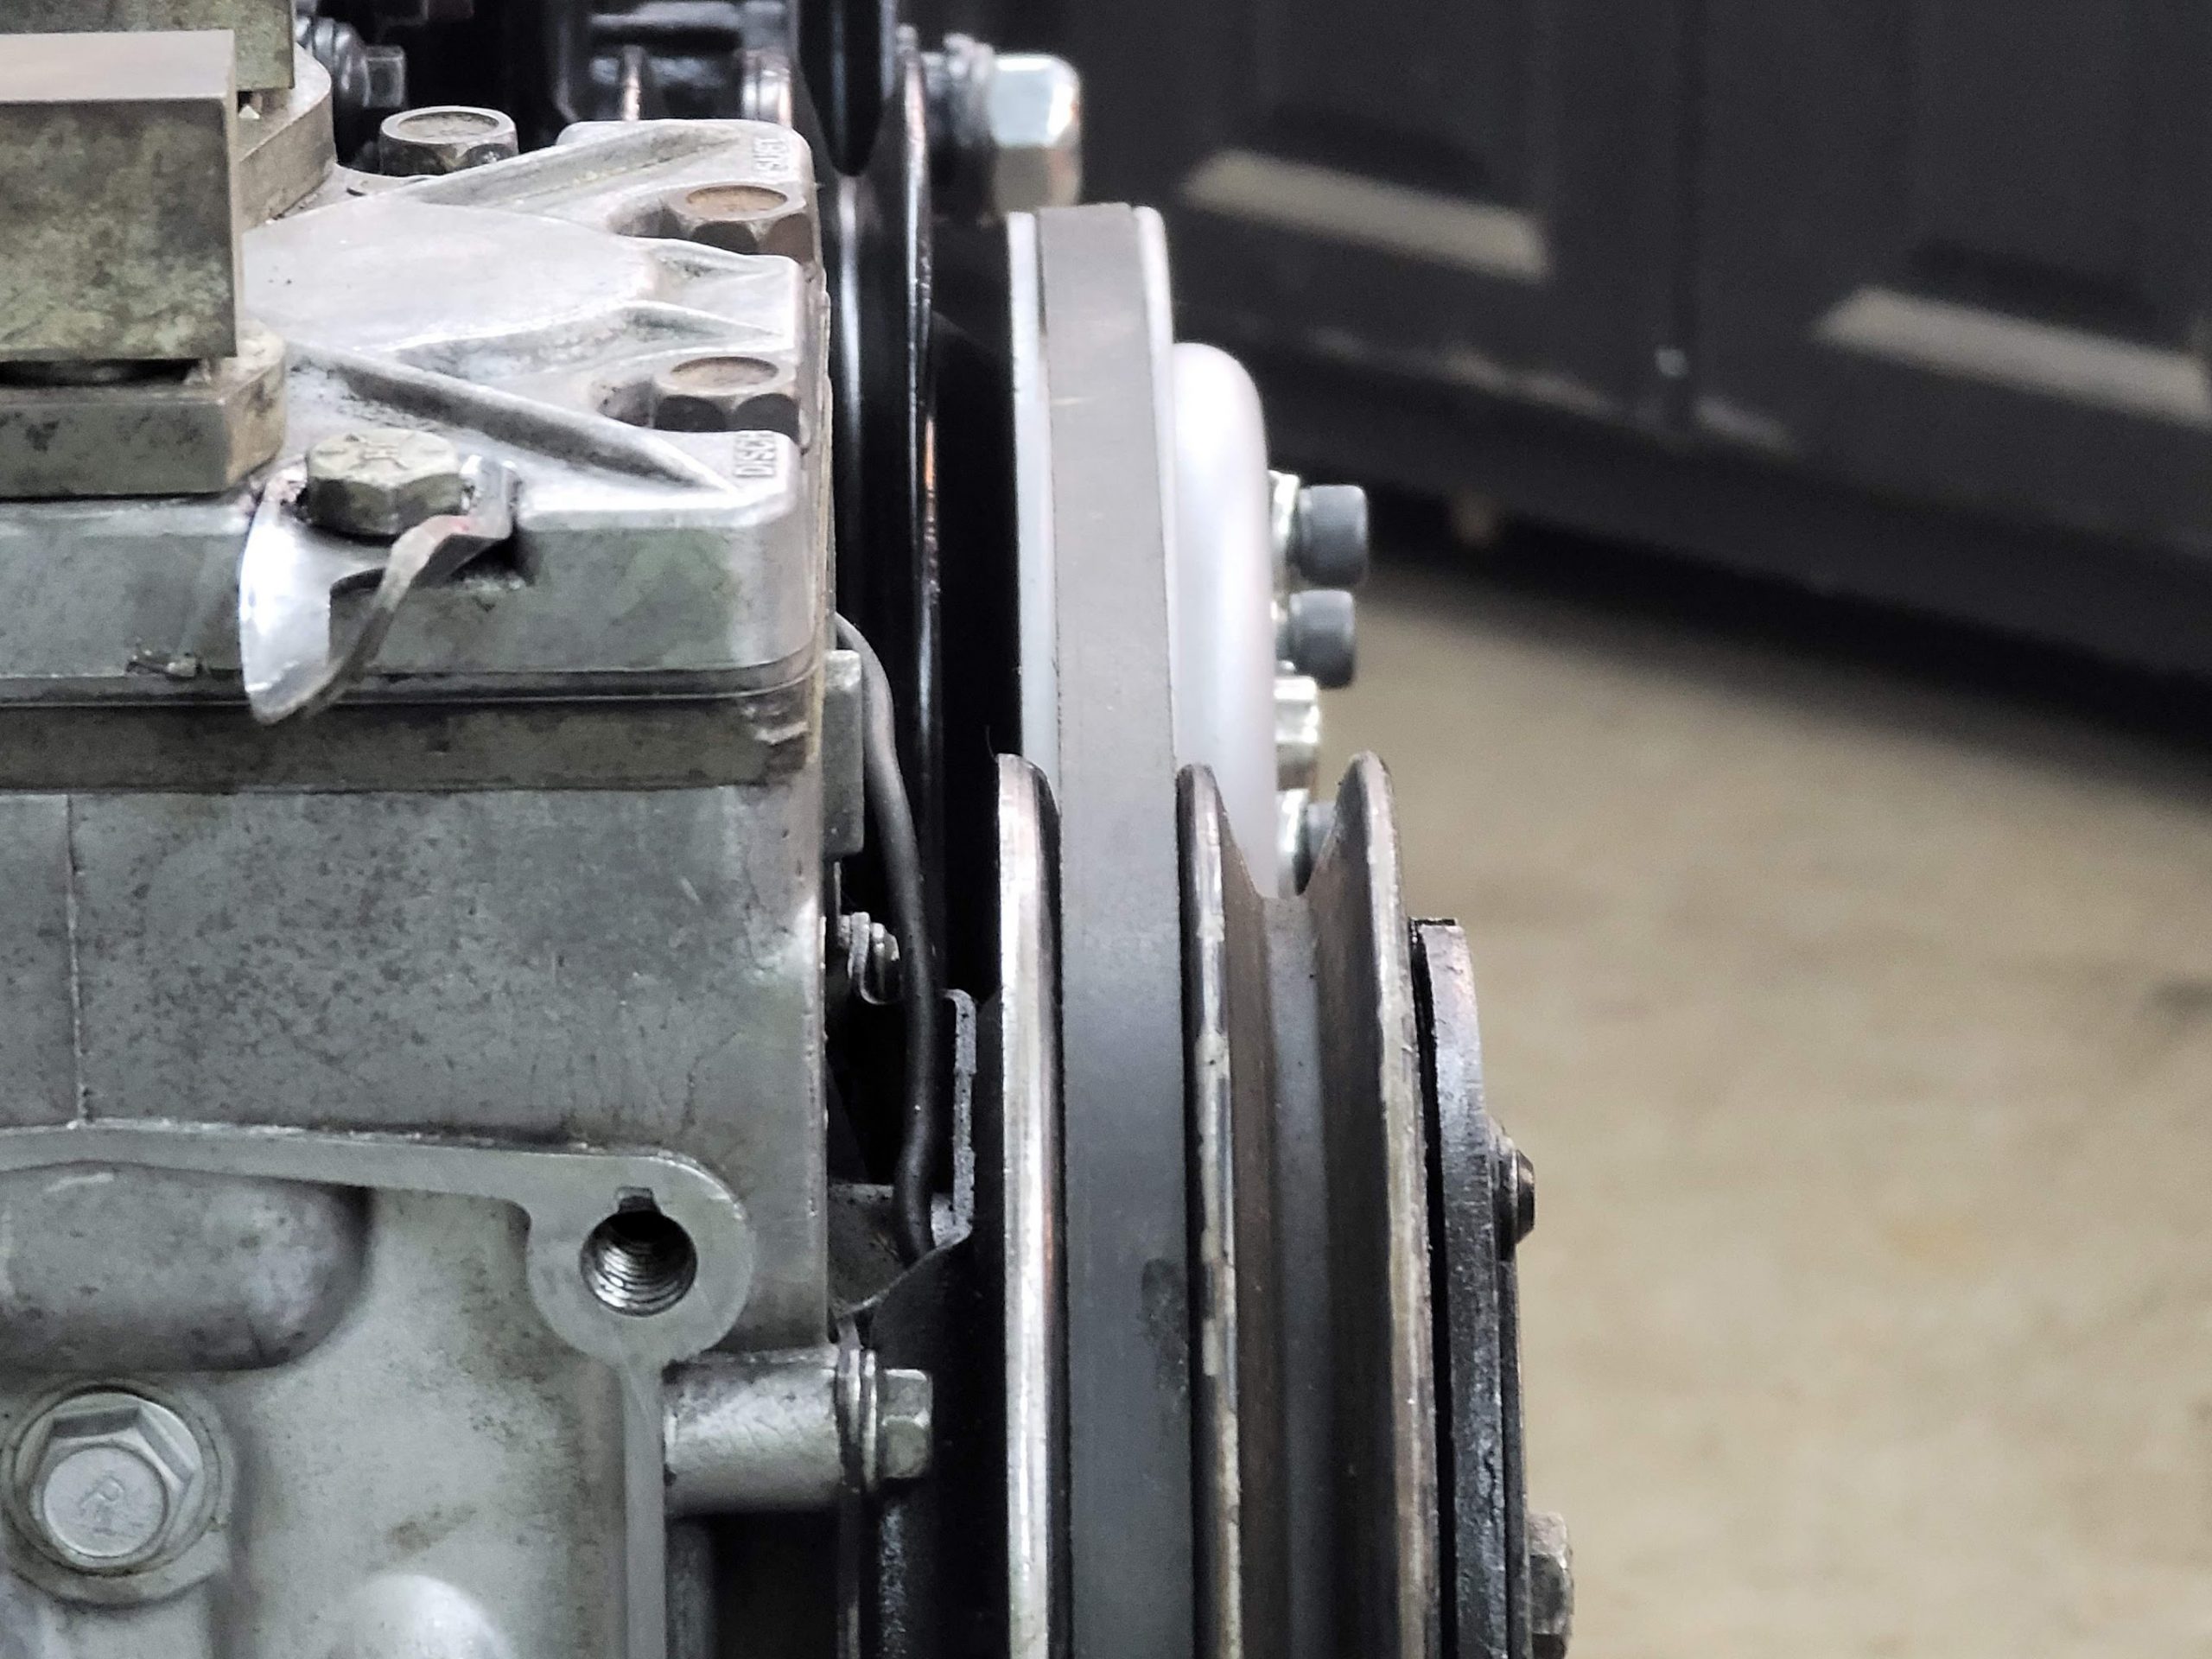
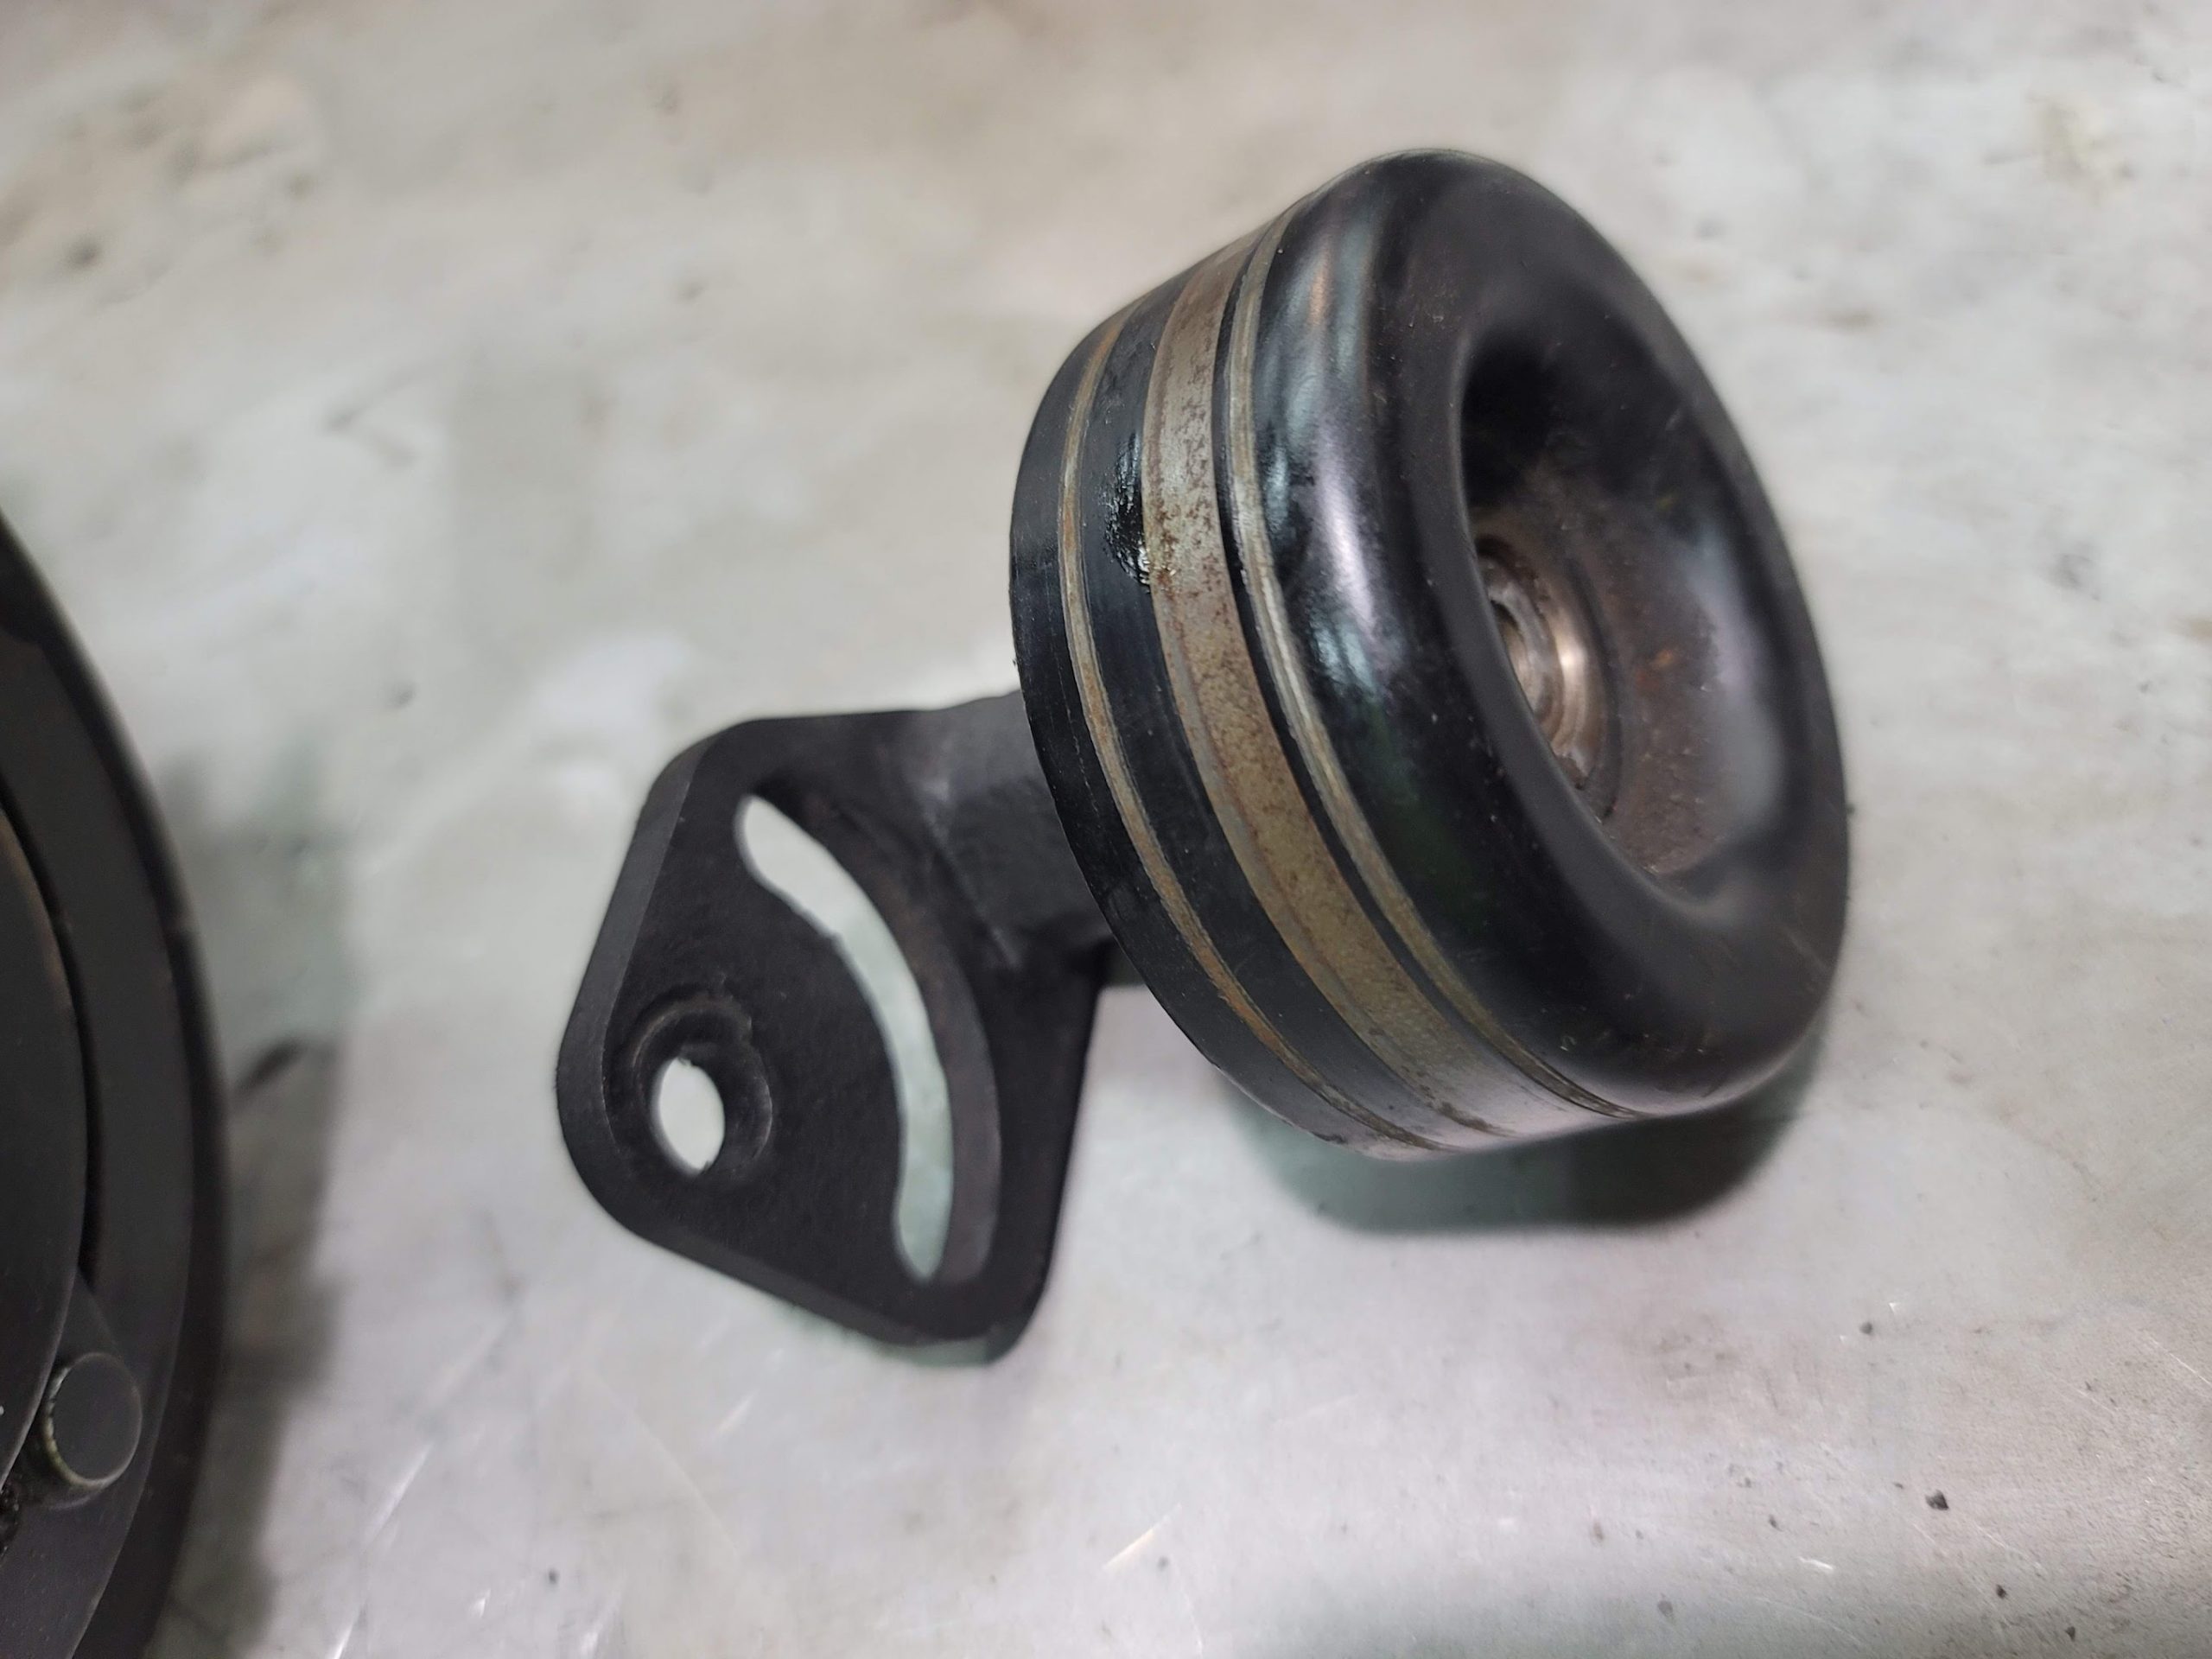
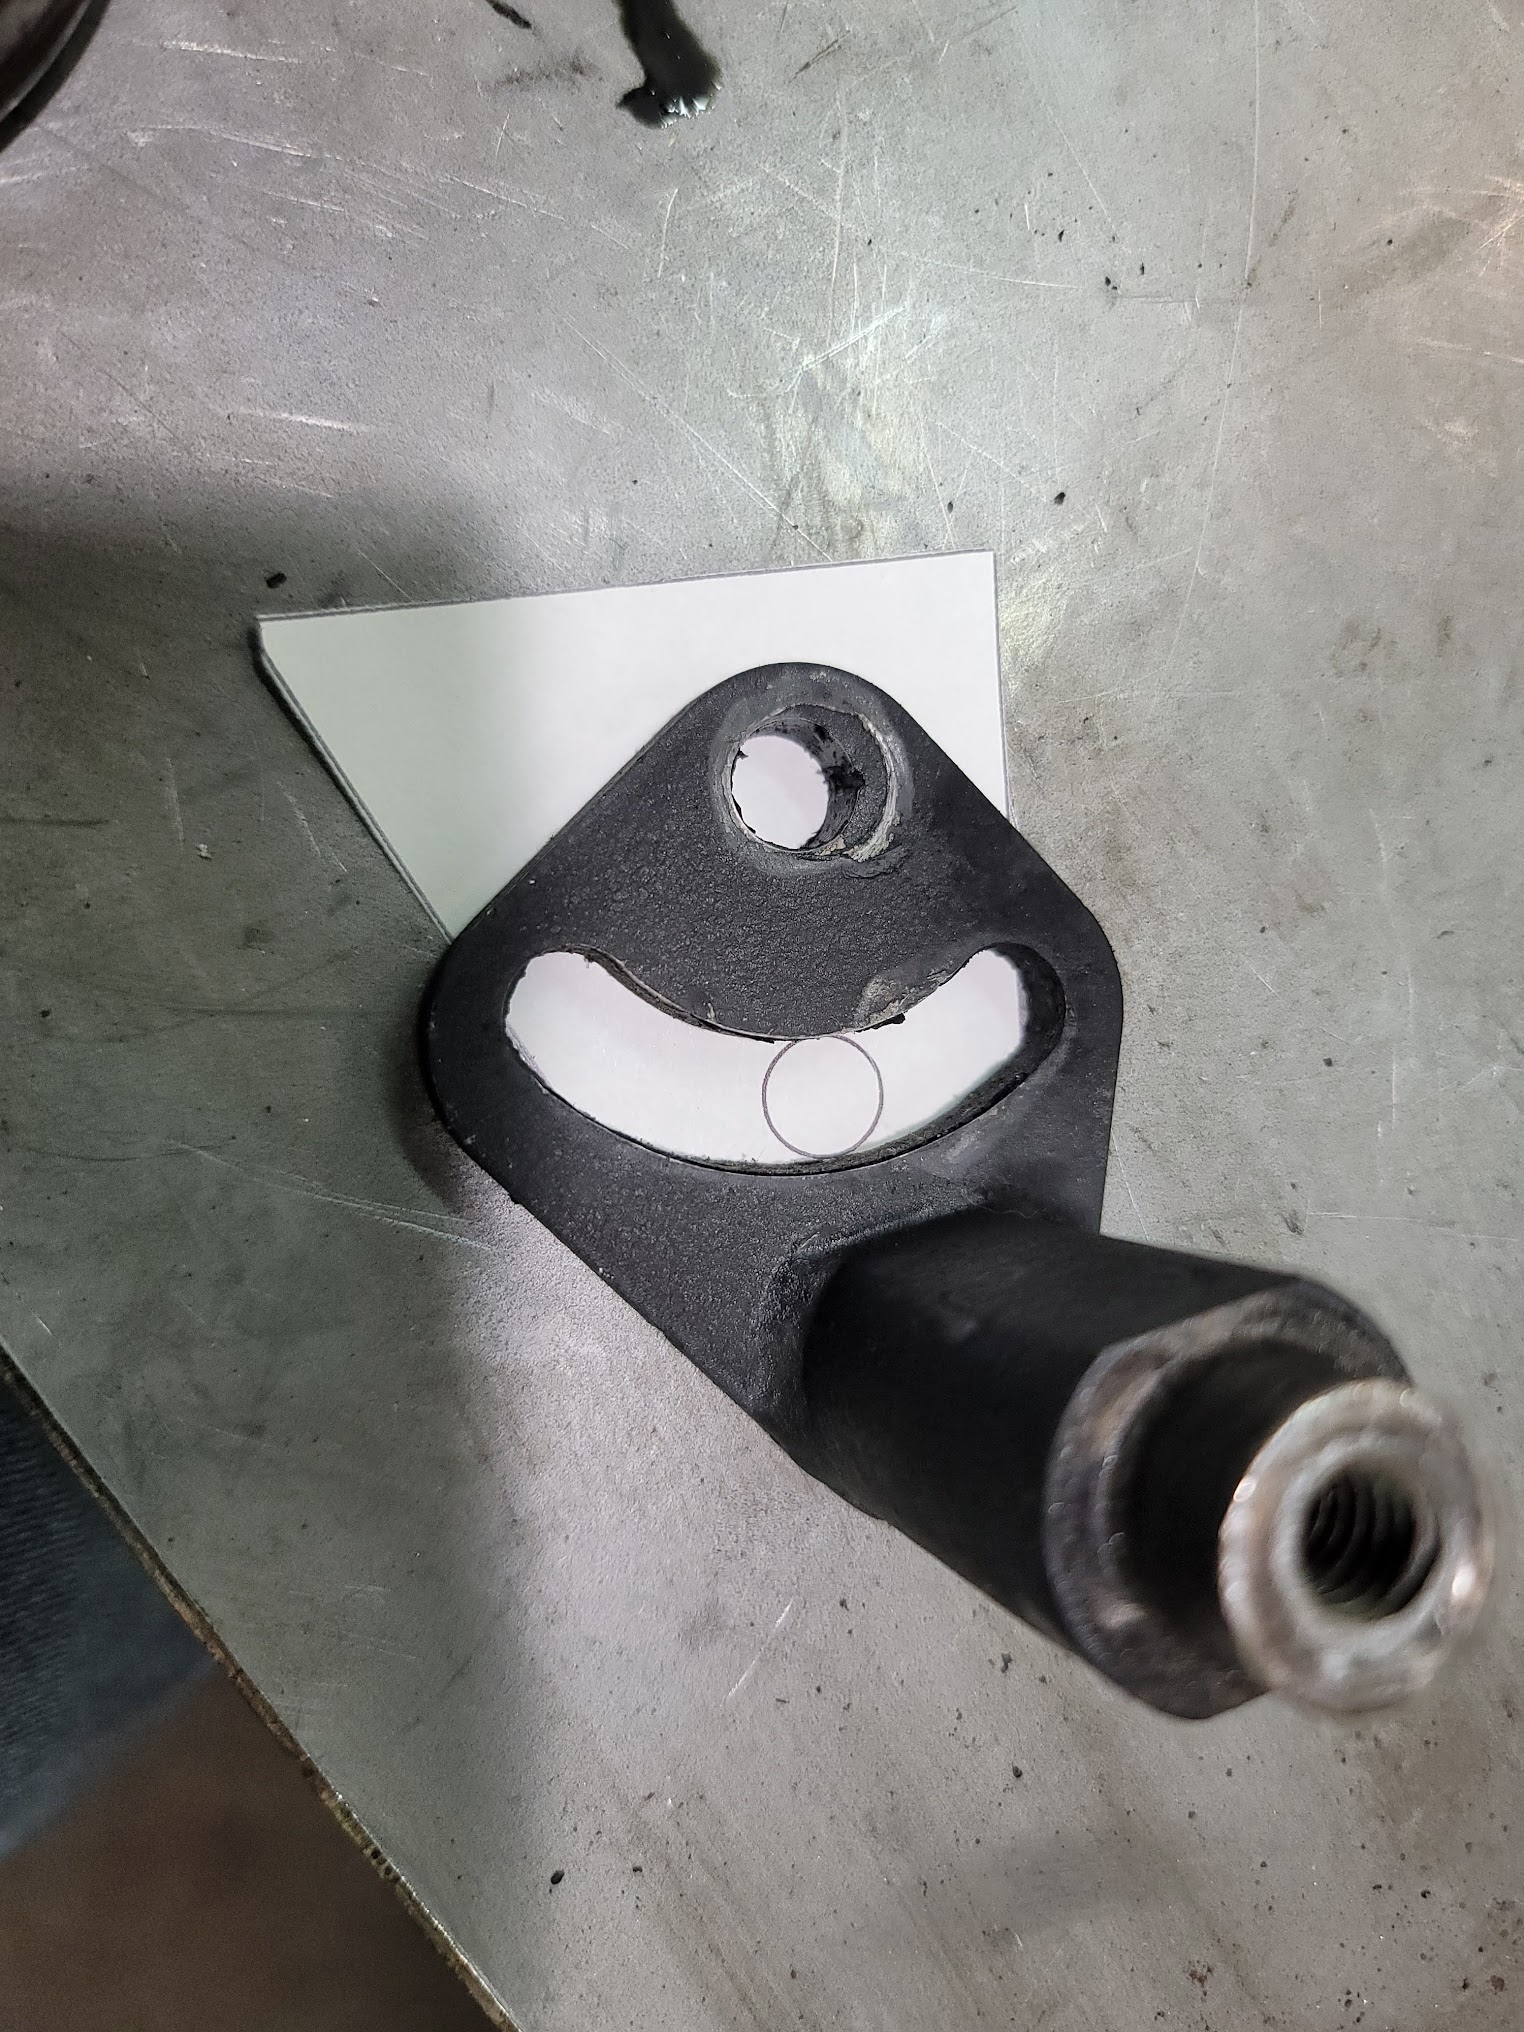
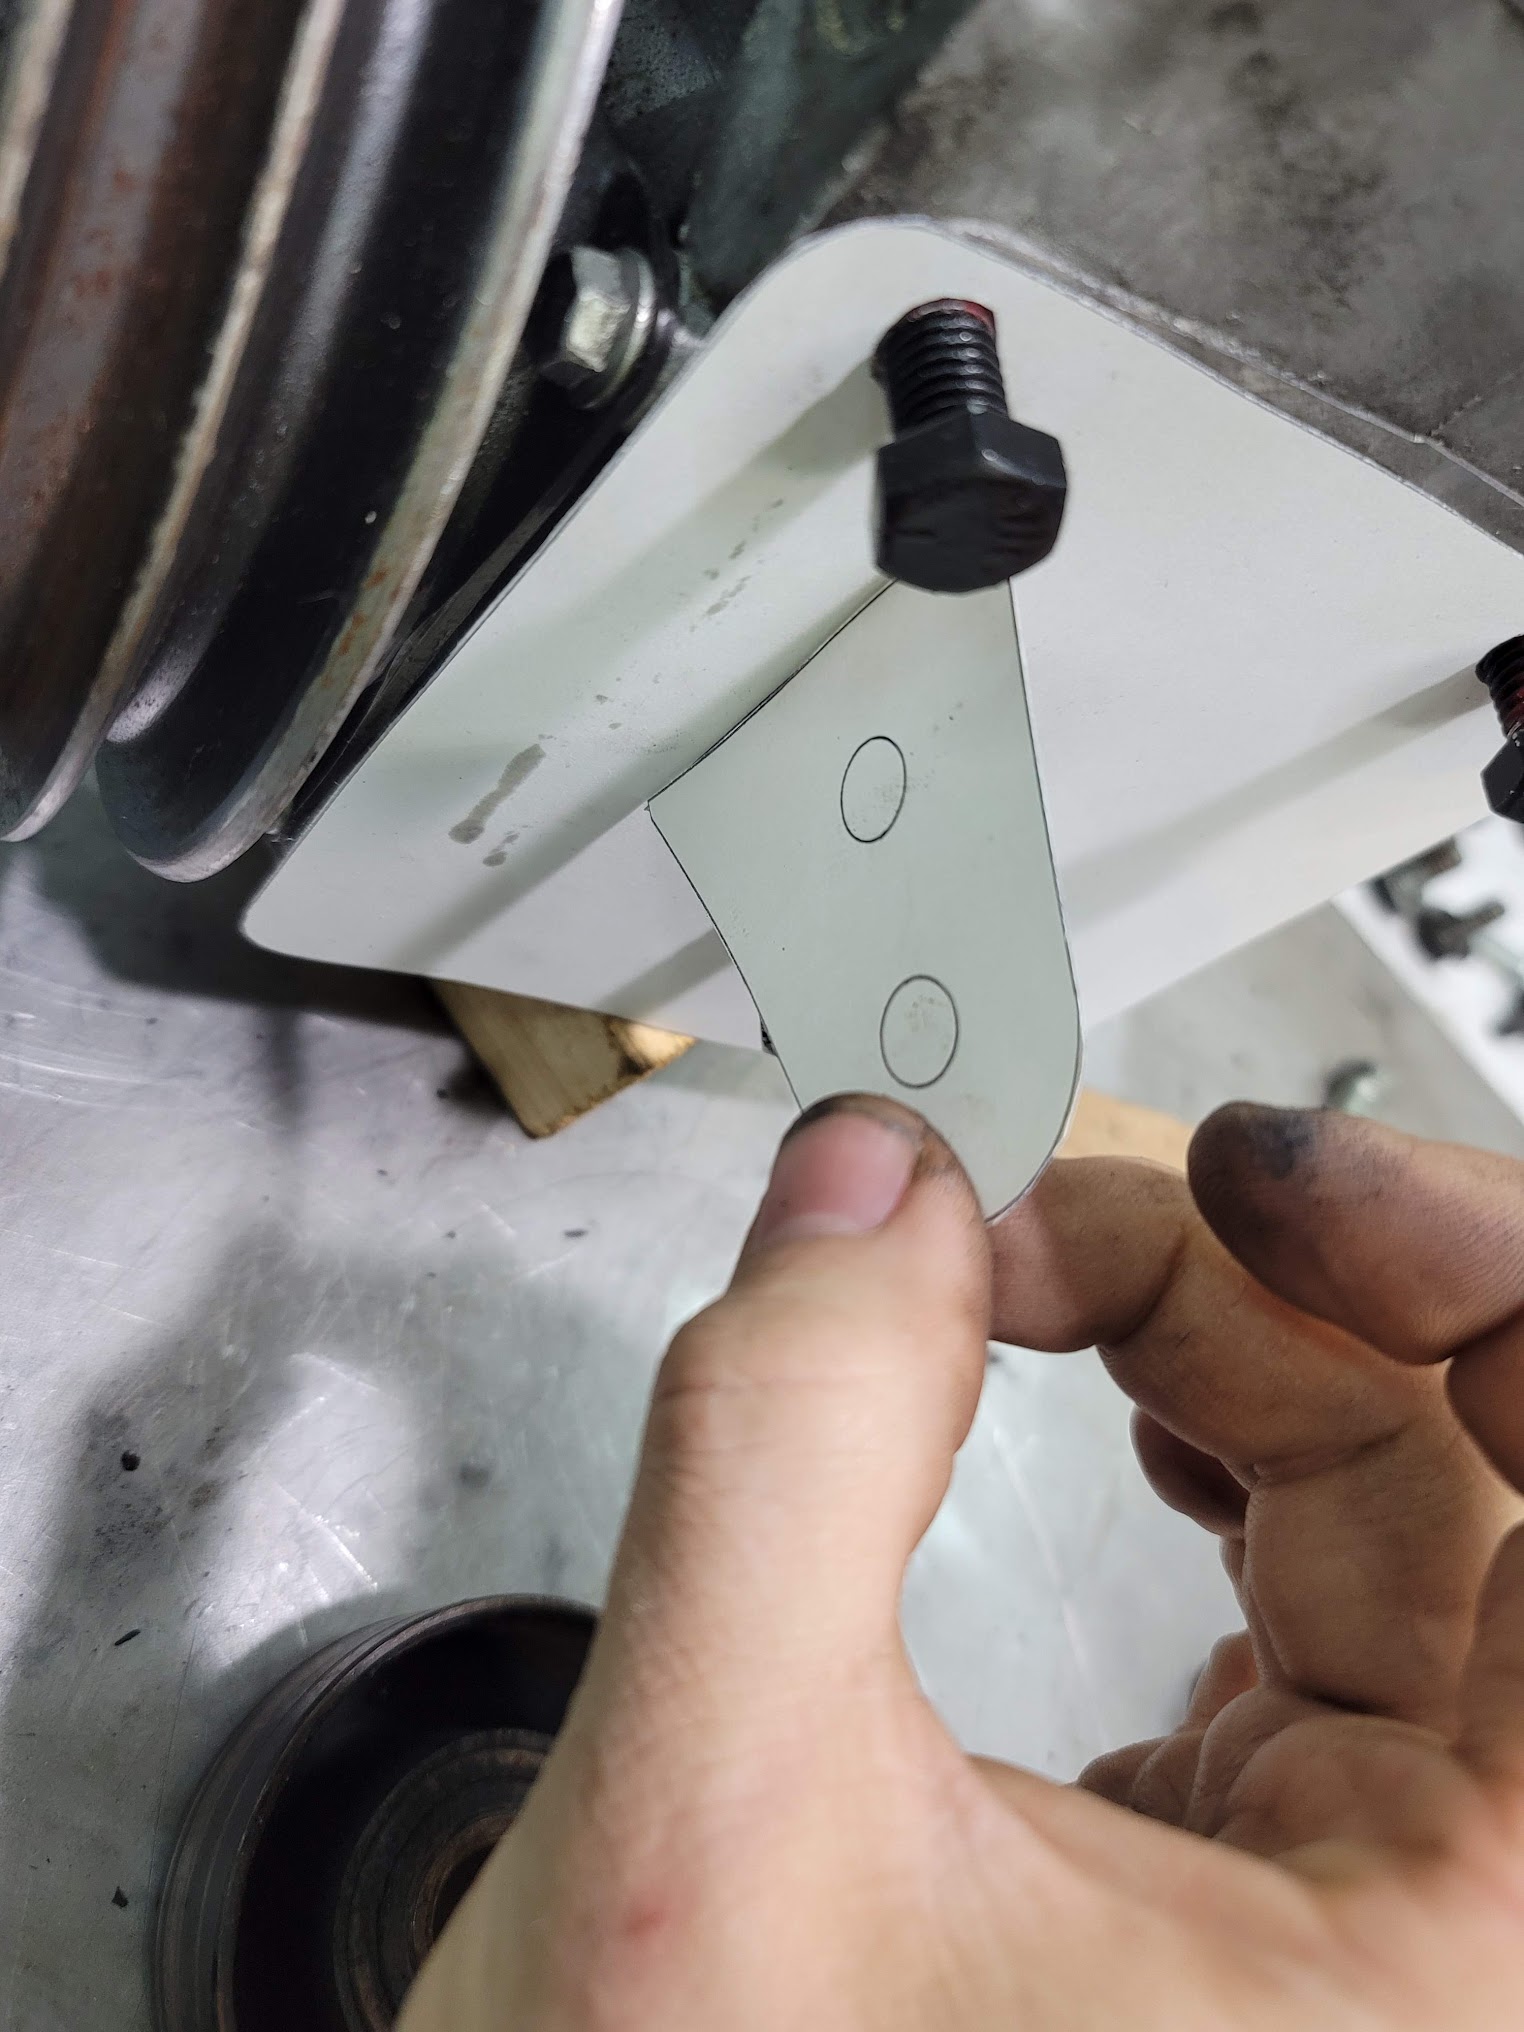
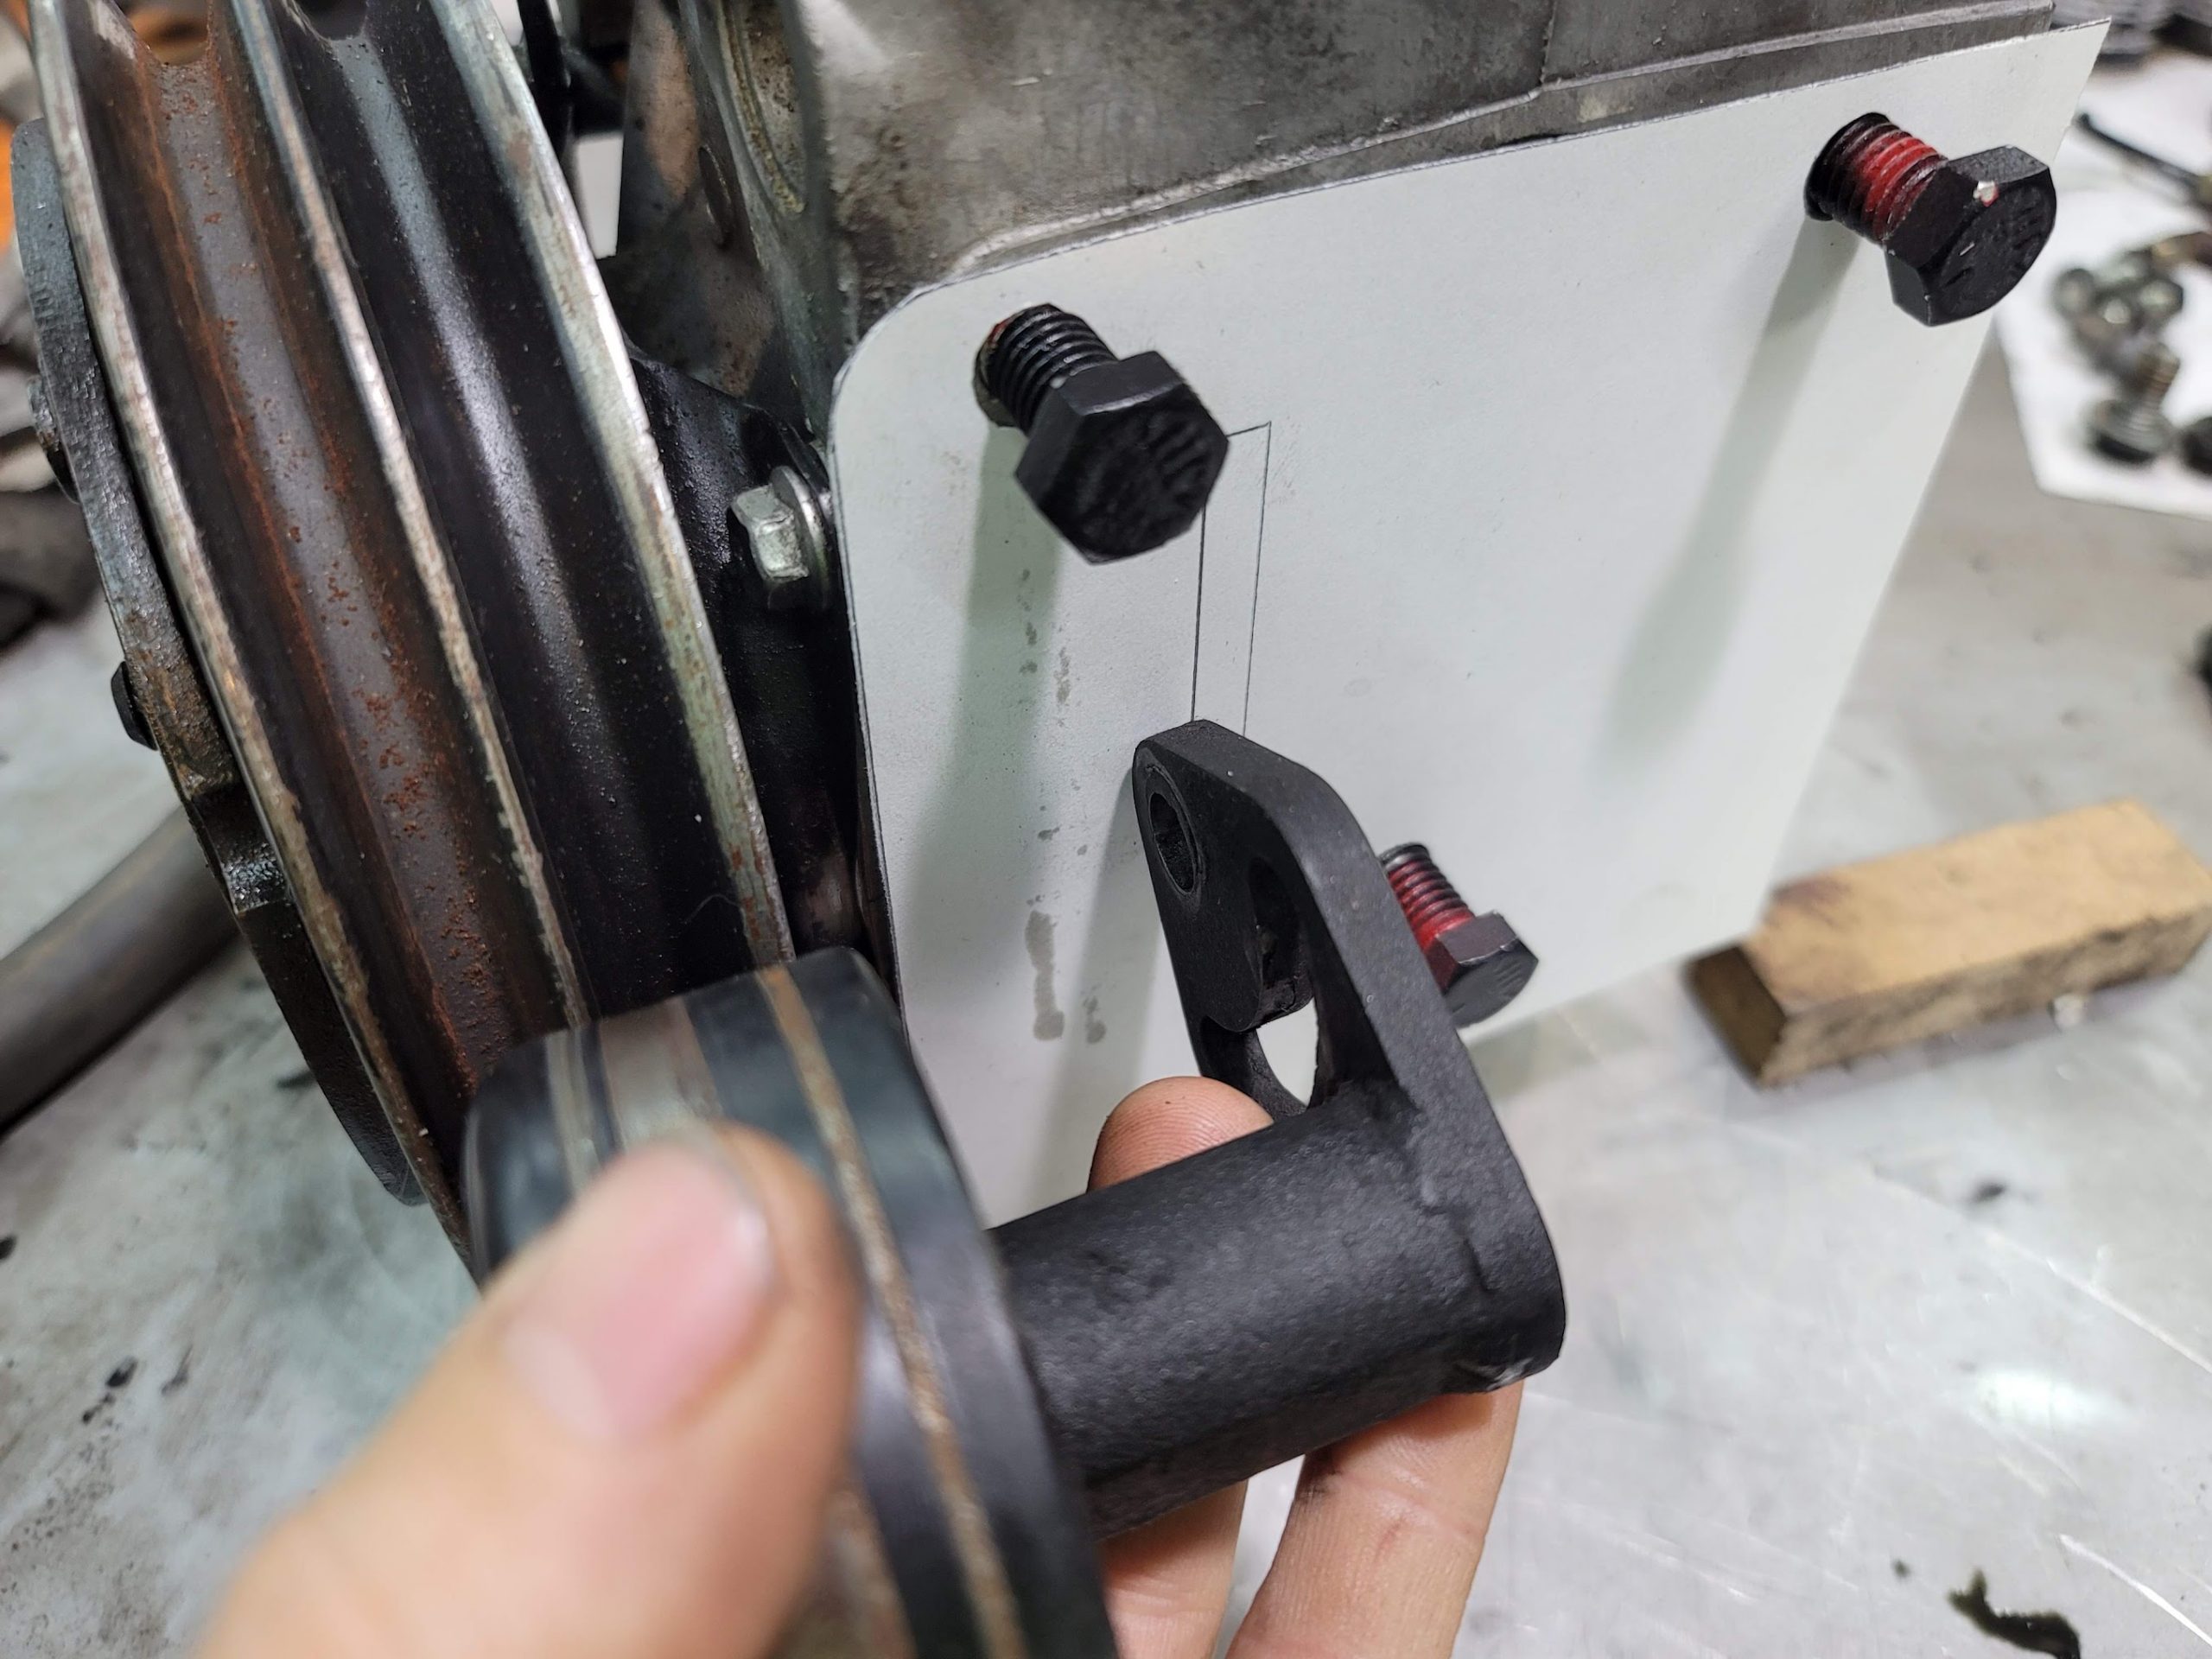
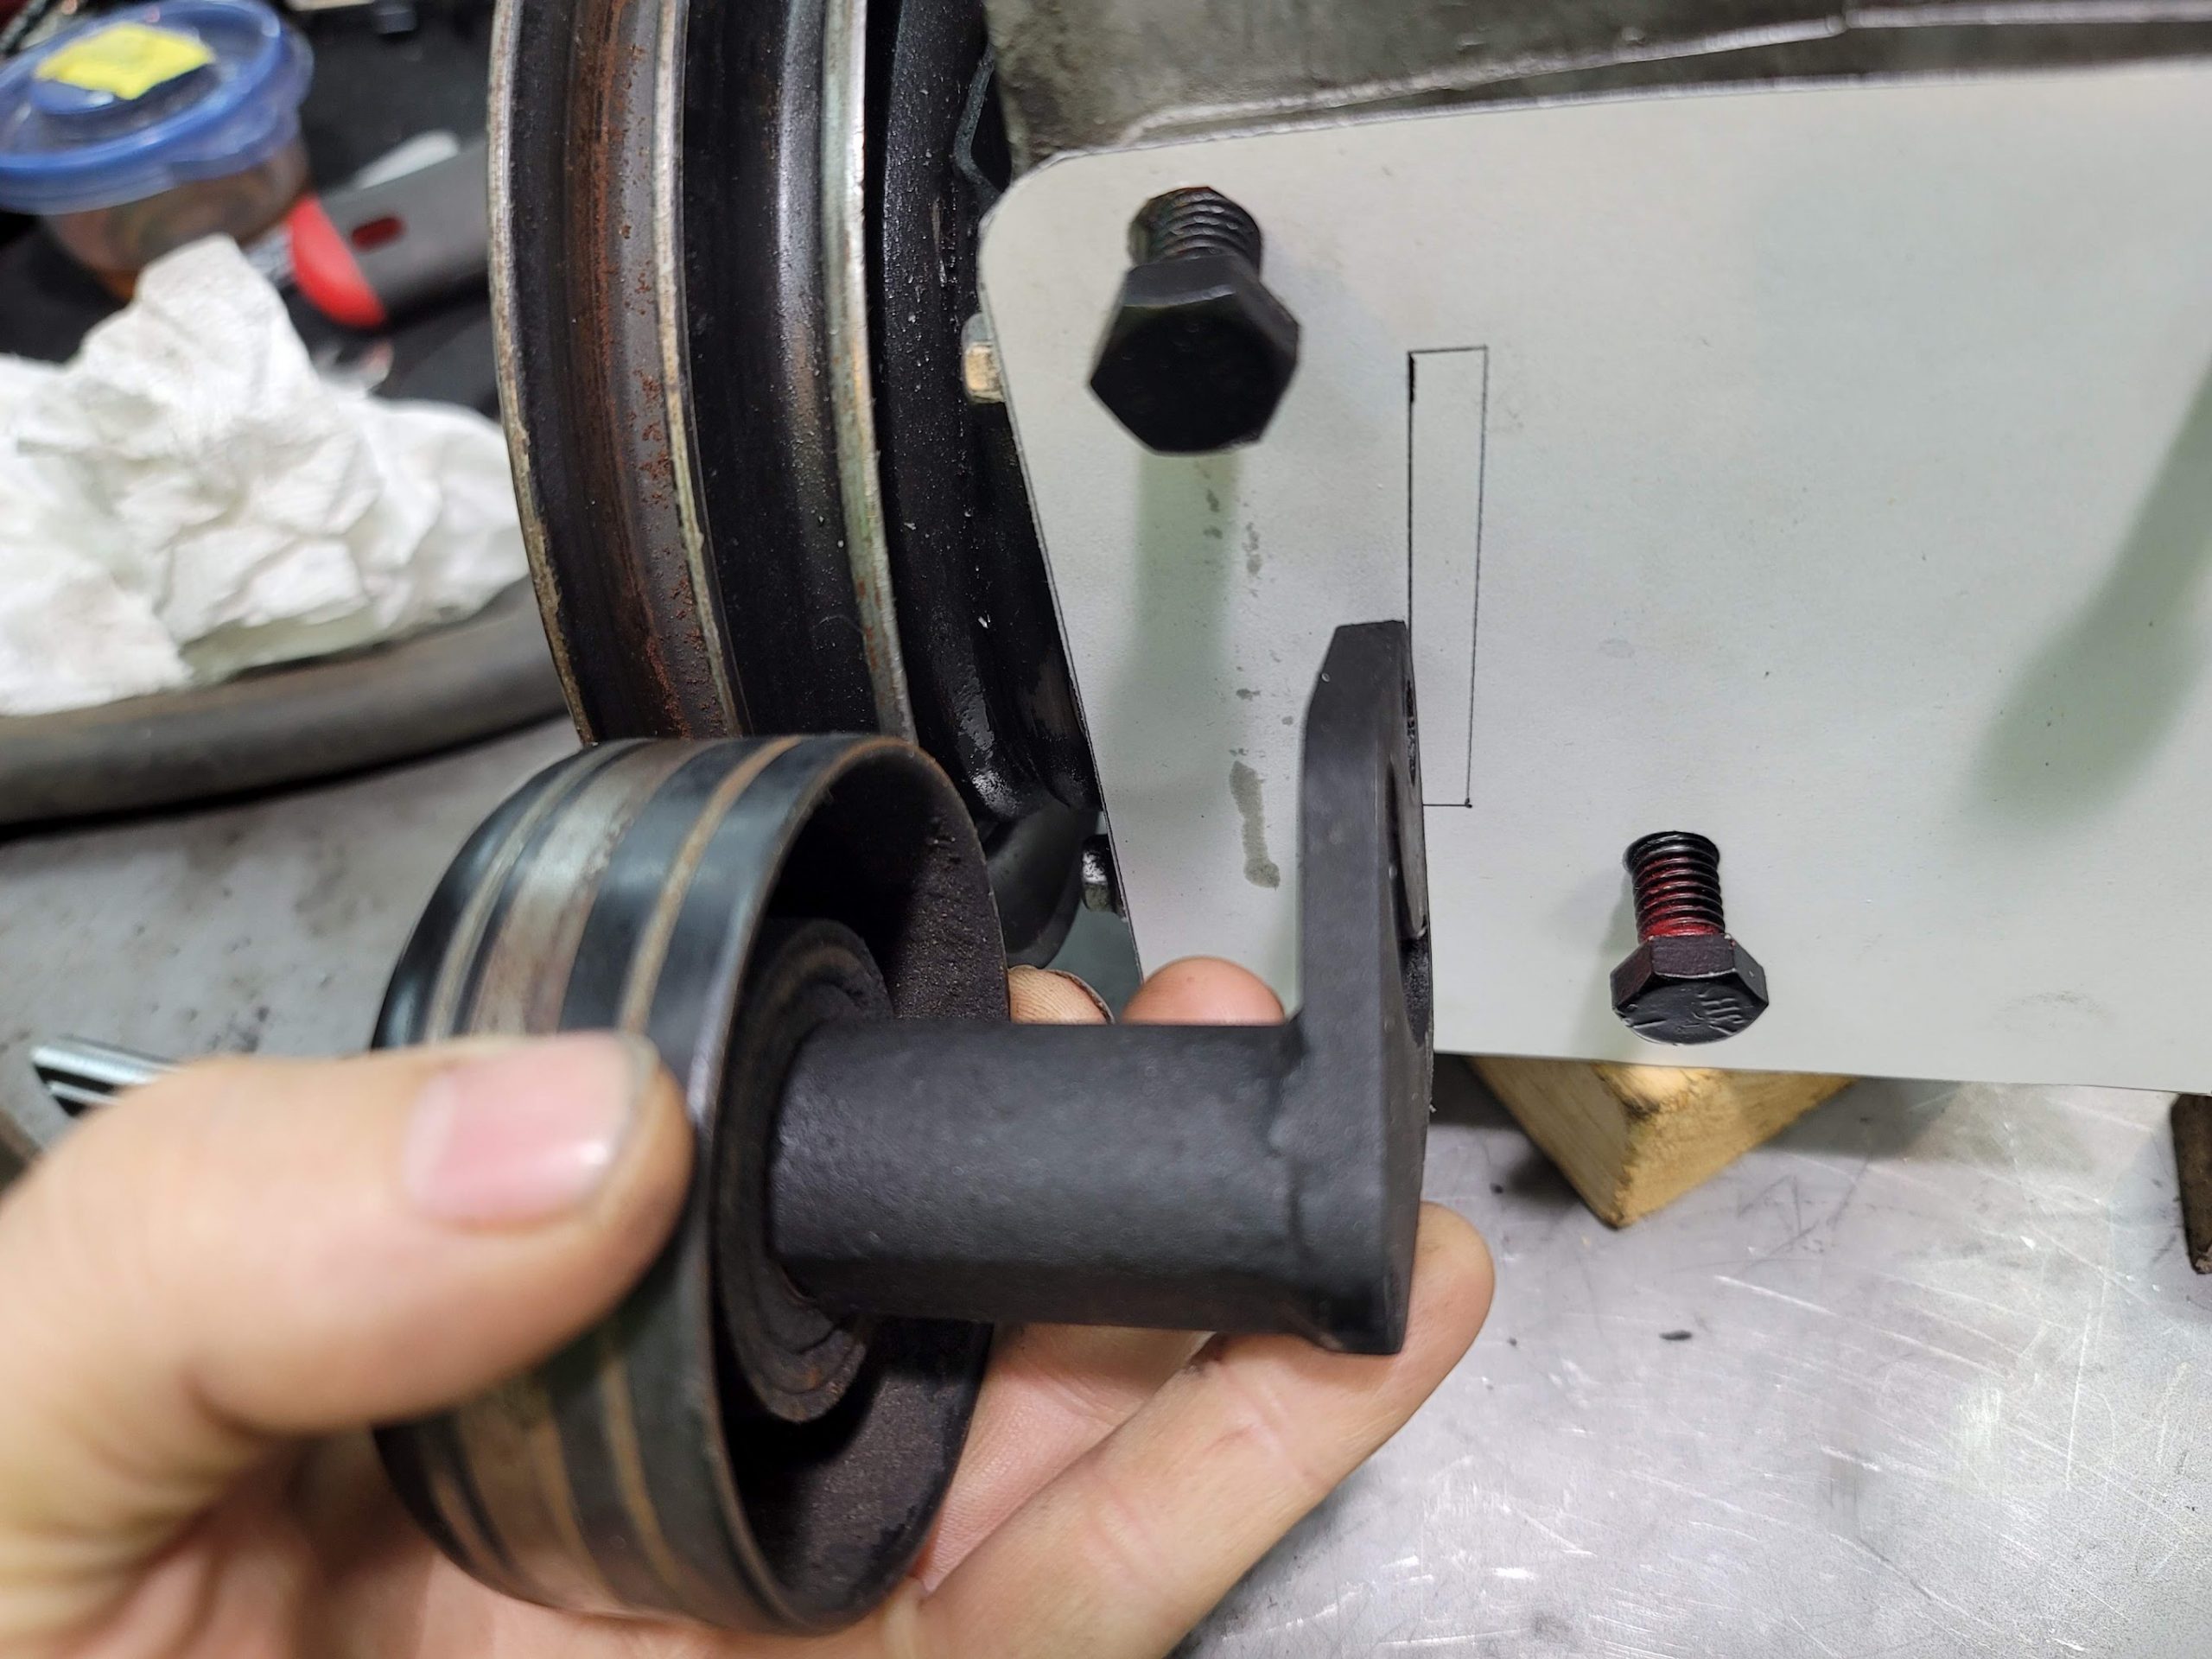
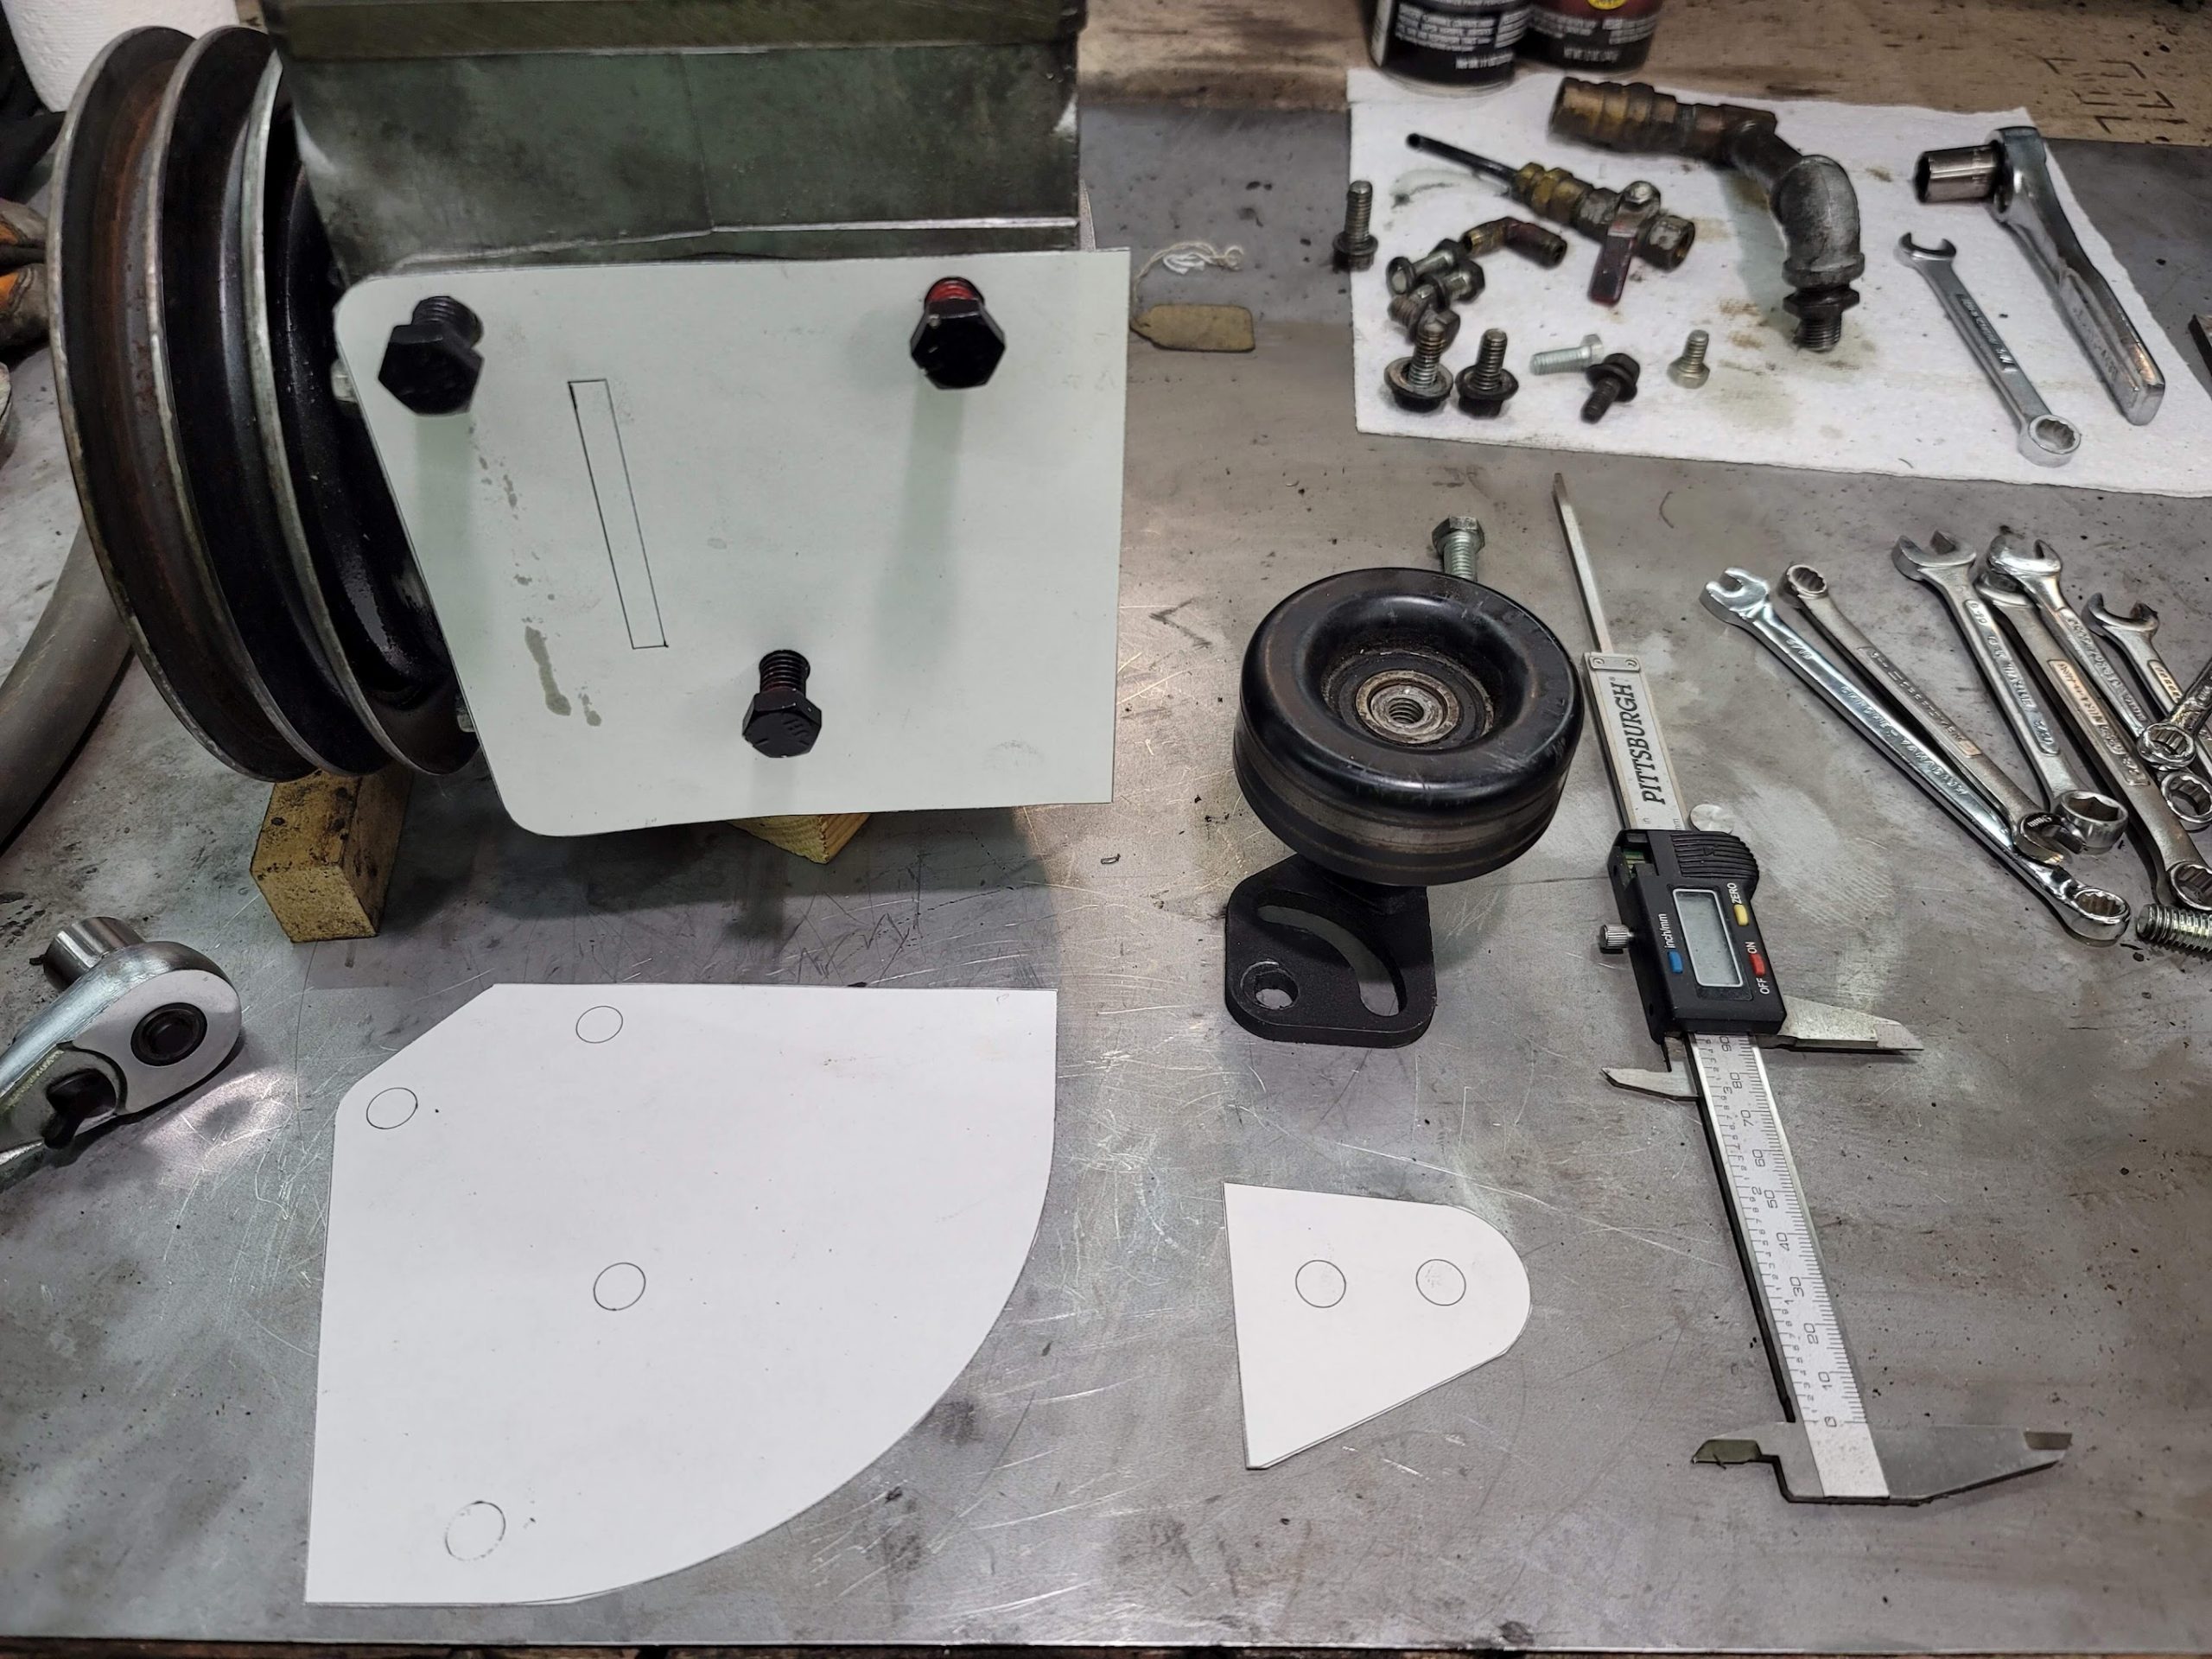
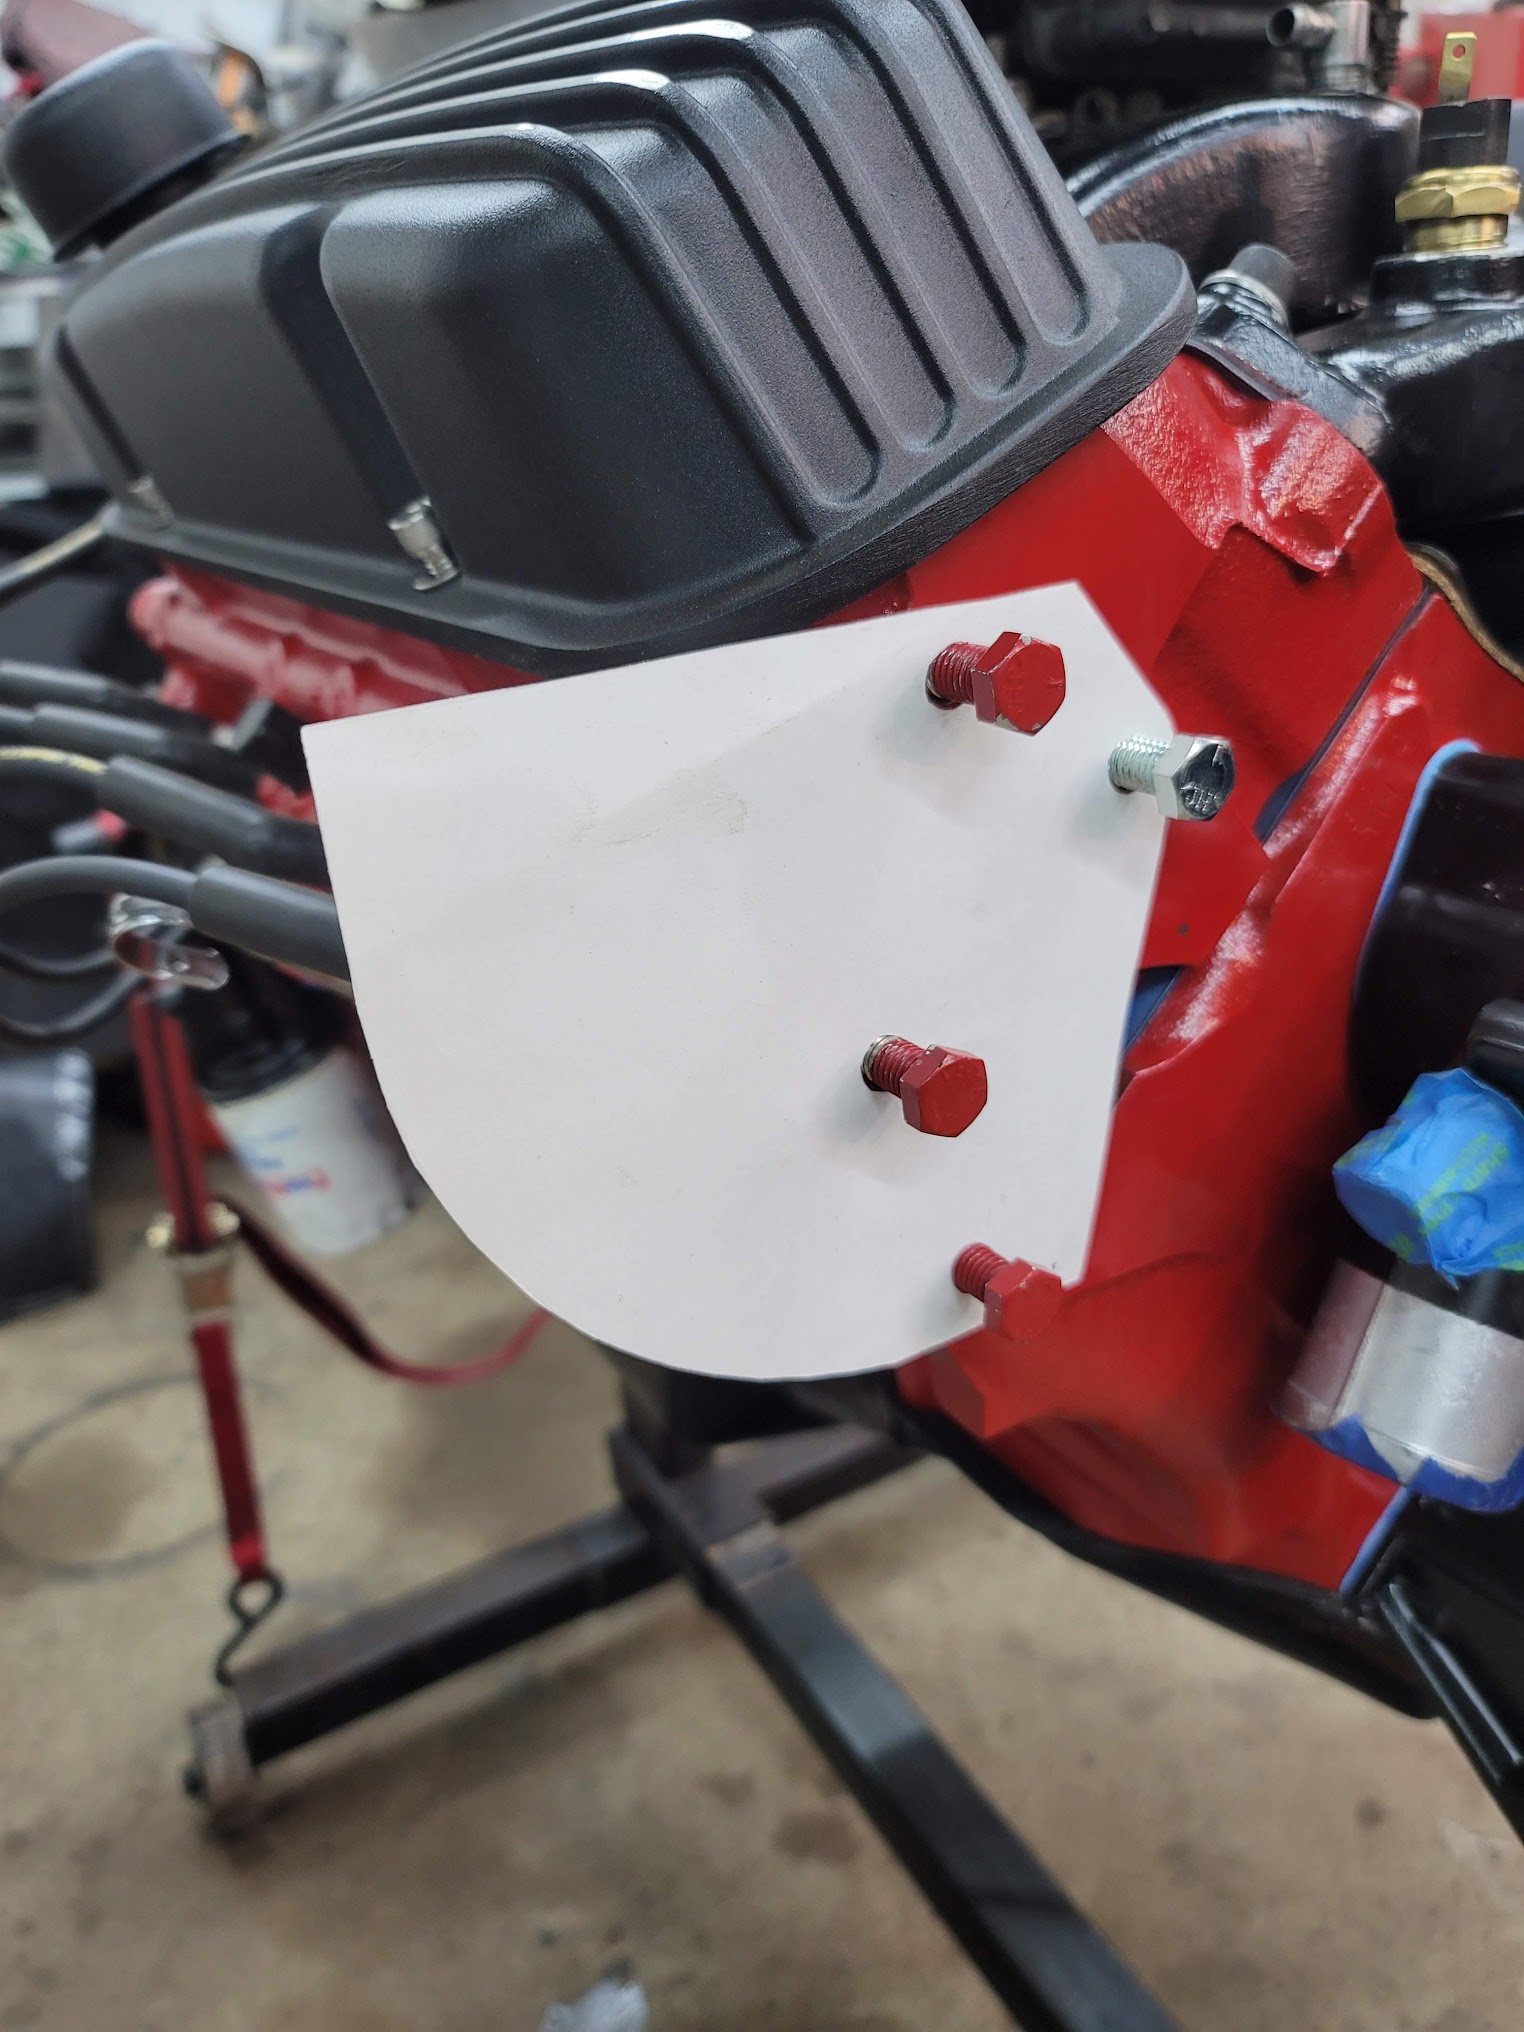
after drafting up a bracket, I made a paper cutout of the design to make sure everything would fit as expected.
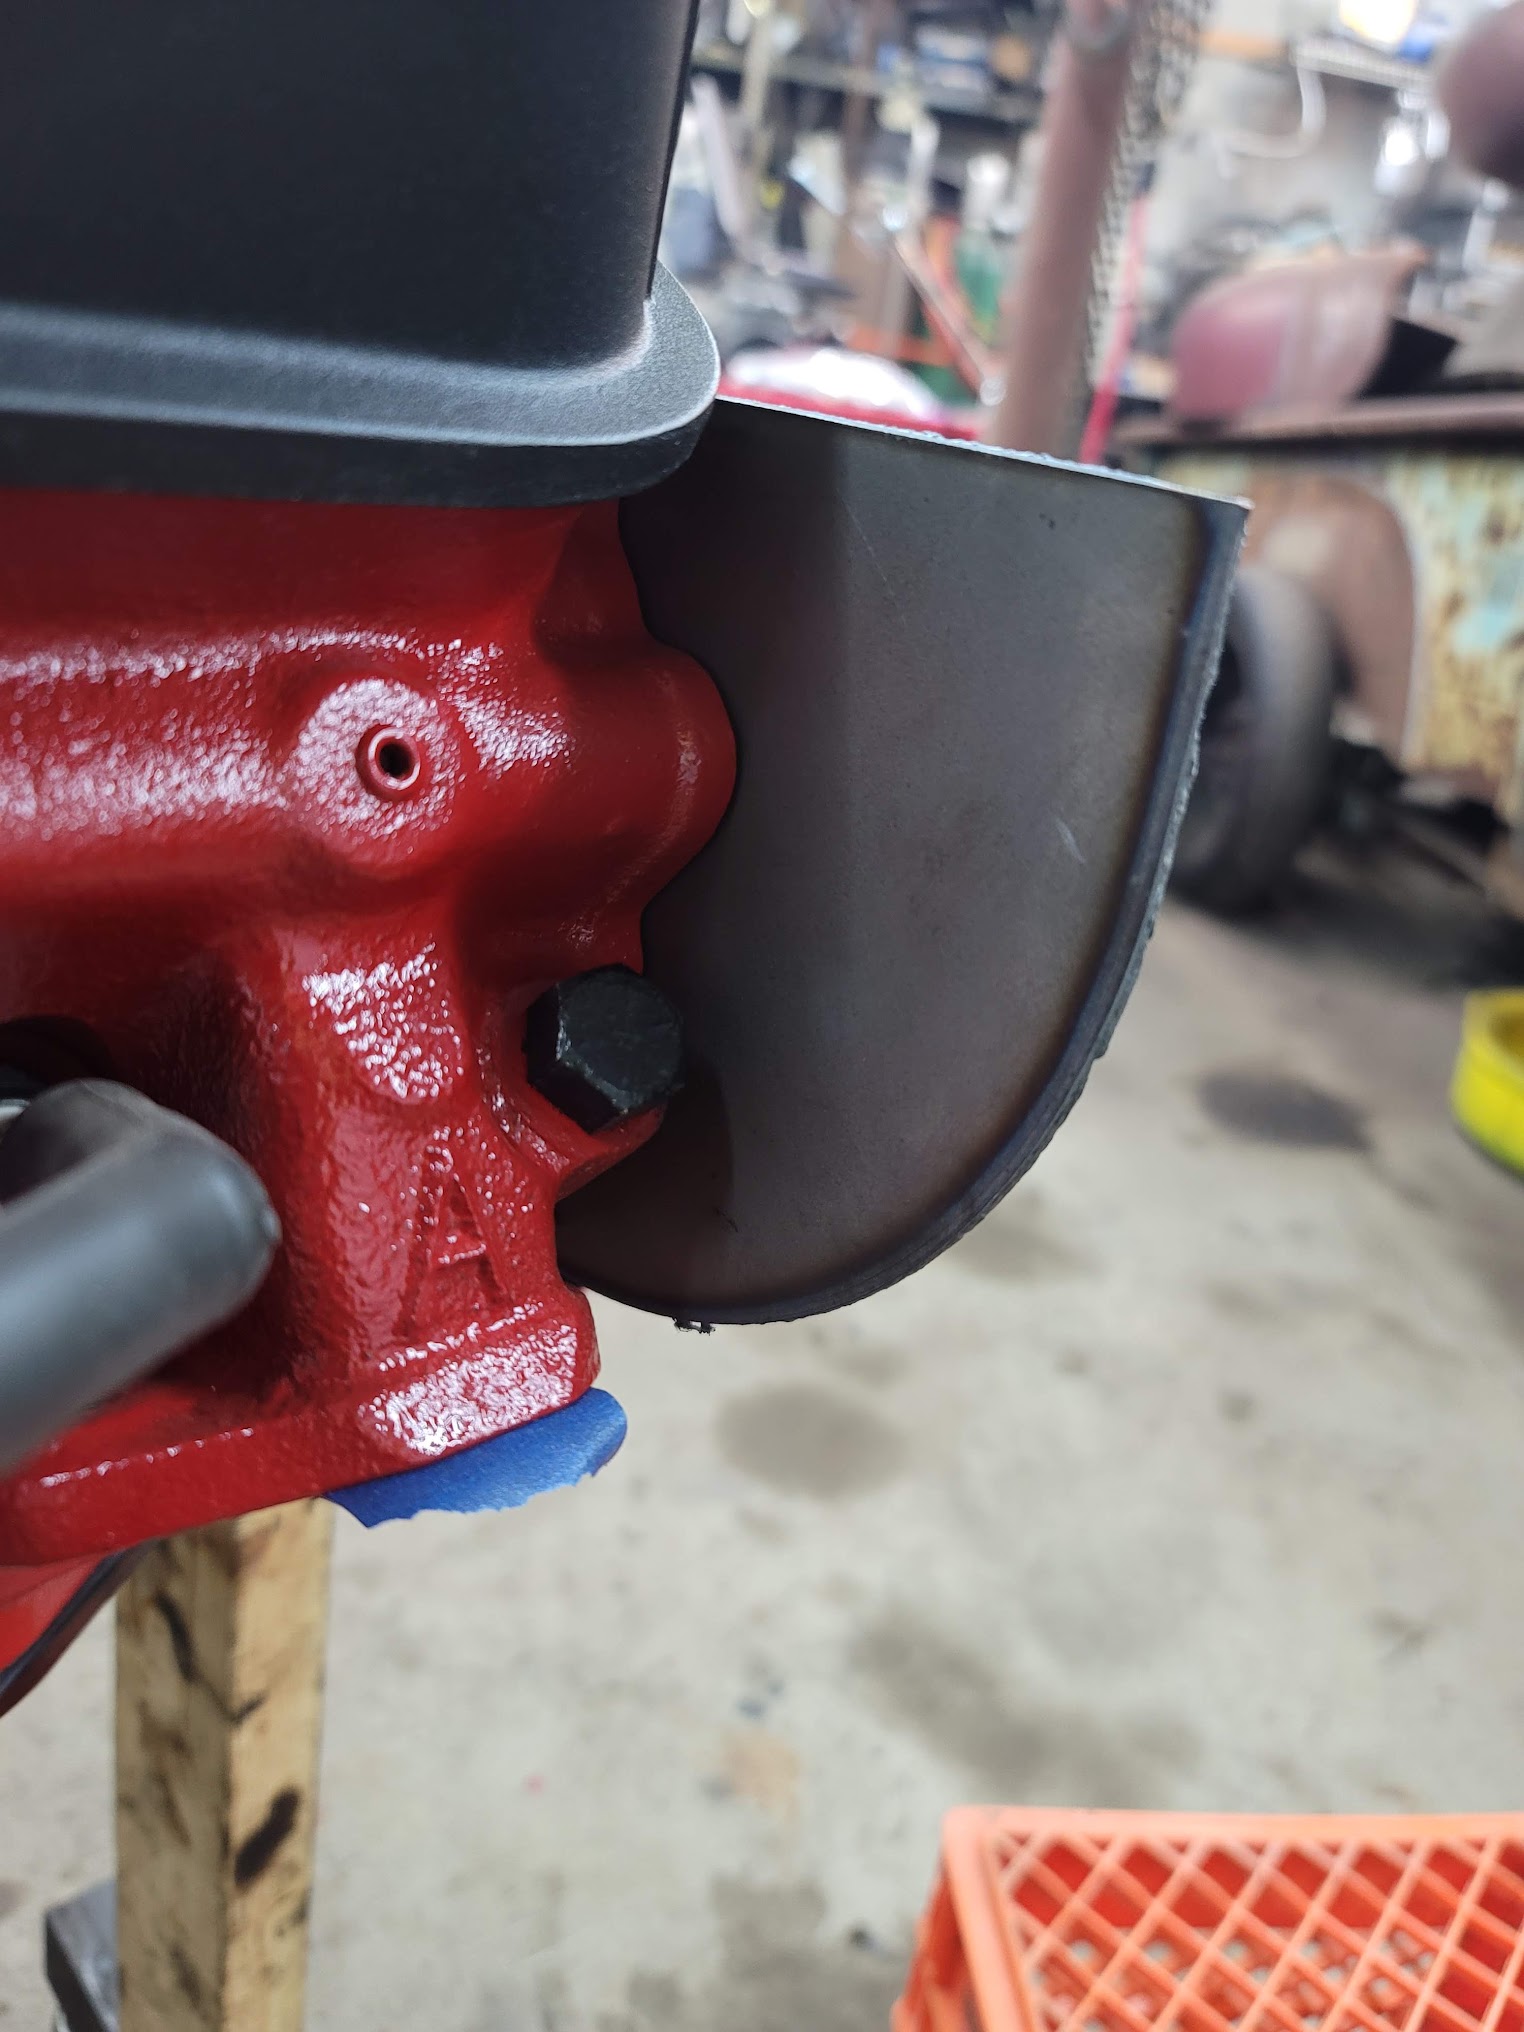

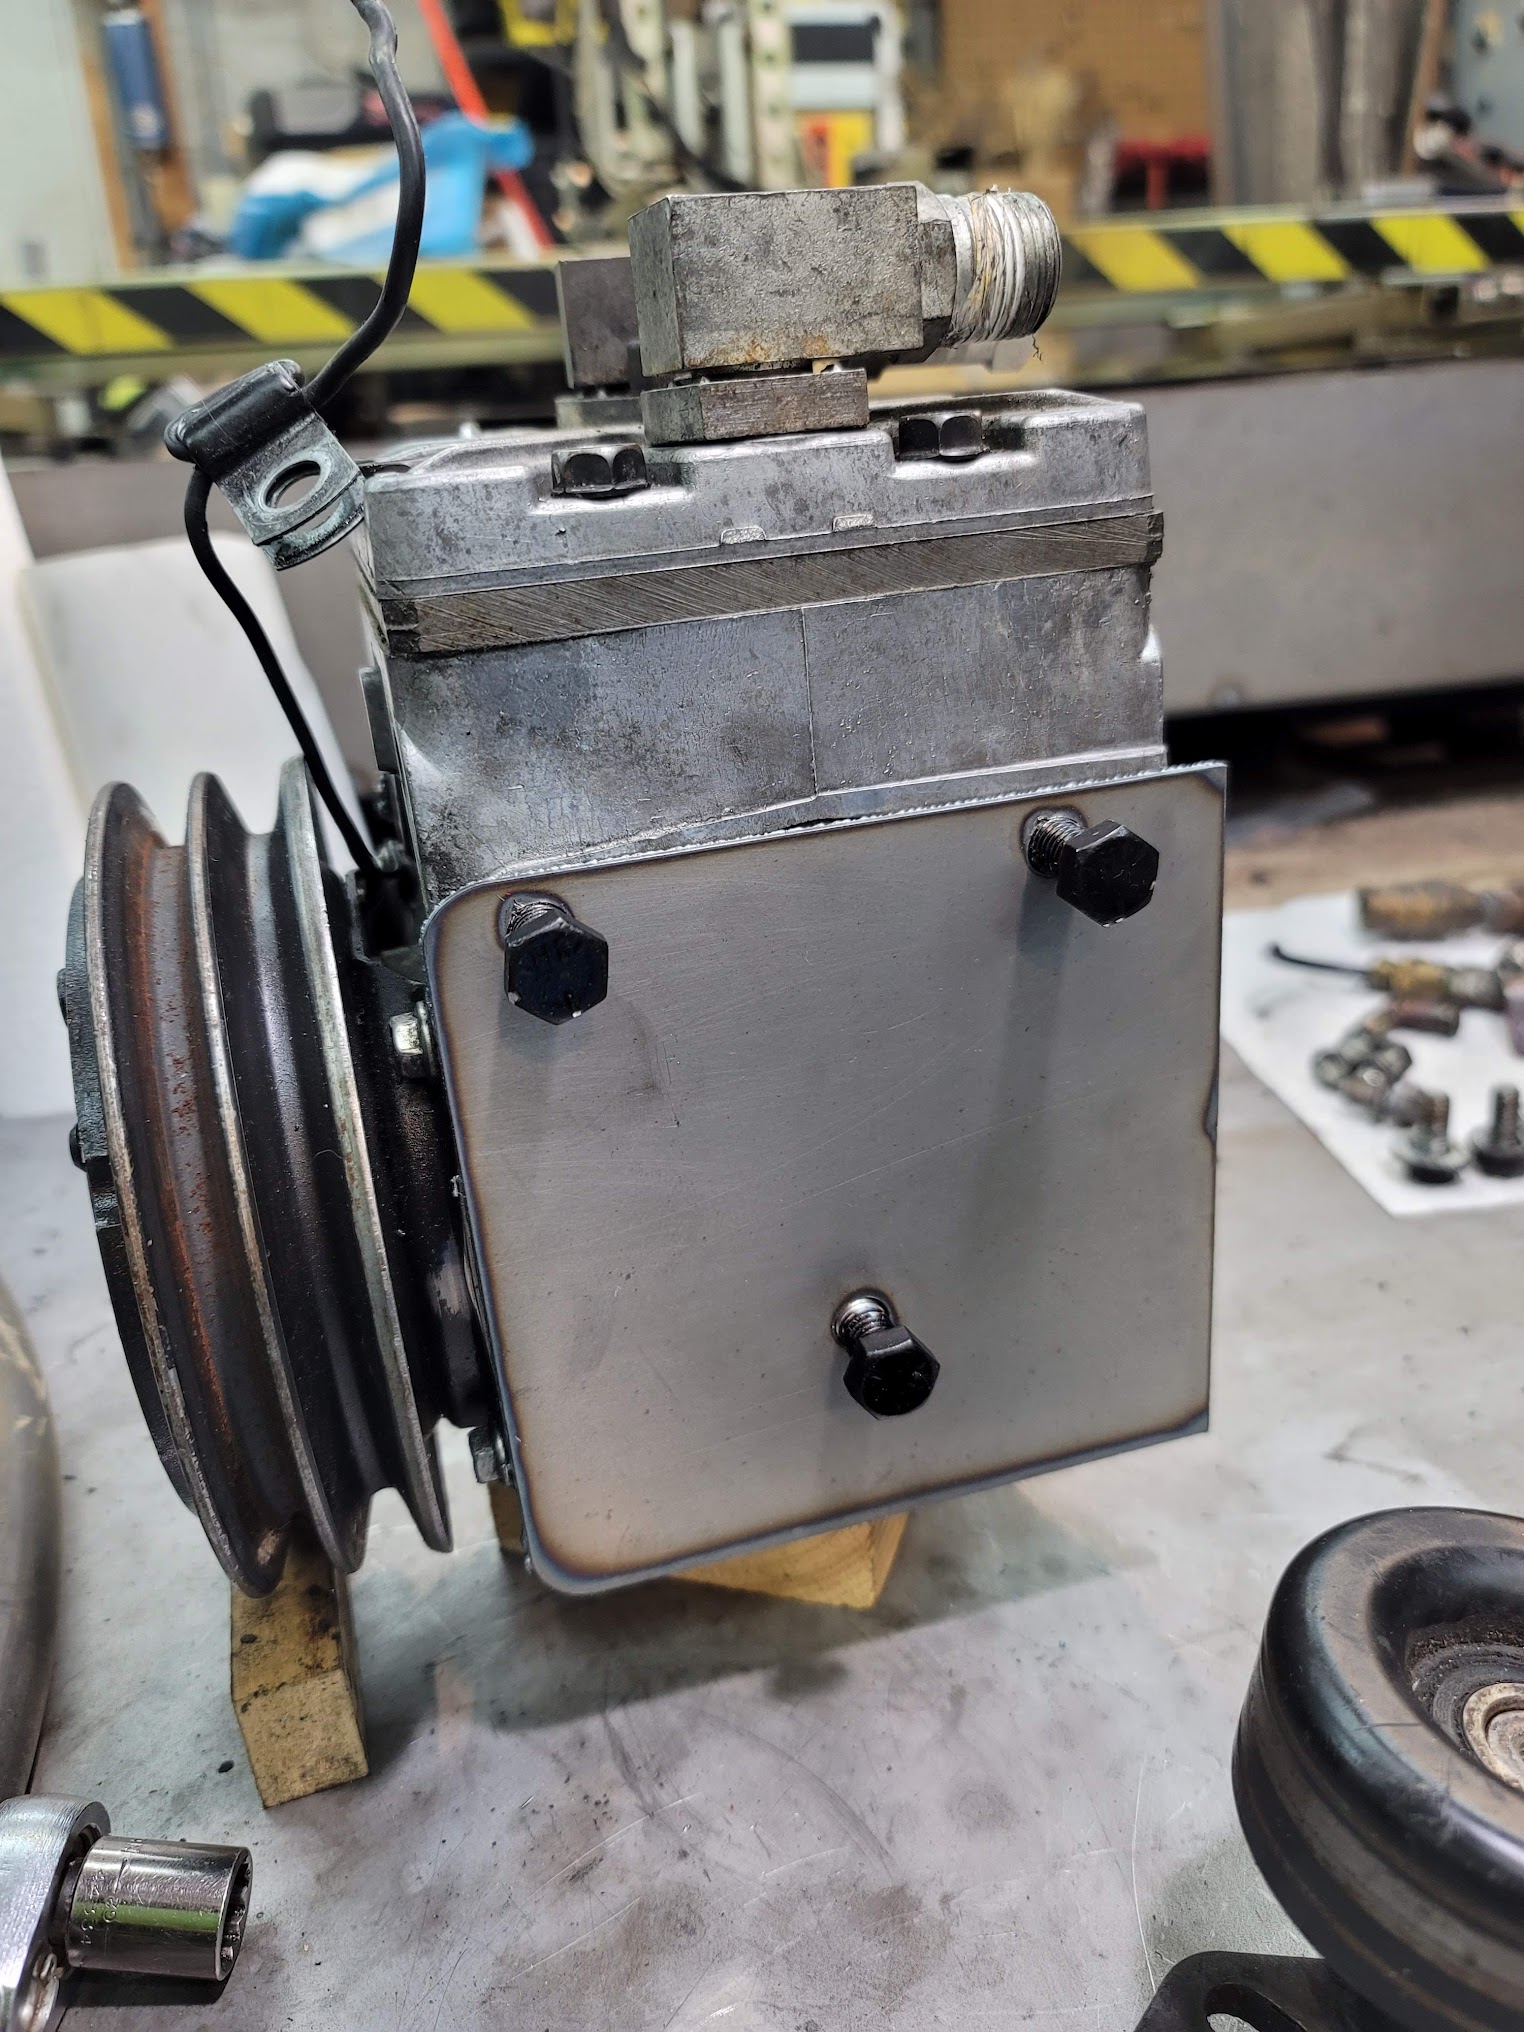
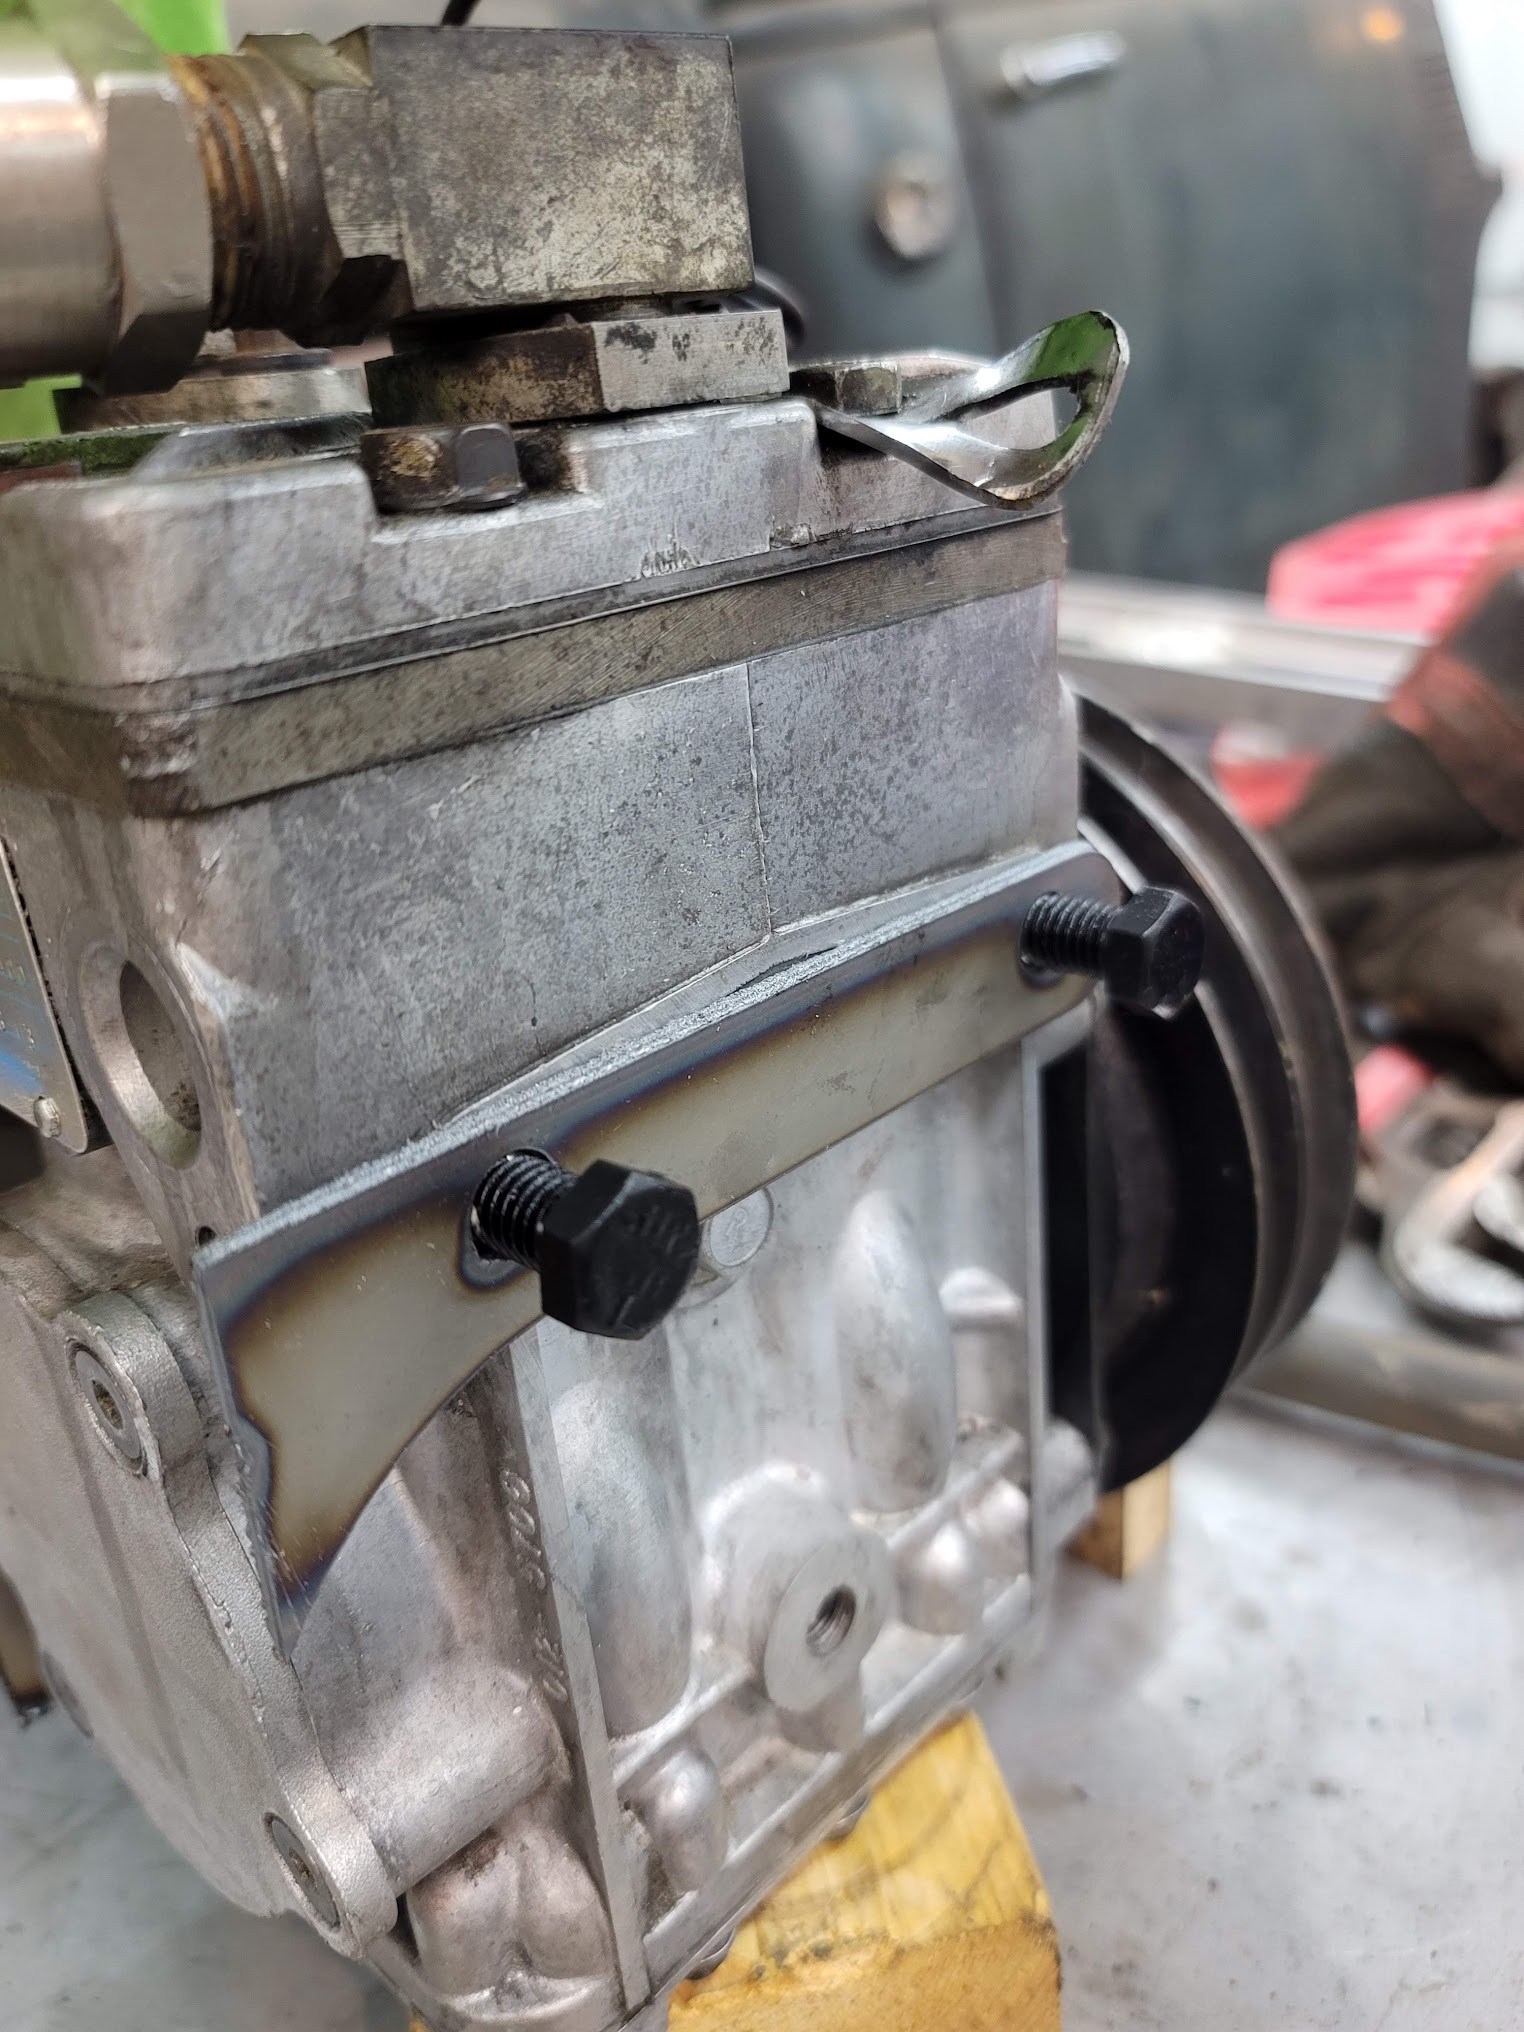
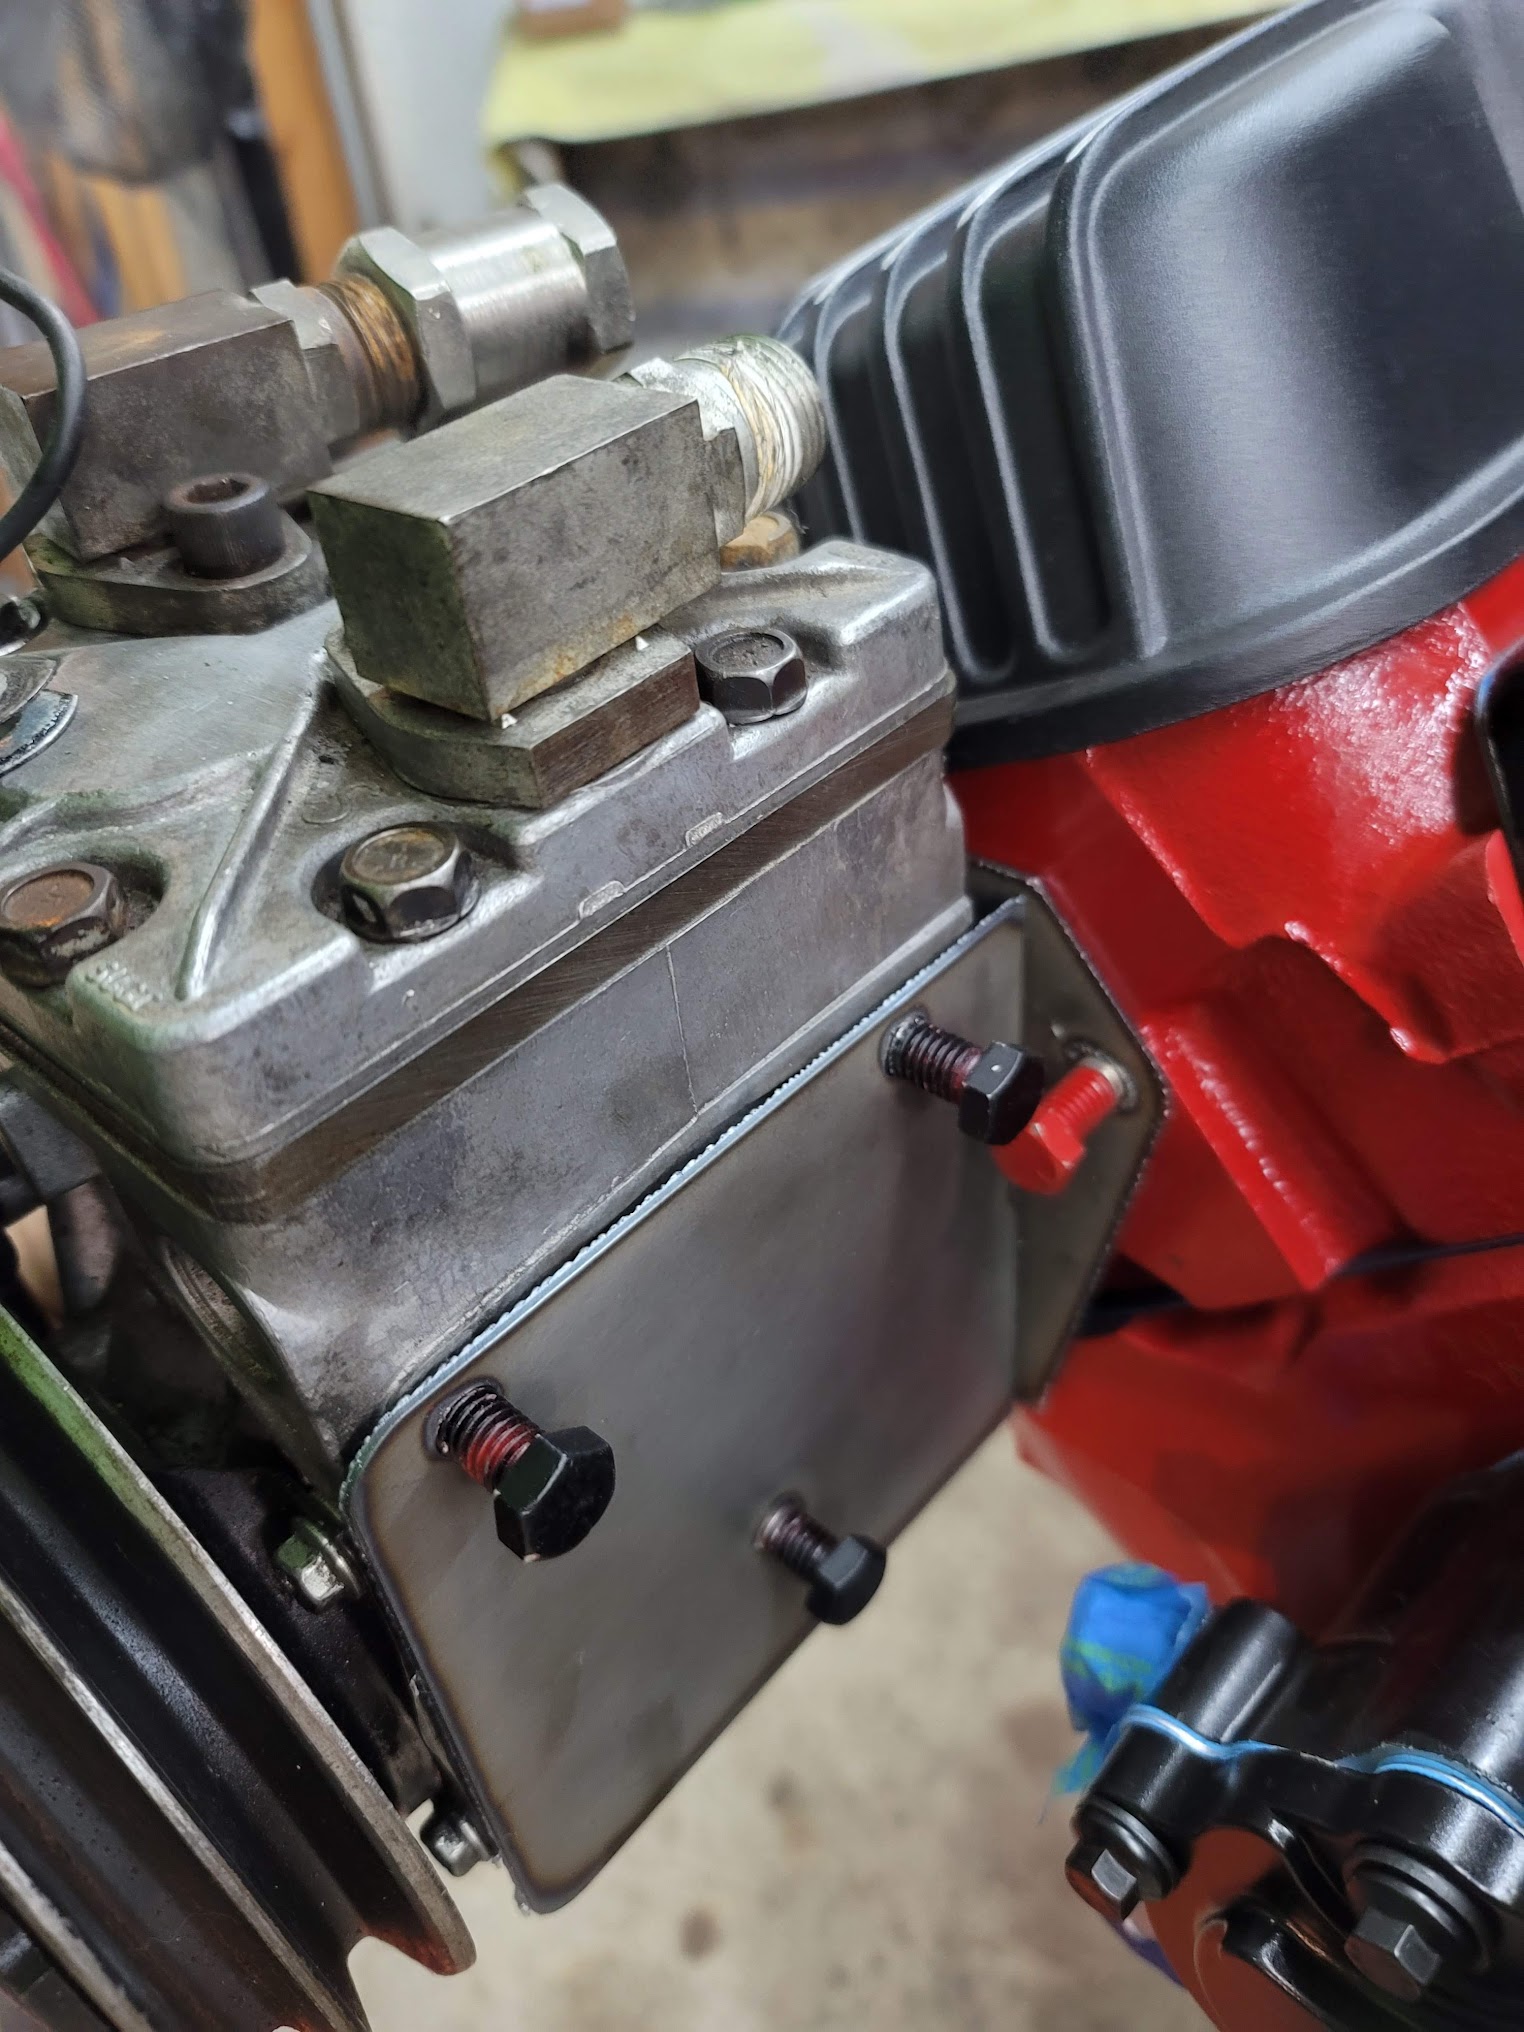
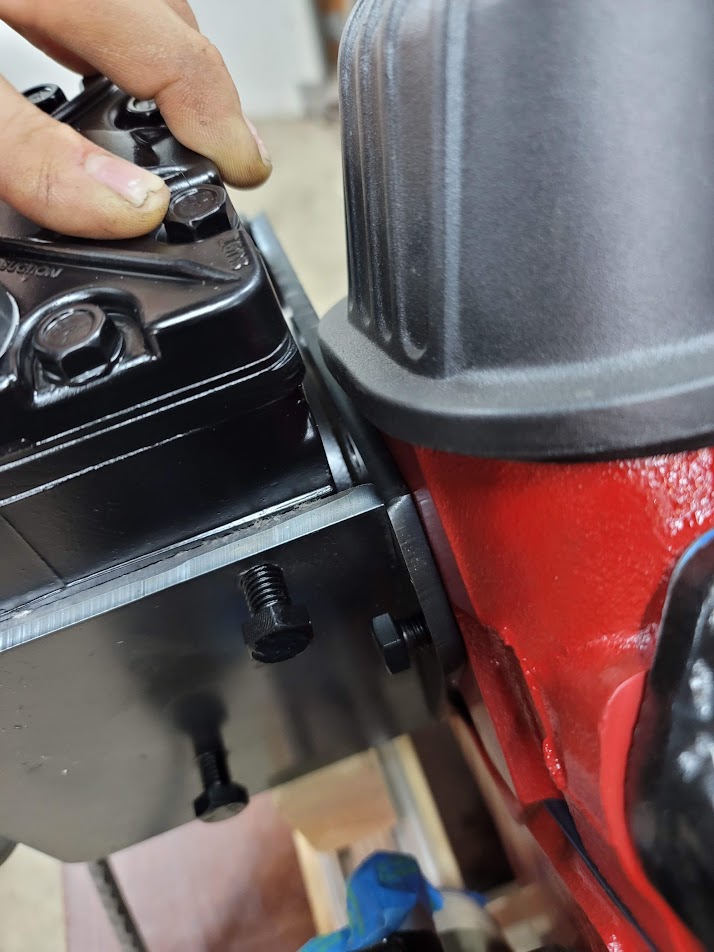
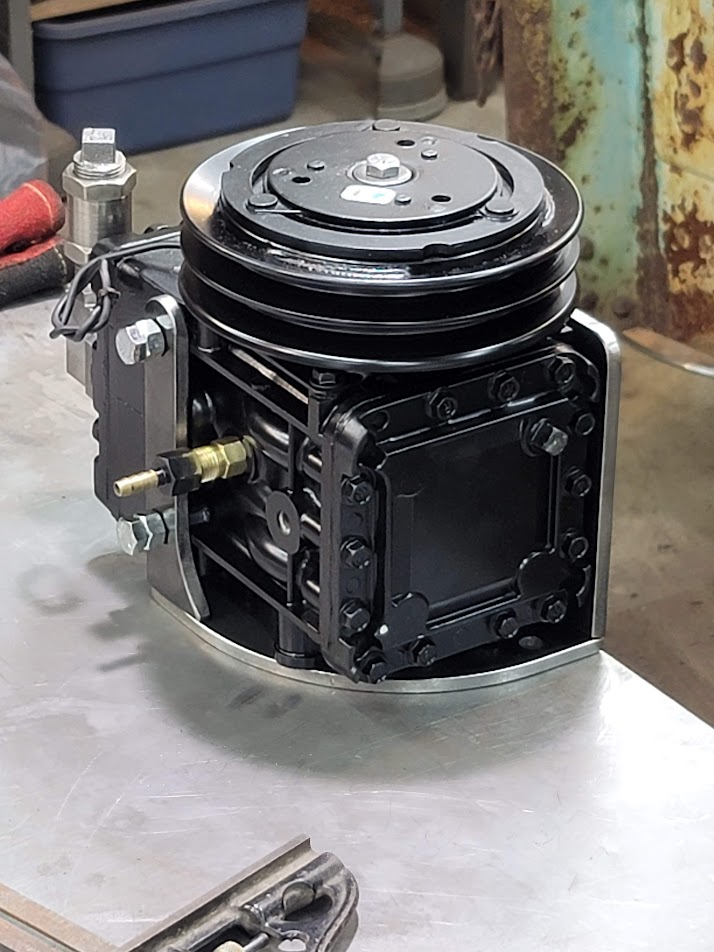
I next did a quick cutout out of thin sheet, again to make sure it will work as expected. for the 1/4″ plate I need to use is expensive! The reason for the height chosen was because of the mounting bolts, the heads needs to clear the bump out back side of the compressor, for that larger bump has to be 1/4″ from the block, so one of the bolts will have to be counter sunk to clear. The valve cover also becomes a problem, all these clearance issues made for a solid week of measurements and test fitments.
Here is a video of cutting out the thin sheet for the test bracket.
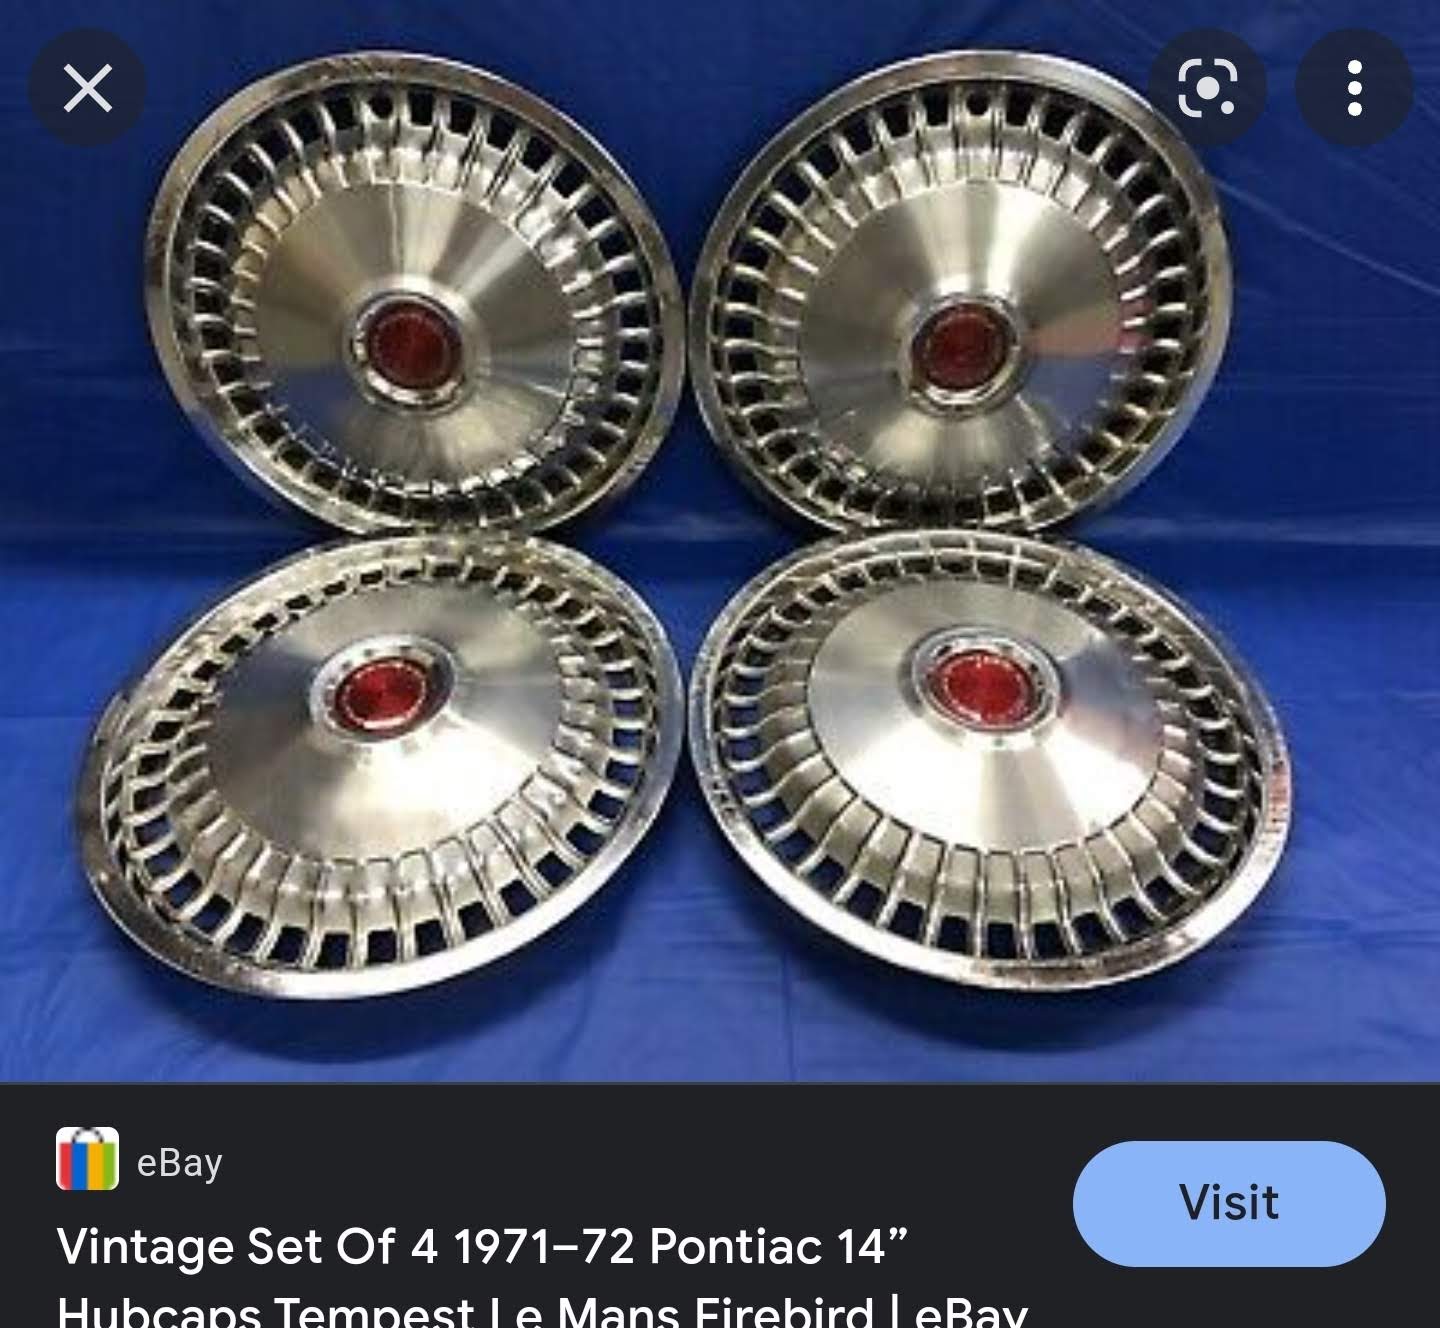
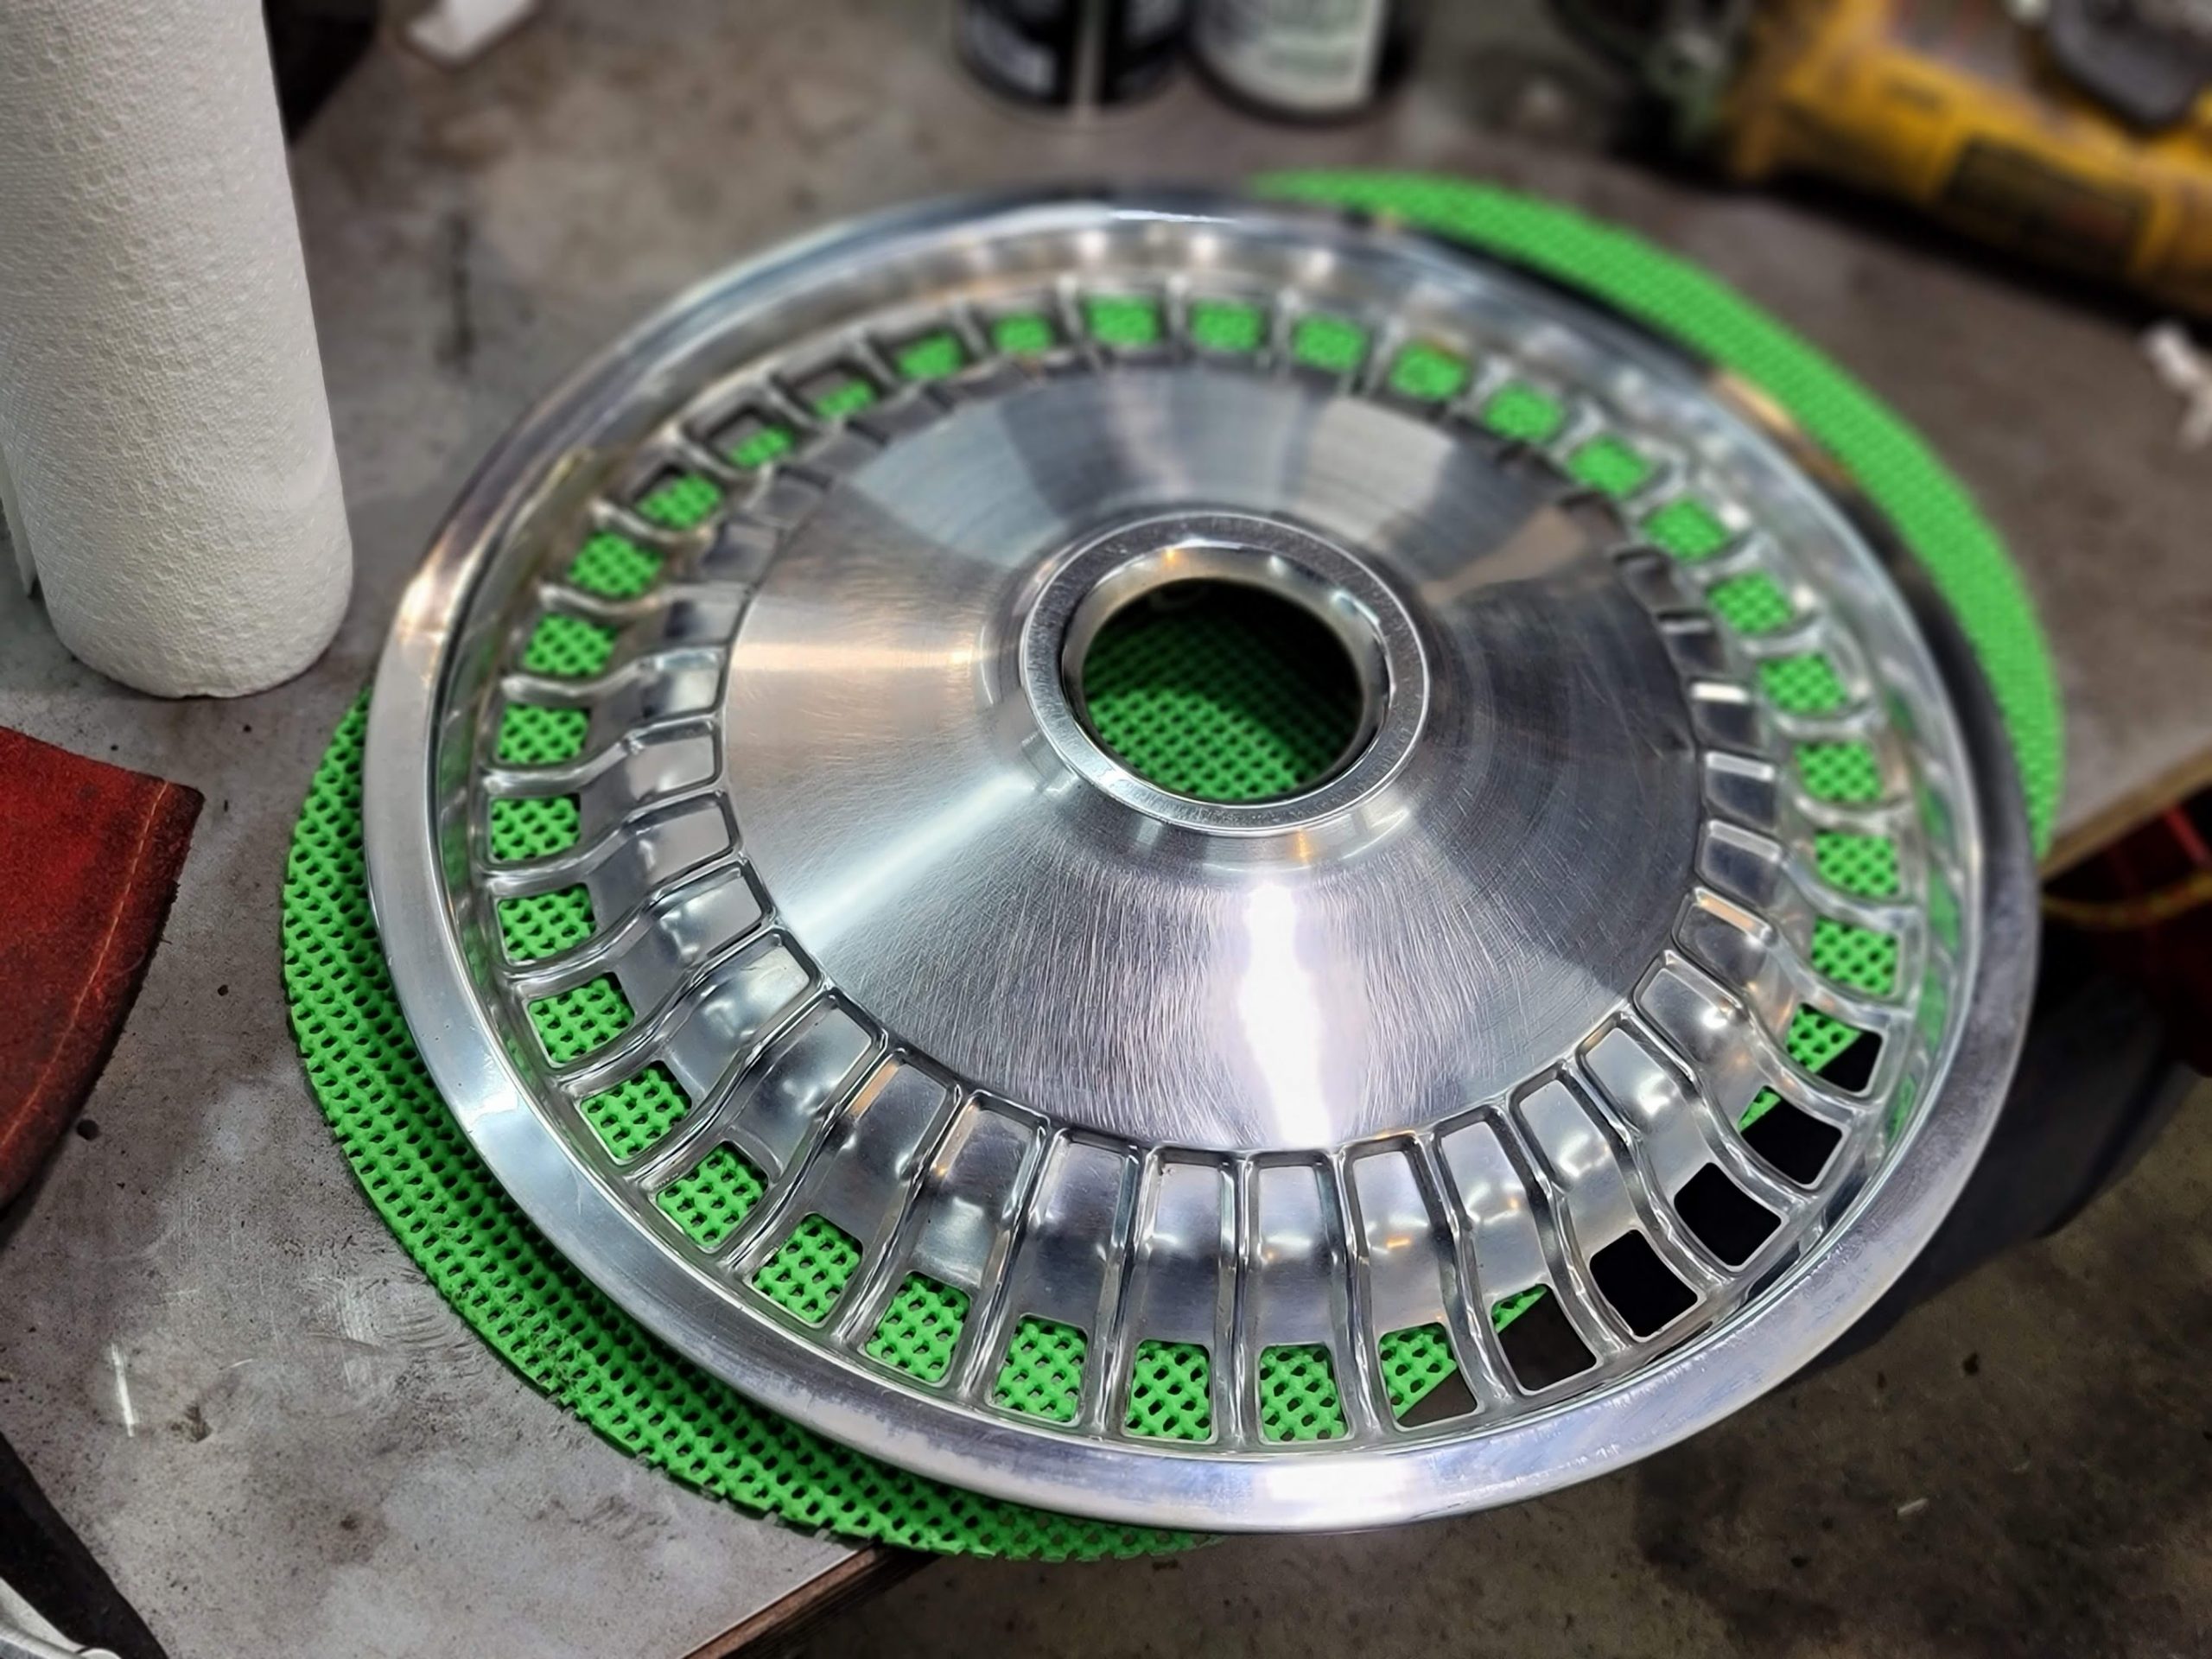
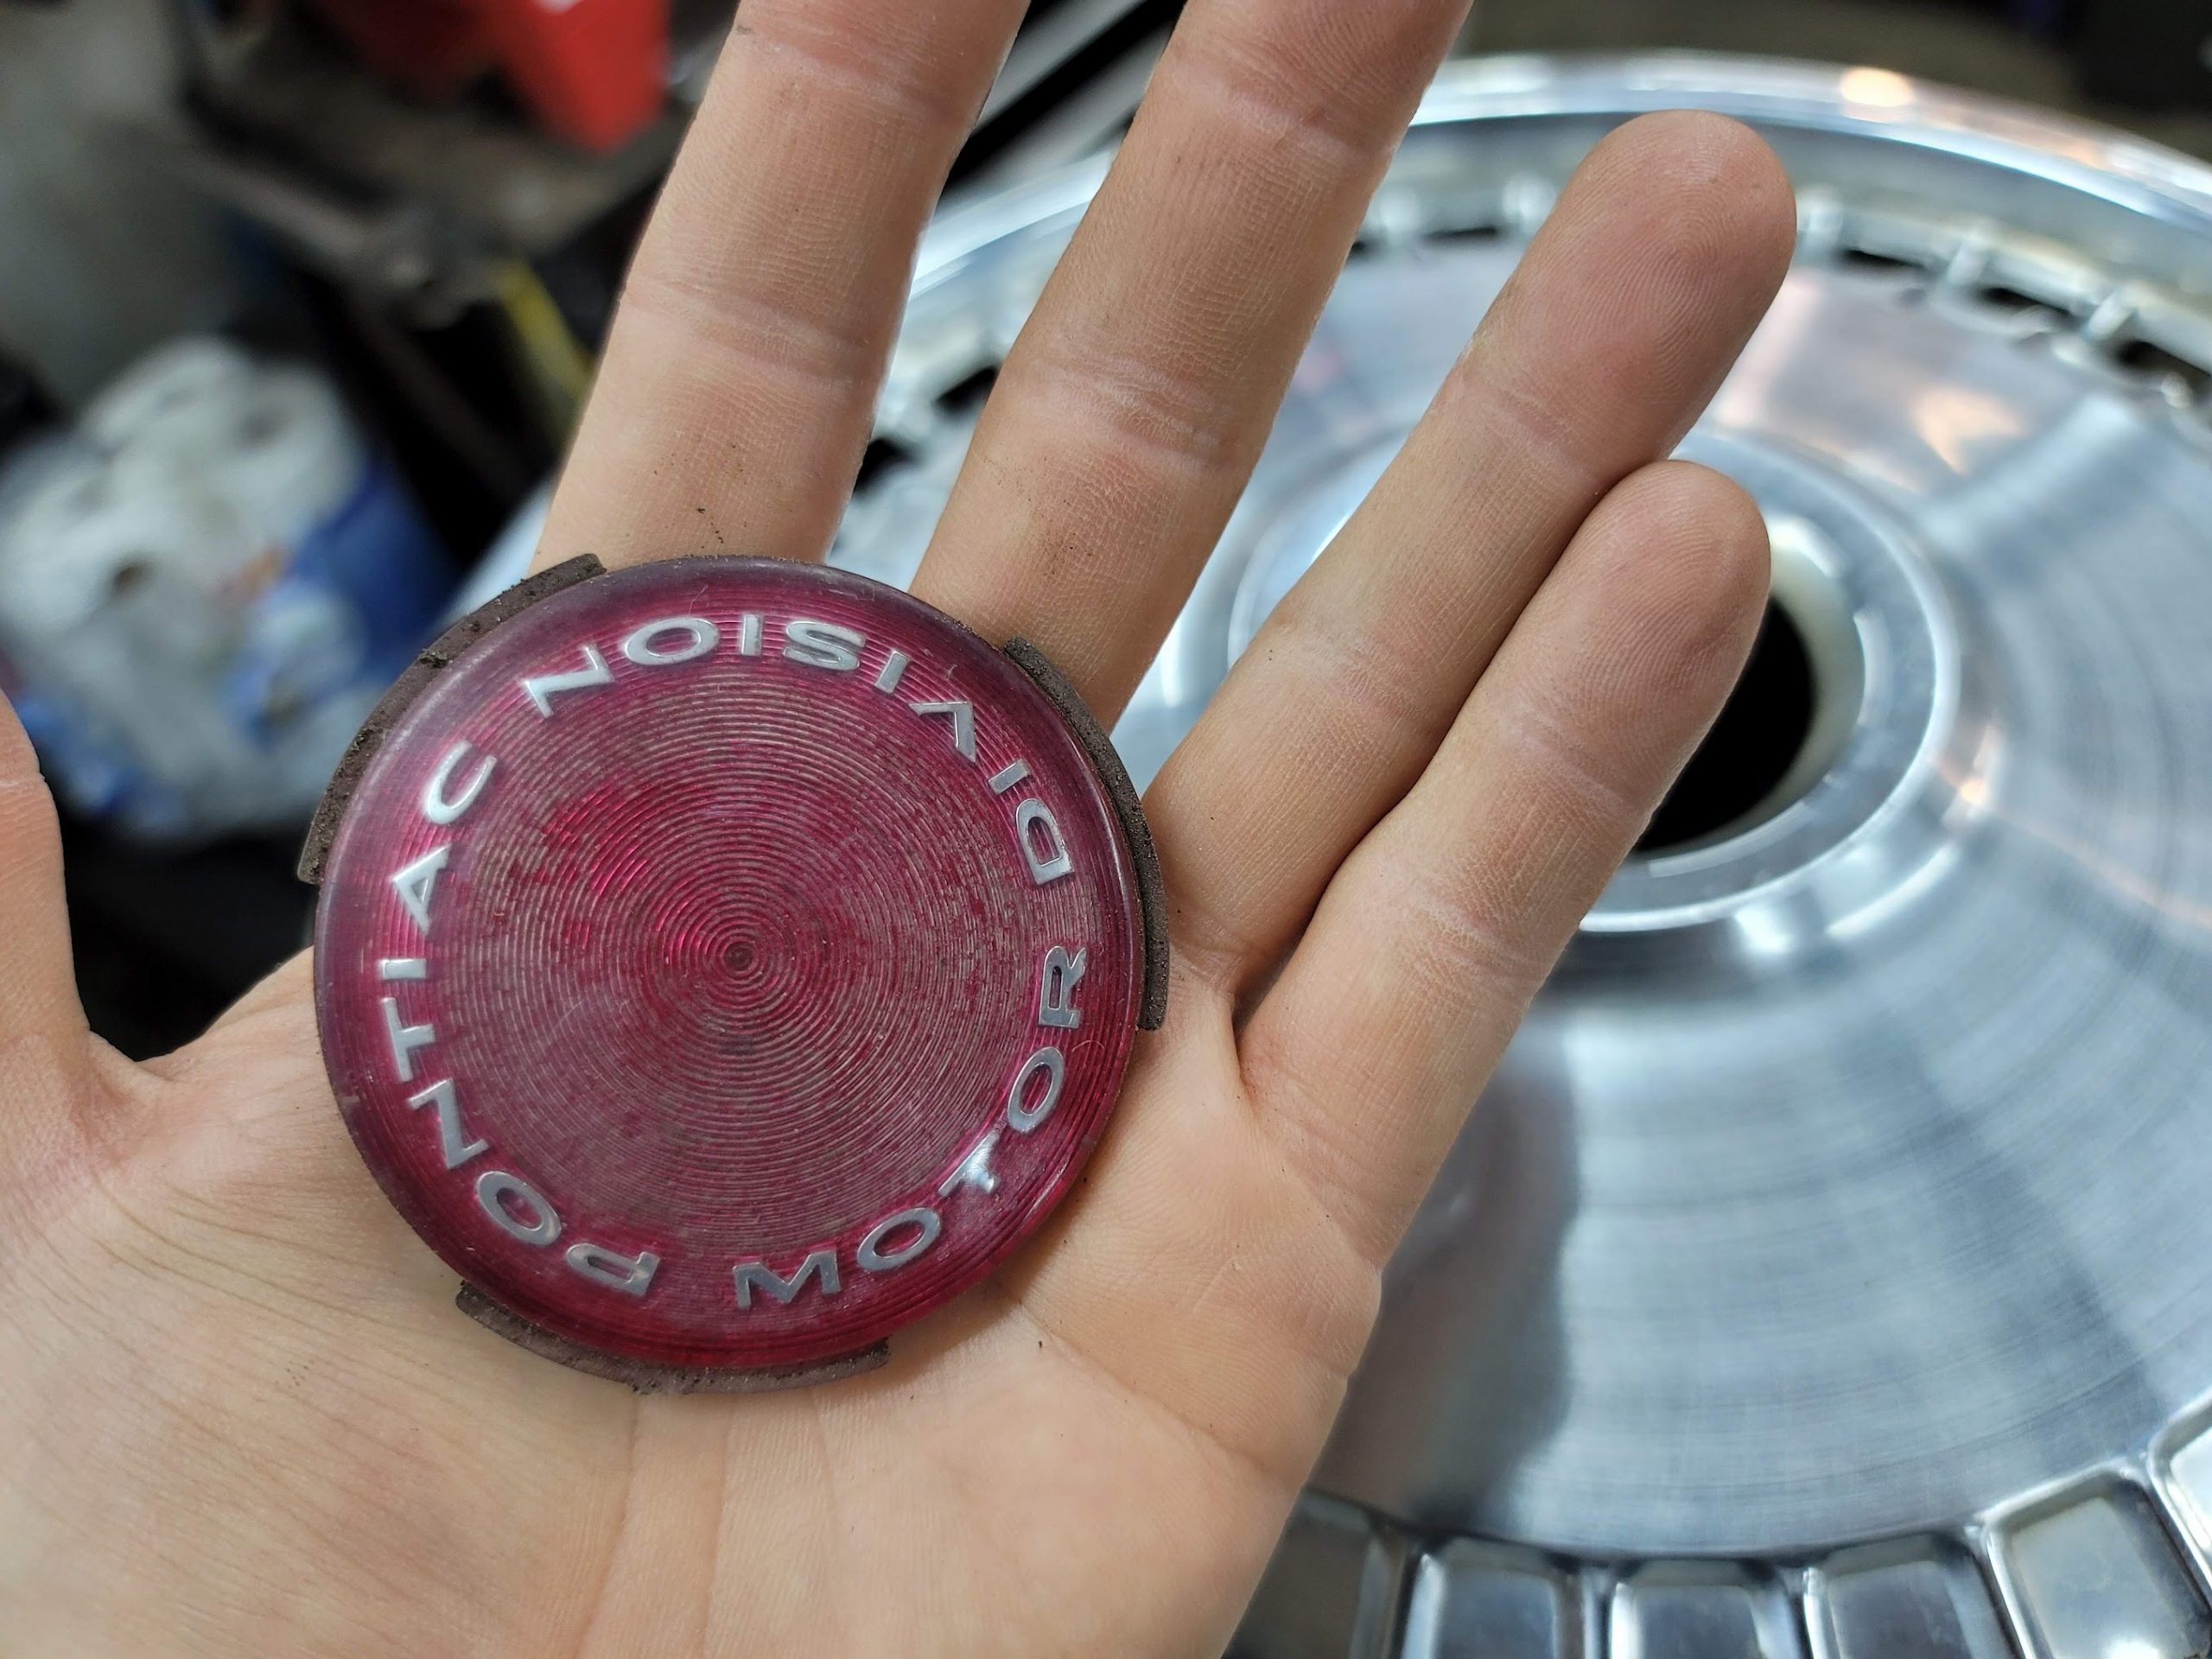
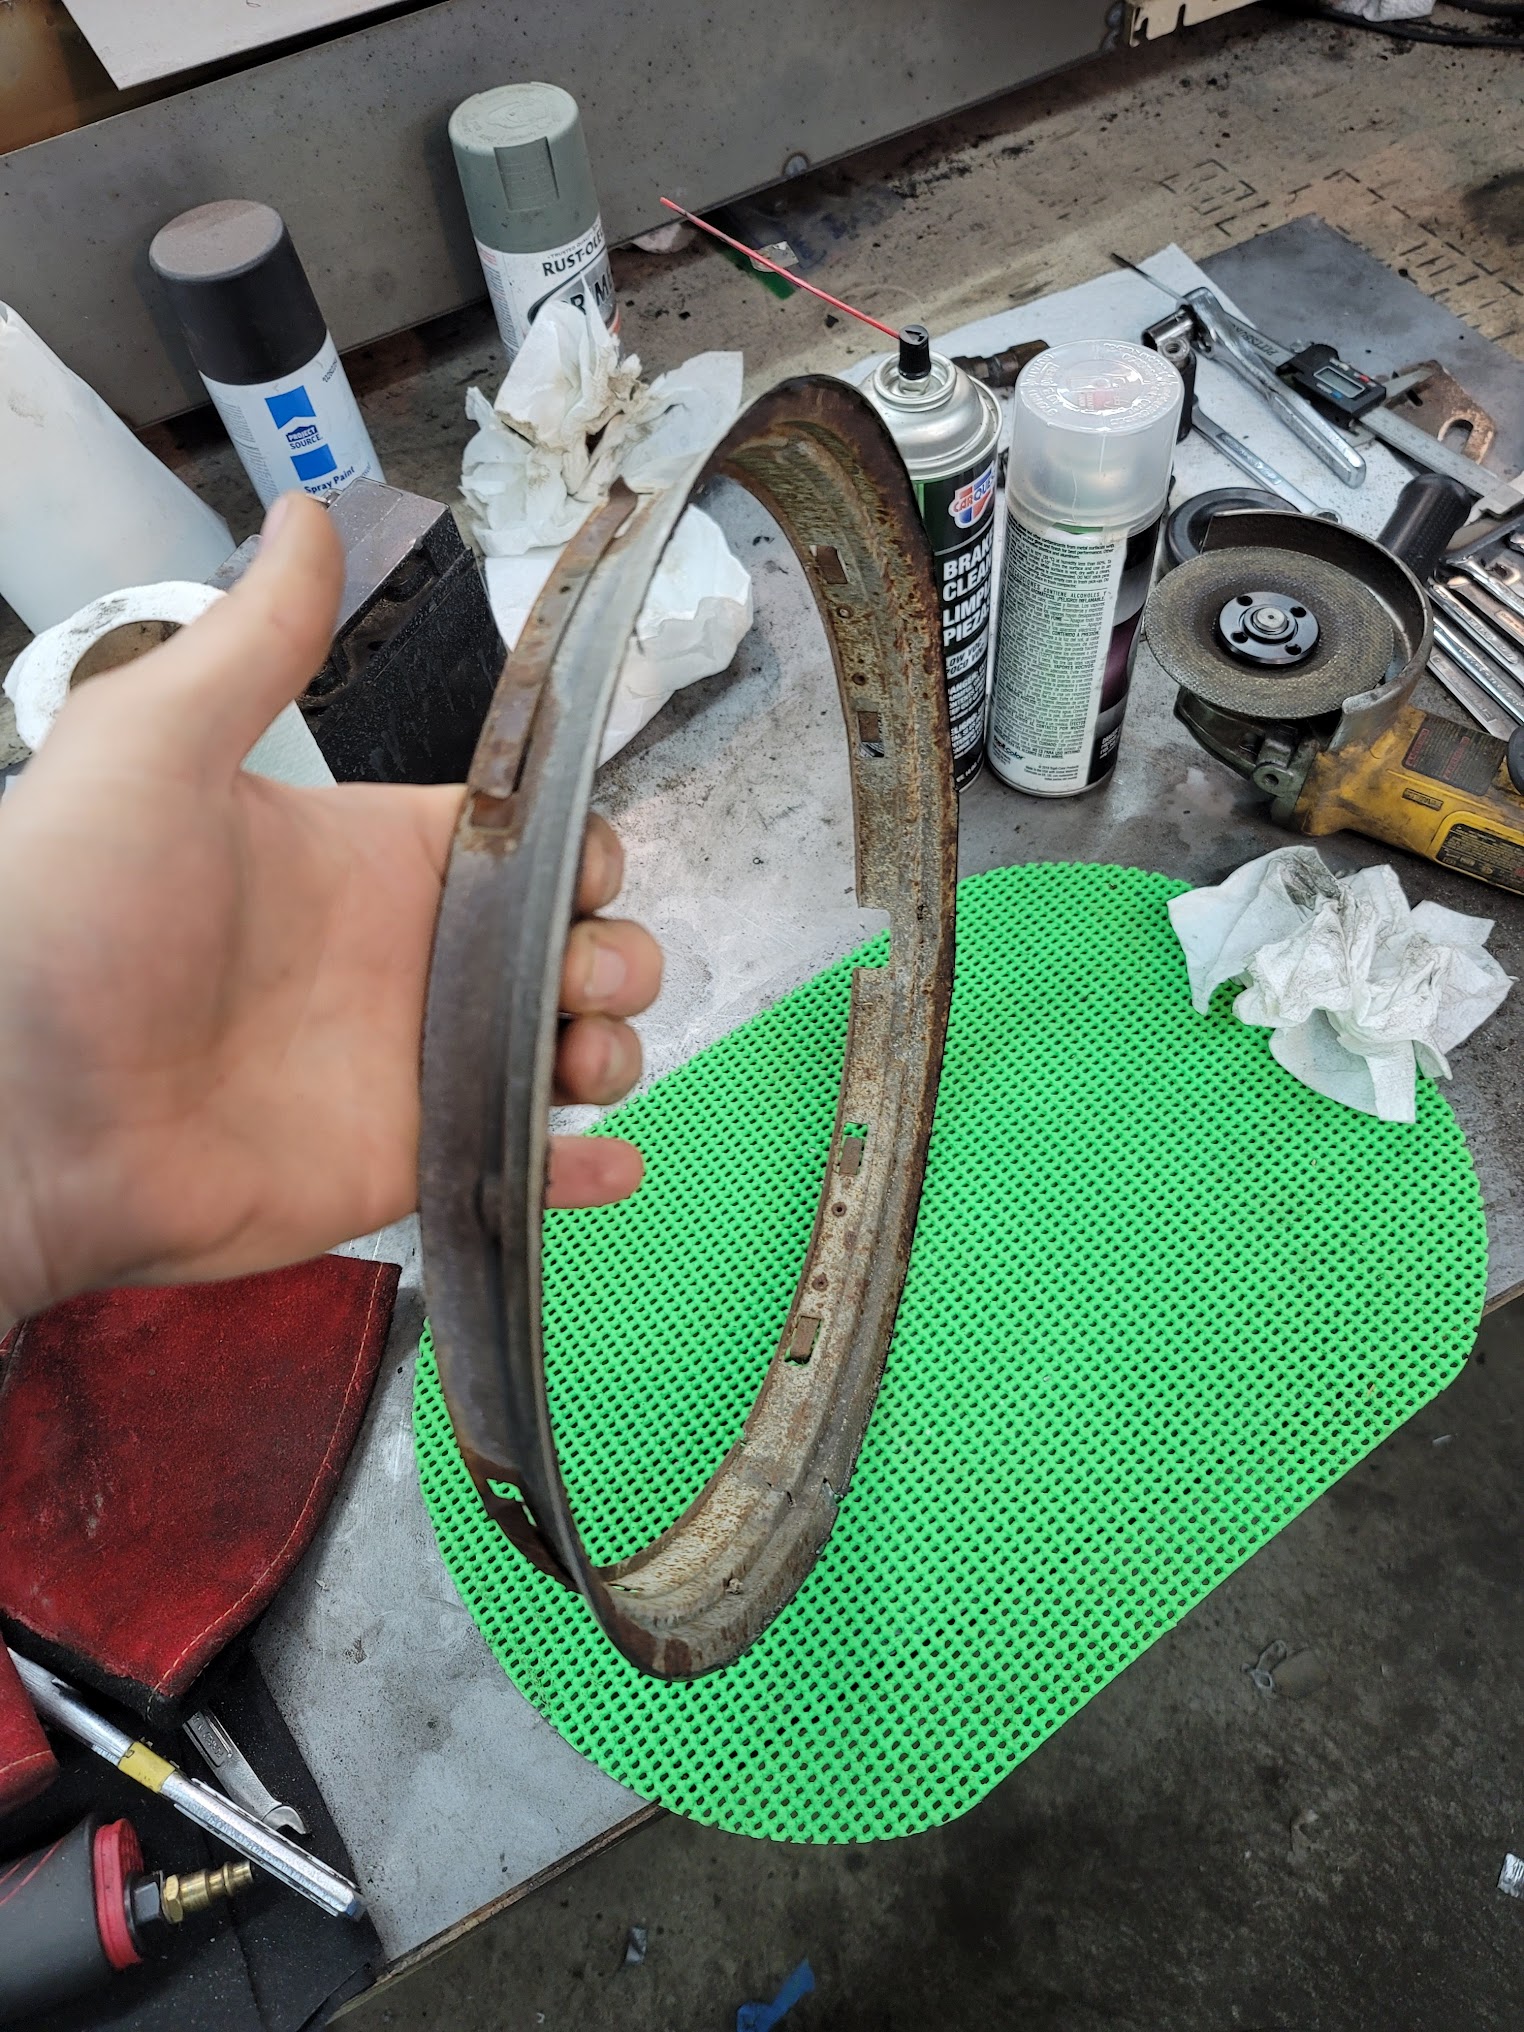
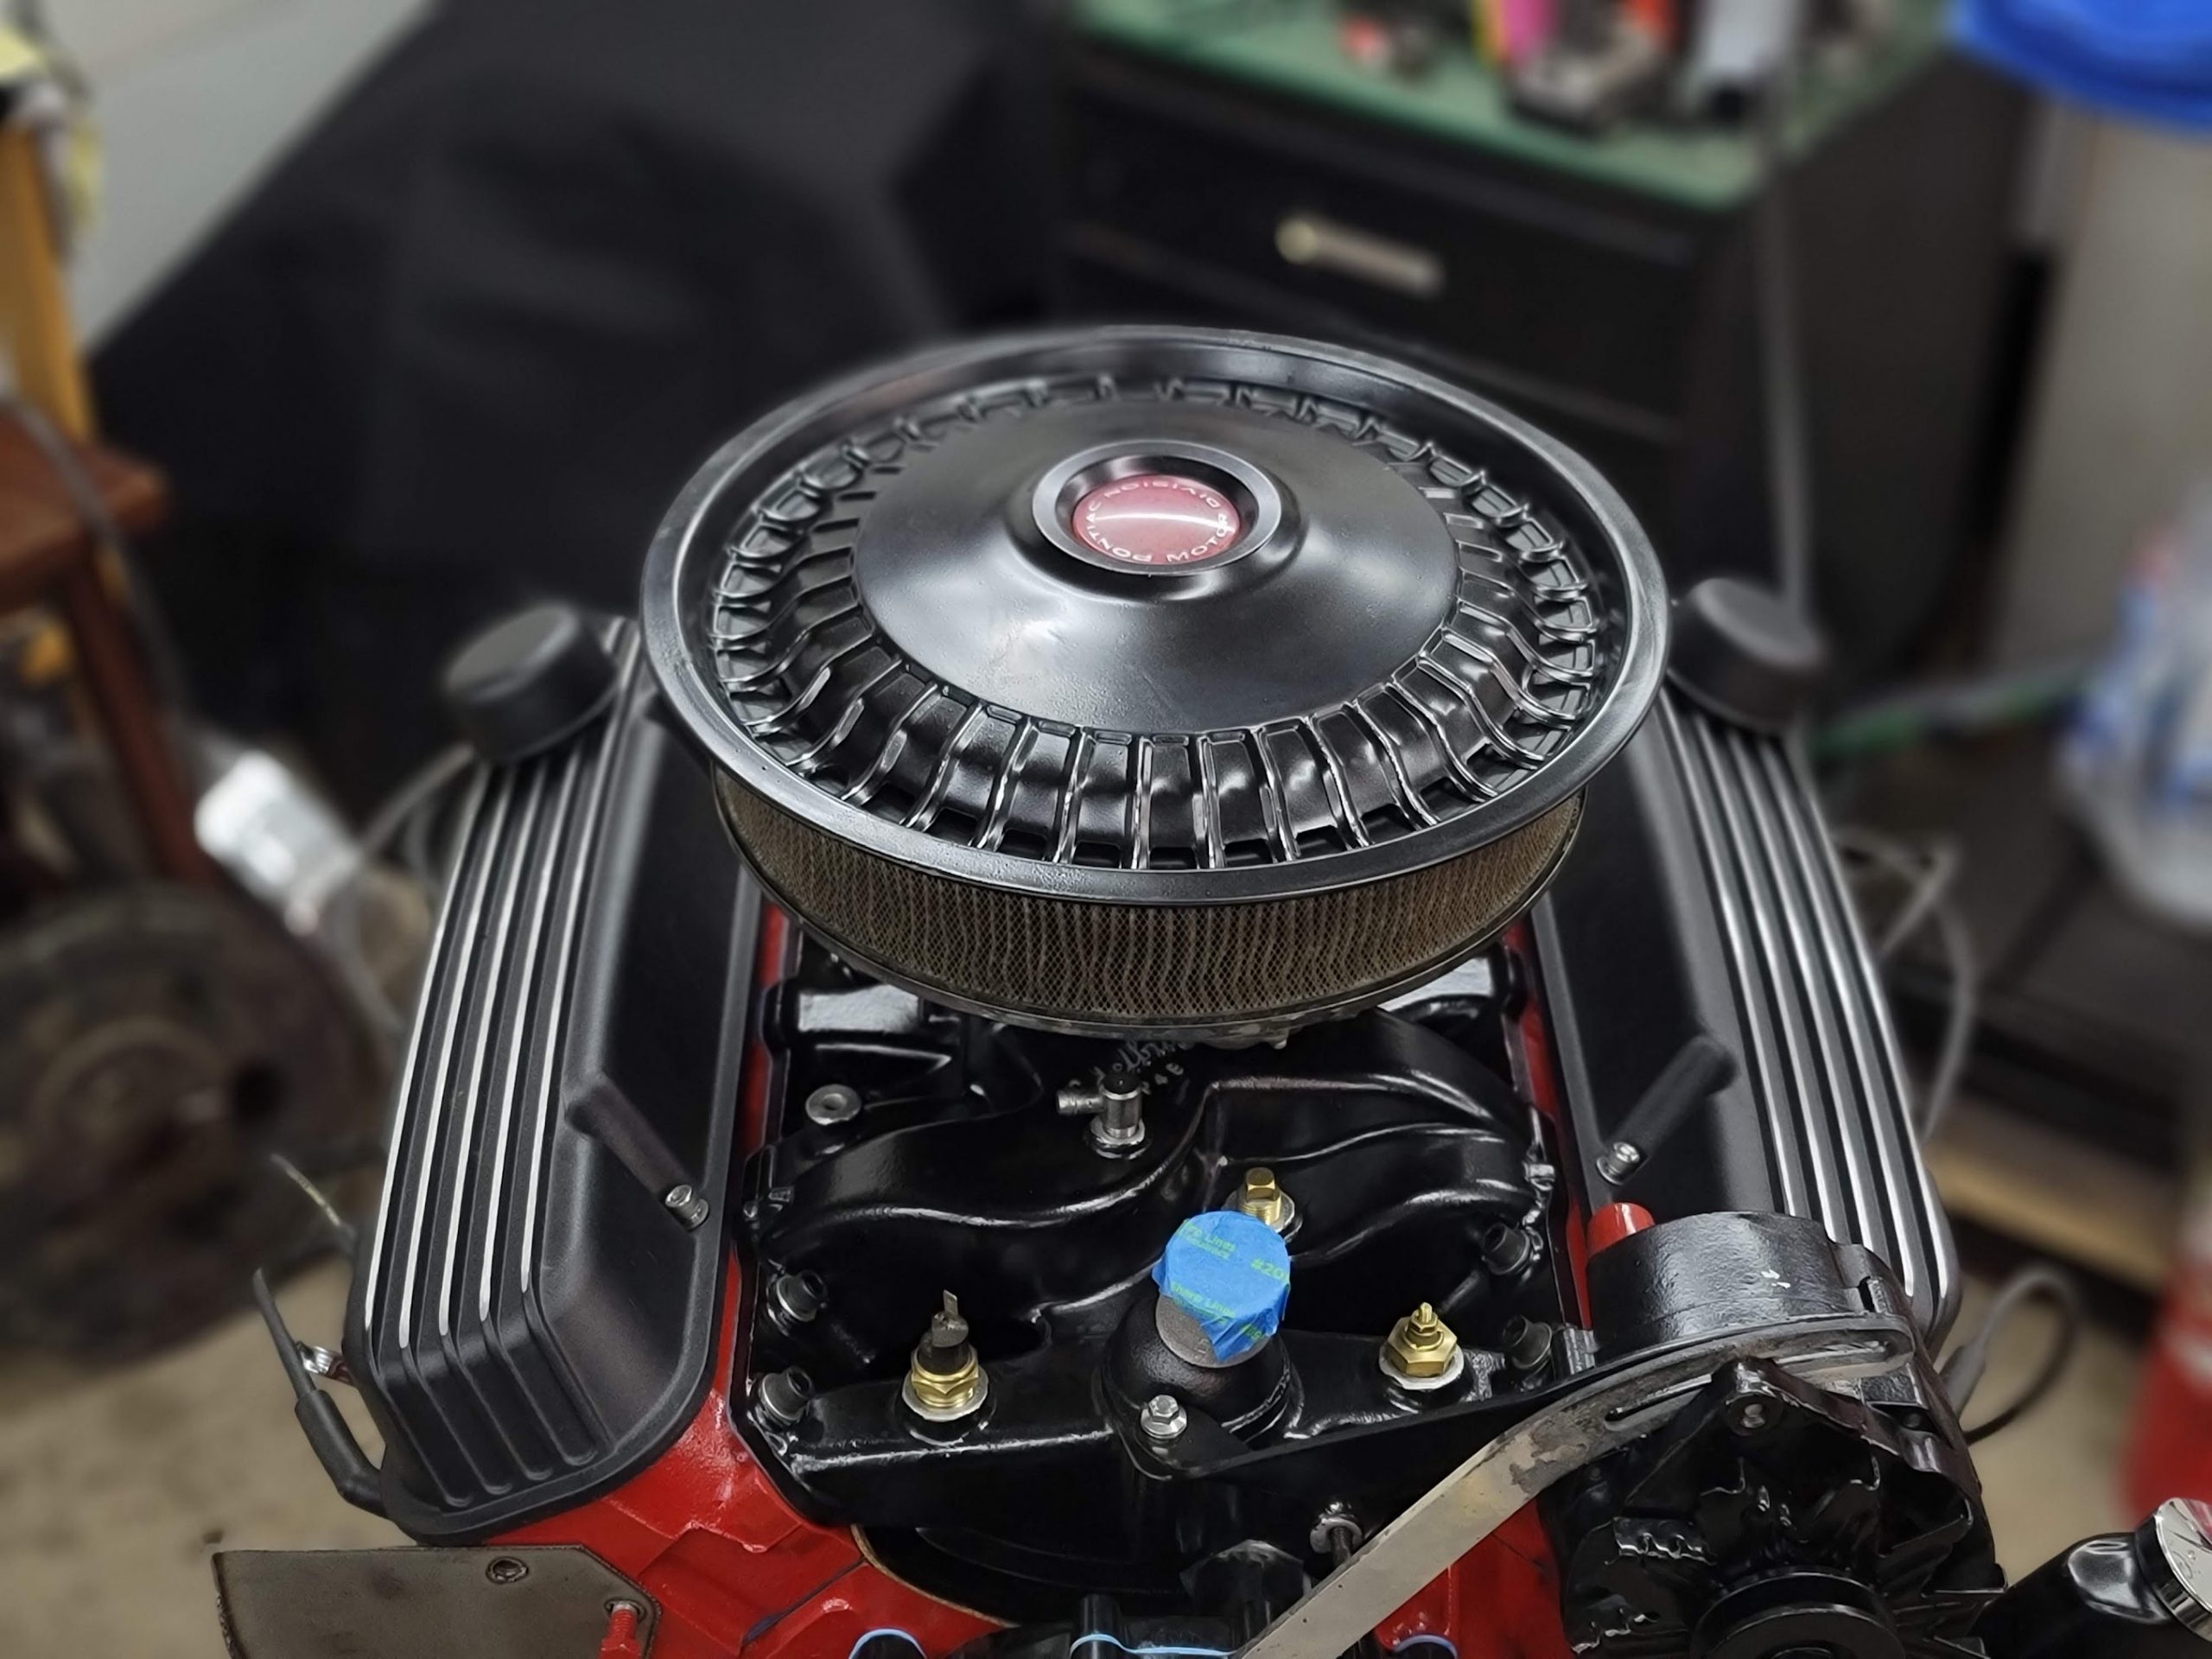
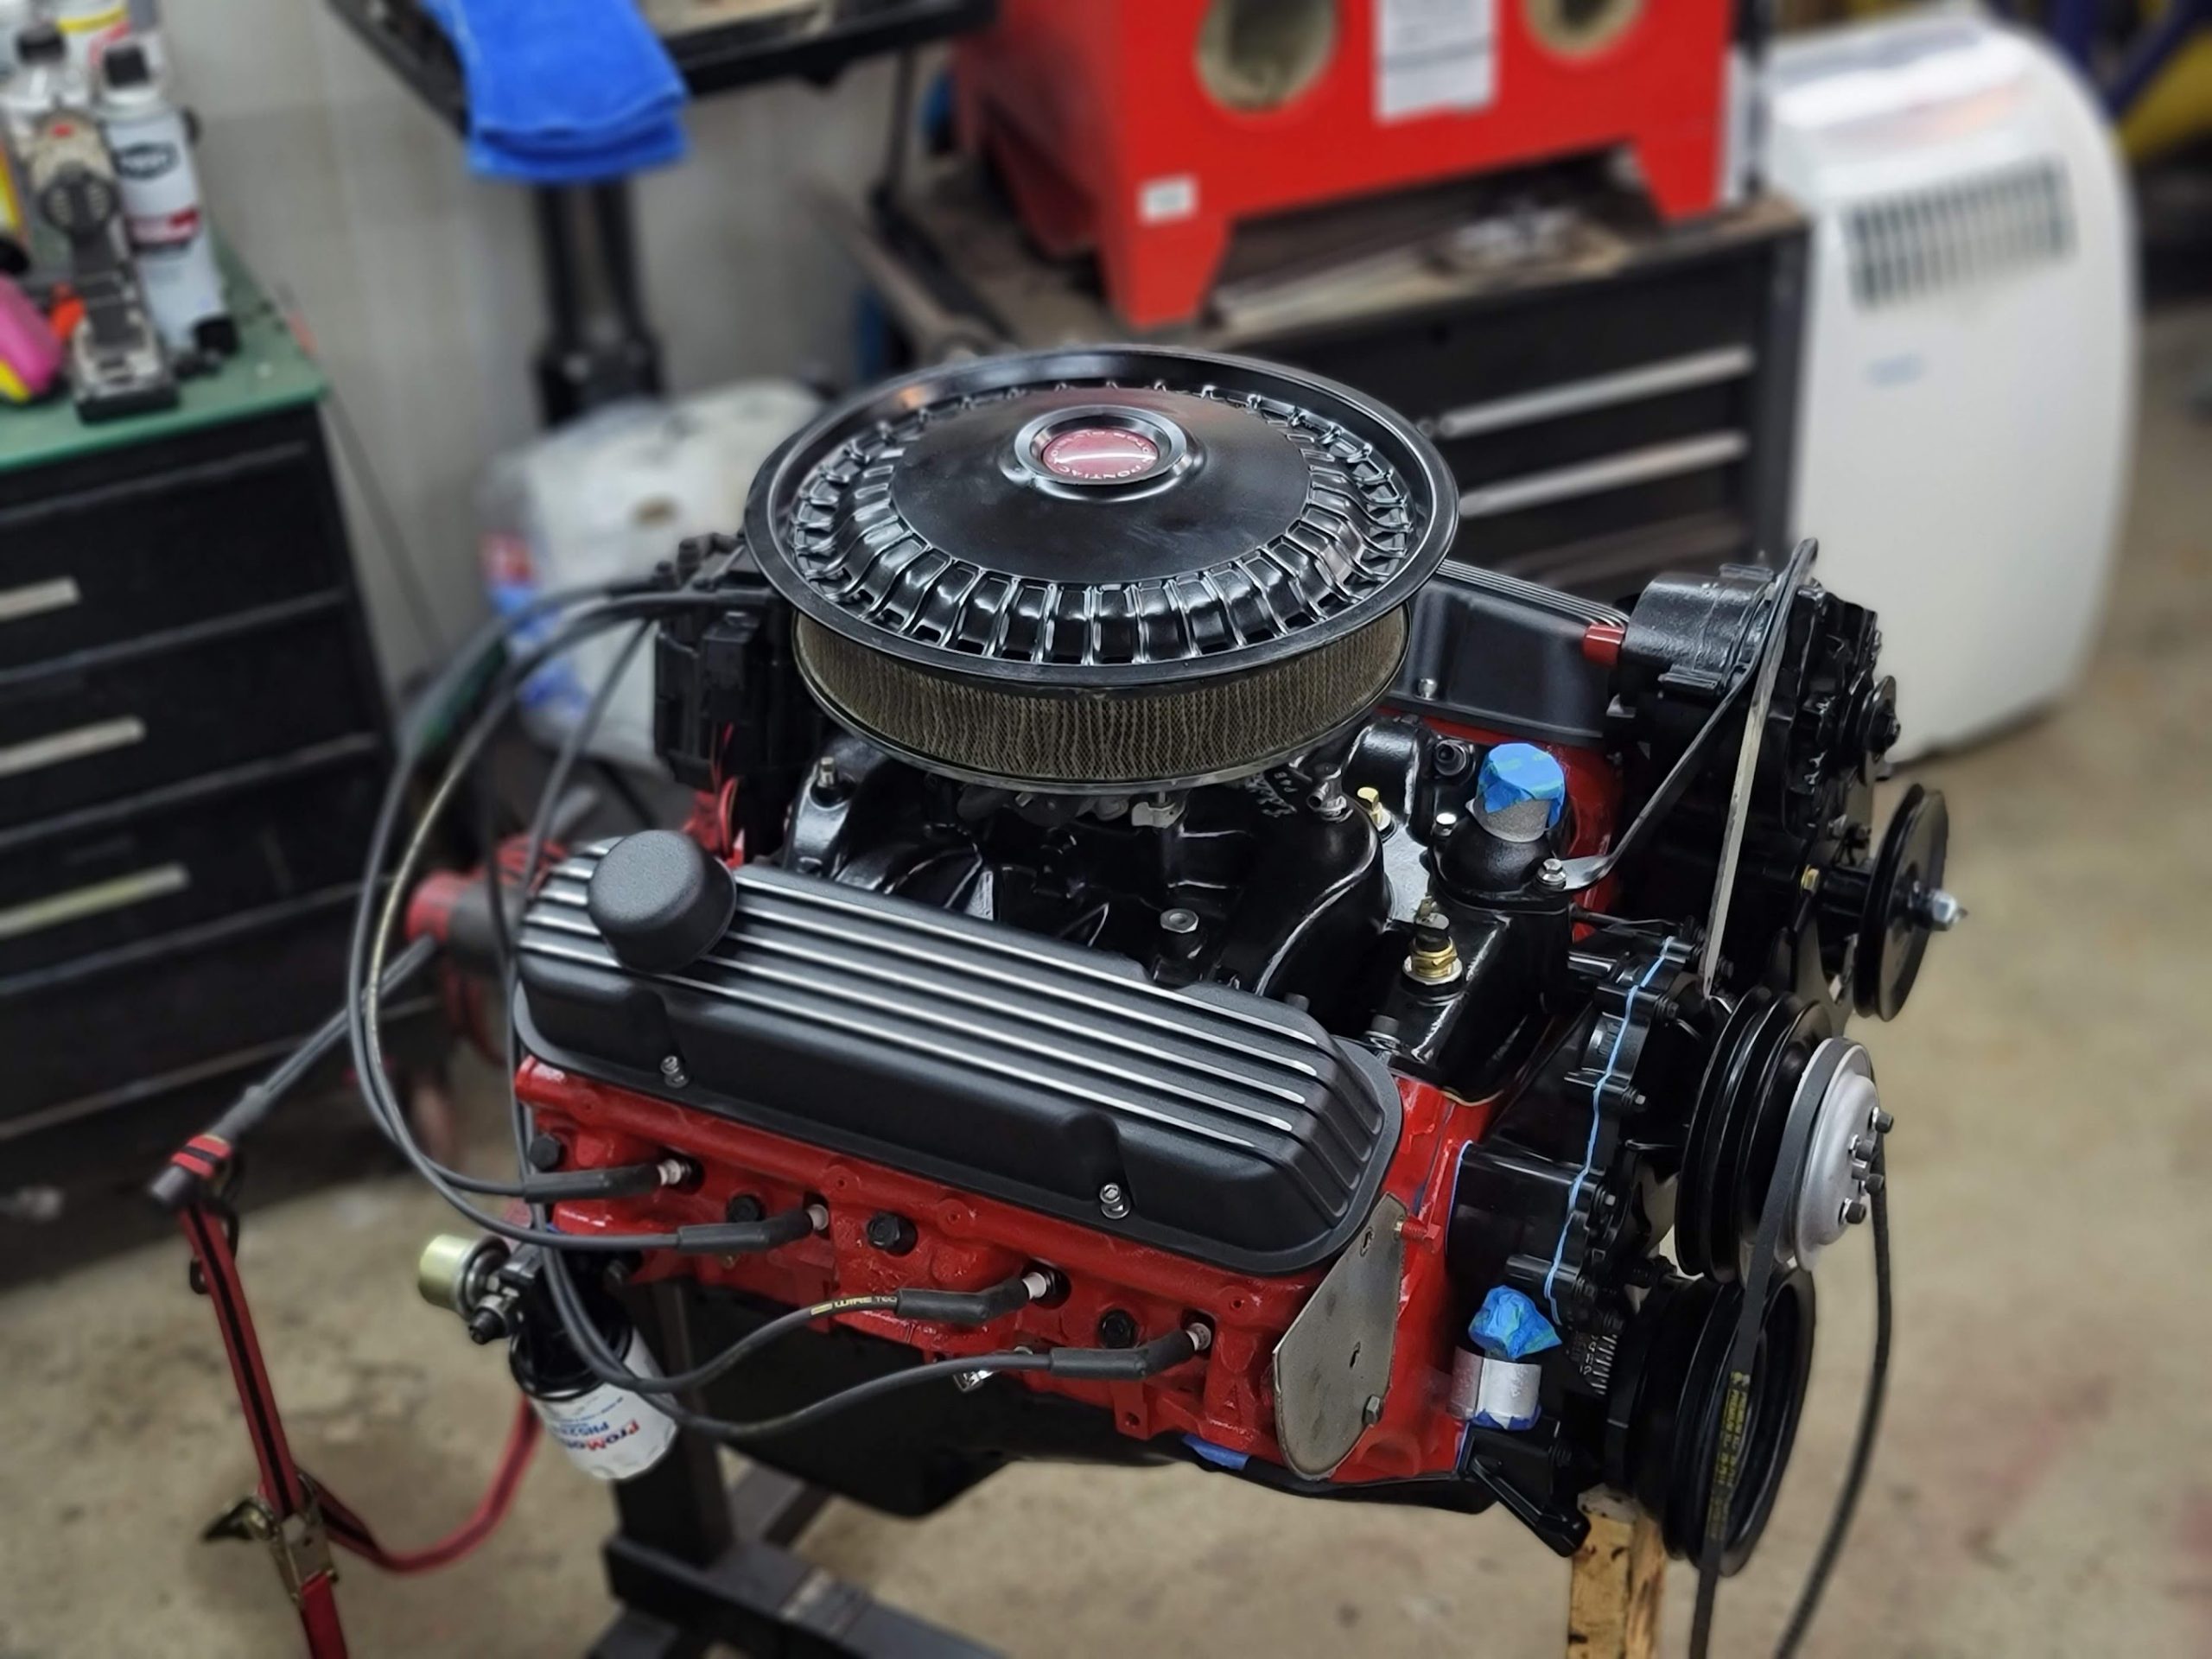
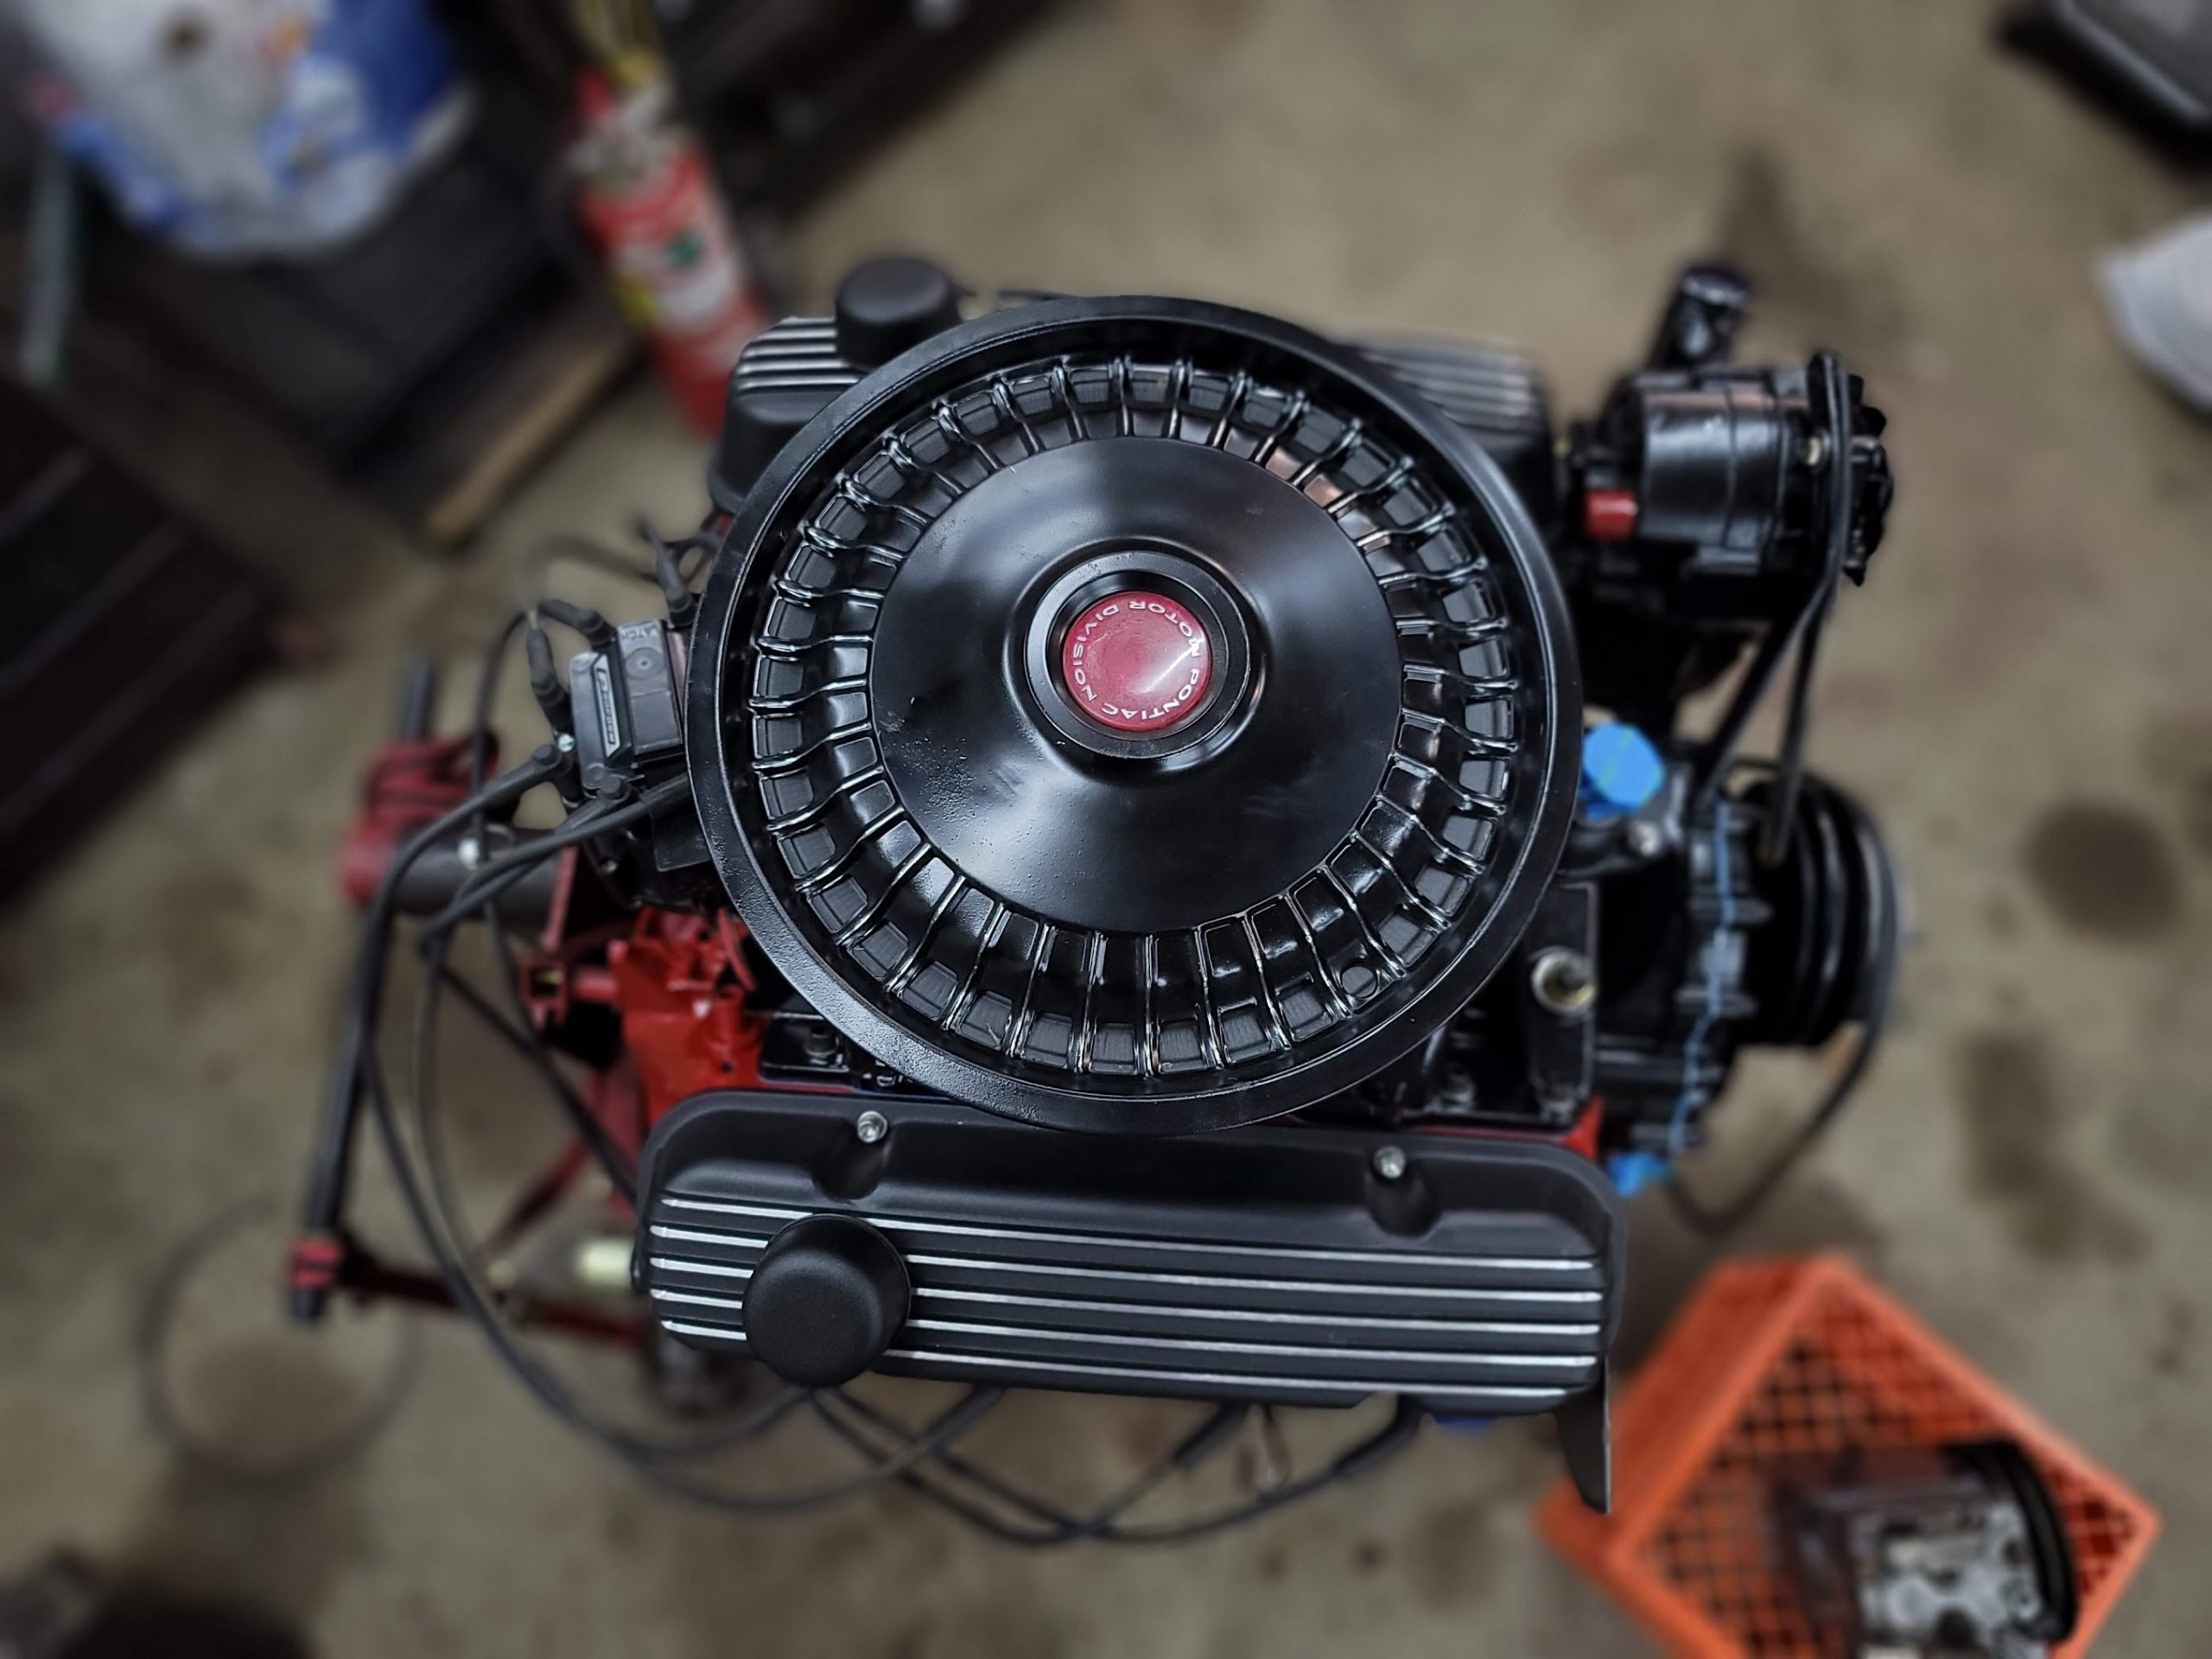
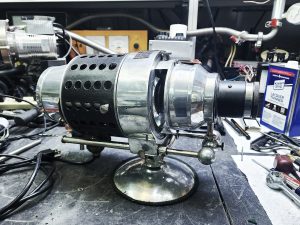
Side project, I picked up a LeMans hubcap, what would have been on the car the engine came out of! I painted it black and stuck it on the engine.. It looks interesting, I may go pickup a larger red filter and plasma cut out a larger bottom ring, and see how it looks. More soon!
UPDATE: 5/2/2022 Got more items into paint, including the compressor.
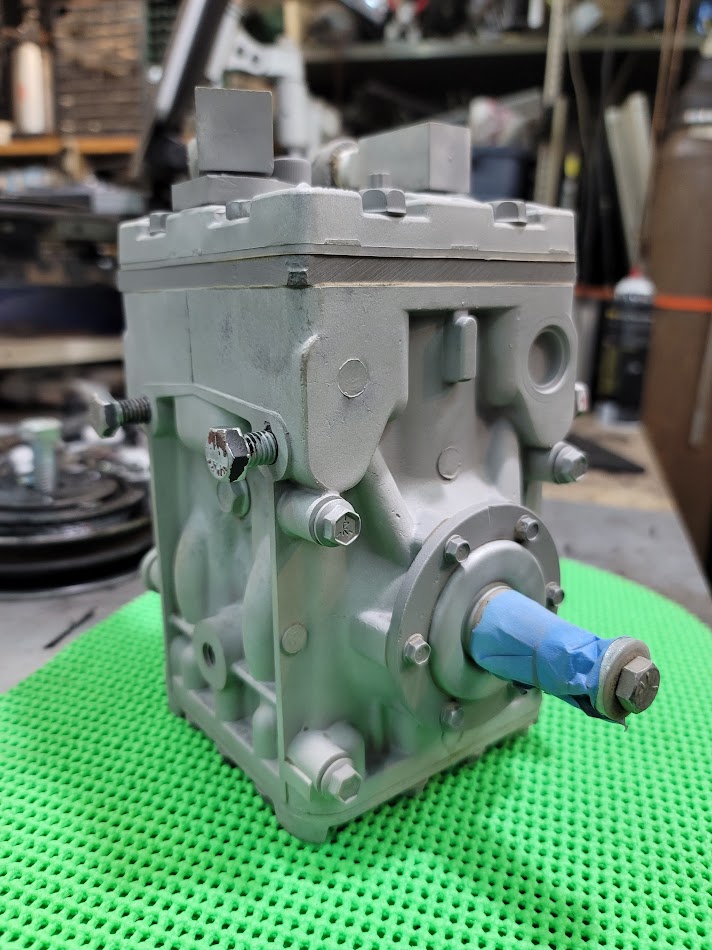
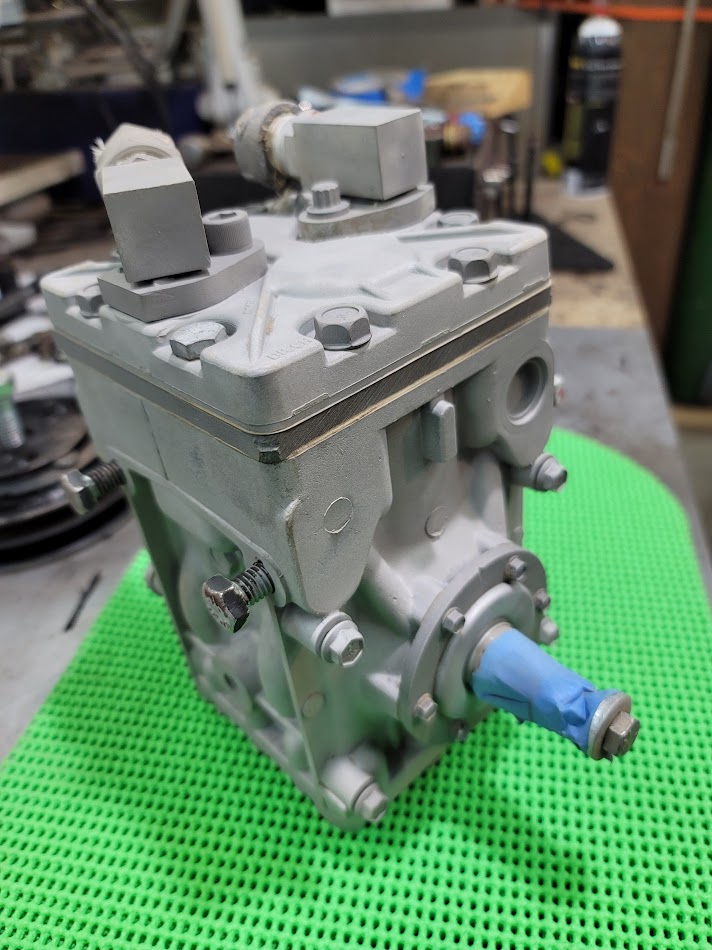
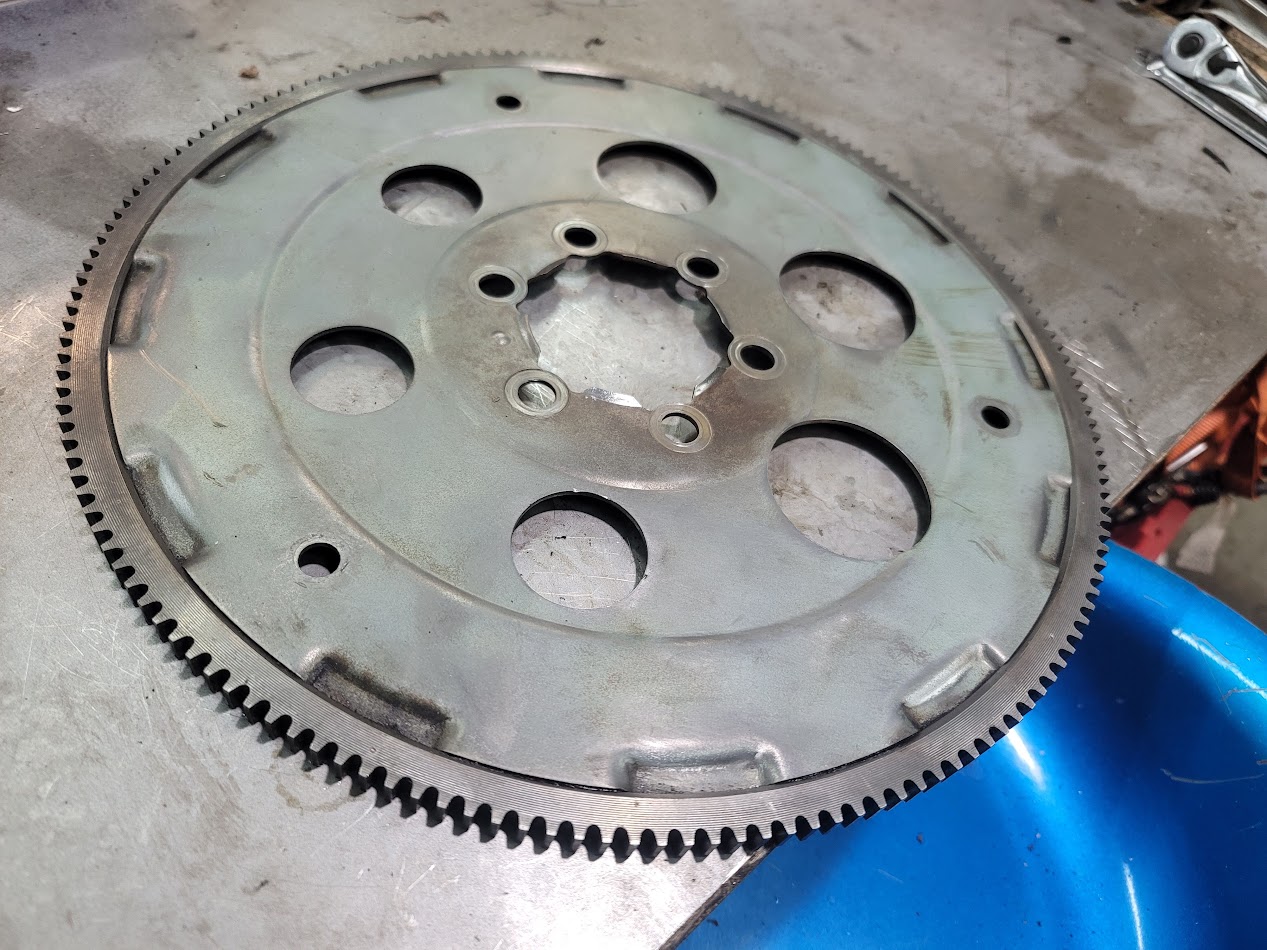
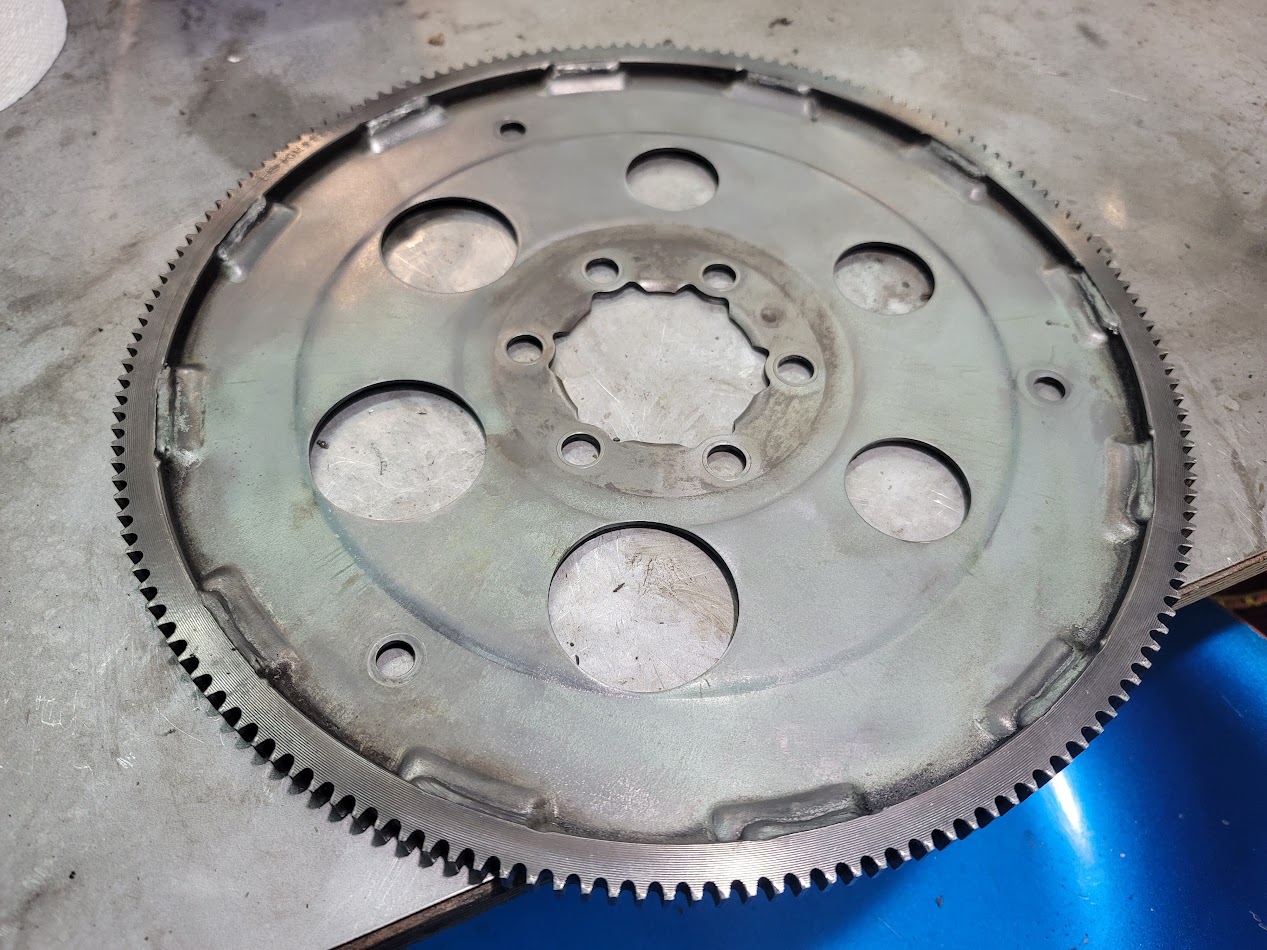
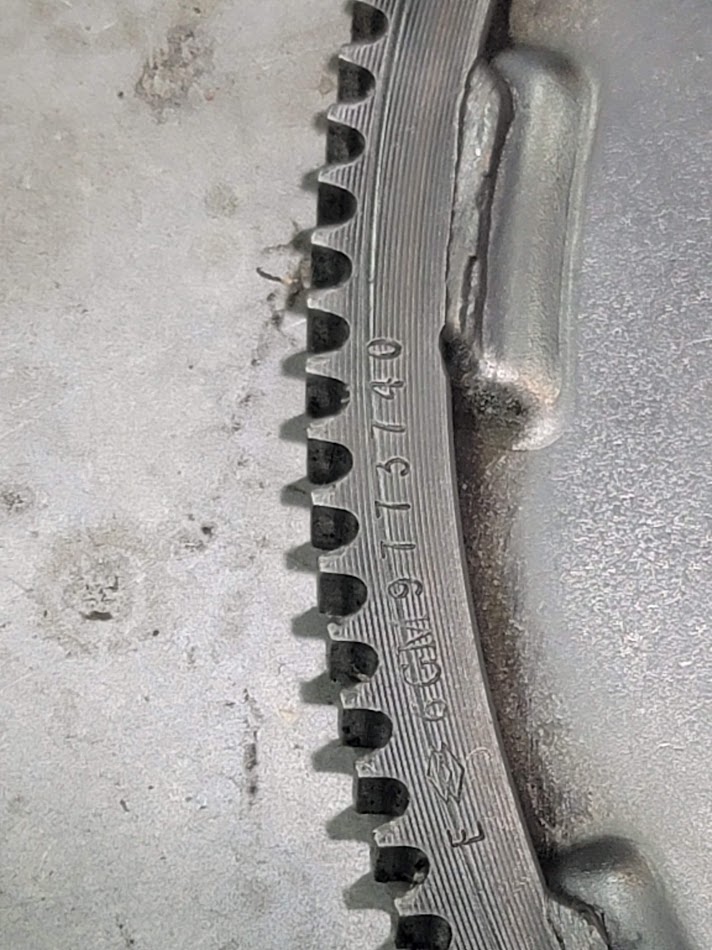
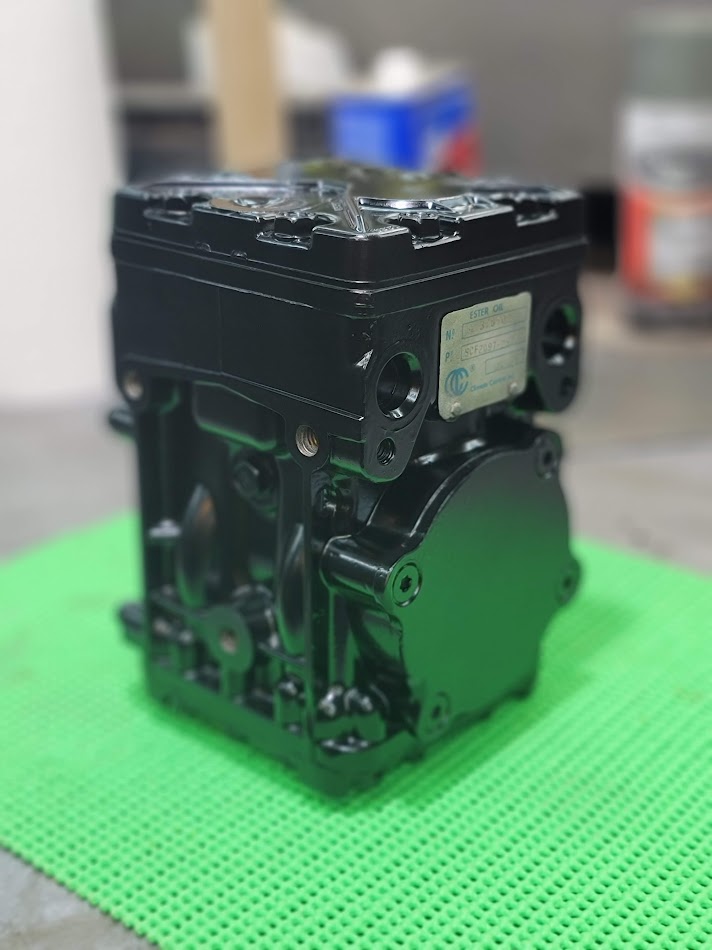
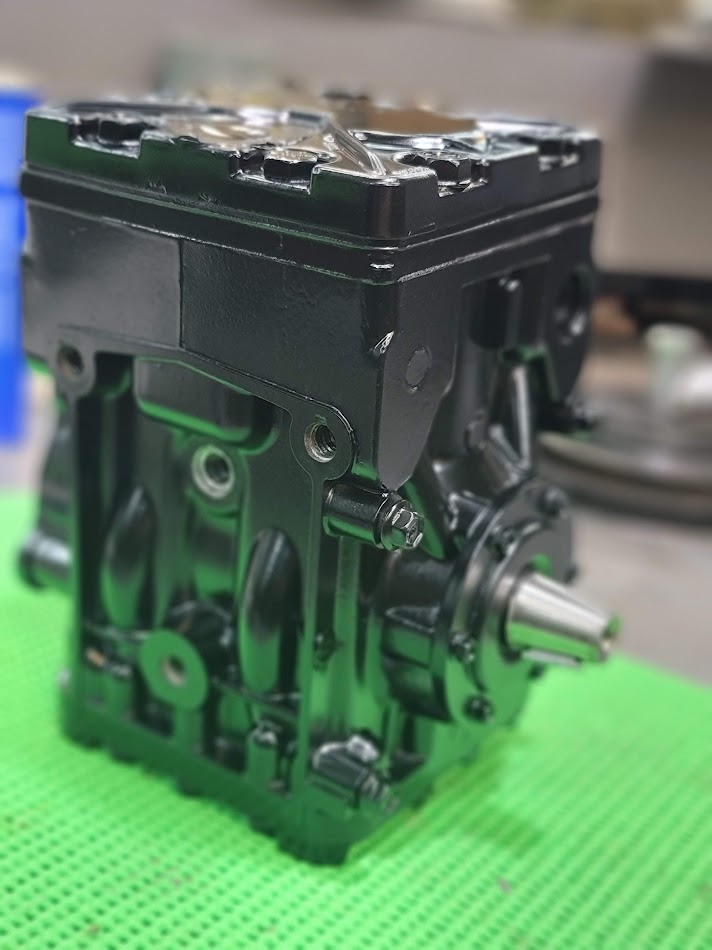
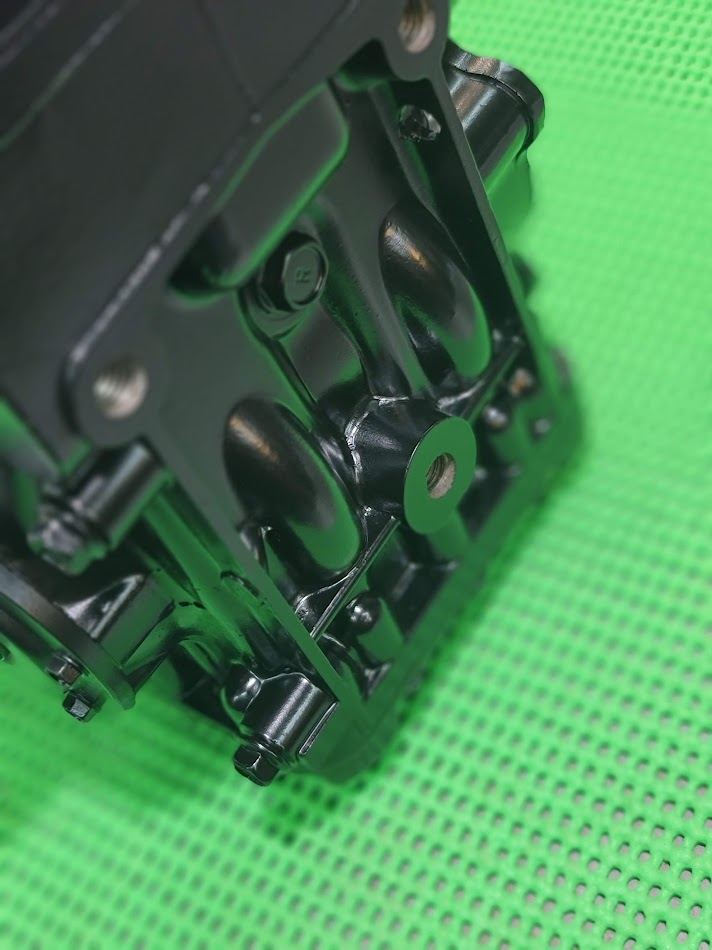
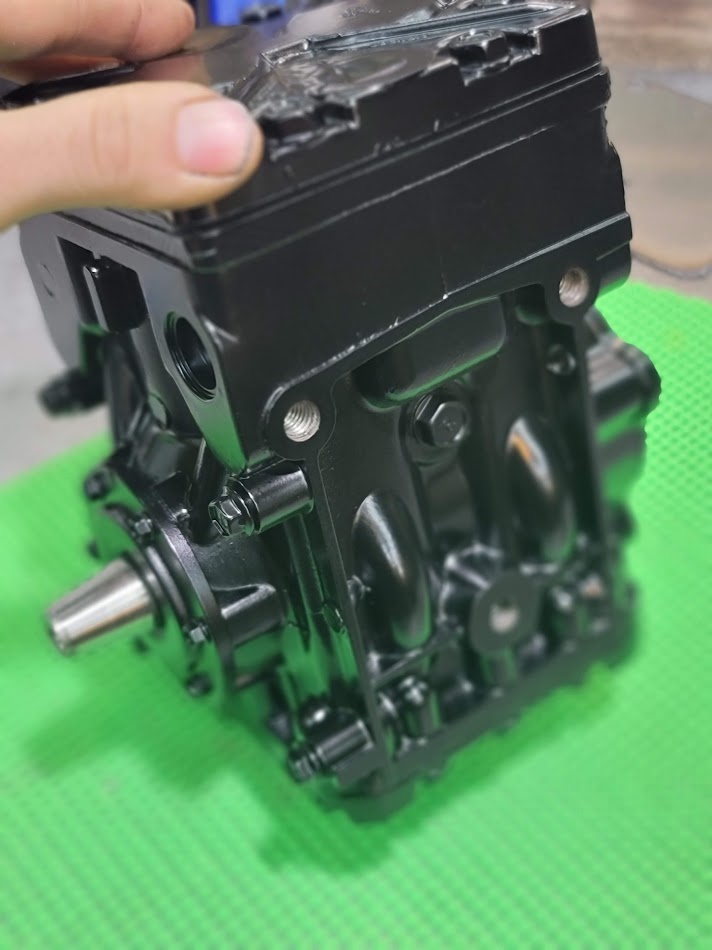
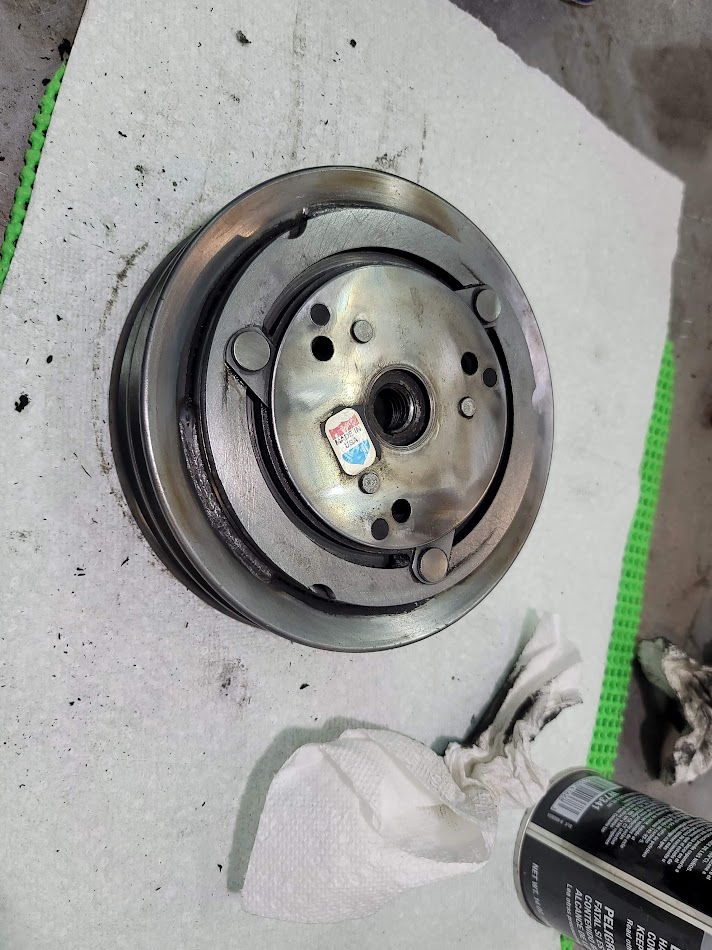
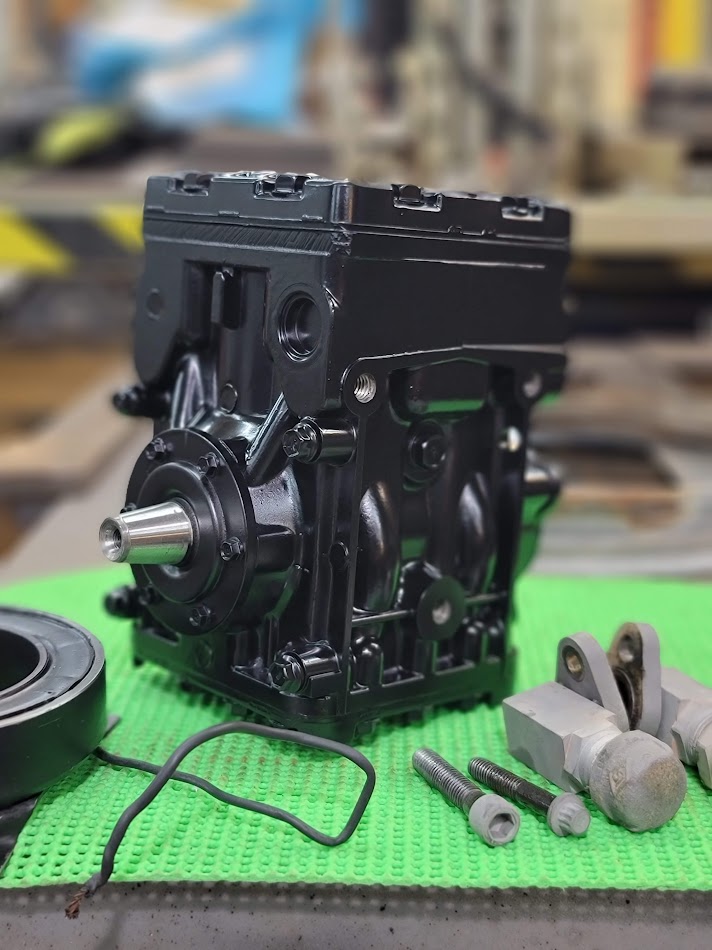
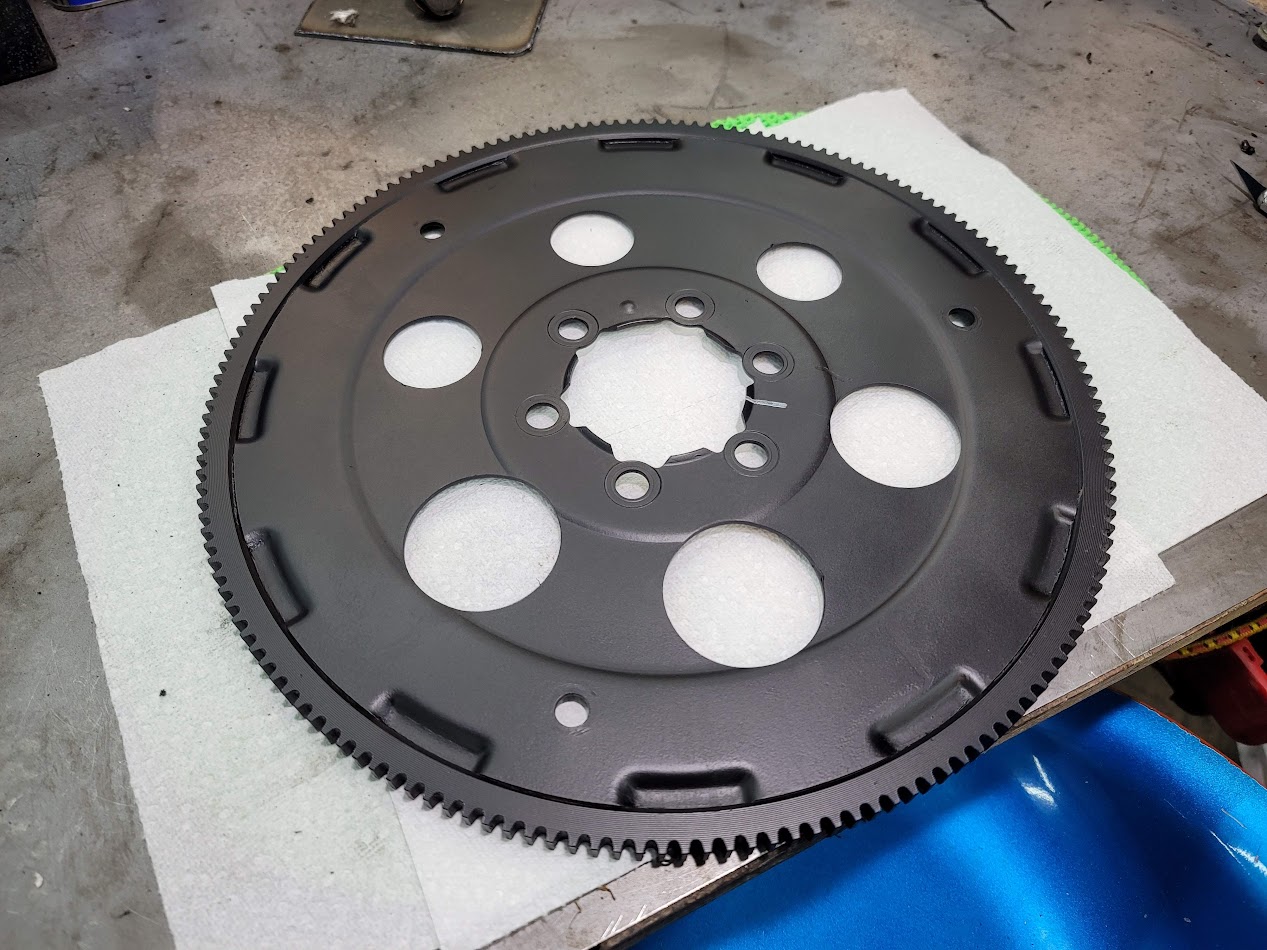
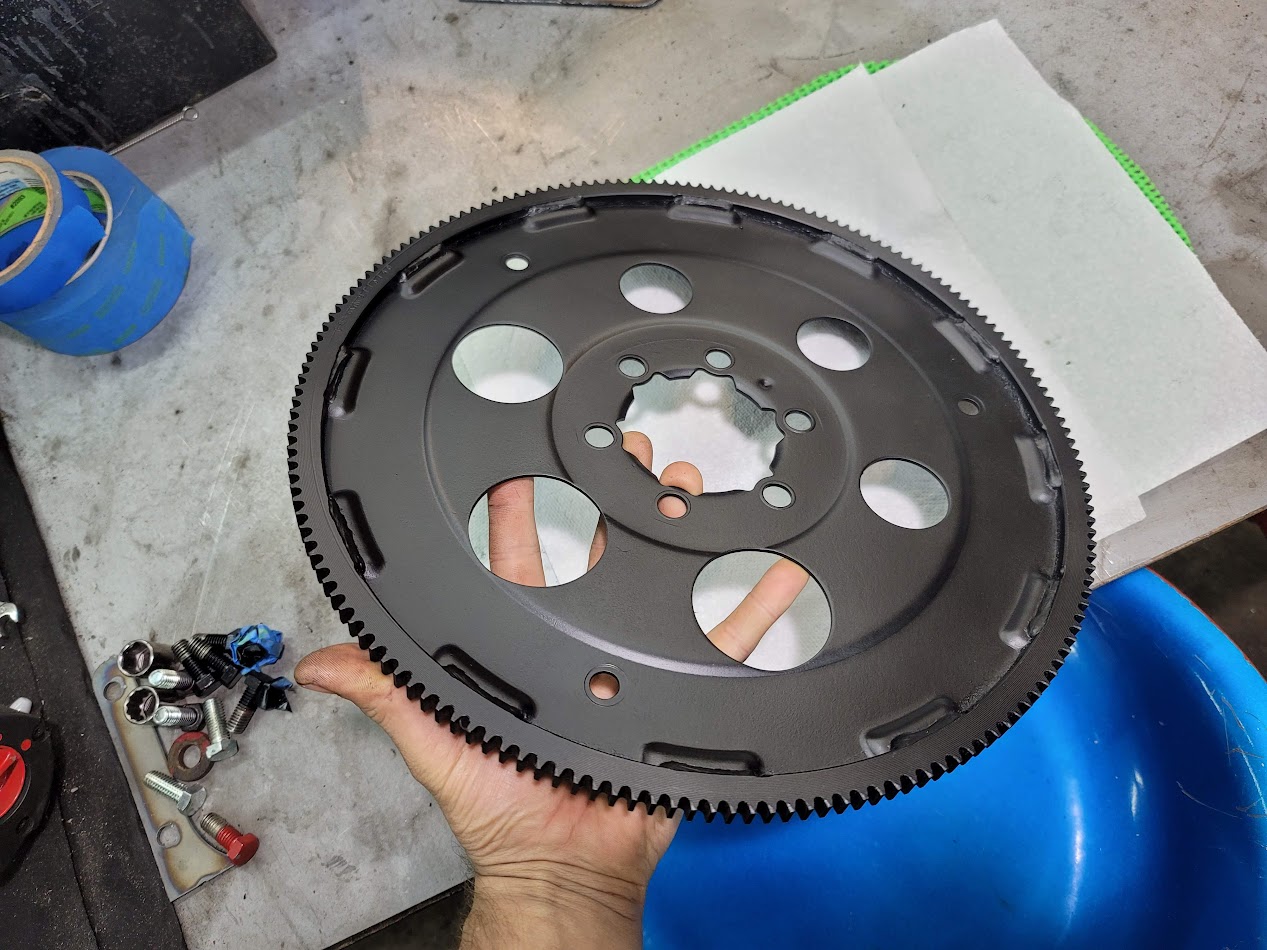
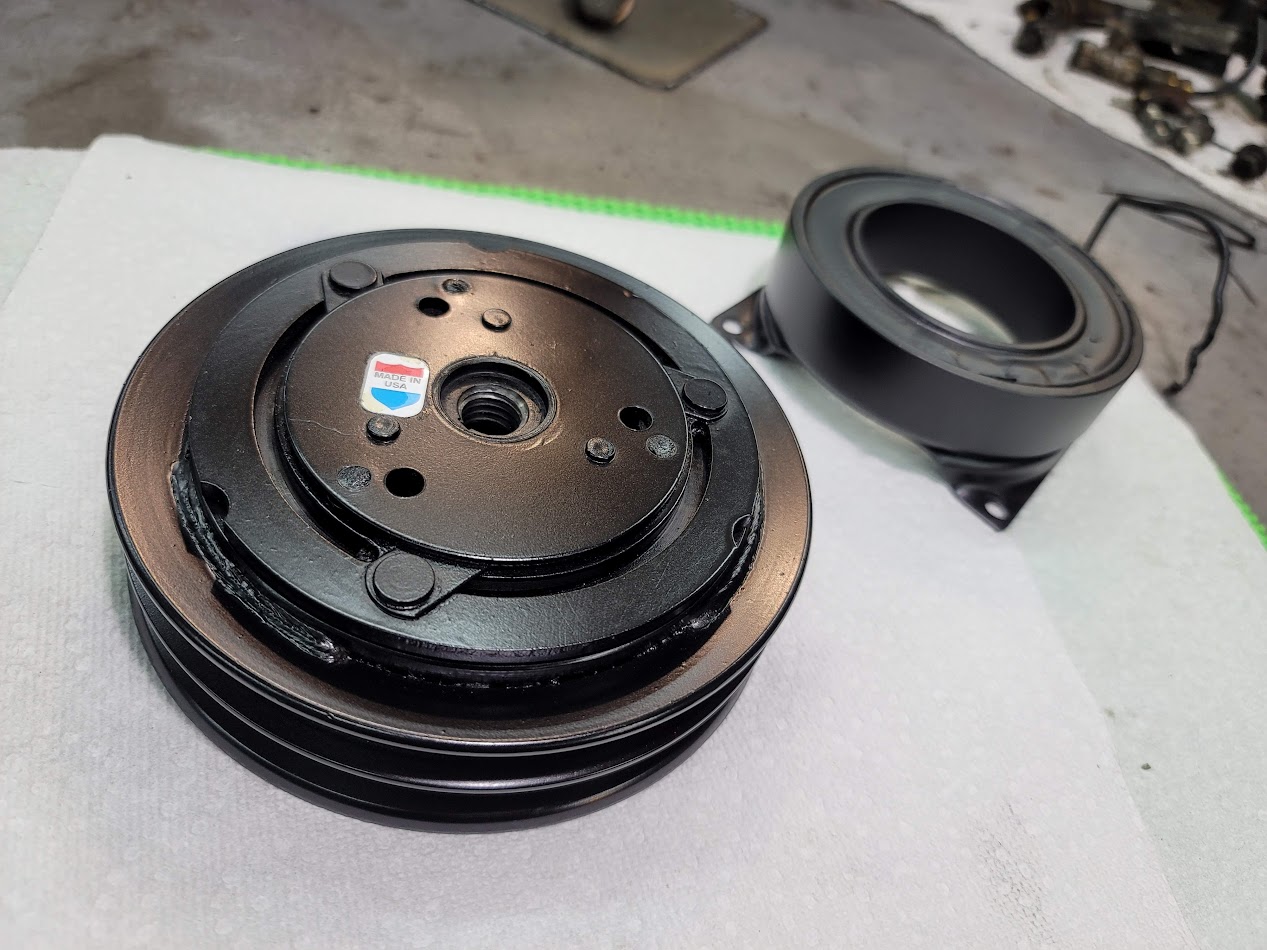
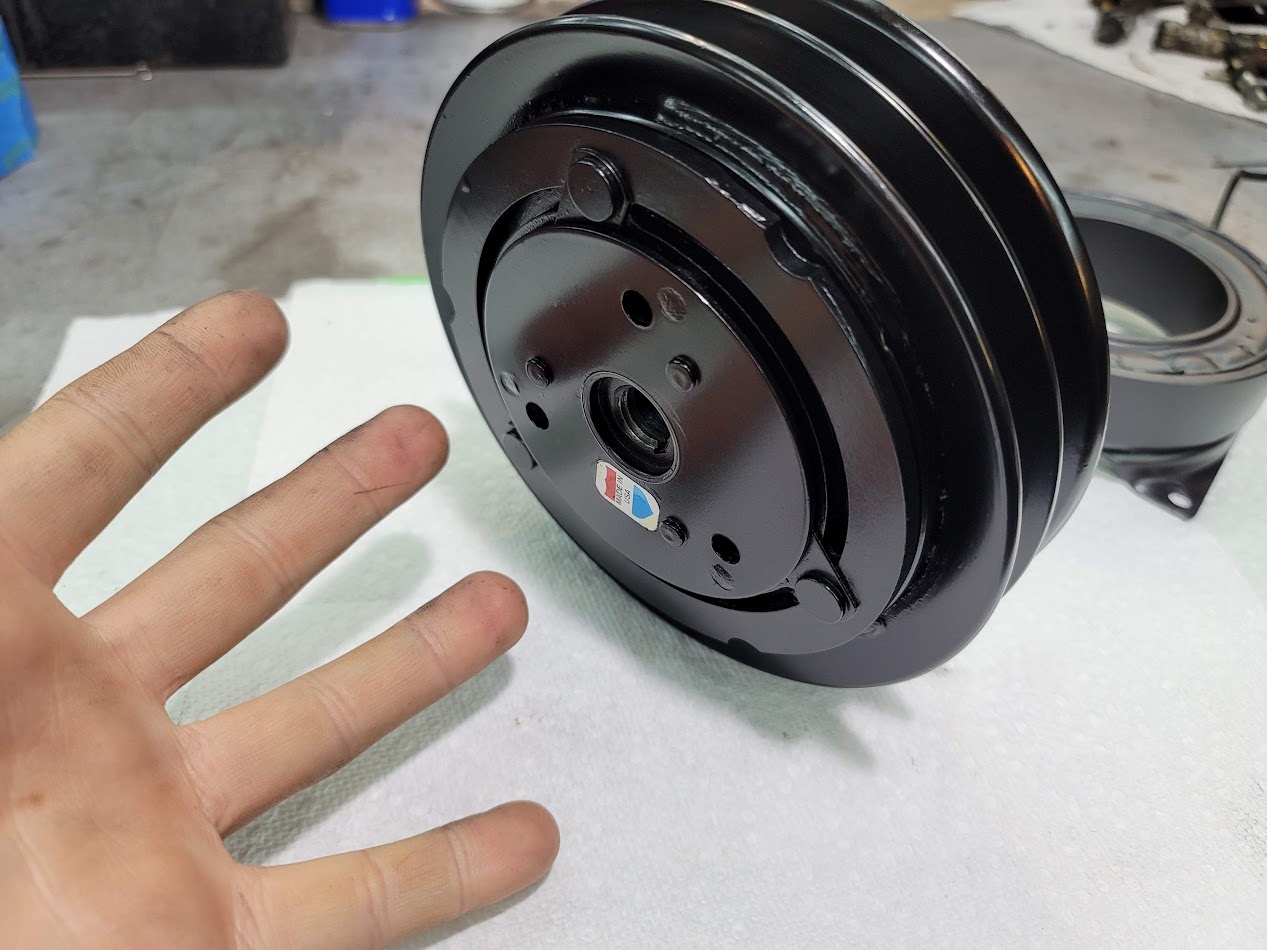
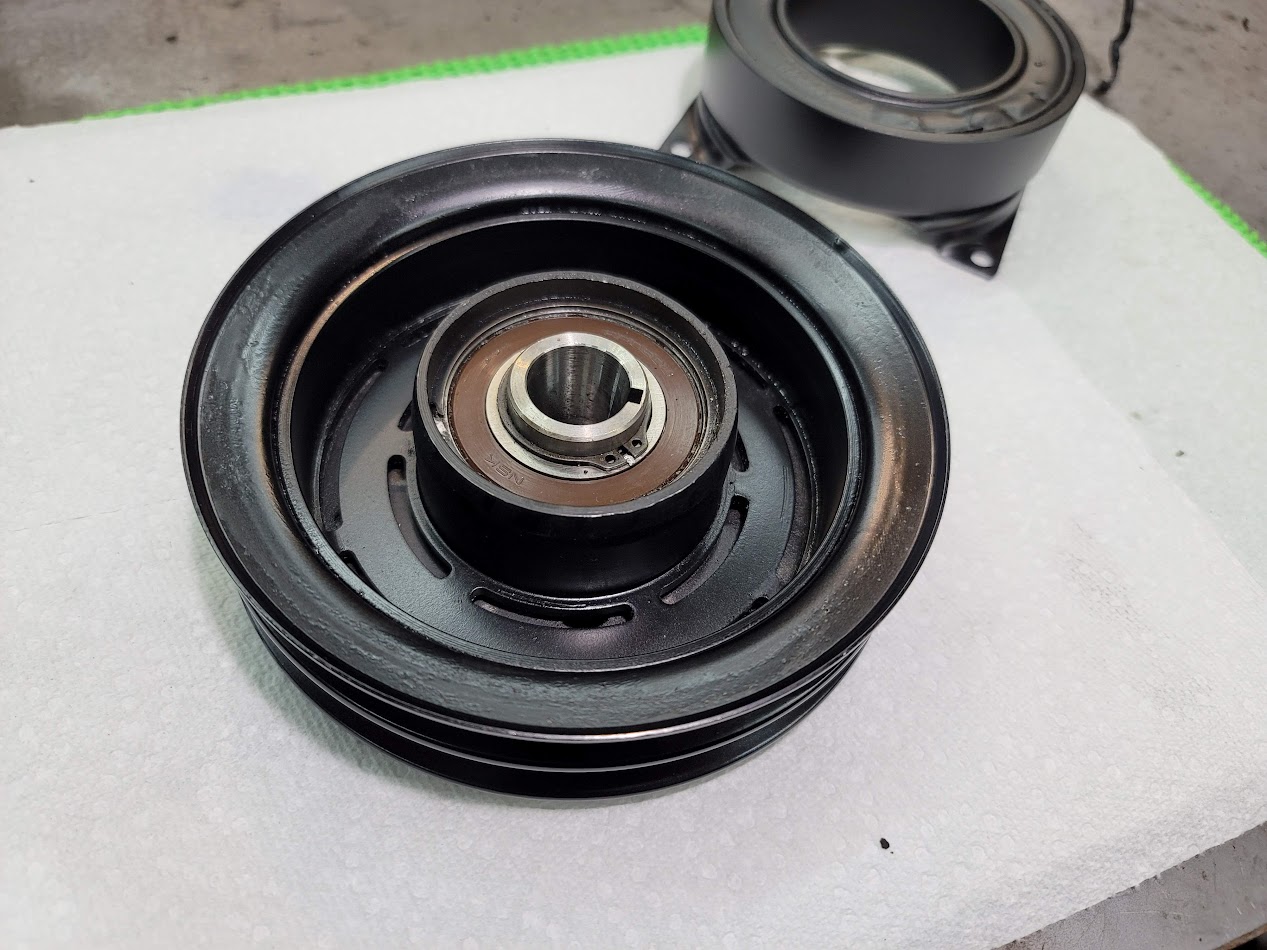
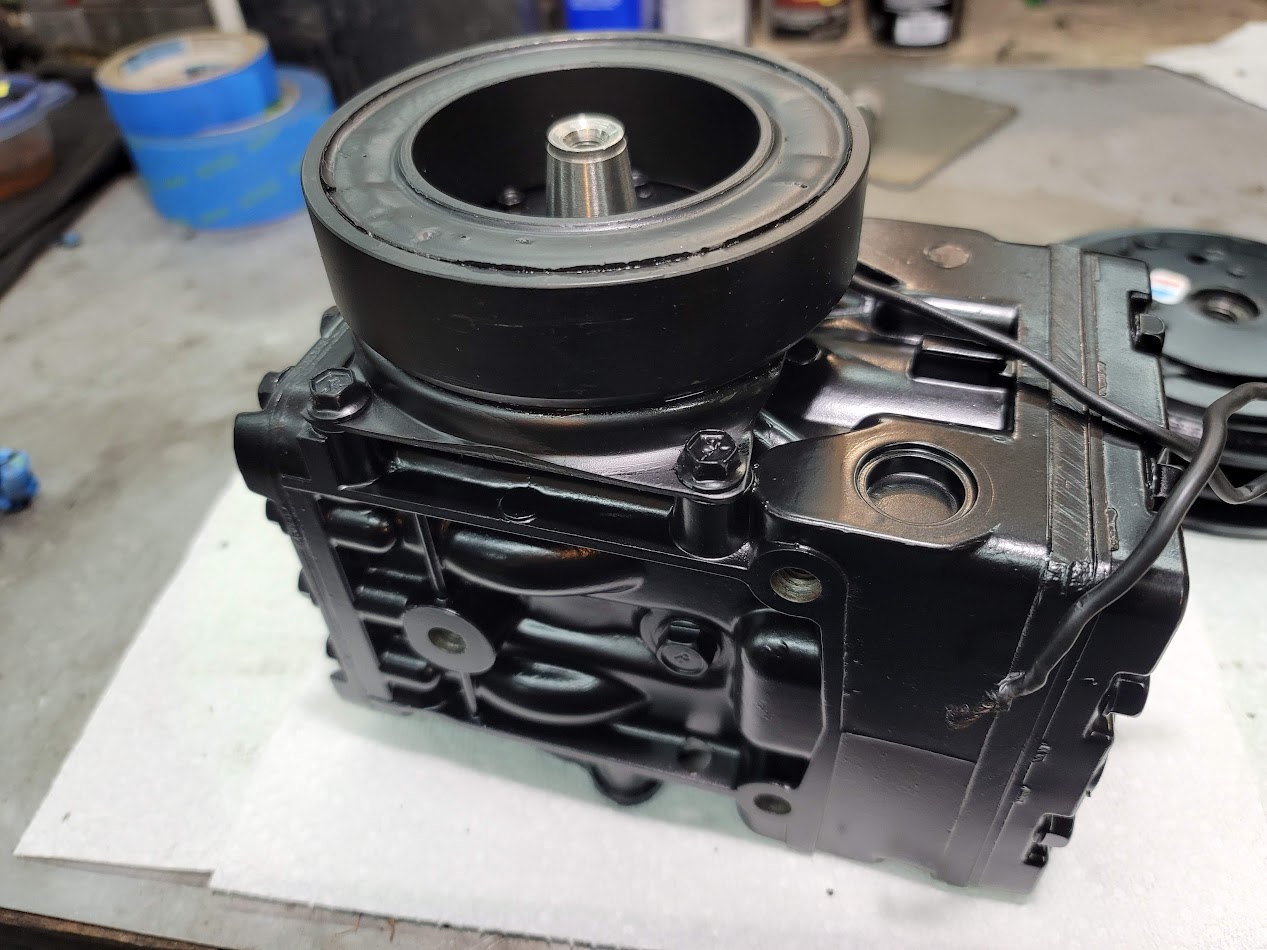
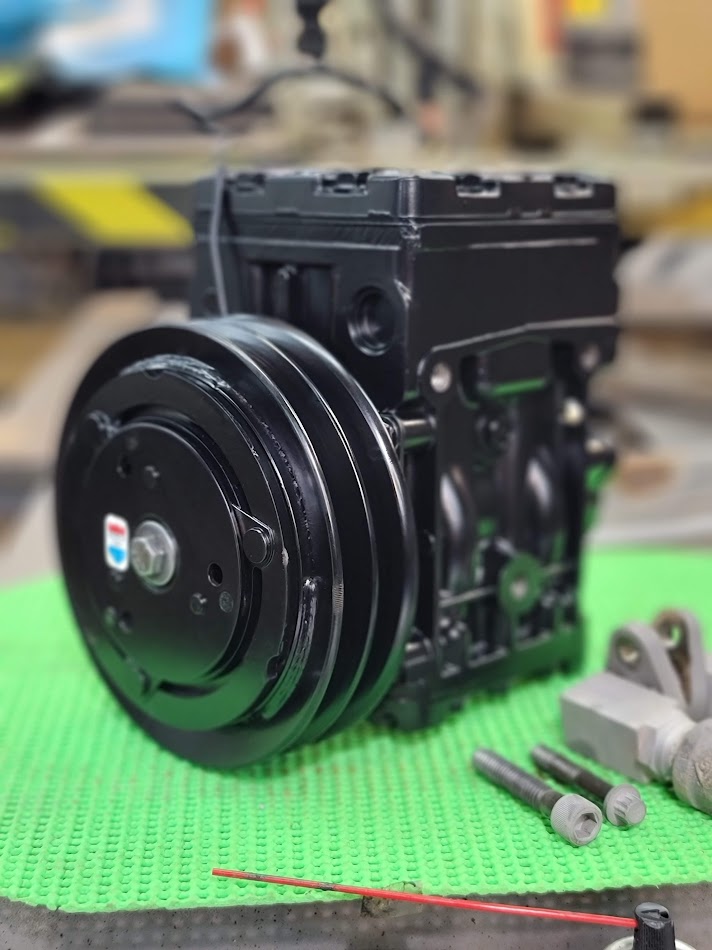
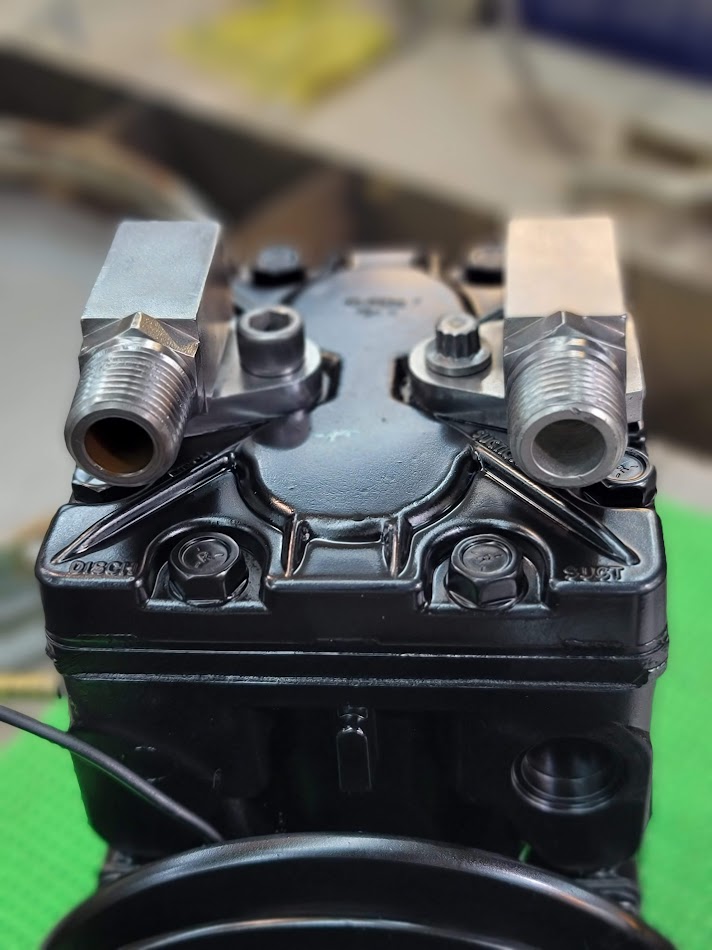
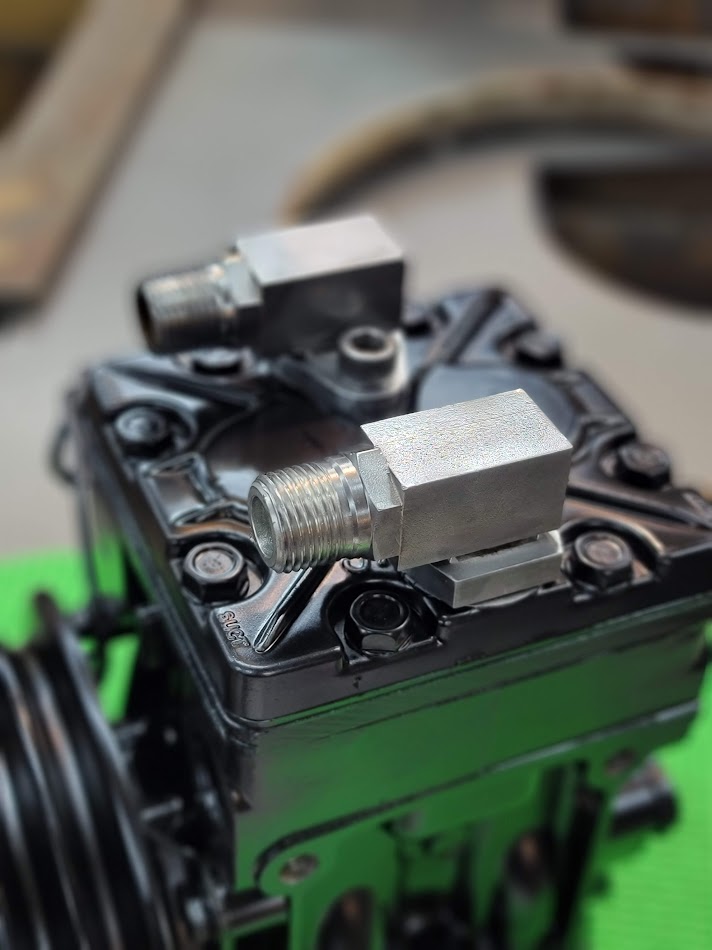
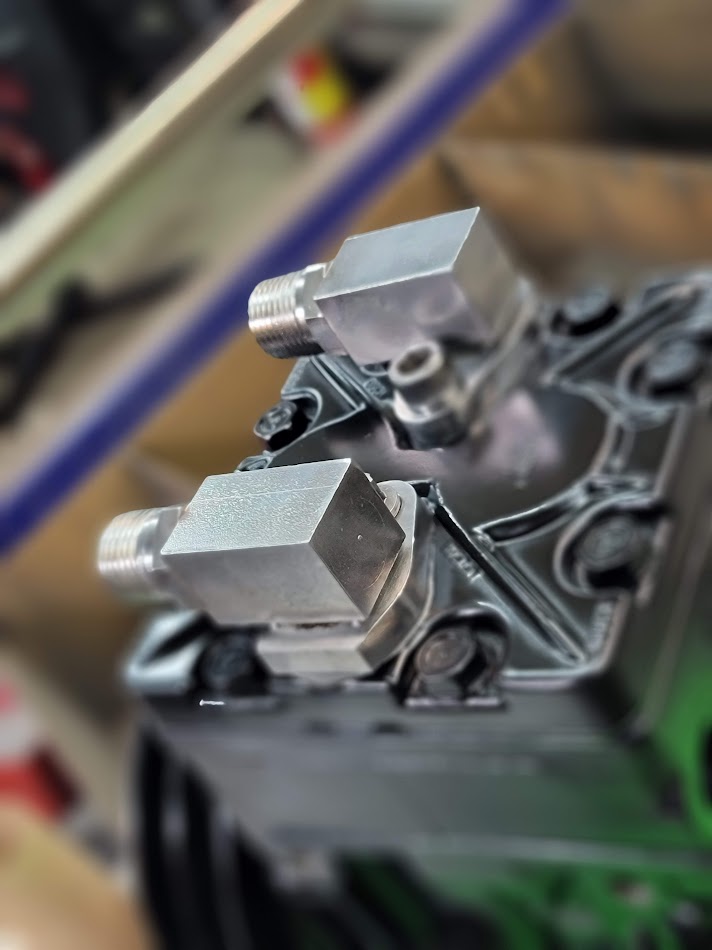
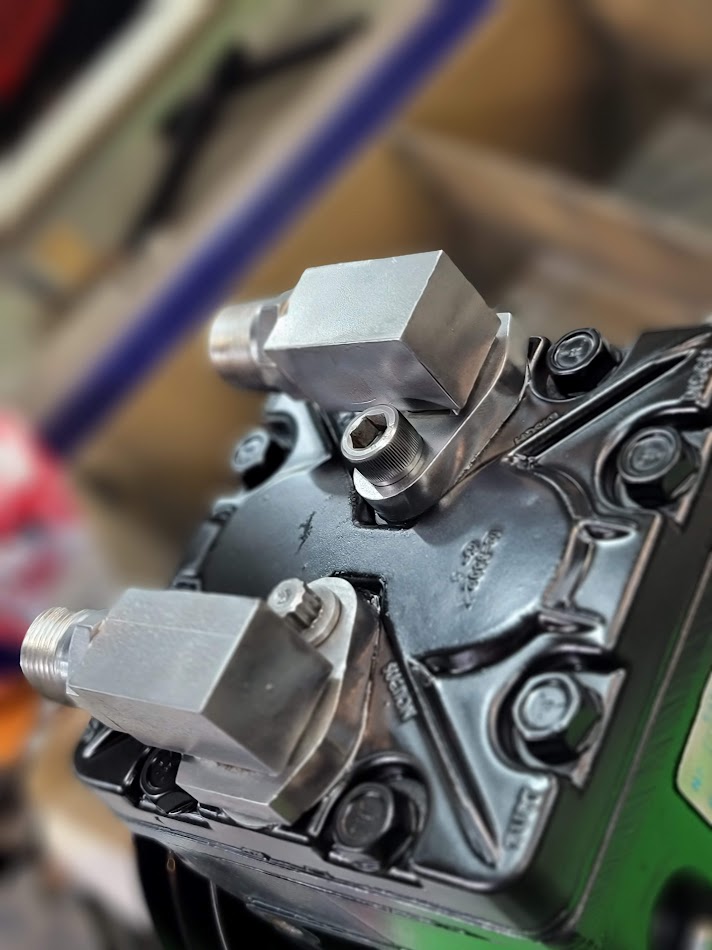
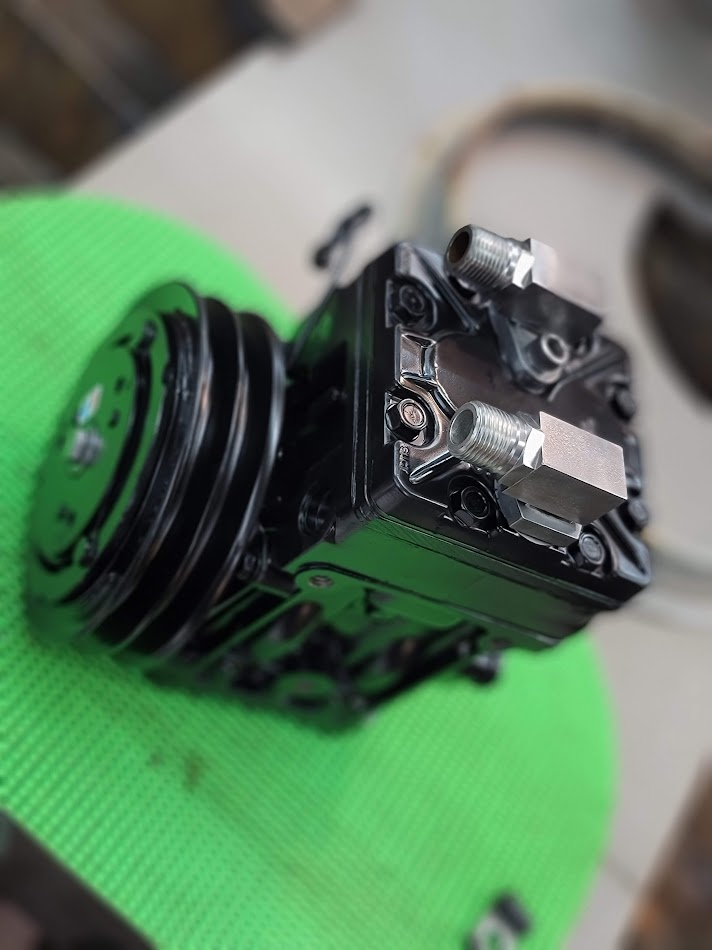
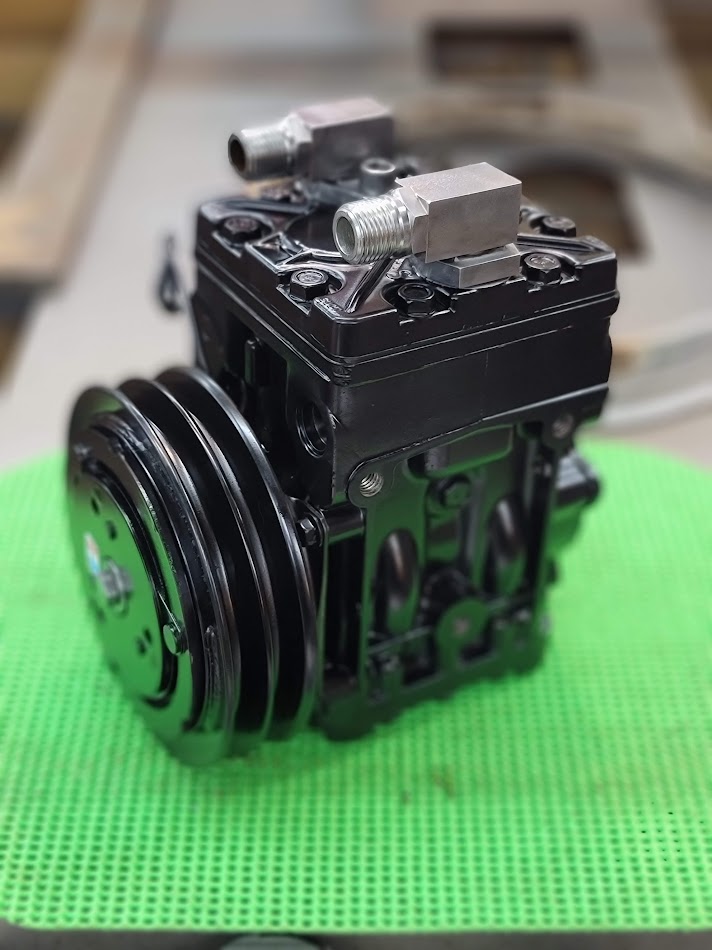
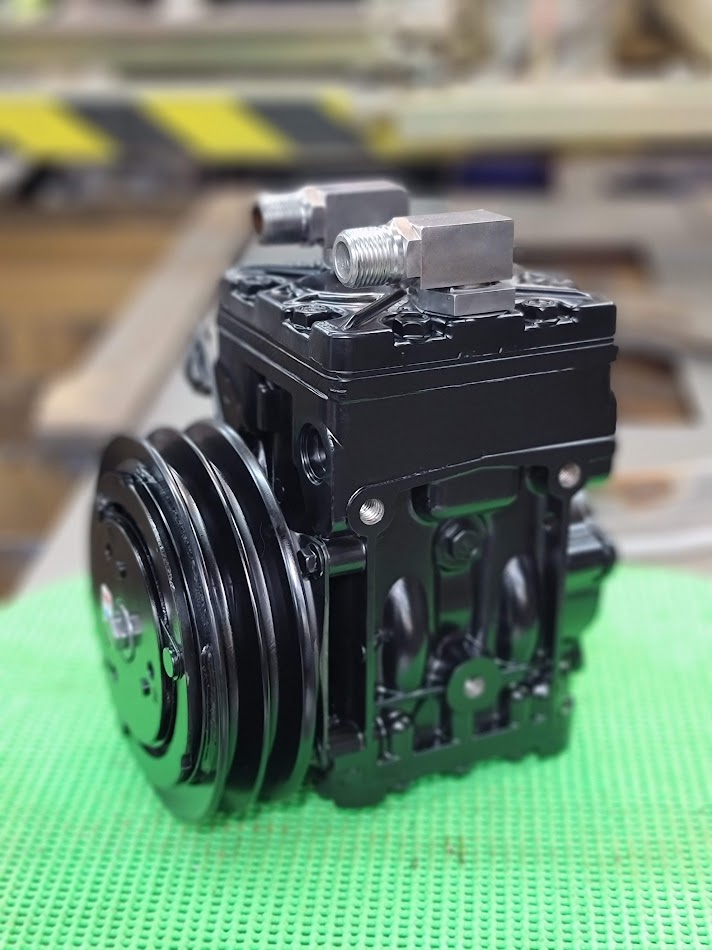

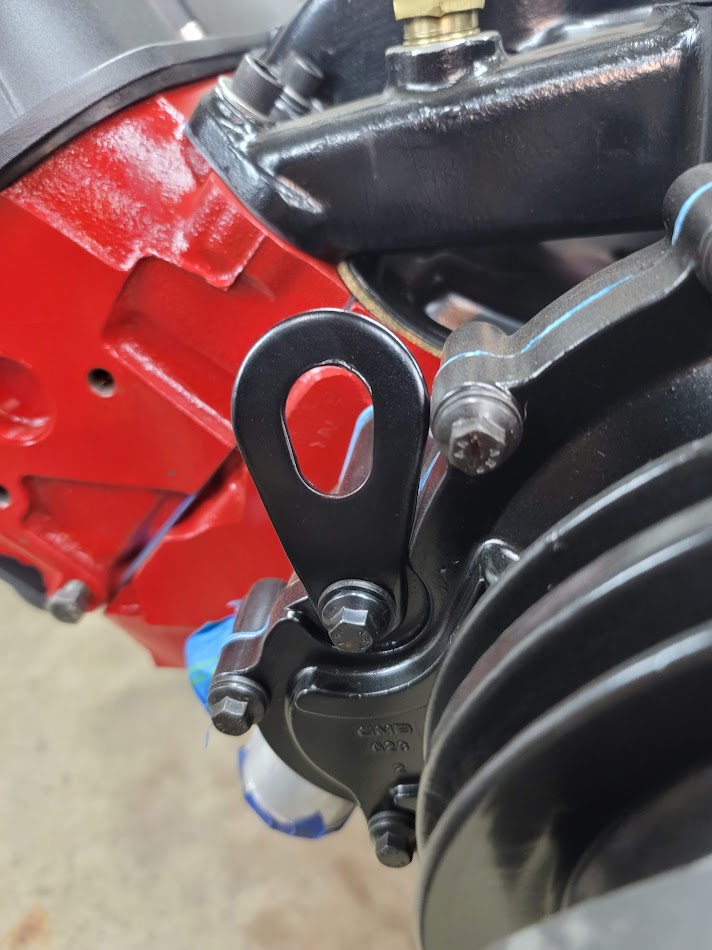
Flex plate, Distributor mounting clamp, compressor, fittings and clutch/coil all cleaned and painted.
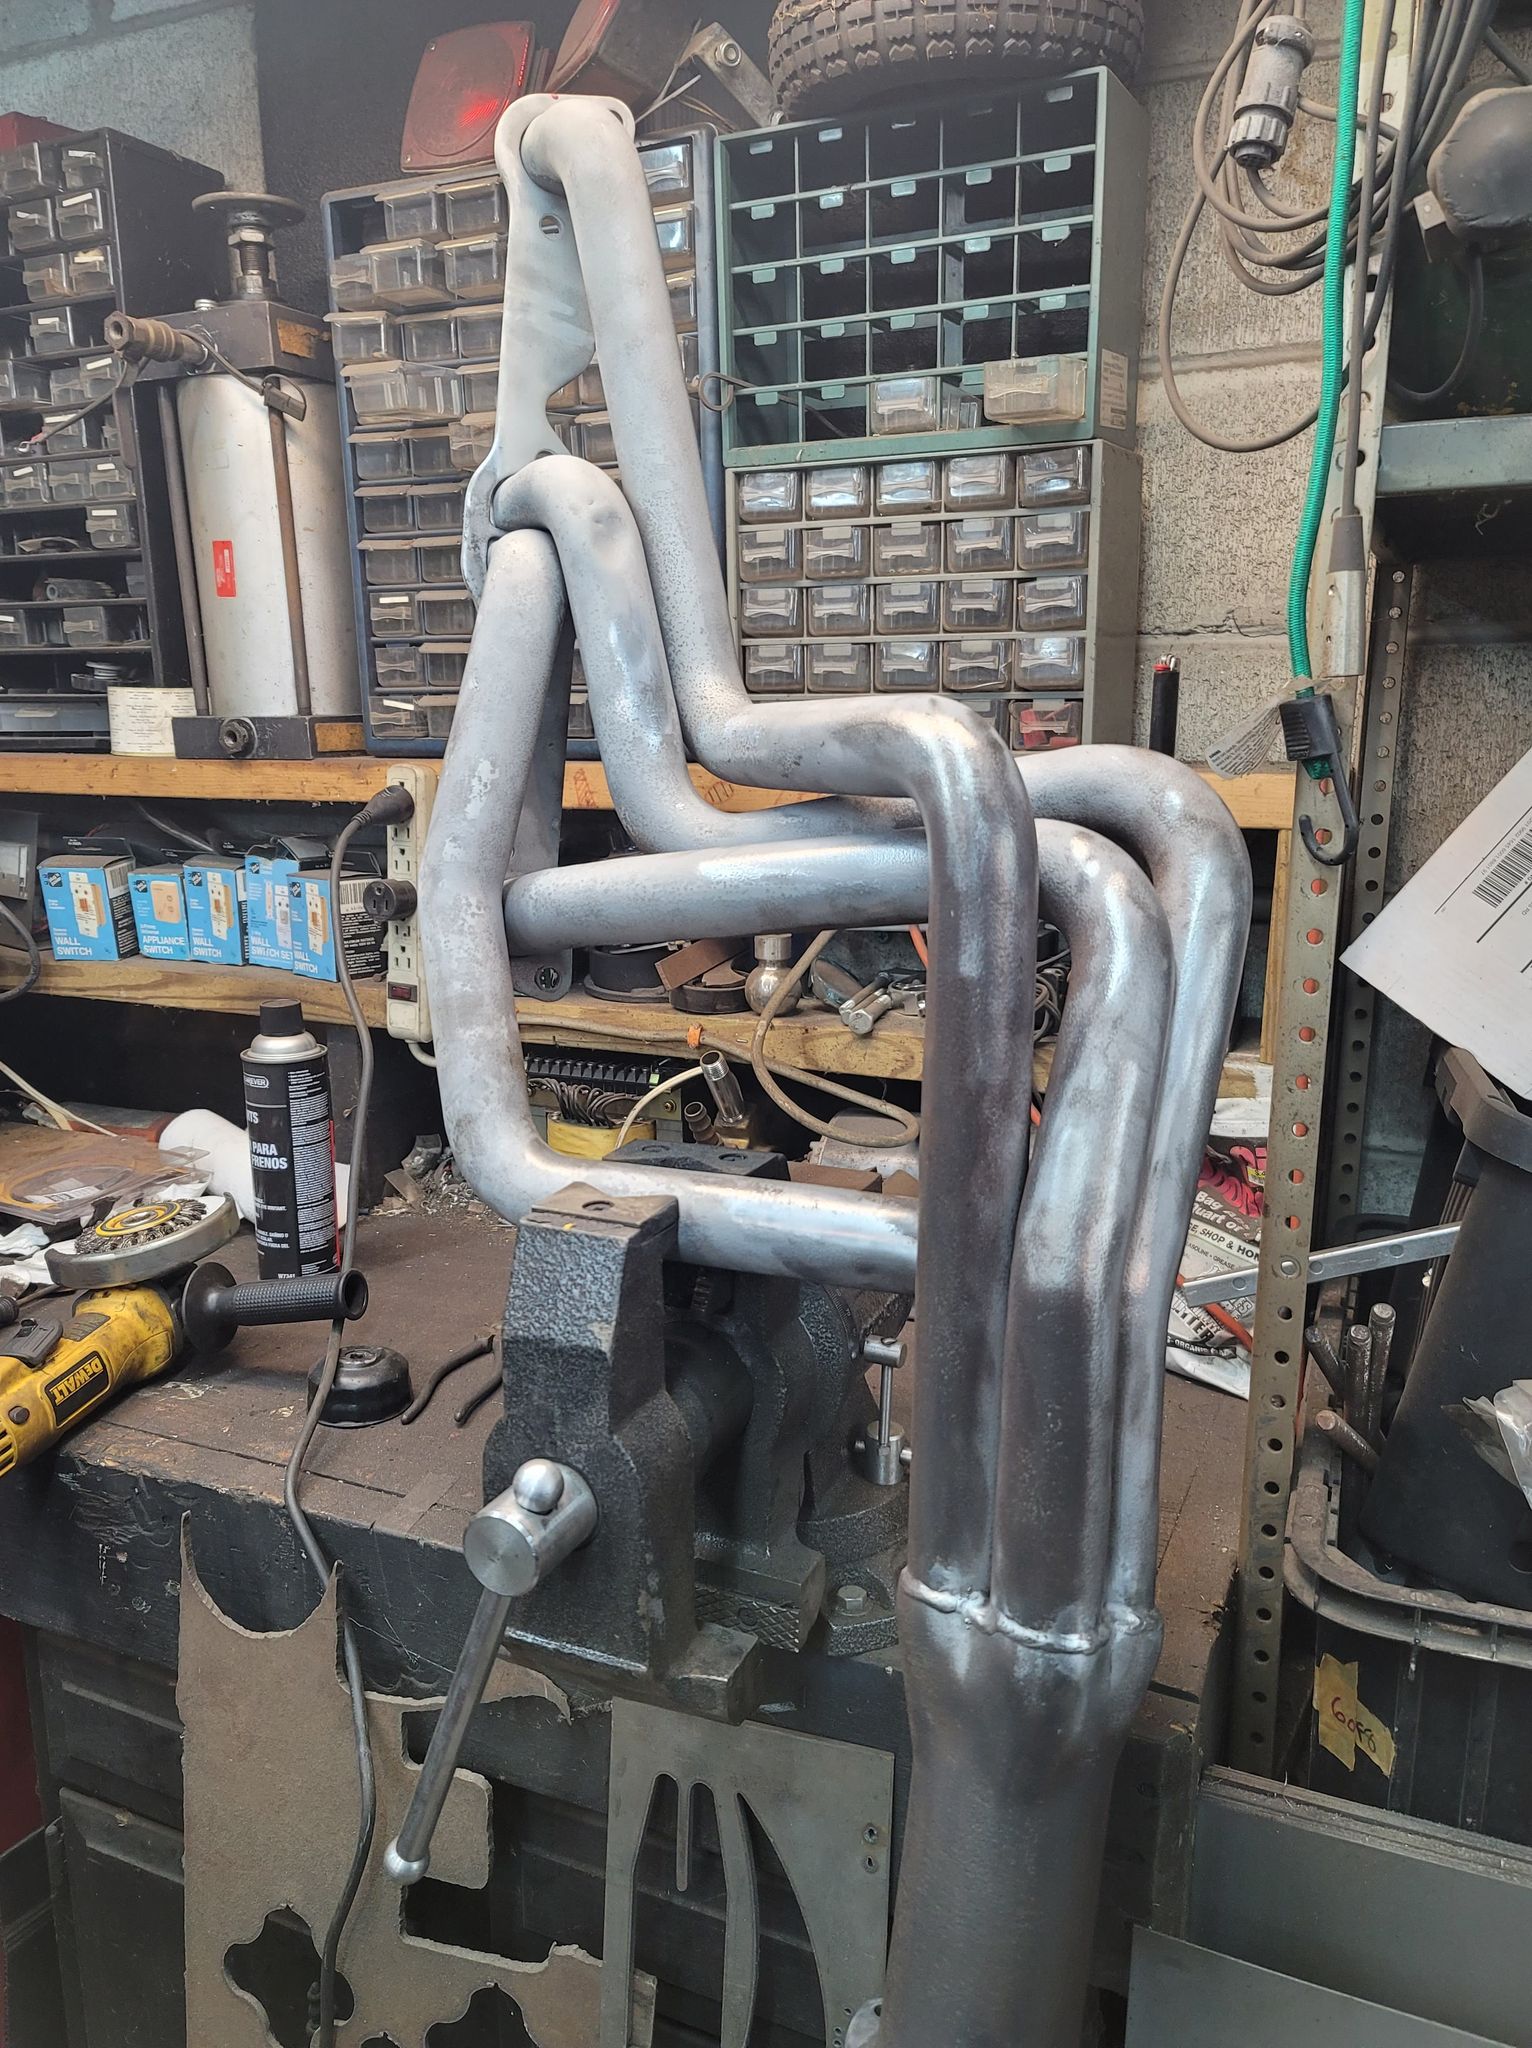
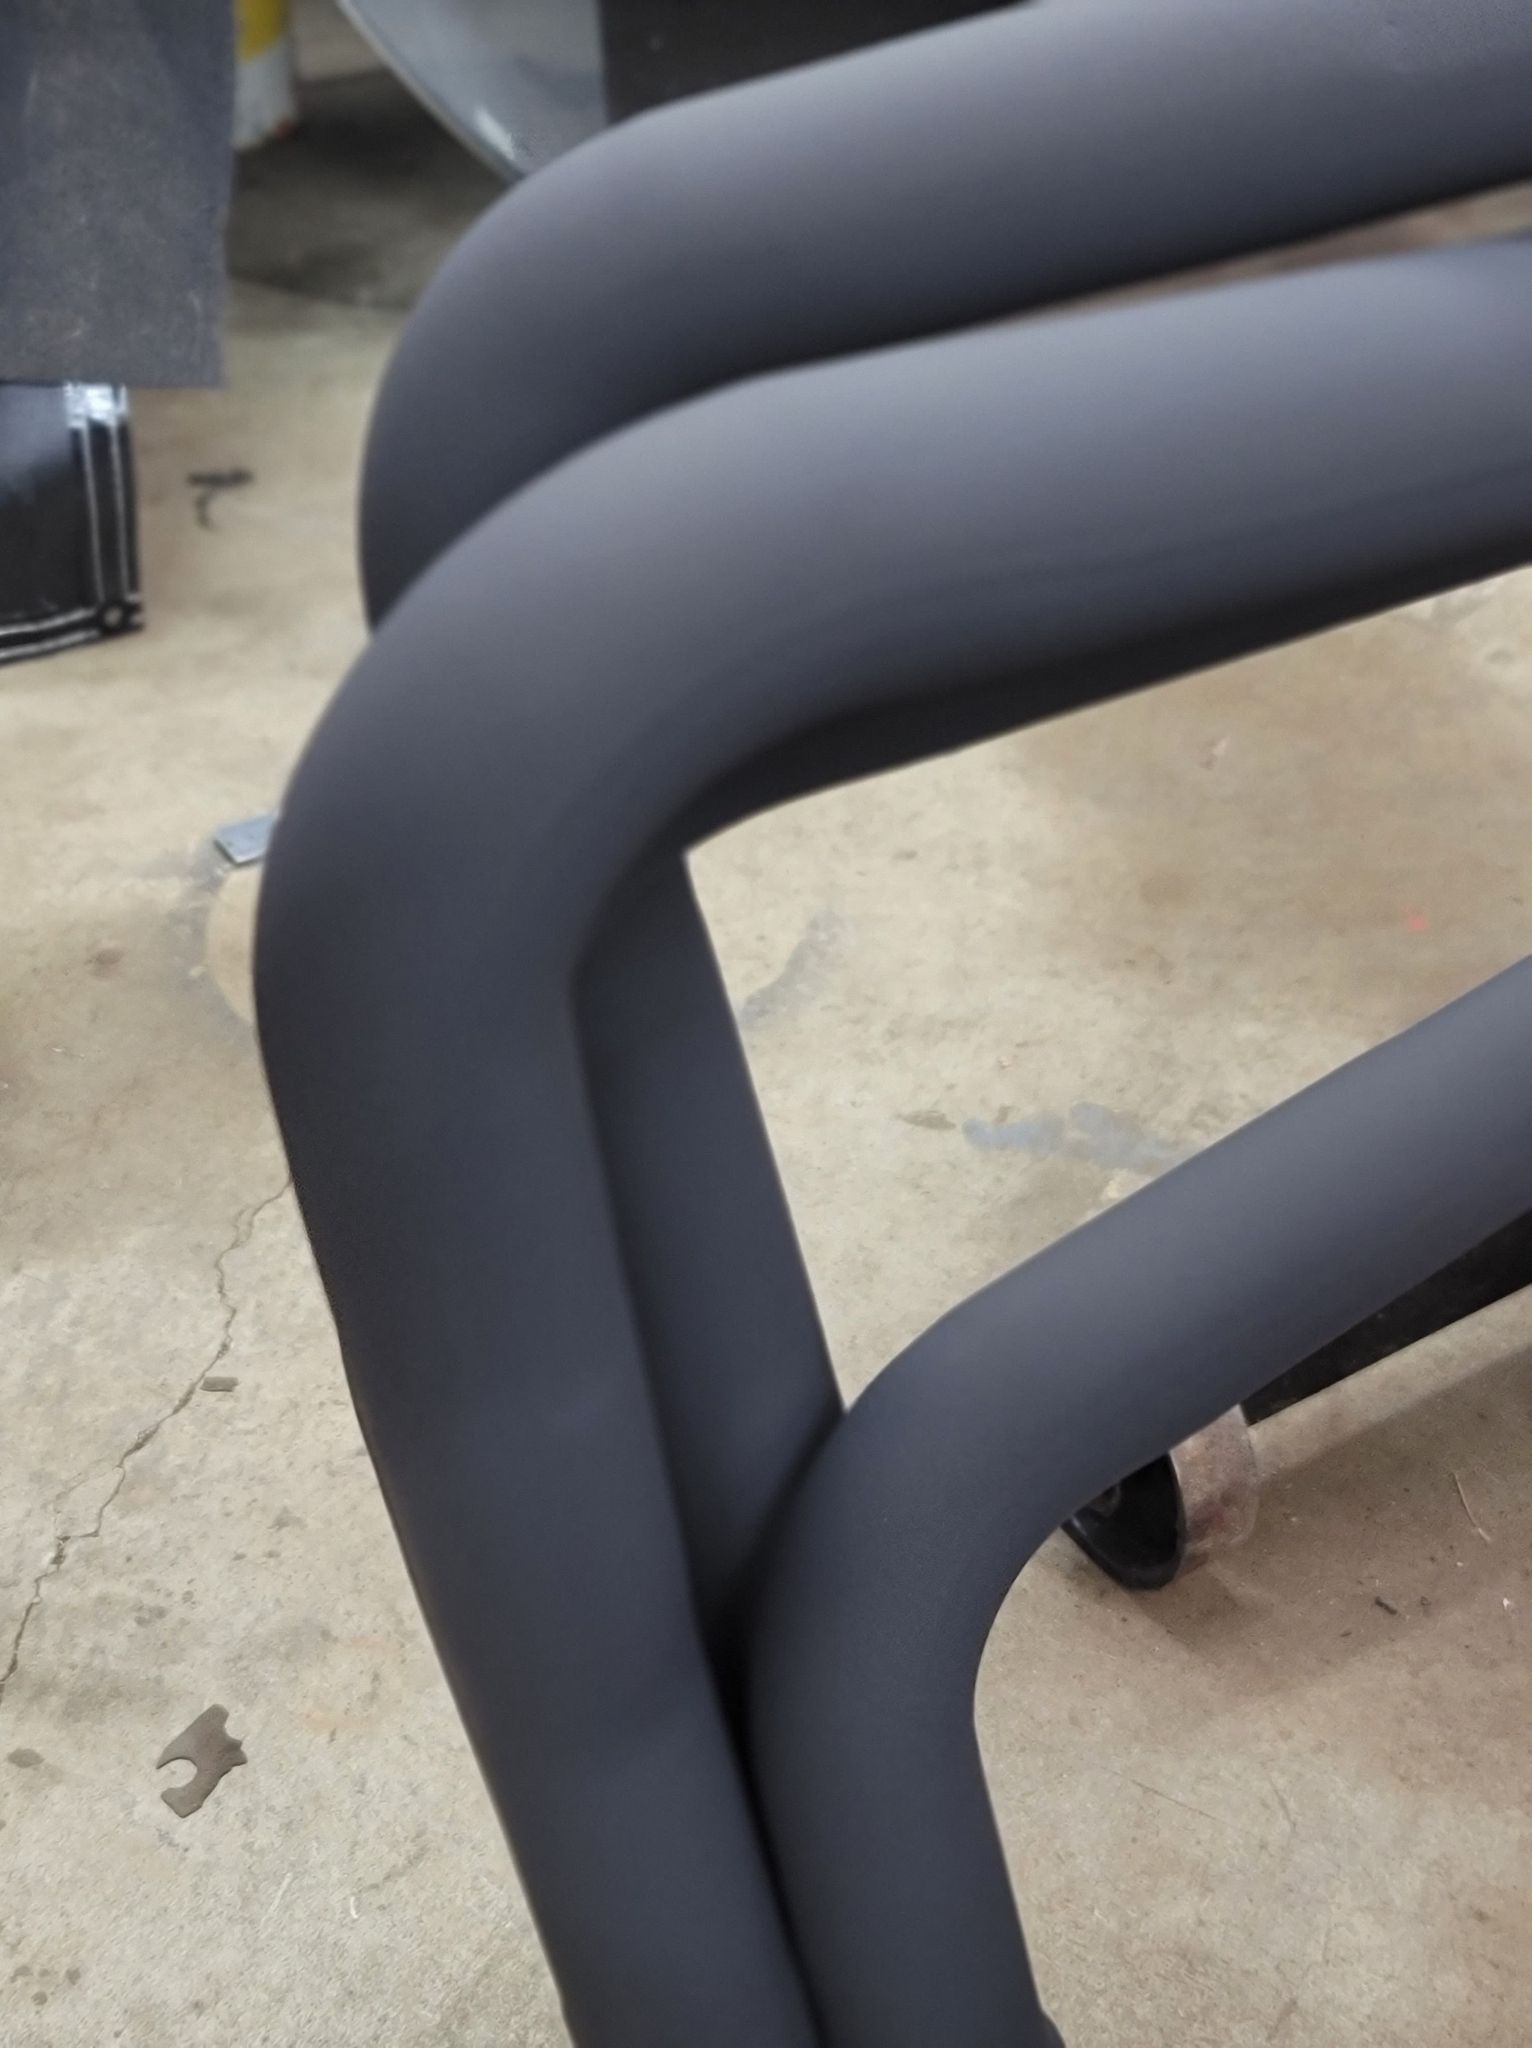
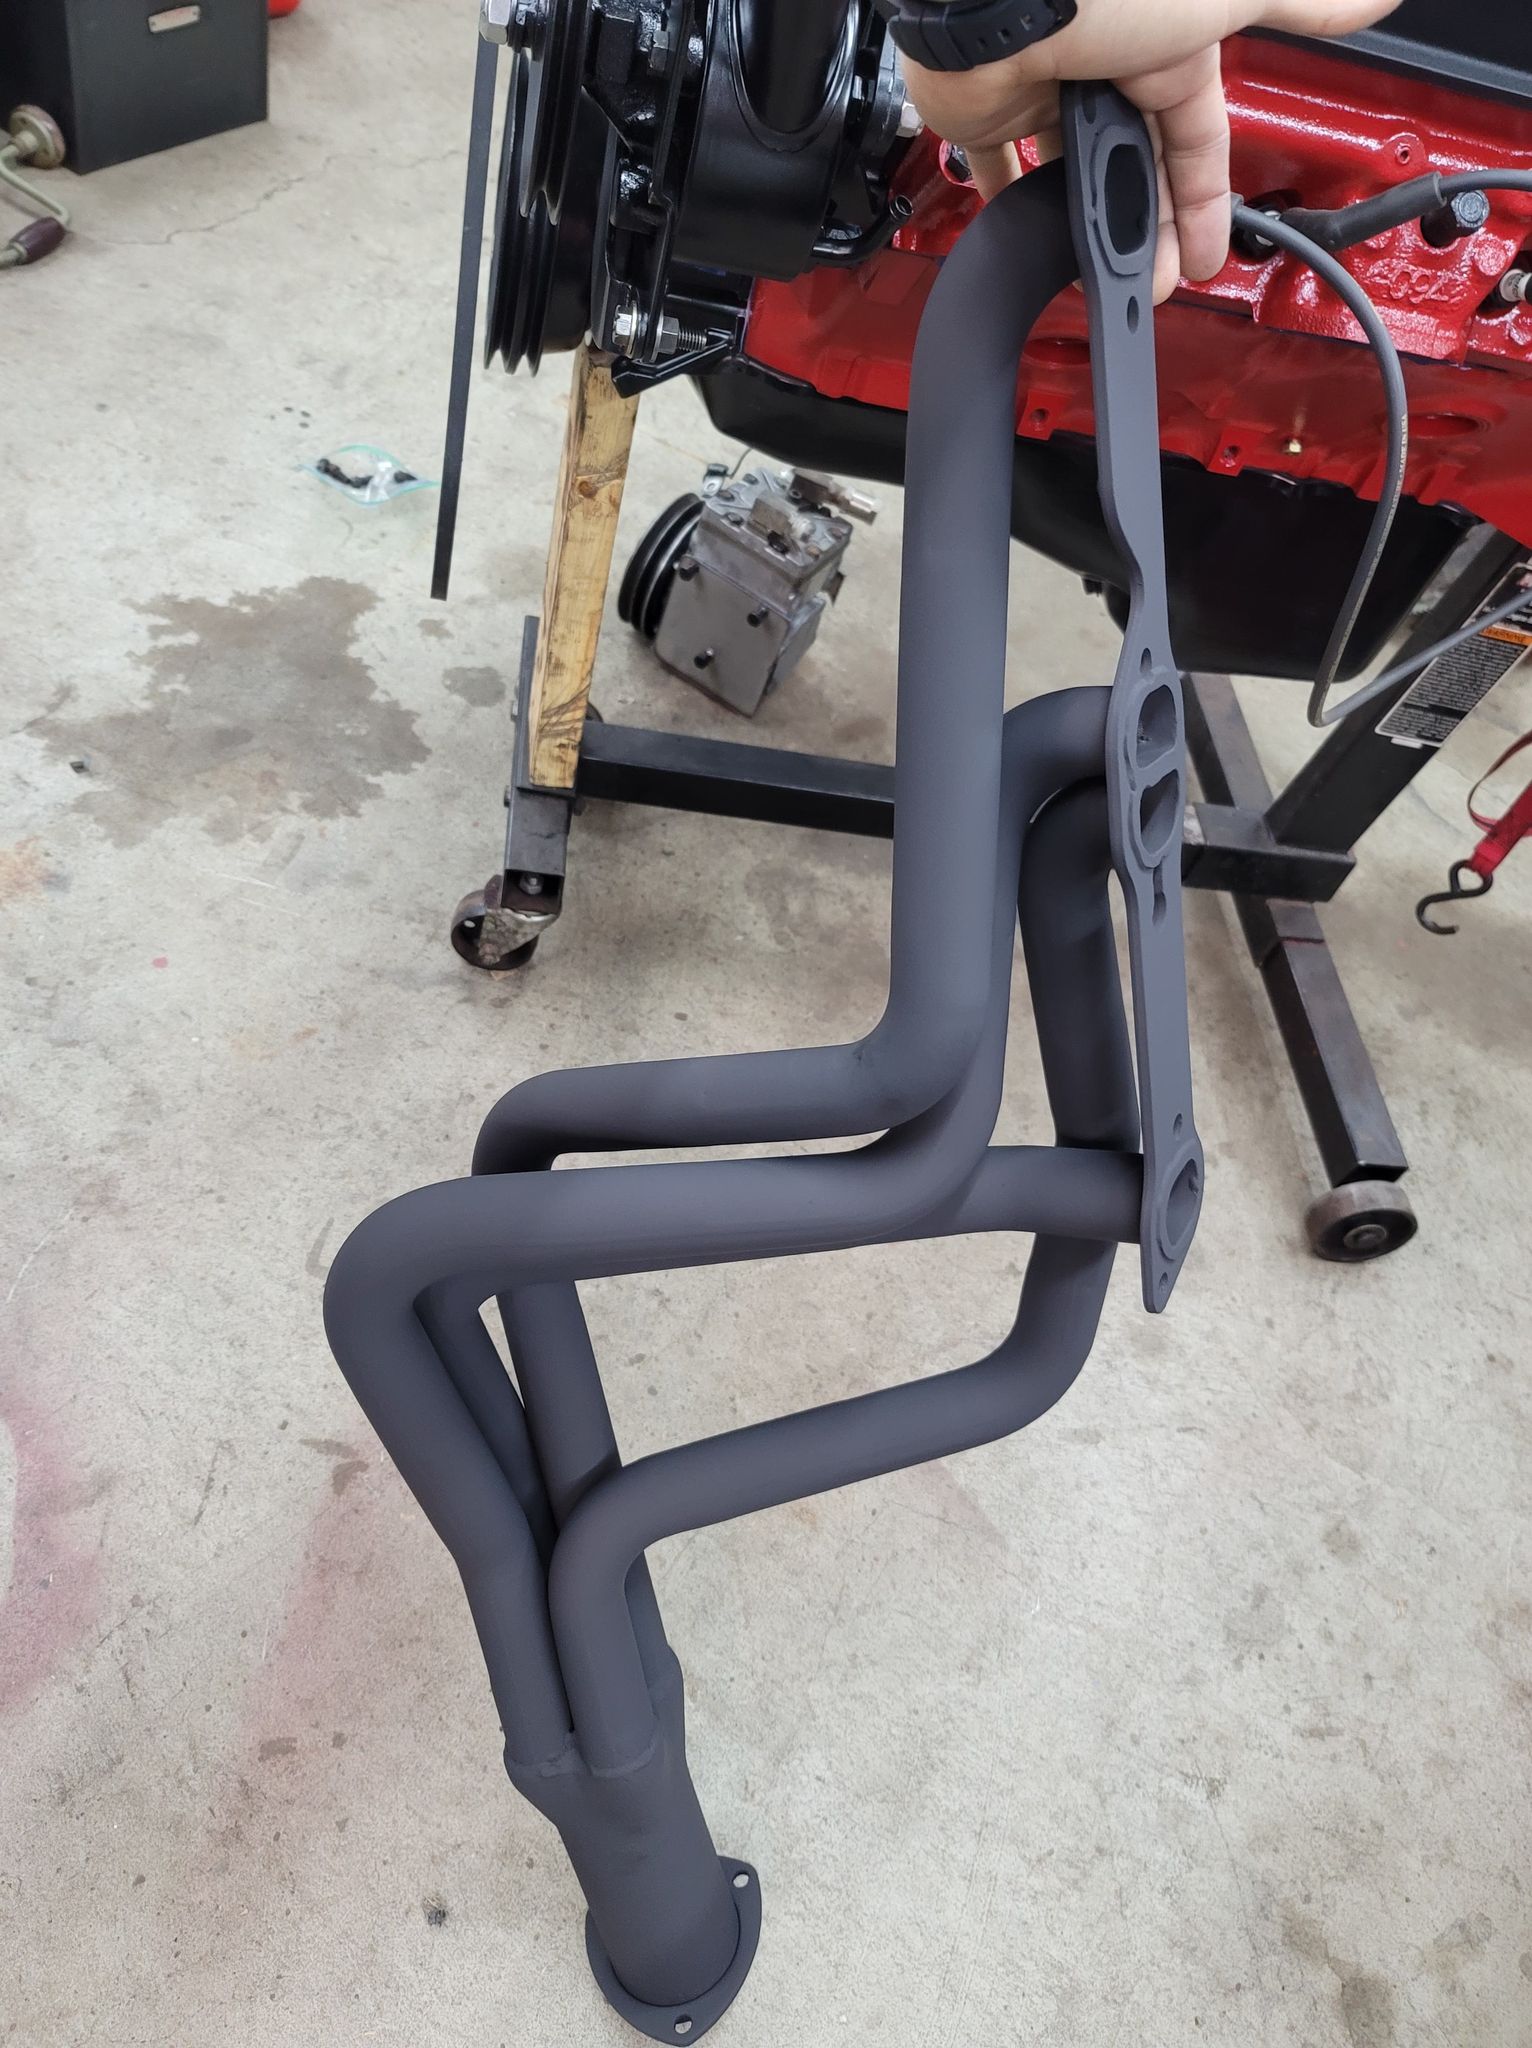
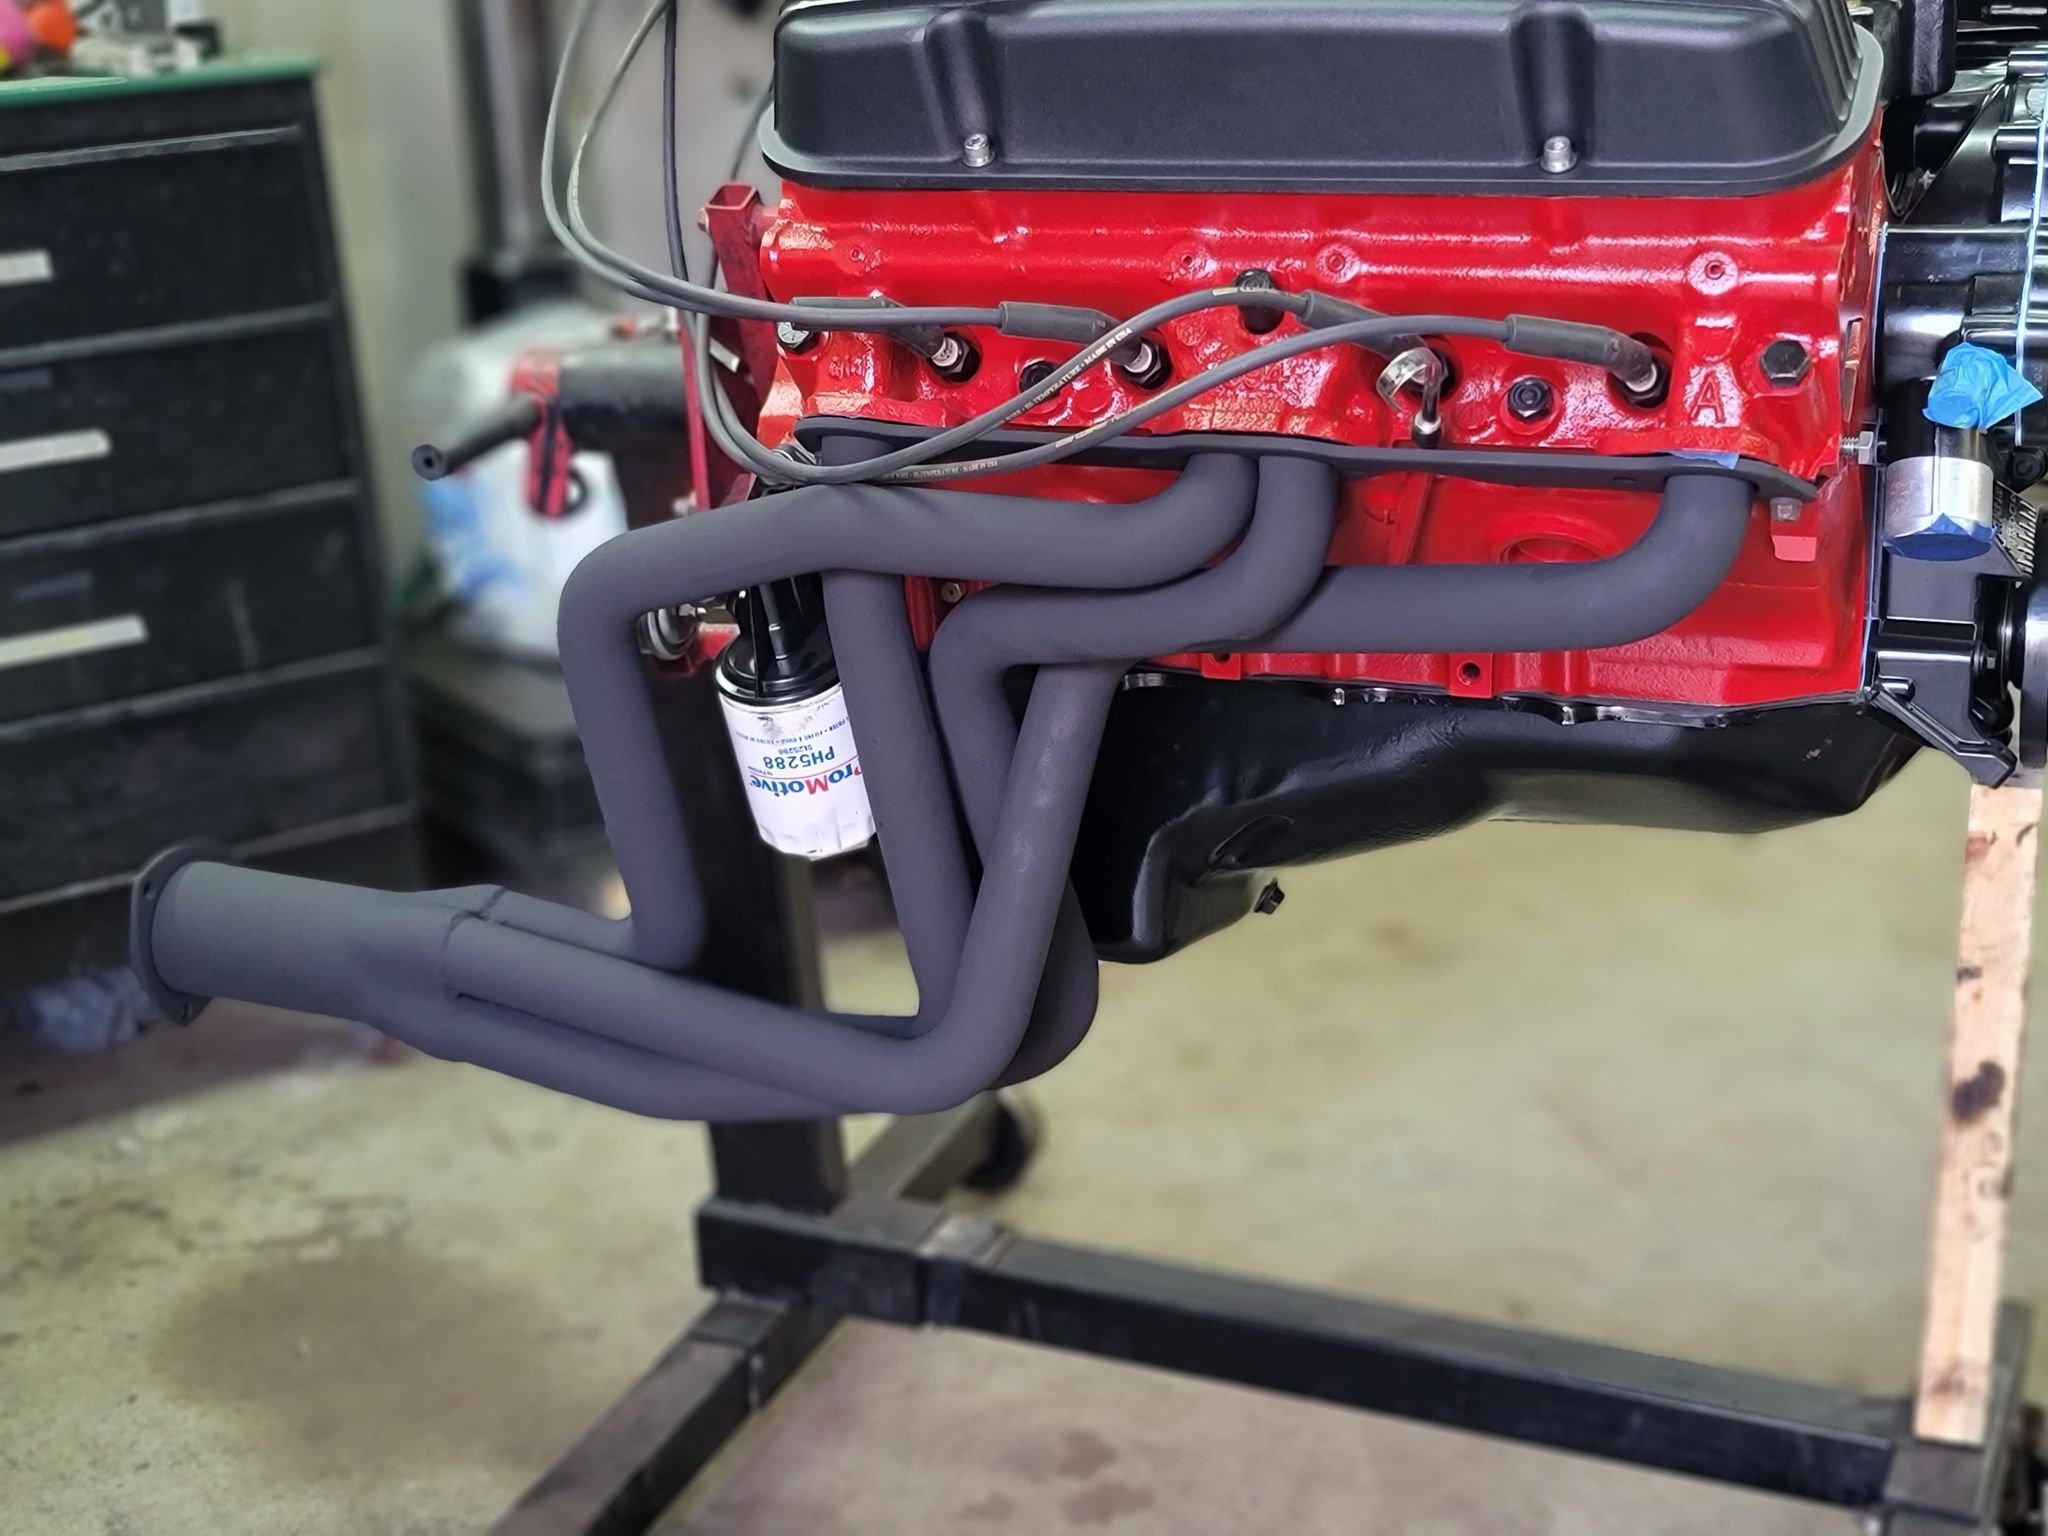
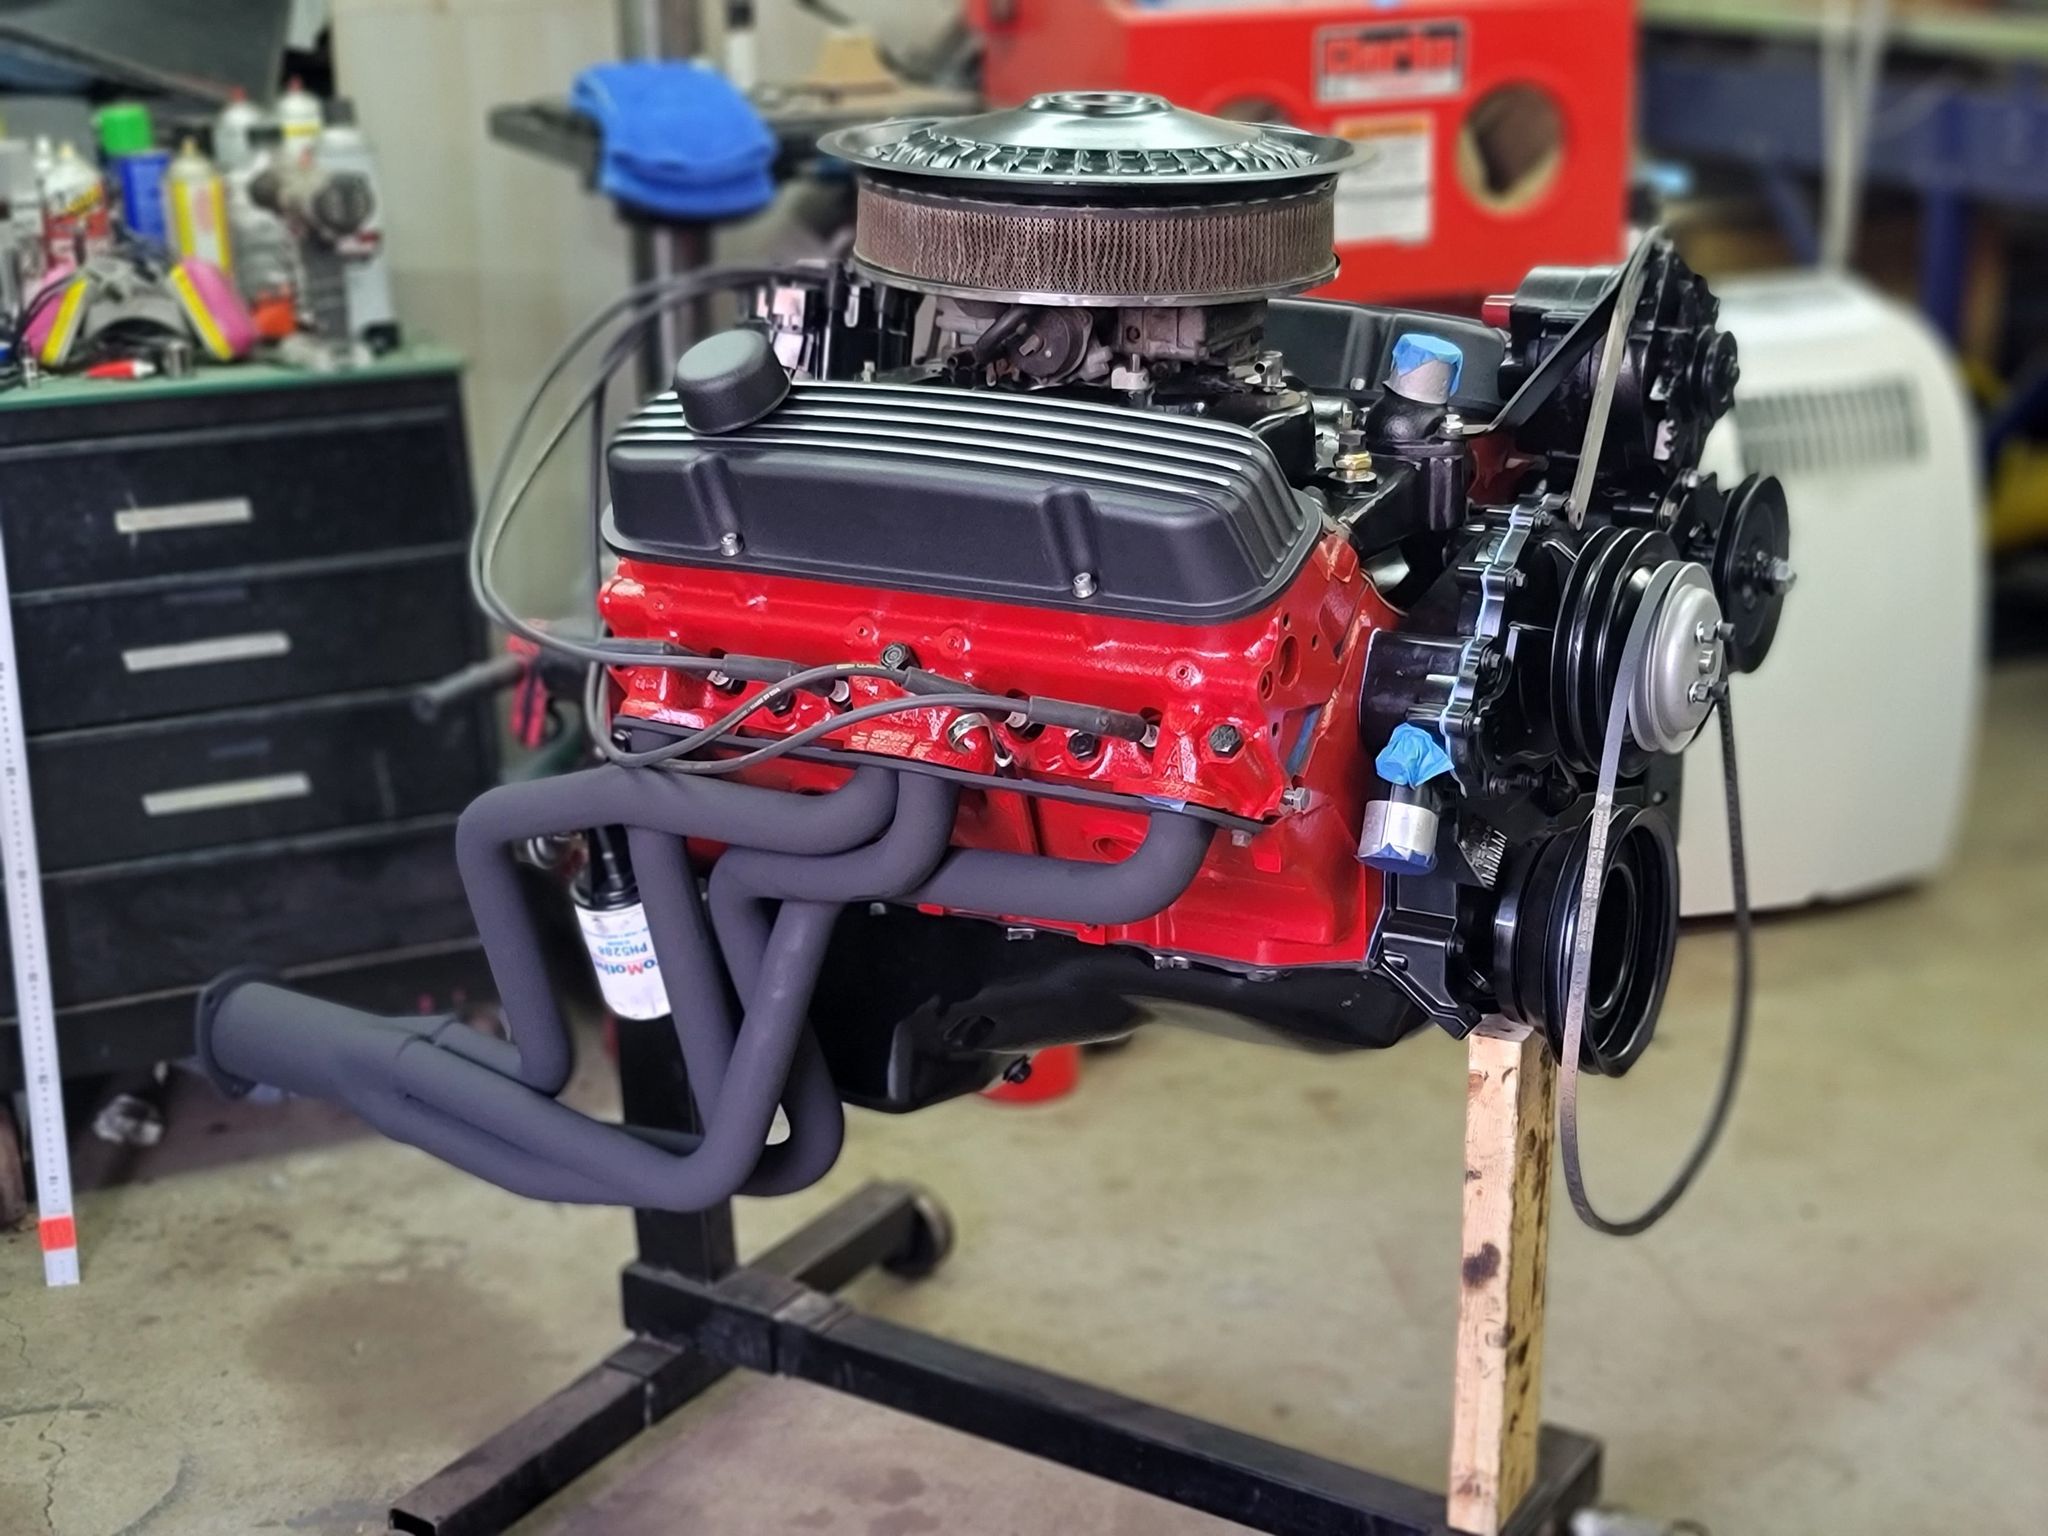

Got one header blasted, wire wheeled, and into paint. wow not a fun shape to clean and prep! Not looking forward too it, but the other side now needs done.
UPDATE: 5-12-2022 I procrastinated on the other header.. and did other things! here they are…
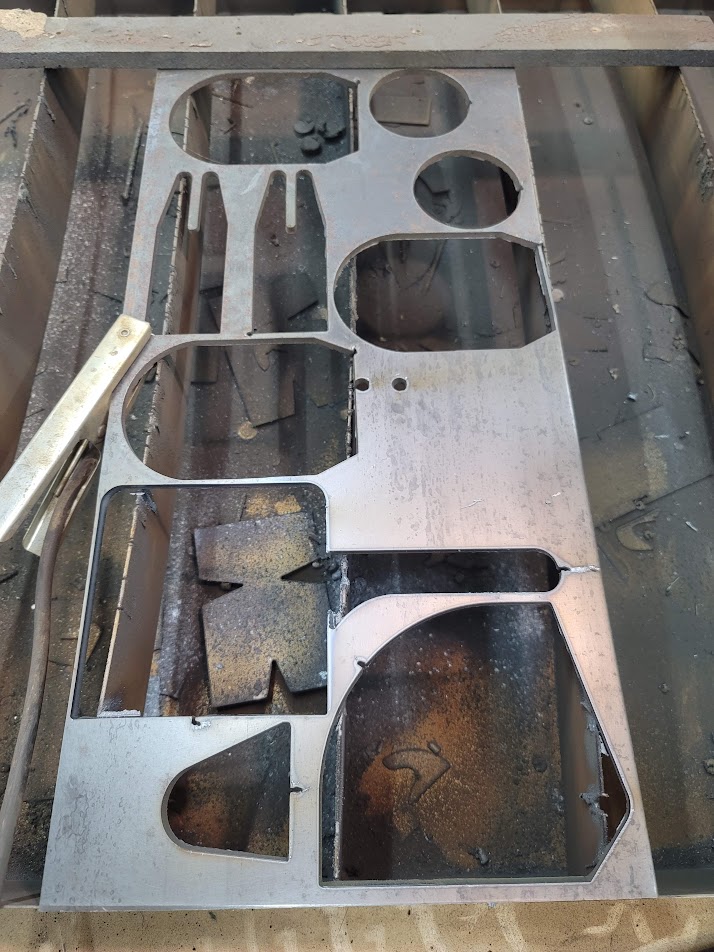
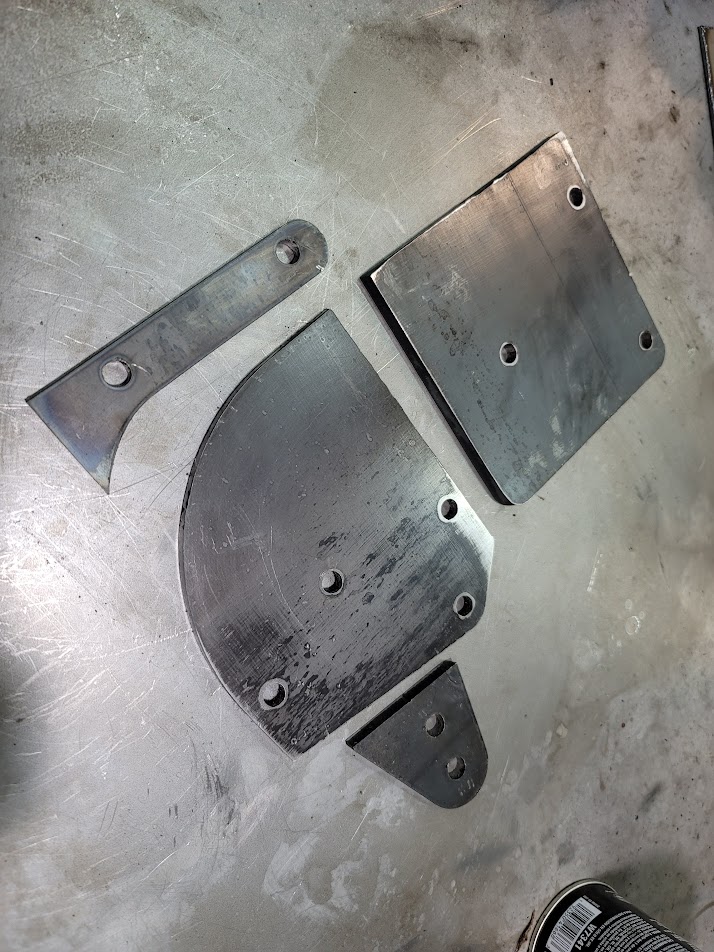
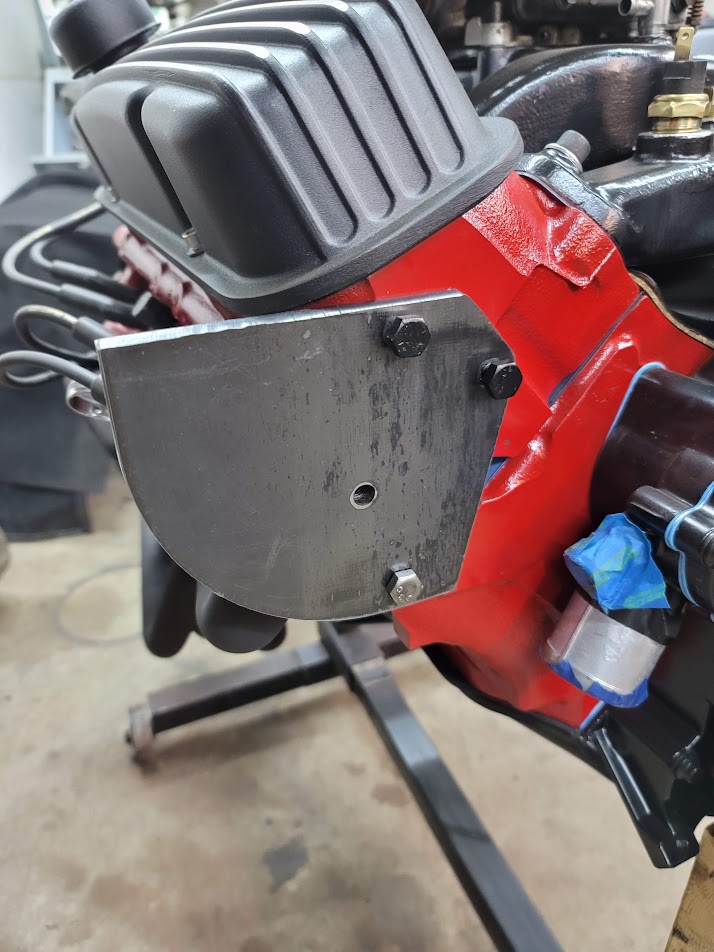
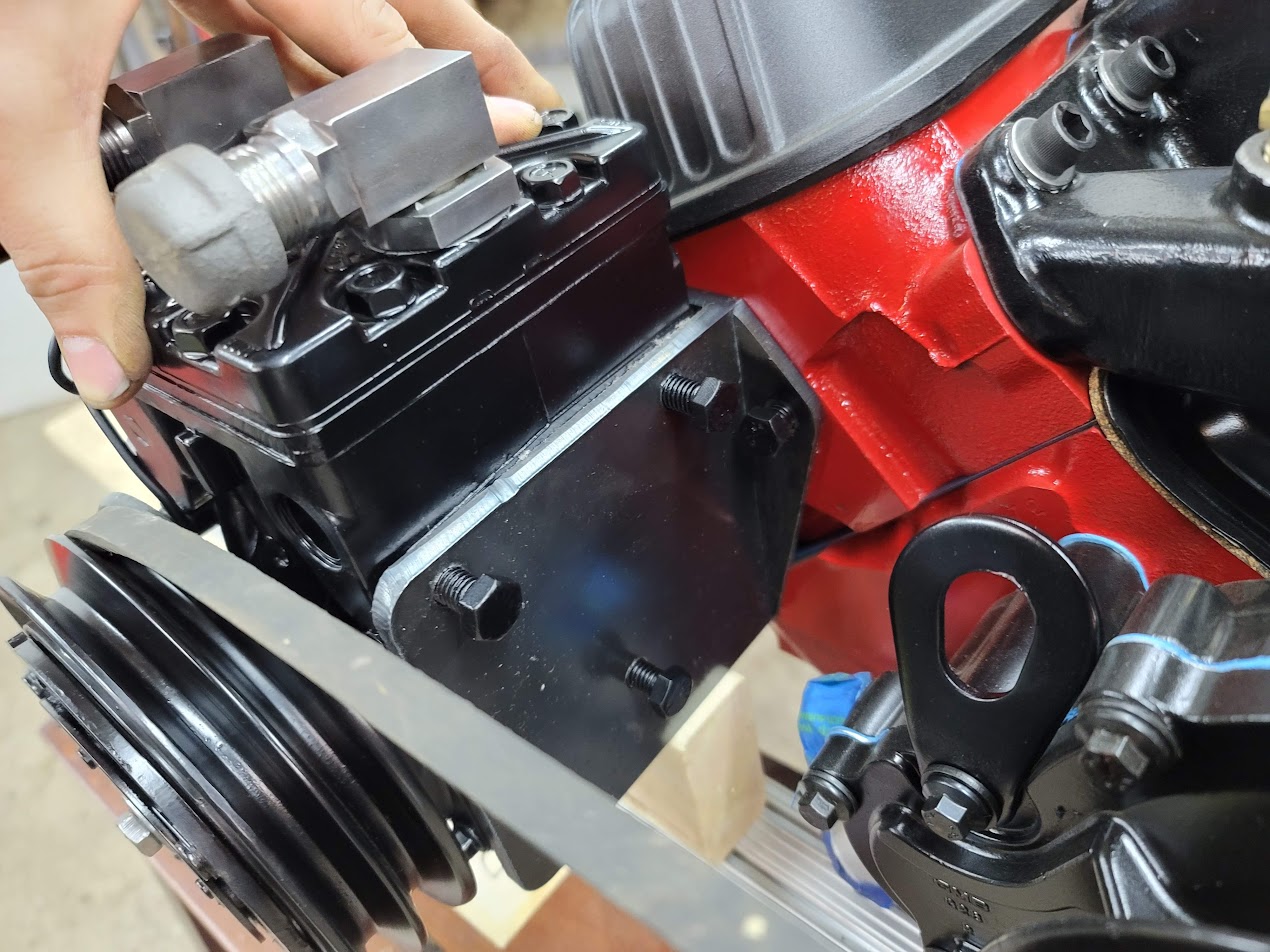
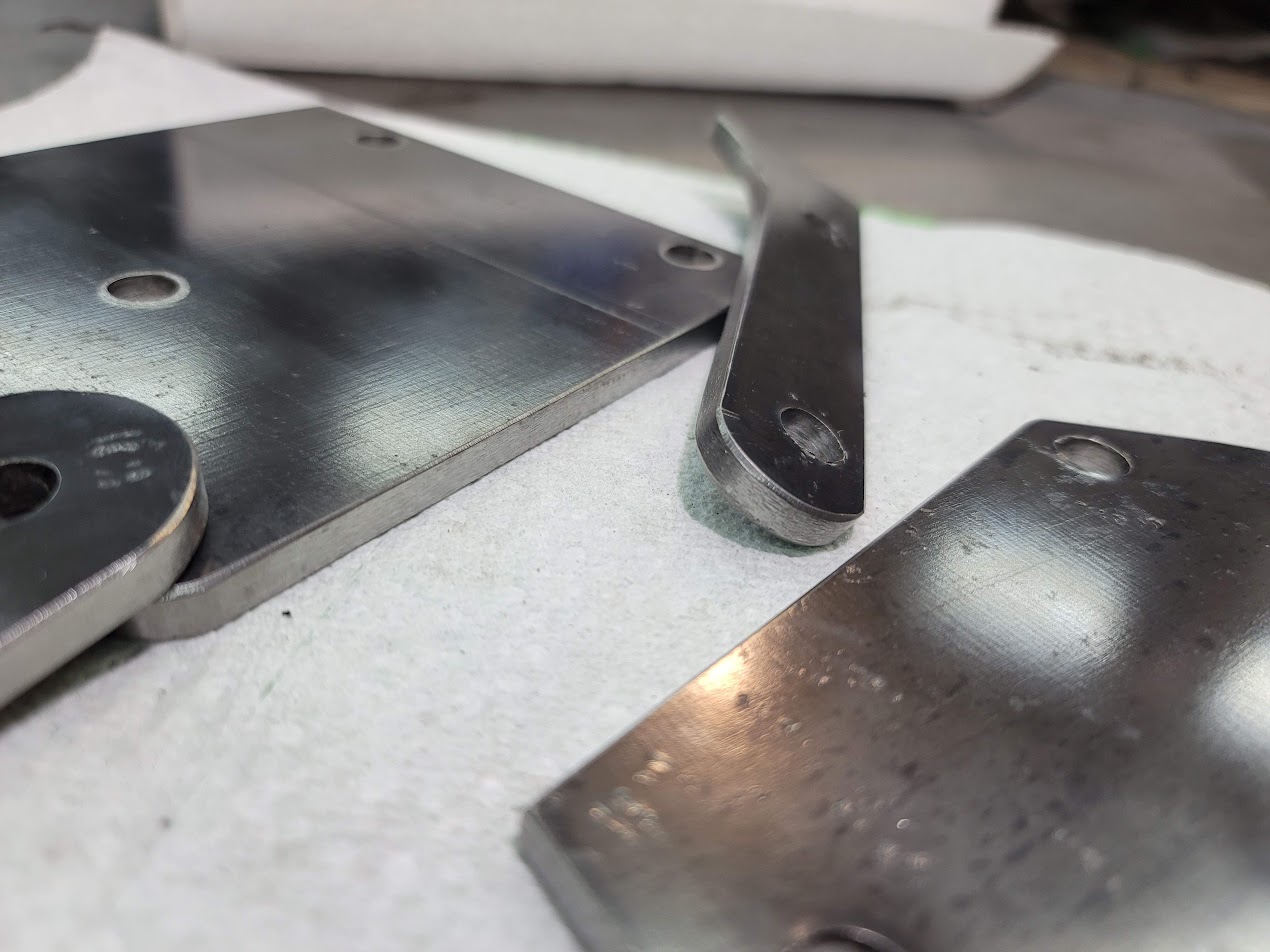
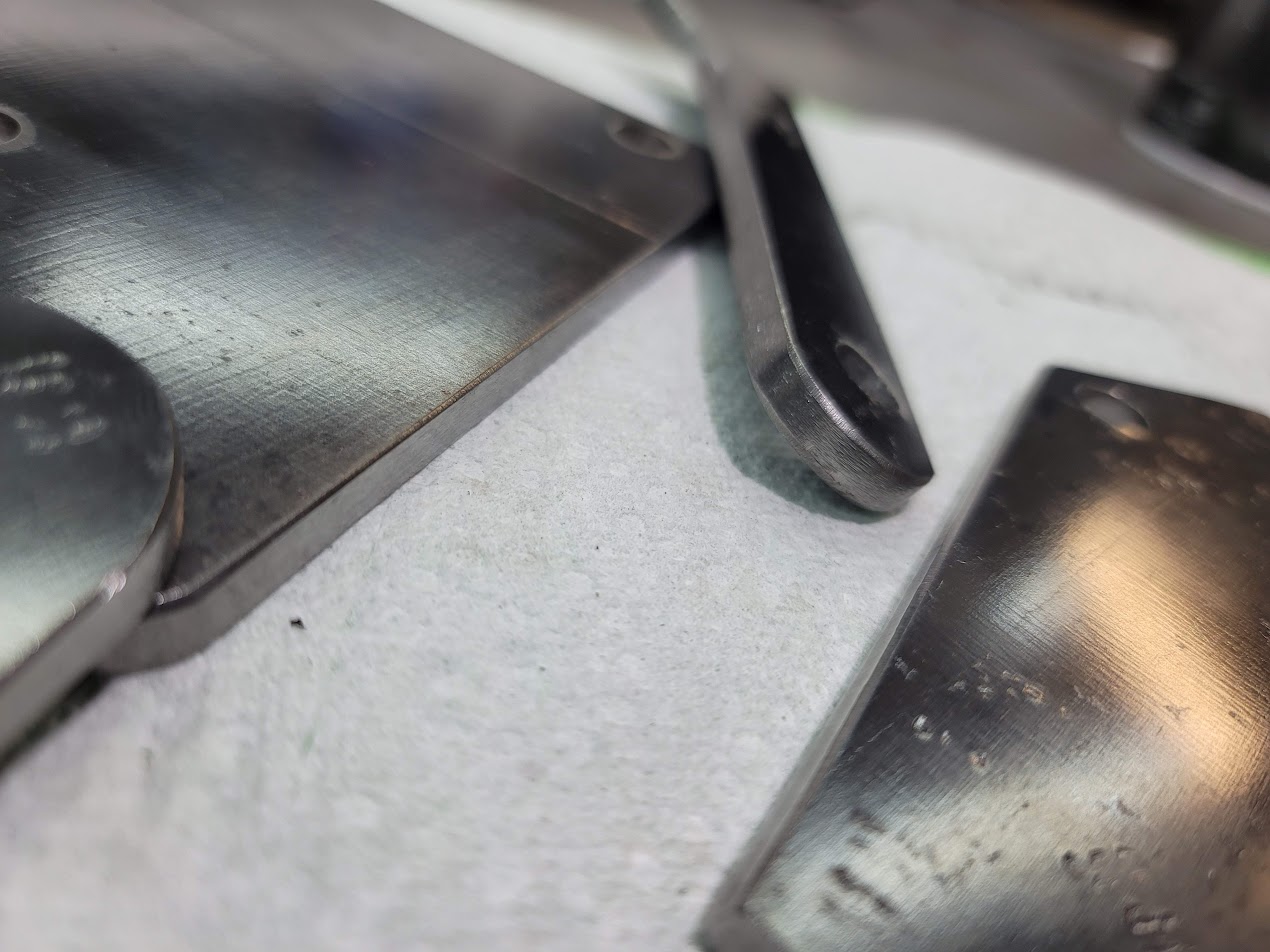

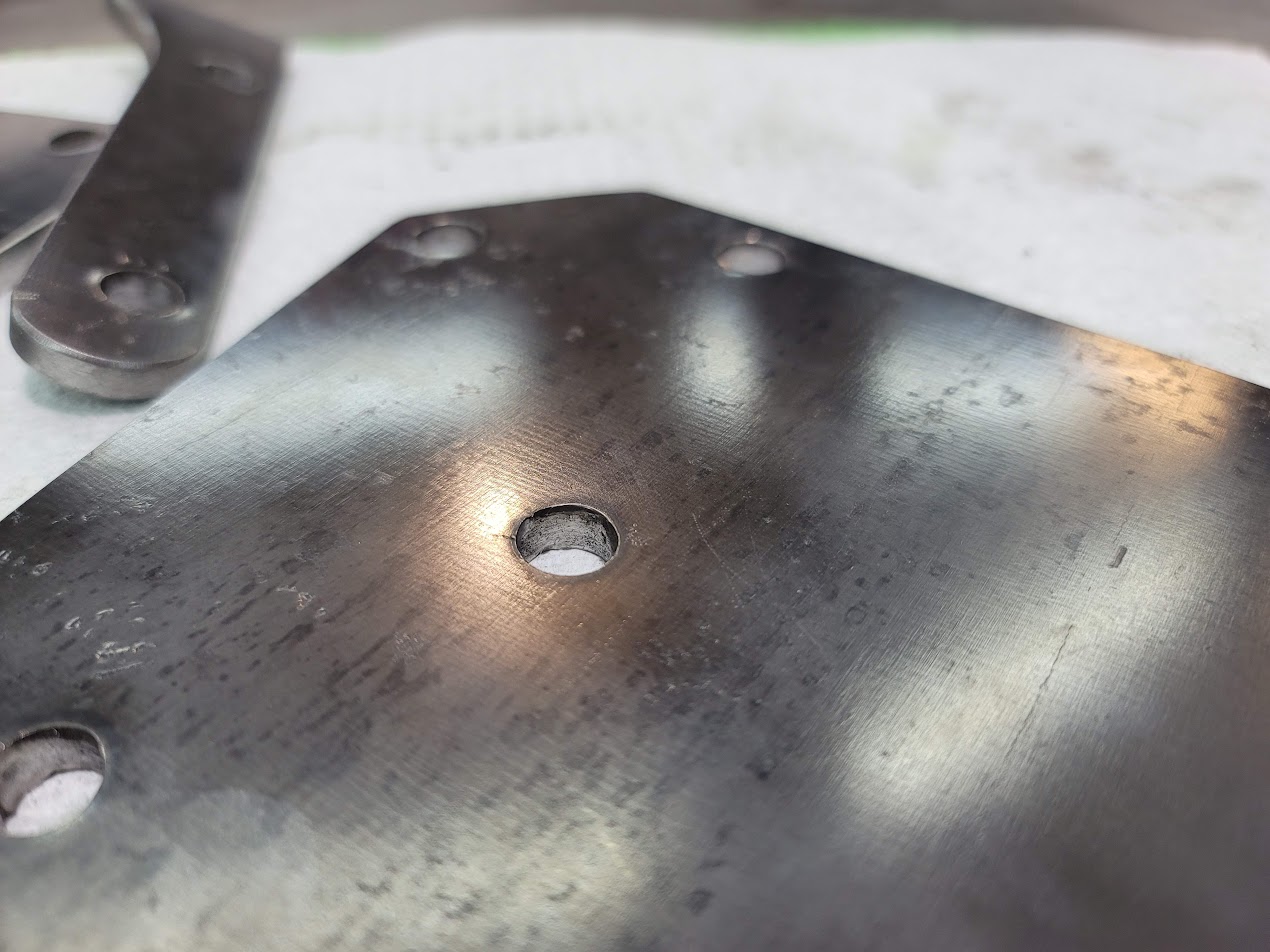
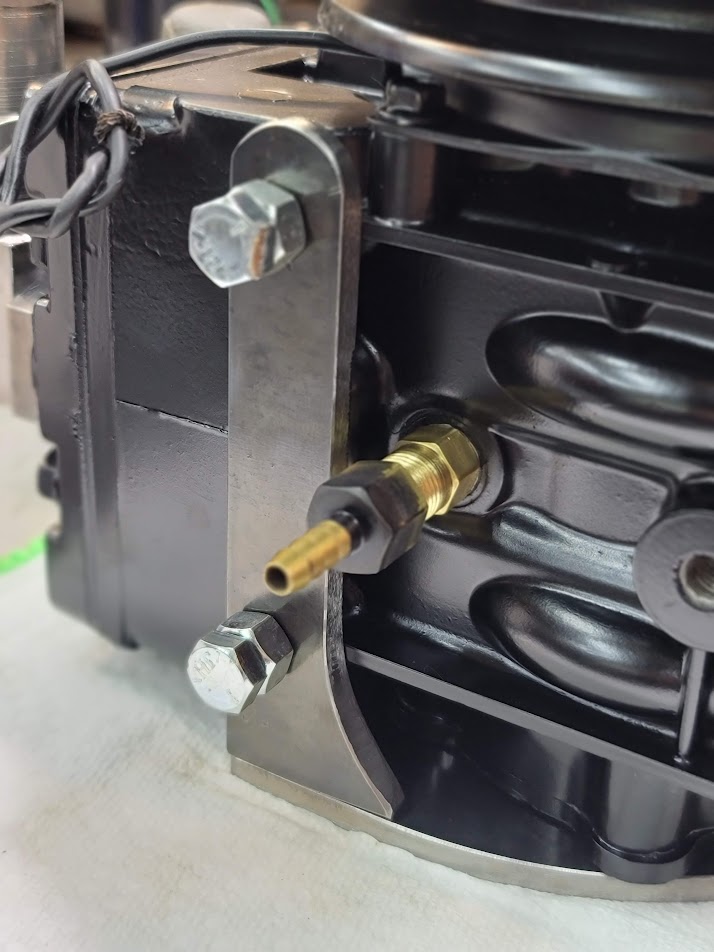
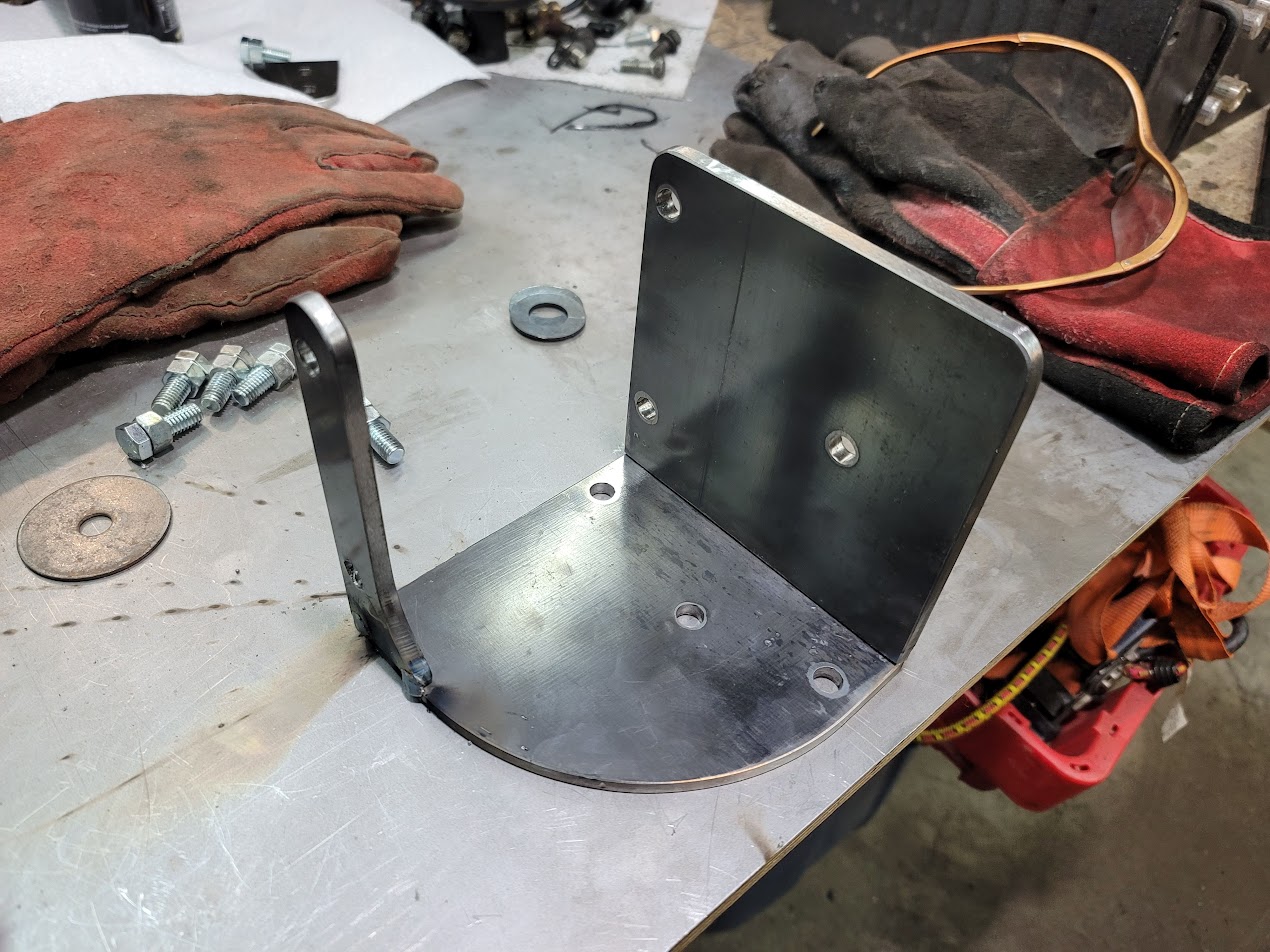
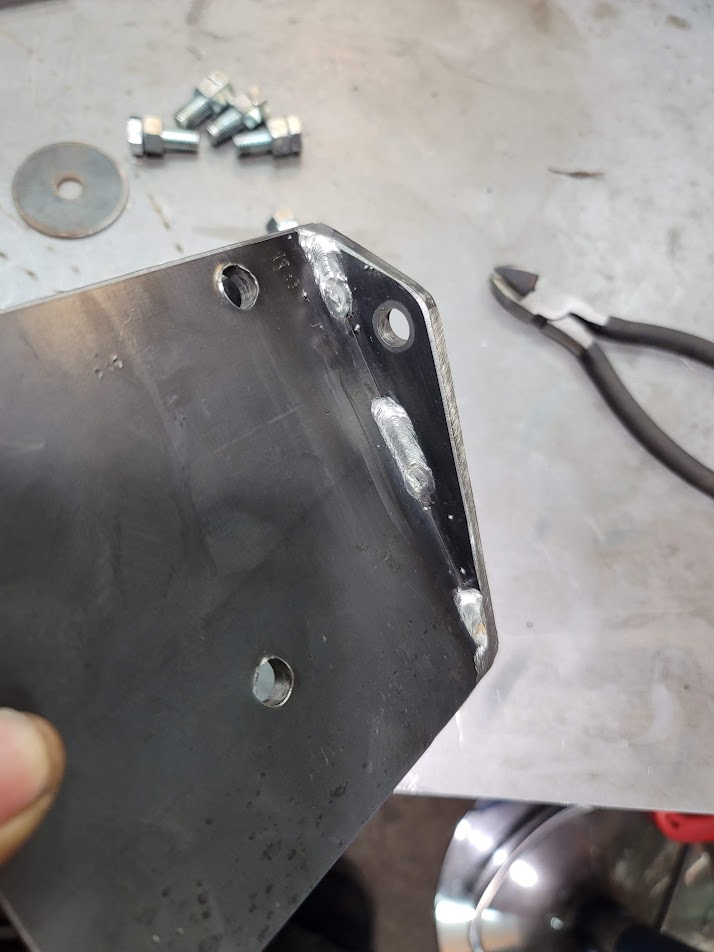
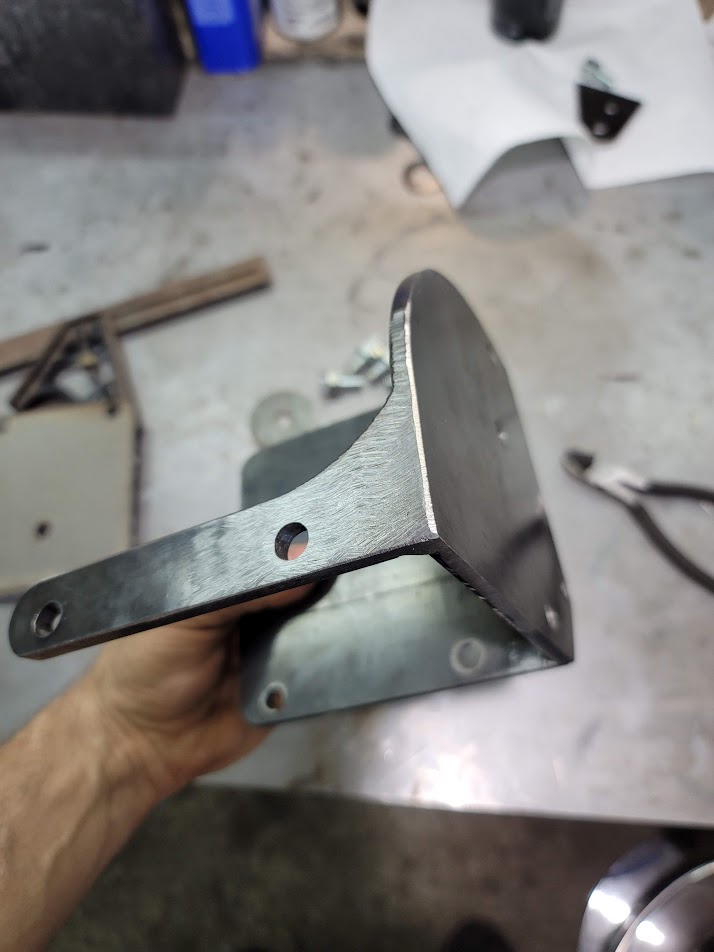
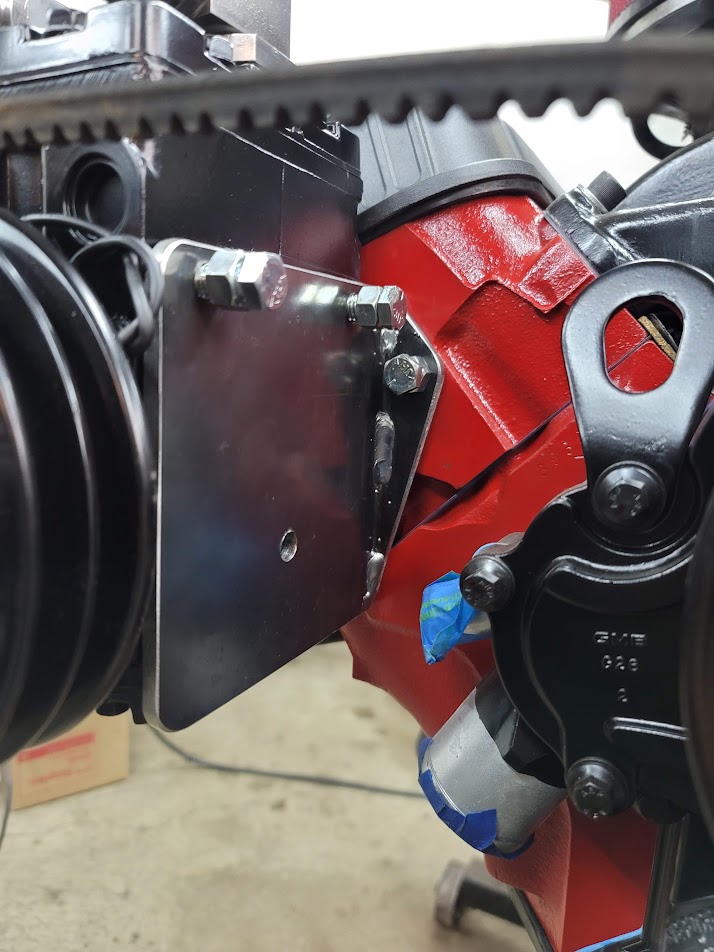
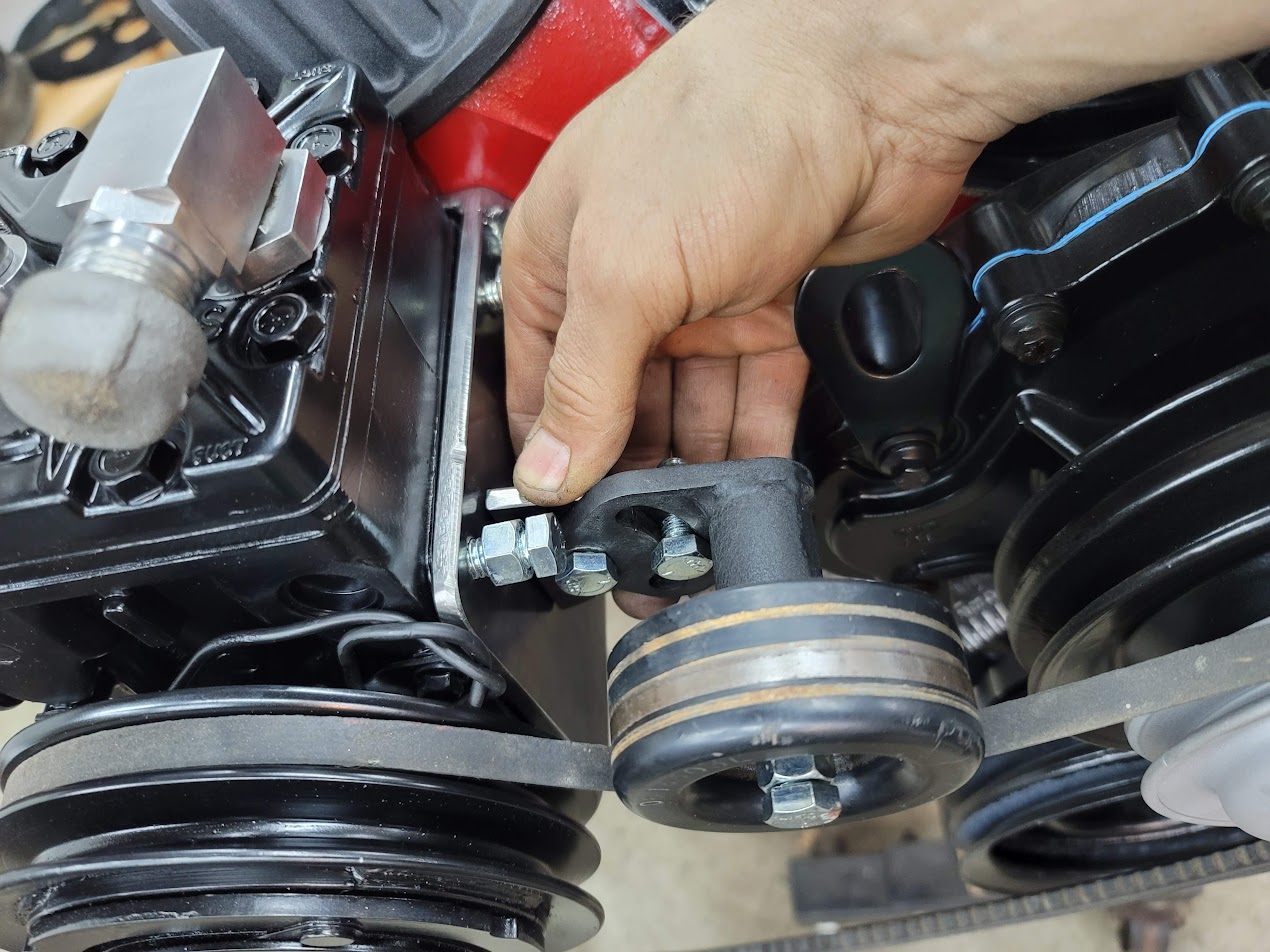
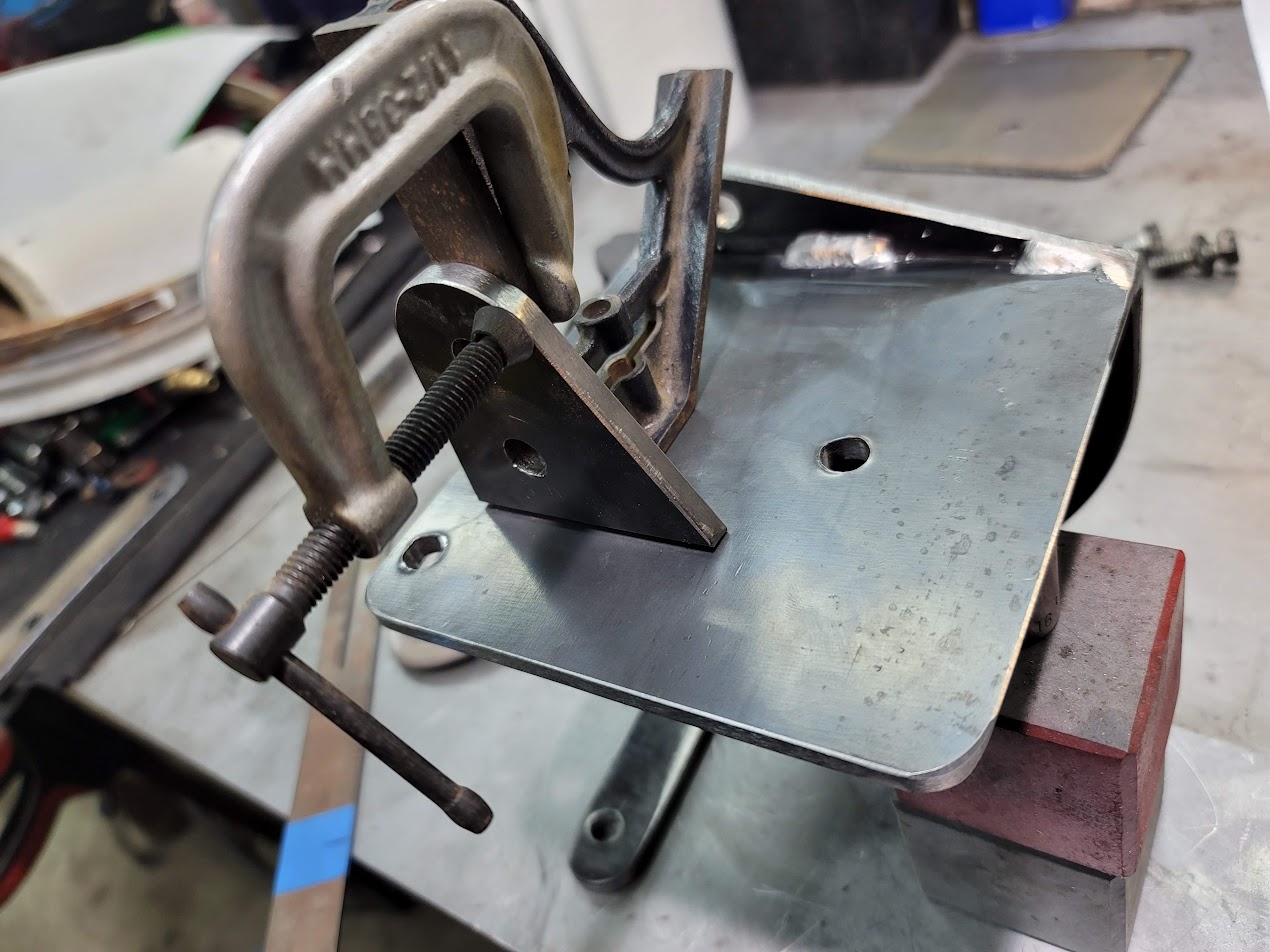
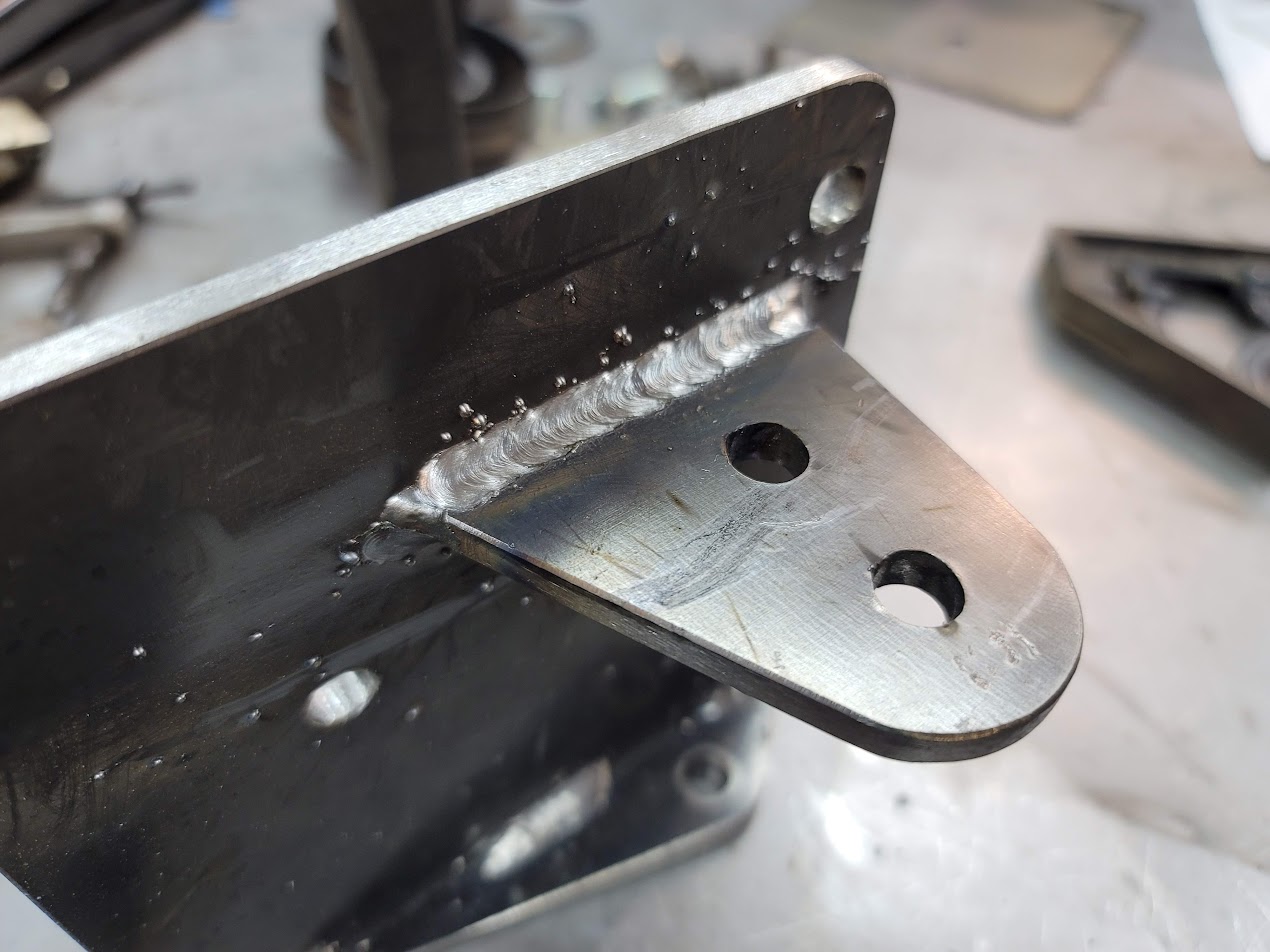
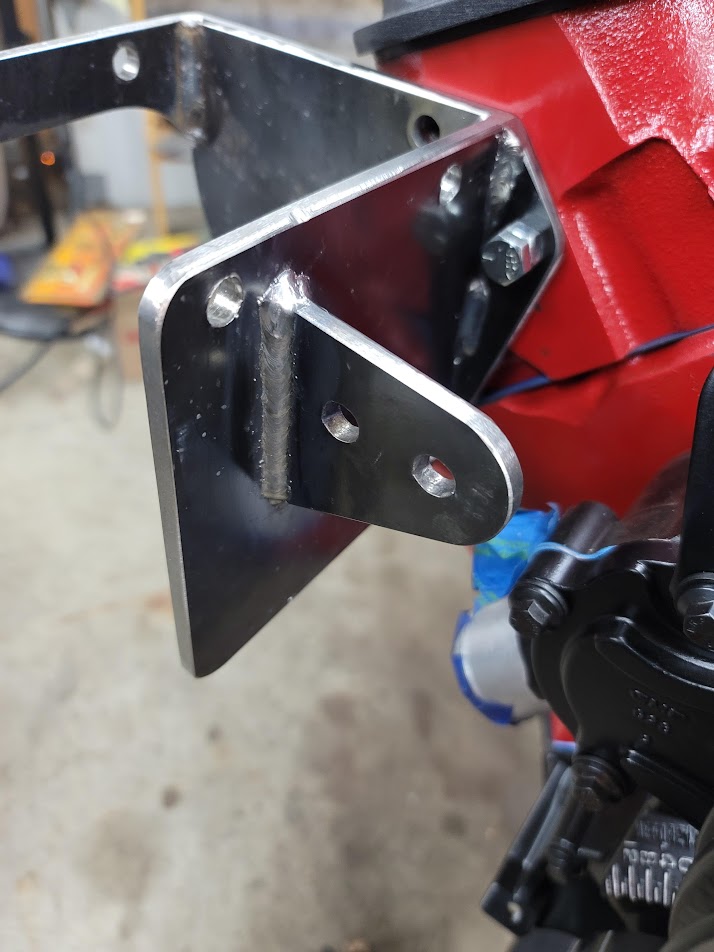
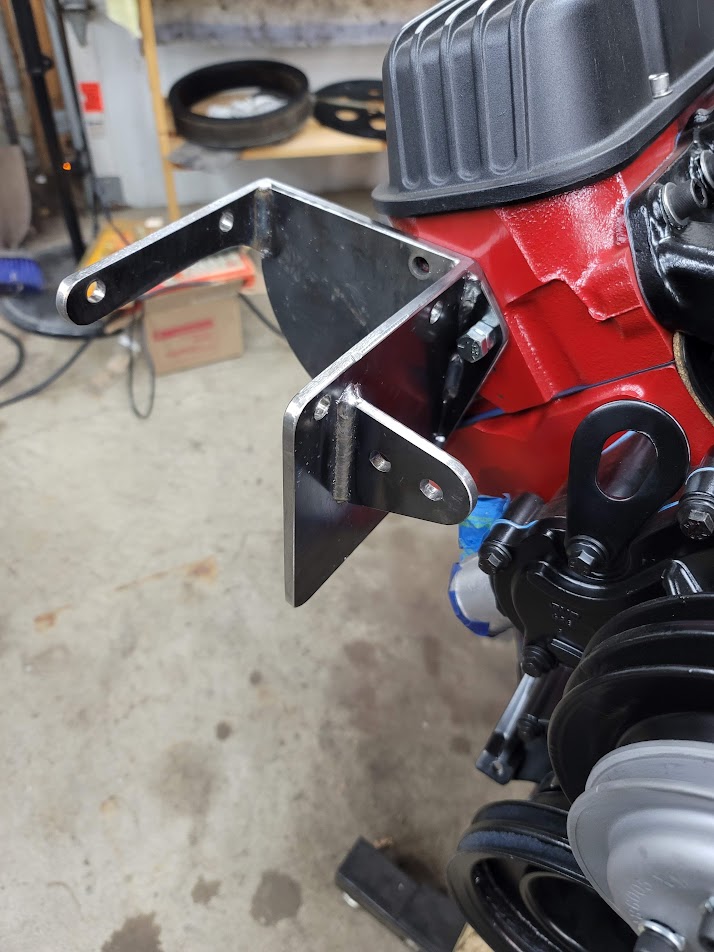
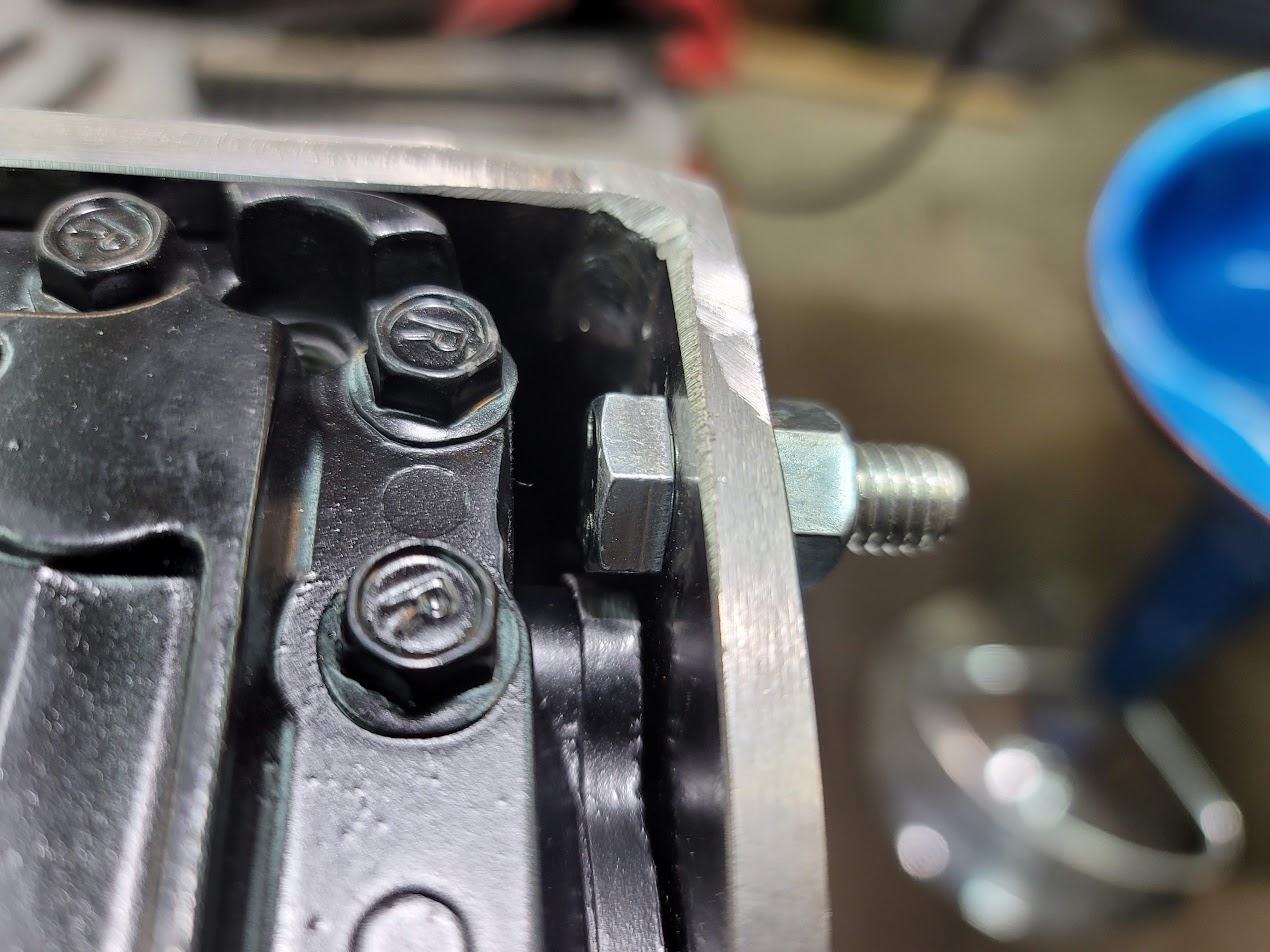
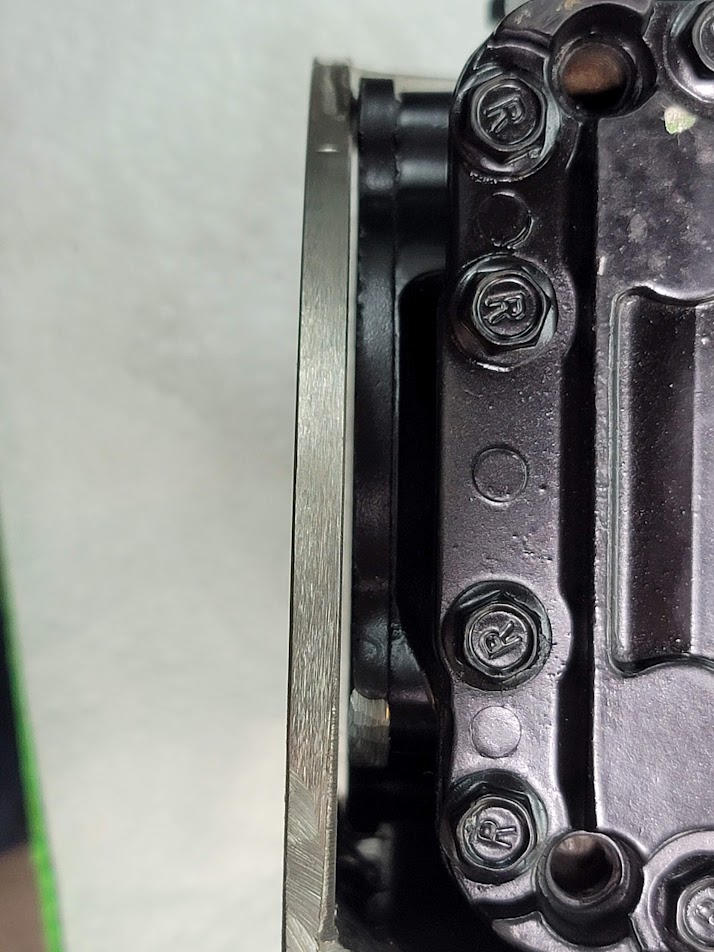
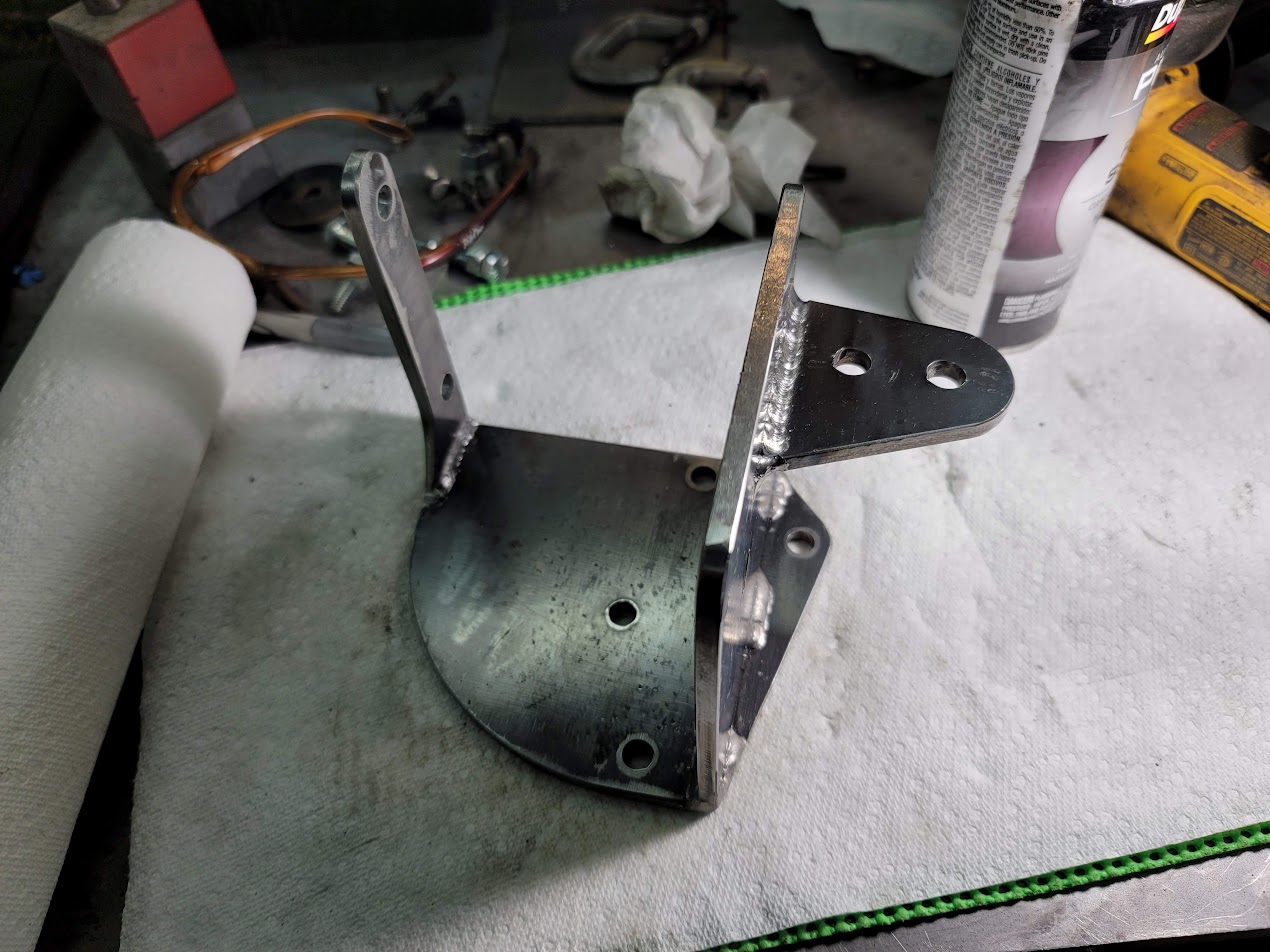
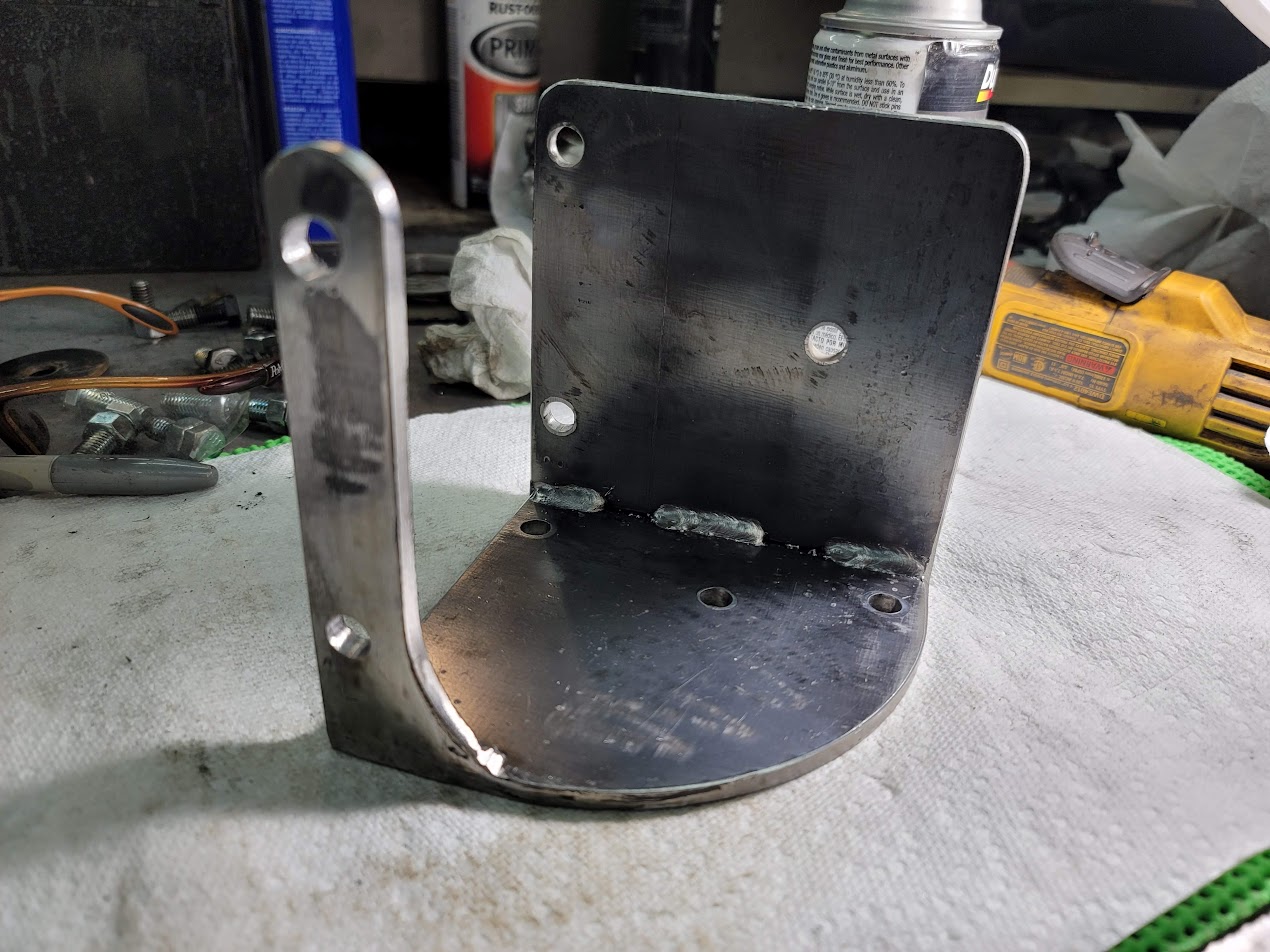
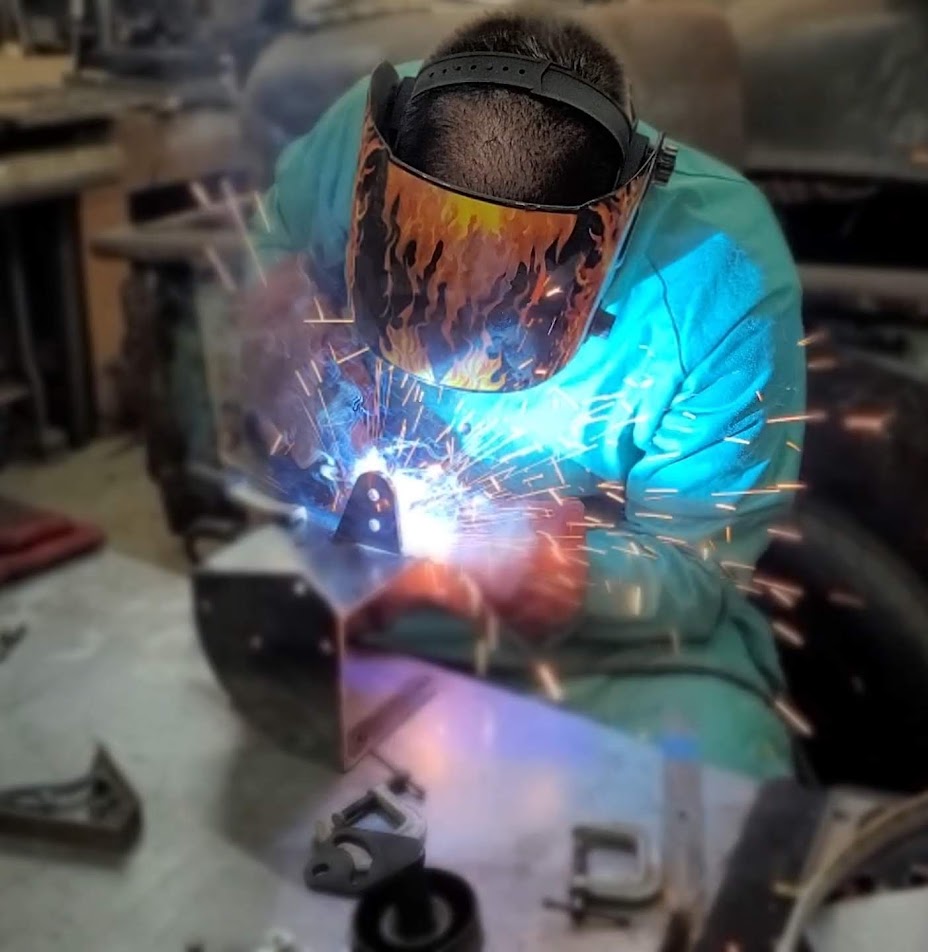
First time ever welding 1/4″ material, so welds are not perfect but should hold. ( fingers crossed ) But with brackets all cut out on my CNC and ground down, it turned out pretty nice, now just needs some paint!
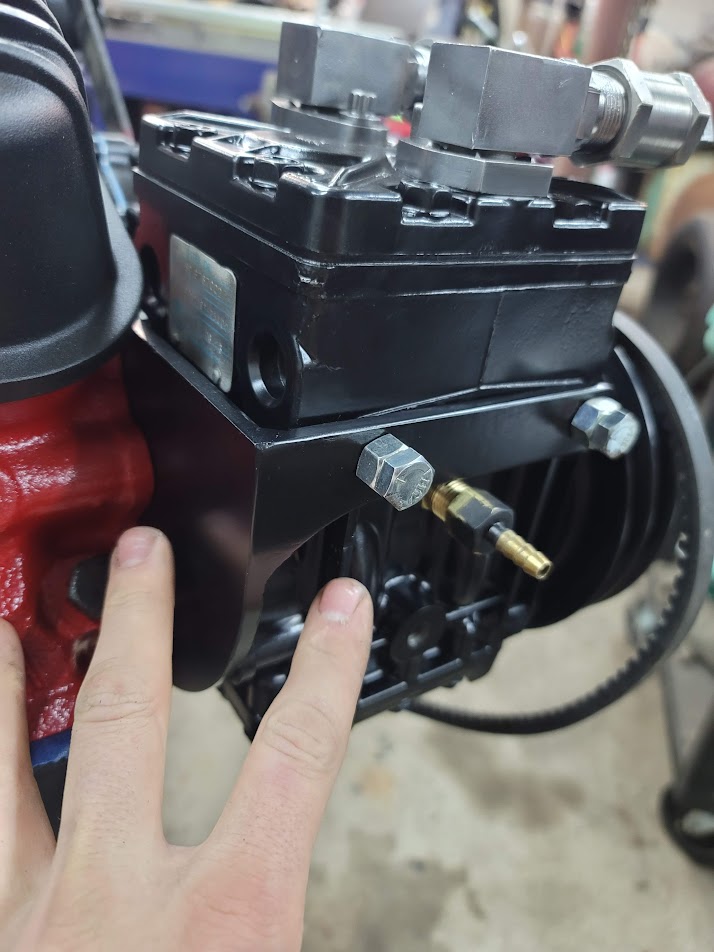

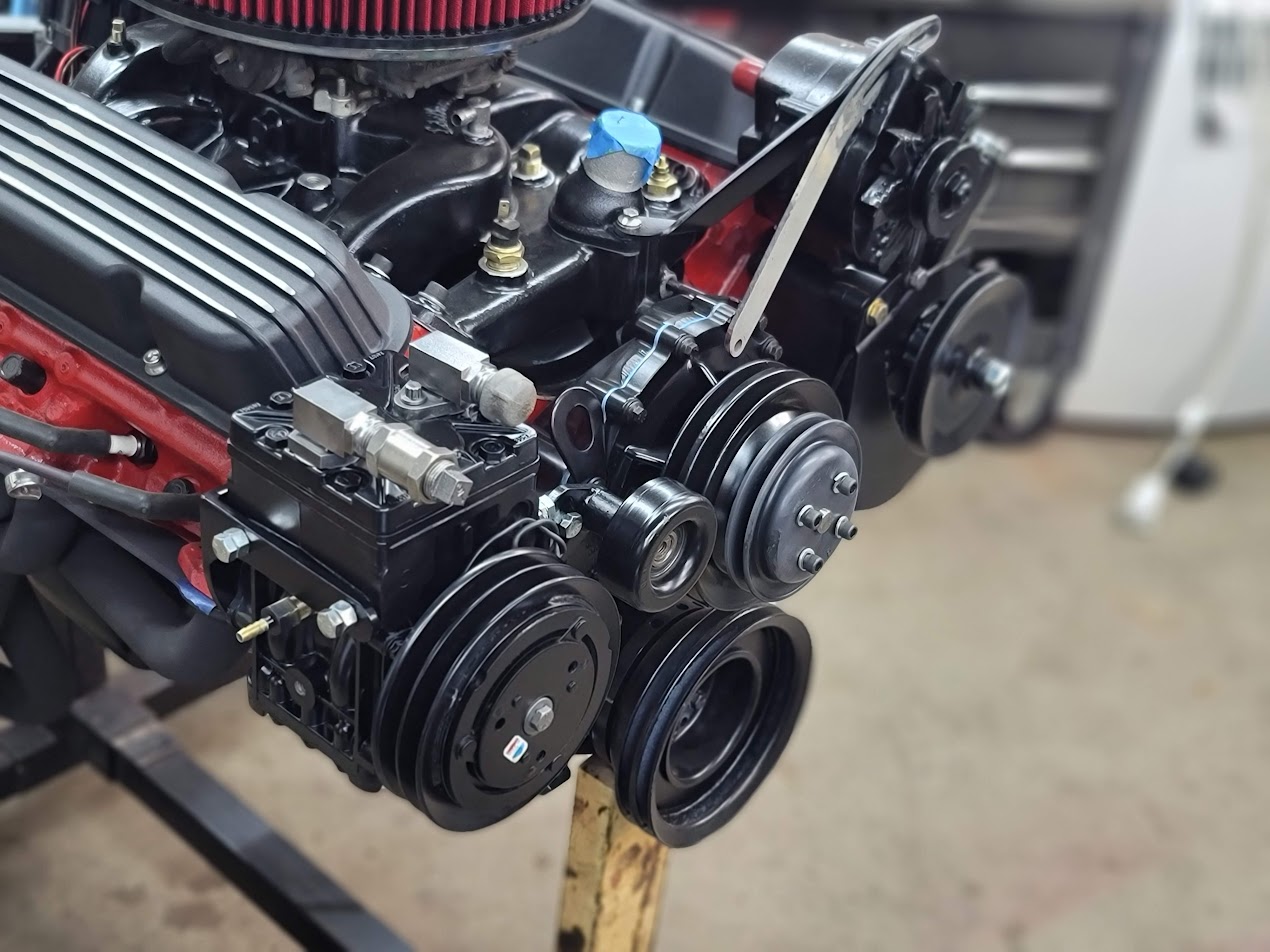

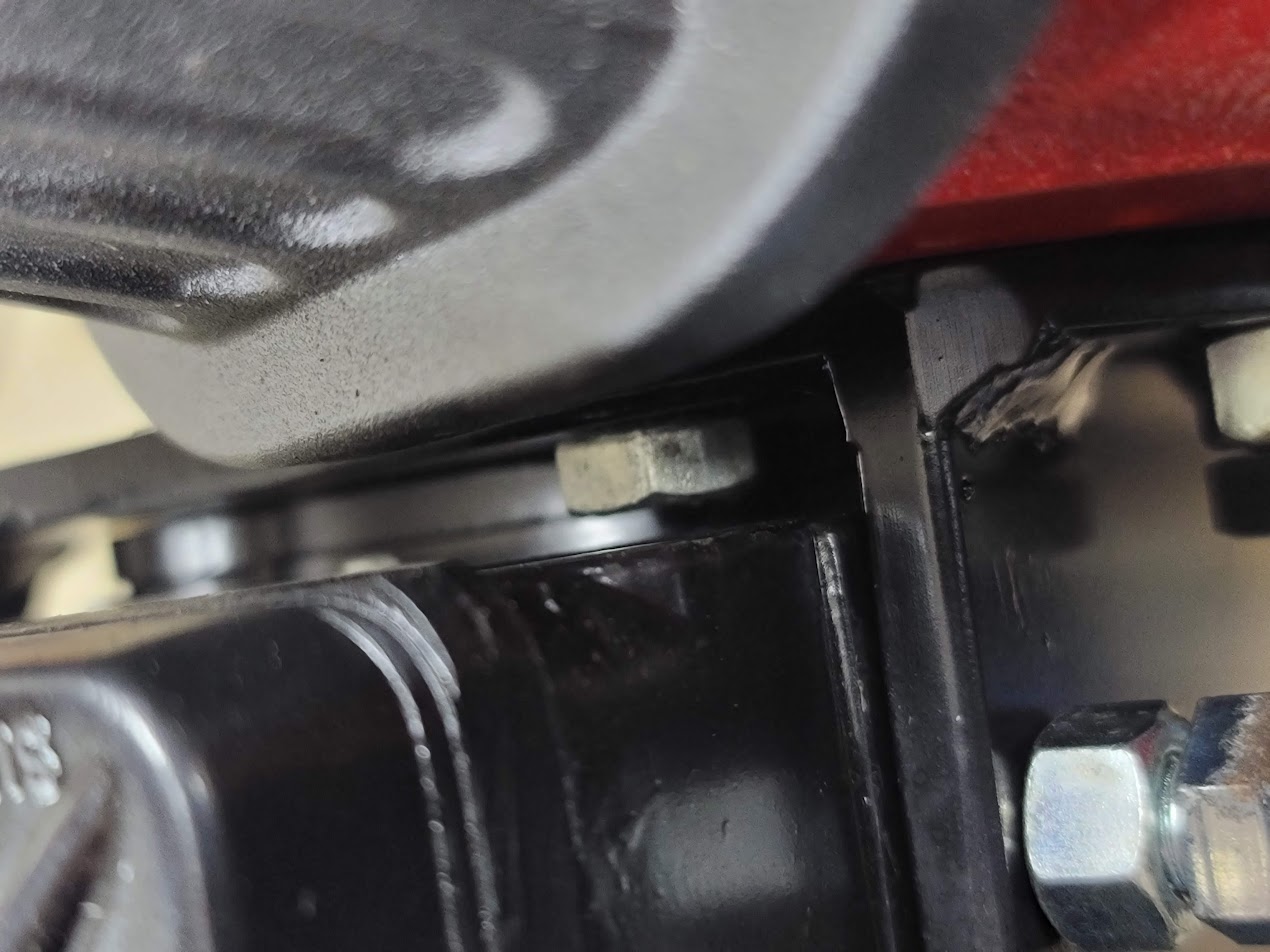
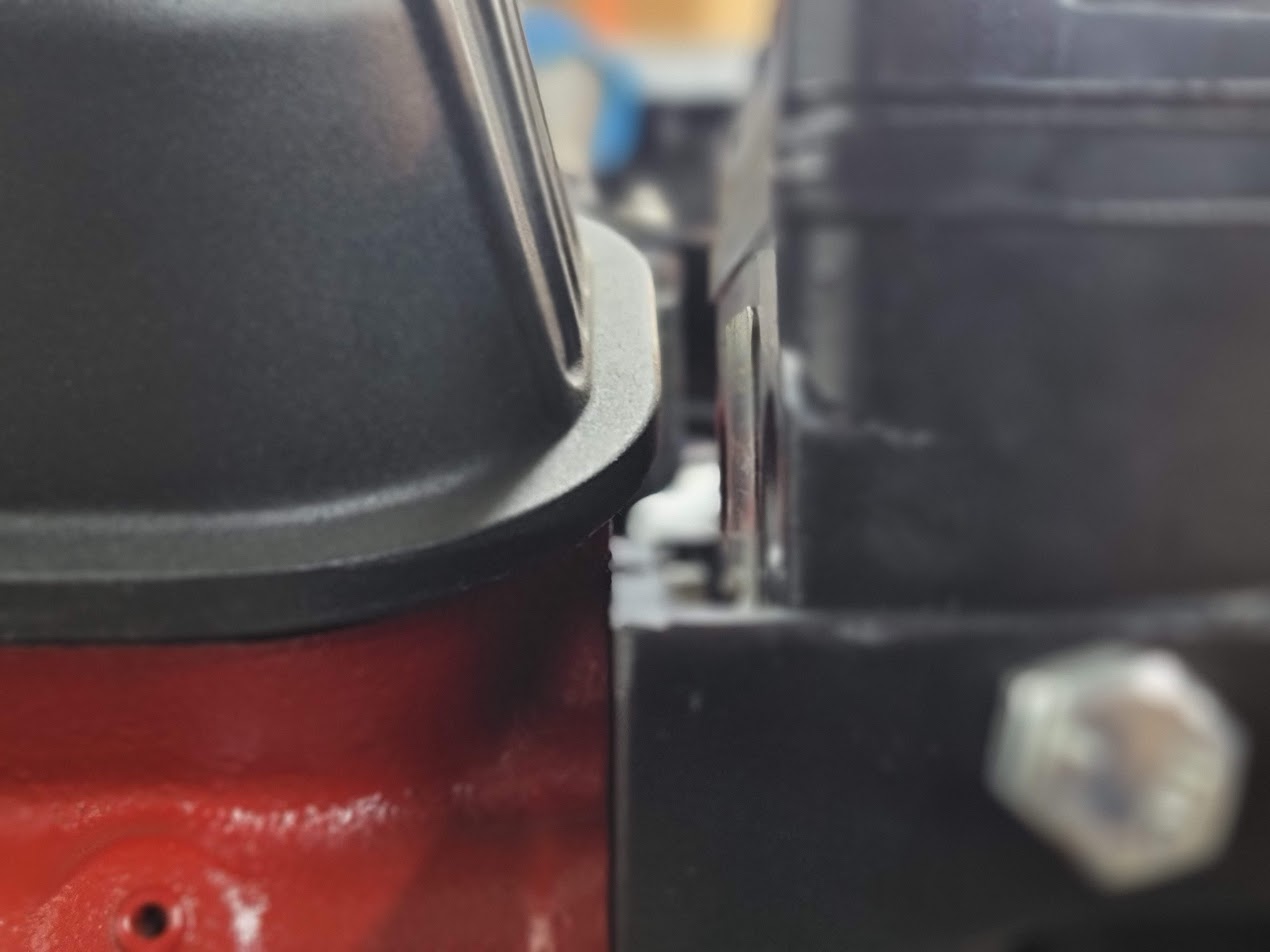
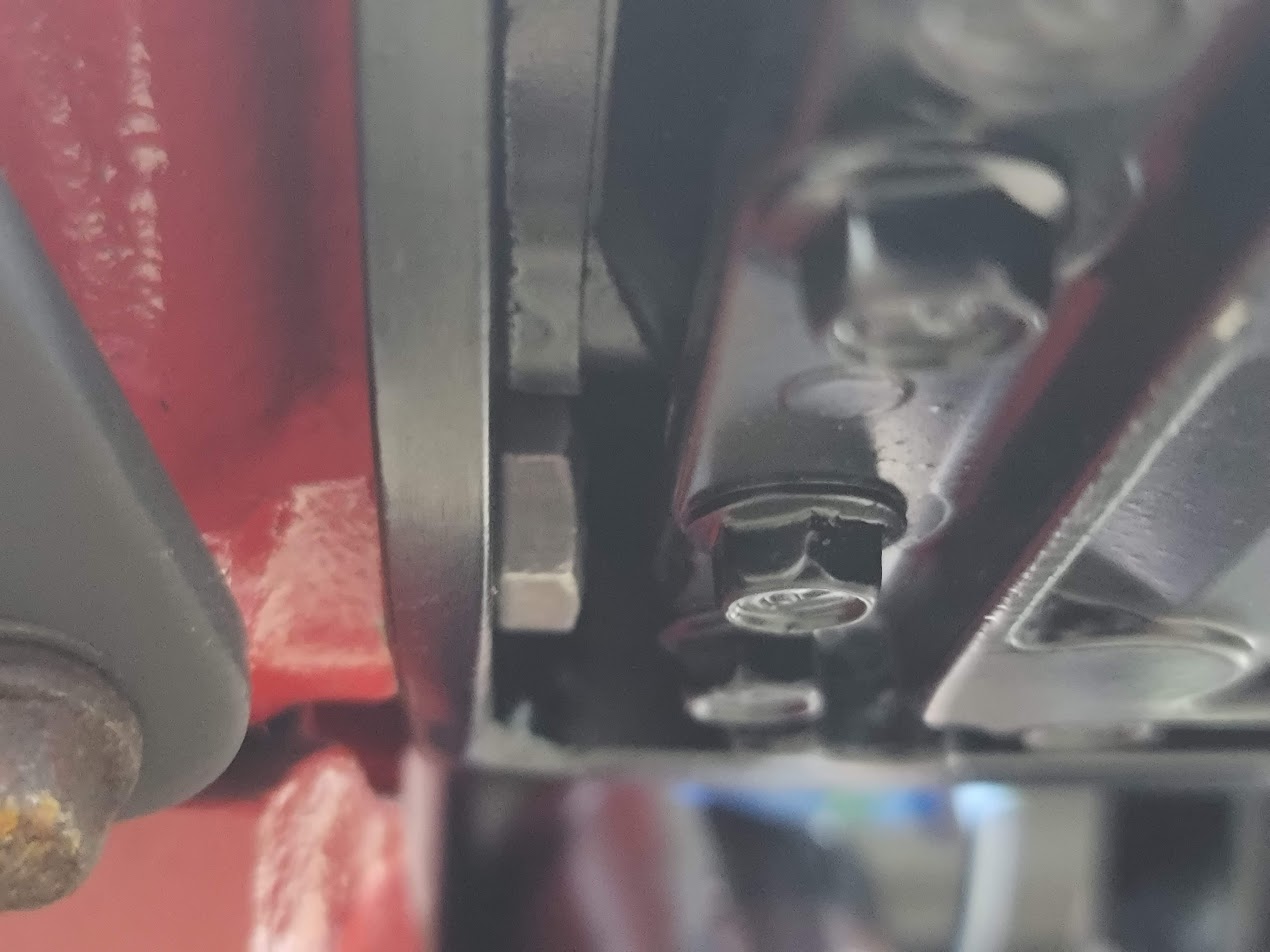
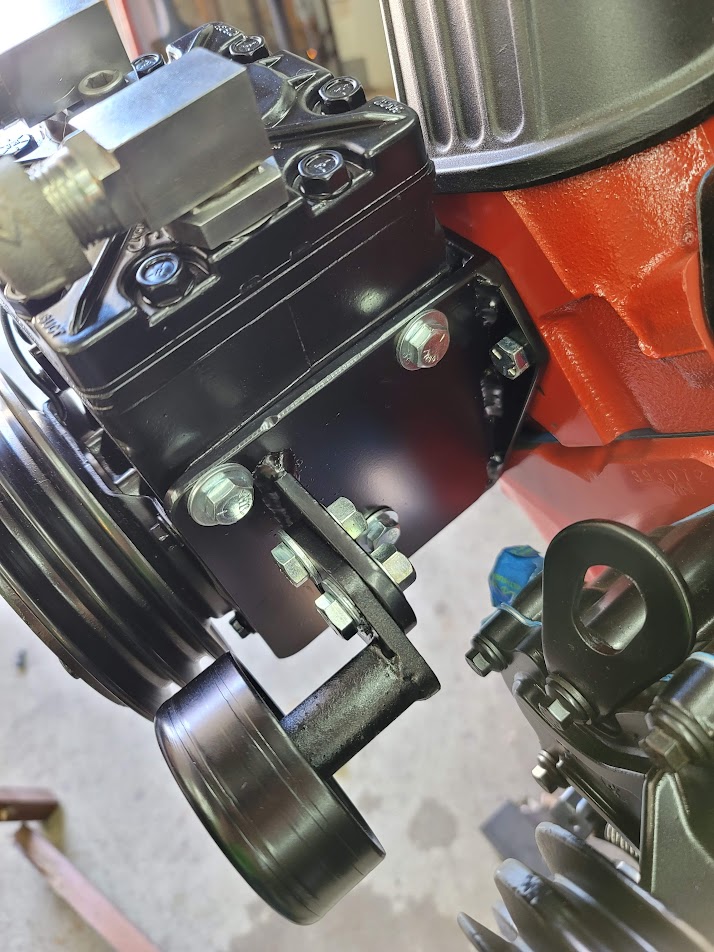
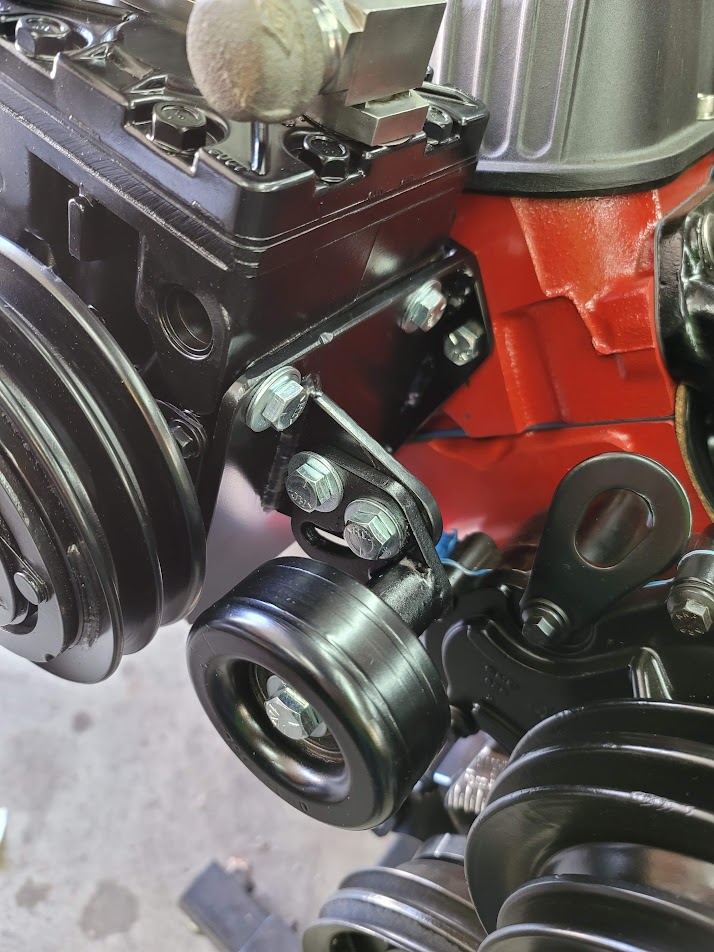
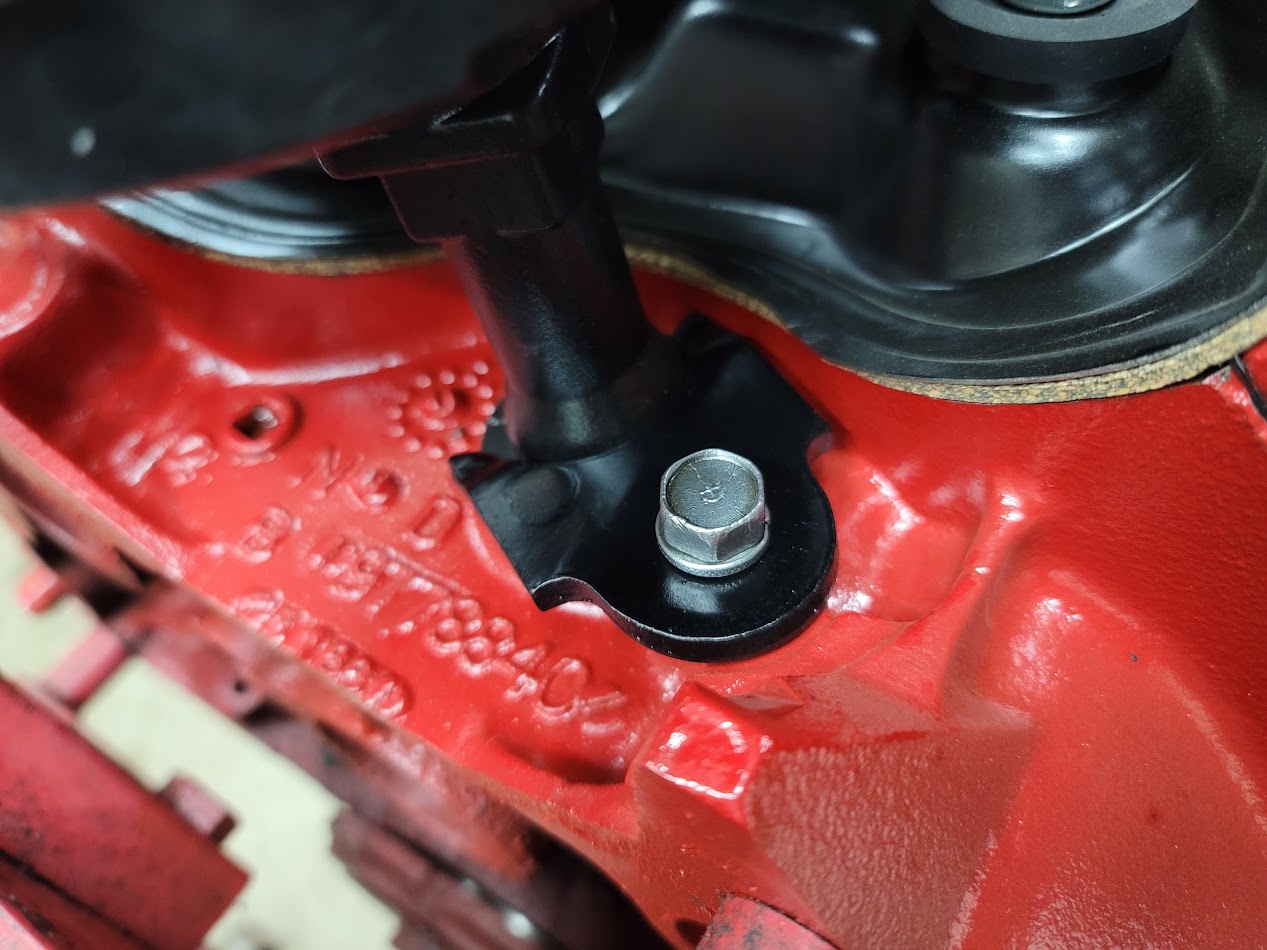
Looks so much better in paint! Was a very tight fit to make everything work, I had to align the bracket so the bolts or the block where outside the bump out on the back of the compressor. And it had to clear the valve cover!
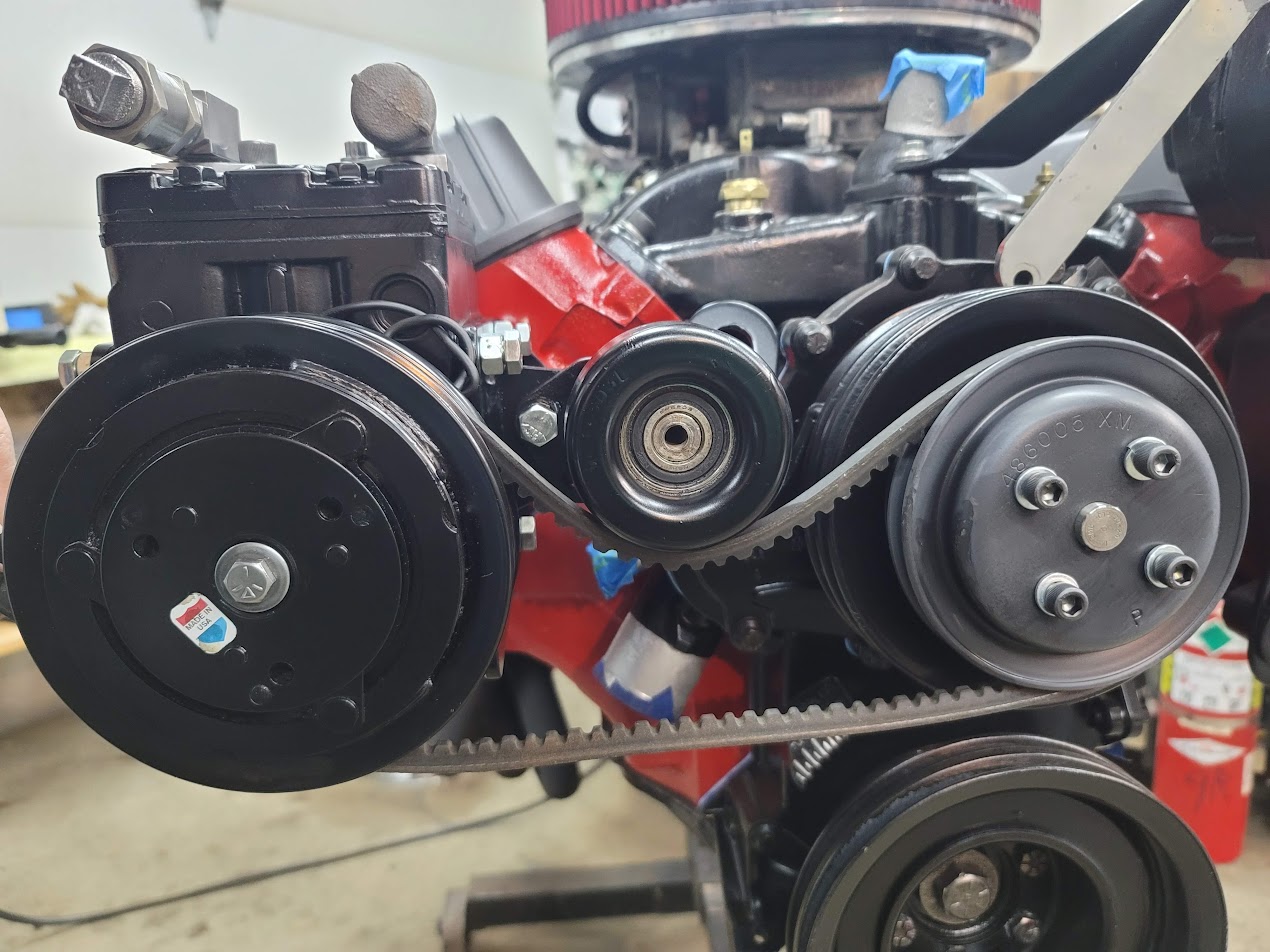
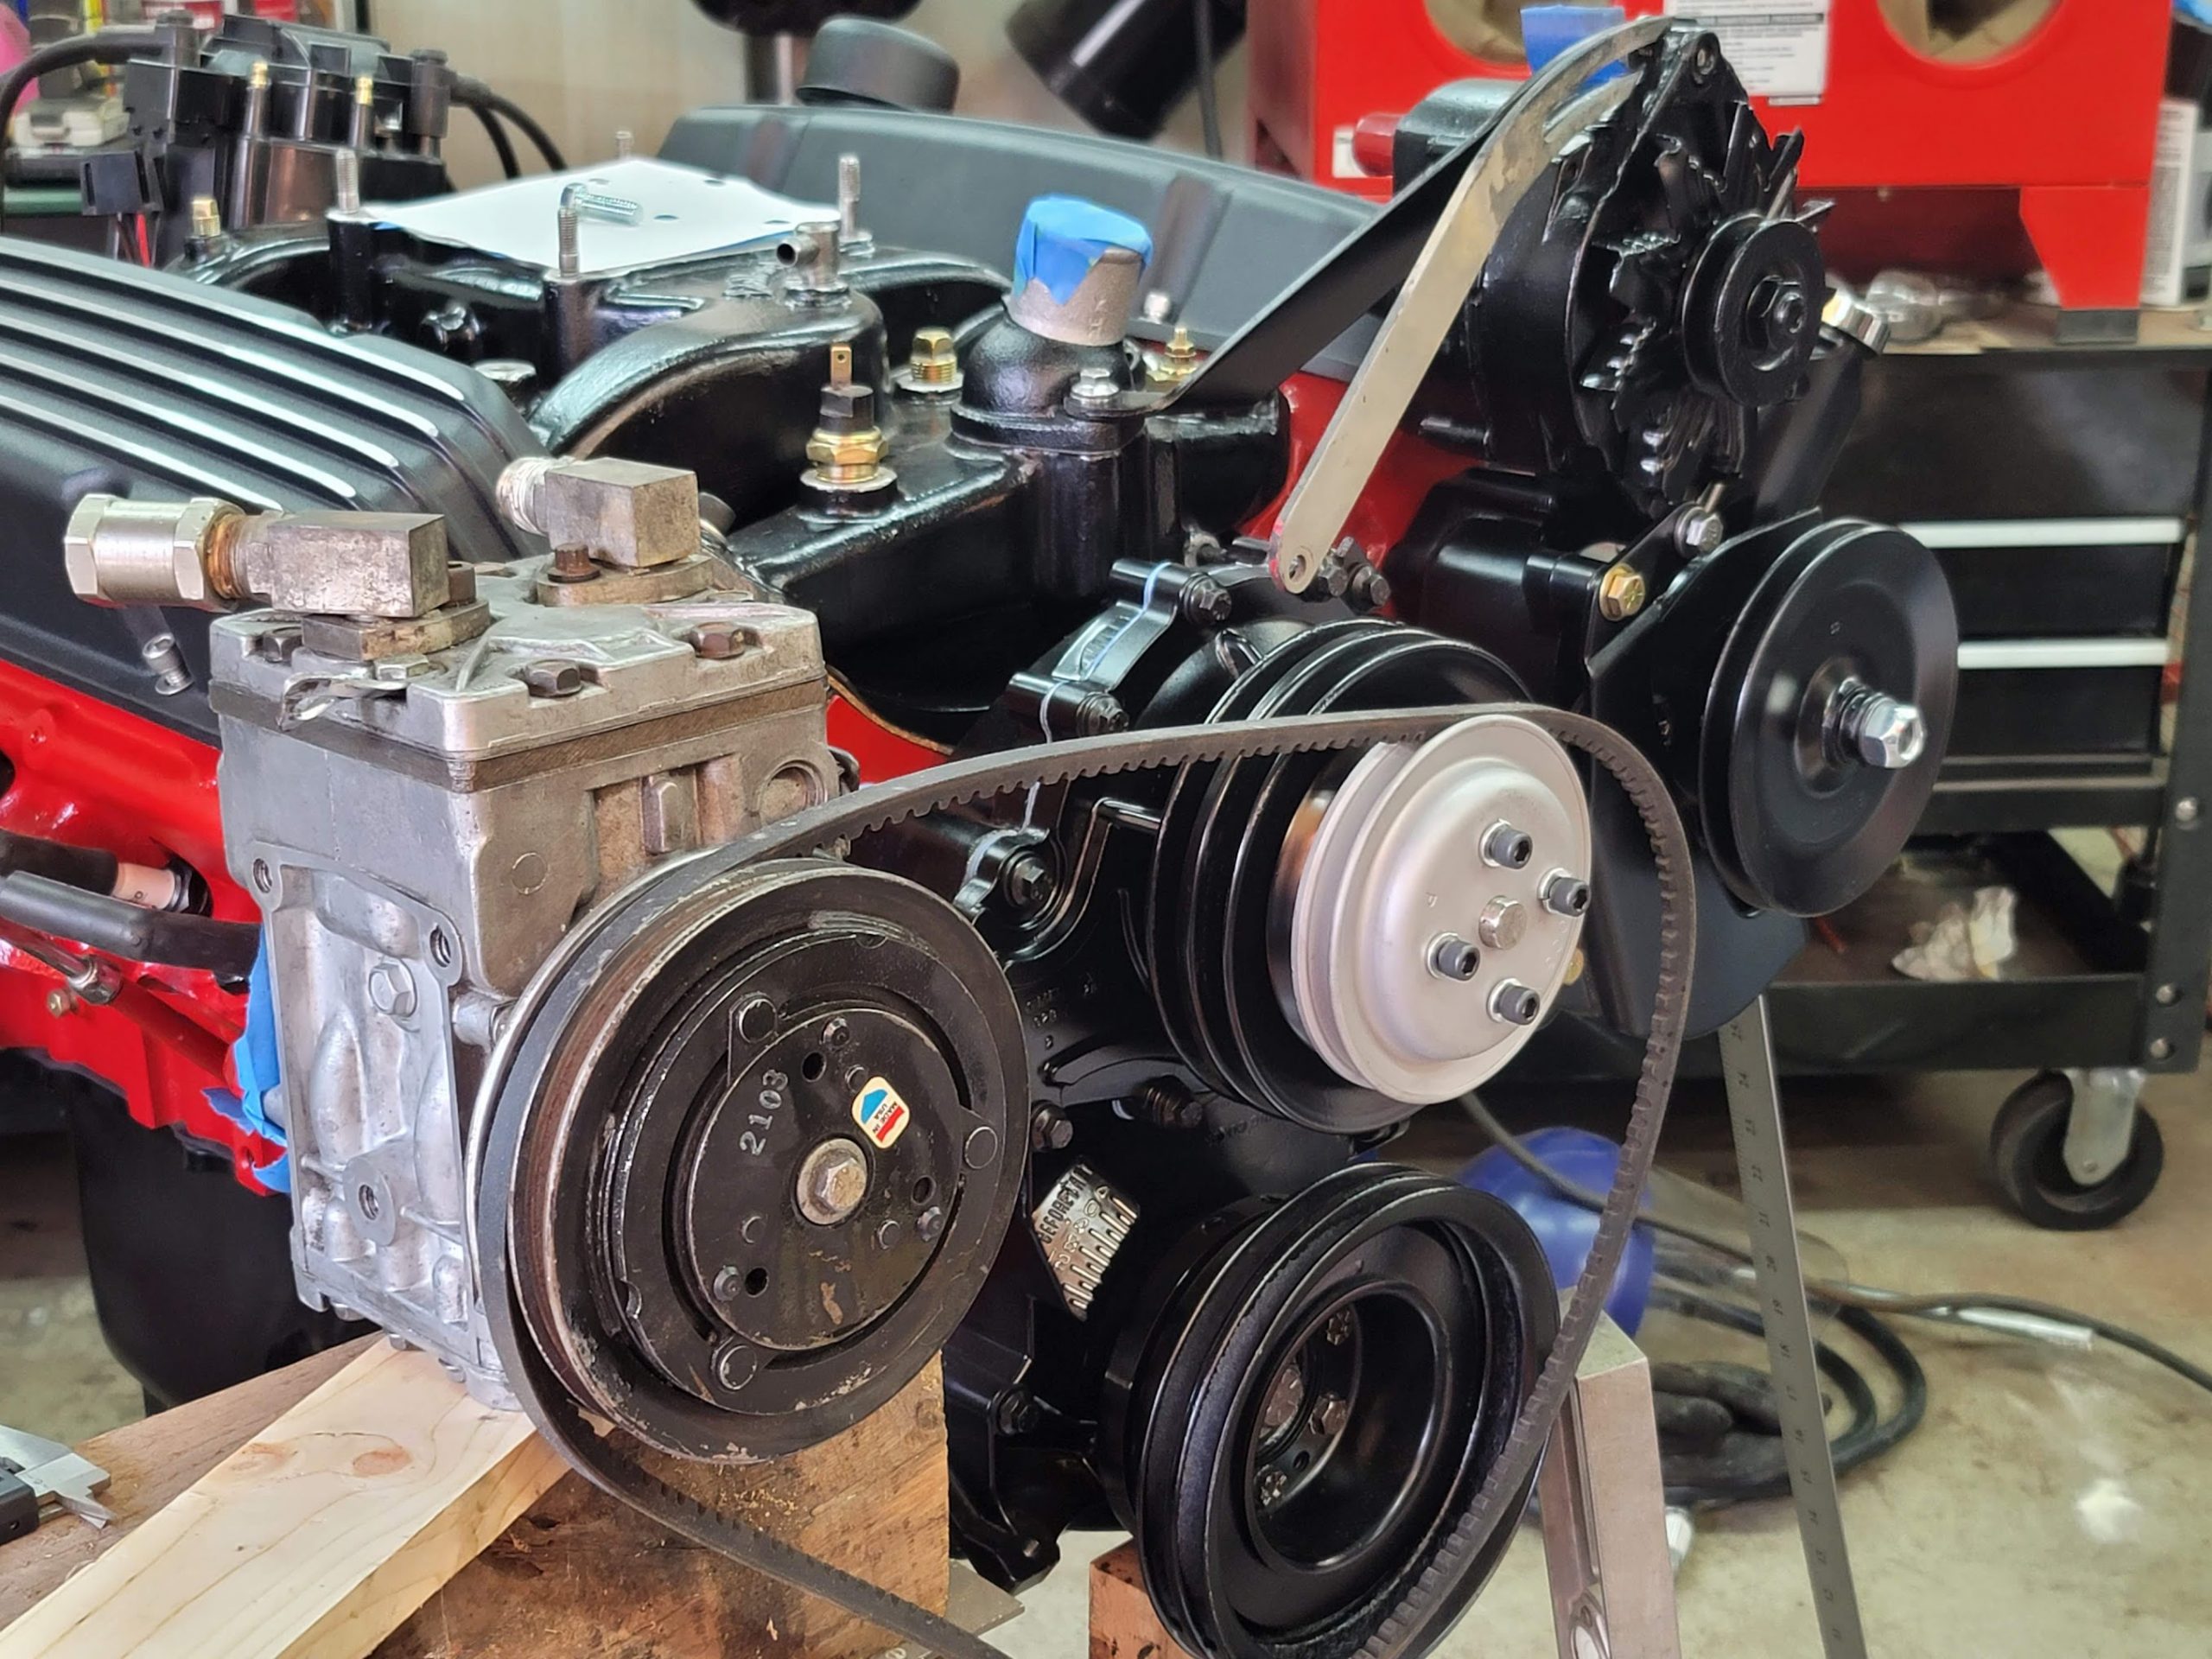
Finding a belt will be fun, here is a test fit to show about how it will be routed and tensioned.
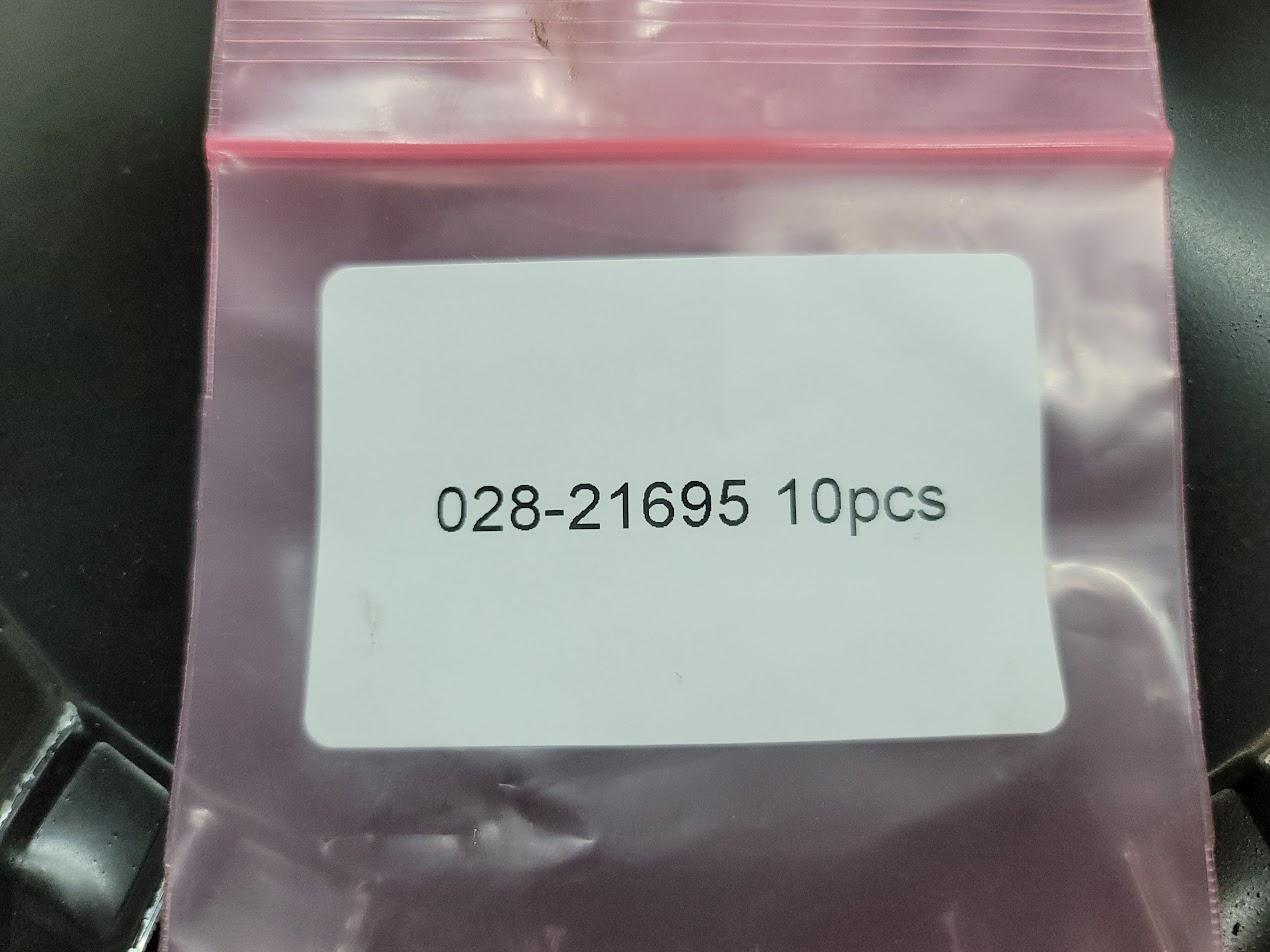
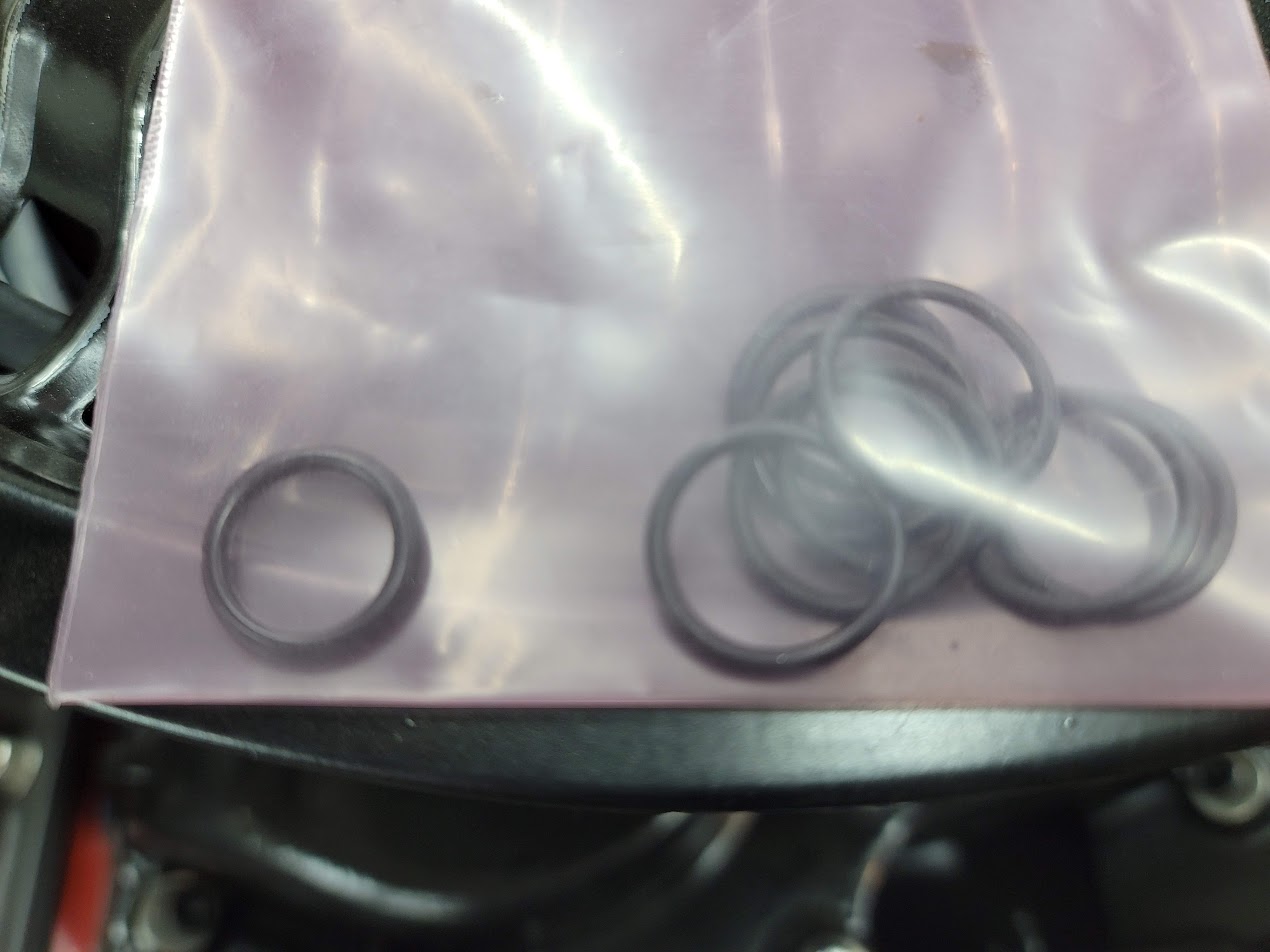
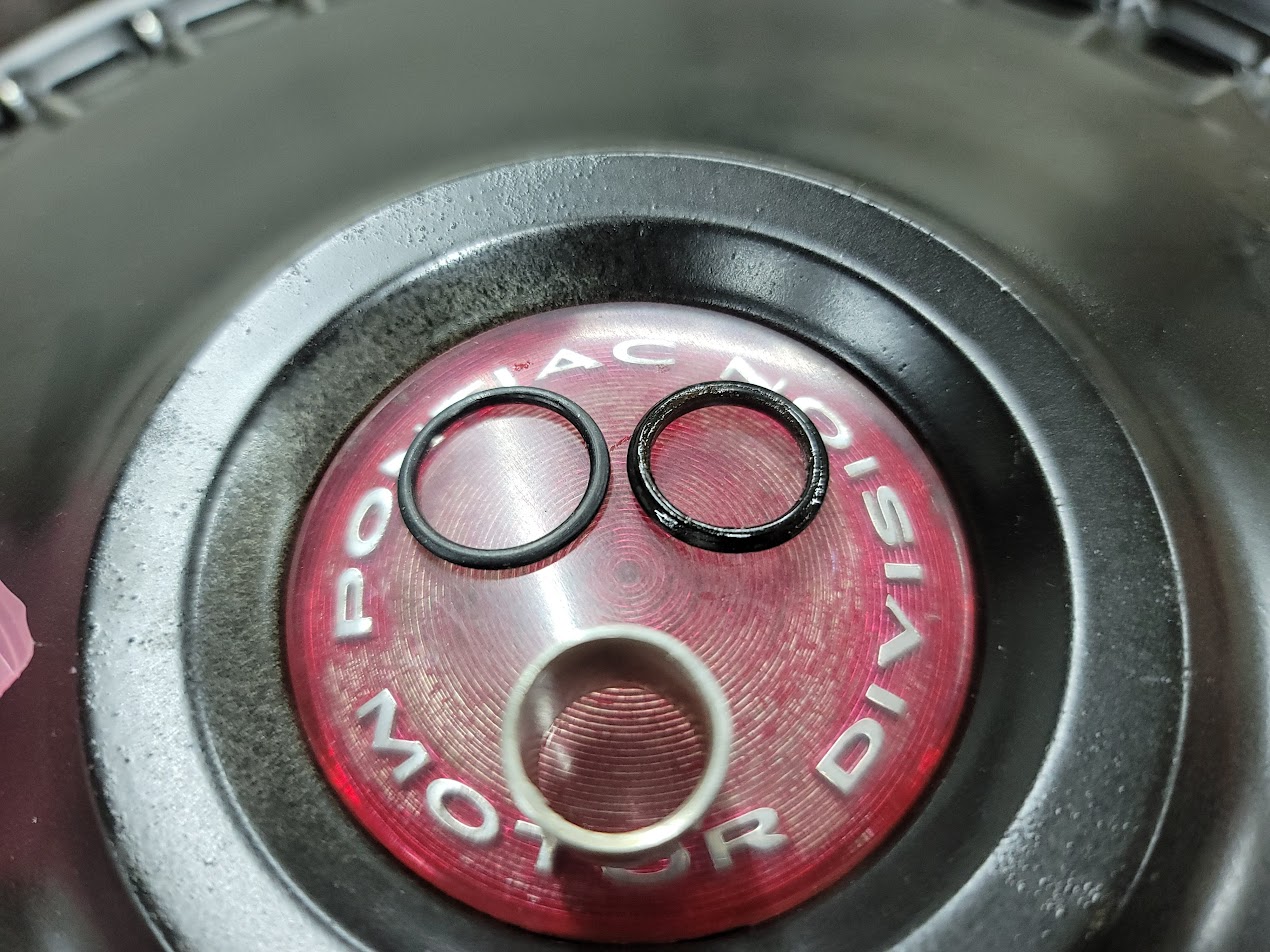
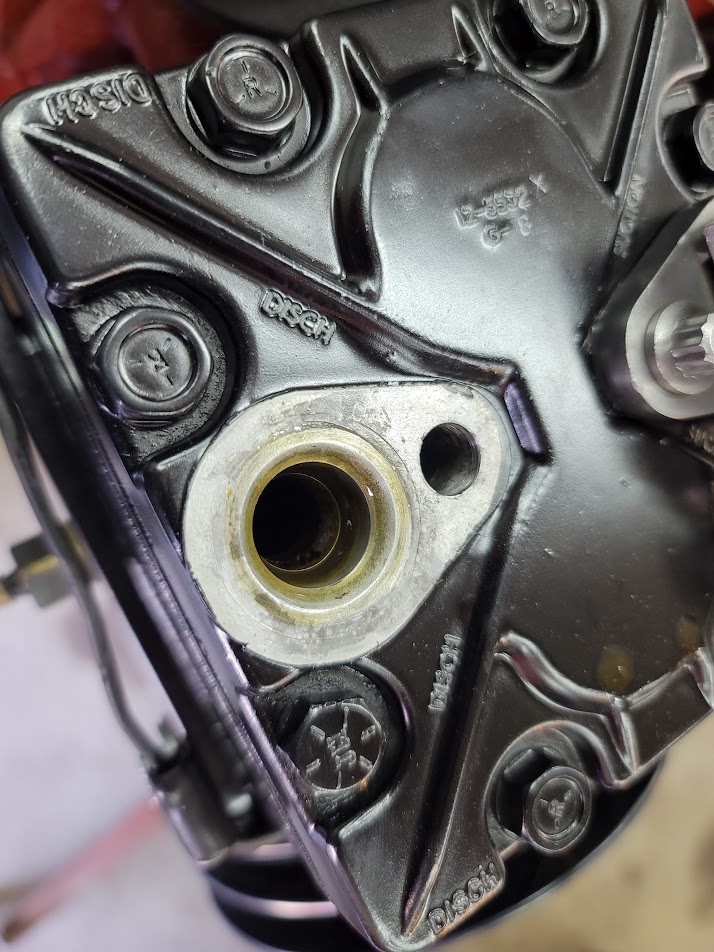
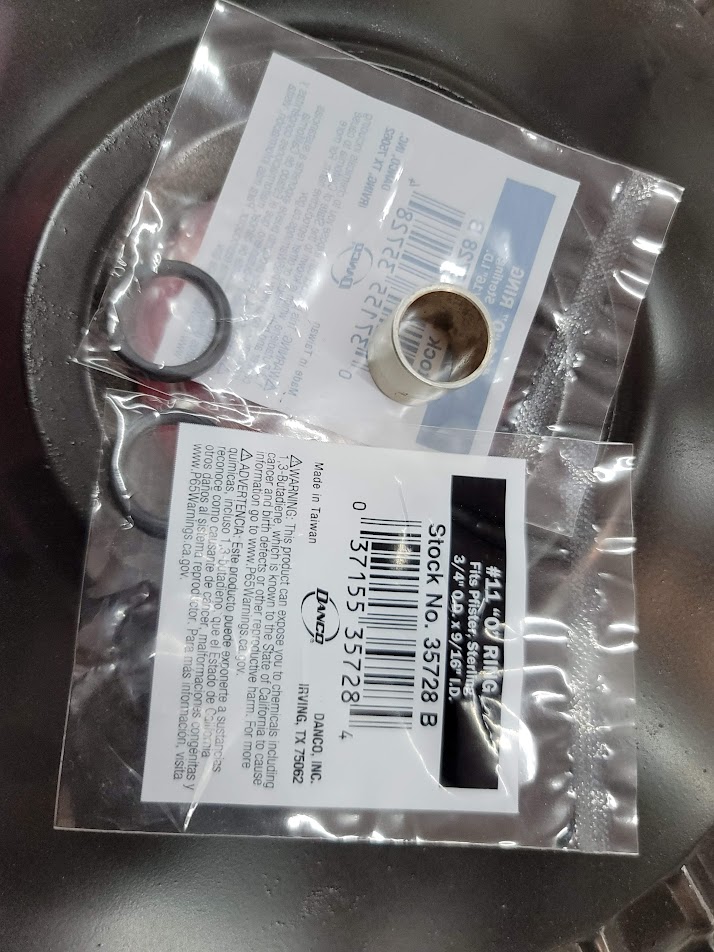
Next fun step was finding O-rings that fit this now obsolete compressor. The ones I got from TCCI Mfg sadly did not fit, so hit up a local hardware store for some, better fit, but not idea compound, so may order from McMaster.
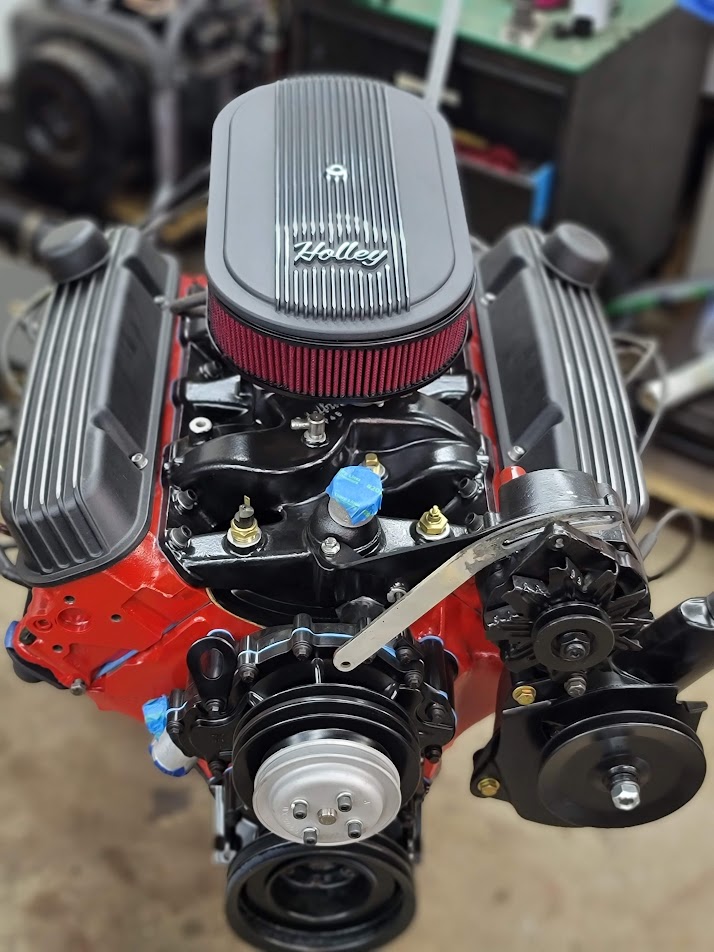
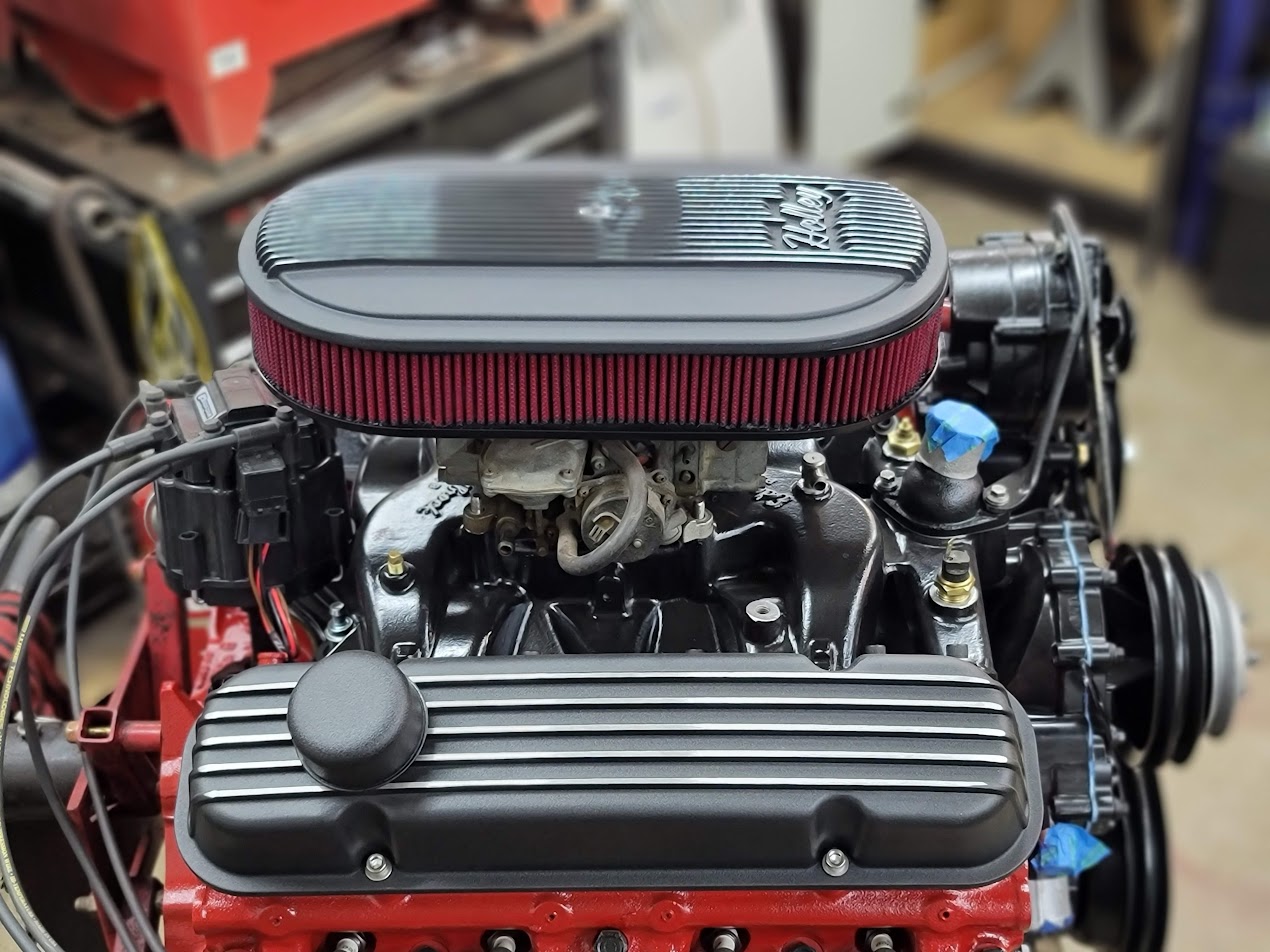
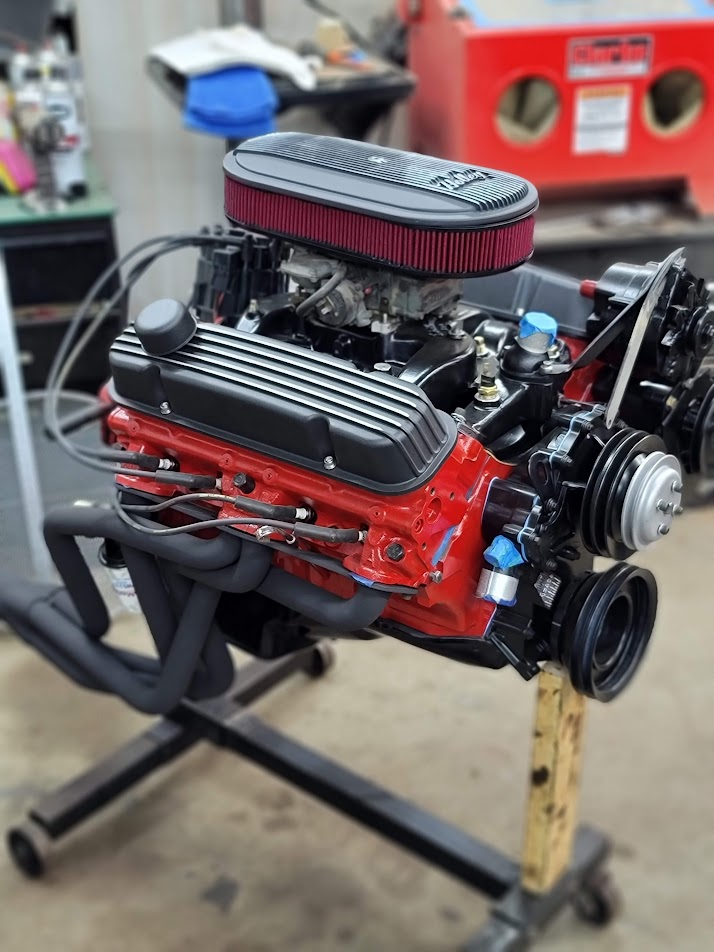
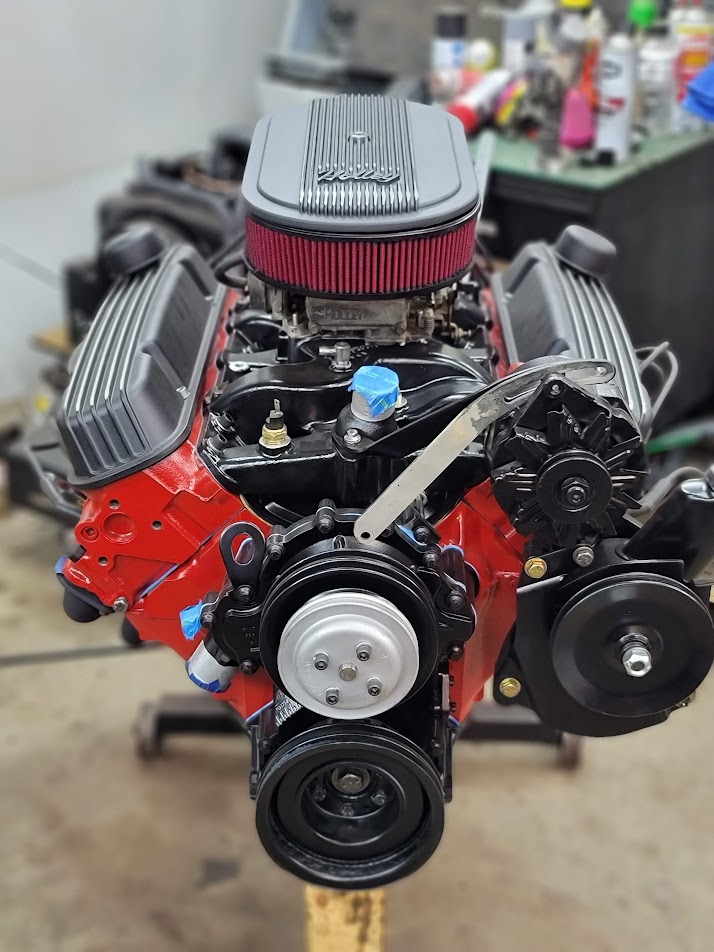
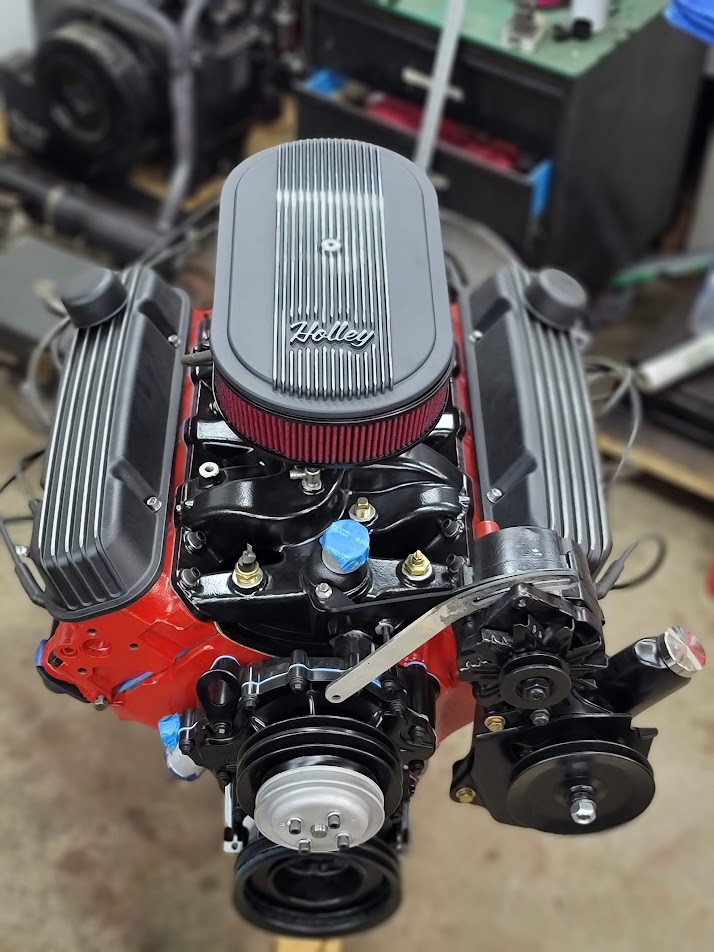
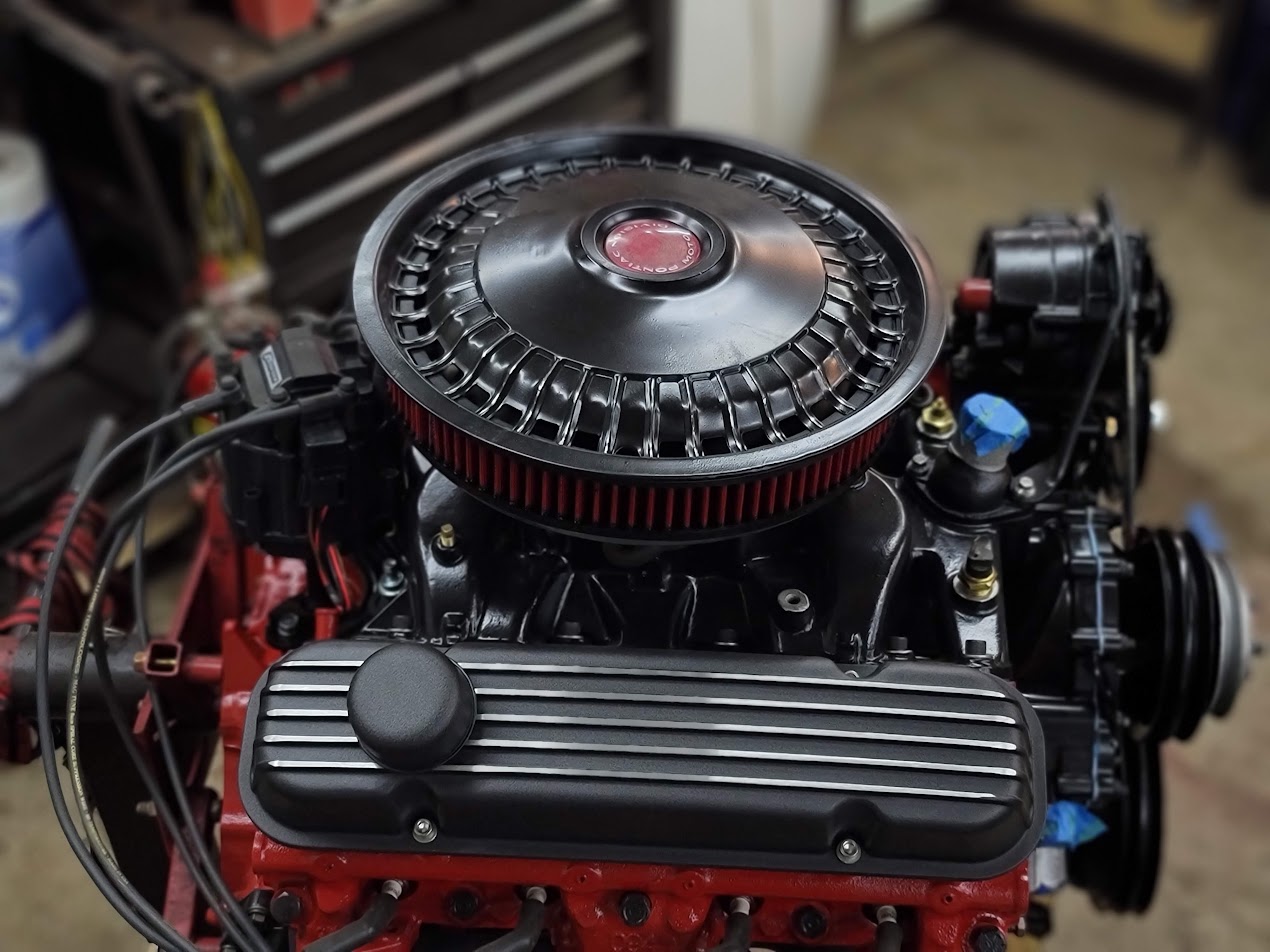
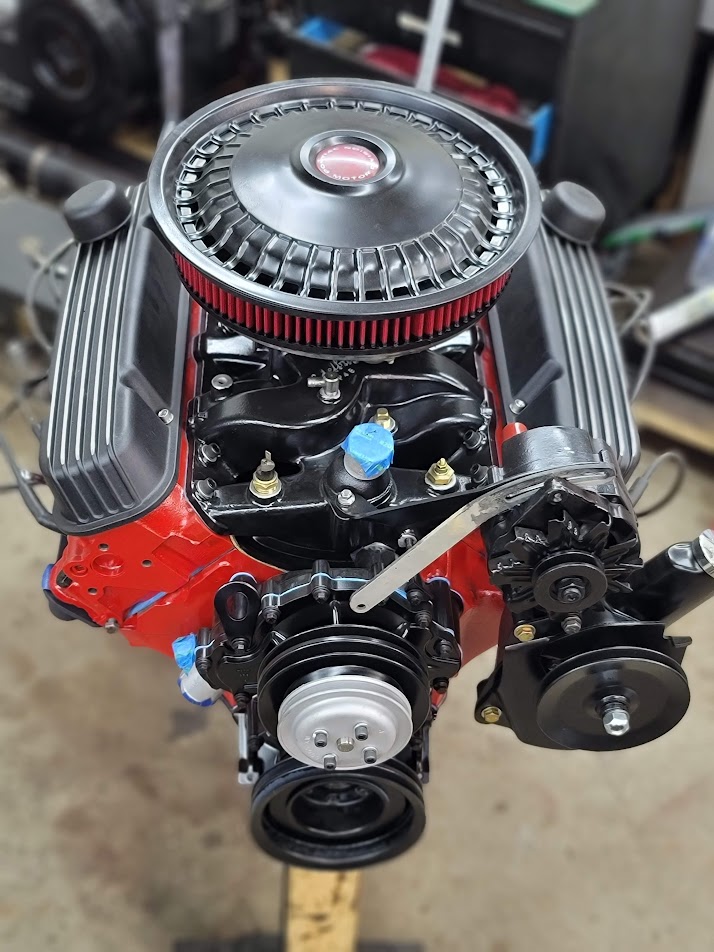
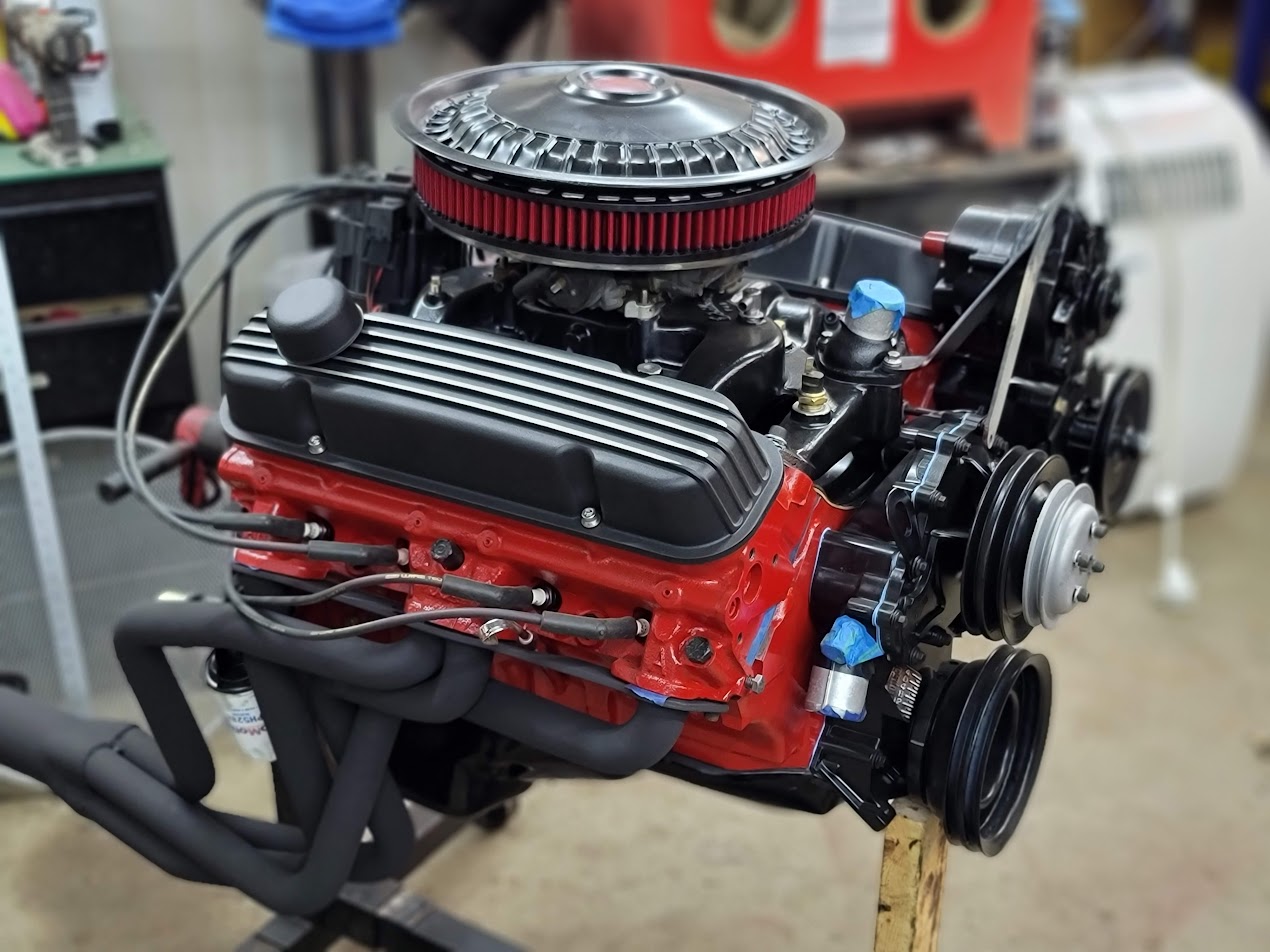
Ok, now the big question.. what filter? the long one came in, and I progressed on the hubcap one.. I am on the fence on what one I like better… may keep both for now and wait until it is in the truck to decide.
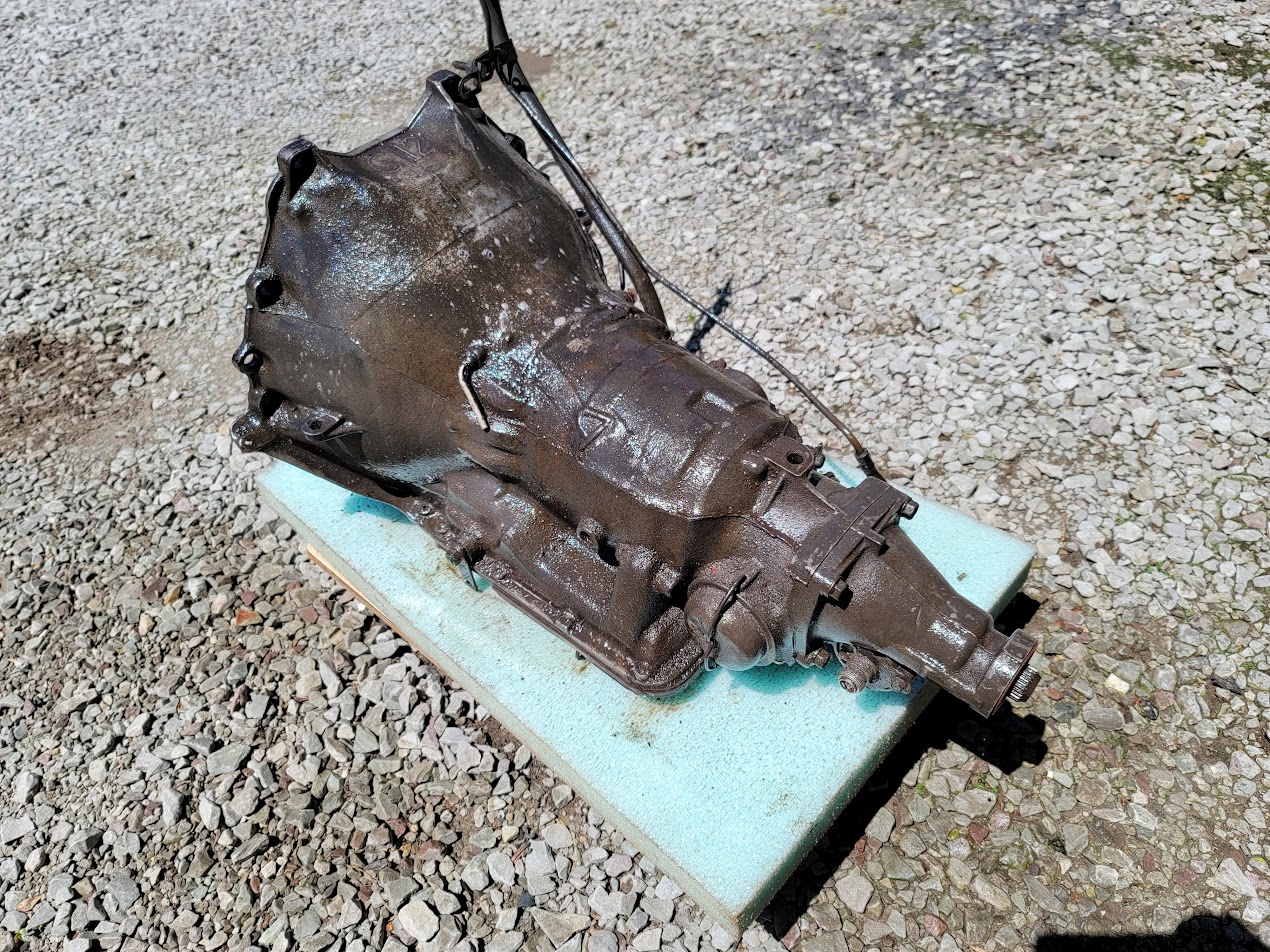
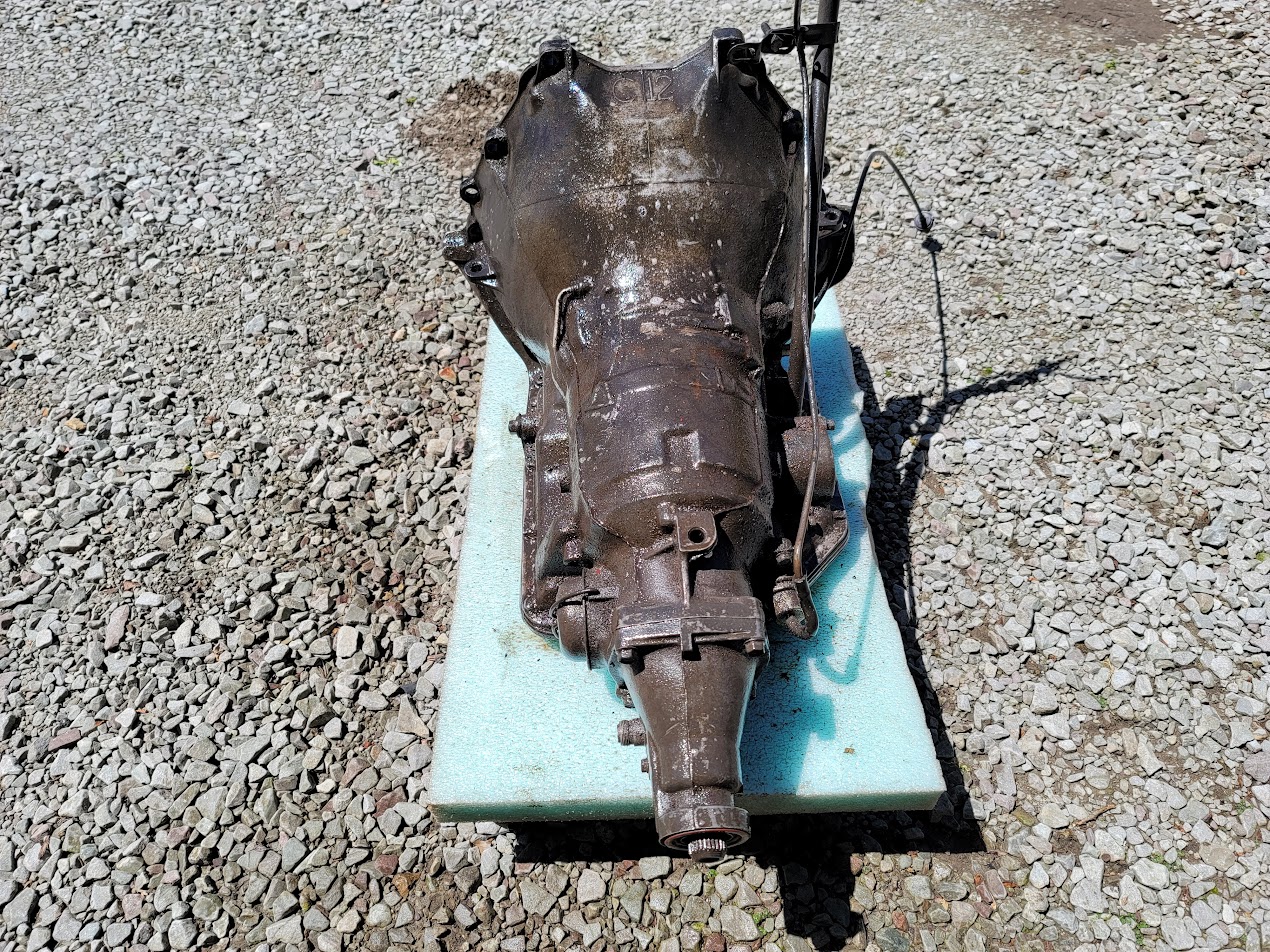
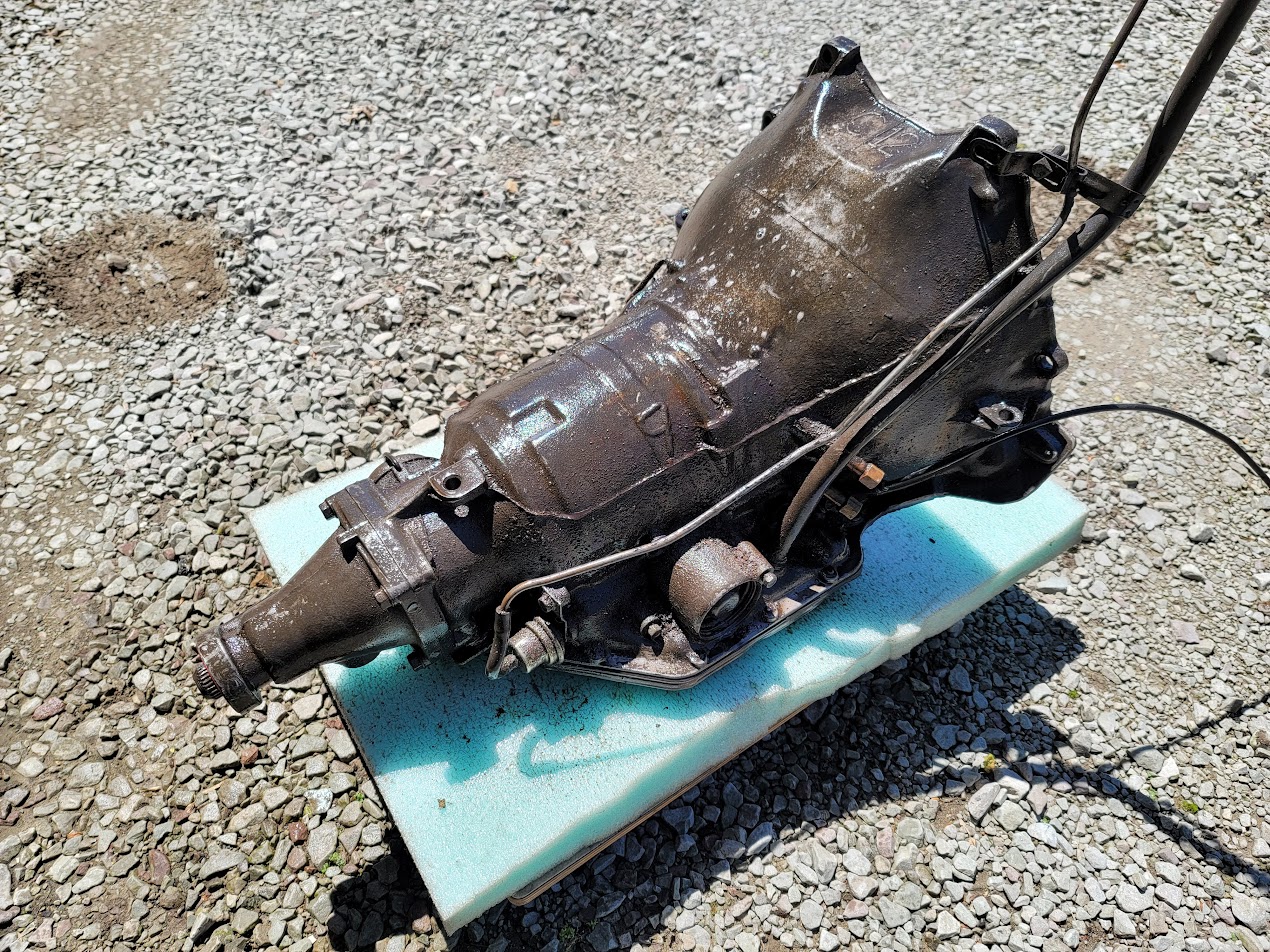
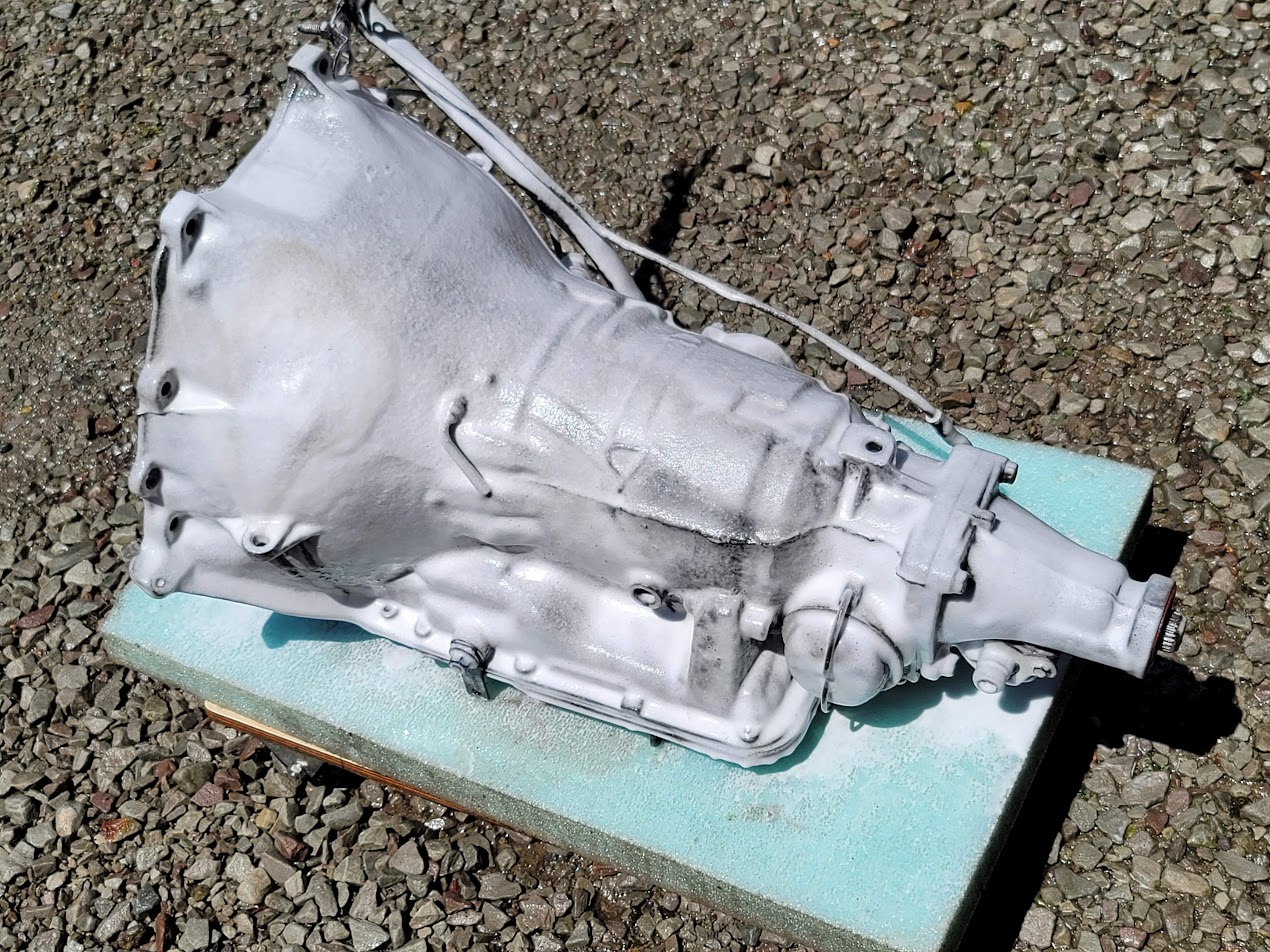
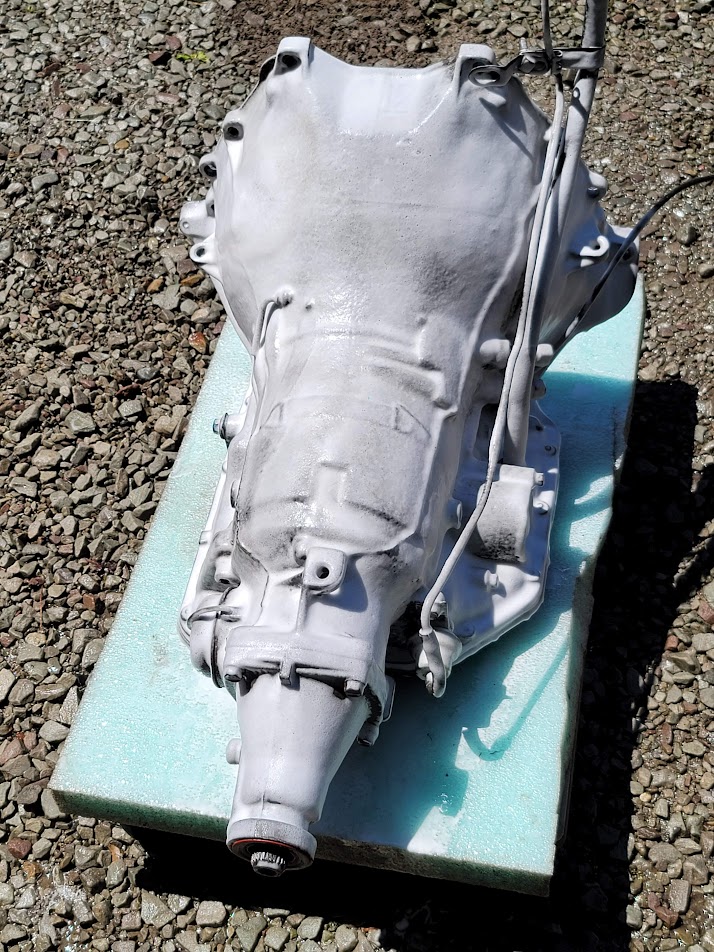
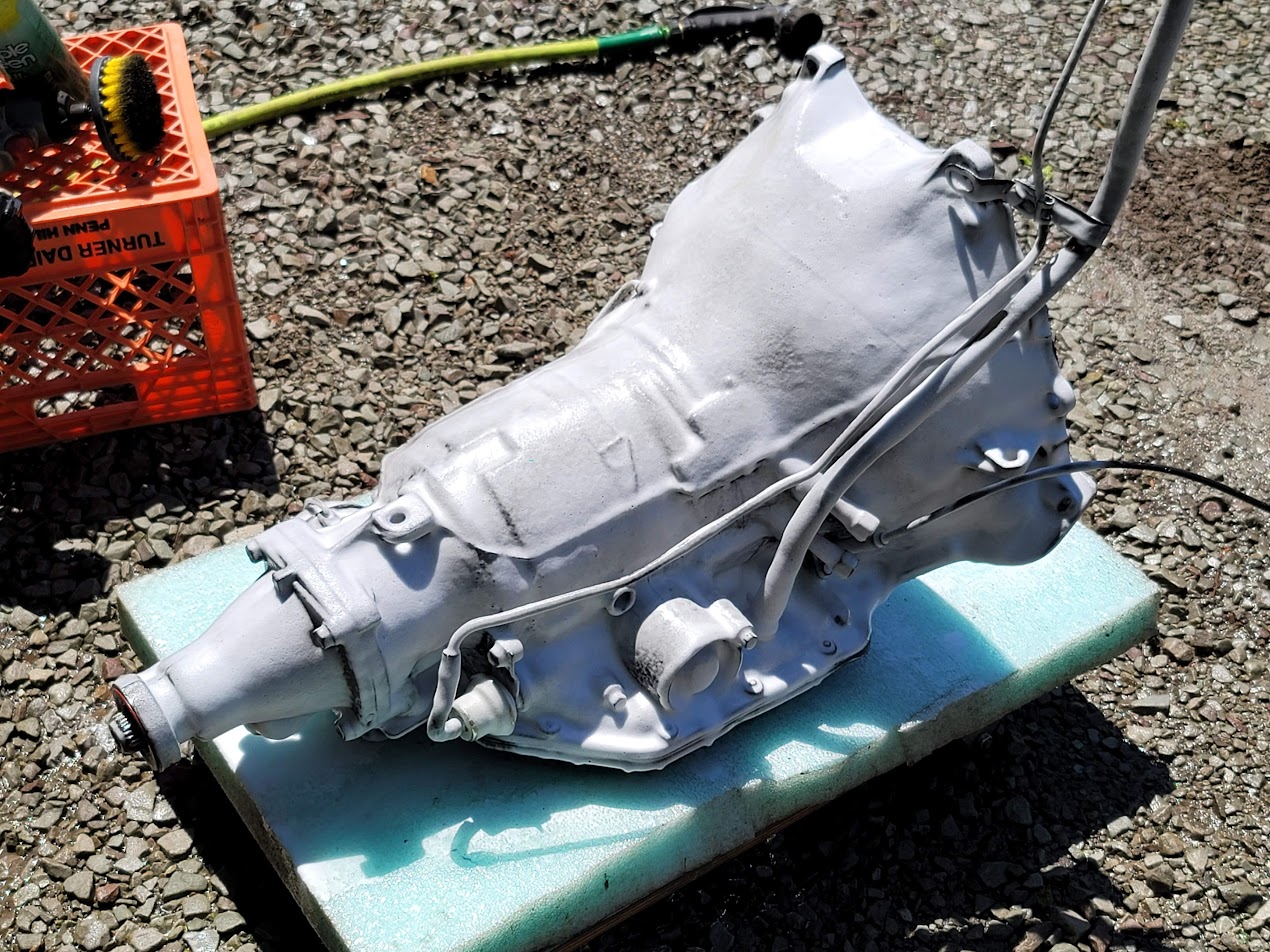
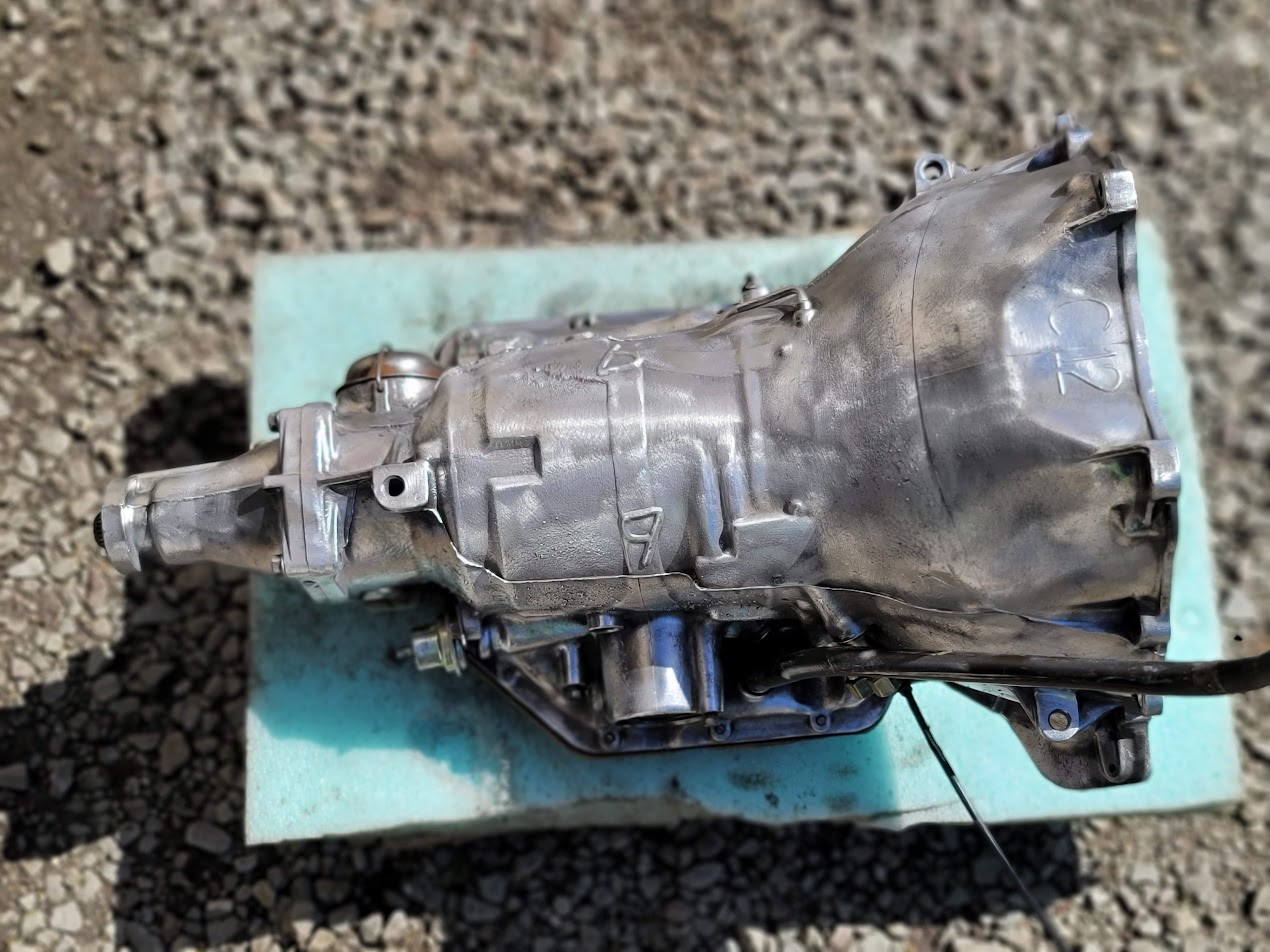
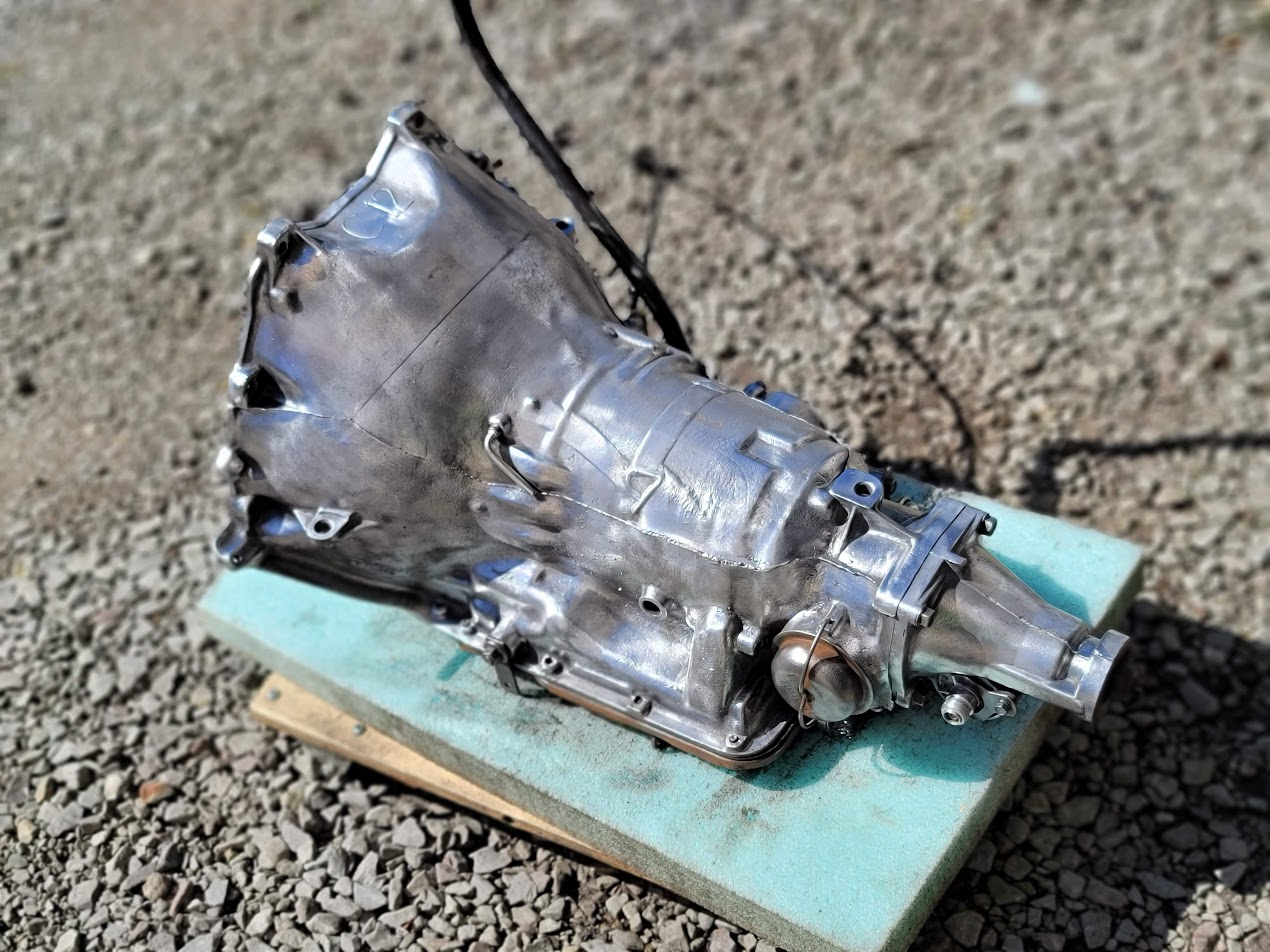
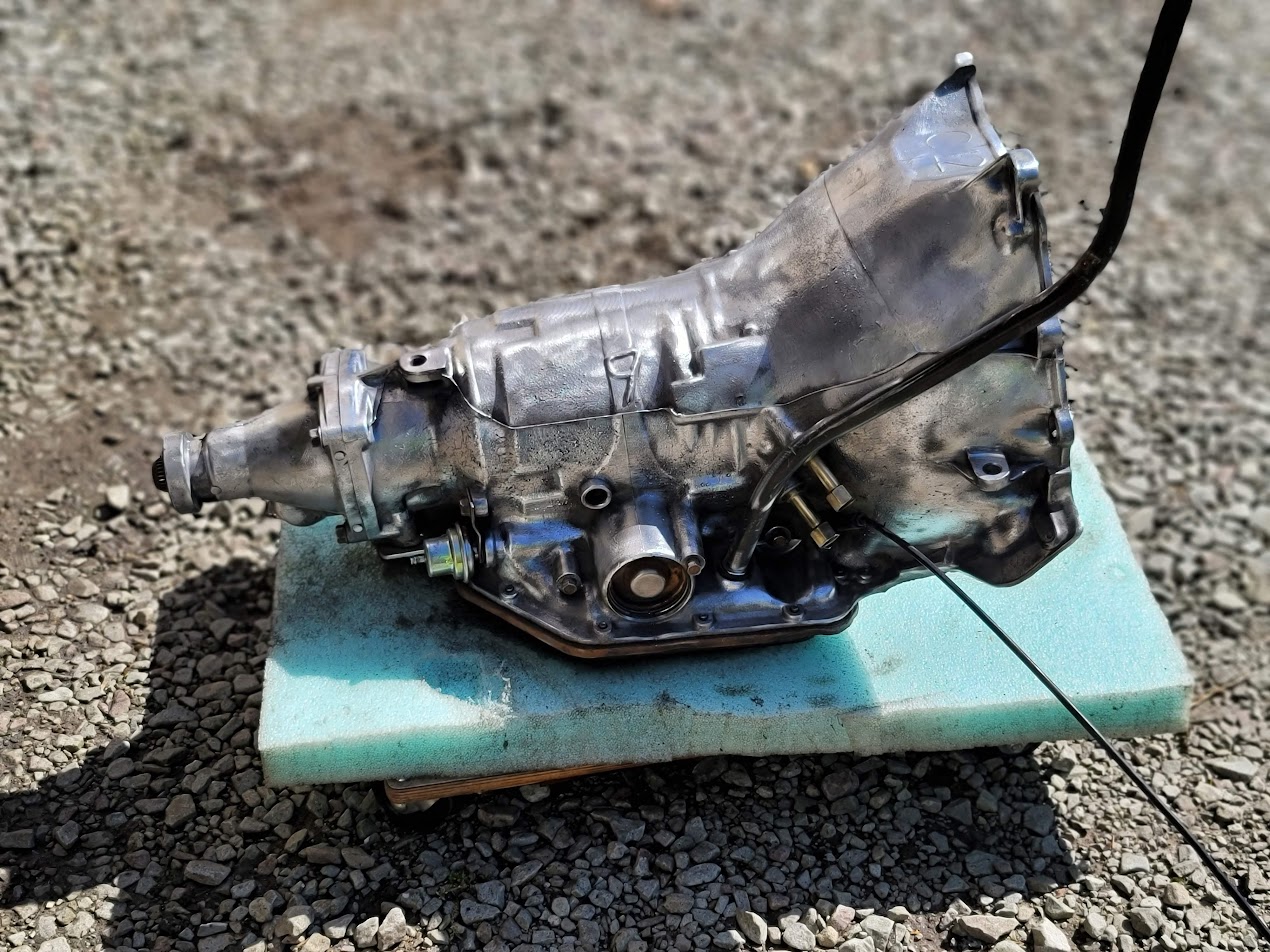
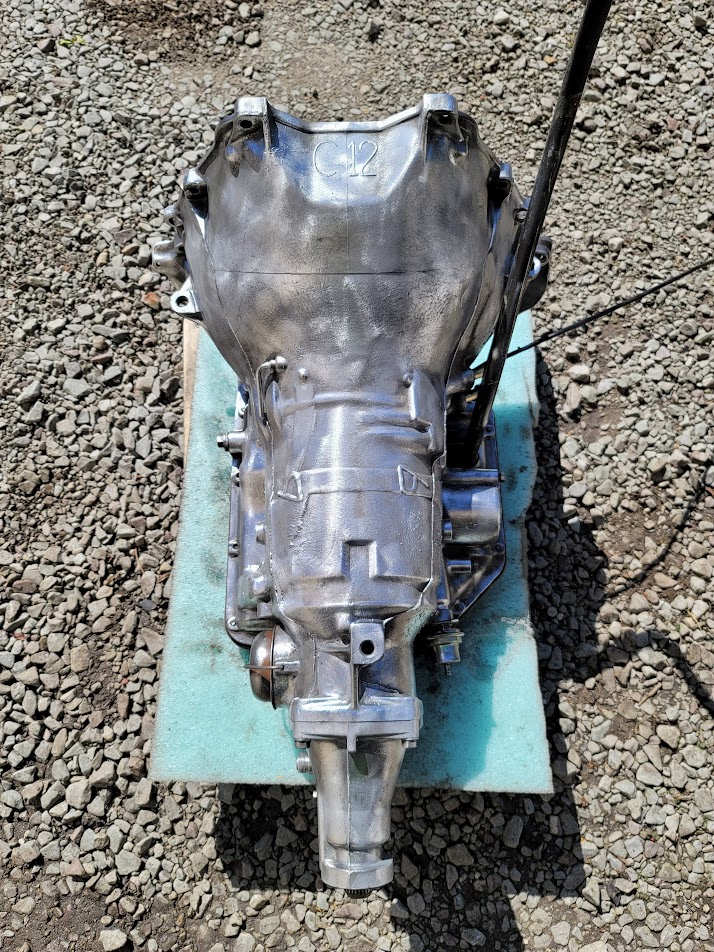
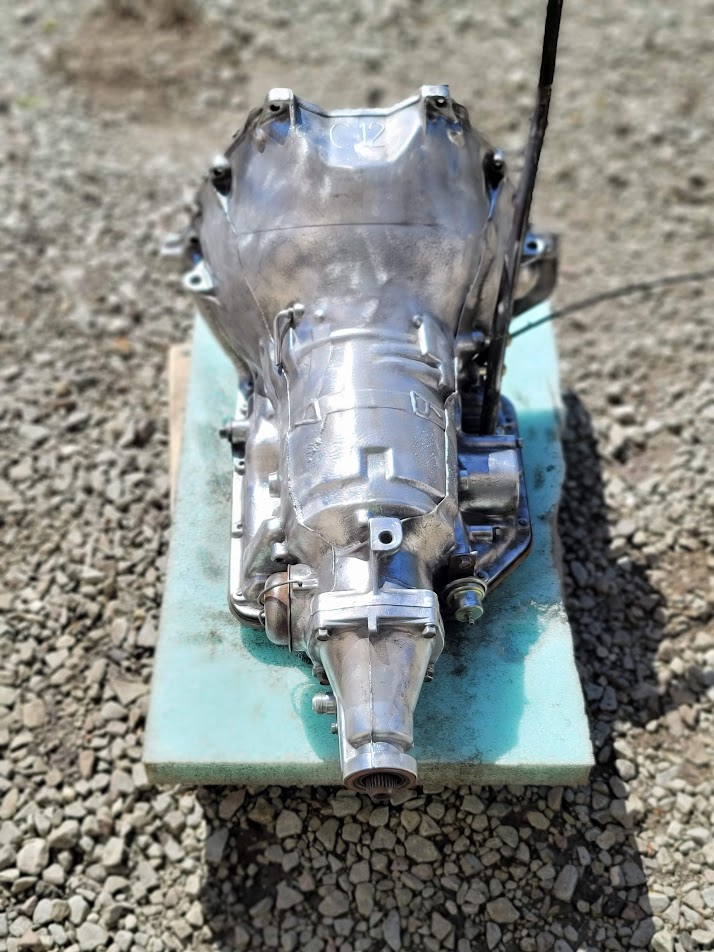
Weather finally broke, so took the trans out to wash it down, oven cleaner and purple power did not touch it, had to had wire brush the entire thing. what a project! Still got lots of little bits to clean out, but much closer to paint now!
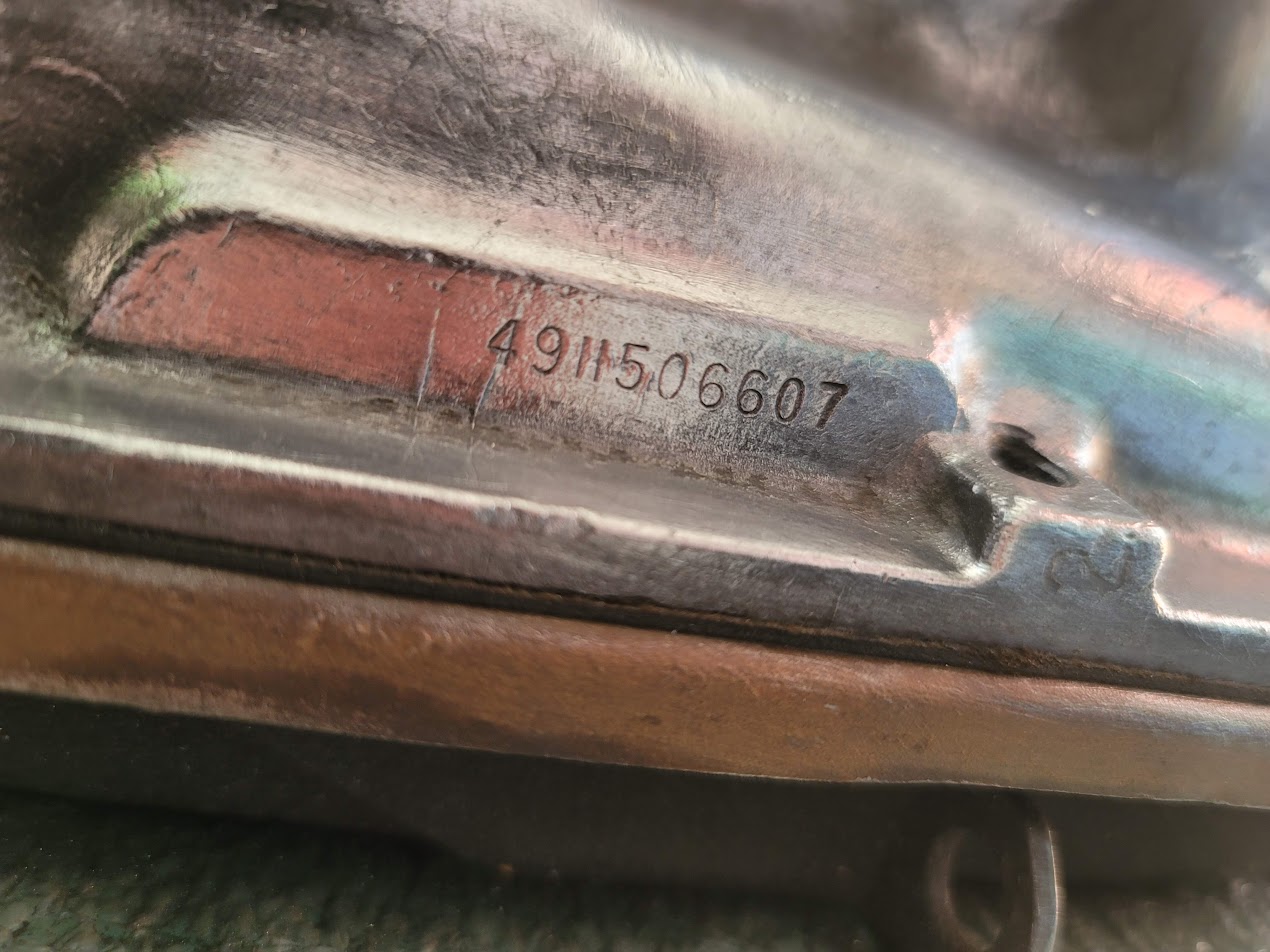
If any of you can help out with this part number on the trans that would be great! Best guess a B&M TH350 from around 2003.
Now maybe I will start work on the second header cleaning…
UPDATE: 6/2022 I did it.. I finally finished the second header ha!

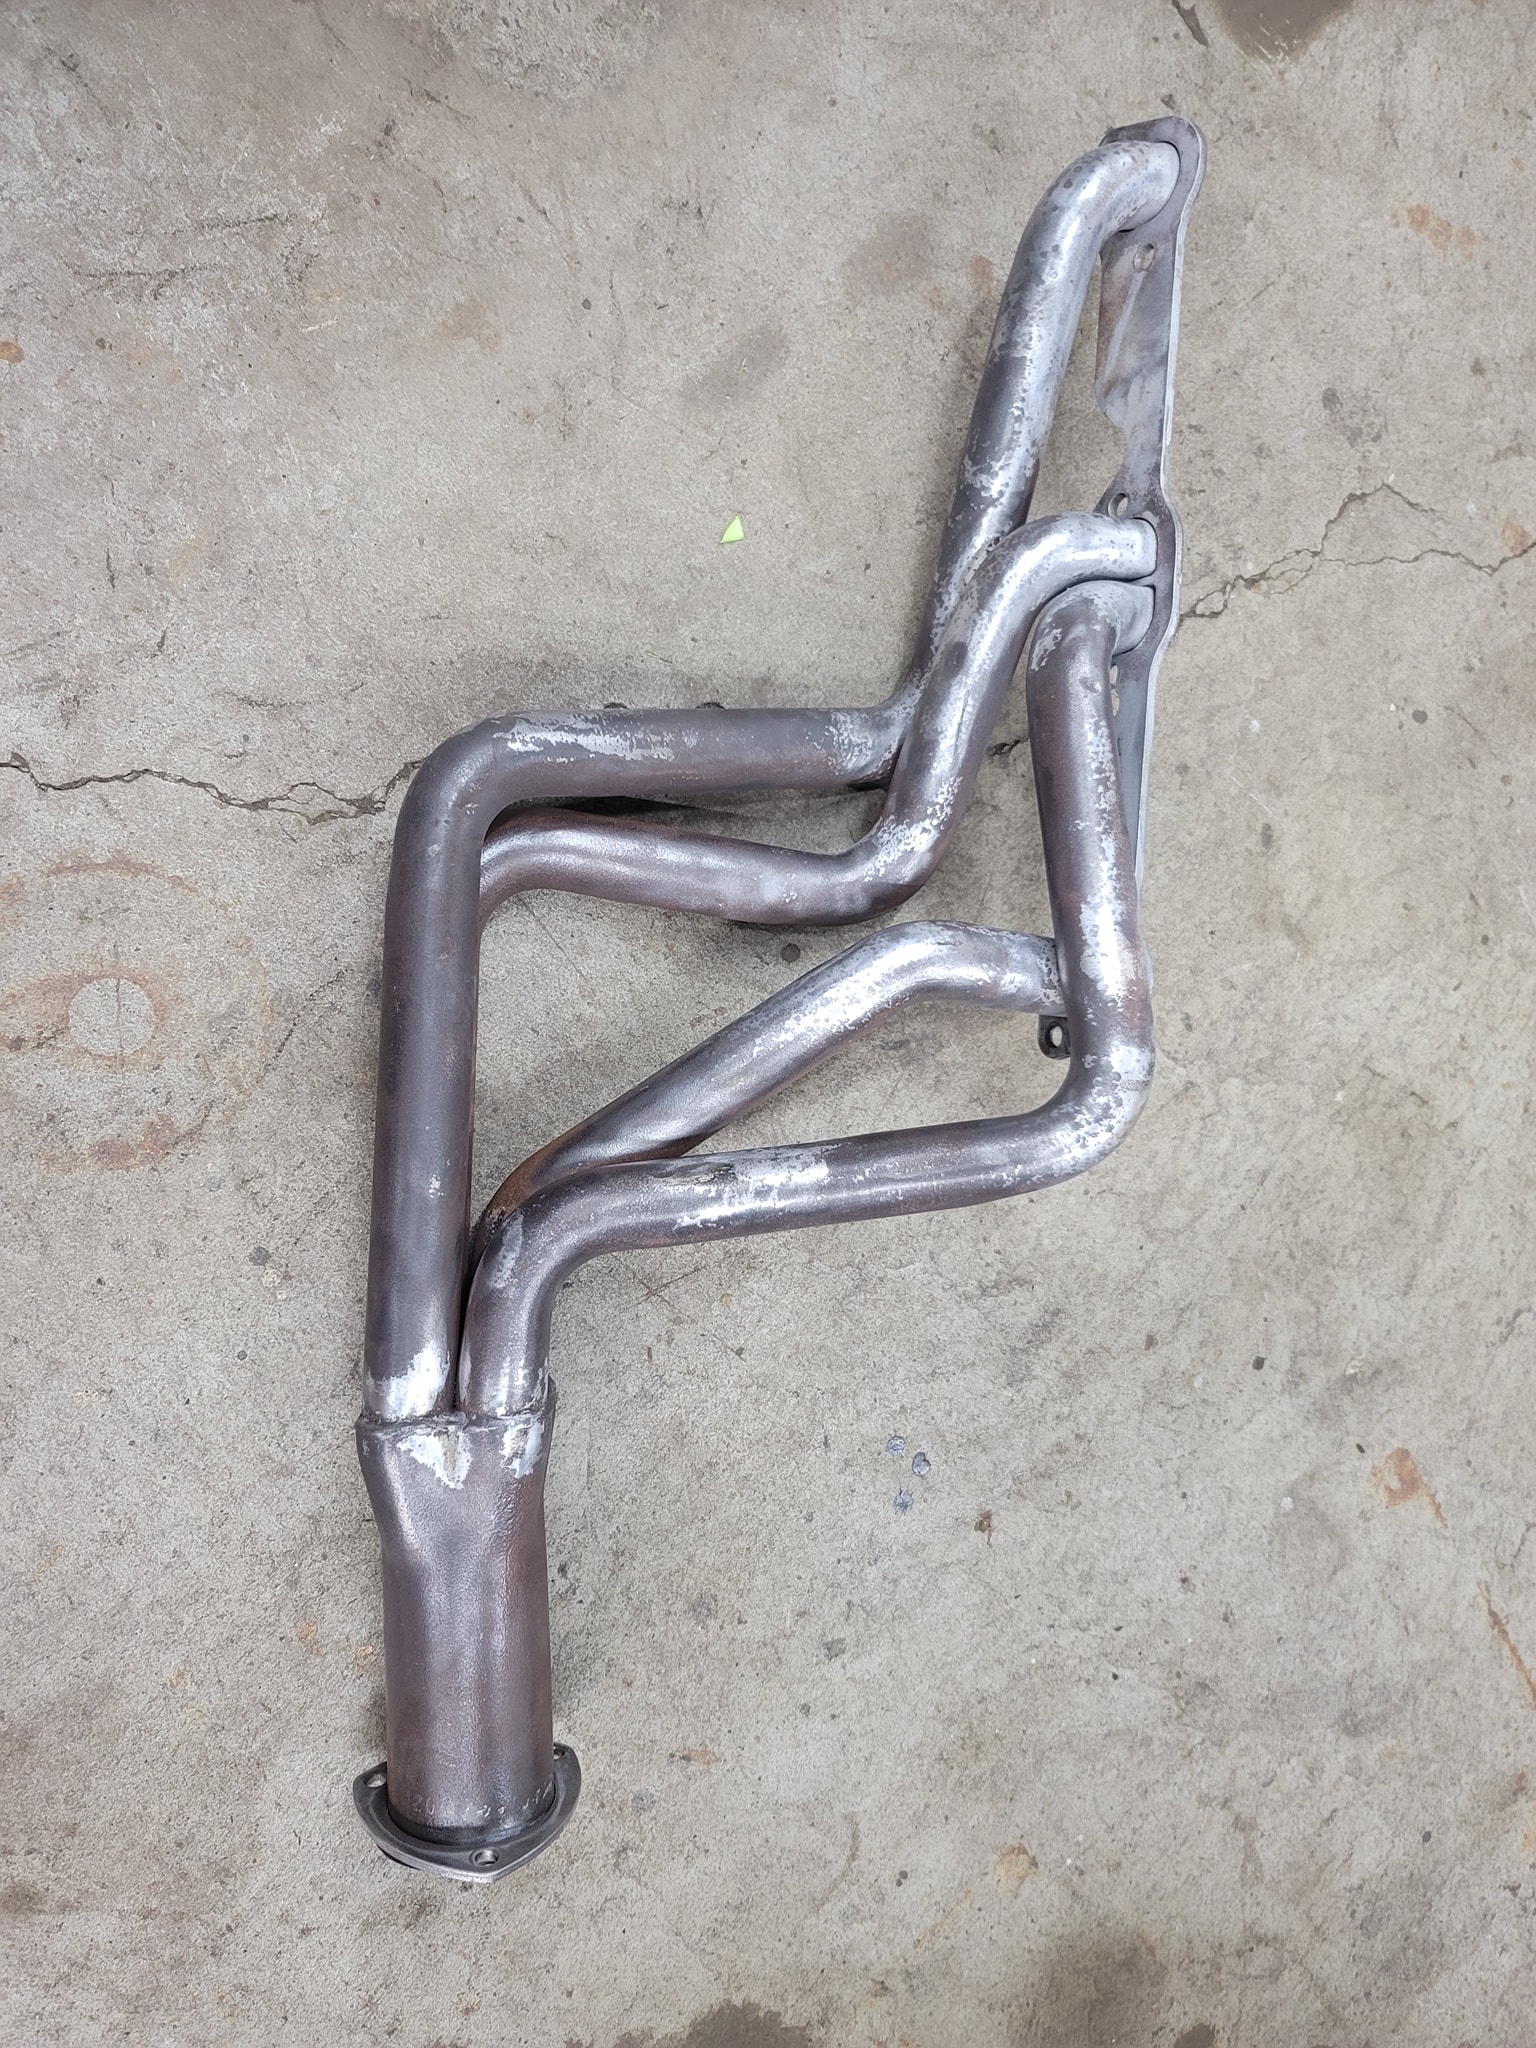
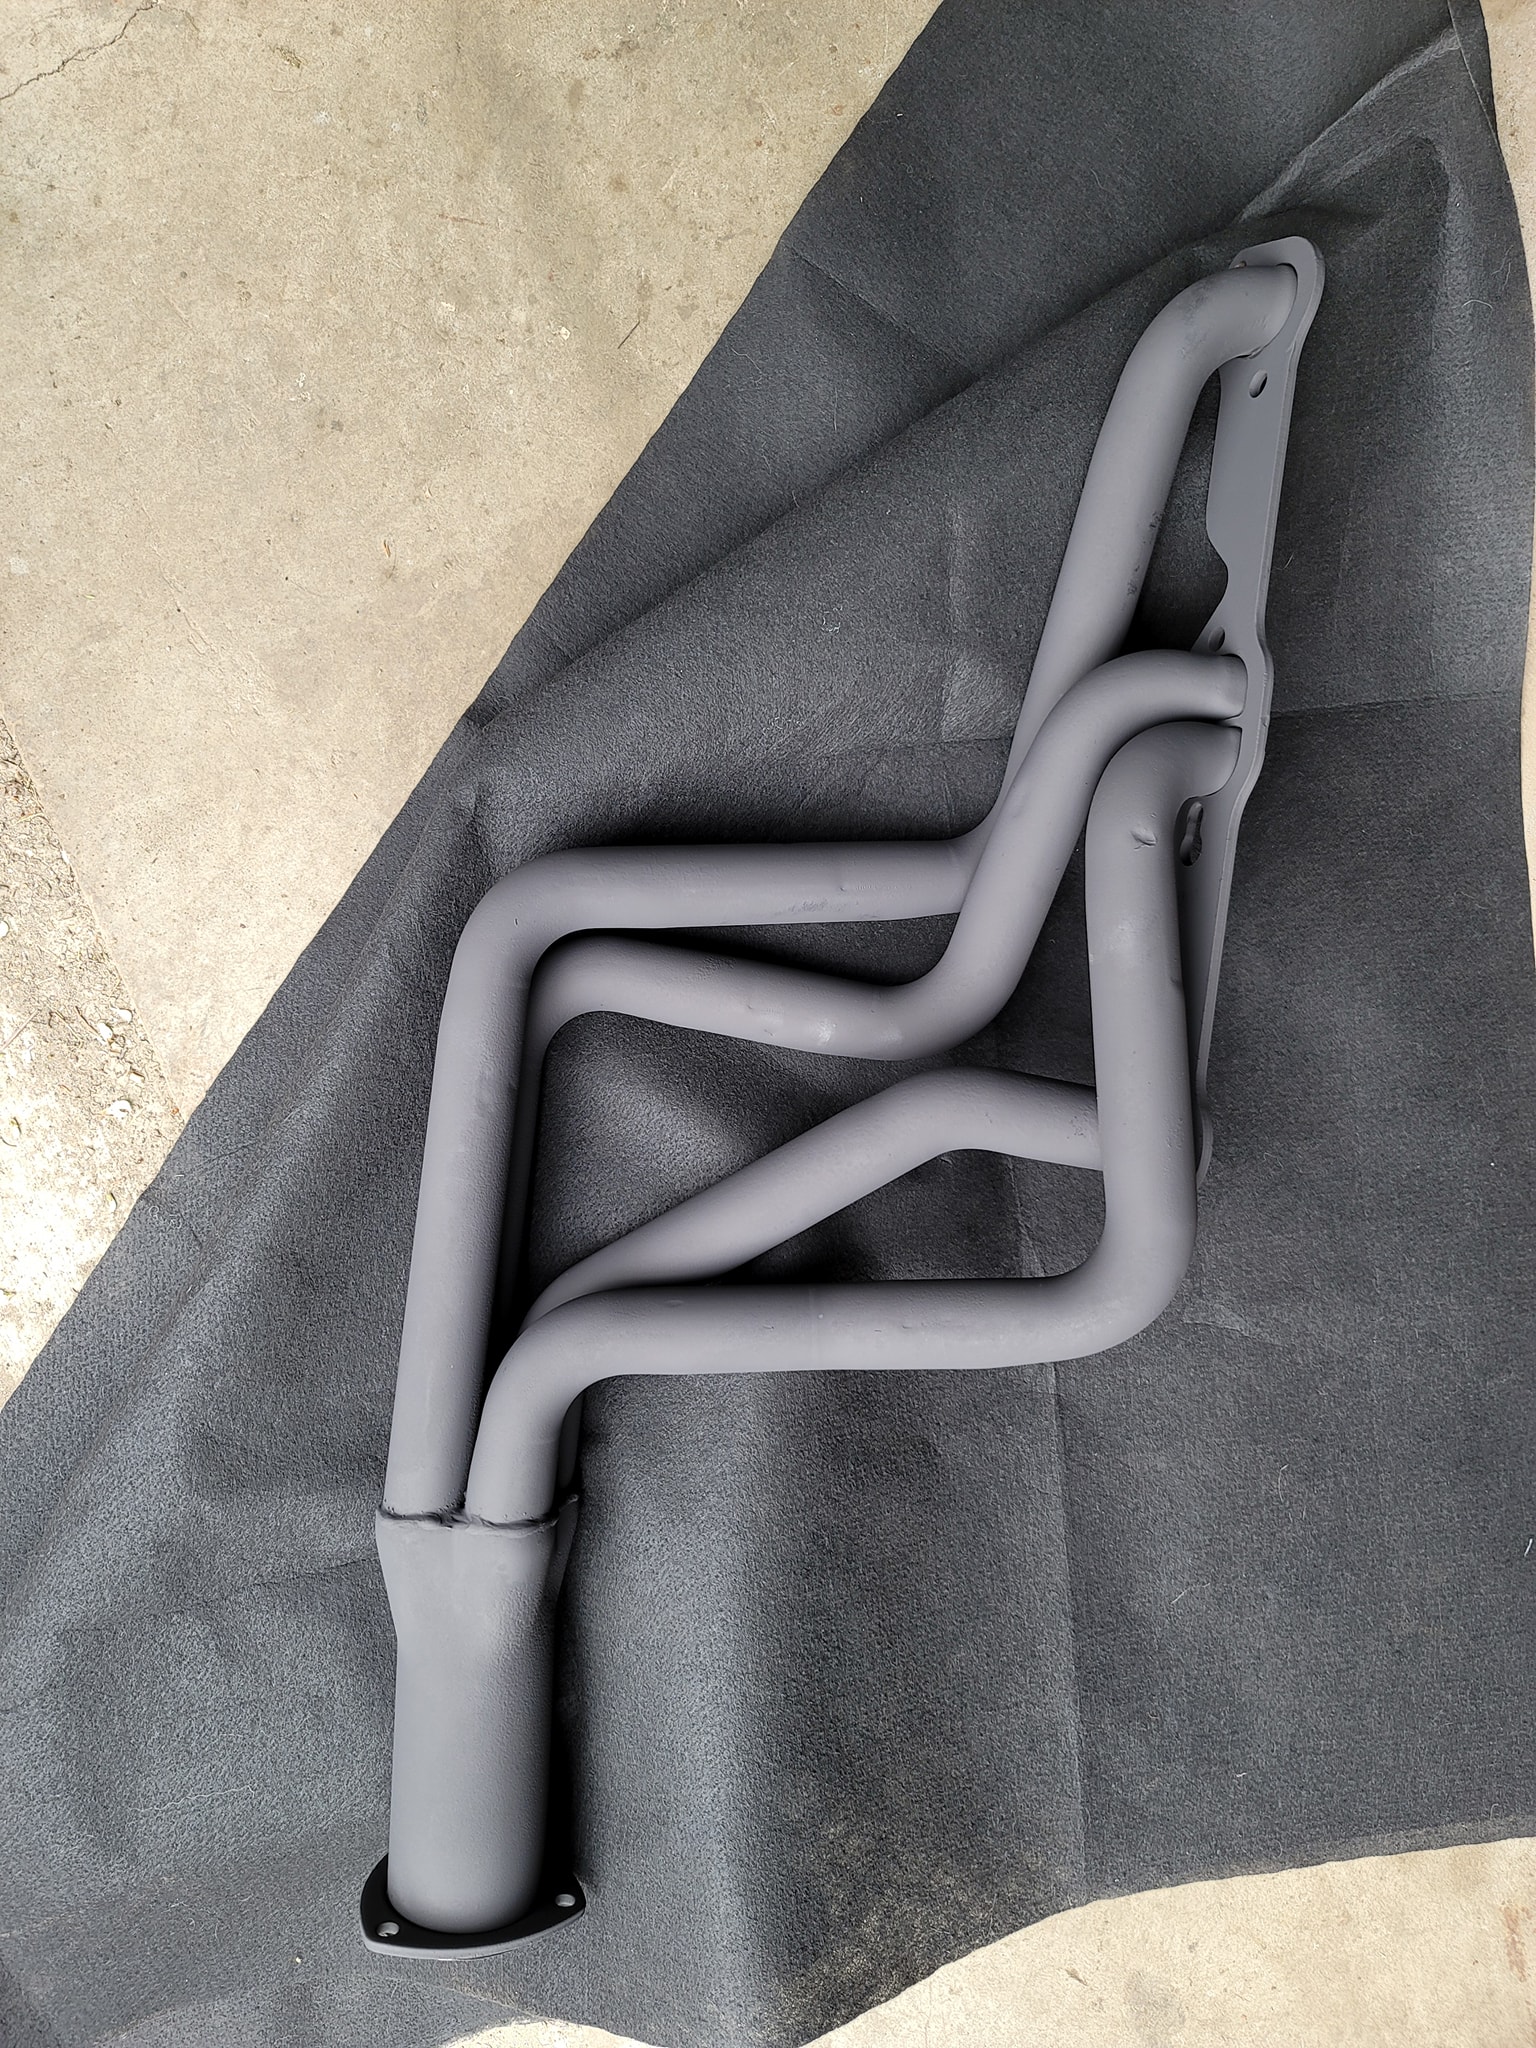
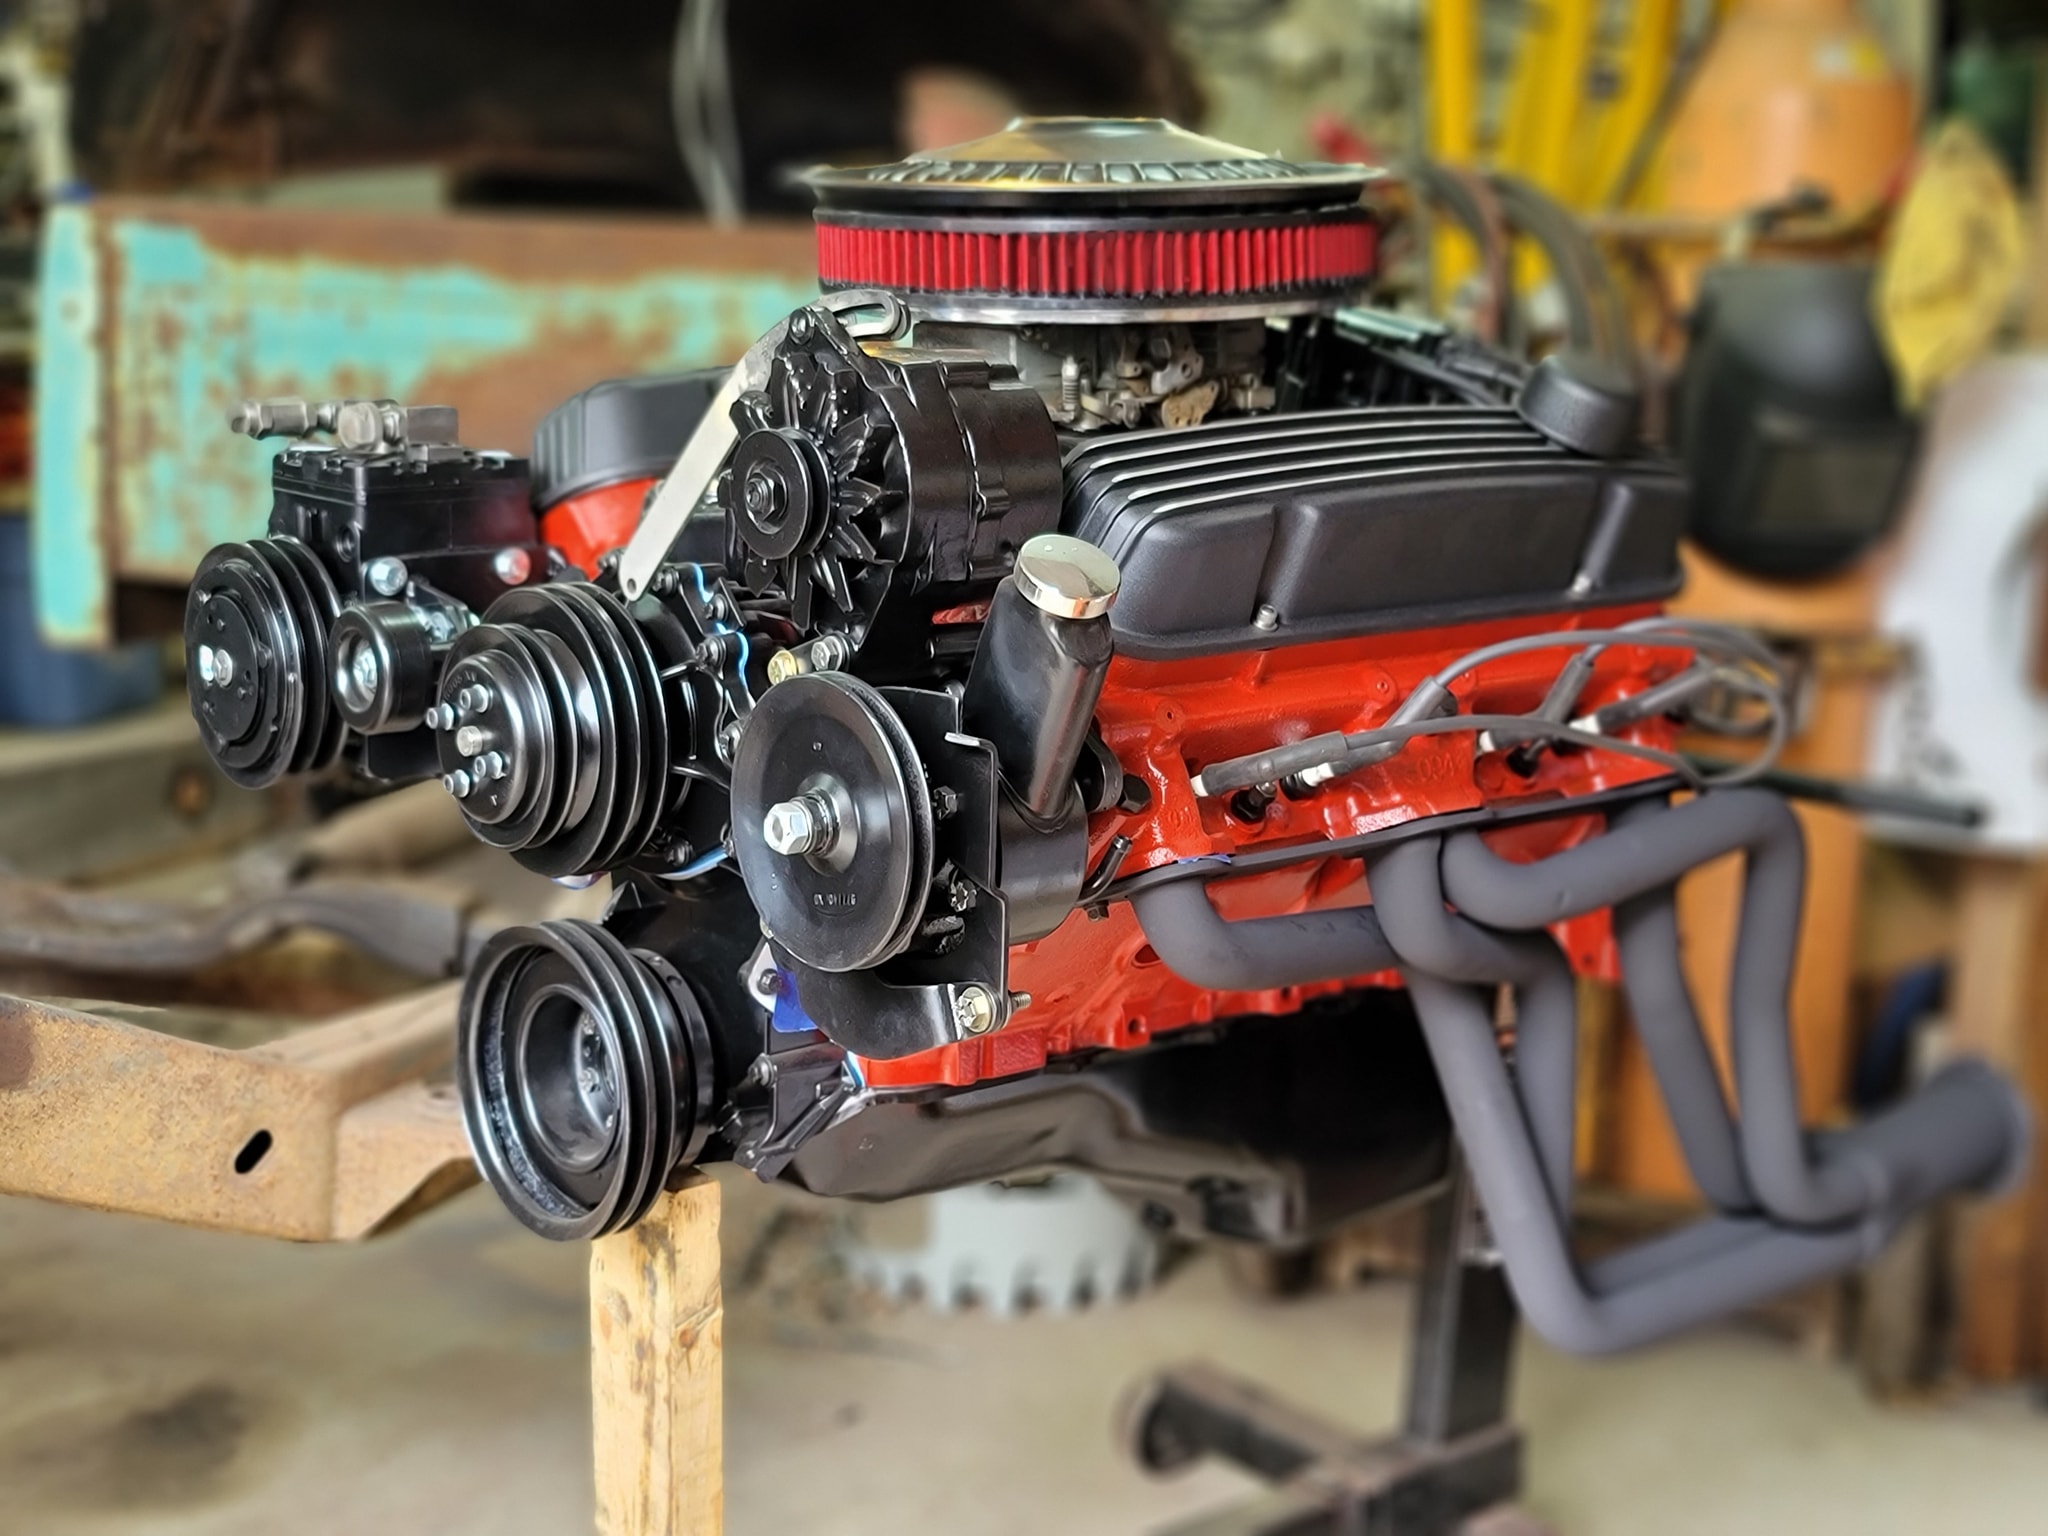
This is about as far as I will go with it for now until it is in the frame with body work around it to be sure everything fits.
Update on the trans, I was able to get in touch with someone at Holley/B&M and they verified it is their transmission, a new TH350 that is well built for performance. So that is a pleasant surprise!
Things left to do.. Design and make a bracket for the alternator mount to mate to the new water pump, finish fabrication of the air intake. And purchase a new alternator! Something that can run an all electric AC system, so may have to be 200amp.
Doug
Wow great job on the engine!! you completely amaze me on what you are doing . Can not wait until you are complete!!
Tranny turned out new too!
Great progress on this project!!