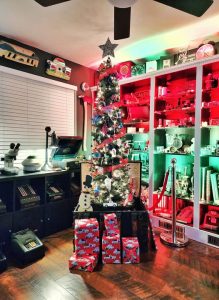
Recently picked up one of those items we have all seen but few of us own! A Fire Hydrant!
An opportunity came up for the chance to acquire an old Mueller Centurion fire hydrant, I had to jump at it! Before I hopped in the truck, I did a quick google search to see how heavy one of these things is and what I was getting myself into! From a quick google search I was finding around 500-800lbs.. Egads! So I loaded a metal plate to help spread the weight into the truck and onto the road trip I went!
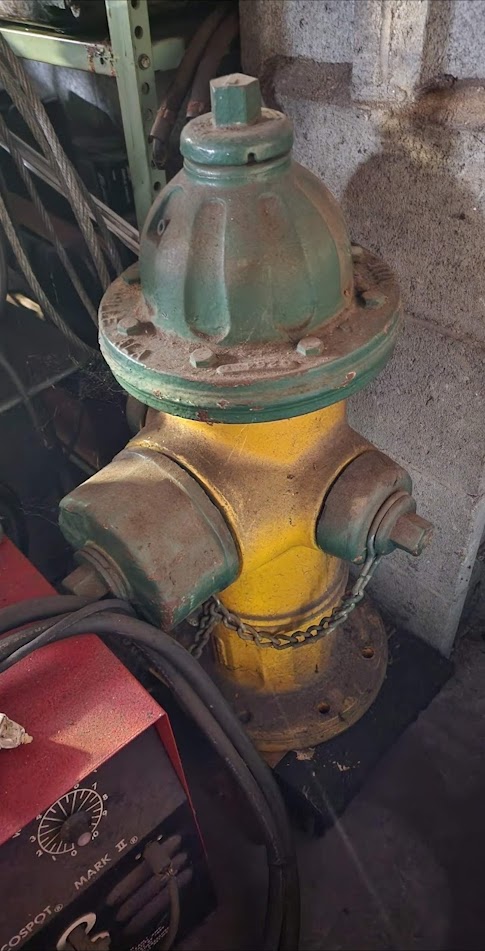
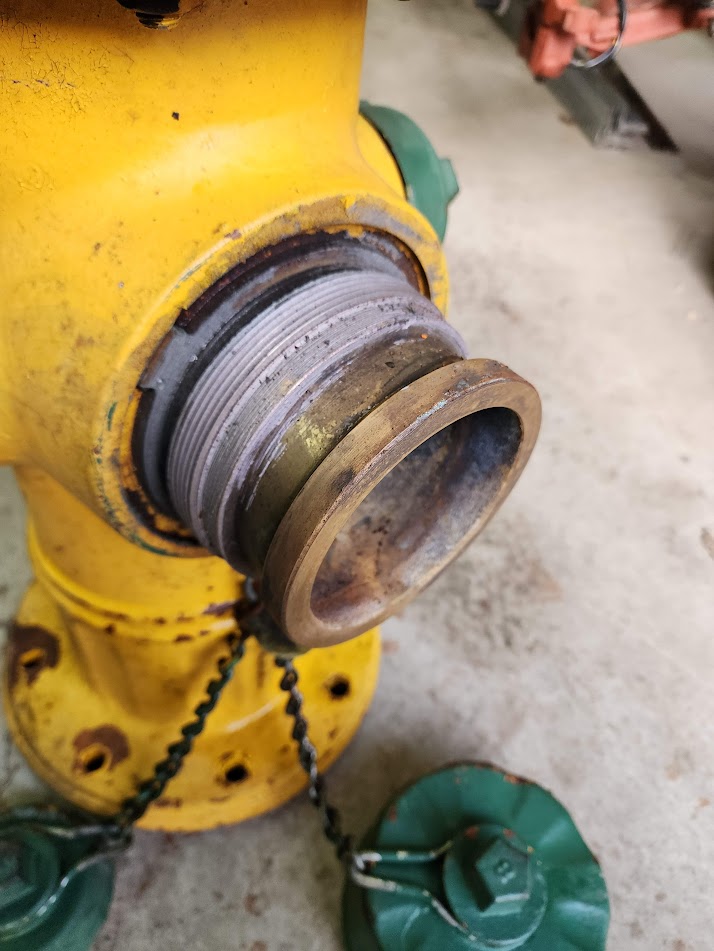
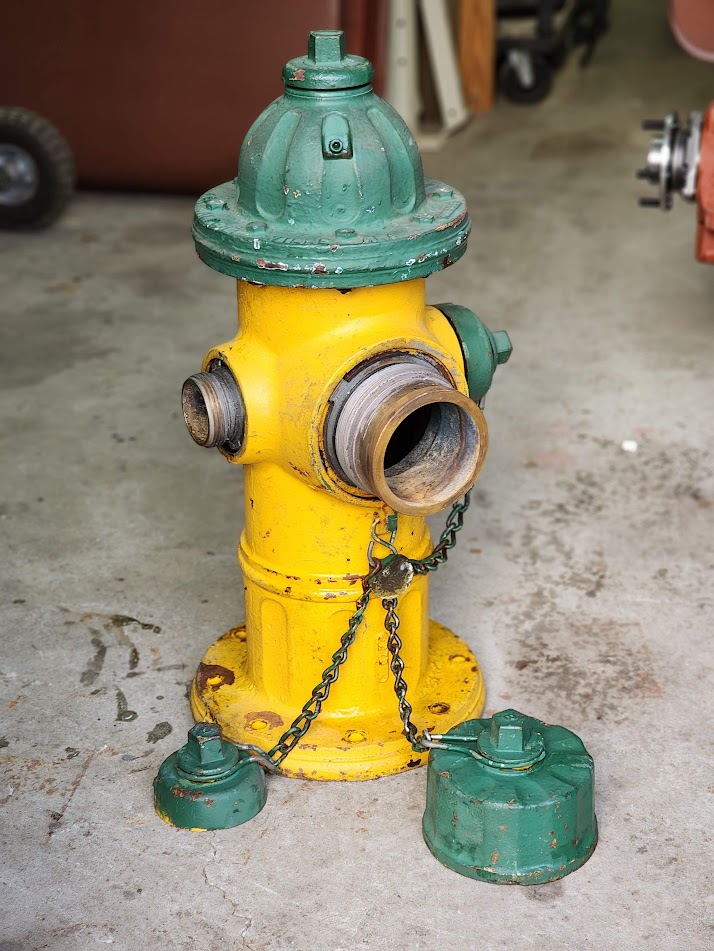
This is what I was presented with! Here is the good news, it was missing the heavy half, and already on a dolly! For those who do not know, first hydrants are like ice burghs you only see a small part above ground, the large heavy valve part is below the frost line deep underground.
This means there may be a chance this thing will not be as heavy as I had feared. We spent some time working it over to the shop crane to lift it onto a hydraulic cart. That helped us slide it into the truck. Than came the fun task of trying to figure out how to strap down a fire hydrant!
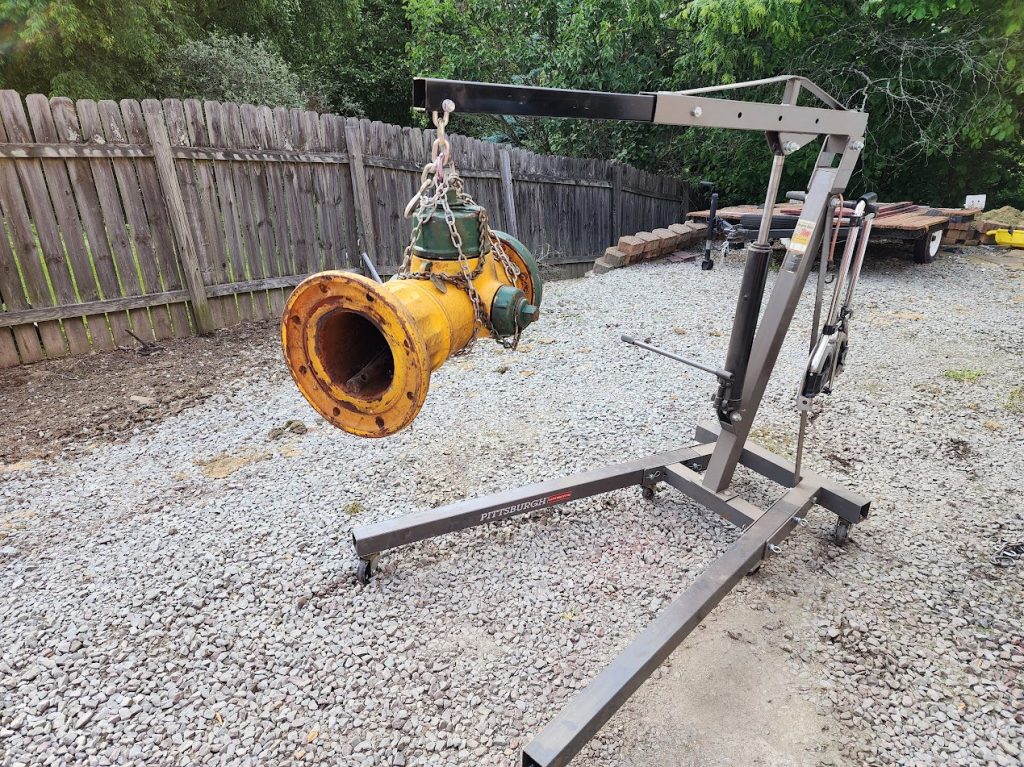
Had to get a bit creative to get it out of the truck and into the shop. While it was up in the air I took the opportunity to hose of decades of dust and grime.
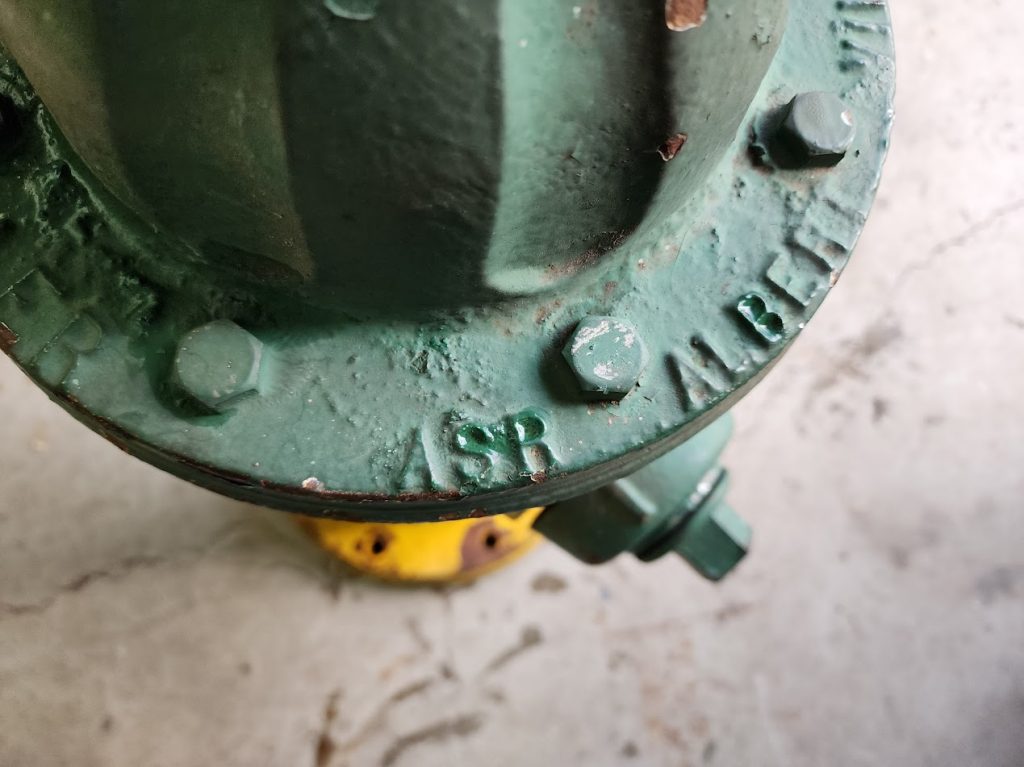
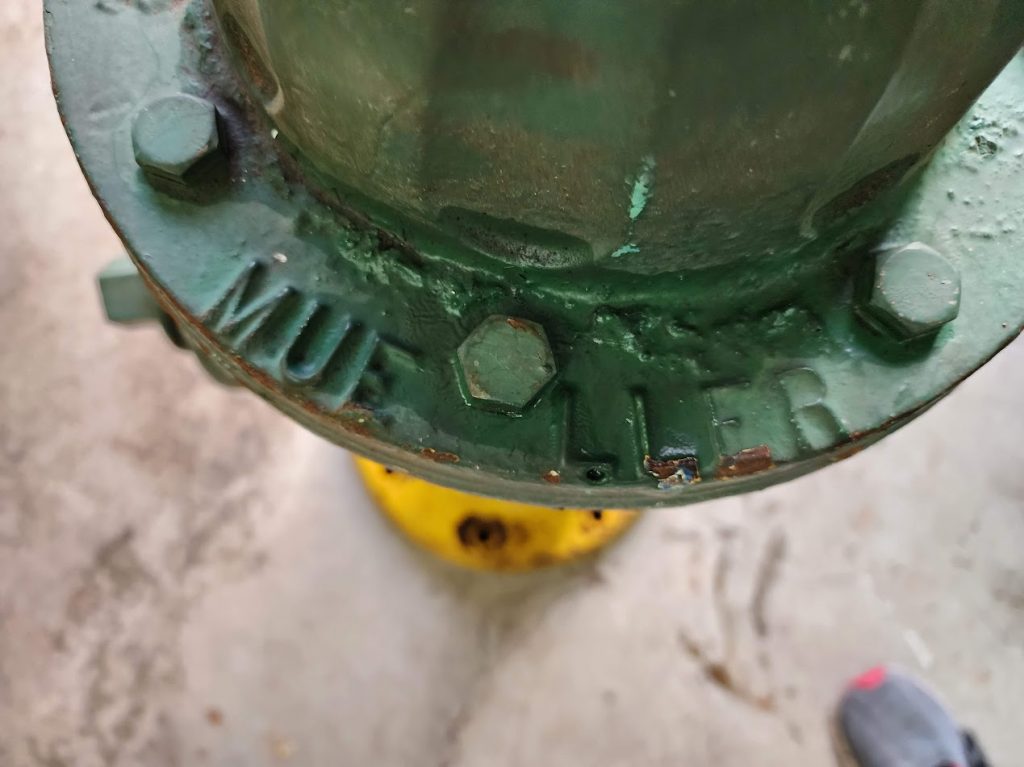
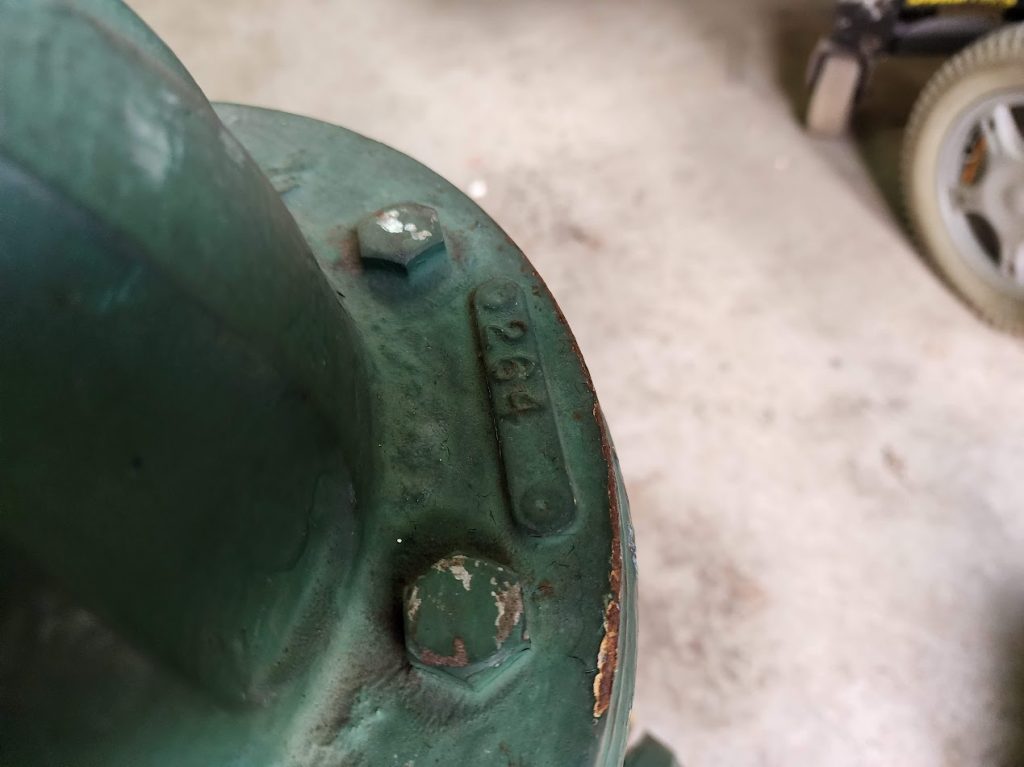
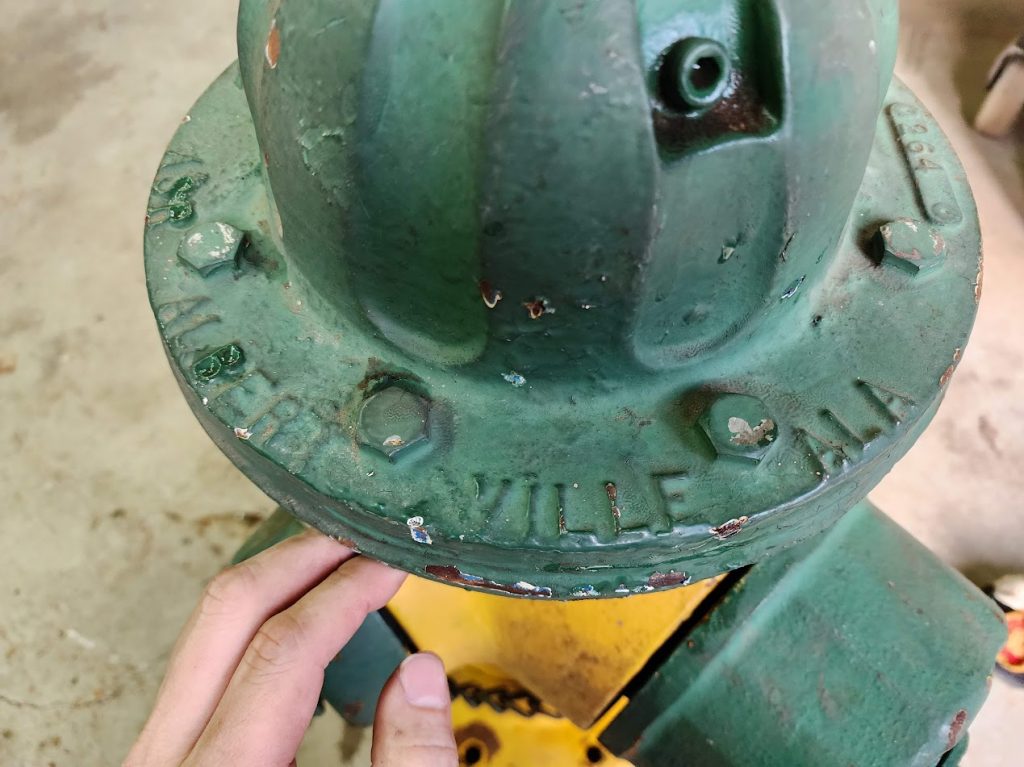
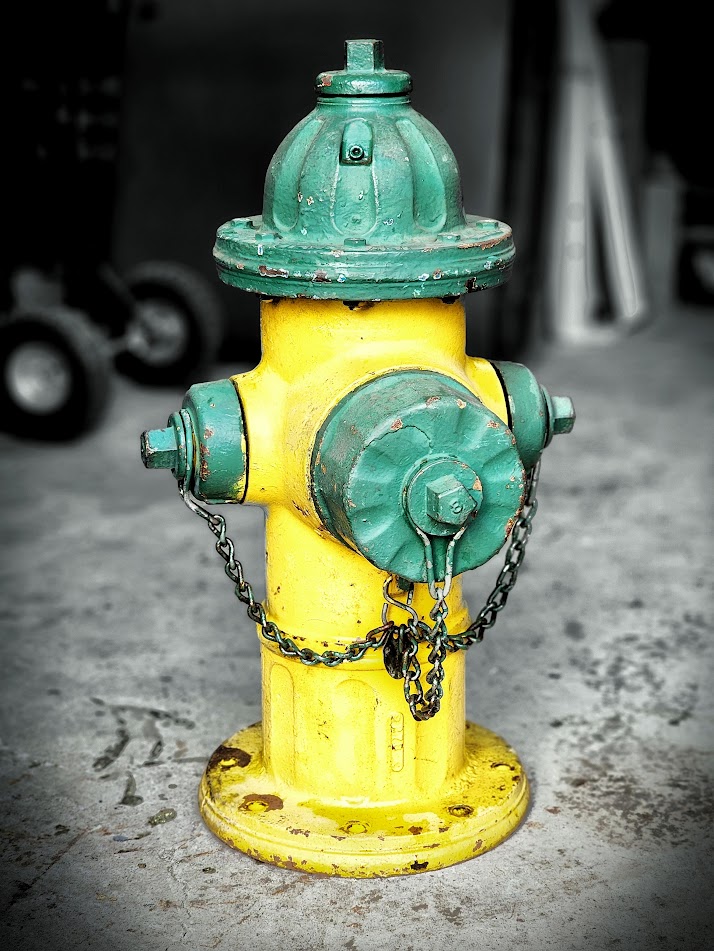
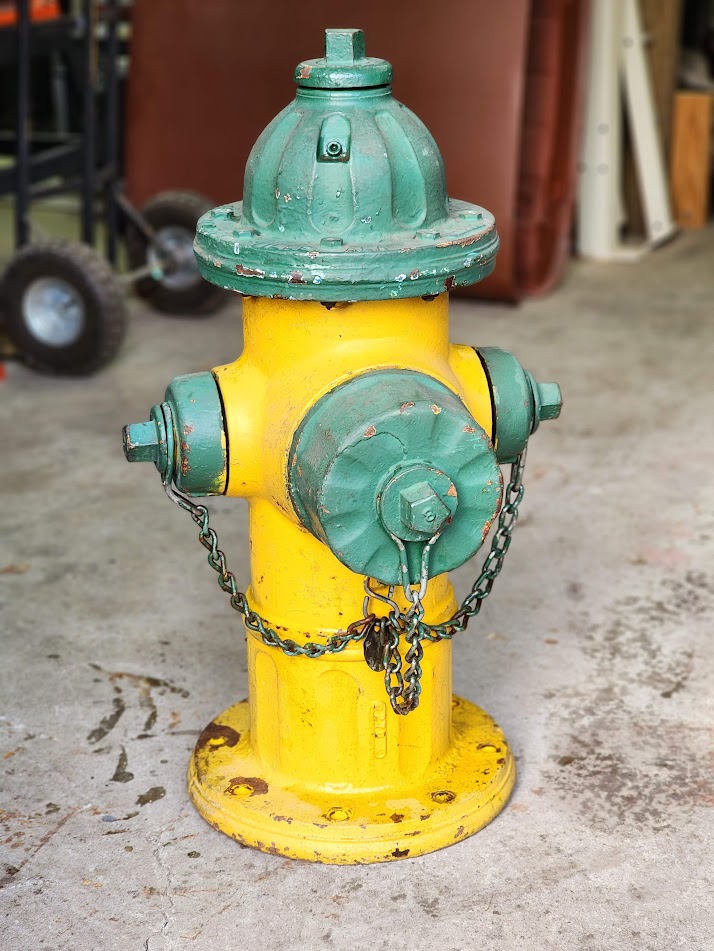
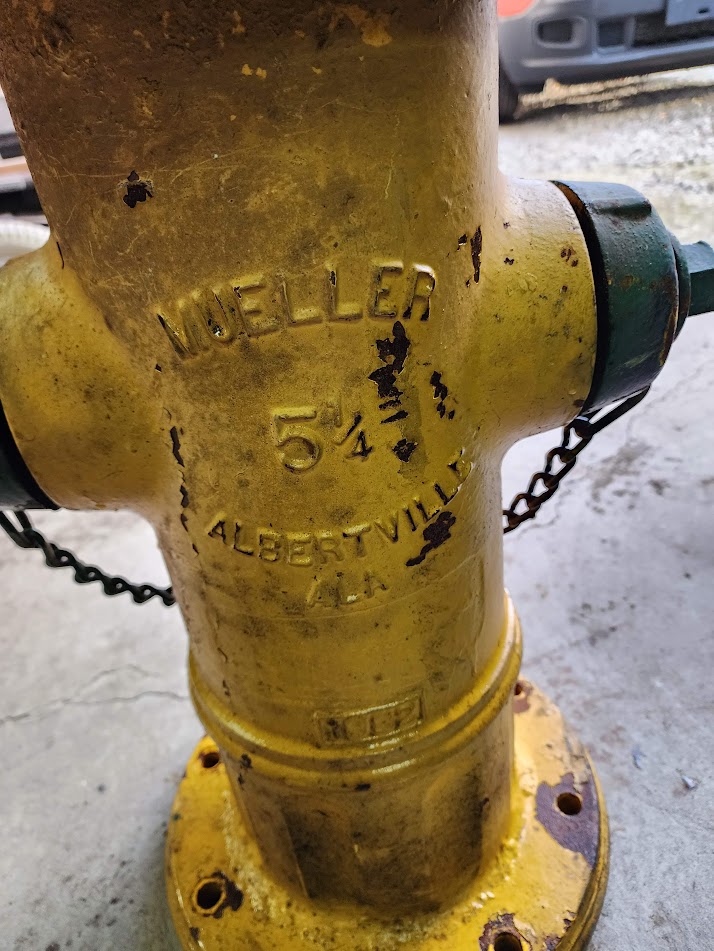
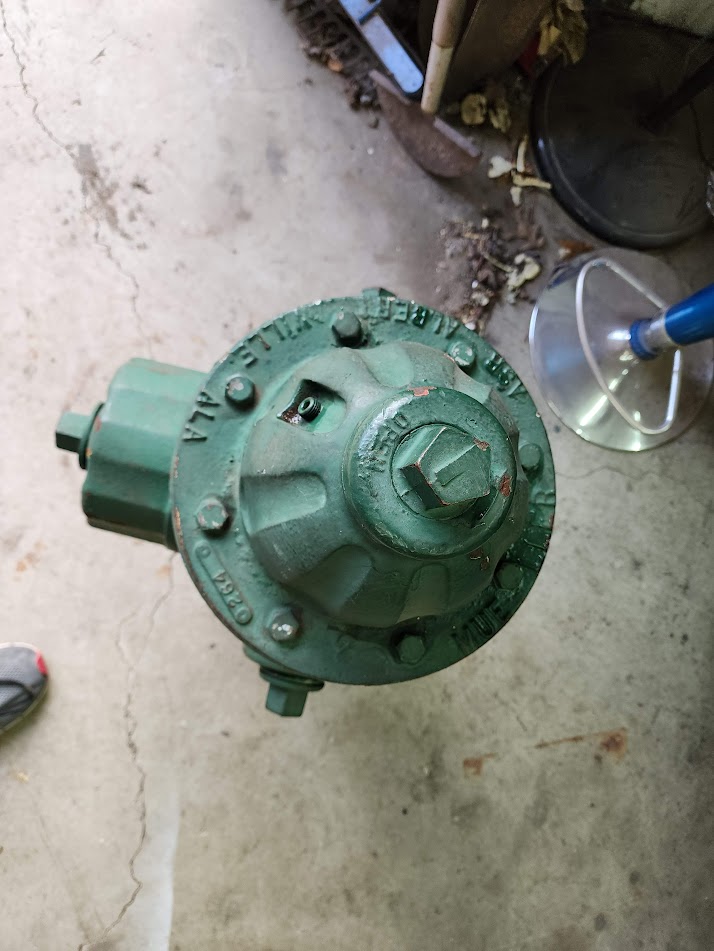
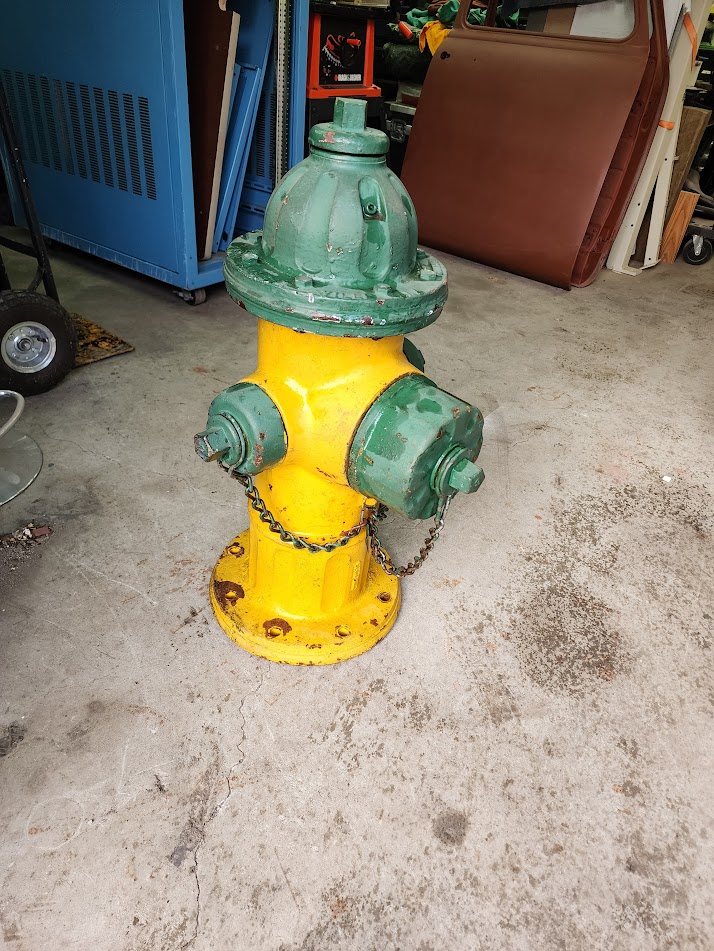
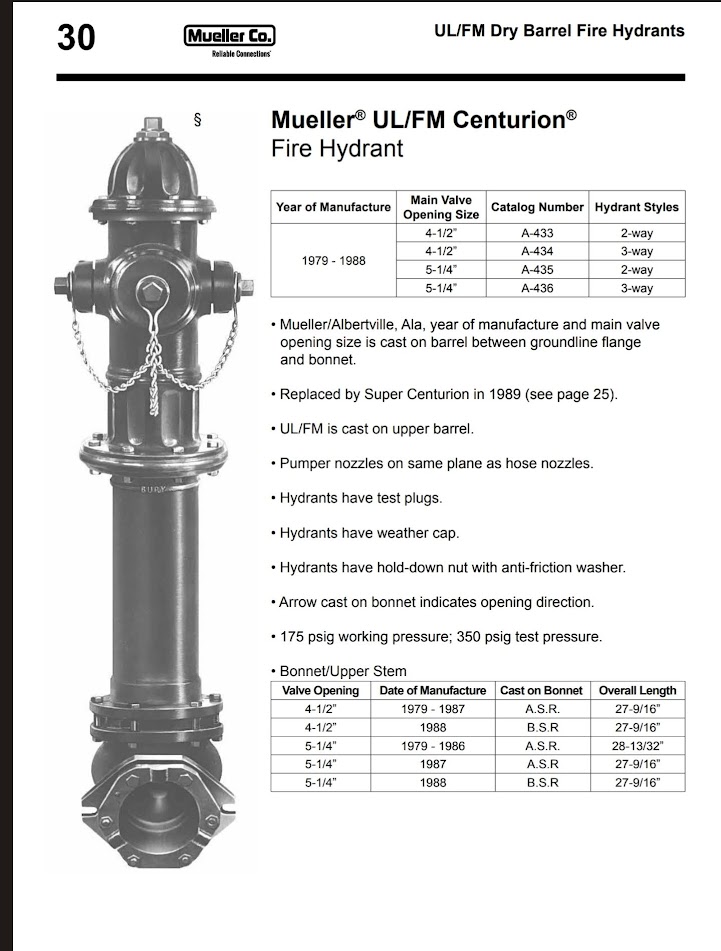
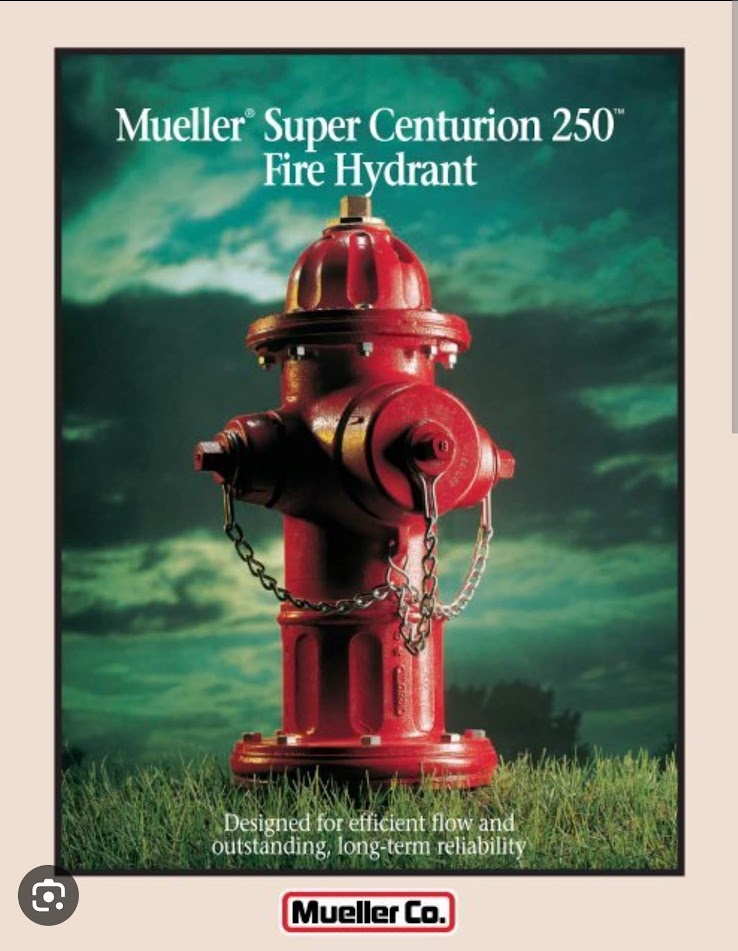
And here it is, how it started. First step was to do some research on this model and see what I could learn about it, for going into this, I knew nothing about a fire hydrant other than what I have seen on tv or looking at one on the street.
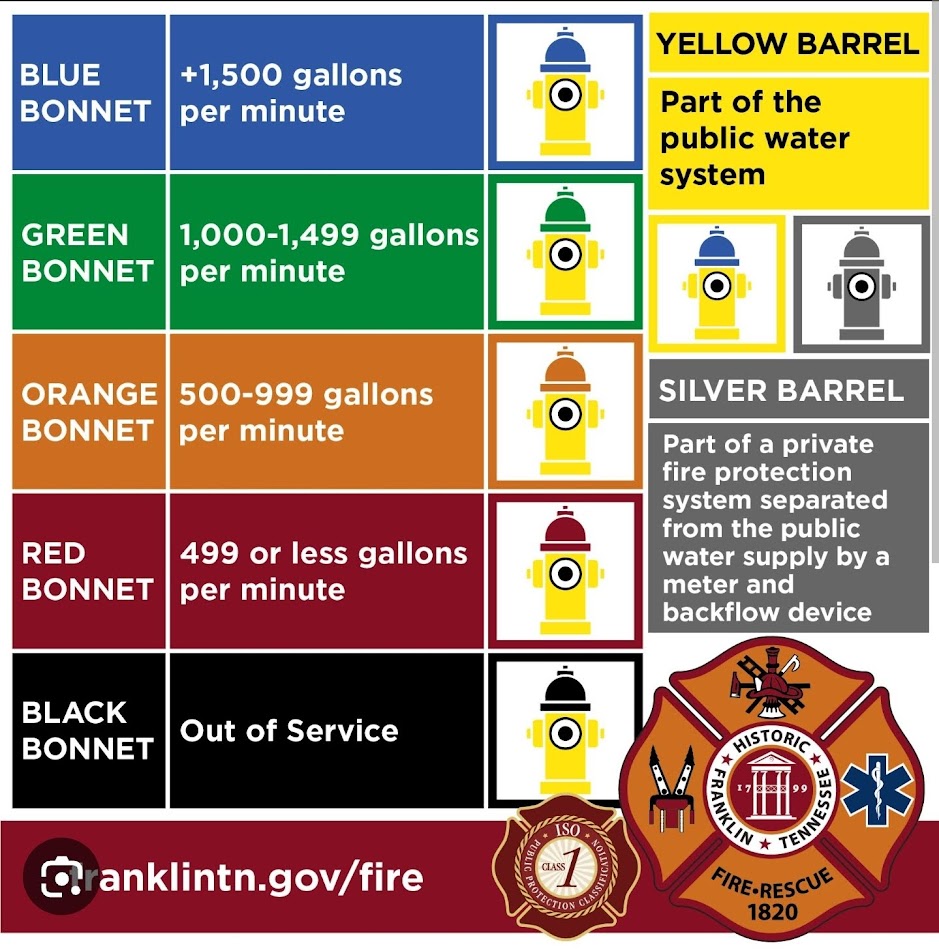
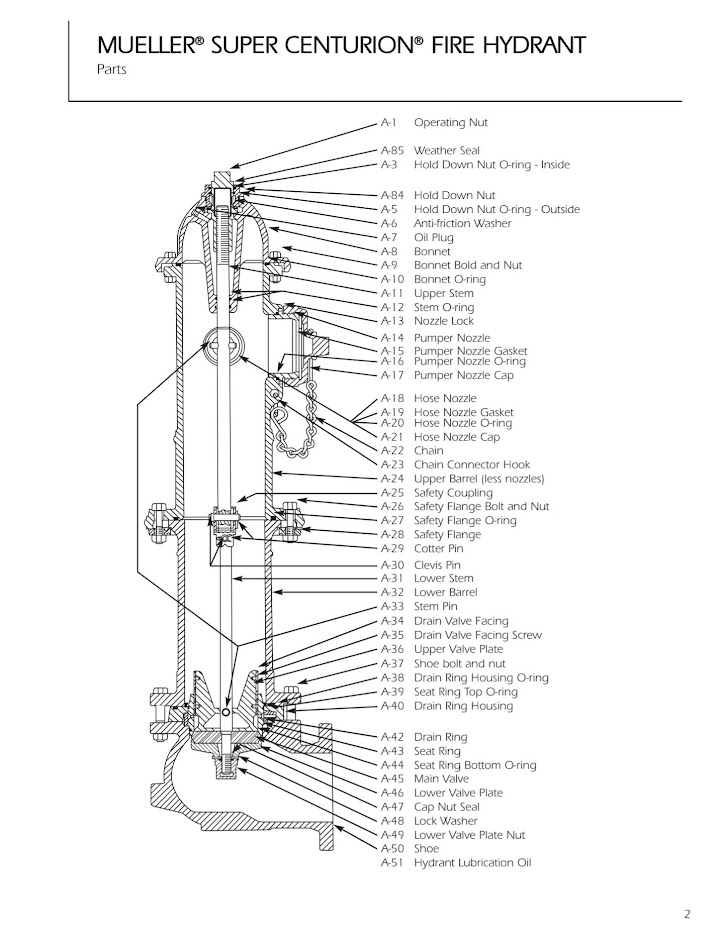
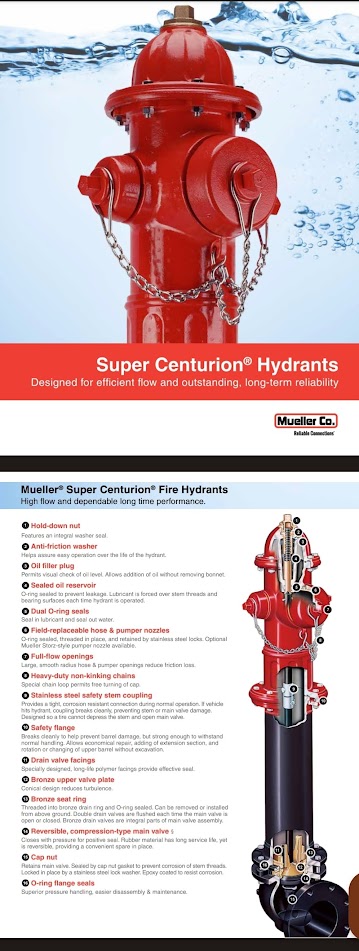
I was always curious what the colors on a fire hydrant meant, I found this guide for the area and municipality it came from. The yellow body means it was connected to a public water supply line, and the Green caps meant it was ratted for 1,000-1,500GPM of flow. These colors can vary from area to area, so be sure to look up the ones in your area!
Next step is to see if I can start taking it apart! Time to dig out all the heavy tools.
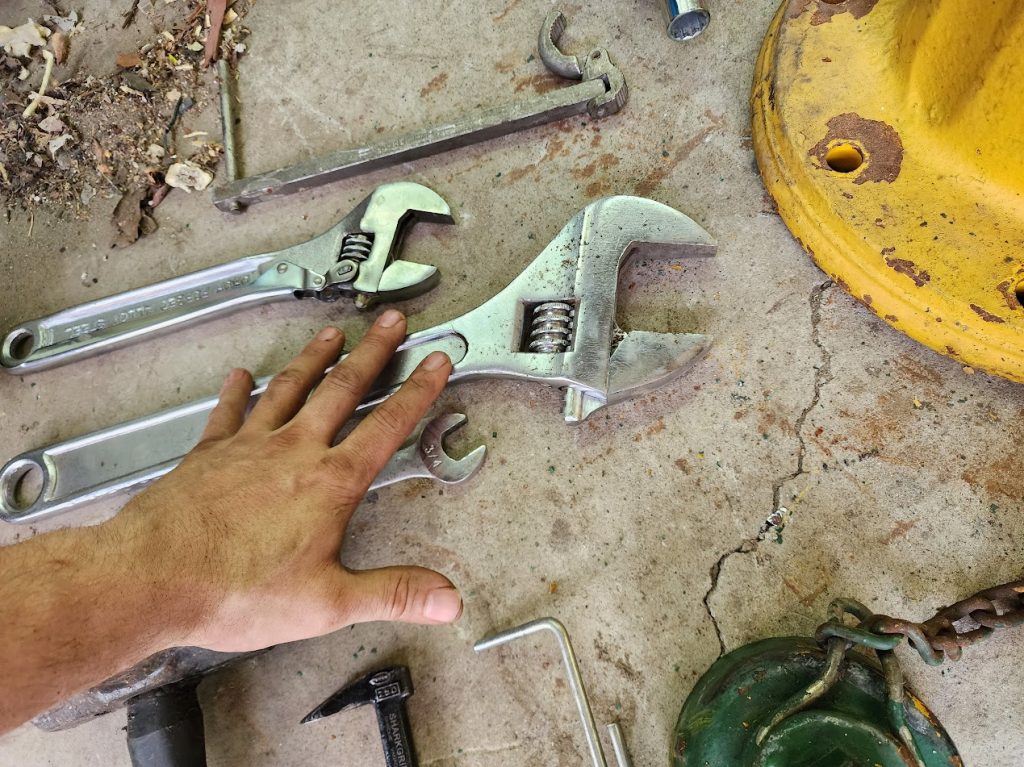
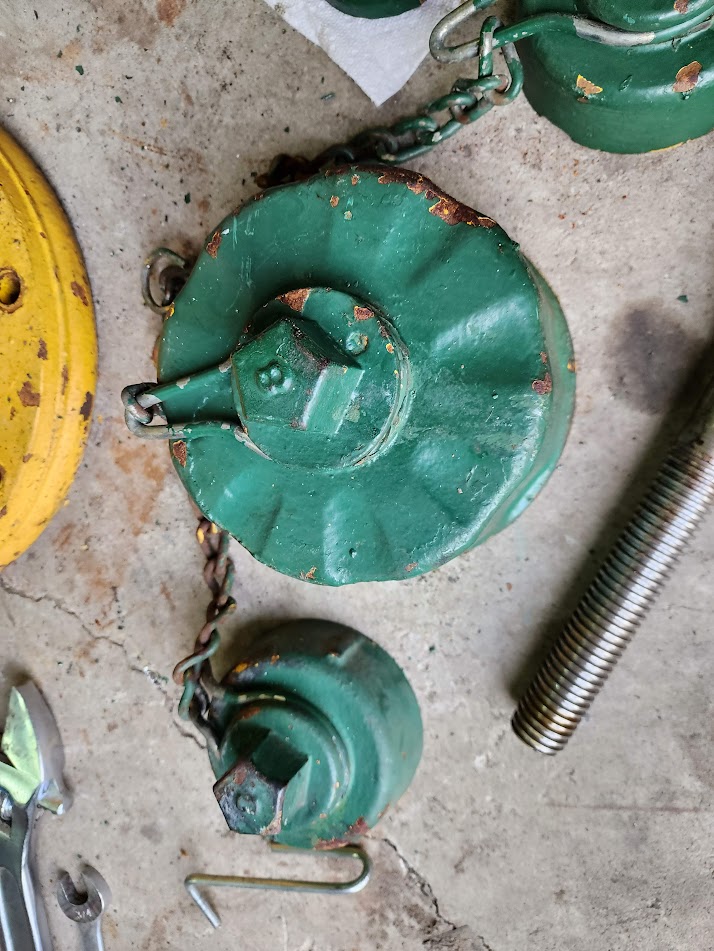
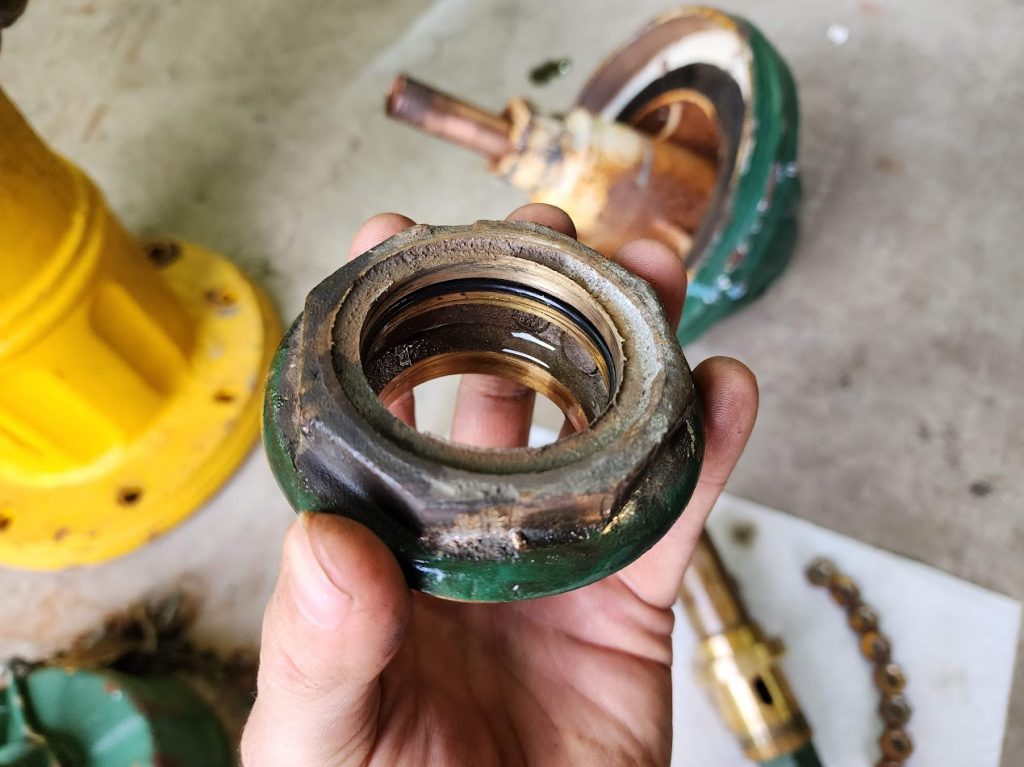
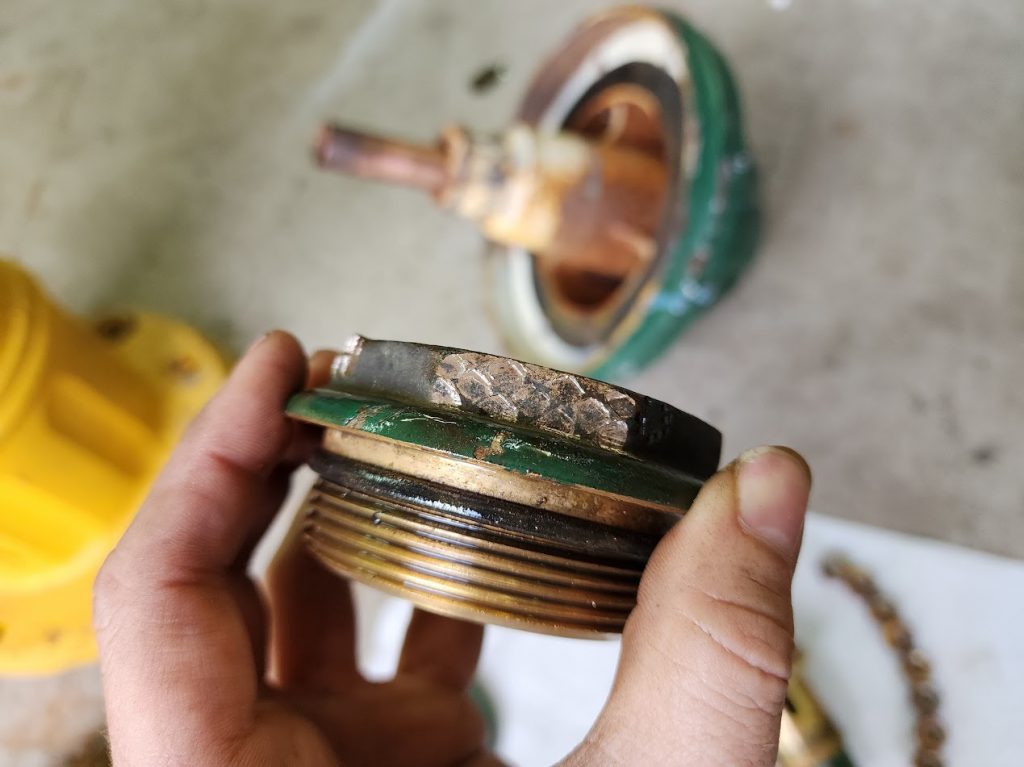
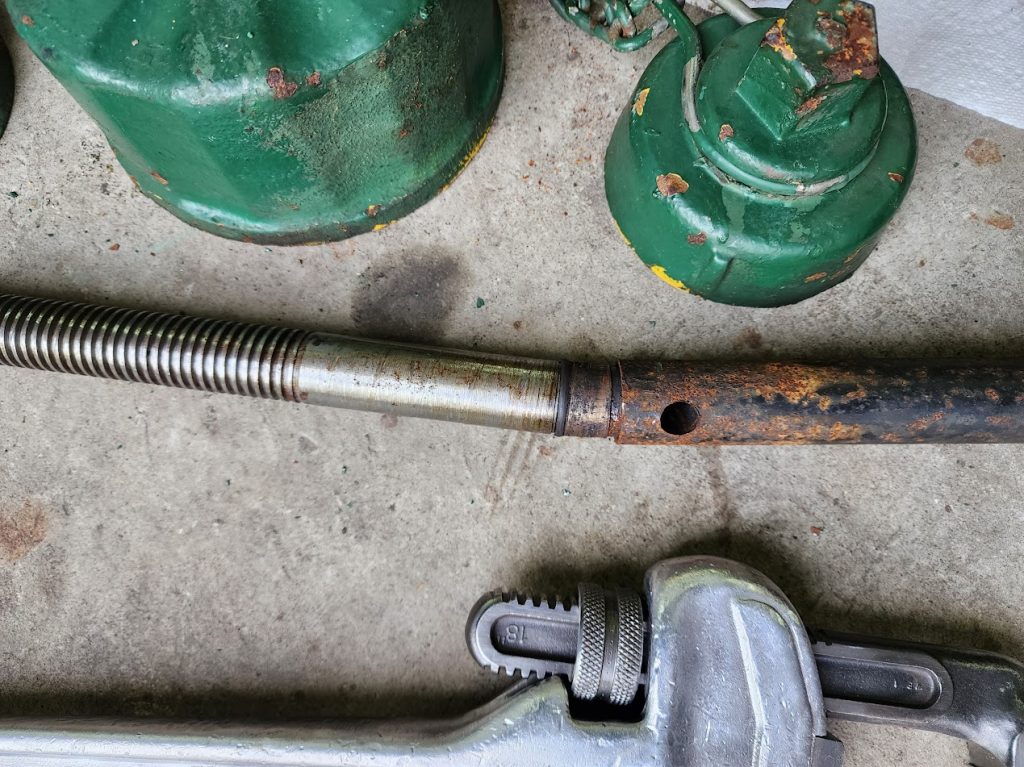
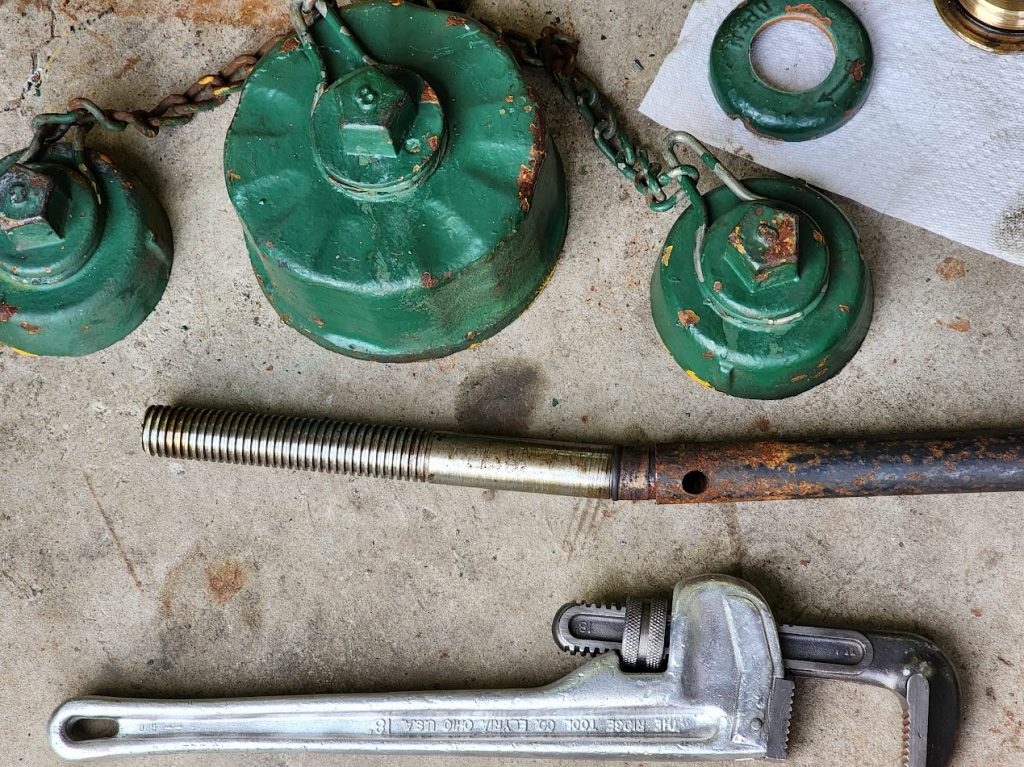
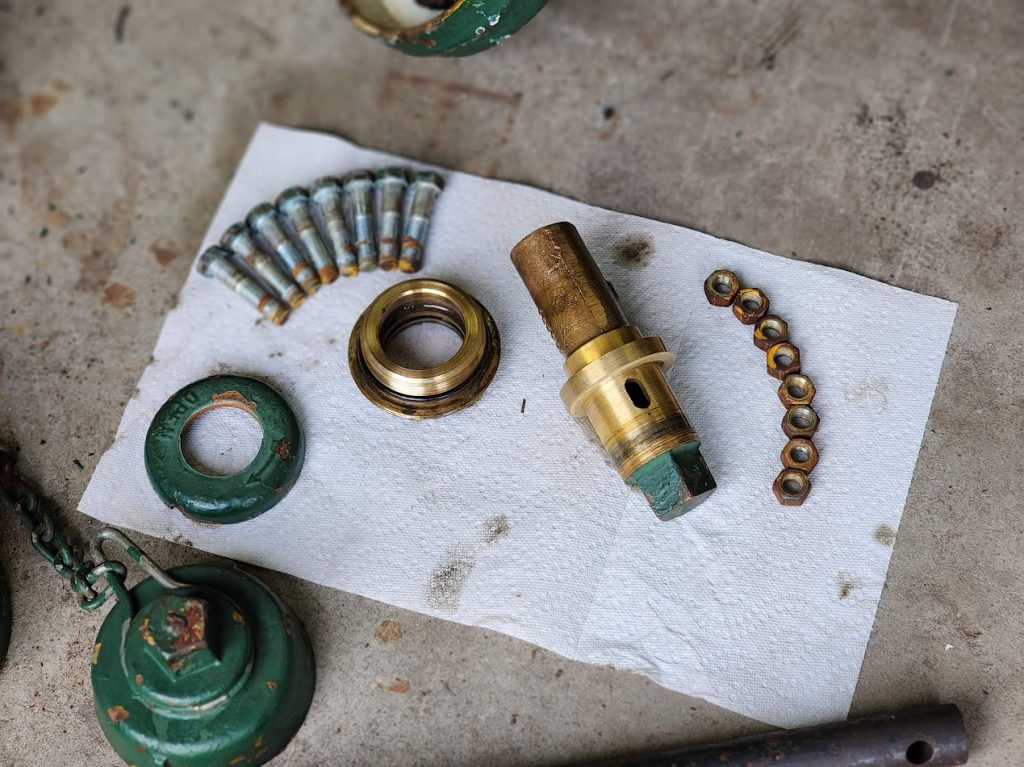
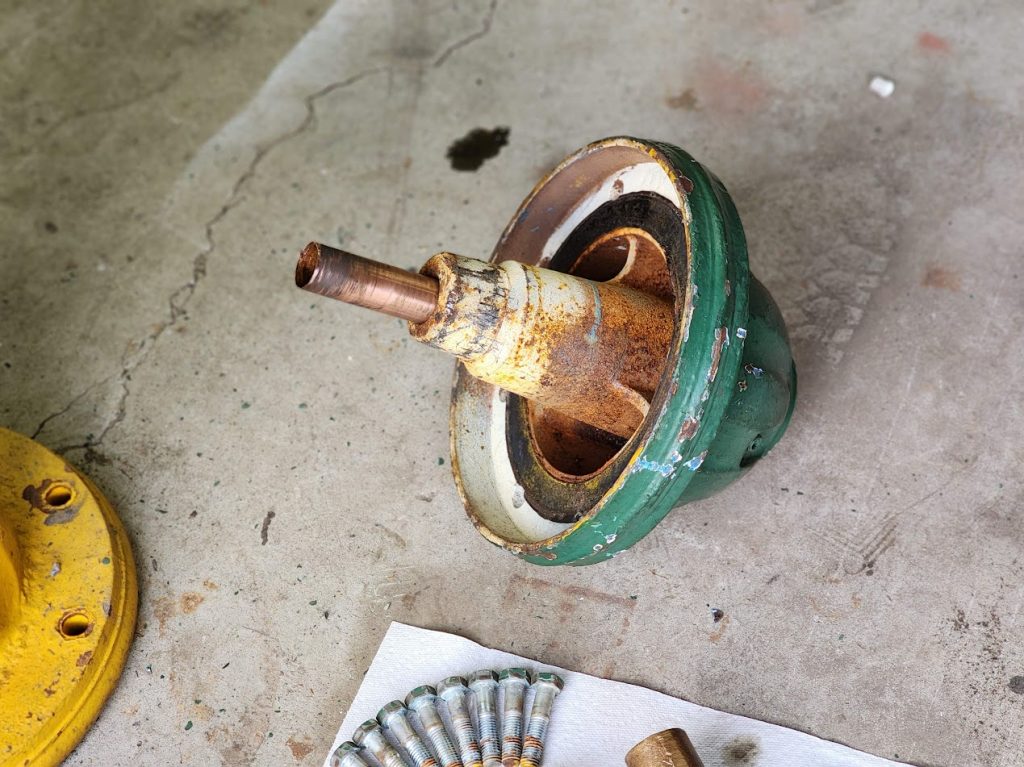
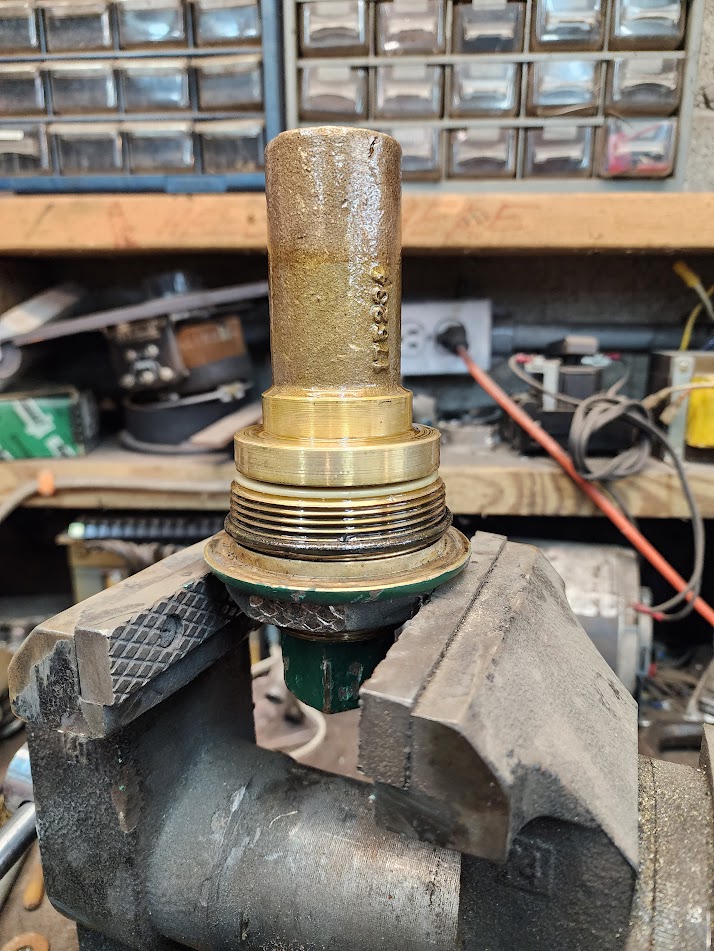
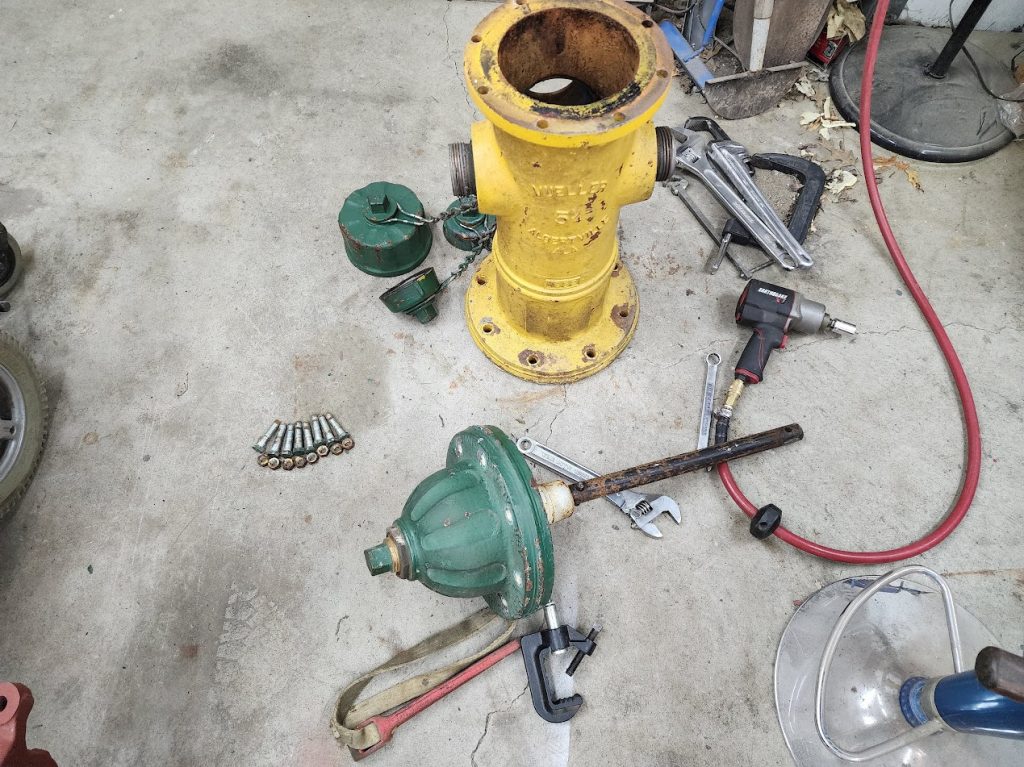
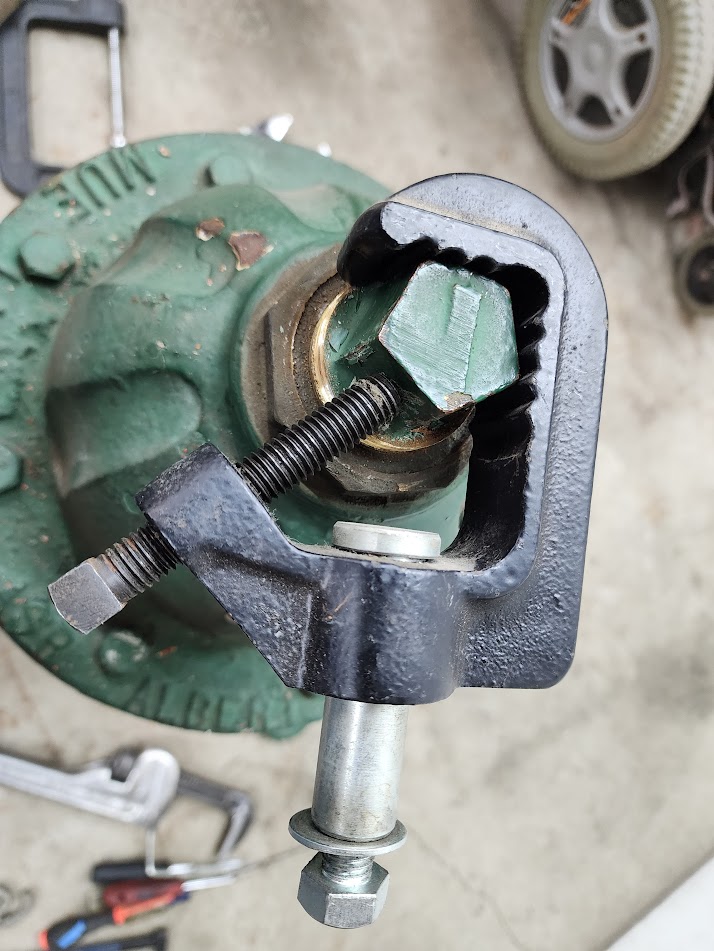
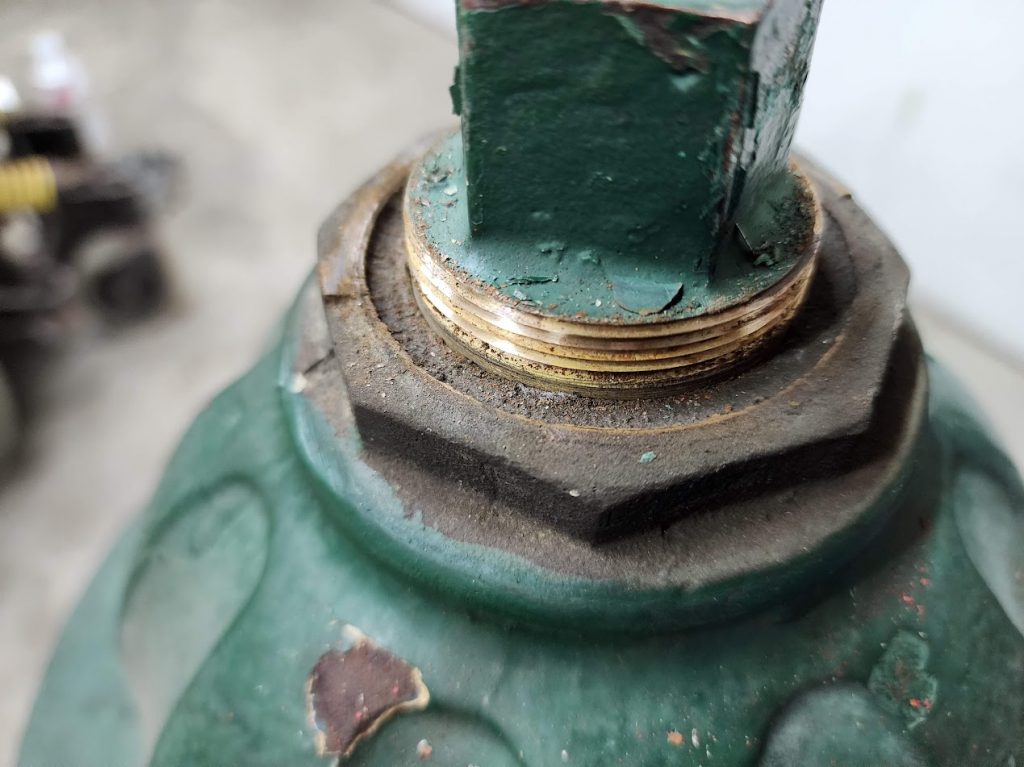
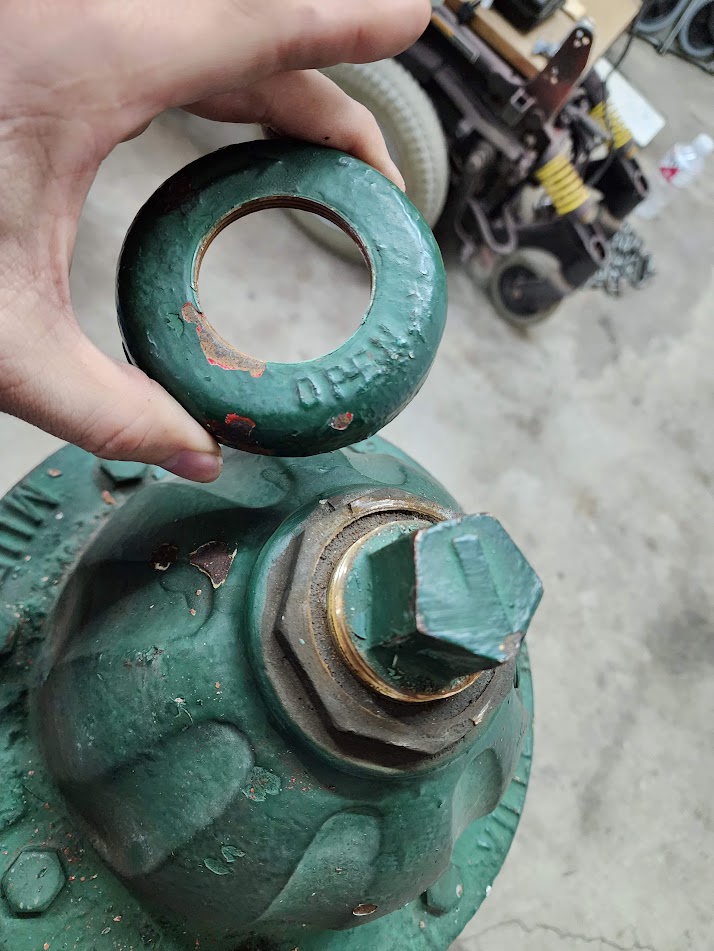
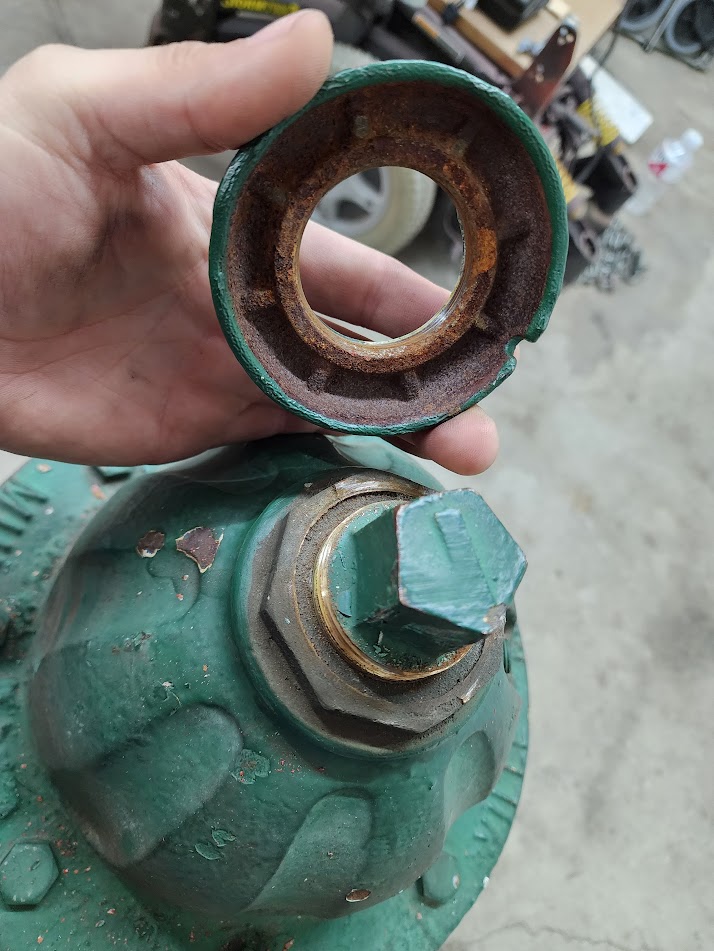
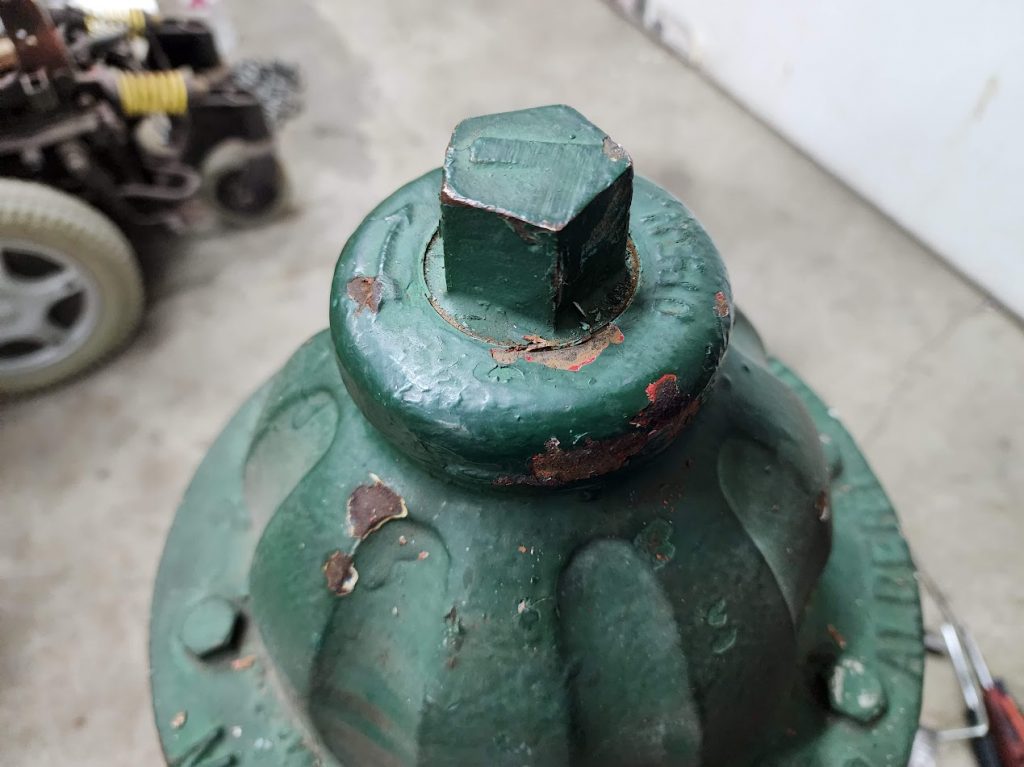
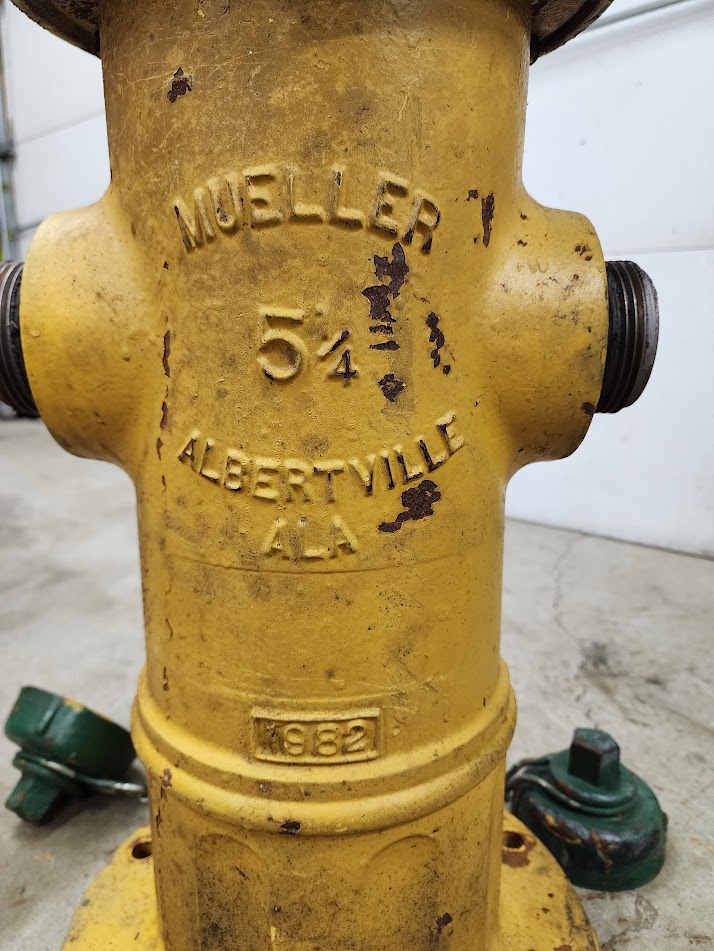
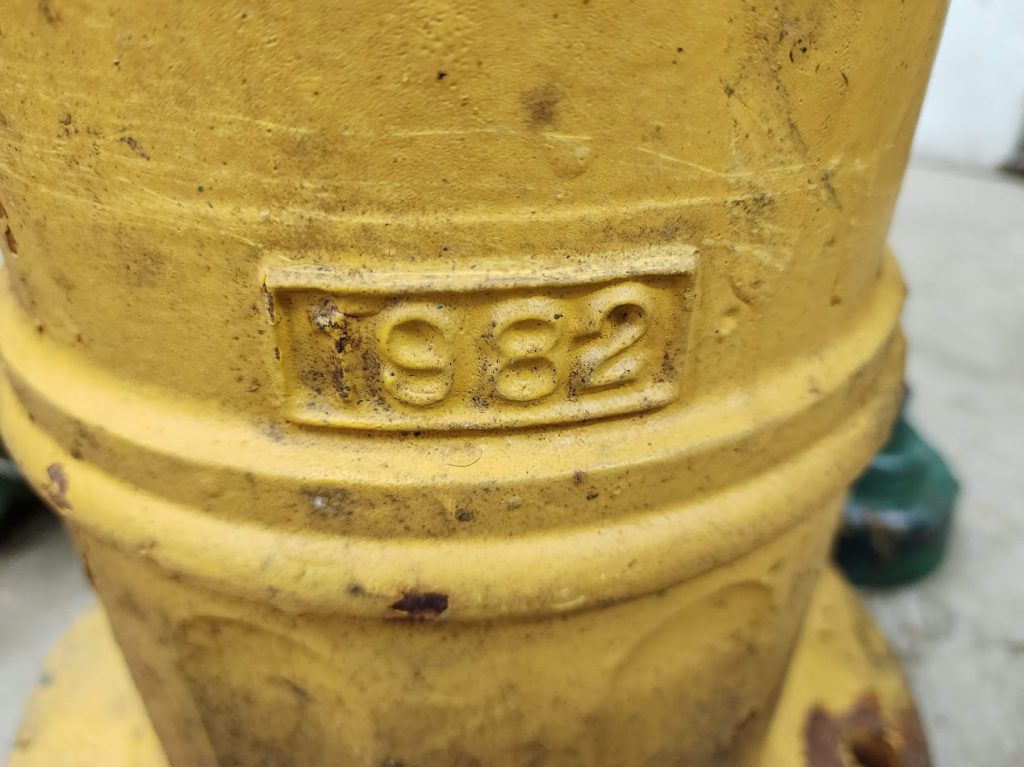
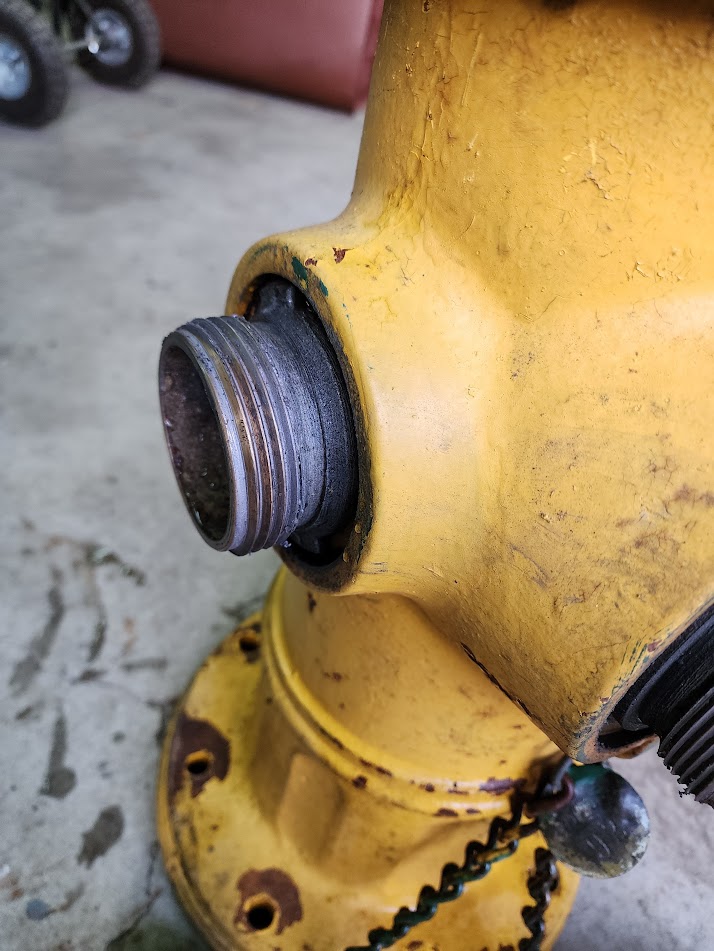
If you do not know, the nuts on a fire hydrant are pentagons! That is 5 sides, no normal wrench, socket, or crescent wrench will work on these. That is by choice that way the average person can not open one easy! This made is harder for me. Yes I could have purchased a wrench but they go for a supersizing amount of money. So after some head scratching and rummaging through my tools, I found a lighting rig clamp, it fit the pentagon shape well enough to allow me to clip a pipe on it and get the caps and top weather cap off!
Also had to use the massive pipe wrench, and even the large bench vise to get the top nut loose, some are left hand thread others right hand, mine was one of the rarer right hand threads. This was fun to discover when you are trying to loosen a 40 year old union!
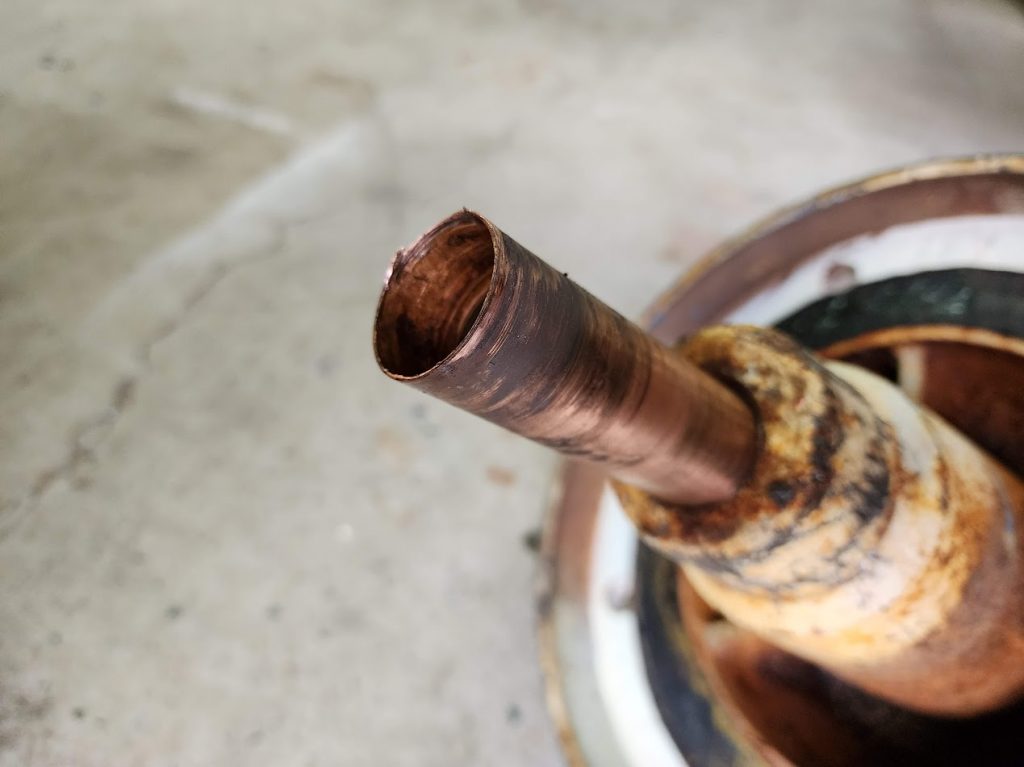
In the middle of a fire hydrant is a large metal screw shaft, this one was bent ( more on that bellow ) so this meant normal extraction of the shaft would not work, I had to pull it out the bottom, and this pulled the crimp on the bottom of the copper sleeve so it is no longer oil tight, but I am not worries about that!
Speaking of oil.. did you know the tops of these are filled with mineral oil? I did not until I removed the top and flipped it over and covered myself if 40 year old oil ha!
Now that everything is apart it is time to start blasting.
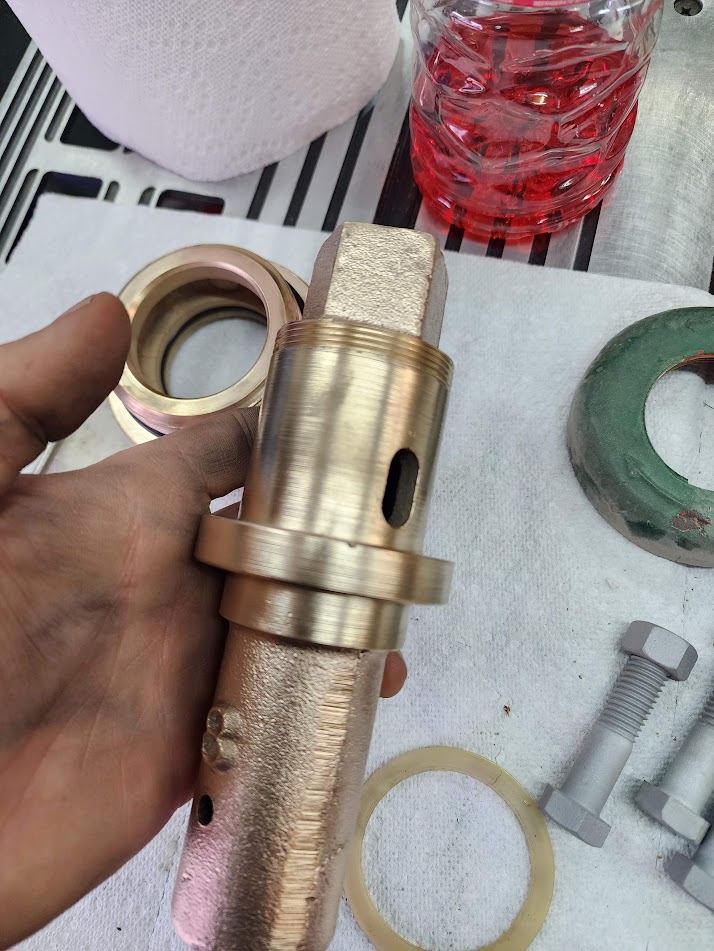
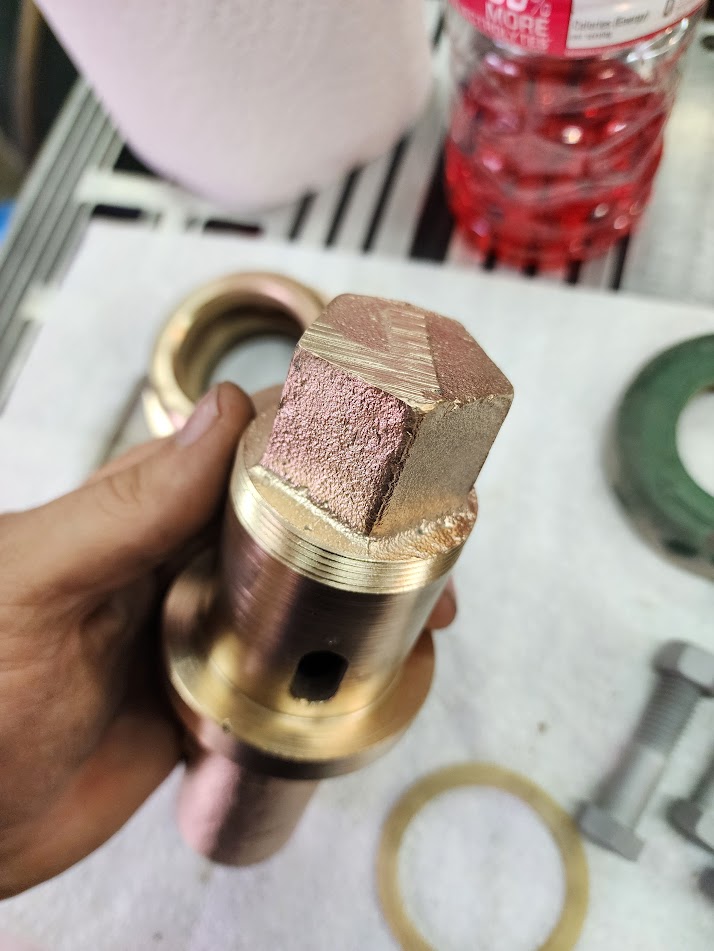
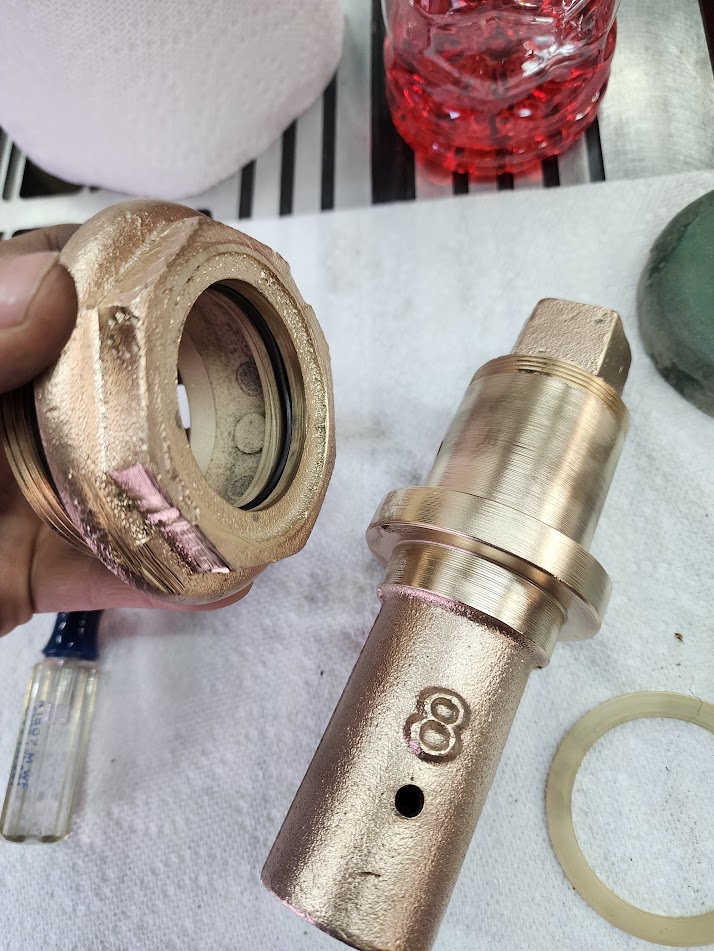
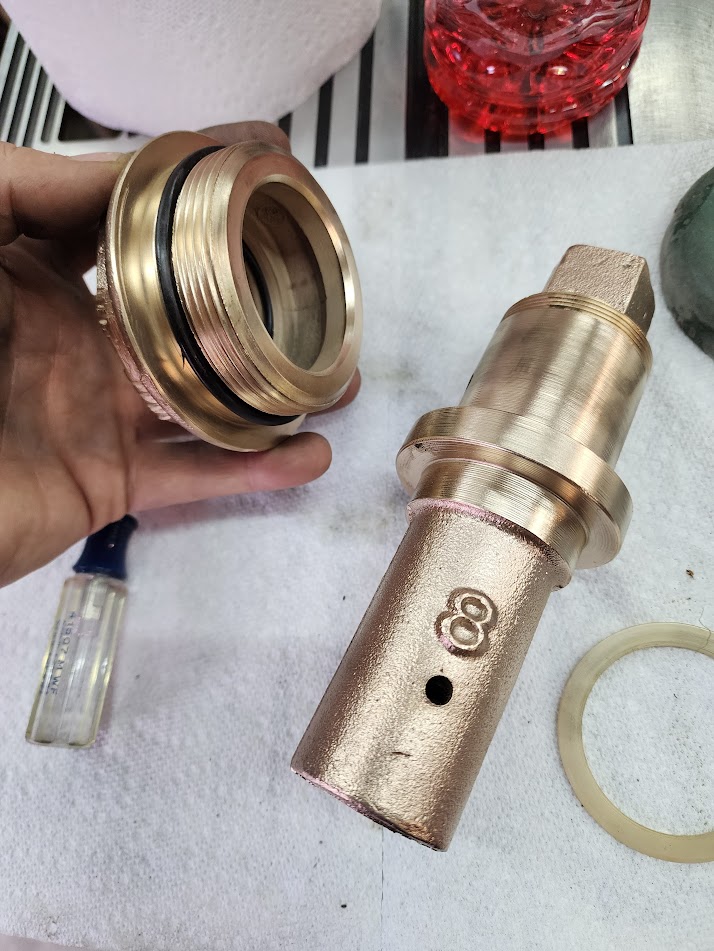
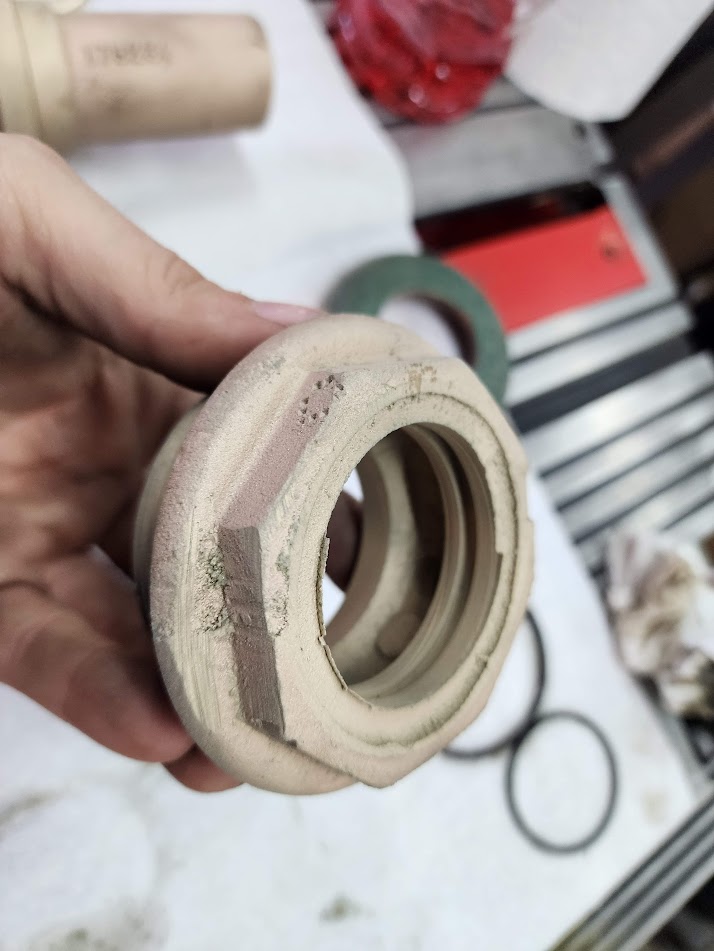
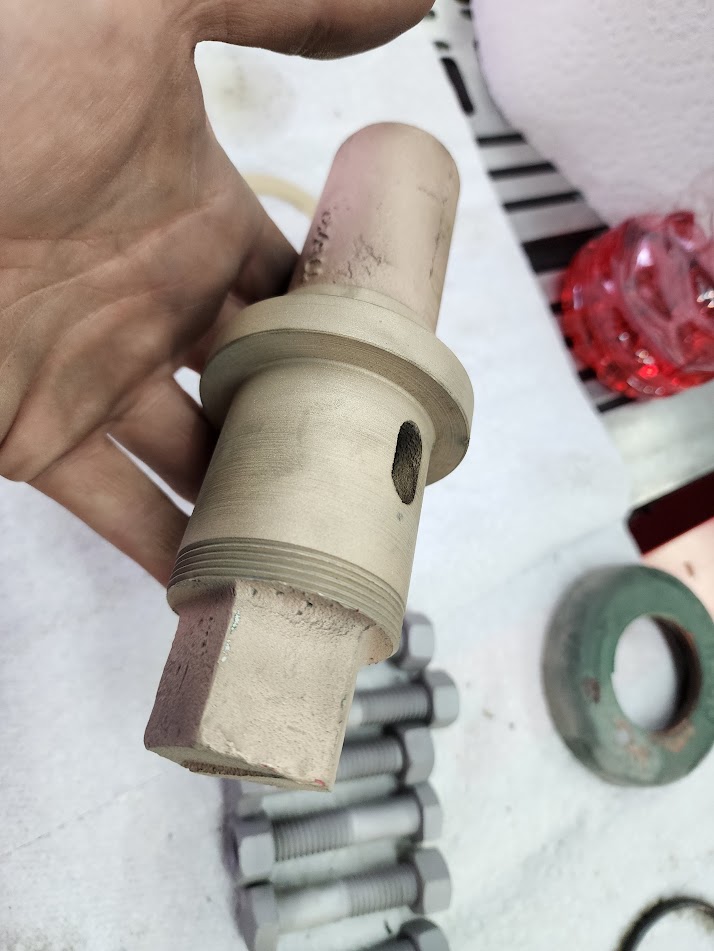
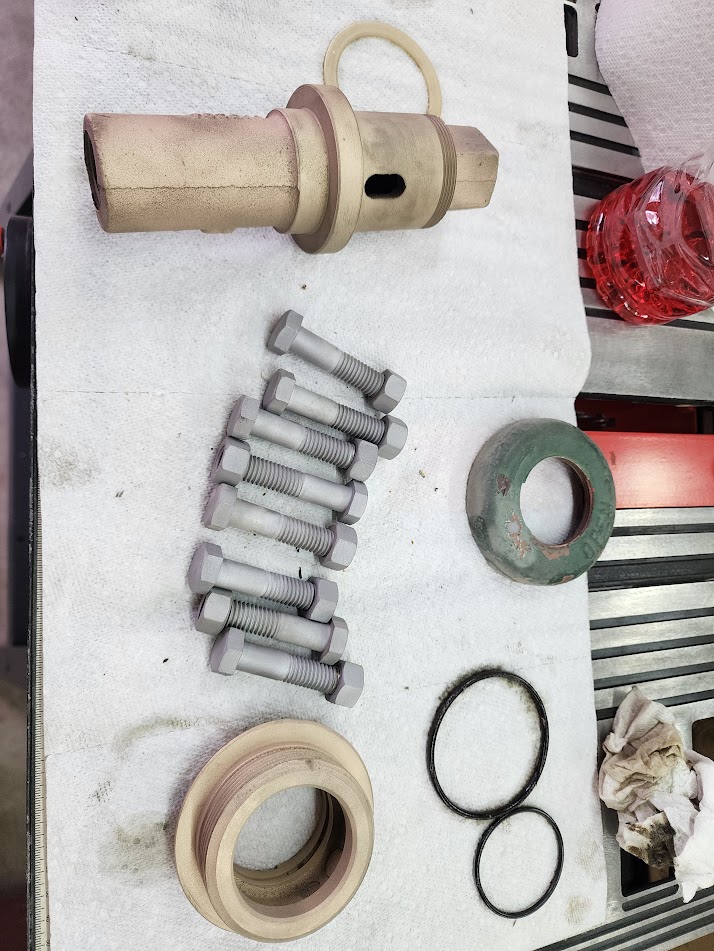
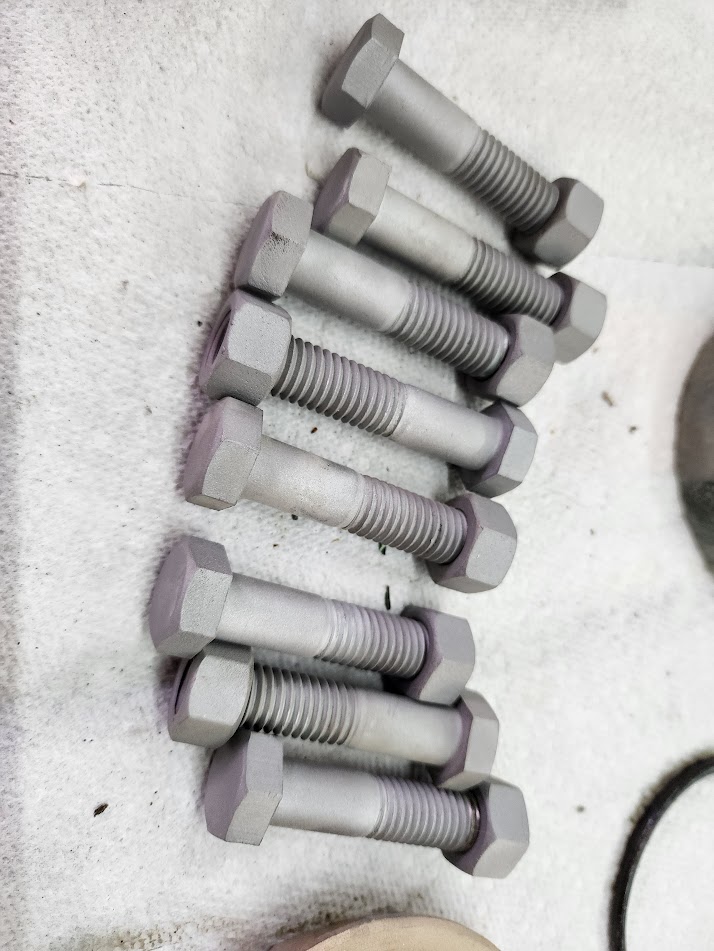
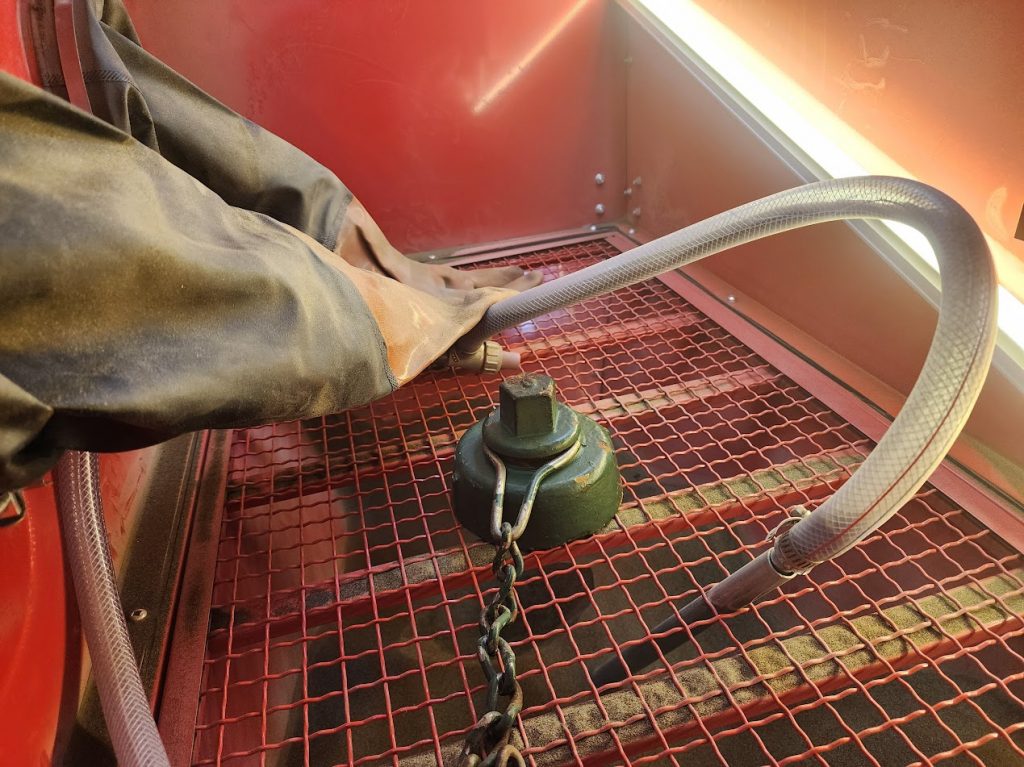
My process always begins with blasting the paint off to get to bare metal, that wire wheel to brake down the edge to give a nice polish.
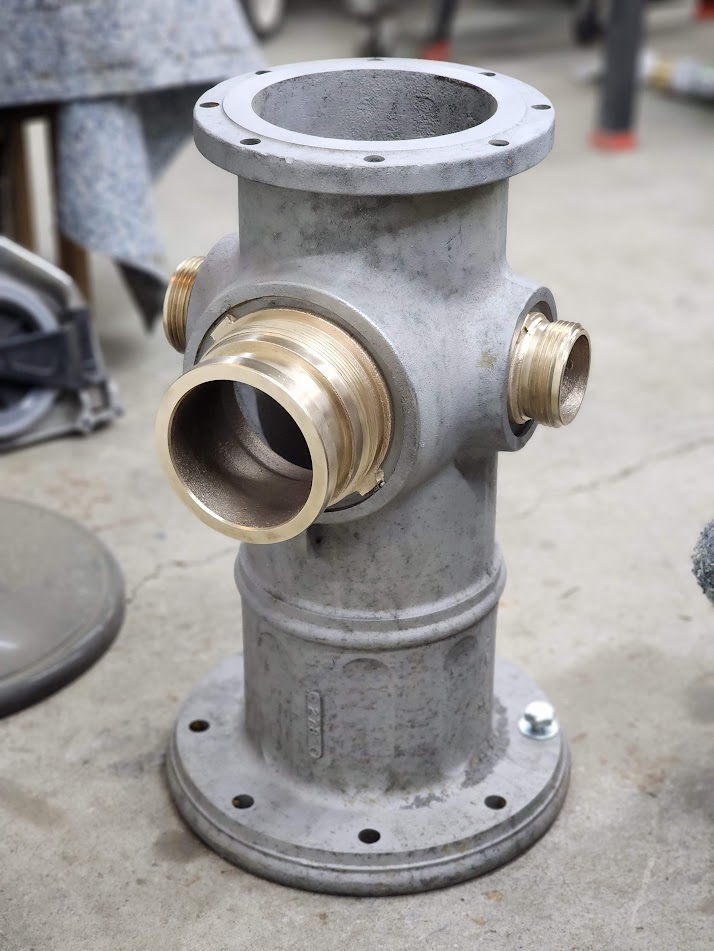
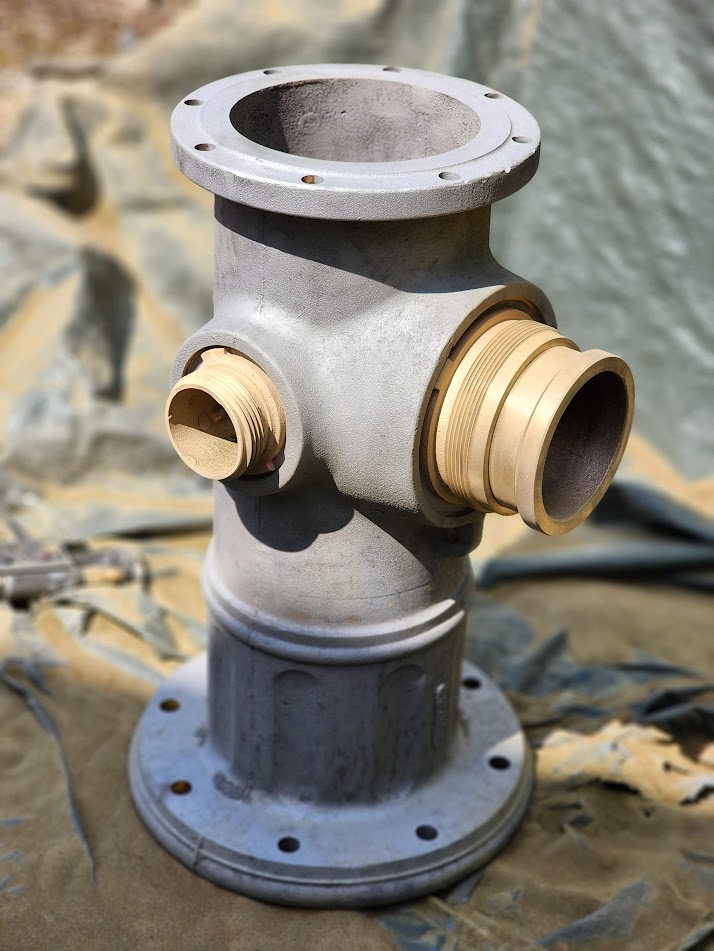
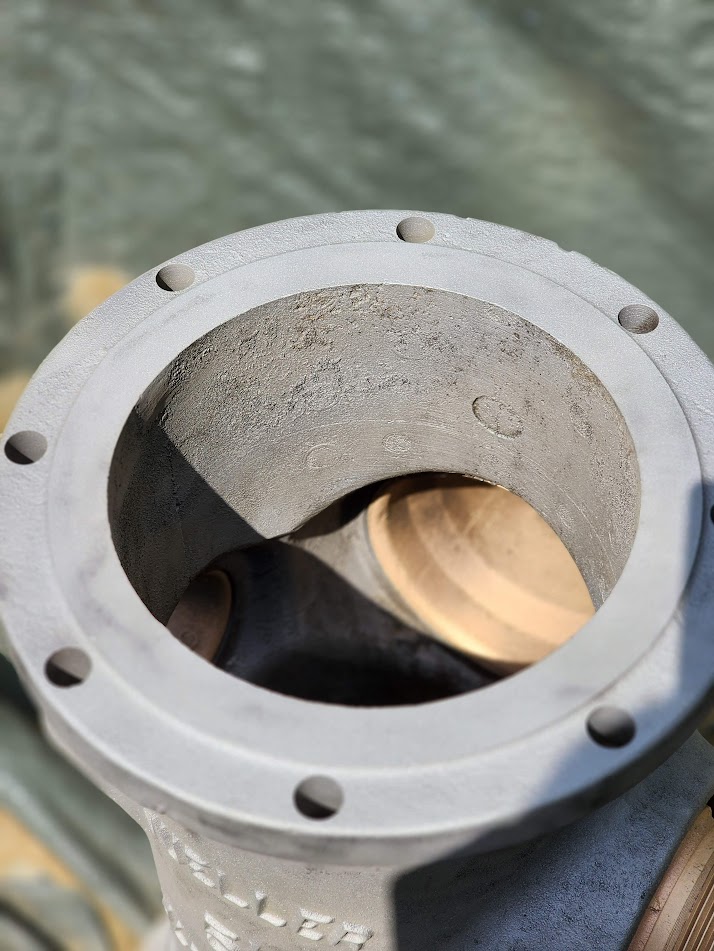
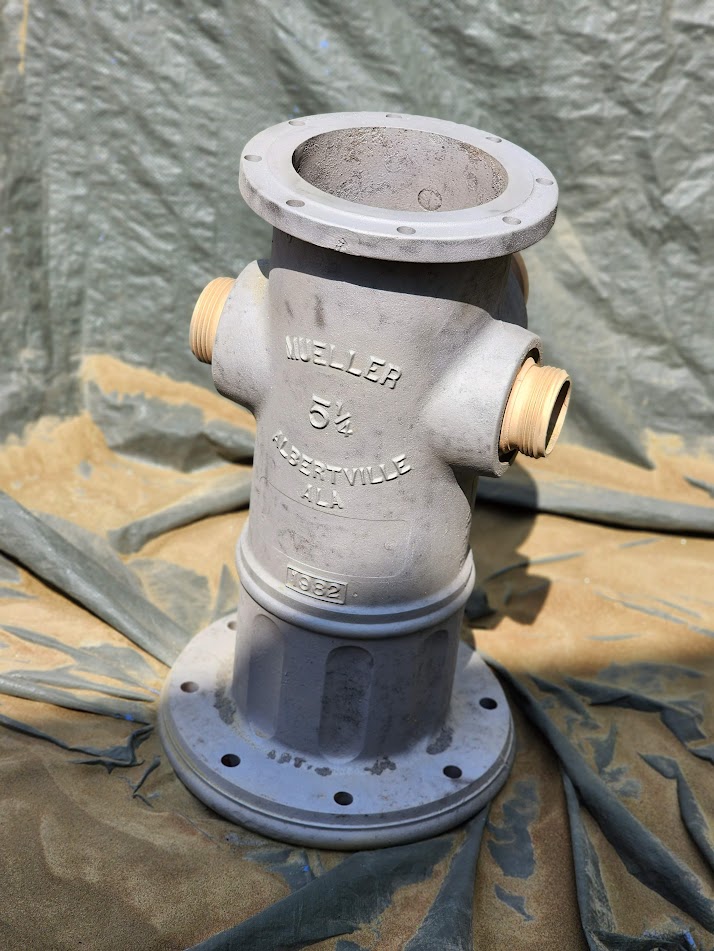
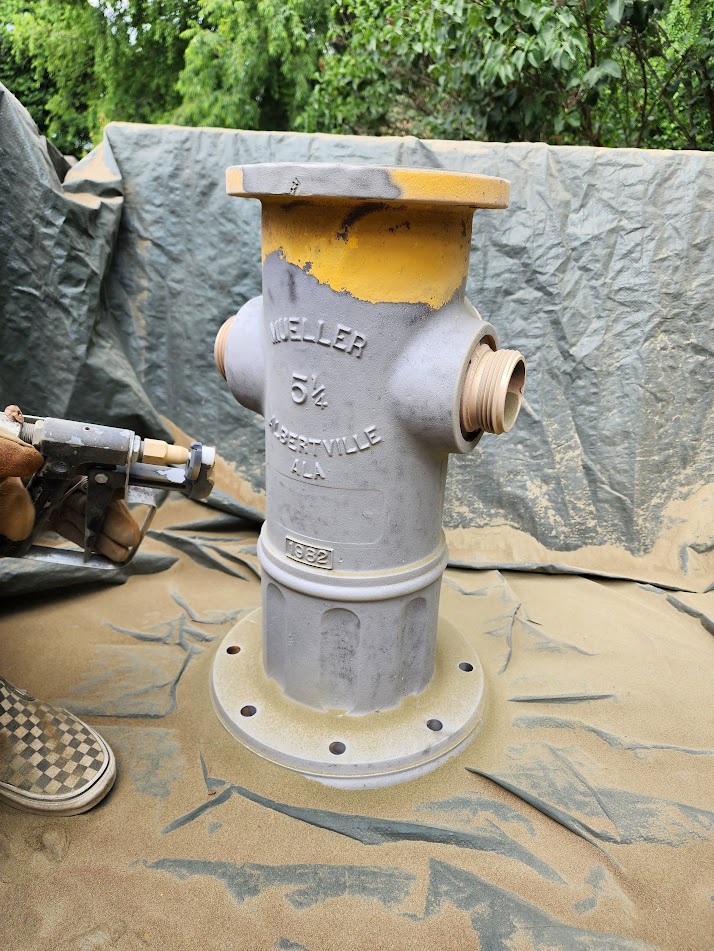
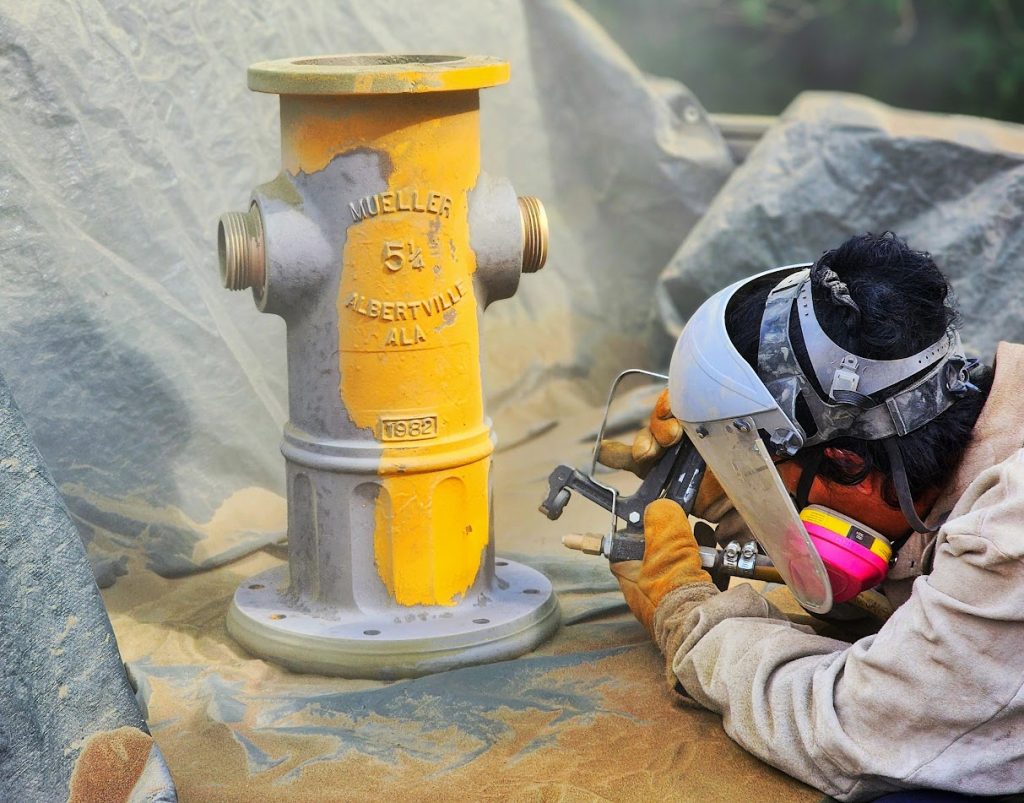
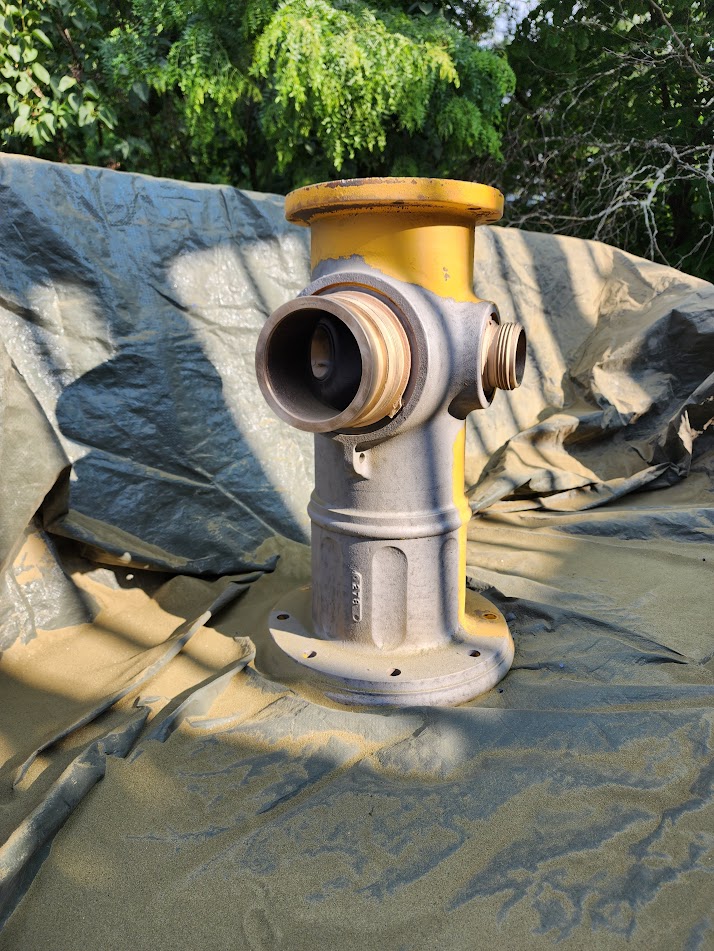
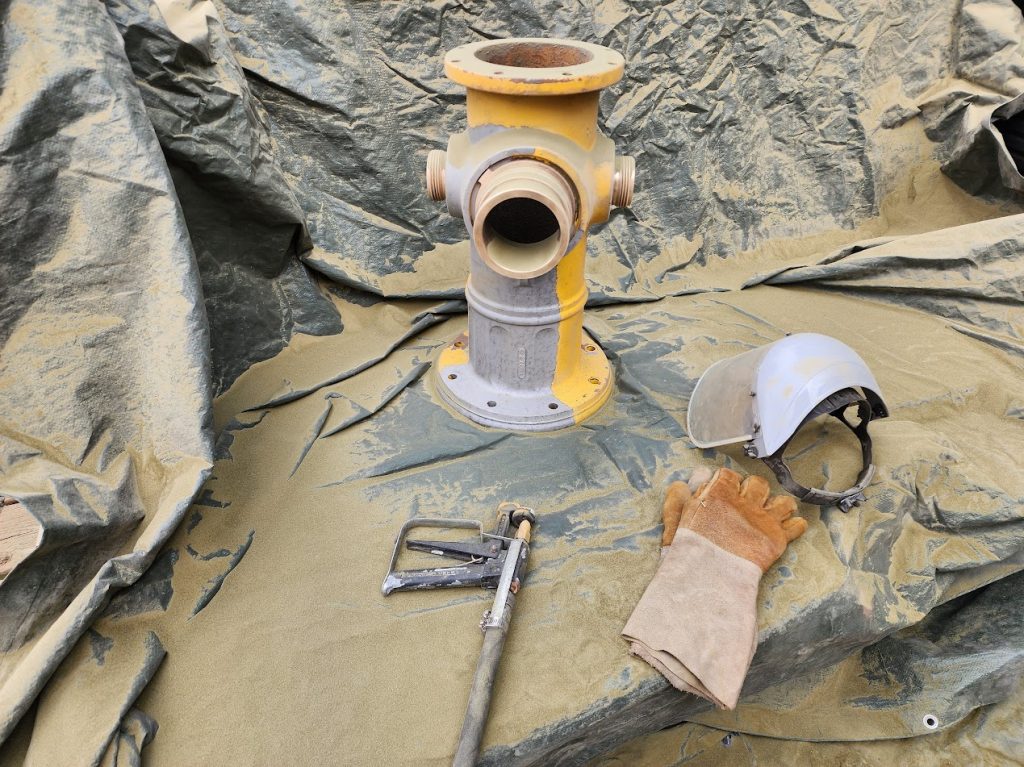
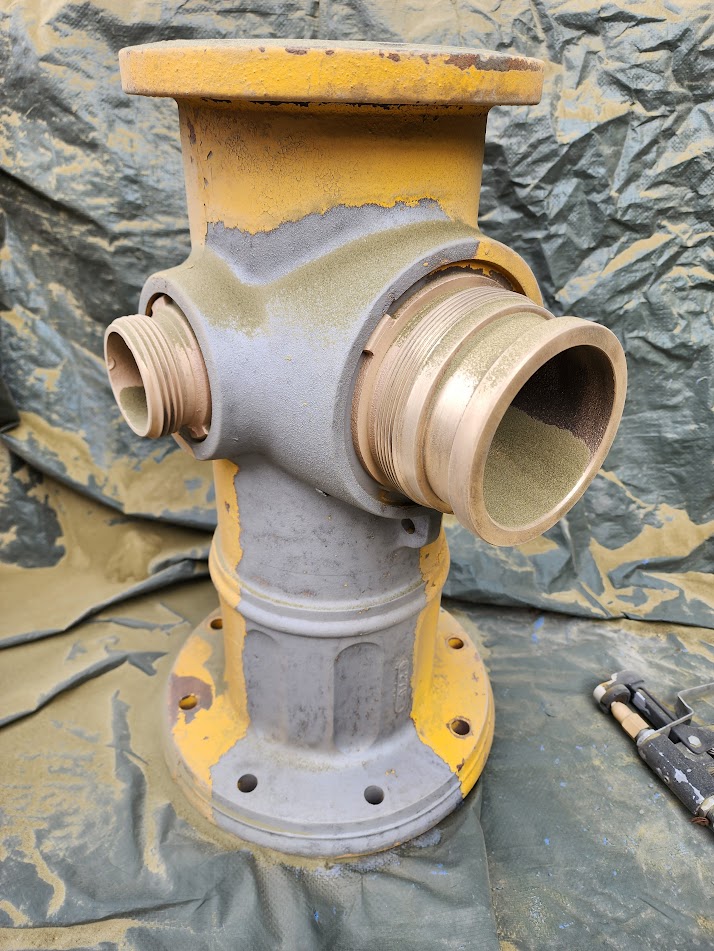
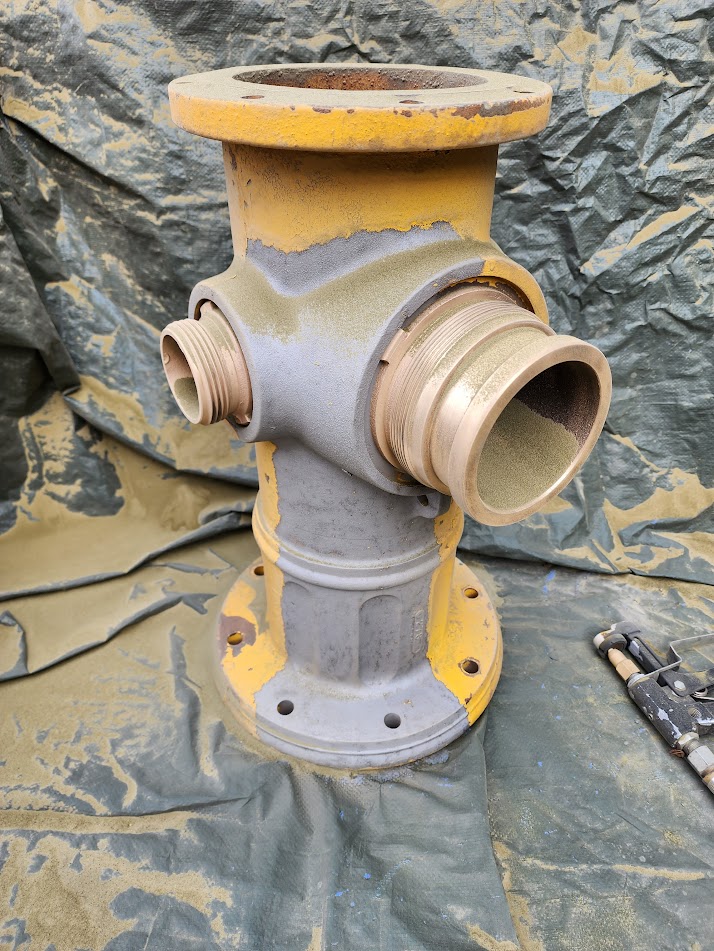
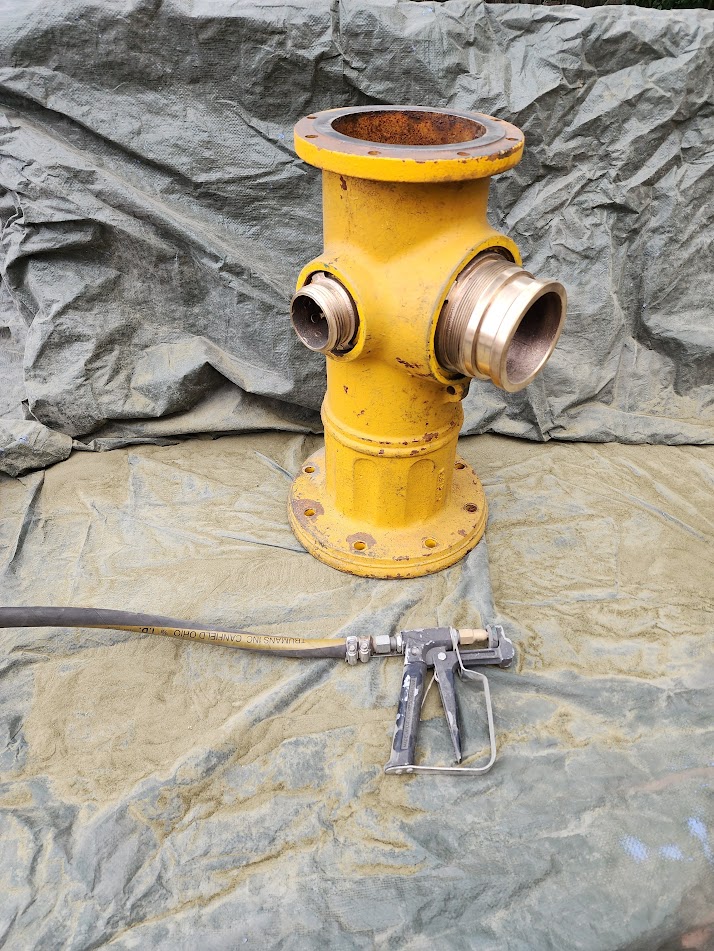
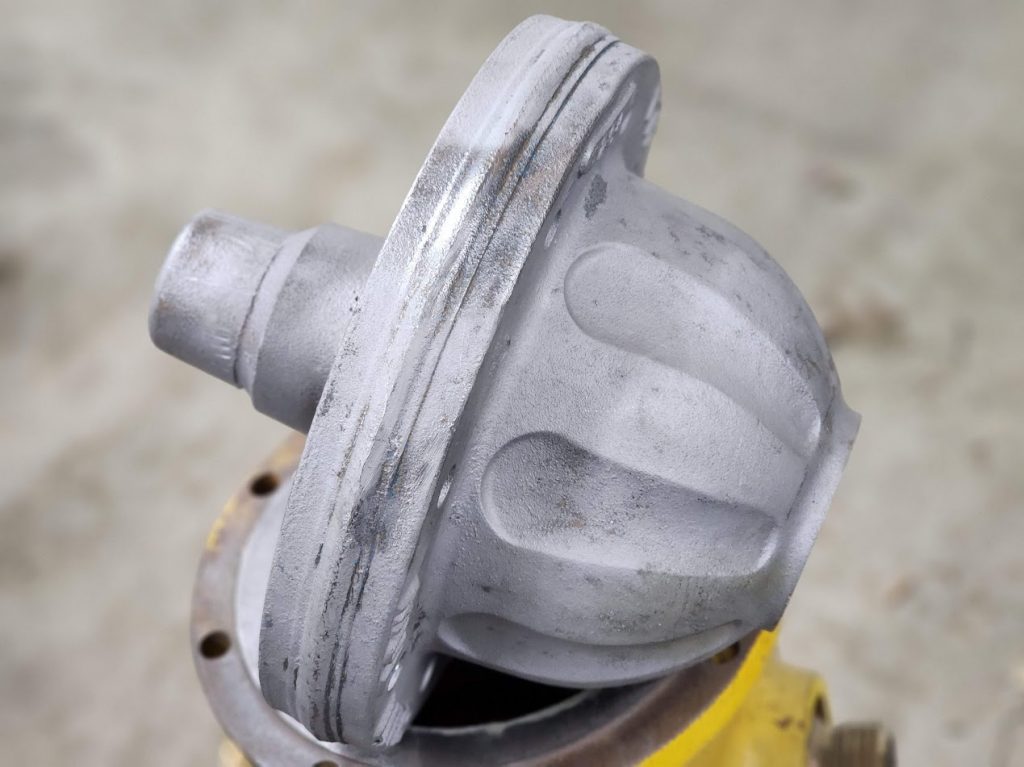
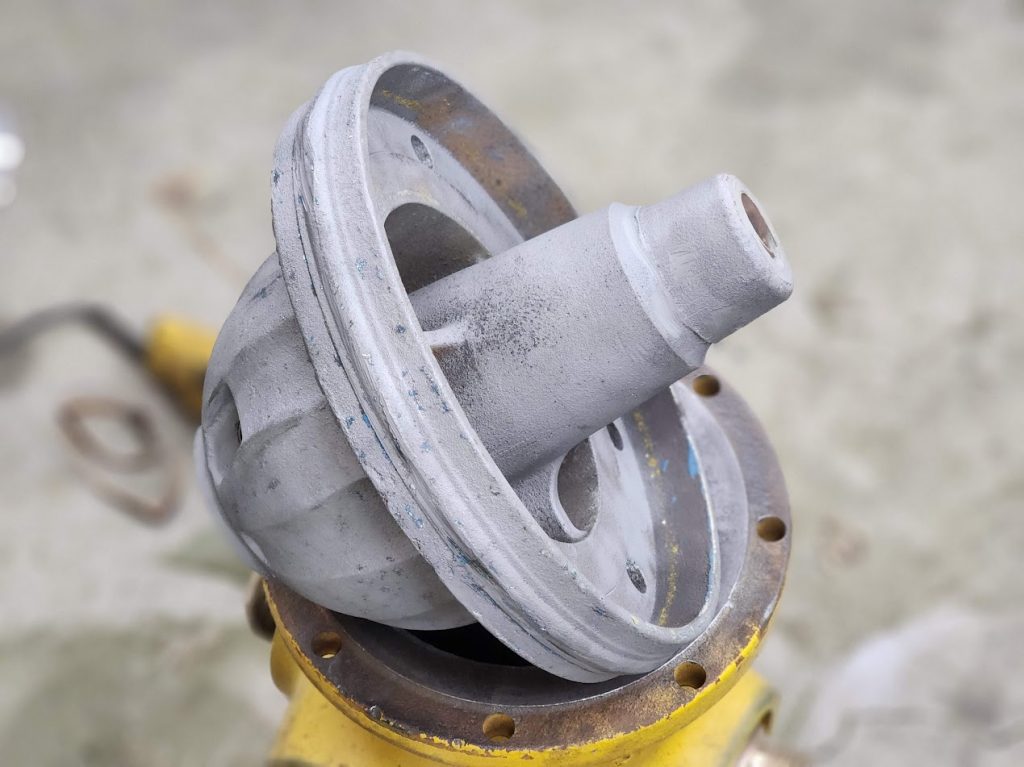
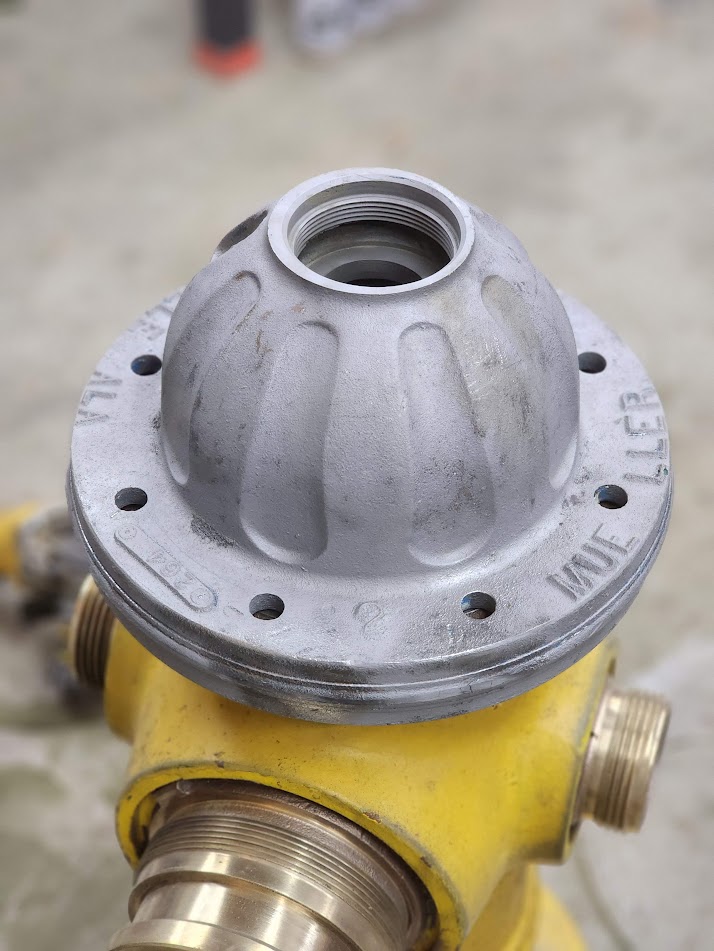
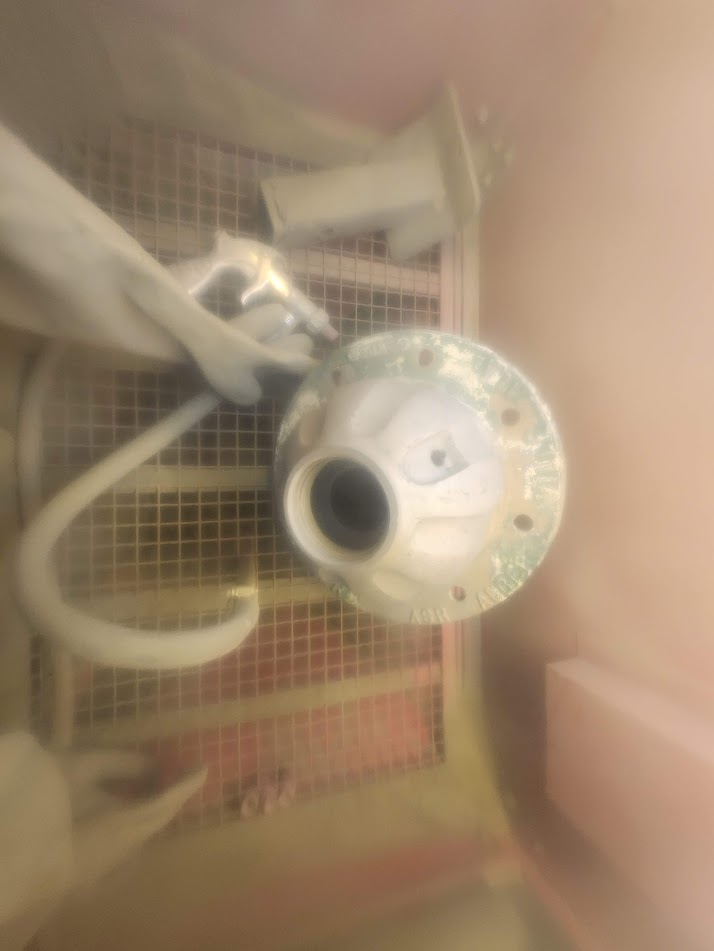
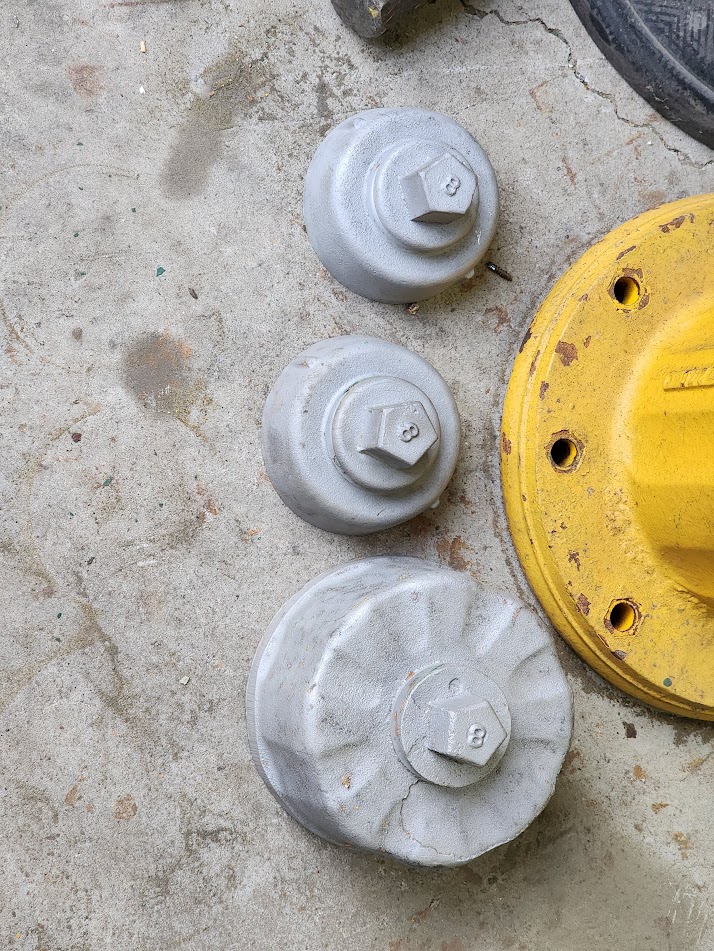
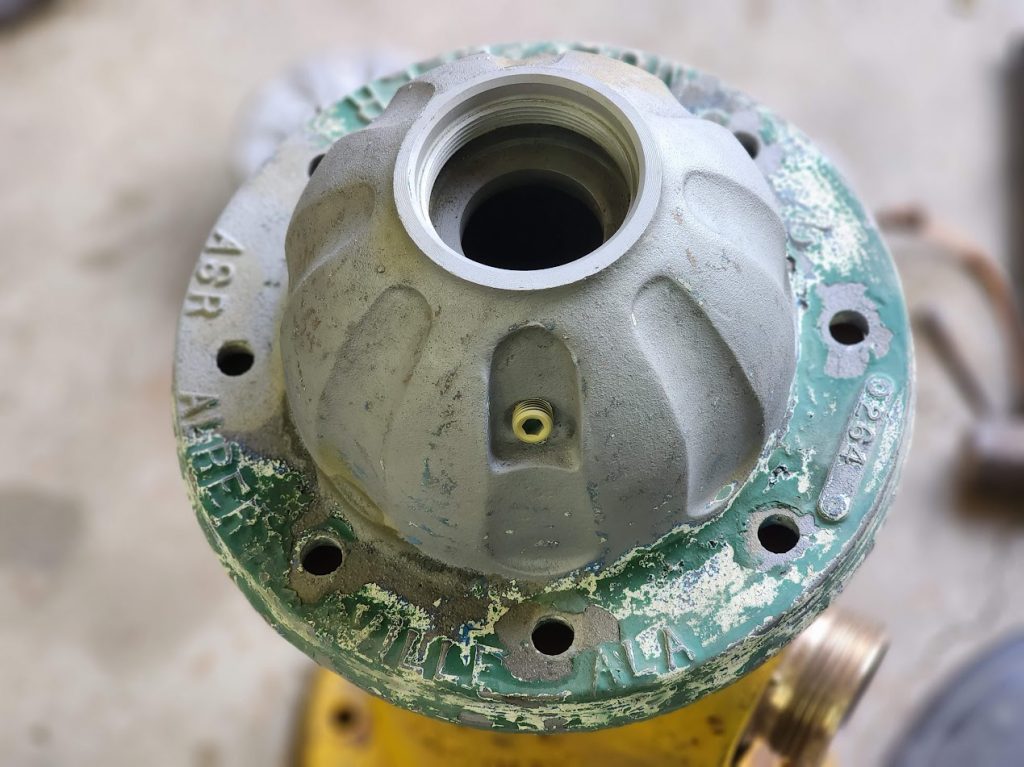
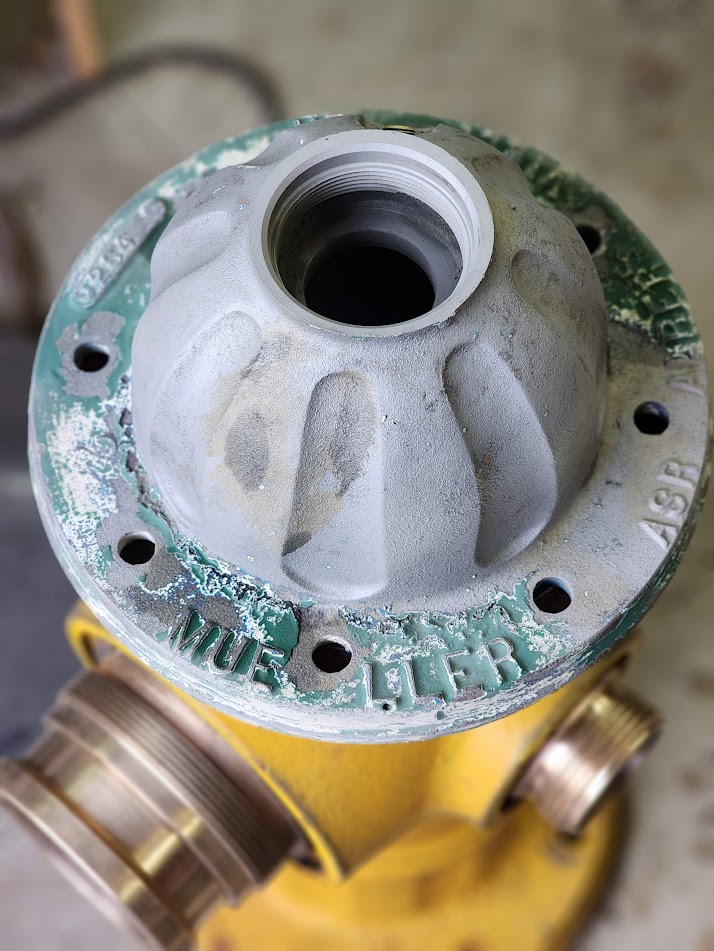
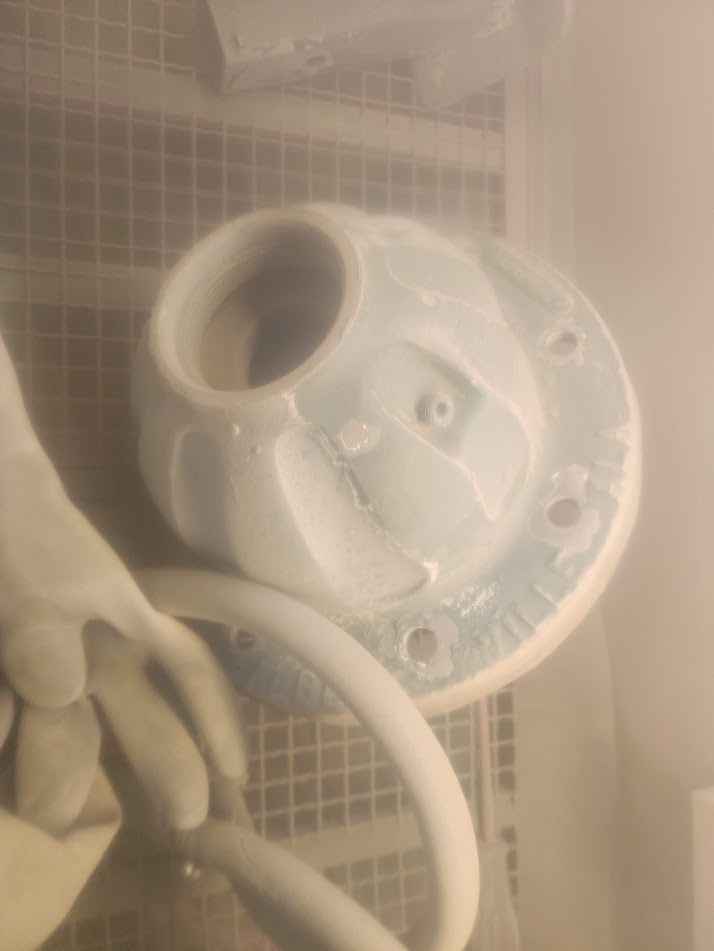
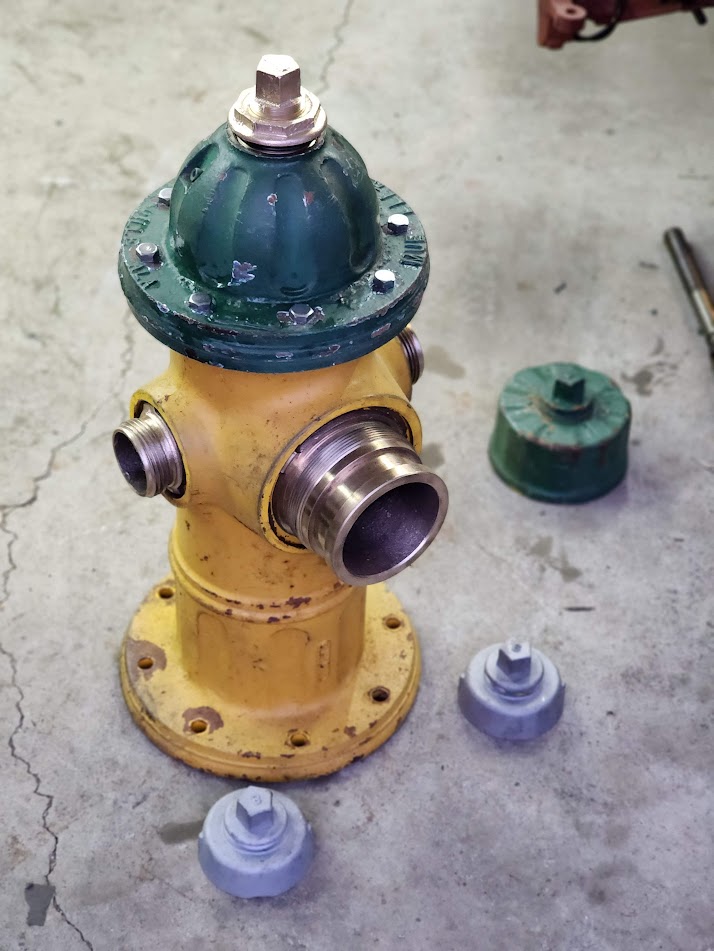
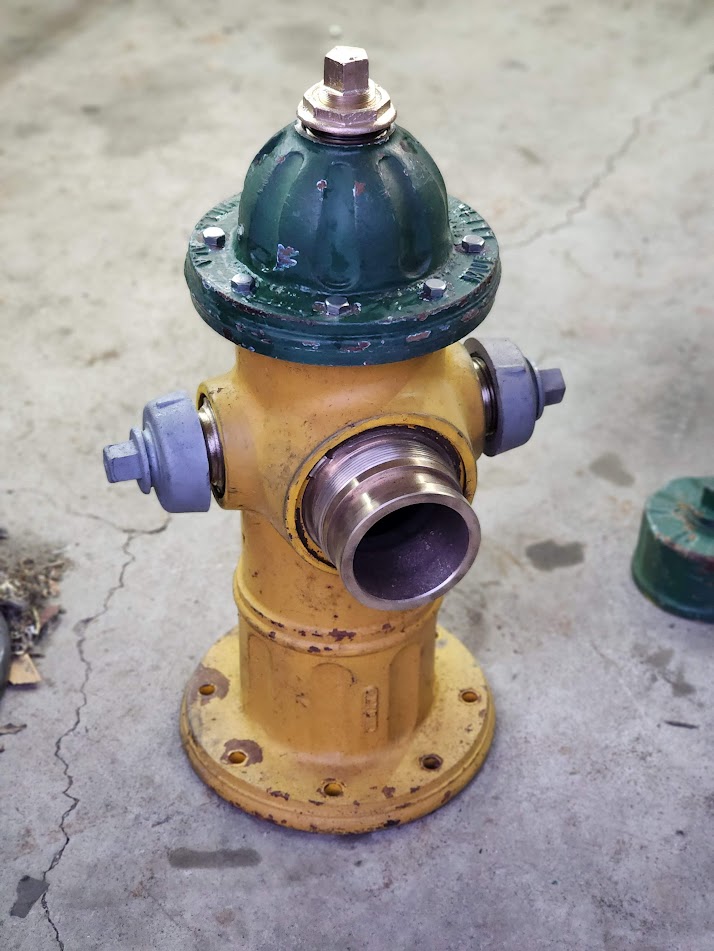
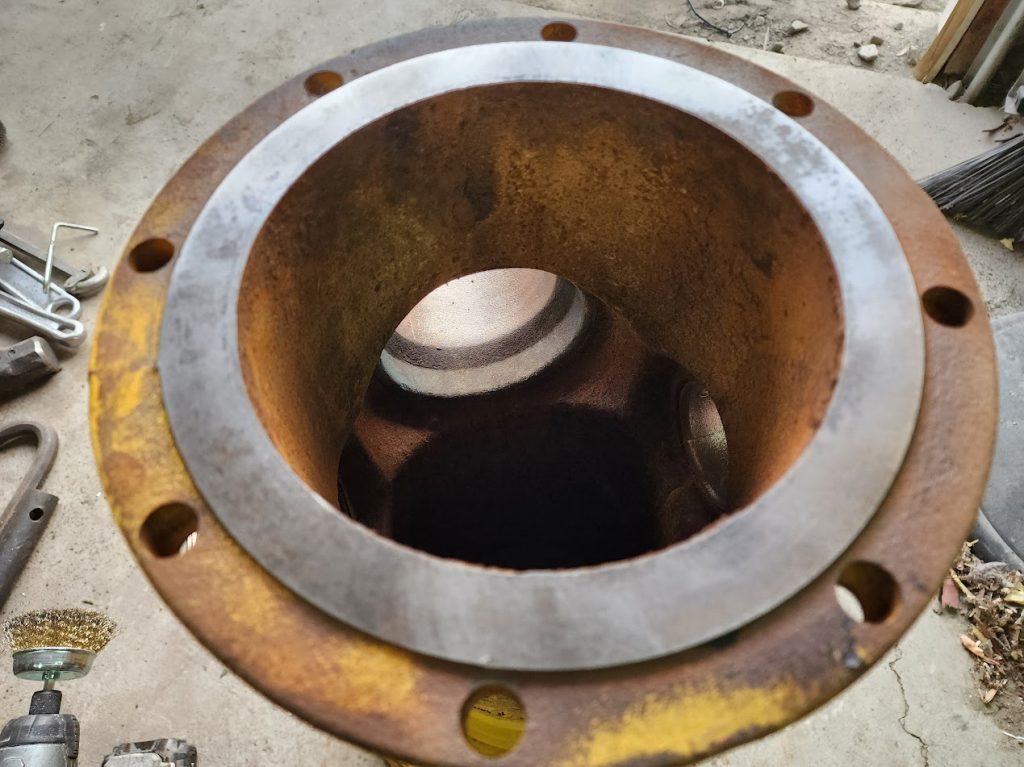
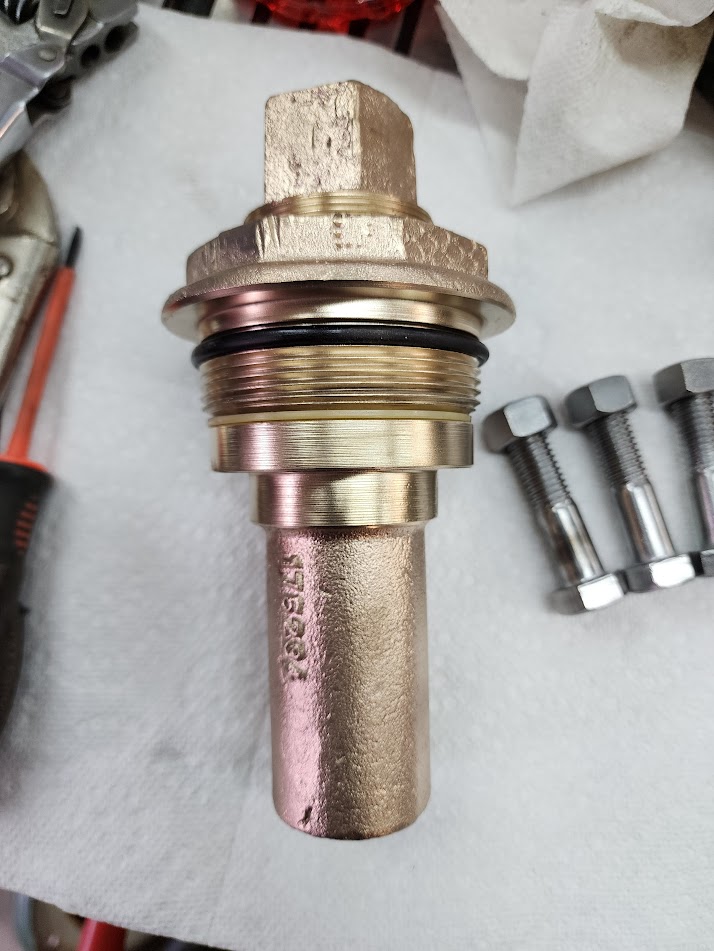
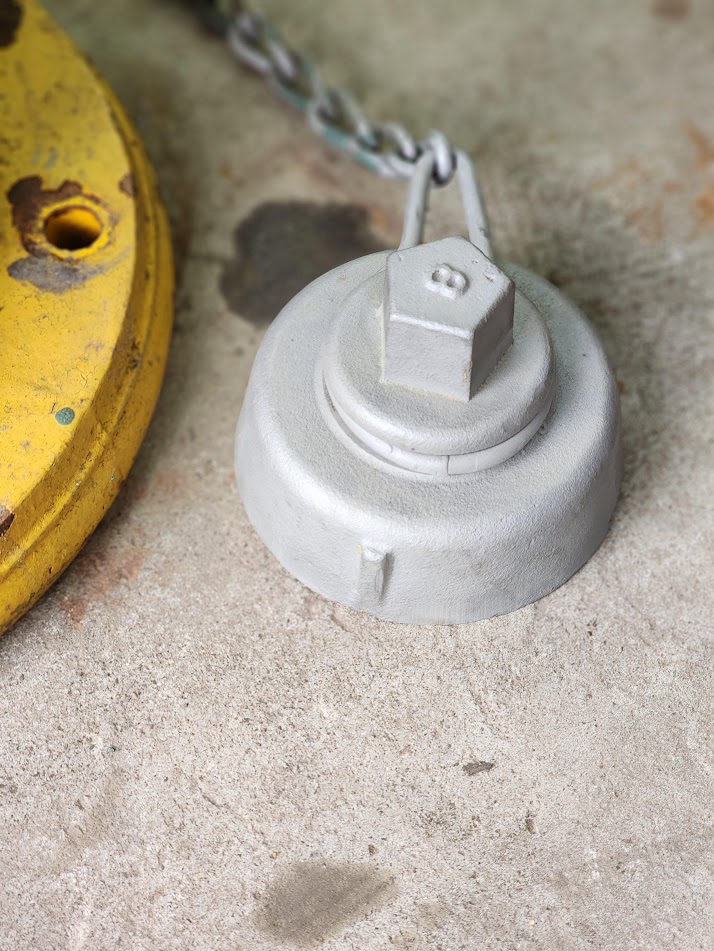
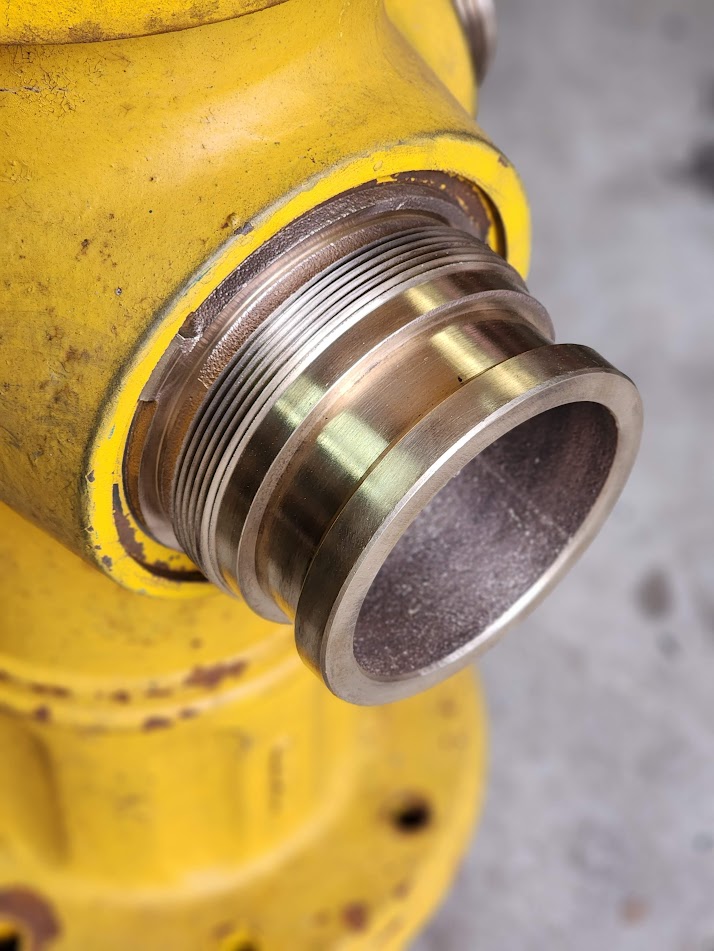
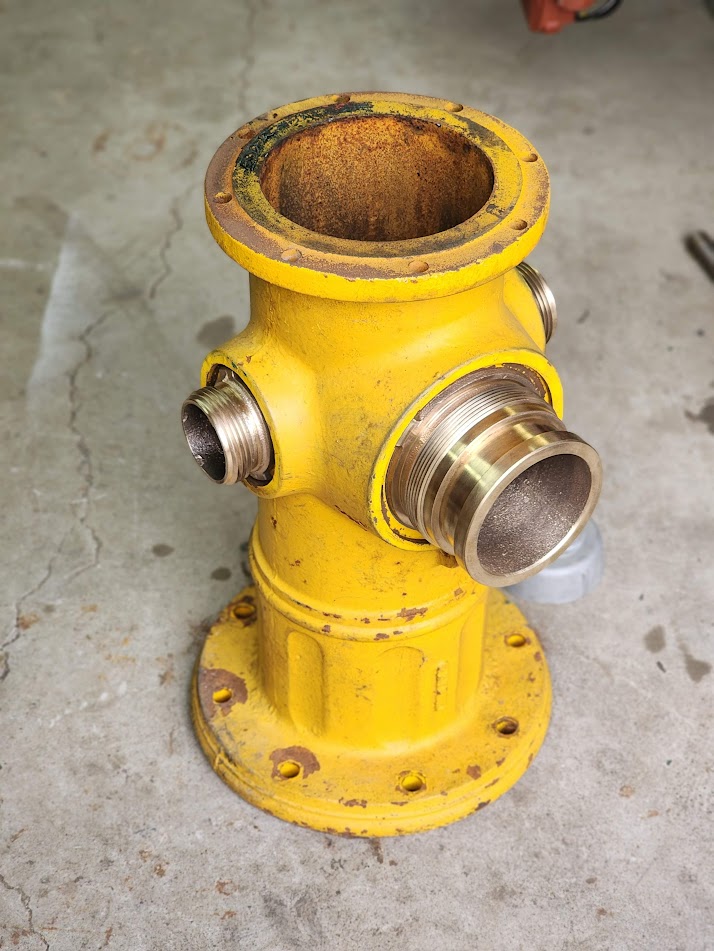
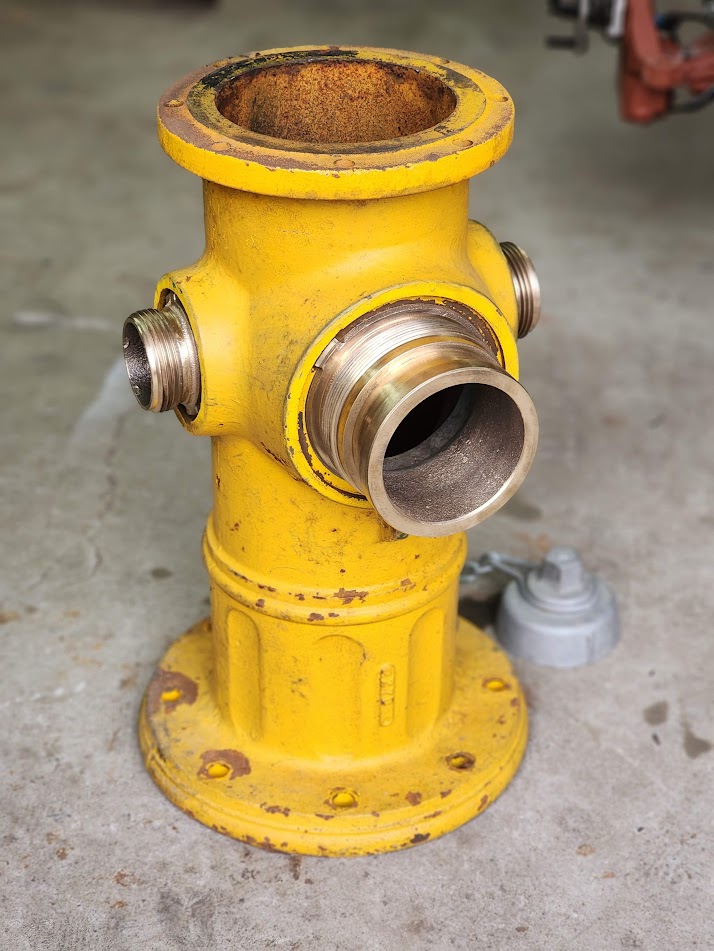
Blasting this thing was such a process, it has what seems to be an epoxy paint, that is very abrasion resistant. The cap had 4 coats of this paint! White, Blue, Yellow, Green! It was so many colors! I had to enlist some help with the blasting, and together we have over 16 hours of blasting time on this thing!
As you can see, it is very slow process. Equate it to erasing an entire sheet of paper of pencil with one small eraser.
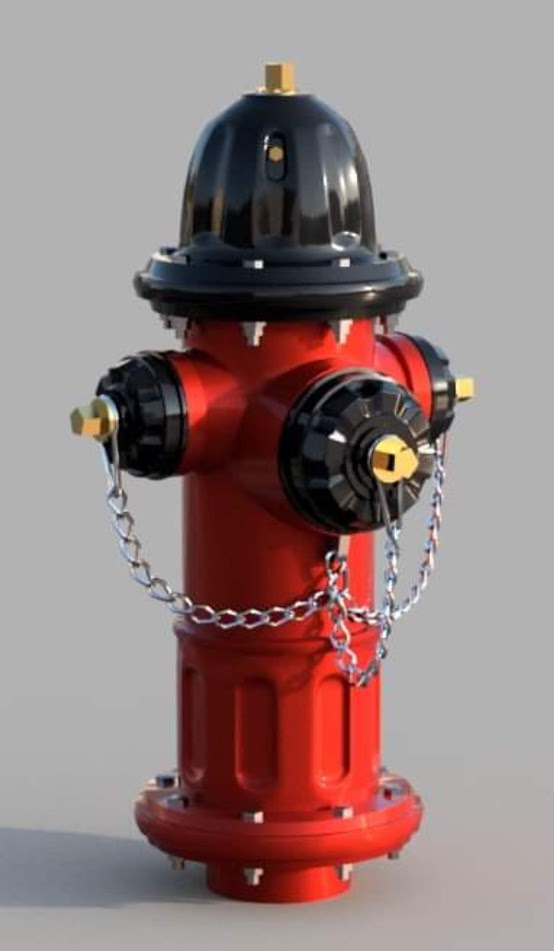
Next steep, is to get it into paint.. but what colors? After an online vote, I found what you all thought would look best. I went with a RED body for it is privately owned, and Black caps, for black hydrants mean they are no longer good for service, or not in service. So Not only will this look nice, it has proper color meanings!
Here is a render I made to see if it would look good.
Now that I know what I want, it is time to get some materials.
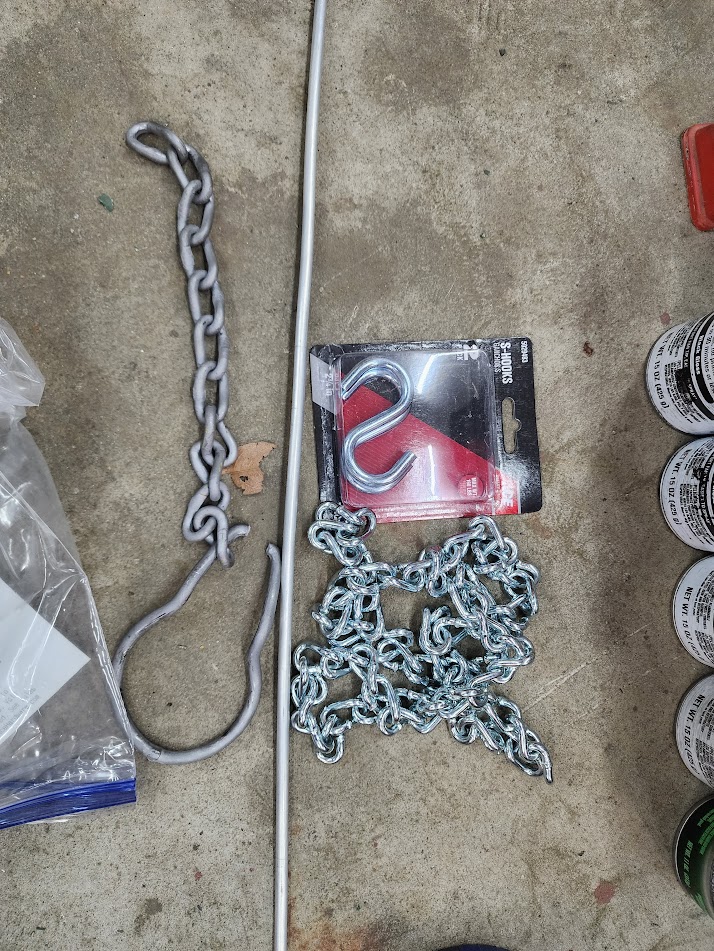
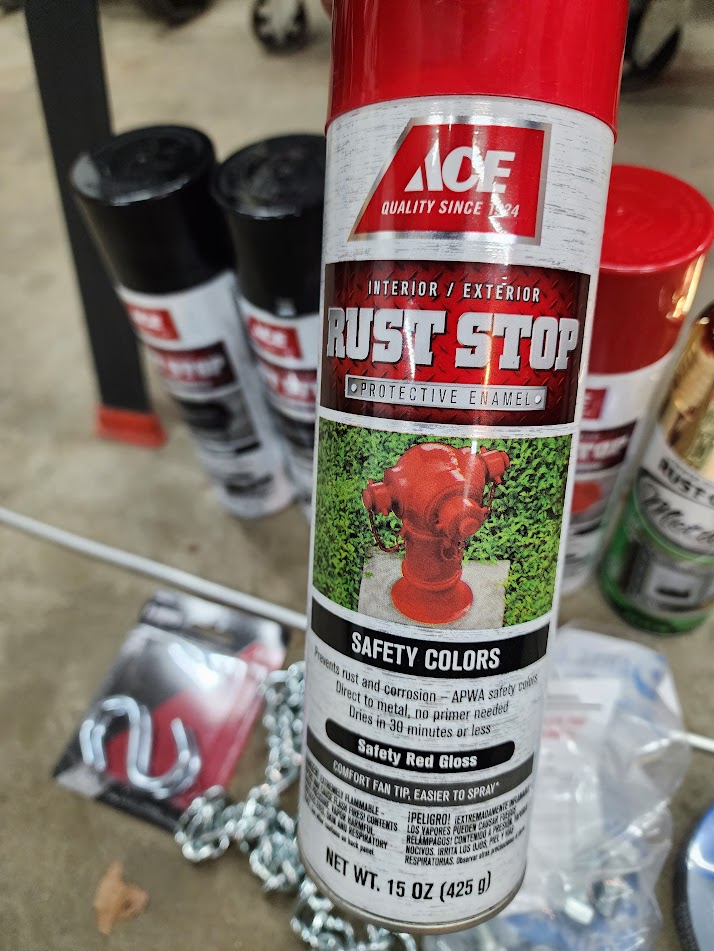
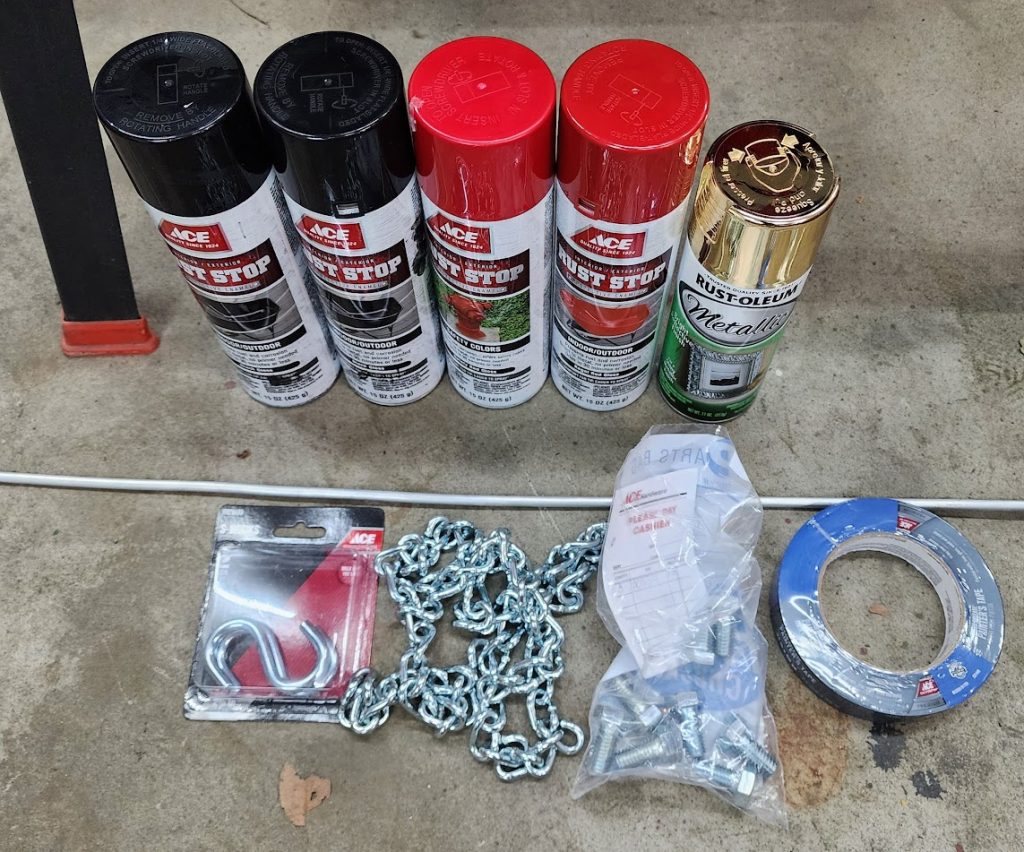
I chose this paint for it had a fire hydrant on it! How could I not? Also picked up some chain, and hardware to make new loops.
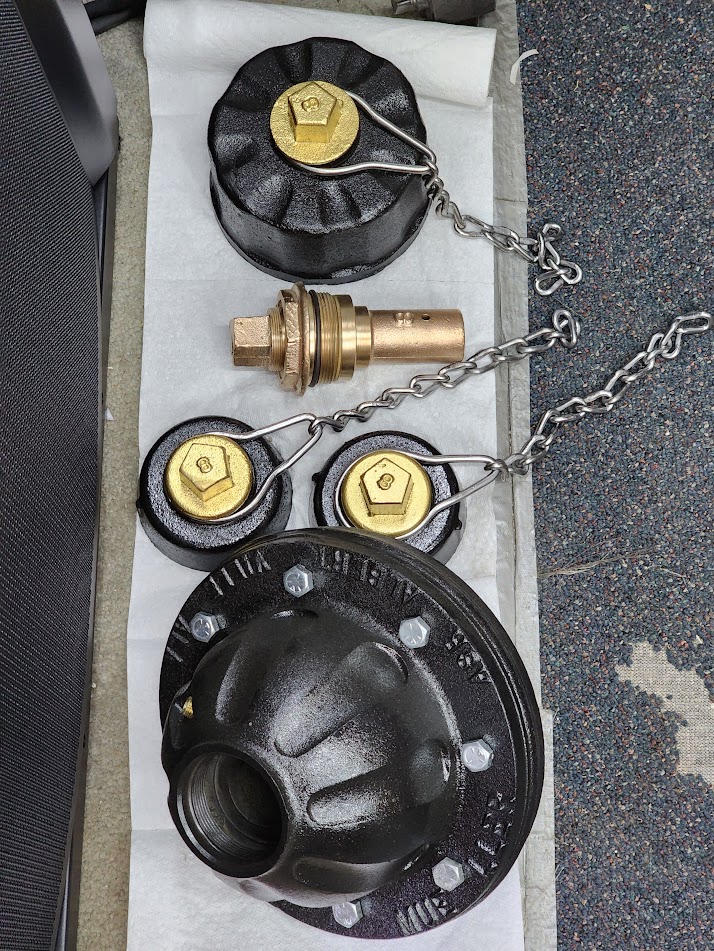
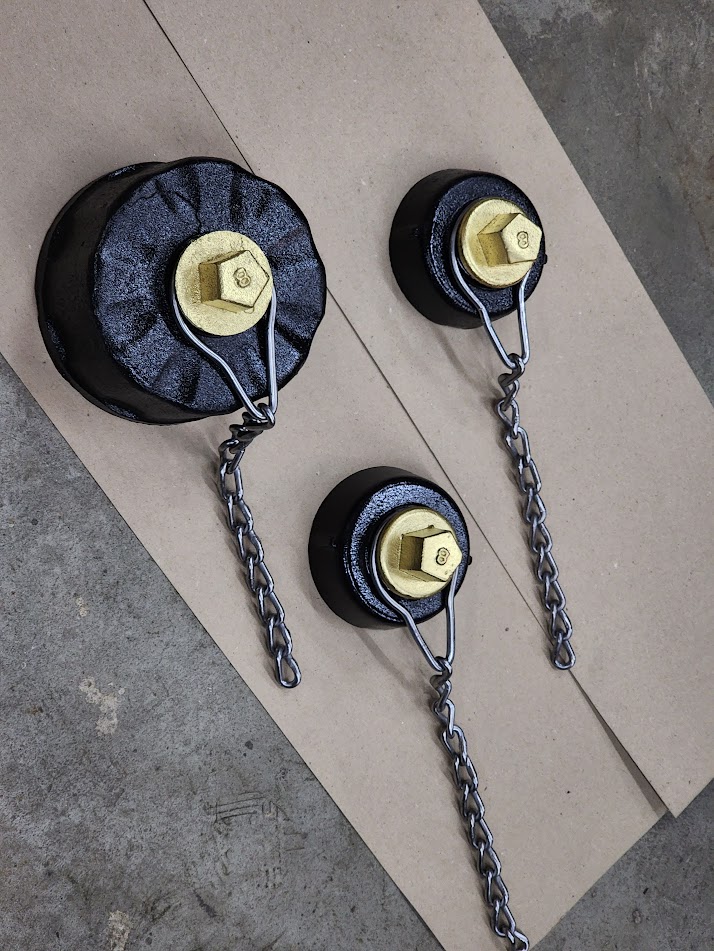
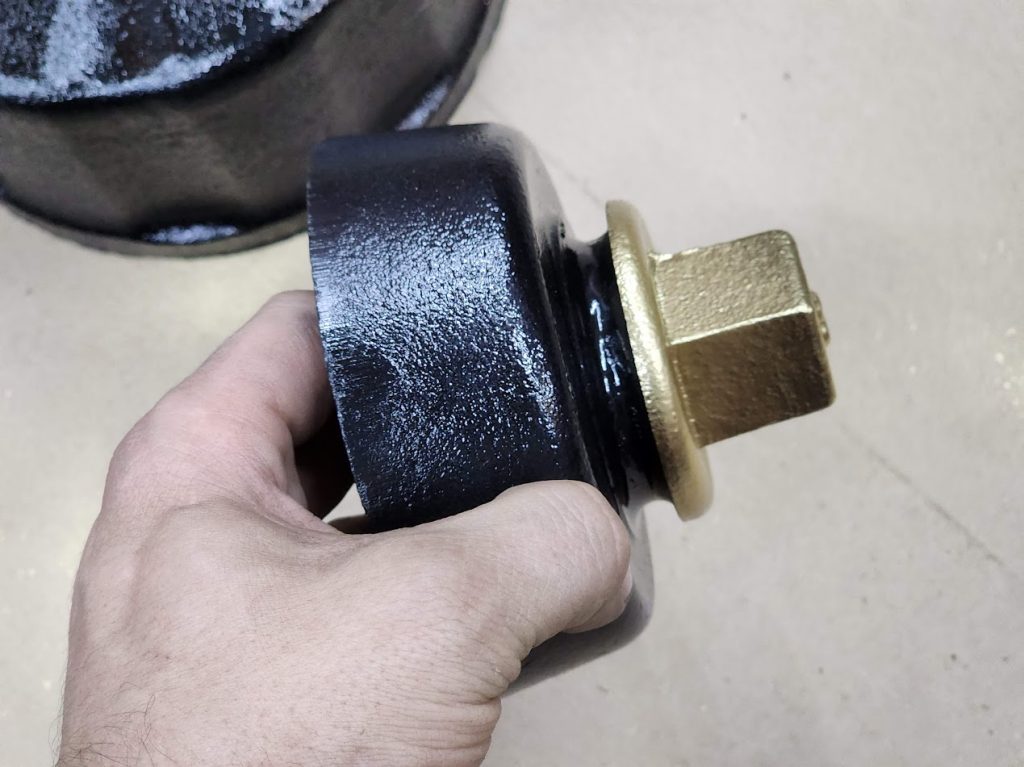
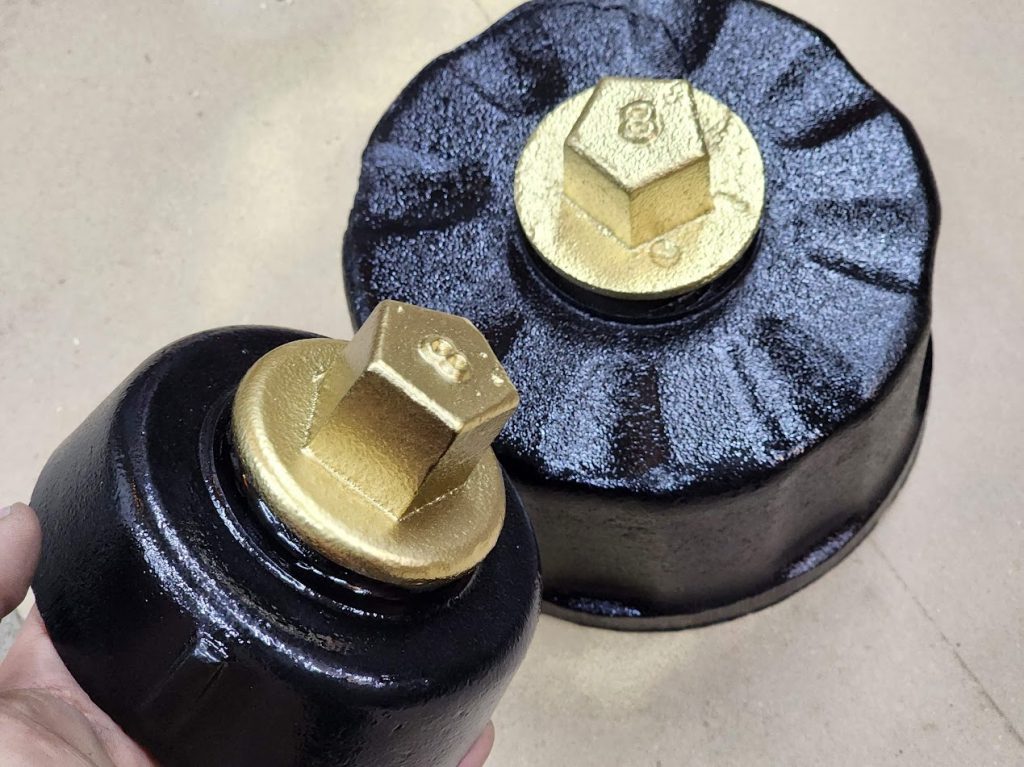
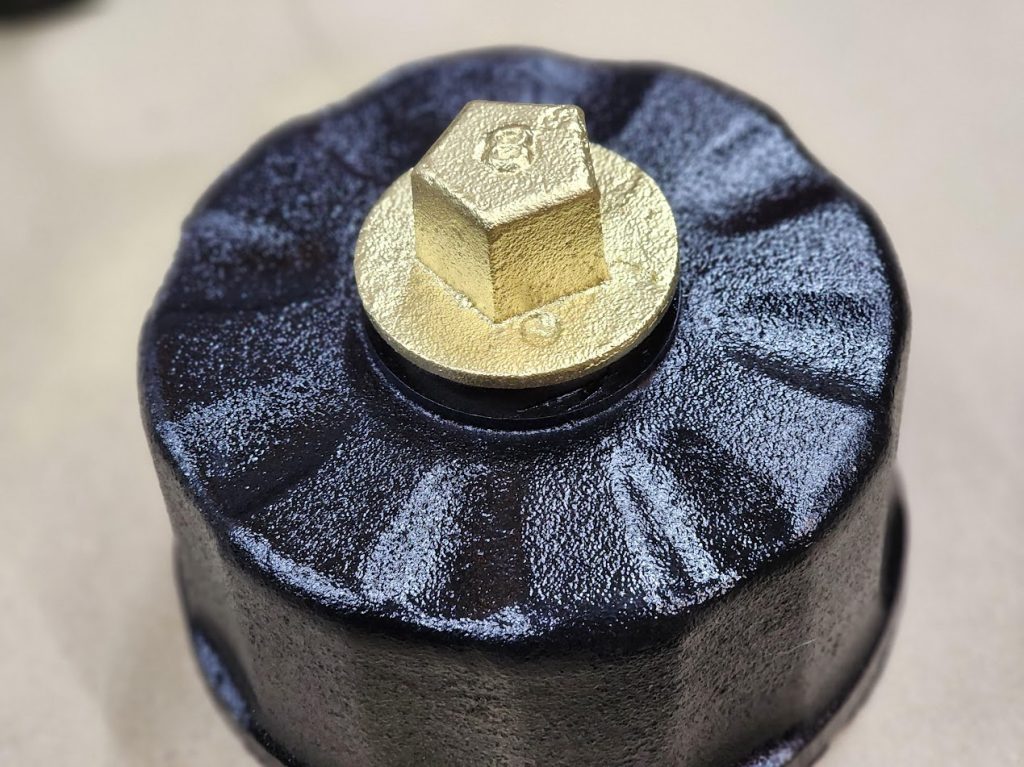
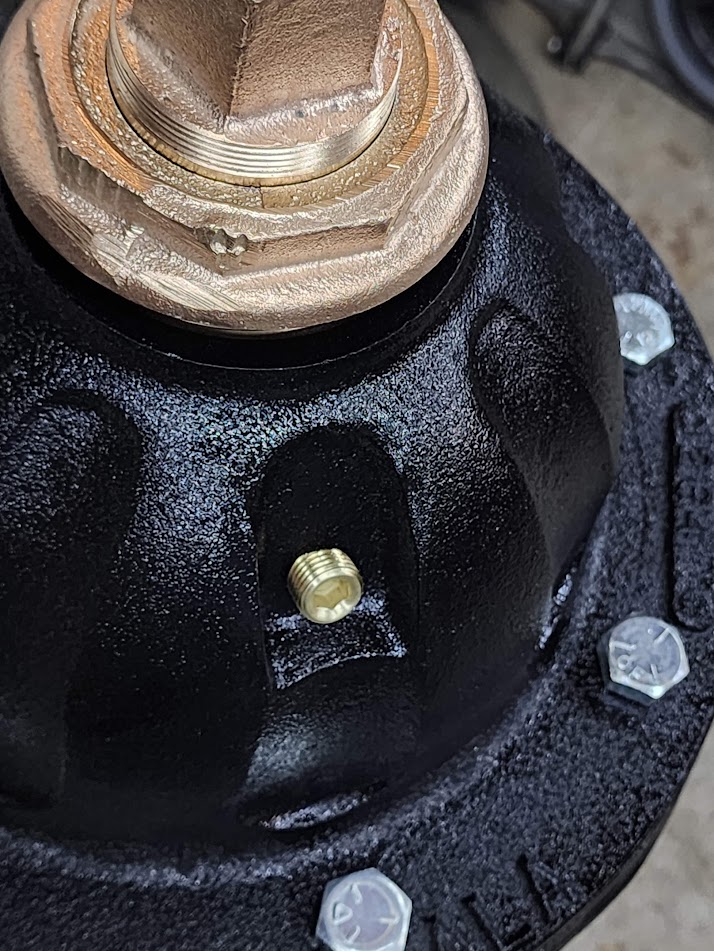
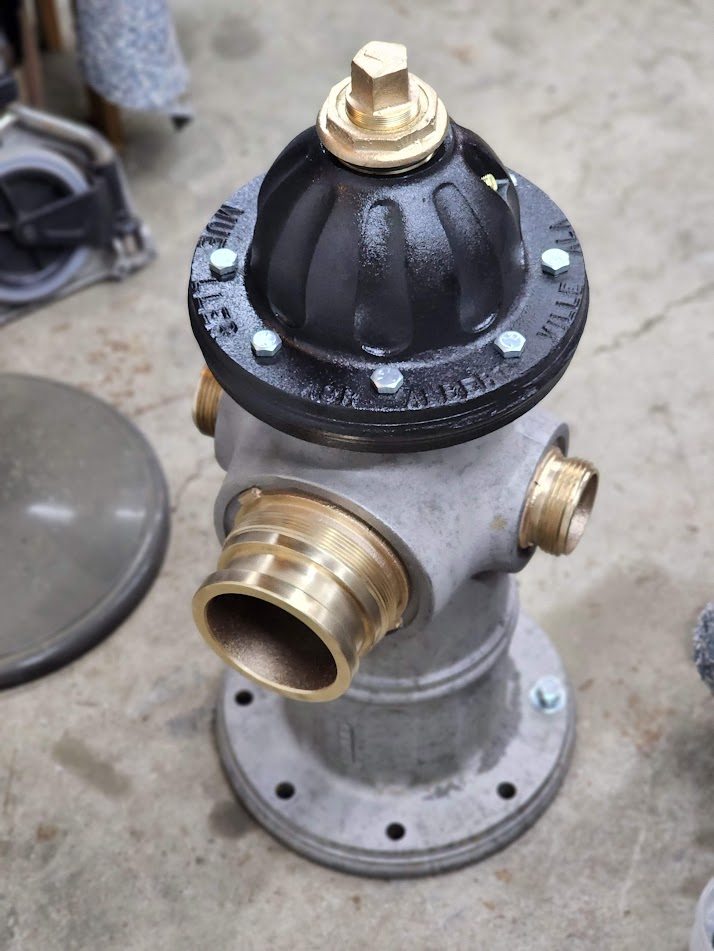
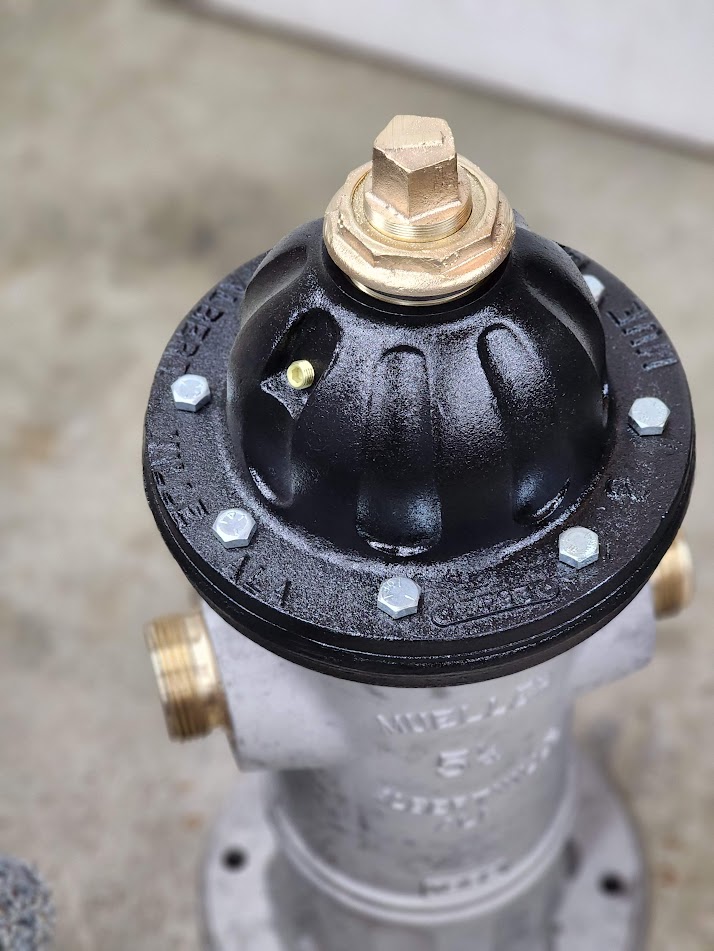
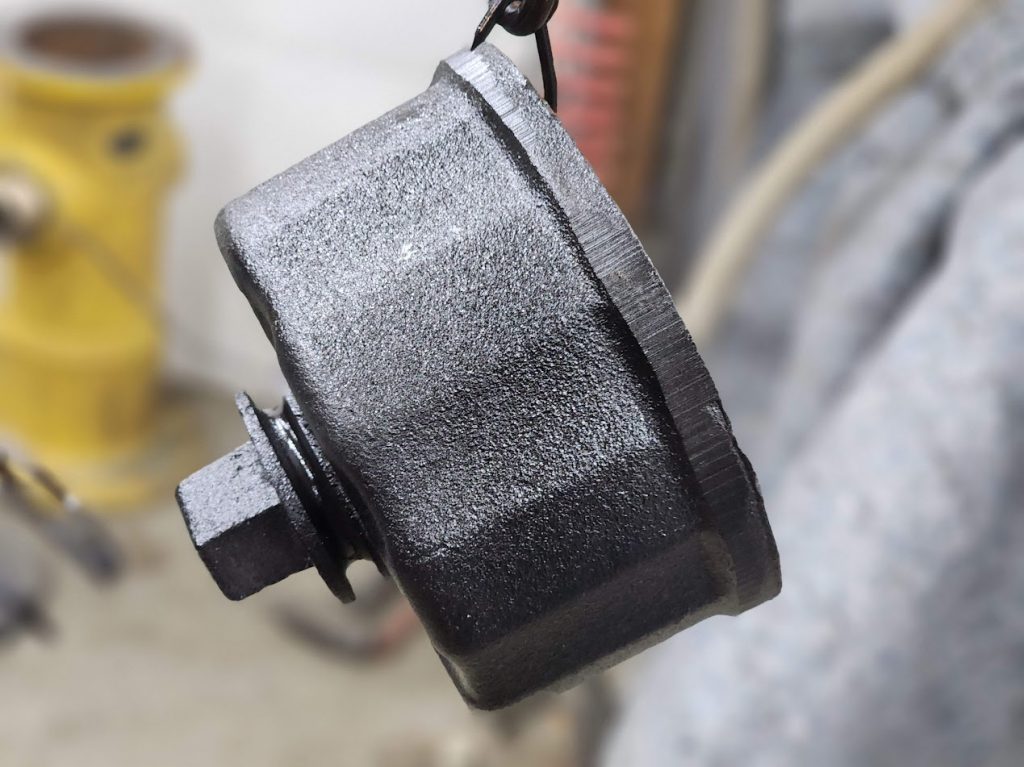
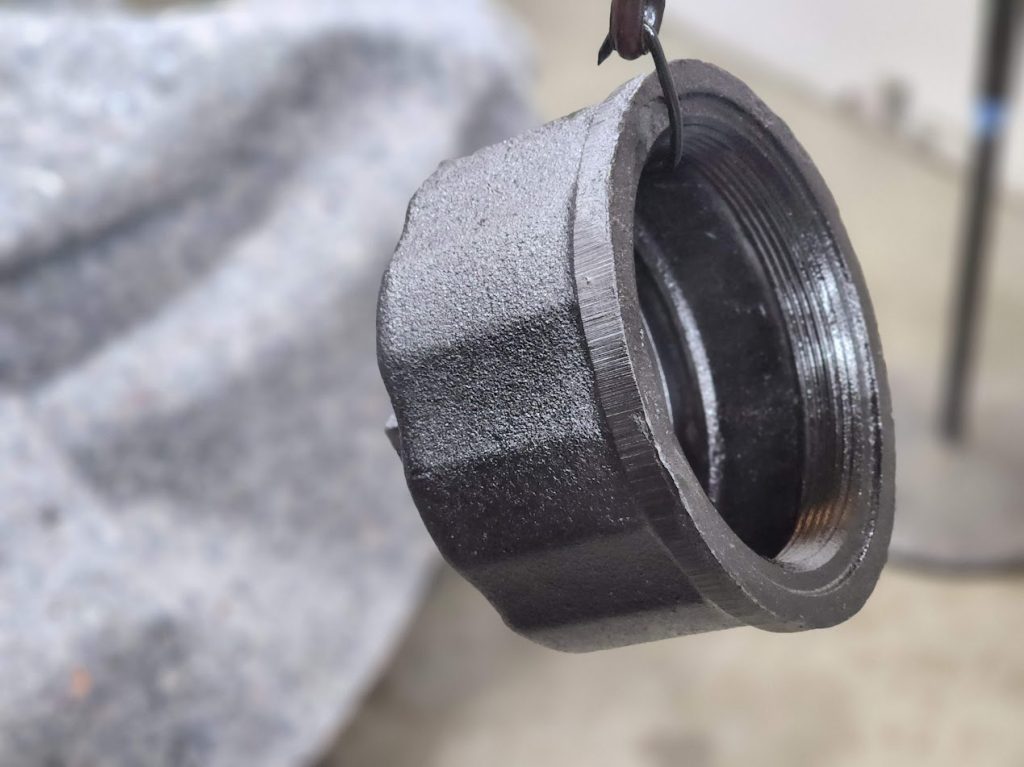
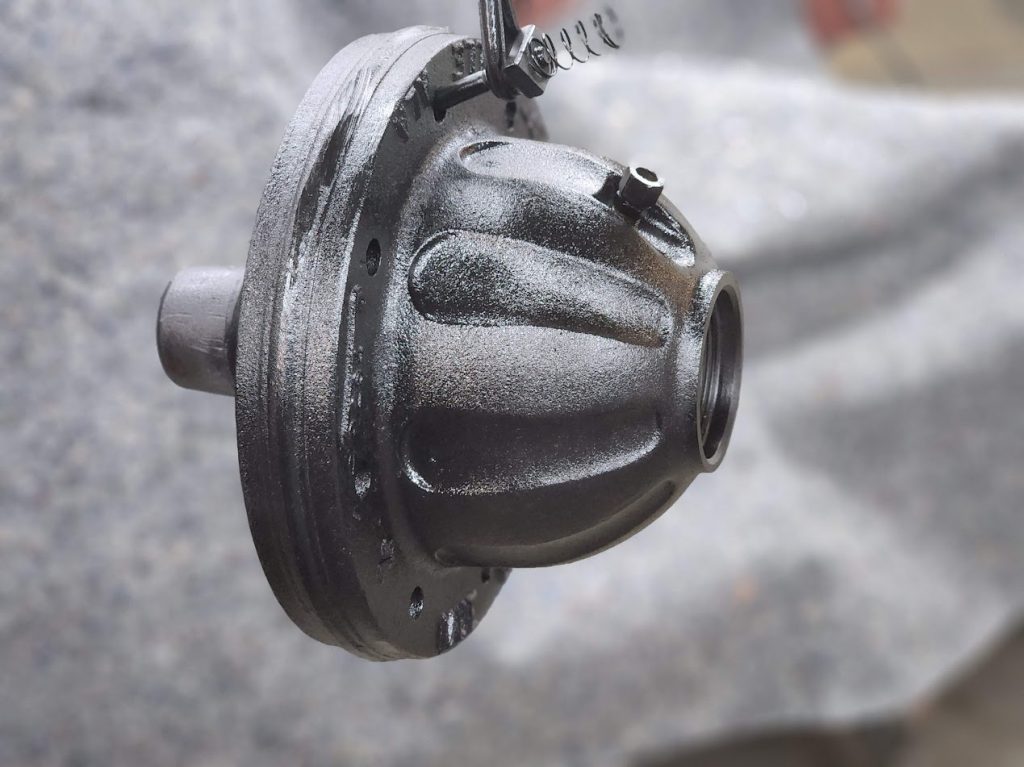
The black turned out amazing, so had to test fit it to see what it would look like! Now onto the Chains while the Red coats dry.
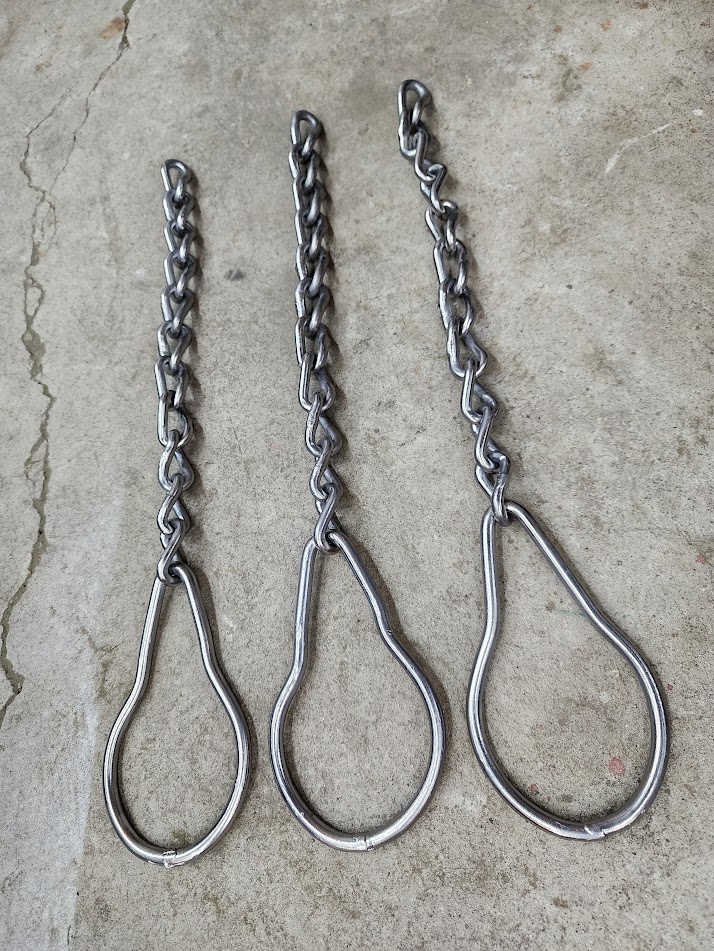
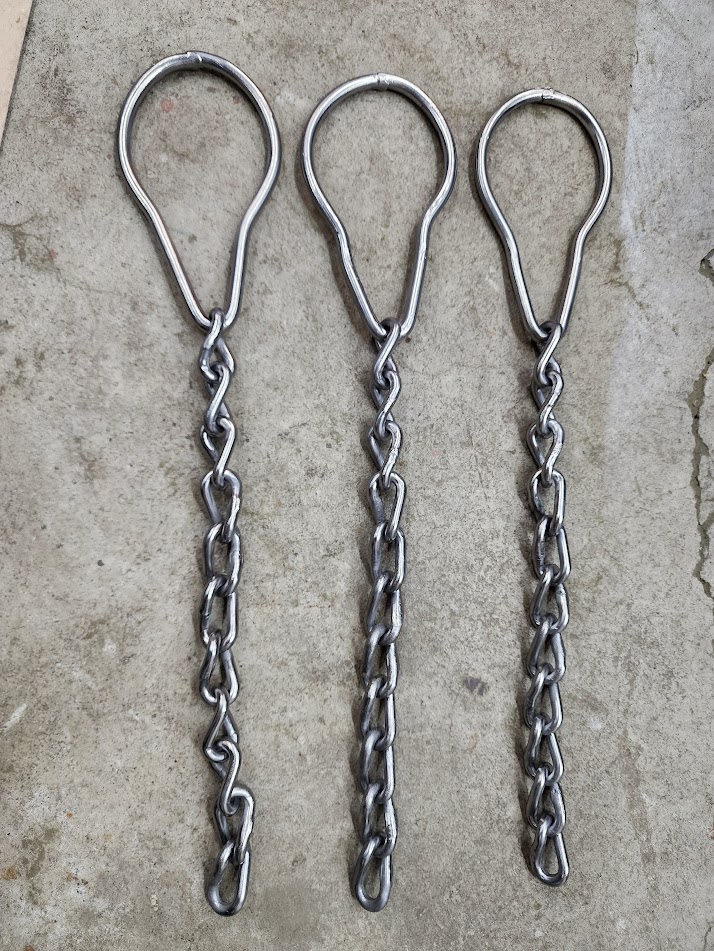
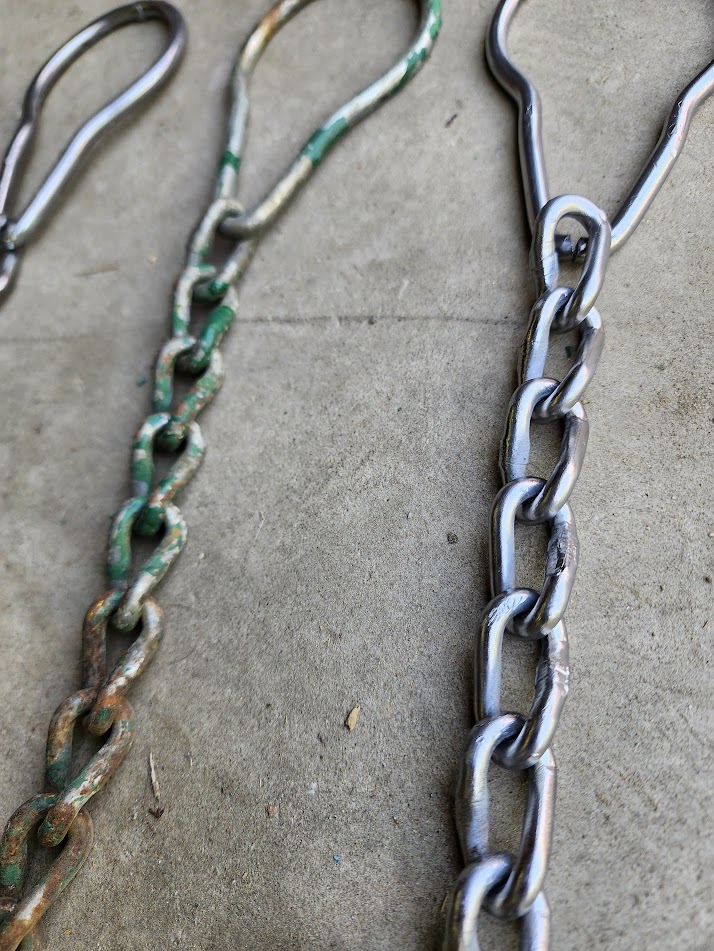
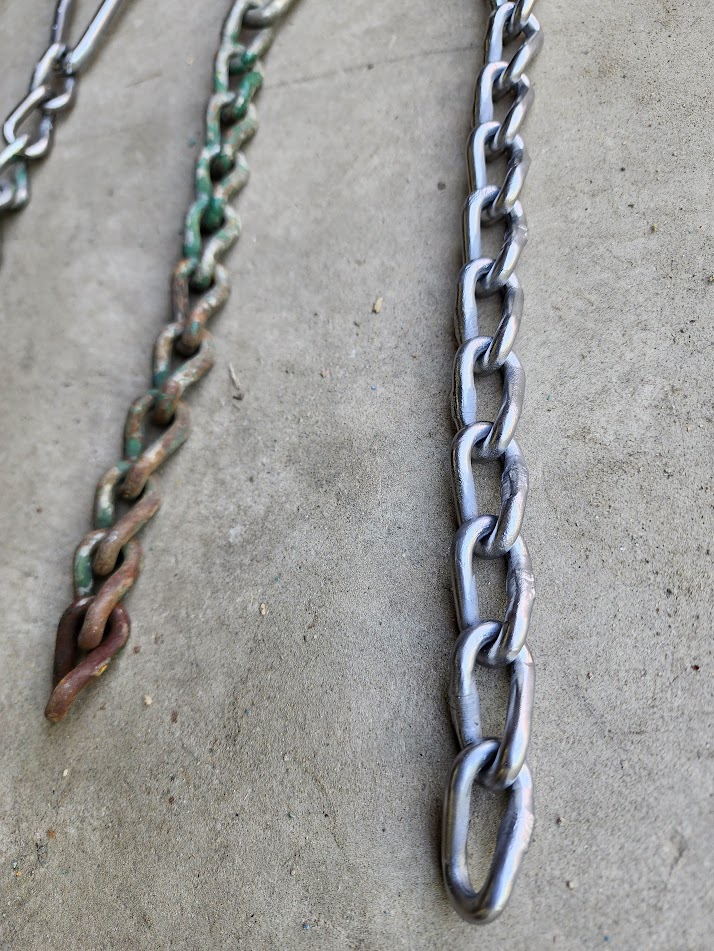
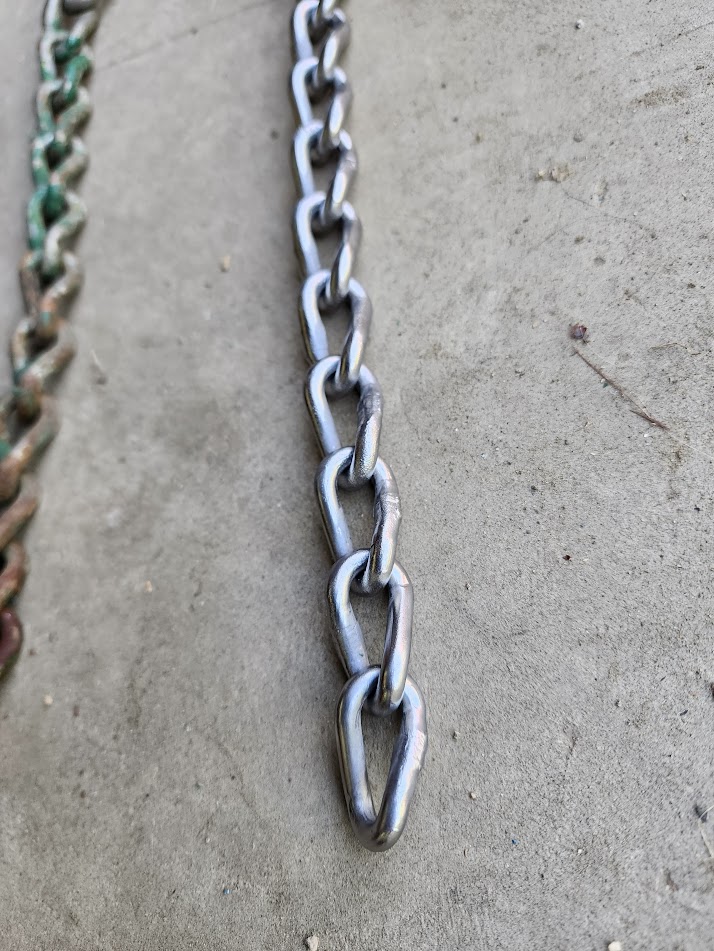
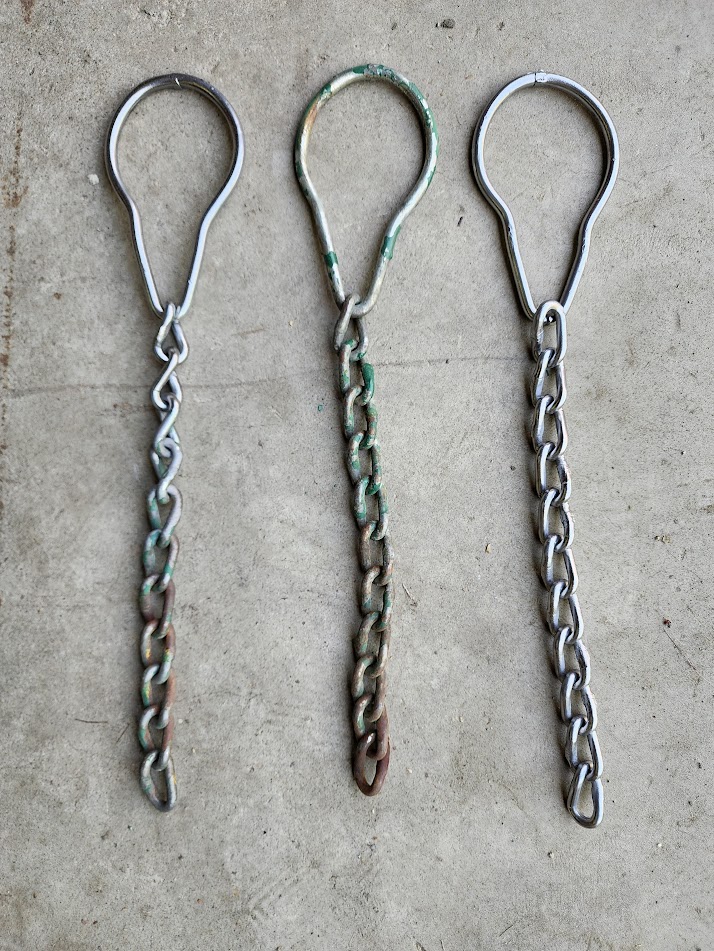
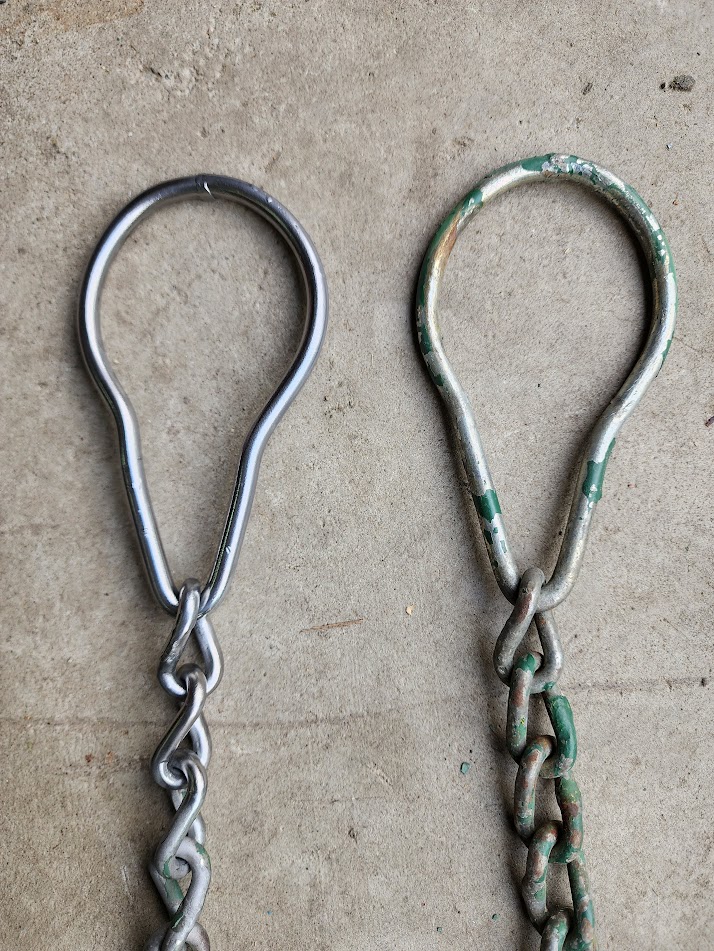
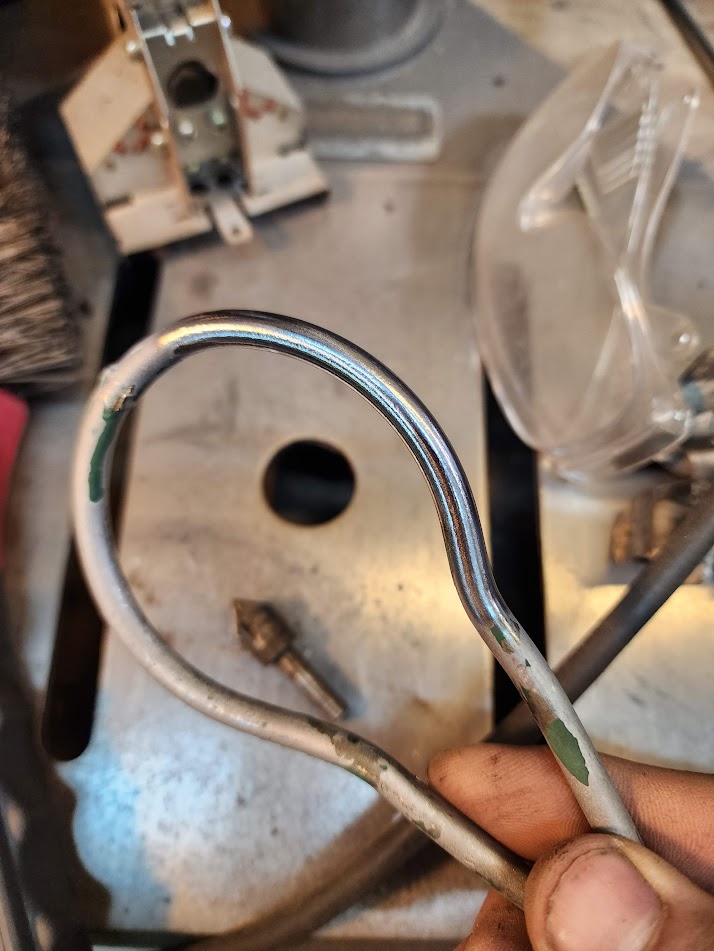
I wanted to take a stab at the original chains to see if they would clean up, I had to hammer form the one bent link back flat and into proper shape. To my surprise the stainless cleaned up nice! So many, many hours later I hand cleaned and wire wheeled each chain link by hand, but was worth it!
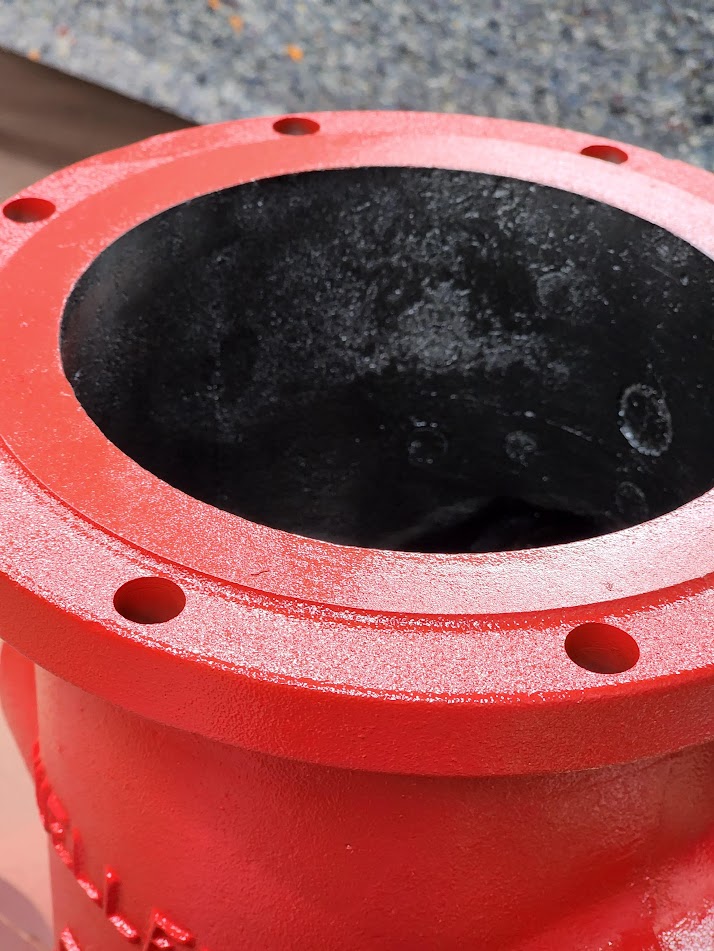
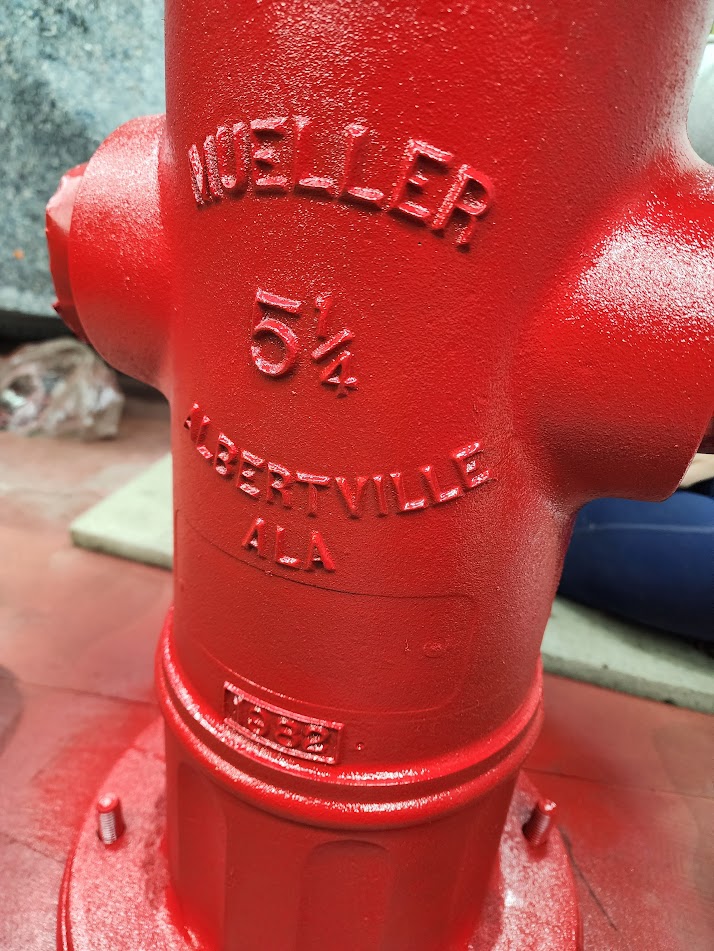
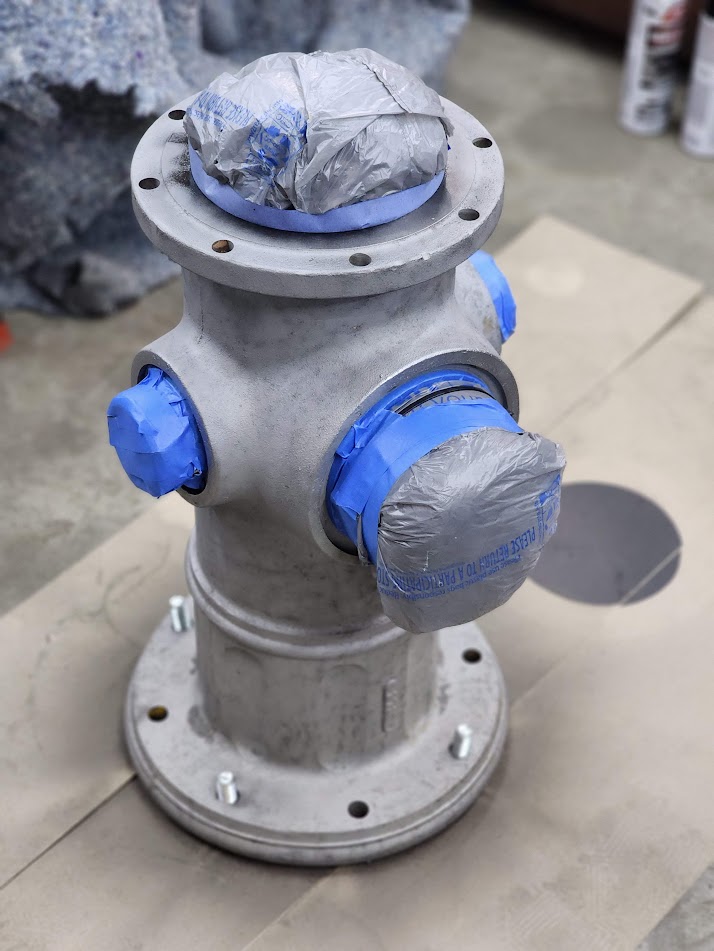
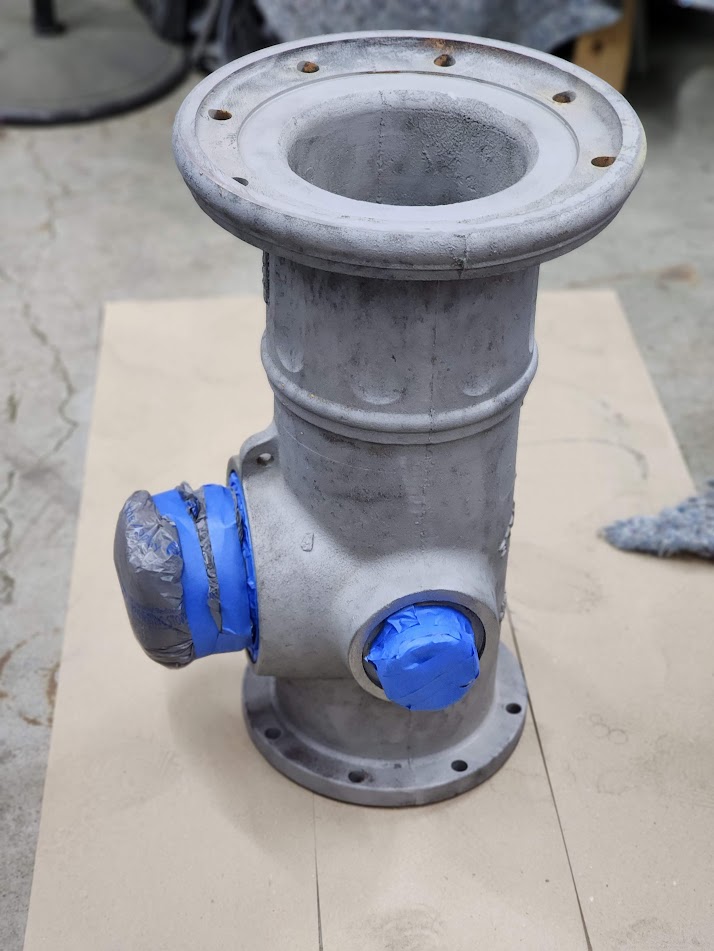
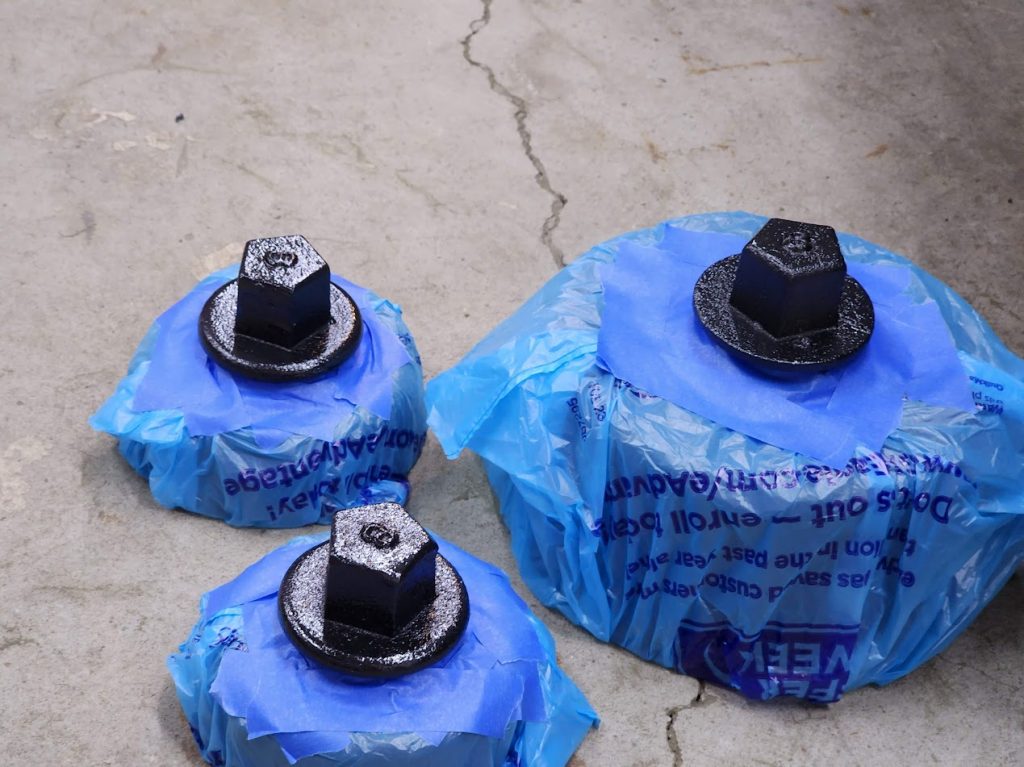
Everything got masked and into red paint! Inside got a coat of black, that was tricky to paint!
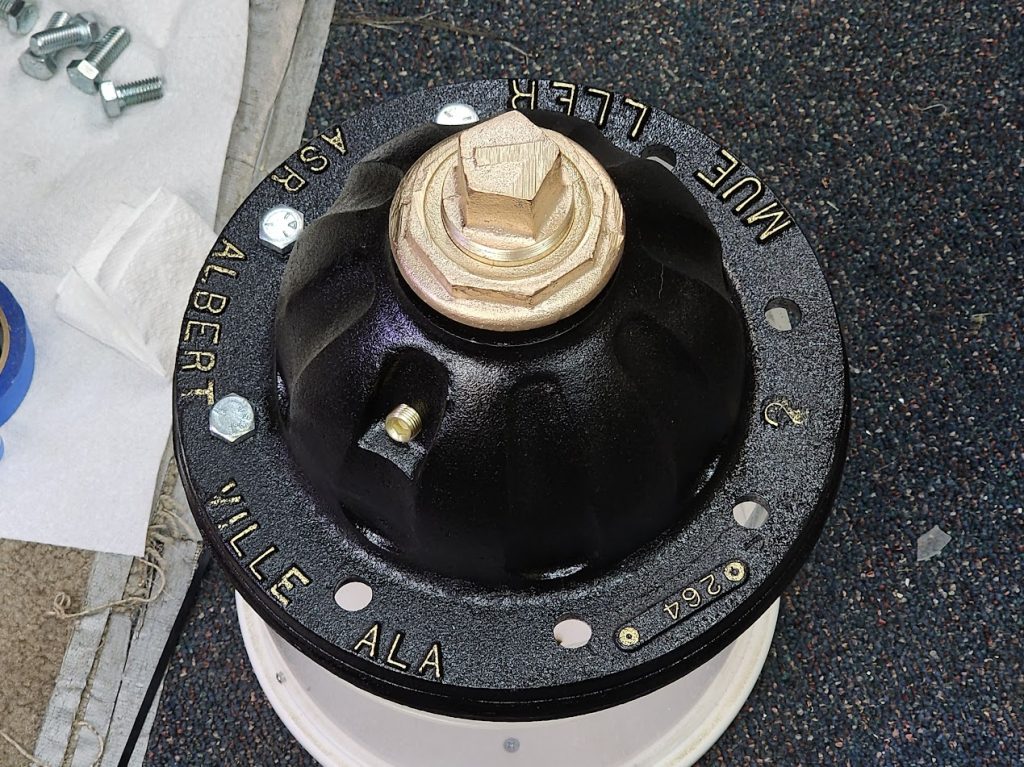
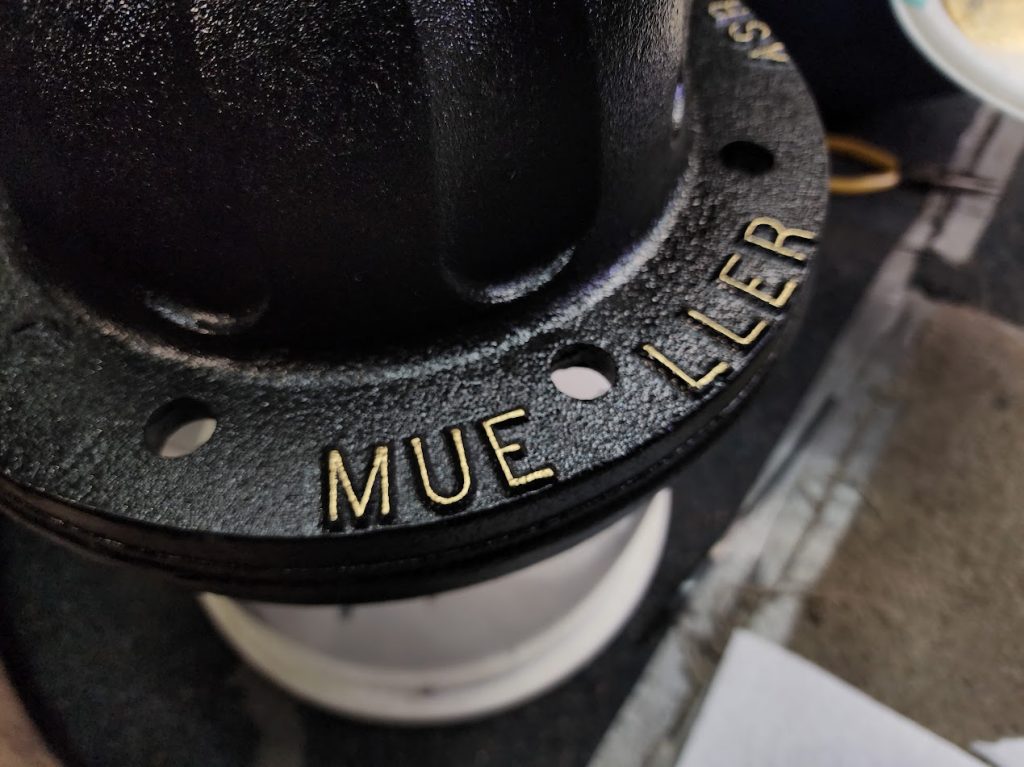
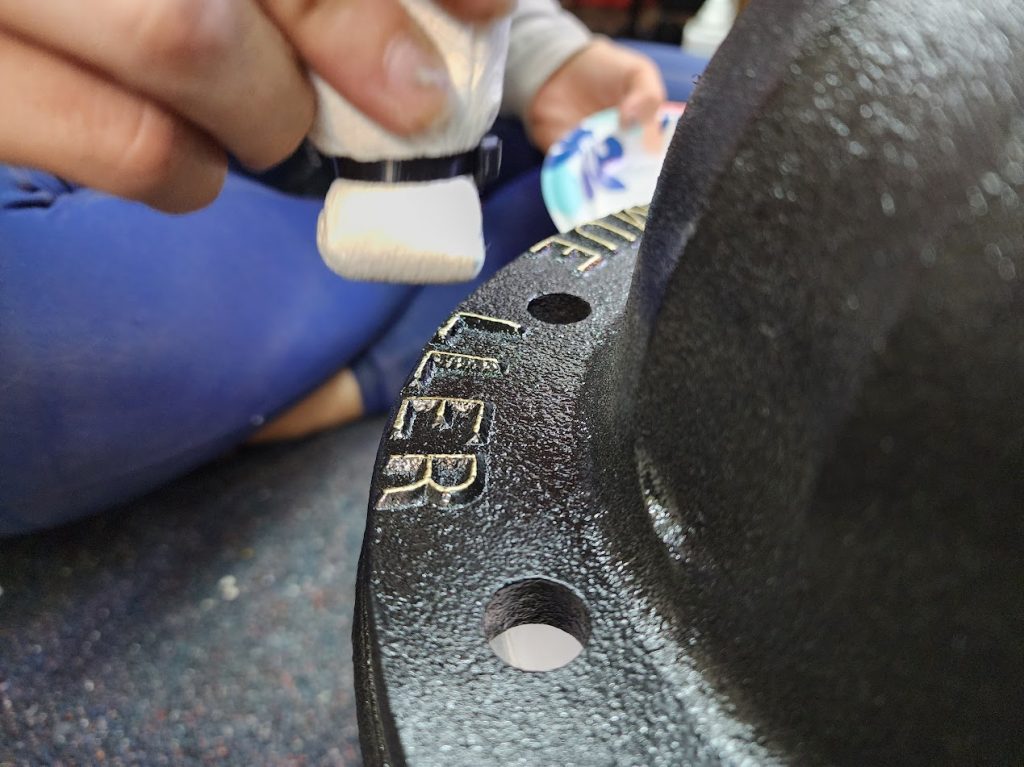
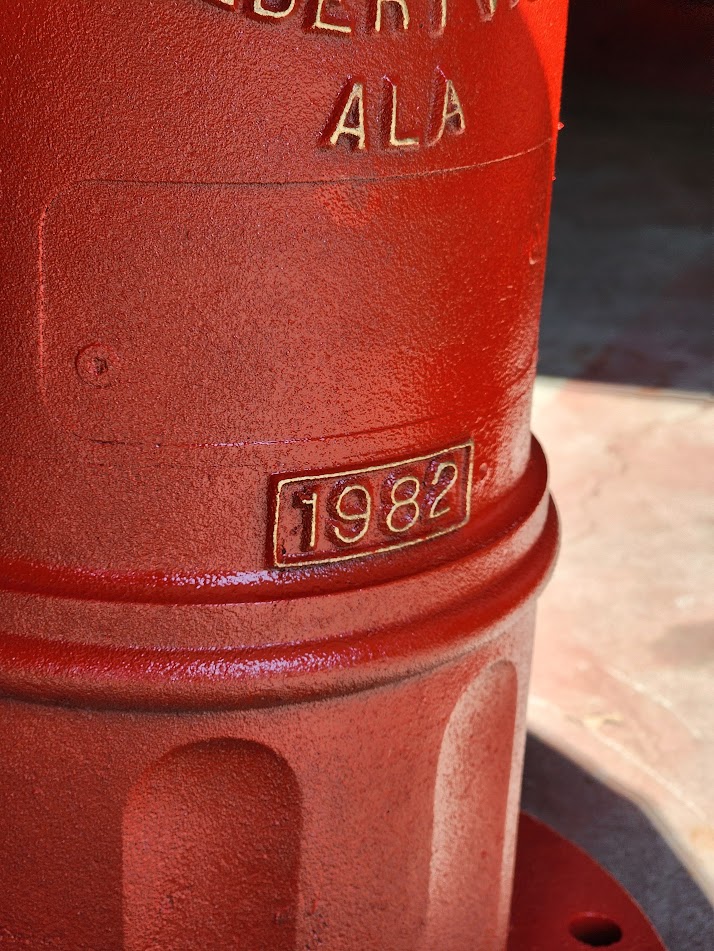
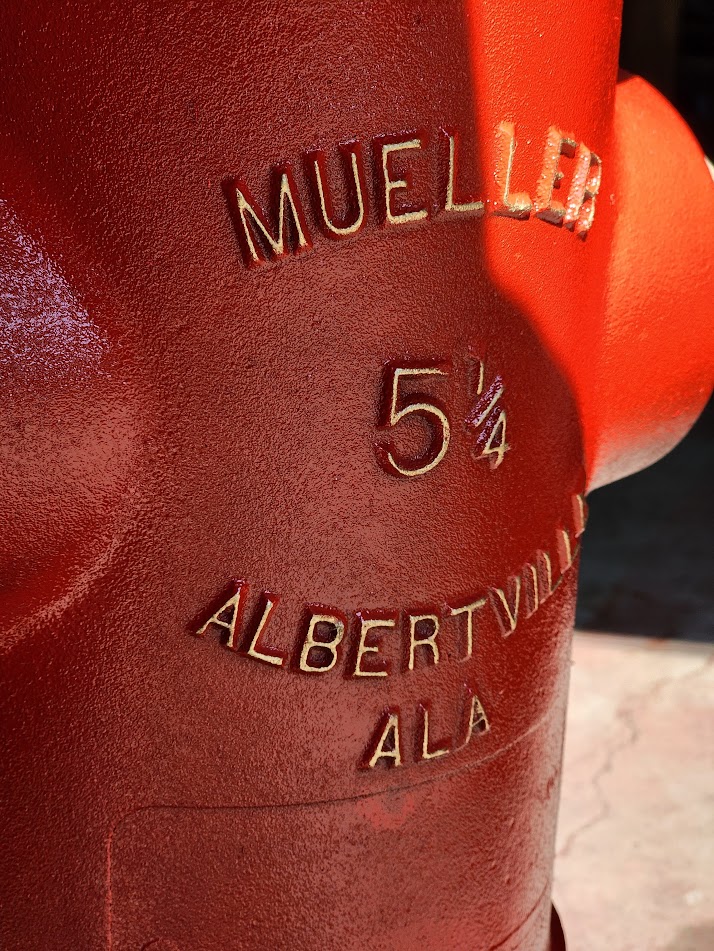
Had some amazing help with the lettering, to get the gold applied to the tops of the raised casting marks. Wow does it look good!
Now the Exciting part, to put everything together!
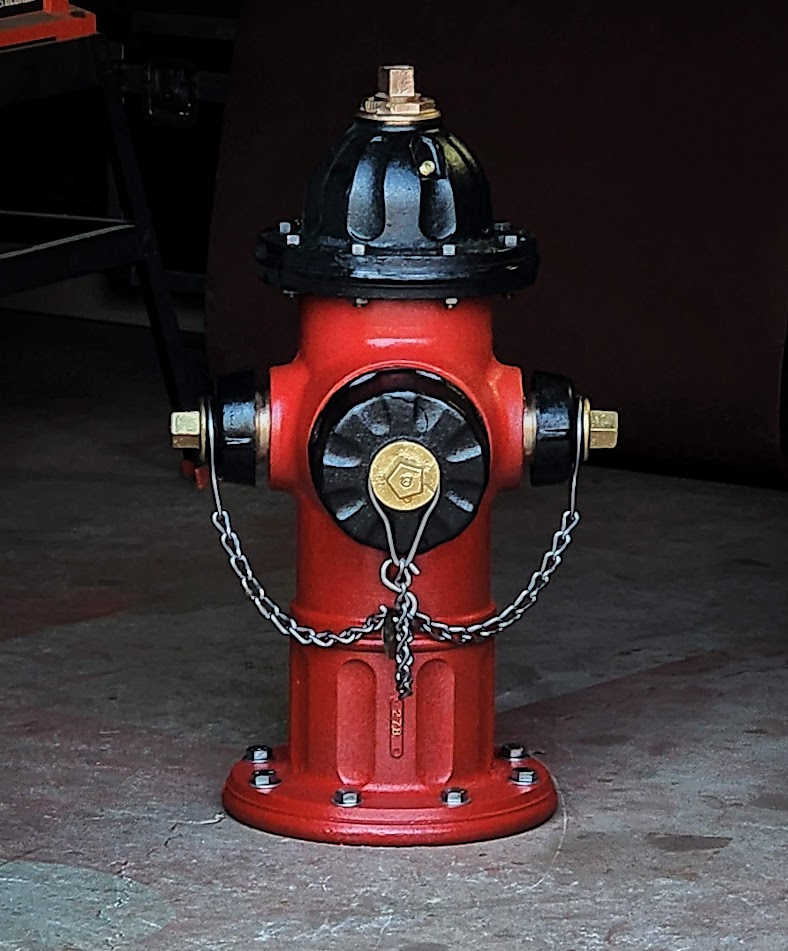
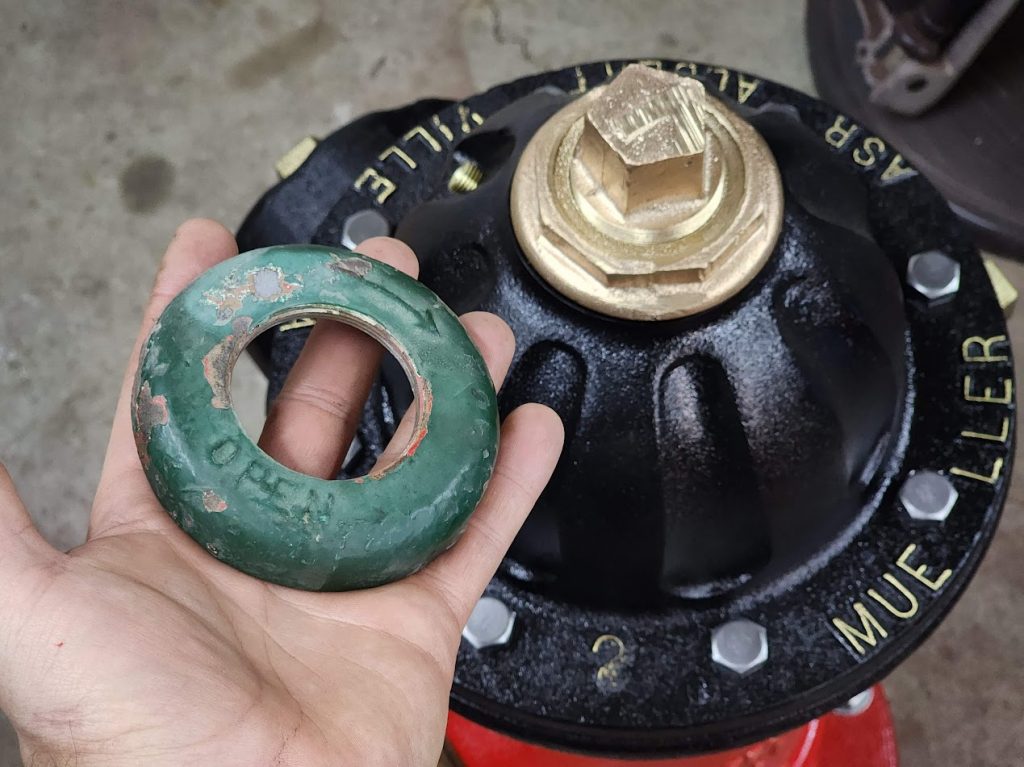
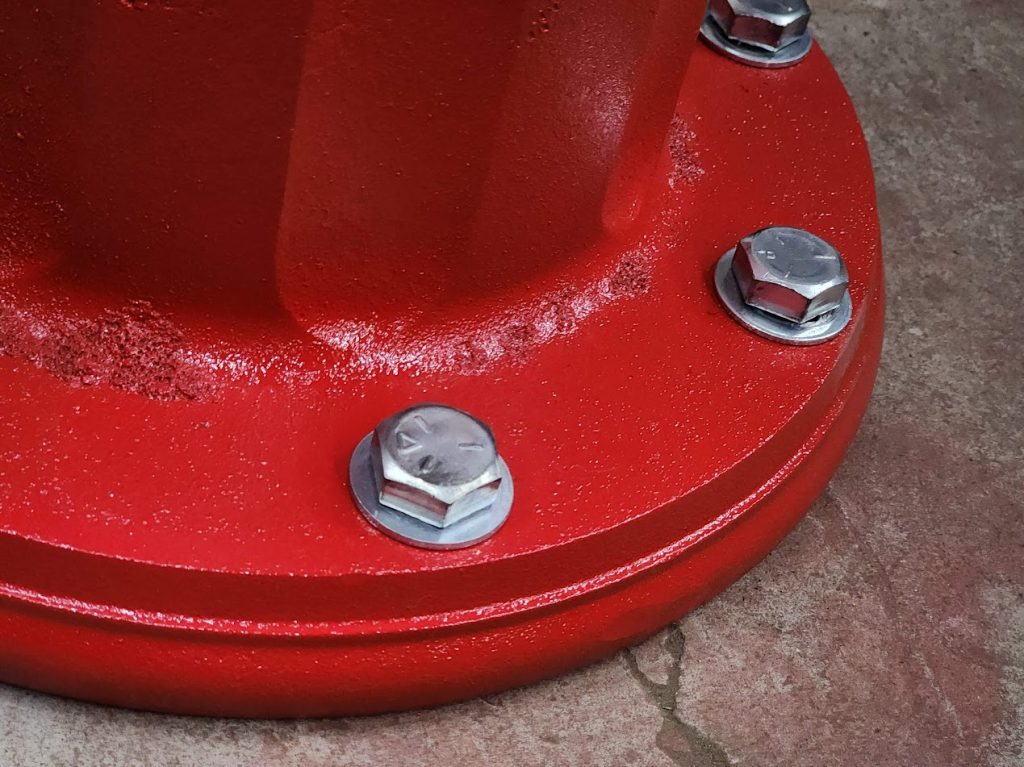
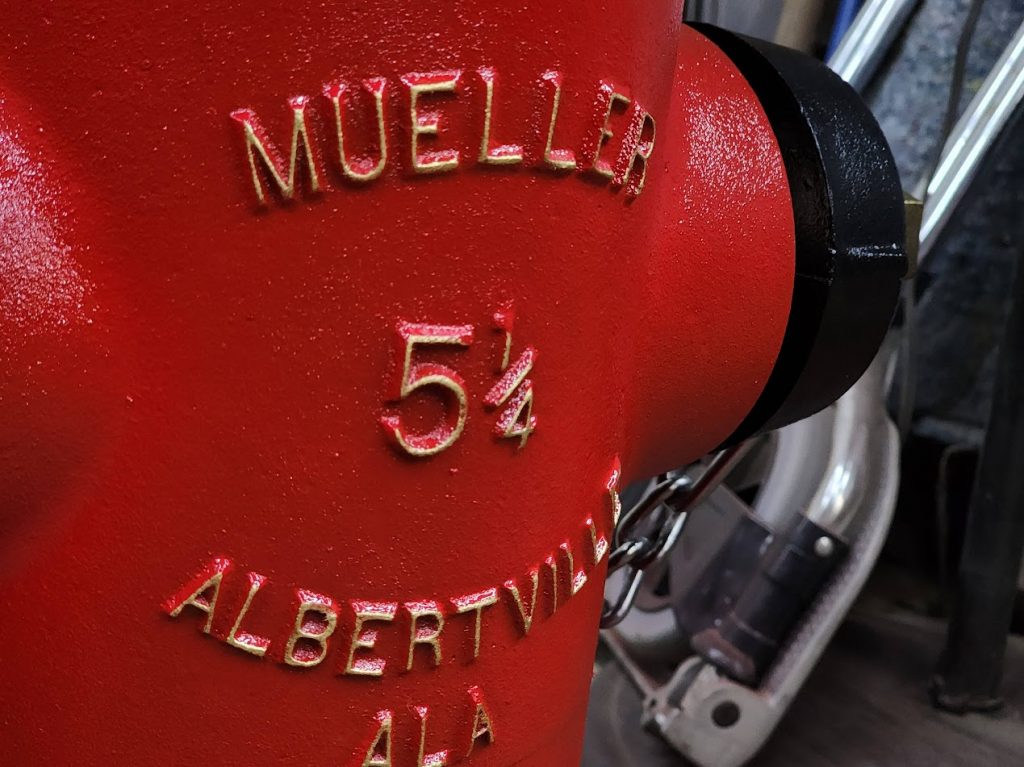
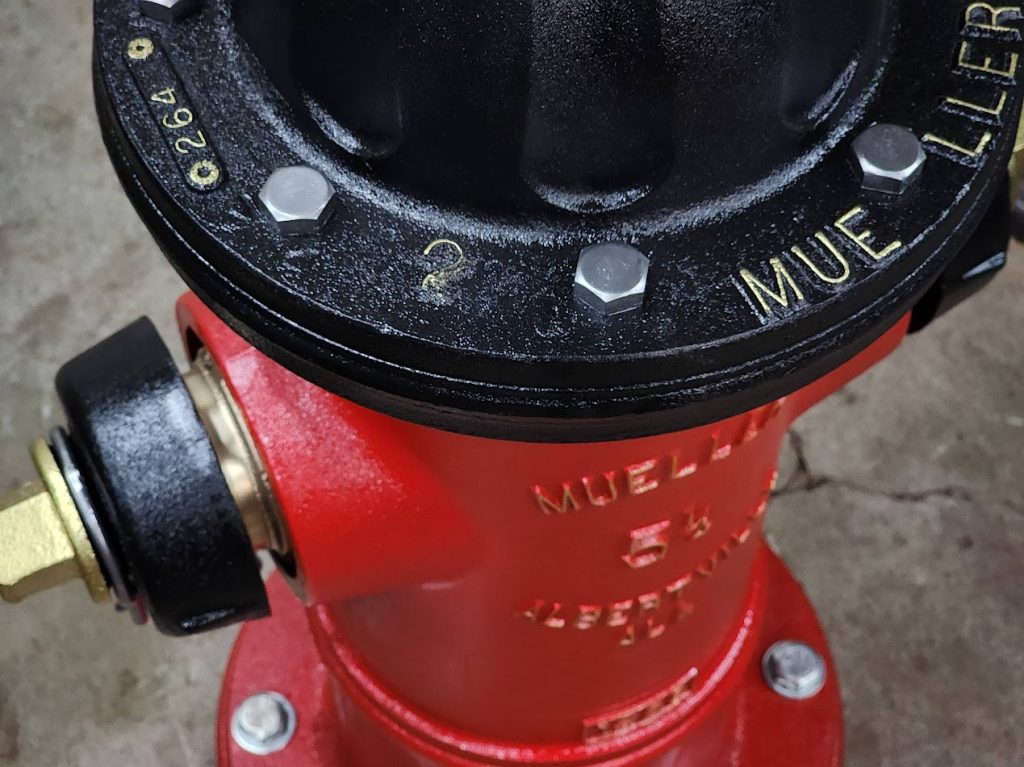
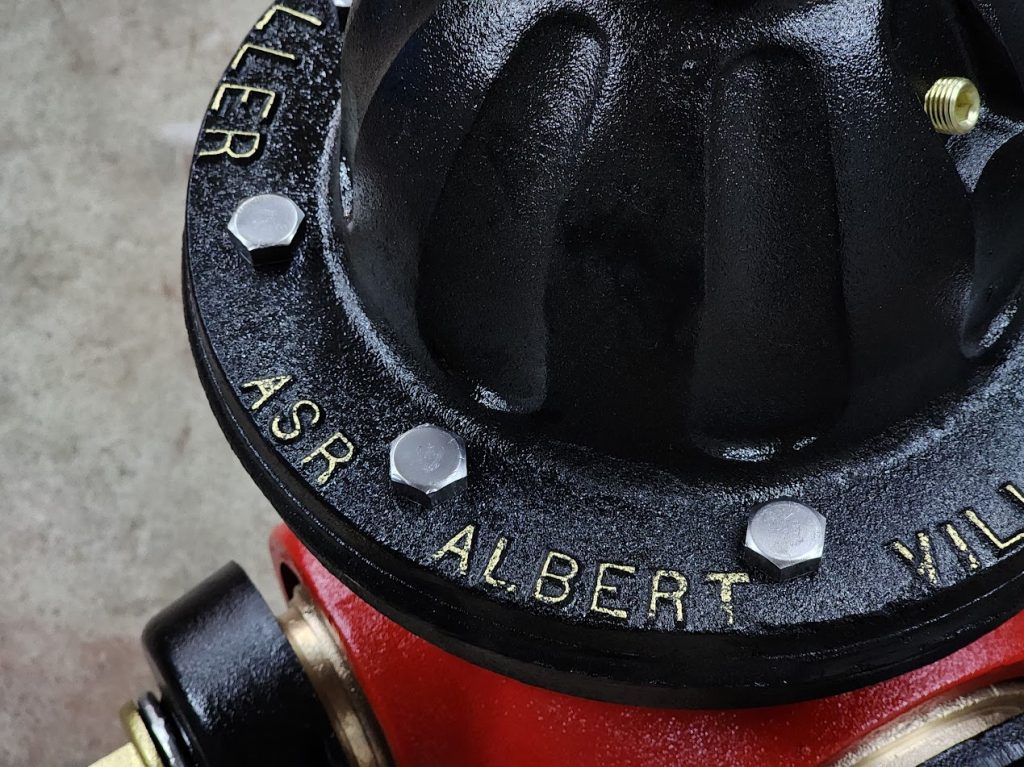
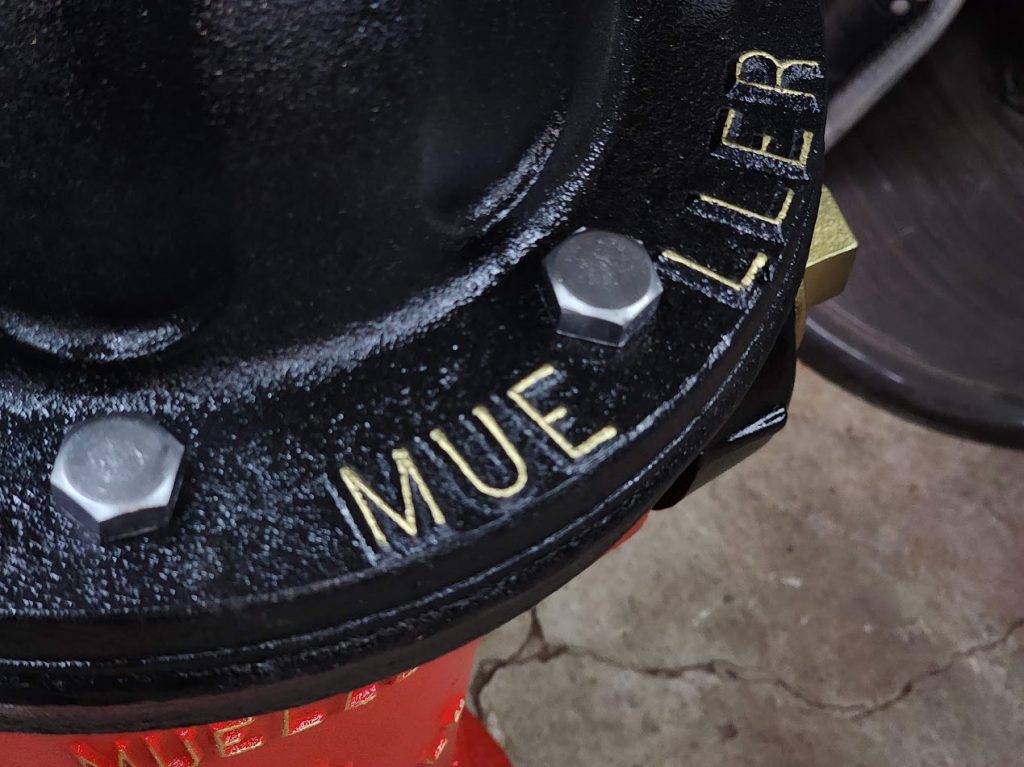
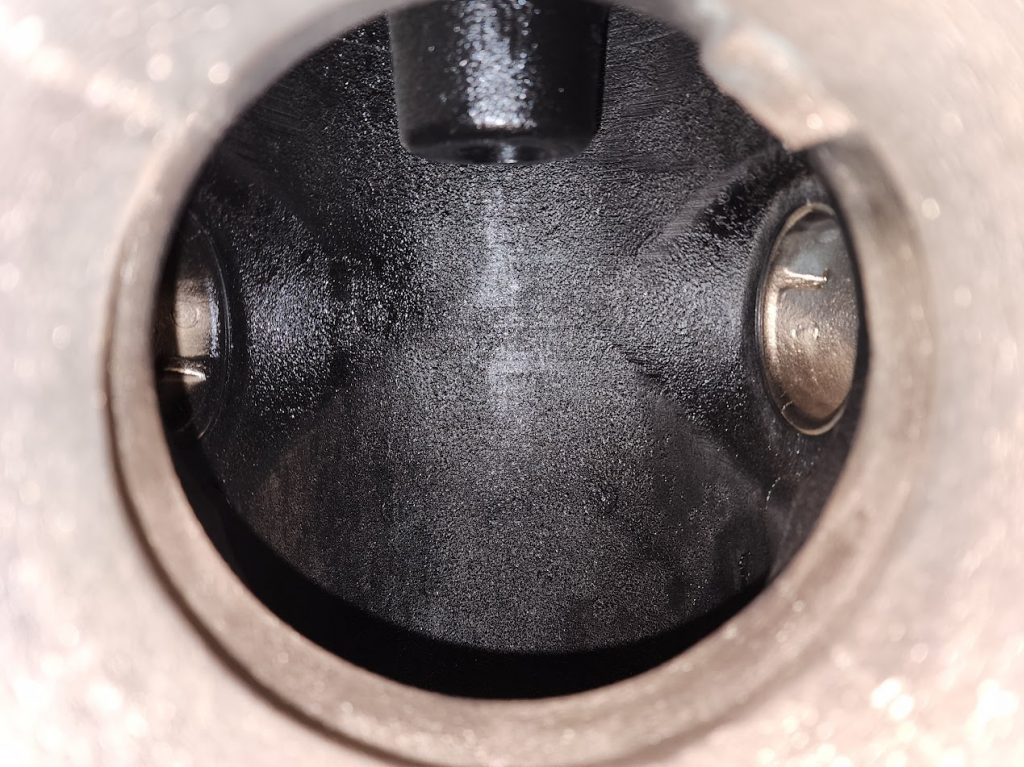
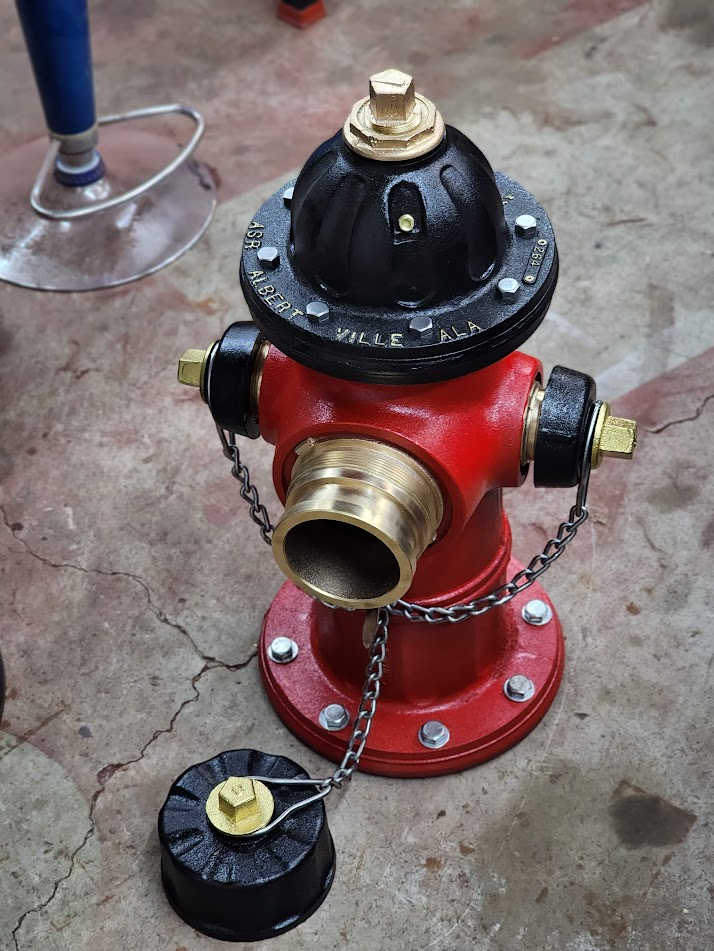
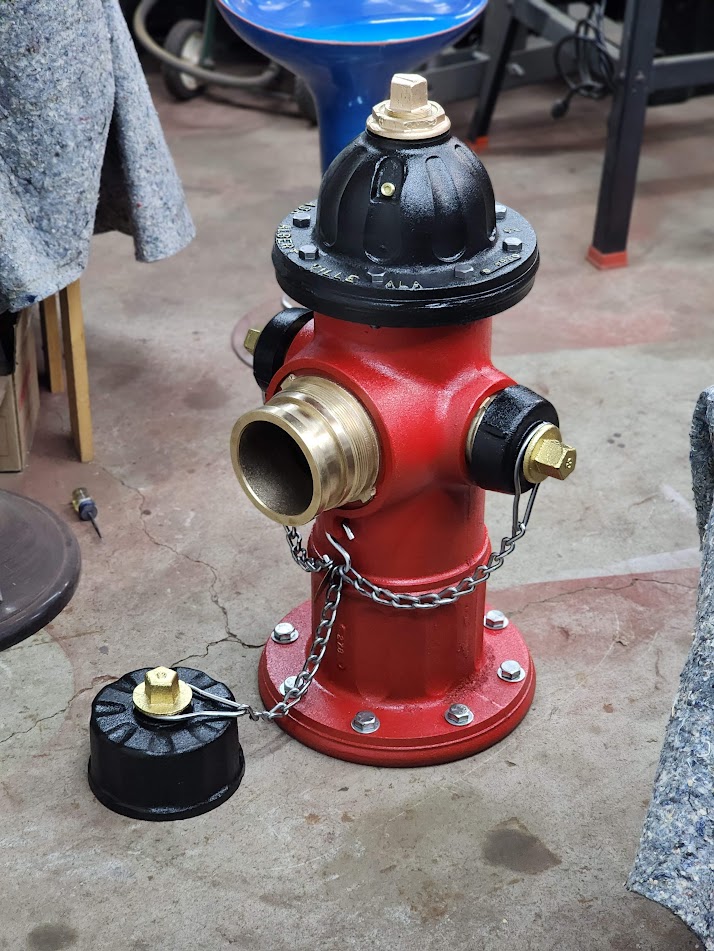
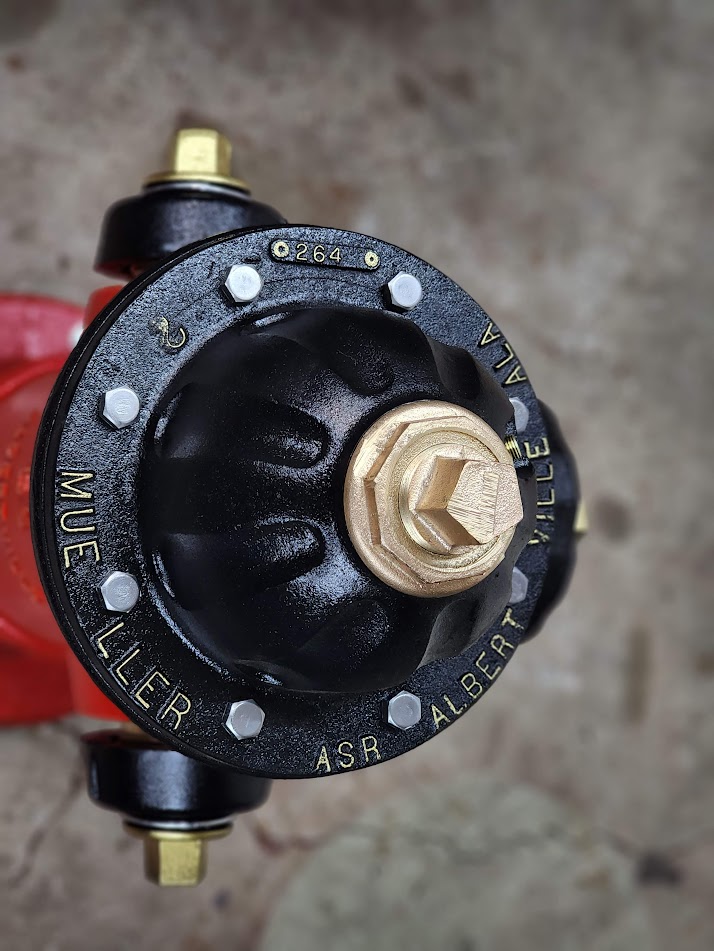
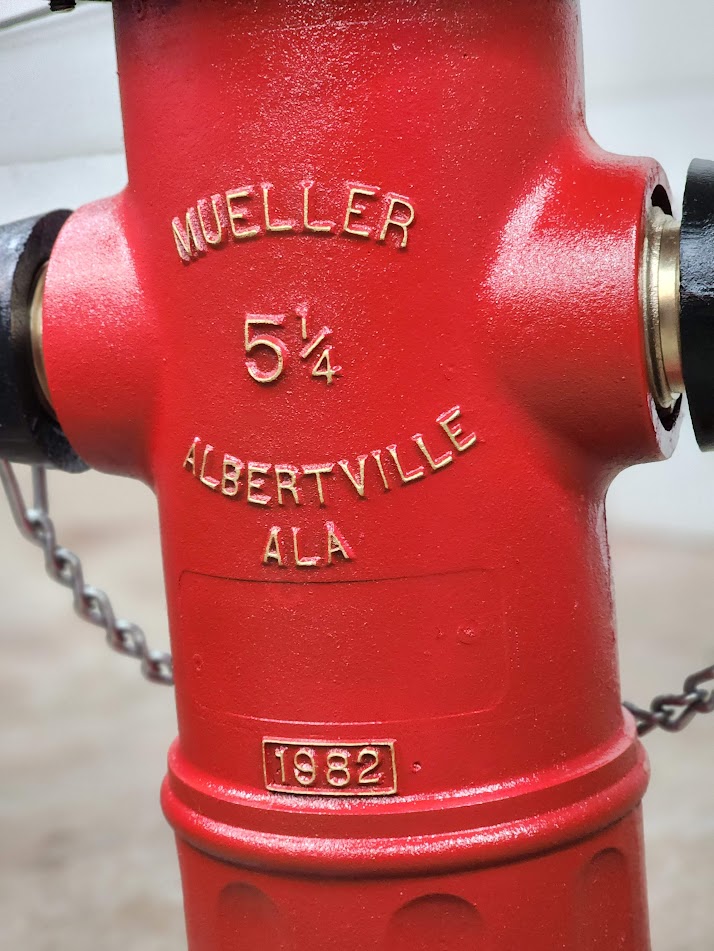
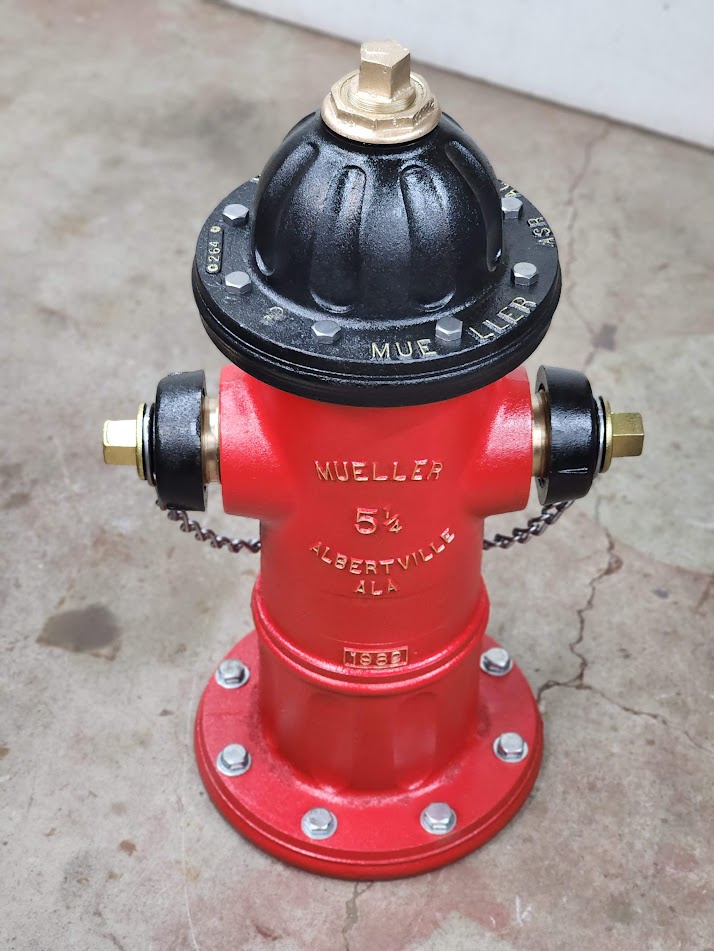
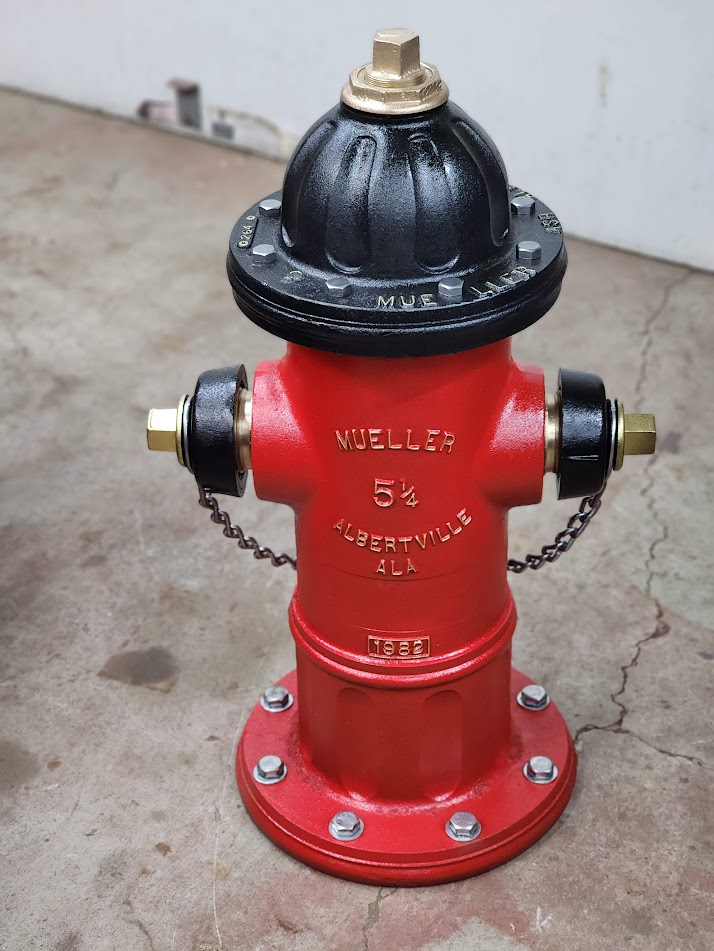
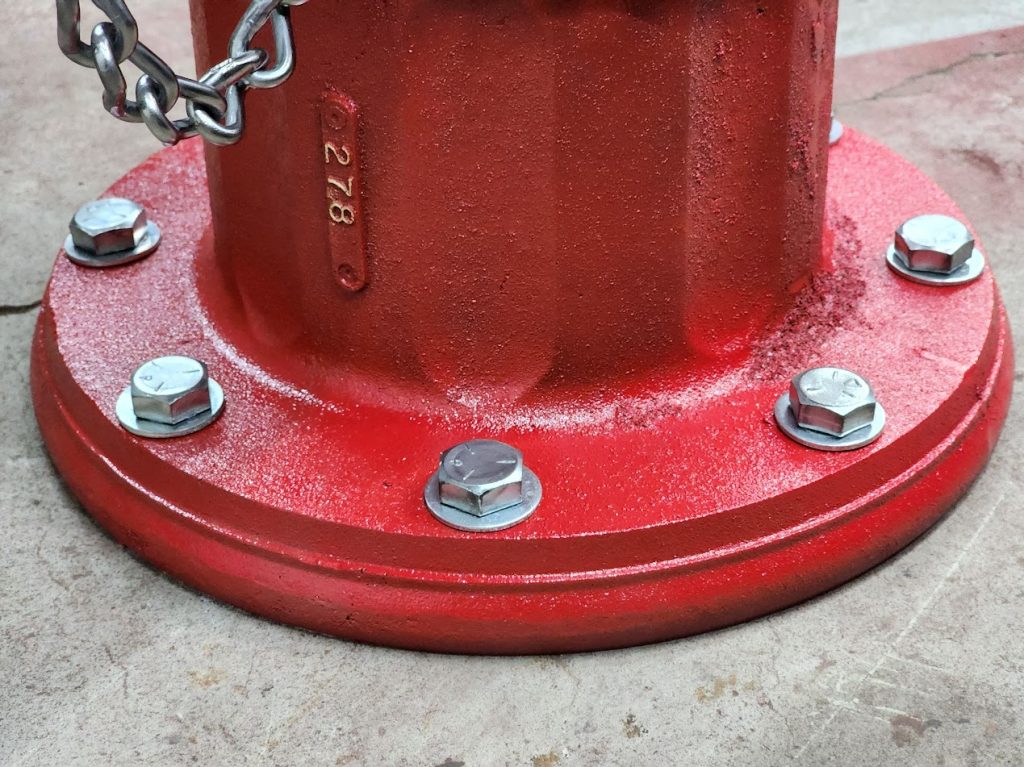
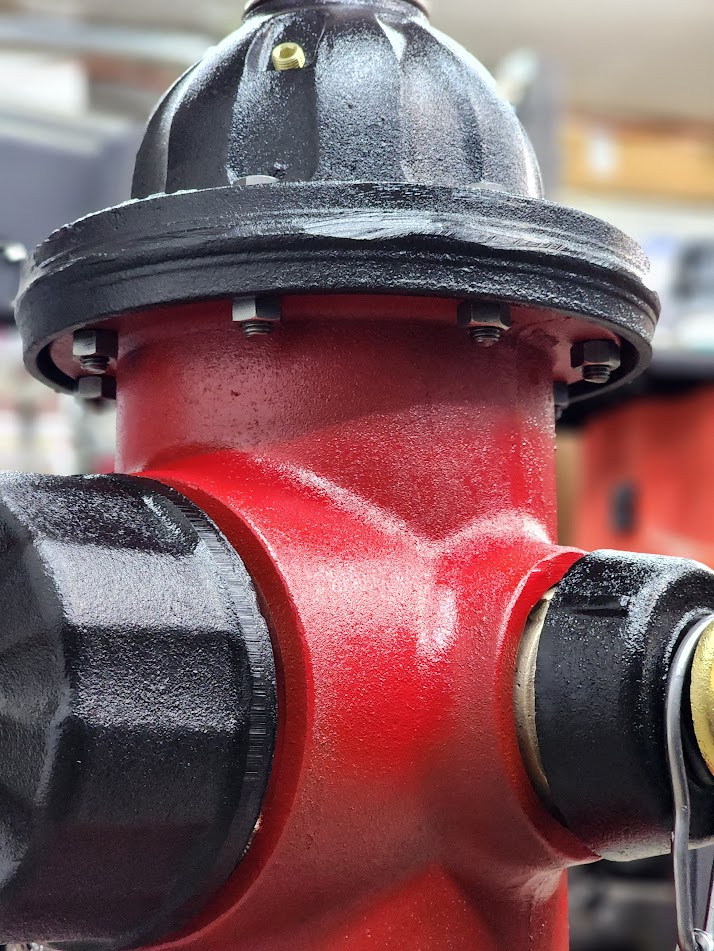
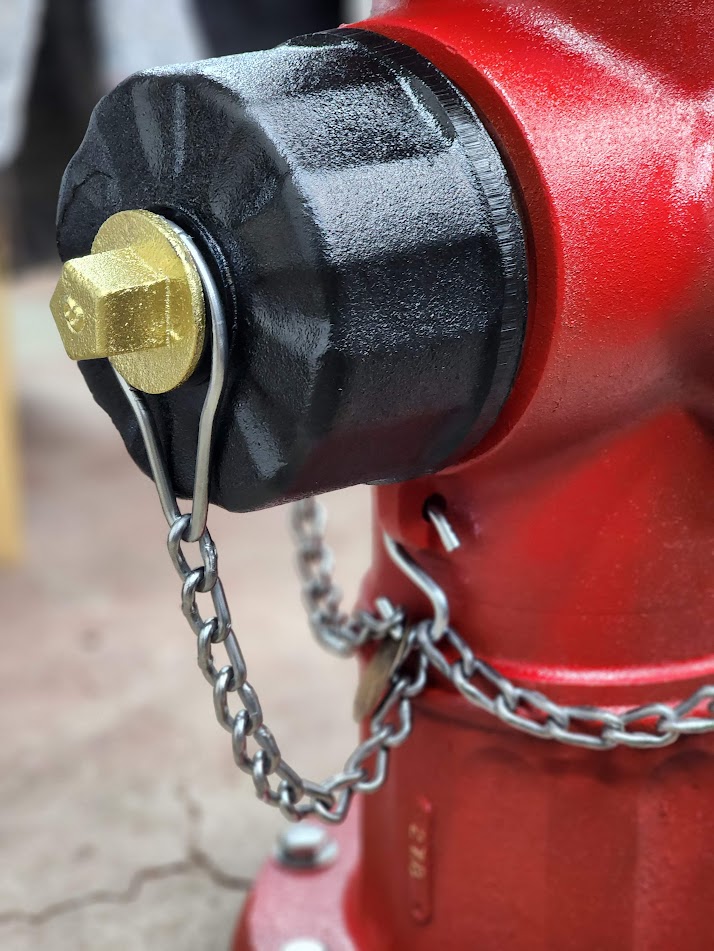
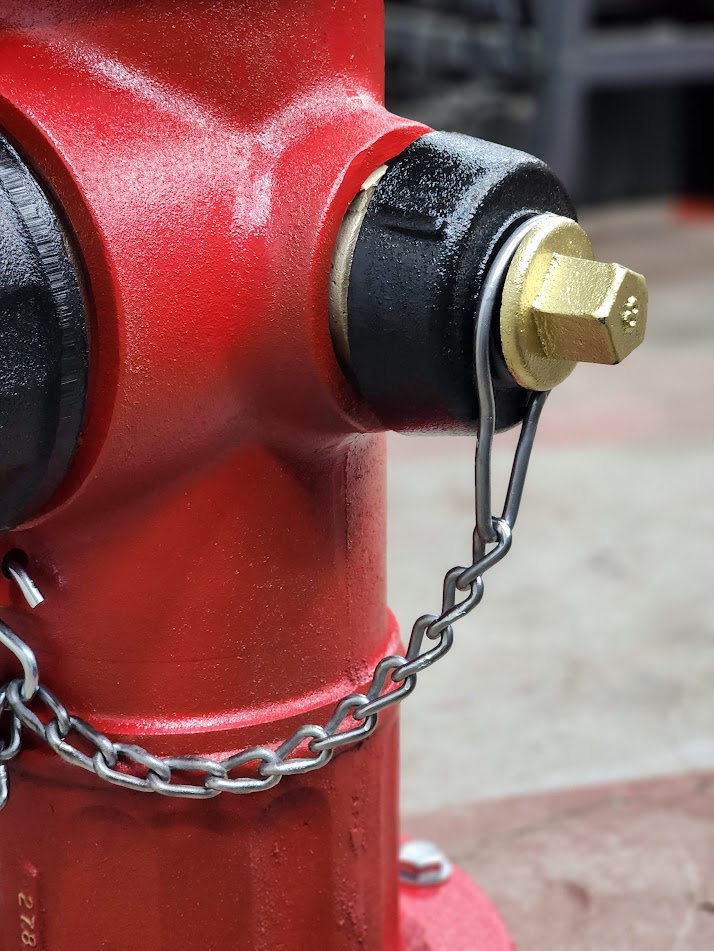
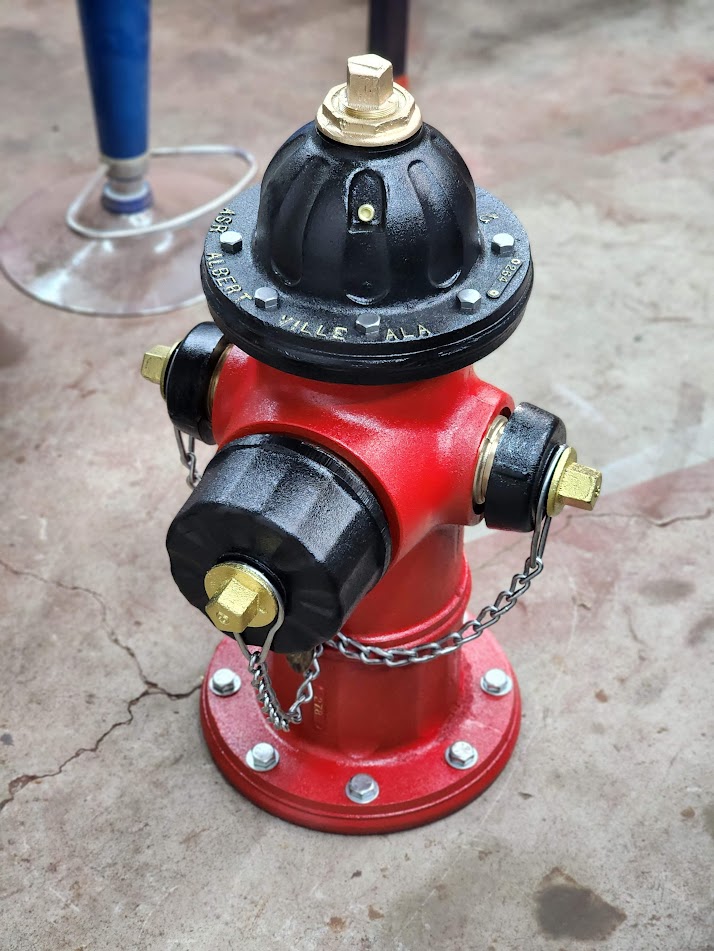
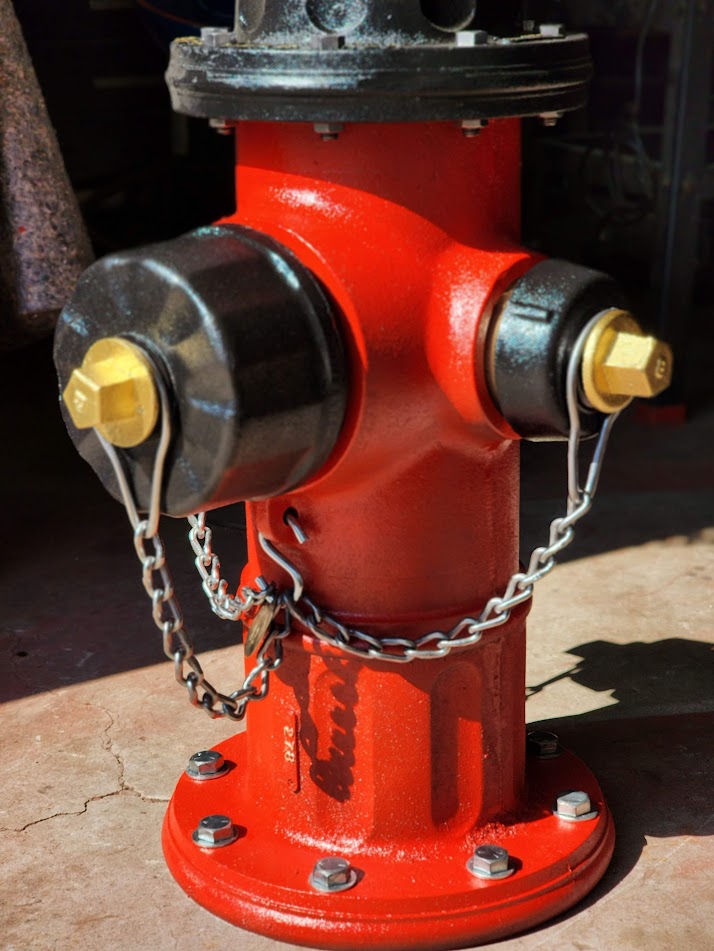
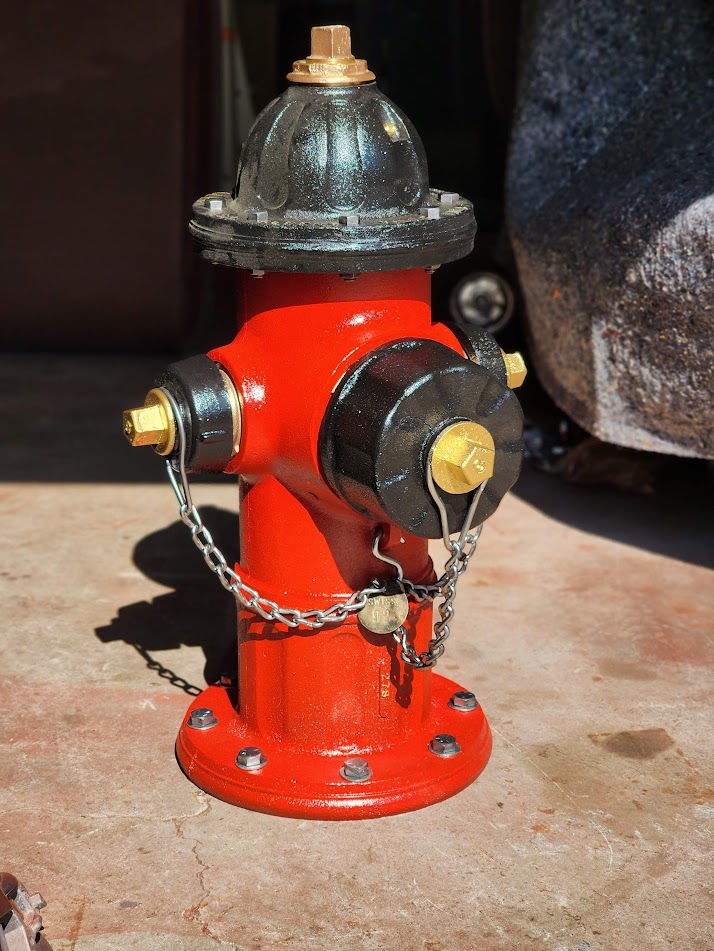
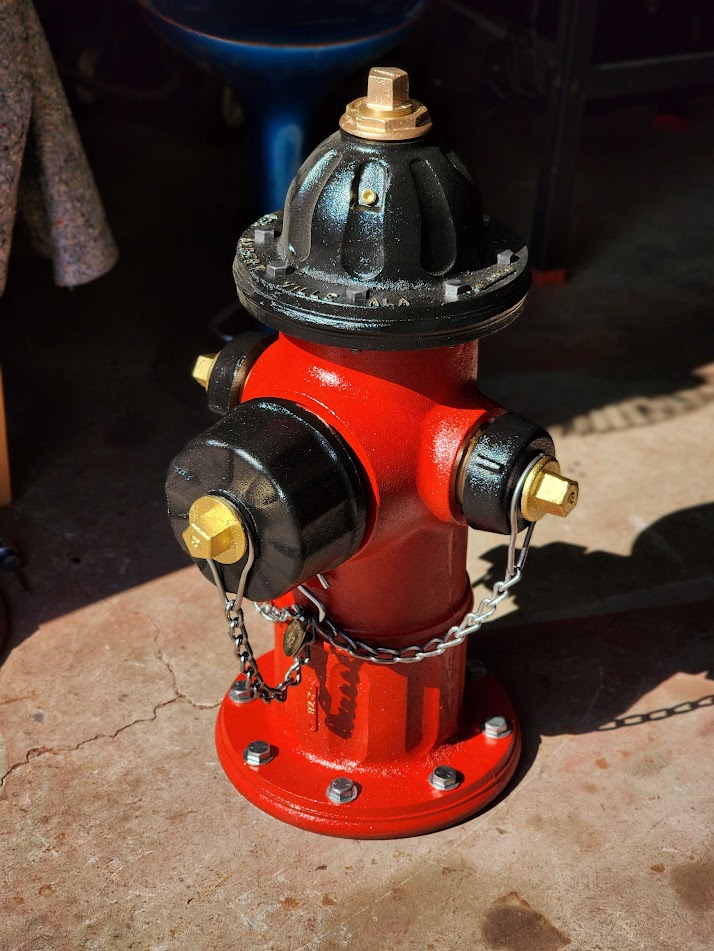
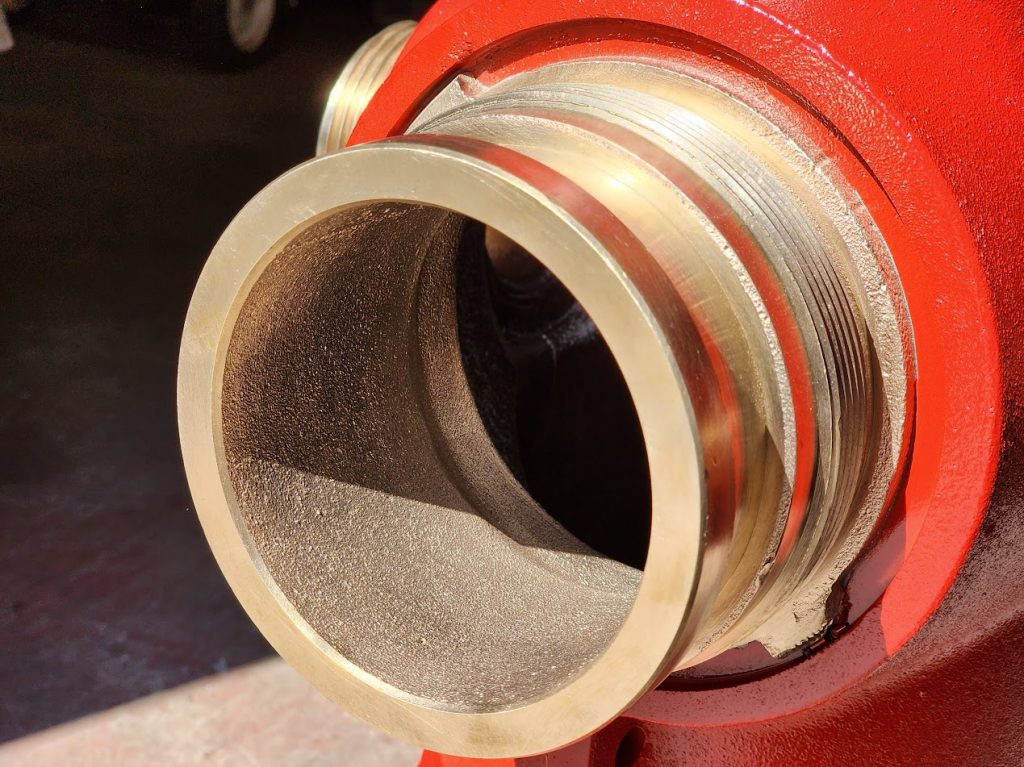
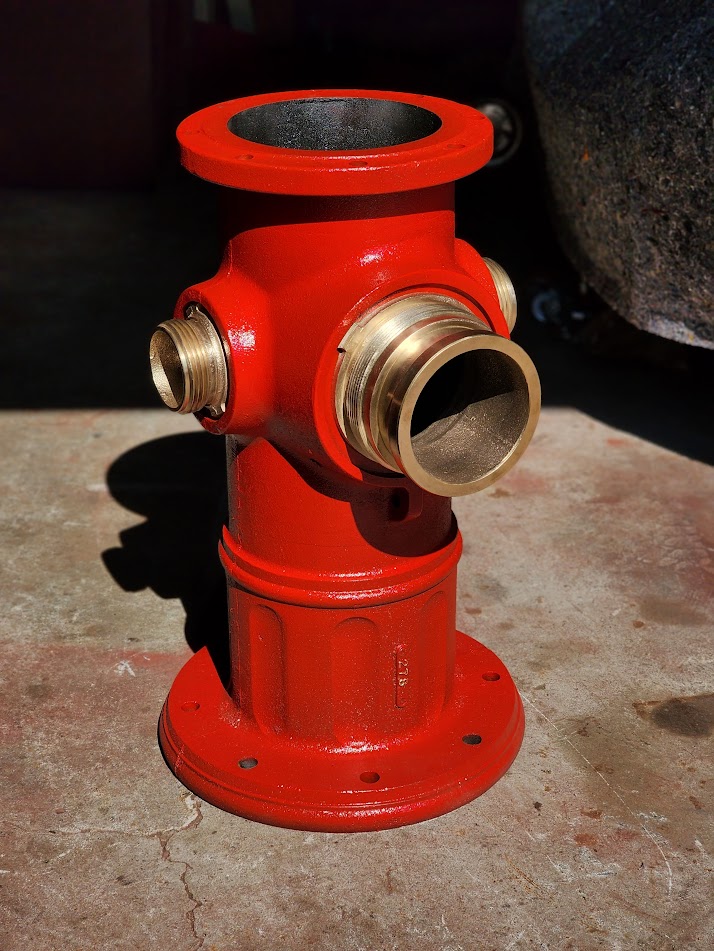
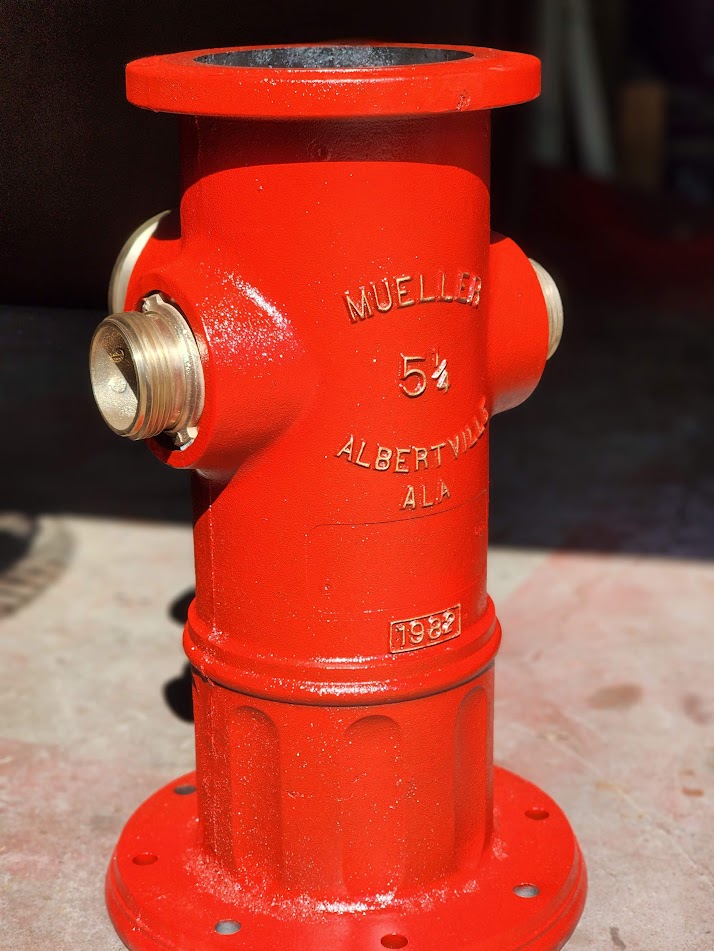
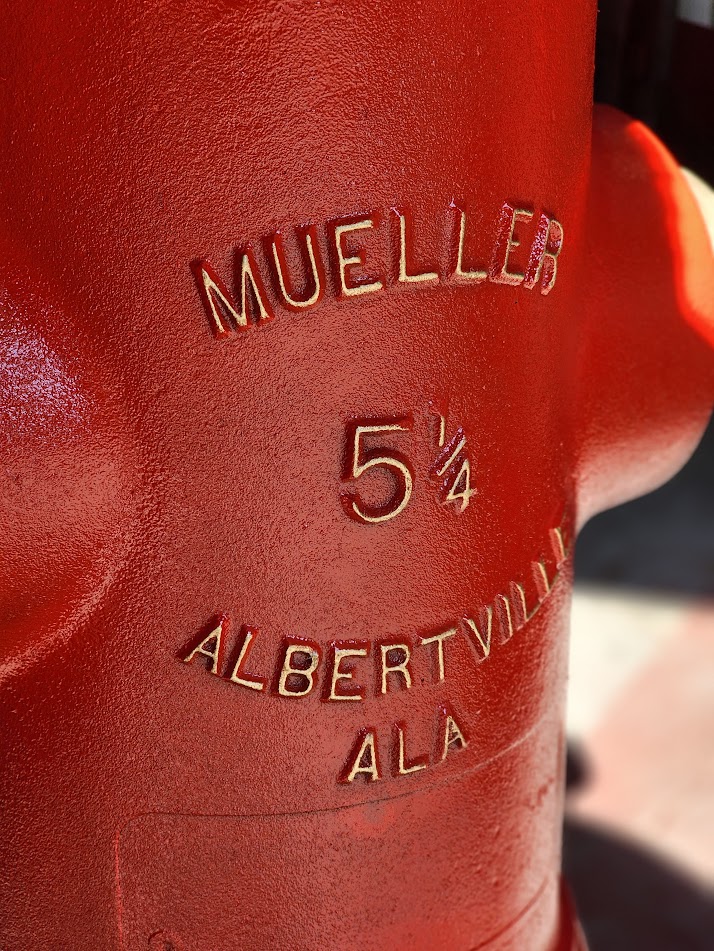
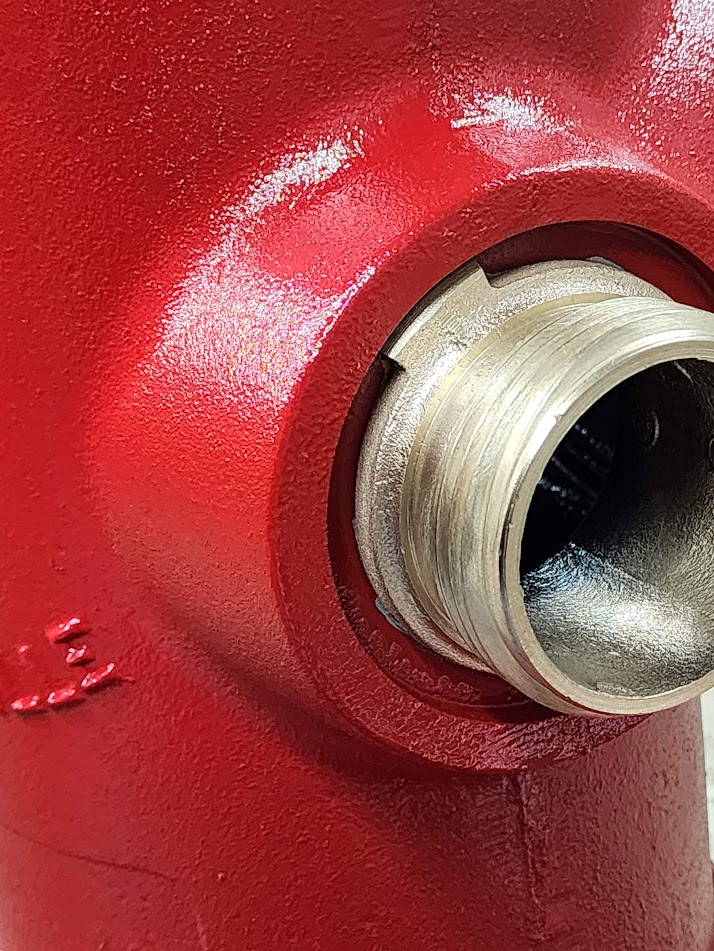
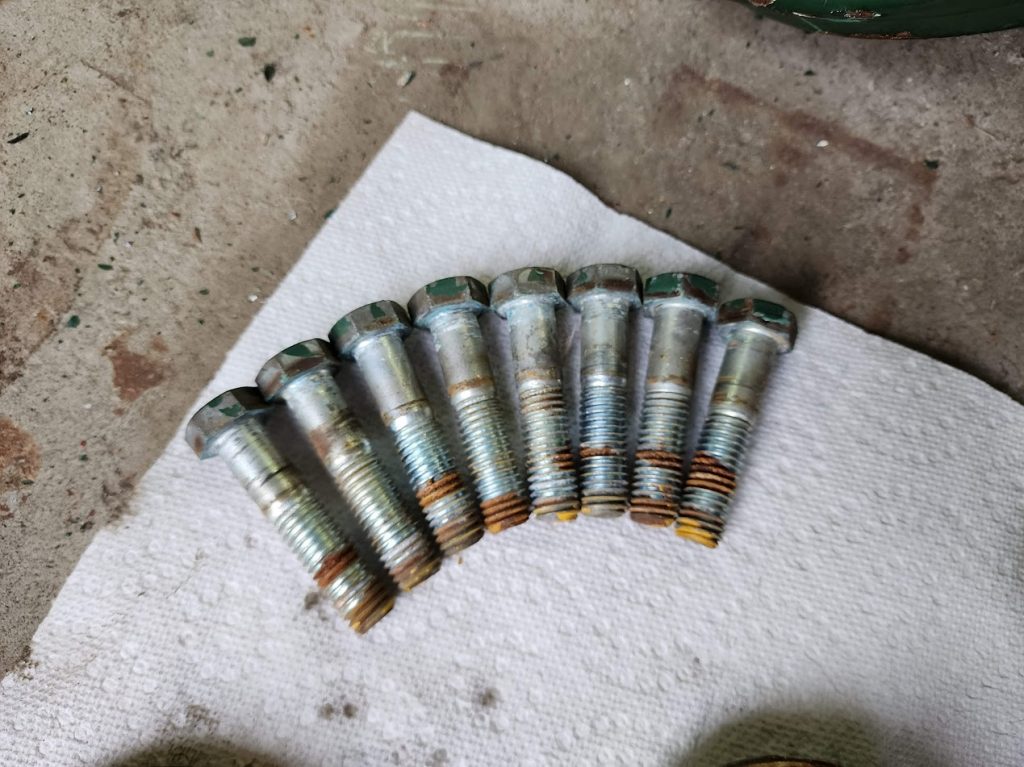
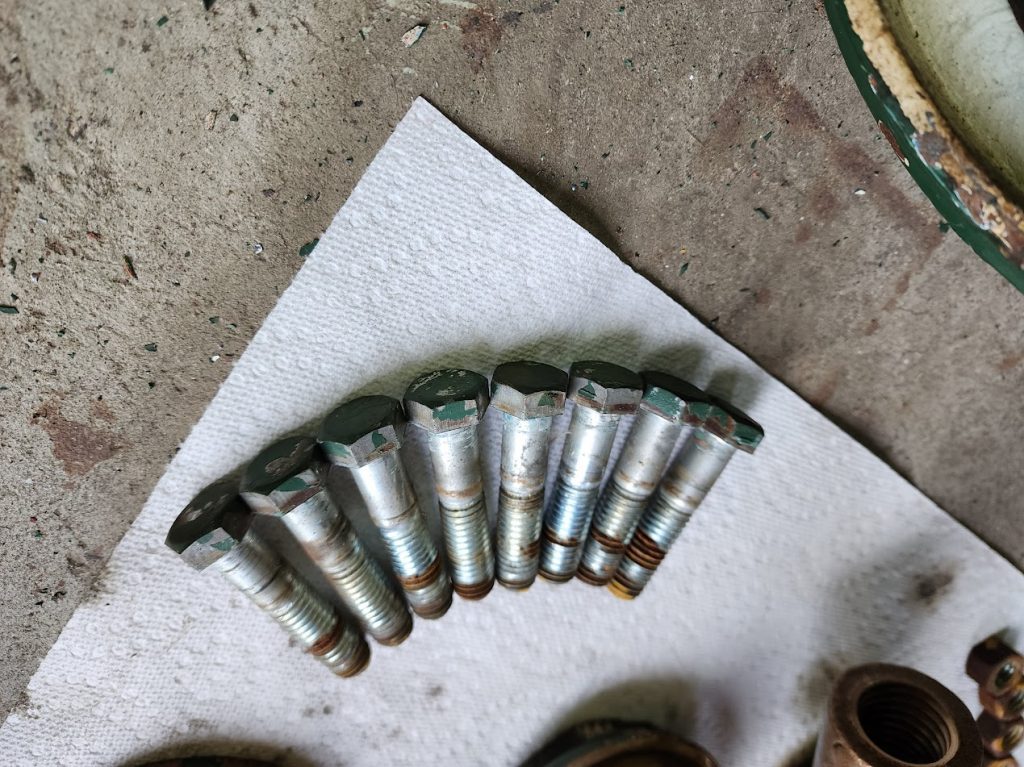
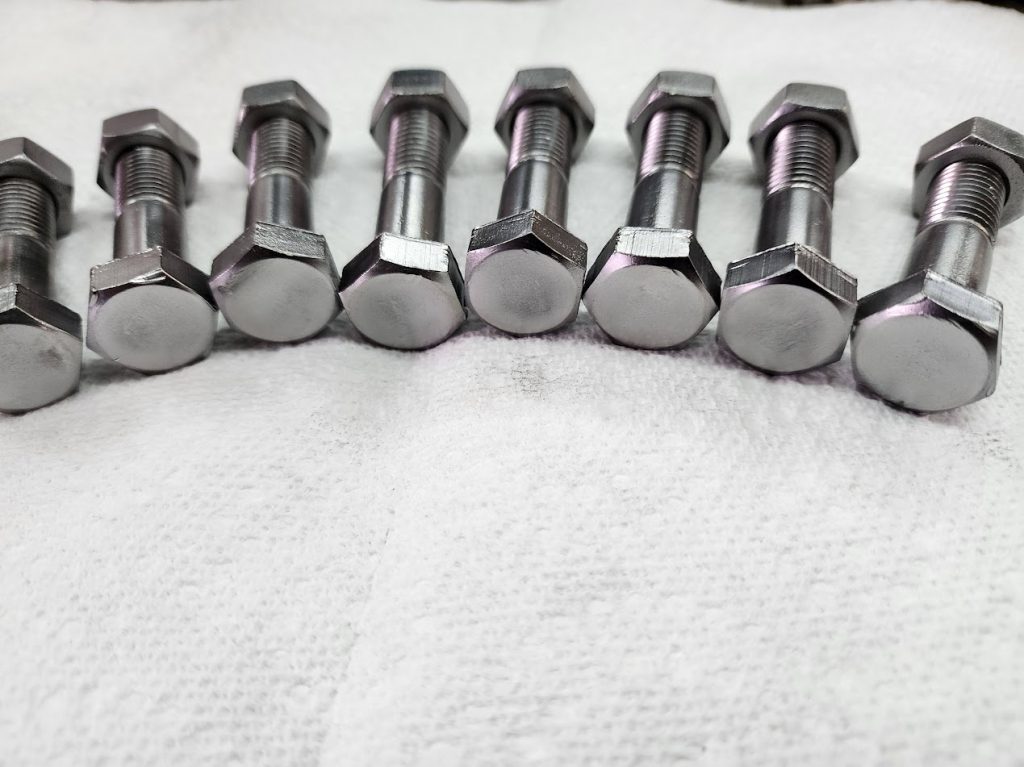
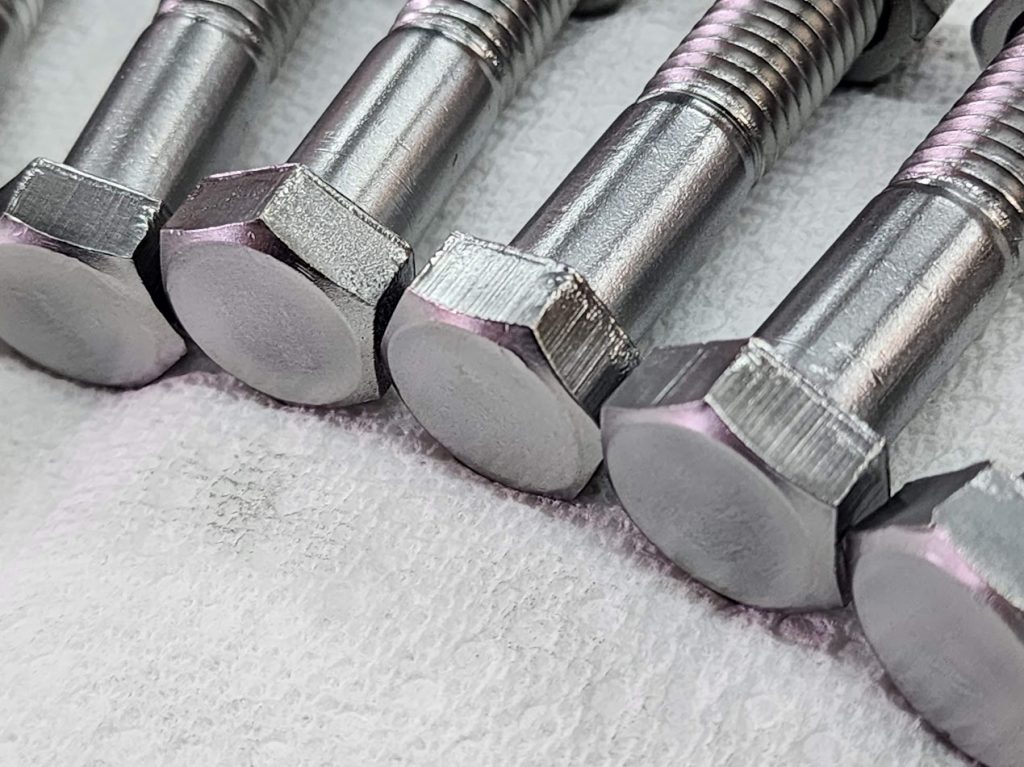
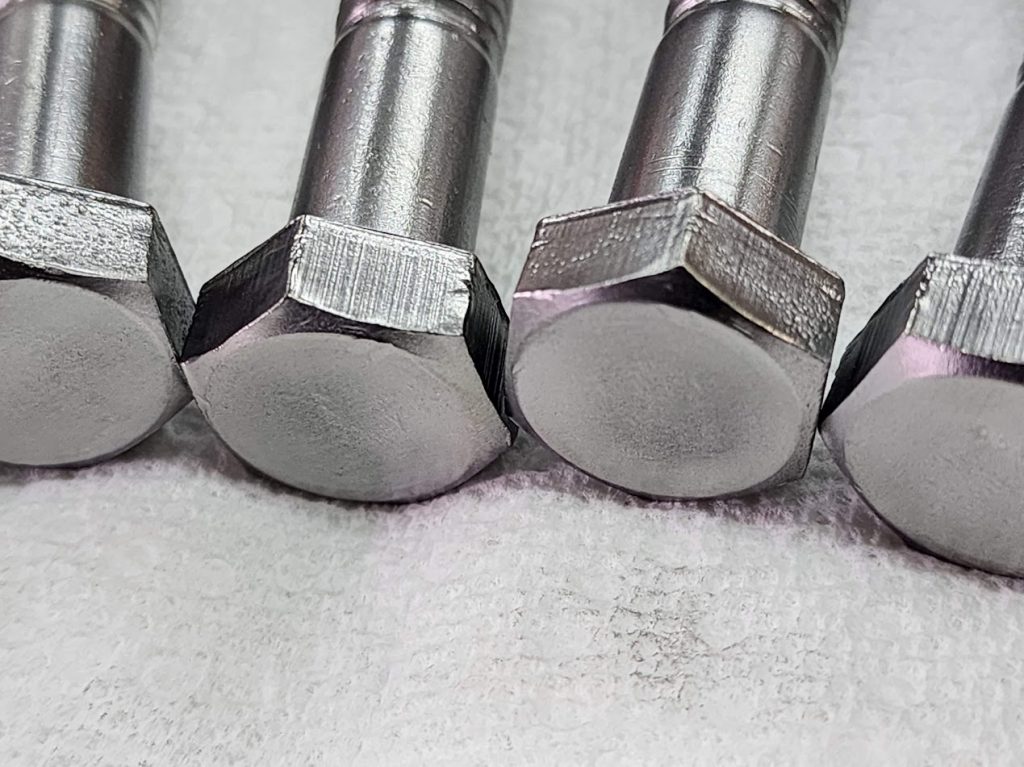
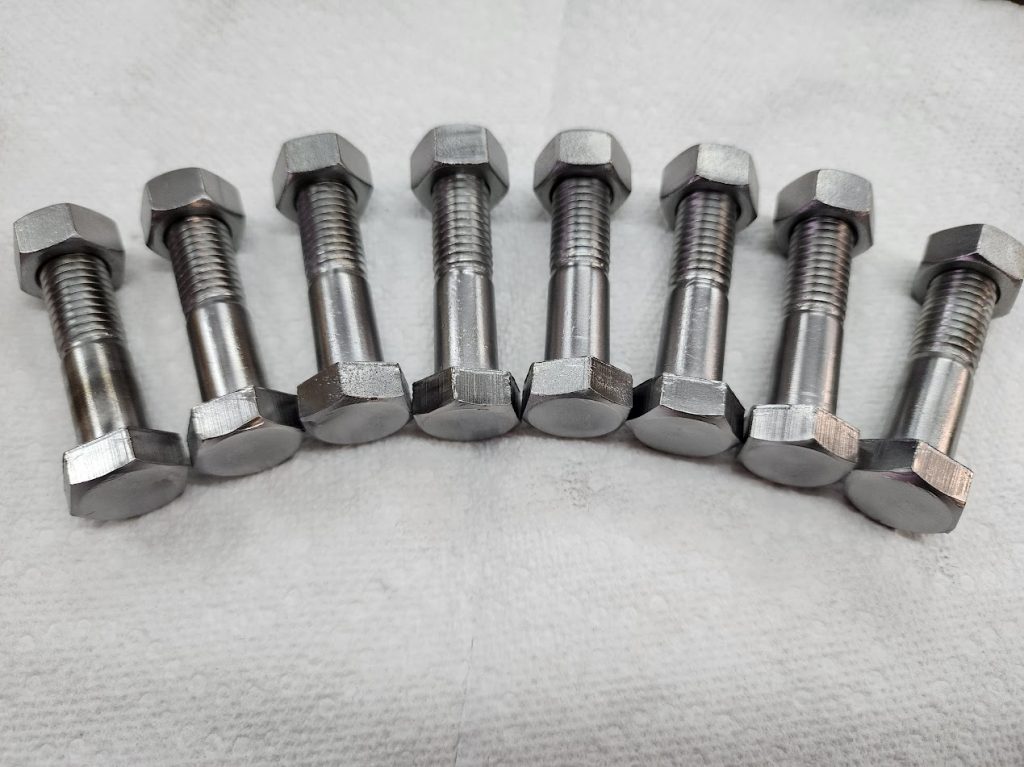
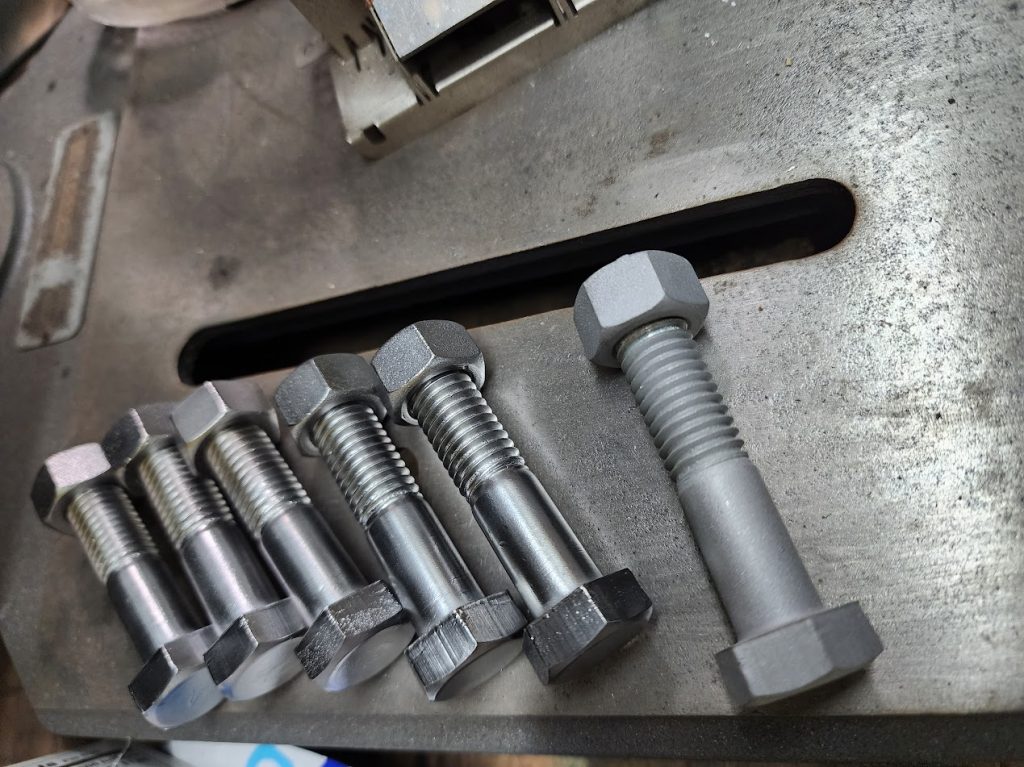
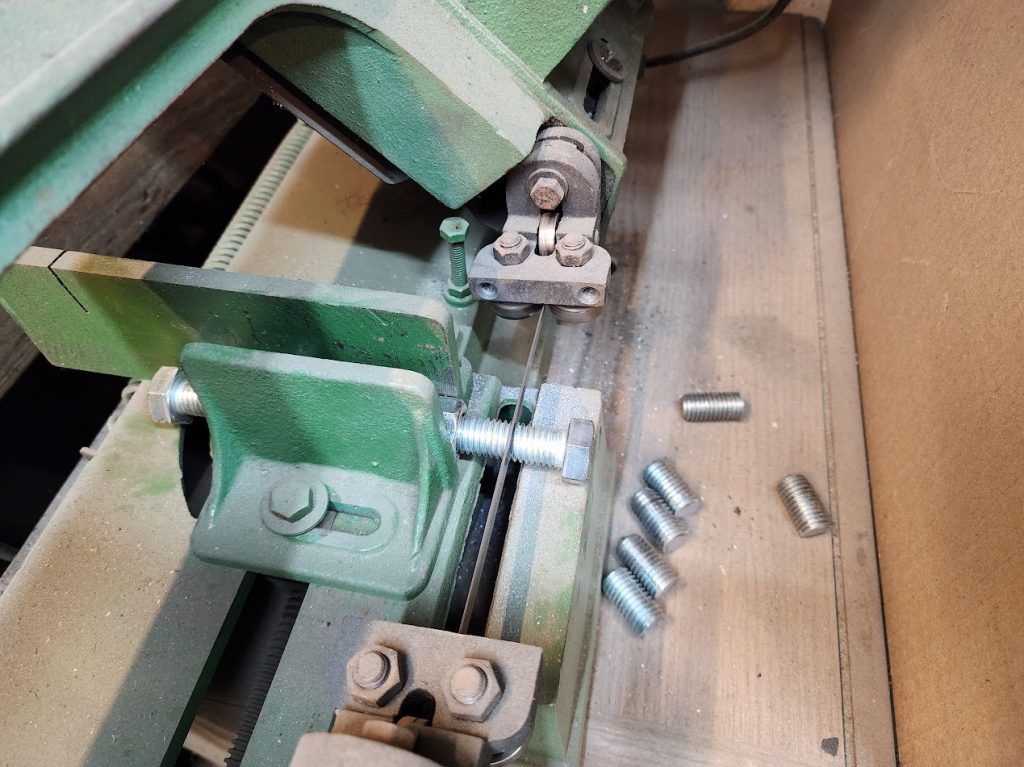
I found some old bolts I had in stock to clean up for the base, but they needed cut down first.
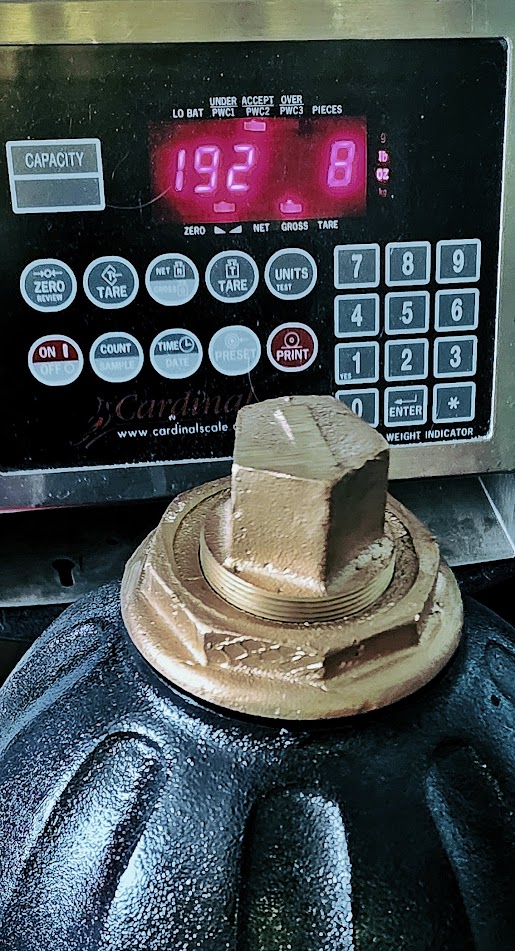
It was now time to transport it to a new location, to put it on to display. It was killing me moving it around, I had to know how heavy this thing was! For those curious it weighs 192lbs 8 oz! Lighter than I had though! But still super dense.
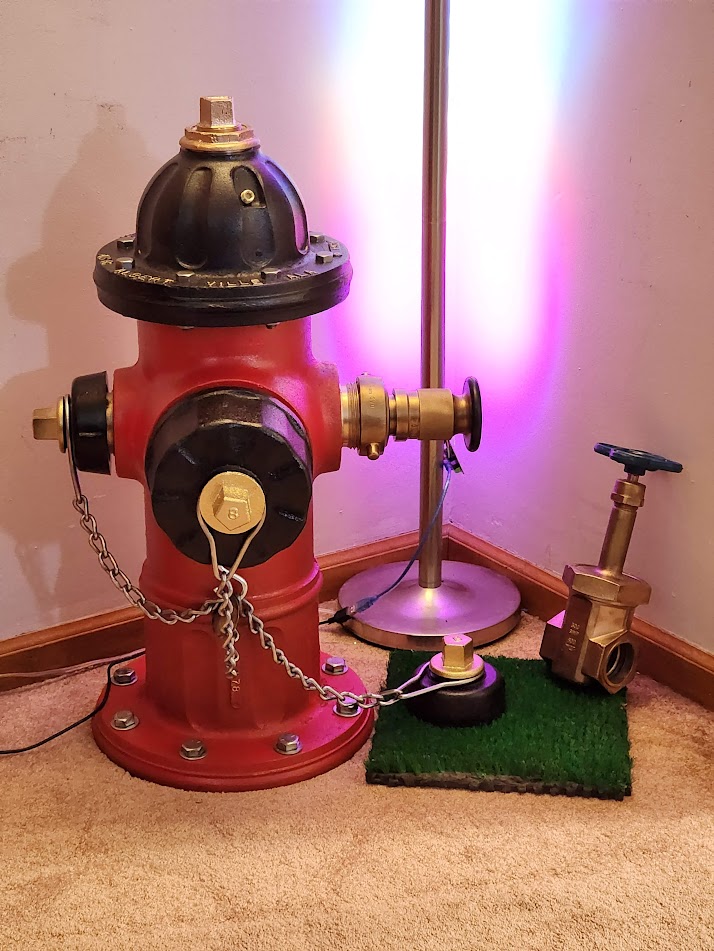
Now it is on display! The right fitting happened to be the same size as my other restoration project, my hose nozzle!
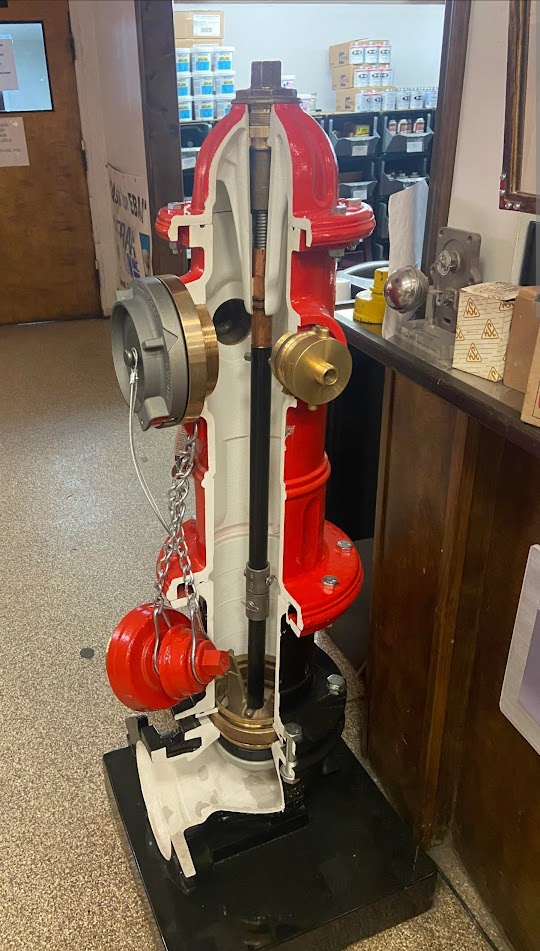
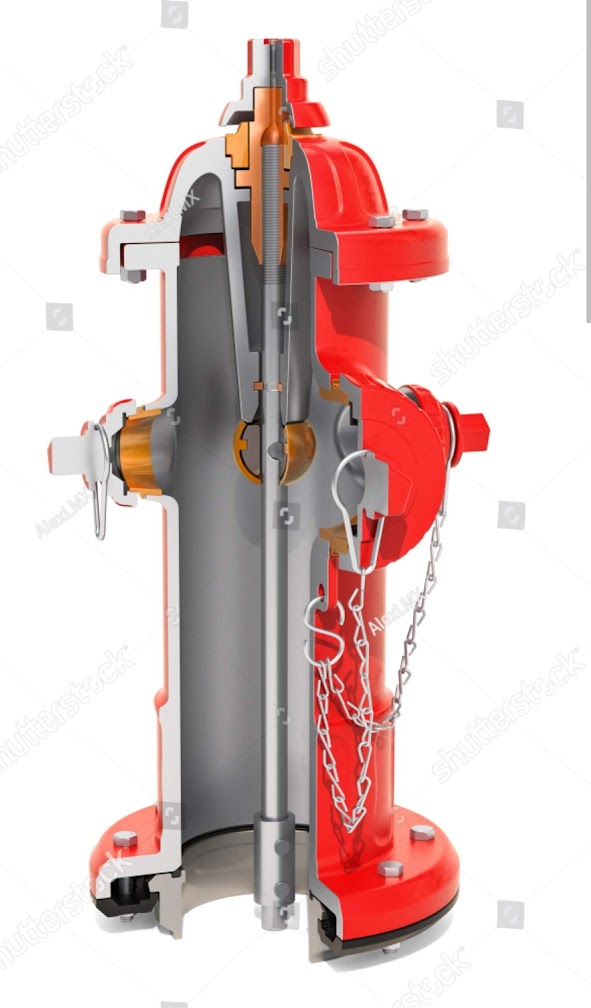
I will end this post with a video of me explaining the project, and tearing down the hydrant to explain how they work!
EDIT: The hydrant was installed in 1982 and was broken off by a car hit in 1986, was only in service for 4 years!
If you have anything you would like to know more or see with this, leave a comment bellow! Would also love to hear from you if you are a fire fighter and happen to know that name of the special extra deep fitting that is on the front of this hydrant!
