Recently picked up this compass for the collection. Let me take you through my process of the restoration.
Here is what it looked like after I brought it home.
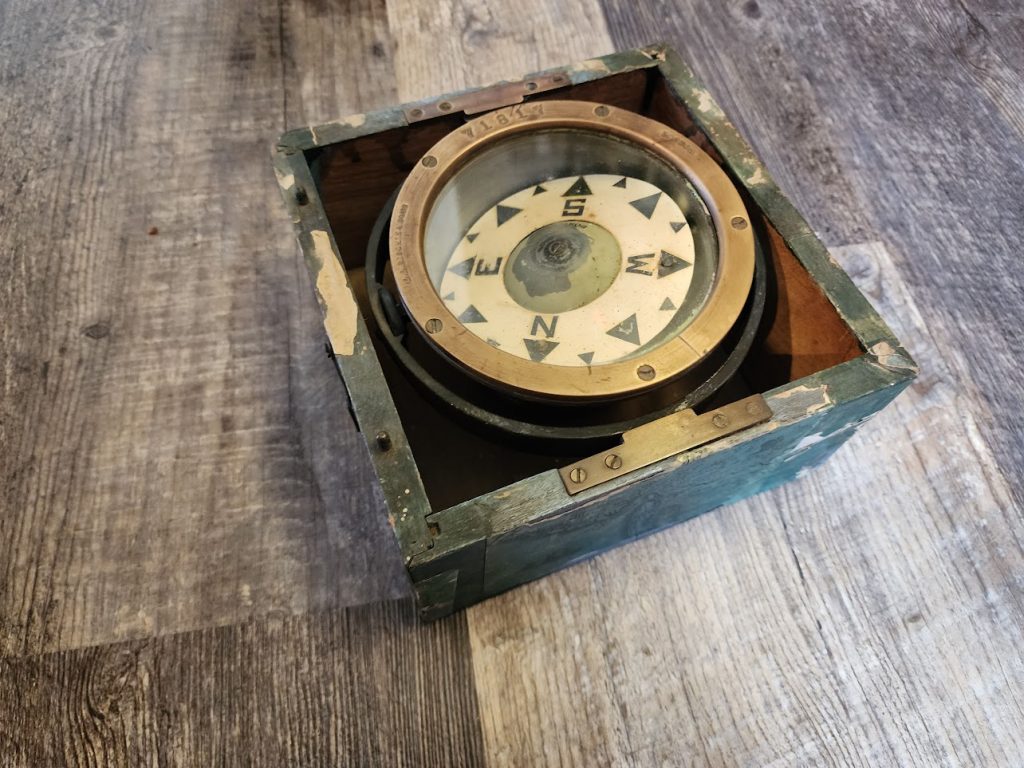
Turns out Ritchie is still around and making compasses! I reached out to them with the serial number that was on this compass ( you will see it stamped into every part as I tear into it! ) If I hear back I will update this post with more info on its exact age, and what ship it was on!
UPDATE: 11/18/2023 A staff member from Ritchie found this very post and reached out to me! They found my serial number in their old paper logs, and here is what we figured out!

It was made on March 16th, 1928 and sold to H.D.Edwards & Co. A large Mfg. of the time of many items, but also marine hardware. So given the age, the company and the model, this was most likely used on a large private sailing yacht! Can only imagine the adventures it has been on!
– now back to the original post.
First step was to open it up and see what I was working with.
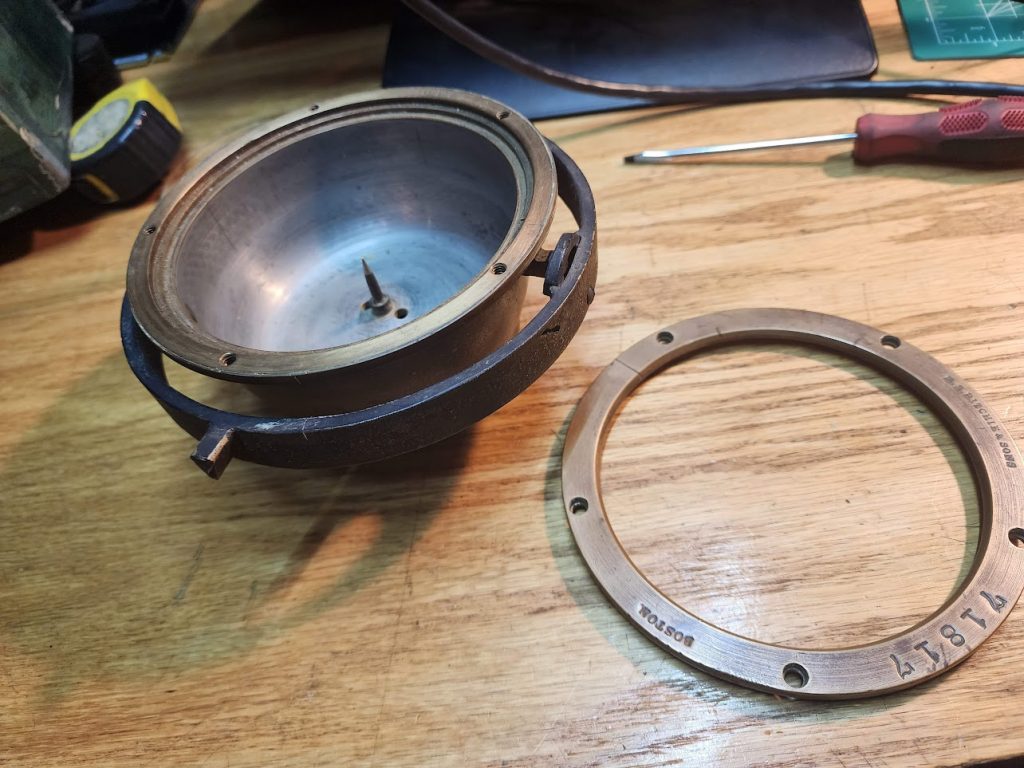
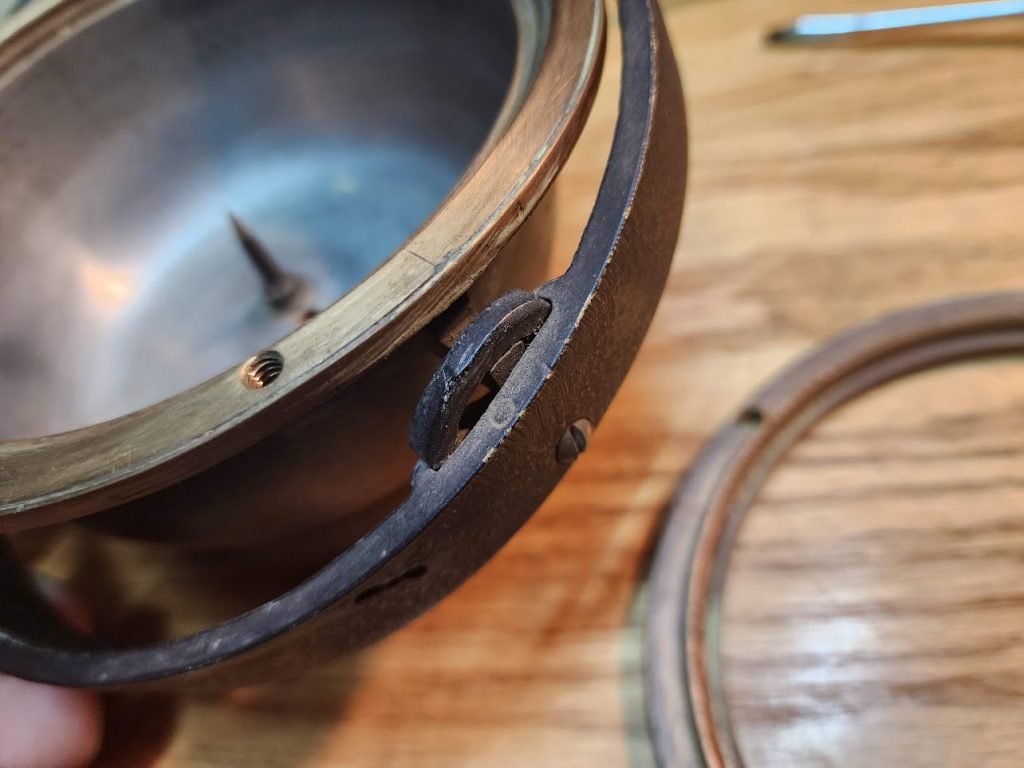
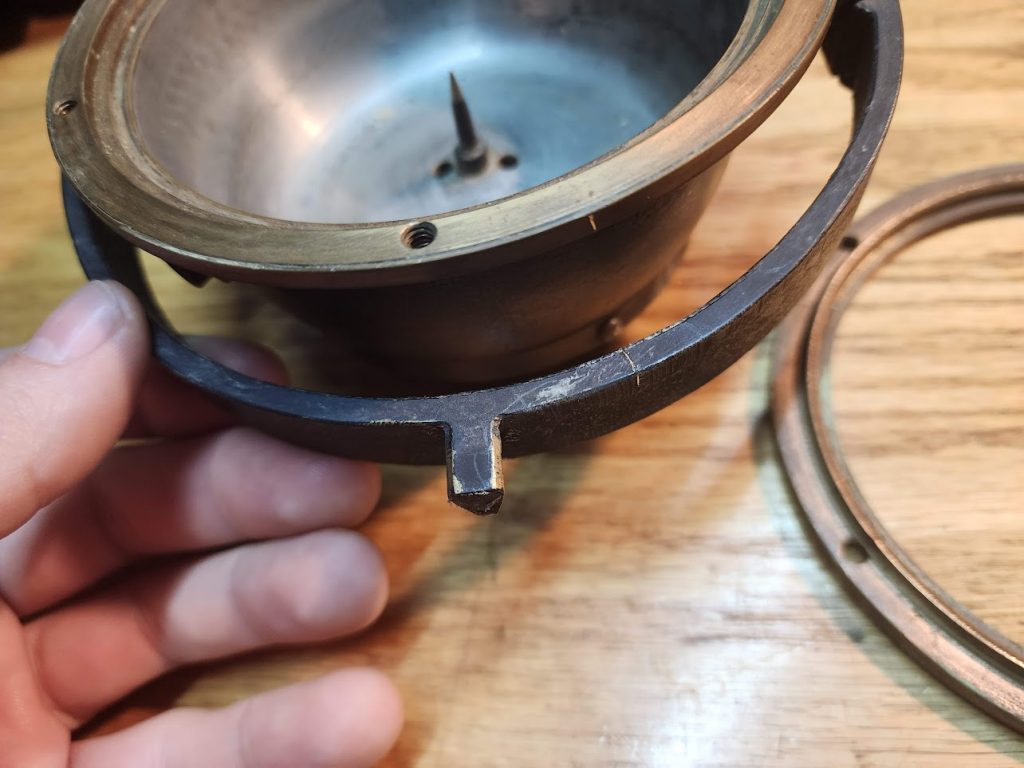
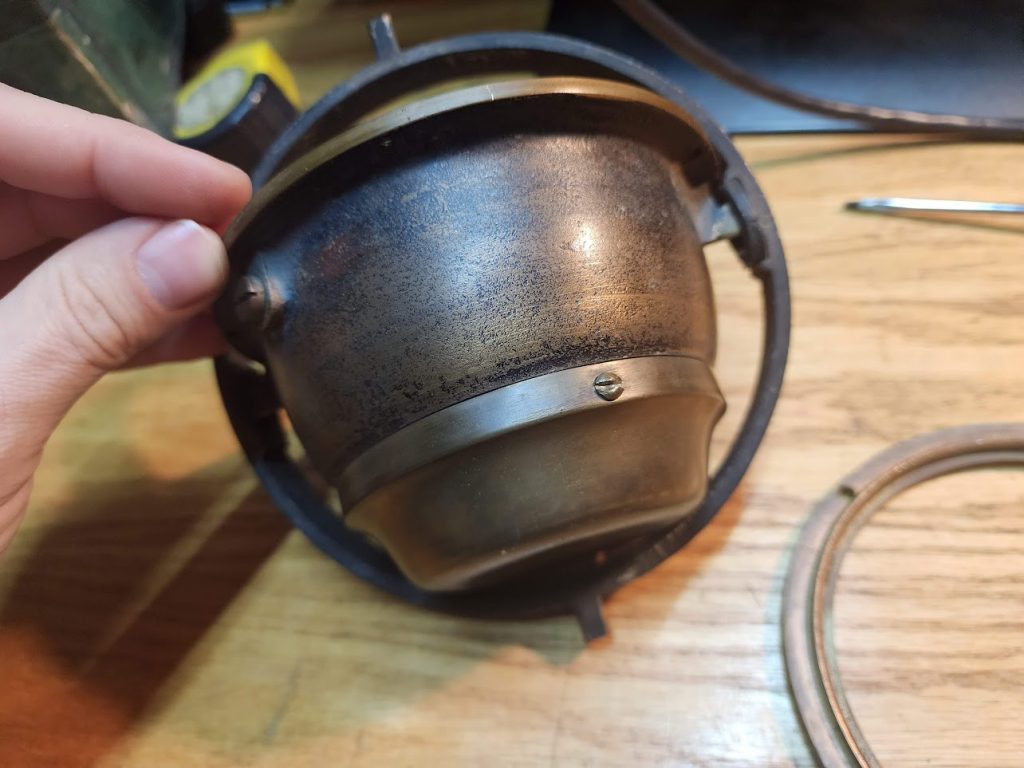
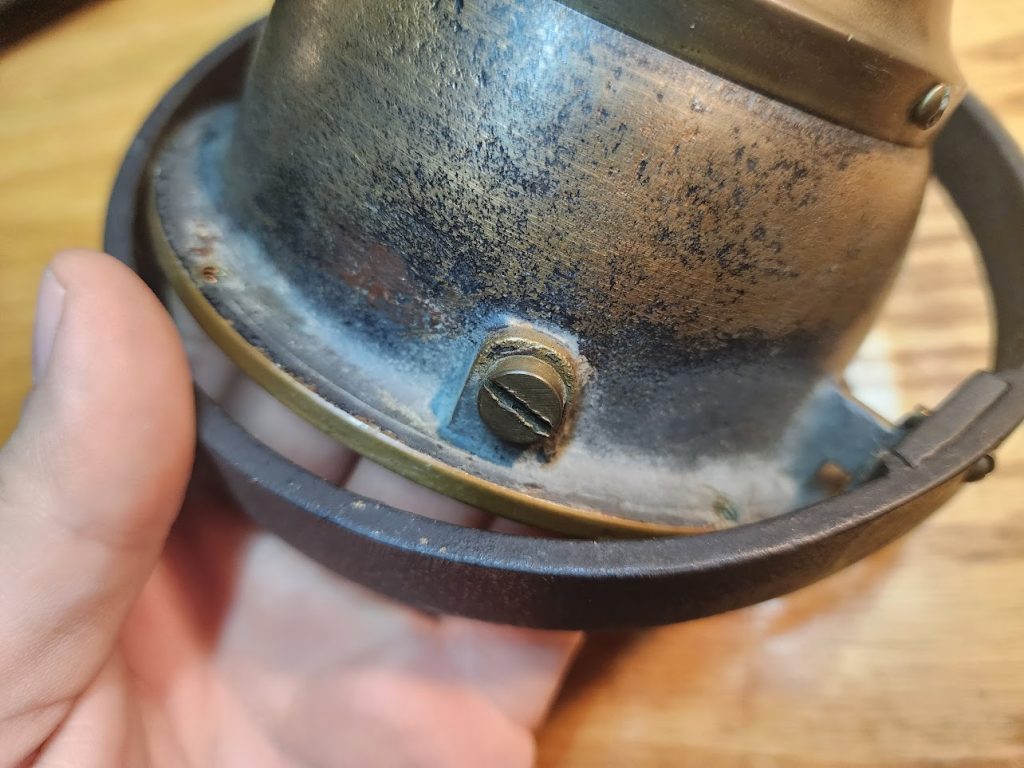
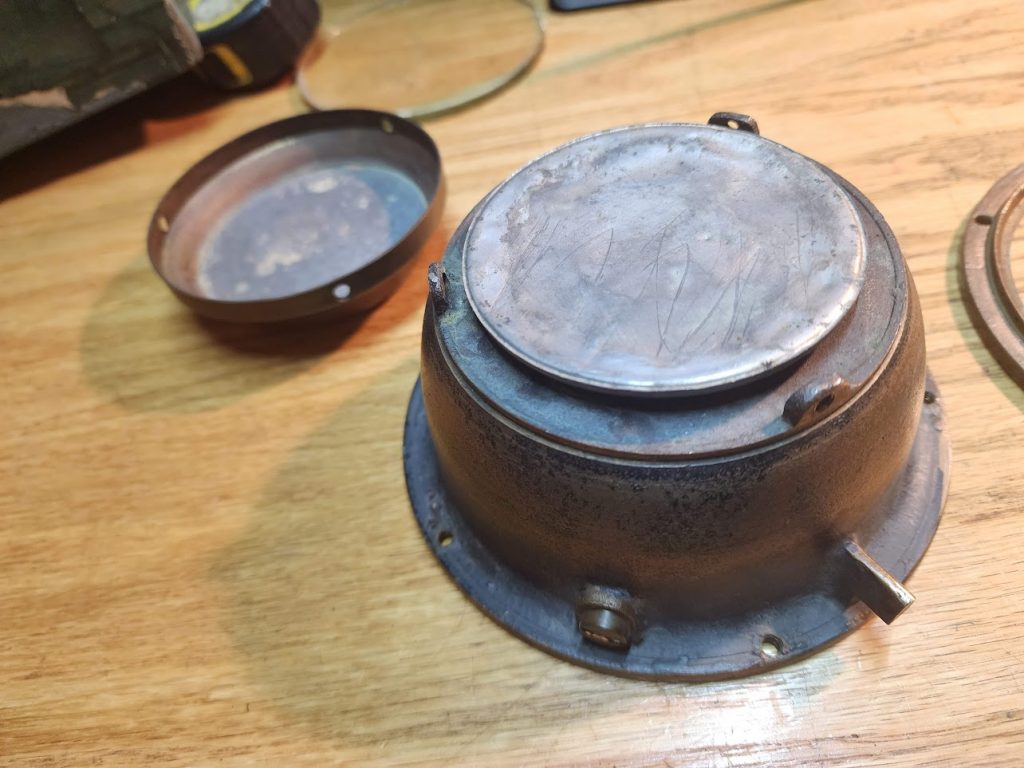
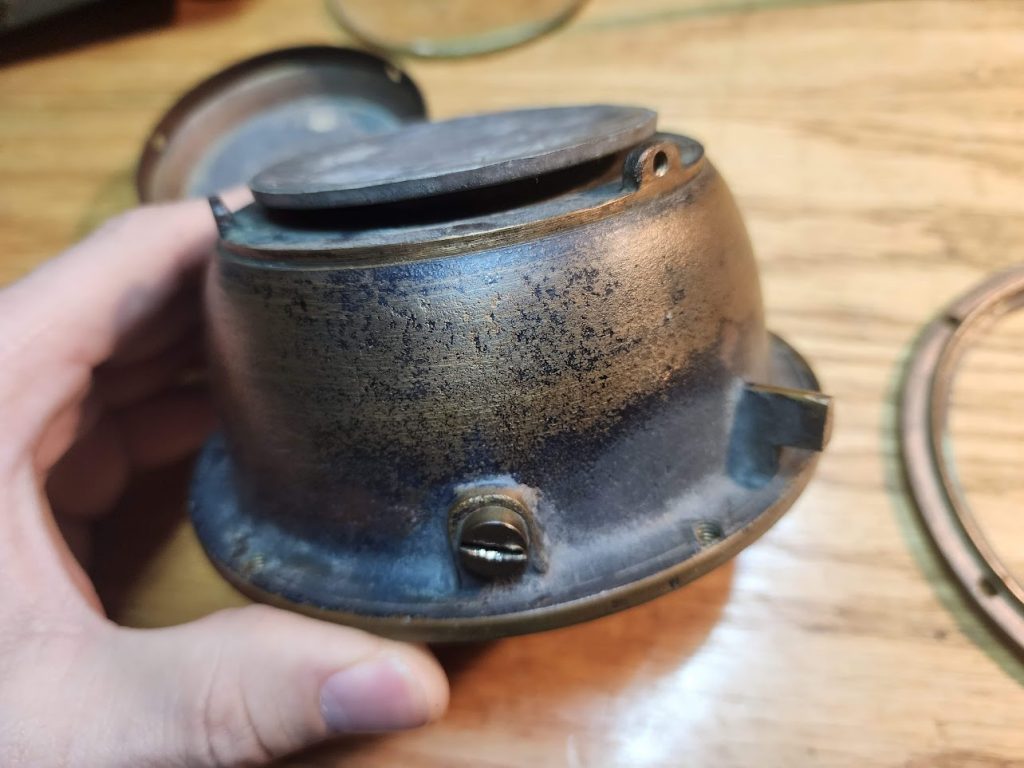
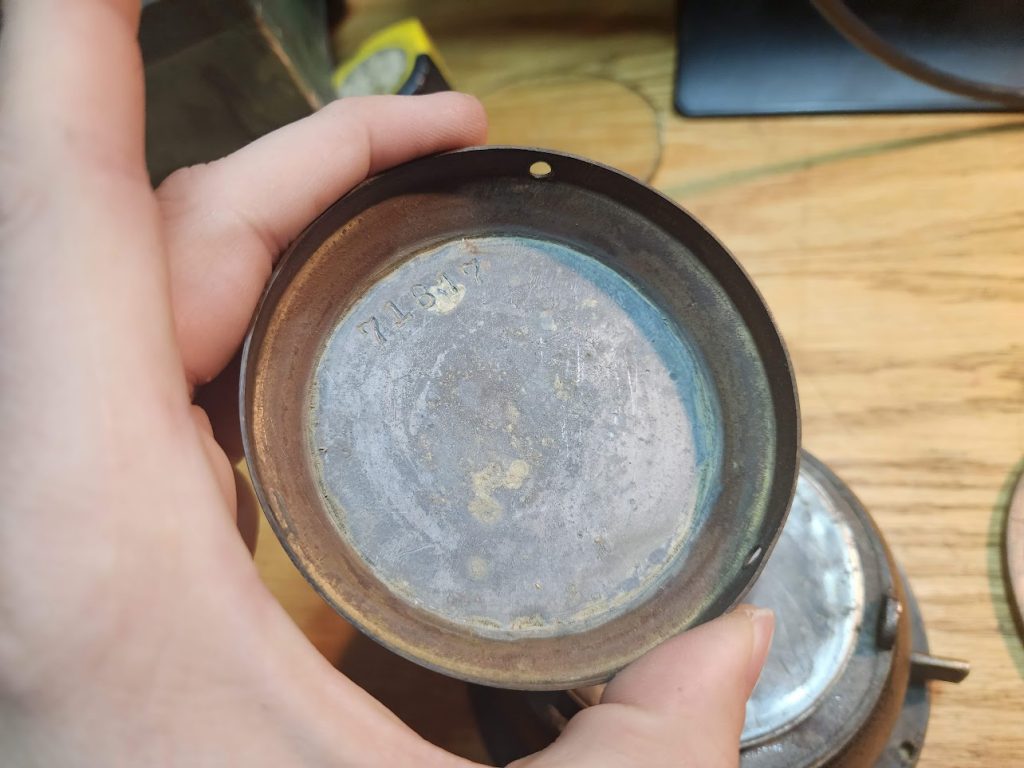
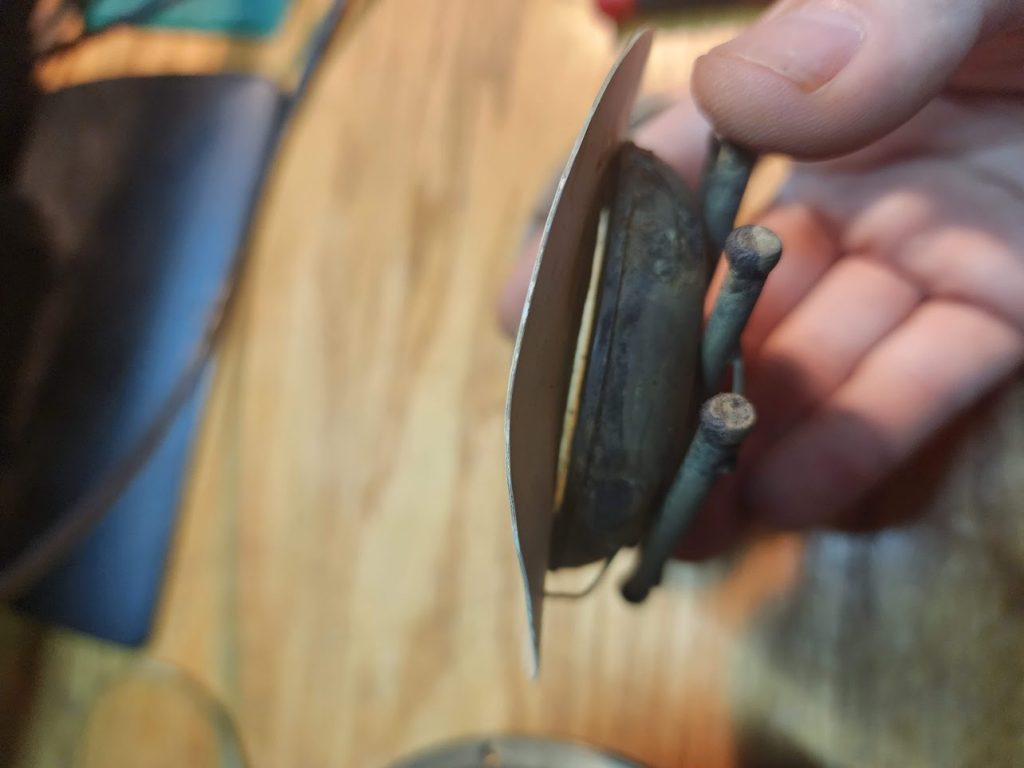
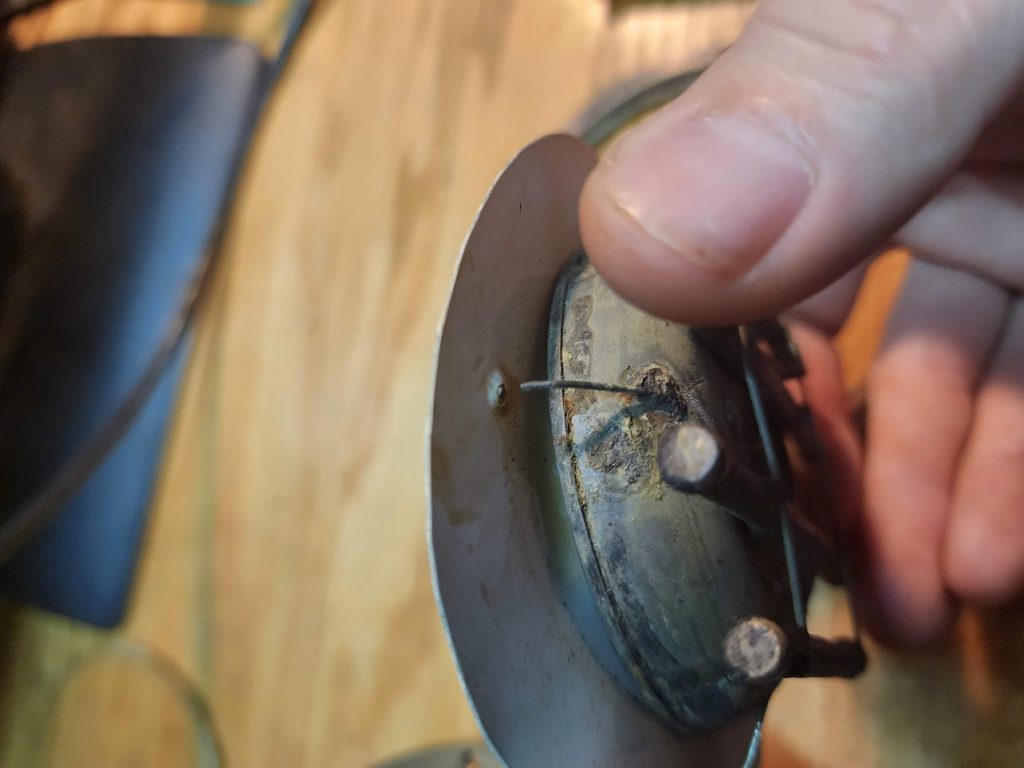
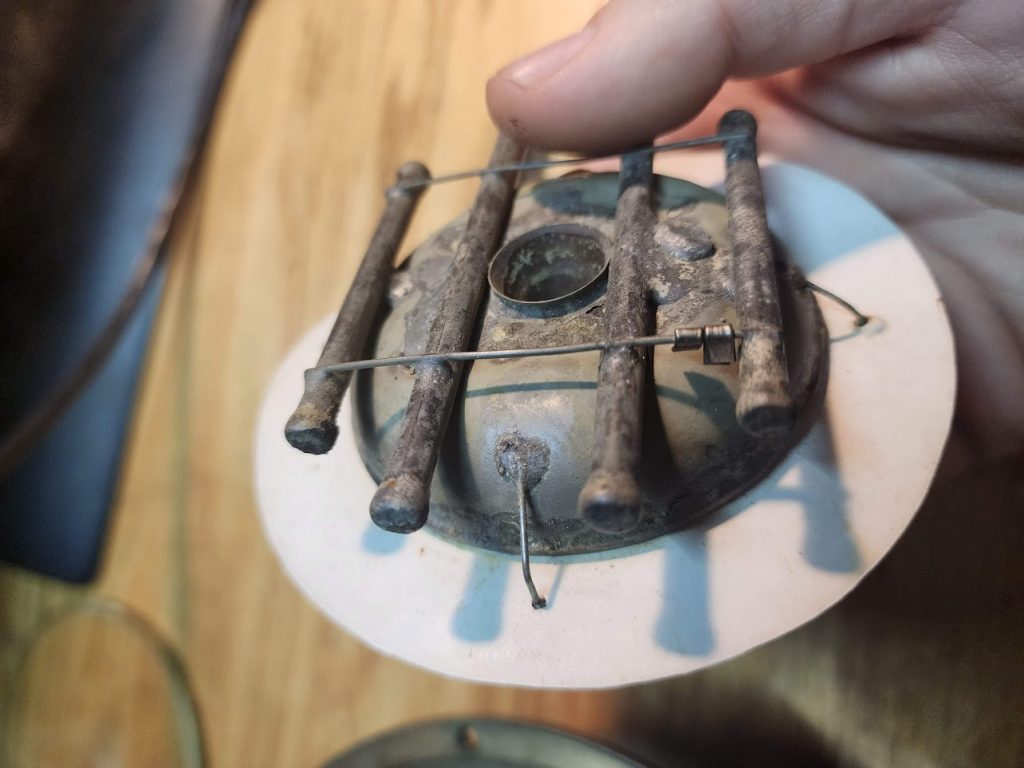
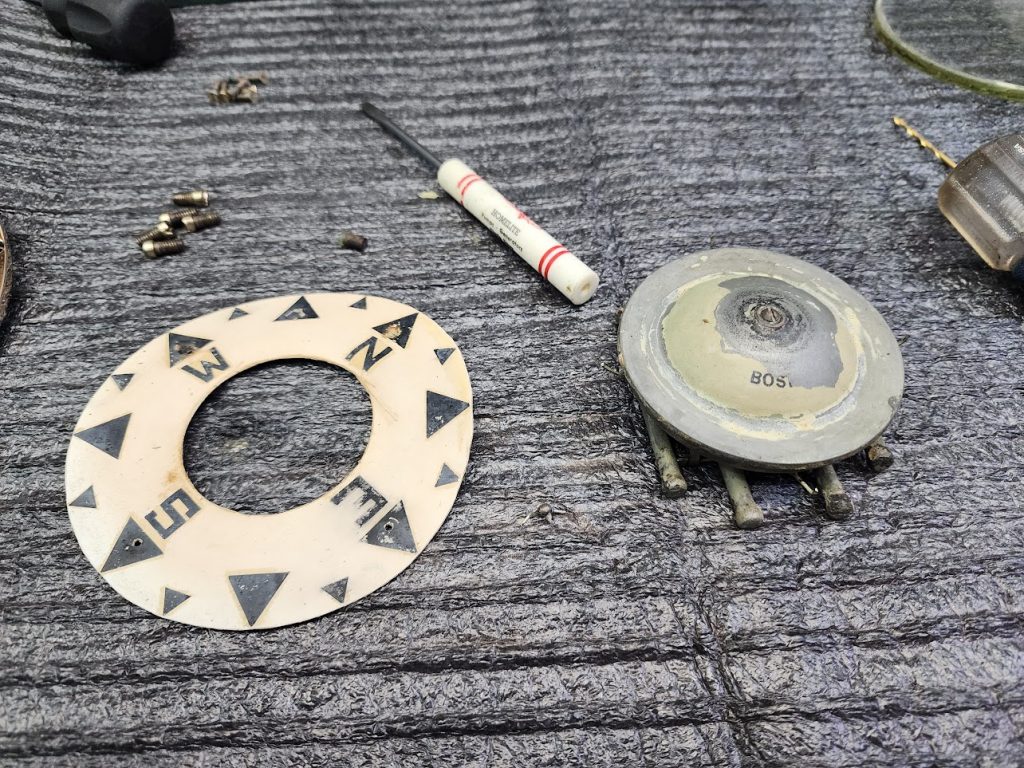
The Compass card was warped and in bad shape, It also had one of its mounting points broken. I will address this soon. First step was to get everything into the blaster, and to wire wheel, and polish the parts!
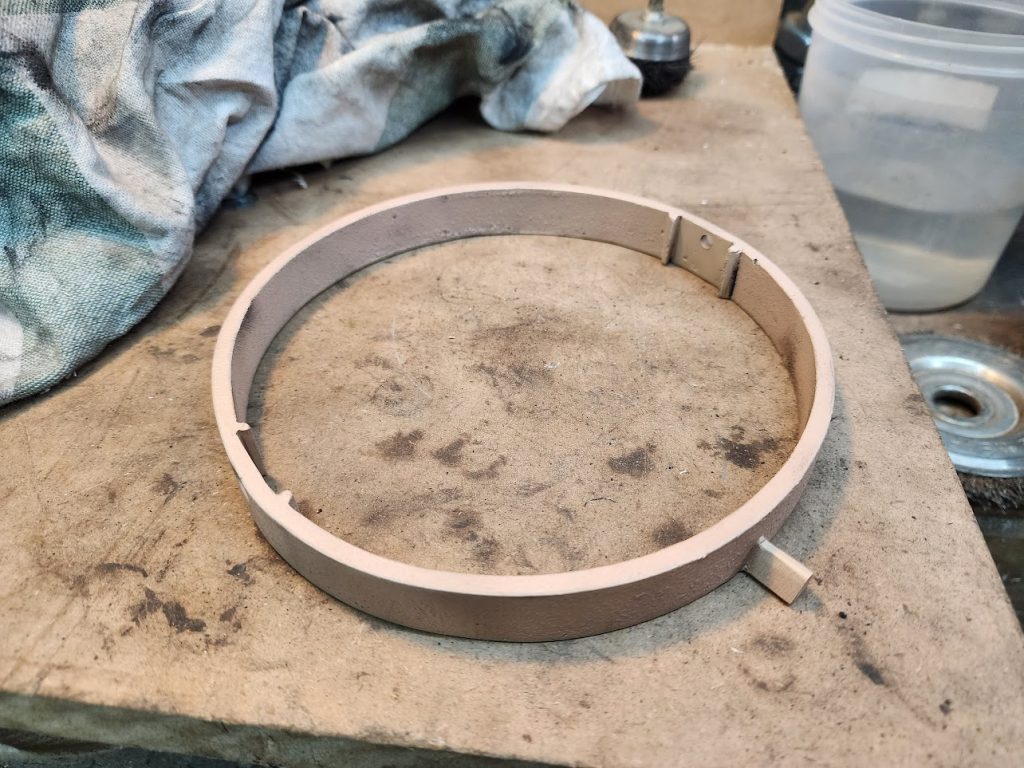
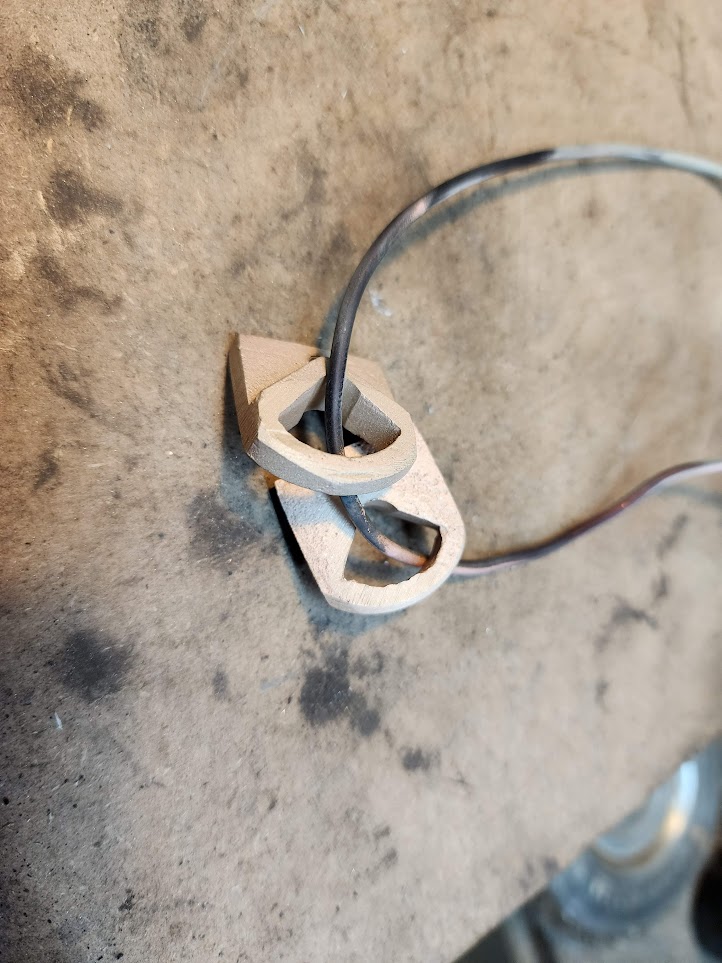
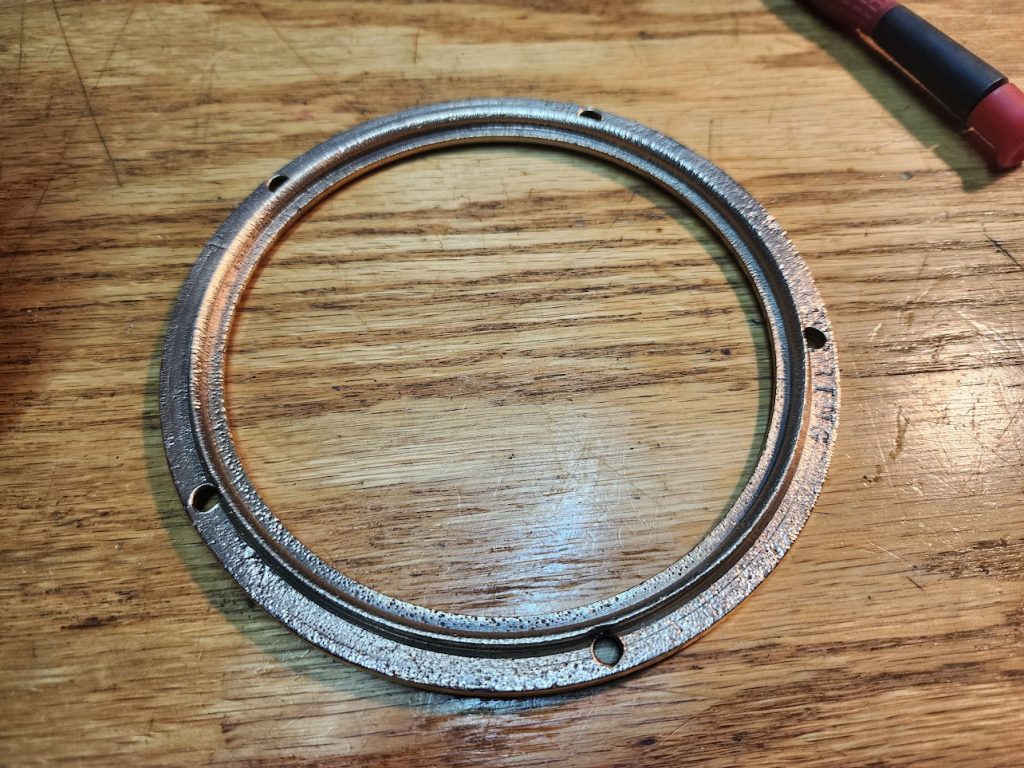
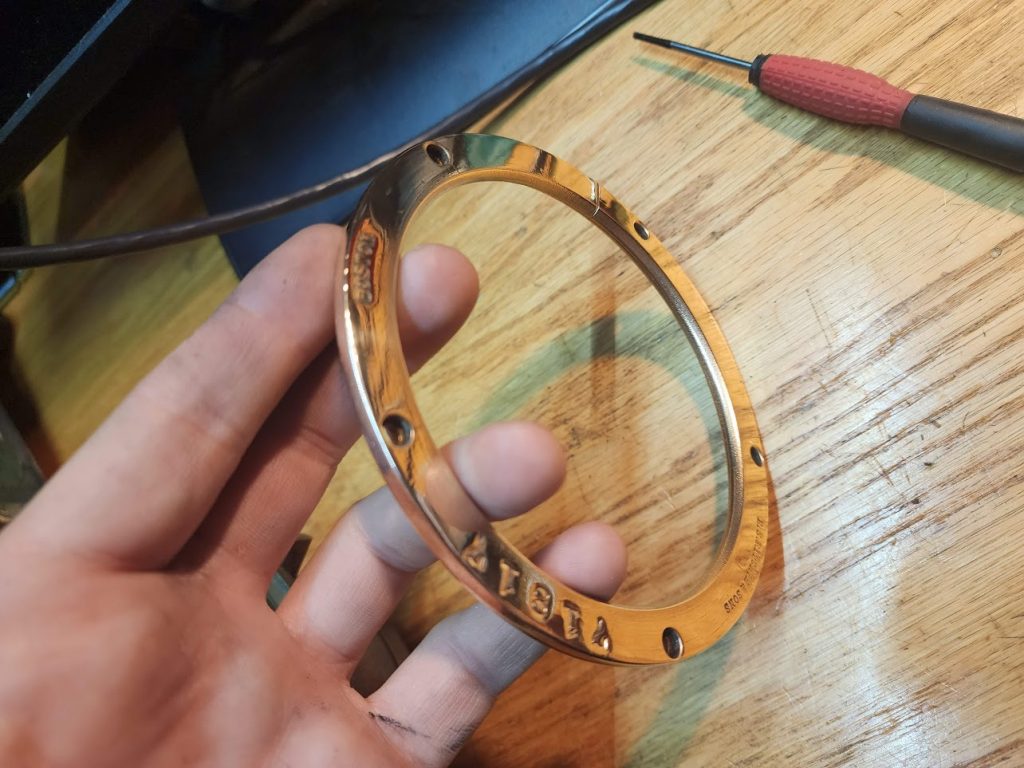
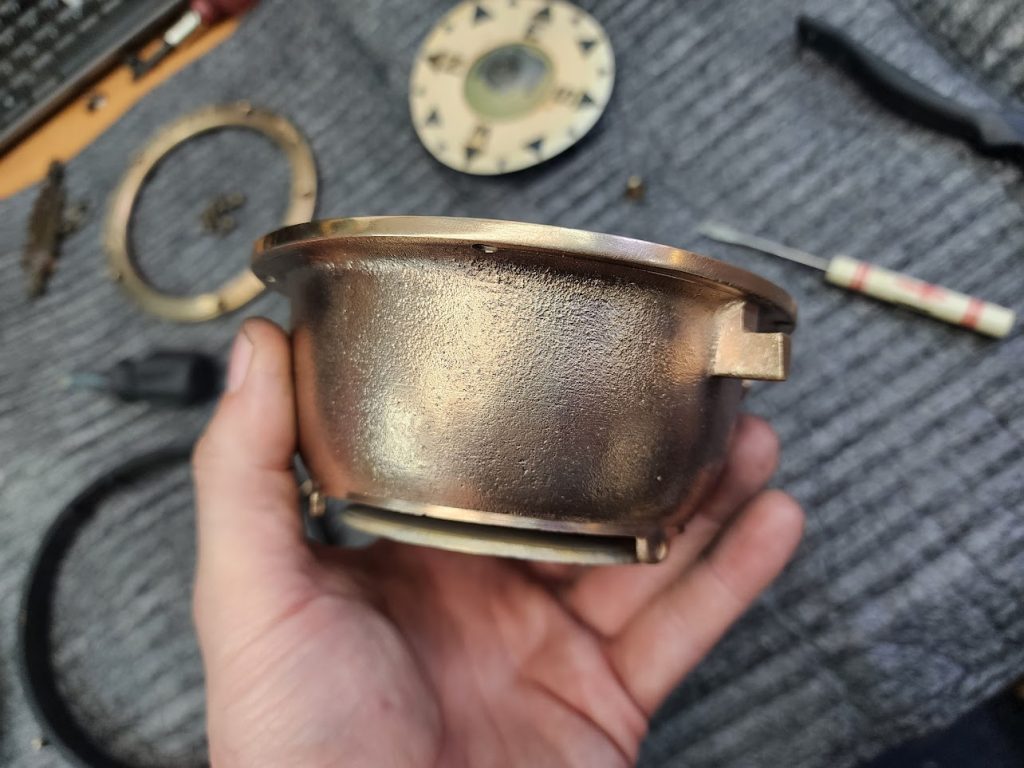
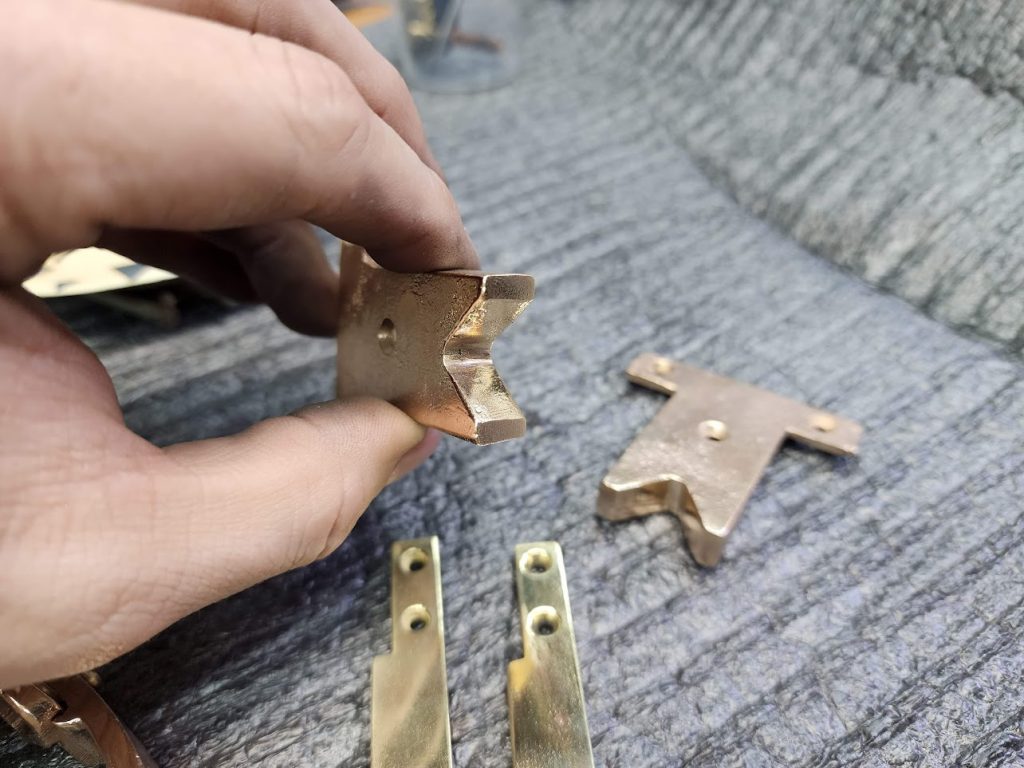
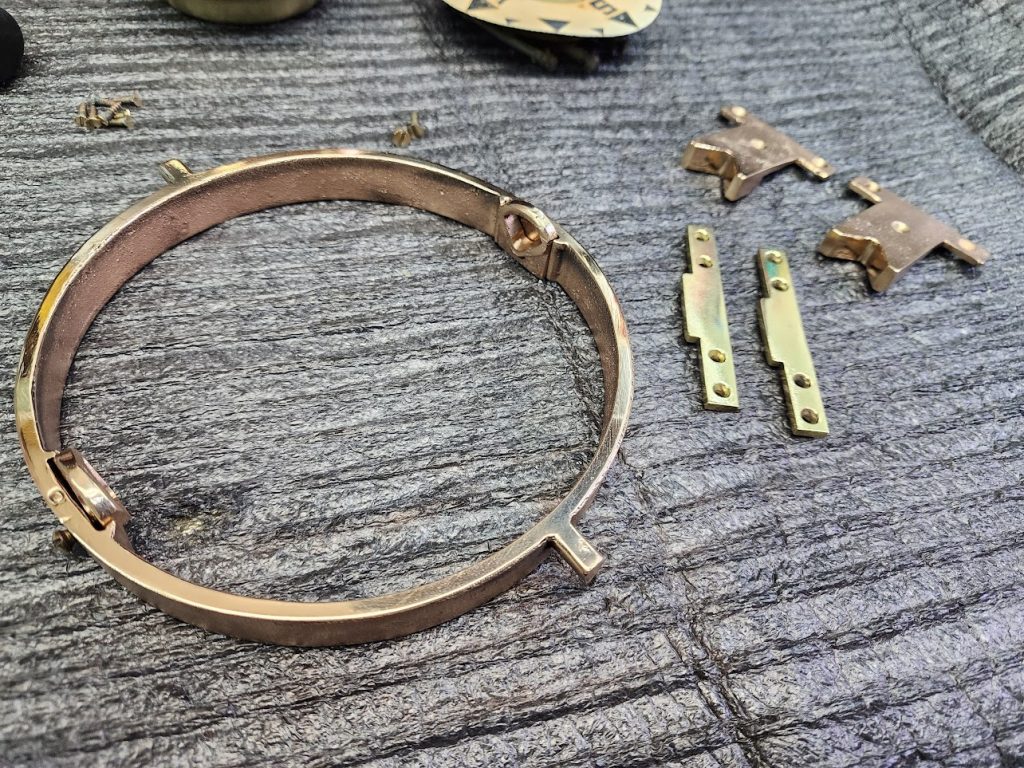
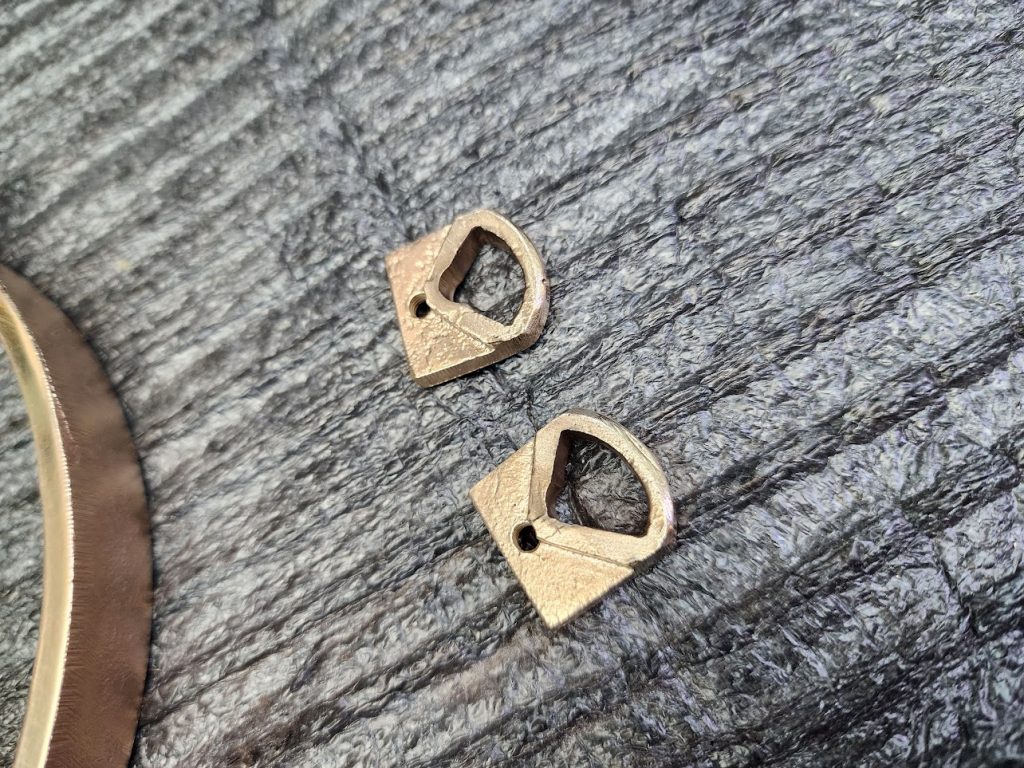
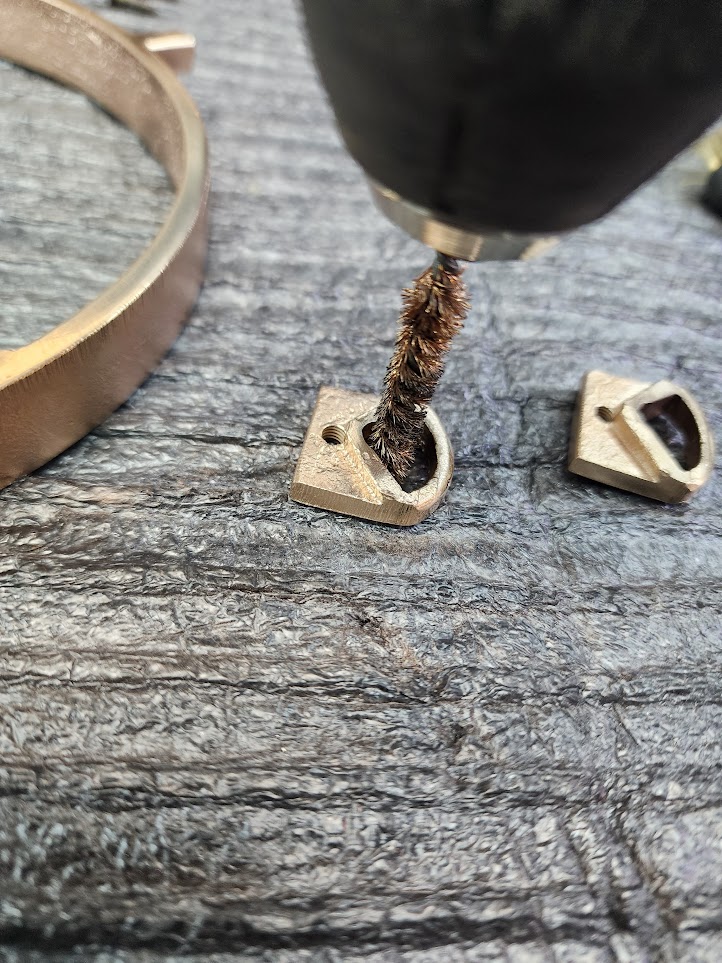
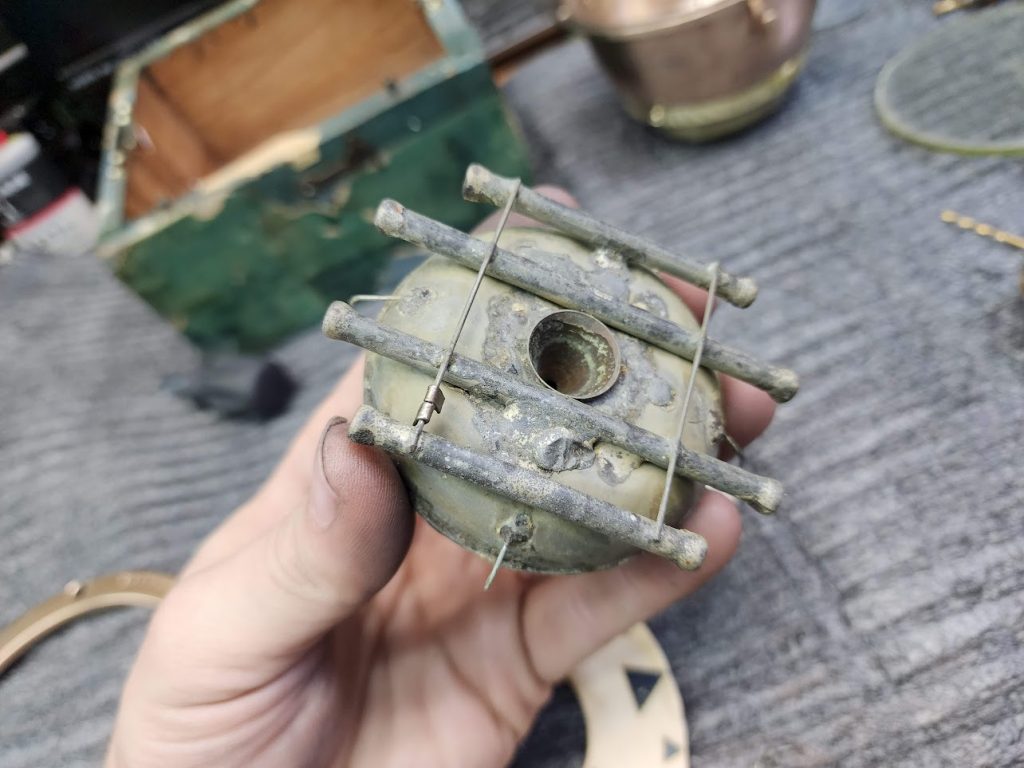
The compass center section rides on a pivot, to access this pivot the screw on top of the dome section unscrews and a small part comes out with a gem on the top that makes for the hard but smooth pivot bearing for the compass. Like the ones used in watches!
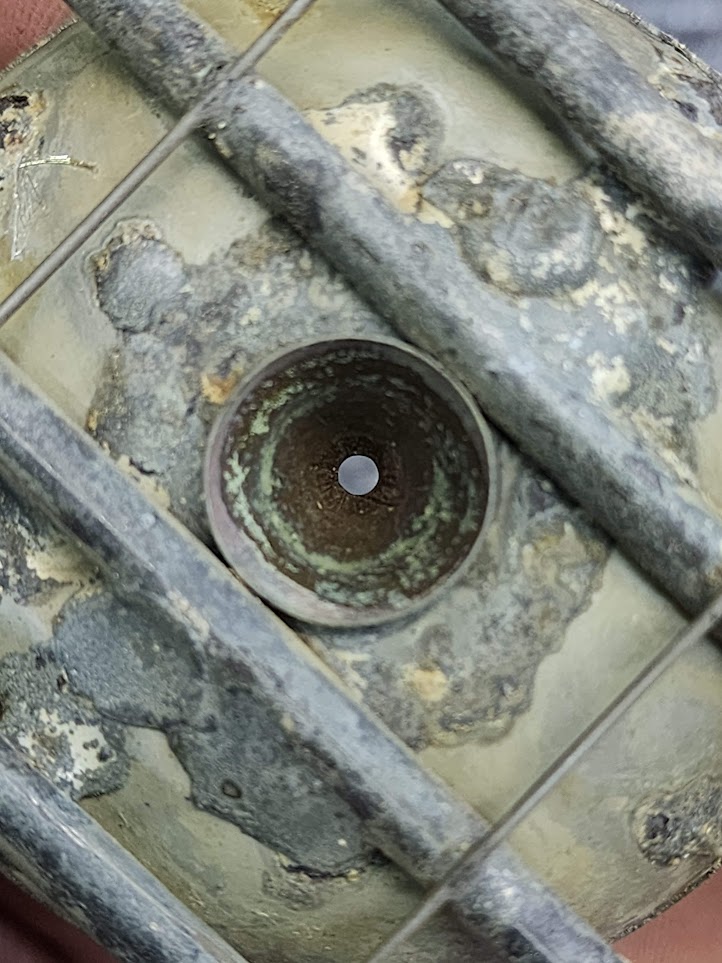
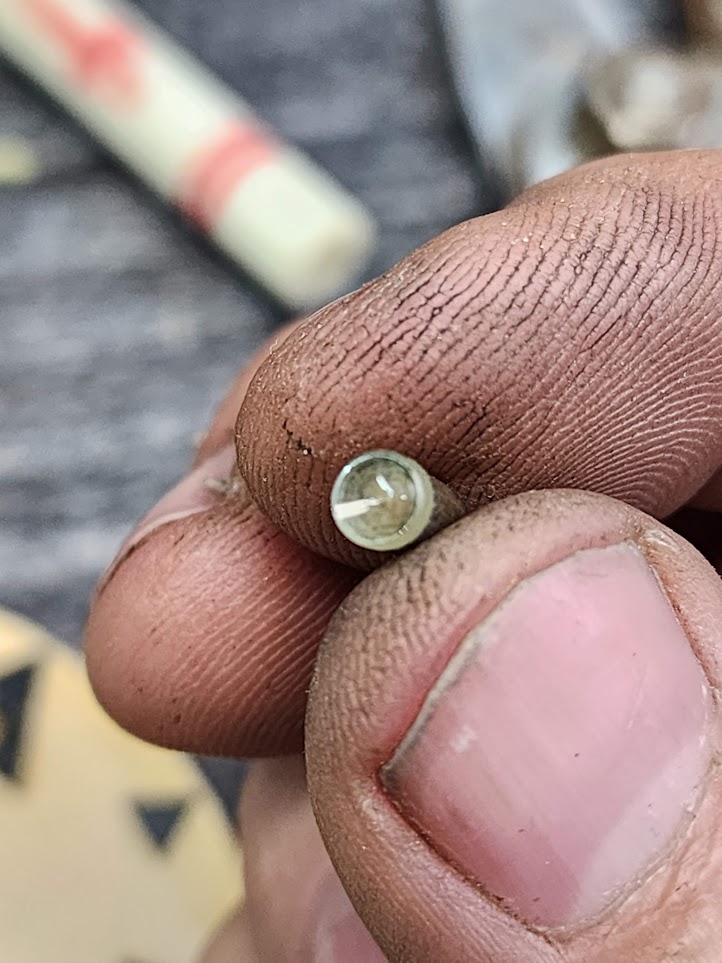
The main bowl was a lot of work to clean up and polish, the needle was also polished at the tip for a smooth pivot.

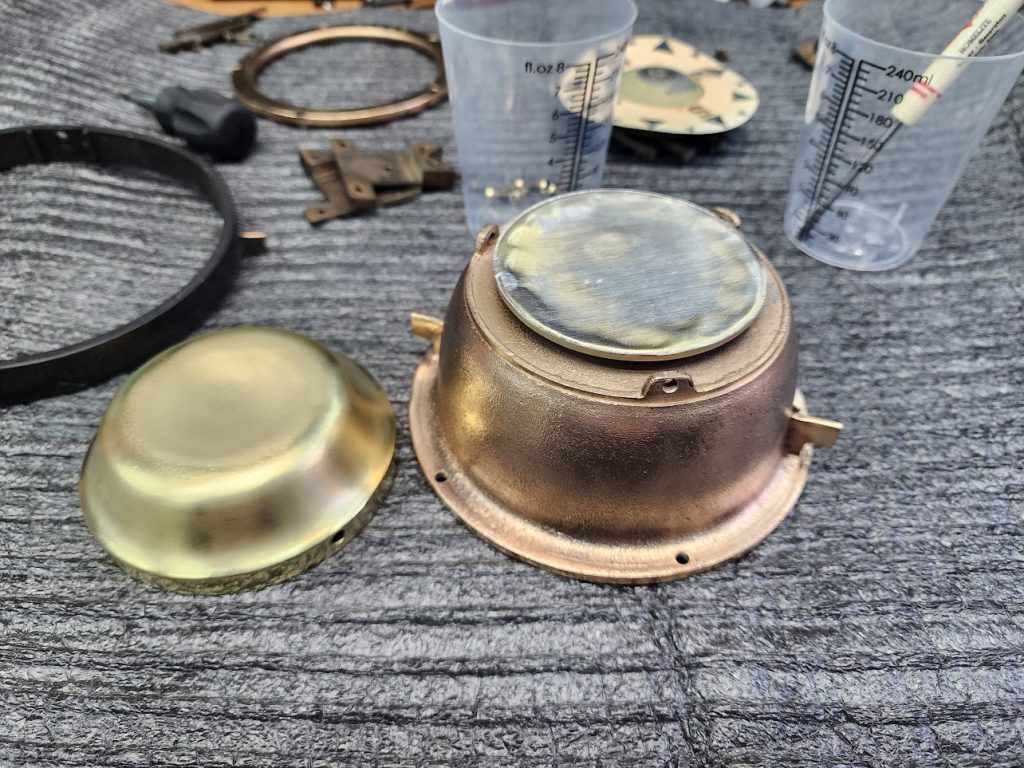
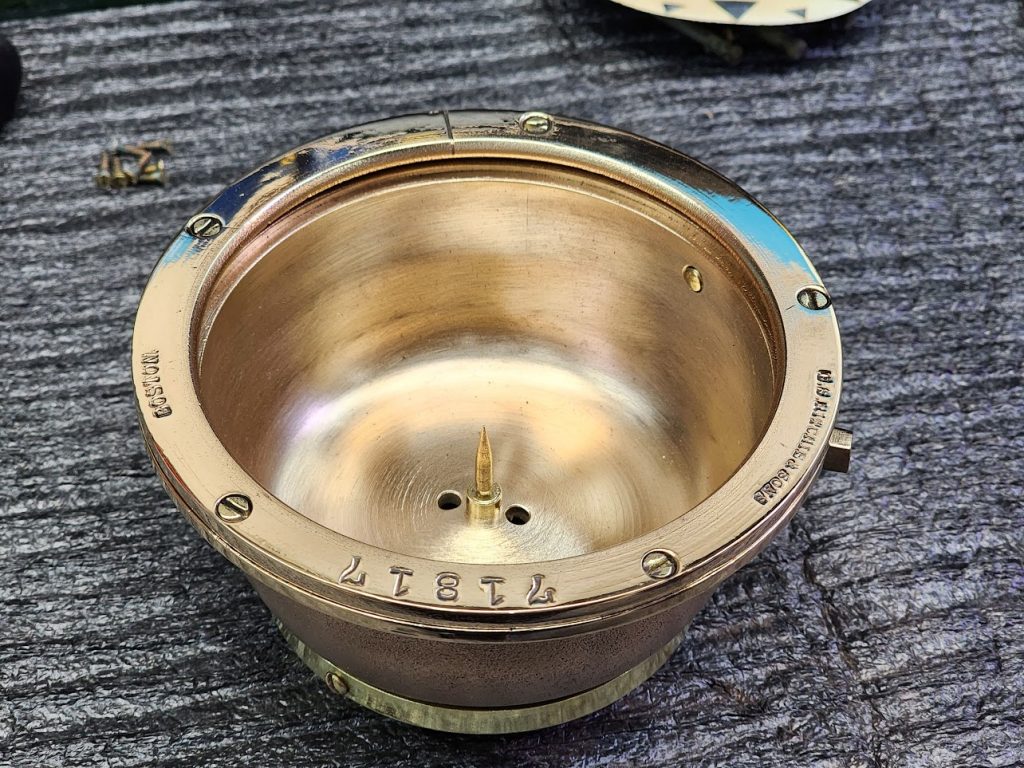
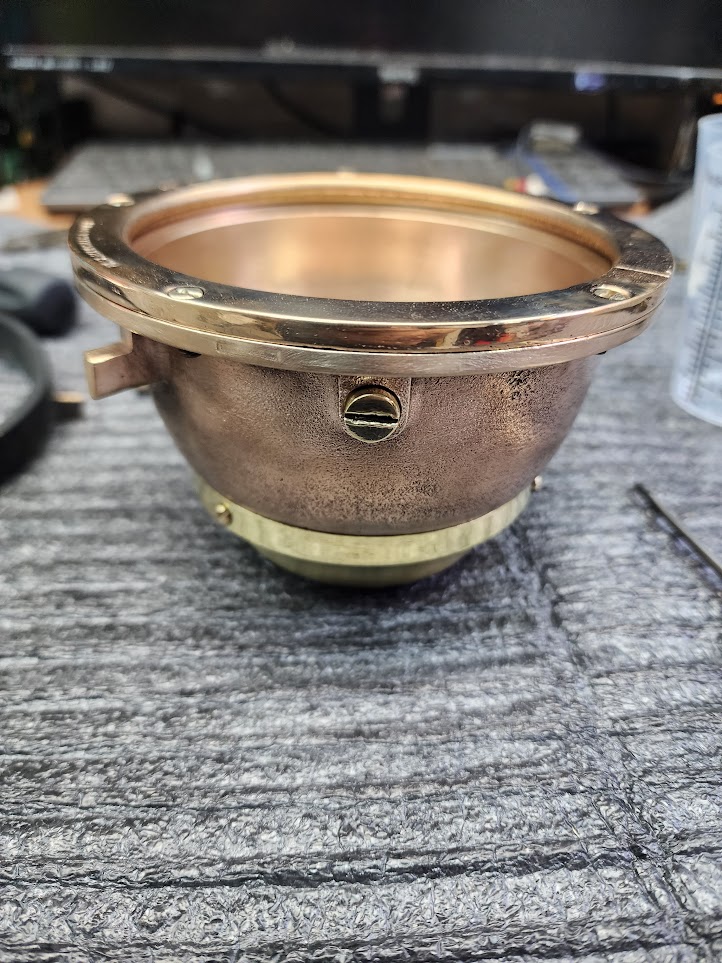
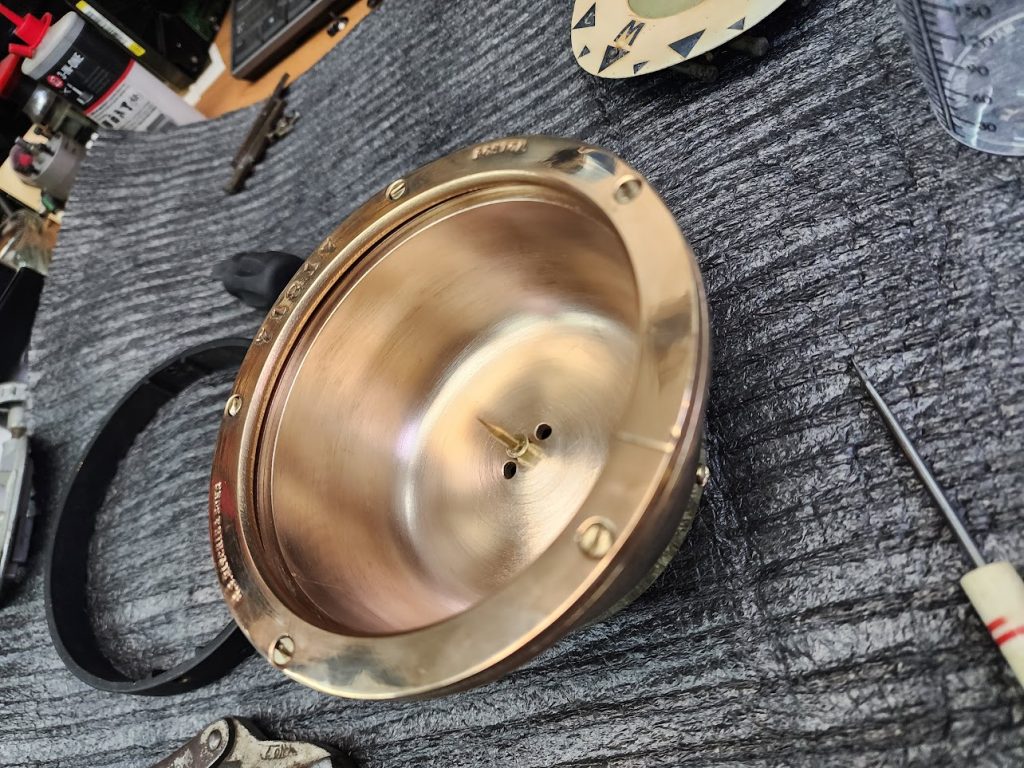
The bottom section had me a bit confused at first. After some research I learned that the very bottom plate had molten lead poured into it, to make the counterweight, this puts the center of gravity below the pivot point so it always swings down to balance point. The Silver disk on the bottom, moves when pressed on. It is a diaphragm that is needed when the compass is filled with fluid. Yes compass fluid is a thing! And for the age of this compass it would have been filled with Mineral spirits. This fluid acts like a shock absorber to prevent jolts and socks from rough seas, and lets the compass needle slowly move to proper home with minimal oscillation. The bowl would be filled from the side with the brass screw. and all air removed so no bubbles. The bottom chamber would expand and contract with the fluid as the temperature changed so no need for a breather or air pocket!
The compass needle section is a small floating raft, that will float in the fluid, but have an ever so slight negative buoyancy to allow it to sit on the needle to stay centered, but have minimal force, to keep it moving very smooth. The tubes are the magnet section for the compass to work. I also used some small weights to balance the raft to sit level.
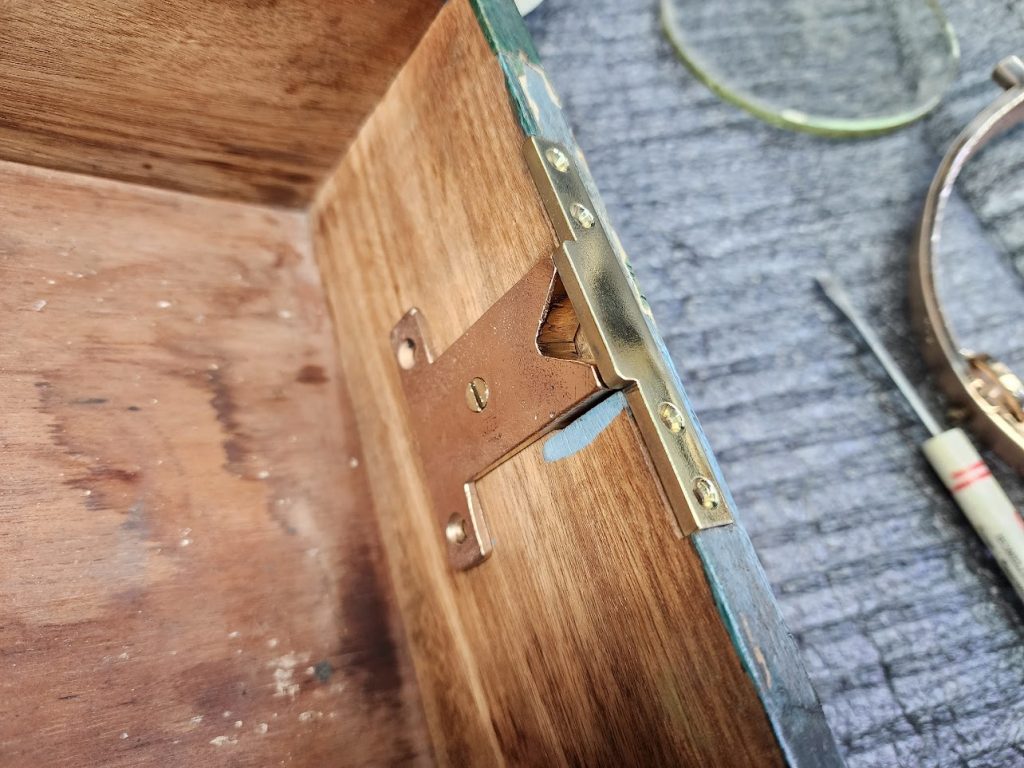
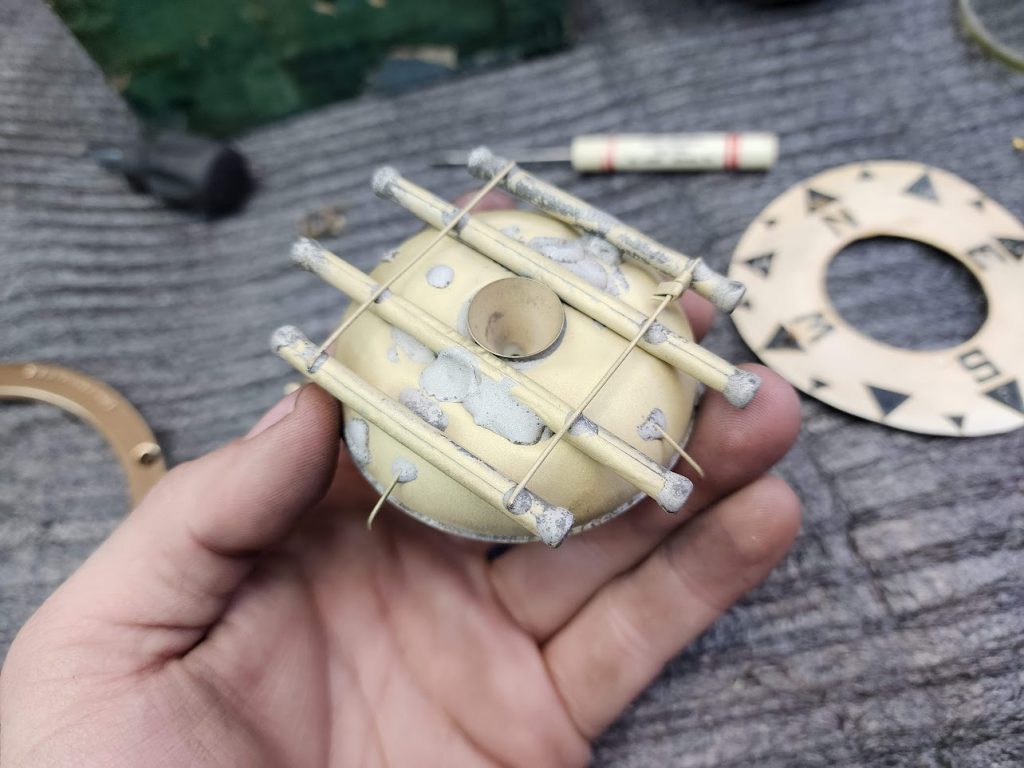
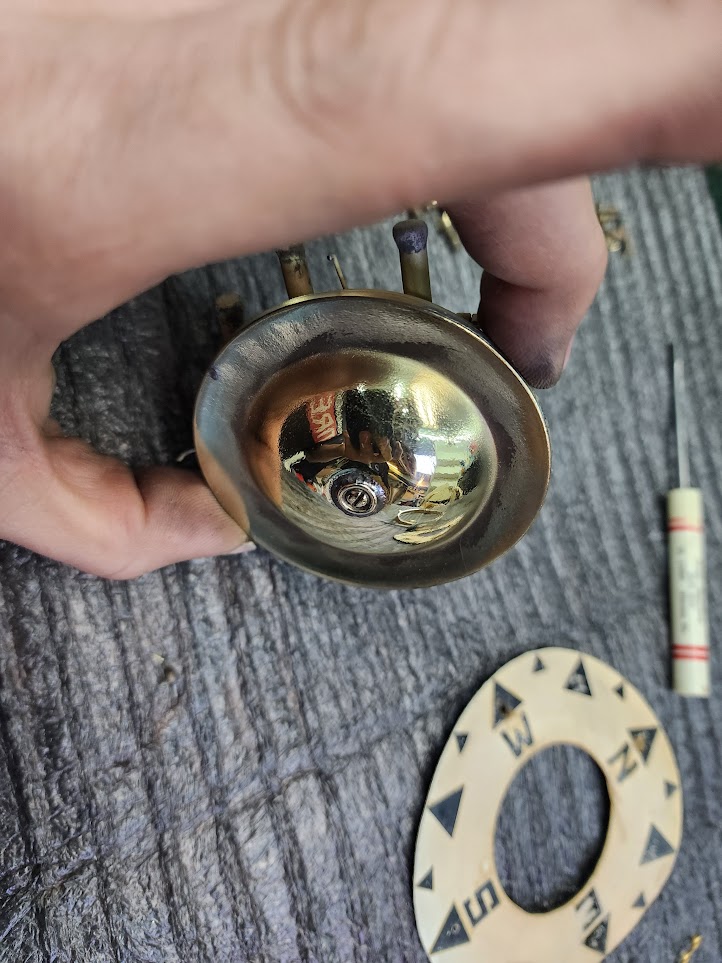
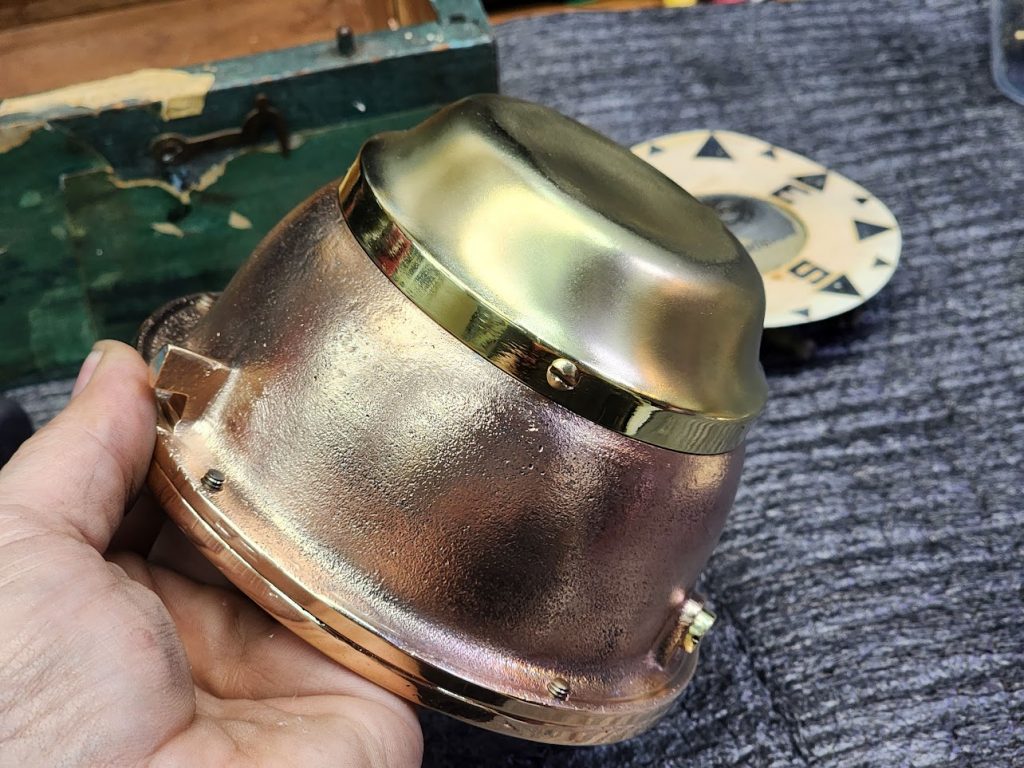
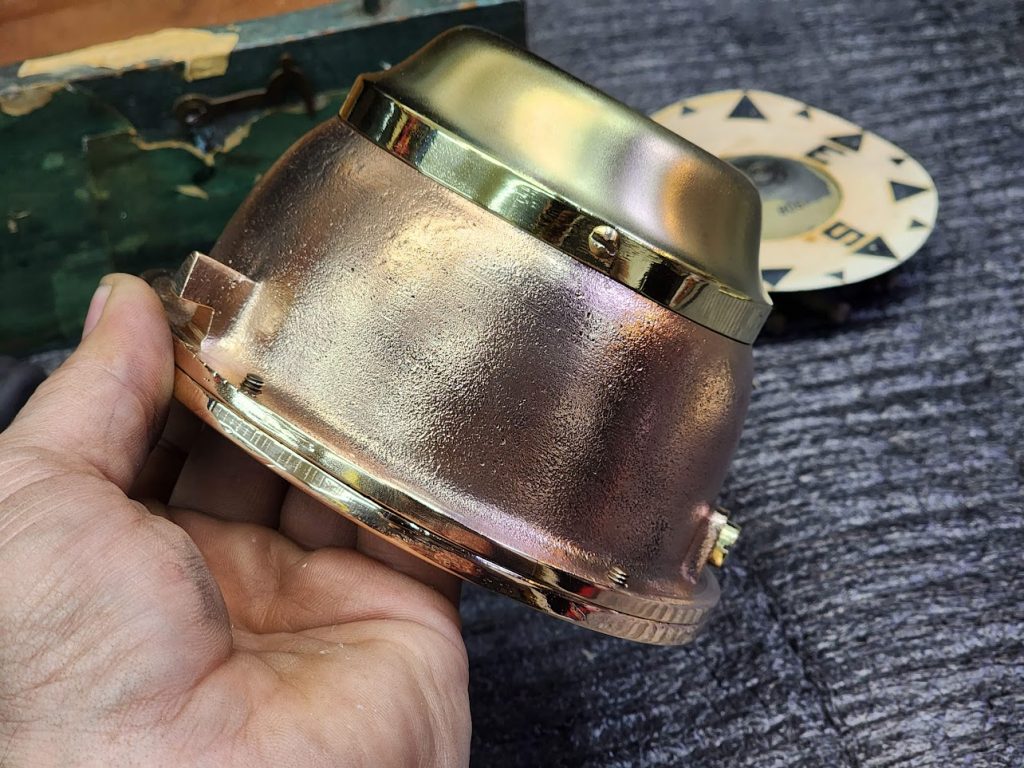

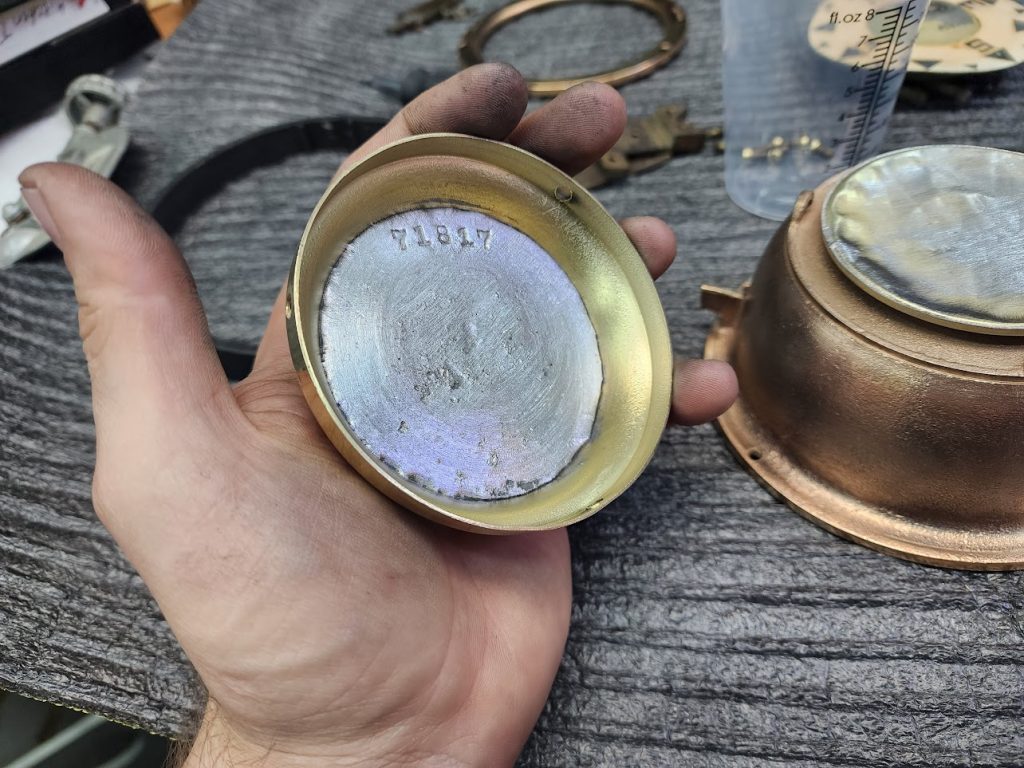
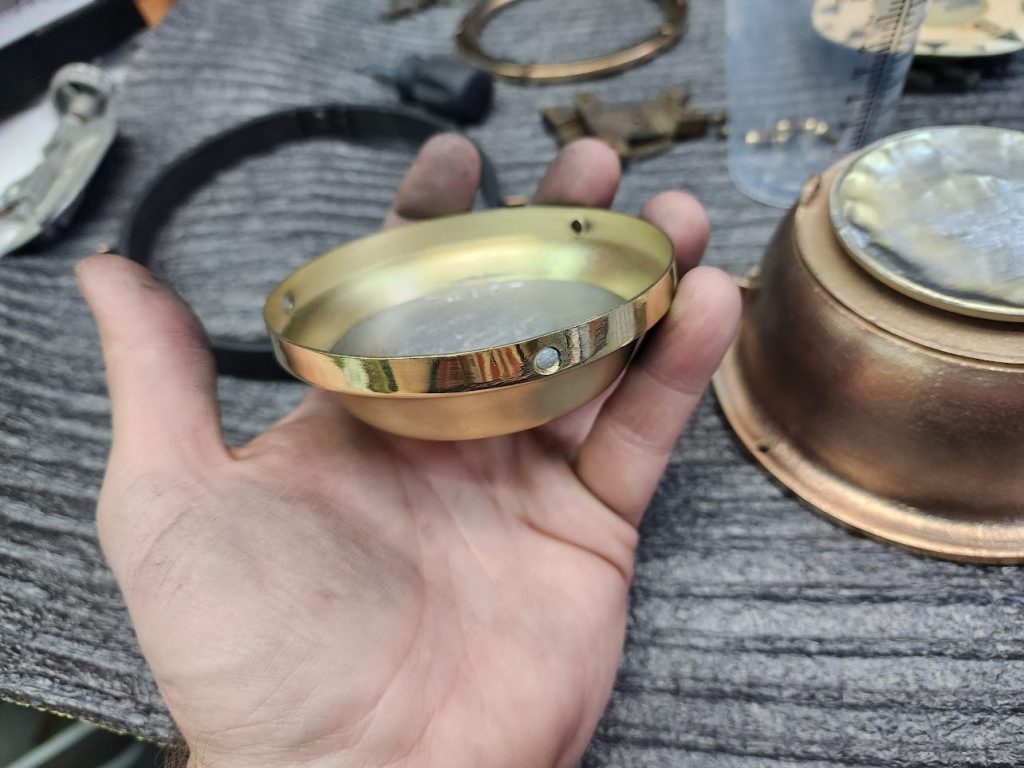

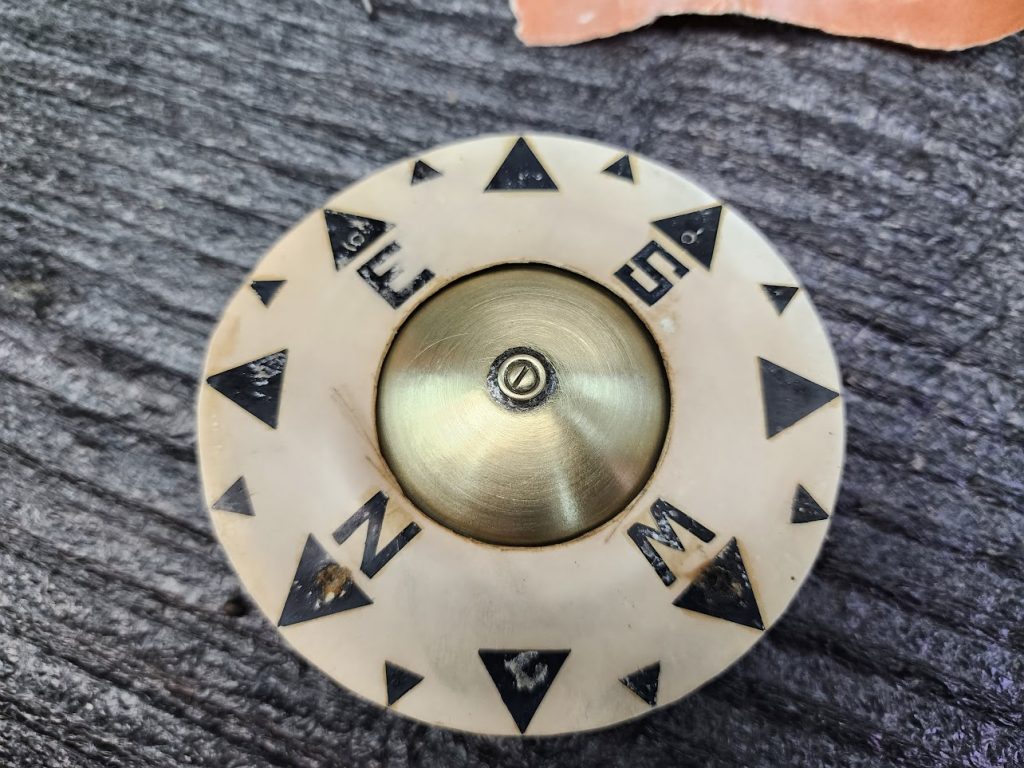
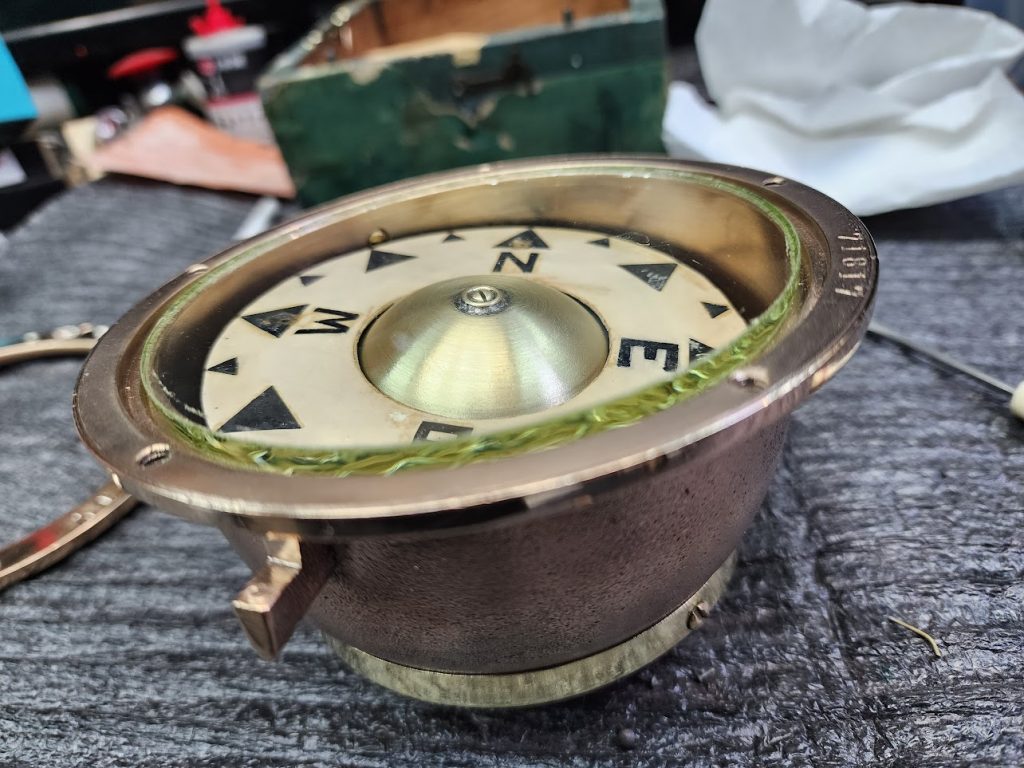
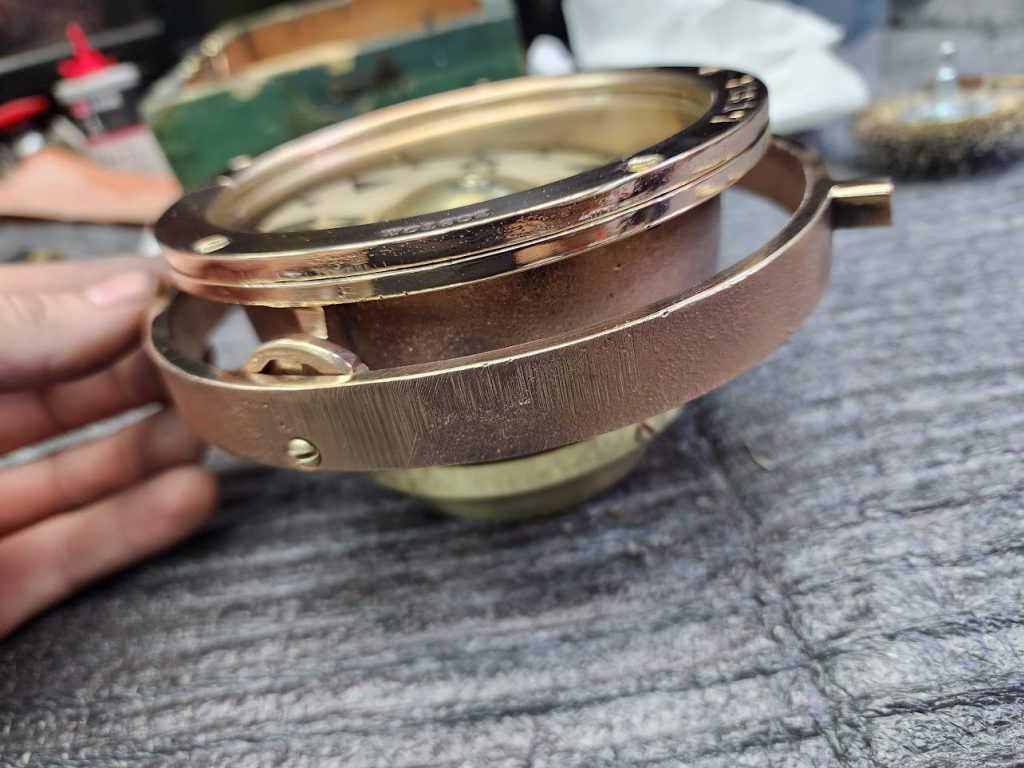
I chose to only polish the top surfaces as an accent. Same for the lower weight, only the lip was polished. The center dome for the compass dial, was polished, but did not like the look so went with brushed finish instead.
NOTE: Only a display compass should be polished like this, for in actual ship use, the shine would be a great distraction to the operator. They are most often matt or black painted to prevent reflections.
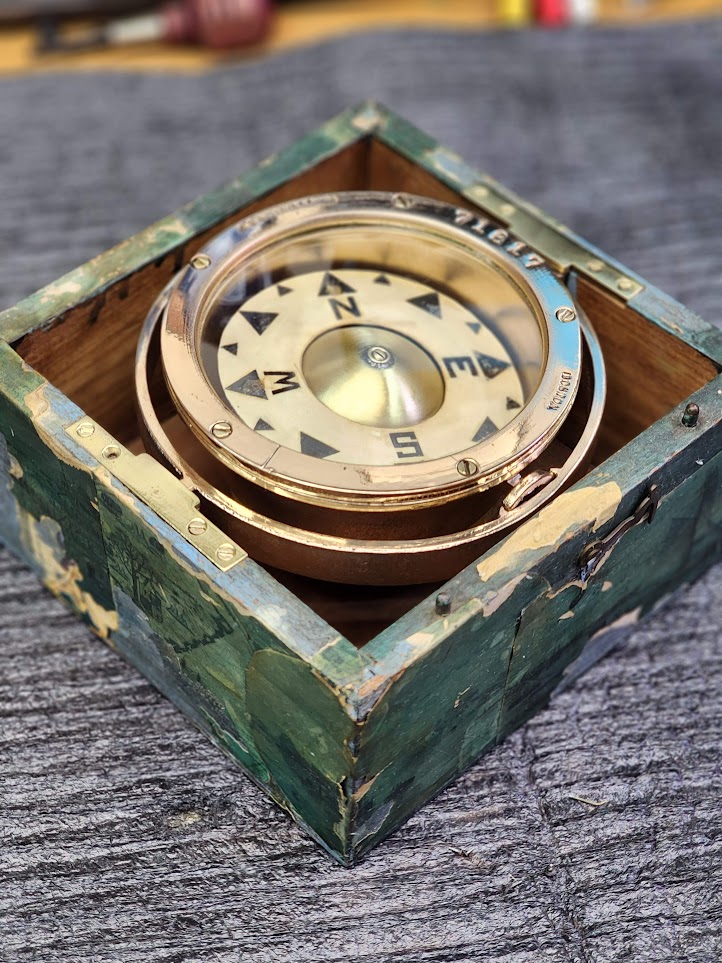
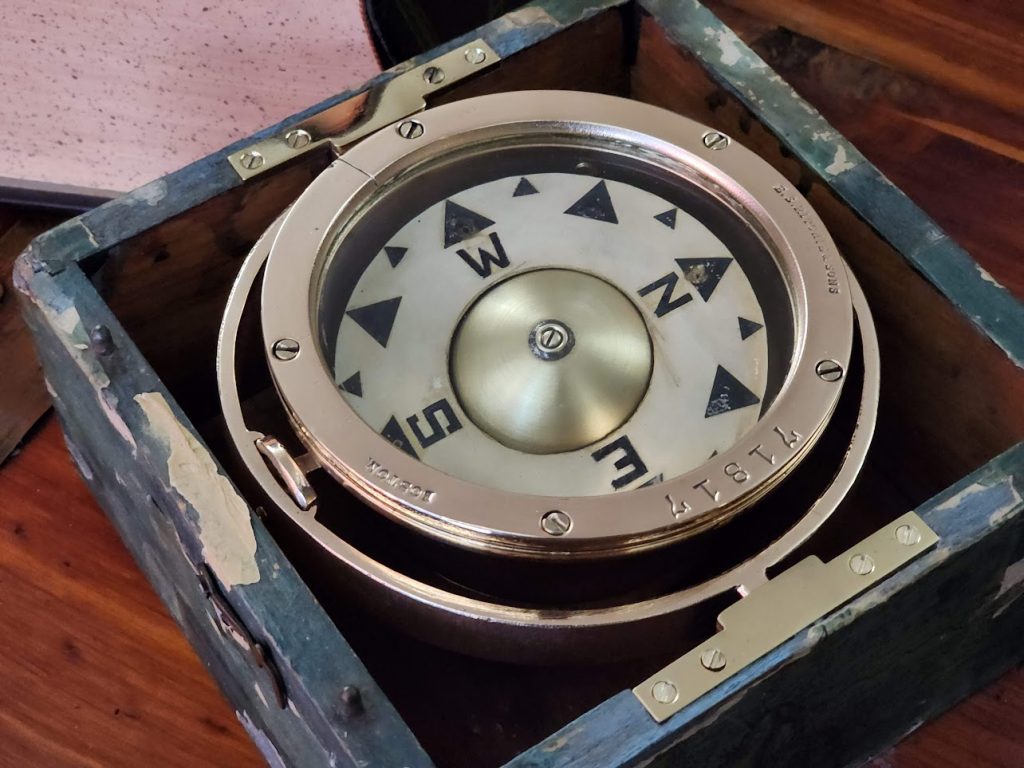
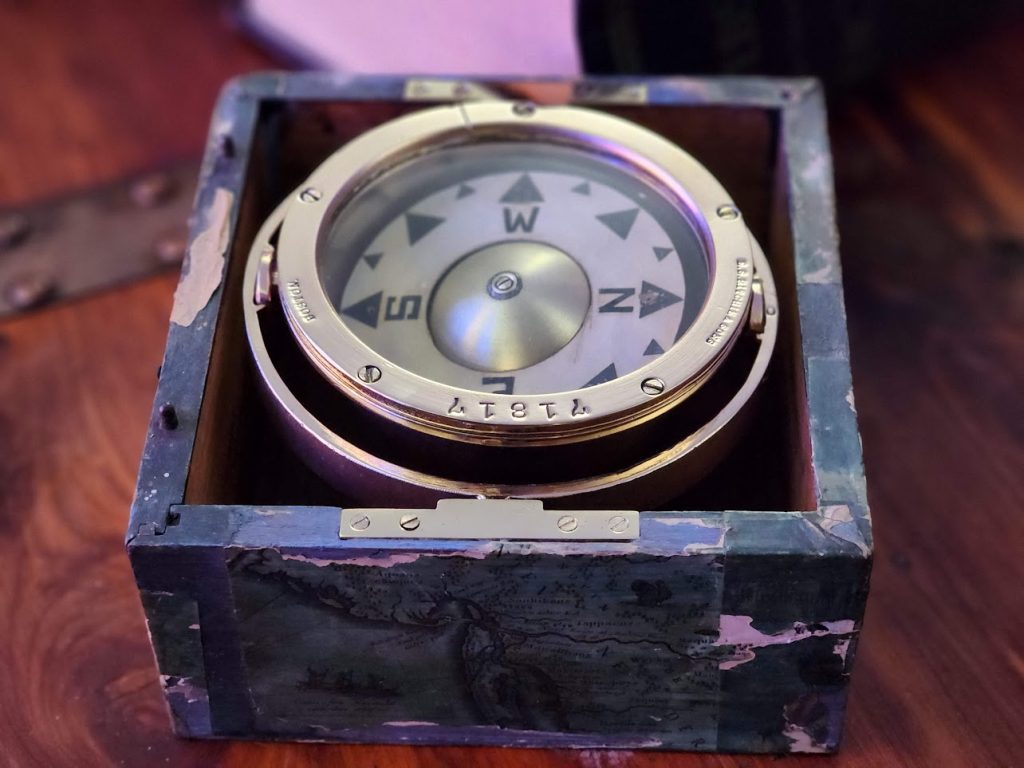
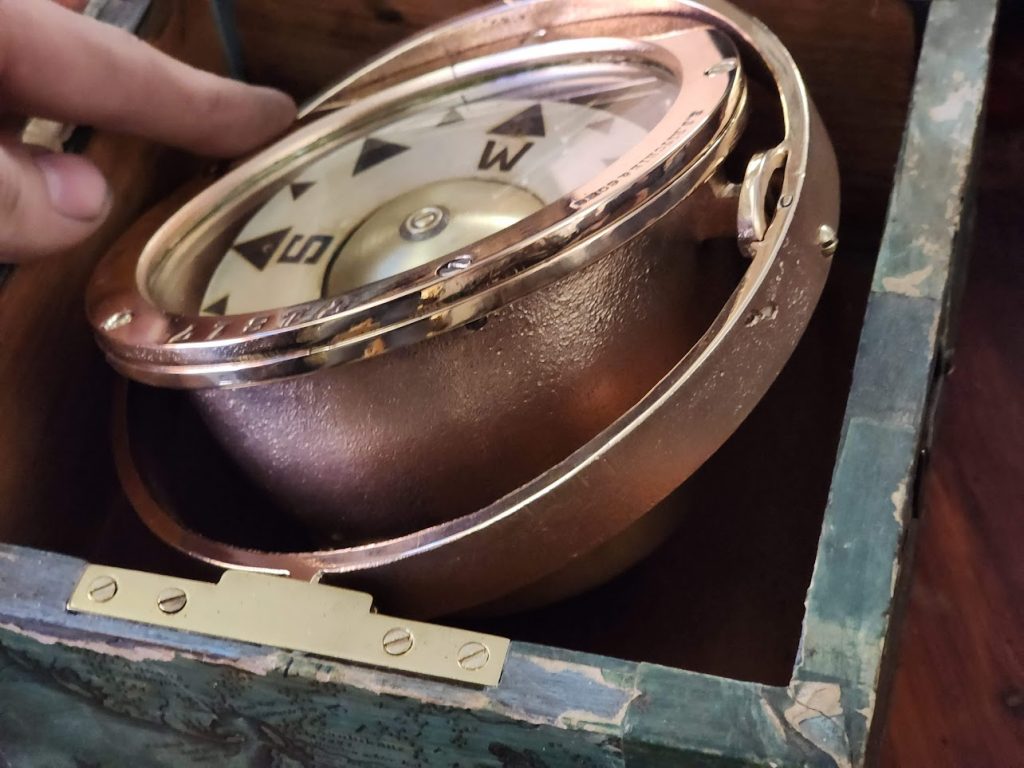
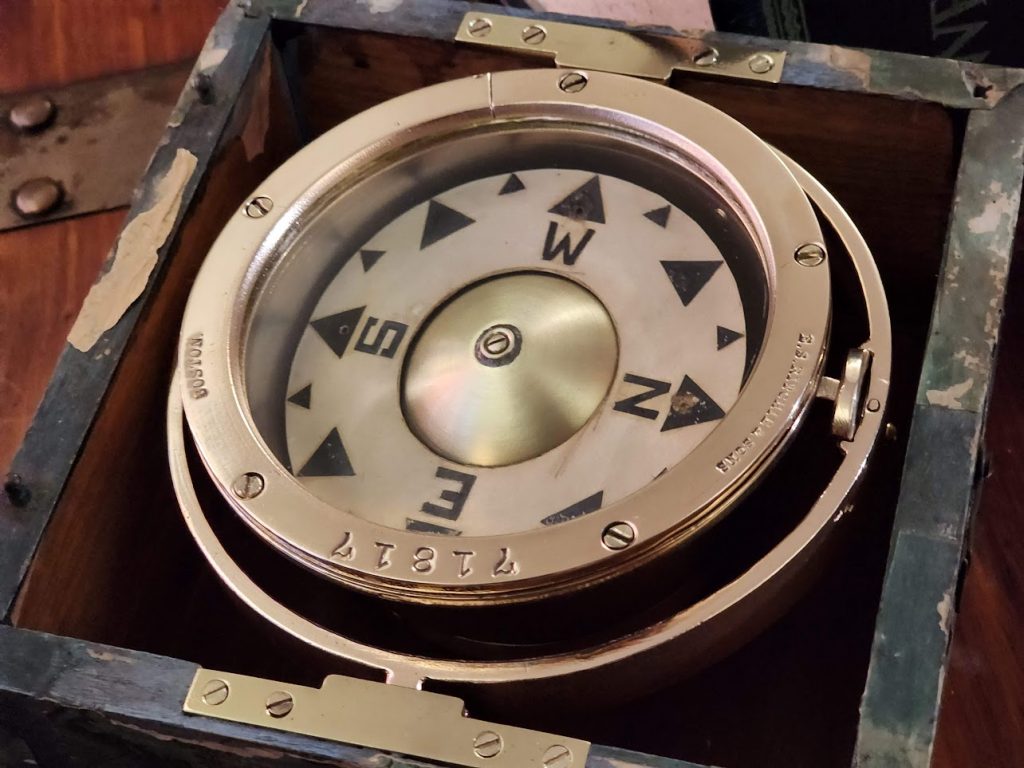
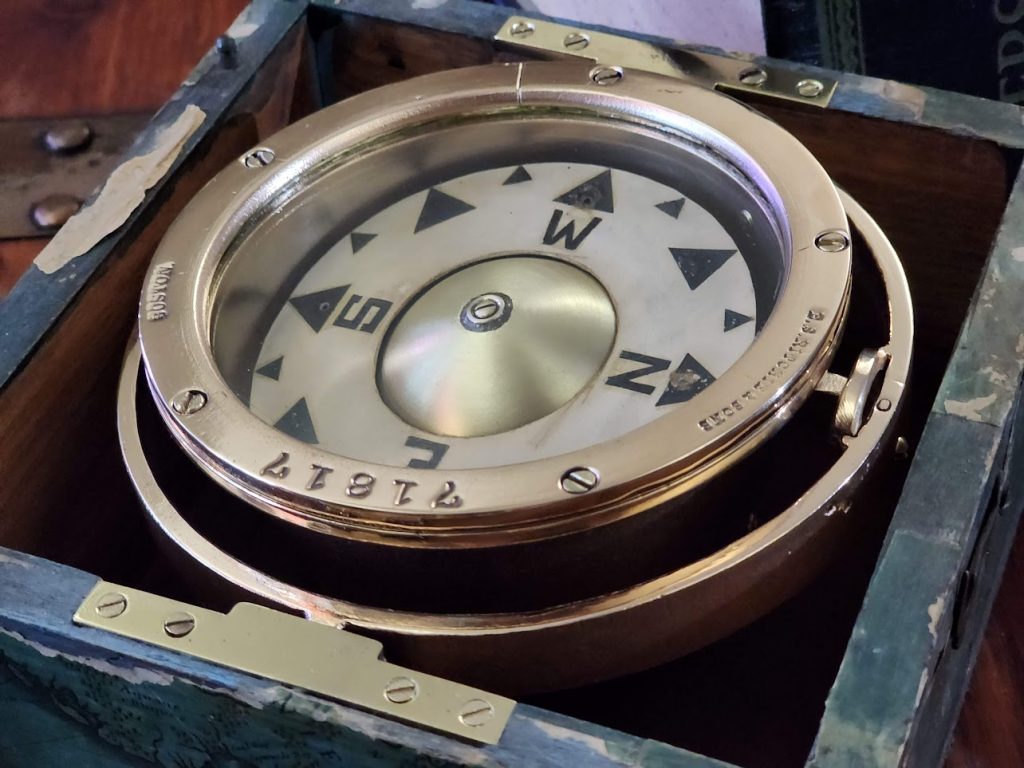
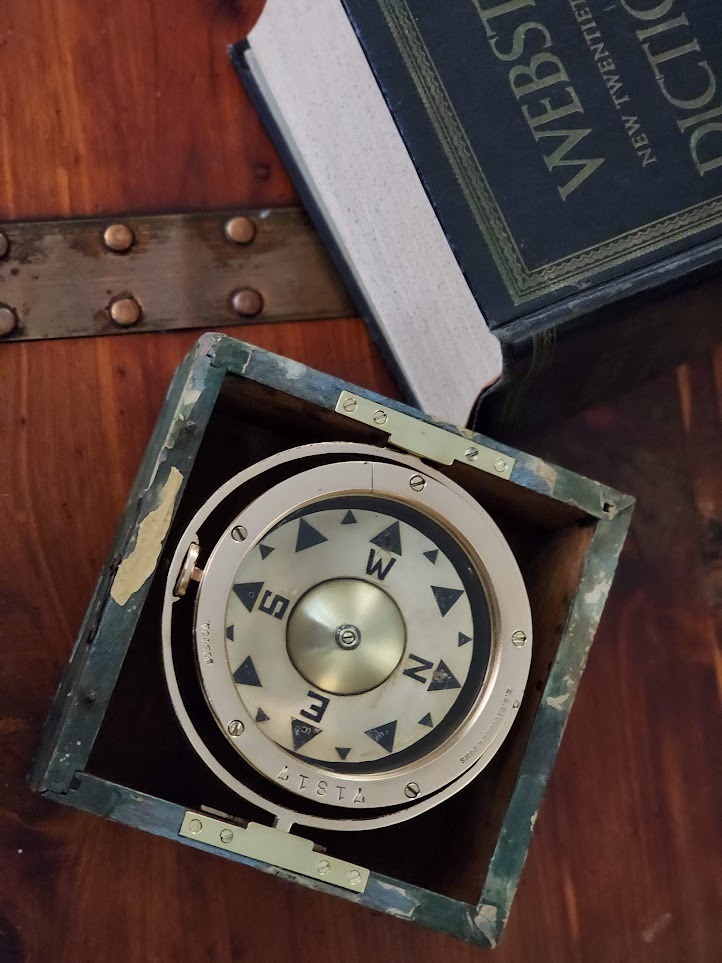
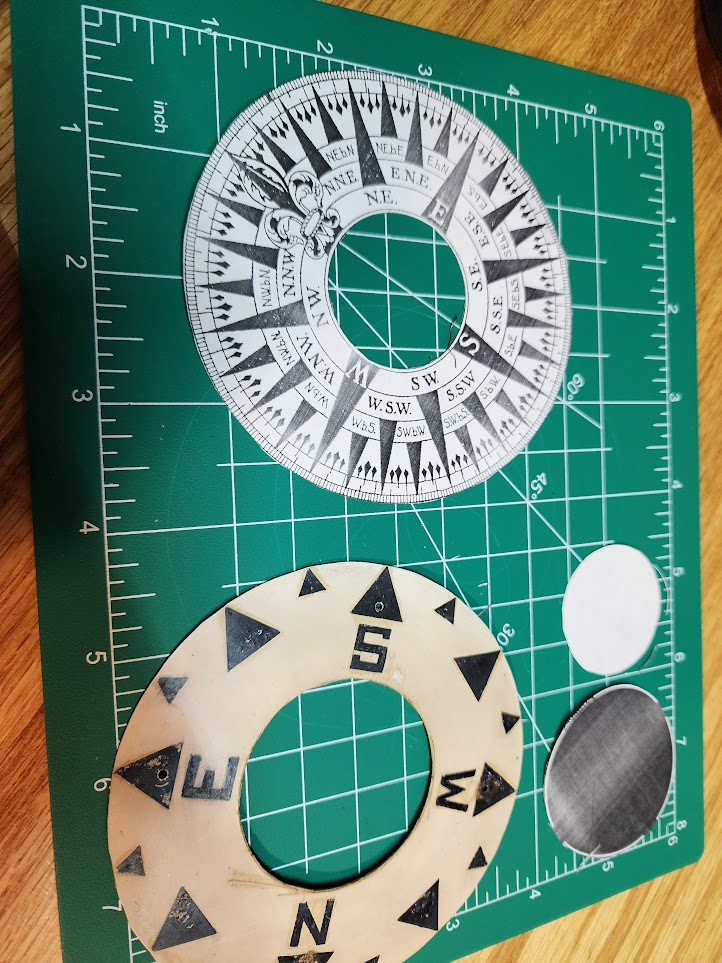
I got it all assembled, and the Compass dial card was bugging me, it did not look original, was rough cut, and also warped.. so I set out to find a period correct dial graphic and made a new card to install in the compass! I also cut custom brass springs to stabilize the pivots from sliding for both axis. I also was able to locate a replacement screw for one of the box mounting screws was missing.
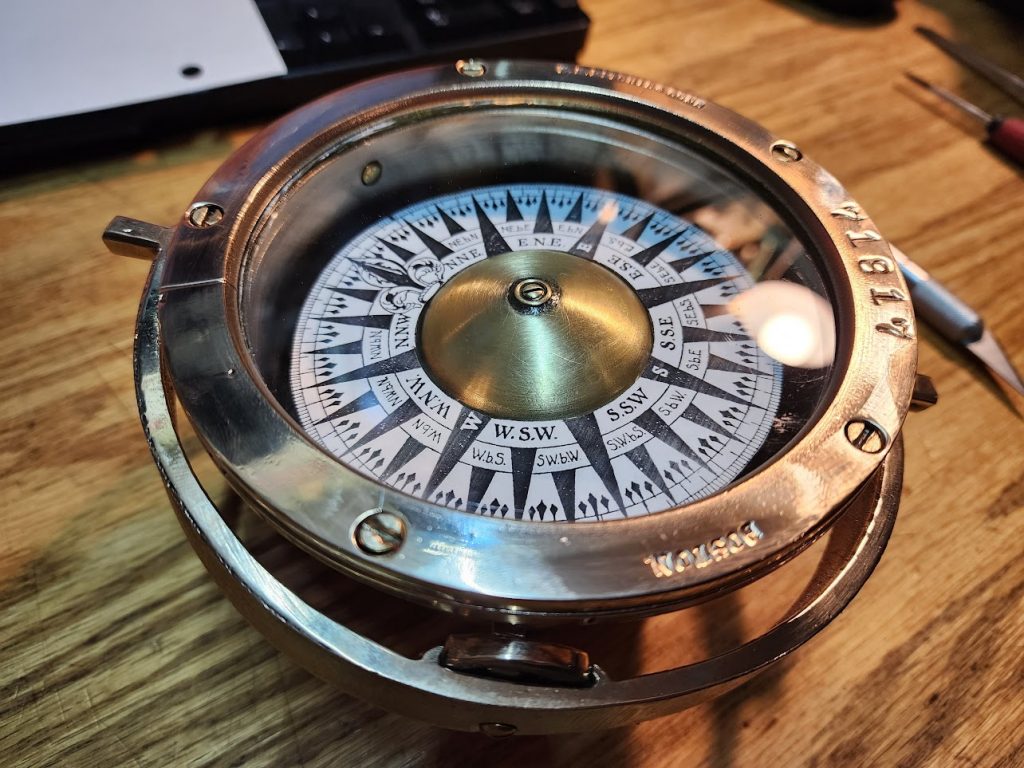
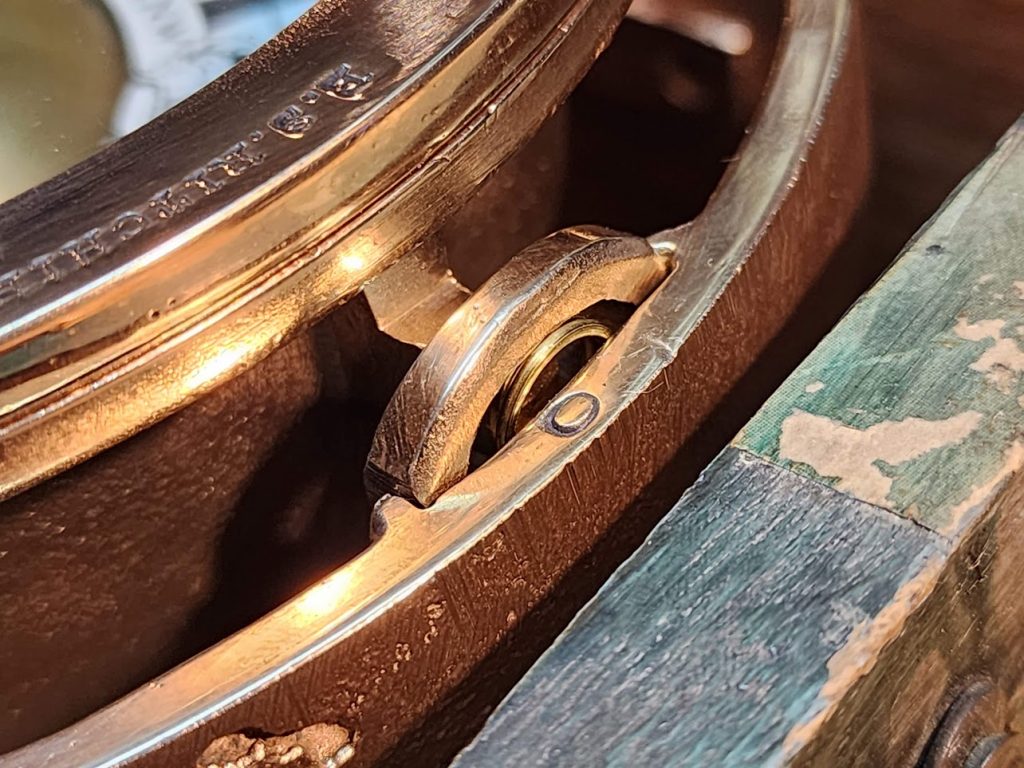
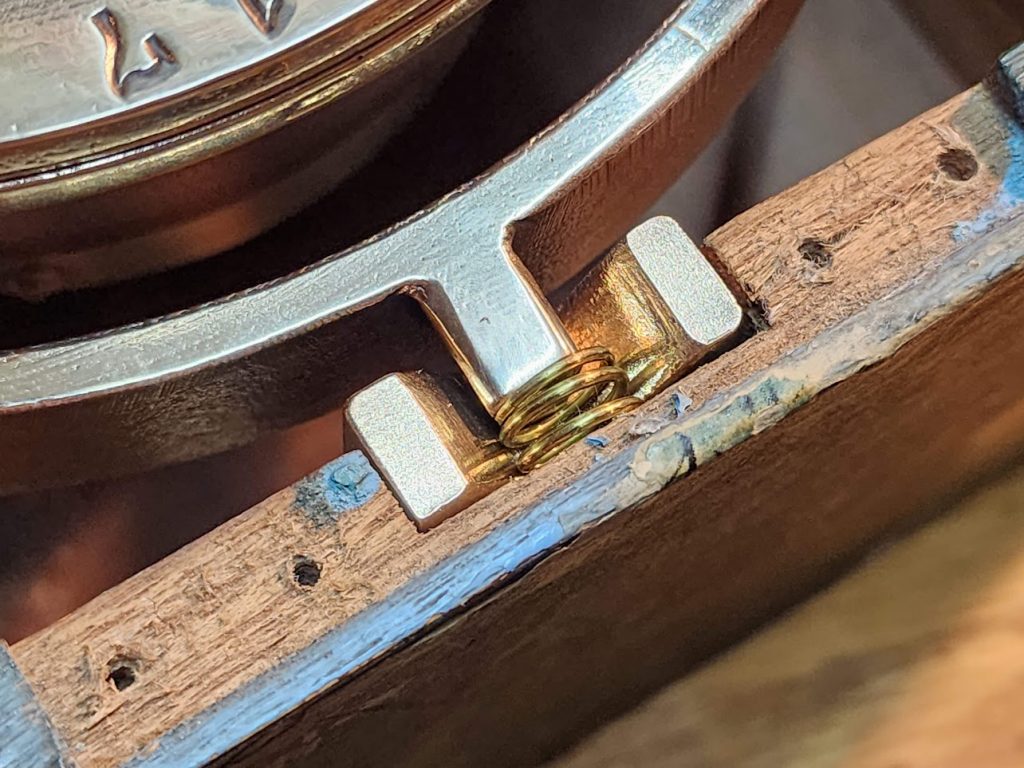
And here are the finished photos! Love how this tuned out!
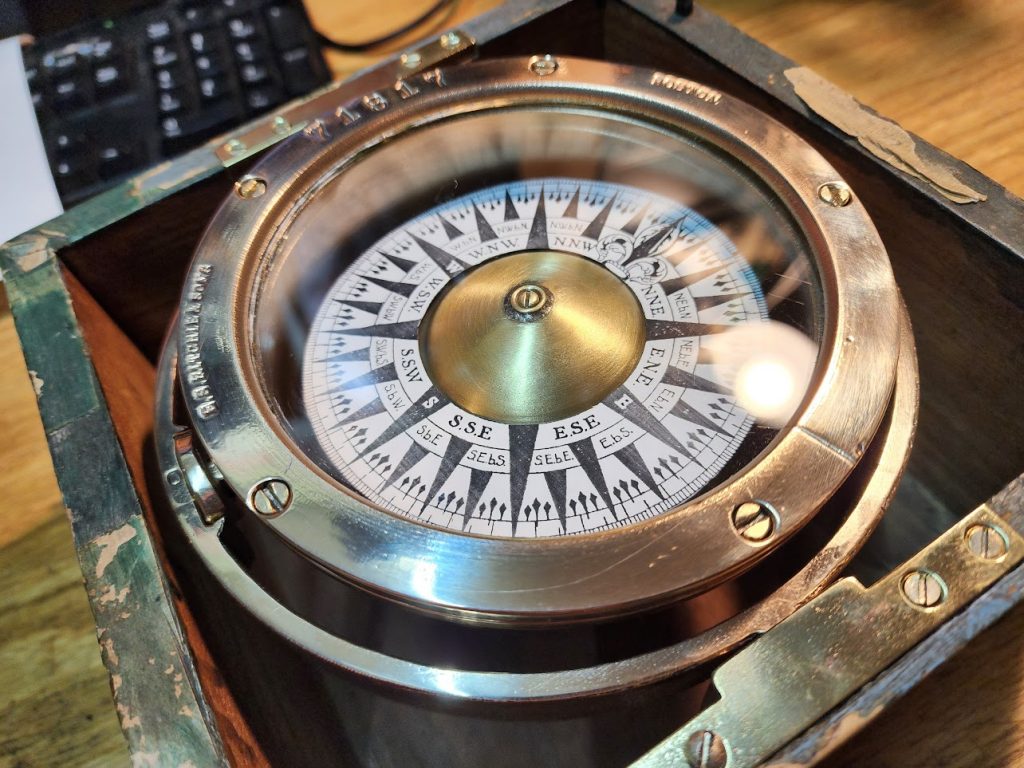
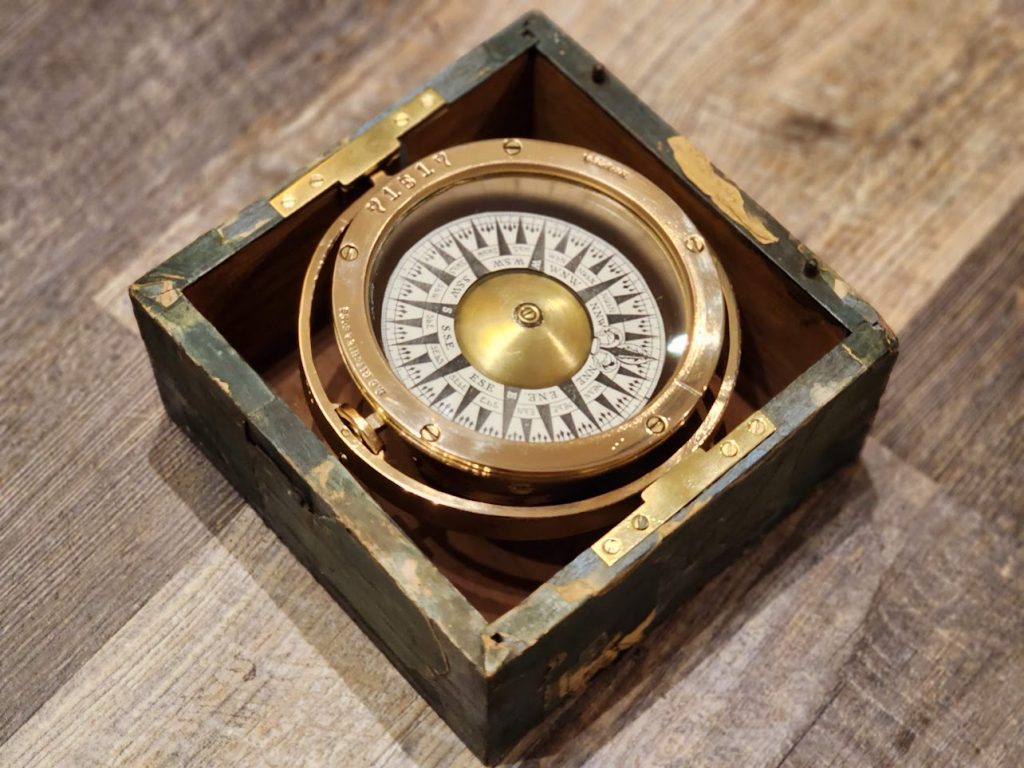
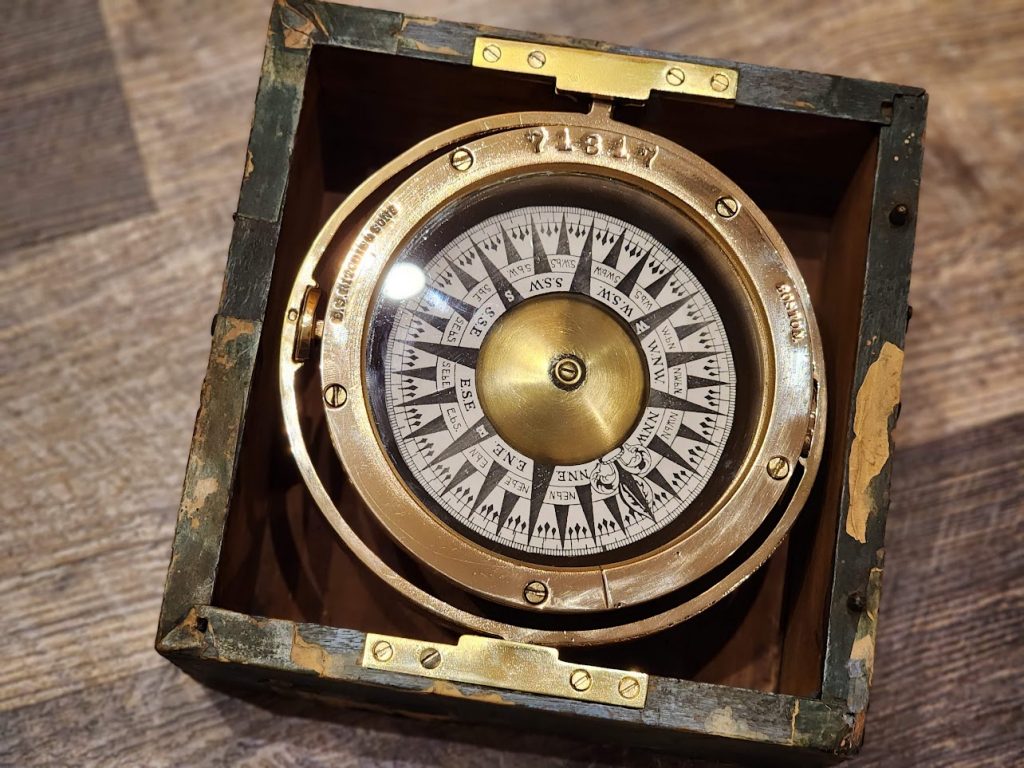
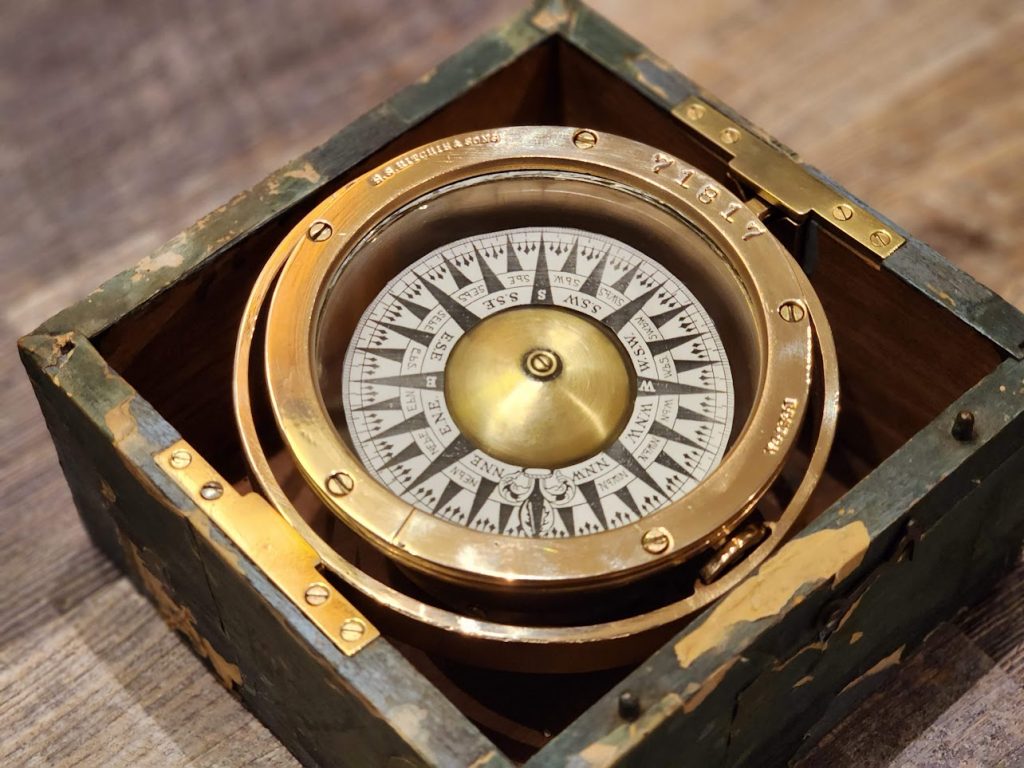
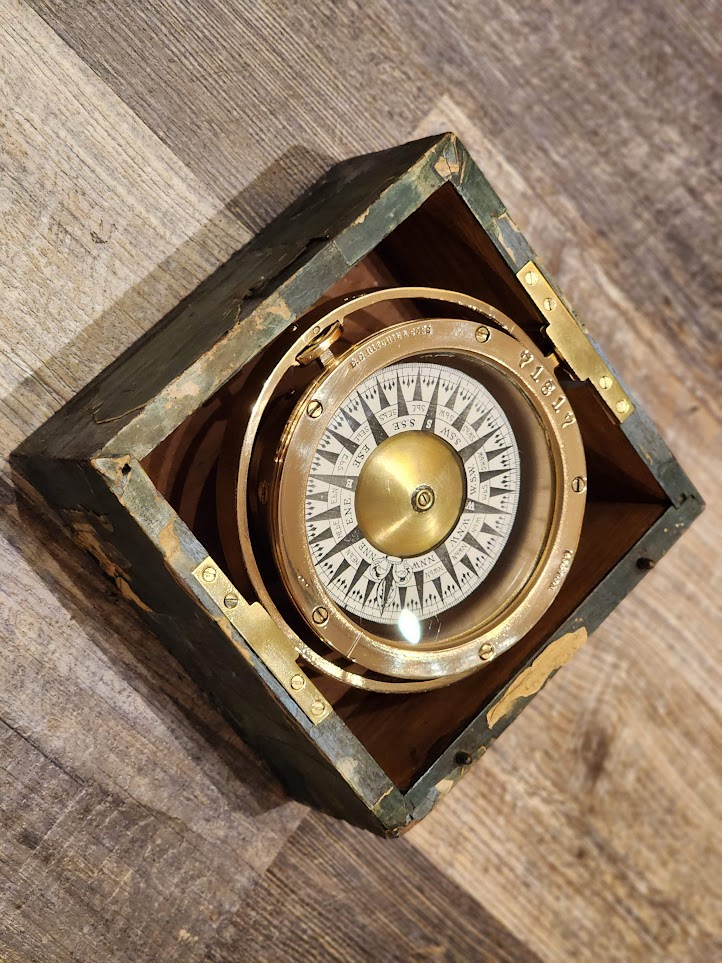
Thanks for following along on this project! NOTE: The box was cleaned, but left original, I do love the look of it. I may down the road make a new Cherry wood box for it. But for now it is complete!
UPDATE: 2/2024
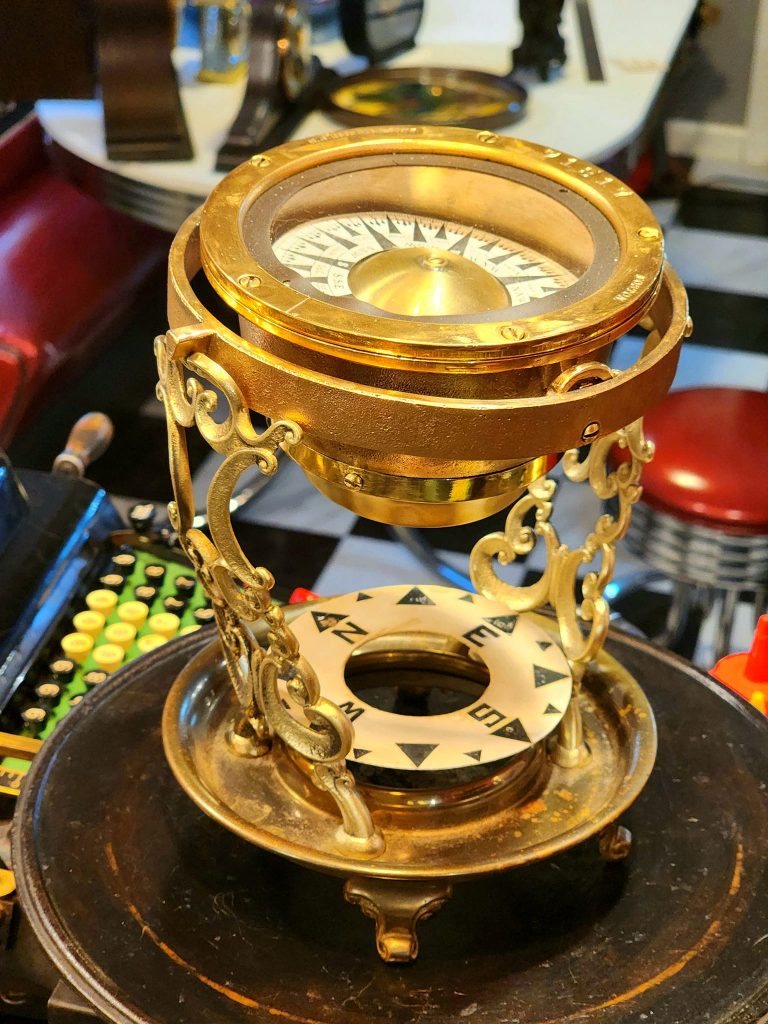
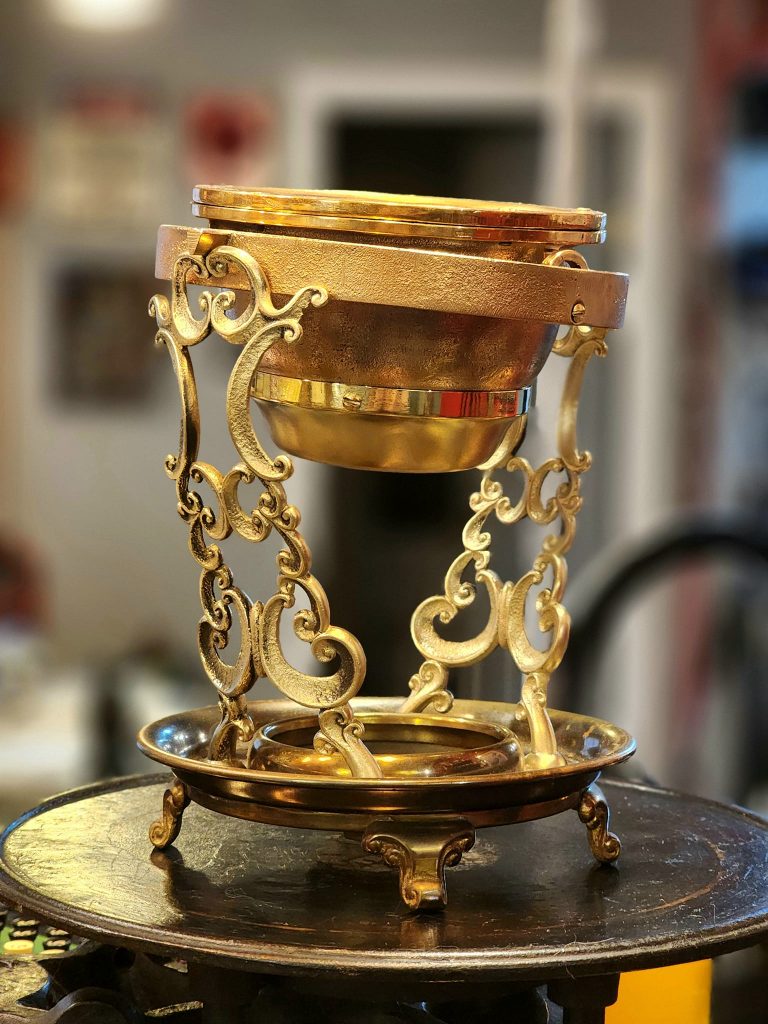
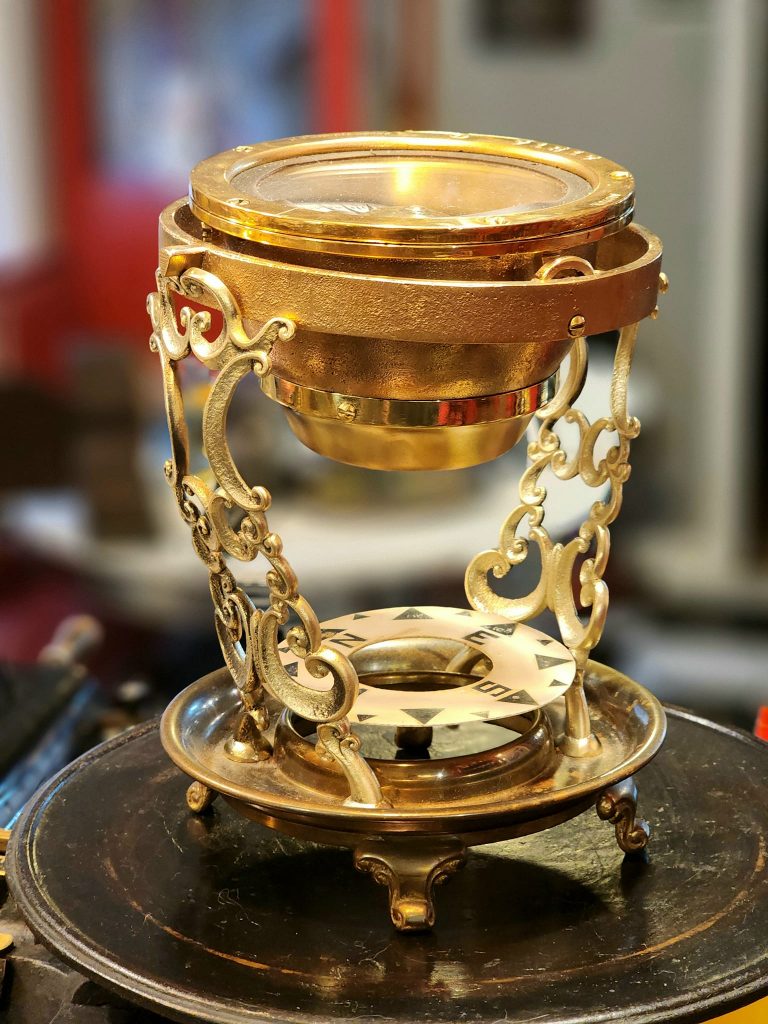
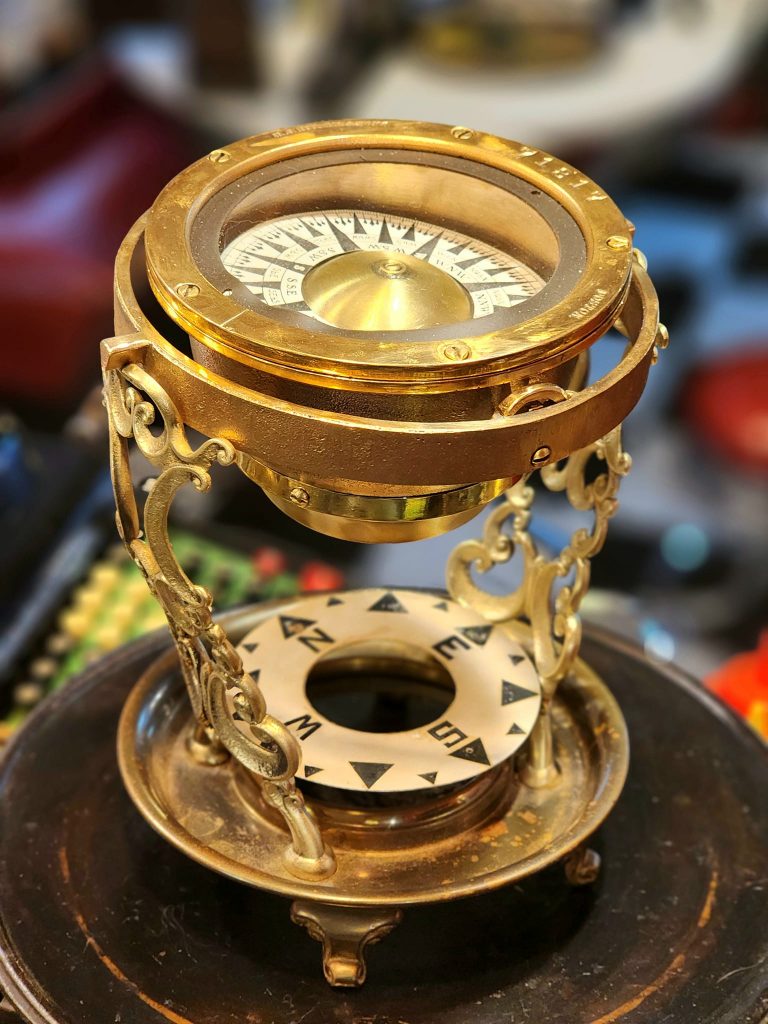
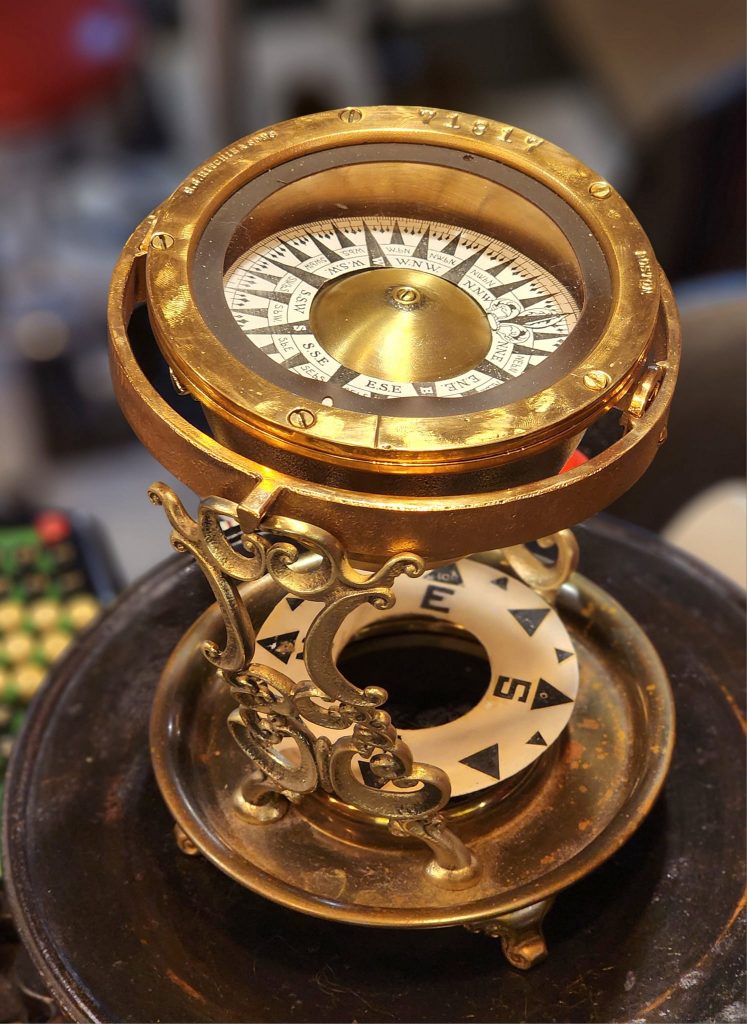
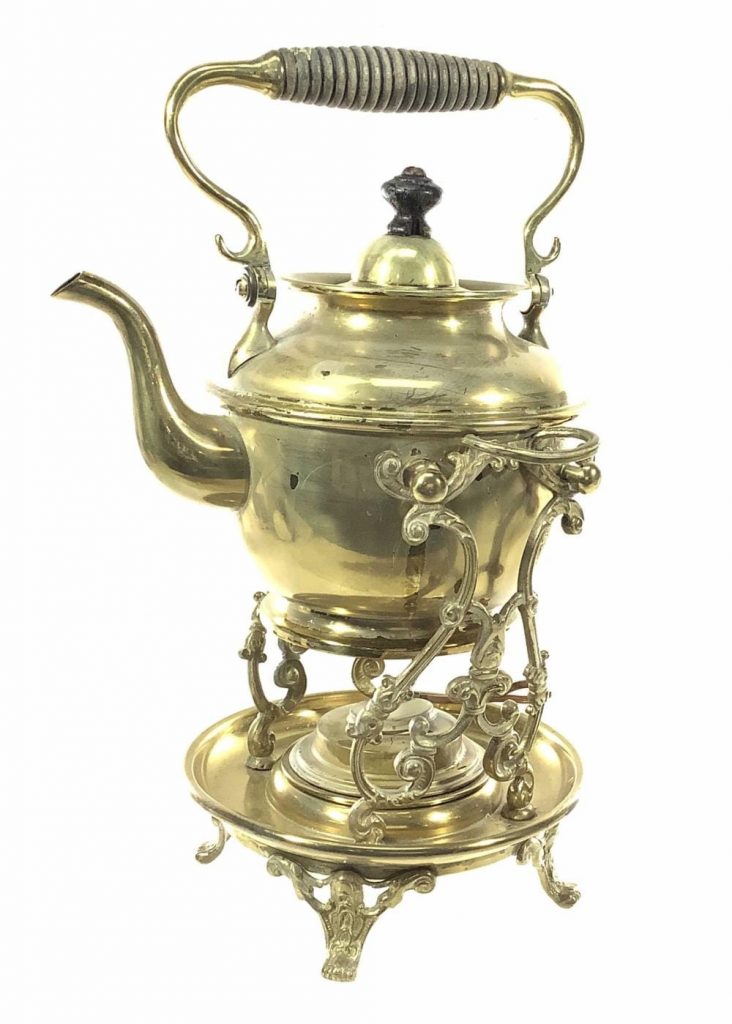
Found an old tipping teapot and stand today, removed the pot, blasted and polished the stand, makes for a perfect ships compass holder! Man I love how this looks!
