Saved this Fanuc LR Mate 200iC/5H 5 Axis arm, and R-30iA controller from the scrap pile!
This robot arm has lots of problems, and the reason it was heading to the scrap pile, I will explain all that in detail below. Here is how I picked it up!
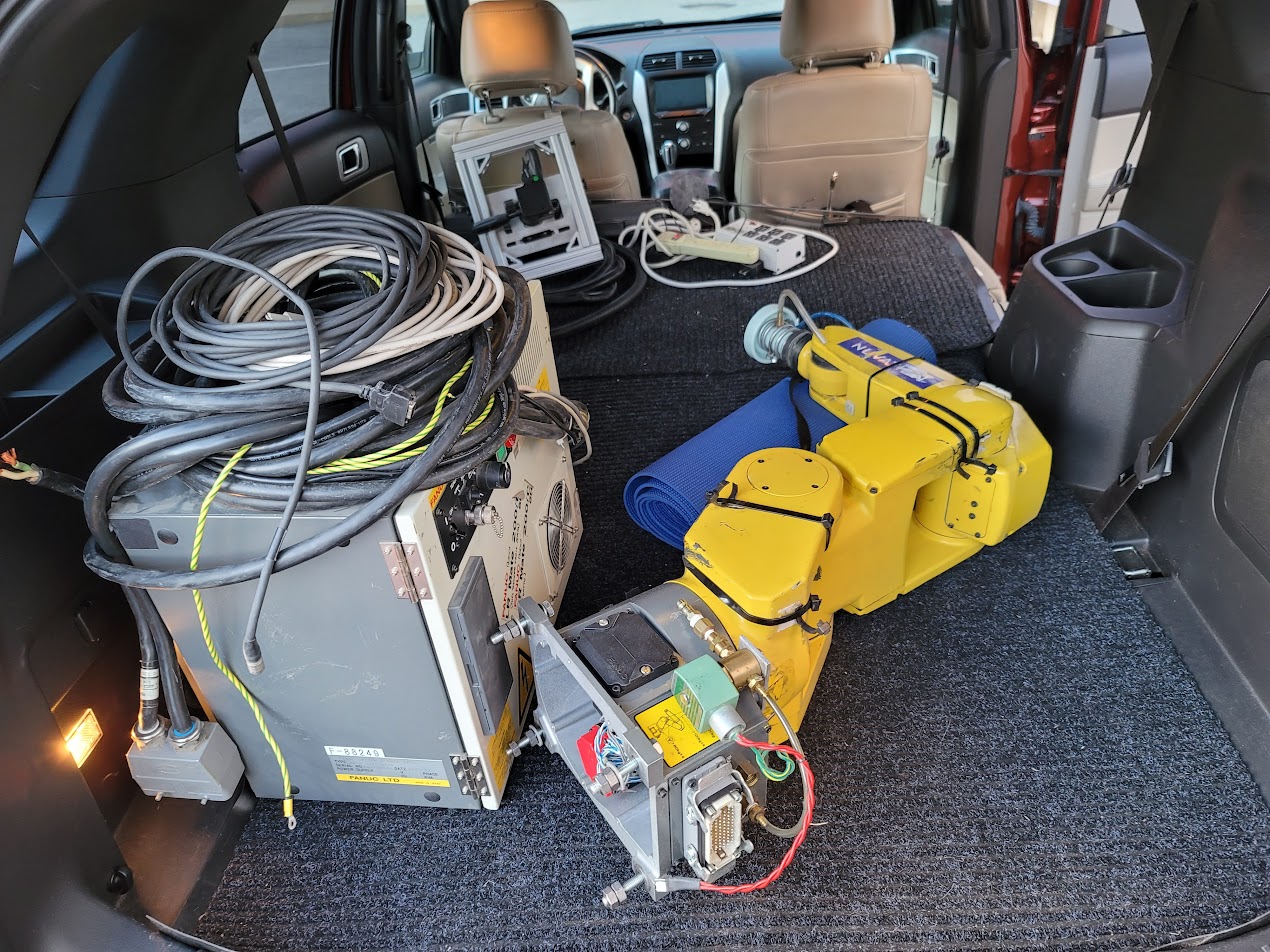
Here is all that I knew, it would ‘jack hammer’ and get into a bad oscillation loop at full speed and trip over current. It also had a bad shudder to its movement. But It will run on 240 single phase, so can run it in the lab and figure out what is going on. Worse case, I can use the servo motors for a CNC machine!
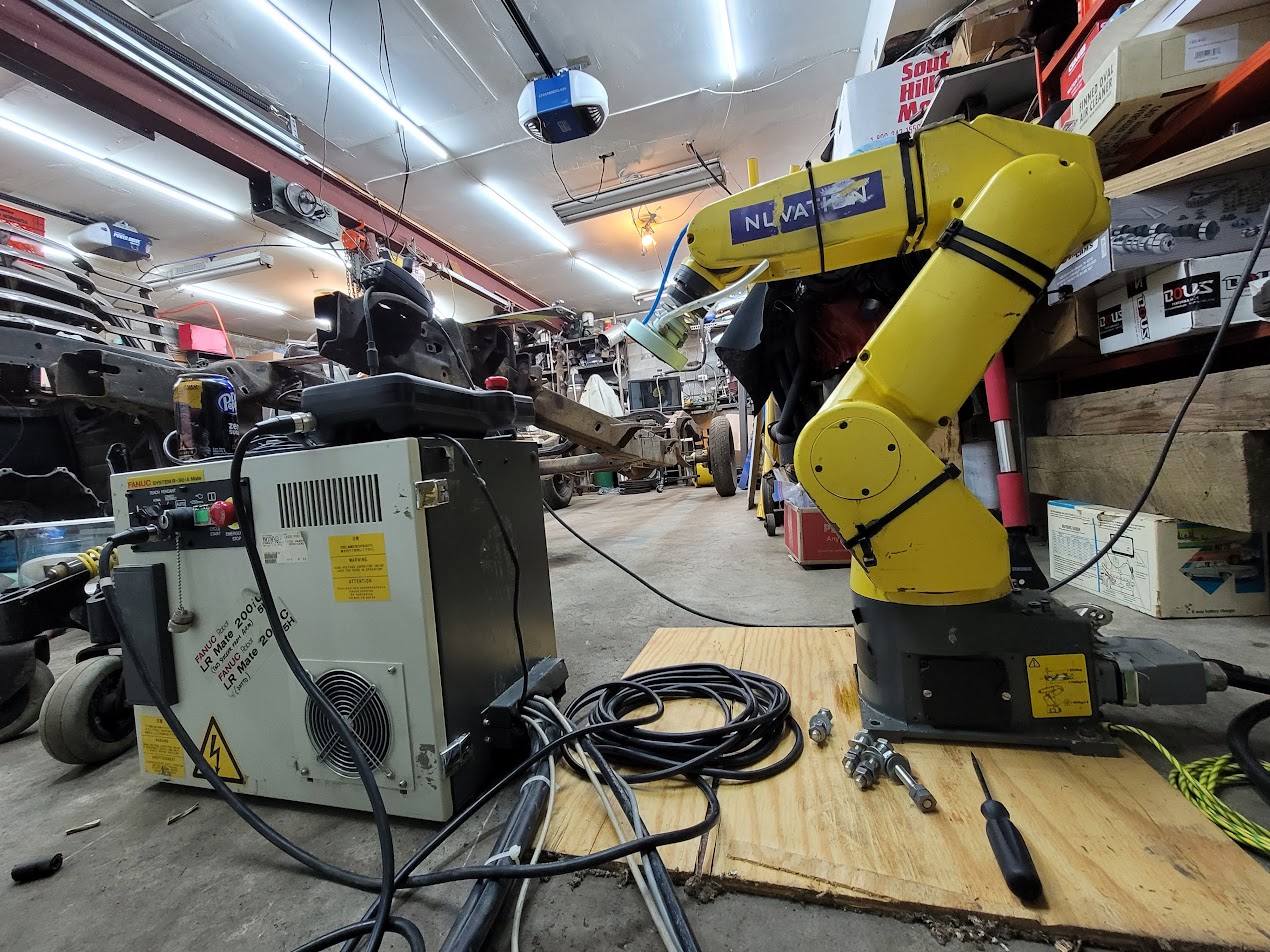
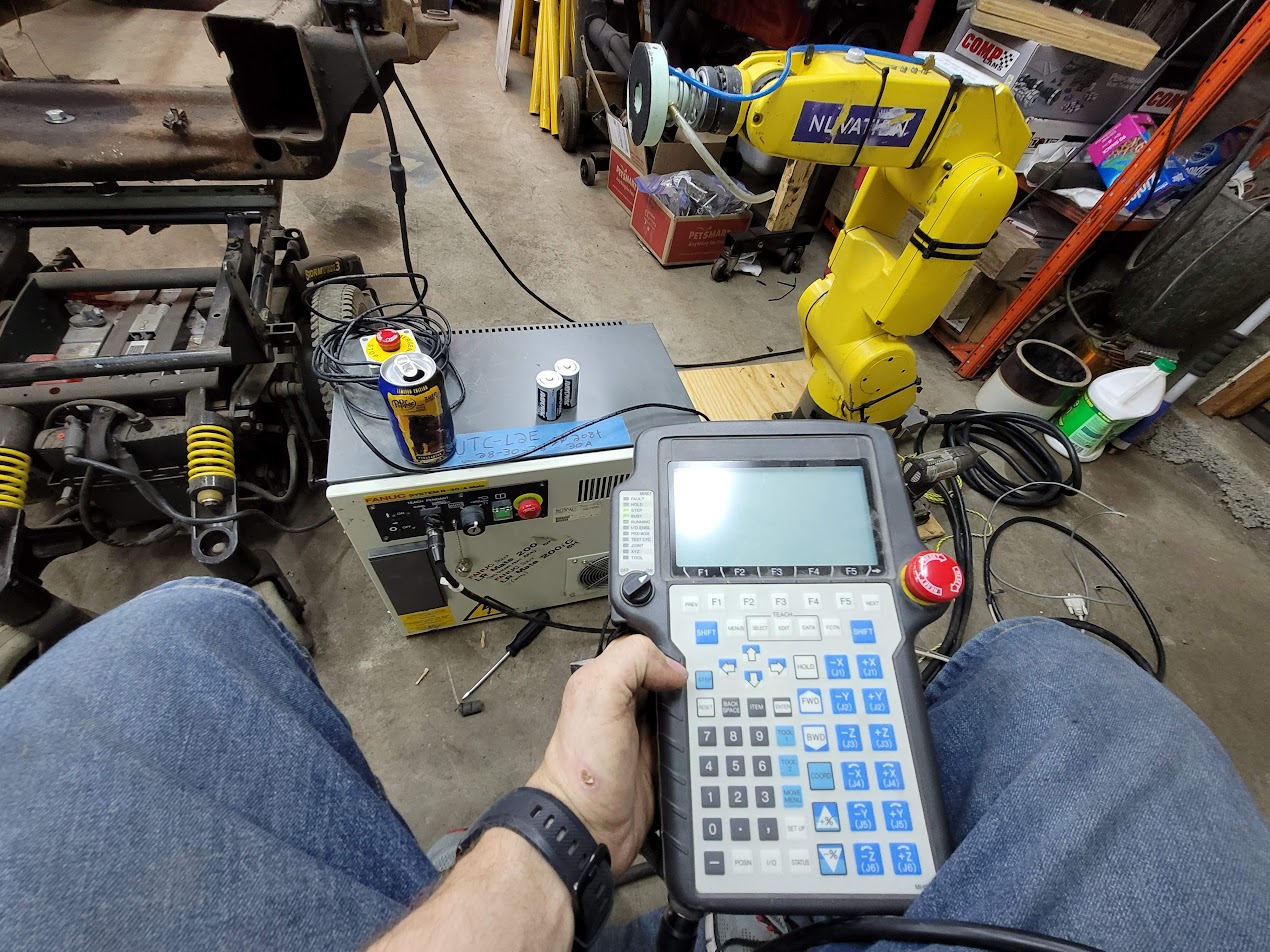
First step was to screw it to a board and wire up a plug to test it out, it powered on! But man it had lost all calibration, and would throw a ton of errors, related to pulse mismatch, and no mastering…
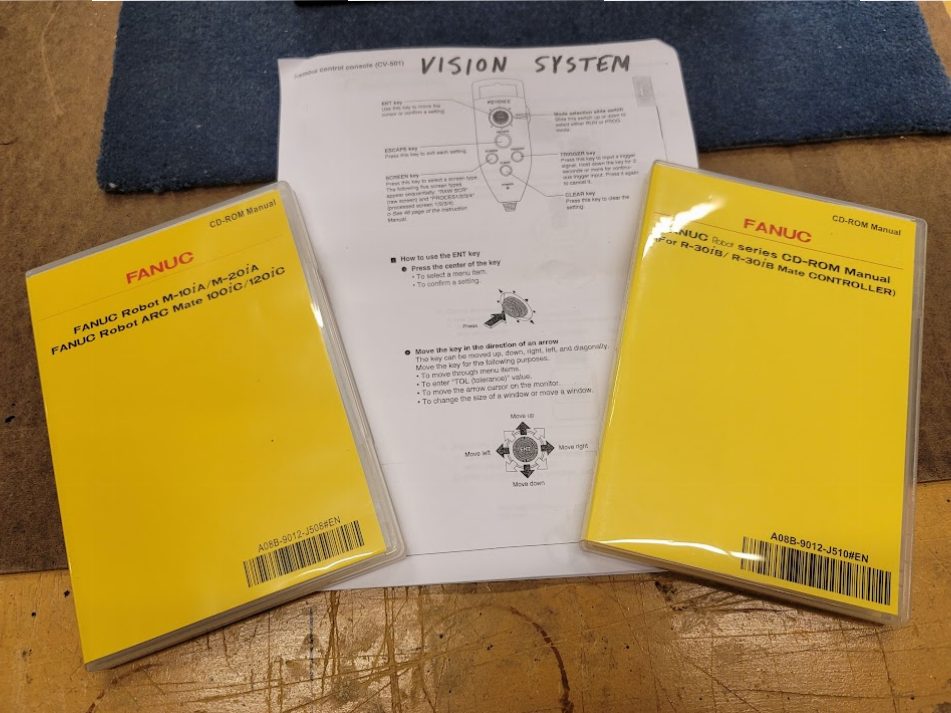
A Friend was awesome, and shipped me out some manuals for my robot and controller, so I could figure out what was going on!
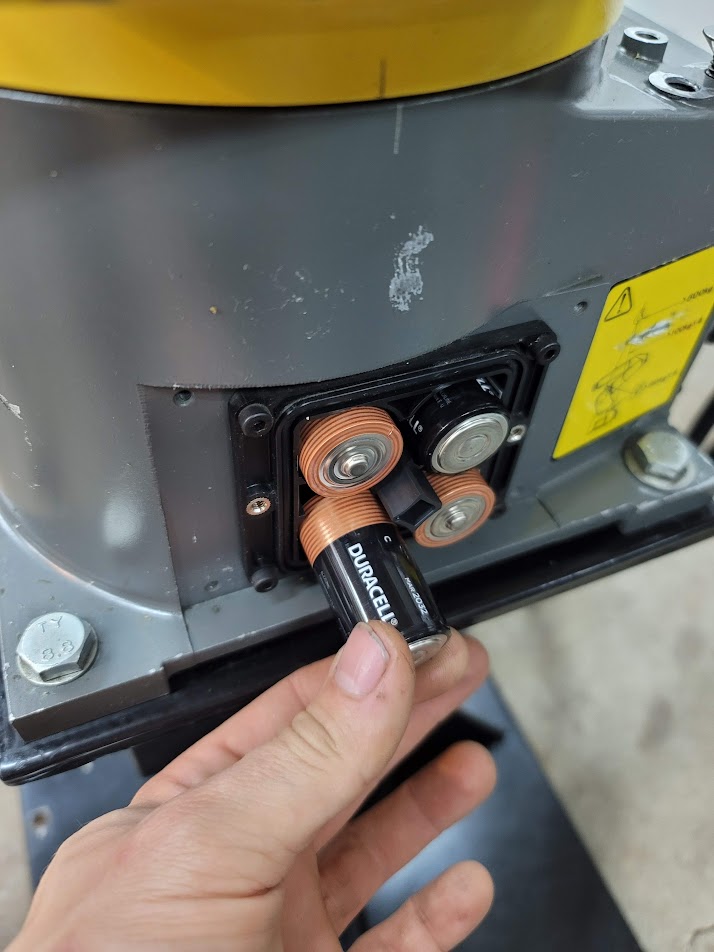
Turns out the arm has 4 ‘C’ batteries in its base! Like a big kids toy ha! These are the ‘pulse coder’ memory keepers. The robot does not have absolute encoders, and relies on starting from a known position, and counting how many pulses to know where it is in space. With the batteries inside dead, when it was powered down, it lost all encoder data. So new batteries, in a lots of work to get it into the master position to teach it.
Now that I know it works and runs it is time to do some testing!
Ok, the good news it is not horrible, but it is not perfect, it has the shakes and is not that repeatable. Time to dig into it!
But first, I forgot to talk about the base I setup for it! I took some time now that I knew it was worth it, to clean of 13 years of grease grime and old tape funk, and to polish it back up to a shine! As well as get it onto a base!
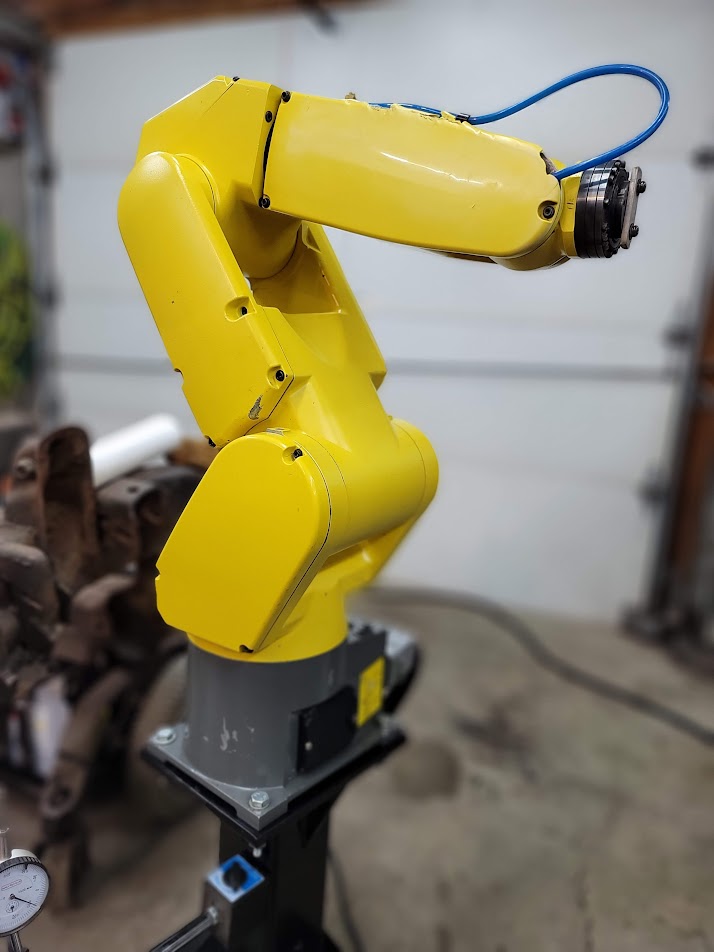
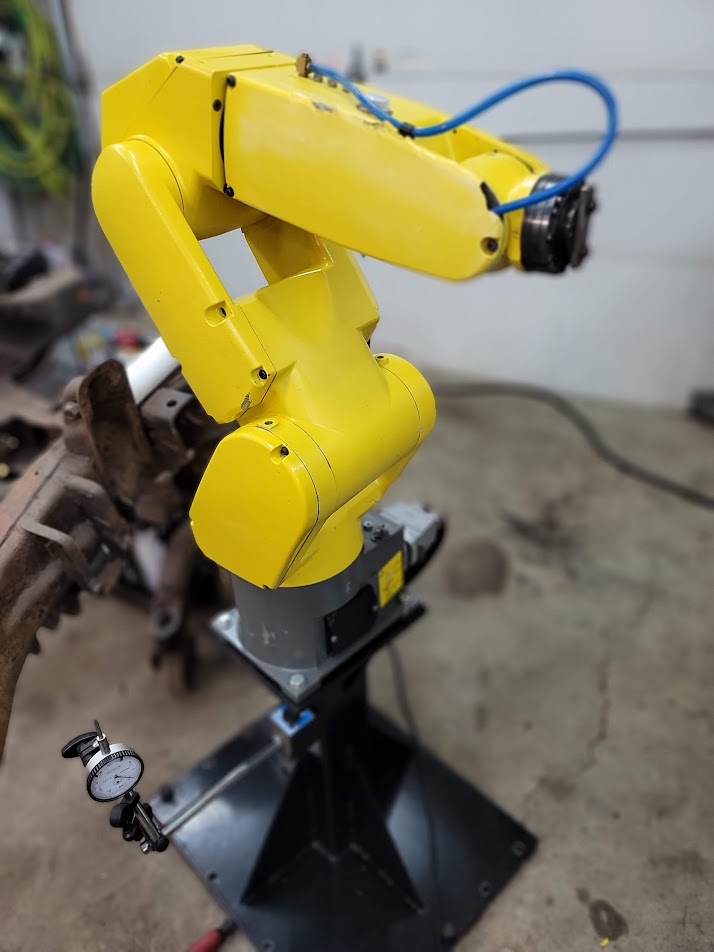
Here it is cleaned up and on its base! The next project was to get a end effector ( gripper ) onto it, for a and arm with no hand is not much use!
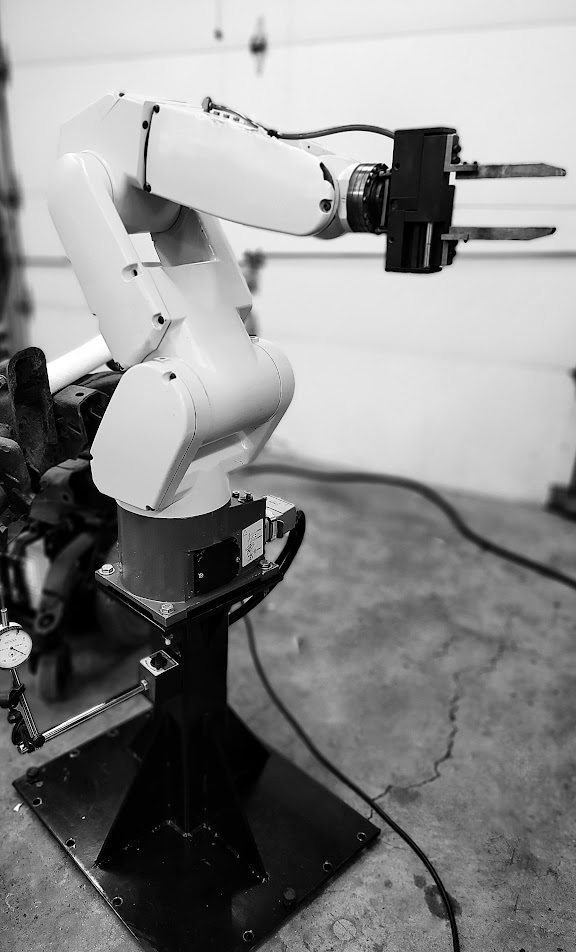
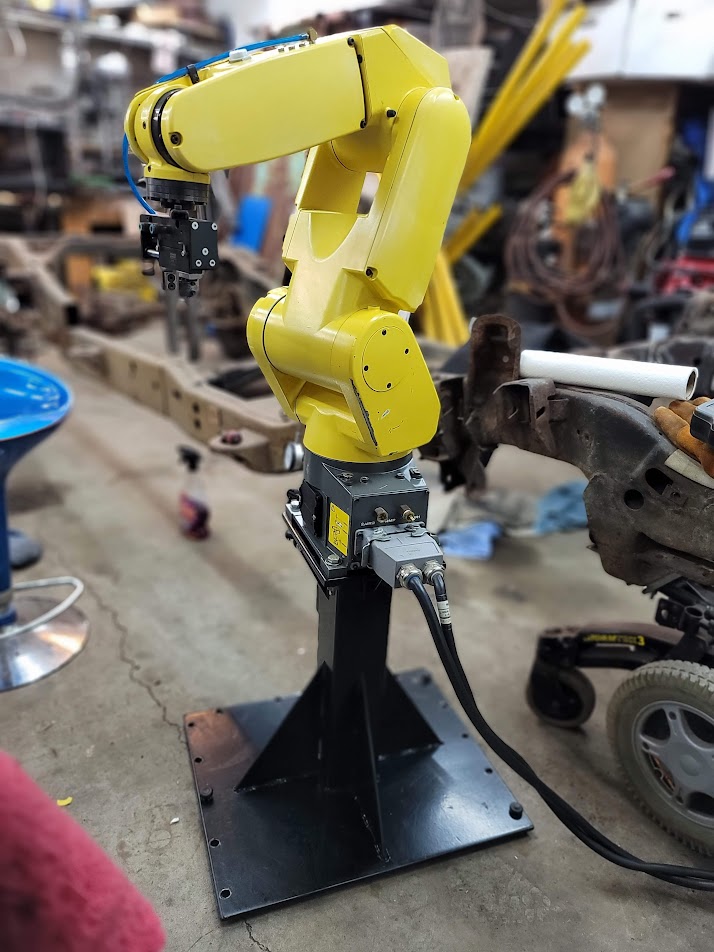
This pneumatic gripper was from an old ASEA 1990’s chess robot! Glad I held onto it! Took some time to get it moving again, it was bent bad from a robot crash many years ago on the old arm that shattered its casting in the crash.
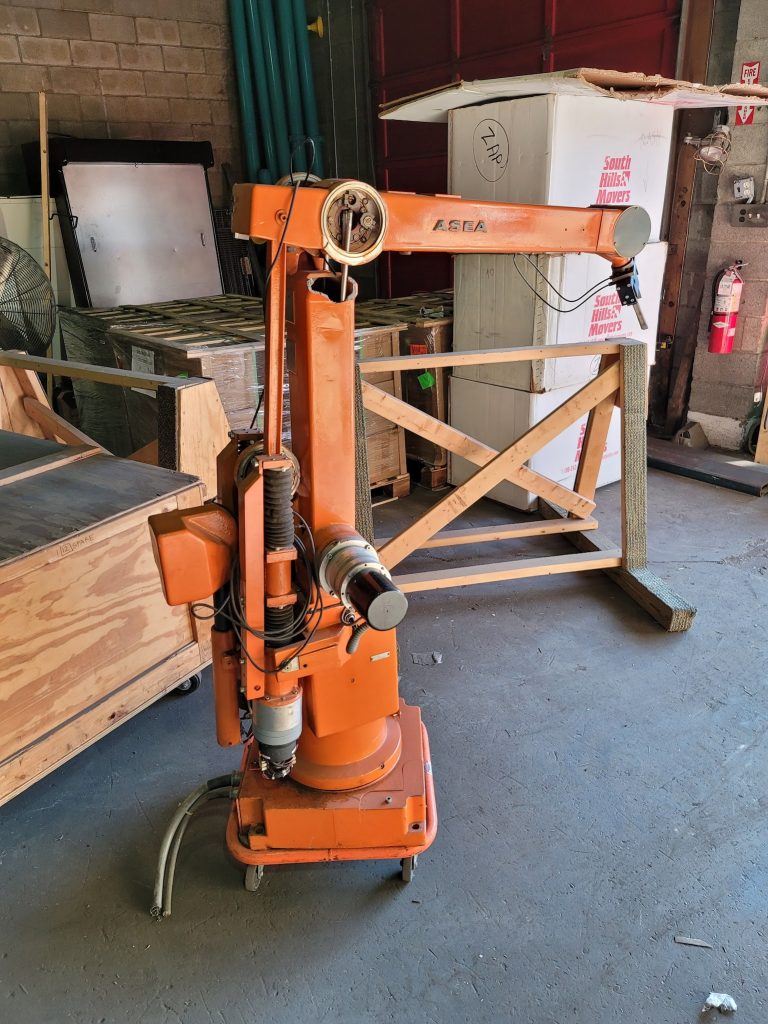
Here is the old ASEA the gripper came from, if you look at the top joint, or what is left of it, it had a bad crash. This also headed to the big scrap yard in the sky. I saved the valuable parts.
I knew the robot arm had built in pneumatics, for it had an air connection on the back. Finding the metric fittings for the front and inside was not easy, but got them, the internal airline was also missing, so had to run a new line up inside and find and connect up the valve, but here is a video of the software controlling the gripper!
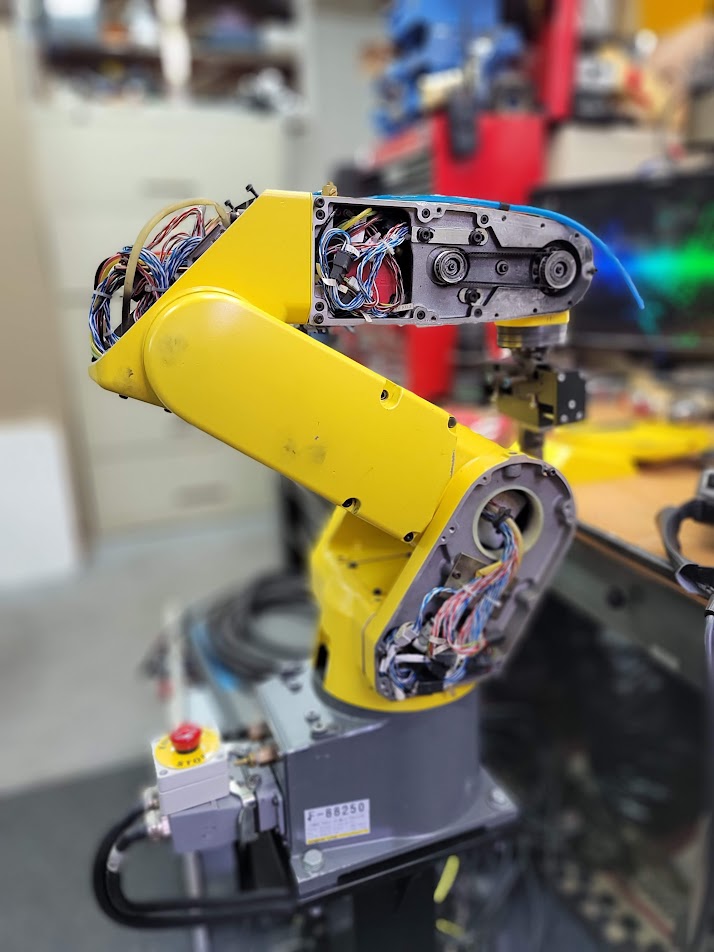
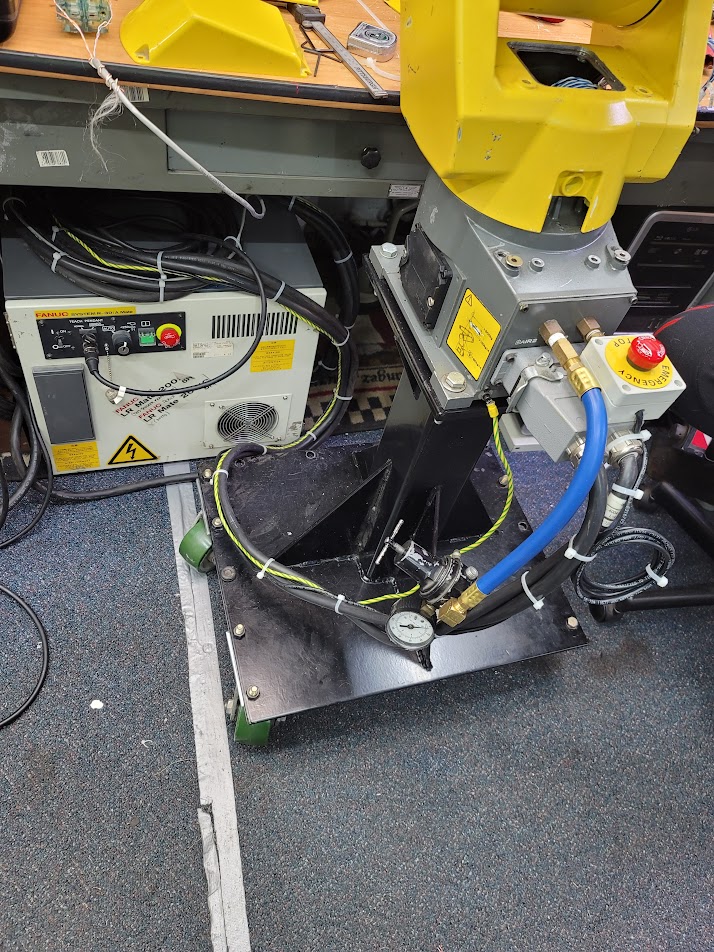
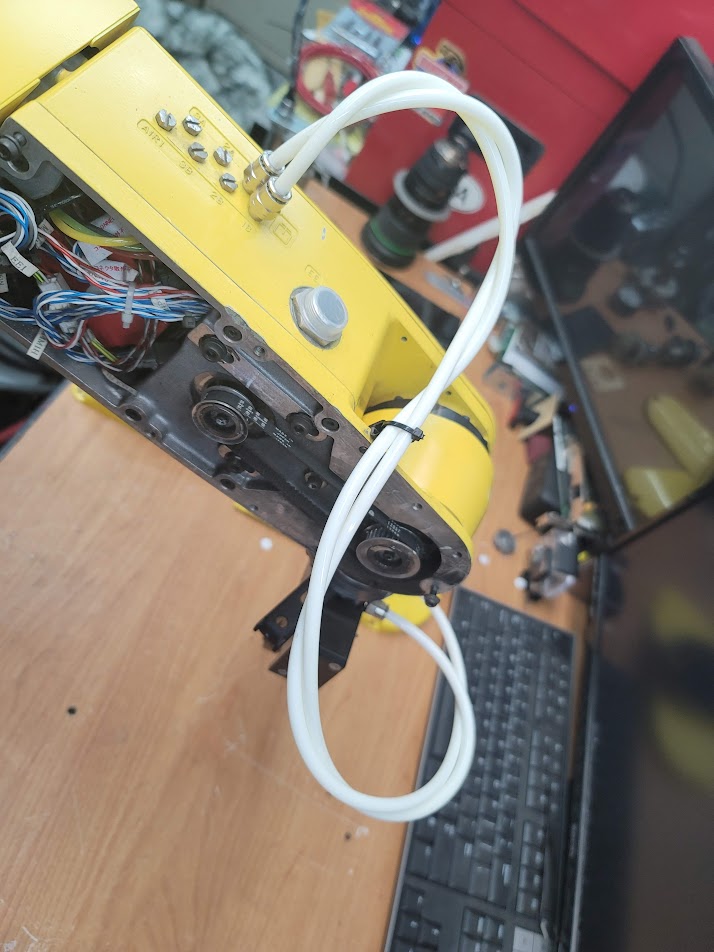
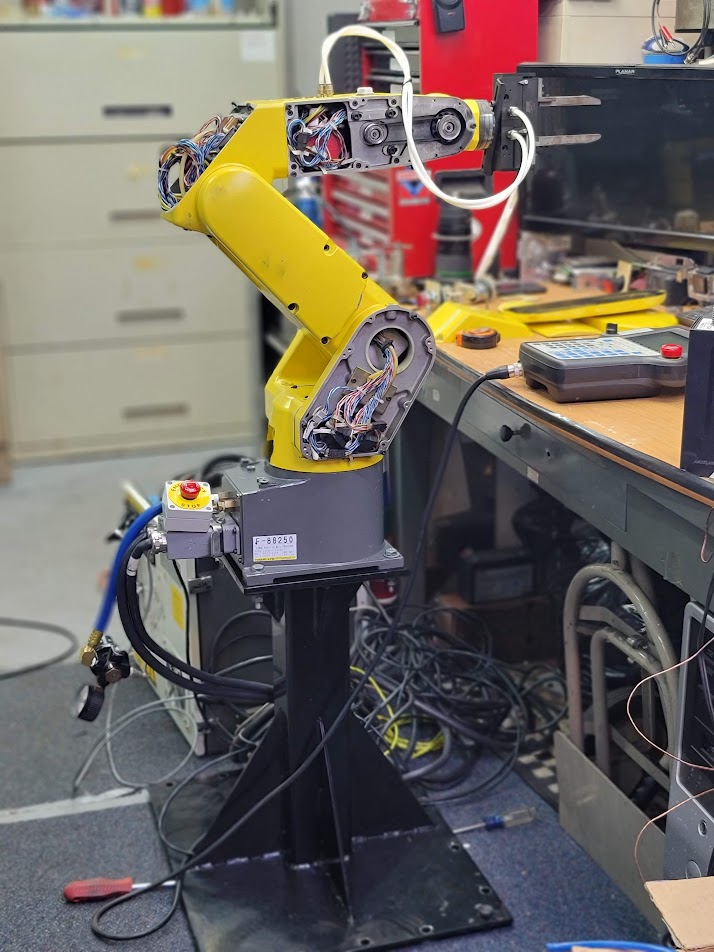
You can see at this stage I had it completely torn apart to figure out what all was going on, and how to run the new airline. The nice new Blue air line and regulator also installed! I started some work on the wire harness to clean that up as well. The E-stop is now mounted at the base of the robot for easy each when in operation.
So at this point everything was working, but still jitter and shaky in movement.. so this belt had to be the problem.. so now to find a replacement…
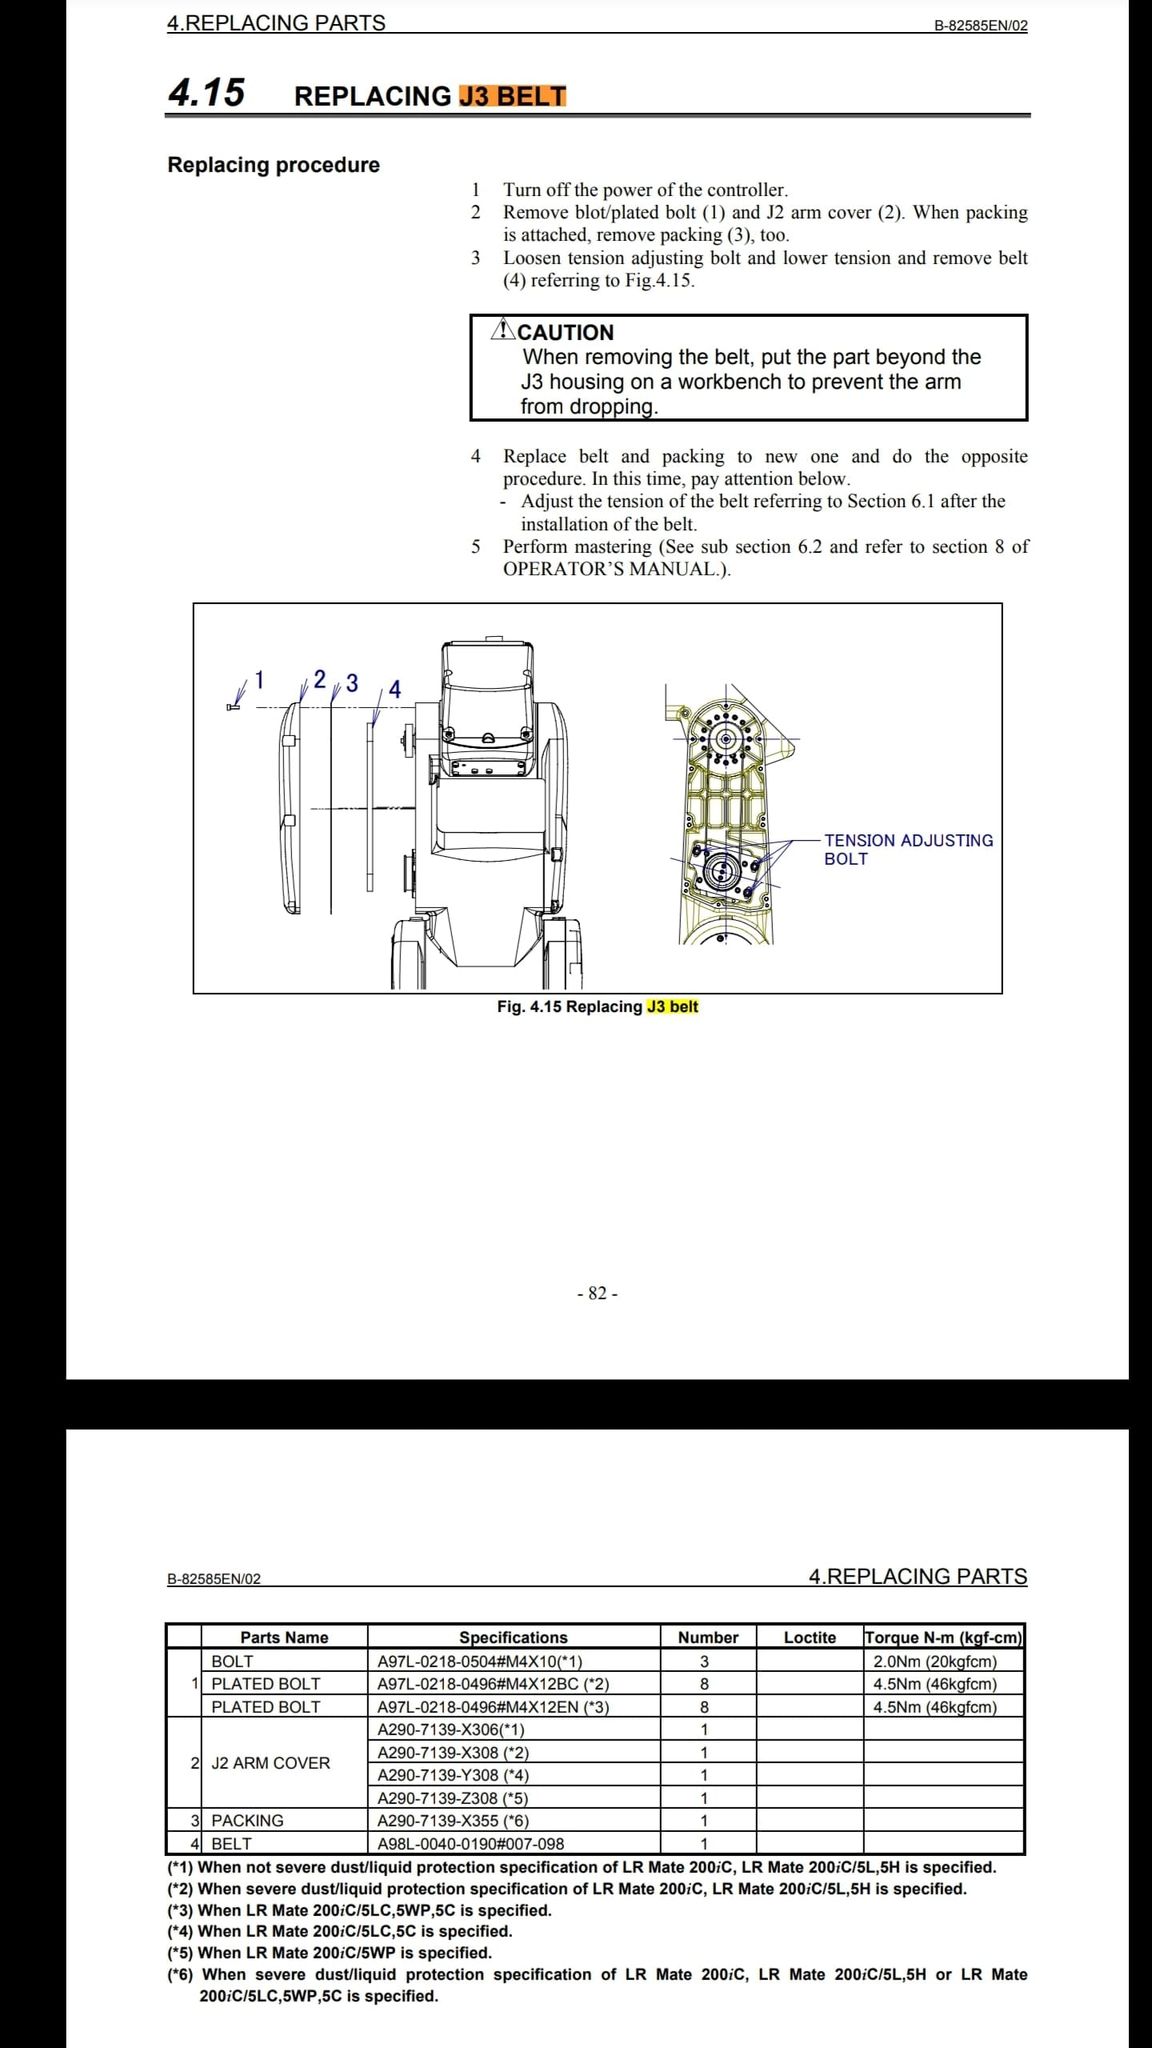
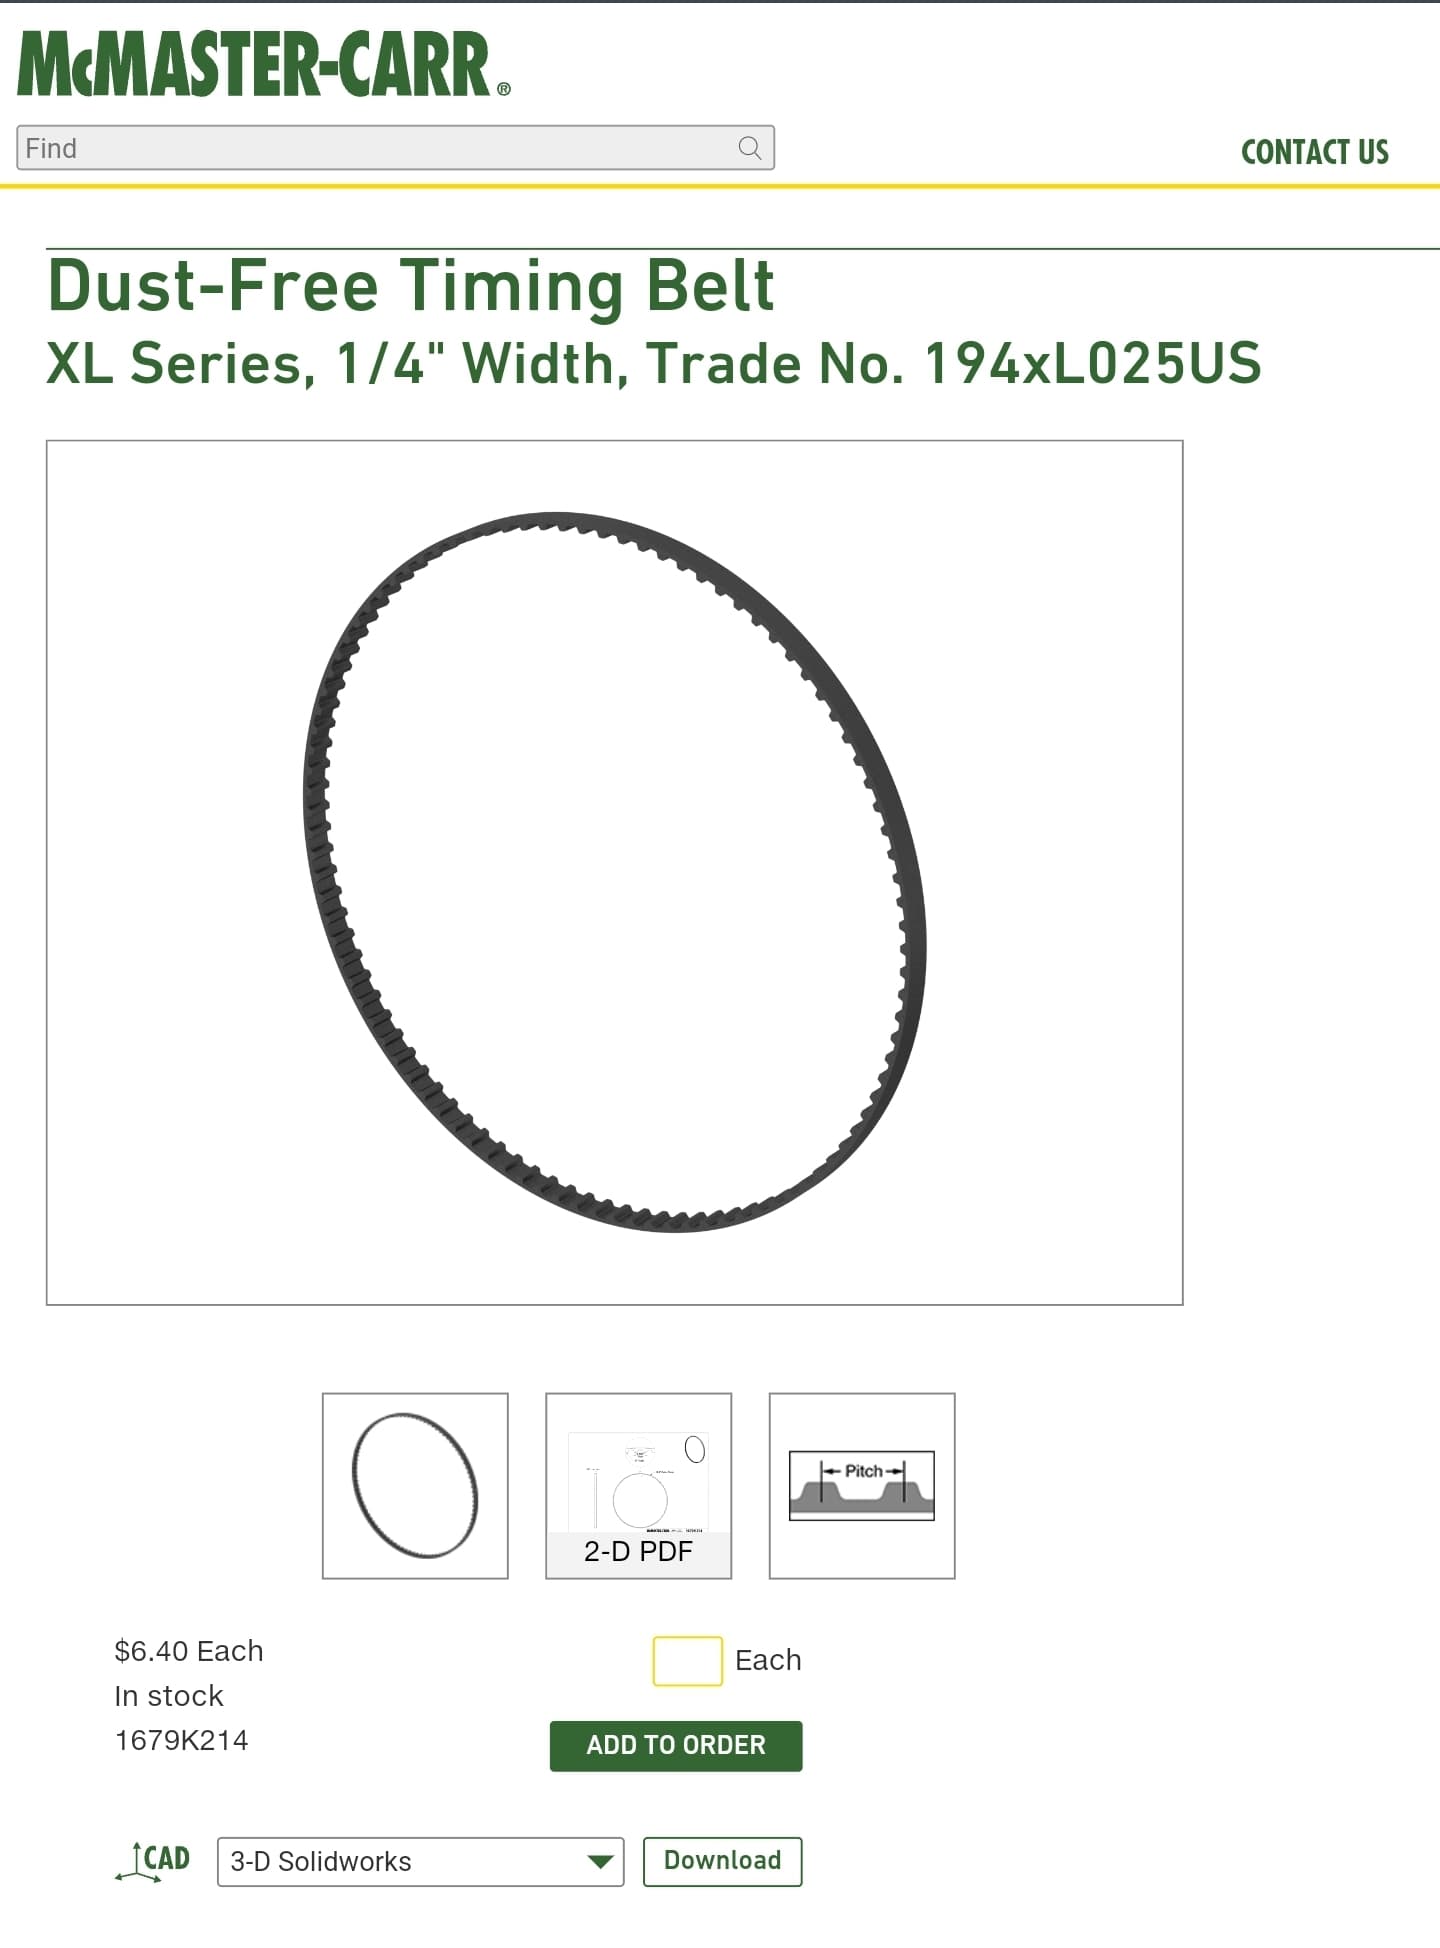
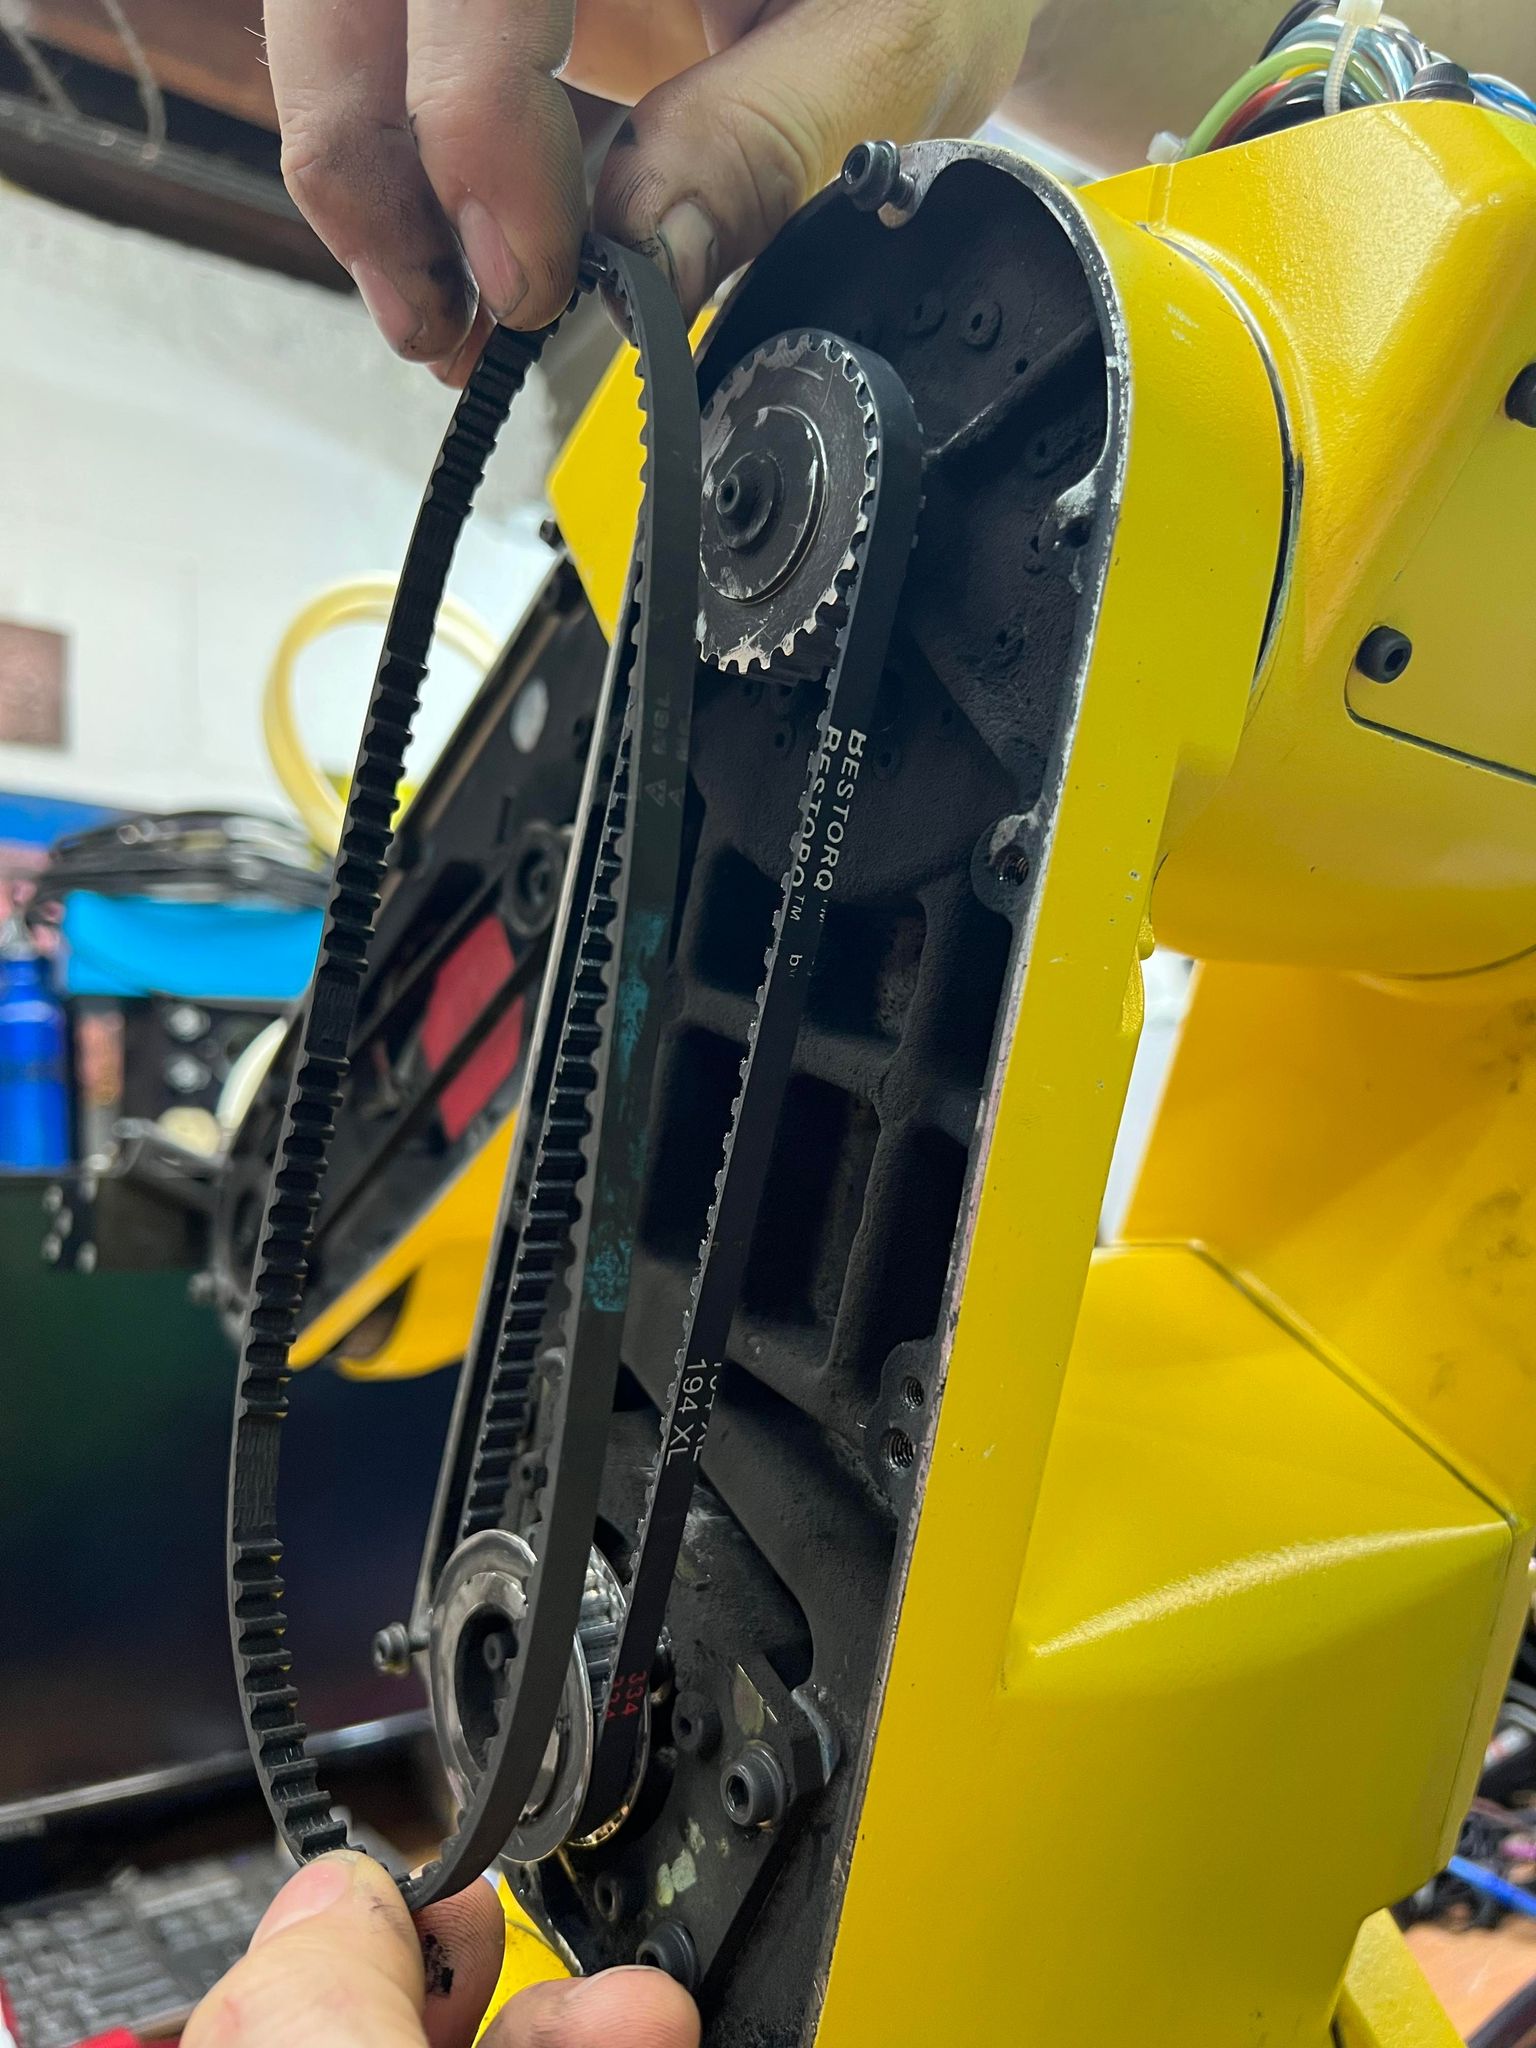
The proper belt from FANUC was $45+ the McMaster one was better, but took all the measurements and found one on amazon for $4!! yeas $4 ha! Worth a shot for that price, it is a bit thinner but has the same load spec.. we shall see!
So after weeks of fussing and trouble, I have a mostly working robot! It can pick and place!
Now to get it back together and a special touch…..
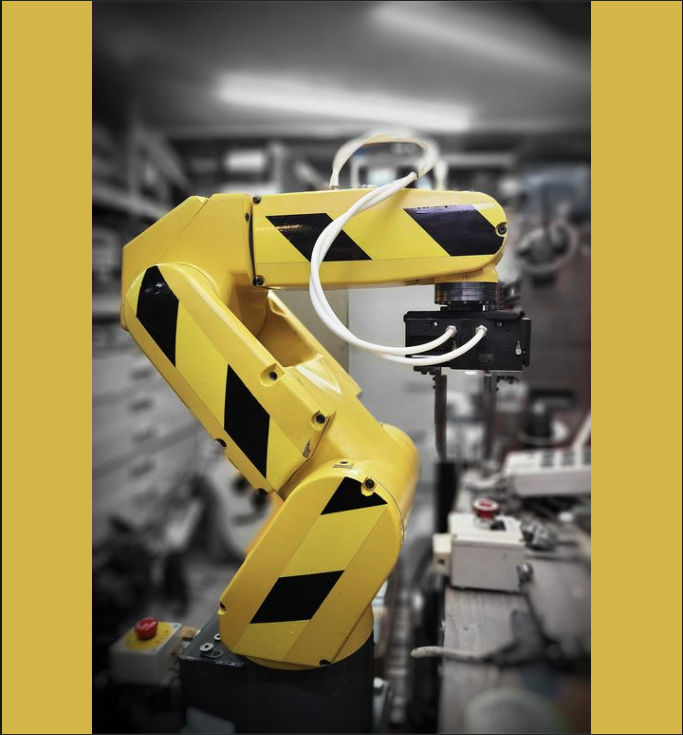
Ah, much better! A little caution tape goes a long way to make something lab worthy ha!
Here is where I found the last major problem.. I tried to run it at high speed and ran into problems, here is what I found.
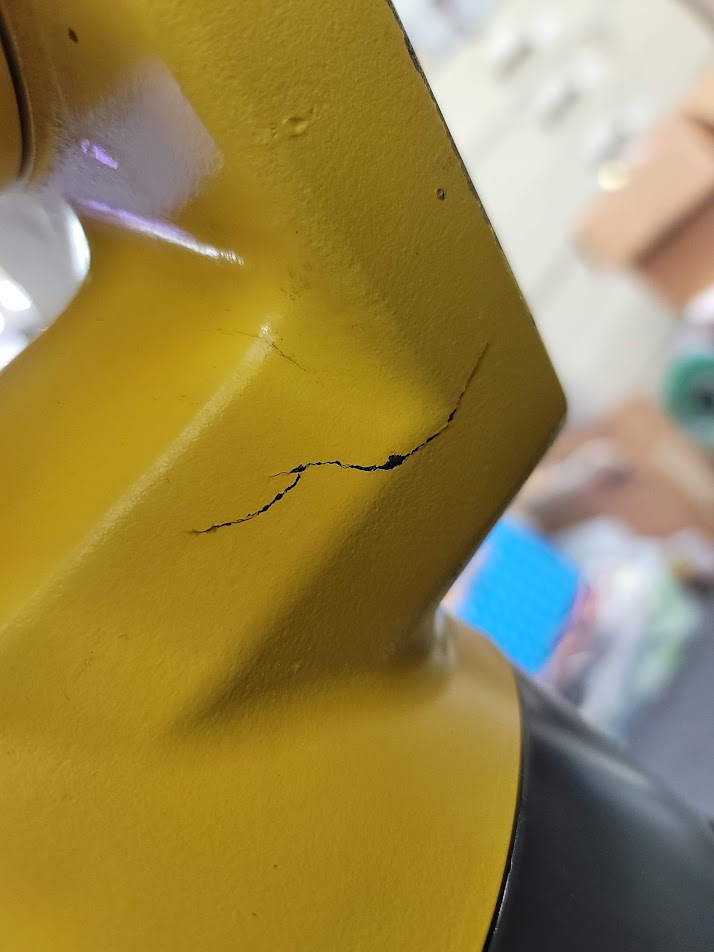
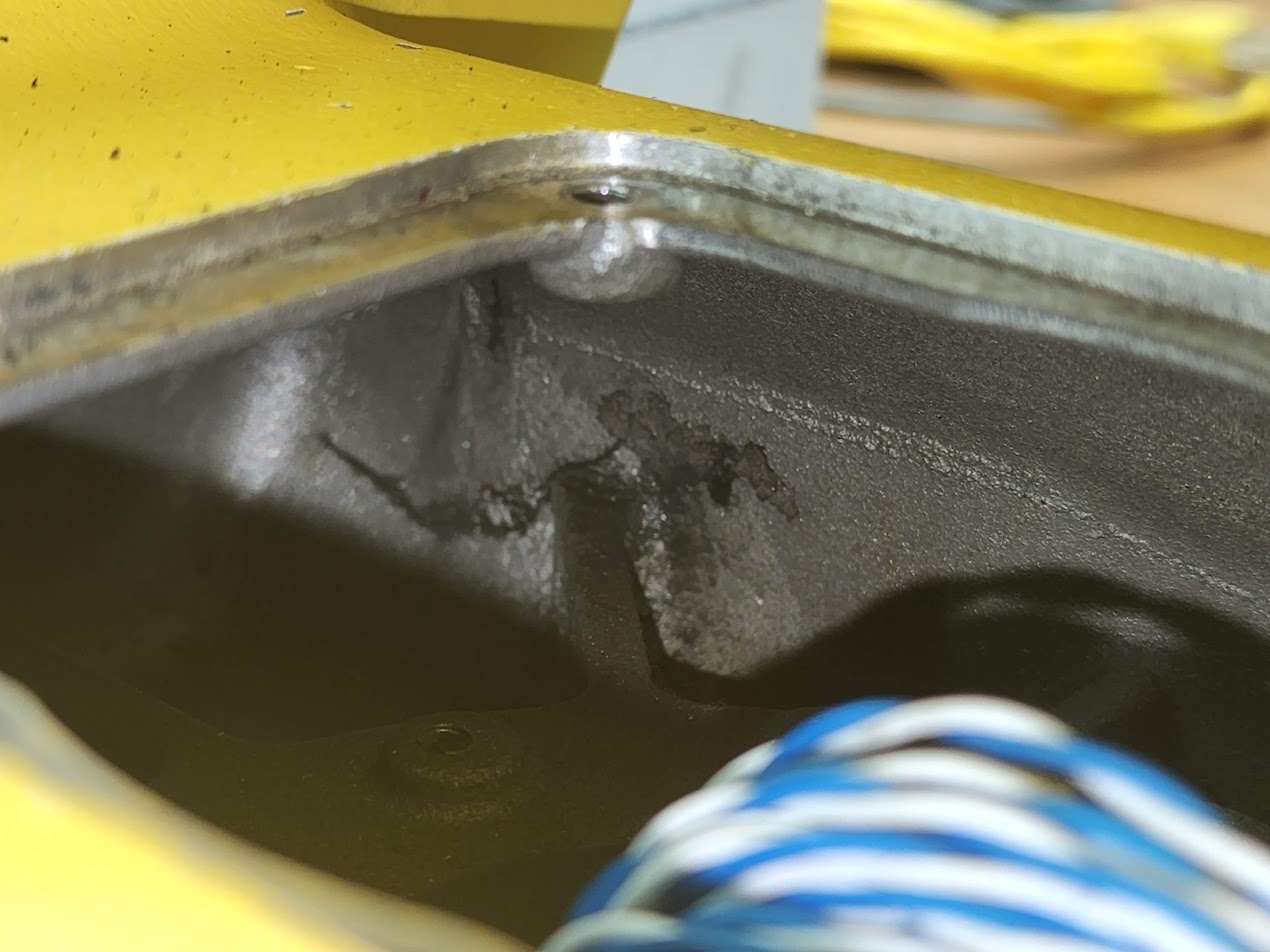
That is a large crack in the main casting of the robot! This is not a replaceable part. And this flex may be where the last bit of overshoot is coming from.. I now know what they scrapped this unit.. Not sure how I can fix this one, I may drill some small holes to keep the crack from spreading, and some JB weld on the inside? Open to suggestions. It is cast aluminum. So for now will just have to keep the mass and speed down.
This robot has a ‘fence’ that needs to be closed for full automation, up till this point I had a janky push and hold safety button, So I upgraded to a new proper push/pull button for the safety fence.
The next project was to get the base mobile, but with adjustable feet.. found these amazing adjustable casters as they call them.,
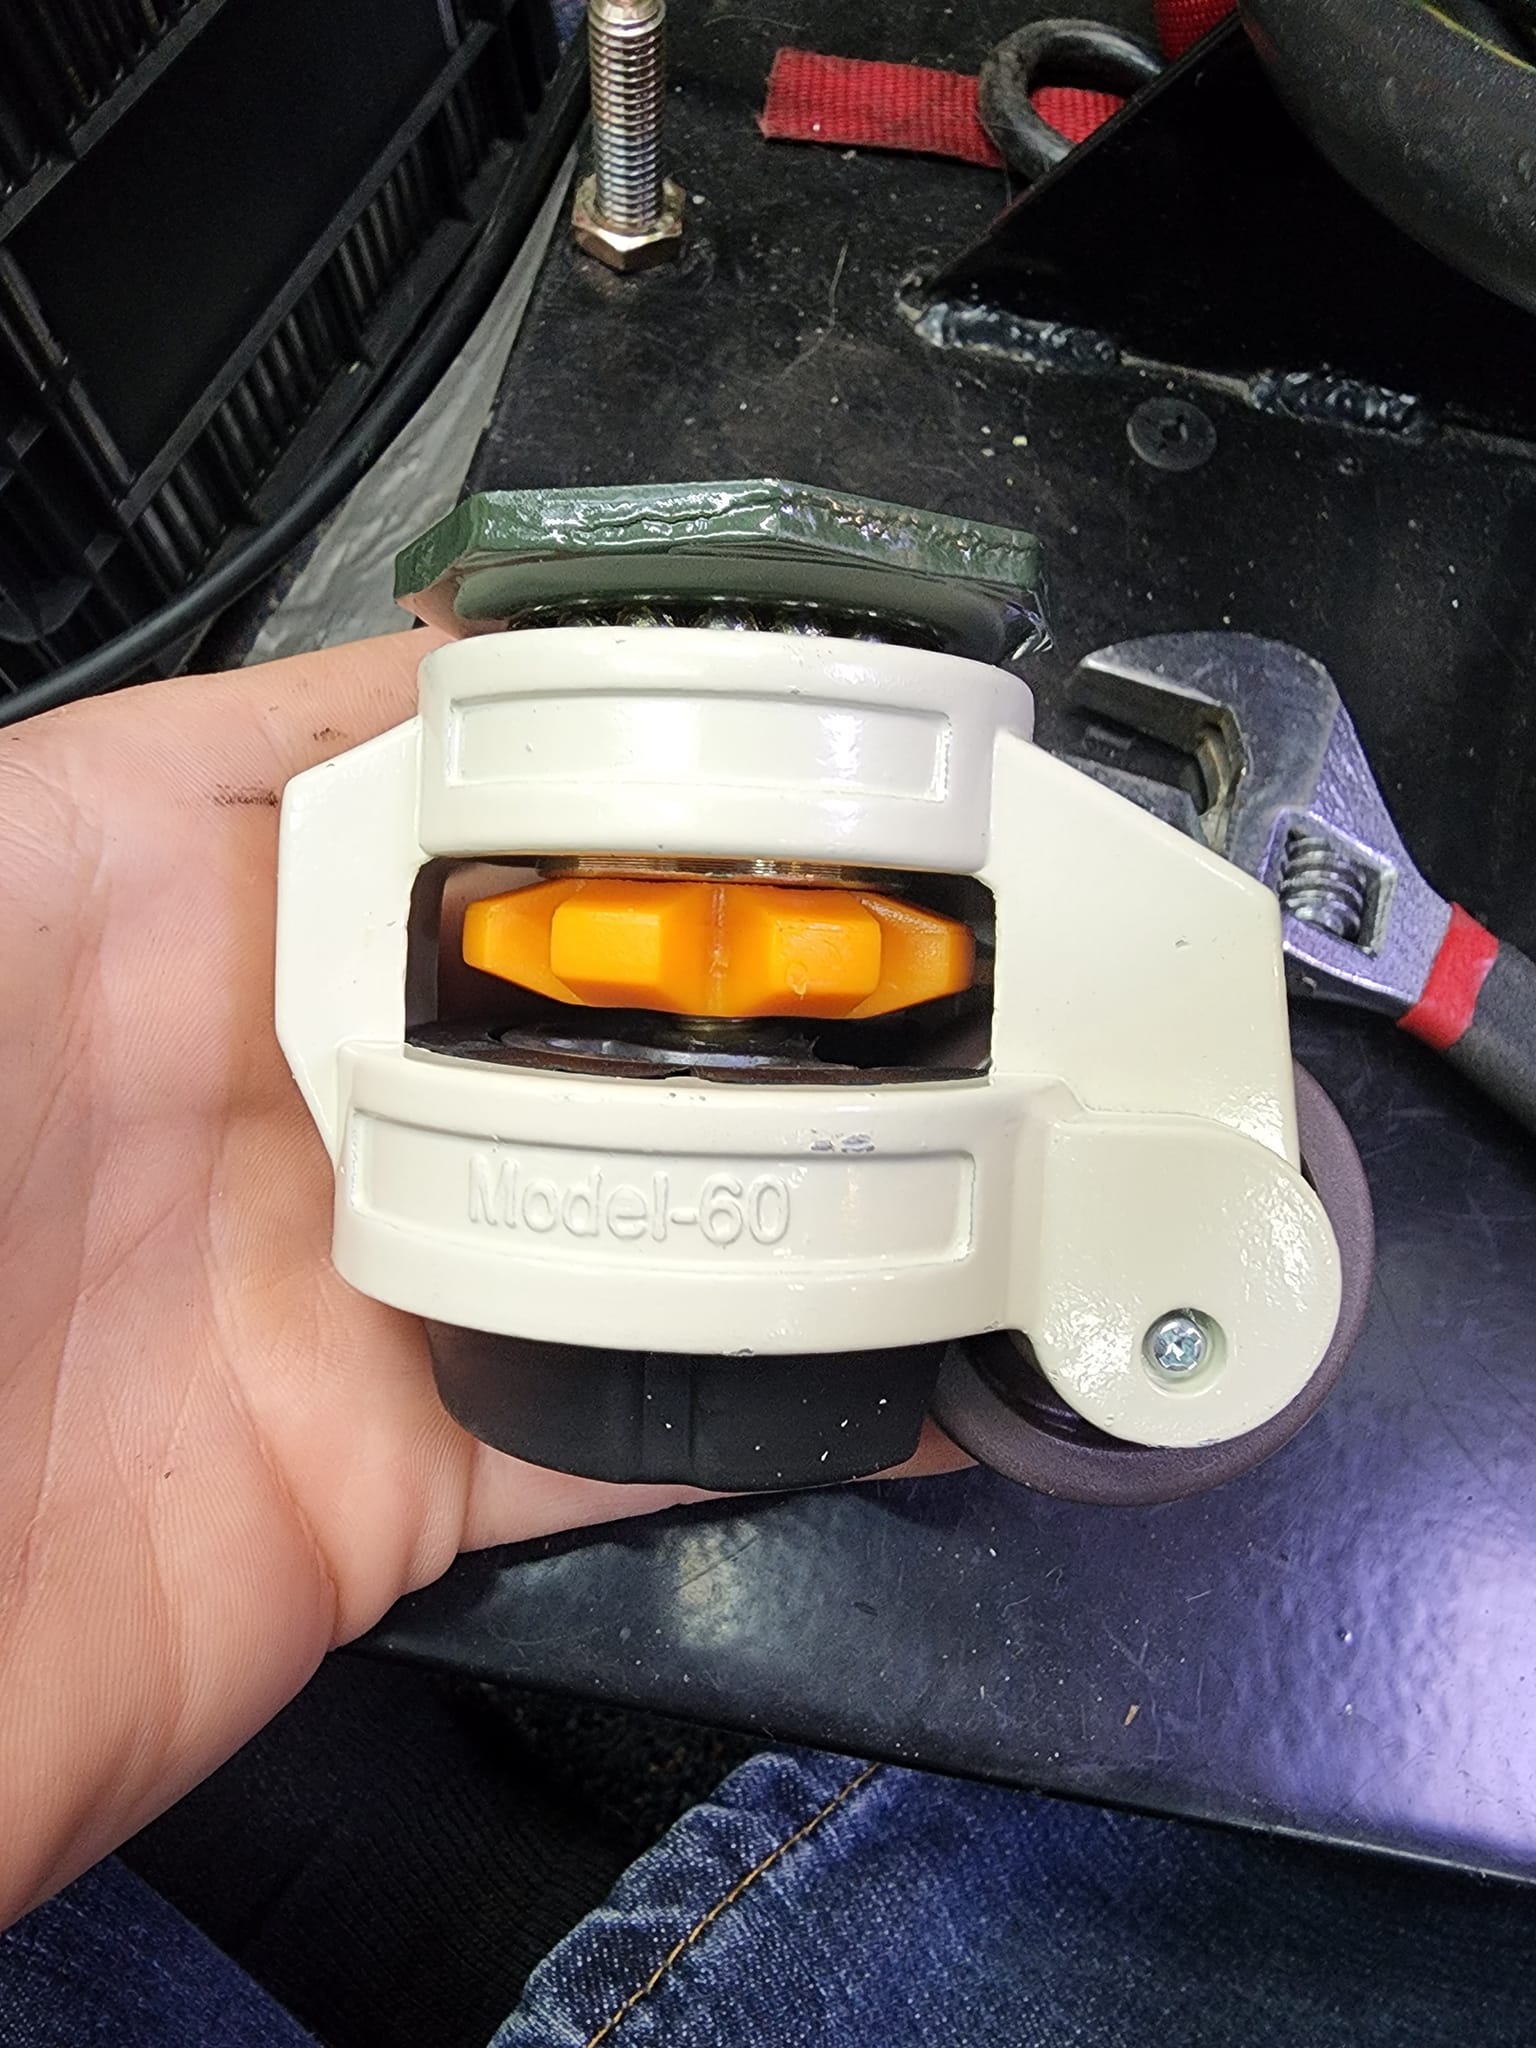
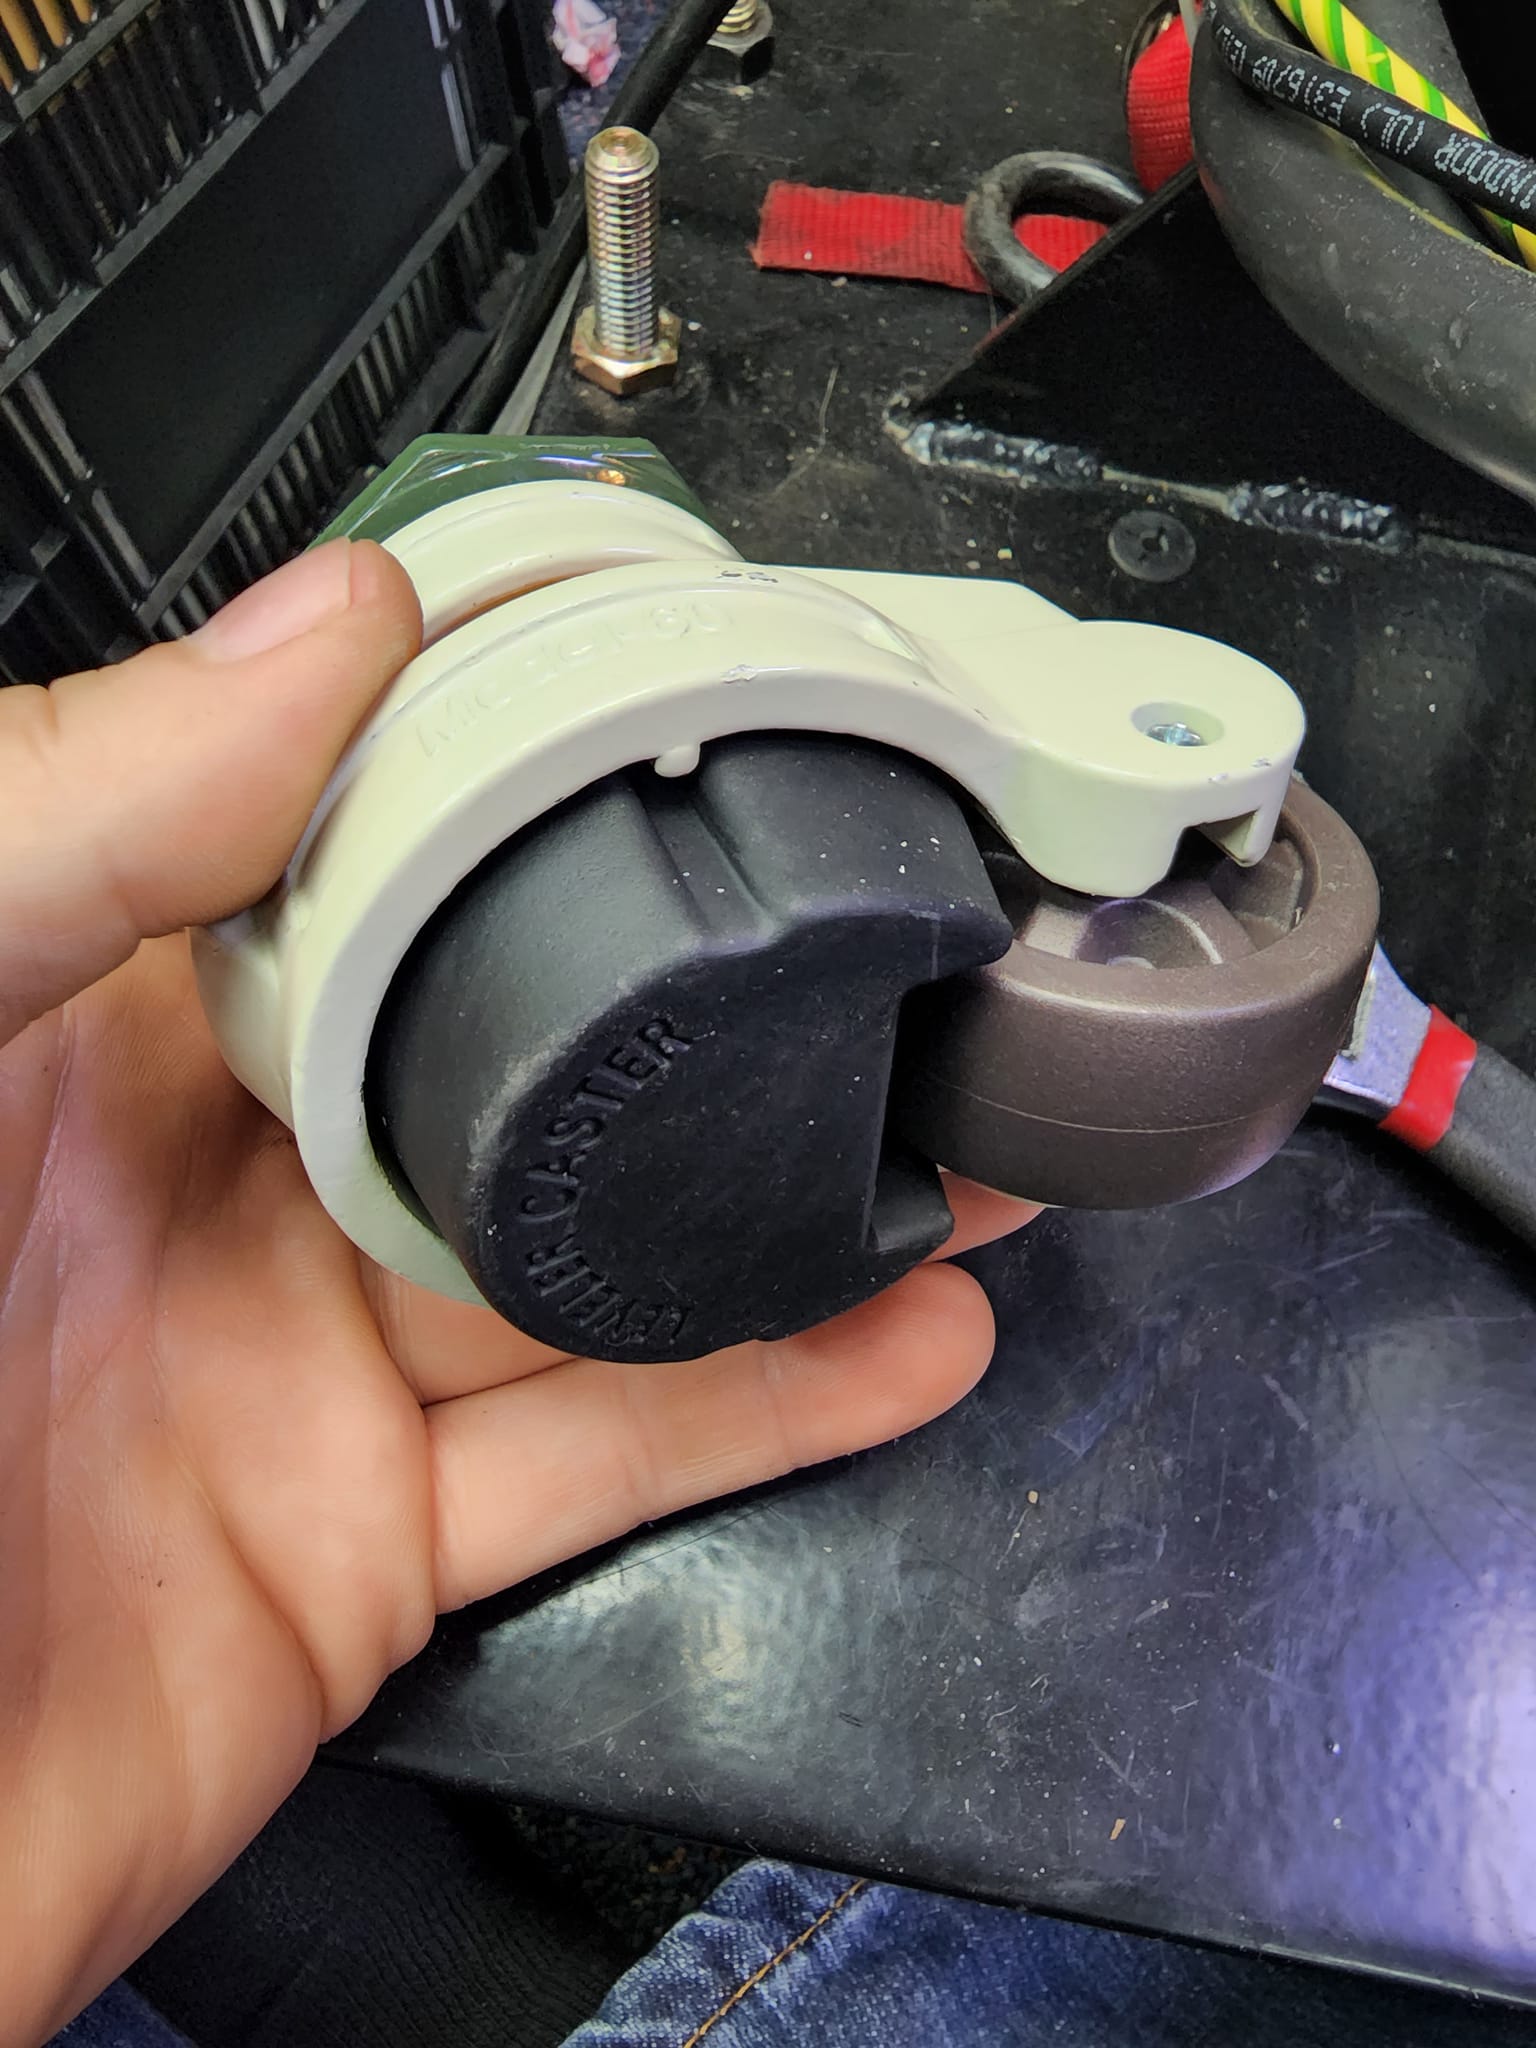
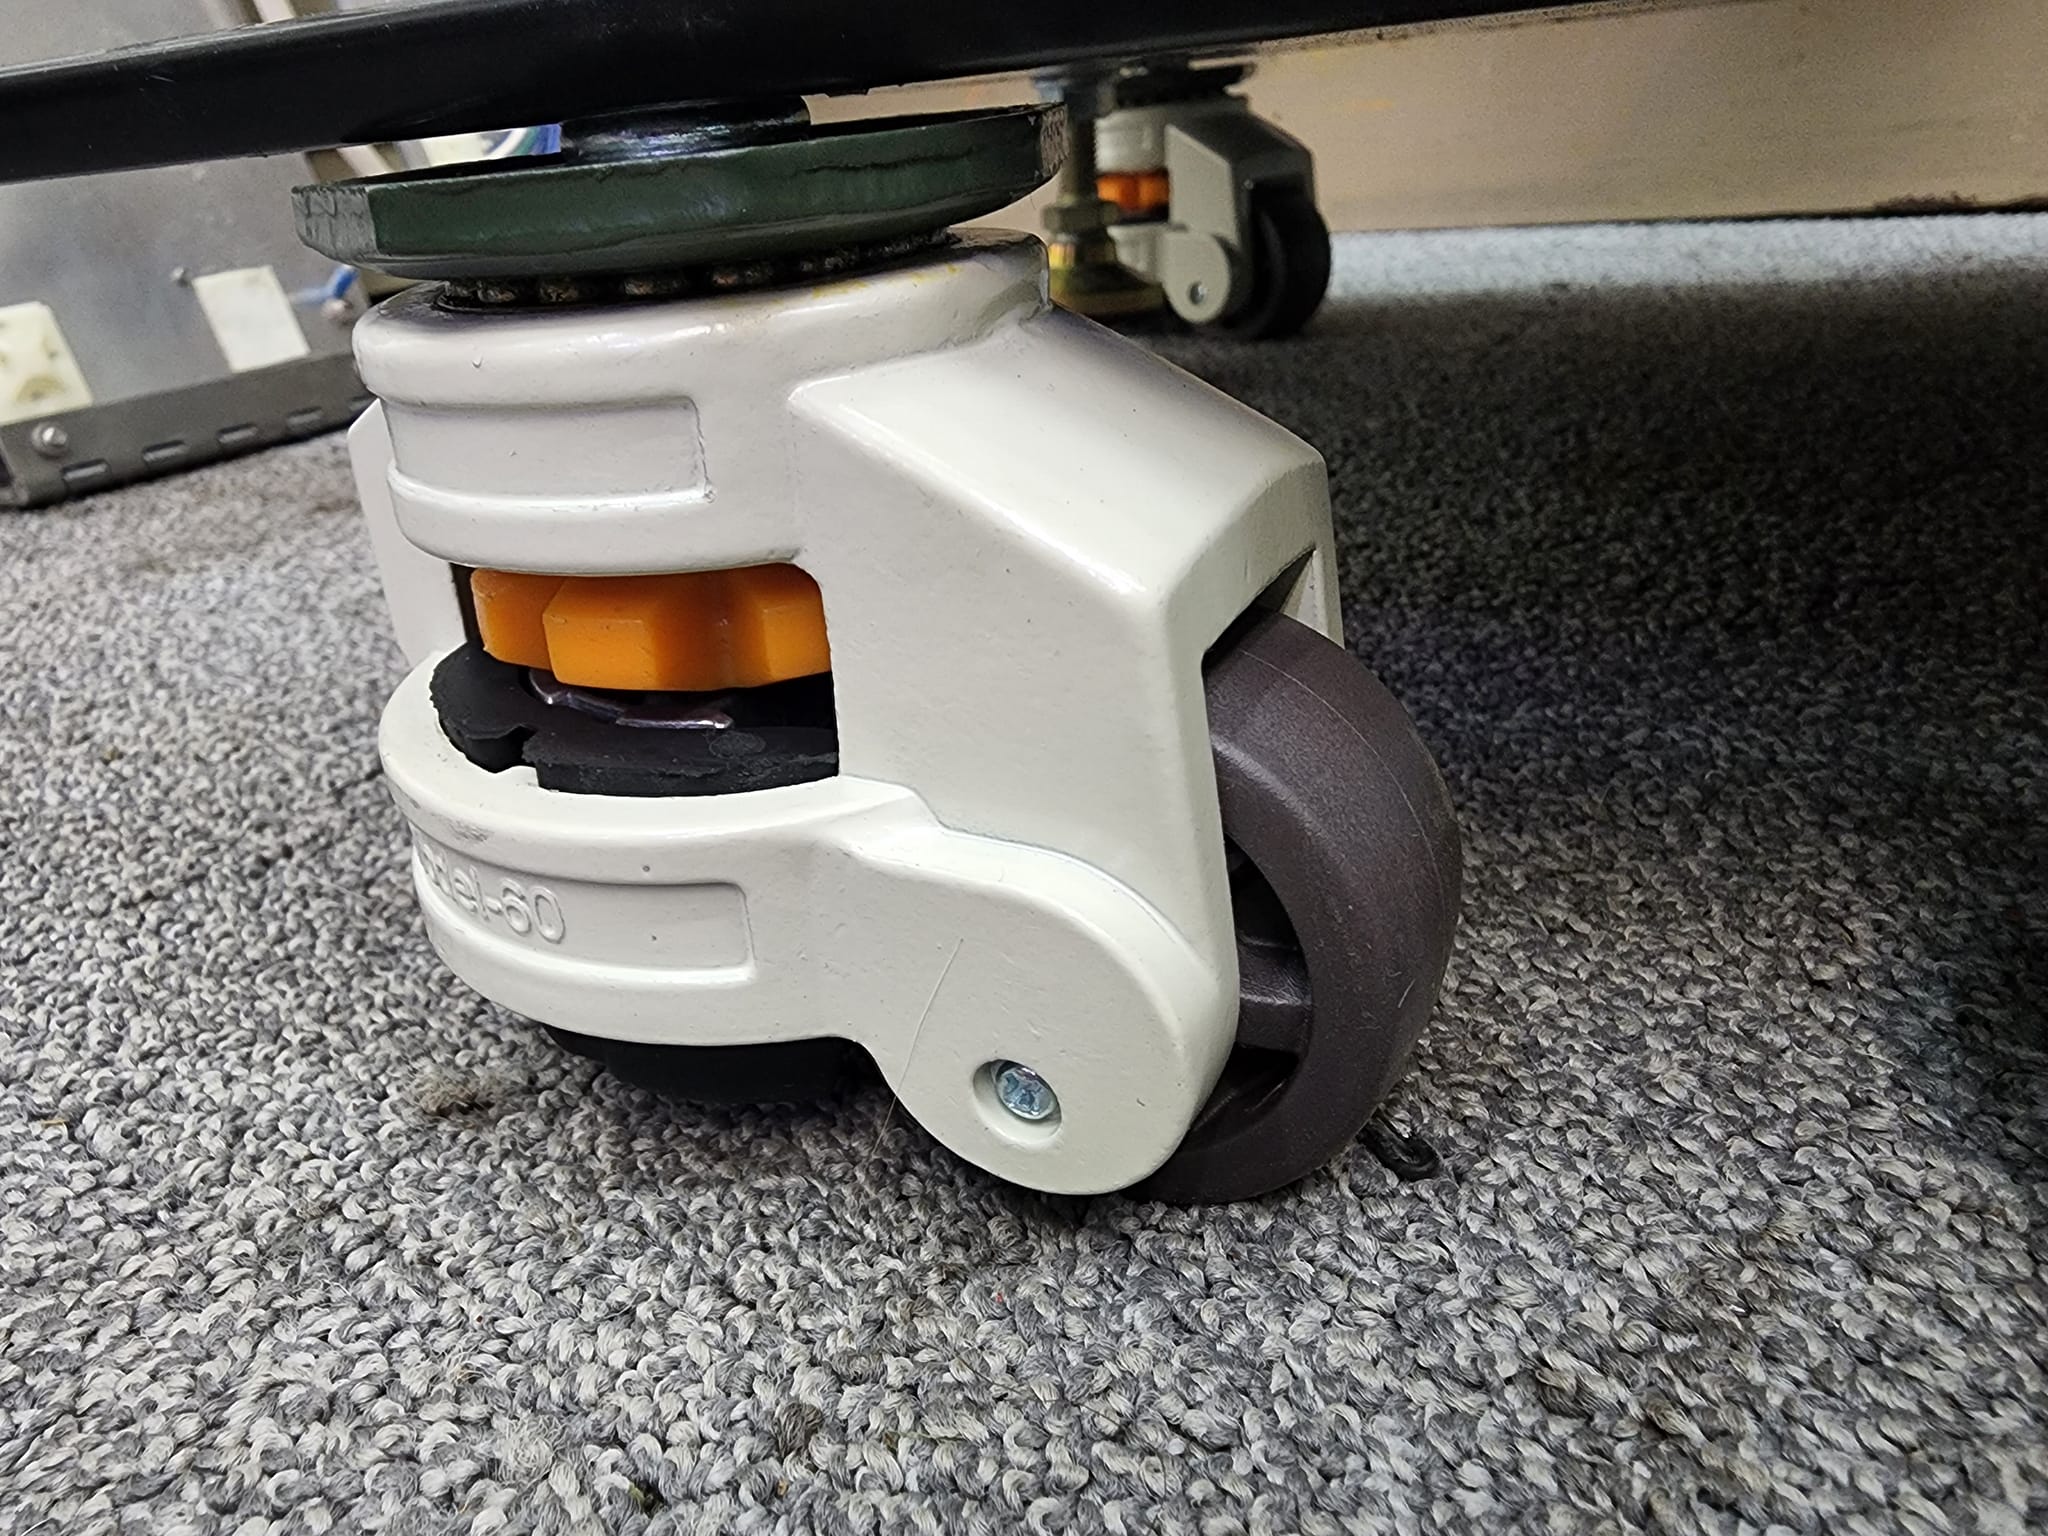
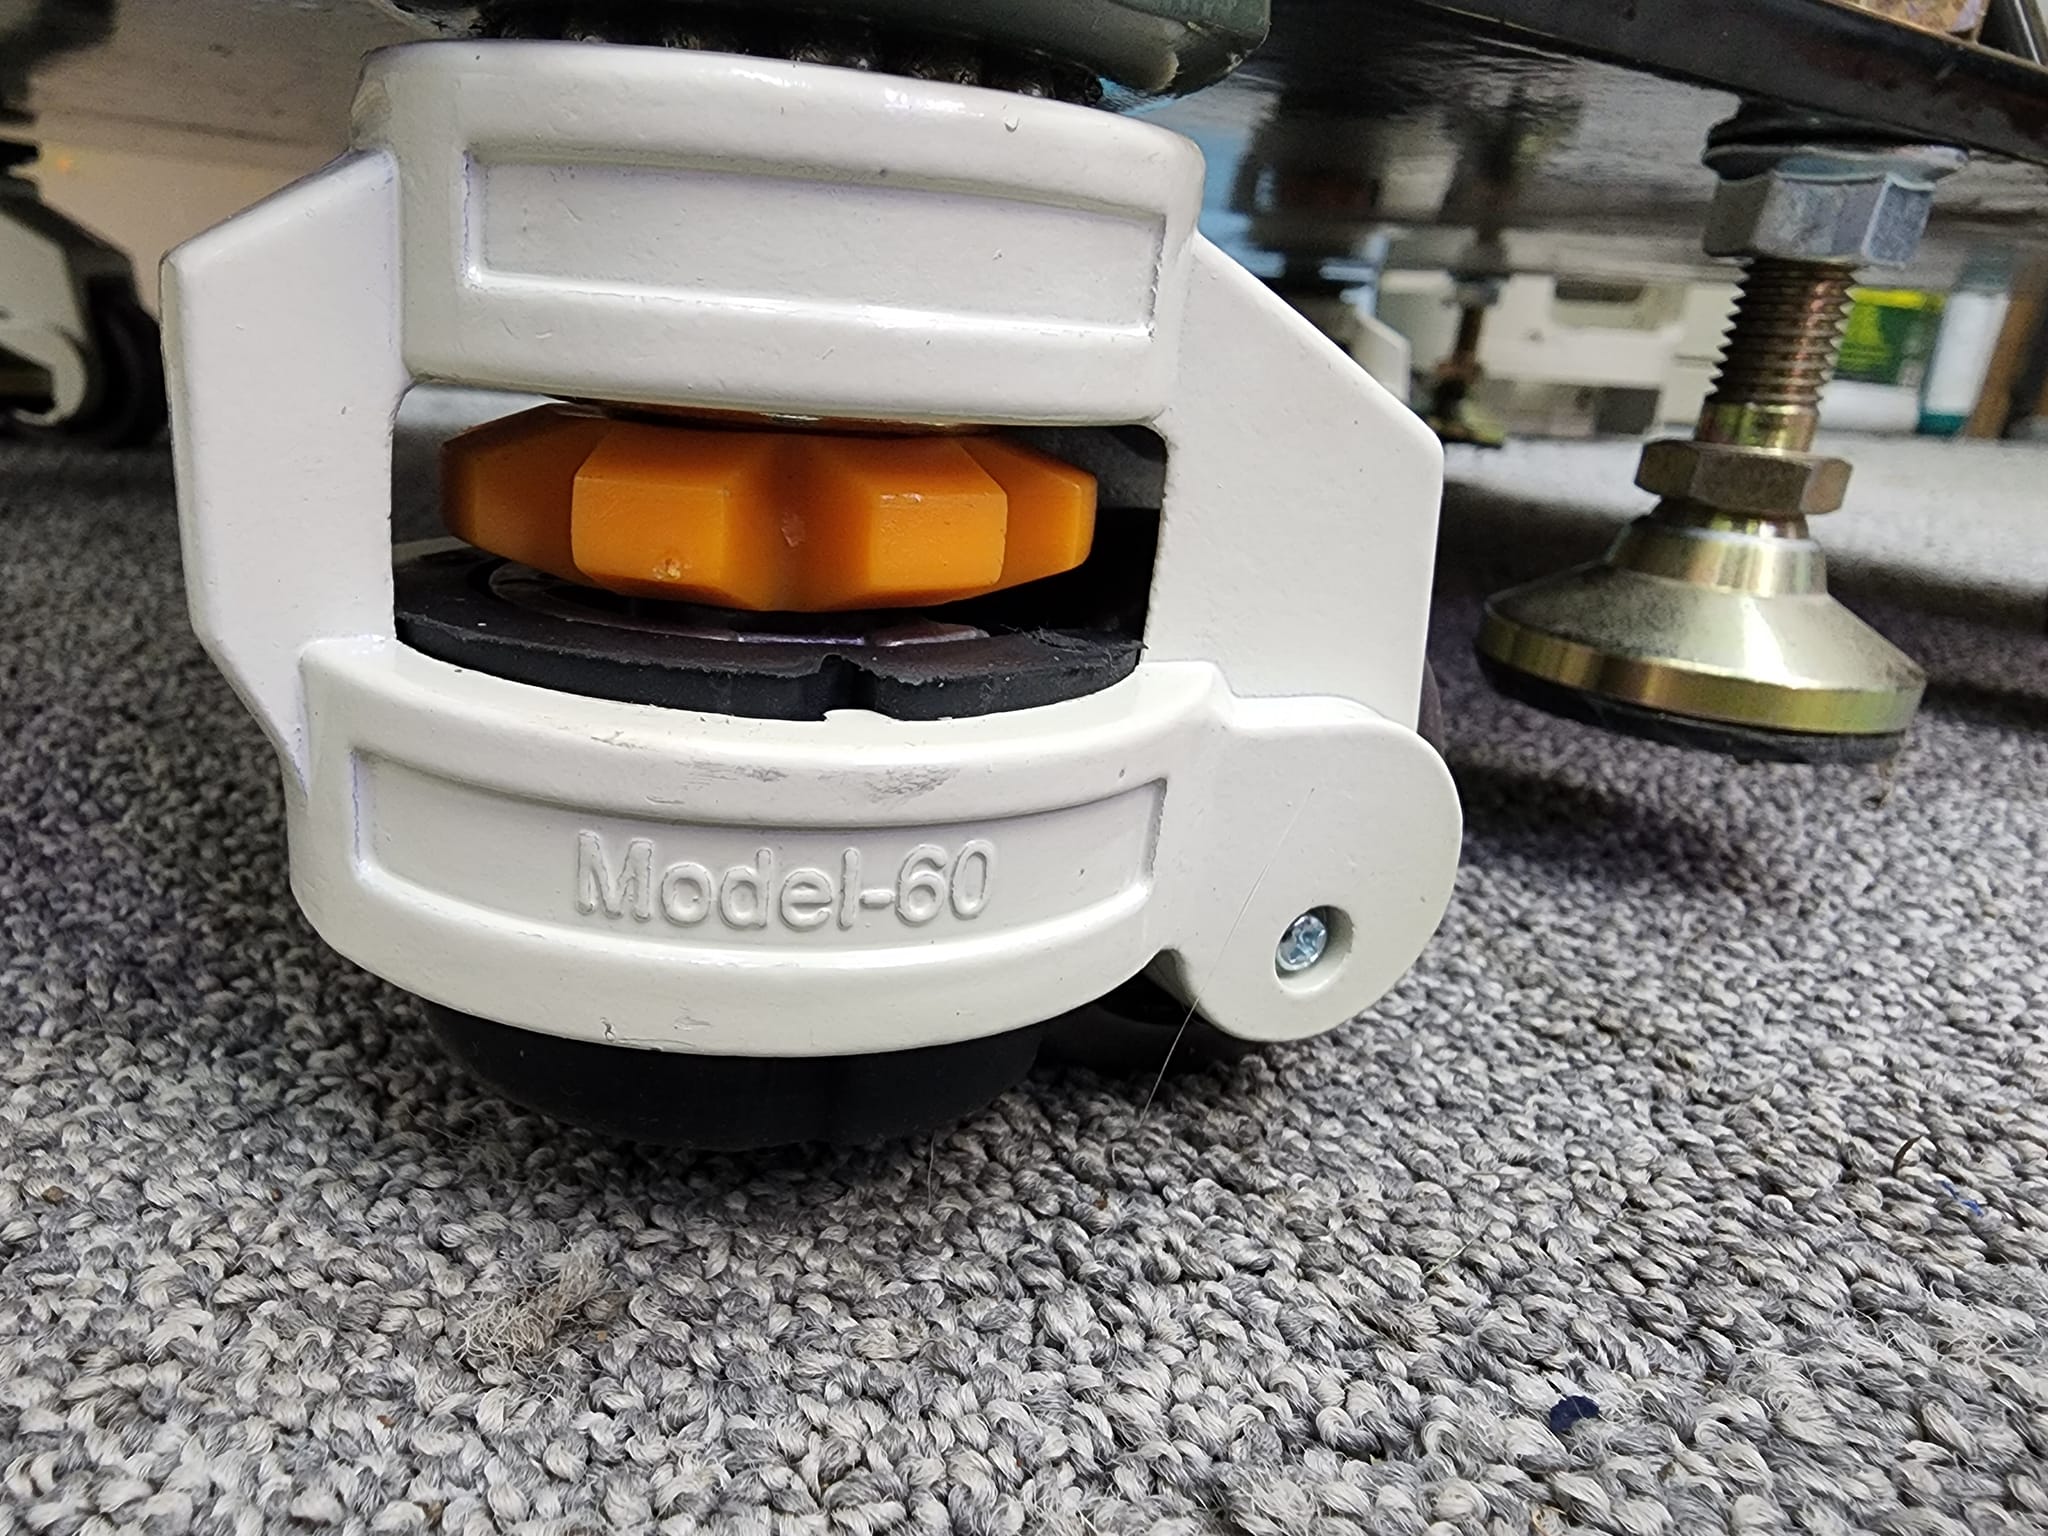
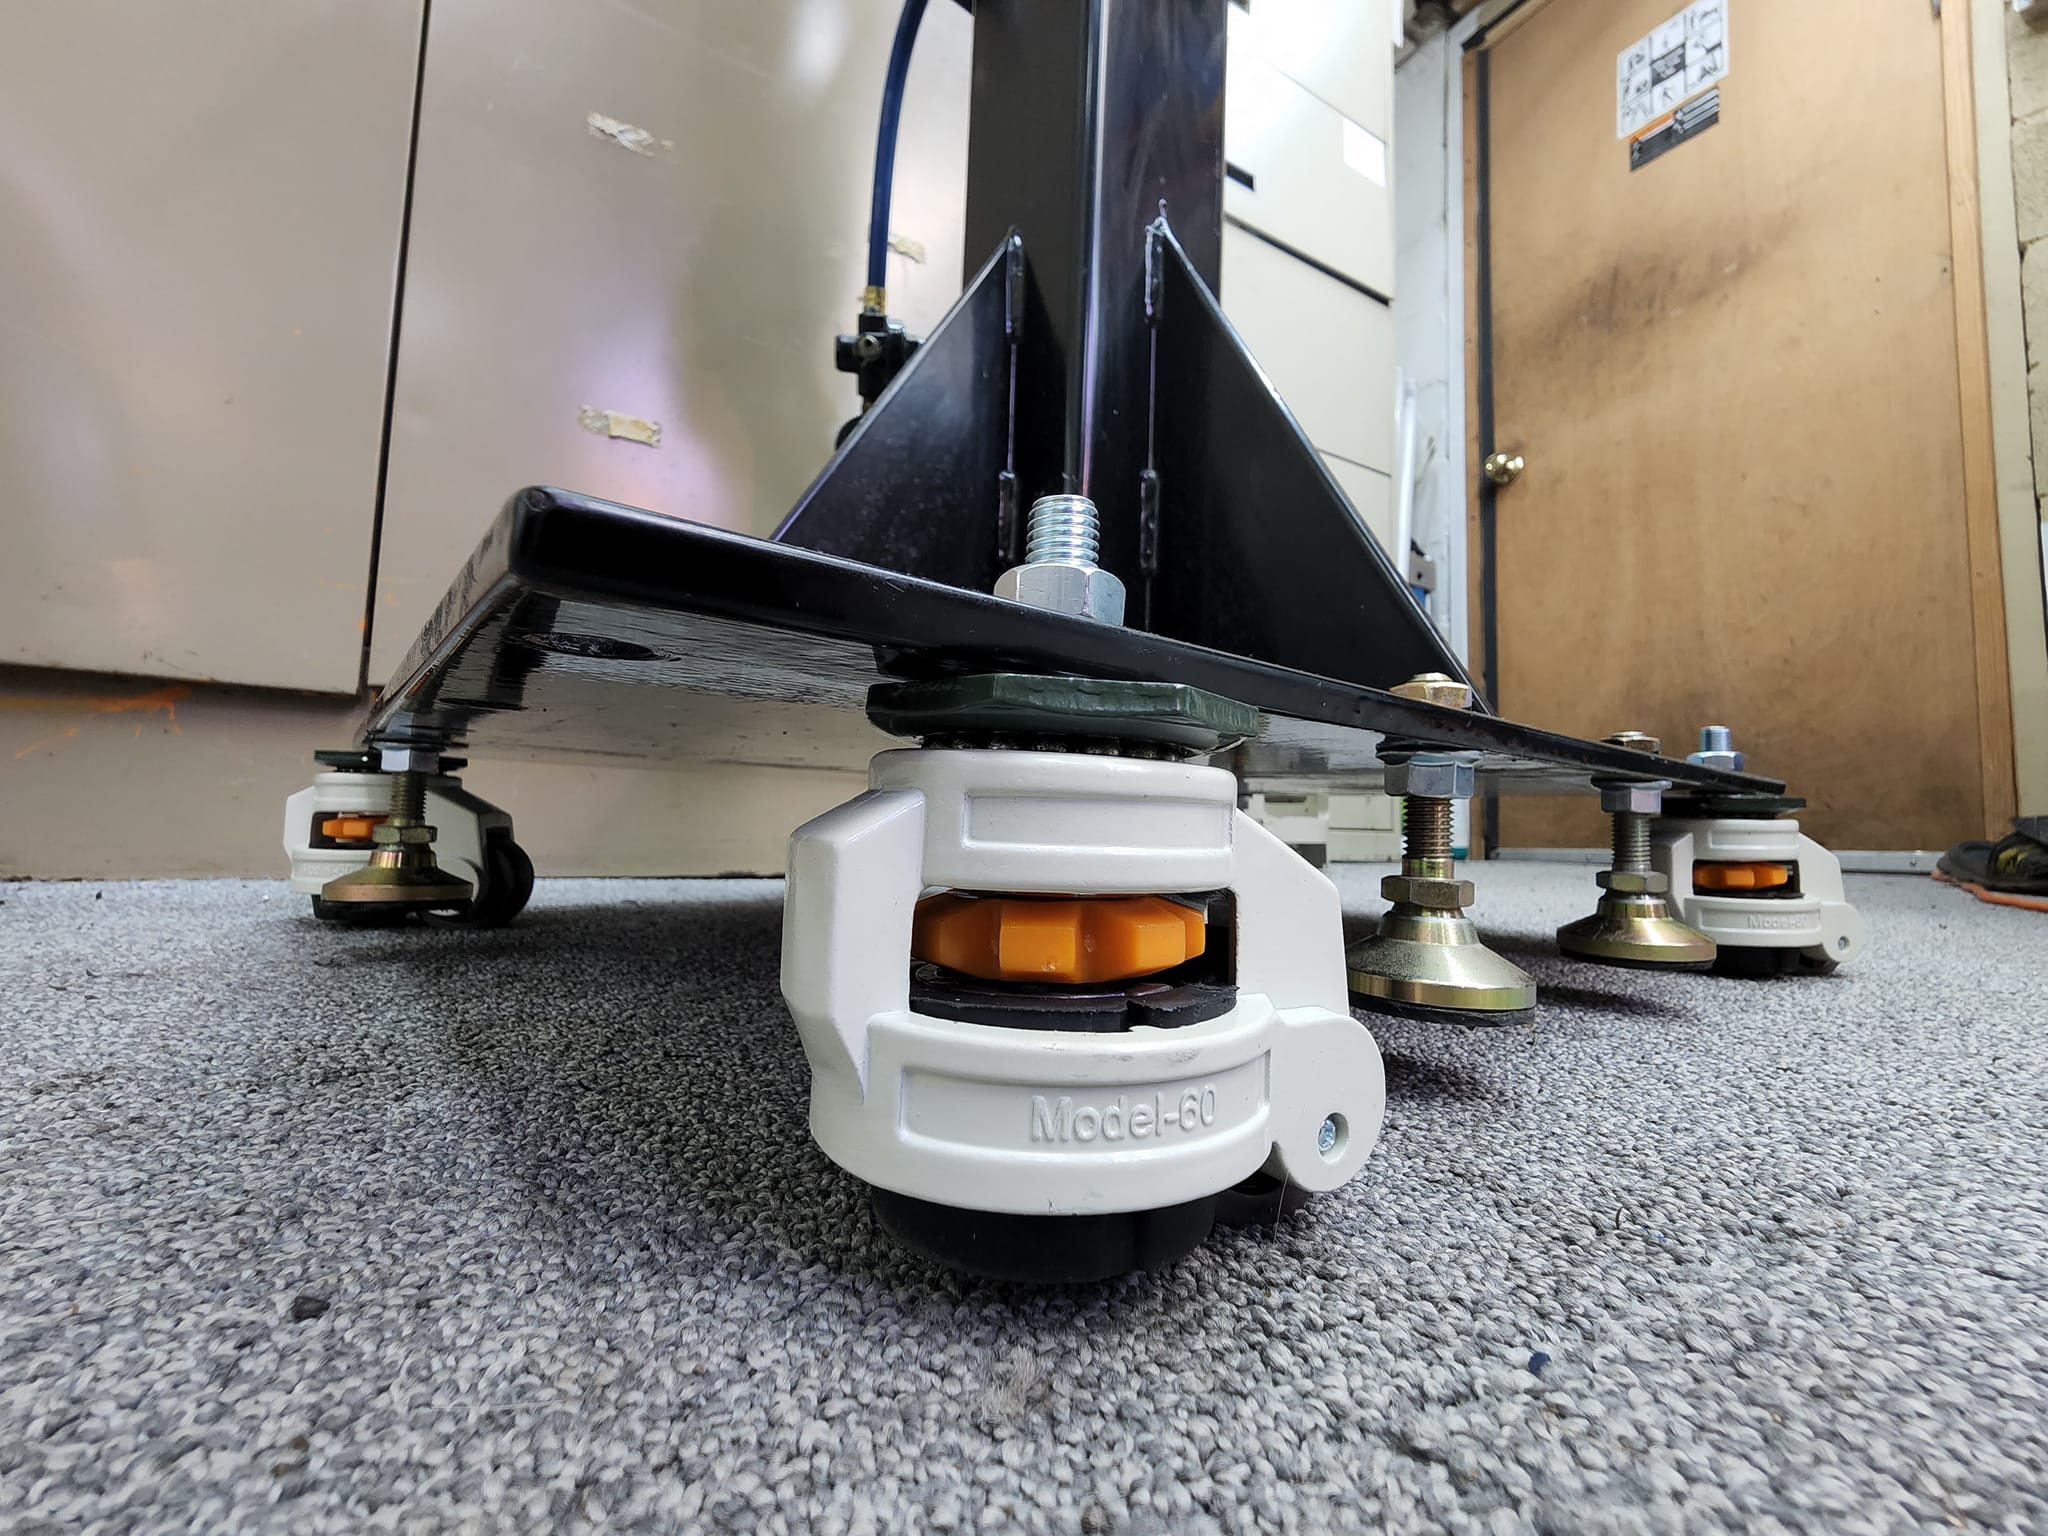
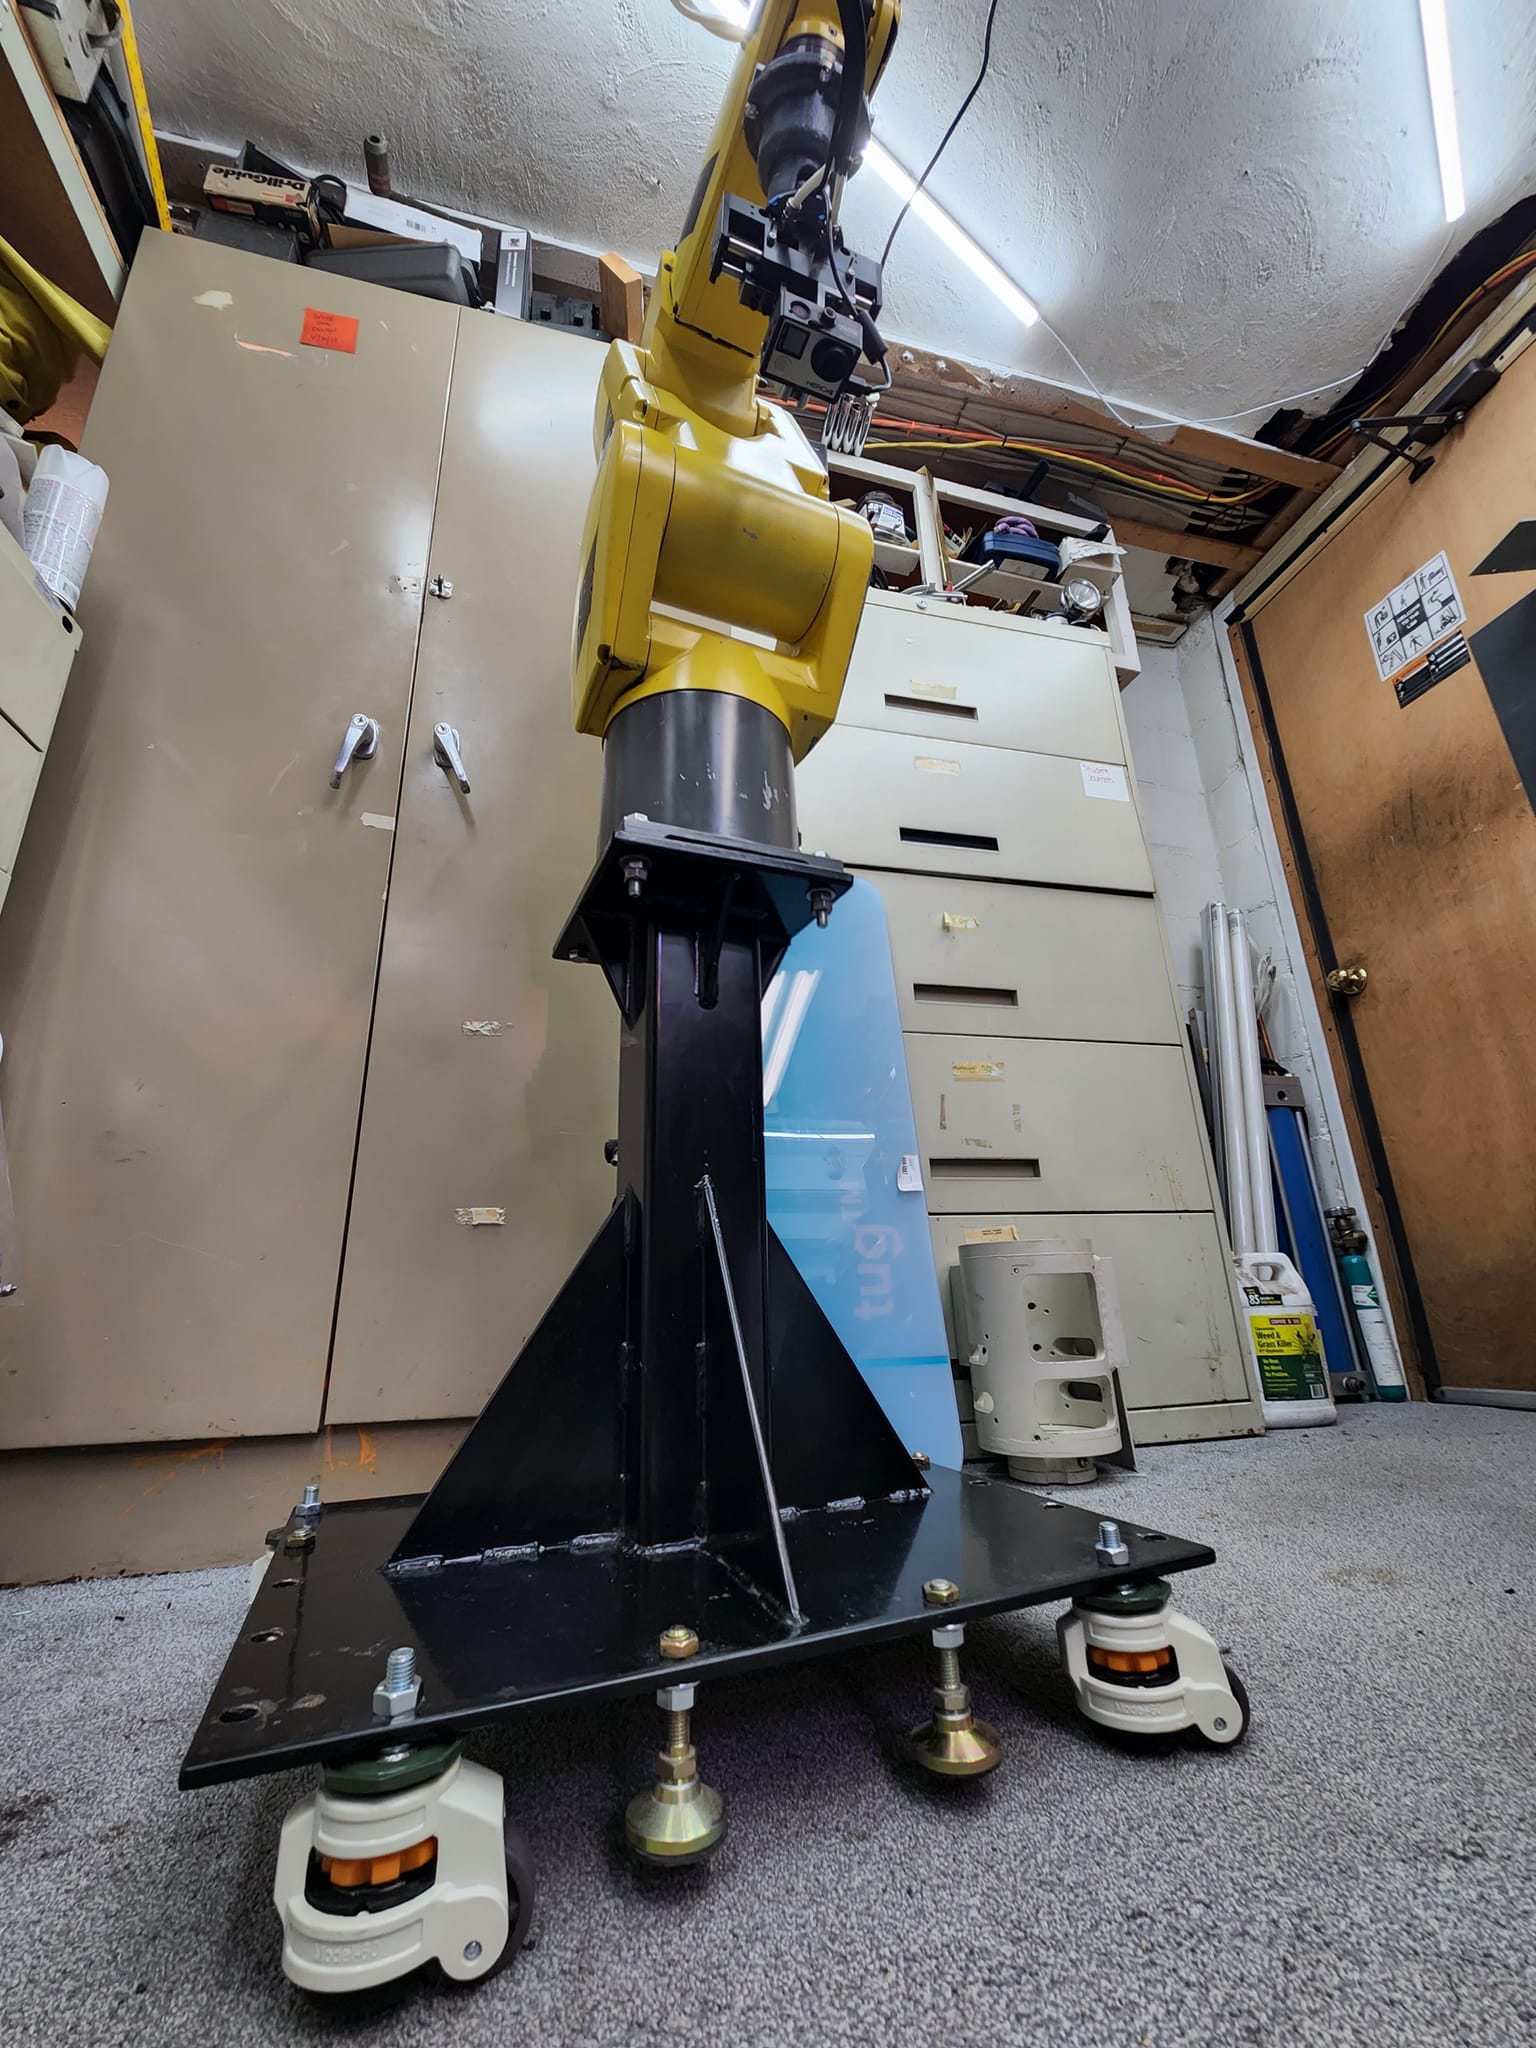
These things are amazing! And it allows me to roll it to a new spot lock it down and level it. And it is rock solid. I even have a few extra feet if needed to add more points of contact. Have not needed them yet.
This robot is only a 5 Axis unit, this means it can not rotate the forearm this limits some of what you can do outside of pick and place. So I came up with an idea, and setout to make a manual 6th axis…
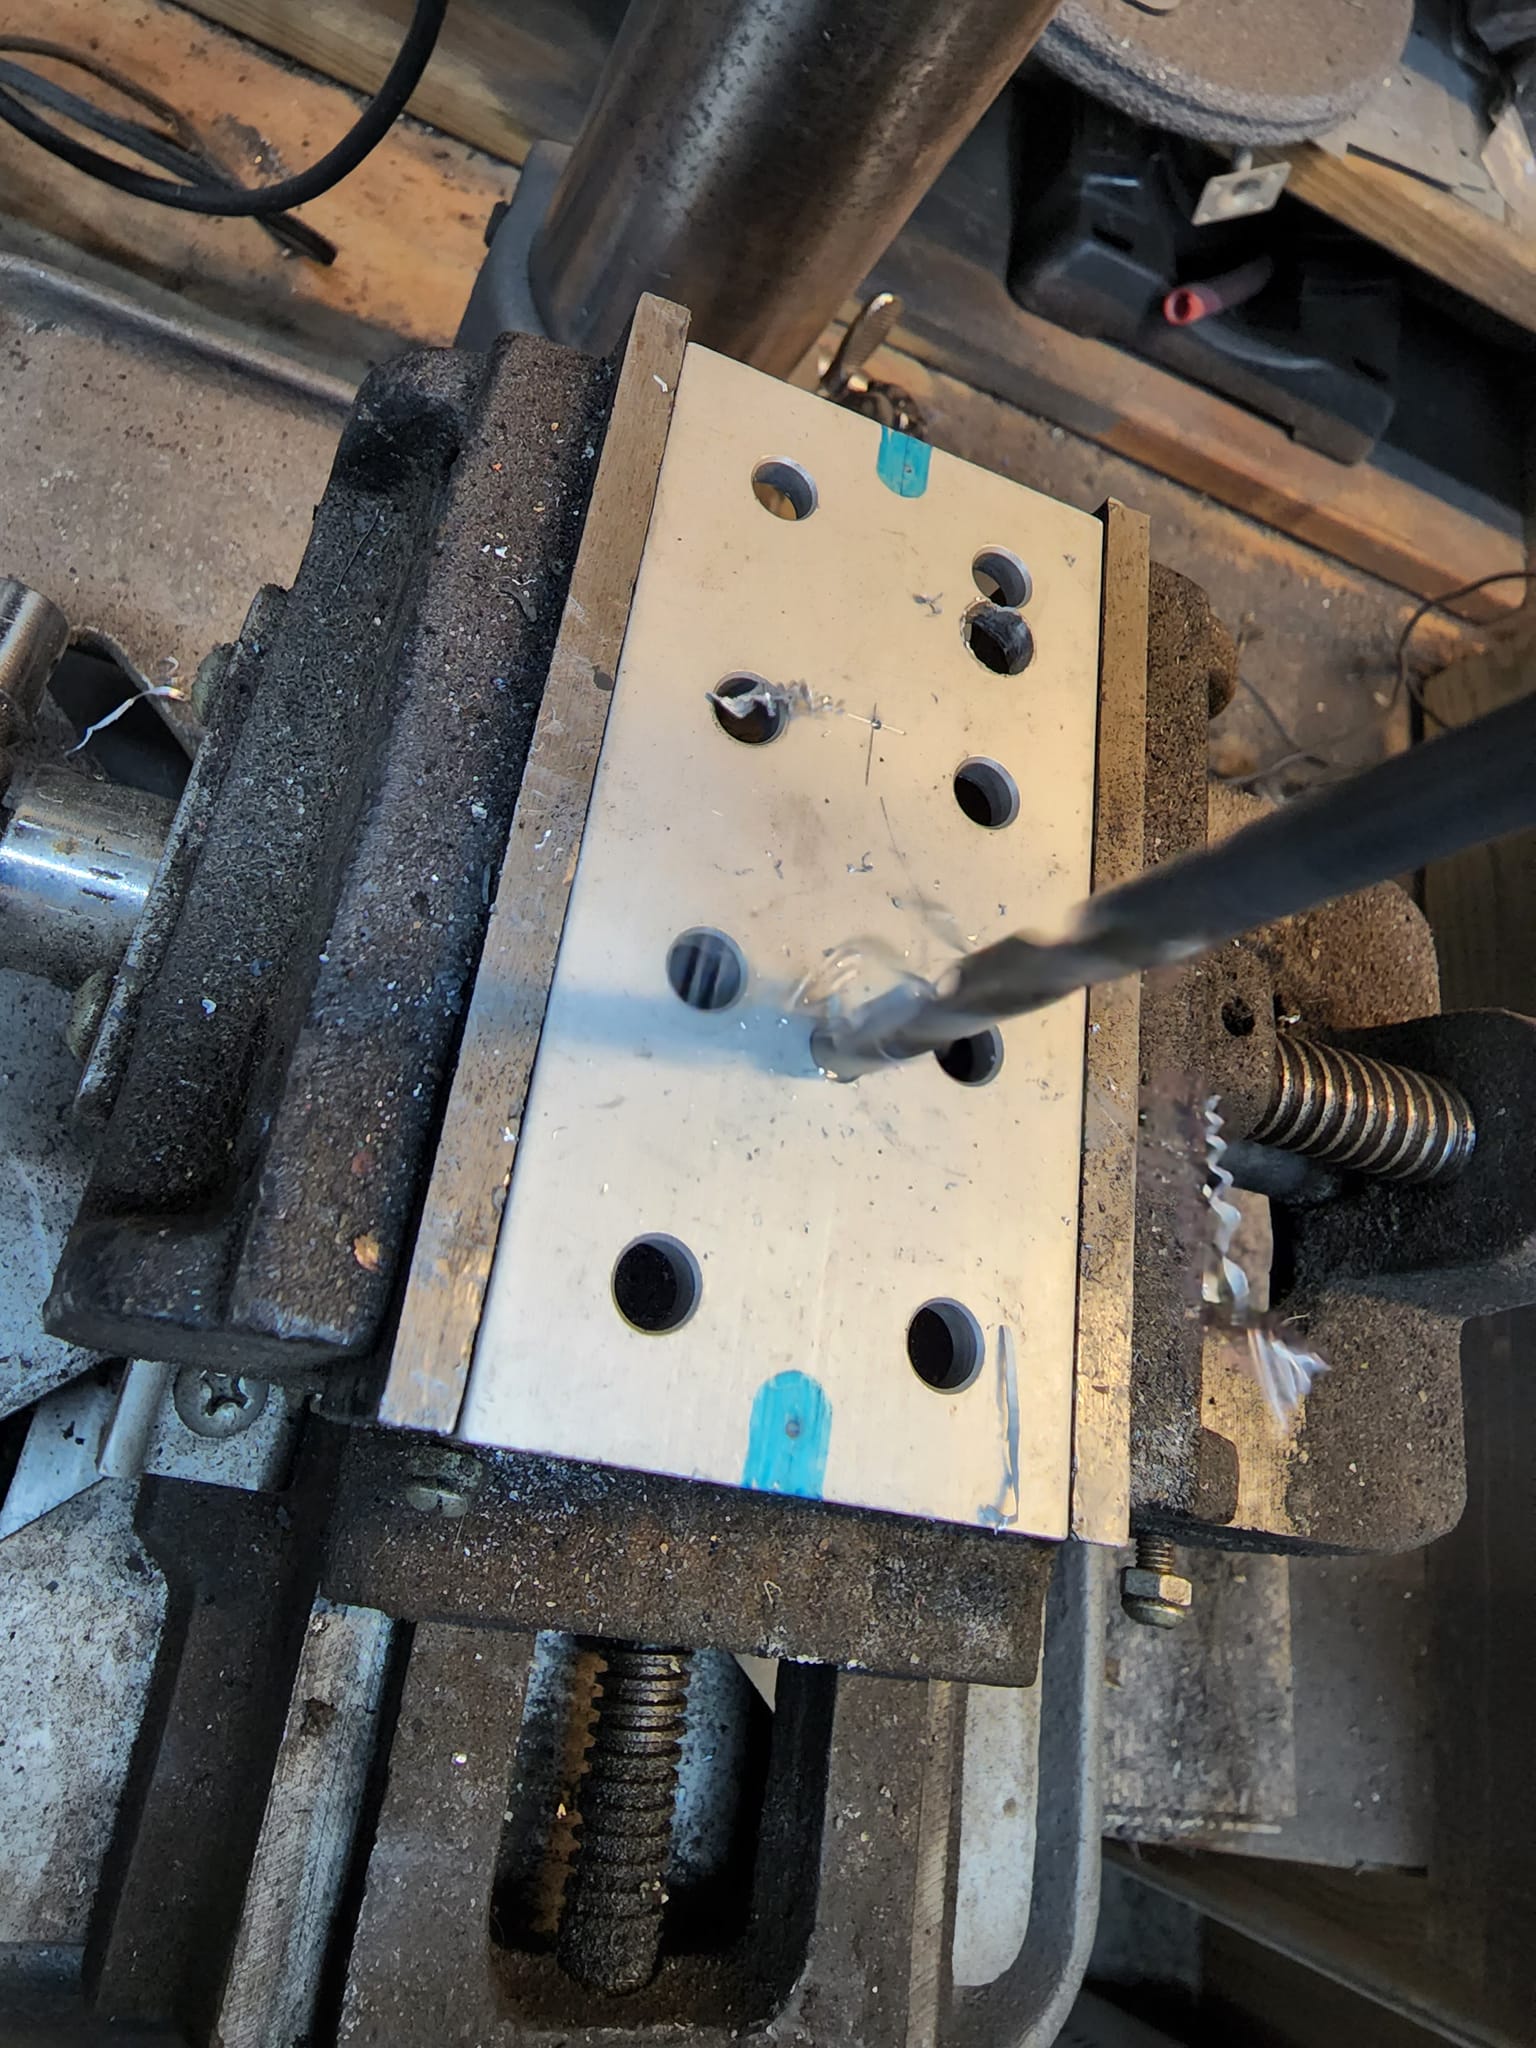
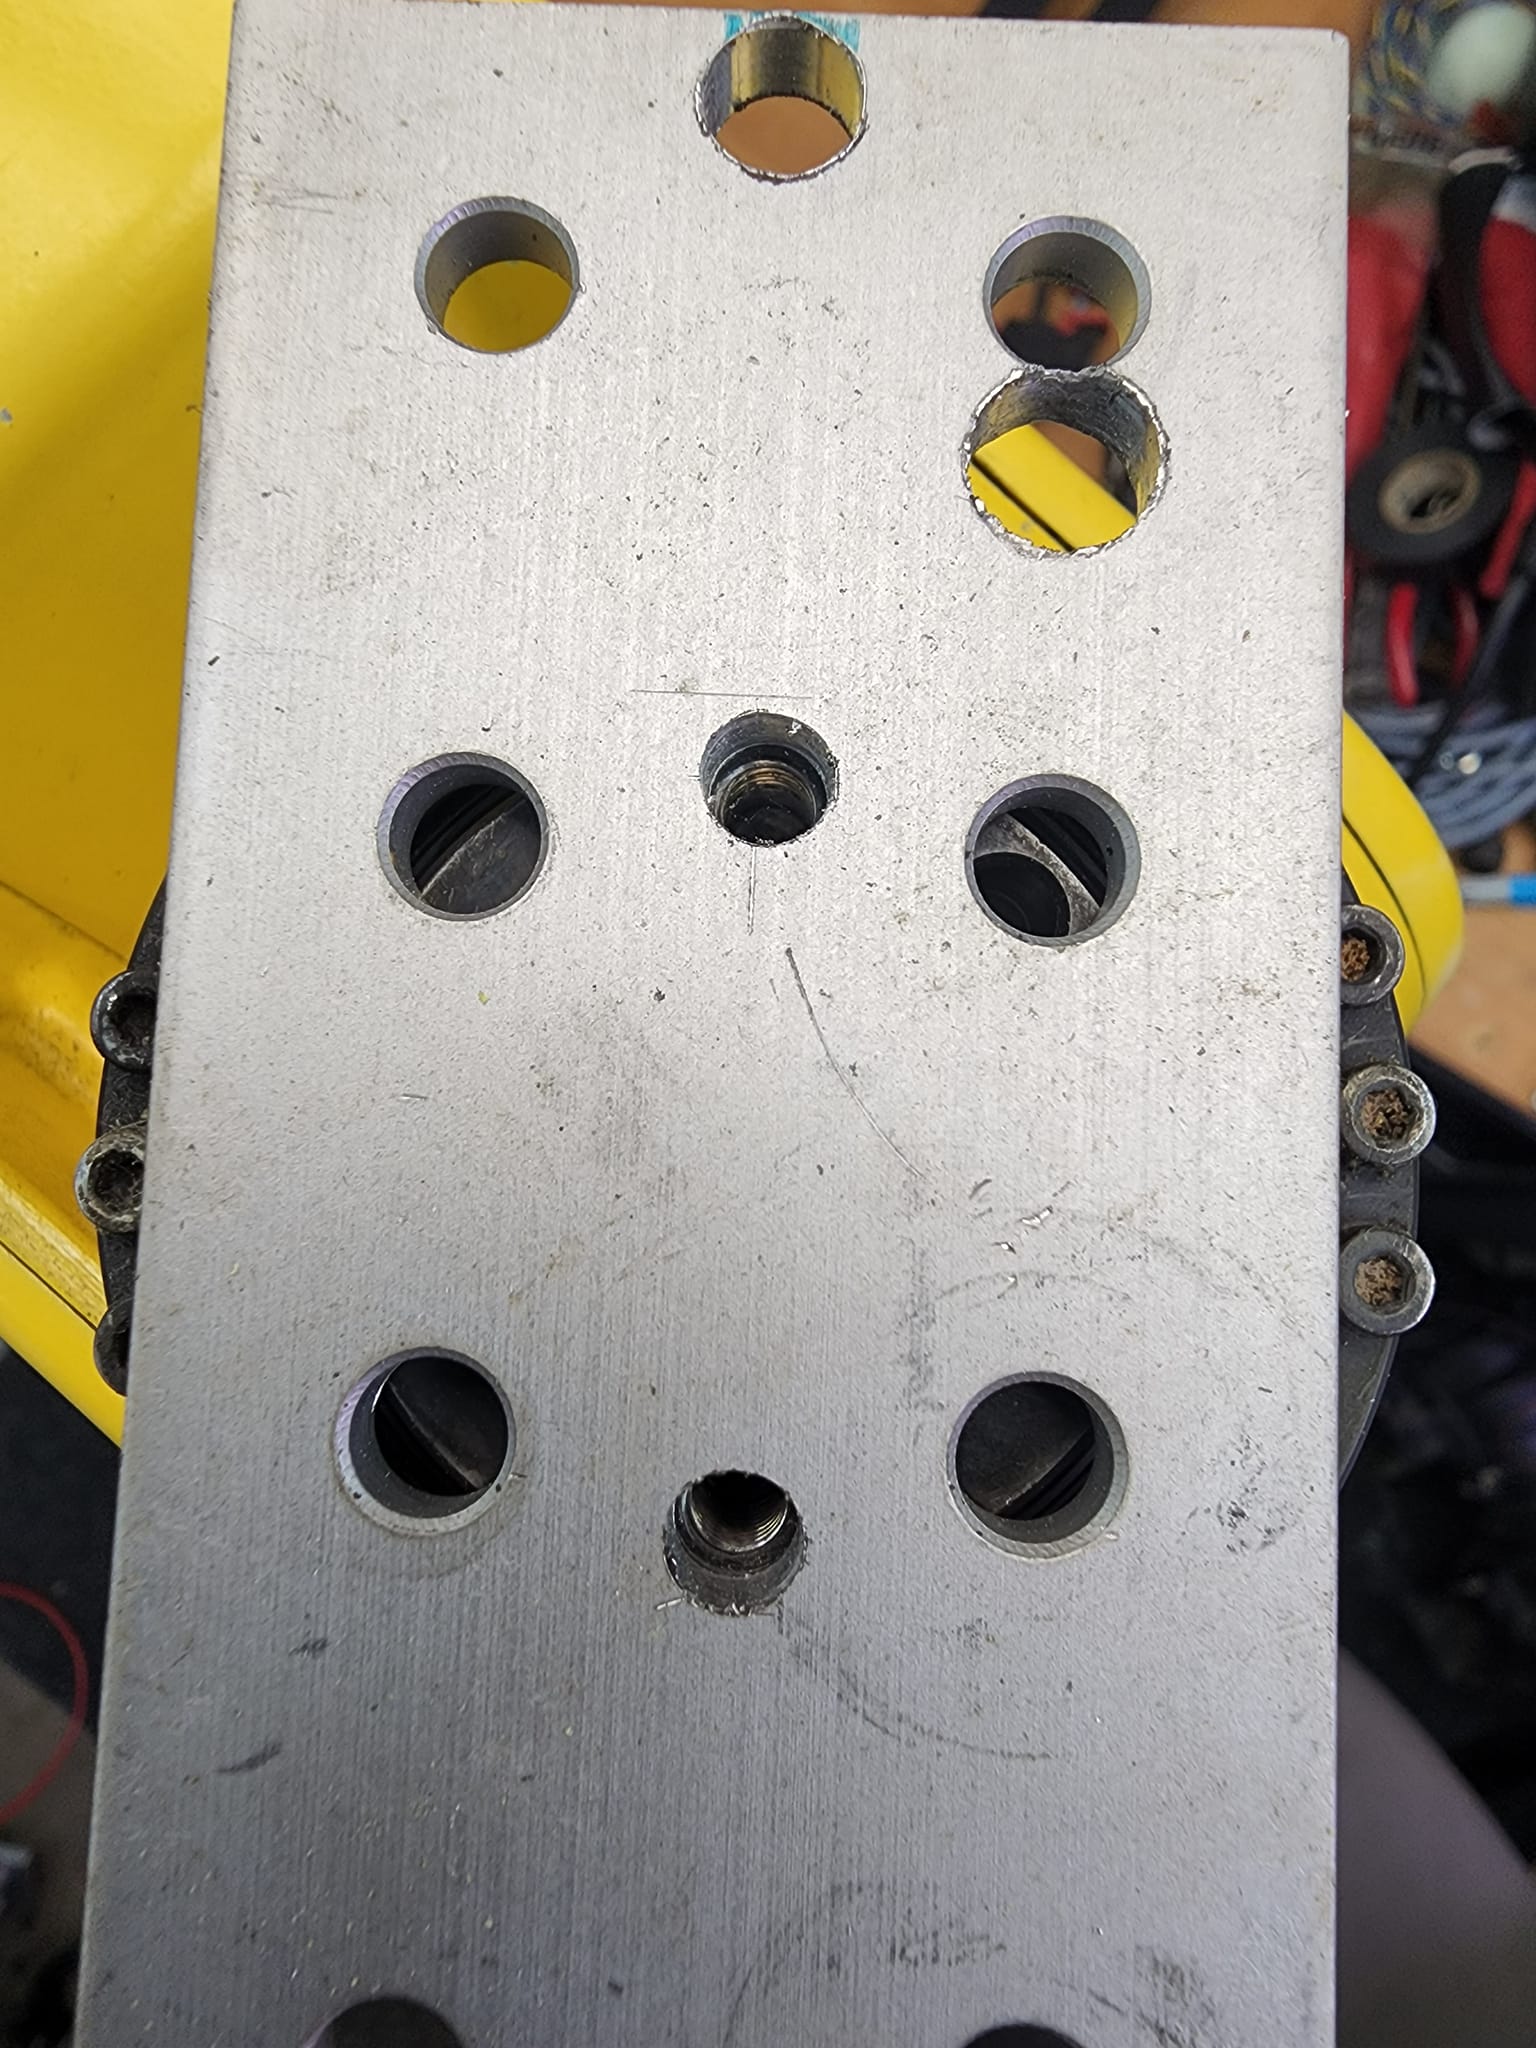
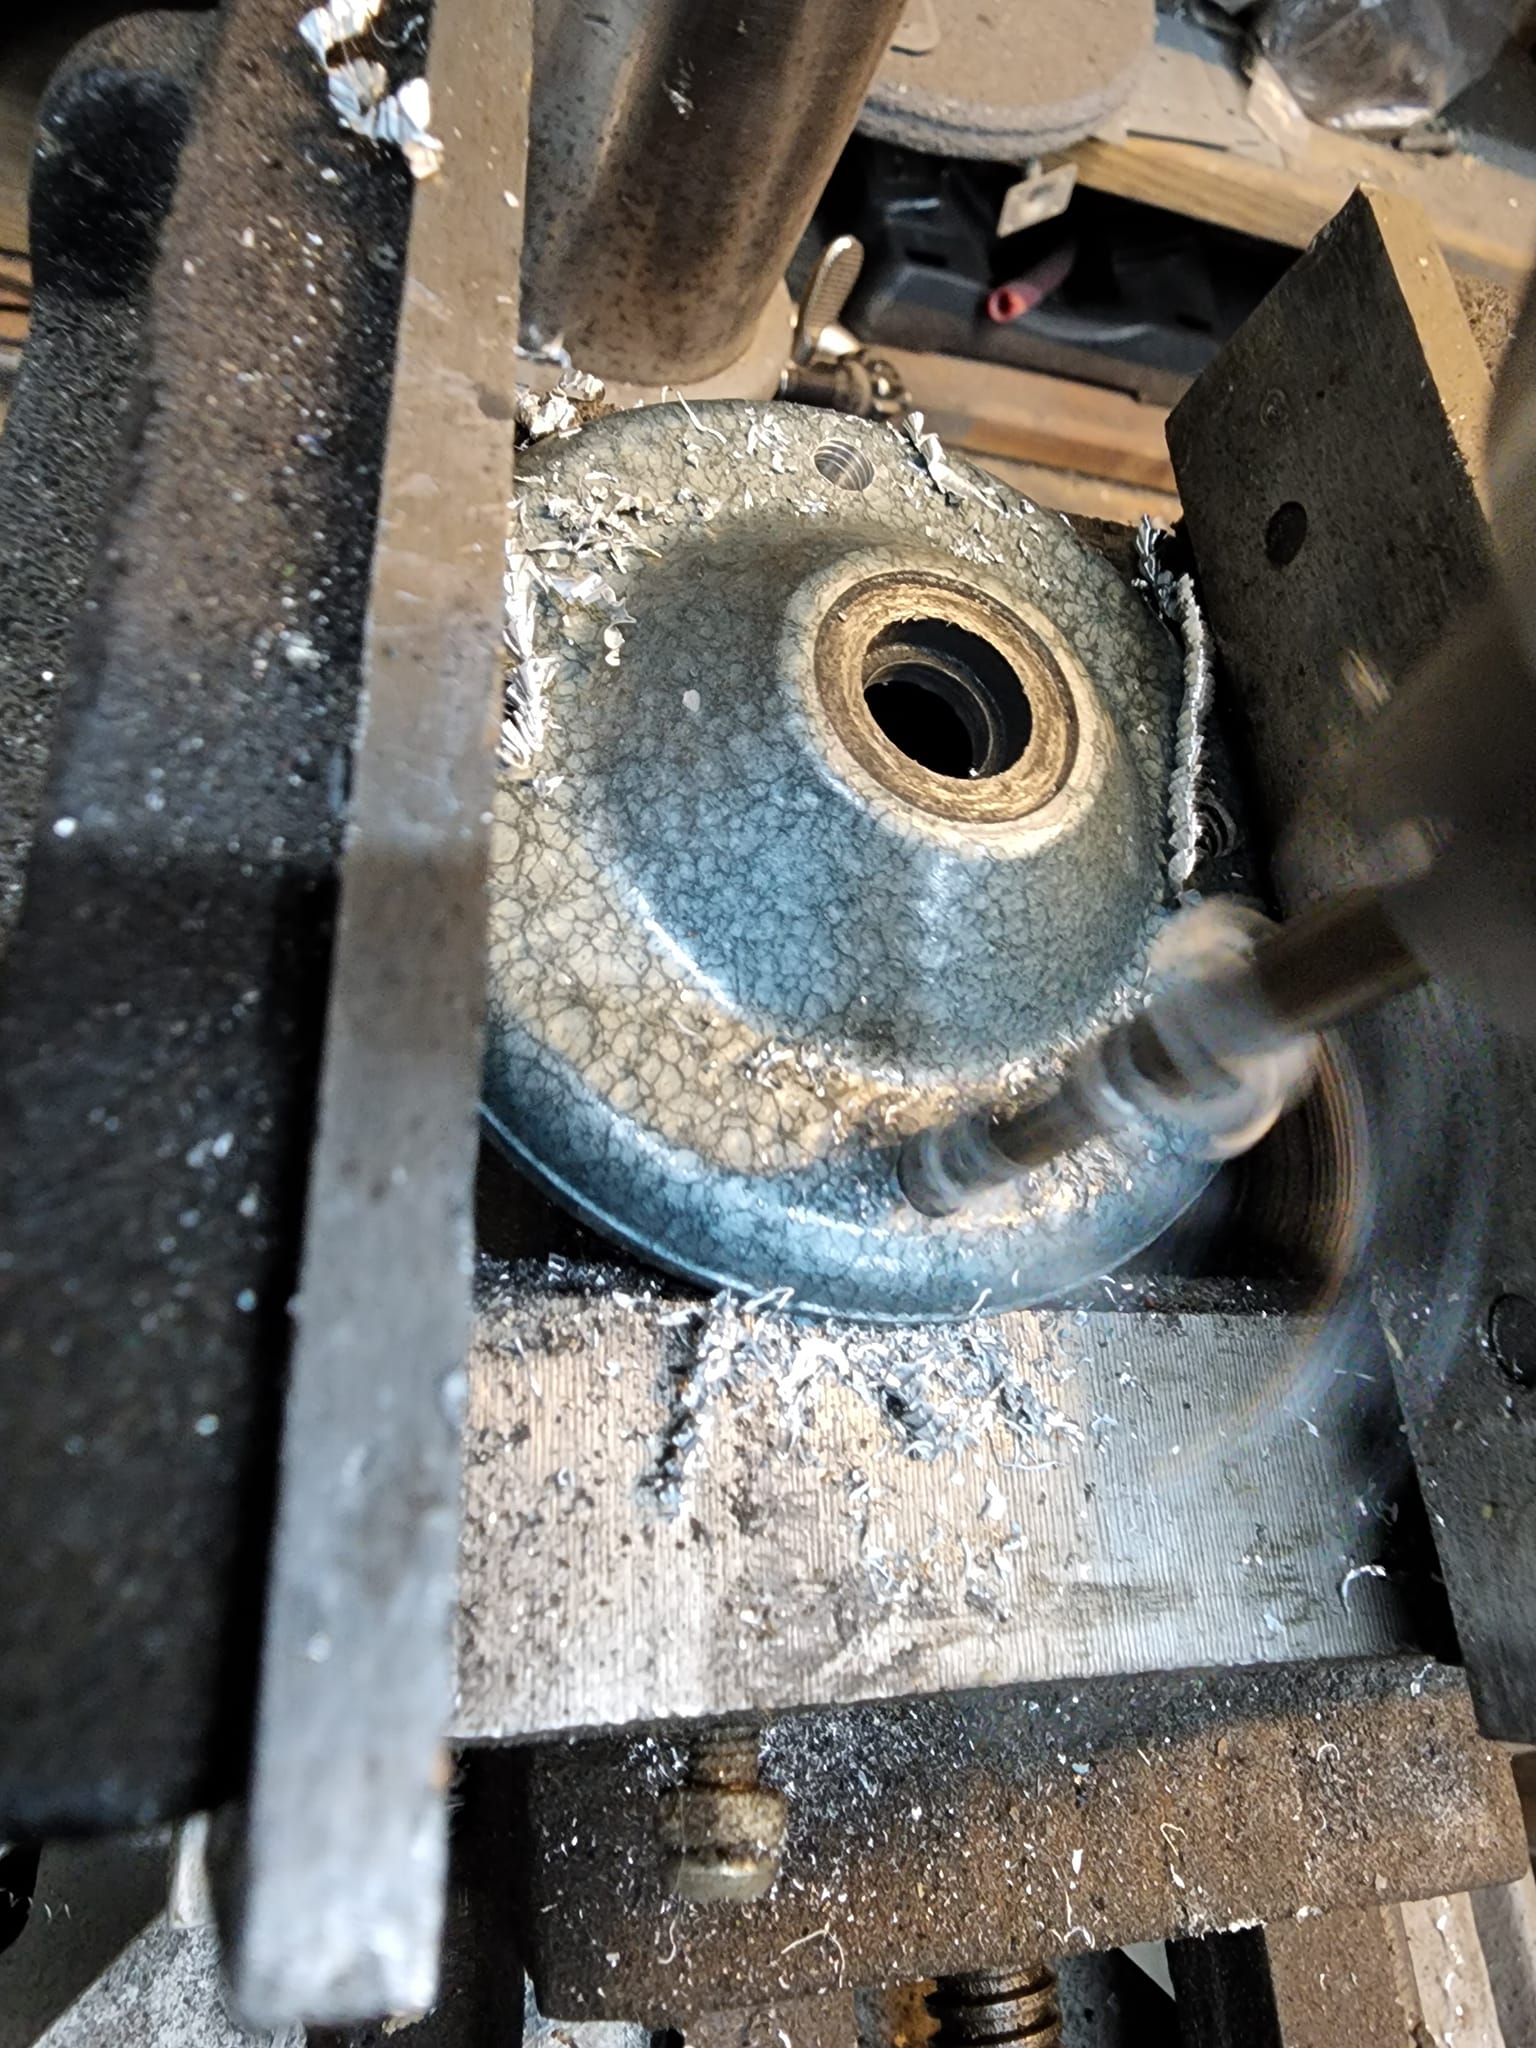
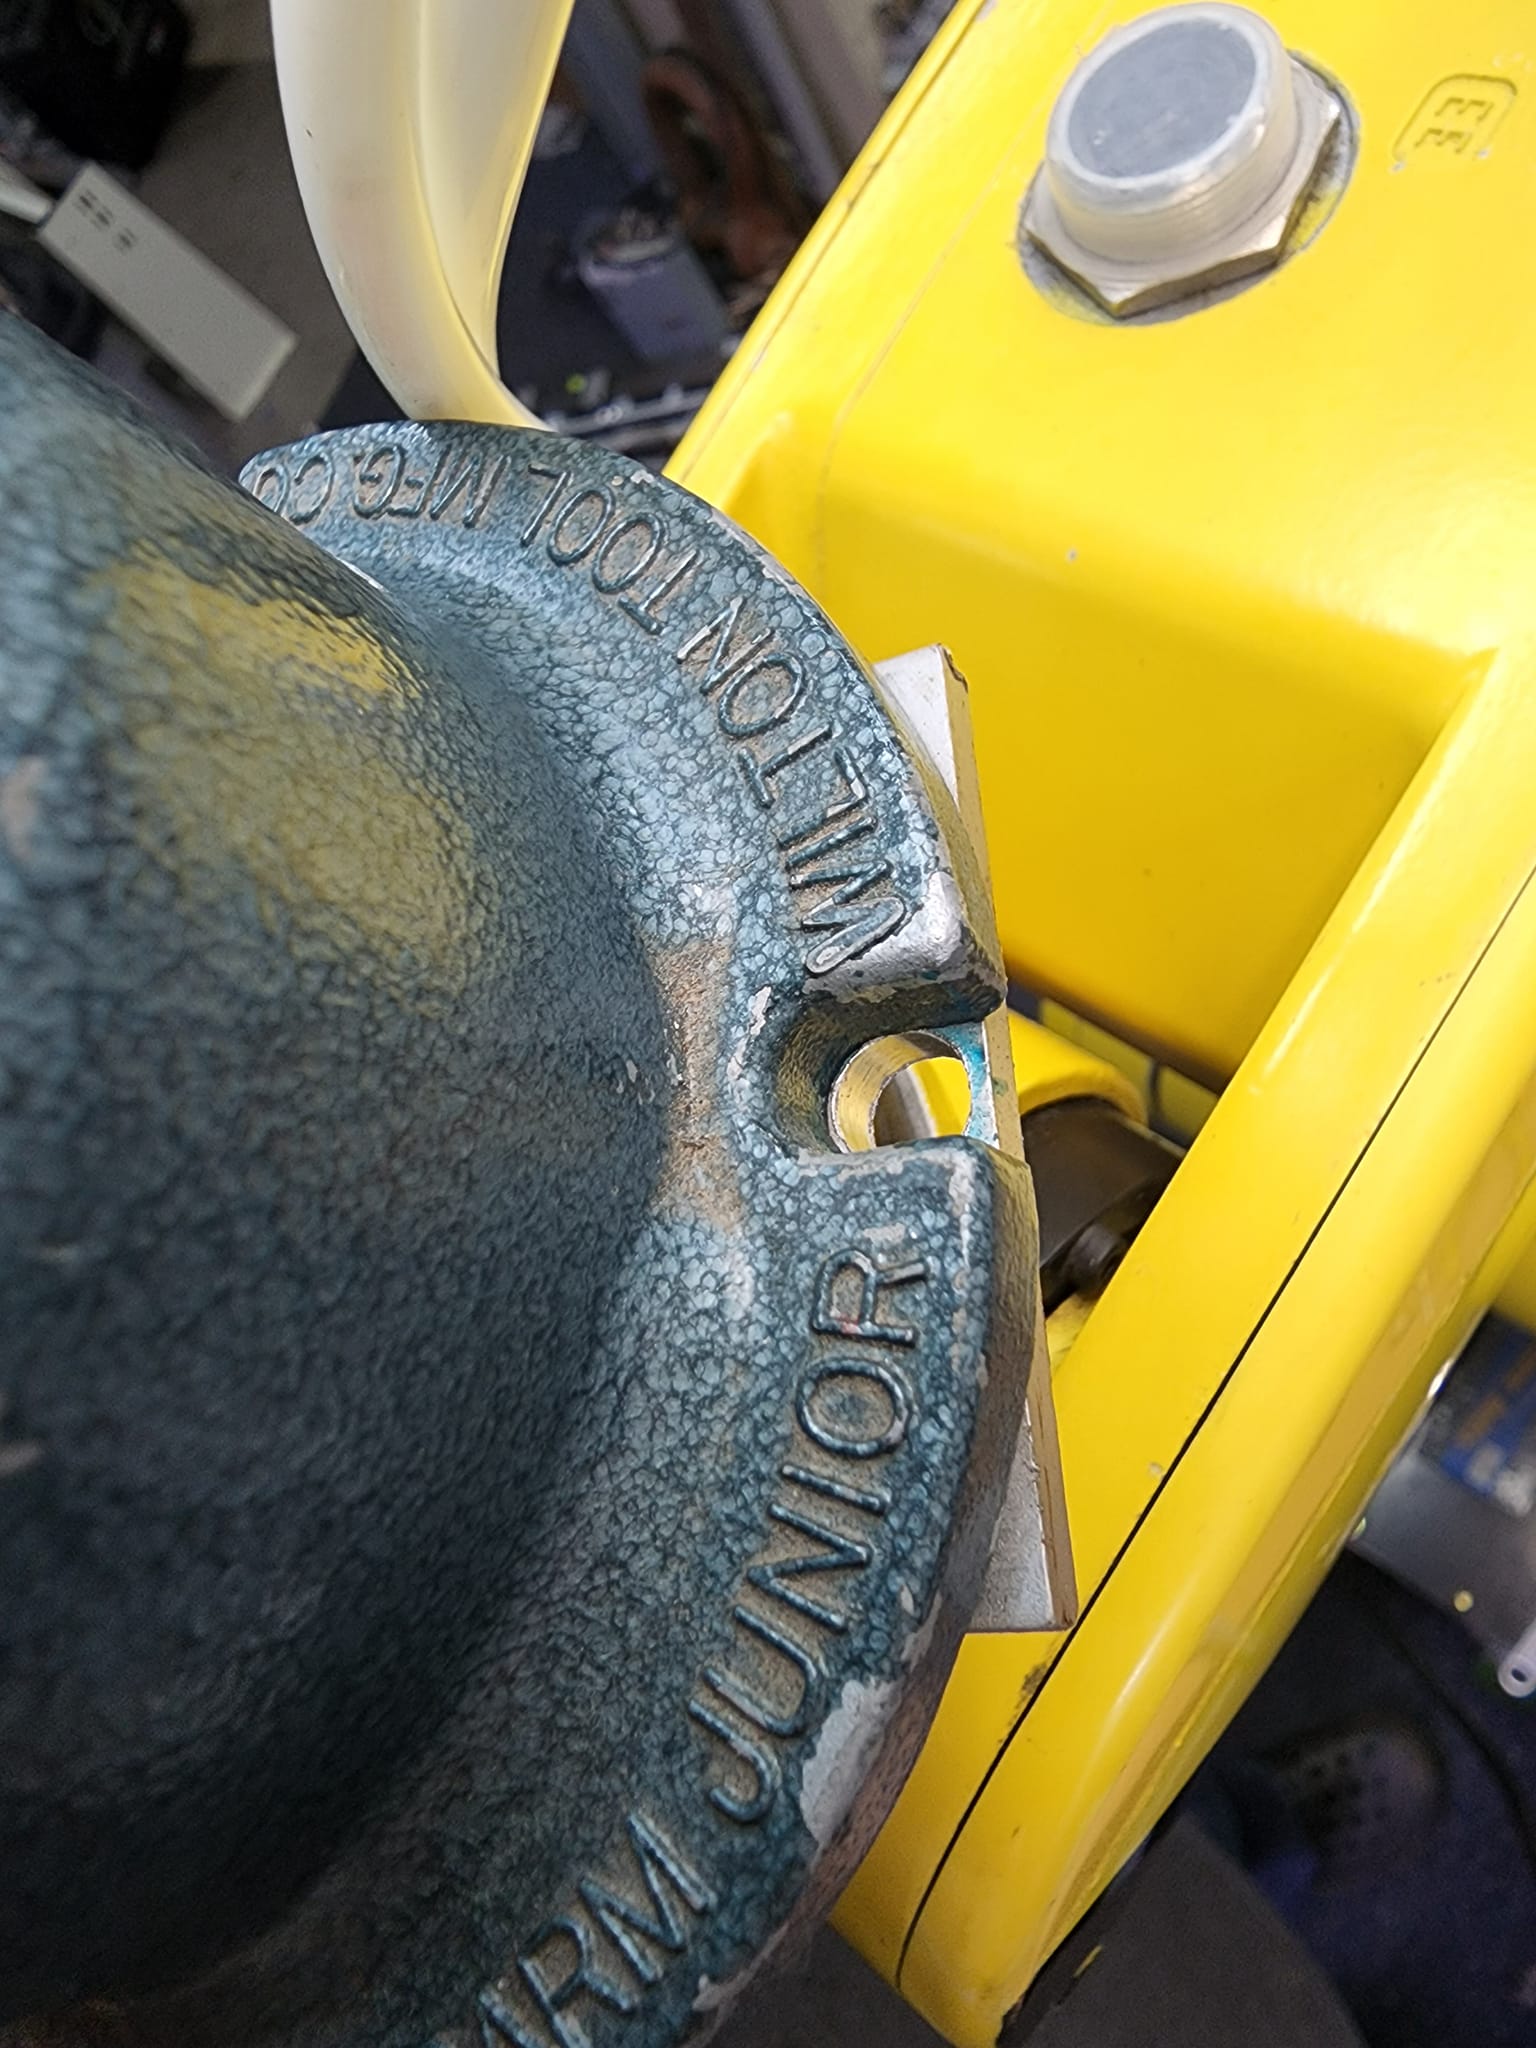
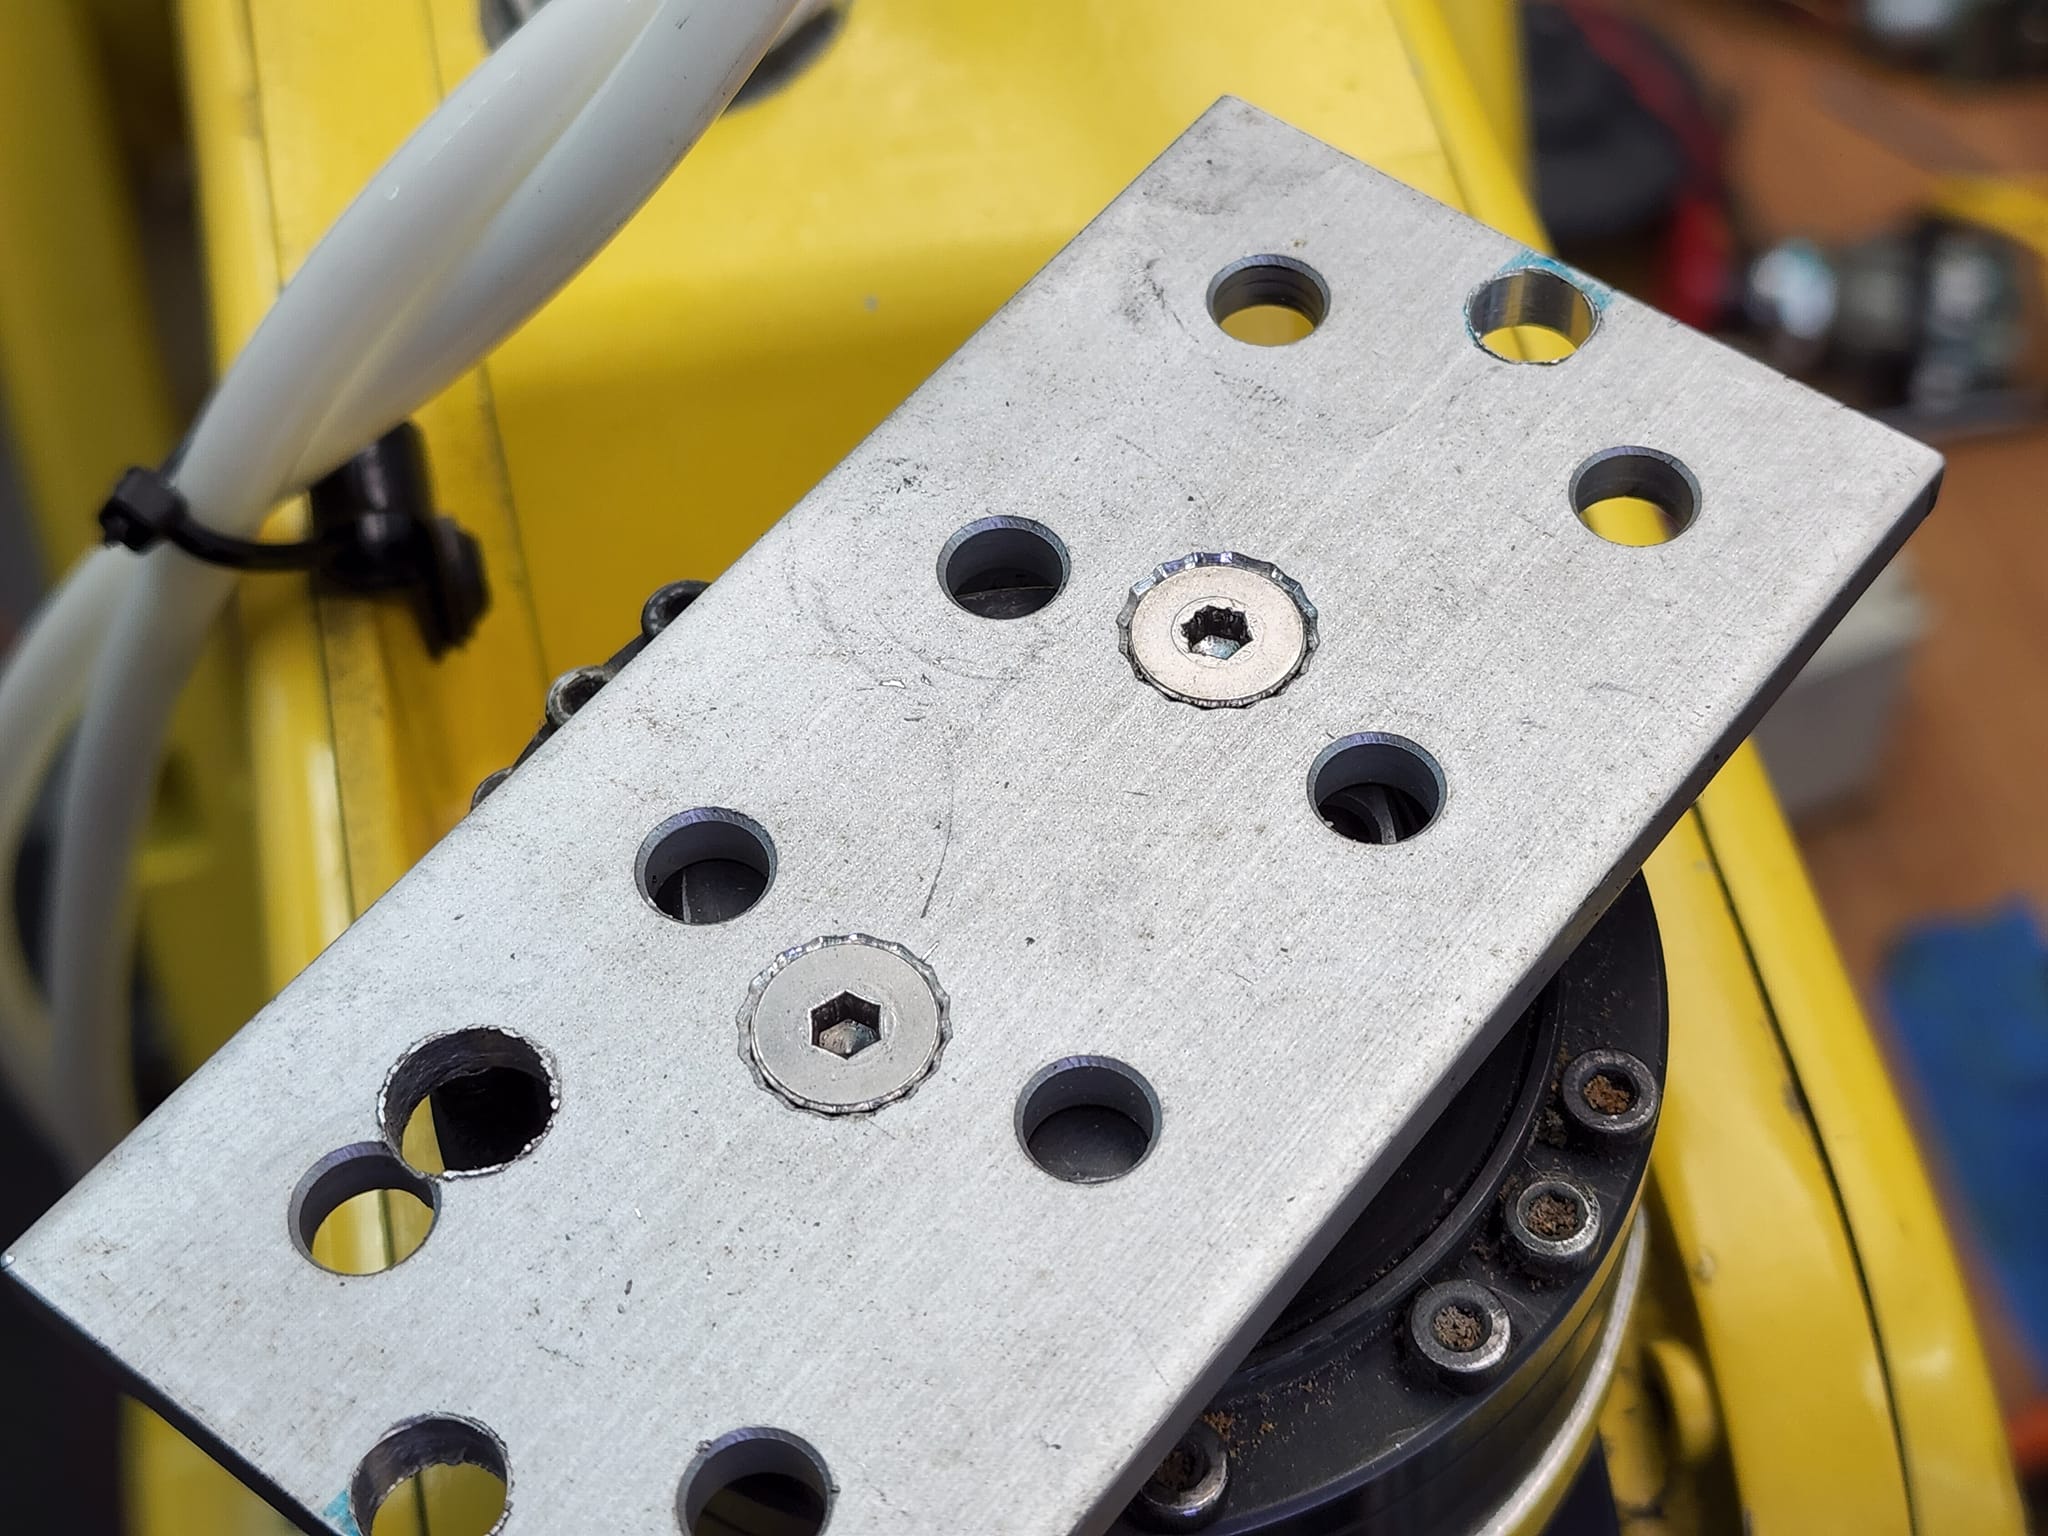
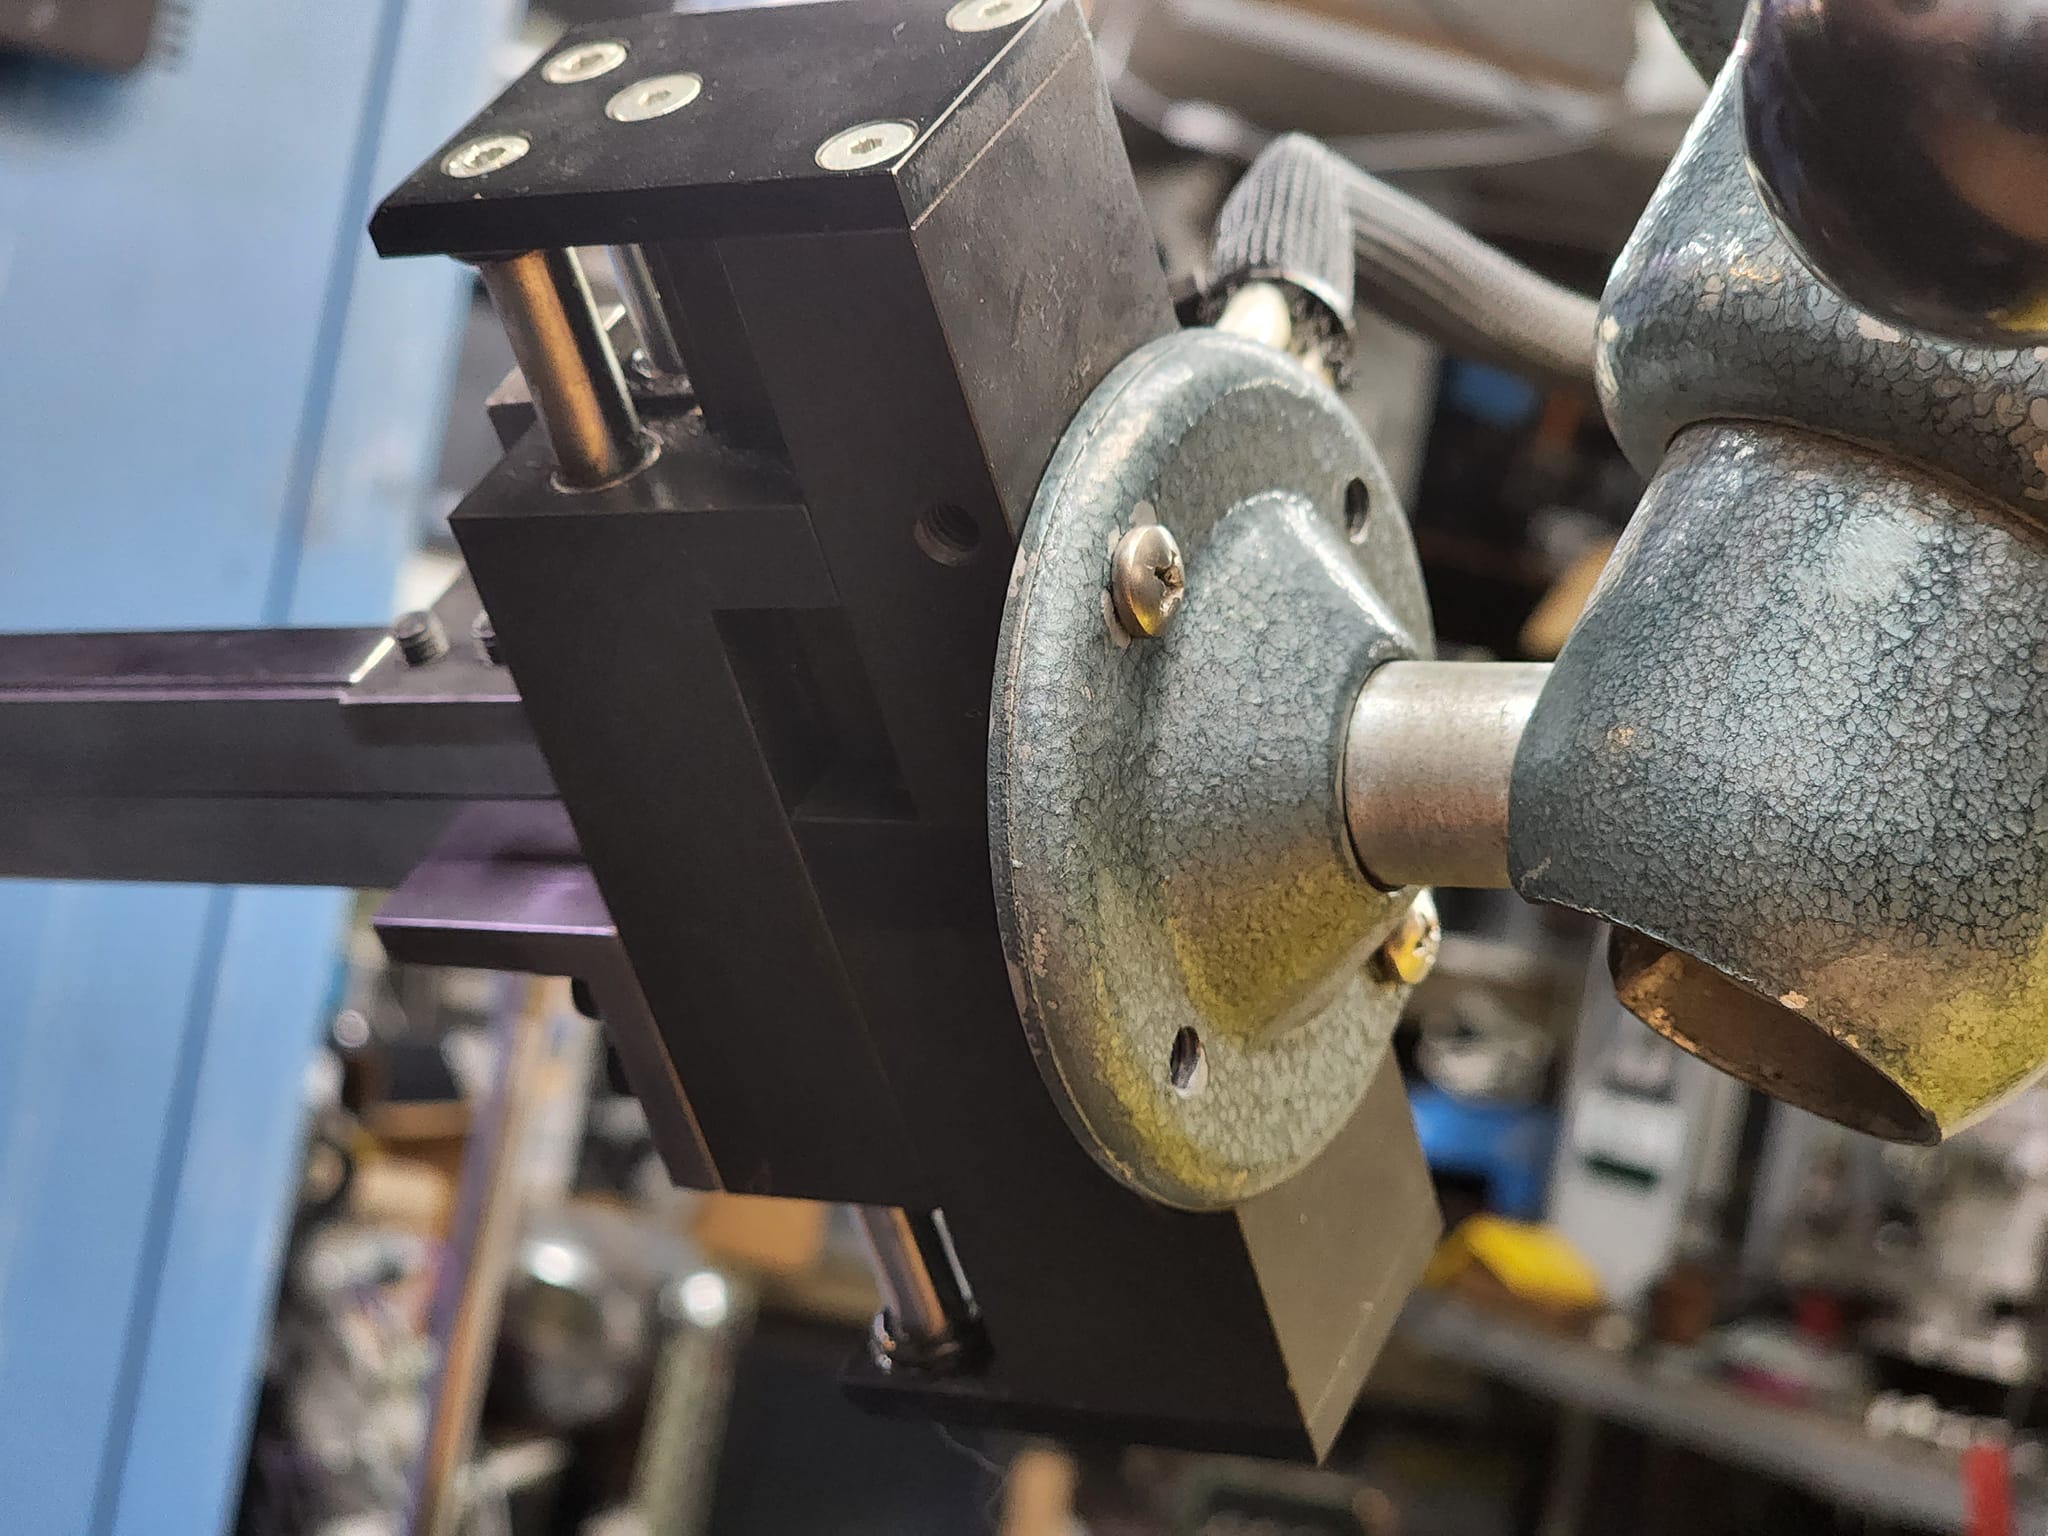
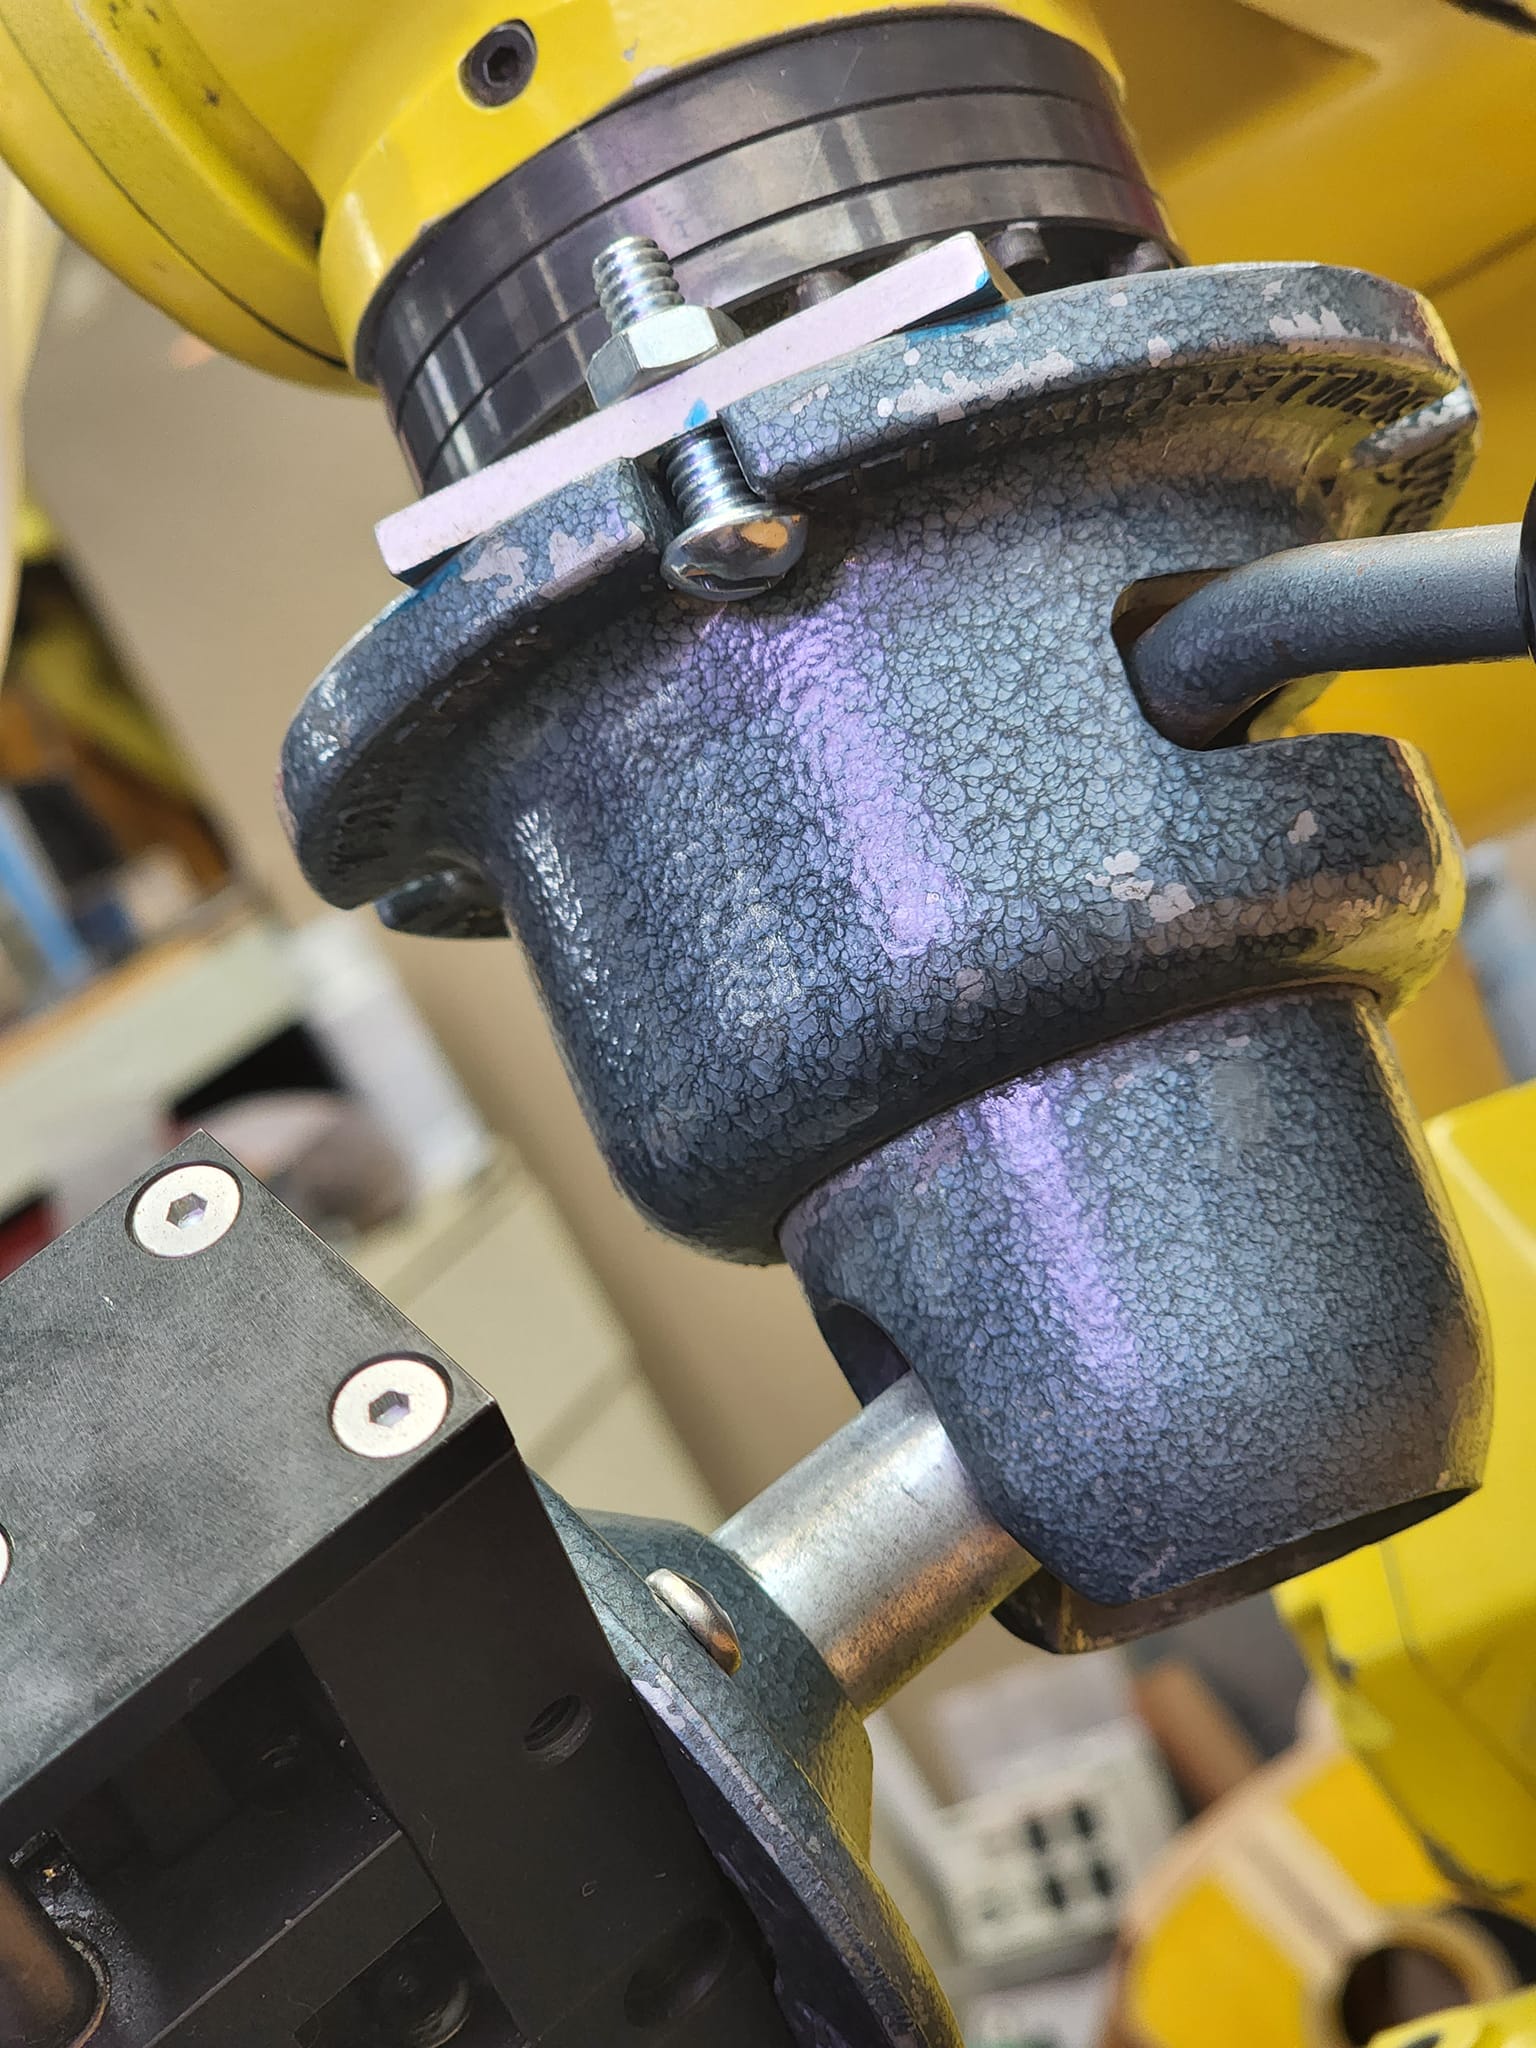
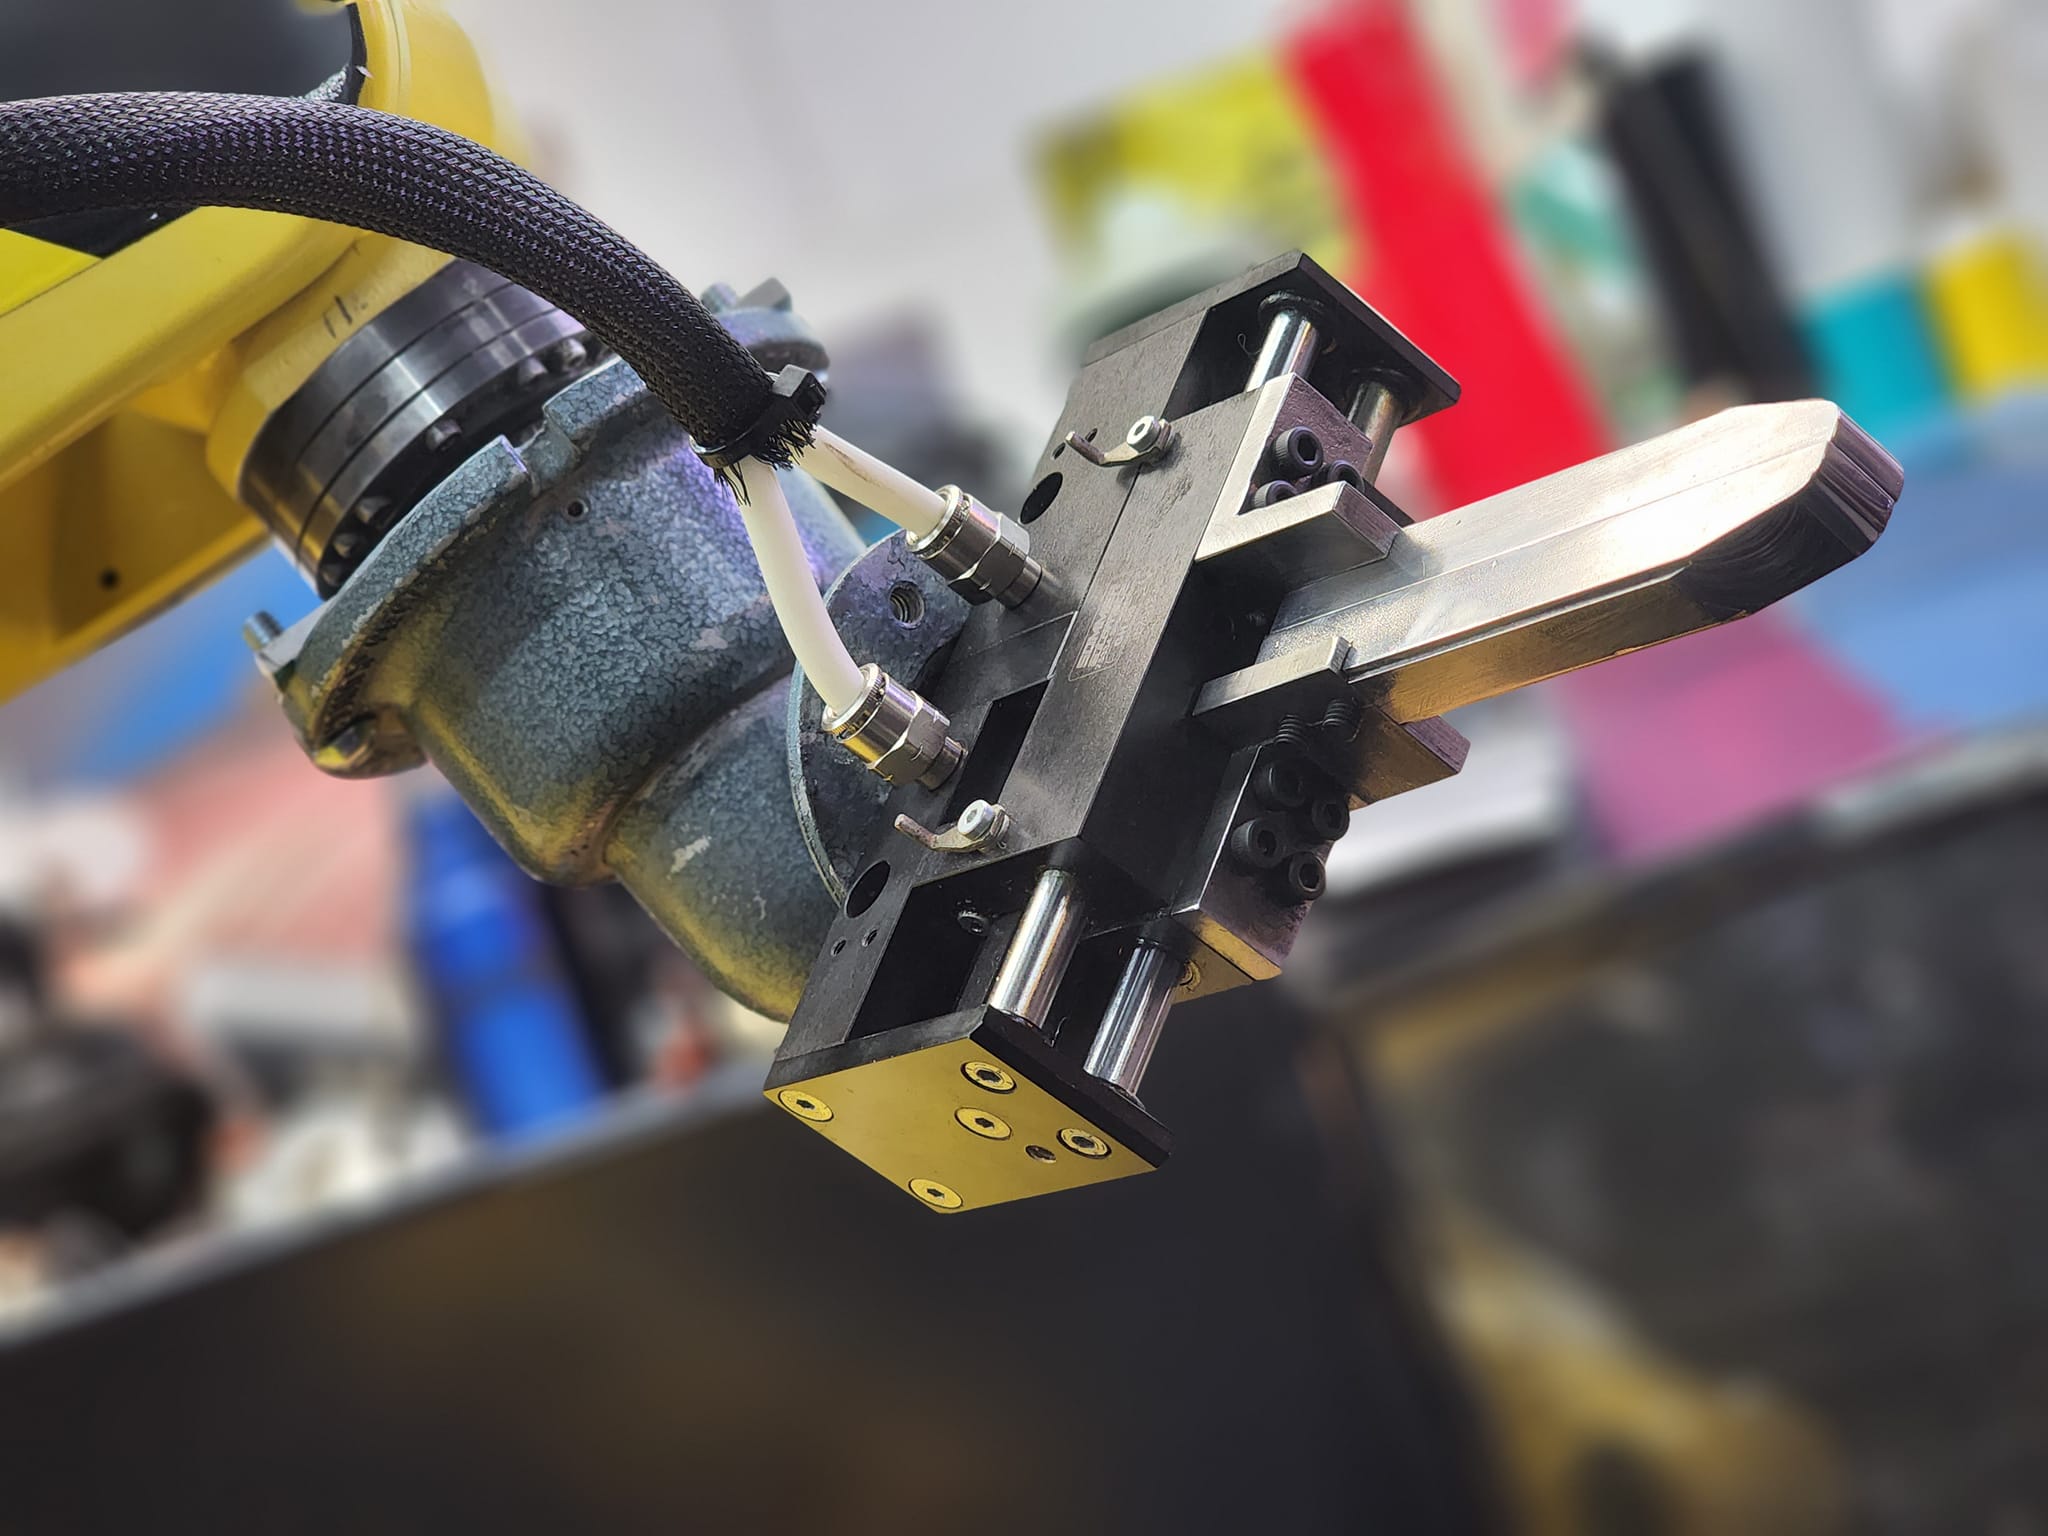
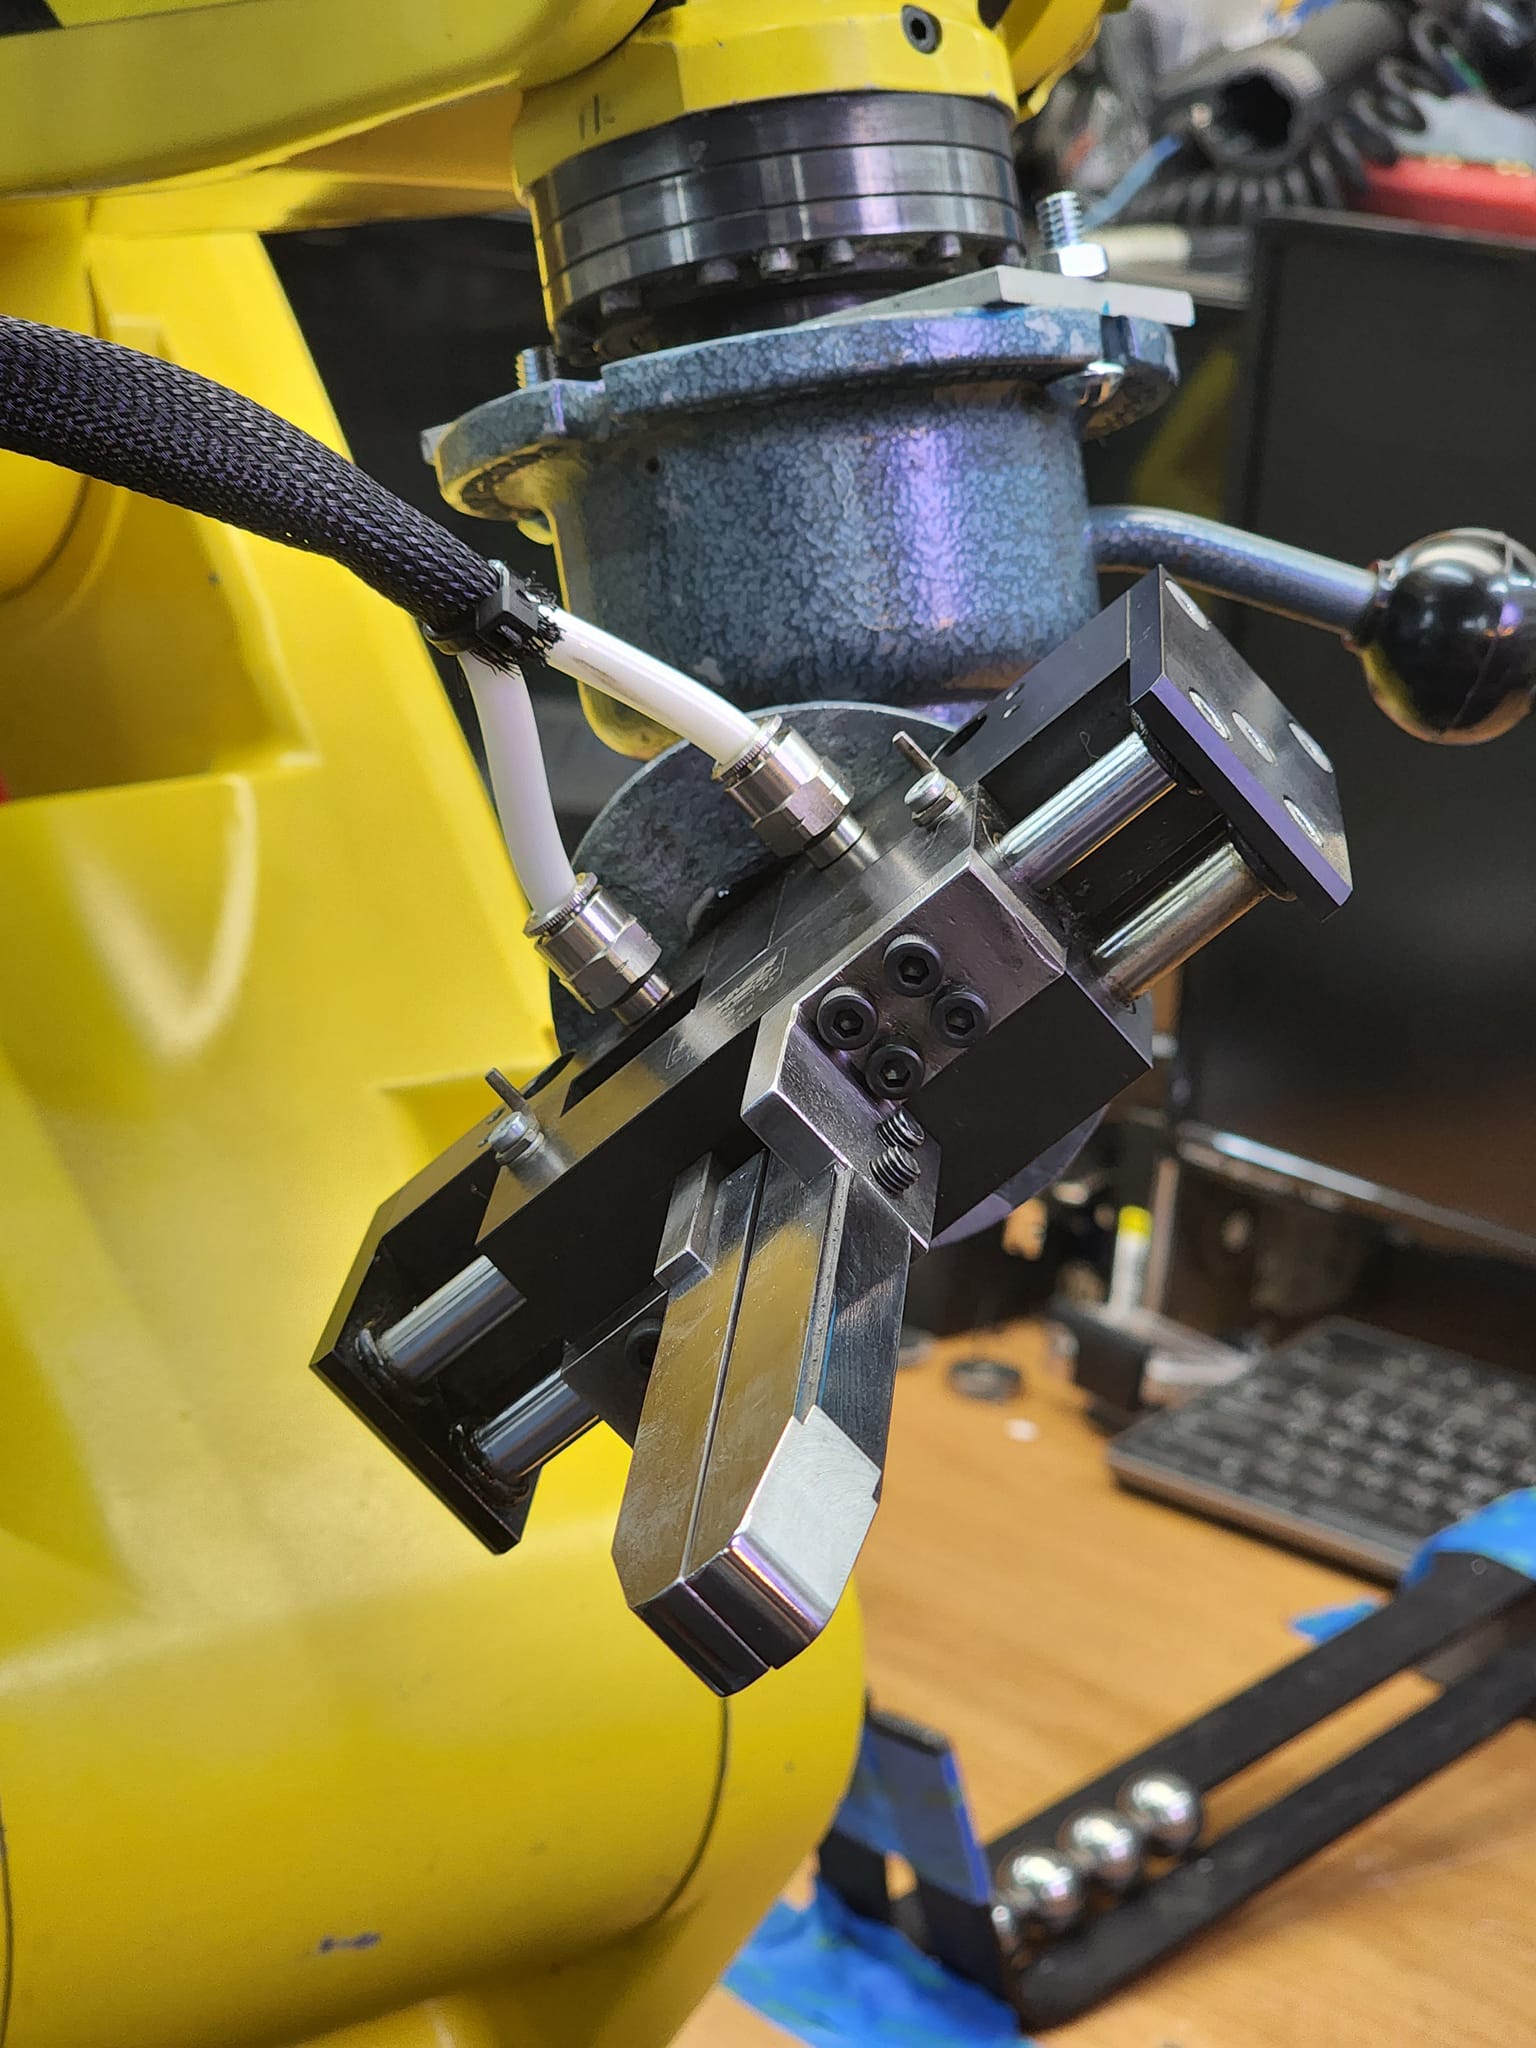
Now this is all setup, lets see if we can teach the robot where to end of the gripper is this will allow for some fun things.. check this out.
This was with the old setup as proof of concept.. now lets get more complicated!
As you can see this is pretty awesome, lets see how fast we can push it..
It moves quick but still some flex in the entire system.
Next step was to make the entire setup mobile.
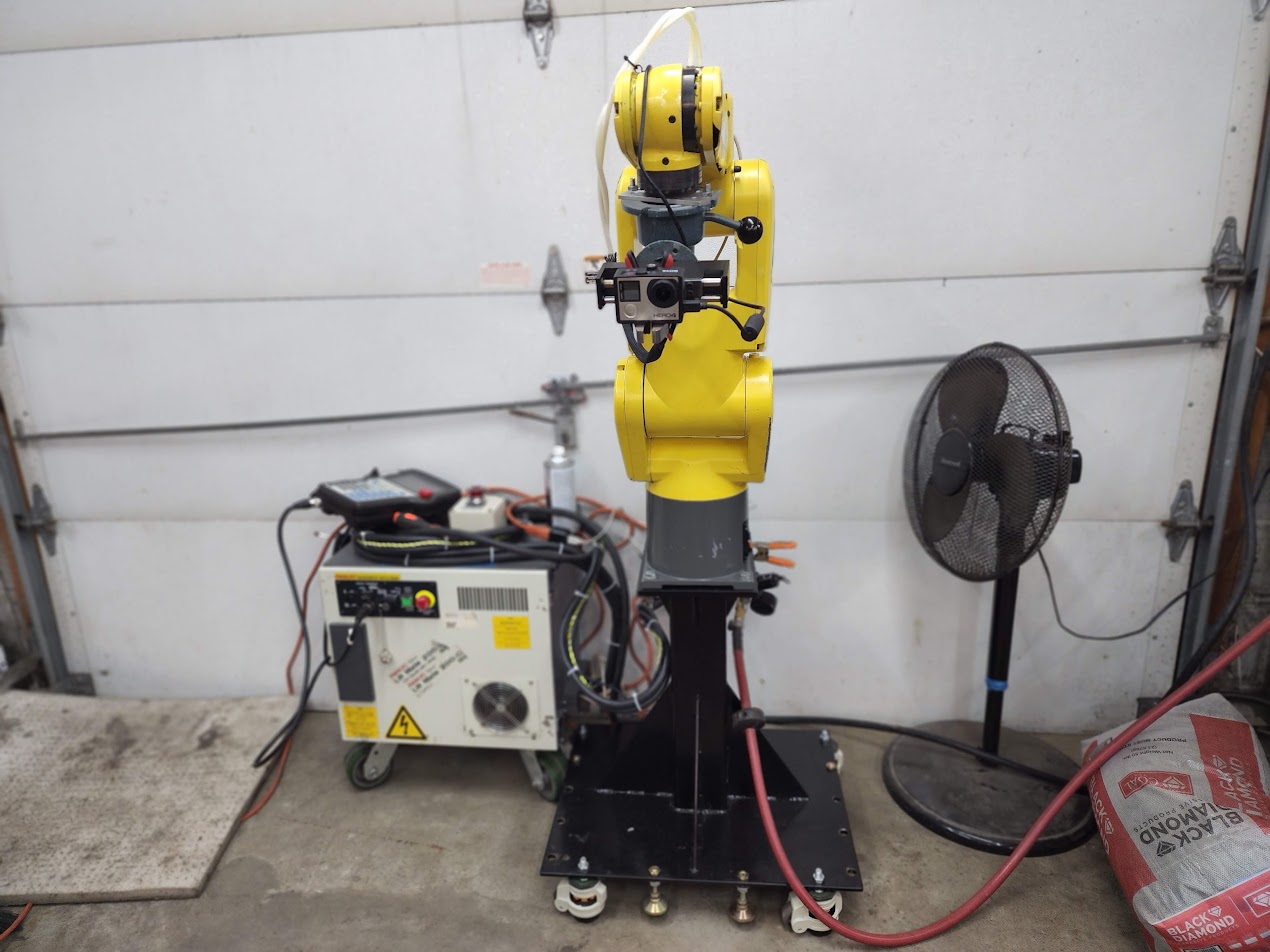
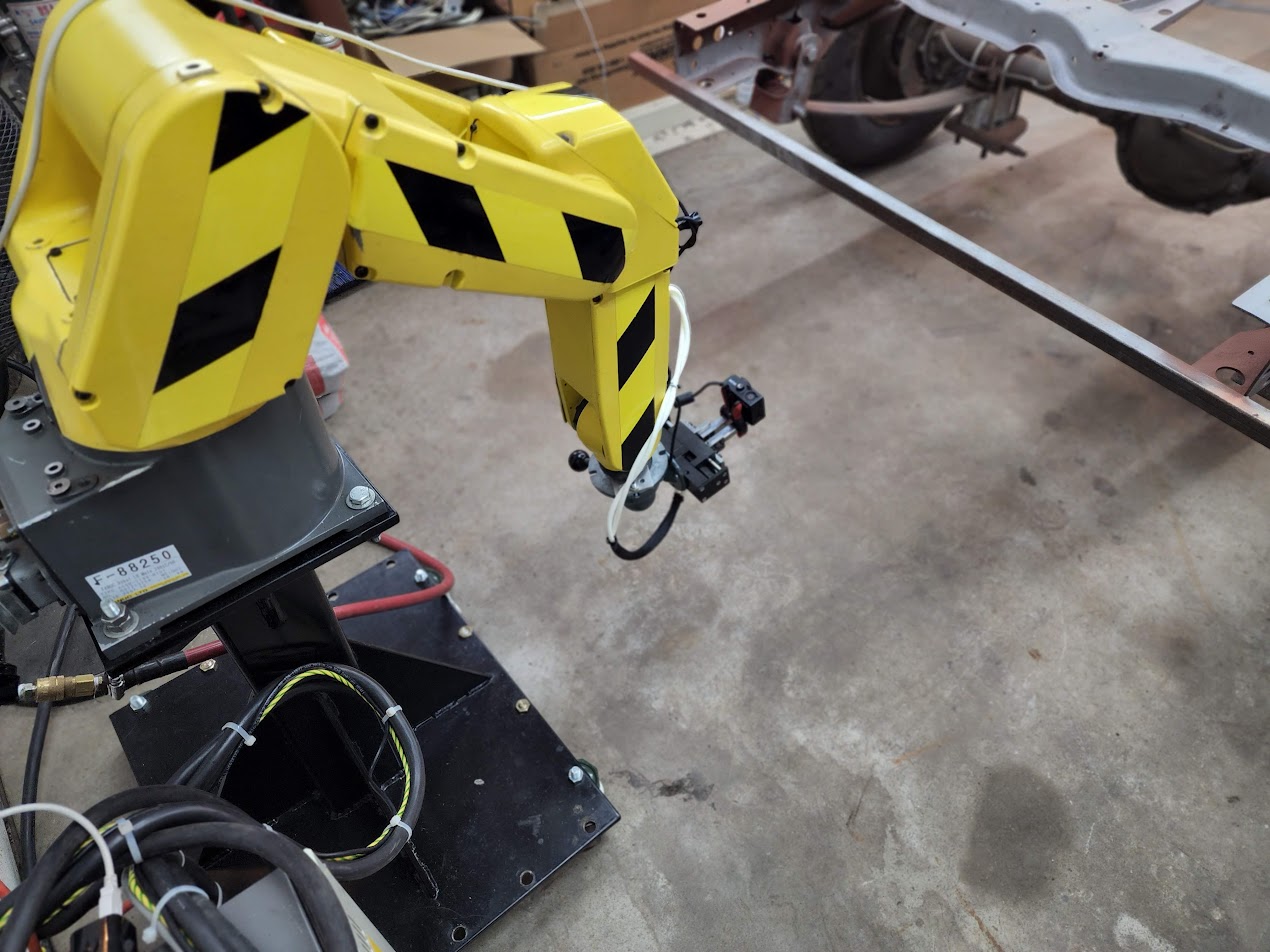
Here it is out in the shop, the controller and robot both have wheels now, and with a camera in the gripper, I now have a new cameraman for my videos!
So, what is next for this? Well TONS of future plans, I could make it into a CNC machine, or a welder! Let me know your ideas, be sure to stop back for many updates as this project progresses! I already wired up the serial port, I plan to try and find a way to interface it with a PC, and have some real fun!

1 thought on “FANUC Robot arm”