Been trying to find one of these cheap for some time, was able to hunt this one down with no dents!
First step was to strip it down,
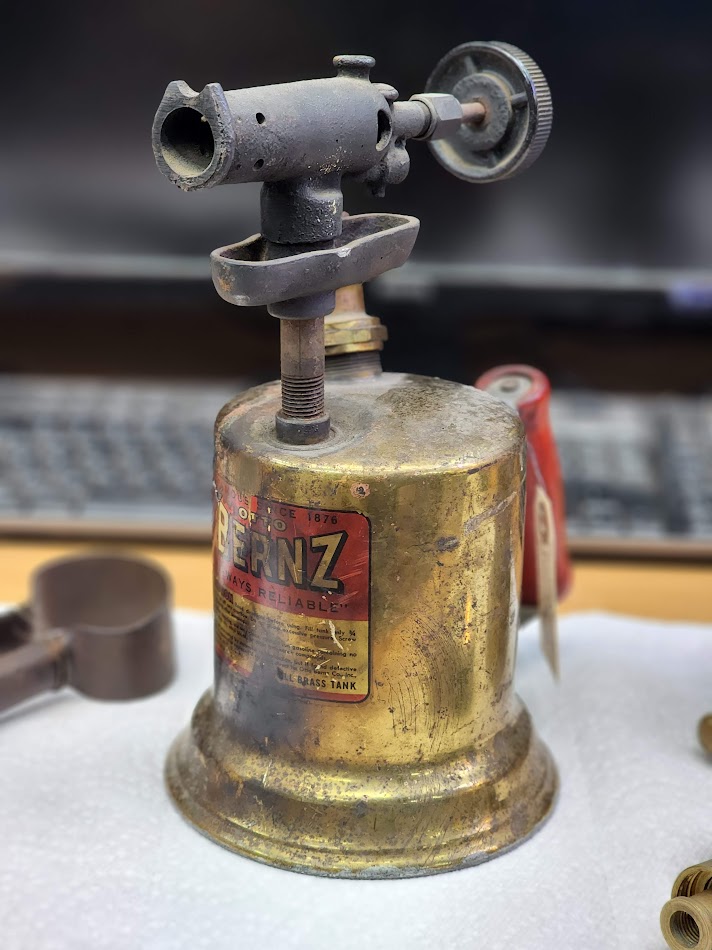
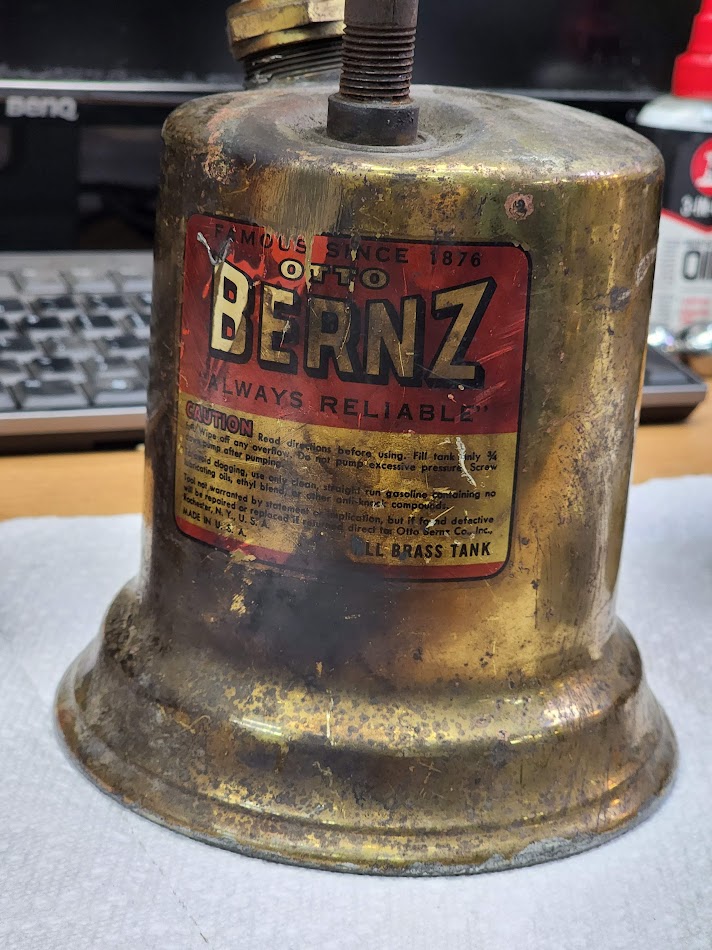
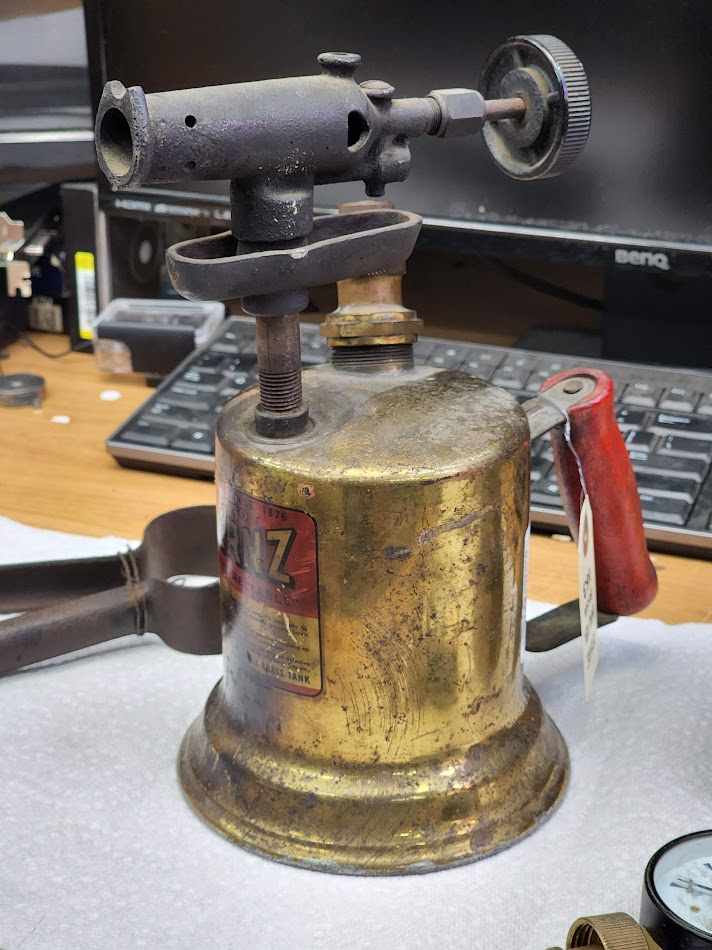
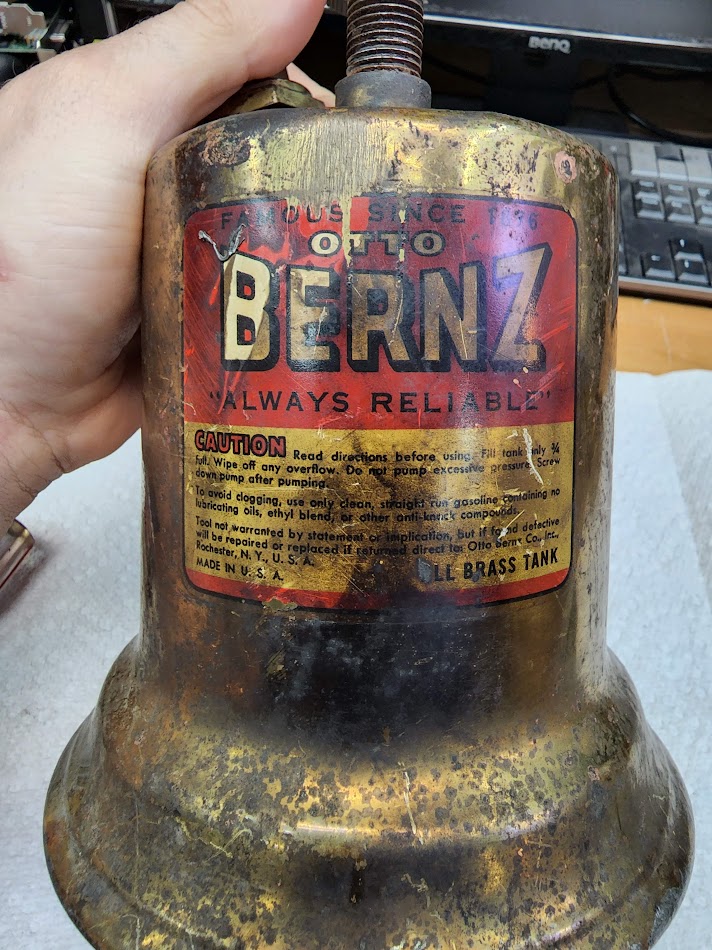
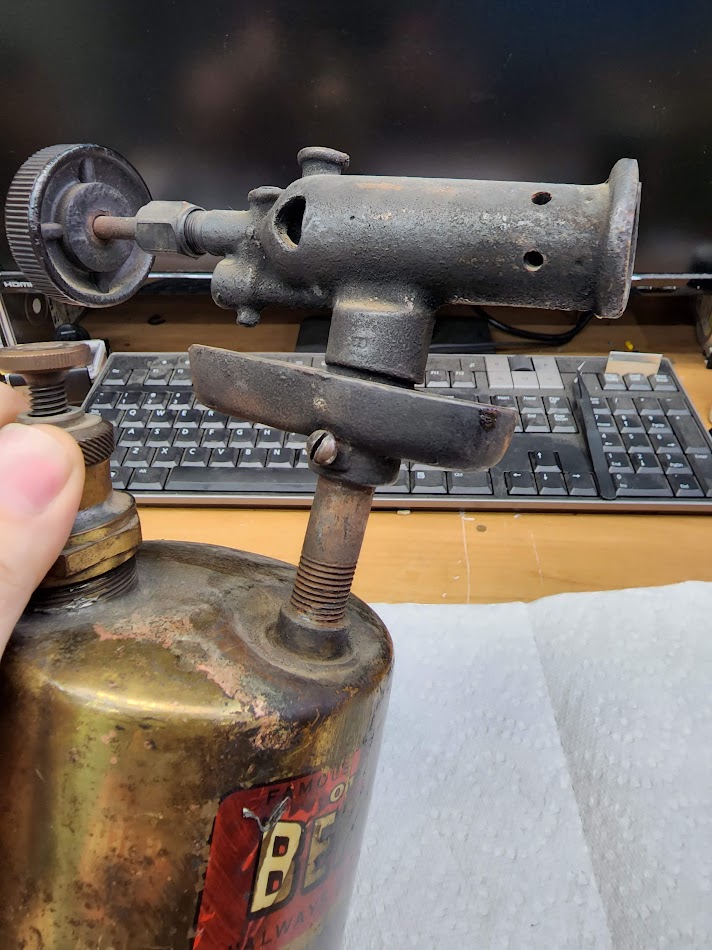
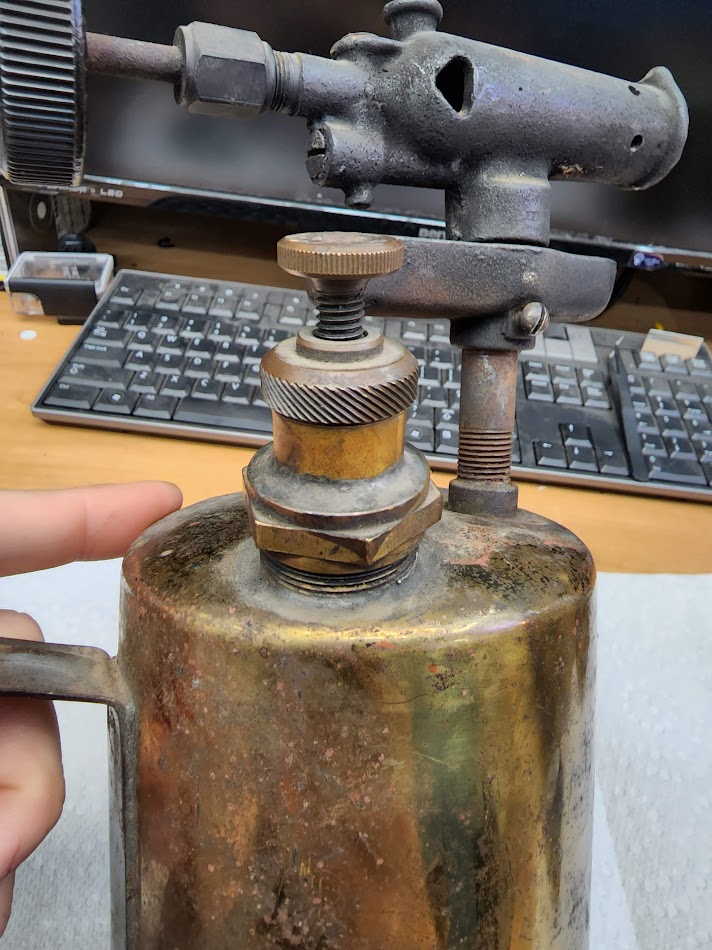
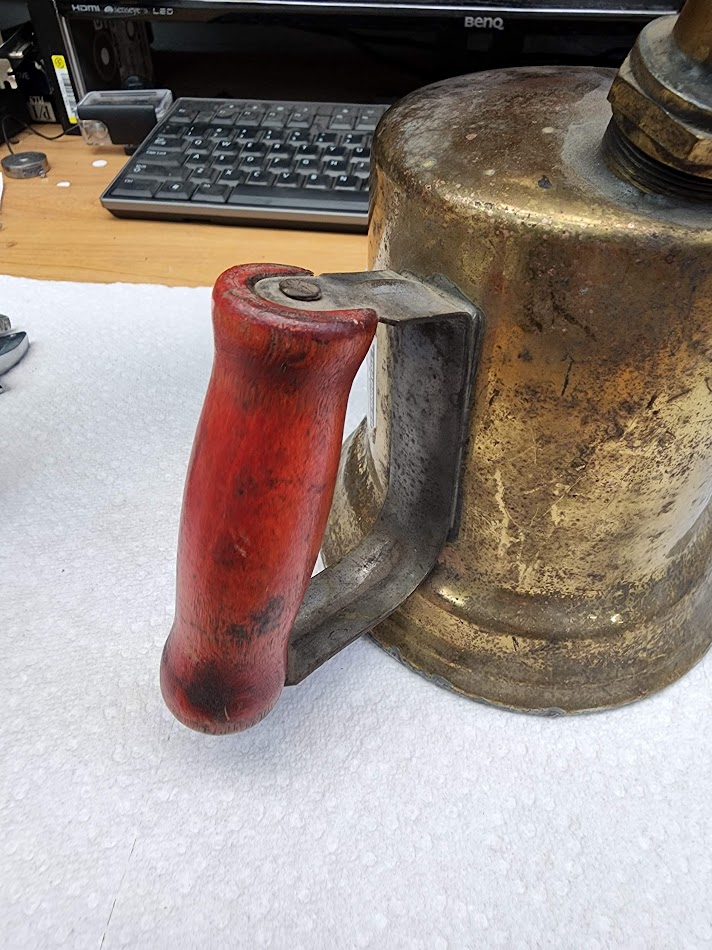
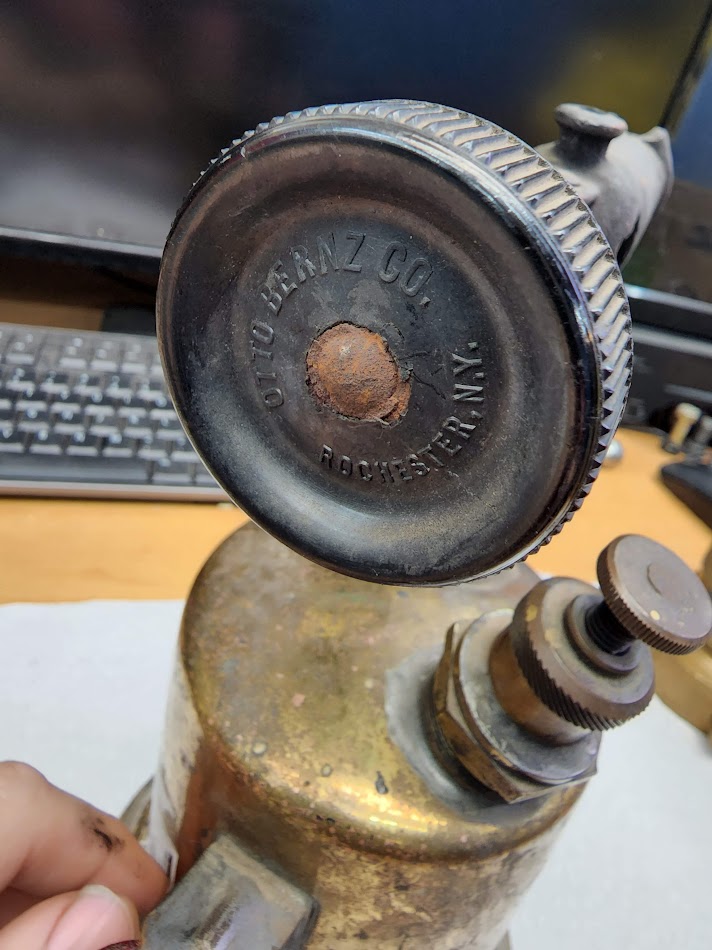
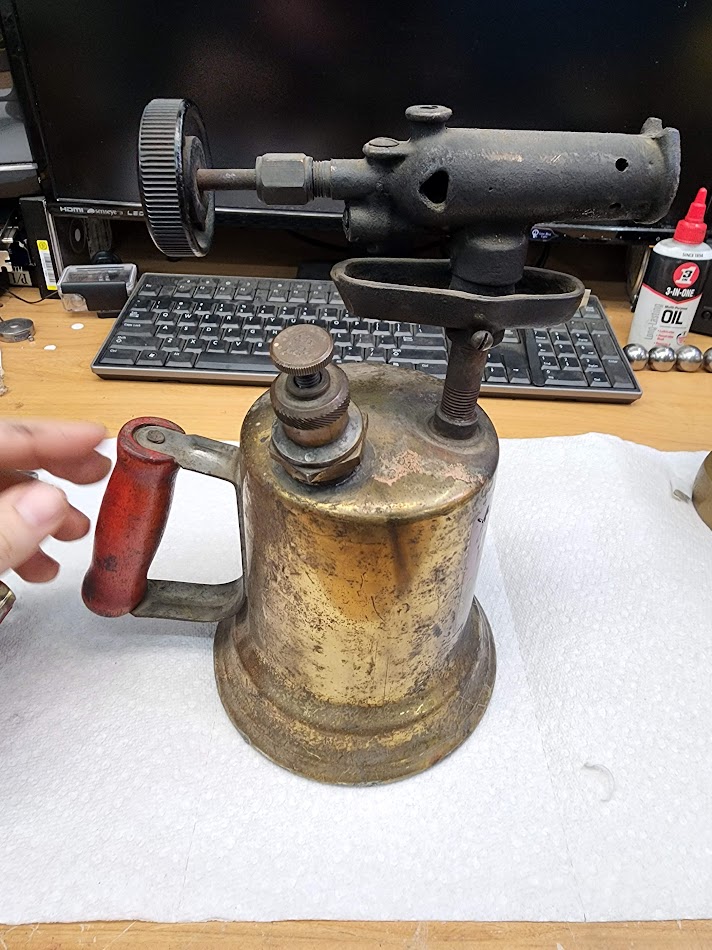
Before shots as I tear into it. Now all the internals pulled appart!
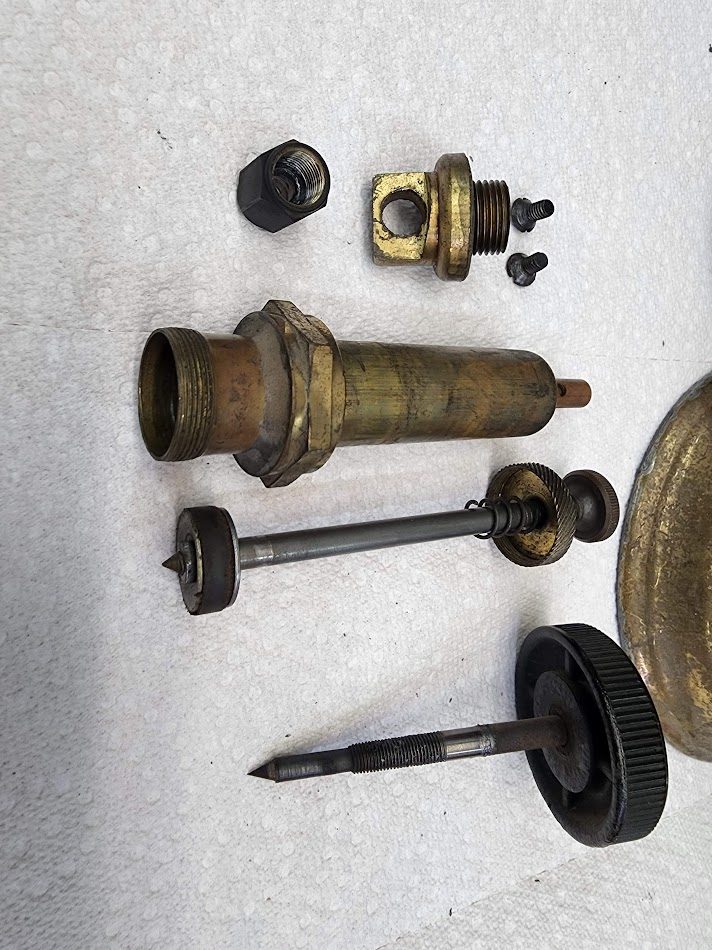
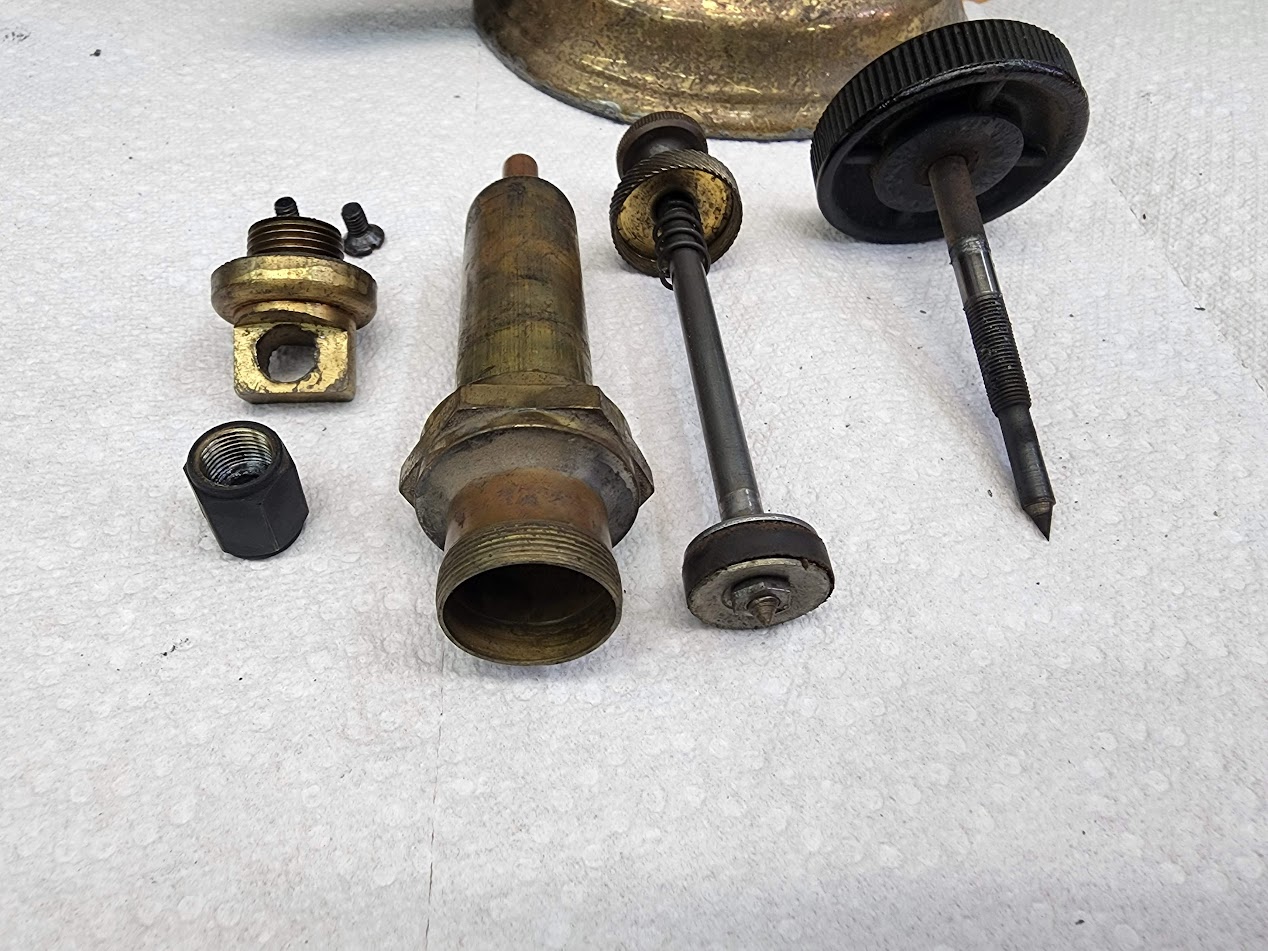
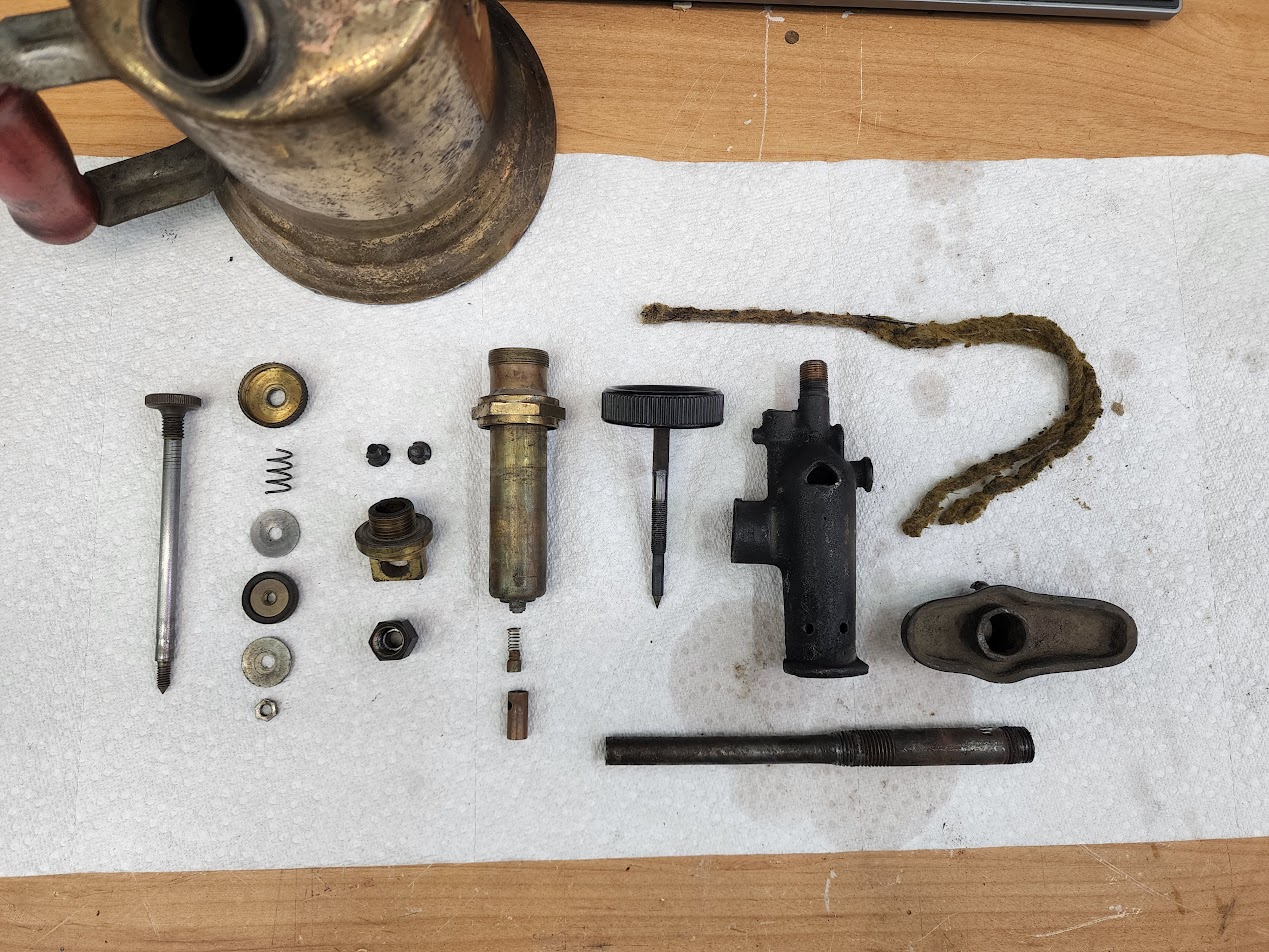
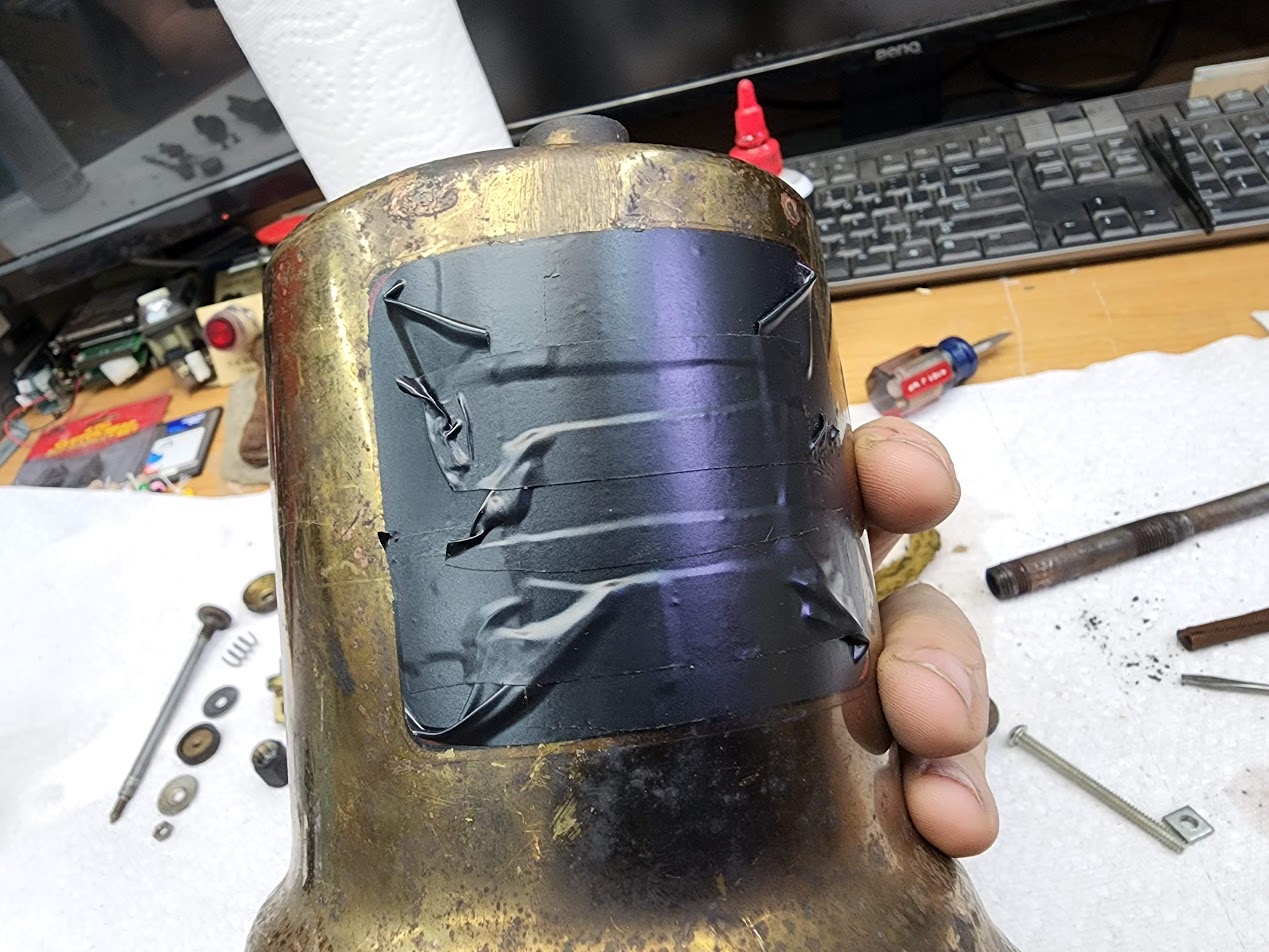
Now to get it into the blaster, I used Vinyl electric tape to block off parts I do not want get damaged.
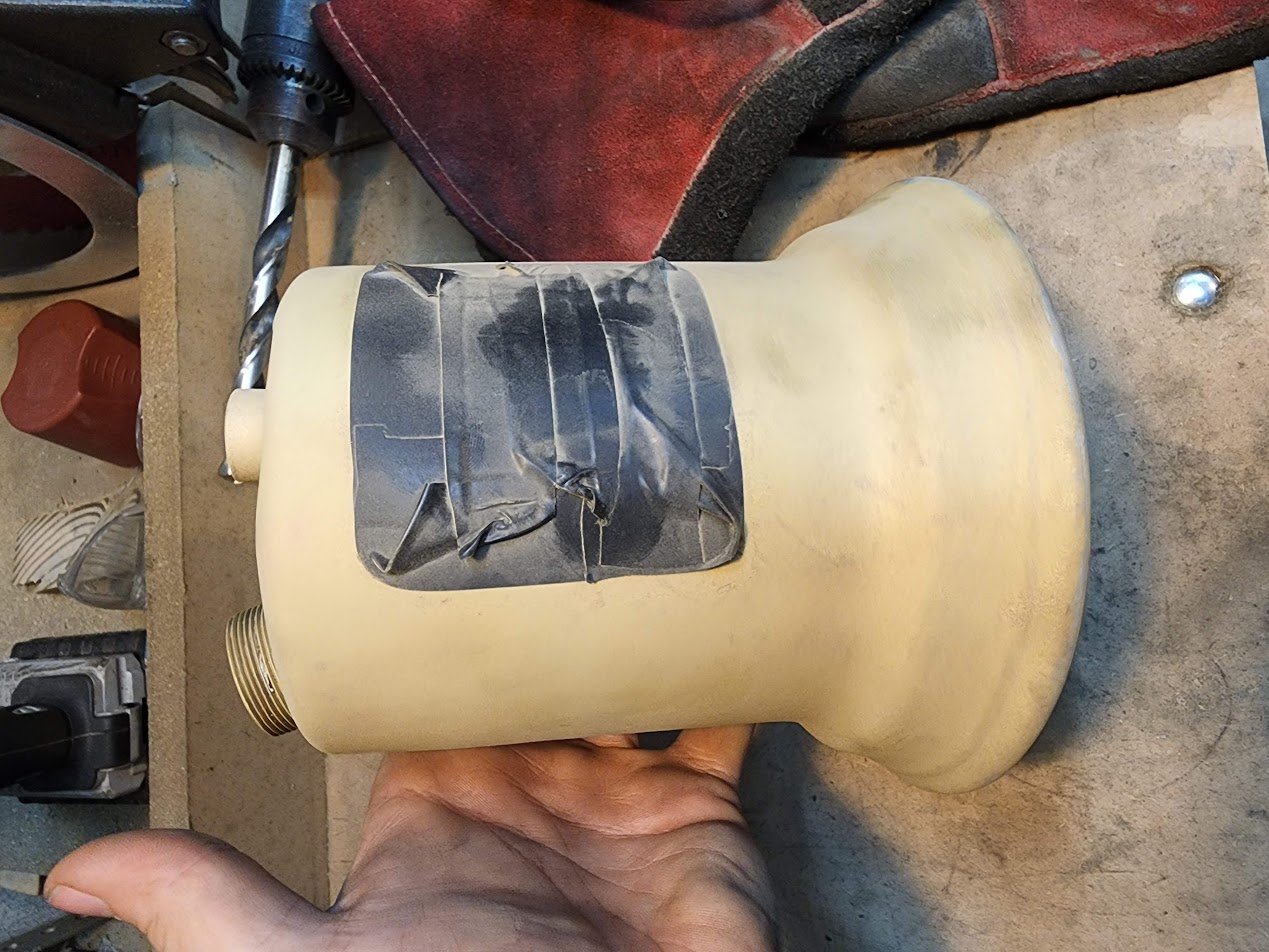
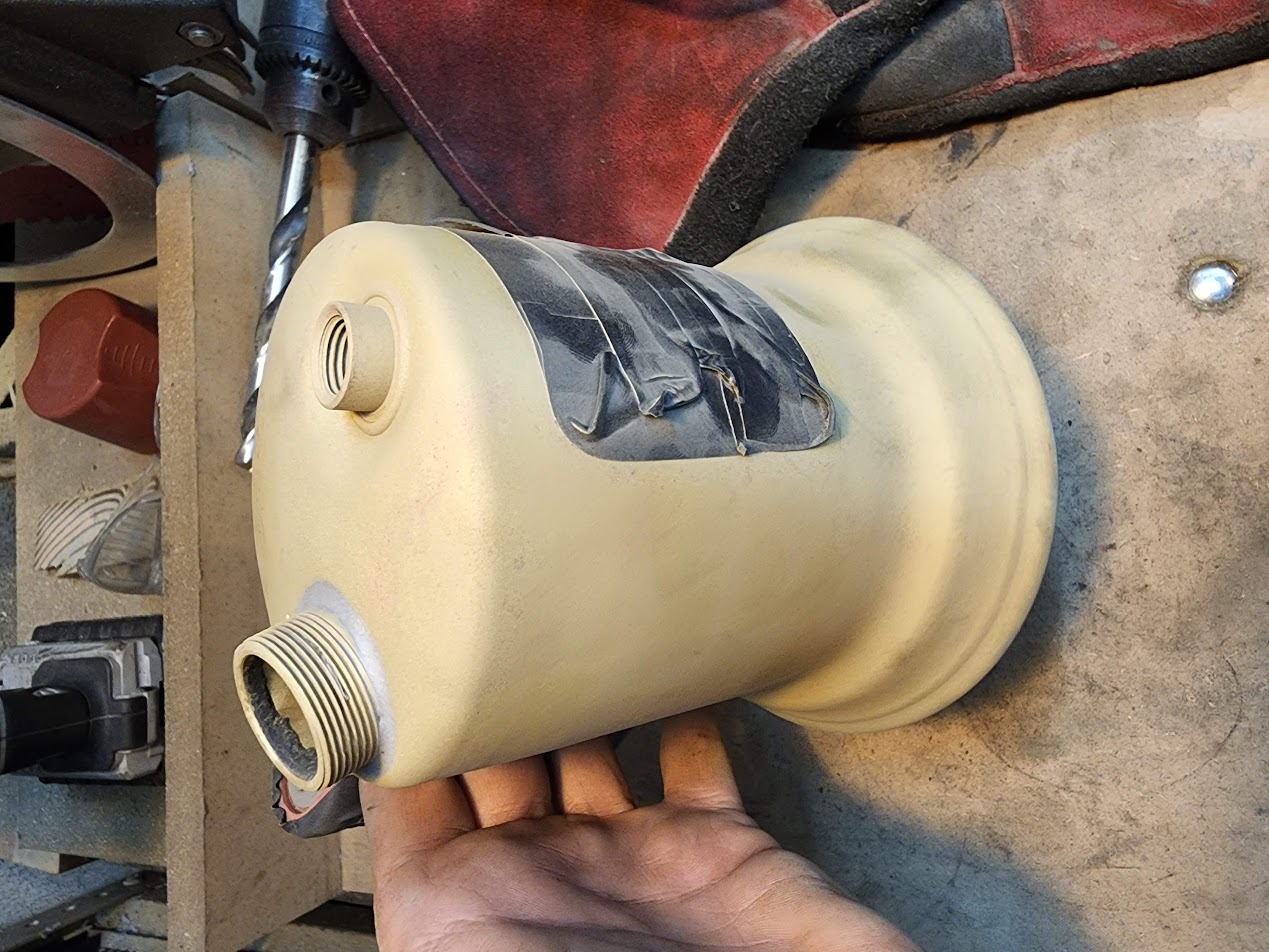

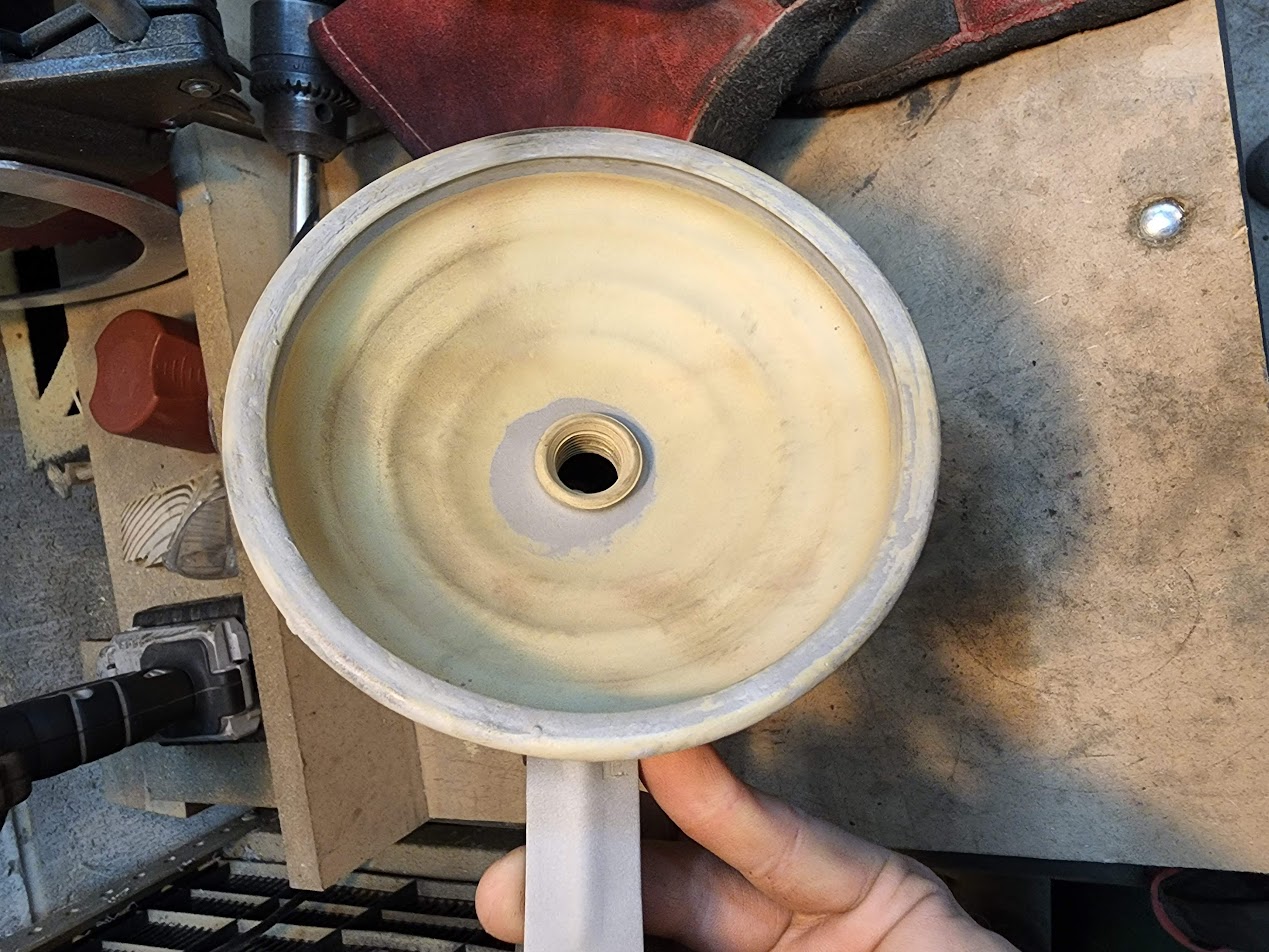
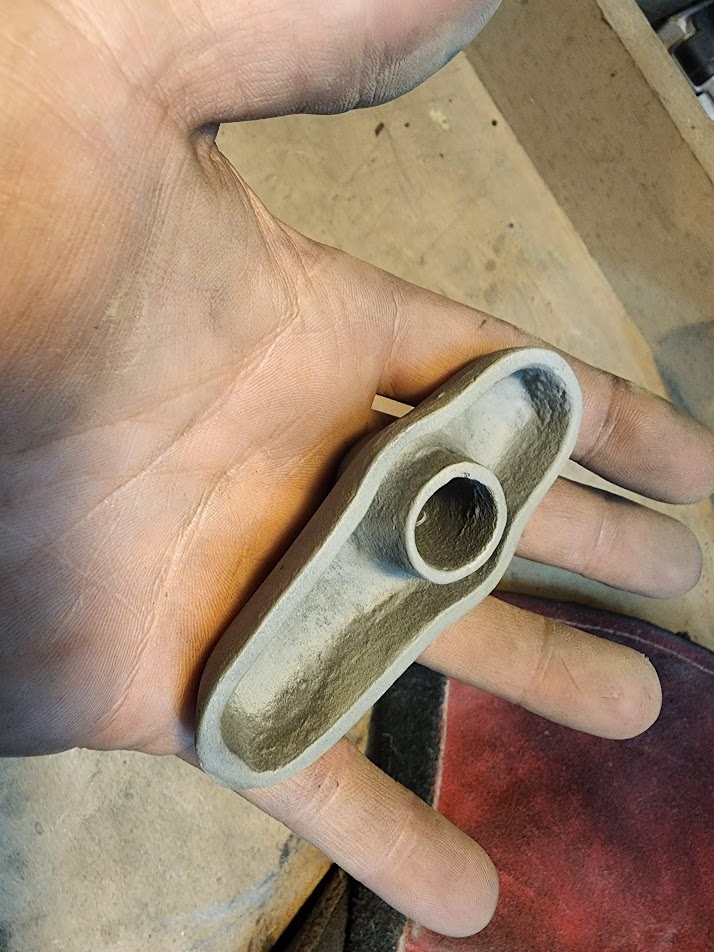
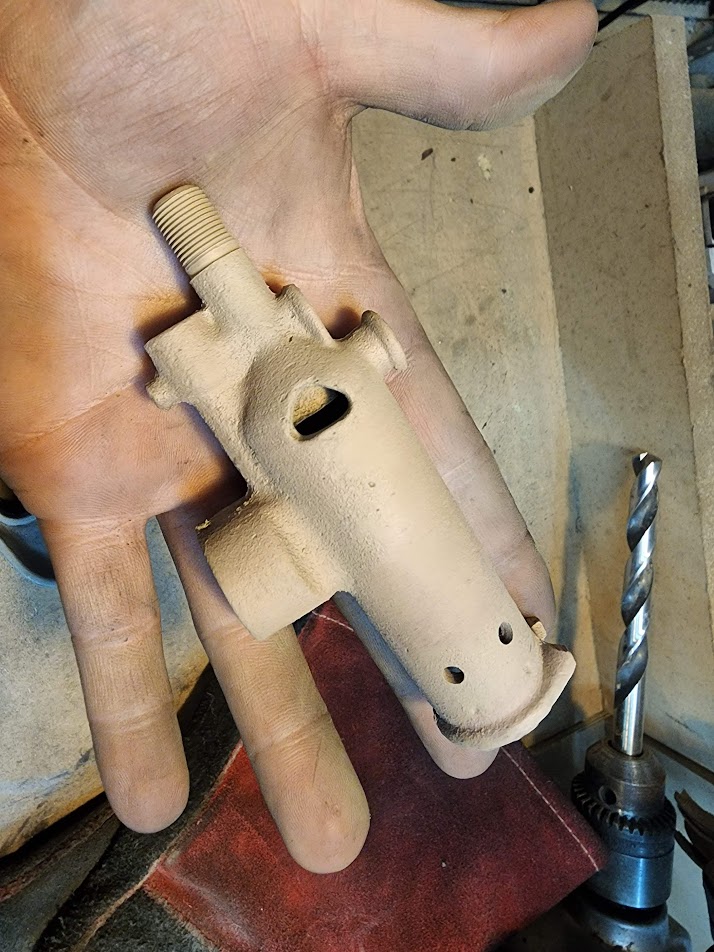
Now that they are in raw sanded finish, time to spend some time at the buffer to bring back the shine!
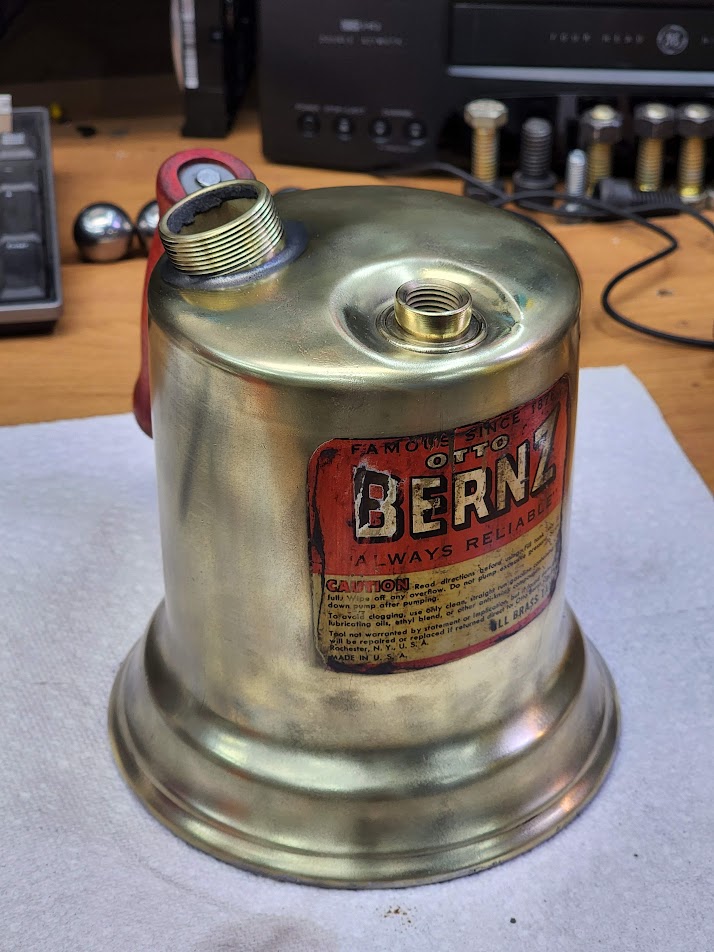
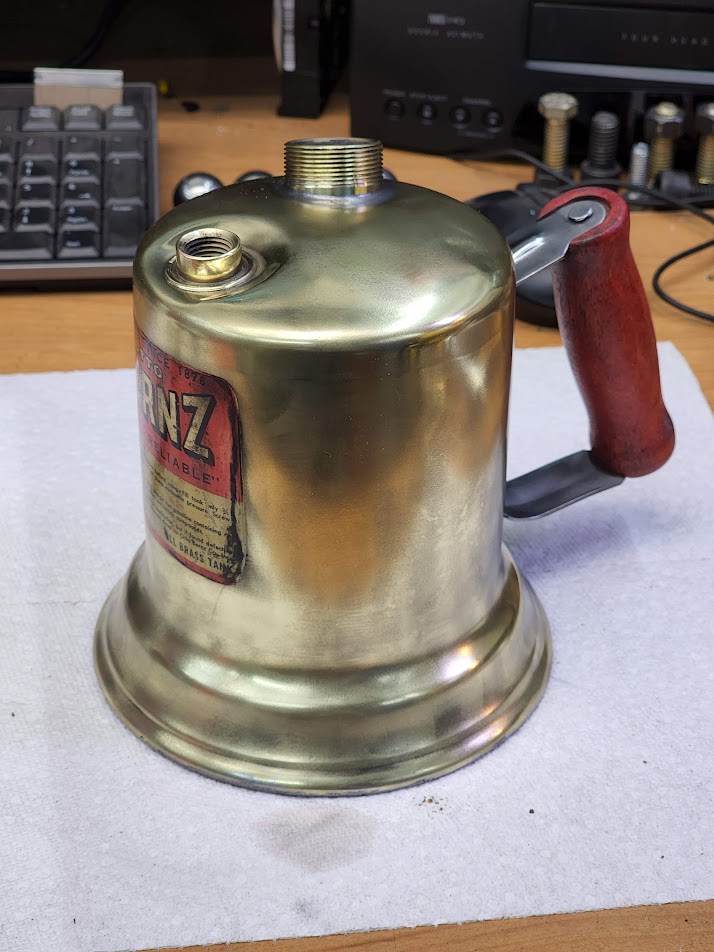
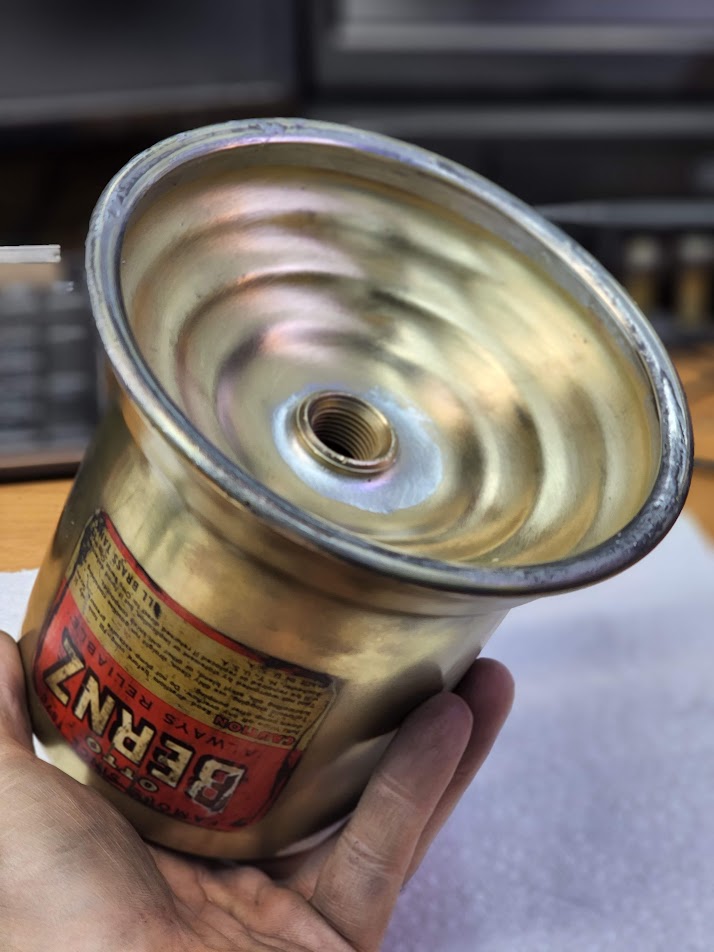
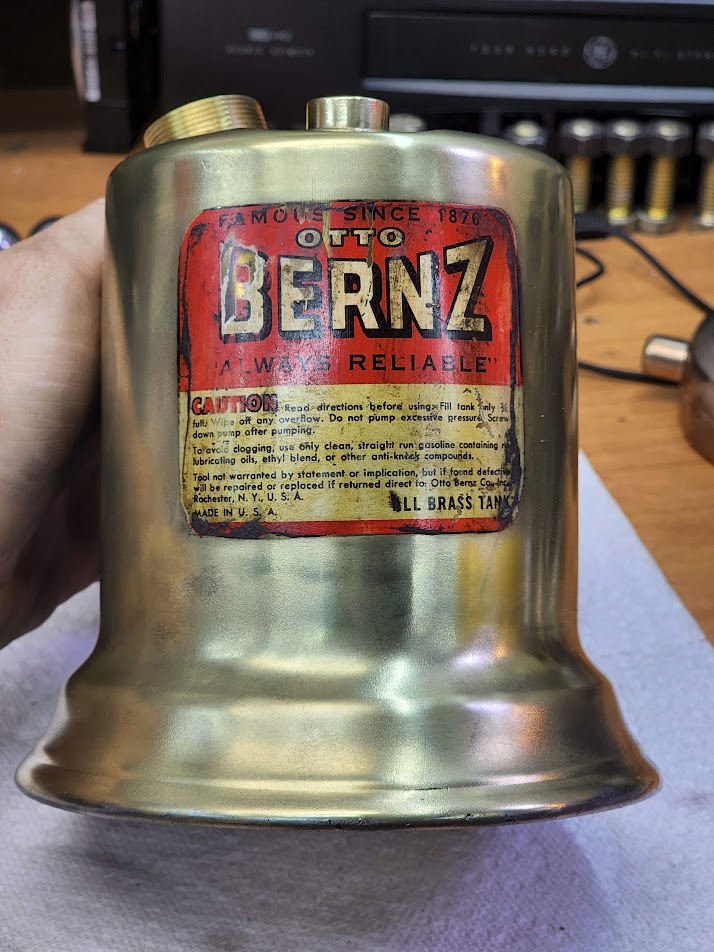
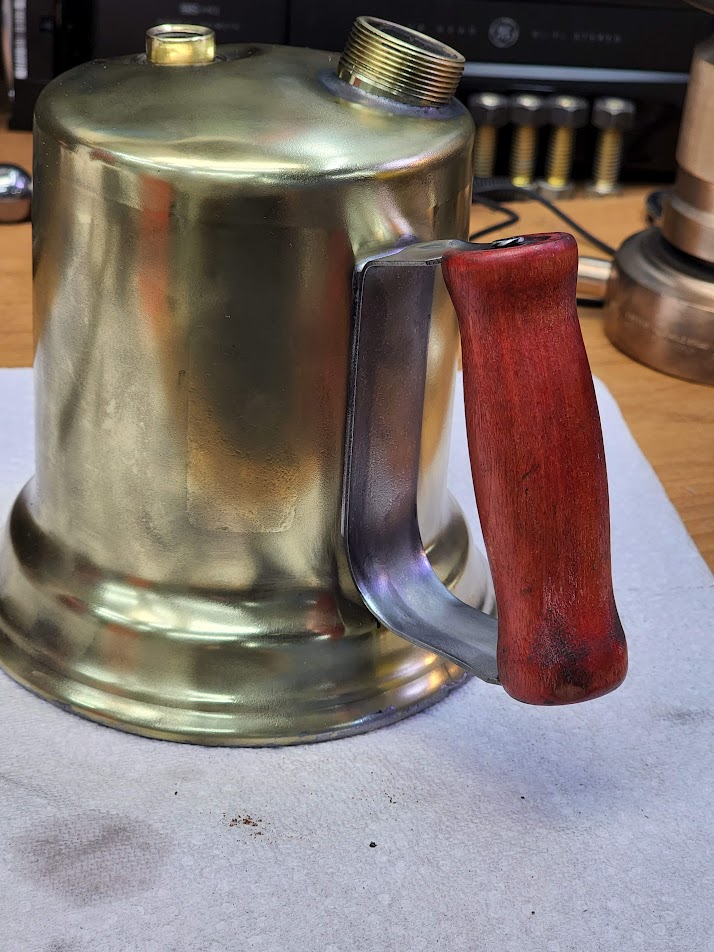
Now to get all the small parts asembled,
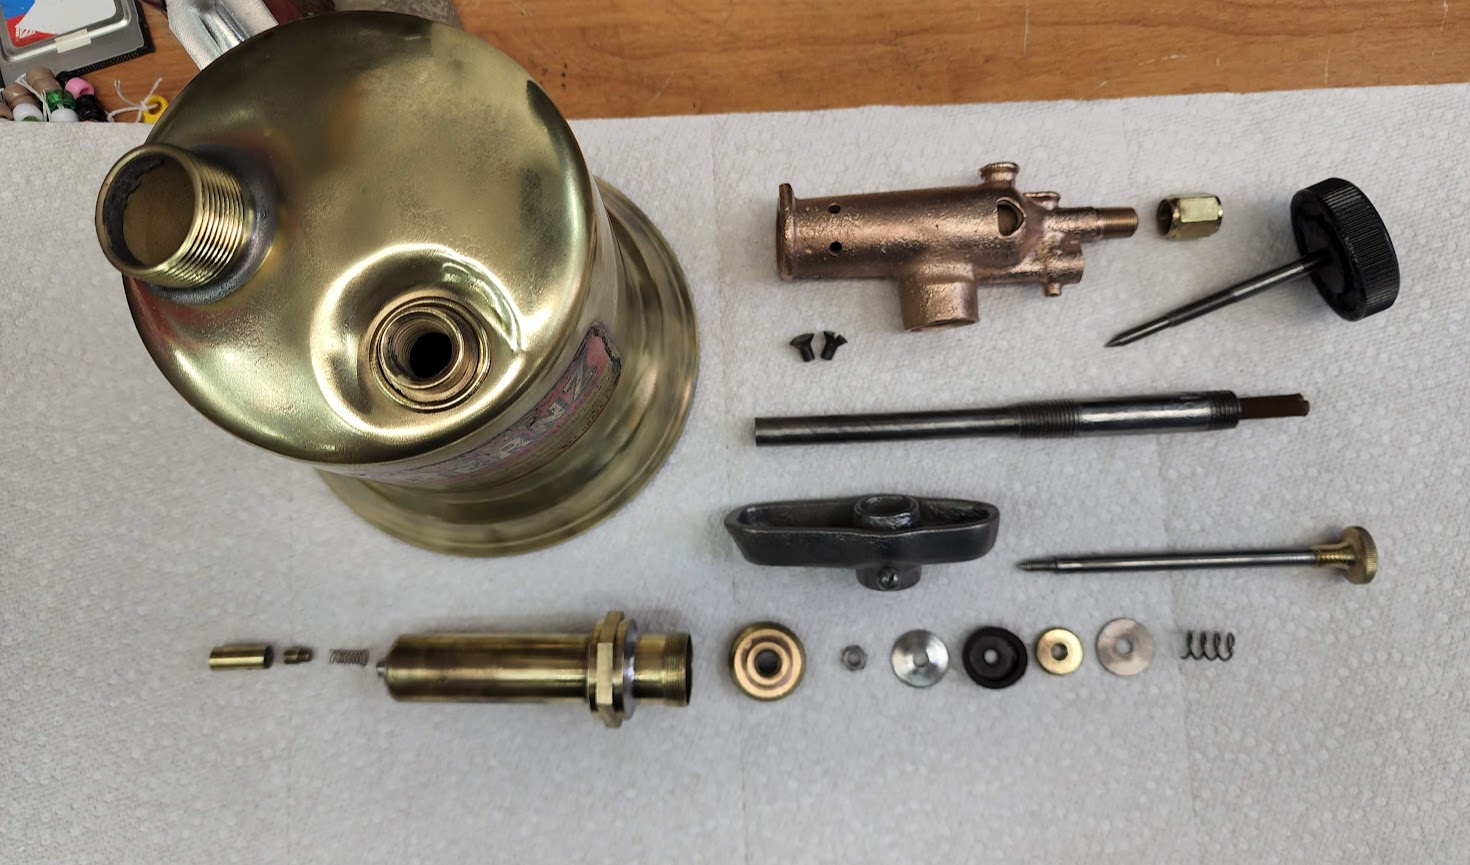
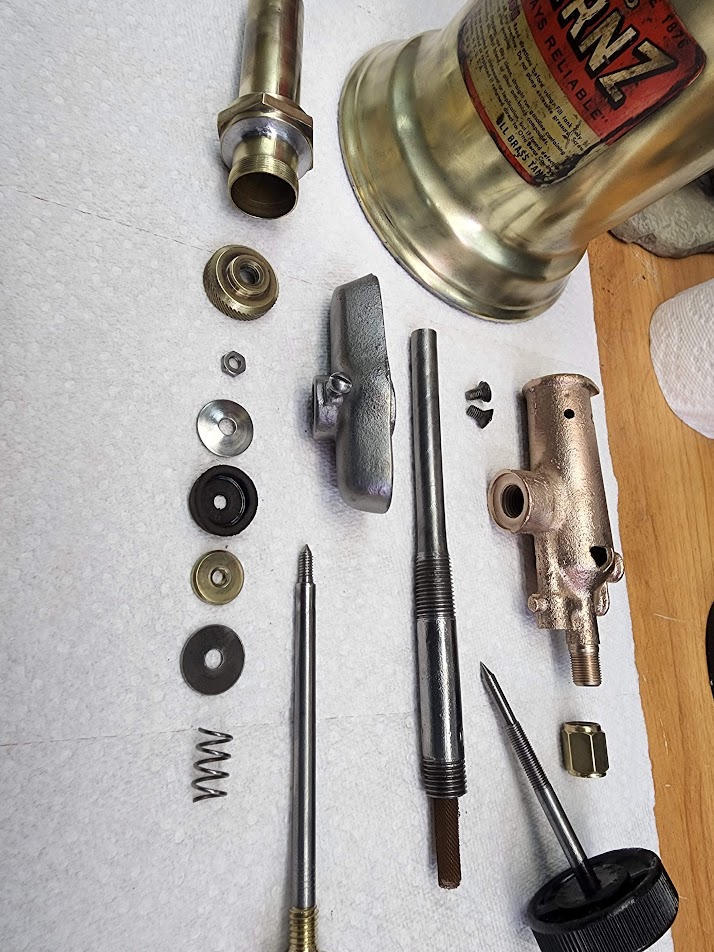
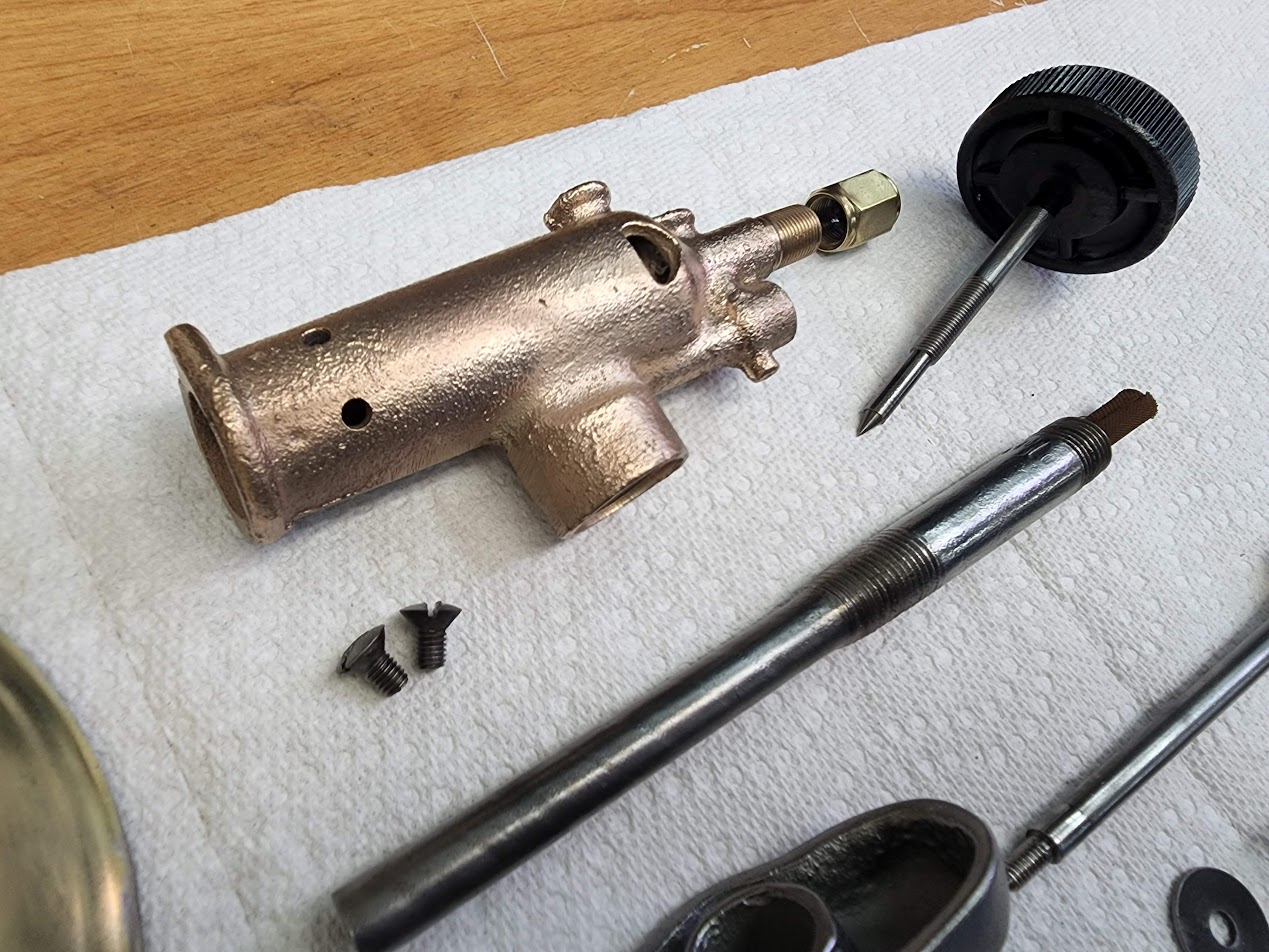

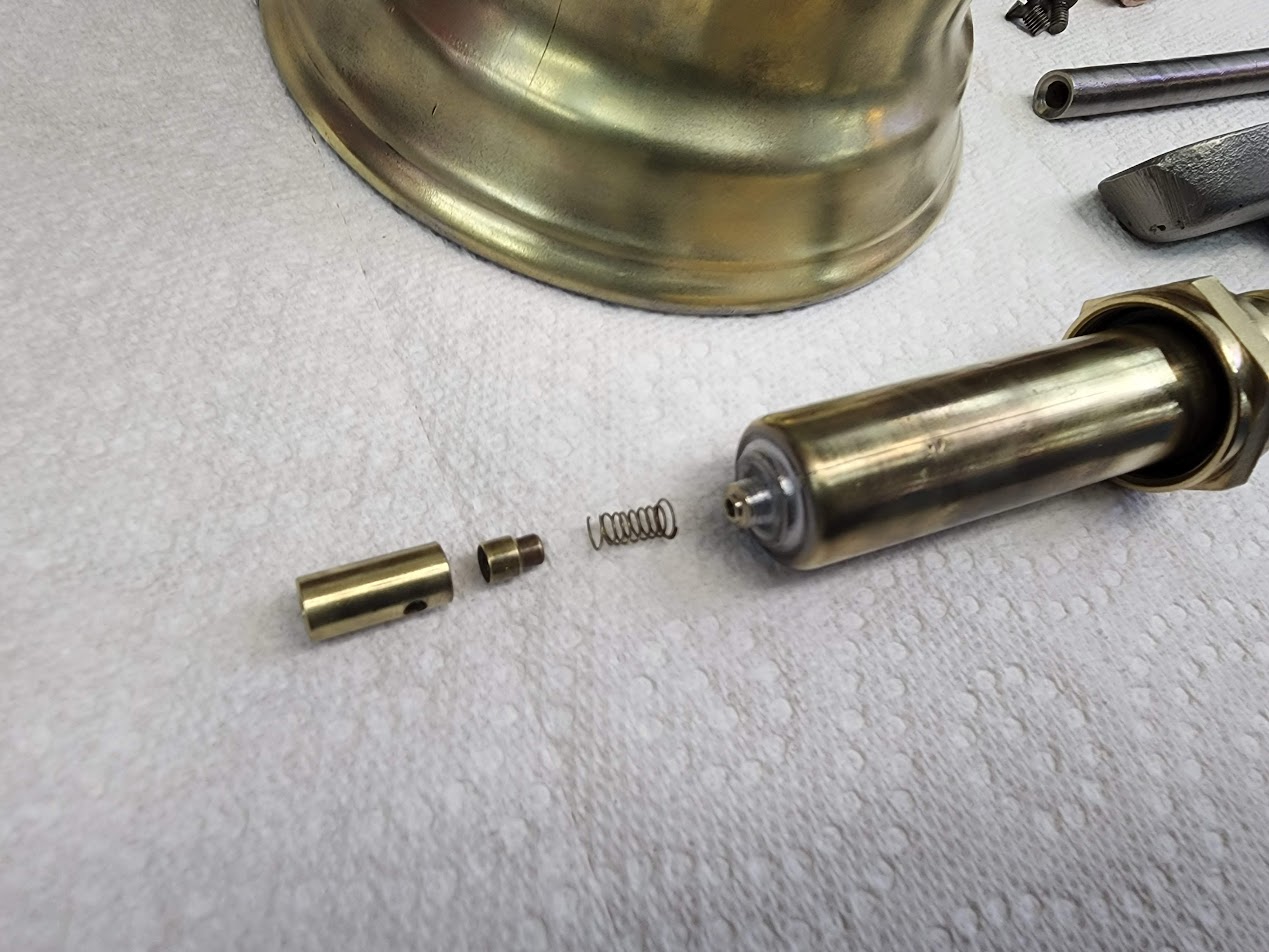
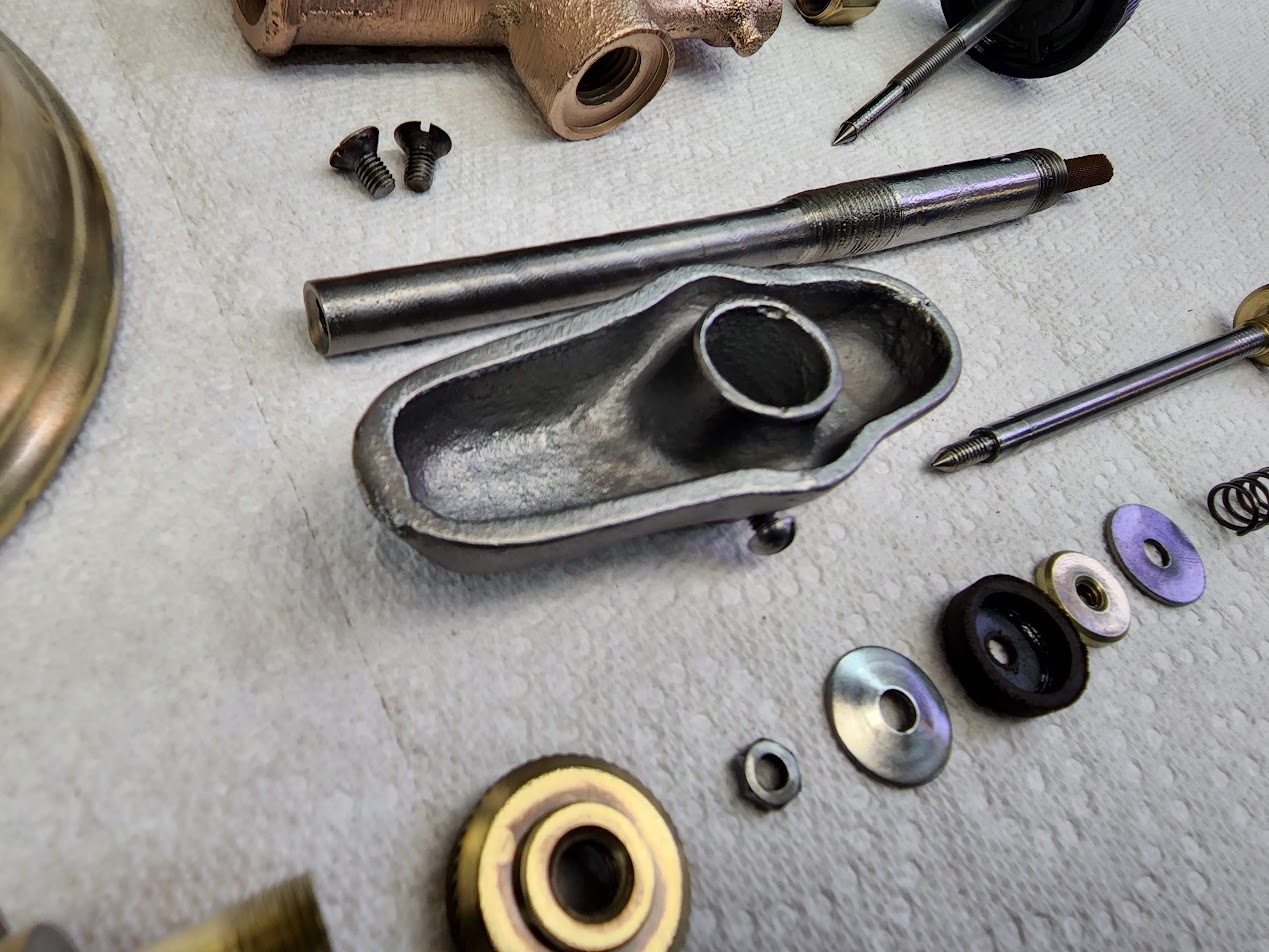
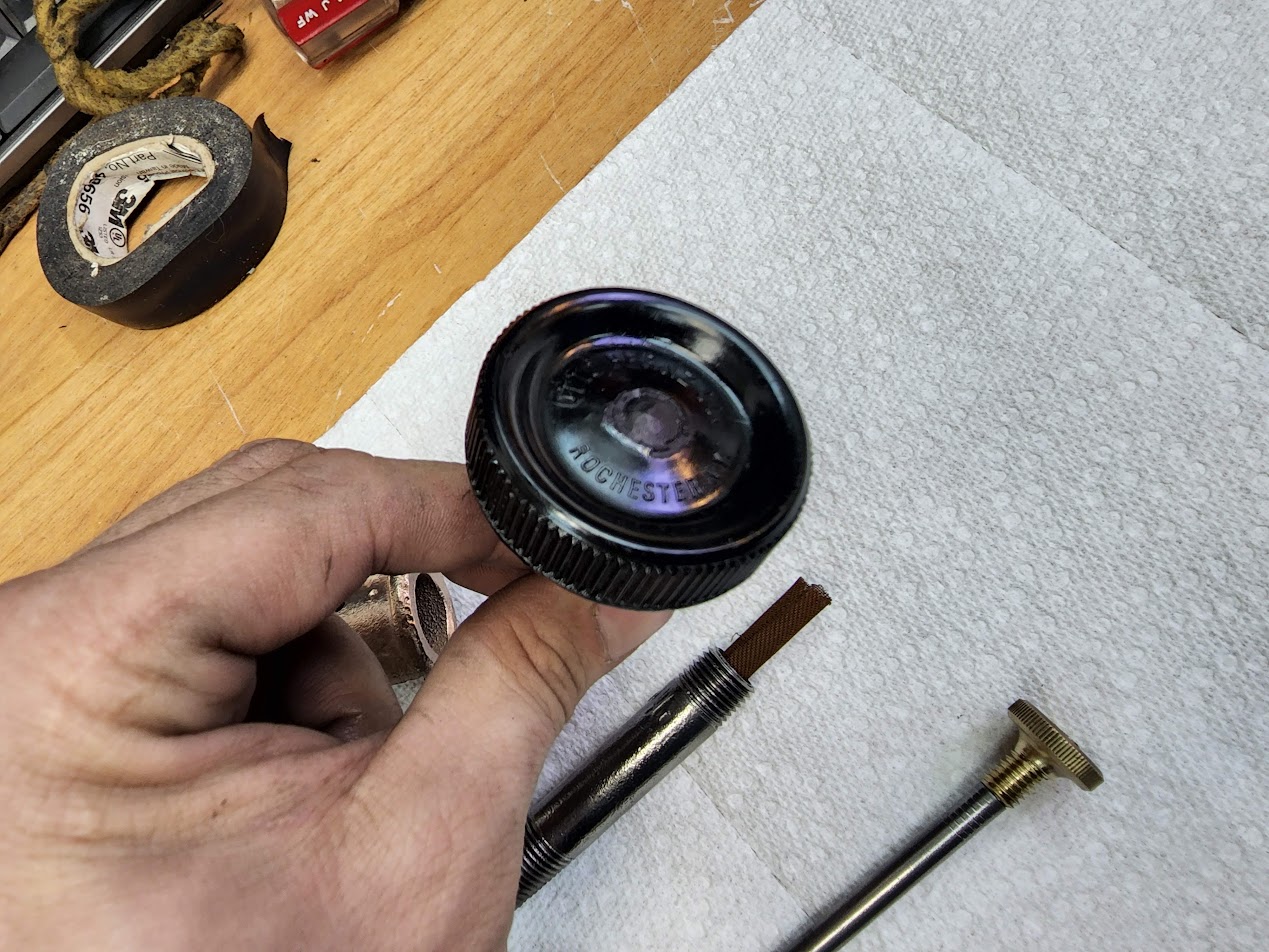
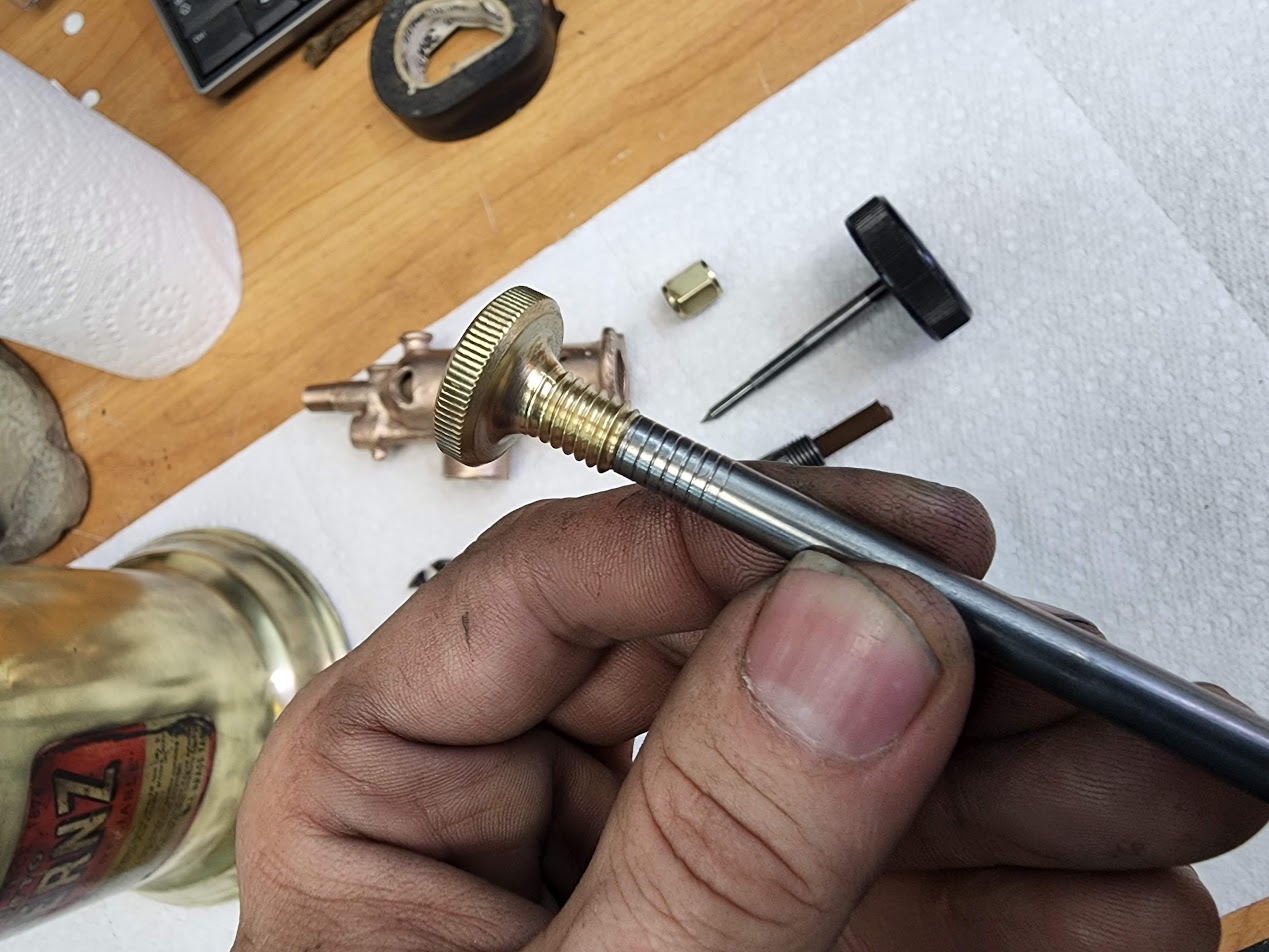
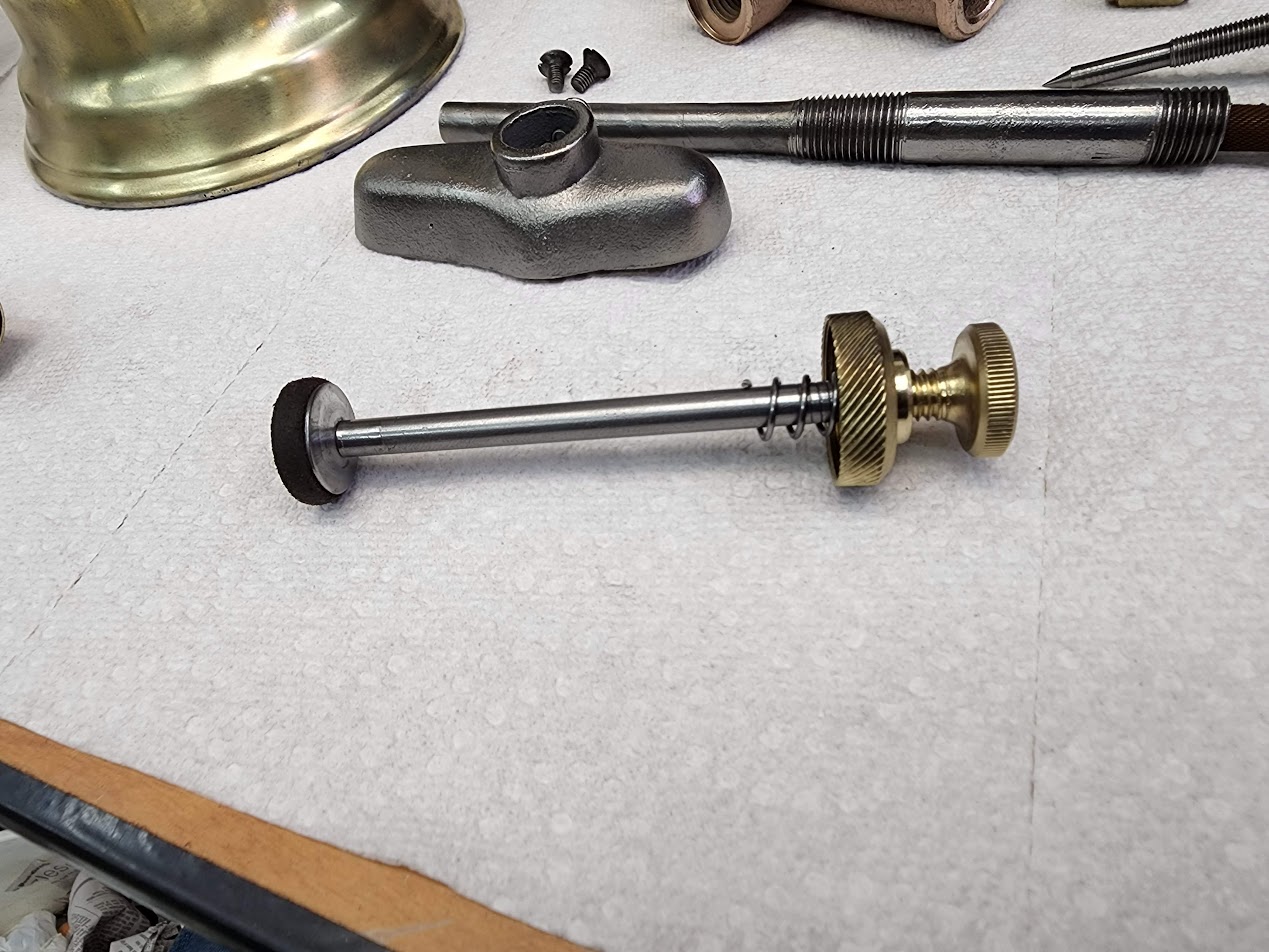
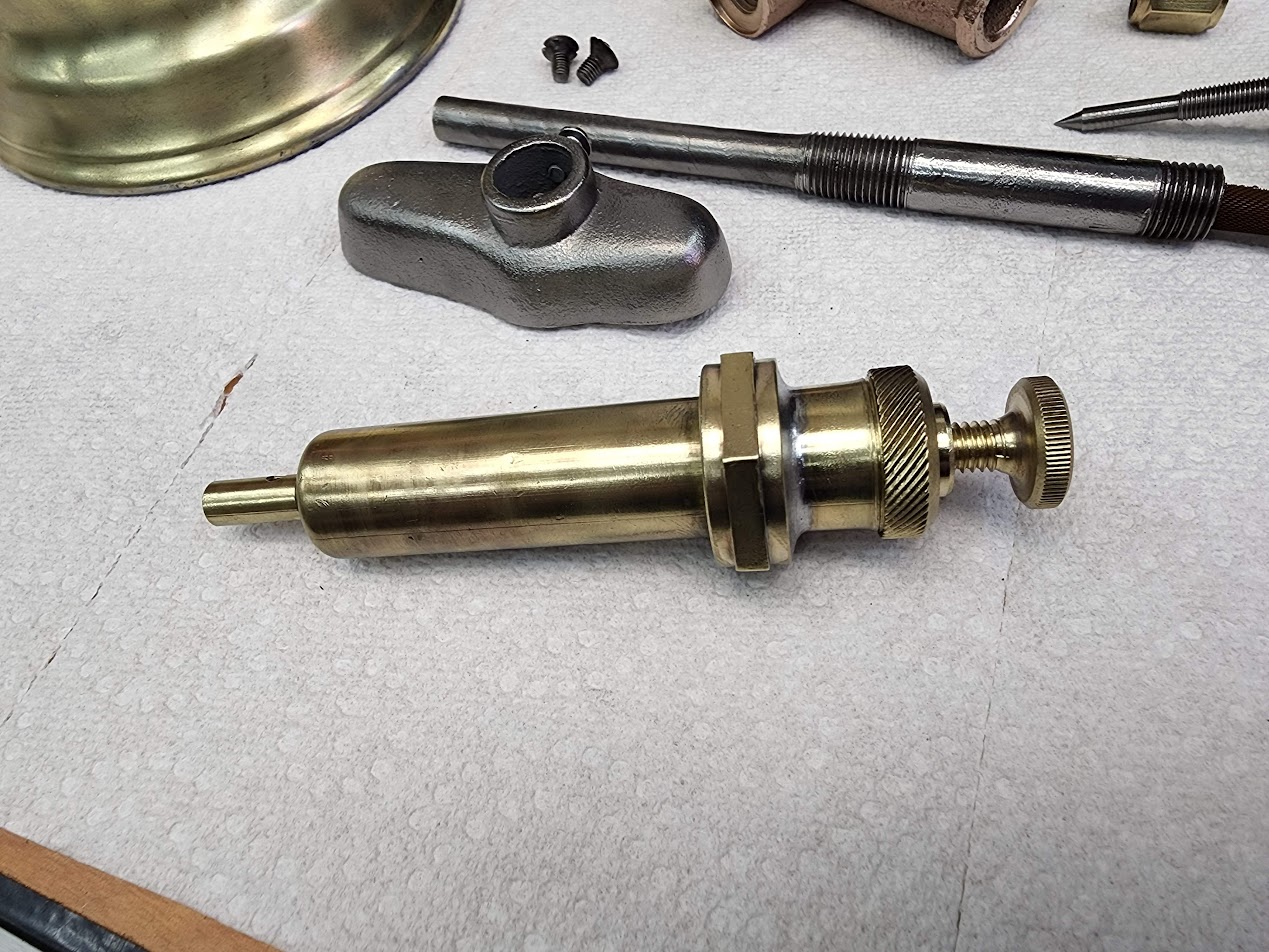
Now all the parts are ready, lets see how it all looks together!
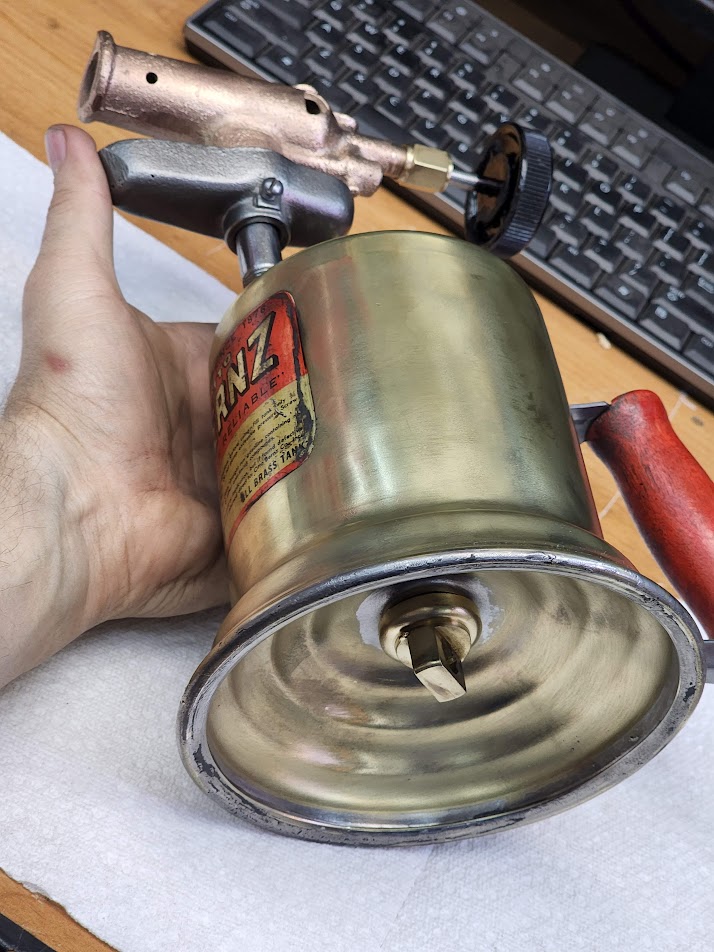

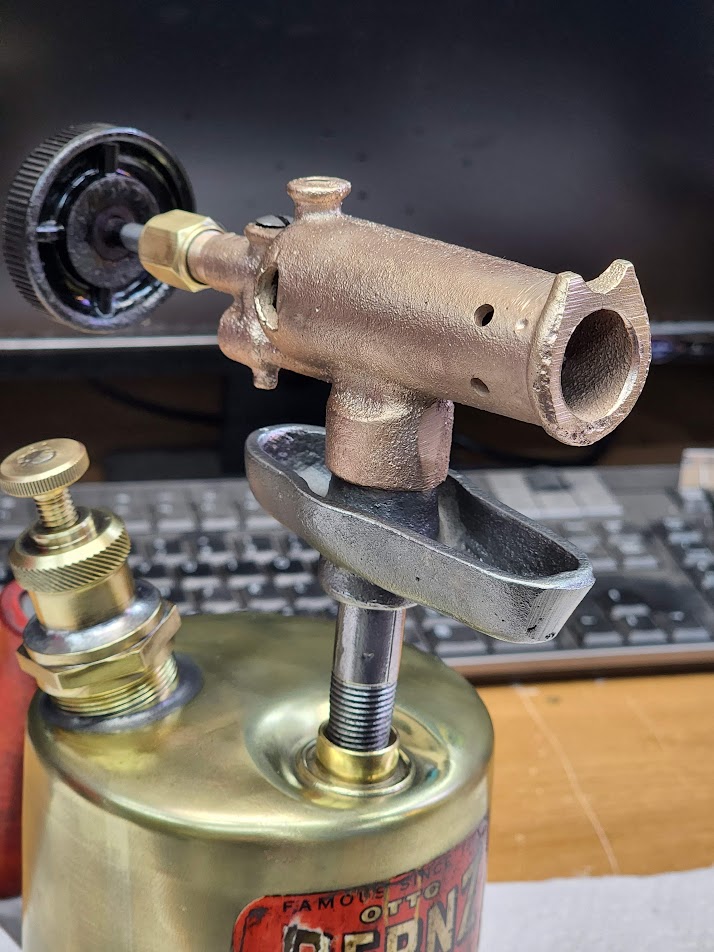
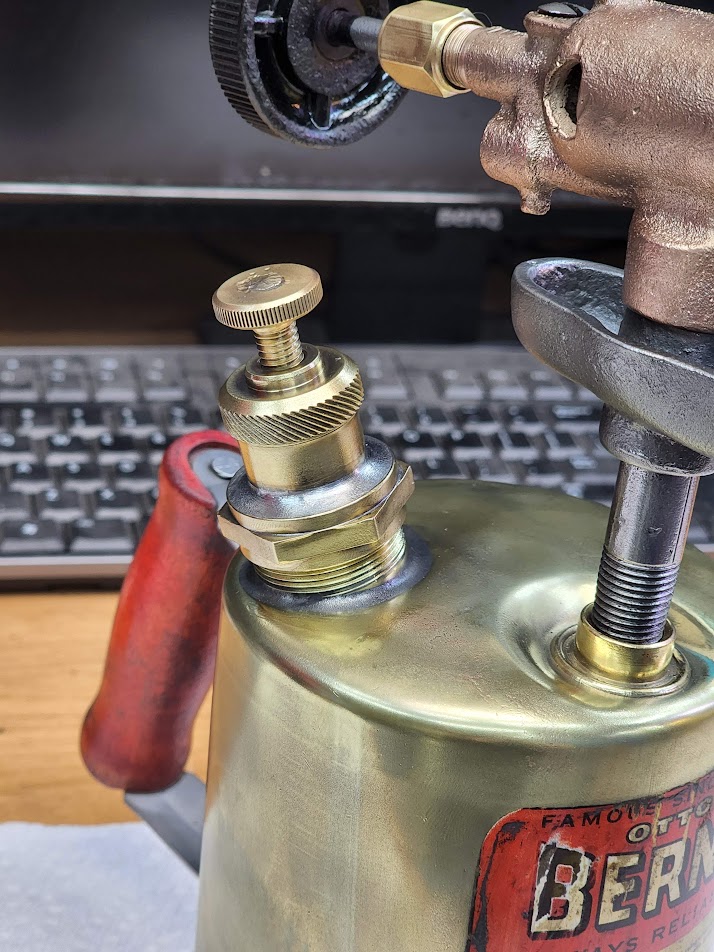
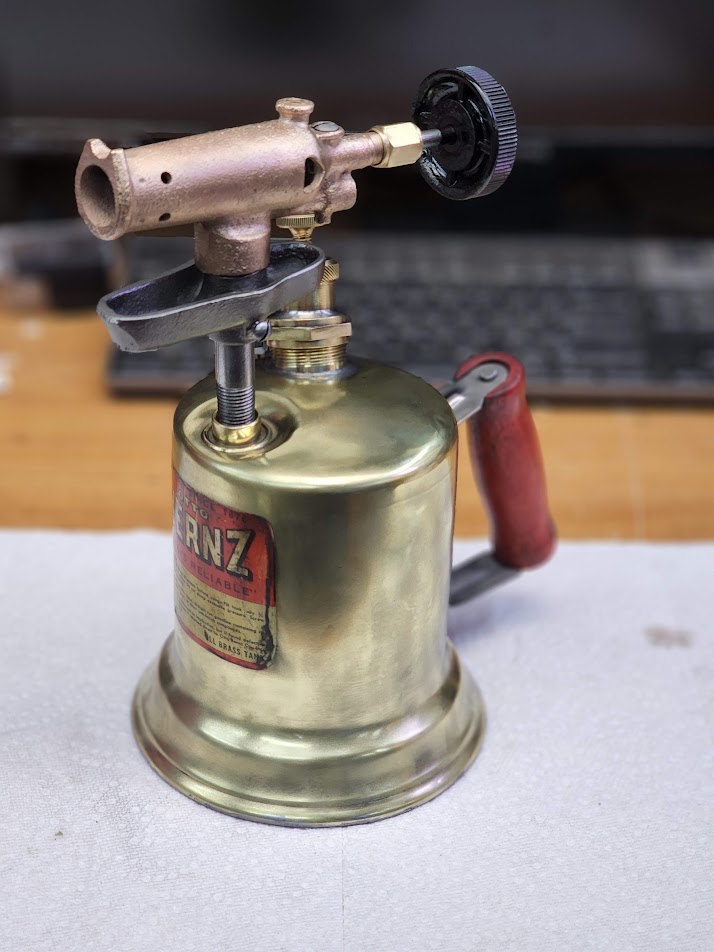
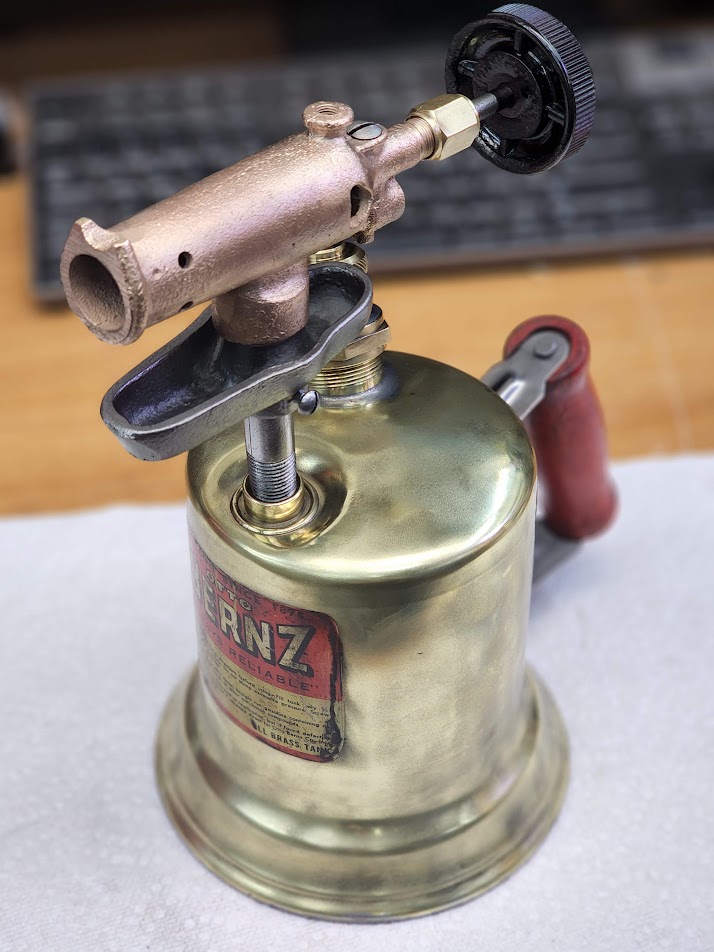

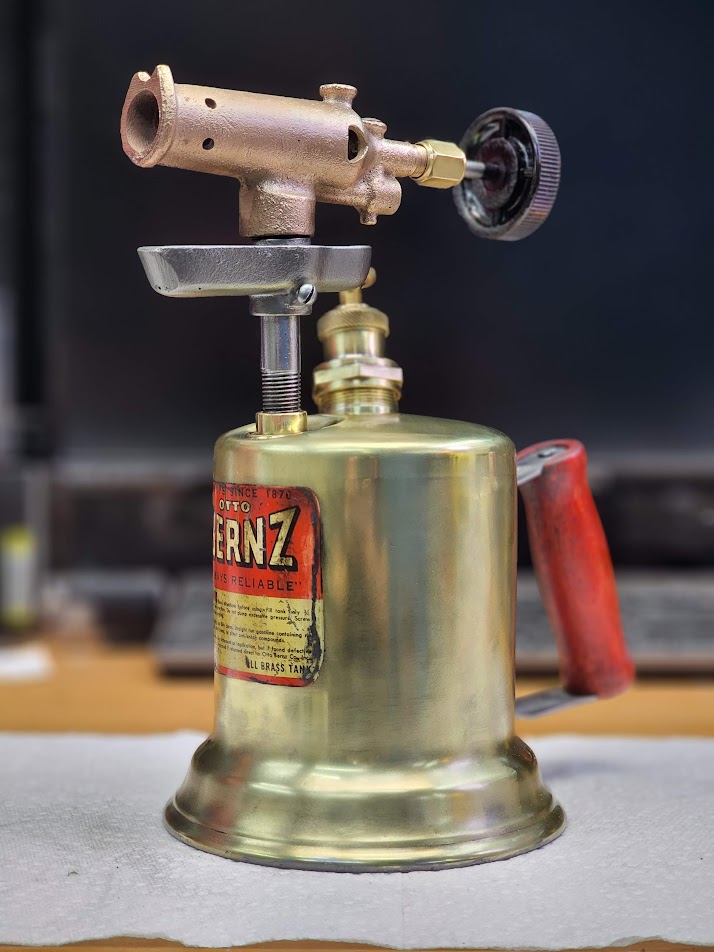
Love how it turned out! I made two assembly mistakes, spot them? I have since fixed them.
Here is a video walking through how these things are used.
Here is a 3rd party photo of what the soldering iron would have looked like on the torch.

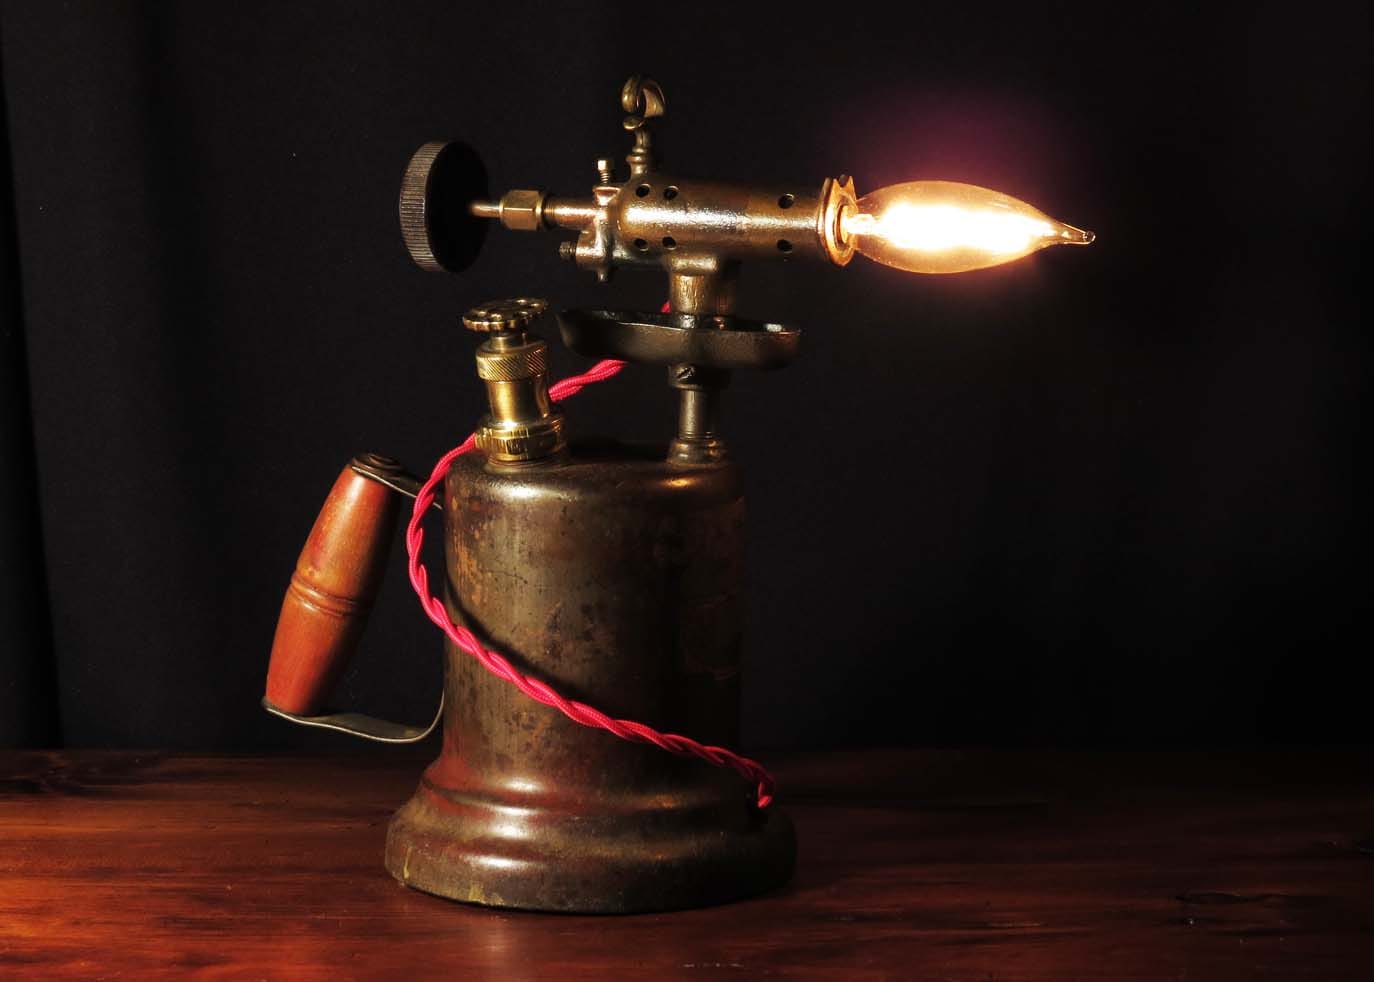
I am tempted to mount a light bulb in it for it is a neat look, example from the web.
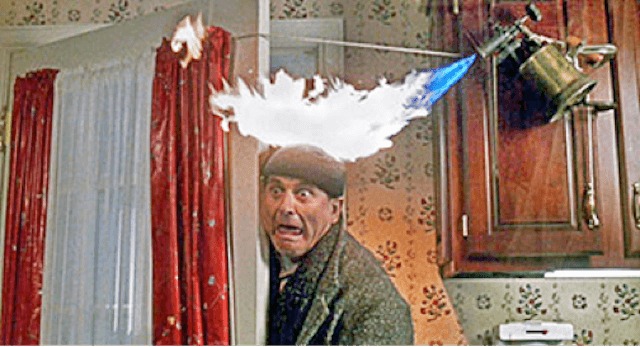
Now that you have made it this far.. I know you are thinking it.. where have I seen this before?
Yup home alone!


I have one that needs restoring. Interested?
evelynaugusto2012@gmail.com
Thanks for your comment! As much as I would love to take on another project the cue is overflowing on the project list at the moment!
Can you help me restore one just like it by telling me where to source parts or maybe you have a diagram.
Thanks and regards
Ray
rizzoraymond62@gmail.com
Raymond,
I uplodaed this old service document, It may be some help to your project!
https://www.djdlabs.com/Otto%20Bernz%20Leaflet%20-%20must%20post-date%201940.pdf
Feel free to post up any questions as you go! And best of luck with your restoration!