In the lab for testing is a brand new product out of SMC.
They took a different approach to the automotive valve
industry then they have in the past.
They have taken the proven reliability of there 3/8” single
valve line and made it into an easy to install and plum valve
manifold.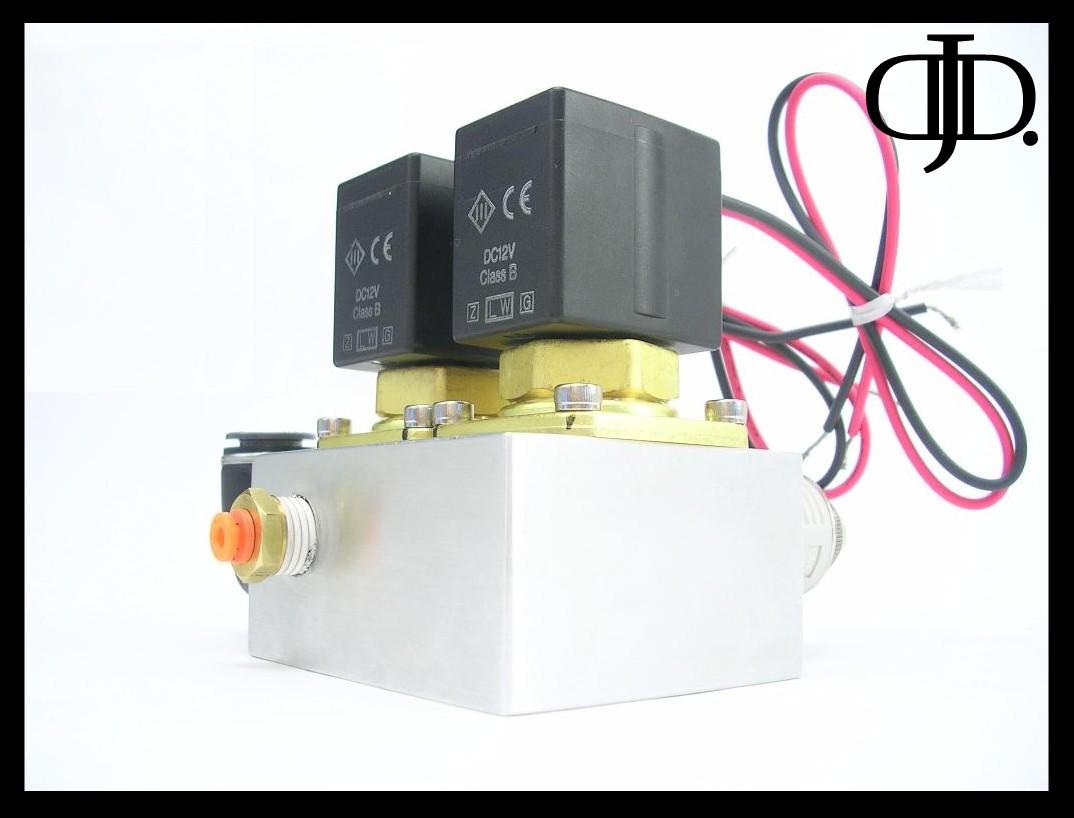
This new SMC manifold valve has everything you need to get
one corner of your air suspension up and running in no time.
Not to mention it does it in style!
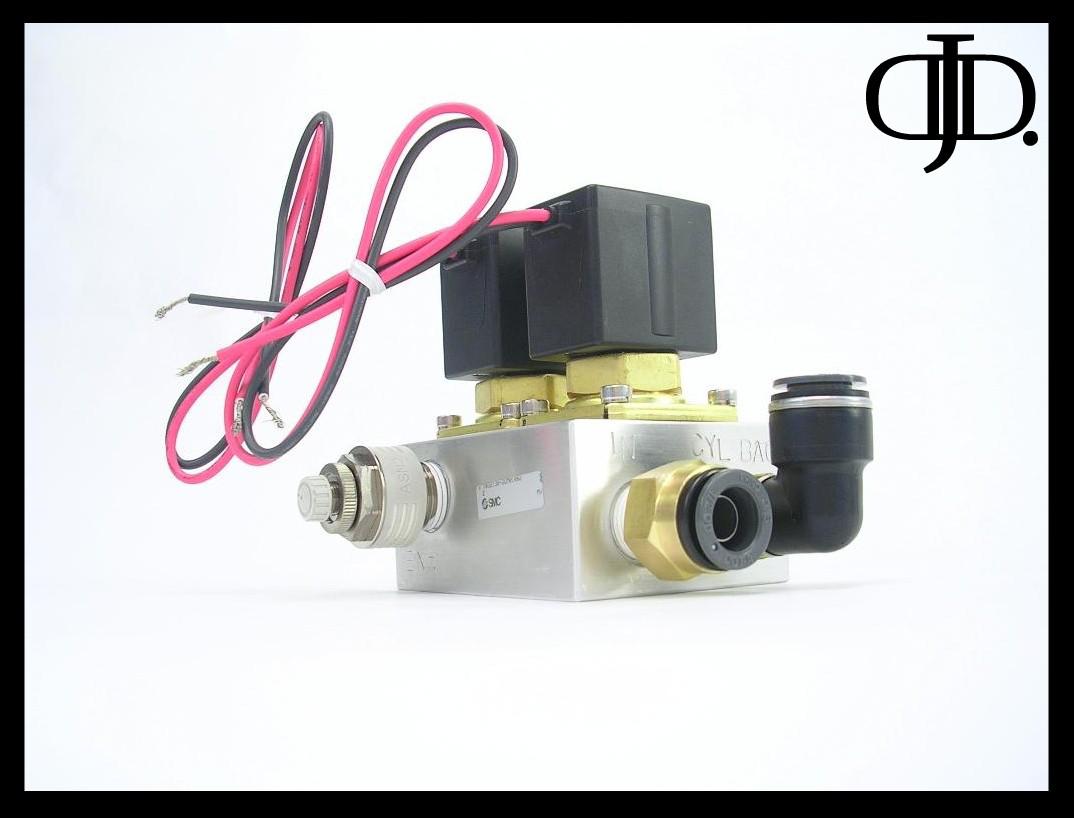
First let me walk you around the valve. On the far back left of
the valve you will find a 3/8” ported exhaust port that is fitted
with a SMC adjustable dump valve/ silencer.
This great product could have a whole review unto its own. You
simply adjust the center knob to the speed you desire then
lock it in with the silver lock nut.
On the front left you will see the ‘IN’ port. This will get
connected directly to one port on your tank. The valve port is
3/8” and has a ½” Airline Push to connect PTC fitting already
installed.
The remaining Fitting on the front right is the ‘OUT’ or bag
fitting. This will connect directly to your air bag or cylinder.
This port is also a 3/8” port with a ½” PTC line fitting.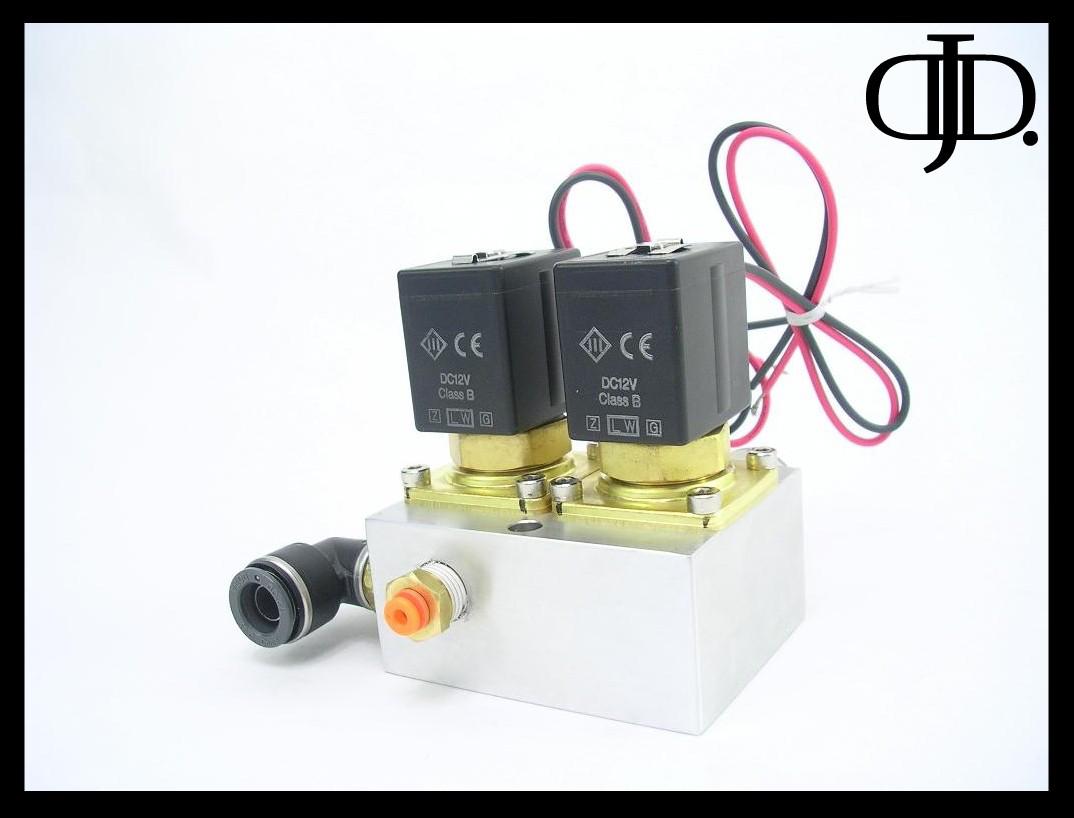
From this side you can see the remaining fitting. This is a ¼”
port with a 1/8” PTC line fitting to connect to your GAUGE.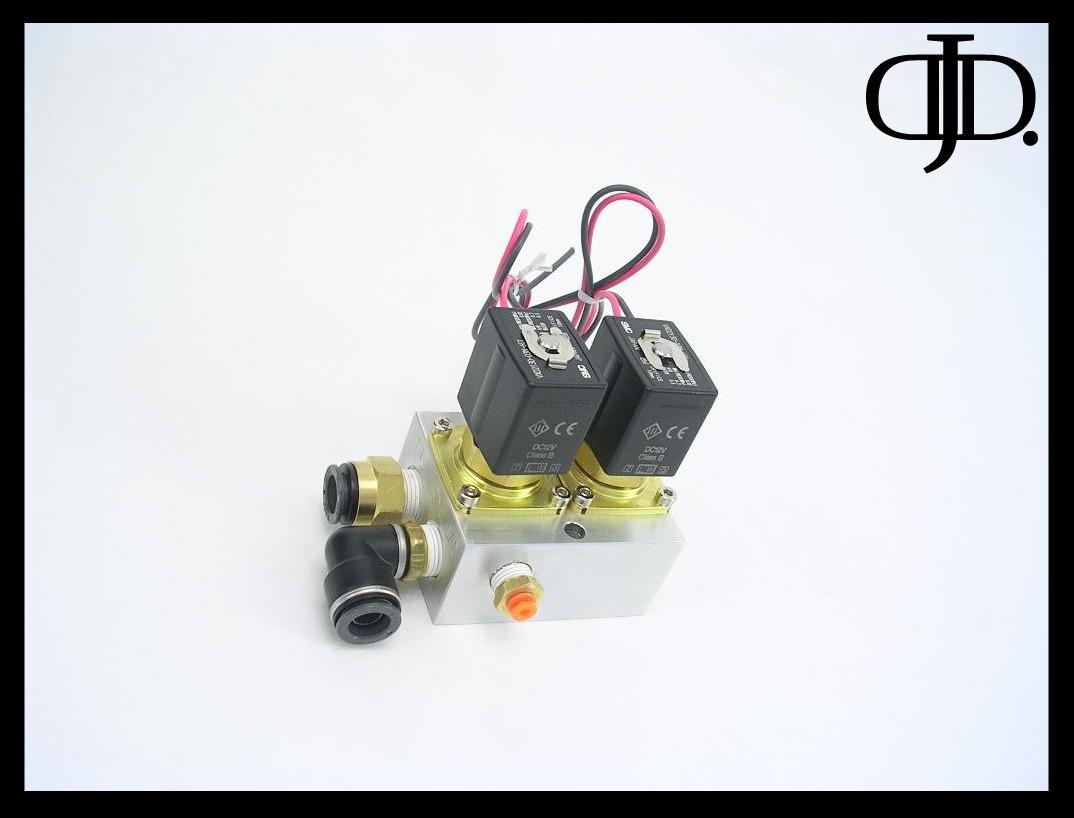
The valve is a great size. It is smaller then the space needed to
attach (2) 3/8” SMC valves and a ‘T’ fitting for your gauge. This
means it is easy to tuck away or fit into tight spaces. Not to
mention with less fittings you have less chances for leaks!
One thing I would like to mention is mounting. Center between
the valve bodies you will notice (2) small holes these pass the
whole way through the valve body. So to mount the valve you
will need a long ¼ X 2.5” bolt to mount it down.
As mentioned above you have lines coming out every side but
one so keep this in mind when mounting as to allow proper
clearance for the lines to clear surrounding objects.
Even though this valve is smaller then the individual valves,
the design of it will not allow it to be easily mounted to your
frame rail. I recommend a flat surface mount where ever
possible.
Now let’s tear it open and see what makes this all work!
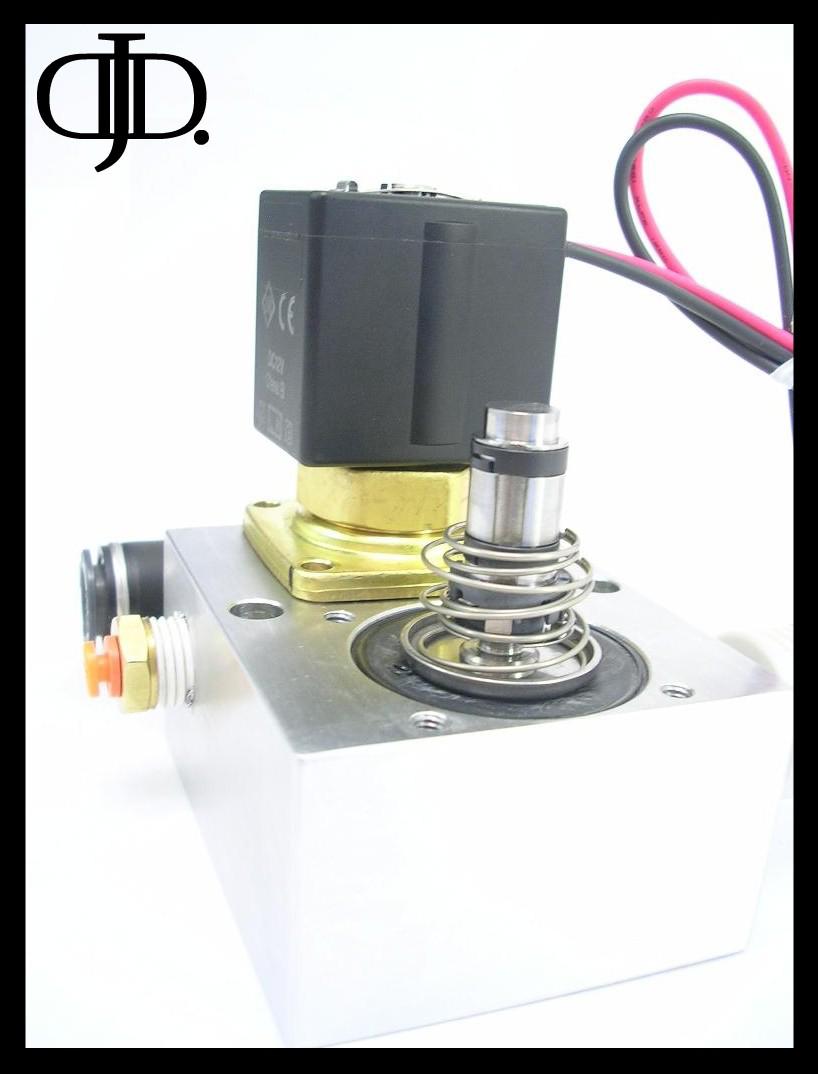
After removing one of the solenoid coils the first thing you will
notice is the mess of springs. There are actually (2) springs at
work here. One spring is over top of the other.
I will explain this below.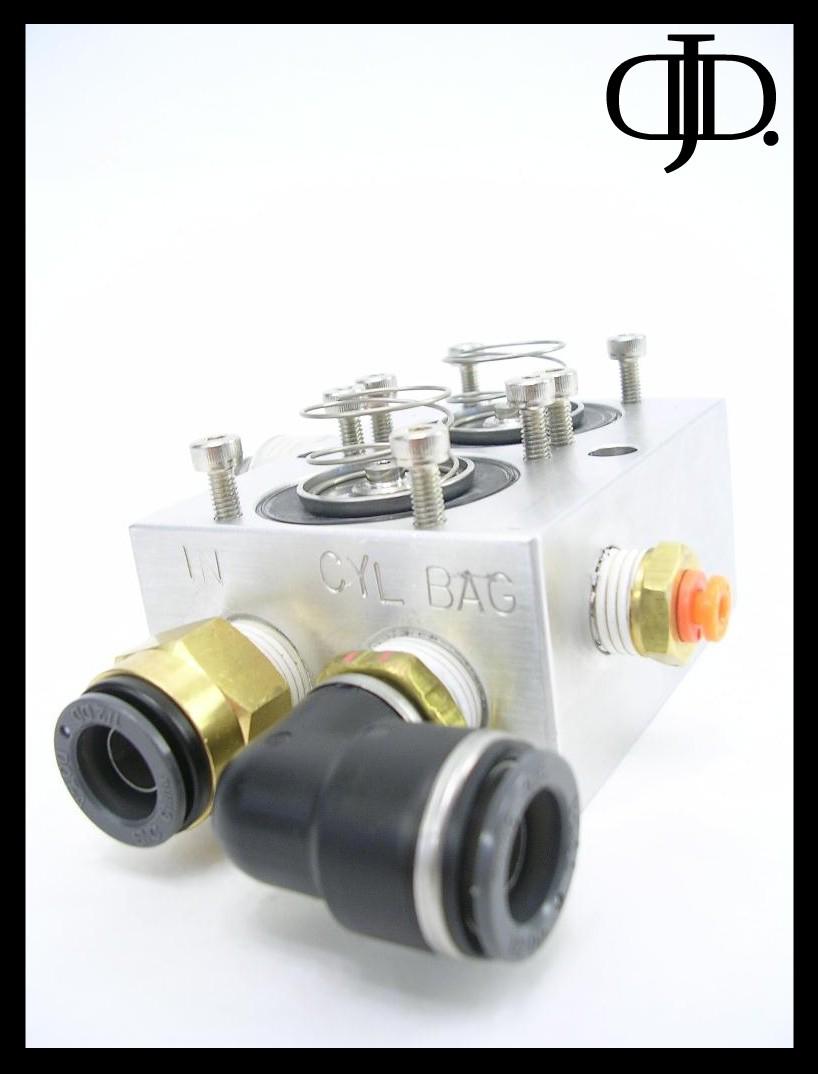
The larger outer spring holds the rubber diaphragm down for a
good seal and to allow the valve to close quickly.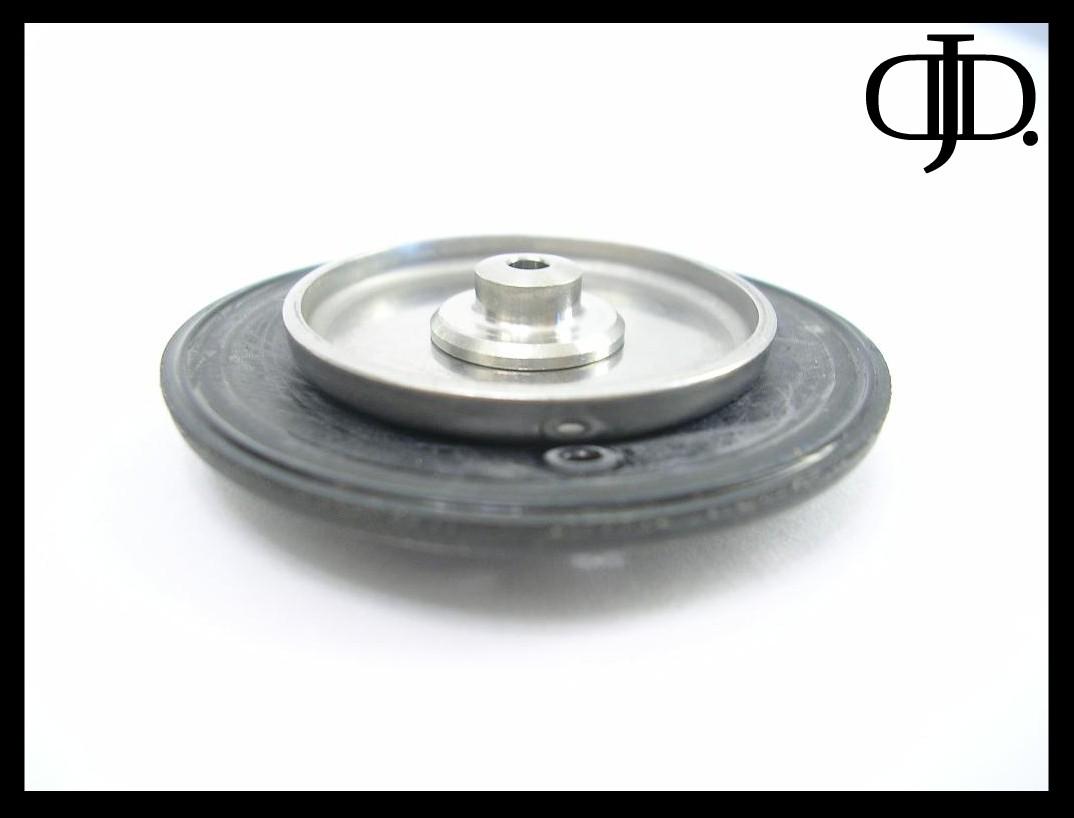
Speaking of diaphragms, the one in use for this valve is top
notch! There is a beautify done metal reinforcement washer
and rivet in the center that appears will hold up to high
pressure very well. The small hole (front center of the picture)
has a reinforced rubber edge to prevent tearing under high
volume air movement, often experienced under high pressure.
The diaphragm is also a solid thick rubber that lends to years
of use before wear will effect its operations.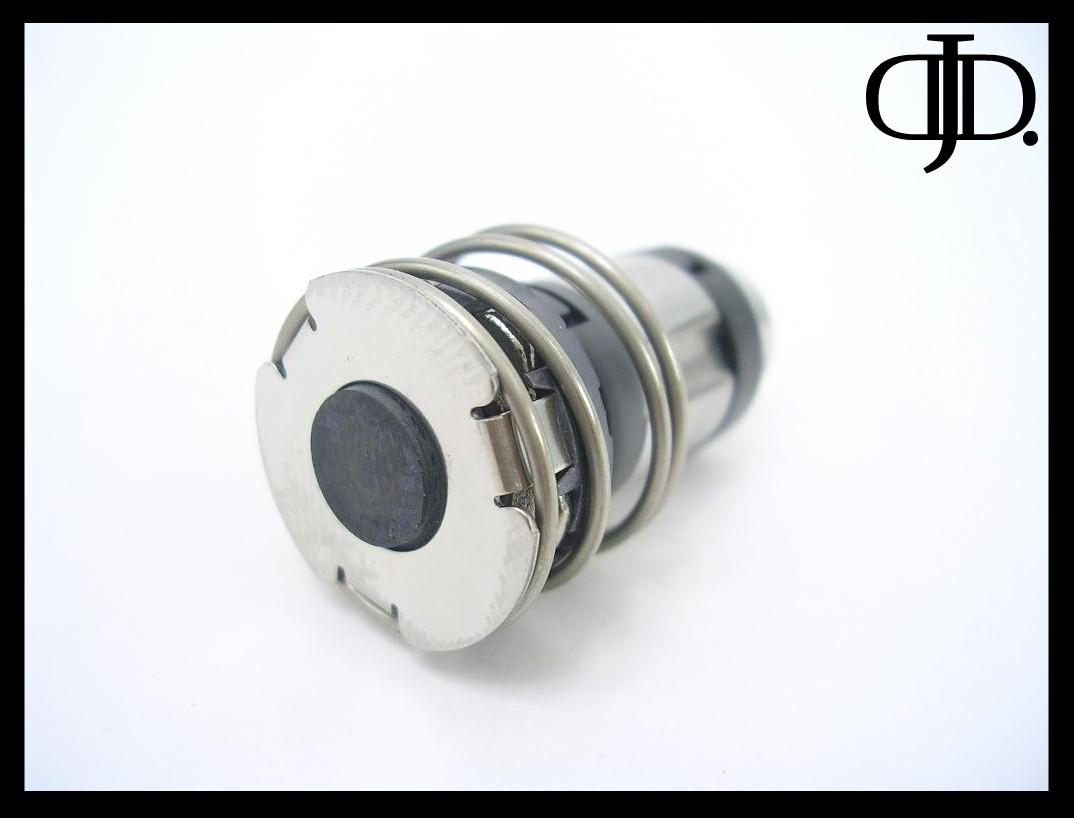
The last spring is located on the Pilot section of the valve. This
spring keeps the rubber pad in this picture sealed tight against
the diaphragm to prevent leaks.
During testing the pilot section of the valve had a nice hard
crisp click to it when operated. Very solid operation.
There is only one part that worried me. There is a plastic
retainer that holds the metal spring retainer in place. If in
extreme cold There might be a chance this could fracture from
the valve hammer and allow the spring to fail. BUT this valve
pilot is in use in other SMC valves with no problems.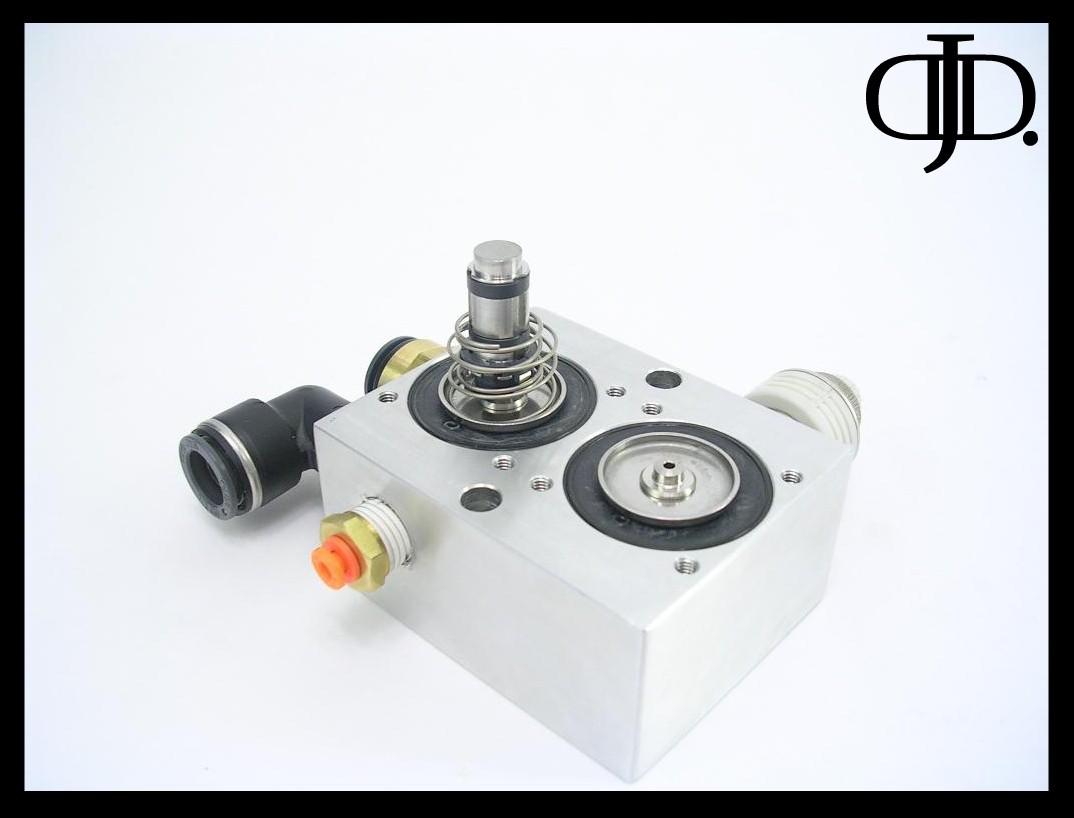
Back to the main valve. The first thing I noticed about this
valve was the stunning smoothness to the design. The
machining was nicely done on the exterior and would be
something I would gladly show off.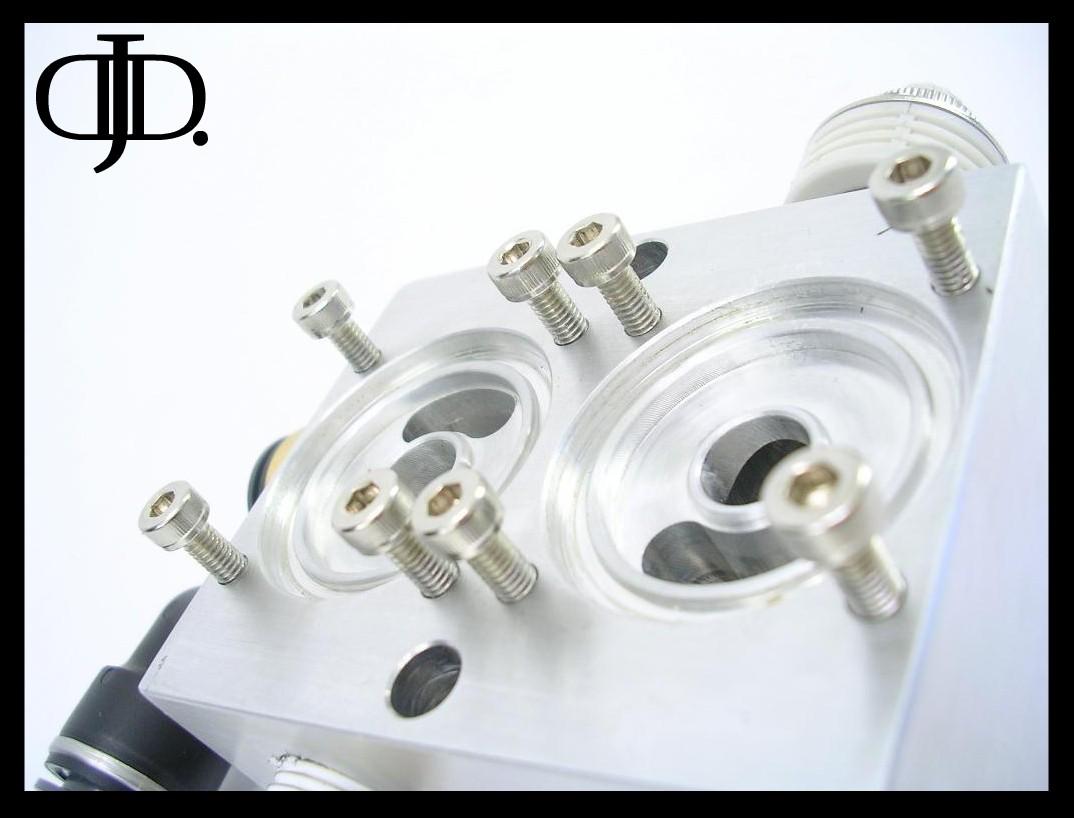
Here is a close up of the machining quality of this valve. Like I
said before you can tell time was spent to make sure the lines
where clean and smooth.
To help get your oriented the Valve furthest away is the ‘FILL’
valve and the one closest is the ‘DUMP’ valve.
For those interested in how the Valve is plumbed on the inside.
(2) parallel tunnels are bored down the length of the valve on
both sides. One that aligns up with the ‘IN’ and one that aligns
up with the ‘OUT’
The air will enter the ‘IN’ (top left in the picture) then go up
the ‘smile’ part of the far valve and await the valve to be
opened. After the ‘FILL’ valve opens the air will pass down the
center hole and pass to the ‘OUT’ tunnel. This is connected to
the ‘GAUGE’ port as well. This tunnel passes down the length
of the valve end ends up at the ‘smile’ on the closest valve
where it awaits the ‘DUMP’ valve to open. When open the air
will pass down the center hole then out the ‘EXHAUST’ port.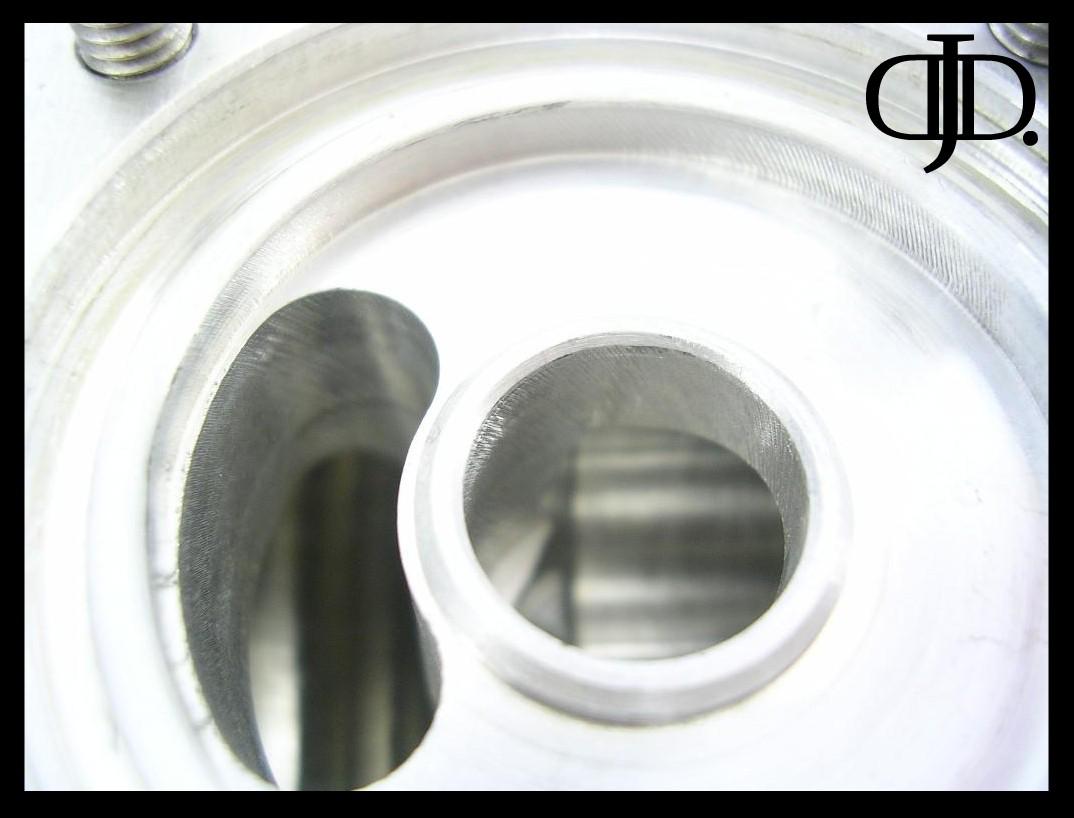
Here is an extreme close up of both the machining quality and
the internal passage ways mentioned above.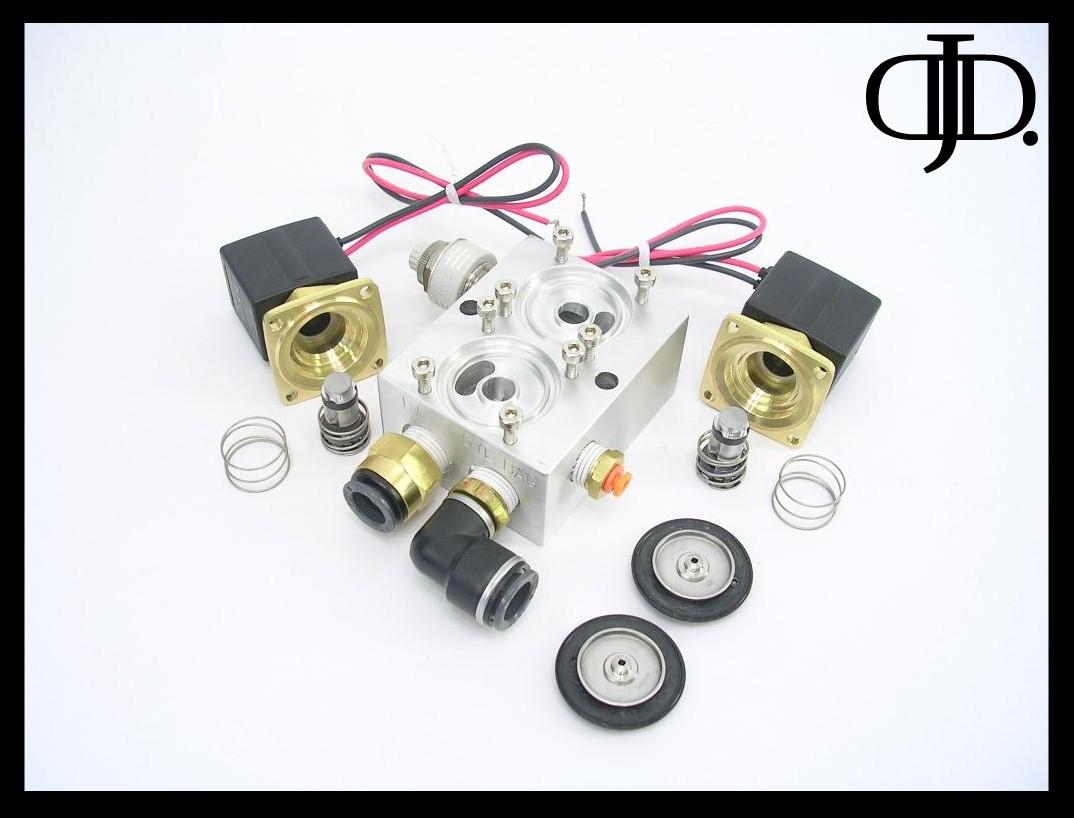
In closing I would love to give this valve great marks! But I ran
into only a few very minor design issues that kept it from
getting a perfect score.
First problem I had with the valve design was it only does one
bag. This means you will need (4) of these to do a F.B.S.S.
setup. The valve blocks have no easy way to be plumbed
together so you will need to both mount and rout a line to each
individual valve segment. The Valve design does not allow the
unit to be mounted readily onto the port of the air tank. So
this option is also out.
The only other problem I had was the internal passage ways
where small. And this led to slowing down the valve. Under
testing I found this valve to be 1.165CFM @80PSI slower then a
Stock 3/8″ SMC valve. Now most people will never notice this
fractional difference. But it is still worth mentioning.
Now I do not want to close on any bad points,
This valve is still very good in my book it ranks up into the
9.5/10 range.
This valve for making install a breeze and allowing the
versatility of mounting them any where you want unlike many
(8) way valve manifolds.
The Valve is beautifully machined and constructed. Let me
also point out the fact this is a combination valve with the pilot
directly on top of the diaphragm so this design is much less
prone to ‘freezing’ in cold climates. Also the valve being
mounted to a large block of aluminum gives it great thermal
mass to hold this heat longer, again to help fight ‘freezing’.
I was not able to test the high pressure limits of this valve, but
the 200PSI test I ran it at, the valve had no problem holding its
own.
As SMC Further develops this prototype the pressure limits will
be released.
My hat goes off to SMC for not only holding up to there name
as a reliable leader in valve manufacturing but they have
found a way to exceed there current designs and improve
there lineup. :tup:
Cheers.
~Doug

