The goal of this project is to try and teach the Fanuc robot arm how to weld. Many already know how to do this, but sadly my model does not have the weld feature installed, and it is over $1,000 to get that feature added!
So I set out to find a way to make my own software to make this happen, here is my progression through the project.
Once I could read data from the robot, it was time to try and figure out how to make the weld path between the points.

After looking at the options, the modified triangle / sign may work the best for what I can program.
This was a complex operation, but I was able to generate am array of X,Y points in space to guide the robot, while doing this I had a revaluation! It was easy to translate the frame to do the sign wave generation at right angles, than move that reference to the angle that was needed. I remembered the robot can do this, and it does it well! With user frames! So I set out to do this entirely inside the robot!
This worked better than I expected!
Next was to make some more refinements,
Proof that it will adjust to any 3D slope in space!
I can adjust the settings of the weld quickly with the program I made.
Last step was to have the program stop based on the length of the weld! And worked out better than I expected!
Here is the final code that is running on the robot.
1: ;
2: R[21:W_WAIT]=.2 ;
3: R[22:W_WIDTH]=3 ;
4: R[23:W_HEIGHT]=1 ;
5: R[24:W_SPED_IPM]=2000 ;
6: R[25:W_ACC]=60 ;
7: R[26:W_CNT]=99 ;
8: R[28:W_SET_LENGTH]=80 ;
9: ;
10: PR[10:WELD_START]=LPOS ;
11: ;
12: LBL[1] ;
13: ;
14:L PR[10:WELD_START] R[24:W_SPED_IPM]inch/min CNT R[26:W_CNT] ACC60
: ;
15: ;
16: PR[10,1:WELD_START]=PR[10,1:WELD_START]+R[23:W_HEIGHT] ;
17: ;
18: PR[10,2:WELD_START]=PR[10,2:WELD_START]+R[22:W_WIDTH] ;
19: ;
20:L PR[10:WELD_START] R[24:W_SPED_IPM]inch/min CNT R[26:W_CNT] ACC60
: ;
21: ;
22: WAIT R[21] ;
23: ;
24: PR[10,1:WELD_START]=PR[10,1:WELD_START]+R[22:W_WIDTH] ;
25: ;
26: PR[10,2:WELD_START]=PR[10,2:WELD_START]-R[22:W_WIDTH] ;
27: ;
28: PR[10,2:WELD_START]=PR[10,2:WELD_START]-R[22:W_WIDTH] ;
29: ;
30:L PR[10:WELD_START] R[24:W_SPED_IPM]inch/min CNT R[26:W_CNT] ACC60
: ;
31: ;
32: ;
33: ;
34: WAIT R[21] ;
35: ;
36: ;
37: ;
38: PR[10,2:WELD_START]=PR[10,2:WELD_START]+R[22:W_WIDTH] ;
39: ;
40: PR[10,1:WELD_START]=PR[10,1:WELD_START]+R[23:W_HEIGHT] ;
41: ;
42: ;
43: R[27:W_LENGTH]=PR[10,1:WELD_START] ;
44: ;
45: IF R[27:W_LENGTH]>R[28:W_SET_LENGTH],JMP LBL[2] ;
46: ;
47: JMP LBL[1] ;
48: ;
49: LBL[2] ;
Nice and simple! The controller does all the hard work with translation between the world and the user frame.
Next step will be to attach a torch and to try out laying down some beads!
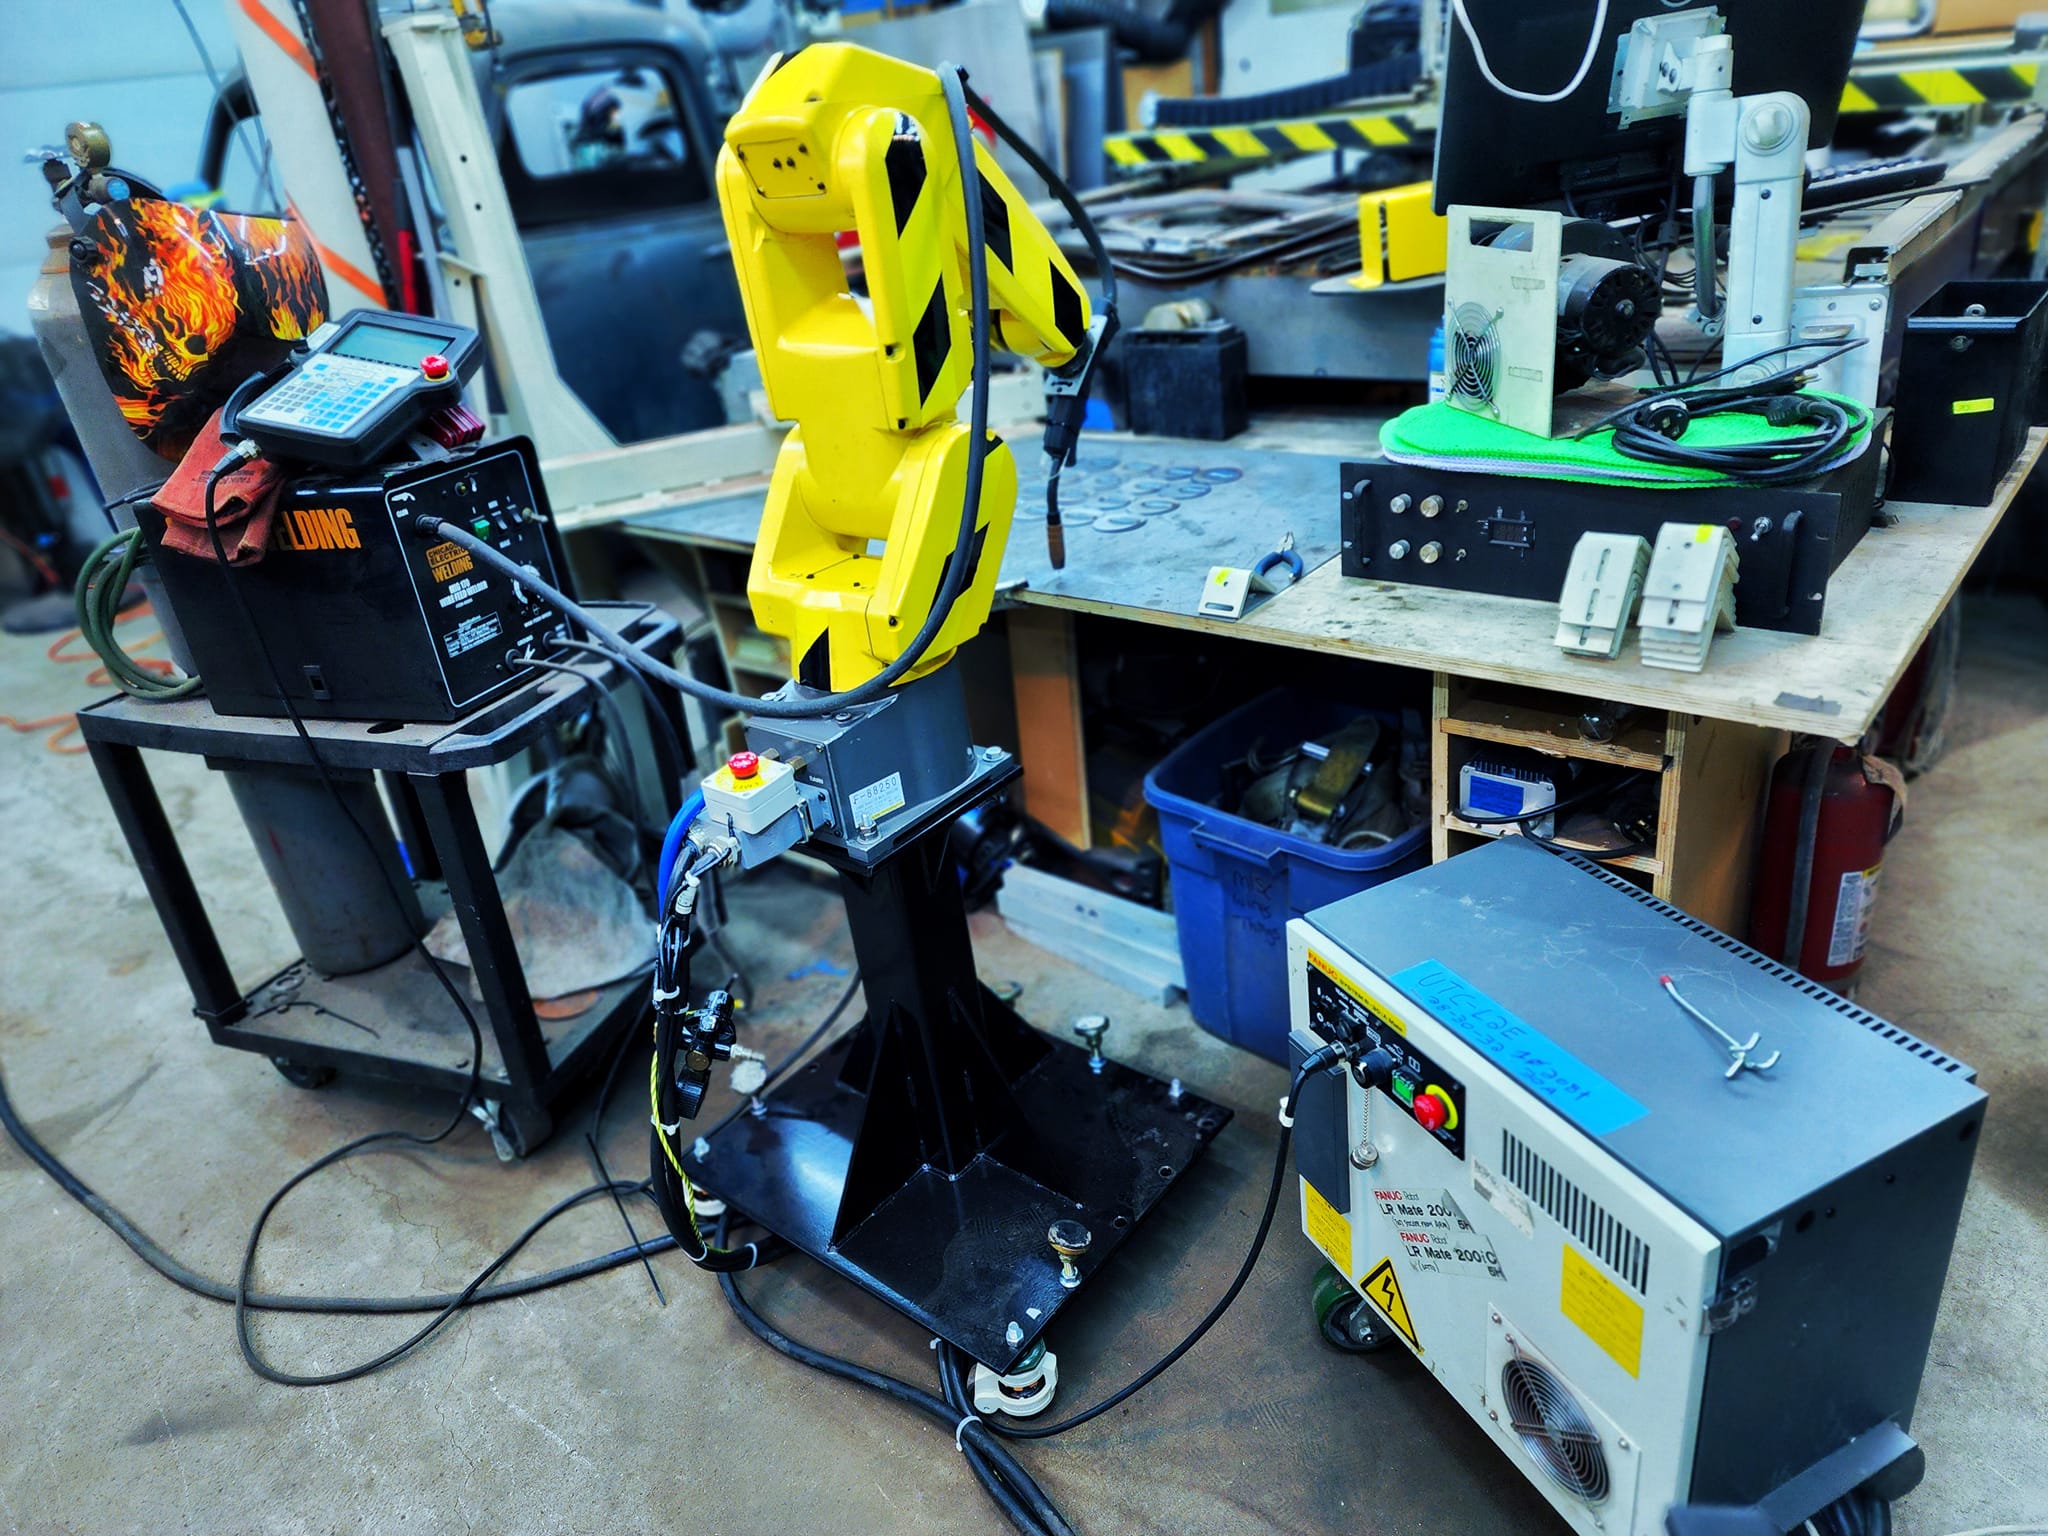
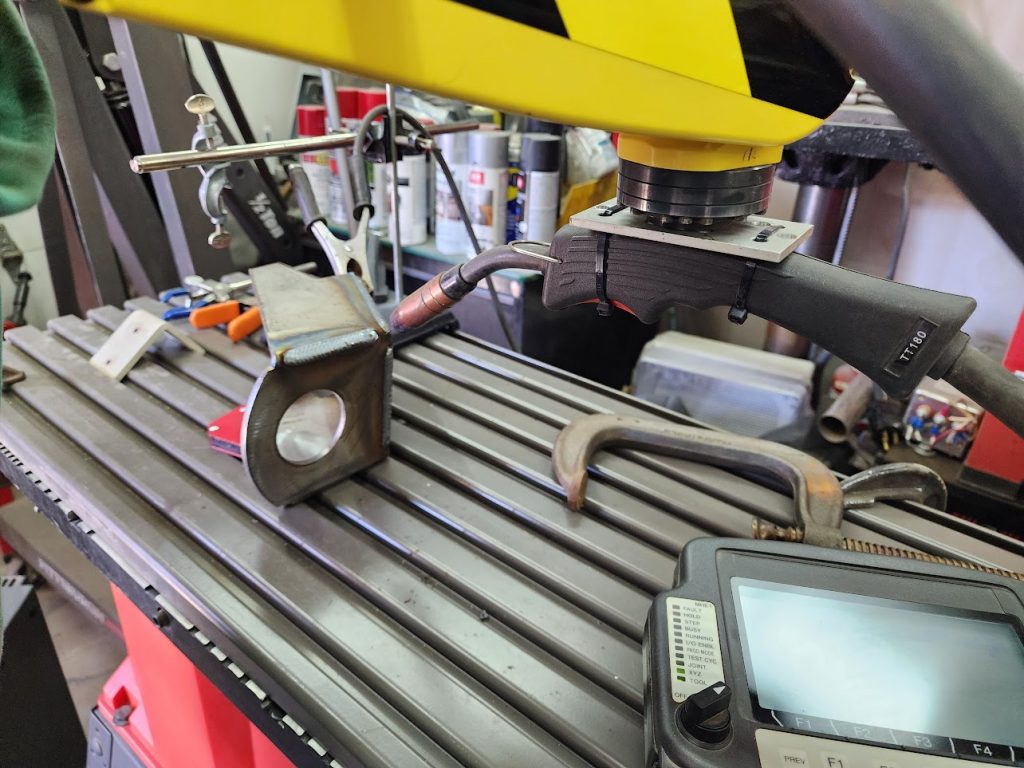
Got everything setup in the shop for some test welds!
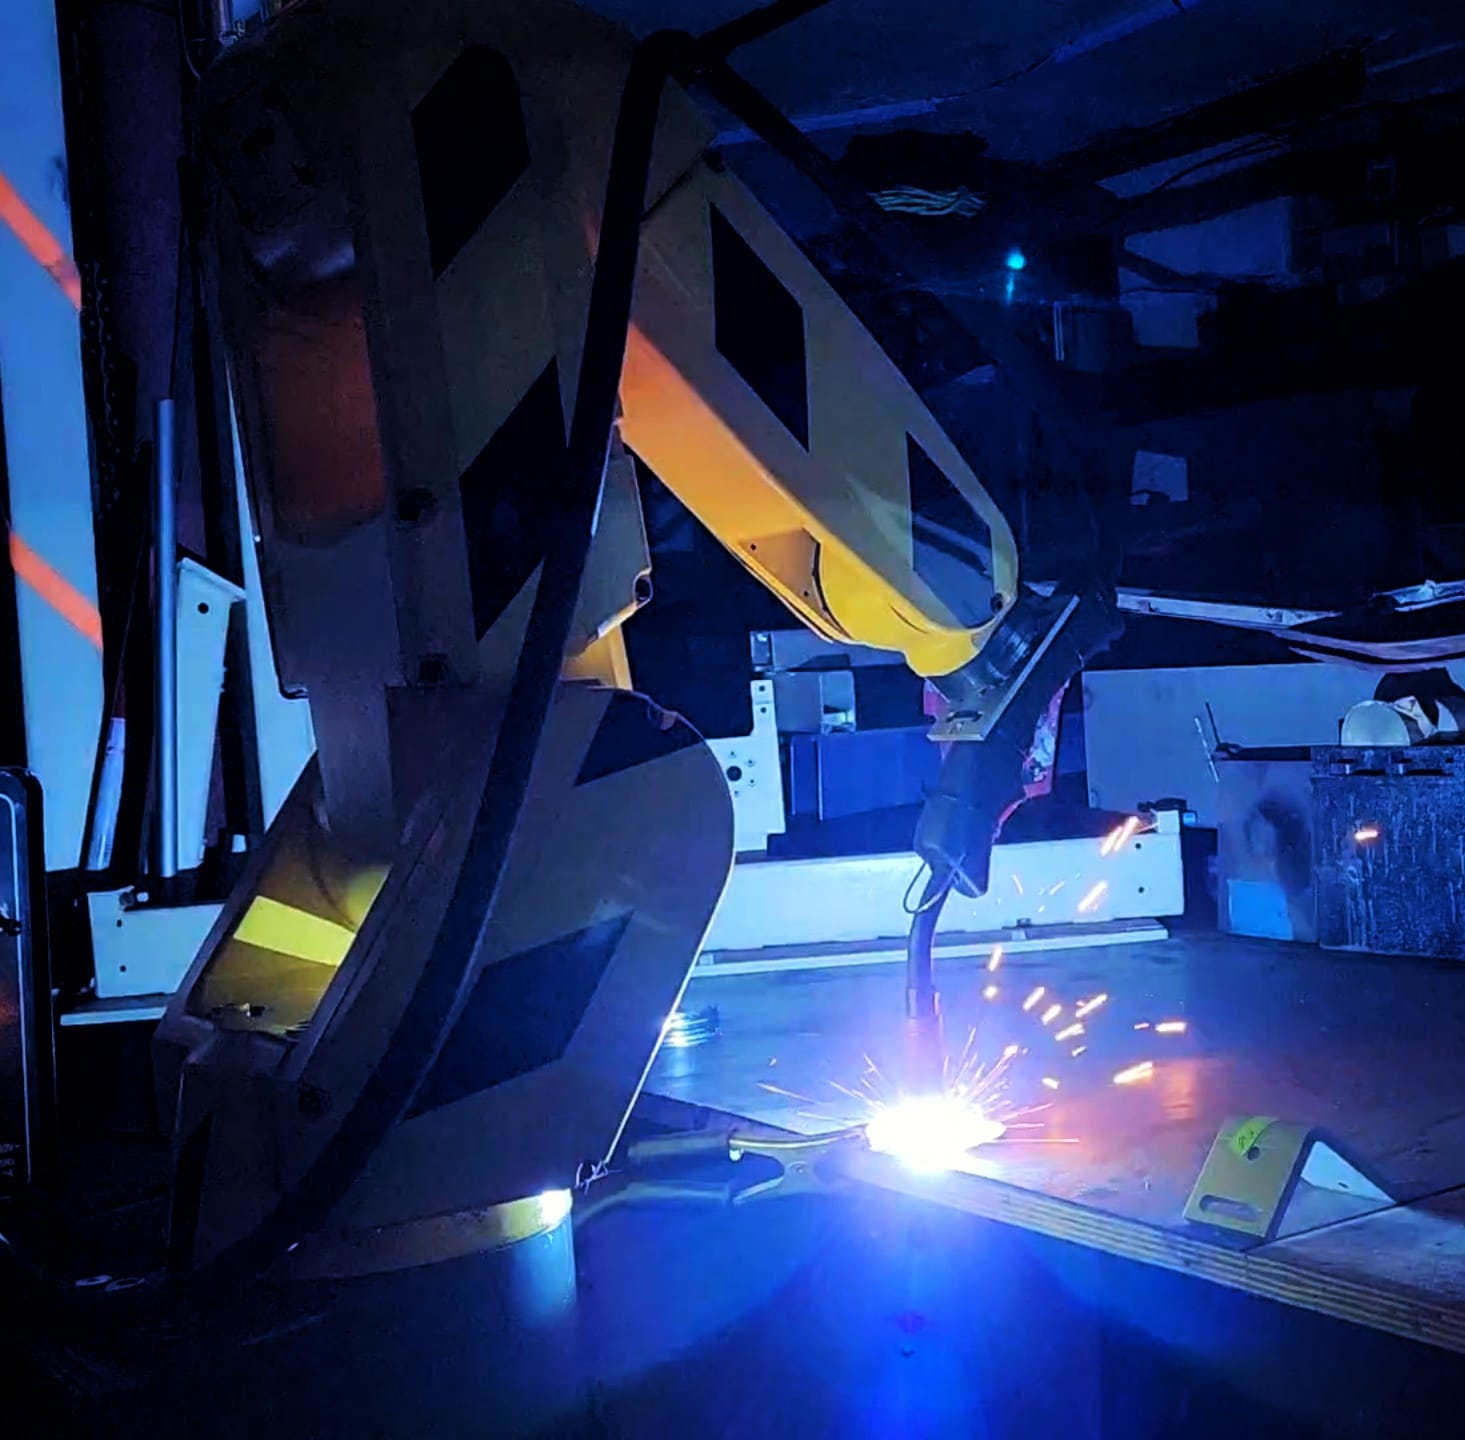
Attached the welding torch to the robot and set about testing my script.
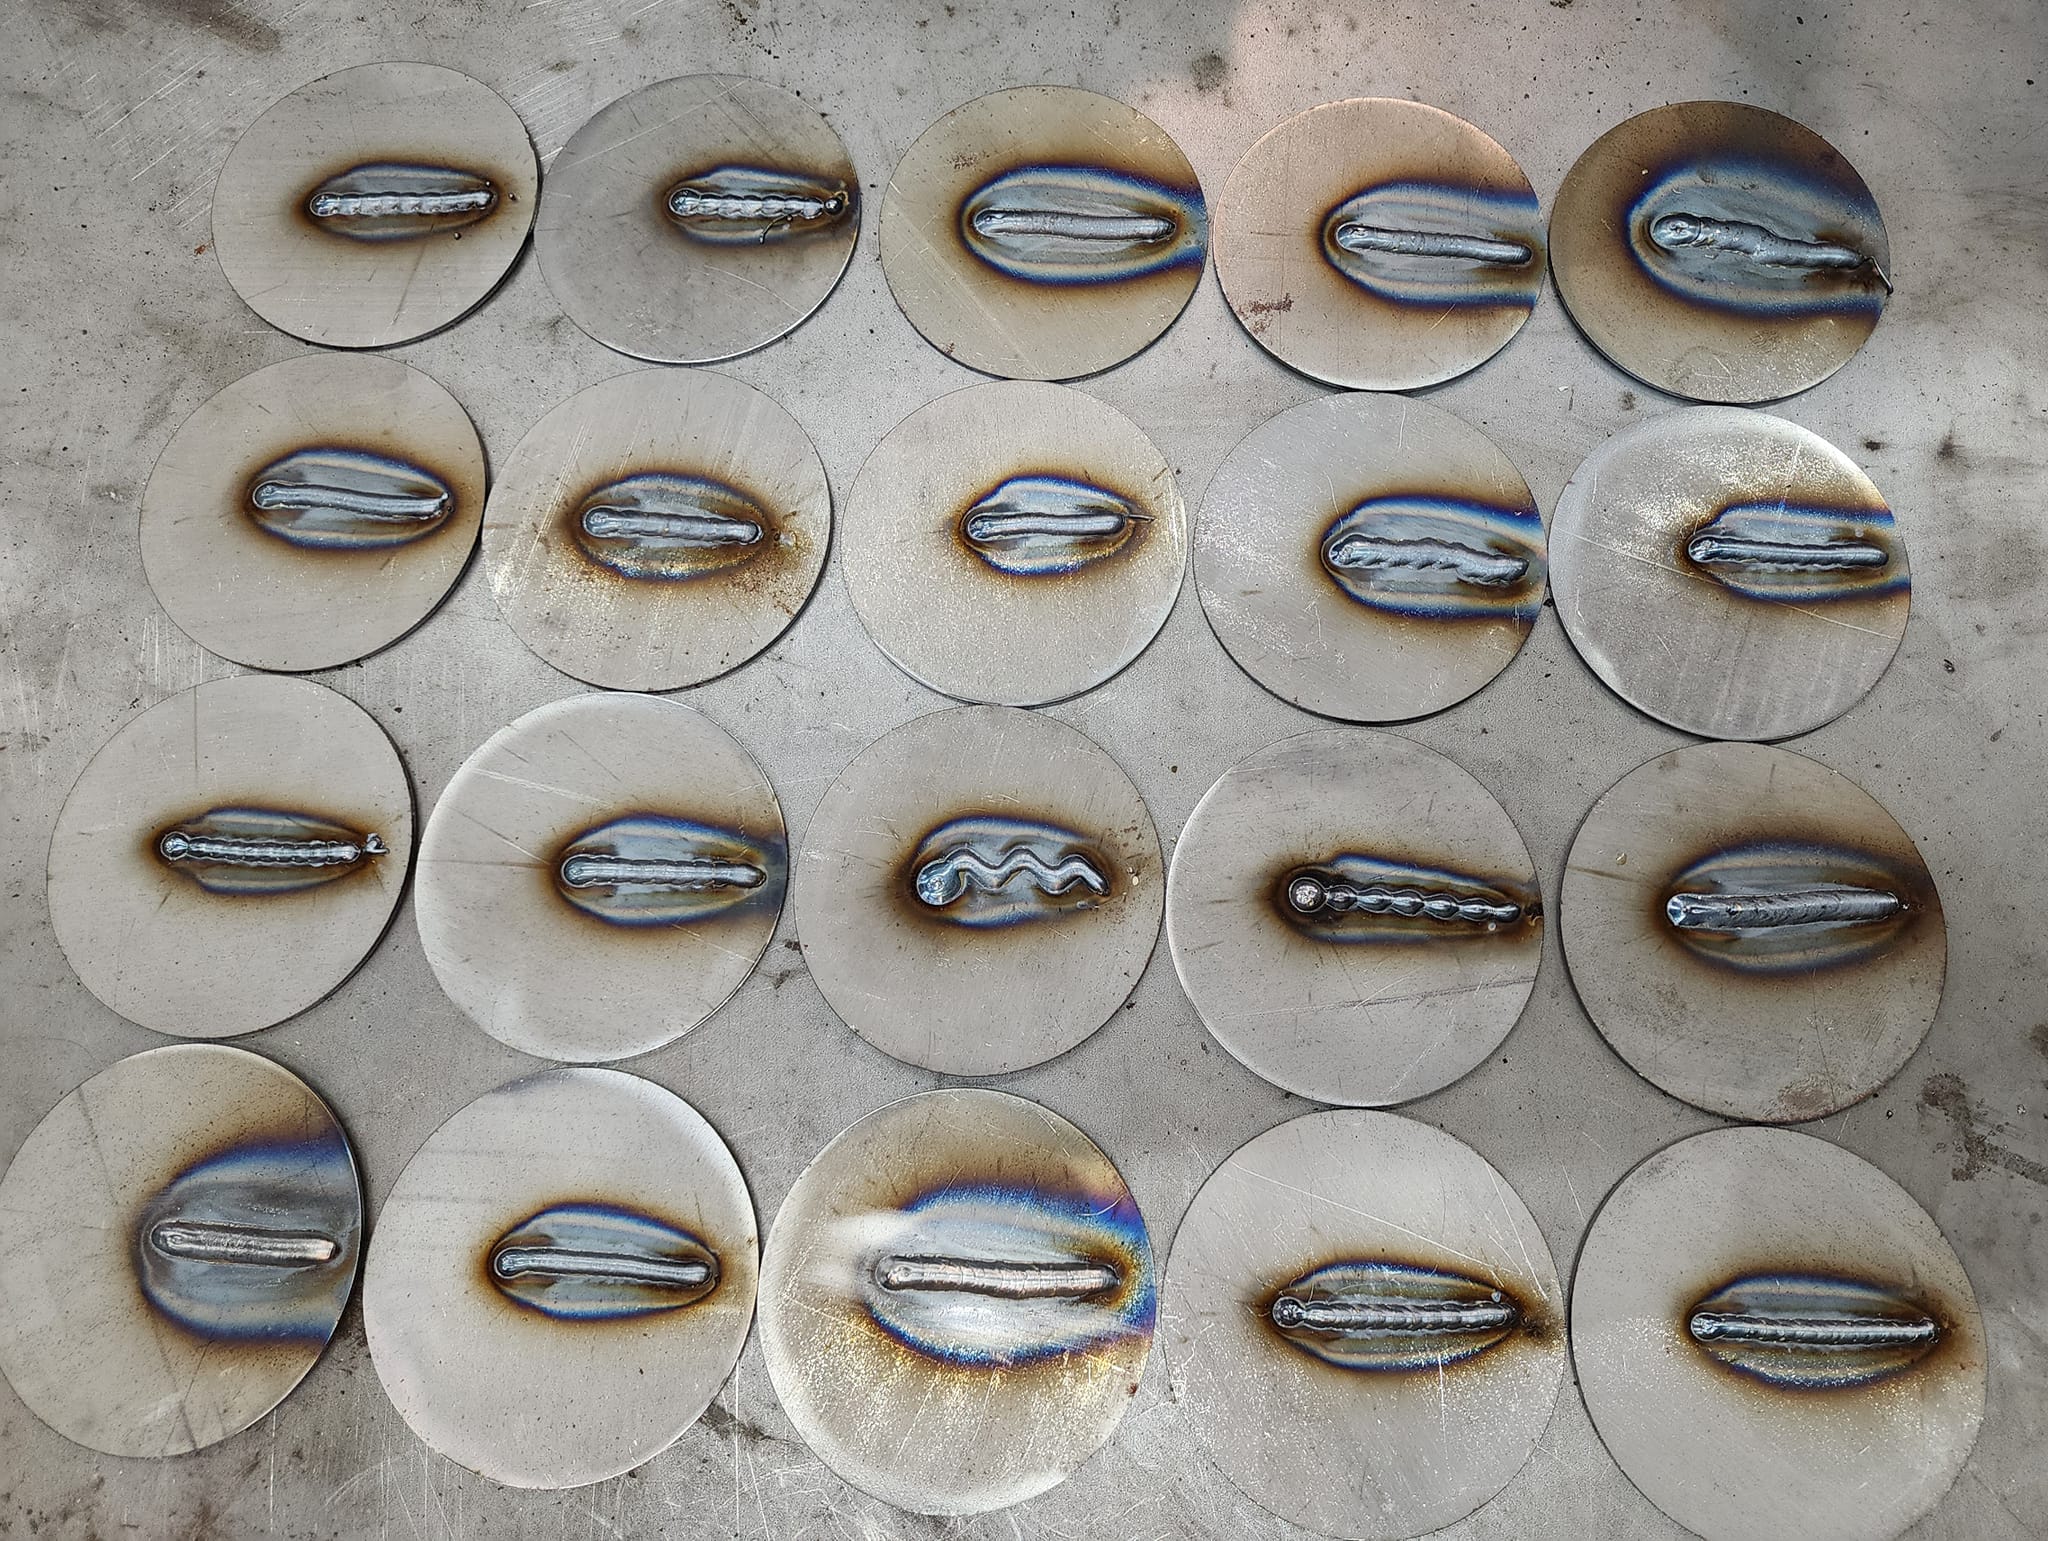
Did I say testing? lots of testing, trying out different settings to see what did what.. First test was to see if a sign wave was being generated.
Well, that works! Now on to something I forgot.. the welder needs to backtrack onto the previous path to get the proper look I wanted, so I had to adjust the program in the robot to track back. This helped!
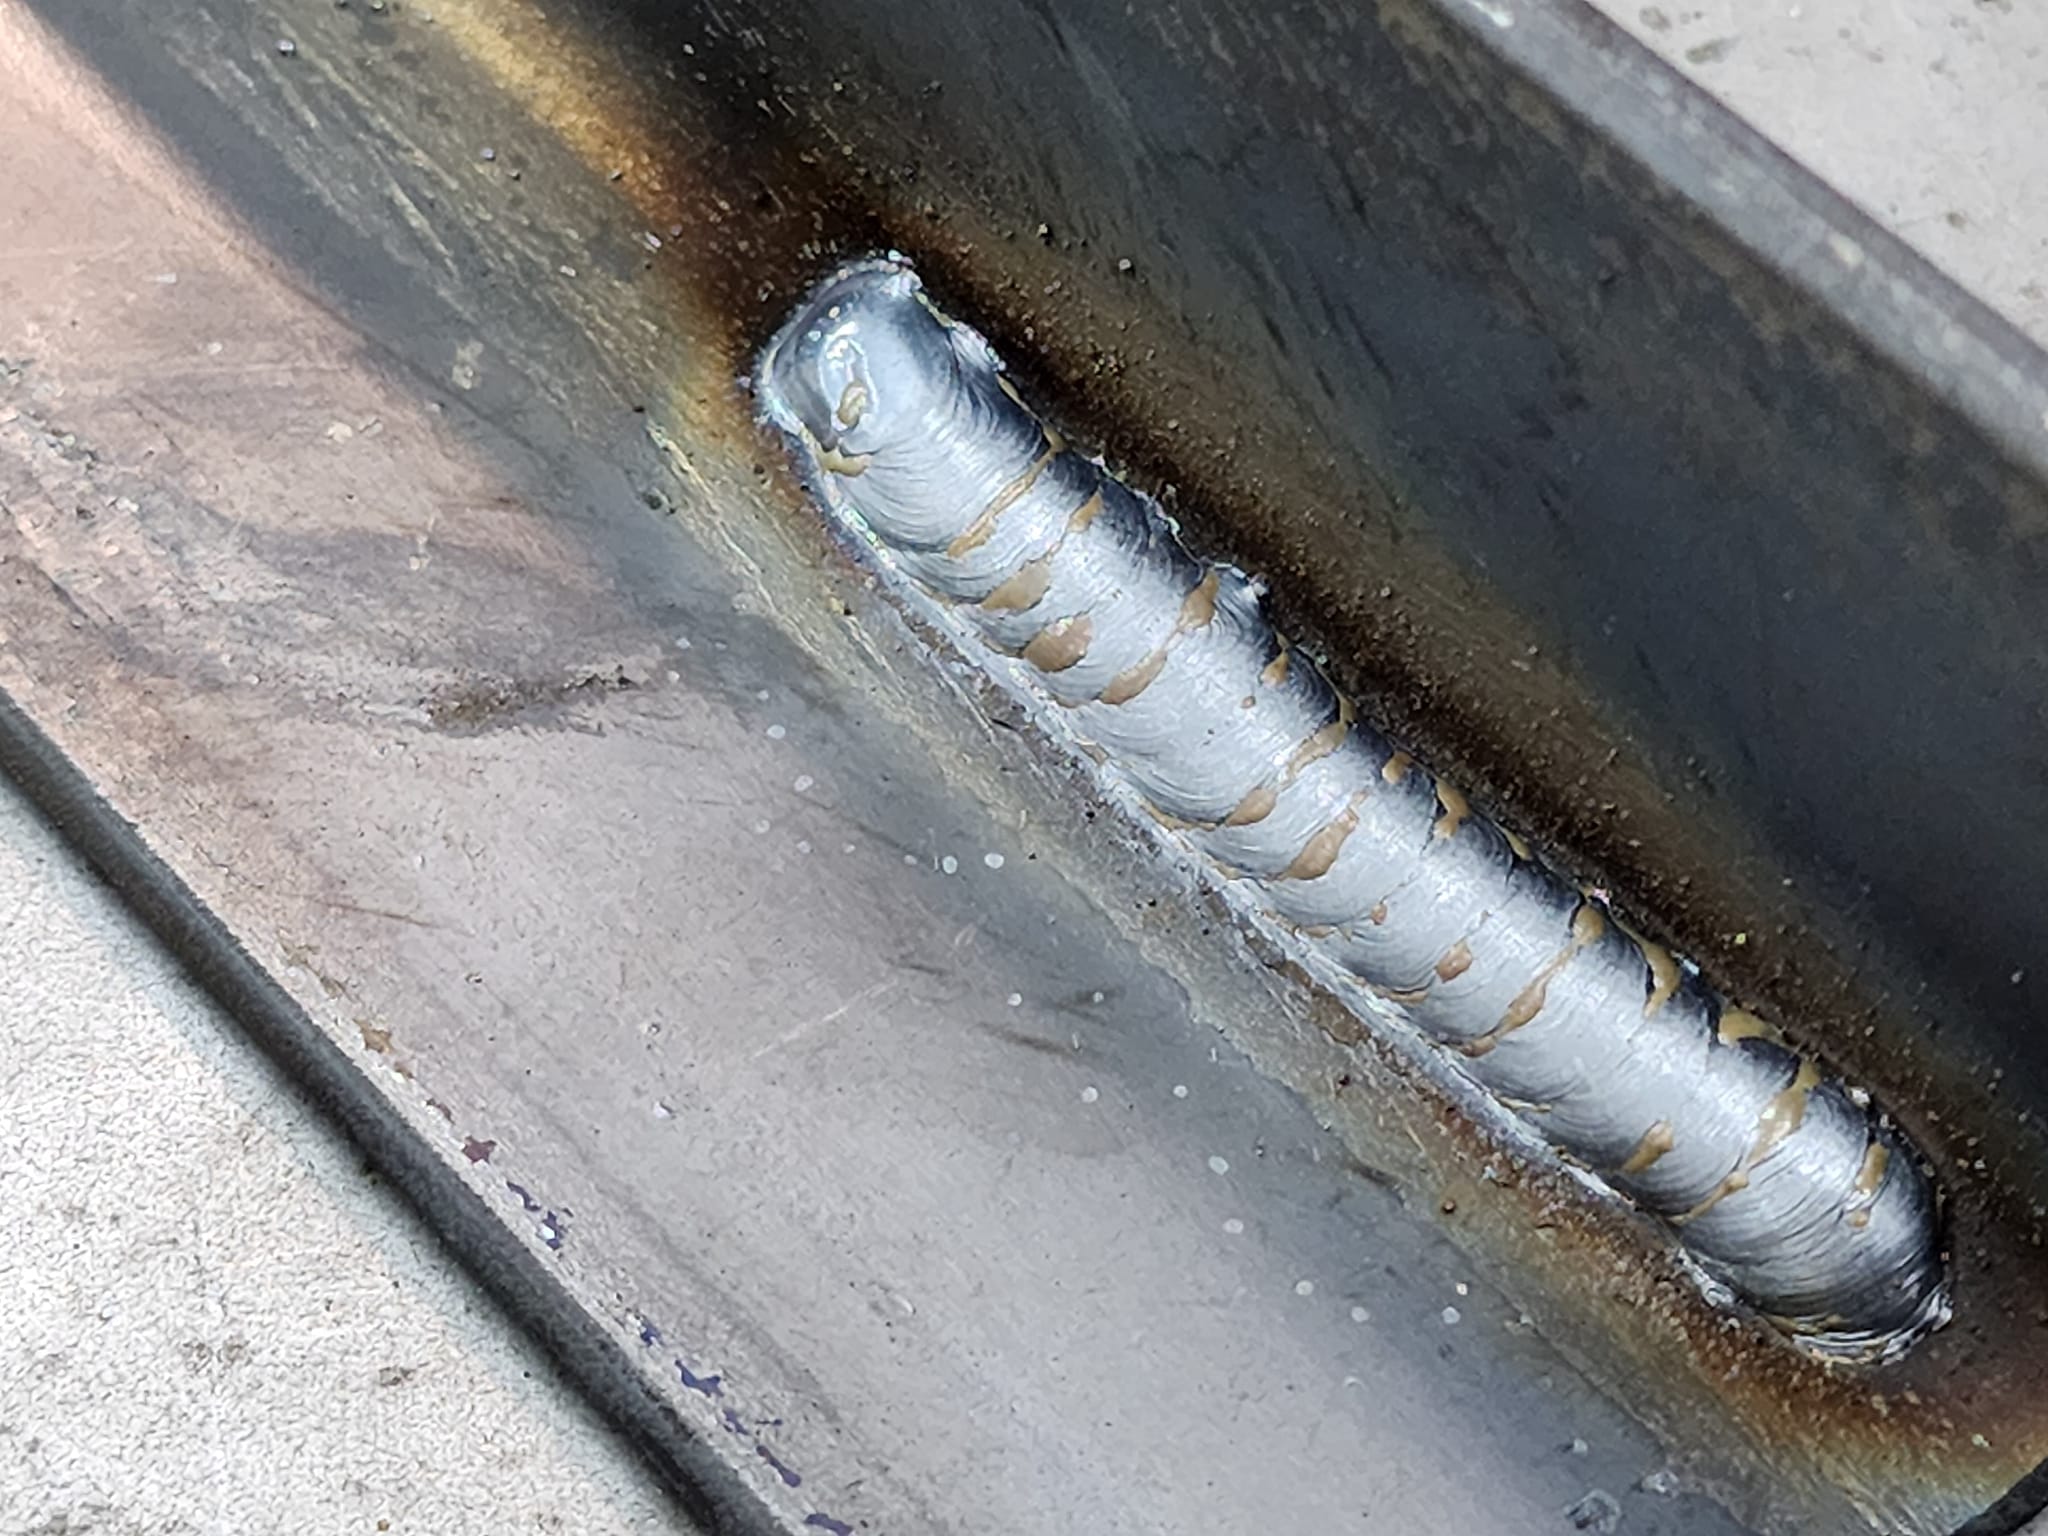
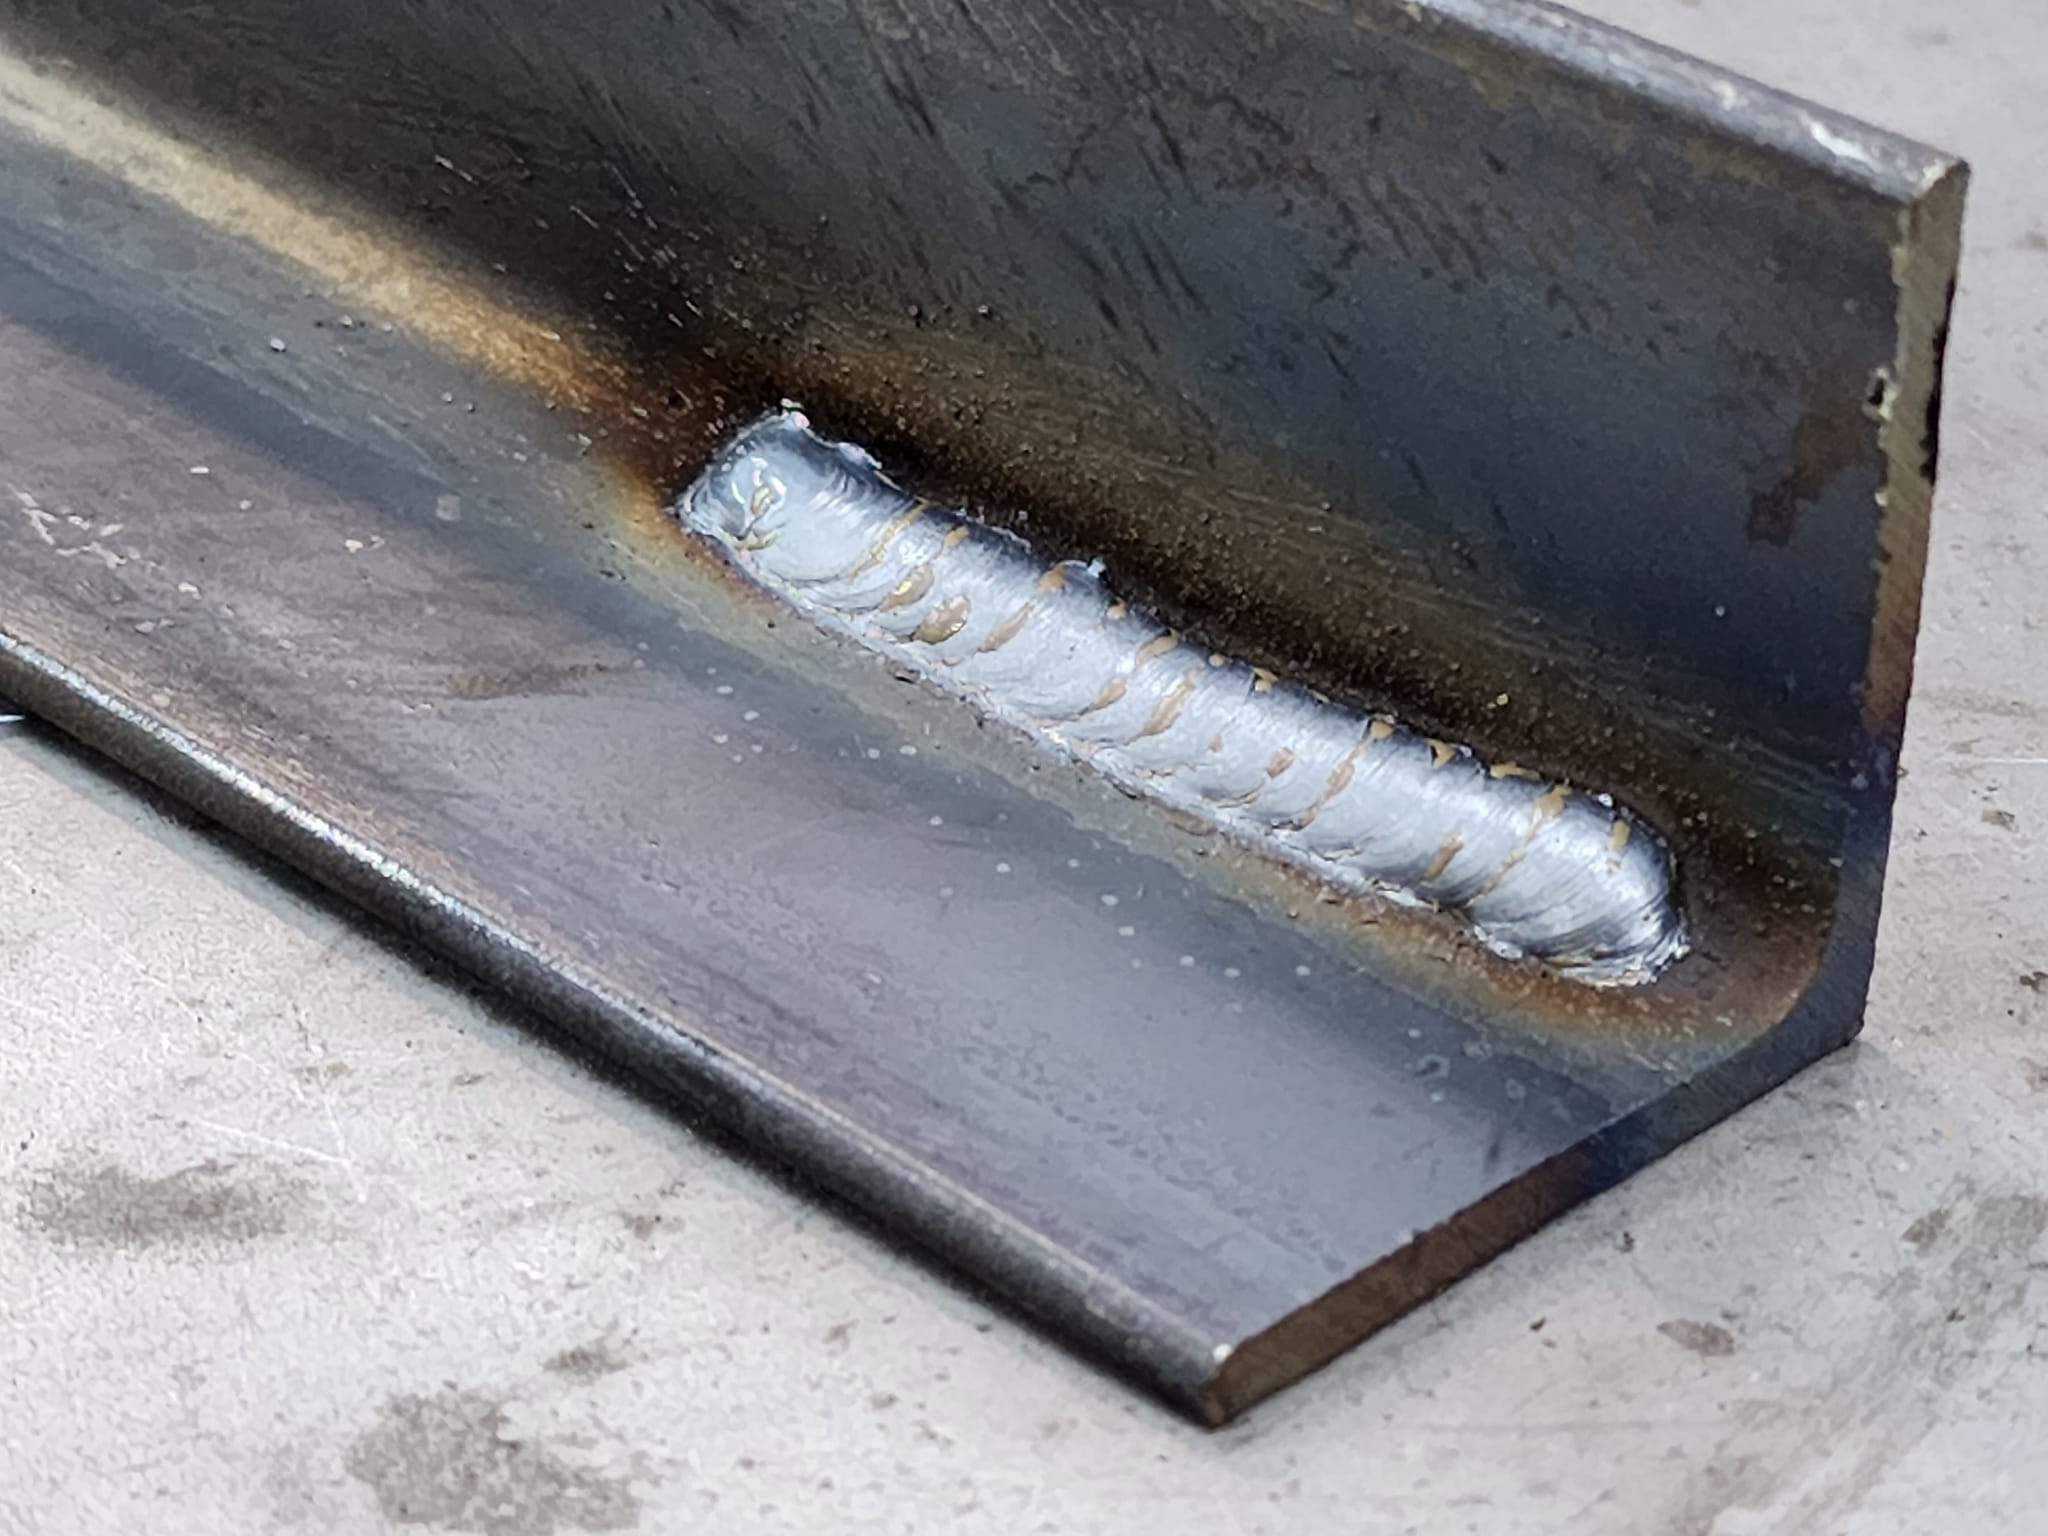
Not bad from a guy who knows little about welding ha!
Here are some fun ones while testing,
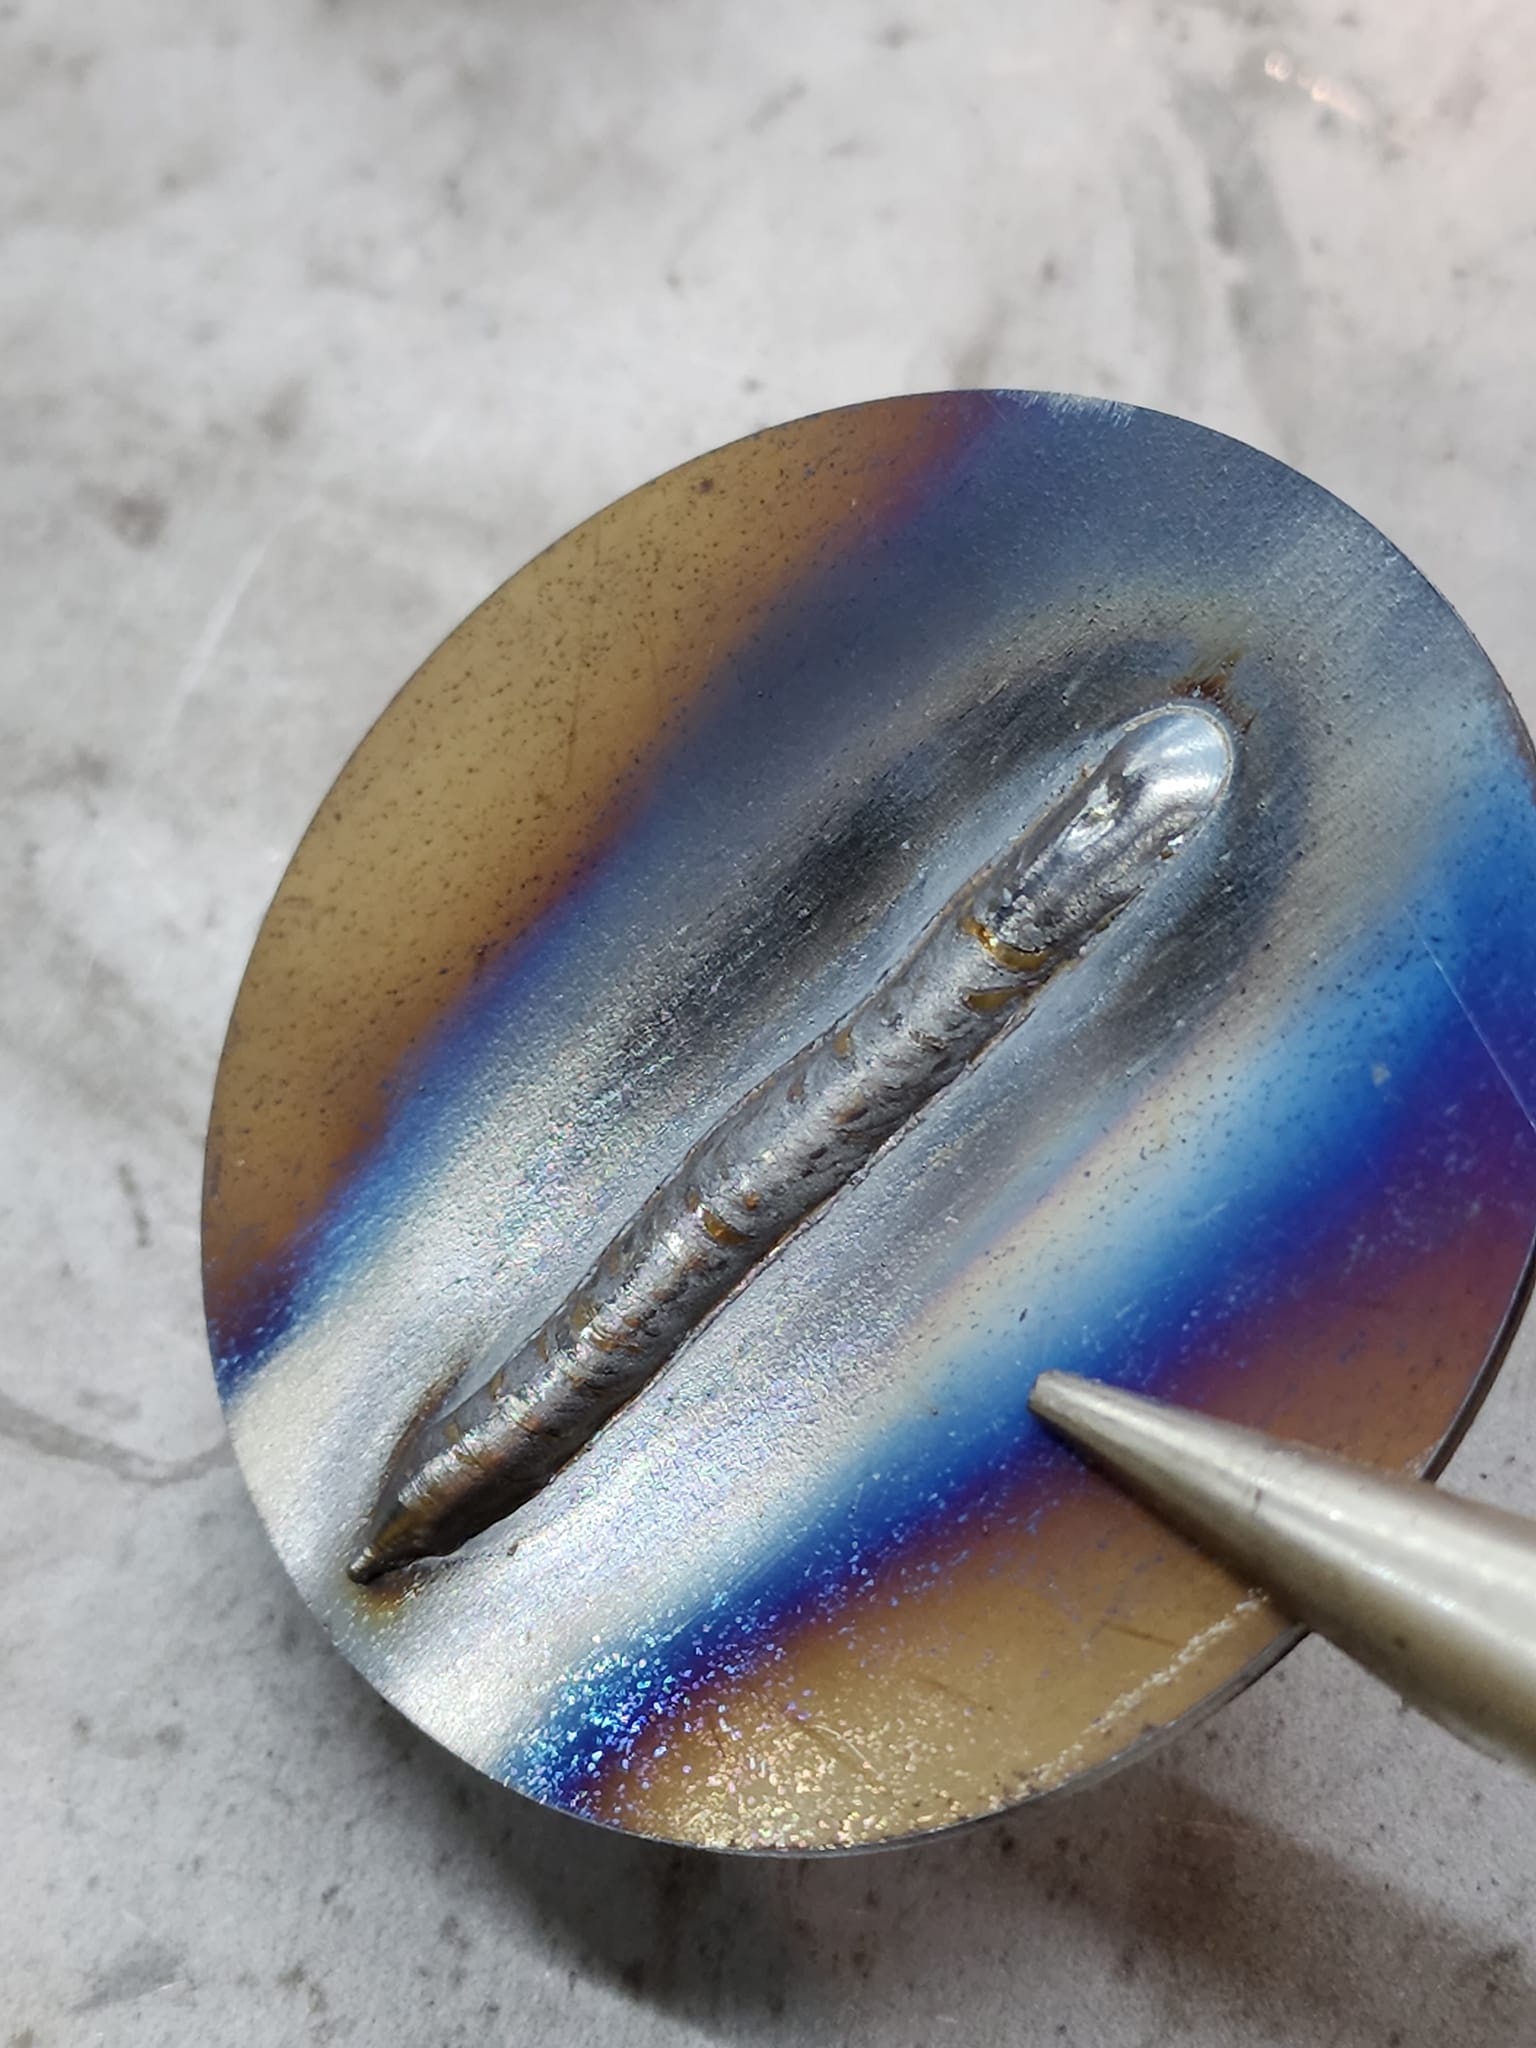
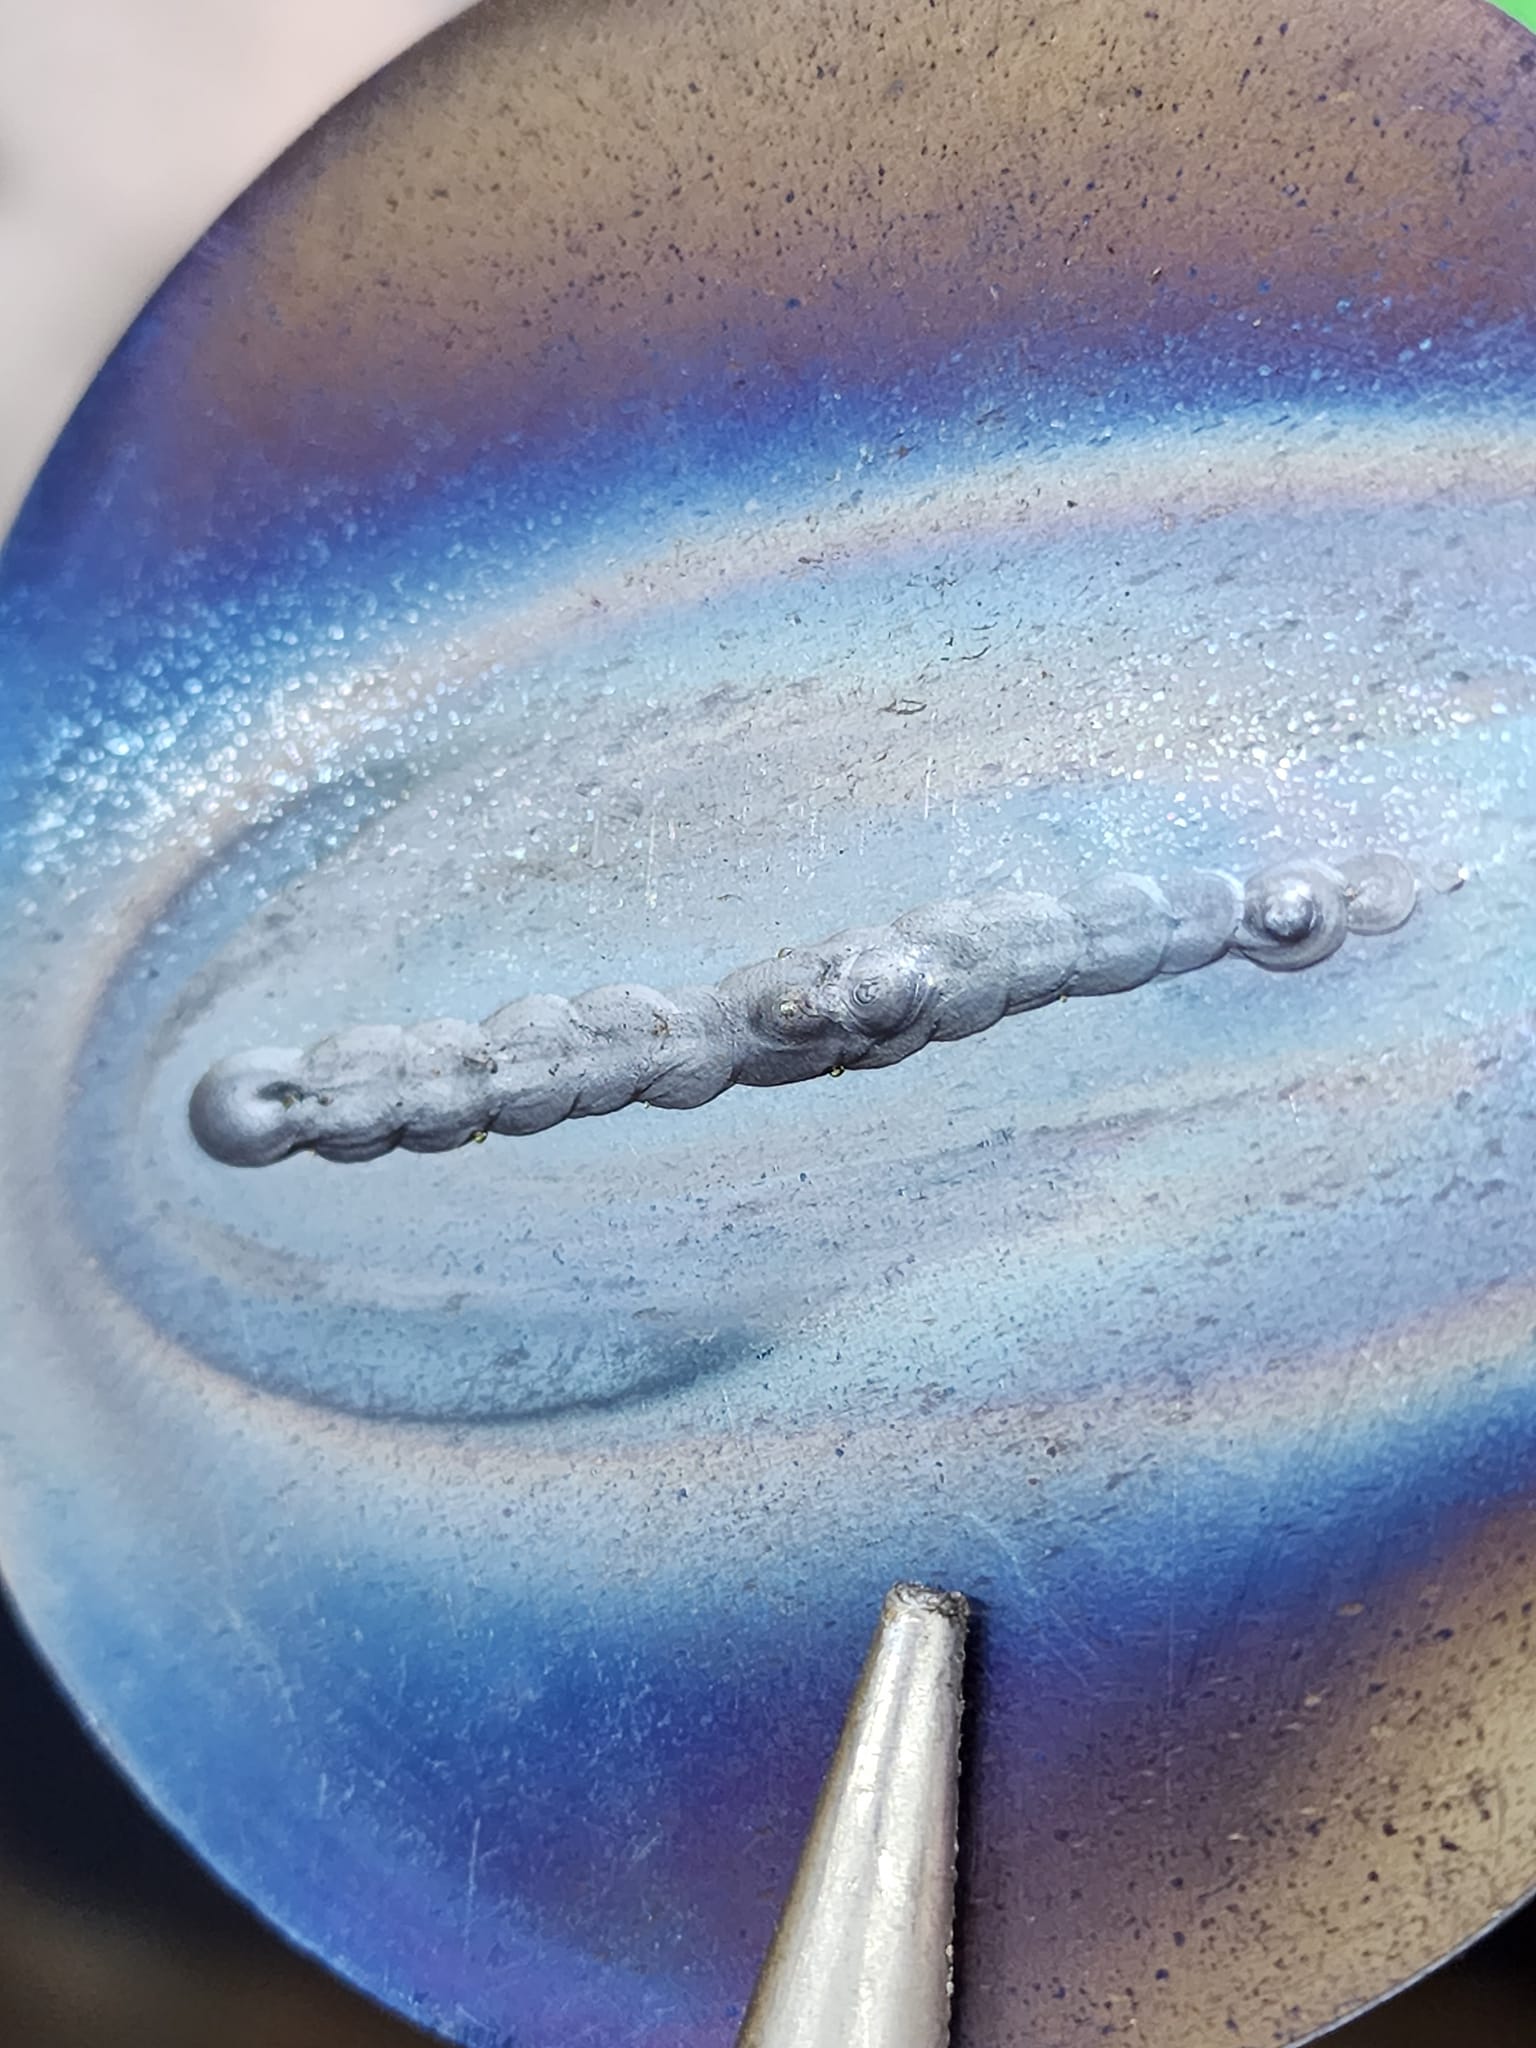
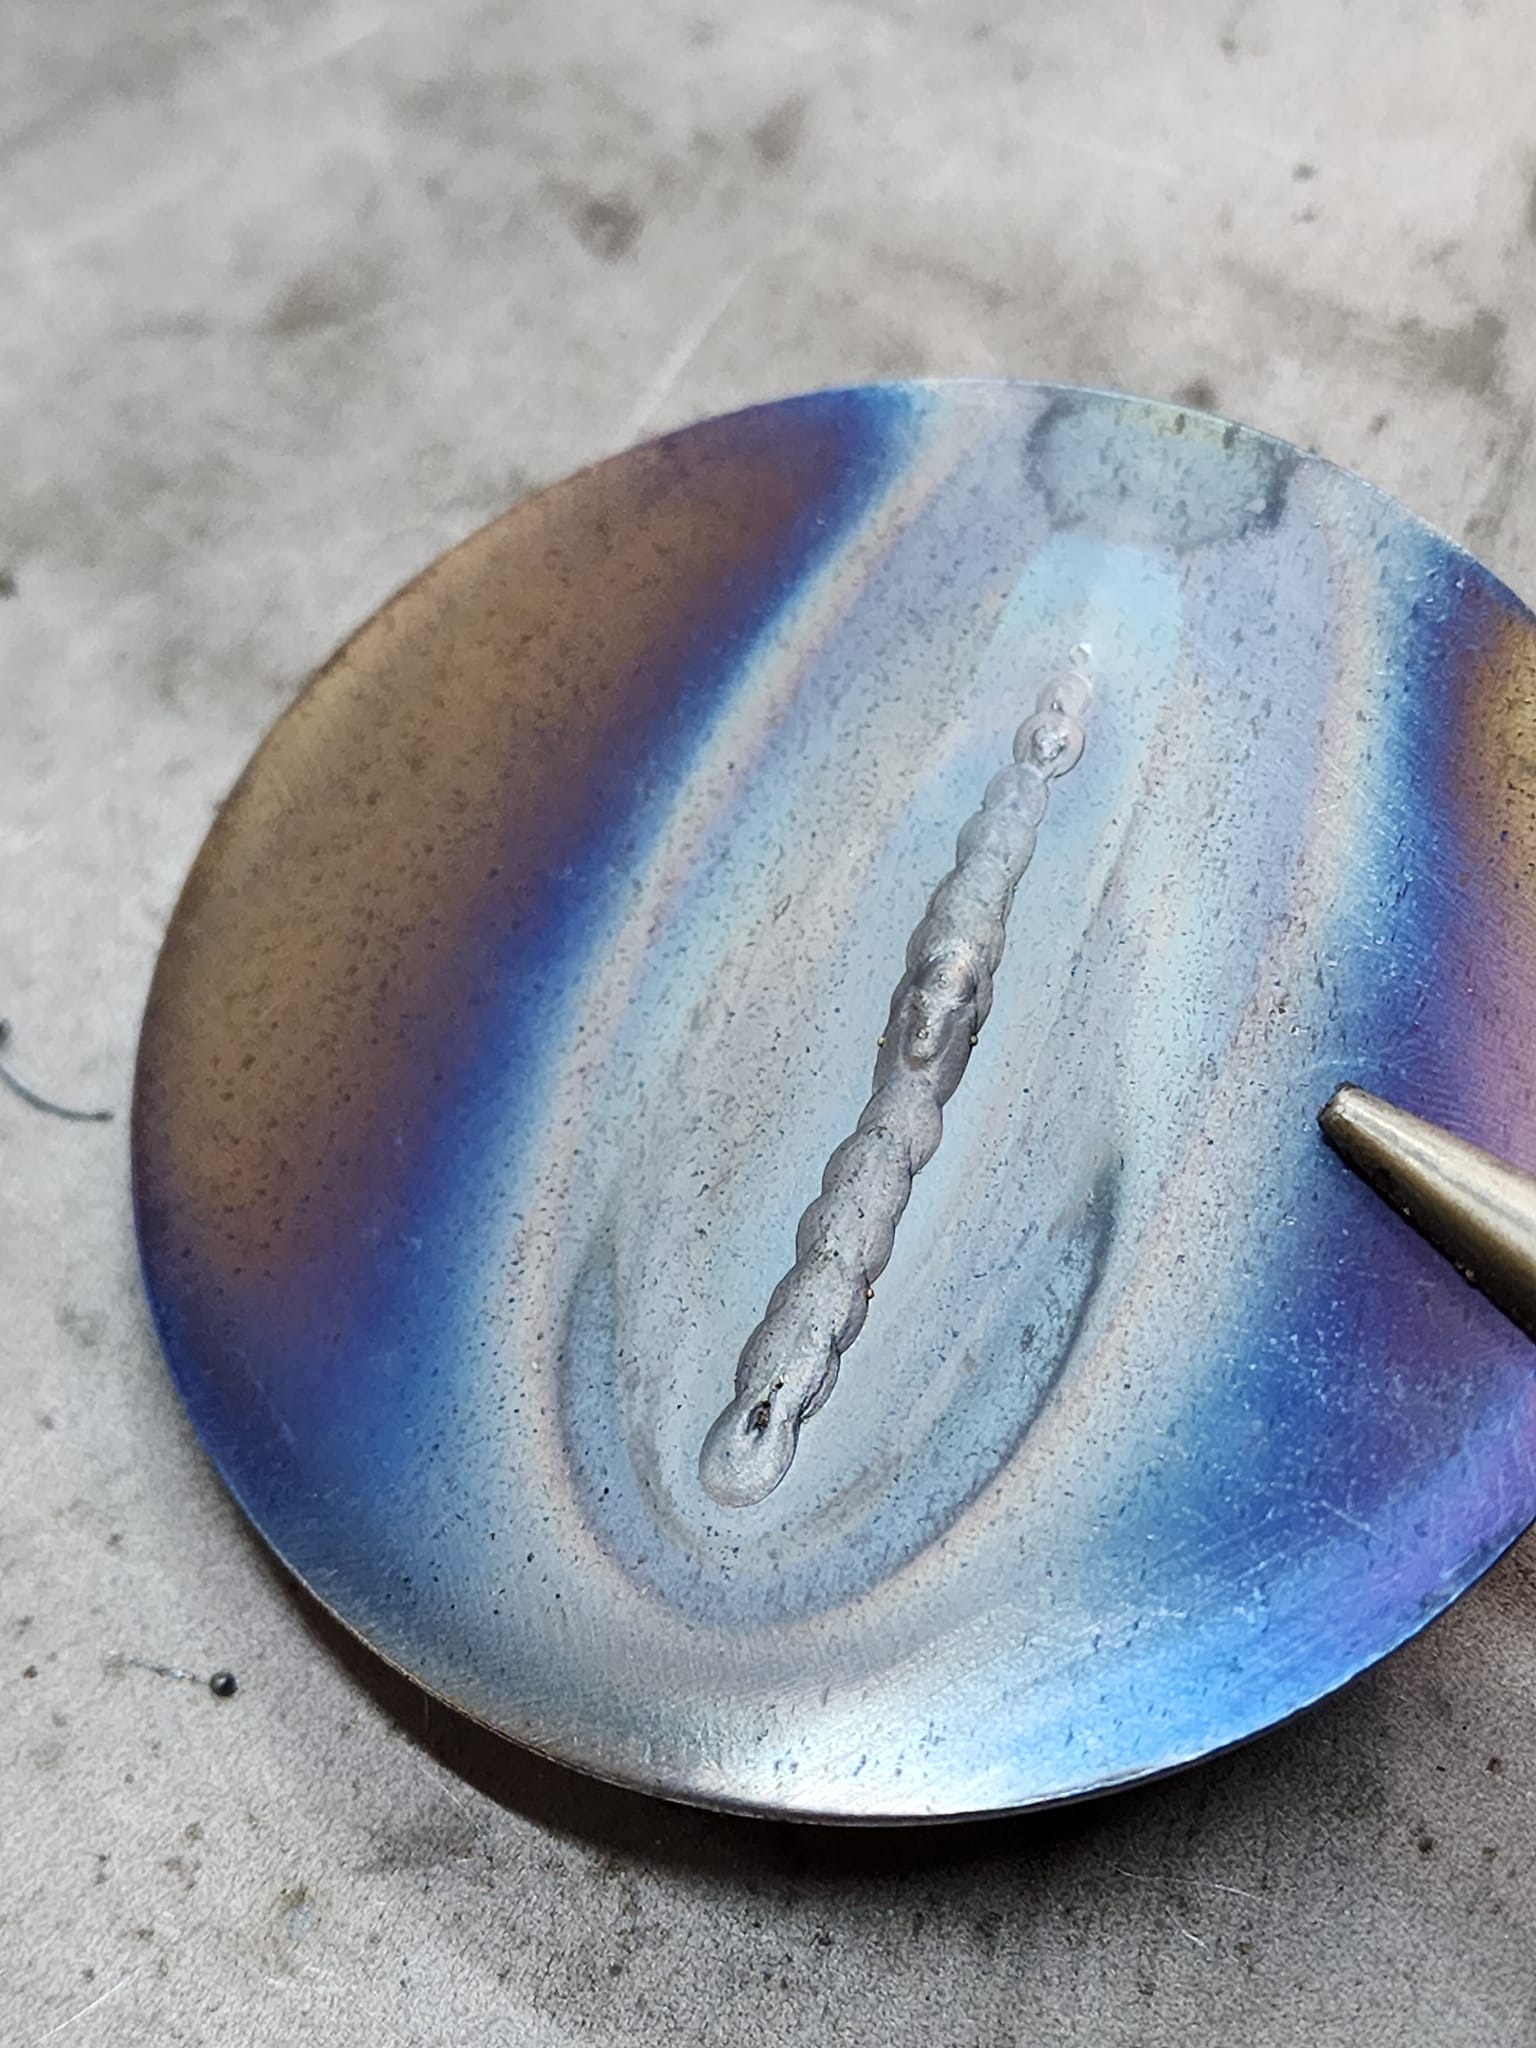
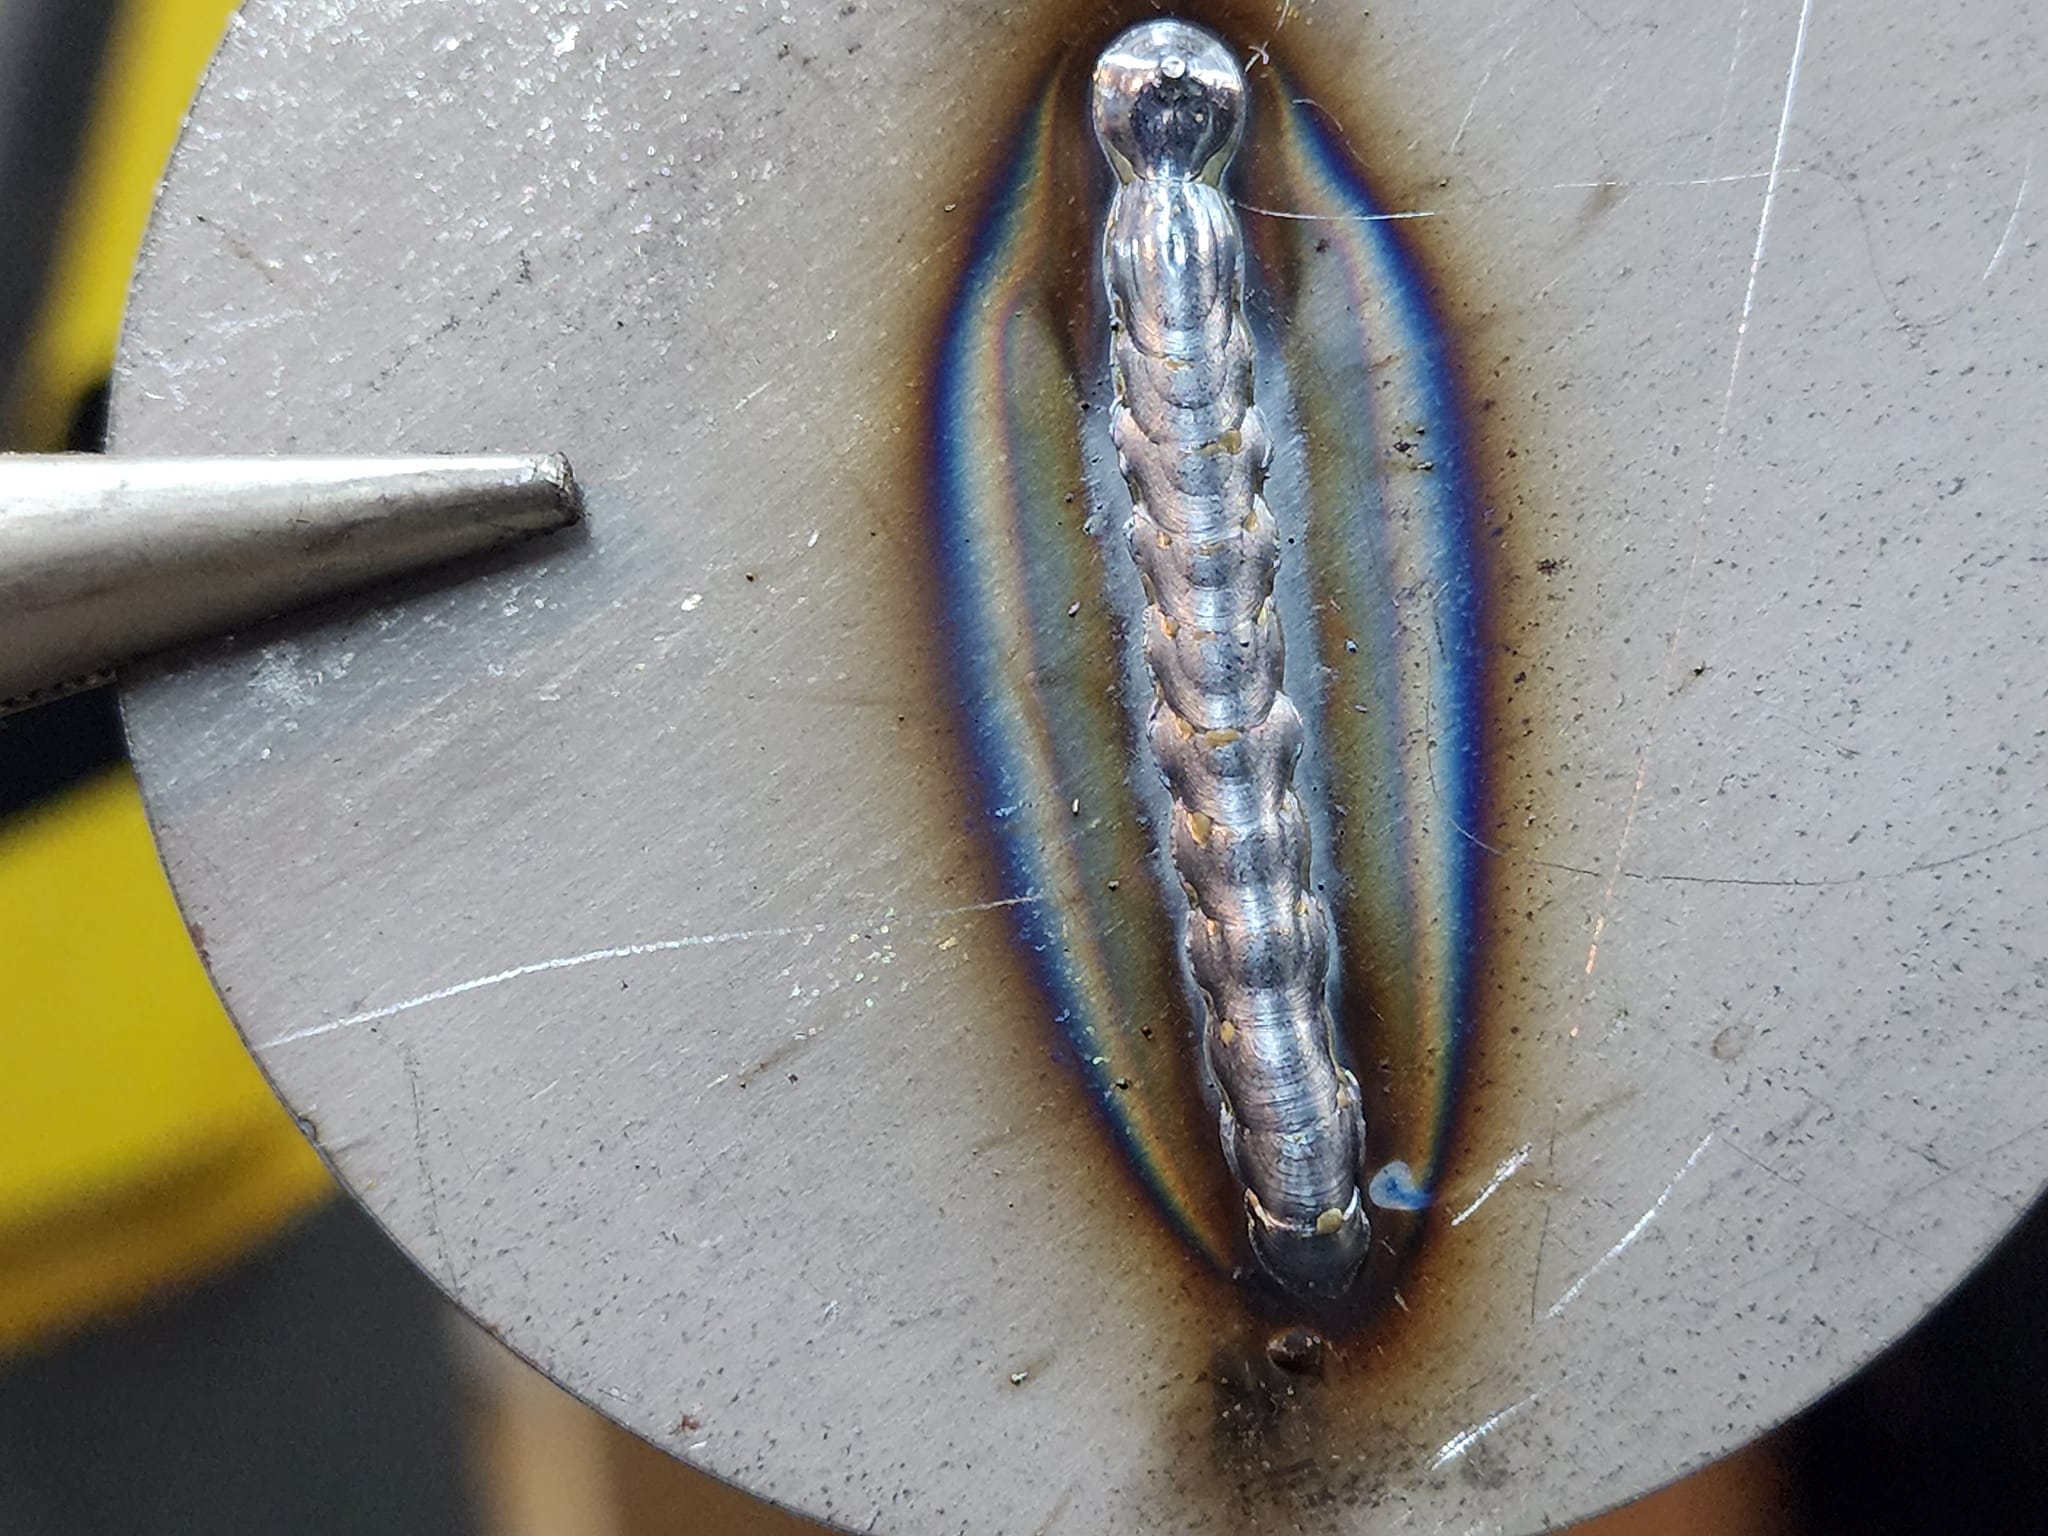
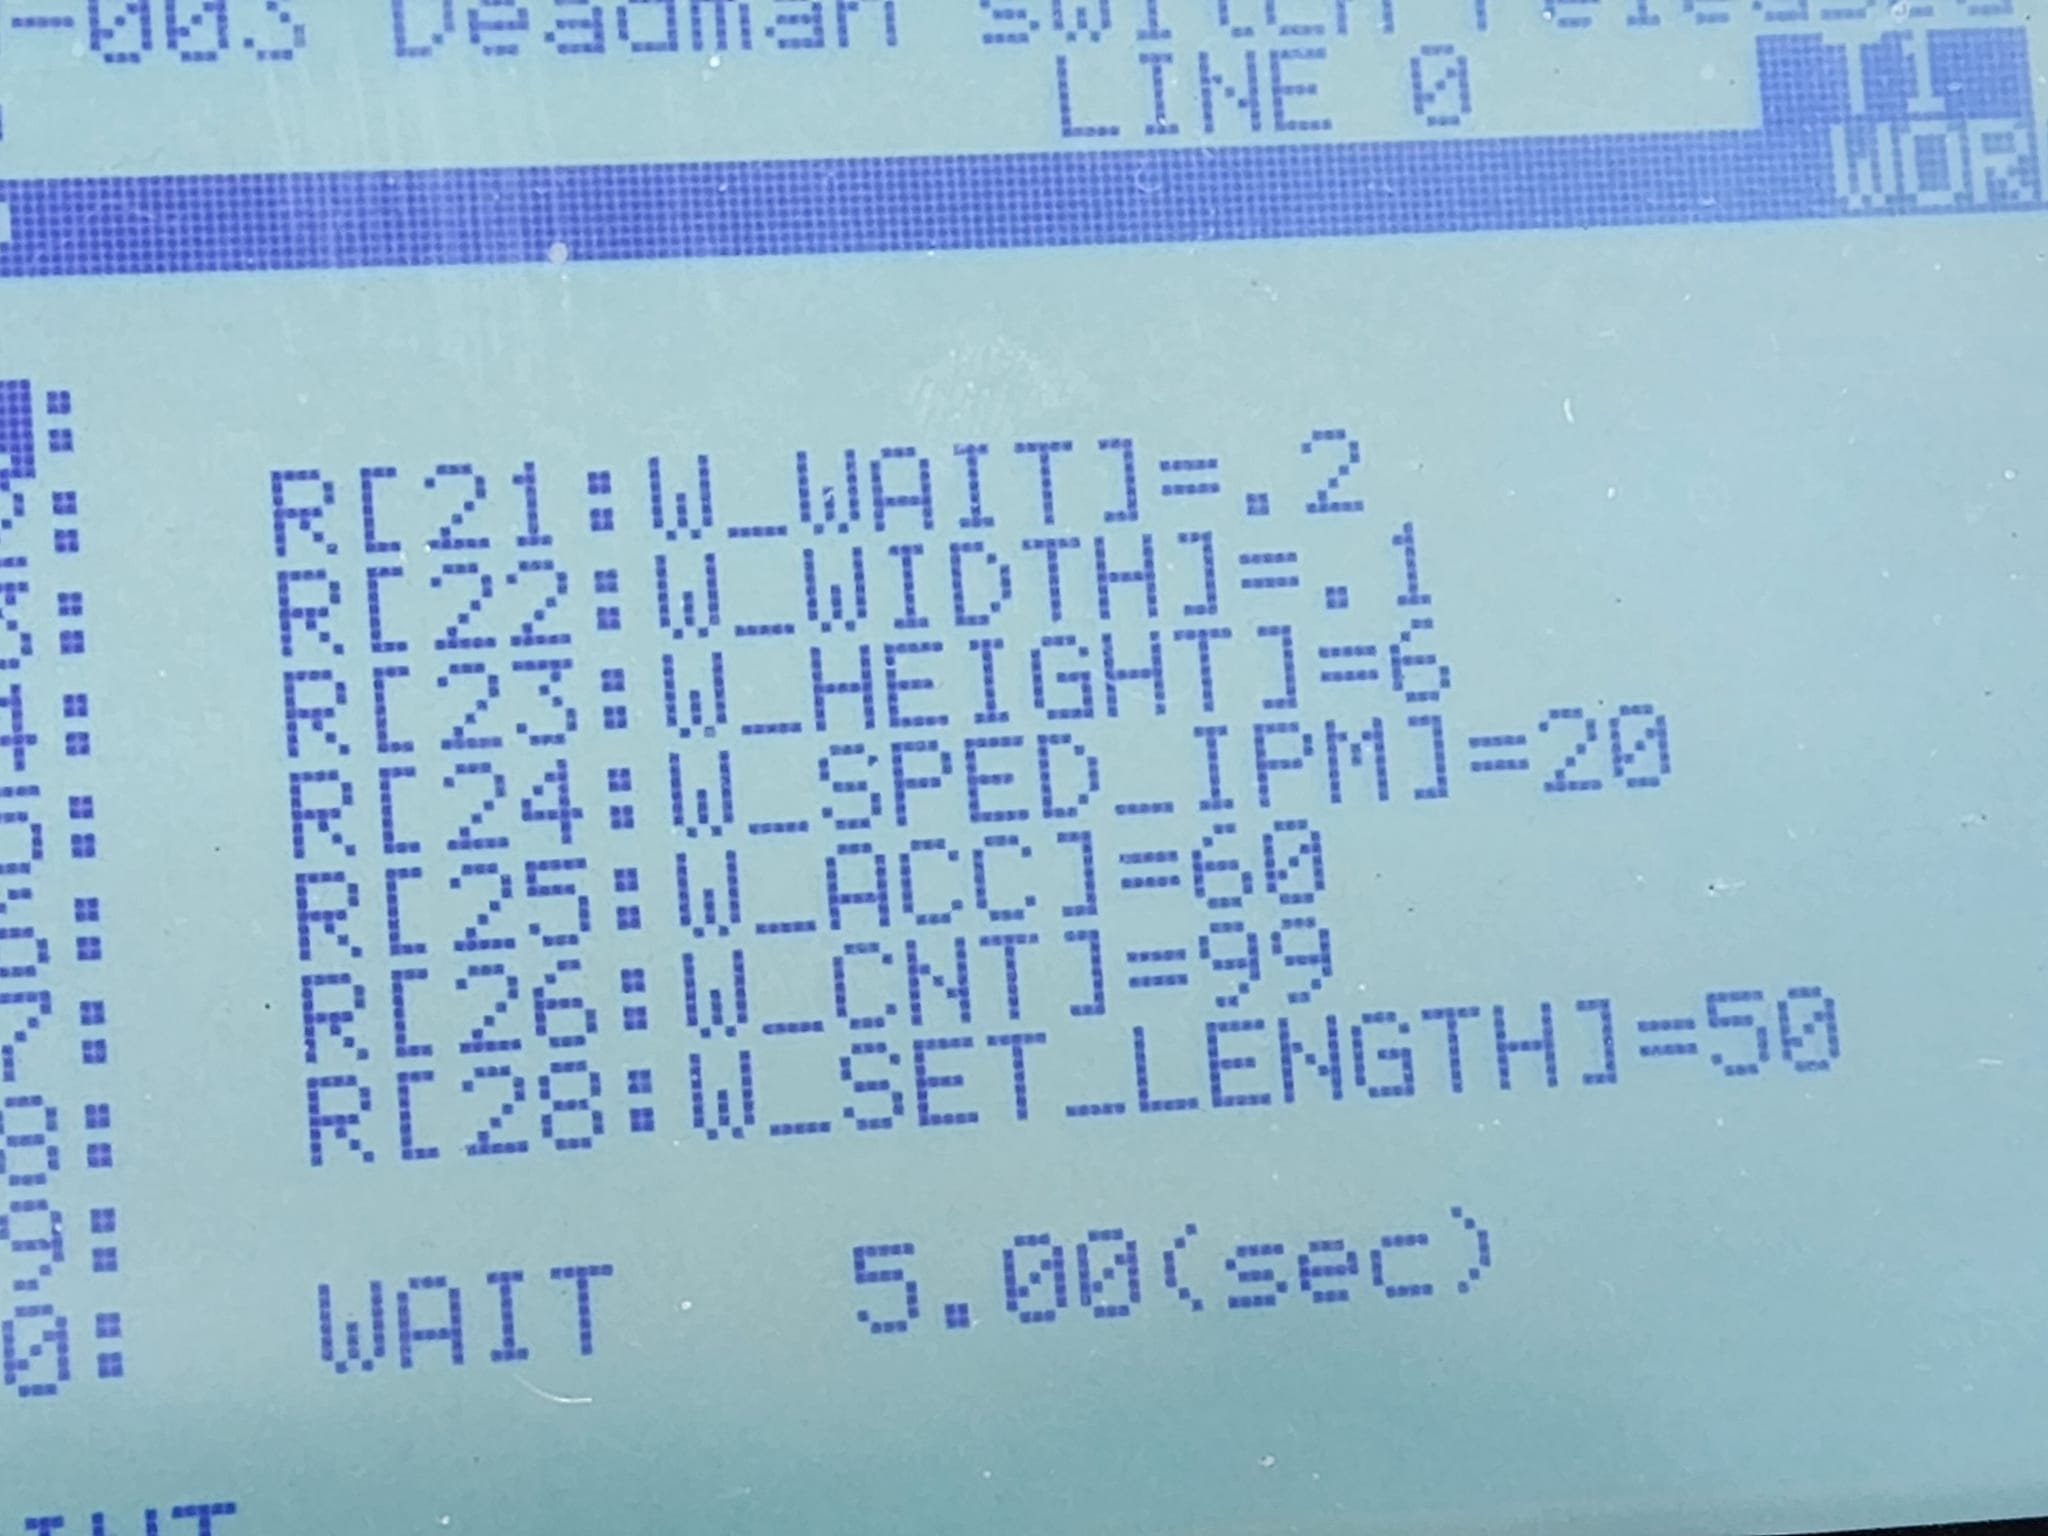
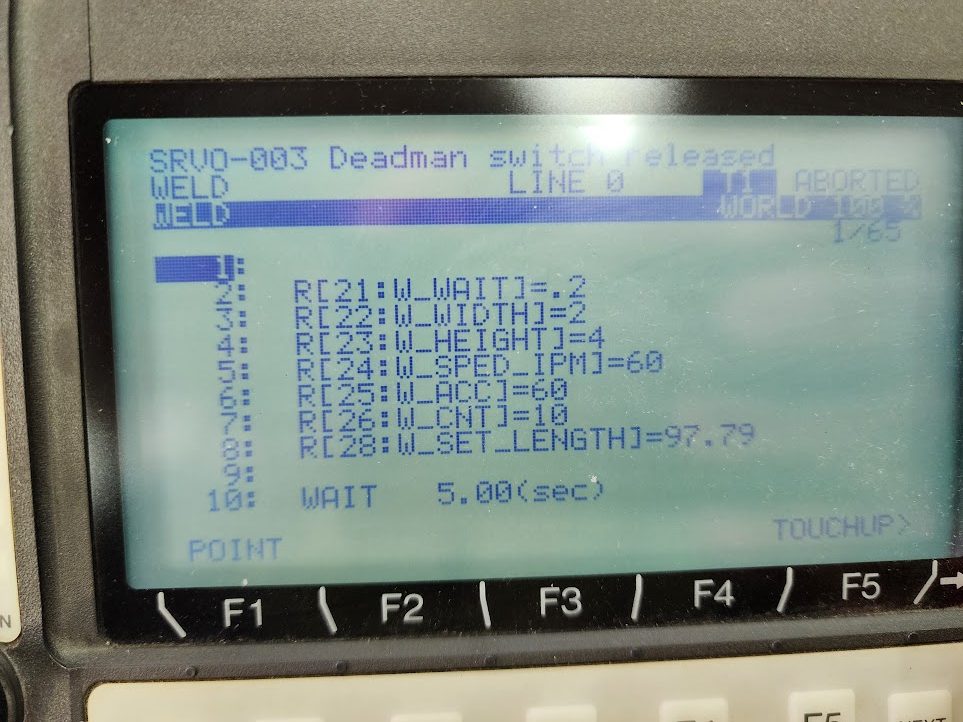
Here are the settings I made for the weld program.
I will leave you with a cinematic video of the robot doing it’s thing. Be sure to keep an eye out for the robot in future projects on the 51, as it helps me weld up the chassis!
UPDATE: 9/10/2023 I had some time, to test out some new settings, and got a new tank of gas in.
The results are so much better! I started on welding up some brackets for my 51 project.
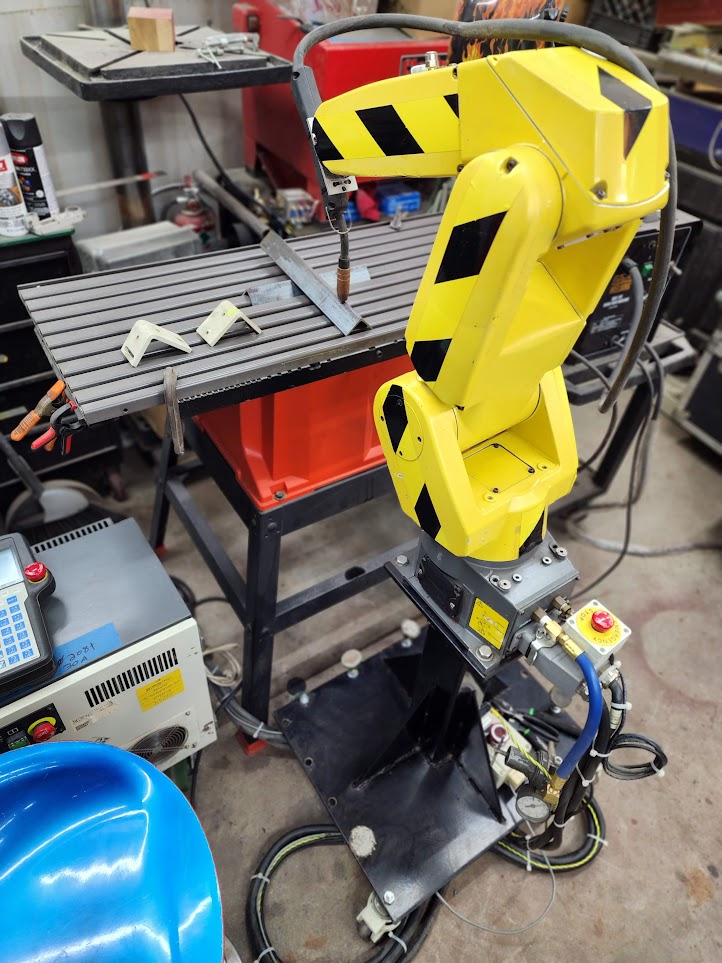
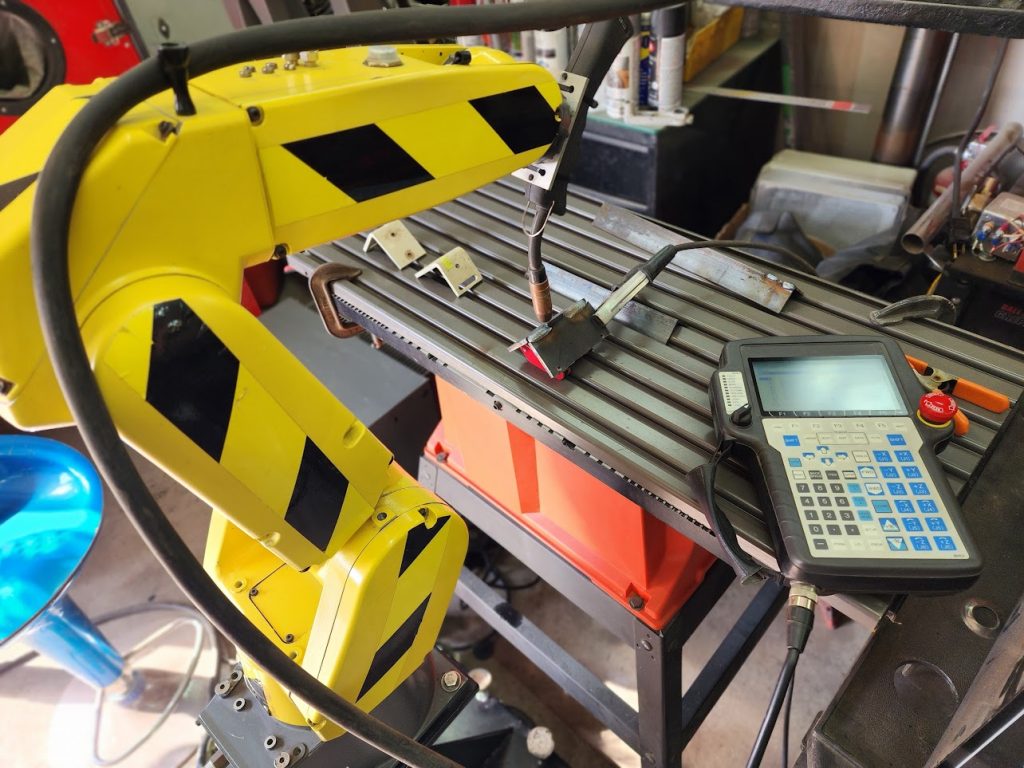
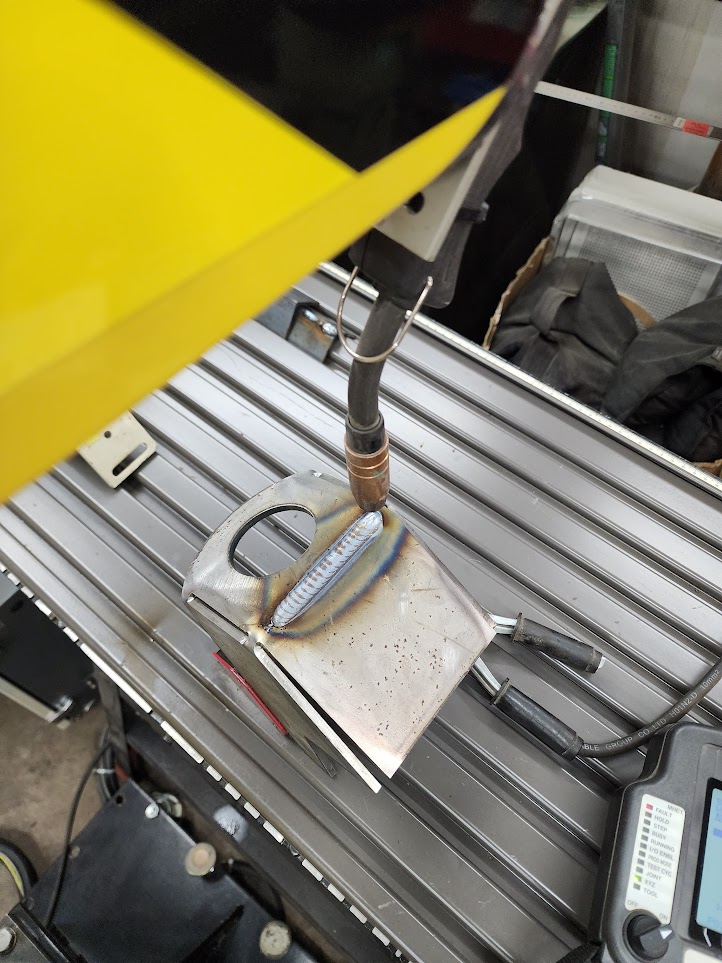
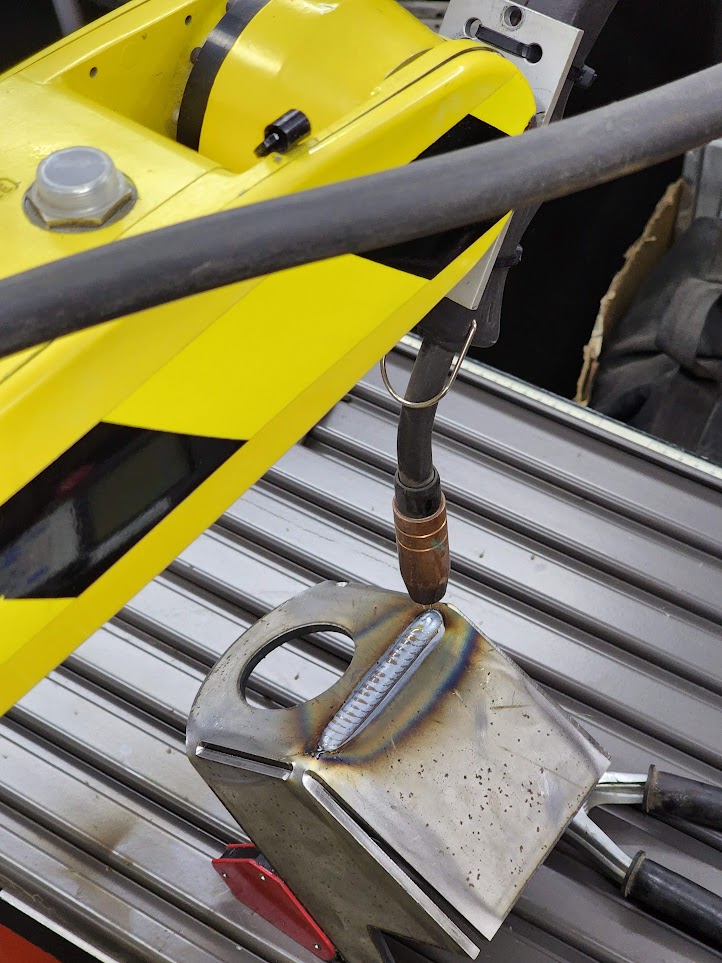
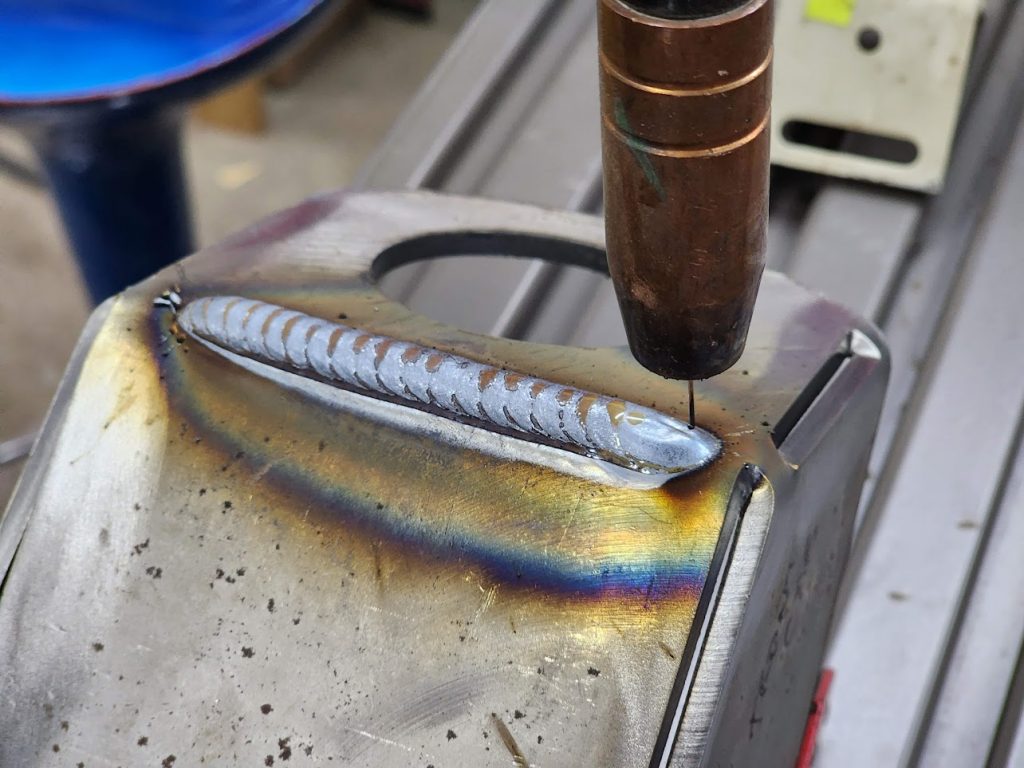
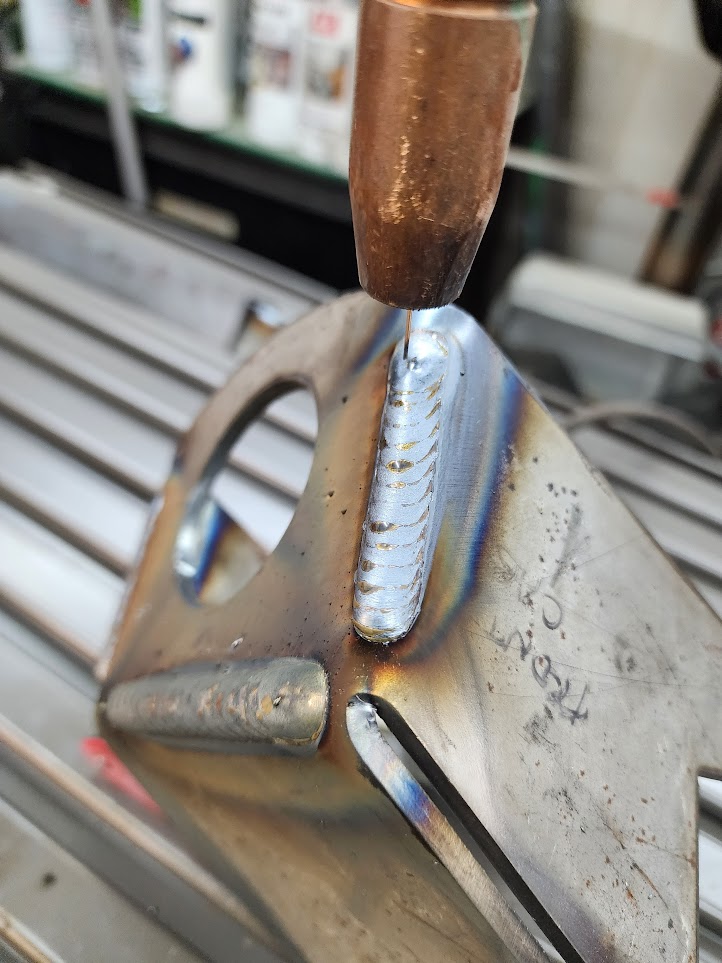
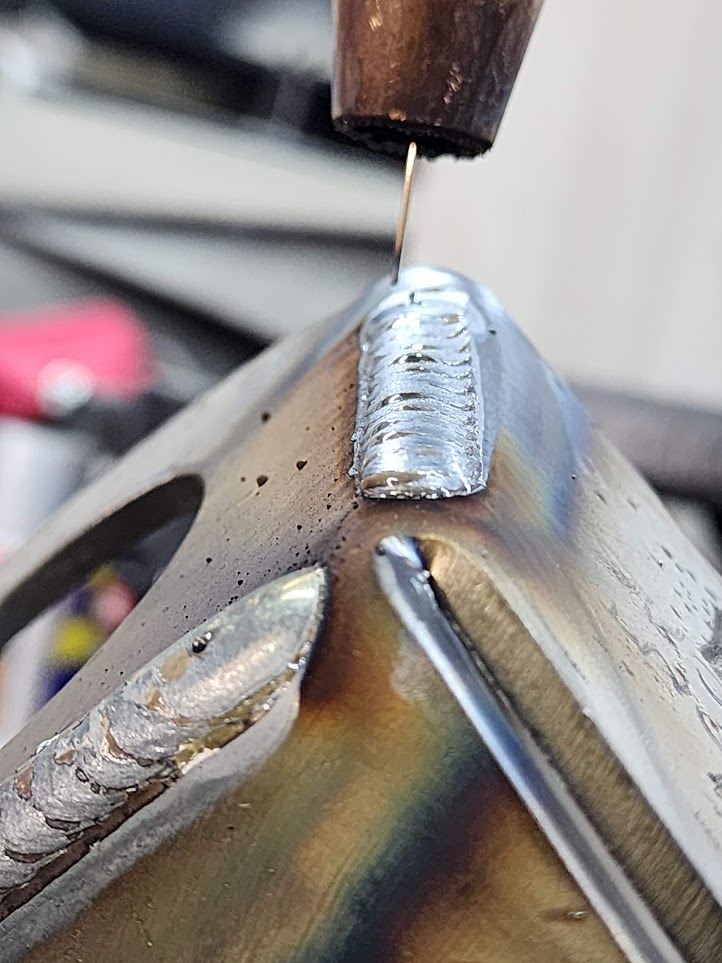
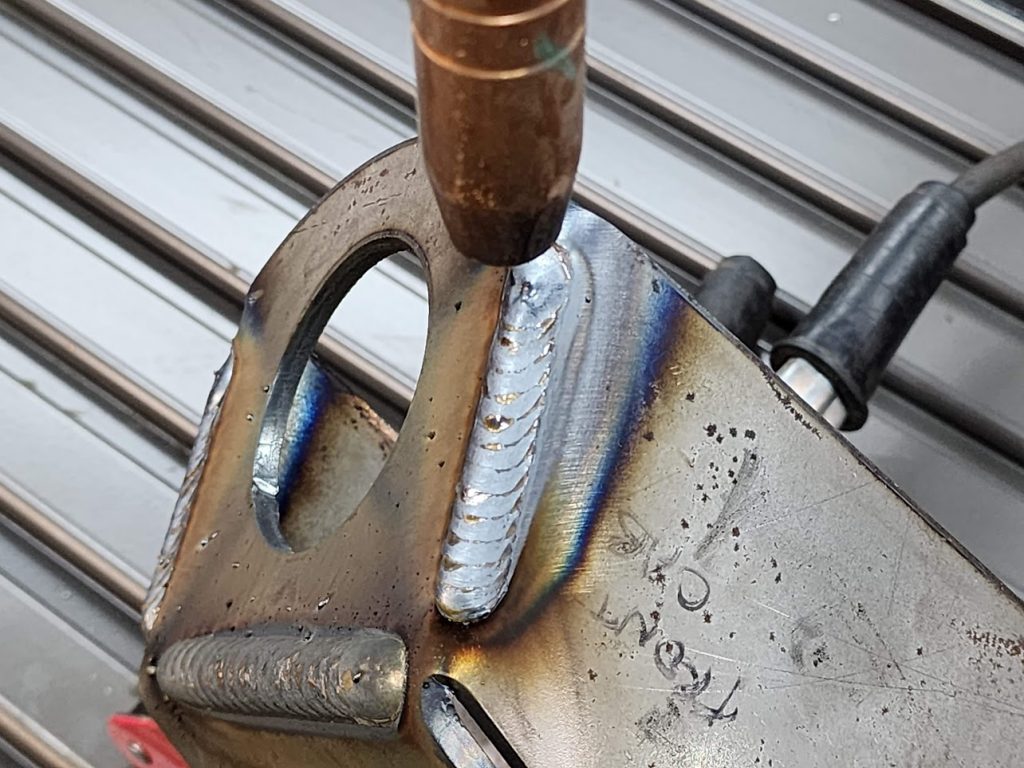
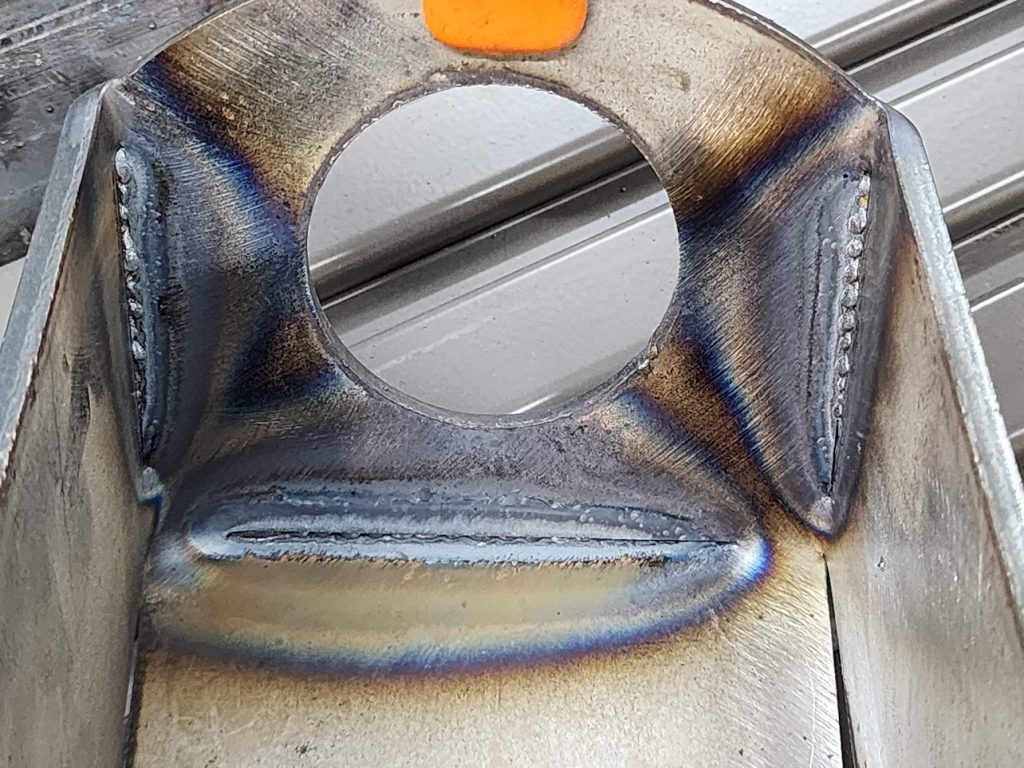
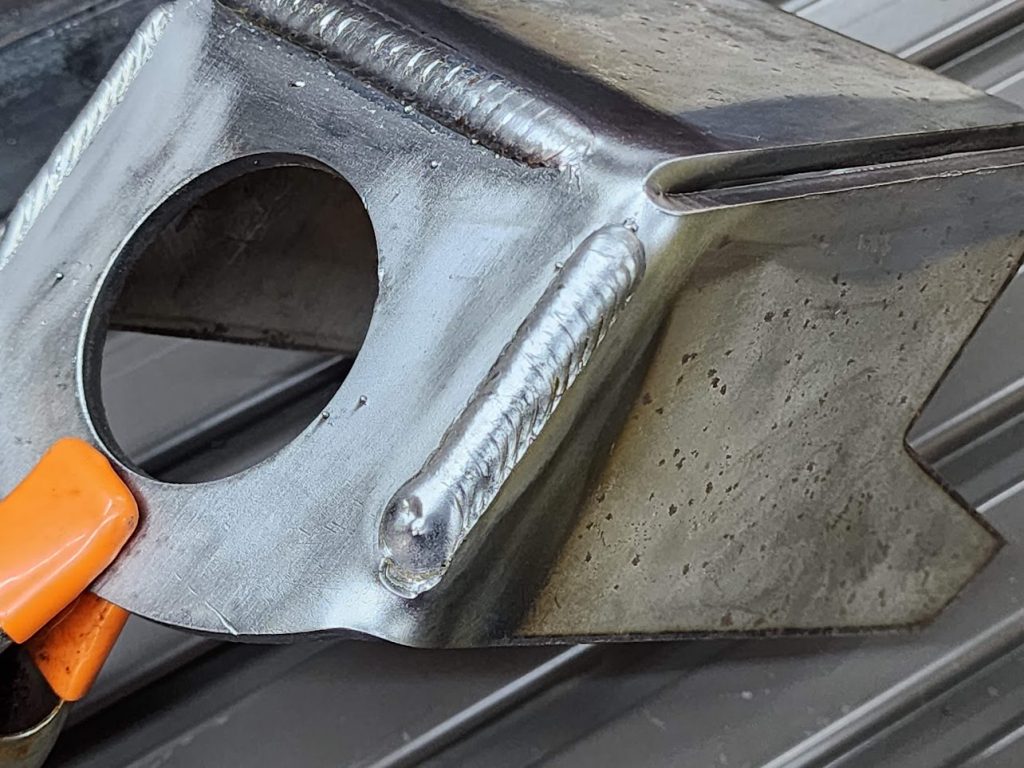
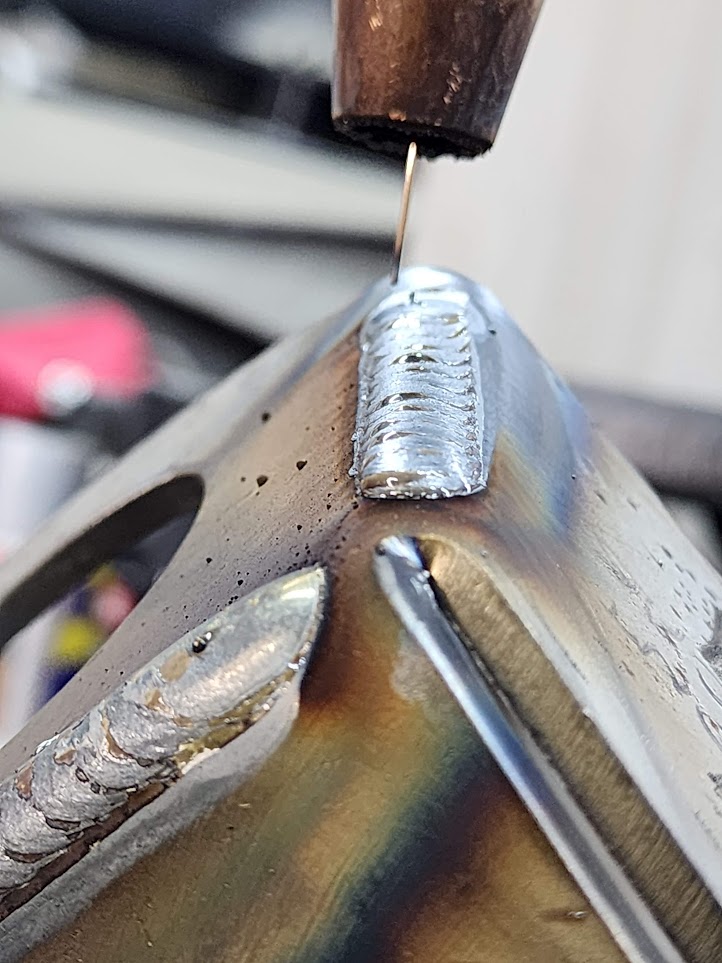
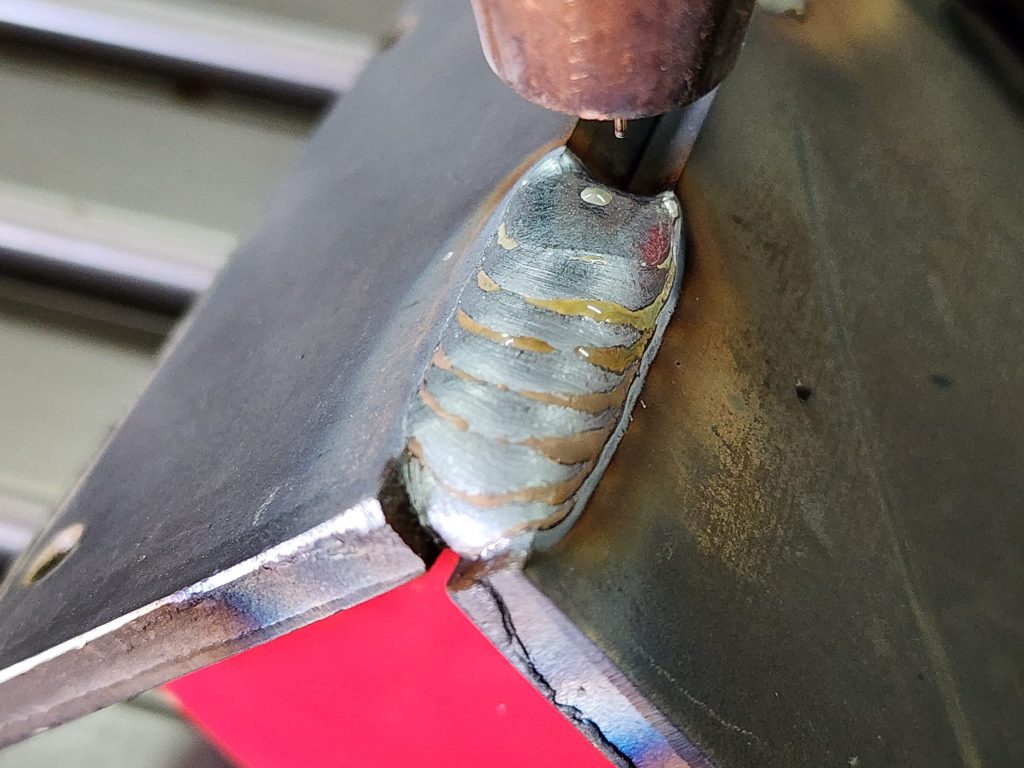
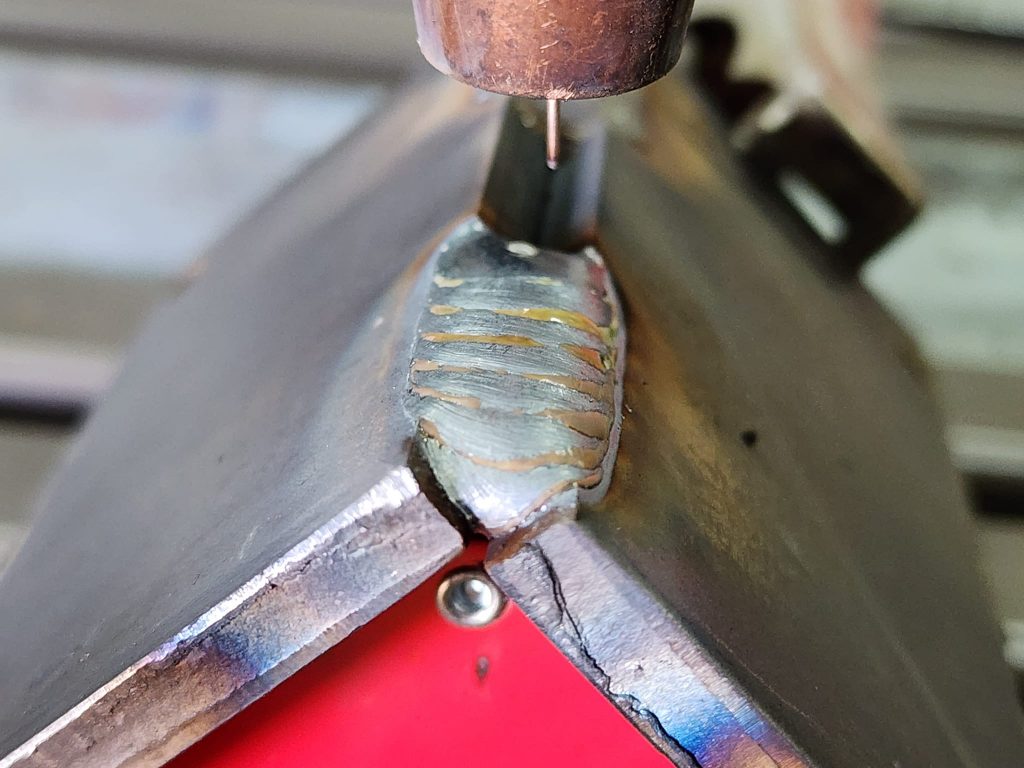
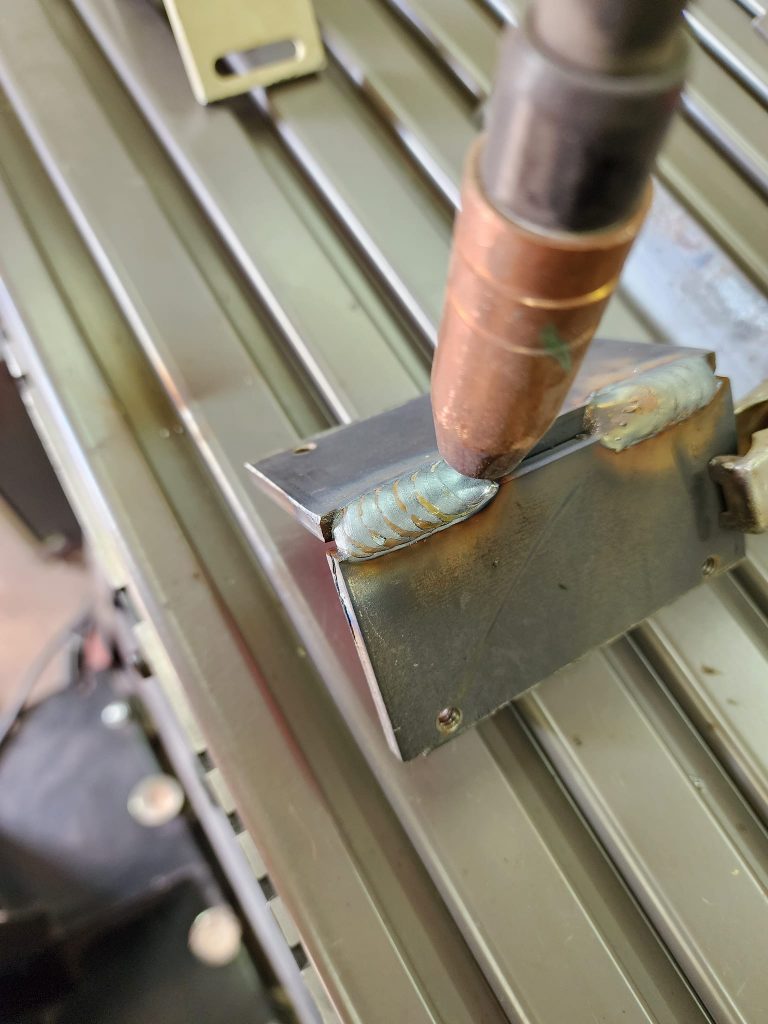
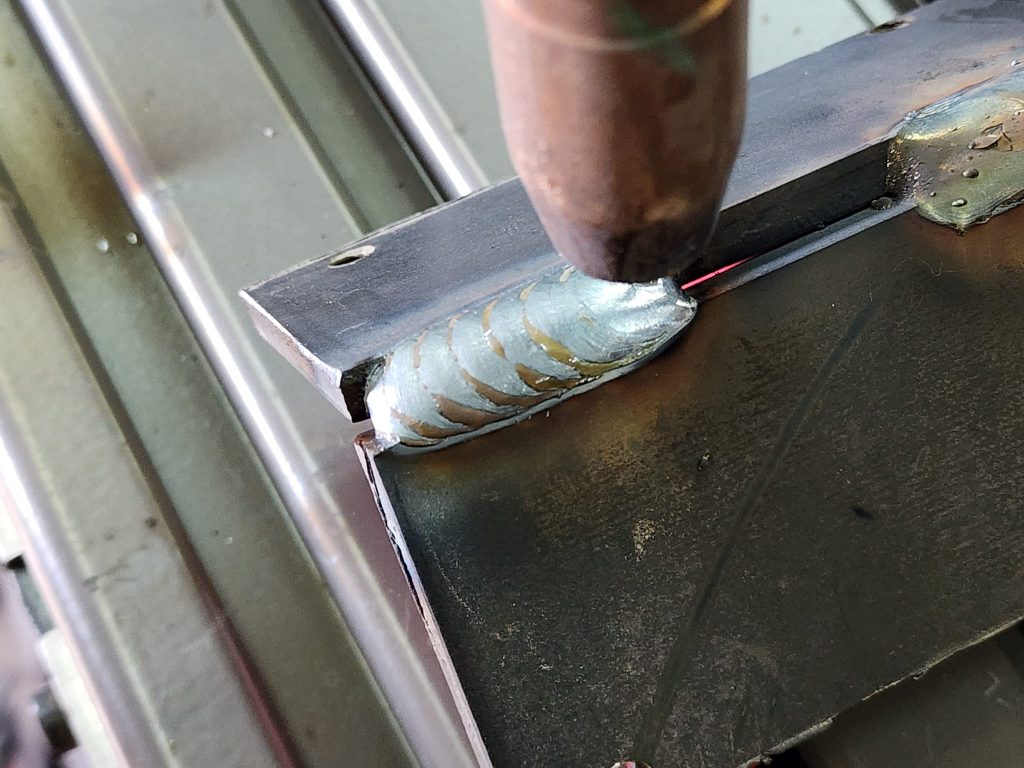
I am very happy with the results. Here is a video showing the entire process.
Update 9/16/2023 Almost one year to the day I first started this project, I am now doing production work with it!
Check out the results on these cab brackets.
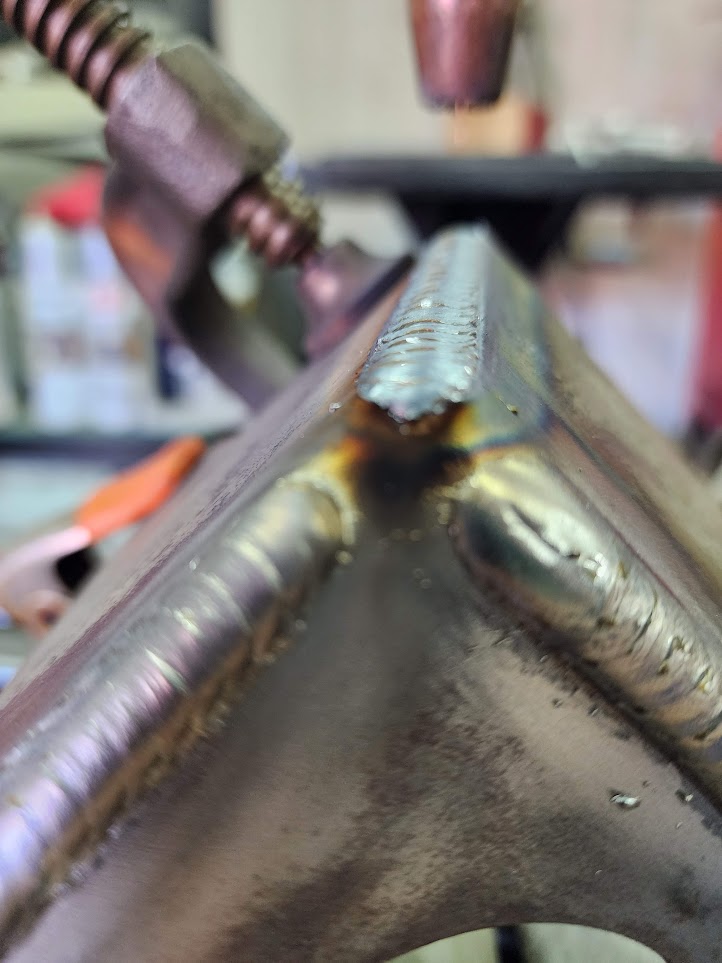
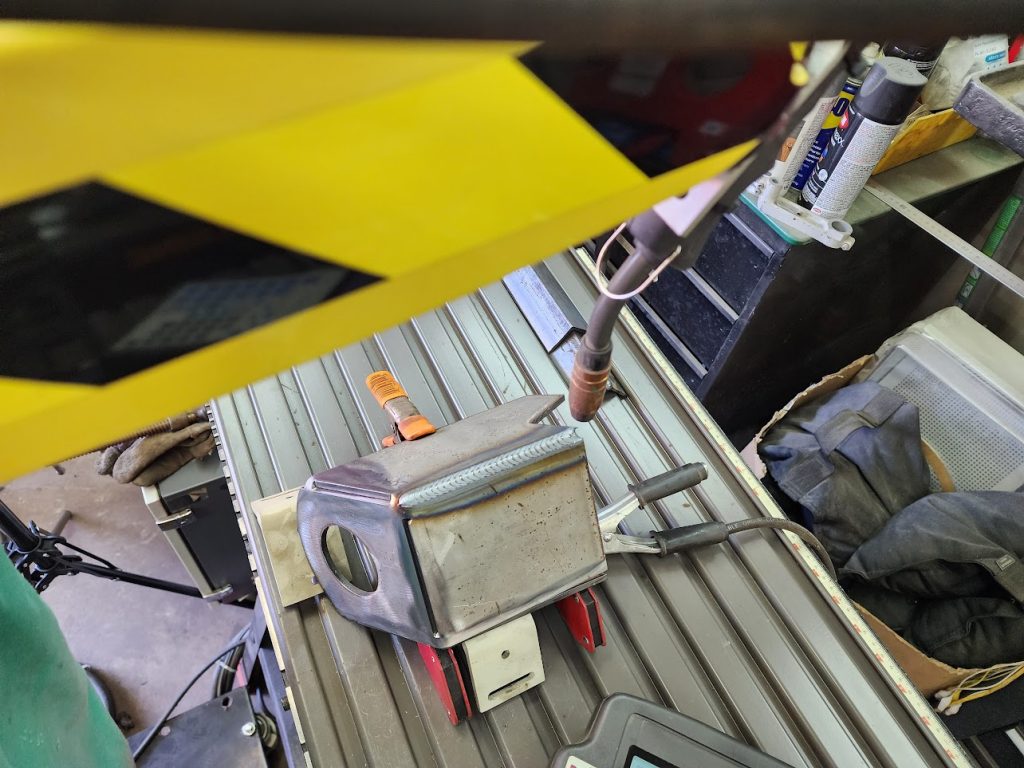
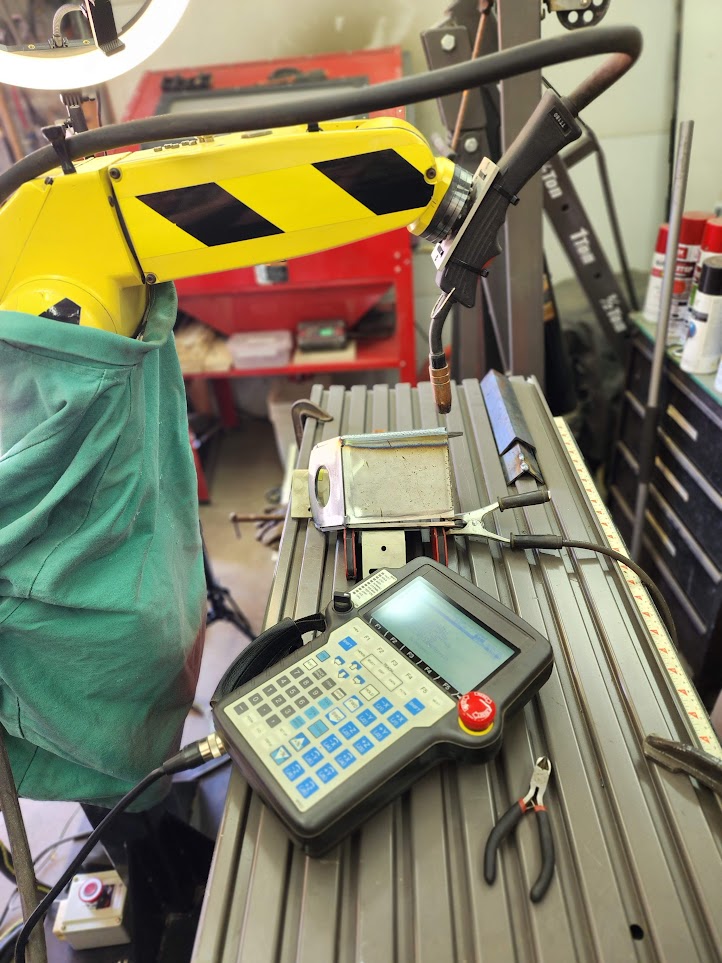
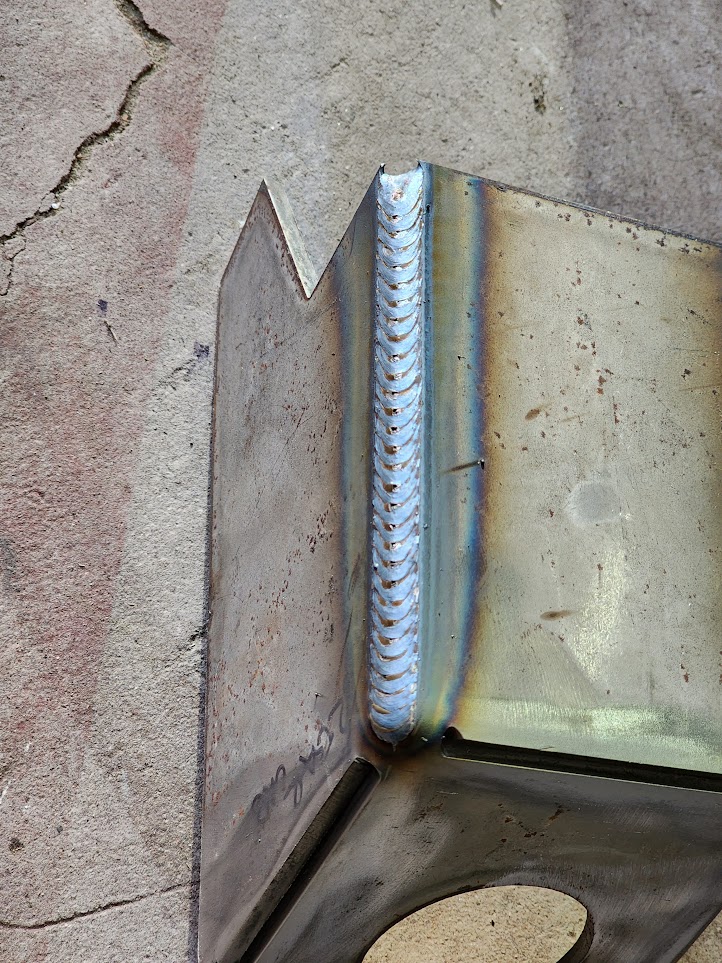
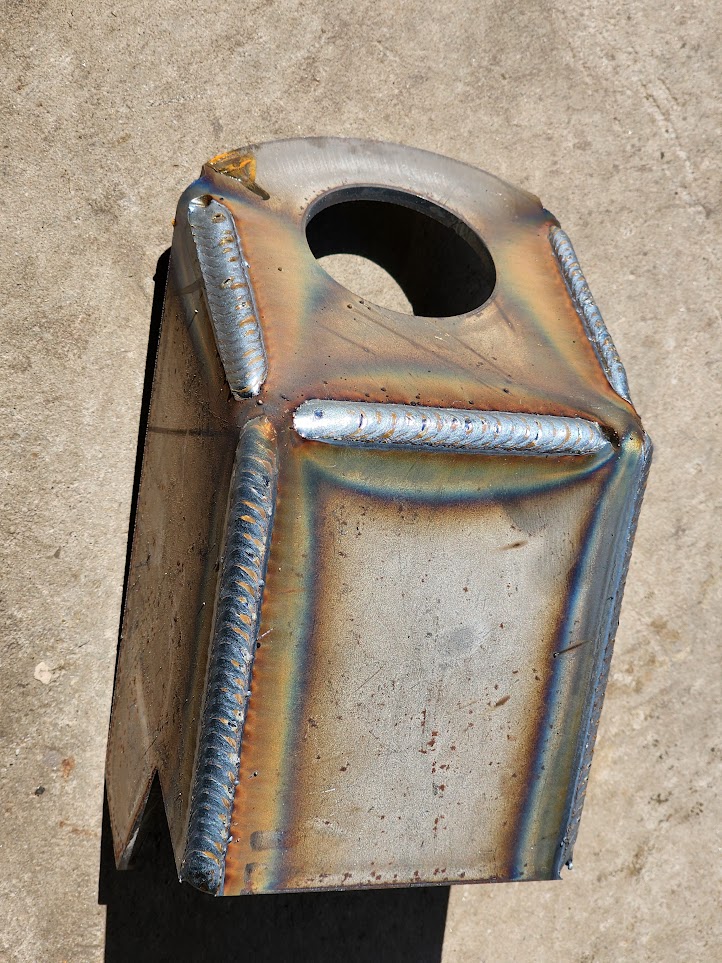
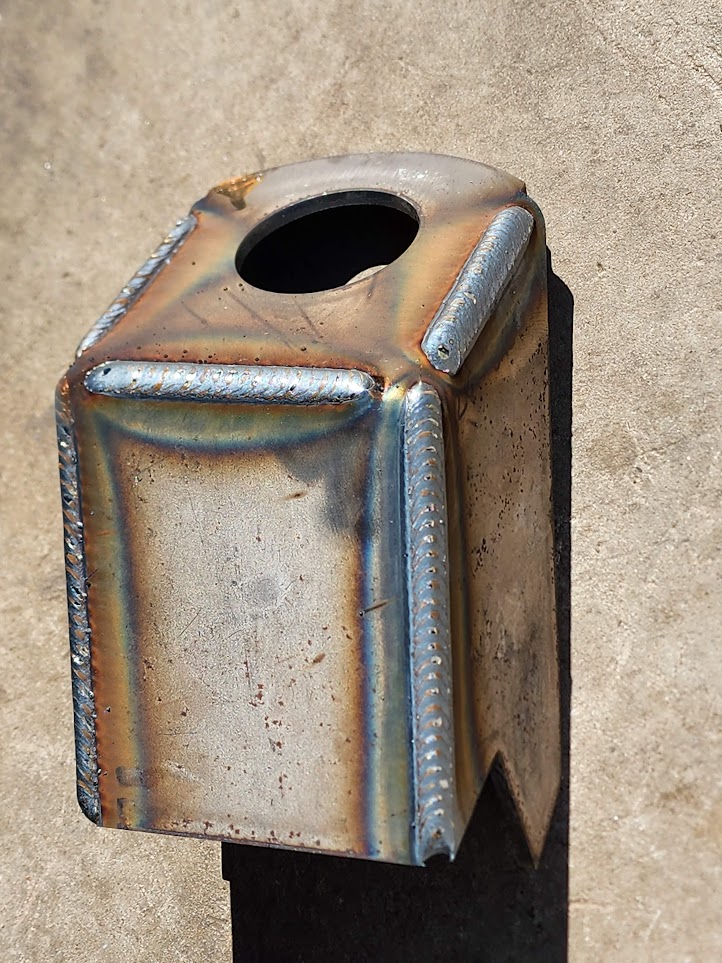
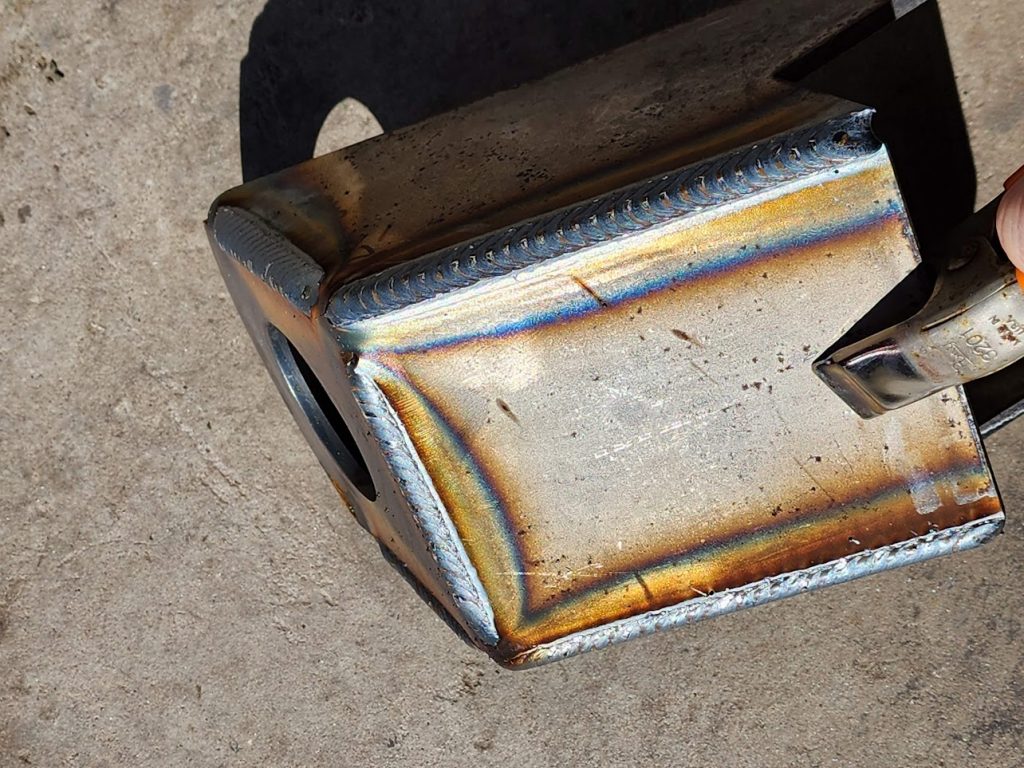
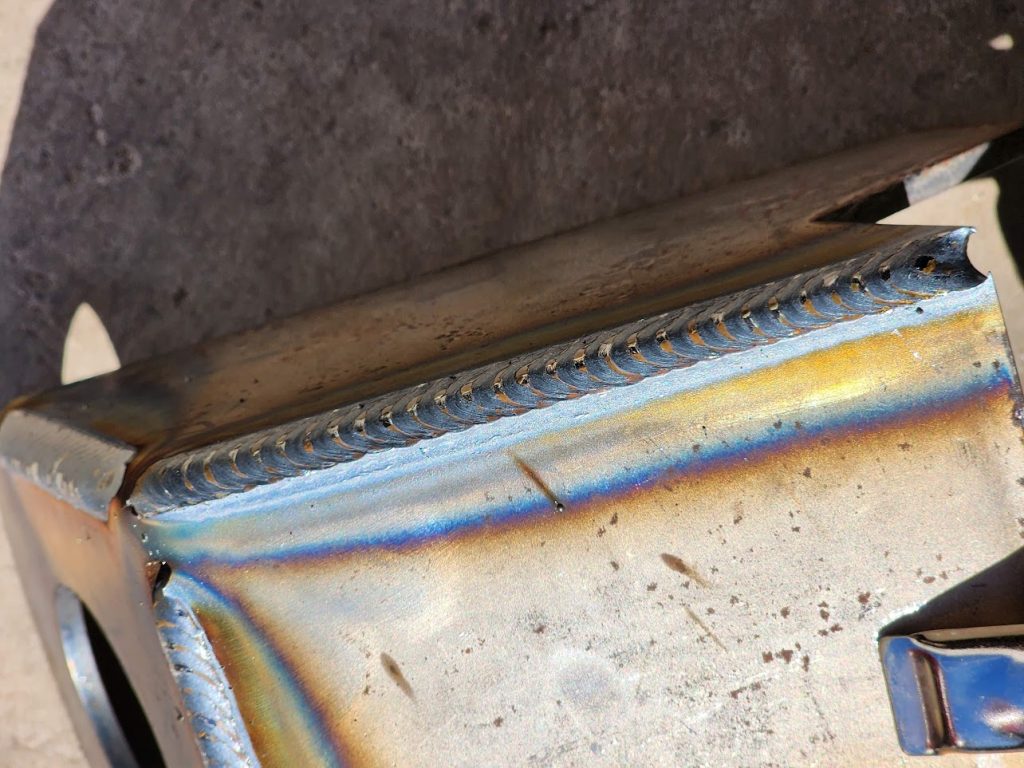
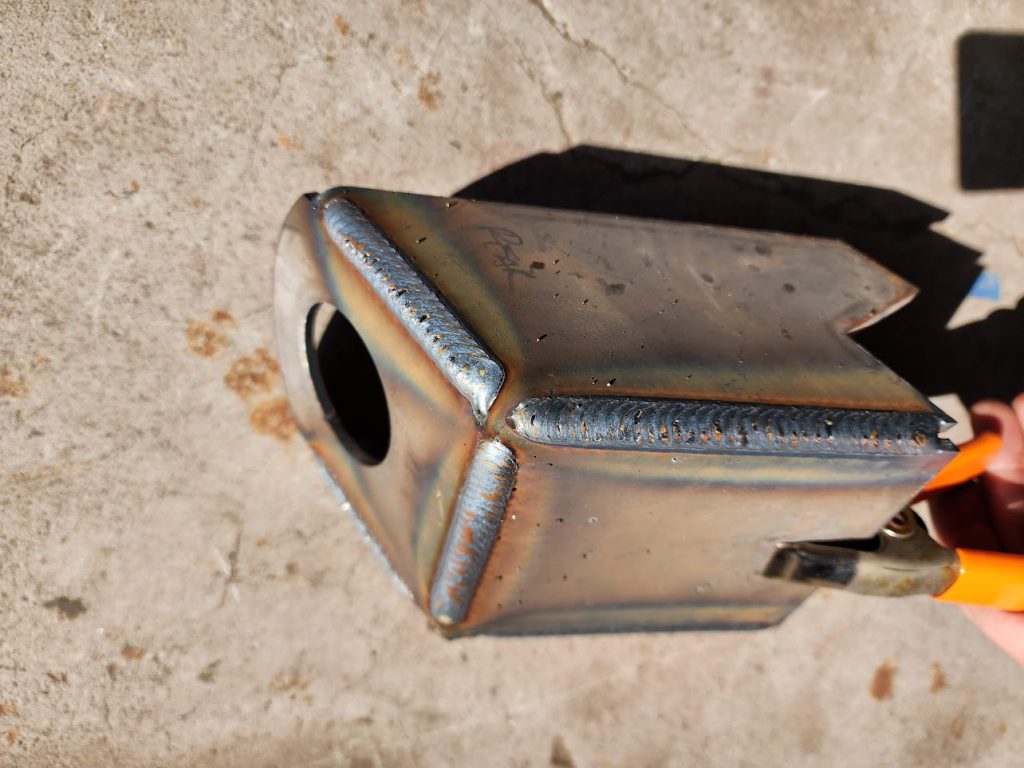
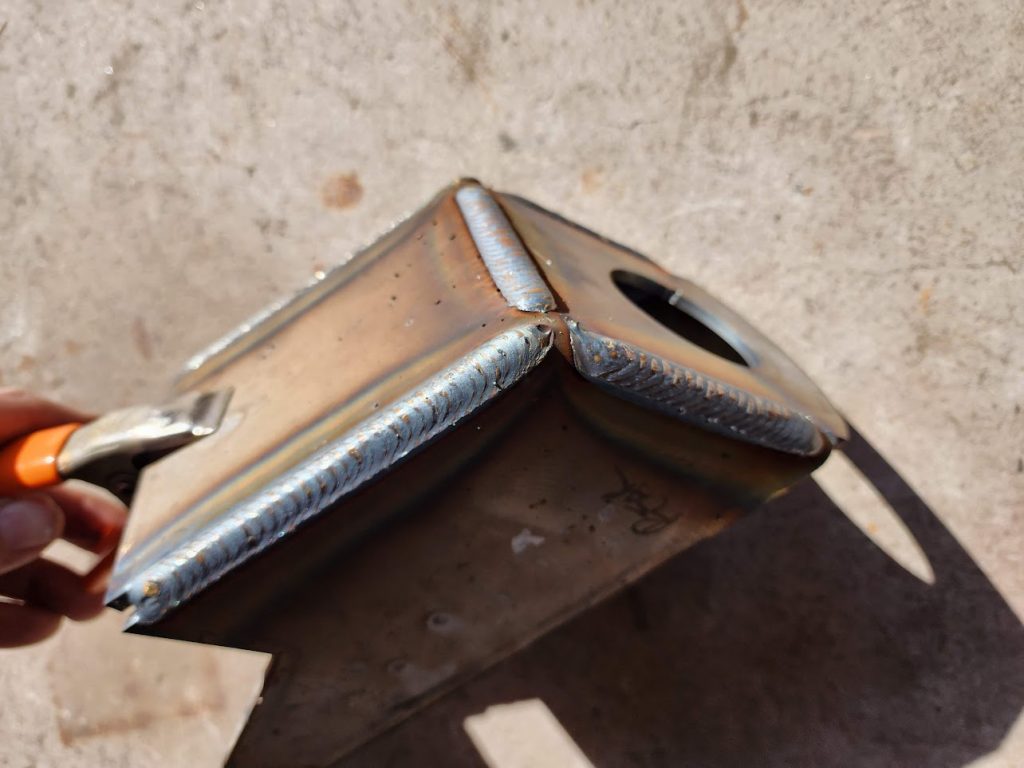
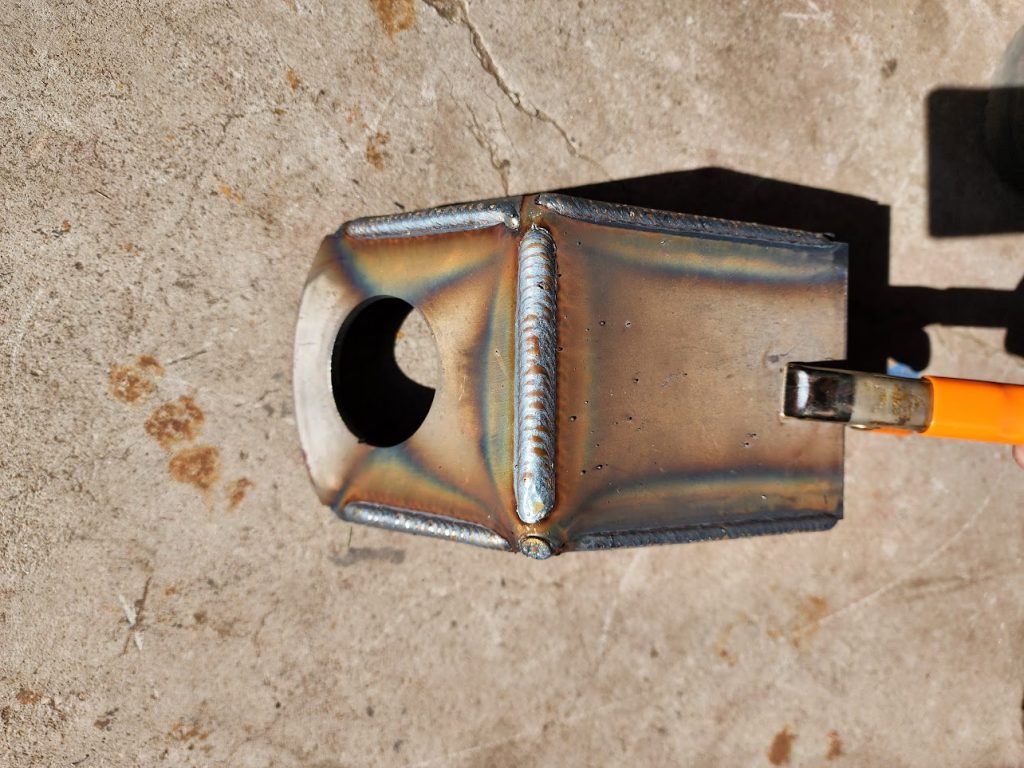
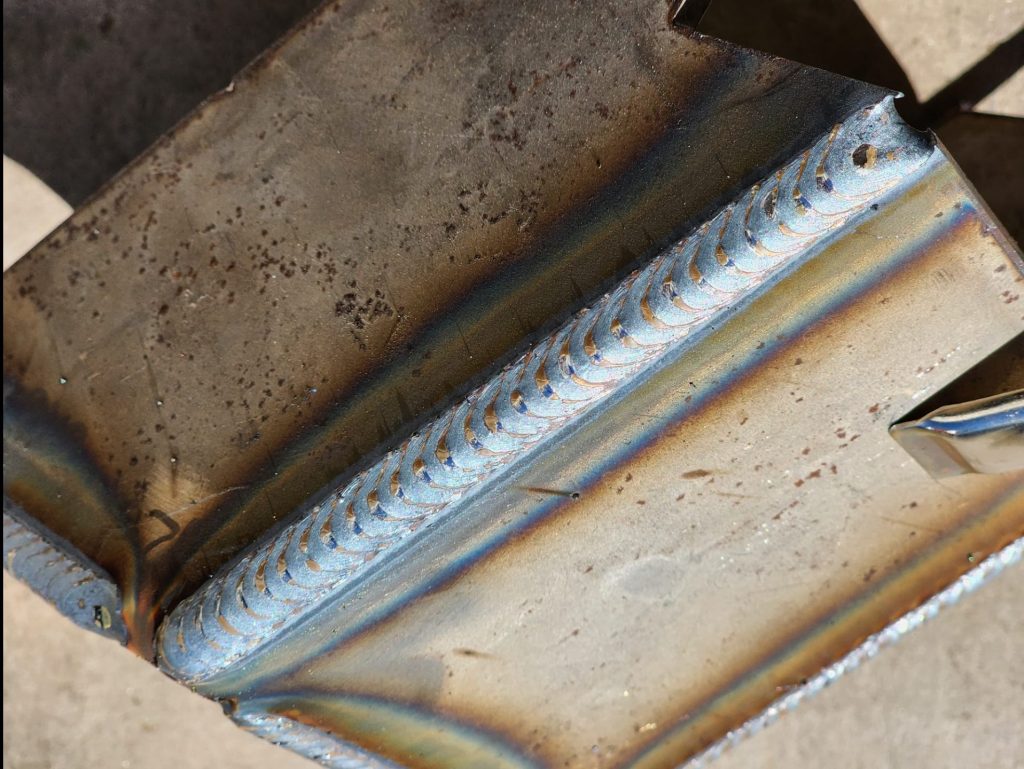
I am very happy with the results!
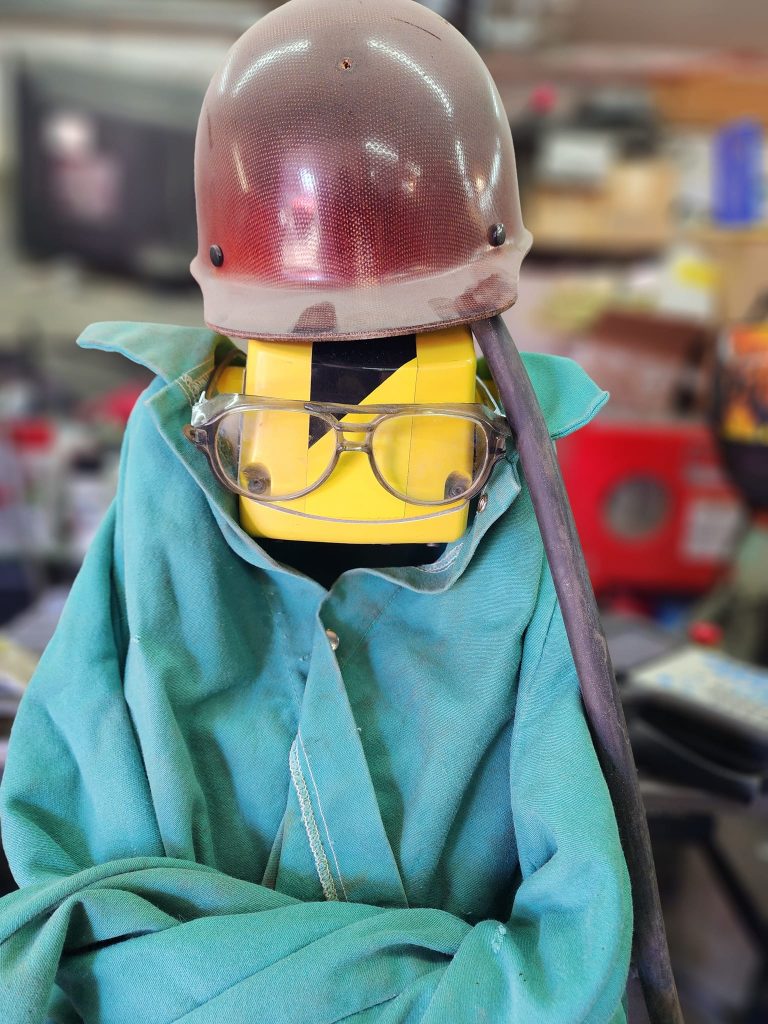
The robot needed some protective PPE ha!
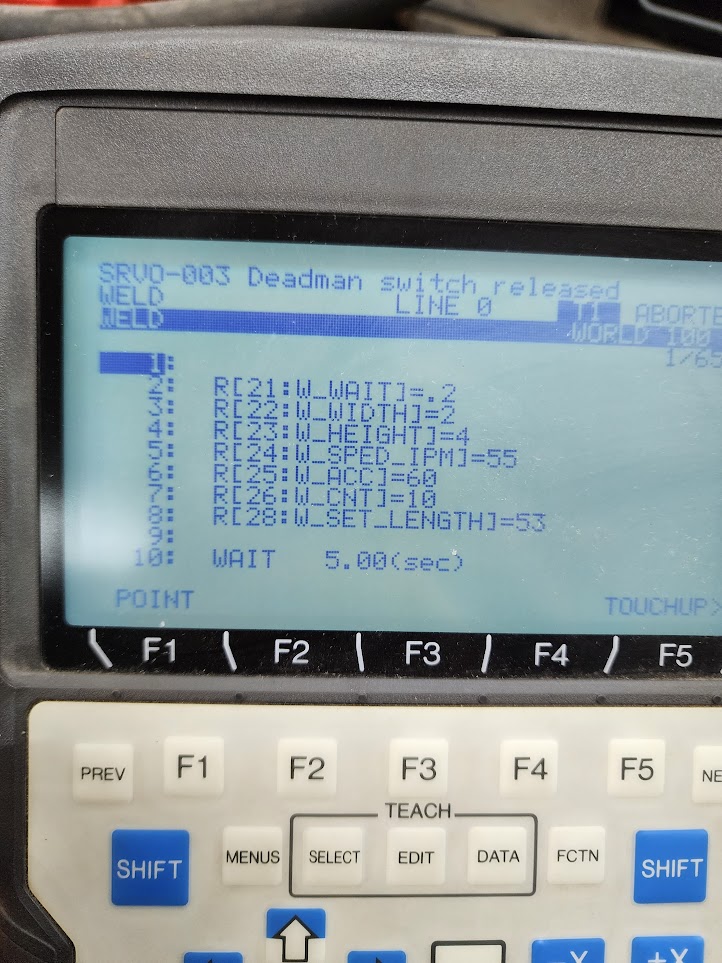
Here are the settings I found that worked well.
Here is a sped up video showing the weld process.
Last here is a full walkthrough showing all the settings on how I setup a new frame to do a weld, and the weld in real time.
